Top

Archive | Let’s Celebrate!

Spring-inspired celebration cake

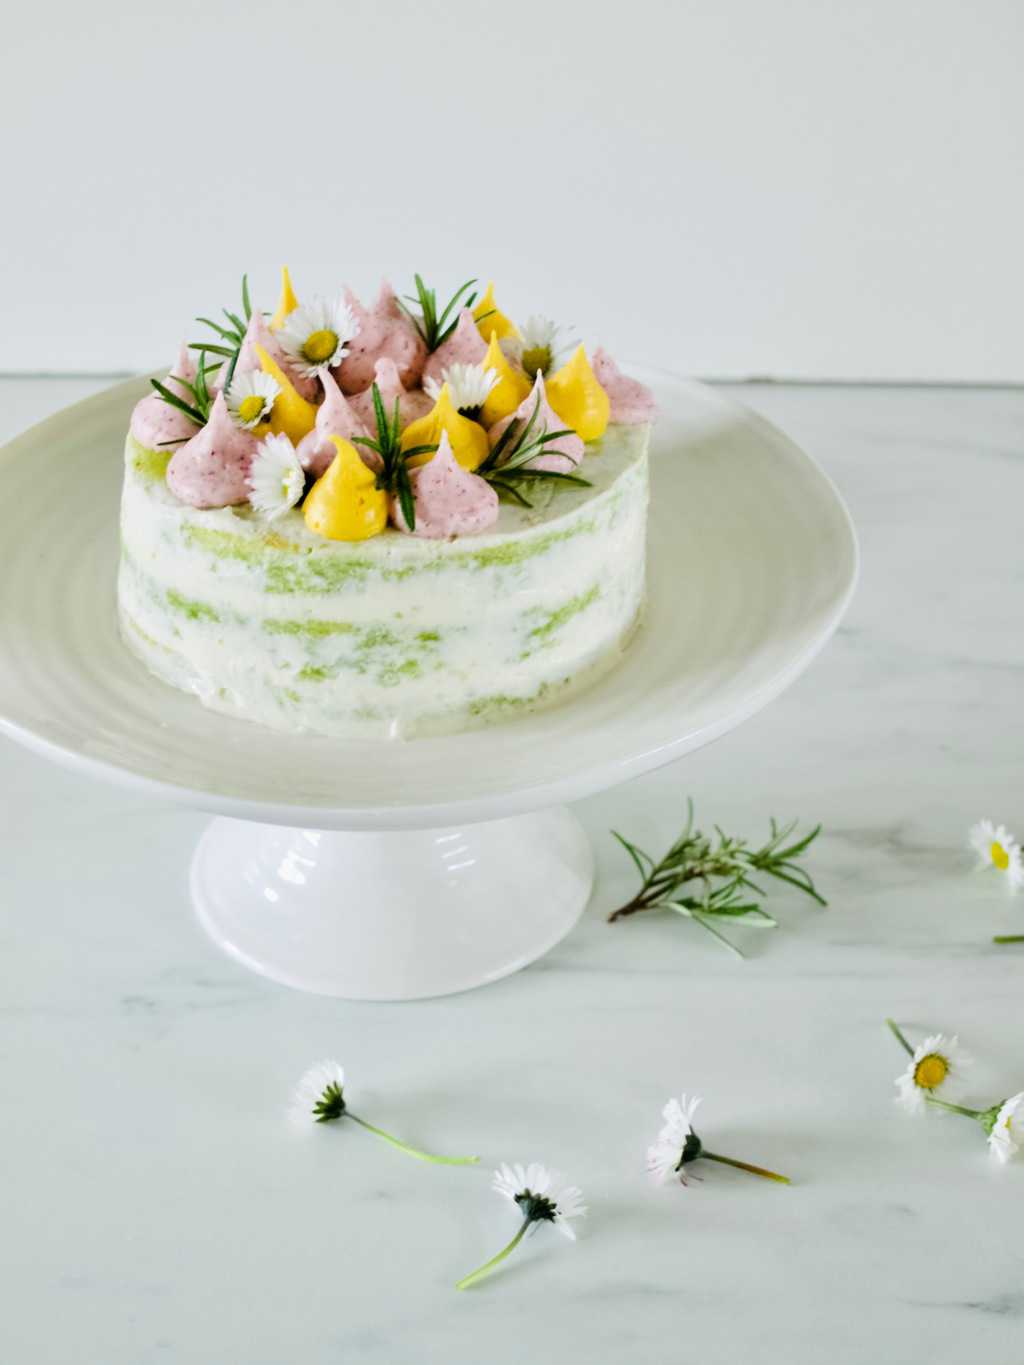
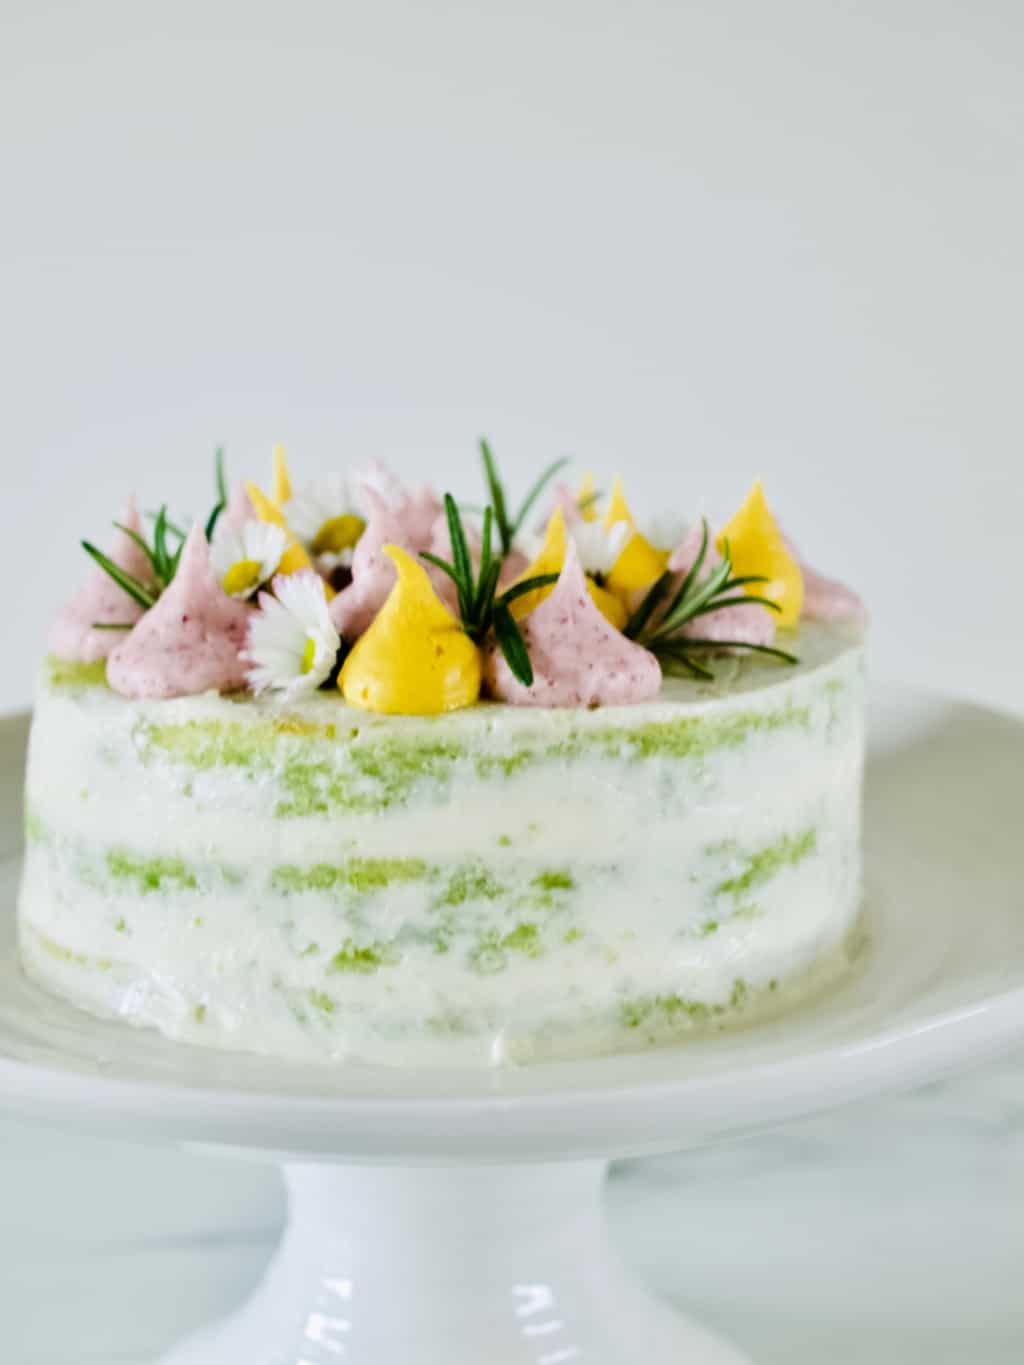
Spring-inspired celebration cake (with sweet peas) recipeI always wanted to try and bake a cake using sweet peas, but I never had an opportunity. Sweet peas is such as spring vegetable and no one in our family have a birthday in a spring. Eventually I decided to just go for it for Tomas birthday. It almost feels like a spring now! Spring-inspired celebration cake (with sweet peas) recipe SWEET PEA CAKE WITH BEETROOT FROSTING adopted from Veggie Desserts
(for the cake)

  • 180g sweet peas, steamed or boiled
  • 130g butter, softened
  • 100g caster sugar
  • 2 eggs
  • 1tsp vanilla extract
  • 1 tsp lemon zest and a drizzle of juice
  • 165g flour
  • 2tsp baking powder
  • pinch salt

(for the frosting)

  • 250g soft cheese
  • 70g icing sugar (plus some more for later stage)
  • 1-2 tsp beetroot powder
  • 1tsp other type of natural frosting such as turmeric, matcha etc (optional)

1. Puree the sweet peas in the food processor and set aside

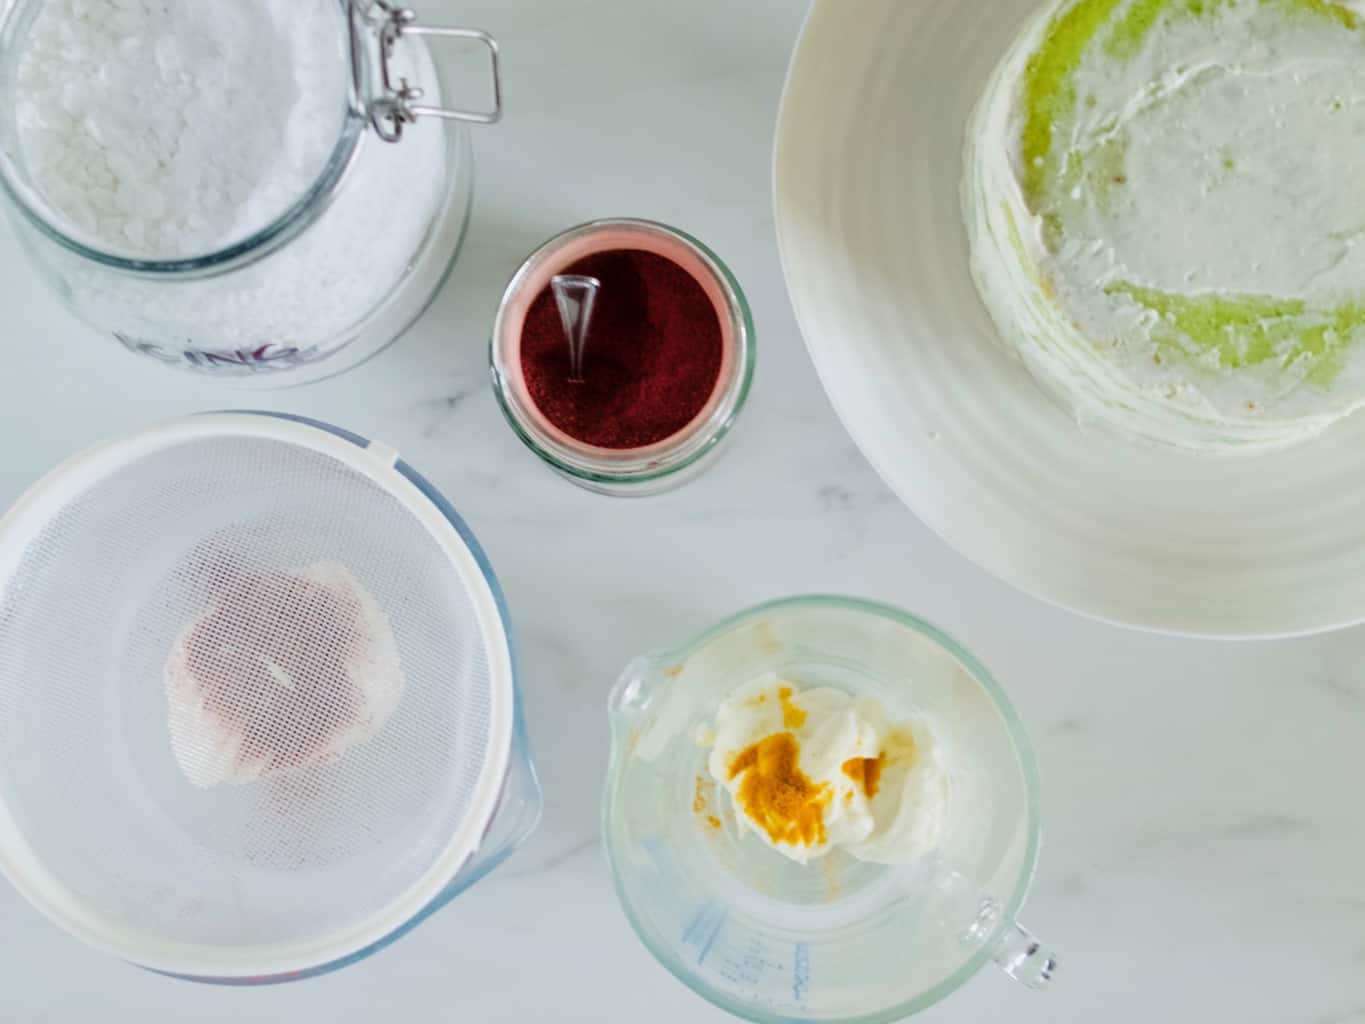
2. Cream the butter with sugar either in the large bowl with the wooden spoon or in the mixer.Spring-inspired celebration cake (with sweet peas) recipe 3. Add the rest of the ingredients (including sweet pea puree) into the butter cream and mix again to combine. Spring-inspired celebration cake (with sweet peas) recipe 4. Bake the cakes in the 15cm (6inch) tins in 180C preheated oven for about 20 min. Alternatively you can bake these in the sheet tray and use a large cookie cutter to cut out the rounds. I ended up cutting off the crust as I wanted bright green colour to show through the frosting.Spring-inspired celebration cake (with sweet peas) recipe5. Meanwhile make the frosting. Using the whisk, mix the soft-cheese with sifted icing sugar.
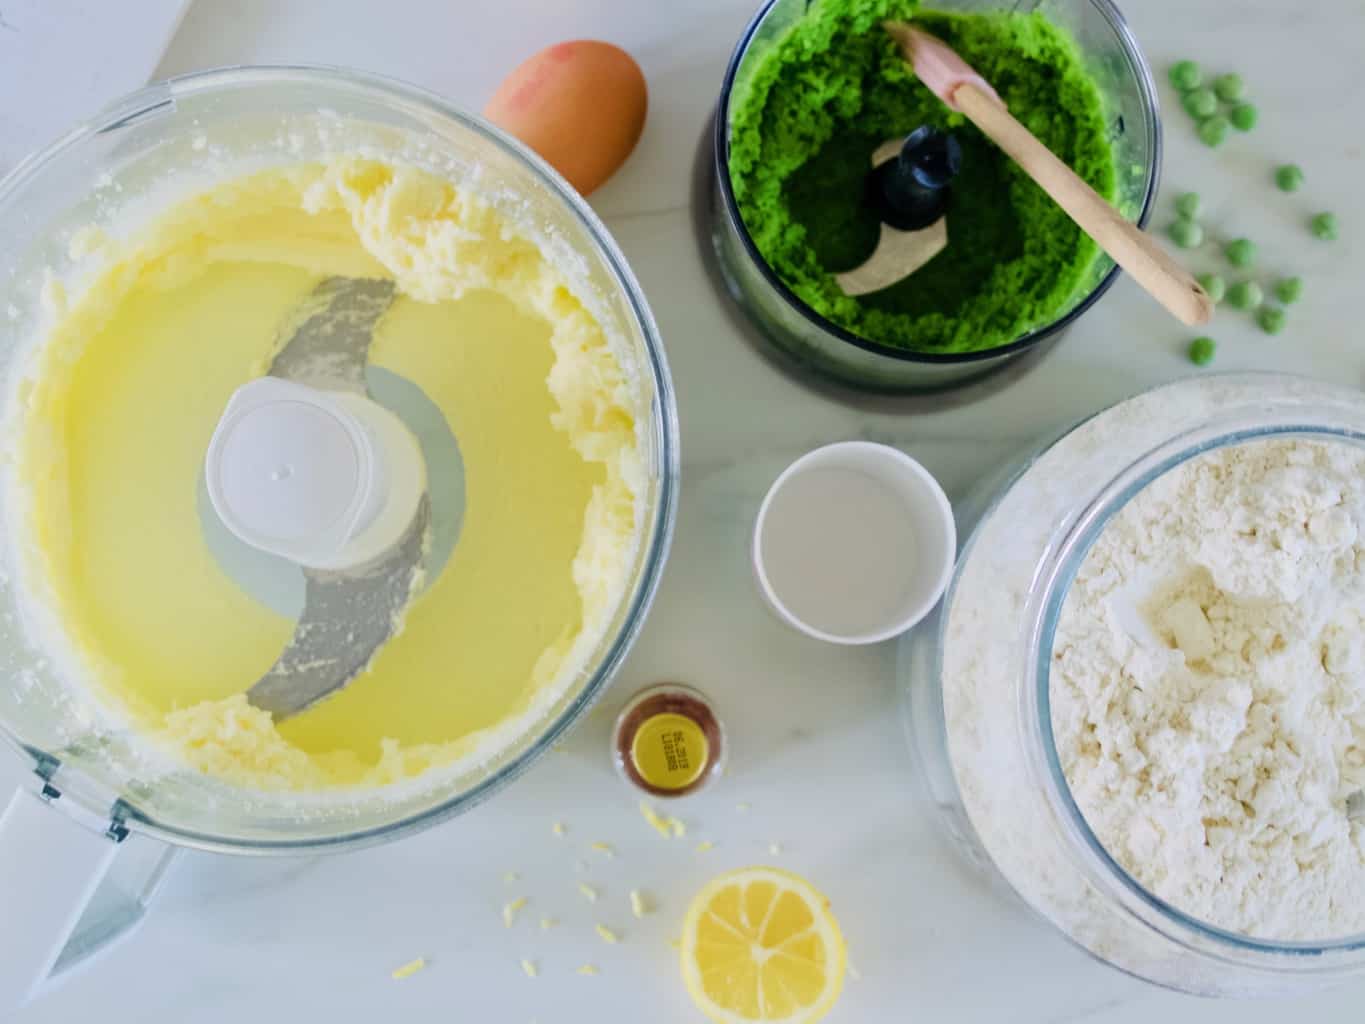
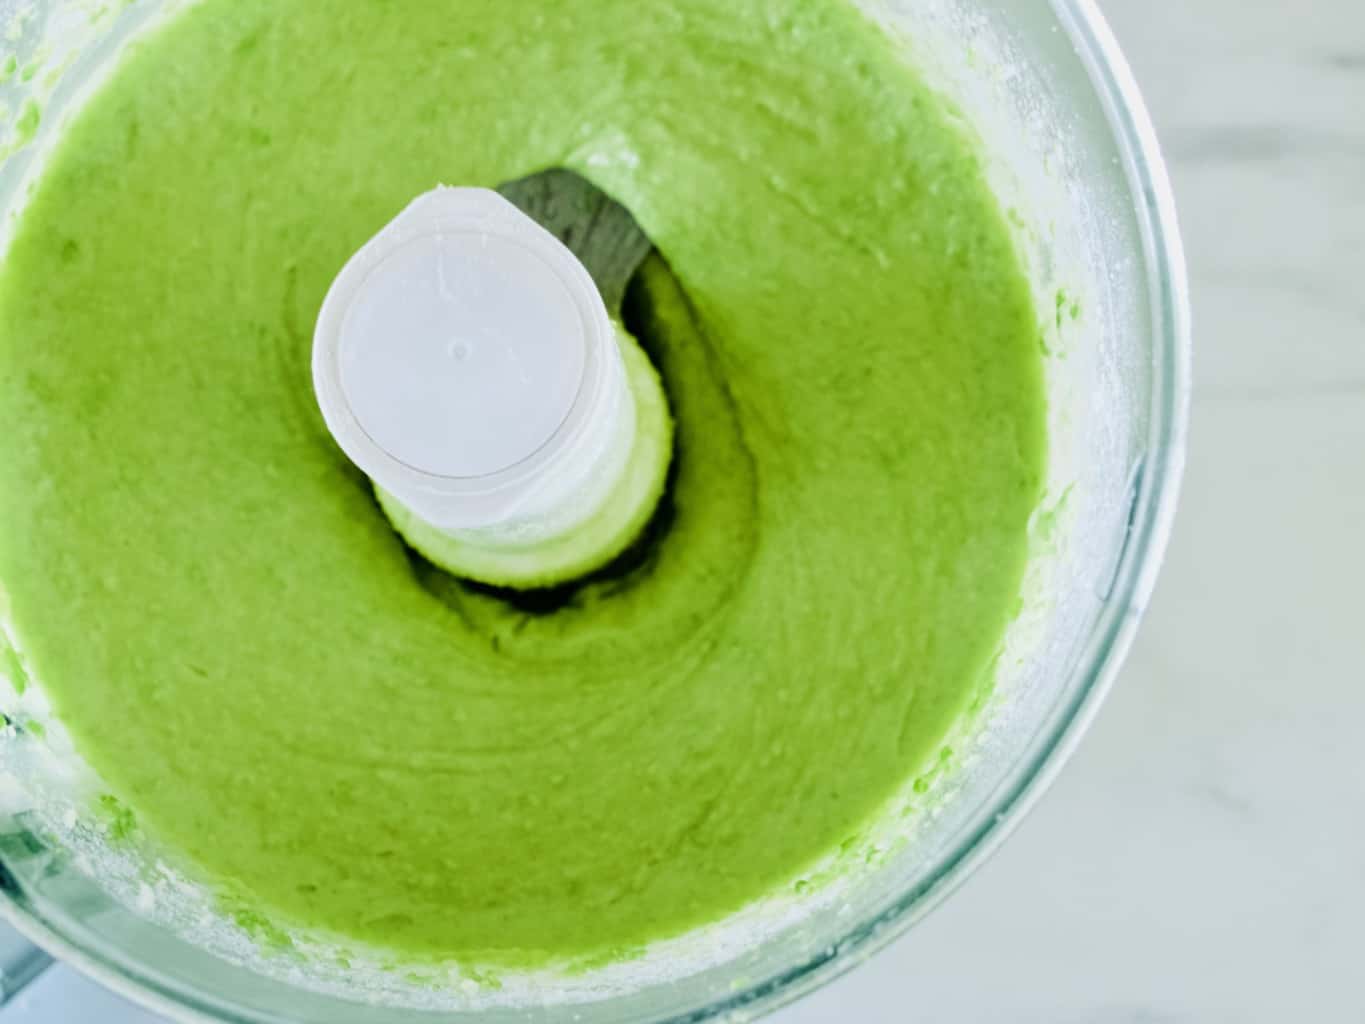
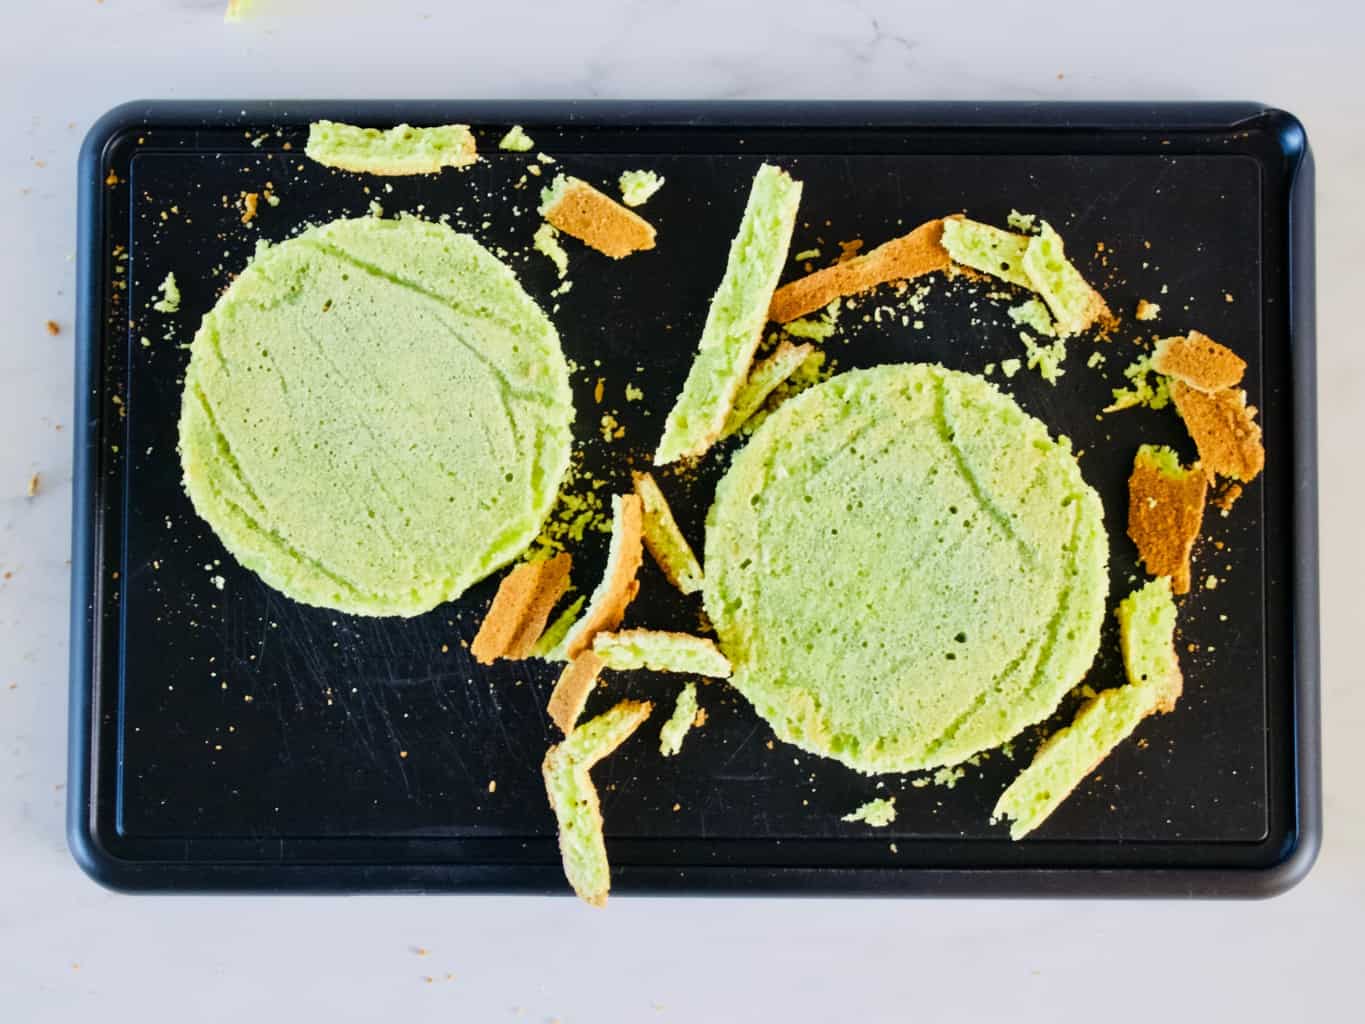
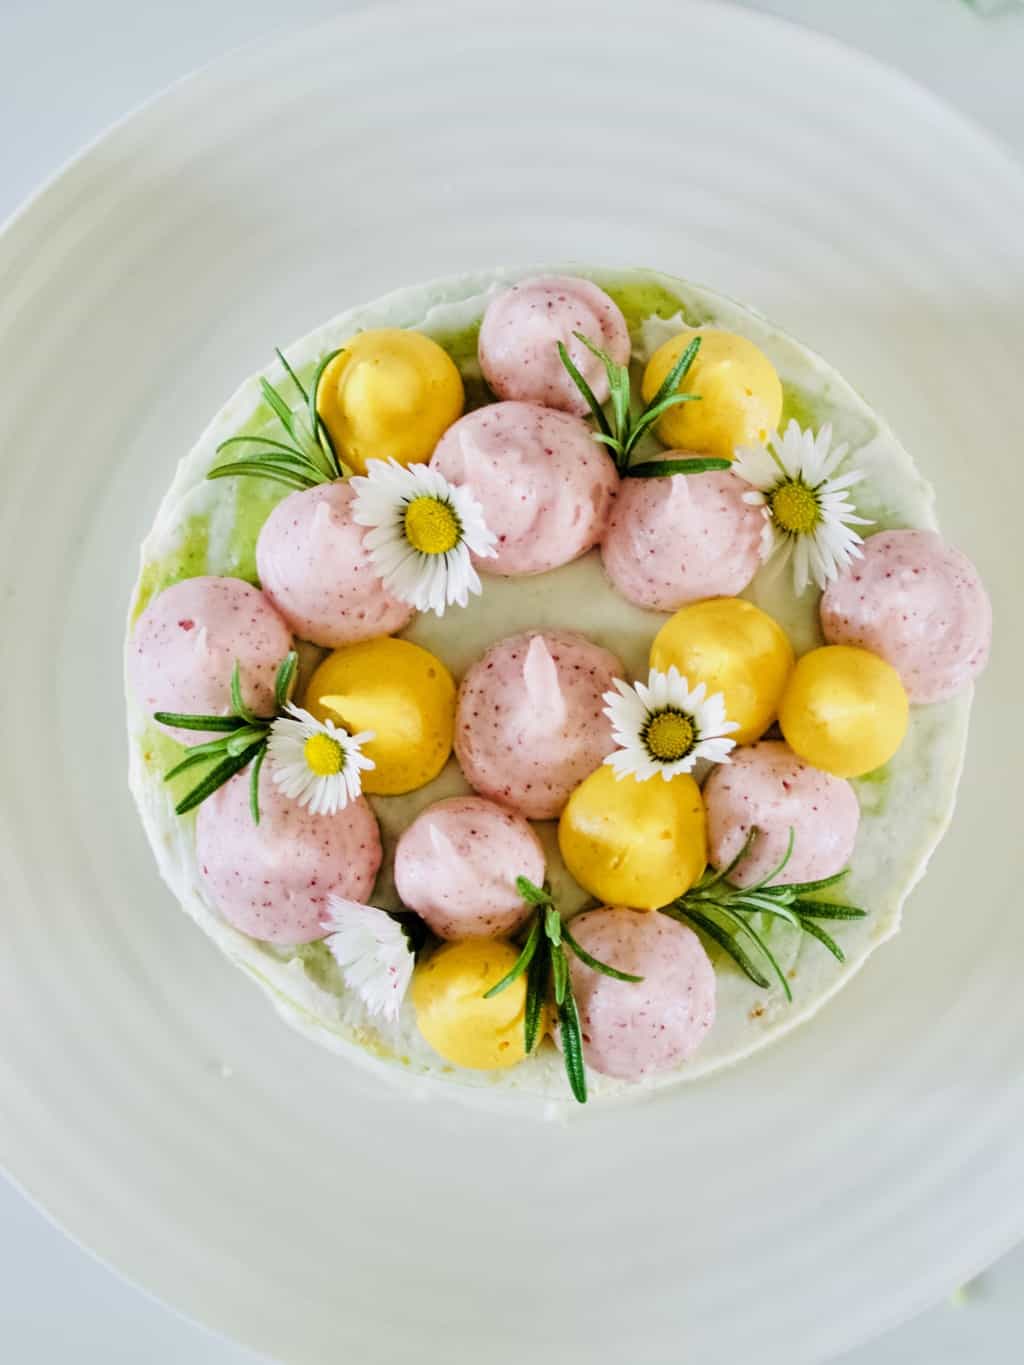
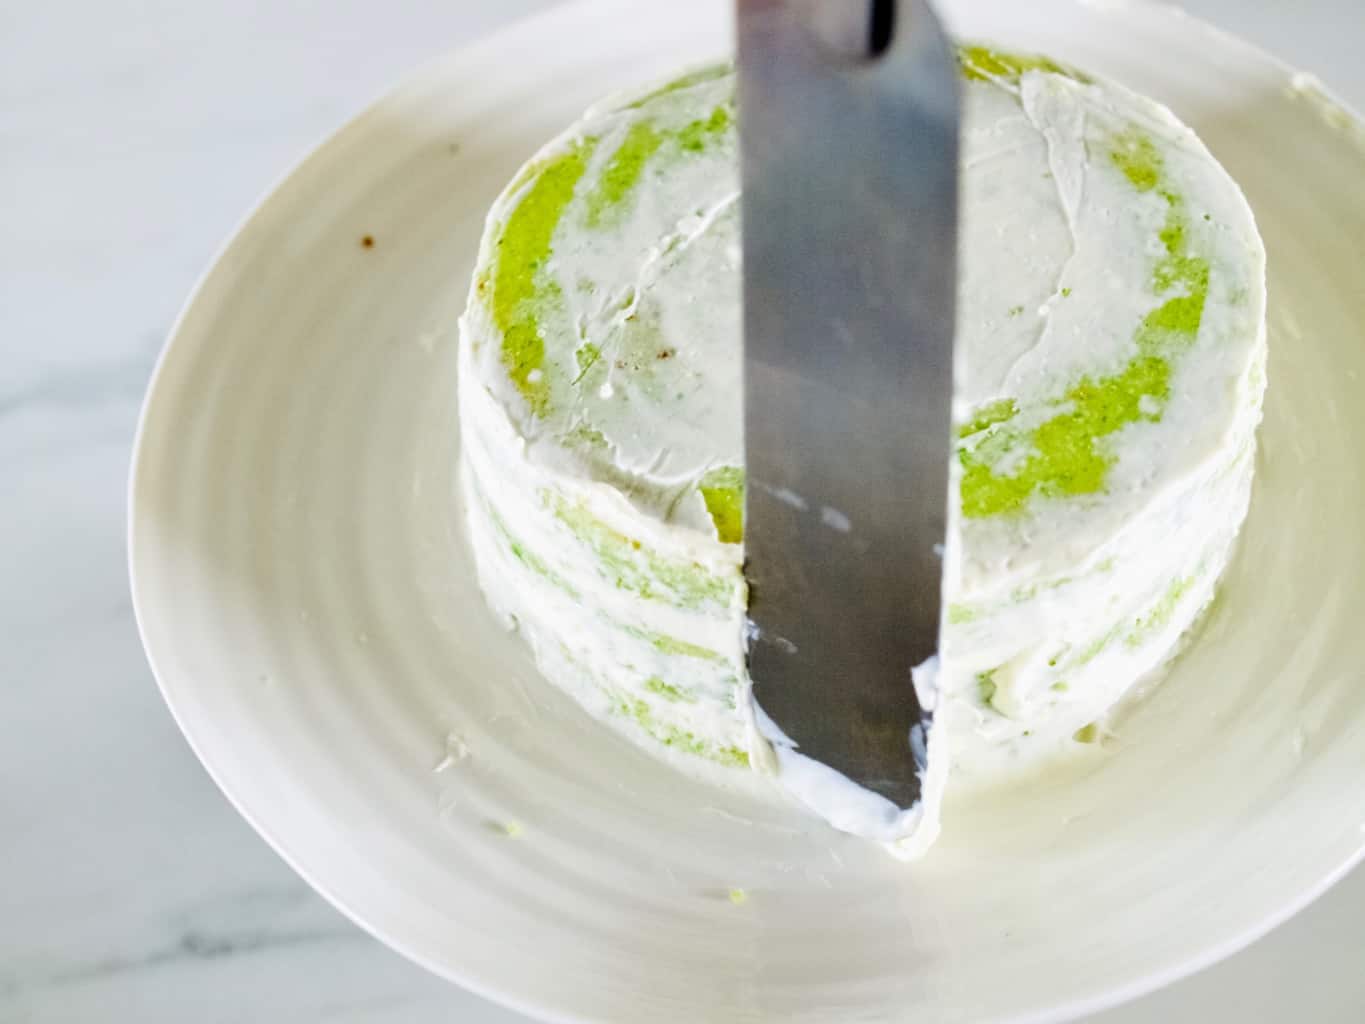
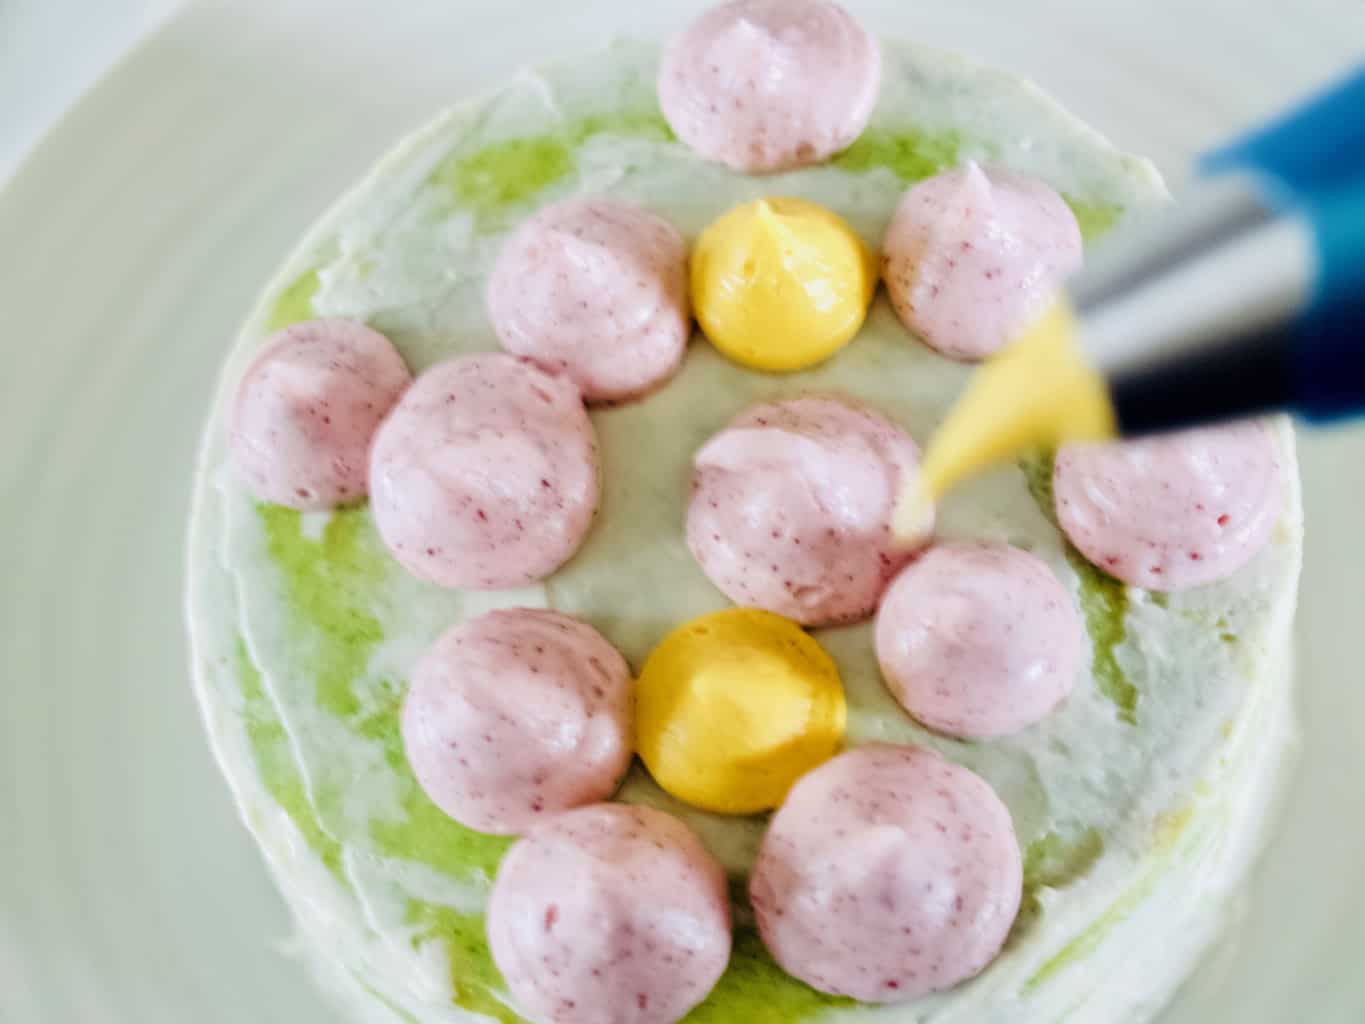
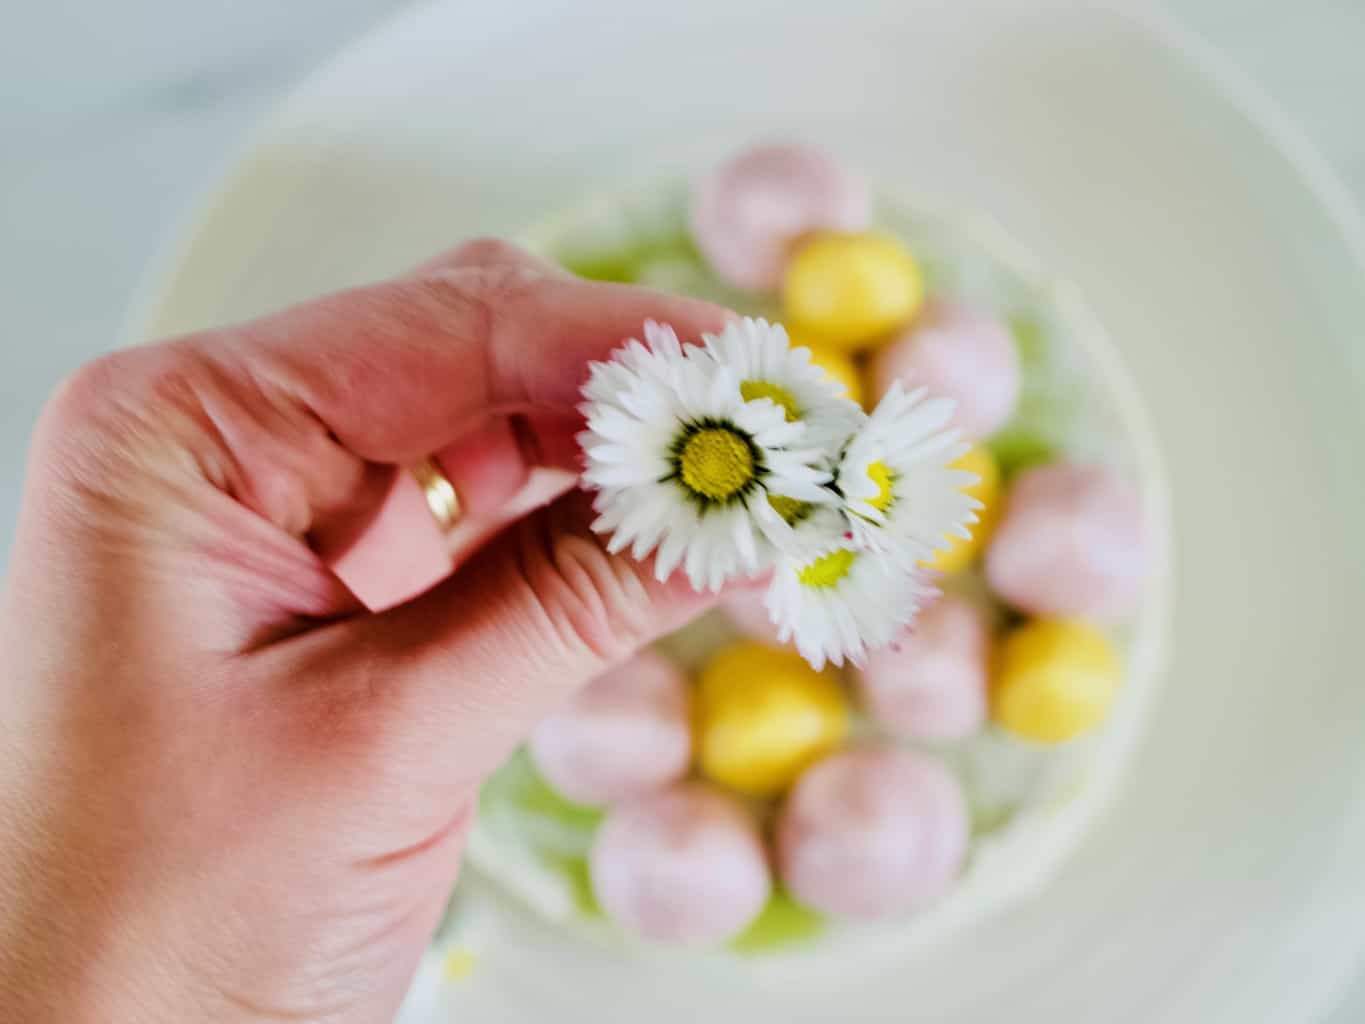
6. To assemble spread a little of the frosting between the layers of the completely cooled cakes and sandwich together. Cover the cake with some more frosting reserving a little for later. Using palette knife gently scrape of the icing creating that naked cake look.Spring-inspired celebration cake (with sweet peas) recipe 7. Split the remaining frosting into 2 or more bowls, unless you only want to dye it in one colour. I personally would have had only one colour (pink) now when I tried the multicolour. Add the beetroot powder (or other natural colour) and more icing sugar till the frosting reaches the right consistency. It needs to be stiff in order to keep its shape.Spring-inspired celebration cake (with sweet peas) recipe 8. Pipe the frosting on the cake using a piping bag and large round nozzle.Spring-inspired celebration cake (with sweet peas) recipe 9. Decorate the cake with wild flowers and herbs. It is amazing what you can find in the garden or in the park. These daisies are actually edible and were growing on my lawn.Spring-inspired celebration cake (with sweet peas) recipe Spring-inspired celebration cake (with sweet peas) recipeHappy spring waiting everyone!
Rasa xoxo

0

Date night in: paper and pen games

Idea for date night in: paper and pen games table layoutMe and Joni have not gone out for ages. When you got kids it’s just not easy. Everyone who have young kids I am sure can relate how difficult it is to find a babysitter! And when you do find a babysitter this once in the while outgoing can cost you at least £40. Am I right or am I wrong?

Recently Joni had an idea to have date nights in. And that changed the dating game completely! We set to have the date night in every Friday and we reduced the amount of tasks we need to do that day so we are free. This gives me something to look forward every week! Since the Valentines day is coming up I though I will share how we do these night ins ;-).

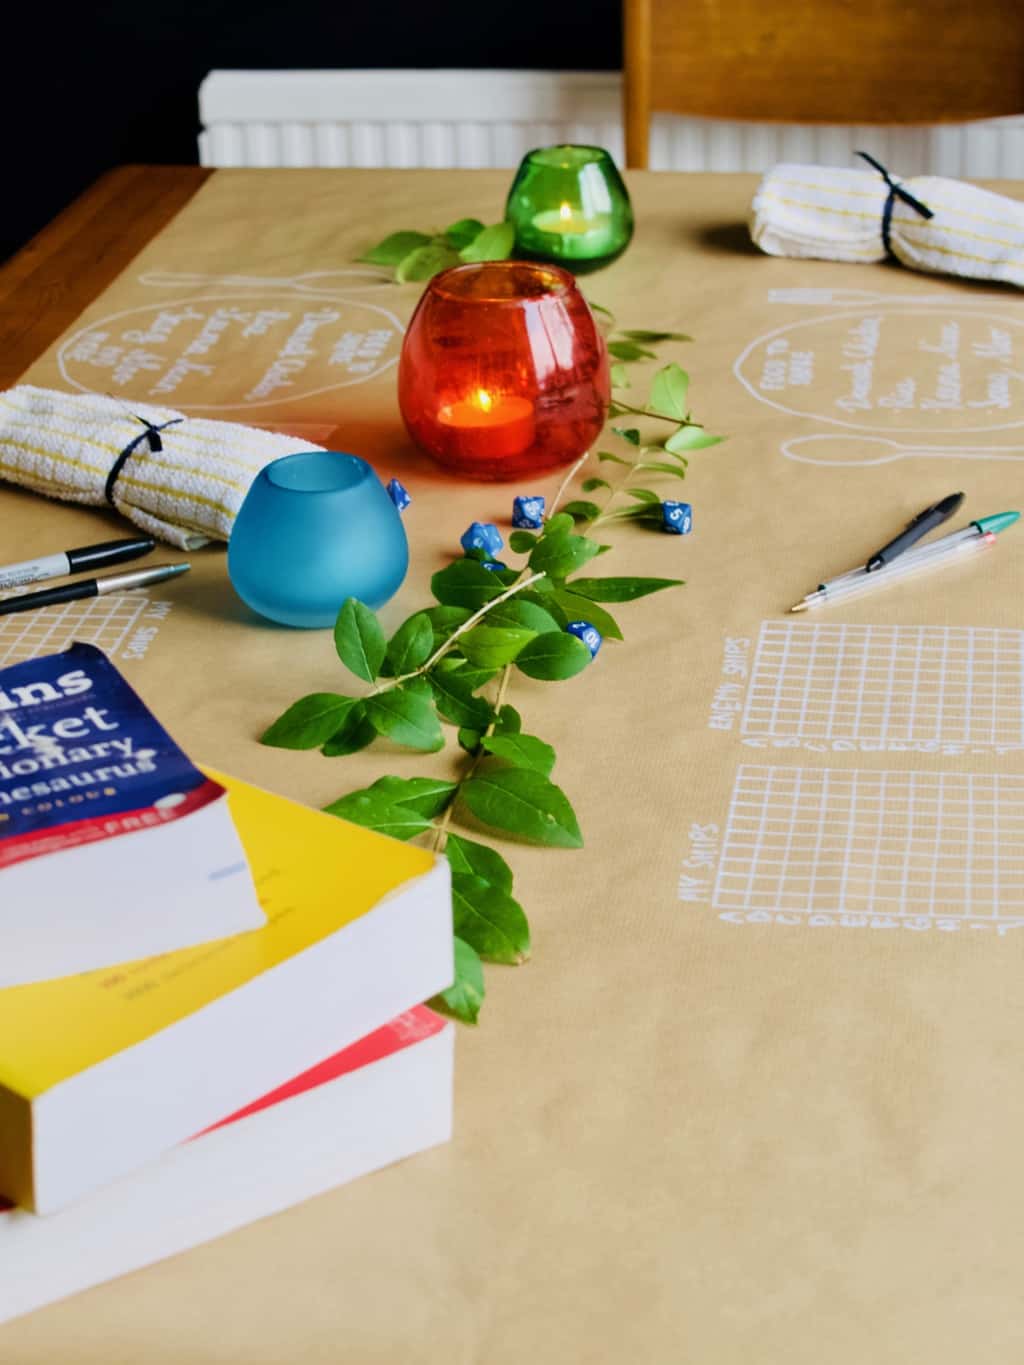
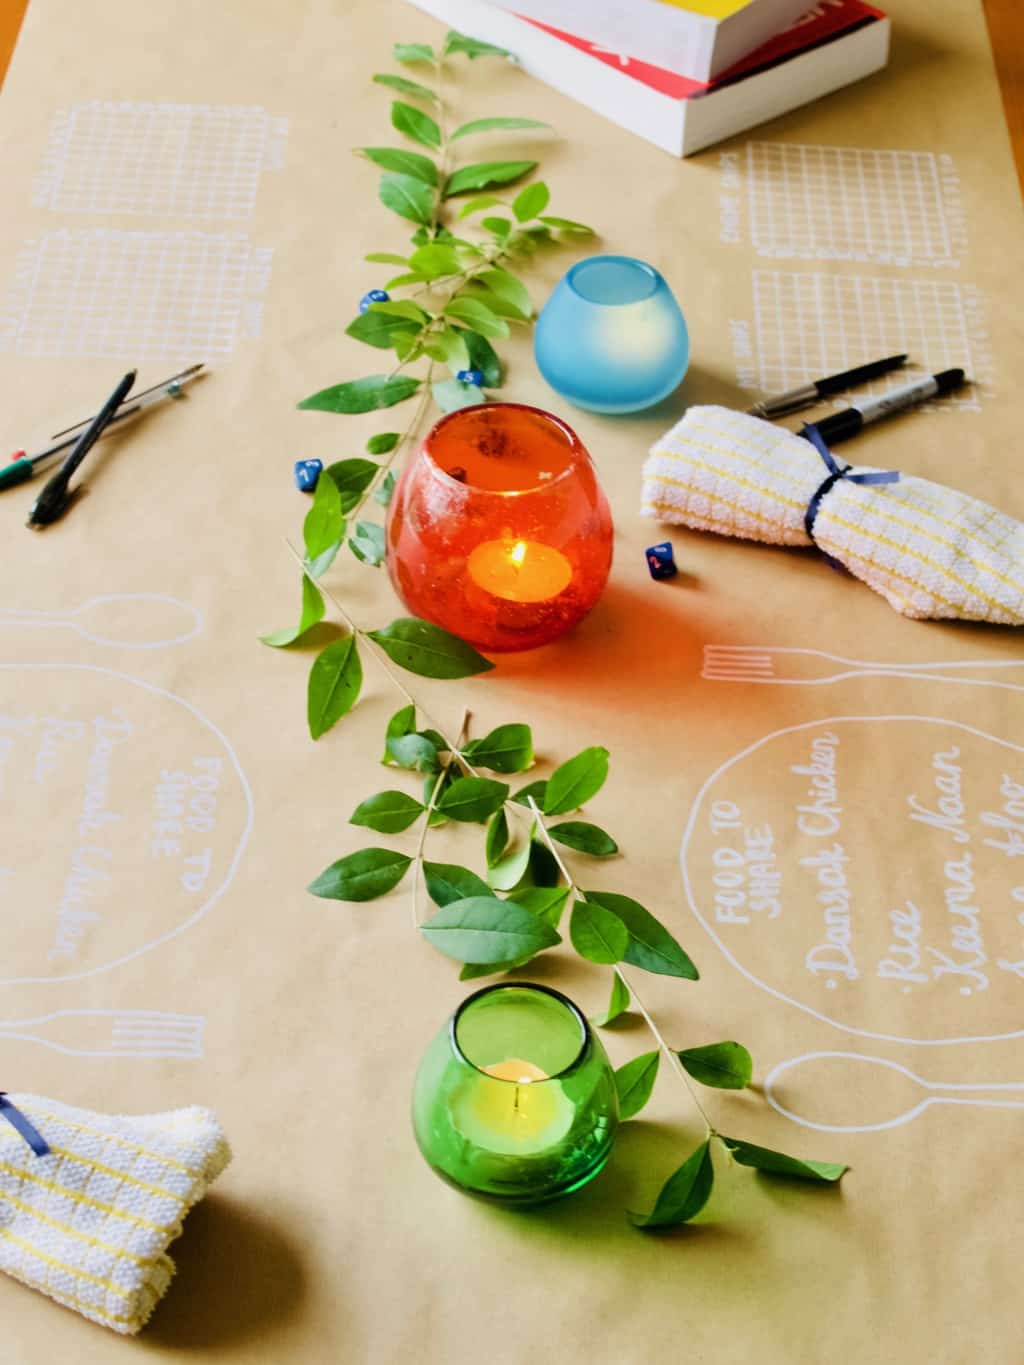
Me and Joni take turns who organises the date. If any money spend we budget into our own budgets. This time it was my turn therefore I could share the preview with you. I picked games theme and this is often what we like to do on our dates. We (I mean me) get a bit competitive sometimes!Idea for date night in: paper and pen games table layoutSince I decided to do paper and pen games this time round I used craft brown paper for the table layout. To be honest I don’t even have that many dining table setup props! This is why I mostly used what I already have. Kitchen towels instead of napkins for instance was one of those replacements when I did not want to buy something I may not use again.

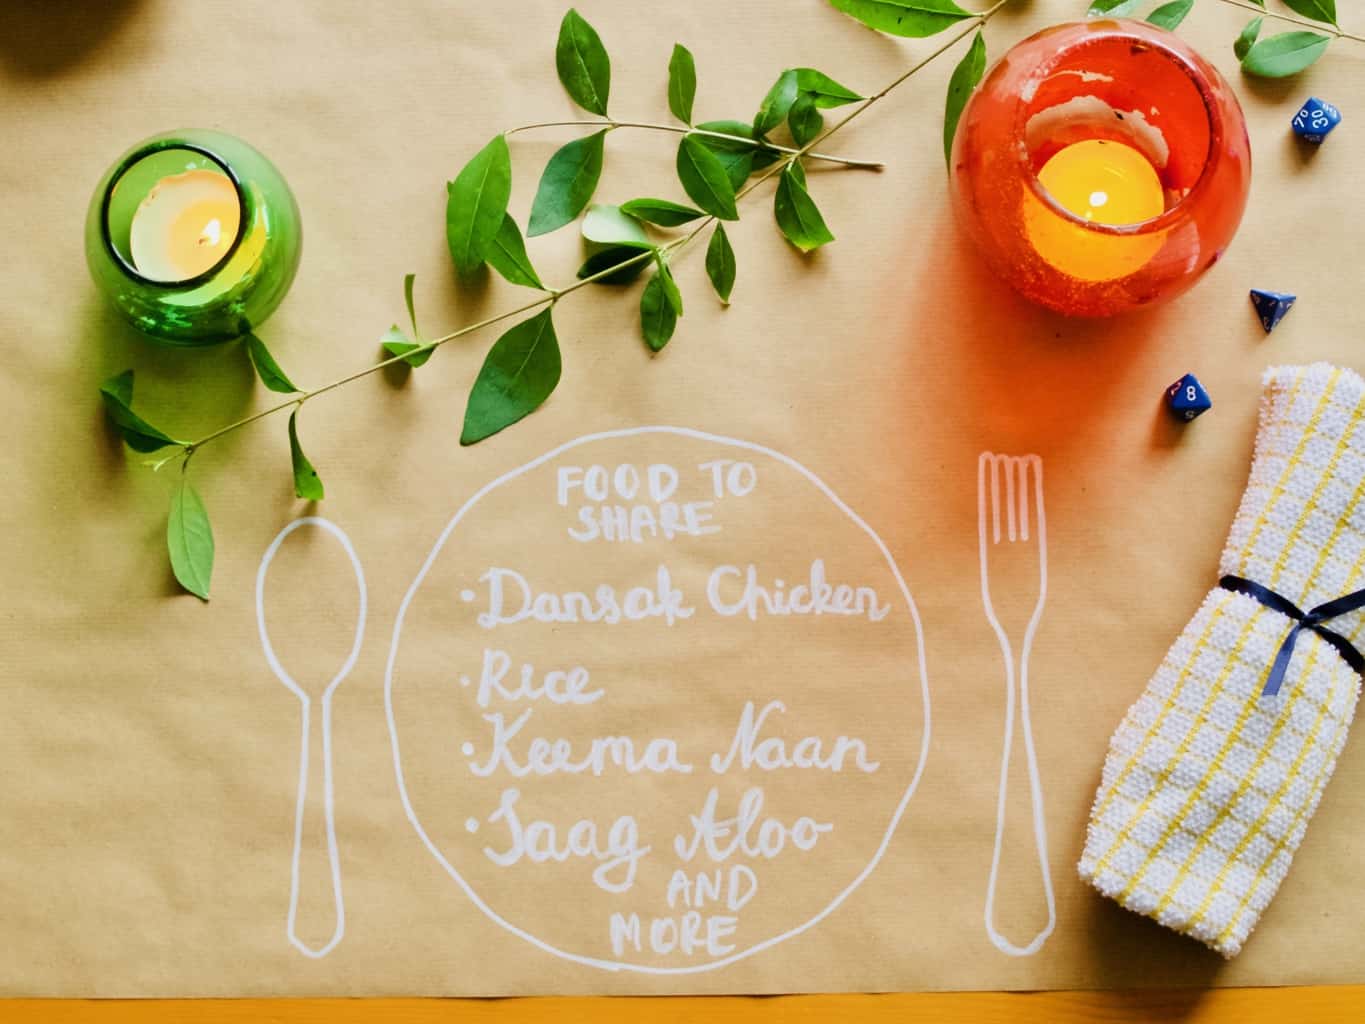
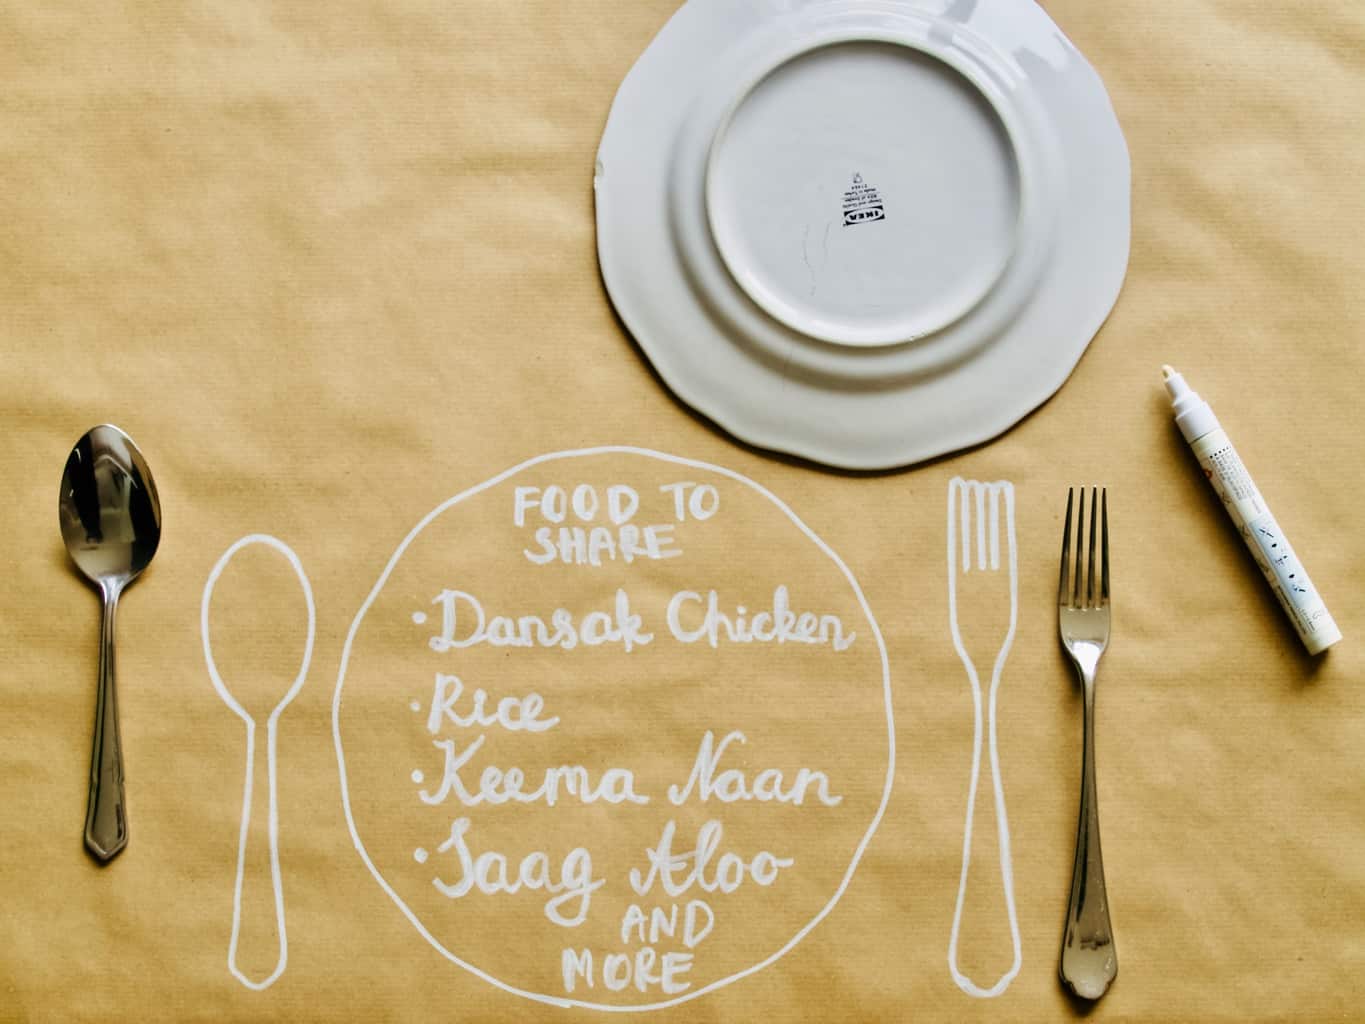
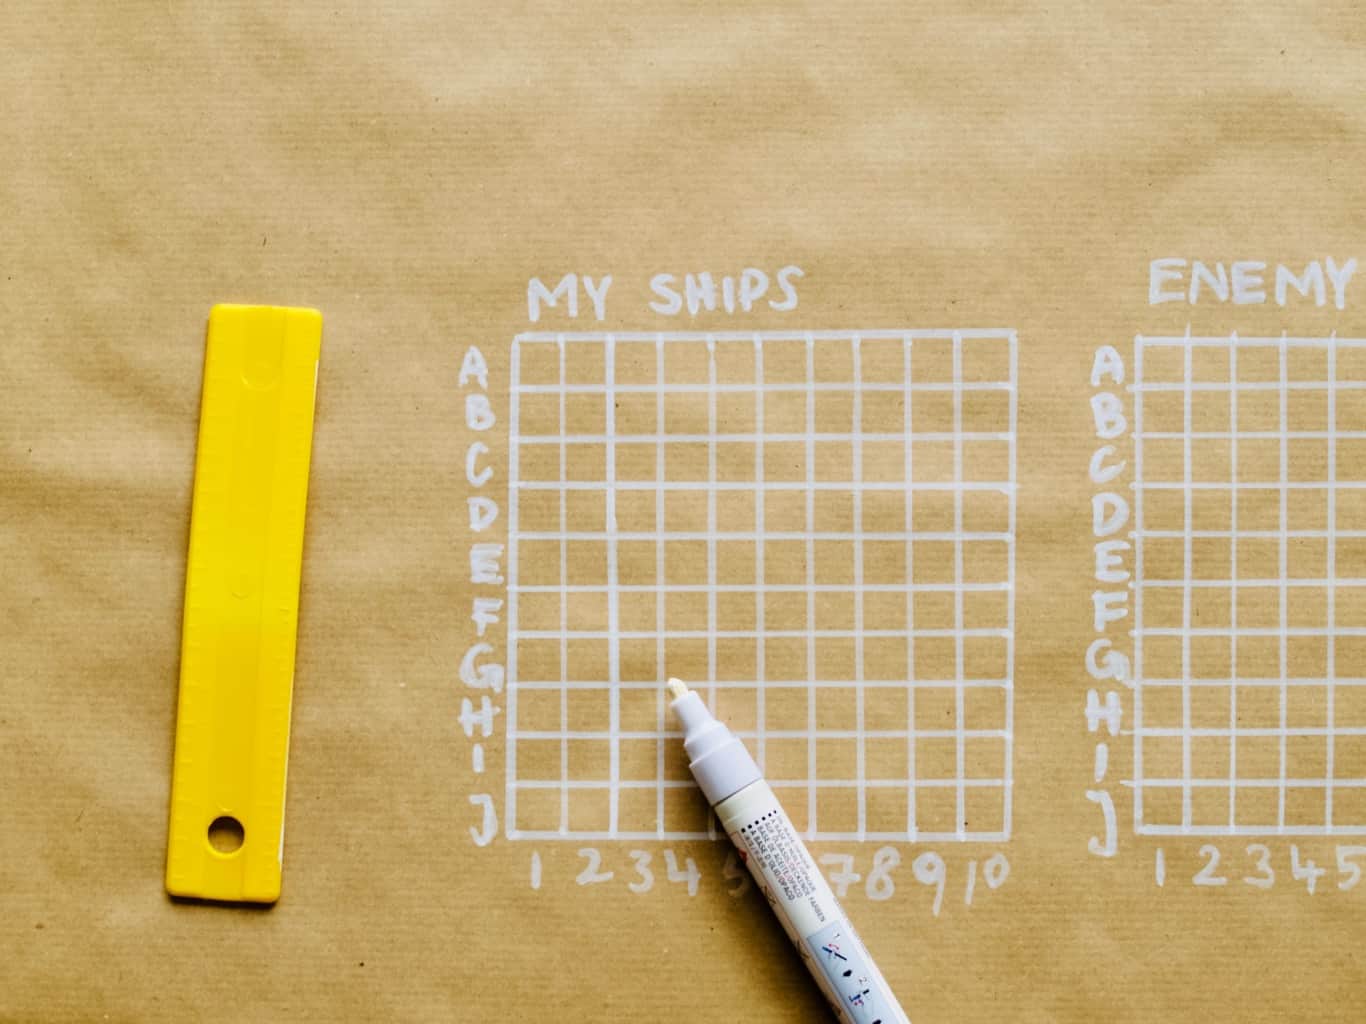
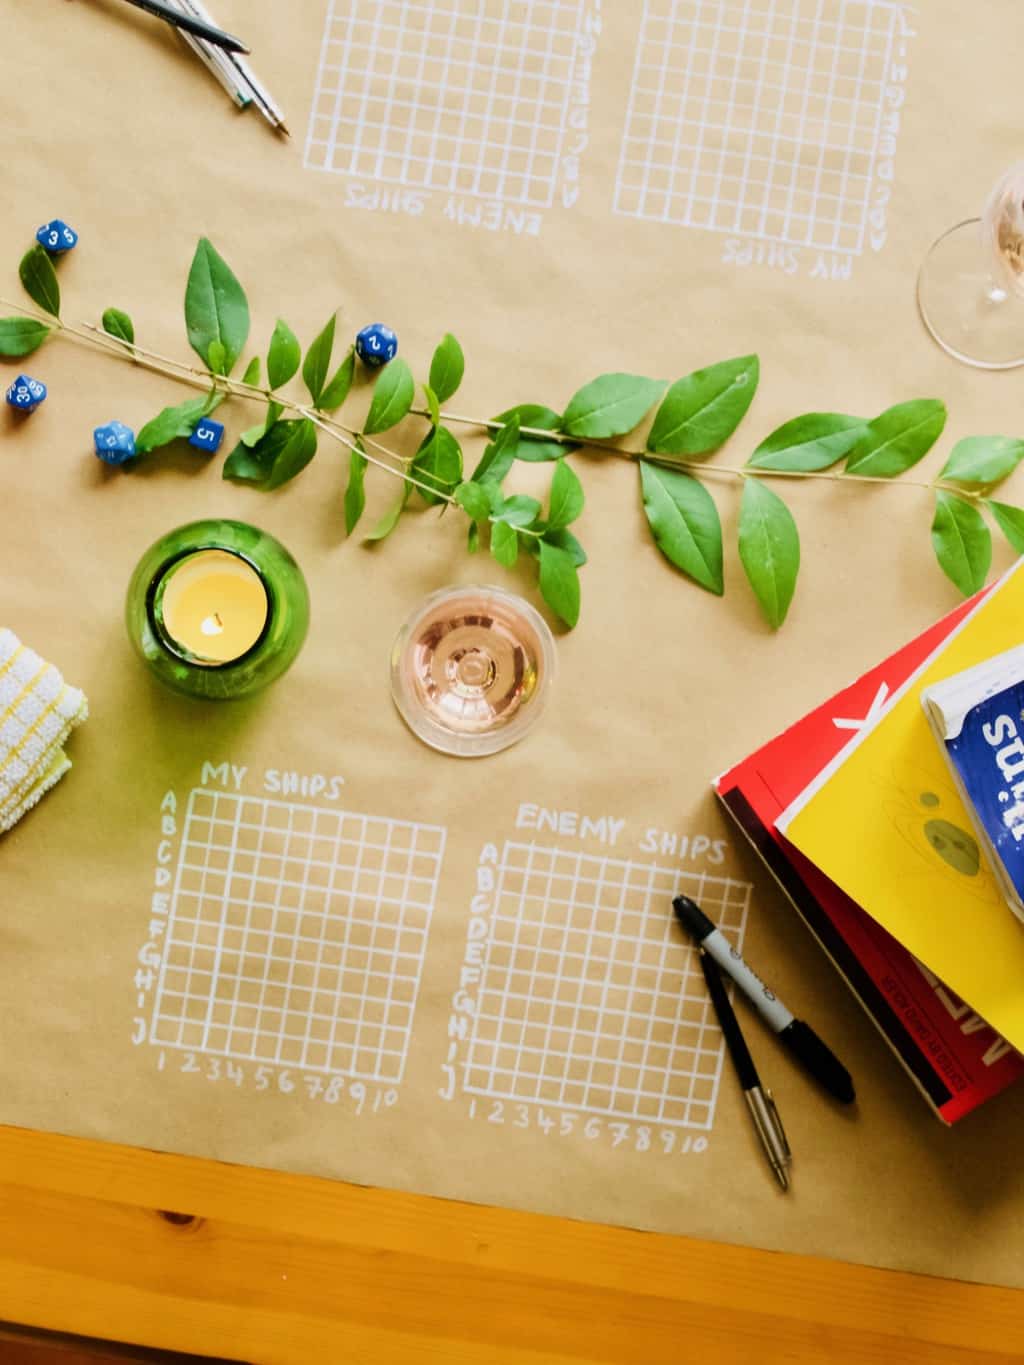
First I rolled brown craft paper out on the table and drew what is needed using permanent oil pen. I am sure you can use any other pen you like. I was tempted to use metallic pens and I used black marker pens before. I used plates and cutlery to trace out the table layout. I wrote out the menu here as well.Idea for date night in: paper and pen games table layoutI decided to play battleships for the night. So I did make a grid so we did not need to do that on the date.  Idea for date night in: paper and pen games table layoutNext I arranged some items related to games such as dices, pens and books (for protecting the battleships). Candles and some leafy twigs were not related but pretty and I could not help myself.Idea for date night in: paper and pen games table layoutThe date night was a complete success. Joni was very very surprised! I did not want to spend too much time in the kitchen so I used the take away to order some of the food. I made the dessert and rice myself. So I only spend £20 (half of the price to compare how much we would have spend if we went out). Idea for date night in: paper and pen games table layoutAnd do you know who won the battleships this time? It’s Joni. I may not want to play this game again ( ha ha).Idea for date night in: paper and pen games table layoutHappy Valentines day everyone and don’t forget the dates does not have to be spend with you husband or boyfriend. I am sure your BFF would appreciate this kind of date too ;-).

Rasa xoxo

0

Aeroplane themed birthday cake

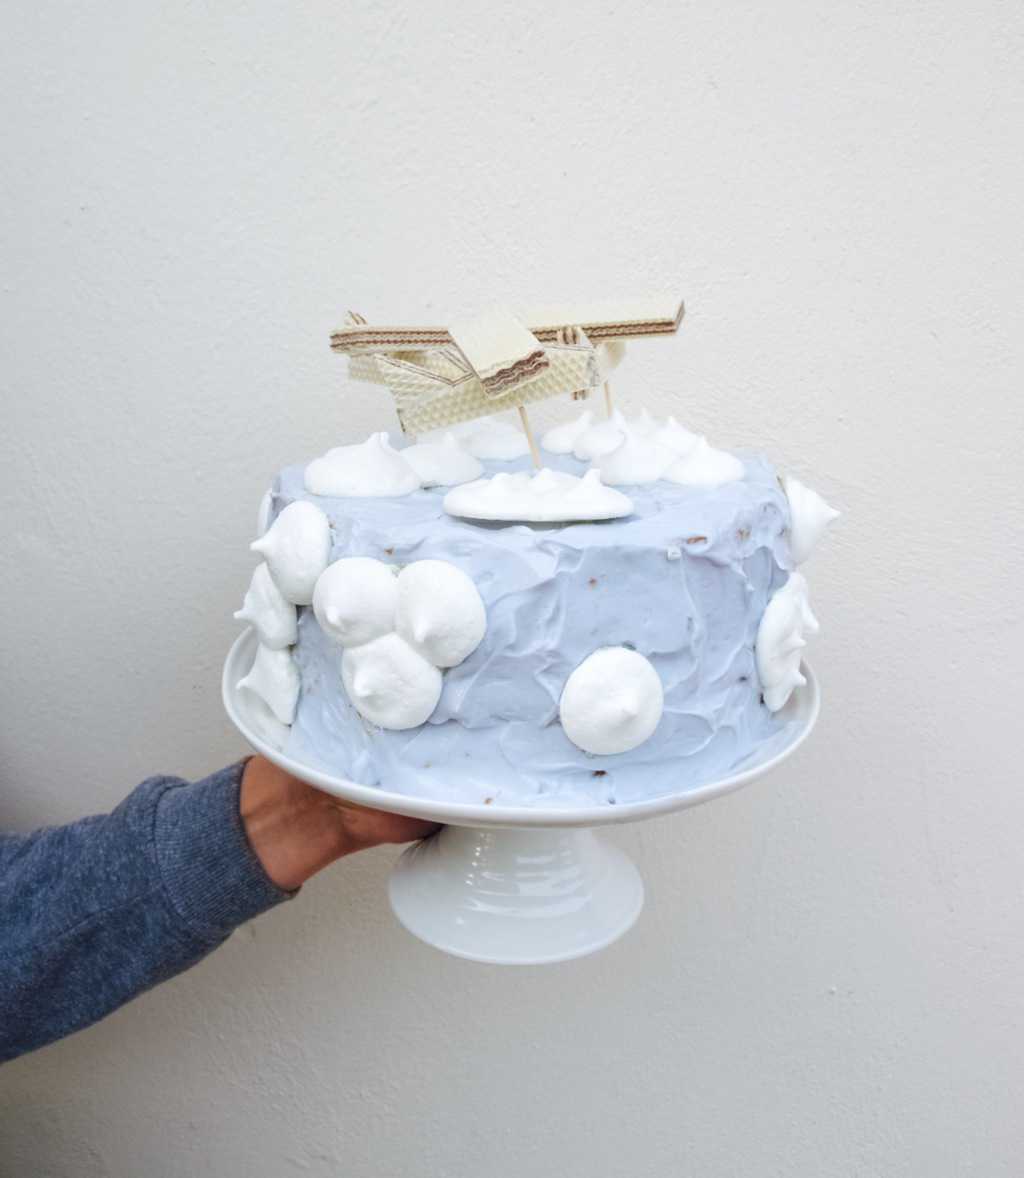
Aeroplane themed birthday cakeSo here it is, my vision became a reality. This year I made Lukas birthday cake aeroplane themed which he really enjoyed. I have been dreaming about this cake for ages (not really I practically copied the idea from here). The only thing I wanted to do differently is to try and dye the frosting with natural dyes….

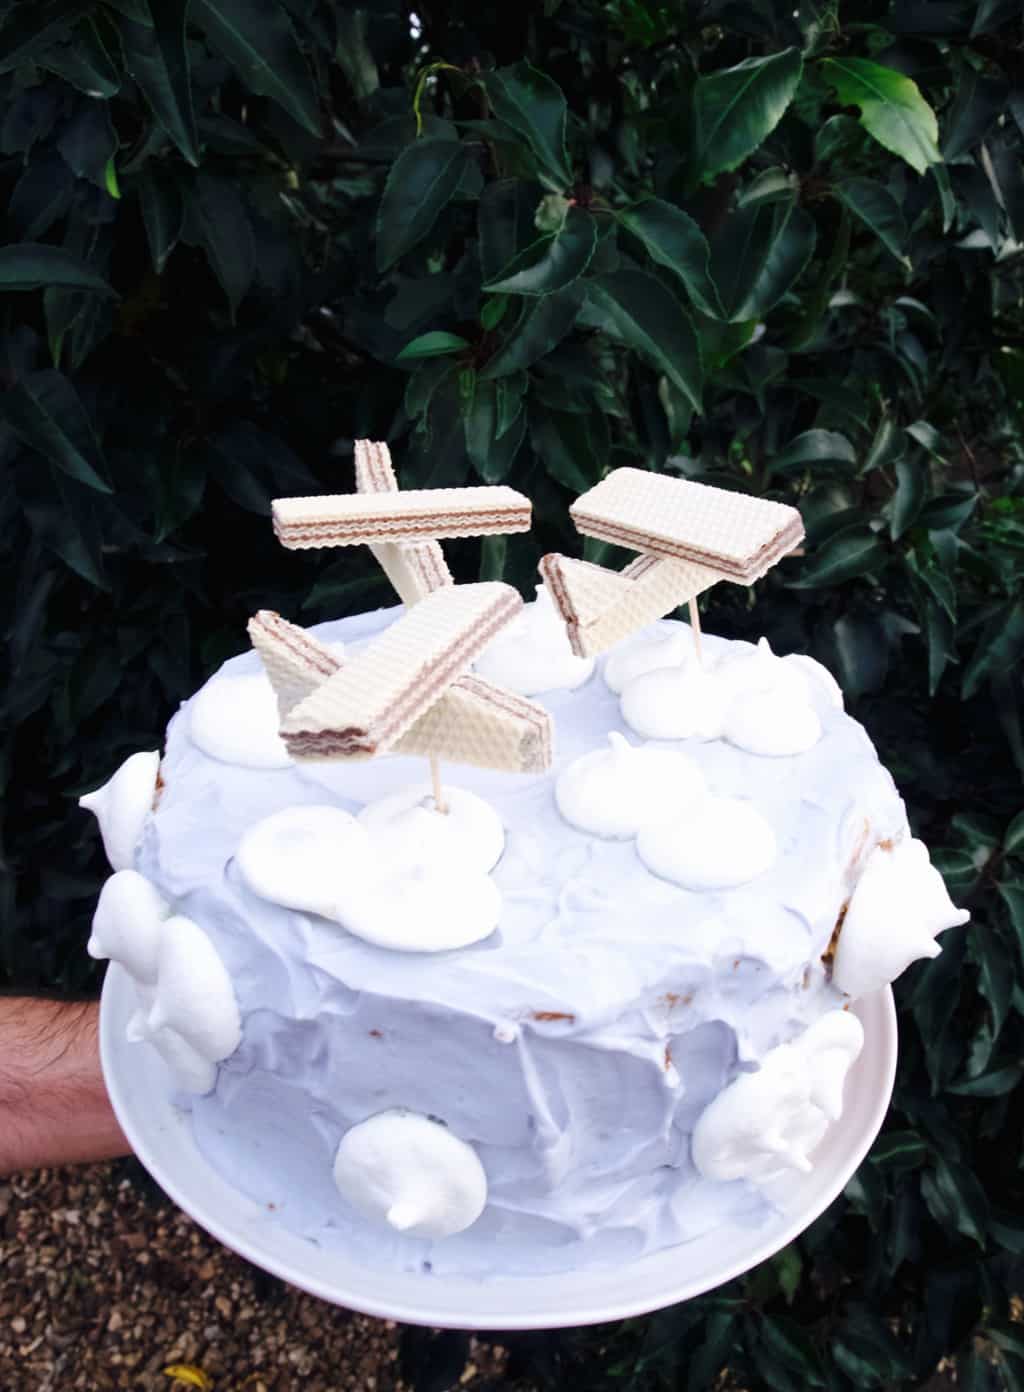
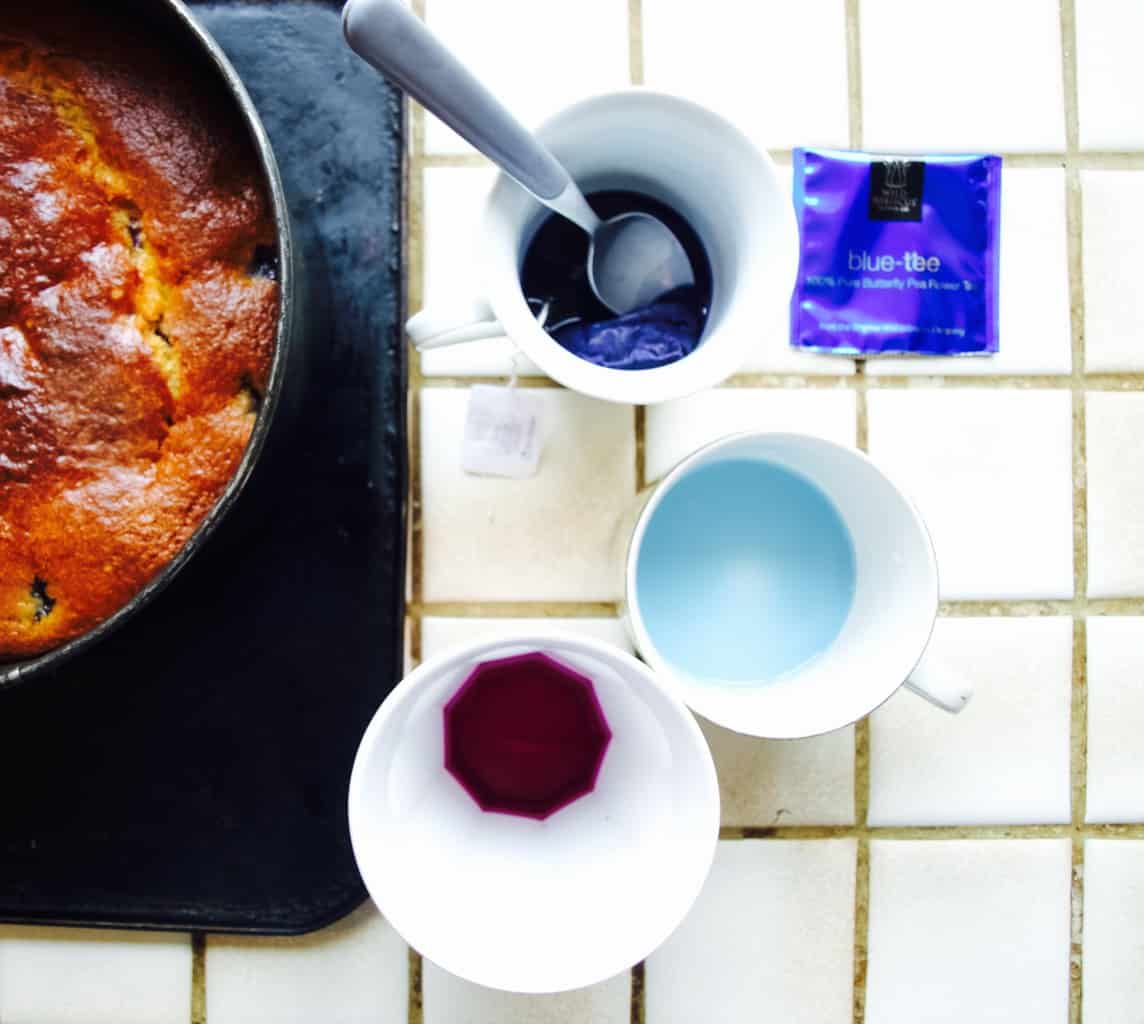
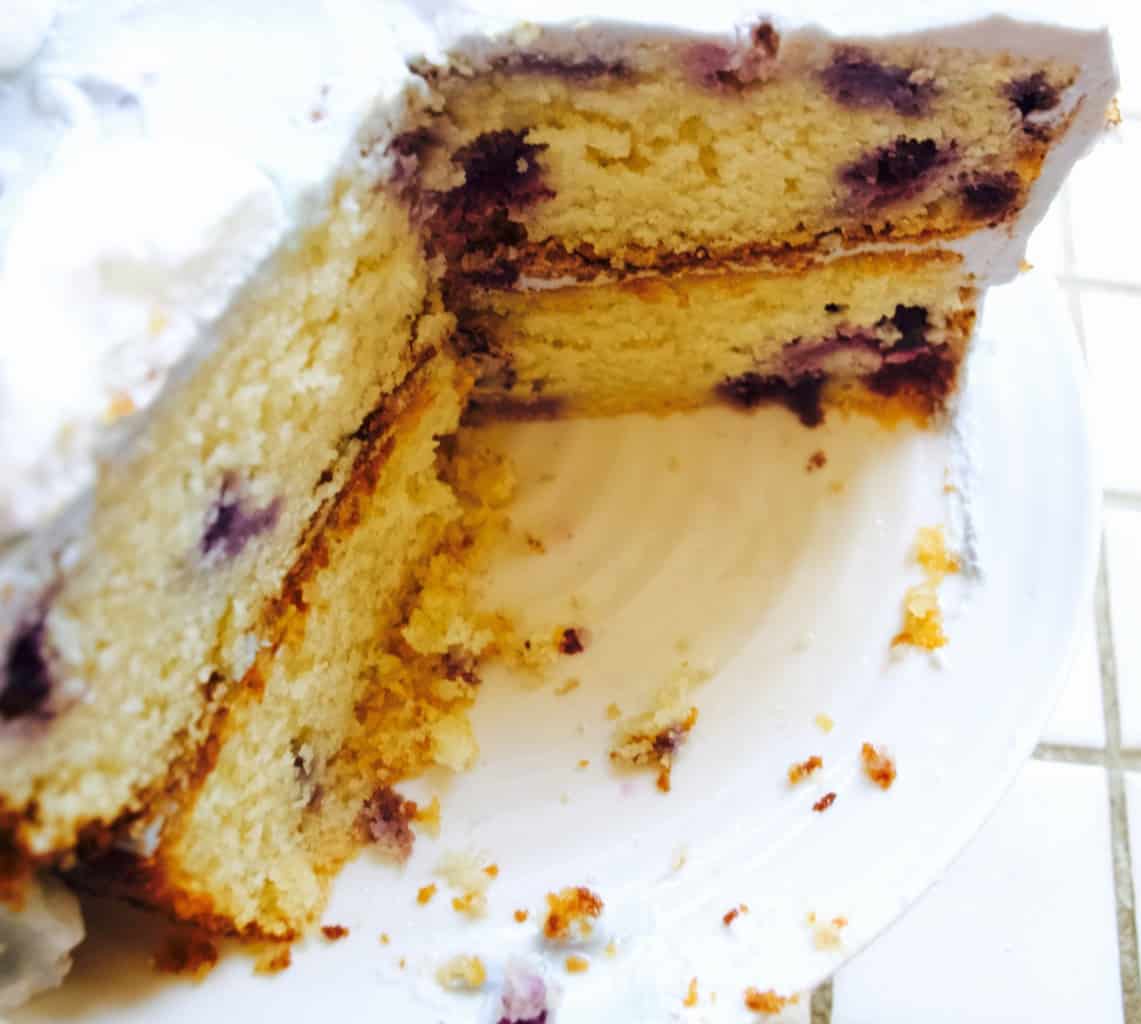
But as you may know the colour blue is hard to find in nature! I know i know, the sky is blue, but you can’t exactly put that in the icing. With a bit of research and friends recommendation I went with butterfly pea tea that is sort of blue. You see I had fun with experimenting and realised that butterfly pea tea changes colour according to the ph of the liquid you mix it into. With a bit of lemon it turns to a burgundy violet and with milk it turns into bluish sky blue. Although this might sound easy, the blue that I get from mixing the tea with milk is not concentrated enough for what is needed when you try to dye large amounts of frosting. I ended up using it in soft cheese frosting and it turned out a little more lilac then sky blue. Shall we imagine that the planes are flying over a sunset sky?Aeroplane themed birthday cake BLUEBERRY YOGURT CAKE WITH BUTTERFLY PEA FROSTING

(for the cake)

  • 3 eggs
  • 350g caster sugar
  • 450g greek yogurt
  • 180g rapeseed or olive oil
  • 300g ground almond
  • 250g plain flour
  • 1 tsp vanilla extract
  • 3tsp baking powder
  • 2 handful blueberries

(for the meringue)

  • 3 egg whites, room temperature
  • 100g icing sugar, sifted
  • few drops of lemon
  • pinch of salt

(for the frosting)

  • 600g soft cheese
  • icing sugar to taste, sifted
  • butterfly pea tea, brewed in little water

(for the “aeroplanes”)

  • cocktail sticks
  • wafers in the finger form

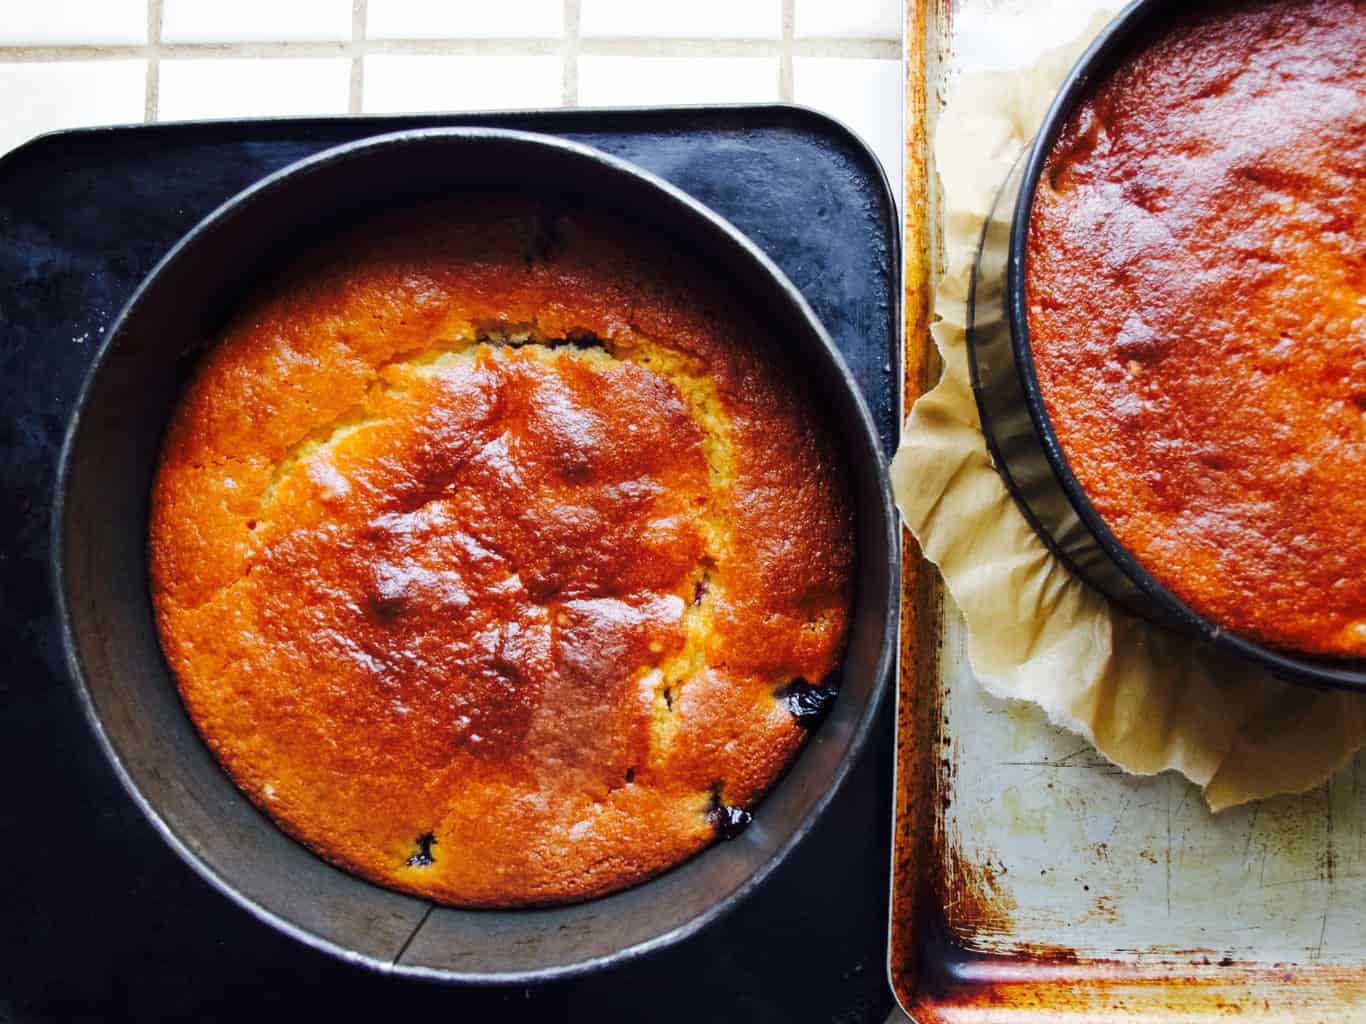
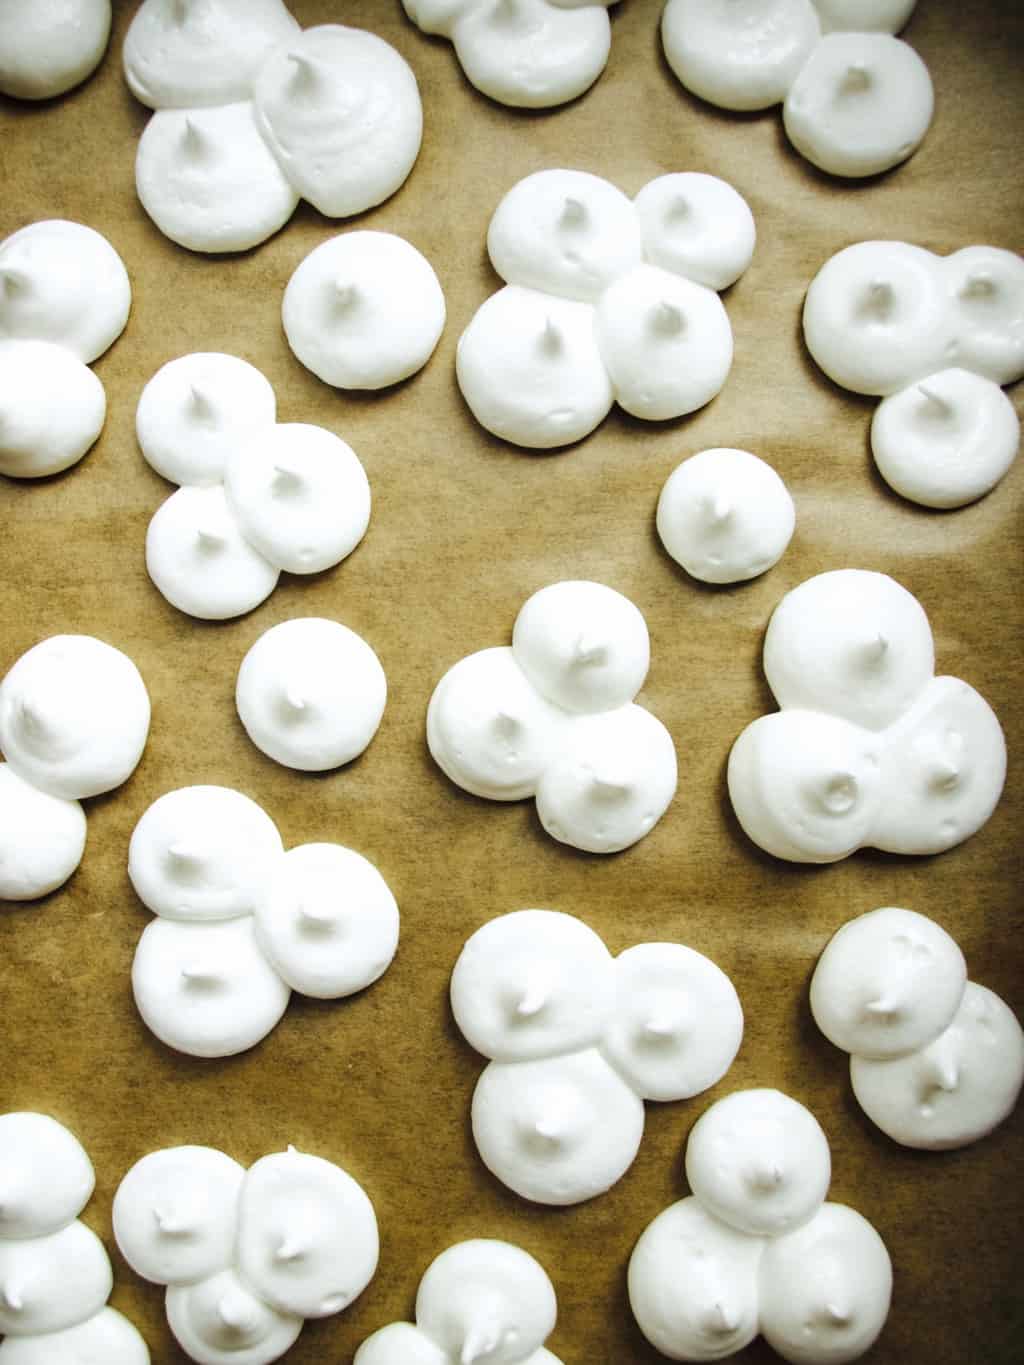
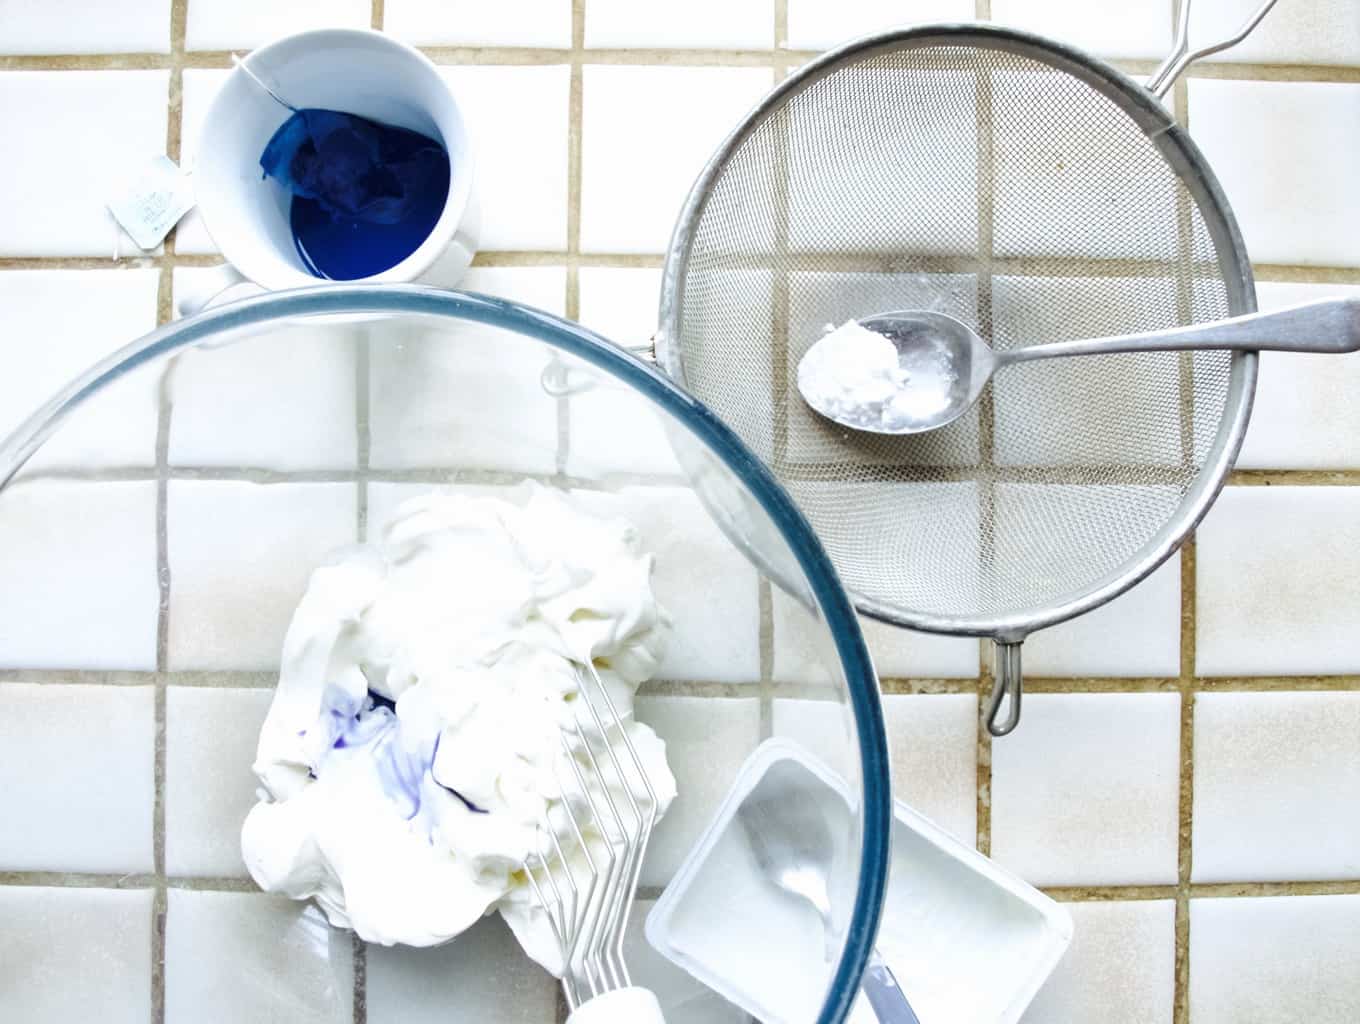
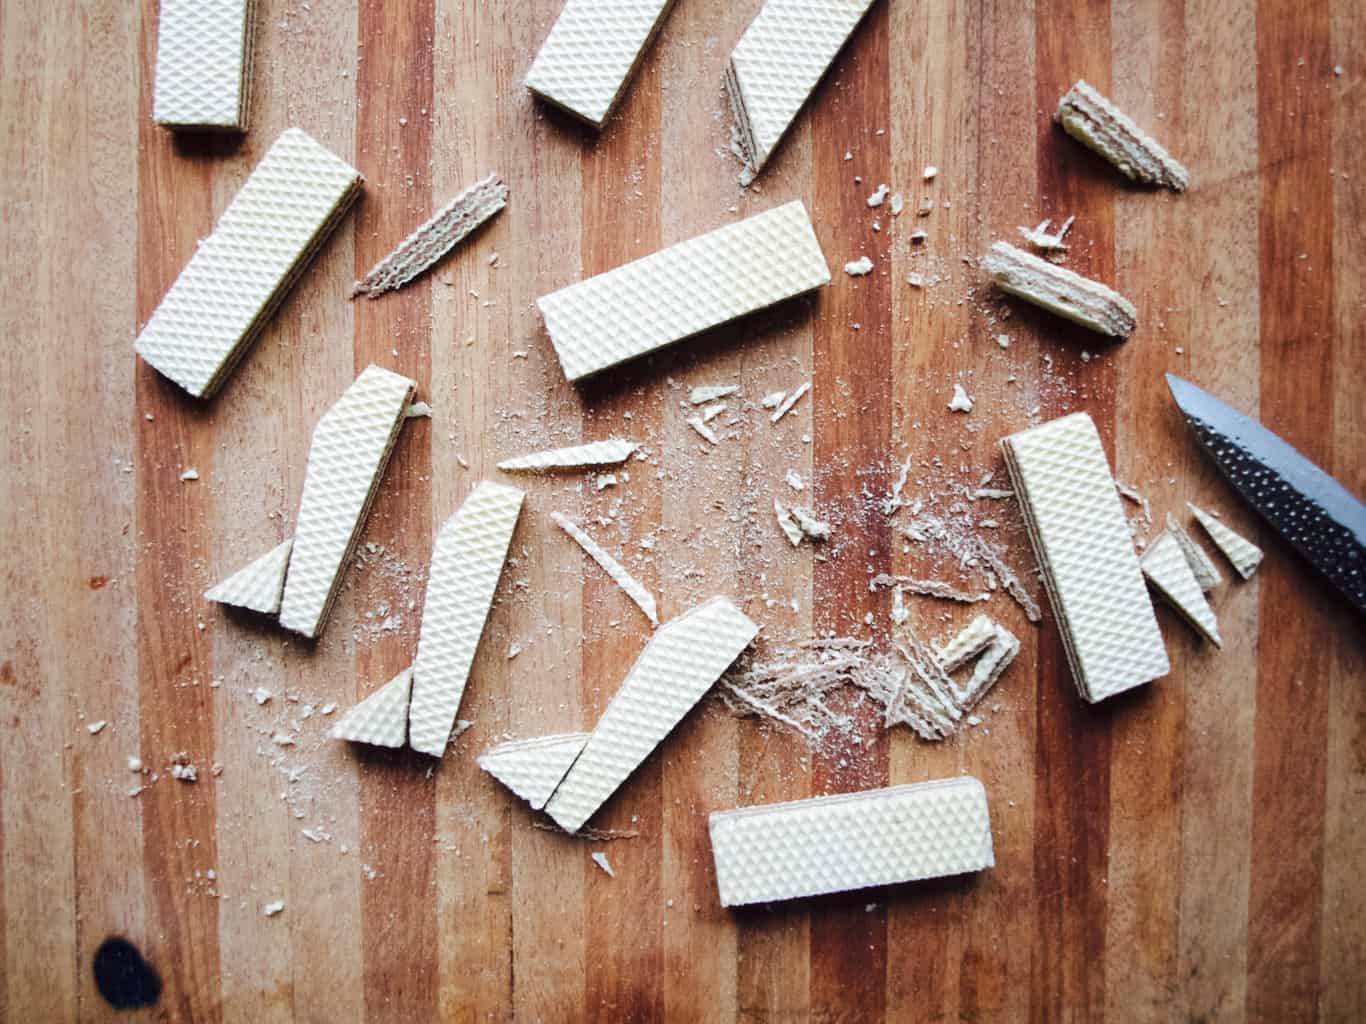
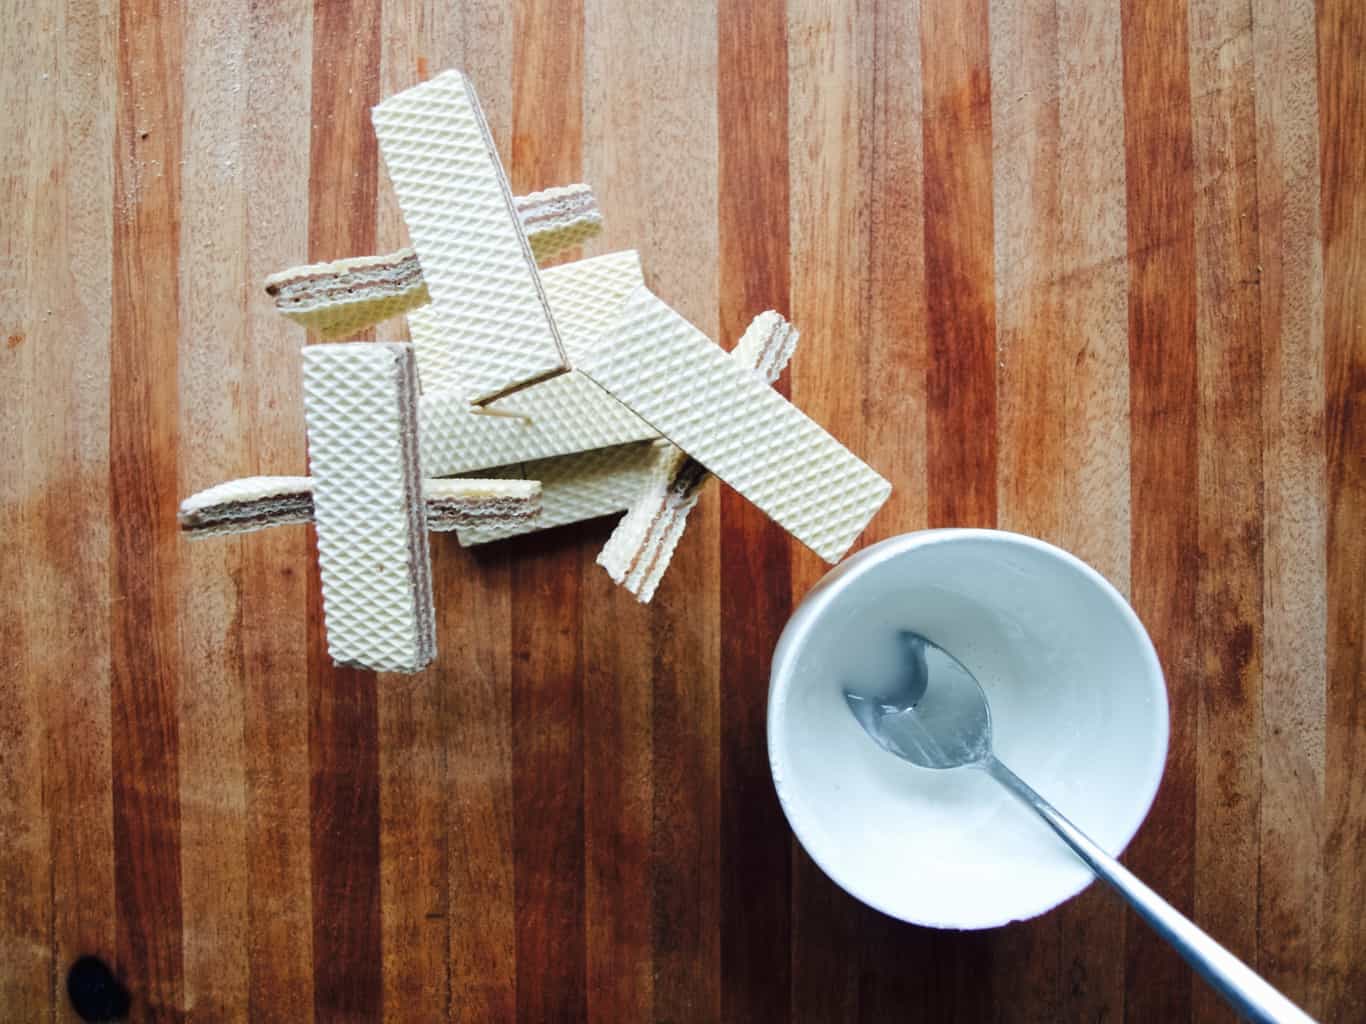
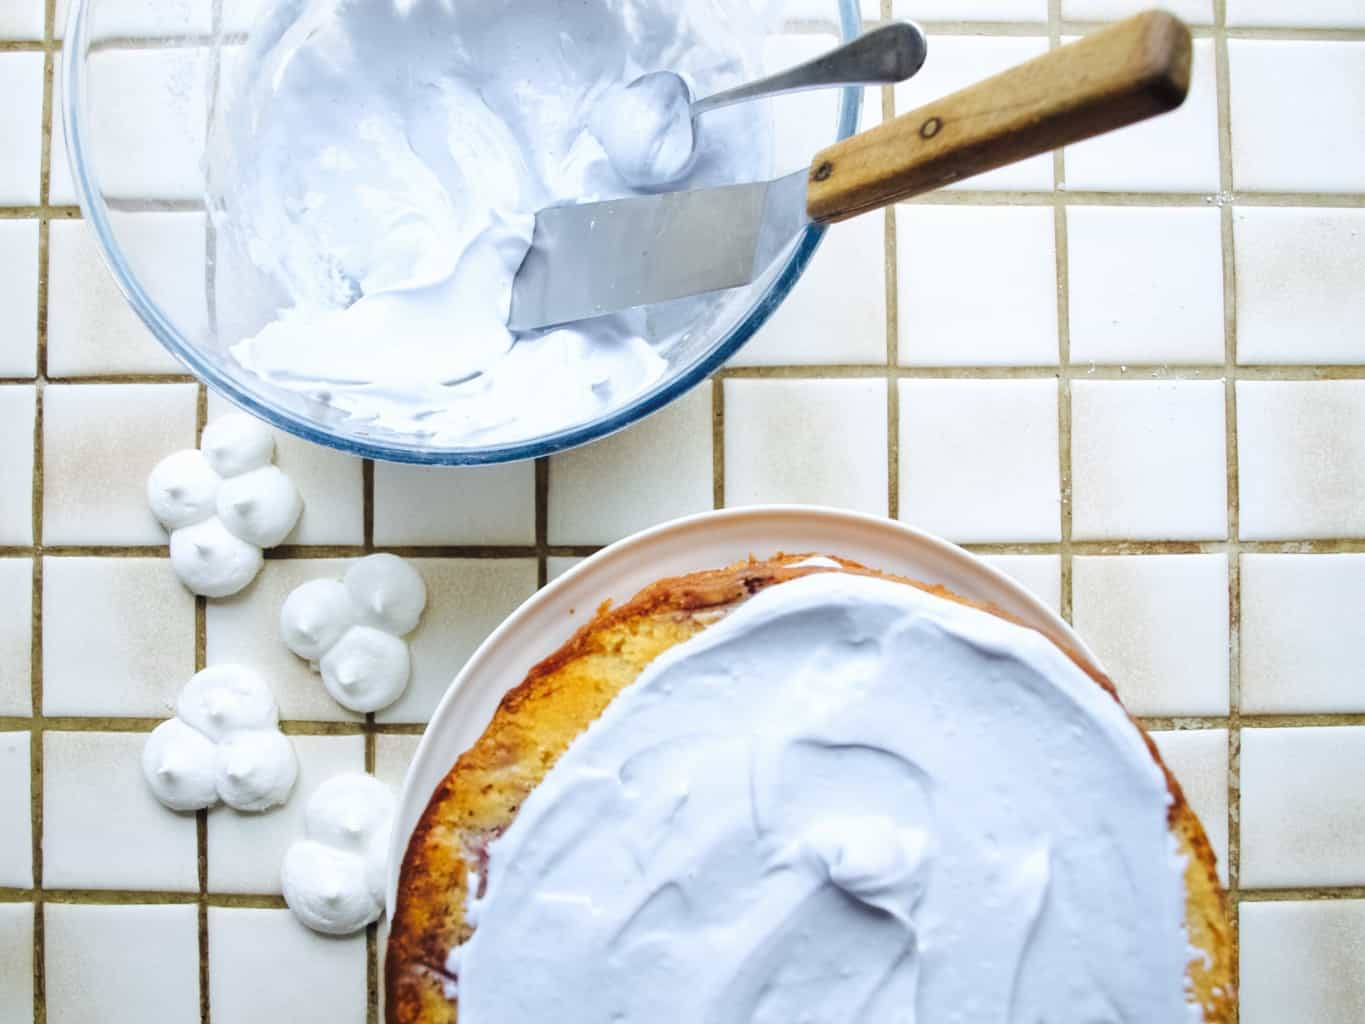
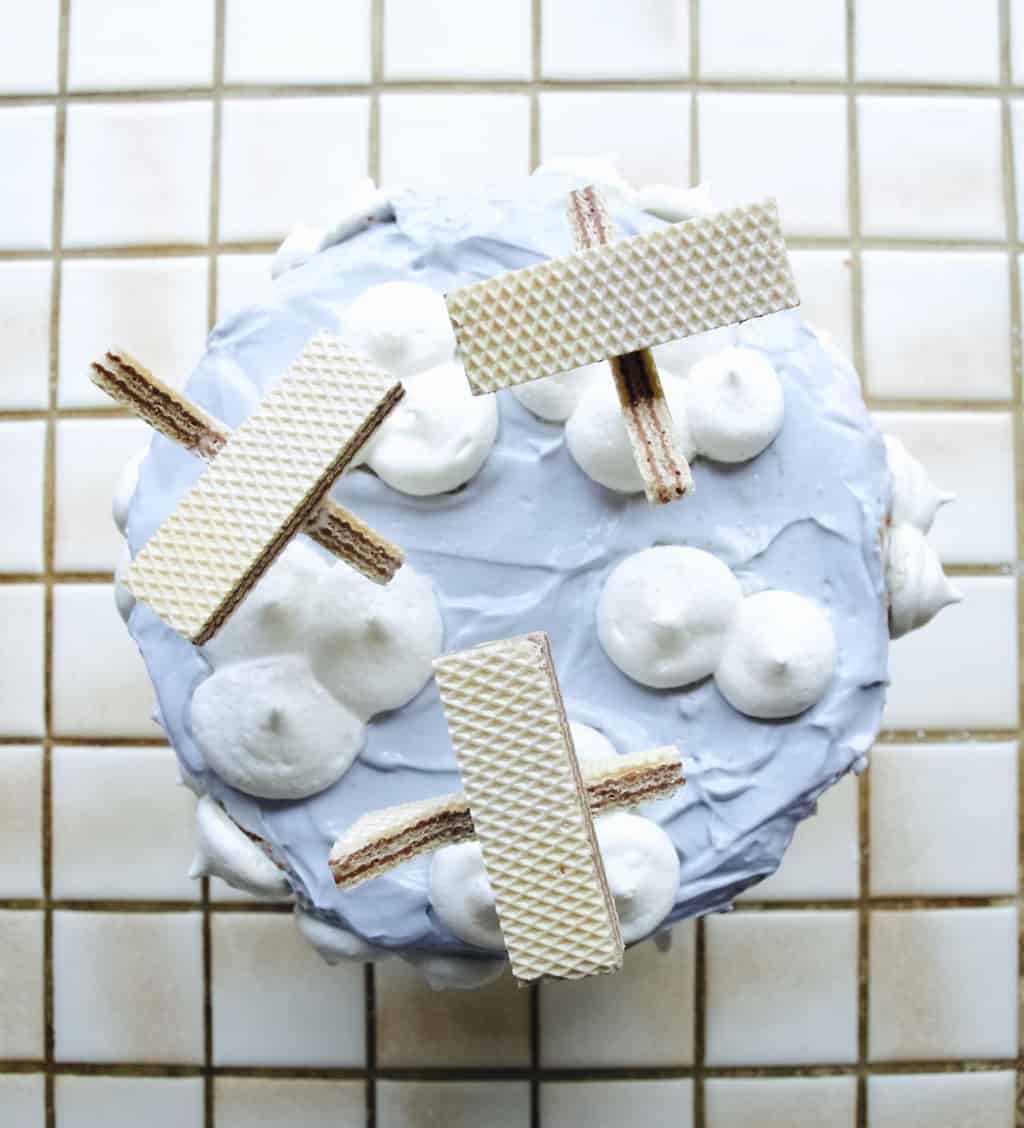
1. To make the cake beat the eggs with sugar. Add the rest of the ingredients and mix again to combine. Pour equal amount of cake mixture into two lined baking tins. Bake in 180C oven for 40-45min.Aeroplane themed birthday cake 2. Meanwhile prepare the meringues for baking. Baking these will take few hours on the low heat once the cake is baked presuming you don’t have two ovens. Mix the egg whites with drop of lemon, salt and half of icing sugar. Start whisking the mixture while gradually adding the rest of icing sugar. In the past I struggled to make meringues and later I realised that all it needs a little patience. It takes really long time to achieve stiffly whisked egg whites, so bear with it till you can see the results. Don’t worry you can’t over mix it ;-)! Pipe the meringues on the baking sheet into cloud shapes using large round nozzle or no nozzle at all. Bake in C60 preheated oven for 3-4h. I find the longer the baking the whiter the meringues!Aeroplane themed birthday cake with merengue clouds  3. To make the frosting whisk soft cheese with icing sugar (I like it less sweet so I don’t add much). Gradually mix in the butterfly pea tea till you like the shade. Aeroplane themed birthday cake 4. For the plane, cut the wafer finger into aeroplane body shape and small triangle for the fin. Glue the plane using icing sugar and water mixture. Use the cocktail sicks to hold the plane together.Aeroplane themed birthday cake Aeroplane themed birthday cake5. To assemble the cake apply the frosting starting from the top and working your way to the bottom. Arrange the “the clouds” and “the planes” as closer to serving as you can. Sadly, the meringue have a tendency to go soggy.Aeroplane themed birthday cake Aeroplane themed birthday cake Aeroplane themed birthday cake I especially liked the cake. Although it was difficult to apply the frosting due to it being crumbly and moist, I feel it was worth it!Aeroplane themed birthday cakeHope you enjoy it!

Rasa xoxo
0

Make your own triangle garlands

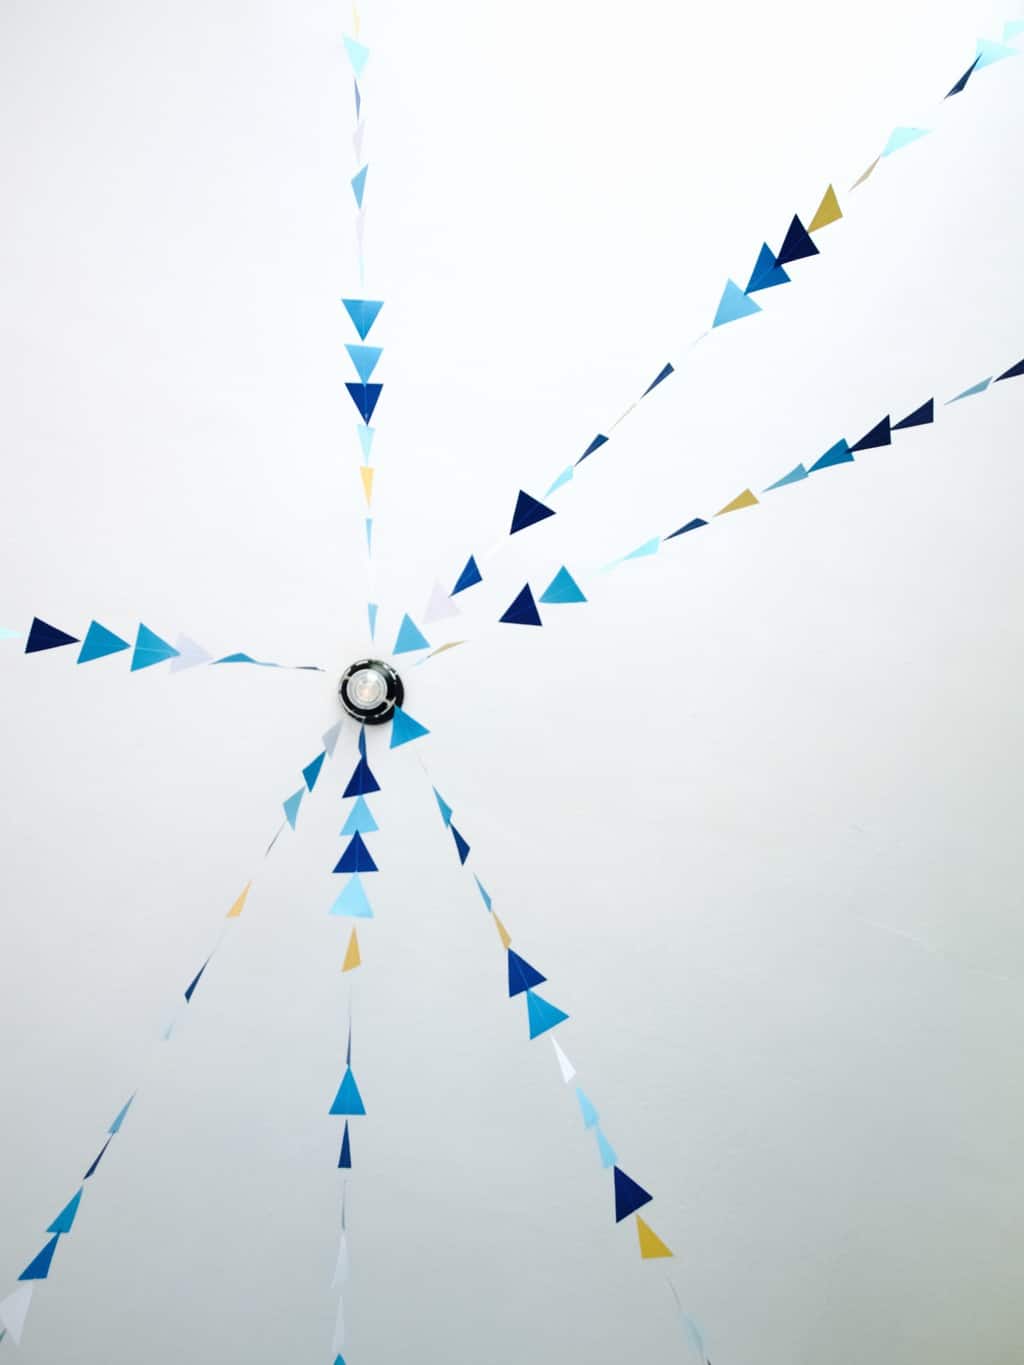
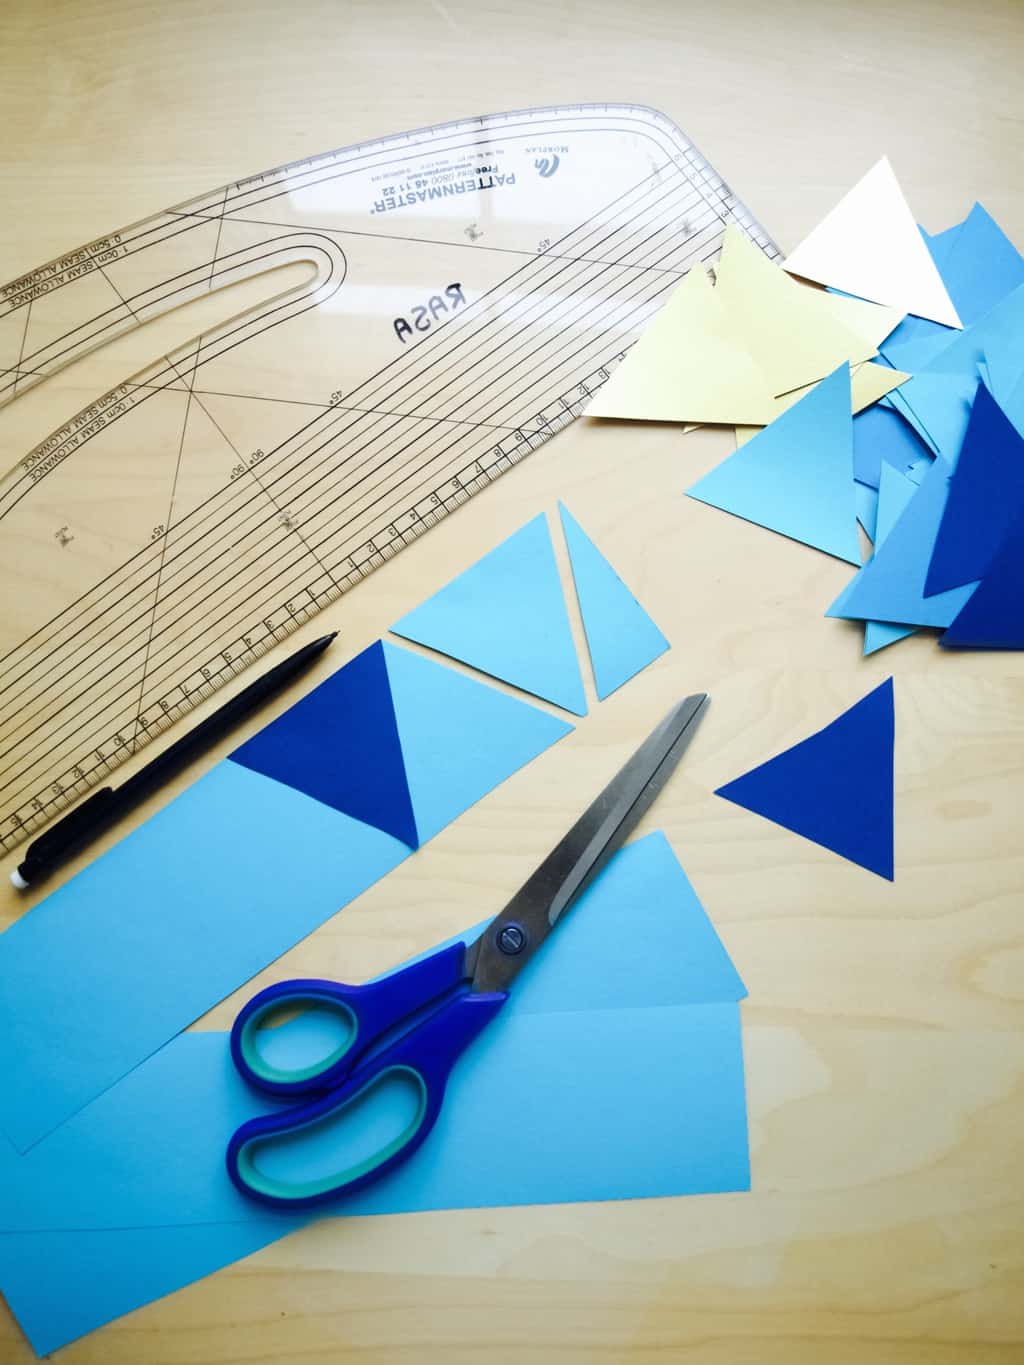
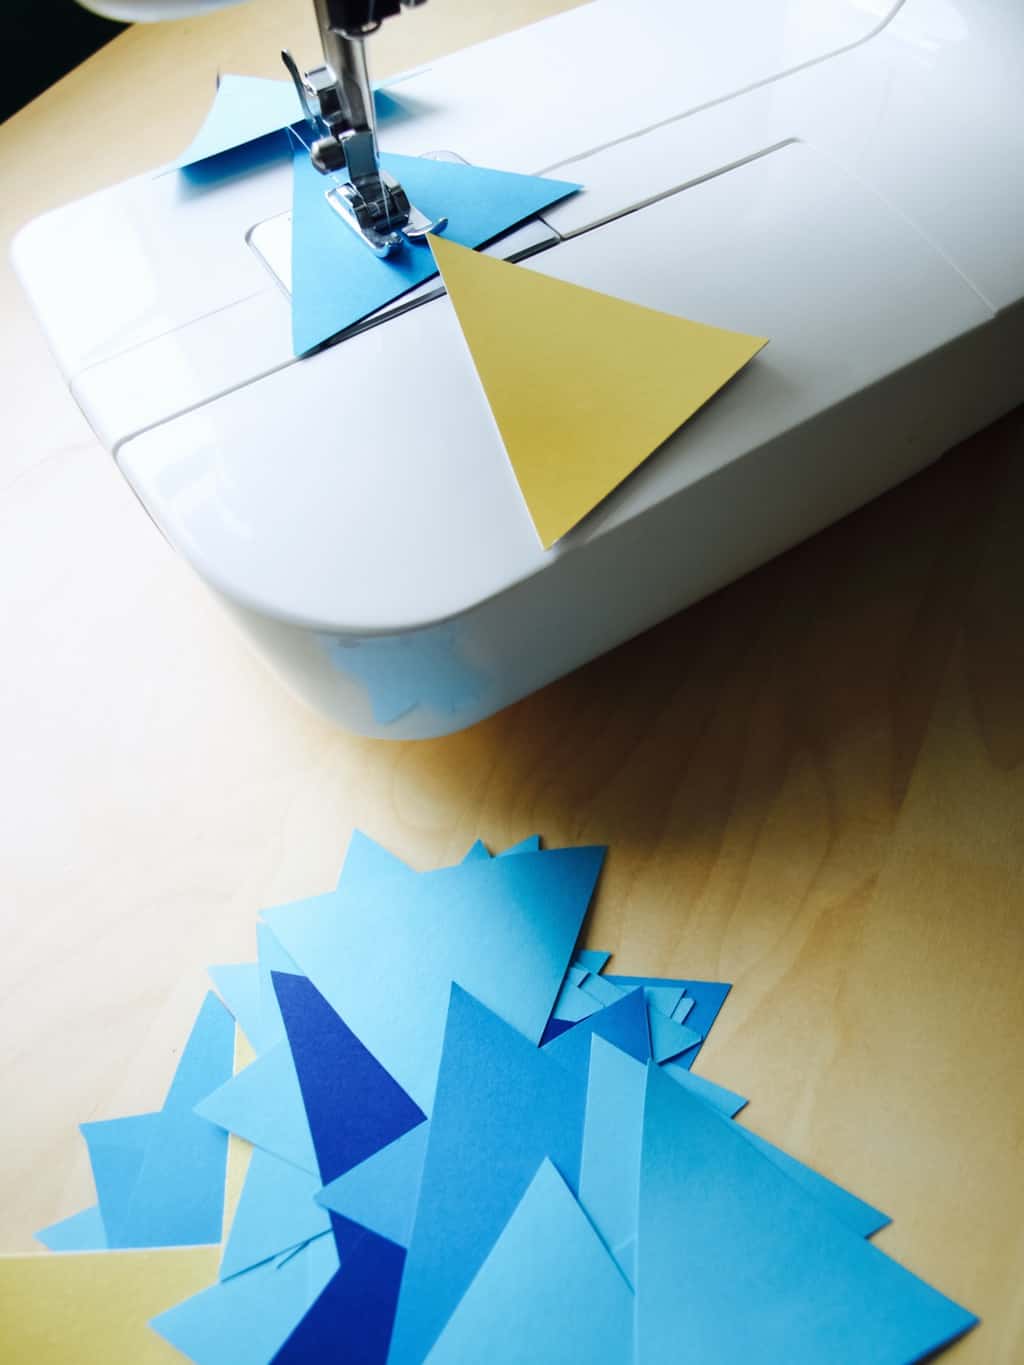
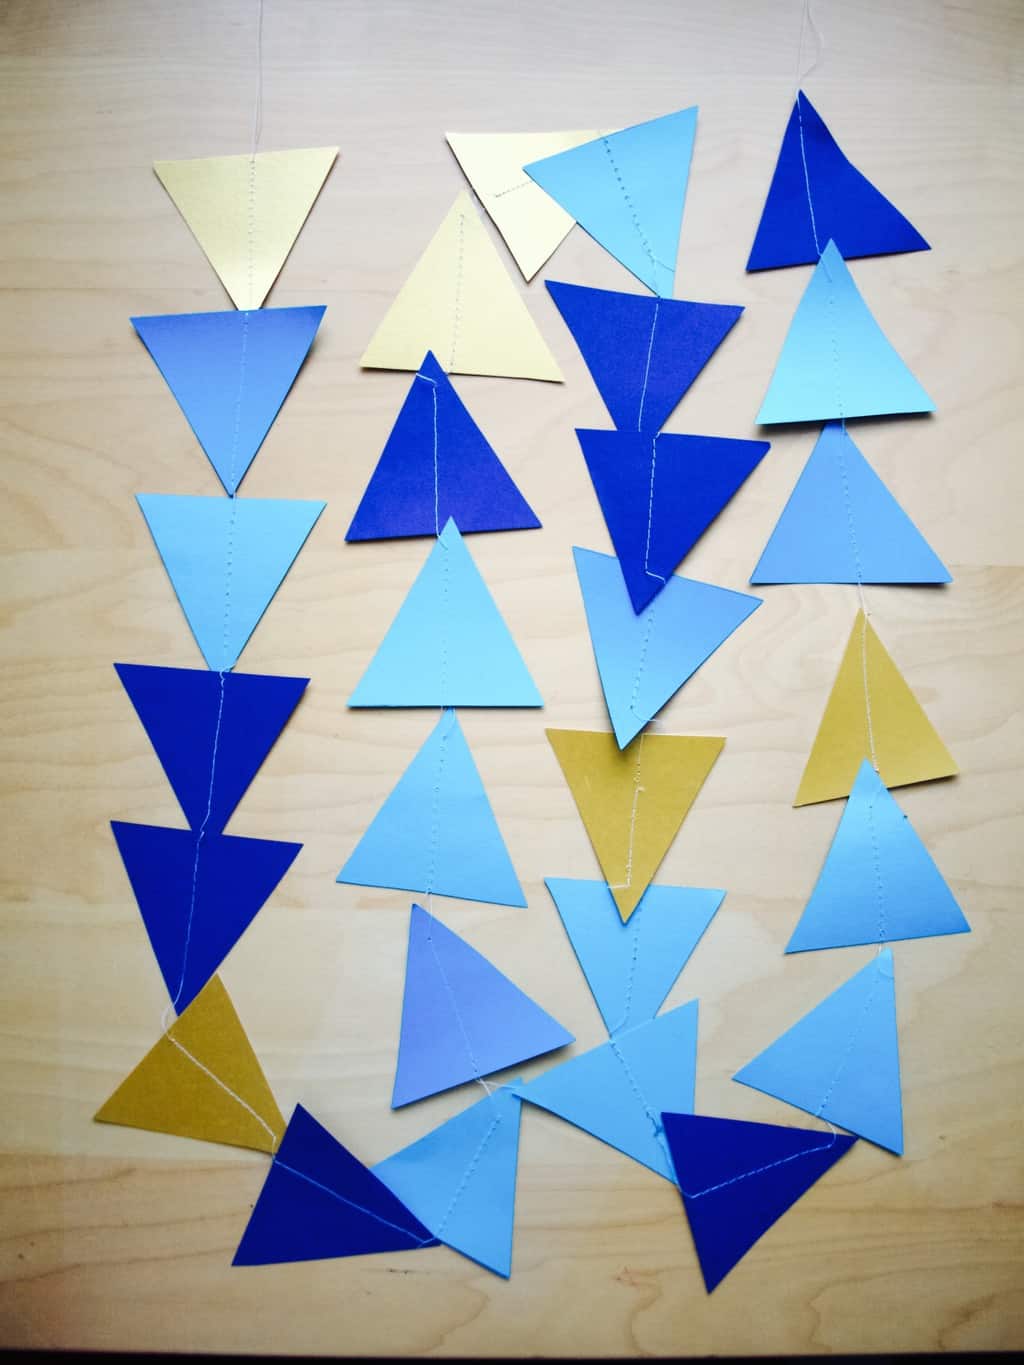
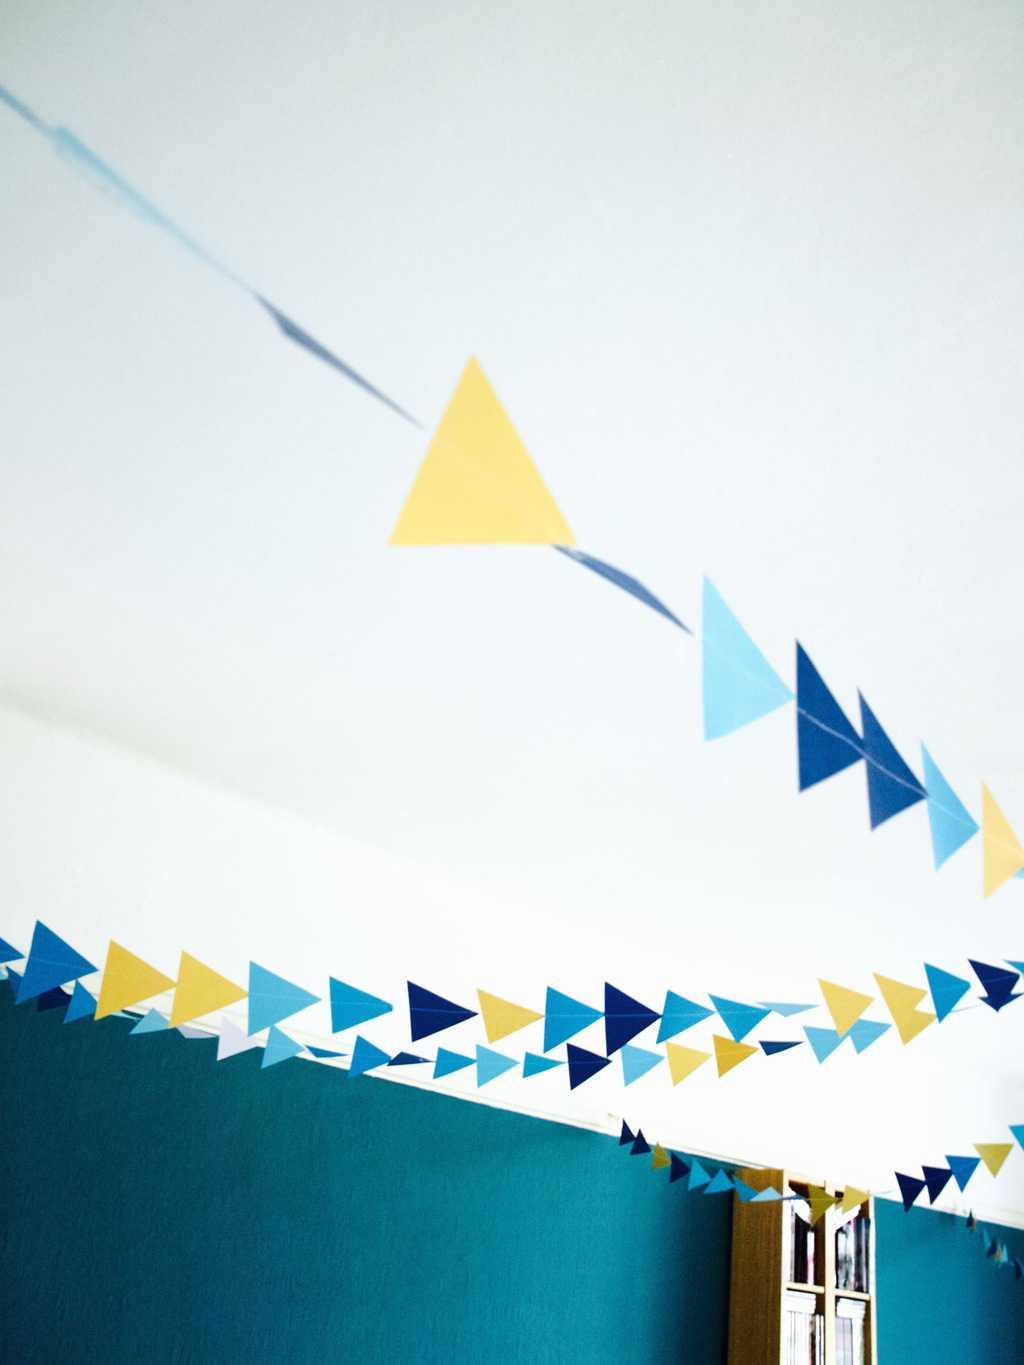
Triangle garland DIYAs a follow up from a previous post here is what we had as a decoration for Tomas’s birthday last month. These triangle garlands fitted really well with our “cheerful, exciting and bold” theme. If you would like to make these for your next party (does not have to be kids party at all) then you are in luck, I am sharing how I made mine (along with the struggles I had too). Triangle garland DIY So first I cut some card/paper into triangles. I used the same technique to cut it as I used to make confetti just on a bigger scale of course! I was not bothered about being precise, the important thing is to be fast as there are quite a lot of them to cut in order to make an impact. Having done this myself however I do not recommend choosing different thickness paper/card (will tell you why later). Triangle garland DIY Next up is stitching all the triangles together and this is where I struggled the most. You see the different thickness paper/card can really confuse the sewing machine (unless my machine is not very good… hmm). It stitched either tight or loose or was cutting the thread in the middle of the job, it was really really frustrating for me. So if you can avoid it, please do! I think this project could be relatively quick otherwise.Triangle garland DIY Triangle garland DIY And there we are, its done! I hung mine from the light fitting in the centre to different corners of the room. I am sure you can hang from corner to corner too!Triangle garland DIYHope I inspired you xx

Rasa

0

Natural frosting birthday cake

Spiced honey cake with turmeric soft cheese frosting & plum jam filling Few weeks ago we celebrated Tomas birthday, which is why I baked the cake. Anyone who knows me I like the cakes with minimum frosting, made with natural ingredients and most of all I like good flavours. This cake ticks all the boxes for me!!

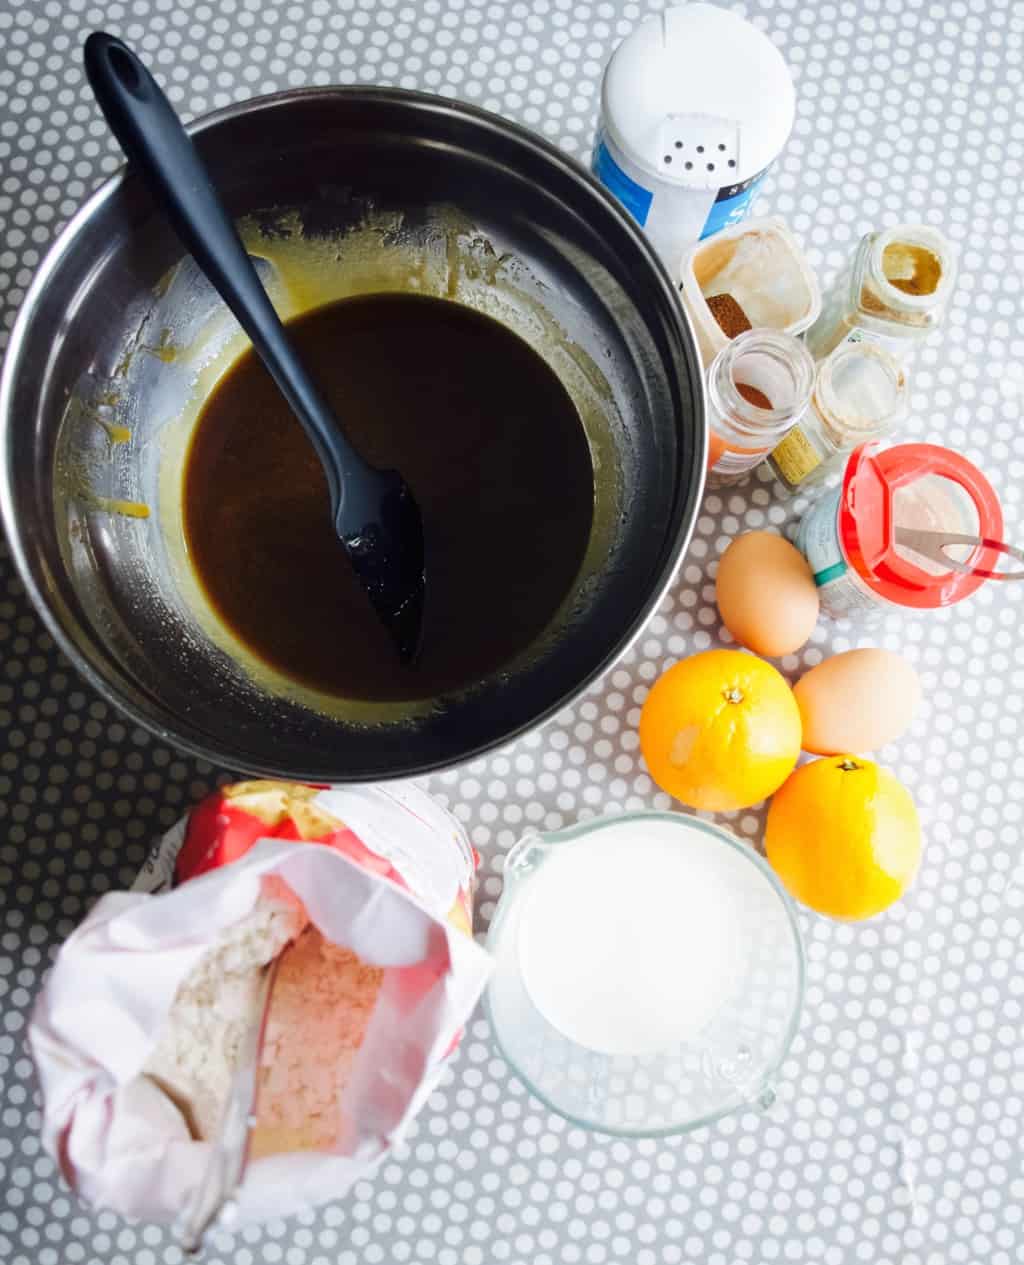
When I was thinking of Tomas birthday party theme I was thinking of something cheerful, exciting and bold (exactly how I would imagine Tomas when he grows up). This is why I thought bright yellow frosting on the cake would be ideal. But what natural colouring could I use for a bright yellow? I did not need to think for too long, I suddenly remembered the power of turmeric that is vibrant with not much taste to it. The flavour of the cake followed of course. I thought what goes better with turmeric then other spices such as cinnamon, clove and nutmeg. I was completely right, when testing the cake I realised everything just work really well together. I used plum jam to neutralise the taste of richness which also turned out a very good choice.

Hope I got you seduced to try to bake this cake yourself. You will find the recipe below ;-).Spiced honey cake with turmeric soft cheese frosting & plum jam filling HONEY SPICED CAKE WITH TURMERIC FROSTING AND PLUM JAM FILLING

(for the cake)

  • 200g butter
  • 100g light brown sugar
  • 100g dark brown sugar
  • 170g honey
  • 2 eggs
  • 260ml milk
  • 325g flour
  • 1/2 tsp salt
  • 3tsp baking powder
  • 3tsp mixed spice
  • finelly grated zest of 2 oranges

(for the frosting)

  • 150g softened butter
  • 150g soft cheese
  • 150g icing sugar, plus a bit more for white frosting
  • 1tsp turmeric
  • 1/2 jar plum jam

1. Over the hob melt the butter together with sugars and honey till everything is incorporated and the sugar is dissolved.

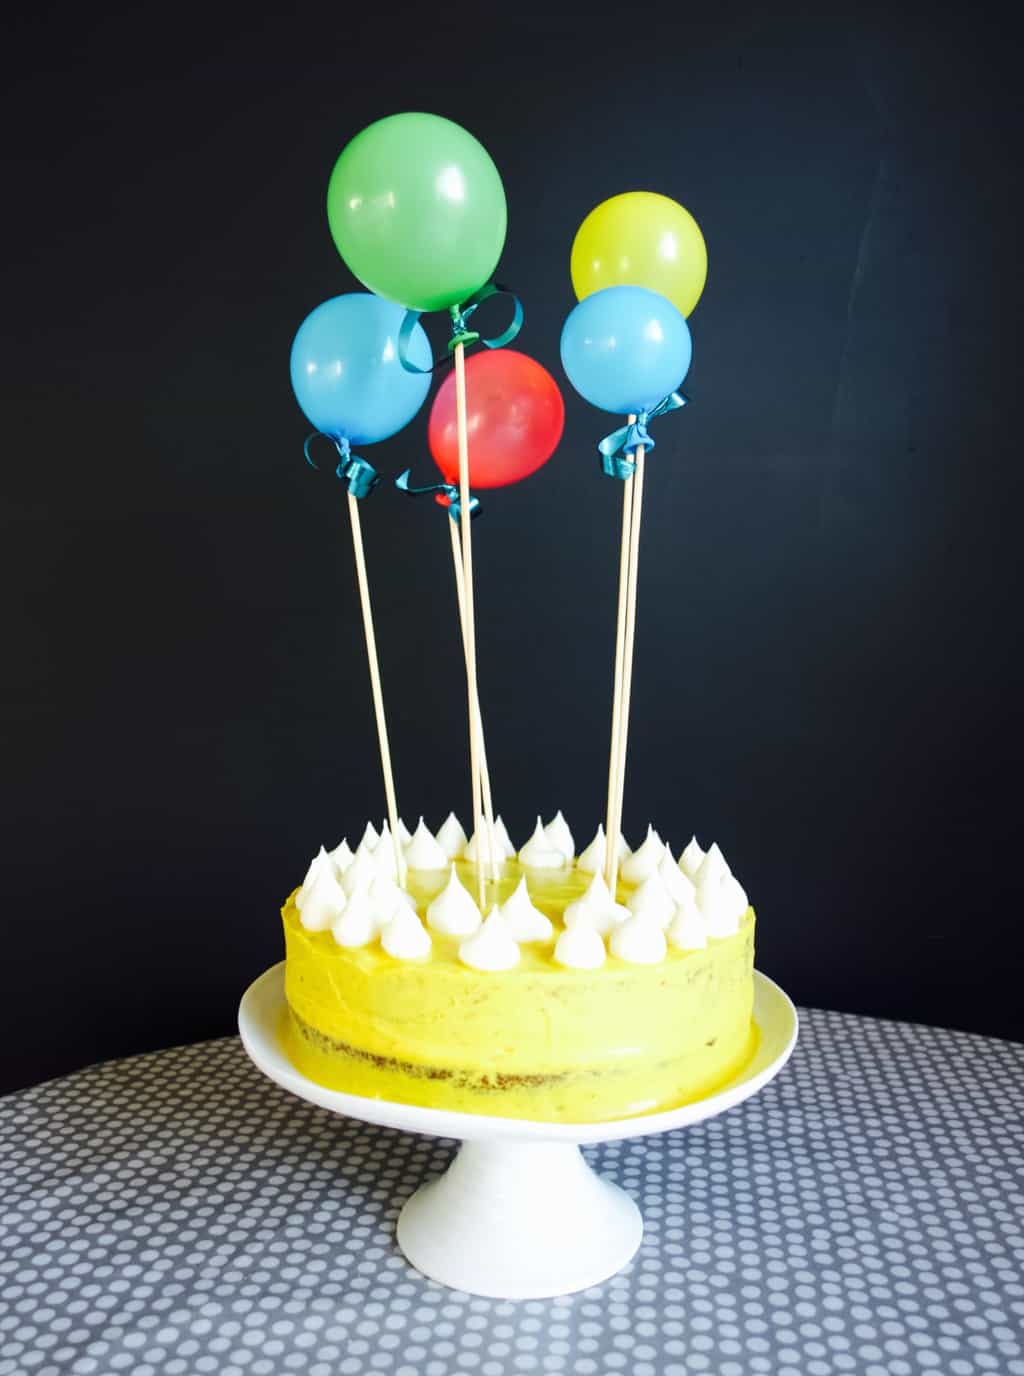
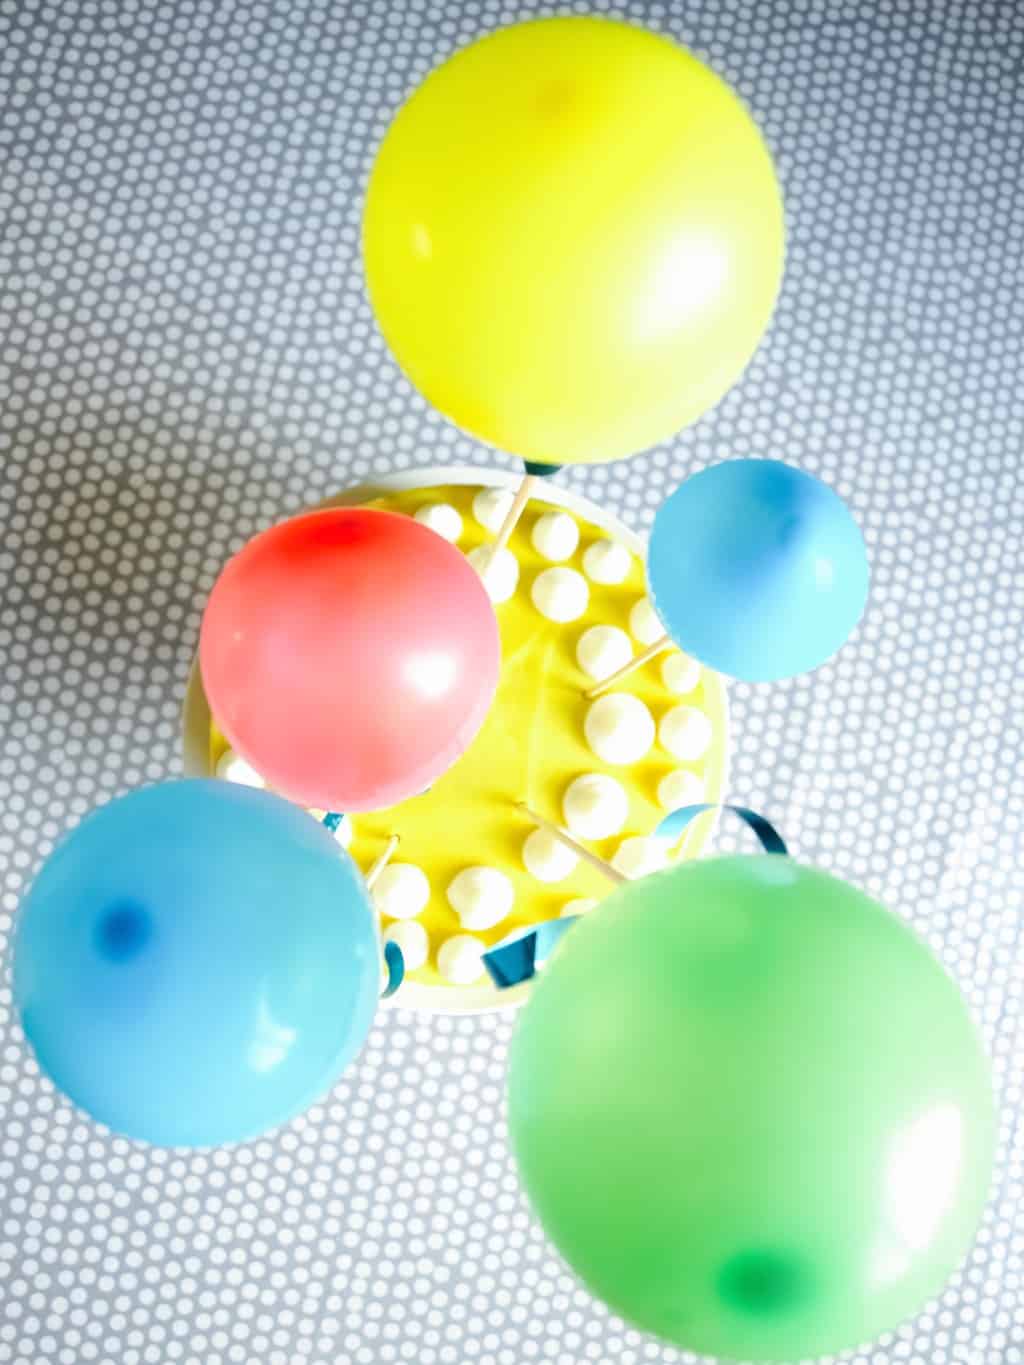
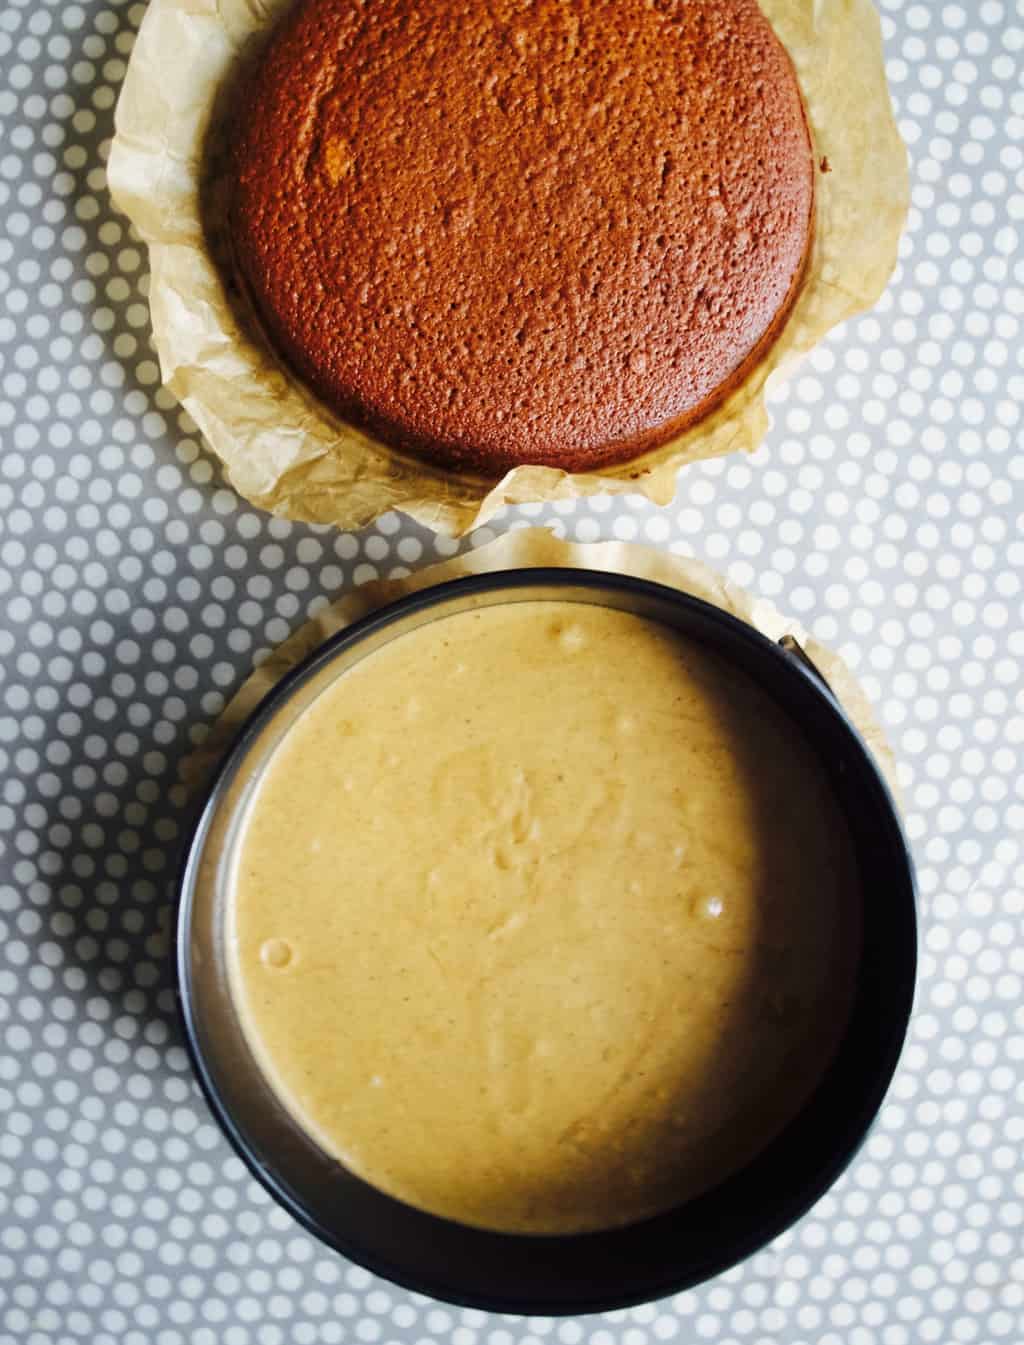
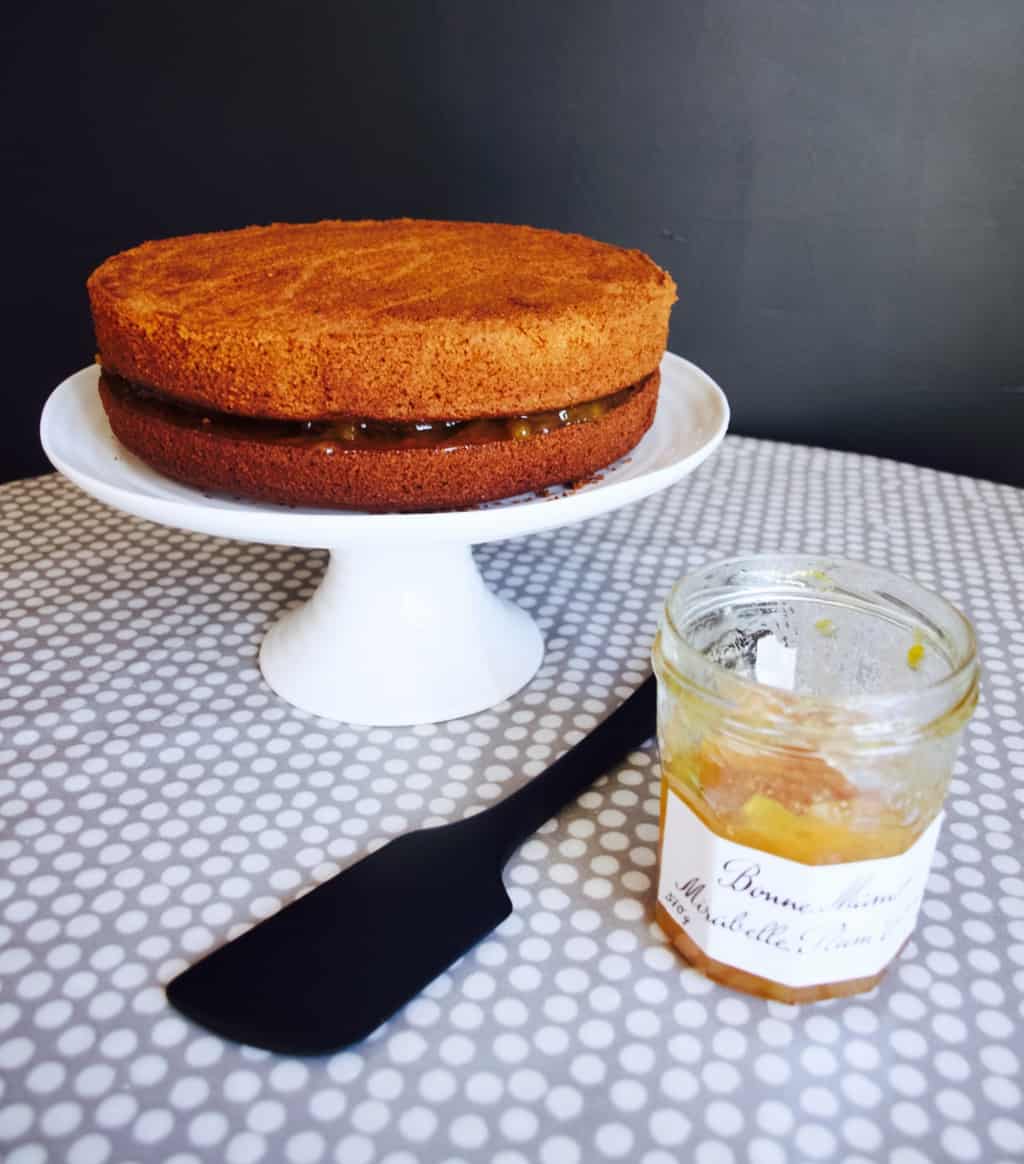
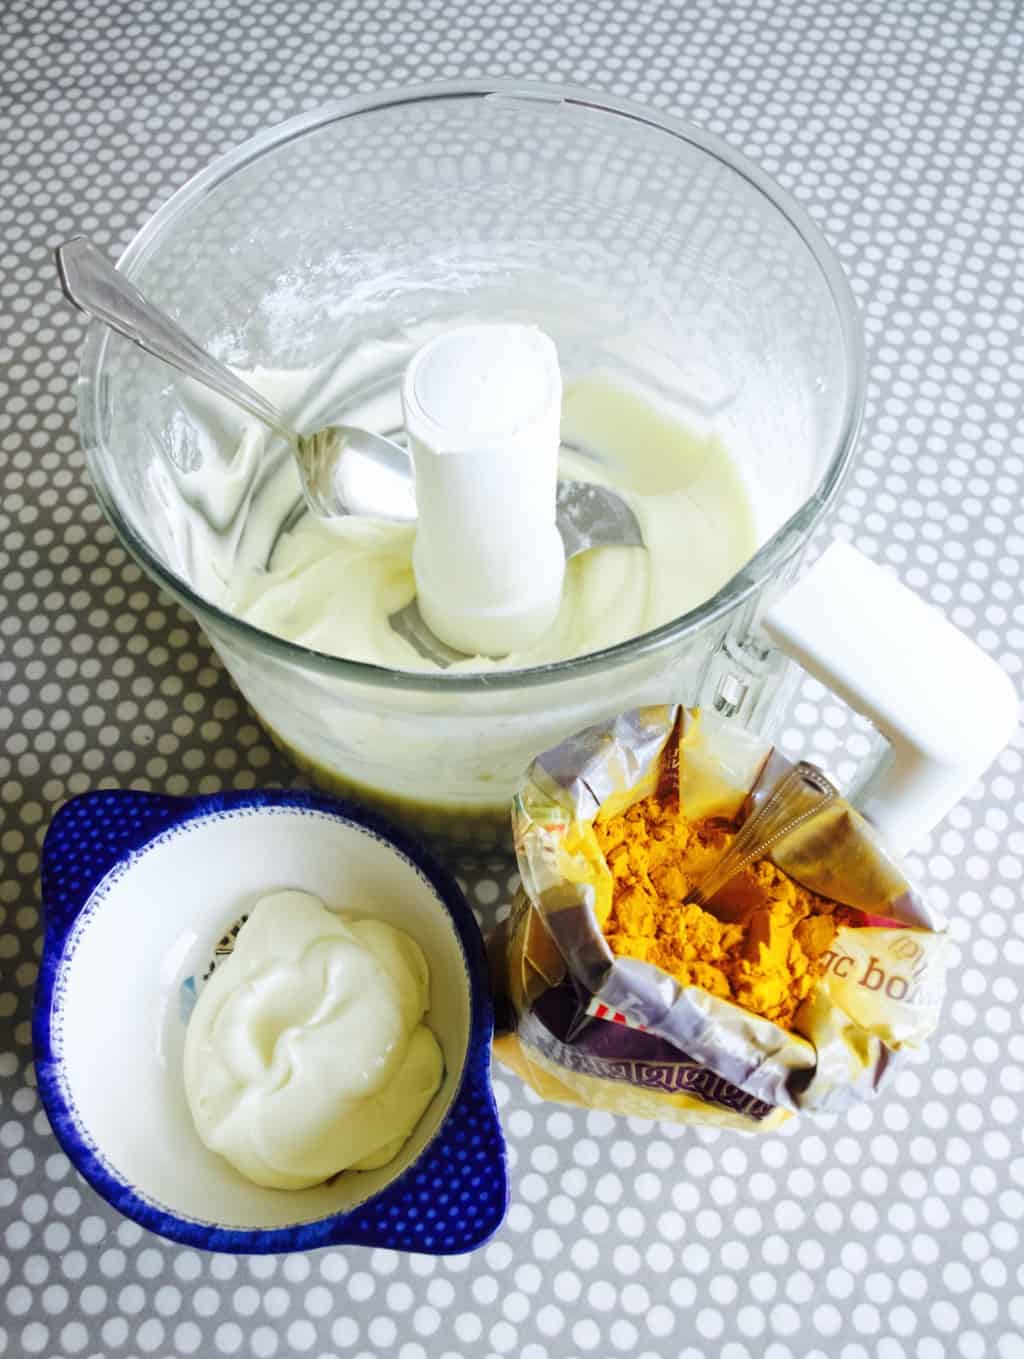
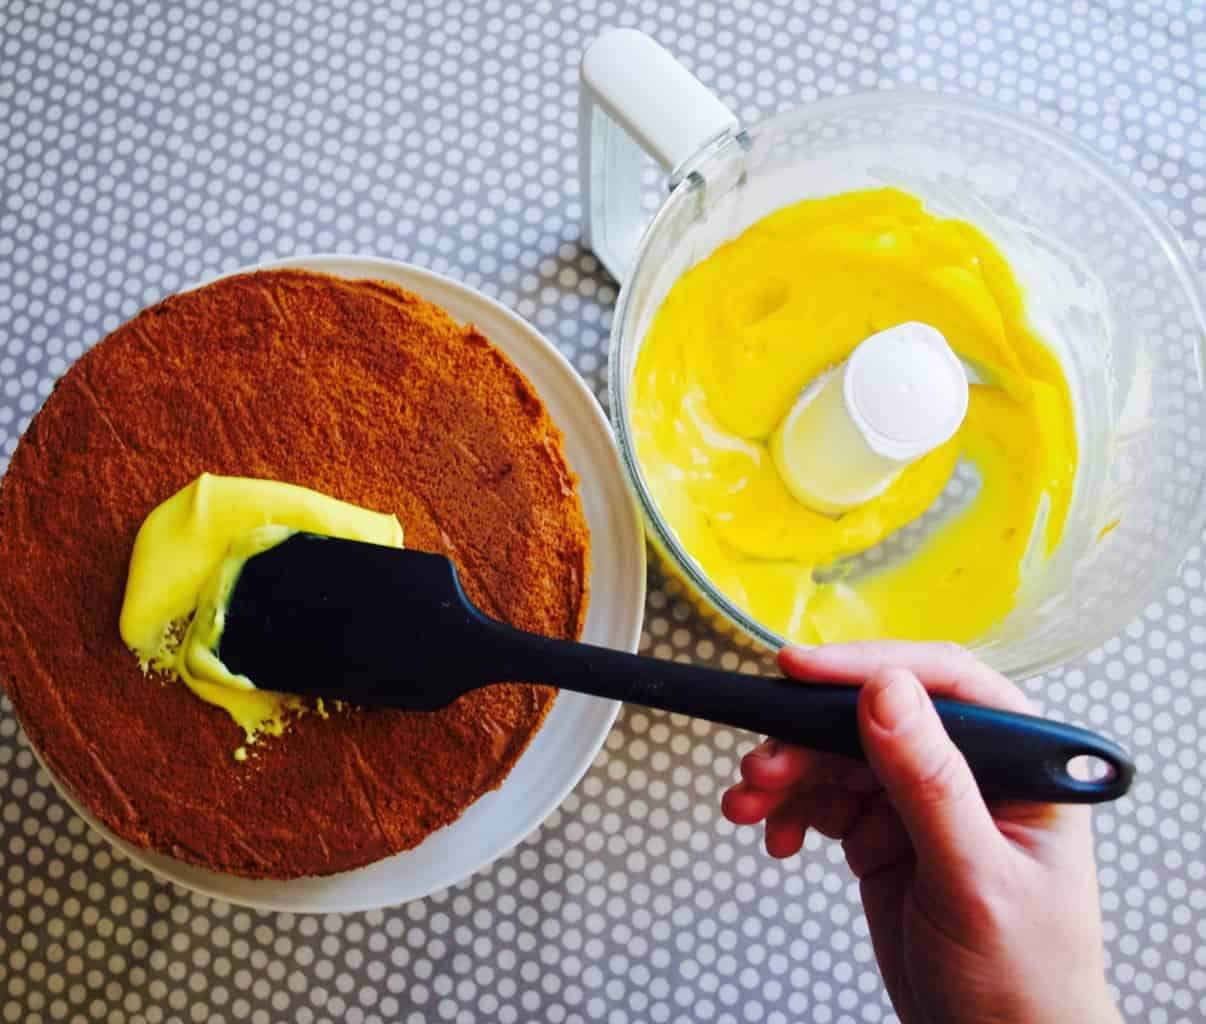
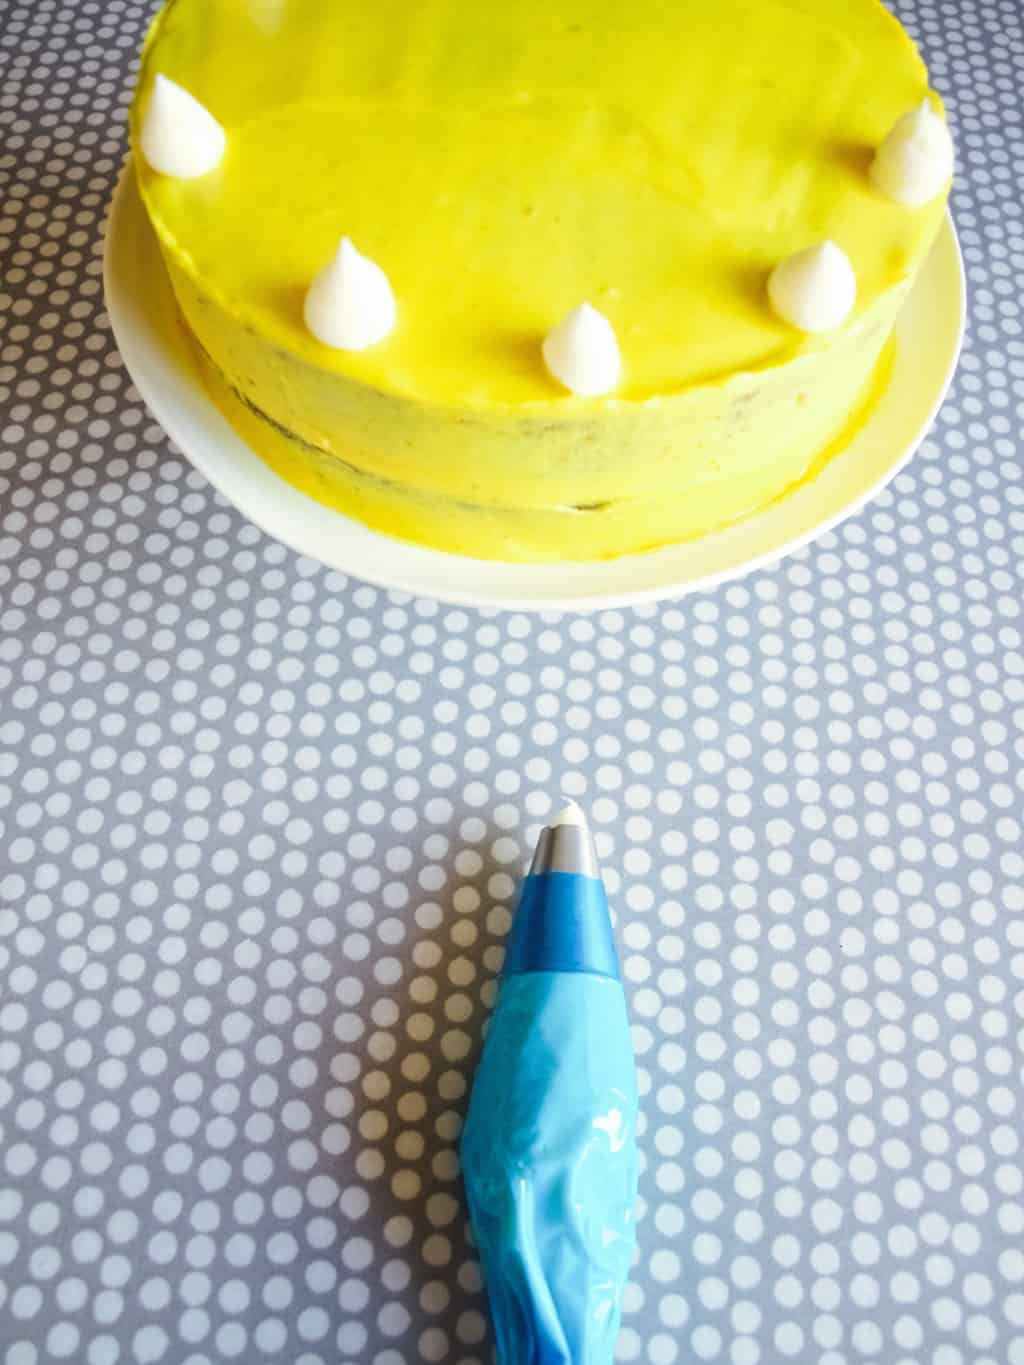
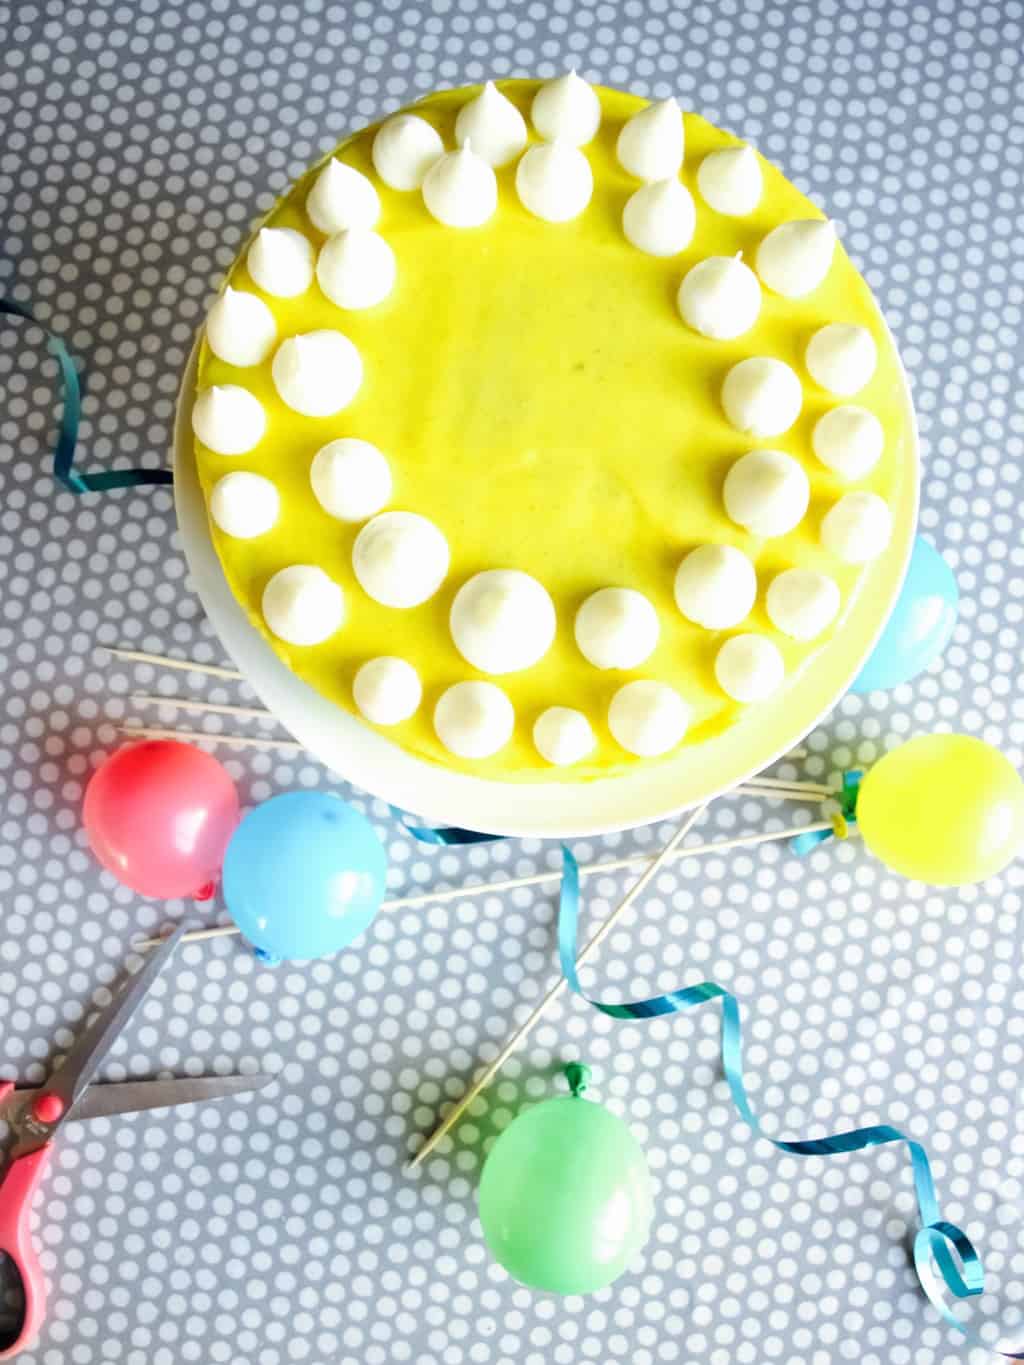
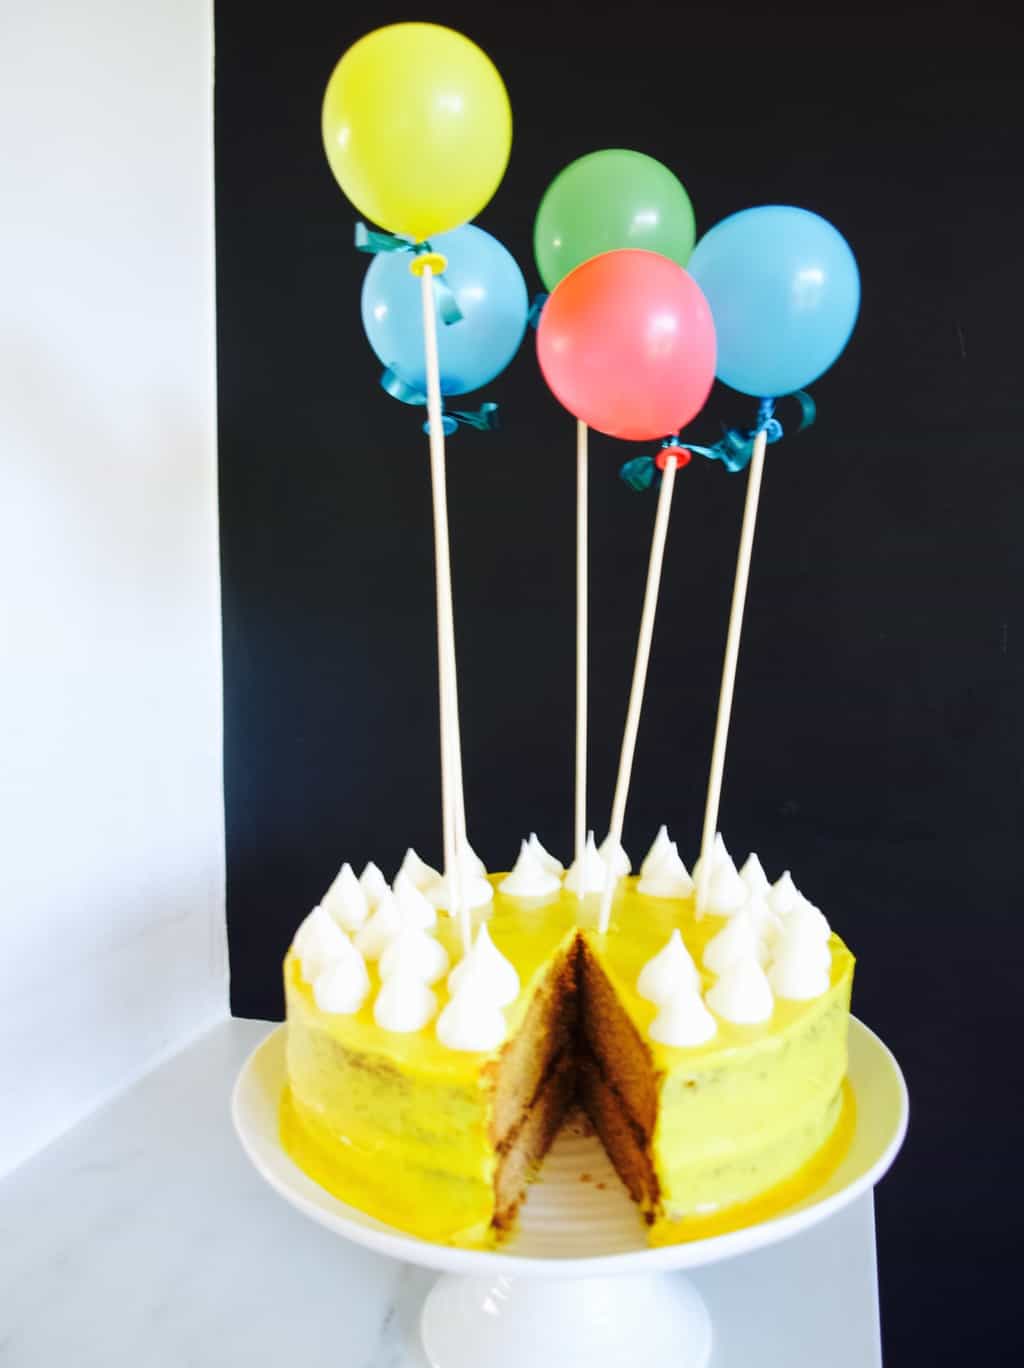
2. Add the rest of the cake ingredients and mix again to combine everything well.Spiced honey cake with turmeric soft cheese frosting & plum jam filling 3. Split the cake mixture into two ready tins (same size, springform are the best). Bake in 150C preheated oven for 1h and 15min.Spiced honey cake with turmeric soft cheese frosting & plum jam filling 4. Sandwich the cake with some plum jam. My tip is to put the cake upside down so the top is completely flat (really felpful when you do frosting).Spiced honey cake with turmeric soft cheese frosting & plum jam filling 5. To make the frosting place all the ingredients except turmeric into the mixer and let it run for few minutes. Put few table spoons of frosting aside for the white frosting. Add turmeric and let the mixer do its job one more time.  Spiced honey cake with turmeric soft cheese frosting & plum jam filling 6. Next job is to apply the frosting. I always add almost all the frosting on top to begin with and then push it down gently to the sides and then I work with frosting palette knife to the top again (I make the frosting thin for a reason so it flows easily). Once the base frosting is done I recommend to place the cake into the fridge so it sets.Spiced honey cake with turmeric soft cheese frosting & plum jam filling 7. Meanwhile add more icing sugar to the frosting left on the side. Continue adding the sugar till you are satisfied with the stiffness of the cream. Transfer white frosting into the piping bag with large round nozzle attached. Carefully pipe your decorations on the cake.Spiced honey cake with turmeric soft cheese frosting & plum jam filling 8. Finally decorate with any cake toppers. I used water balloons to make these mini balloon cake toppers which made the cake look very fun like I expected :-).Spiced honey cake with turmeric soft cheese frosting & plum jam filling Spiced honey cake with turmeric soft cheese frosting & plum jam filling Hope you like it too!!

Rasa xoxo
0

How to make mini triangle confetti

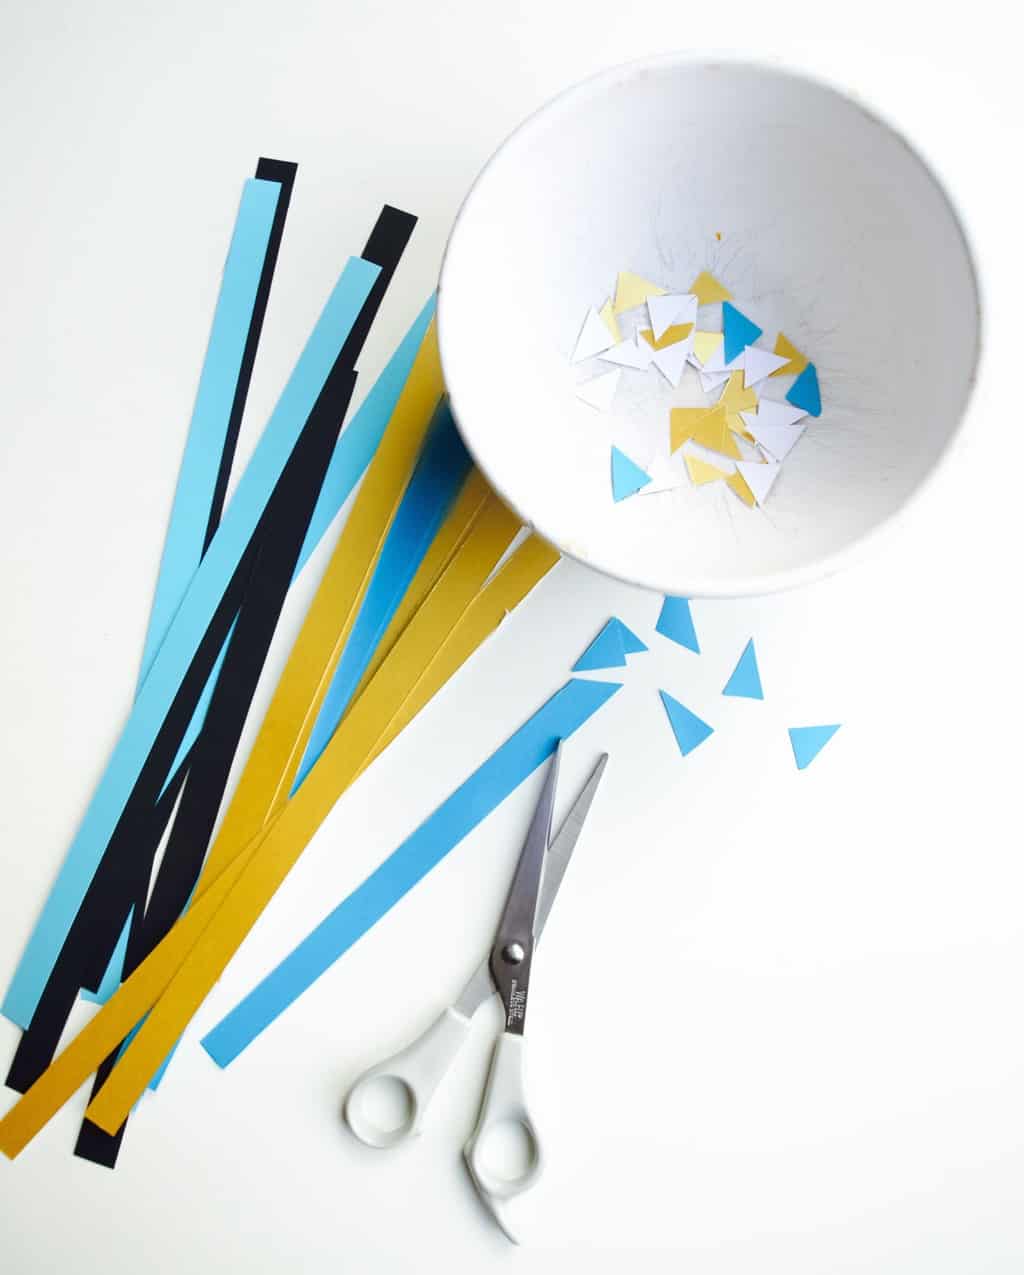
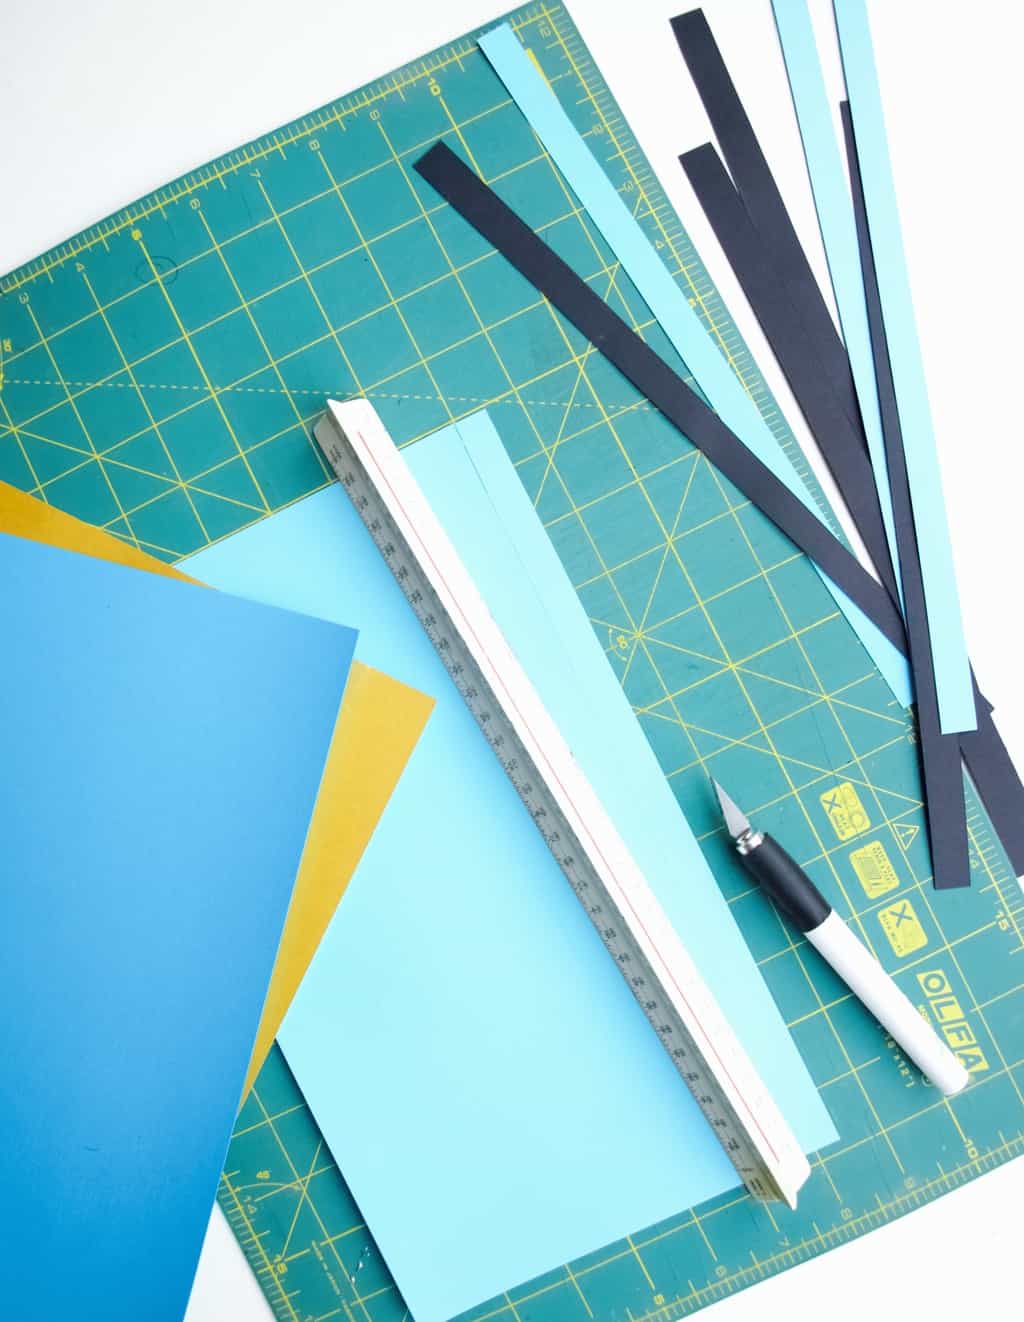
Handmade confettiConfetti was not the love at the first sight but something that I fell in love with over time. Now when I see some confetti sprinkled anywhere I get really really excited! It makes everything so much more joyful and thats what you need when the new year is approaching. And it can be used in soooo many ways! It can be sprinkled on the dining table, party floor, letters, present wrapping and anywhere you need some happiness sprinkles. Of course not everyone likes confetti (very sad, I know!!), but for those who do, here is how I make mini triangle confetti. Trust me, it is very simple to make and you don’t need any special punch for it.mini triangle confetti diy (no need for punch)First I cut the cardboard into strips. I use the ruler and the scalpel knife to make really straight strips.

mini triangle confetti diy (no need for punch)Then I cut / and then \ to get the triangle shapes.mini triangle confetti diy (no need for punch)mini triangle confetti diy (no need for punch)Did I forget to mention that confetti is brilliant in making fab photography effects and backgrounds. Try it for your next photoshoot ;-).mini triangle confetti diy (no need for punch)Happy celebrating!!!!

Rasa xoxo
 

1

Nicola’s birthday cake

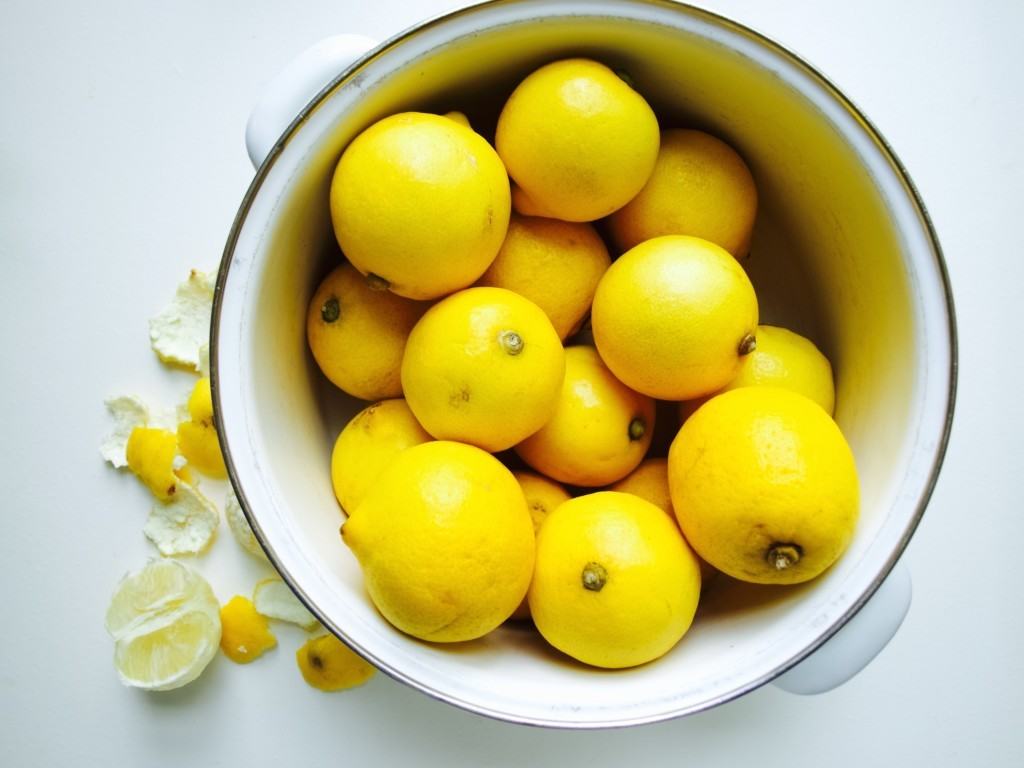
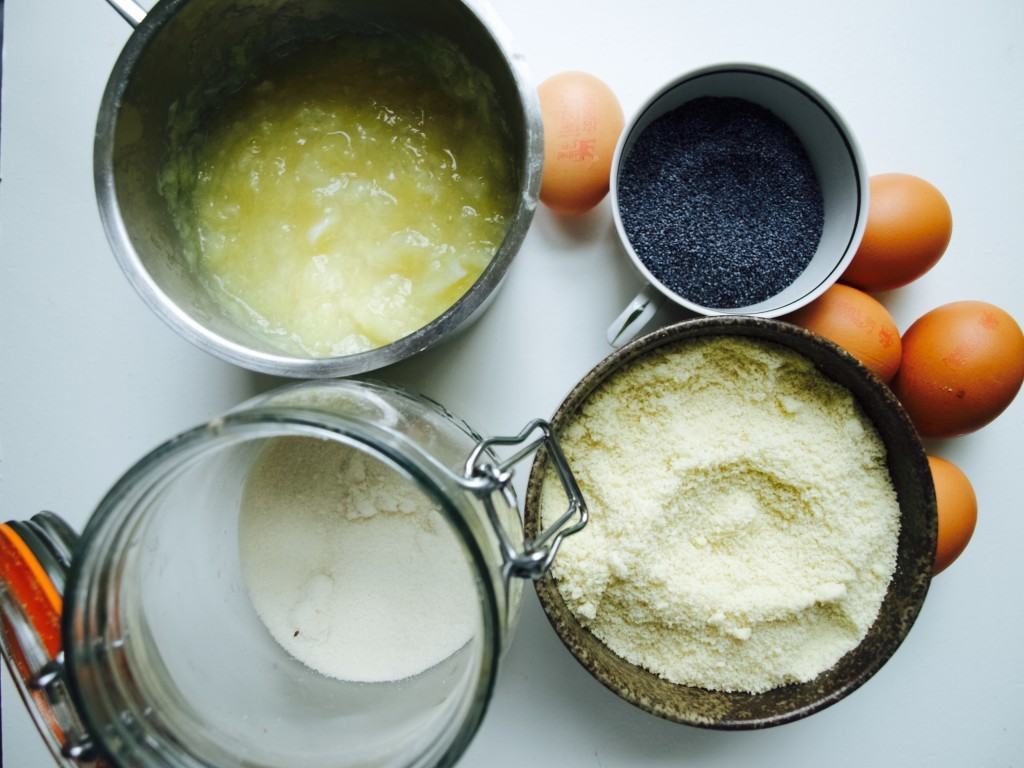
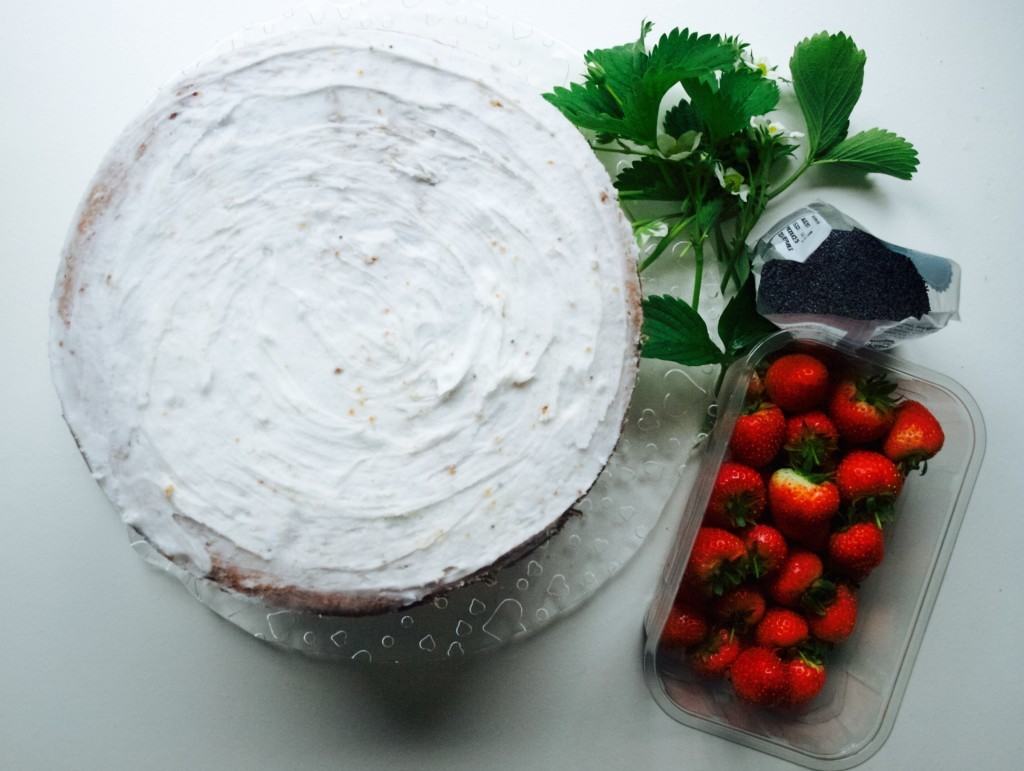
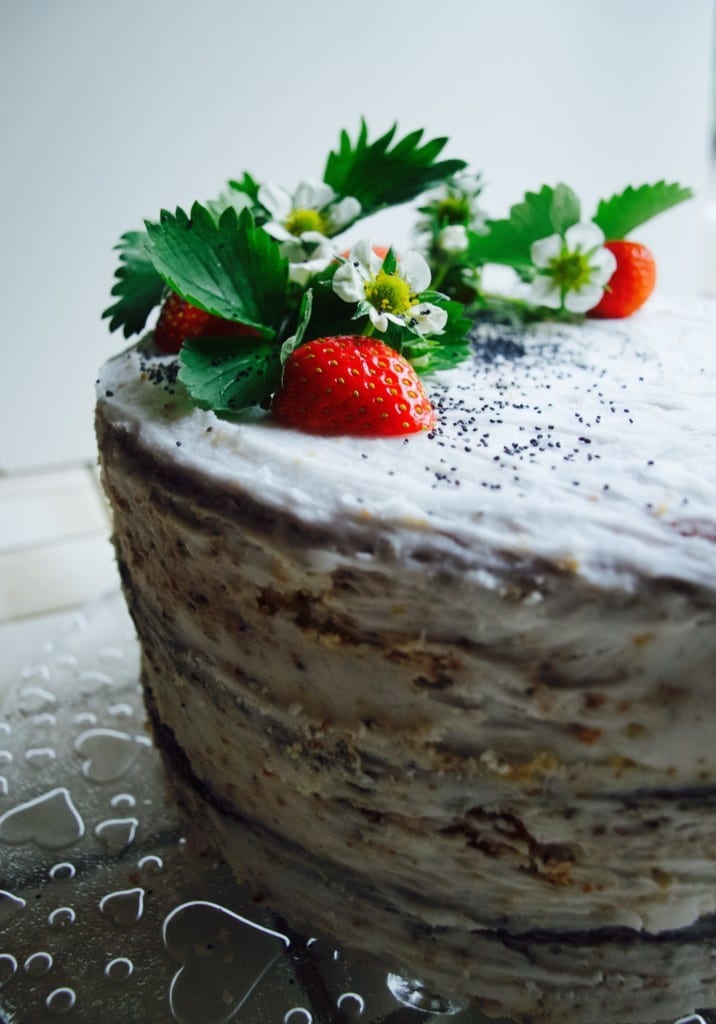
Nicola's birthday cake Last weekend we headed down to Devon again to celebrate my sister in law Nicola’s 30th birthday and I was asked to bake a cake (what a privilege!!). It had to be gluten and dairy free so it was a fun challenge to accept. If you have been following me on social media then you probably have seen me doing bake tests over the past few weeks. I originally wanted to make a matcha cake, but was not sure if that would have been a crowd pleaser. At the end I decided to go with more simple flavours such as lemon and poppy seed. I used a very similar method to this chocolate orange cake which essentially uses citrus fruit pulp instead of butter or oil. This method has never let me down producing a very moist and tasty cake. I just need to find a way to reduce the amount of sugar (hmmm…a tough one to do in cake!).Nicola's birthday cake GLUTEN AND DAIRY FREE LEMON POPPY SEED CAKE WITH COCONUT BUTTER FROSTING

(for the cake)

  • 16 lemons
  • 18 eggs (it’s a very large cake!)
  • 750g golden caster sugar
  • 750g ground almonds
  • 6tsp baking powder
  • 4tbsp poppy seeds + for decorating

(for the frosting)

  • 1/2 cup virgin coconut oil (butter)
  • juice from 2 lemons
  • about 1kg icing sugar

1. First things first, cook the lemons as that takes the longest. Peal them and try to pick out any pips out of them (I know I know this might take forever, but its worth it as your cake might end up tasting a little bitter). Boil the lemons for about 30 min. Once they are cooked, drain them and check any leftover pips. By now your lemons should look like puree, but whizz them anyways with the hand processor just to get it extra smooth.

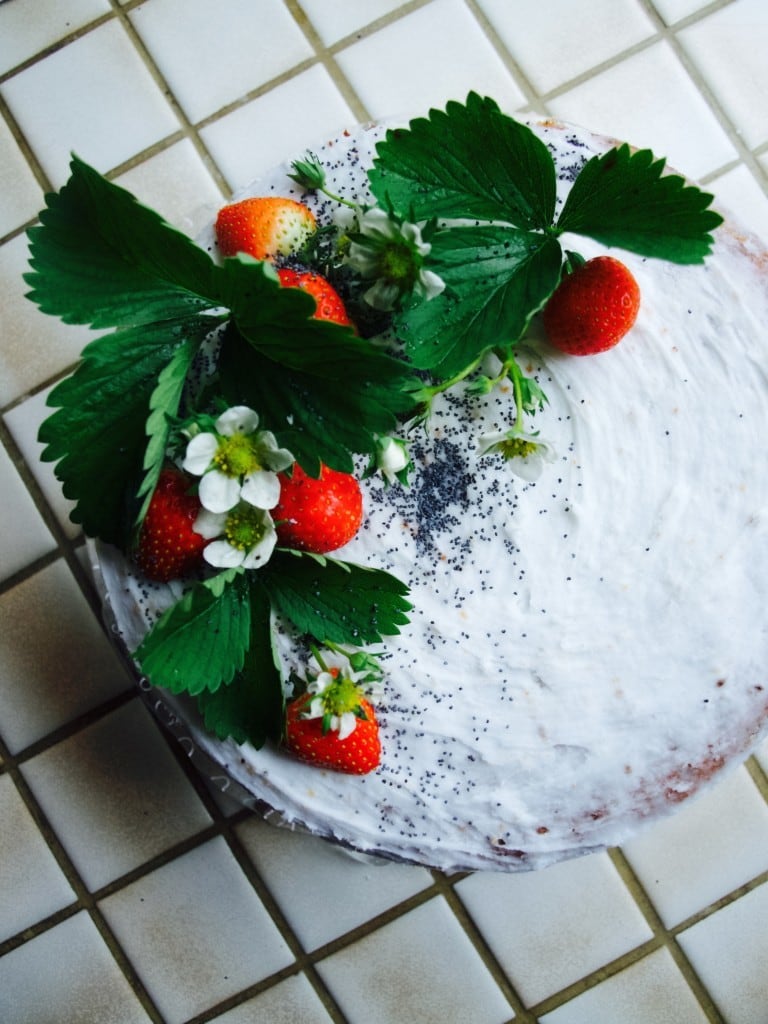
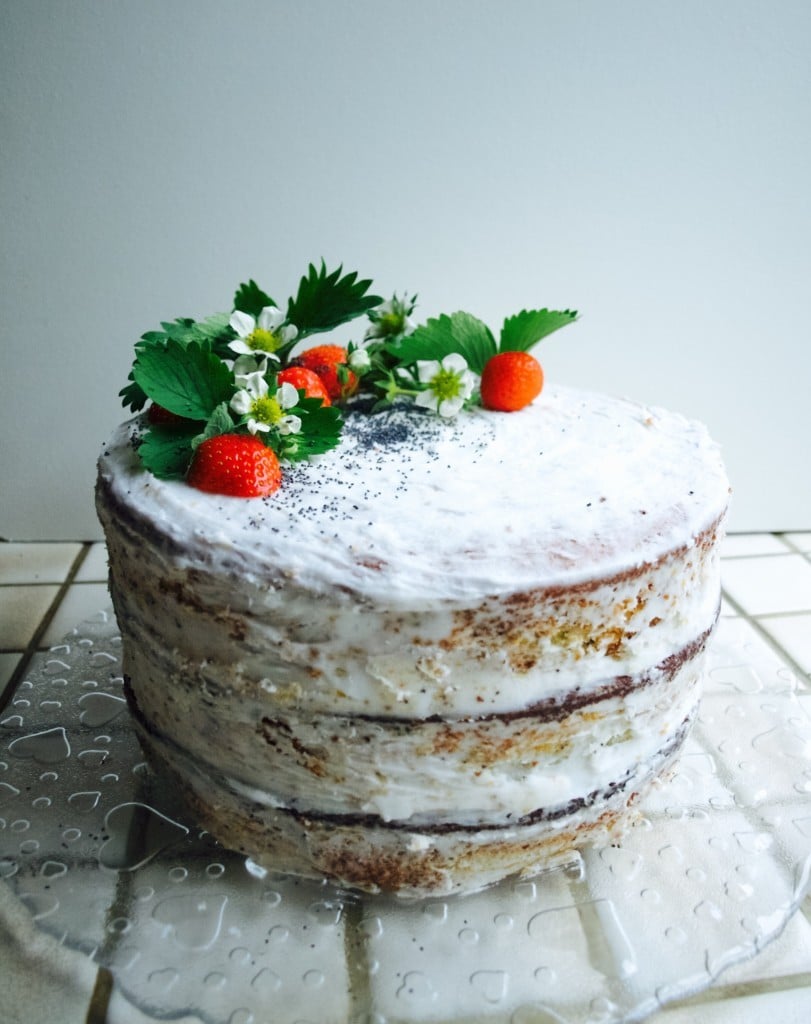
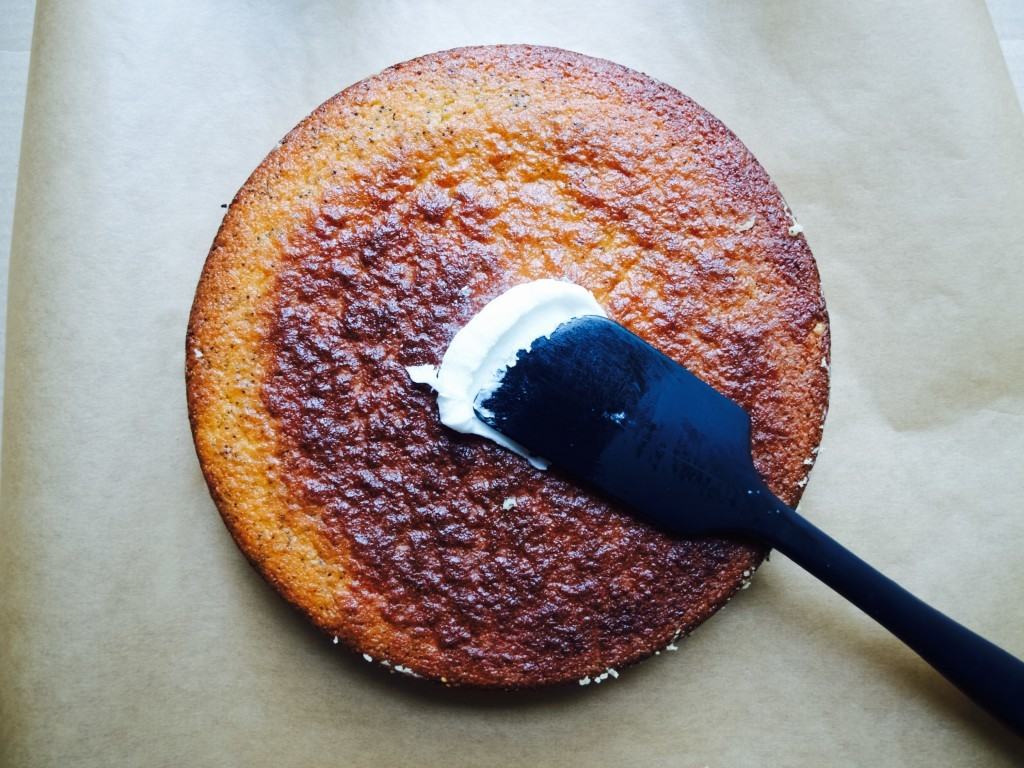
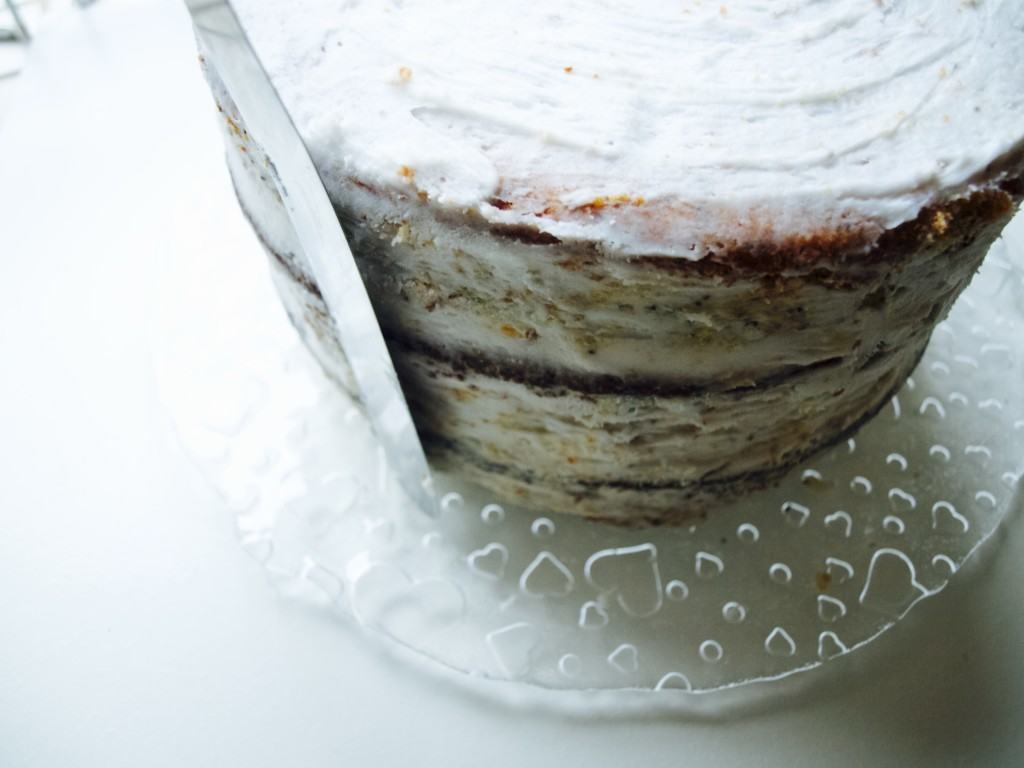
Baking with cooked lemon2. Whisk the eggs with sugar till its pale and creamy. Add the rest of ingredients into eggs (including lemon puree) and mix to combine everything well. Split the cake mixture into three lined baking springform tins. Bake the cakes in 150C preheated oven for 1.5h.Baking with cooked lemon3. Meanwhile make the frosting. Sift the icing sugar into the coconut oil and add lemon juice. Mix everything using electric mixer until smooth and creamy.Lemon poppy seed cake with coconut butter frosting4. As for frosting the cake I did it very lightly. I applied thin layer of frosting between the layers and more on the sides so I could scrape it off later (still keeping a natural “naked” cake look). Lemon poppy seed cake with coconut butter frosting5. Decorate it with poppy seeds, berries and flowers in keeping with the “au naturel” look ;-).Lemon poppy seed cake with coconut butter frosting Lemon poppy seed cake with coconut butter frostingHope you are feeling inspired.

Rasa xoxo
0

Baby friendly birthday cake

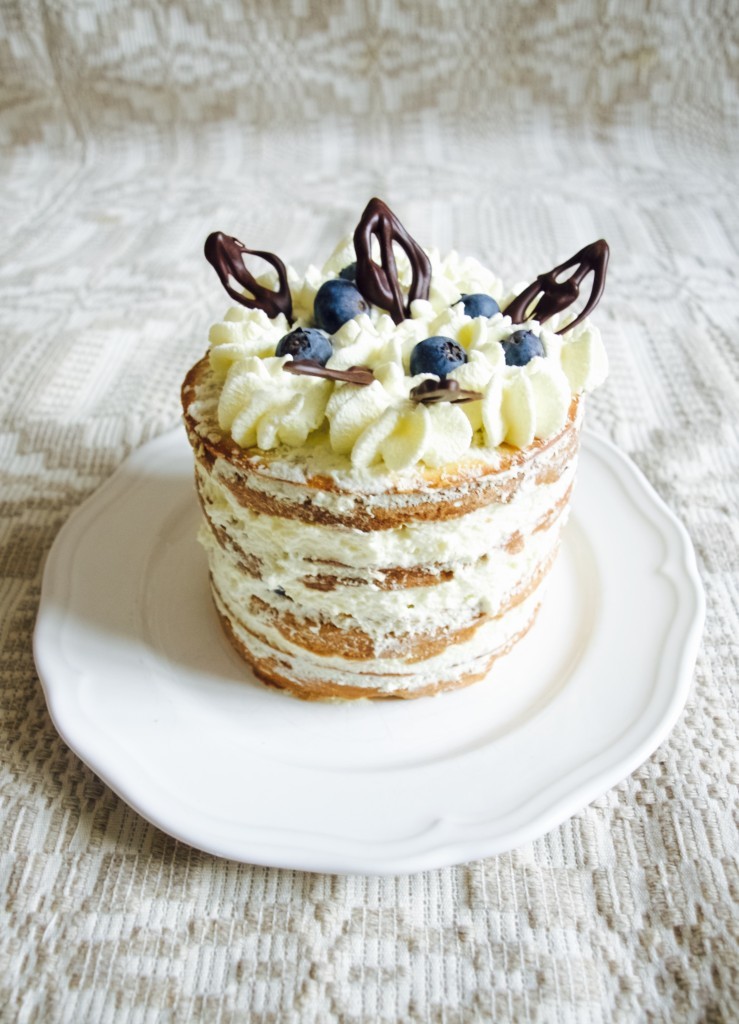
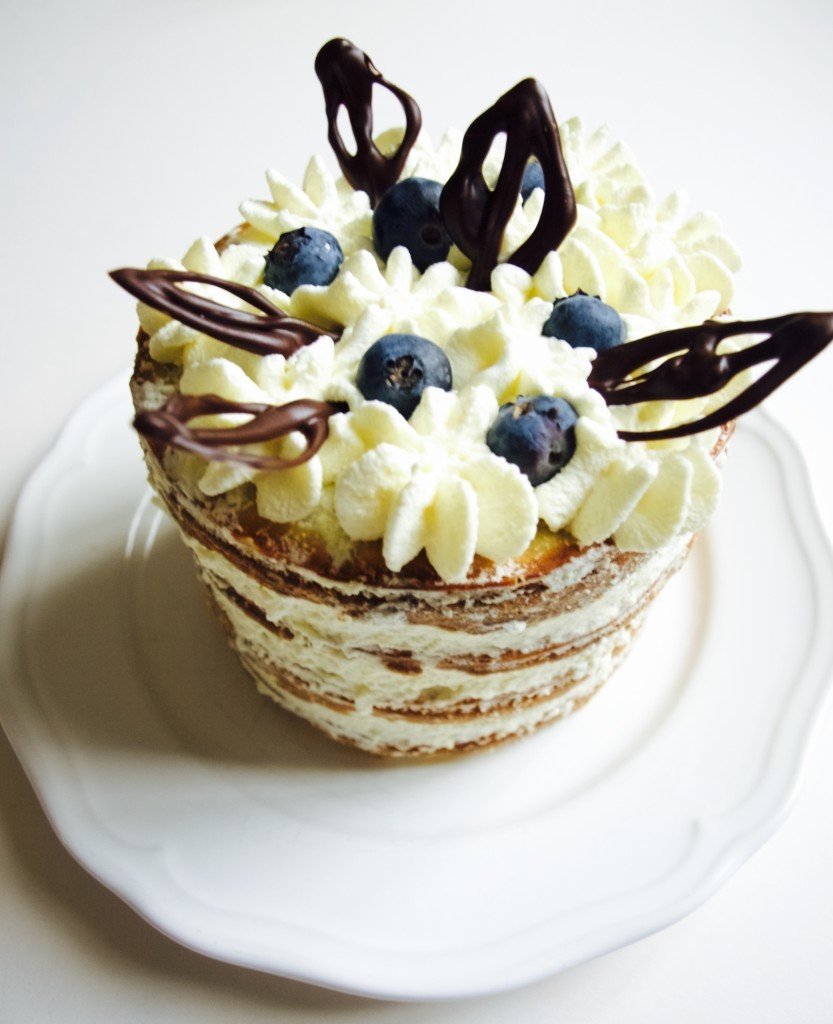
Baby friendly birthday cakeLast week we celebrated Lukas birthday and today I would like to share with you the recipe of the cake I made for him. I aimed for something sugar free of course that is suitable for a baby. I made sure to include banana in it just because Lukas loooovesss banana very much (maybe he is a minion who knows :D) and also because it adds some sweetness. The cake of course wasn’t very sweet. I would say it was a brioche sweetness level. I also thought that it is better eaten warm, but I had to cool it down unfortunately to decorate it and make it look a little bit more festive ;-). For “butter cream” I just used whipping cream, so it wasn’t sweet at all, but actually Lukas liked it very much so I guess it’s ok ;-).  Baby friendly birthday cakeBABY BIRTHDAY CAKE

(for the cake)

  • 150g banana (about 1-2 bananas depending on size)
  • 1 egg
  • 60ml oil (I used refined olive oil, but rapeseed oil would probably be better)
  • 330g plain flour
  • 27g oats (I used pack of portioned porridge oats that actually comes in 27g)
  • 2tsp baking powder
  • 125ml milk
  • 3tbsp yogurt (I used greek style yogurt, but natural yogurt would work fine too)

(for decorations)

  • whipping cream, whipped till stiff (one tube of 300ml will do)
  • no added sugar chocolate (there is no such thing as sugar free chocolate my friends!)
  • blueberries (or any type of other berries that are sweet)

1. Whizz bananas, egg and oil in the food processor. Add all other ingredients and mix everything to combine.

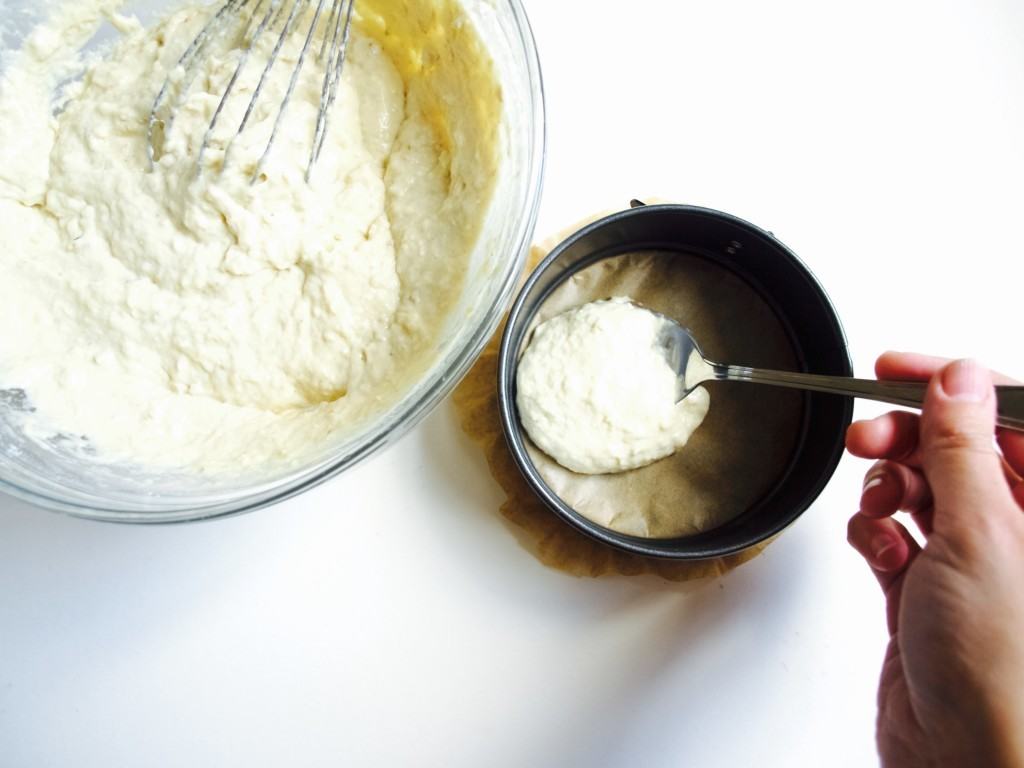
2. Spoon the cake dough into small lined spring form tins (mine filled 4 tins).

3. Place the tins into preheated 180C oven and bake the cakes for 20min or so.

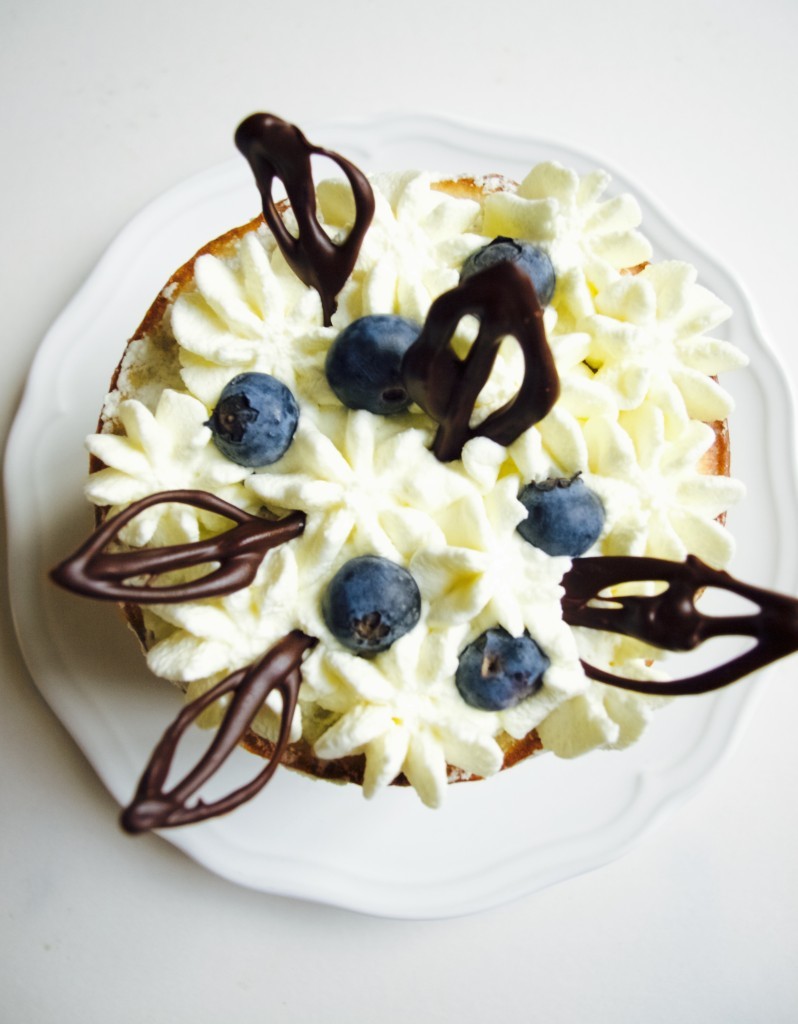
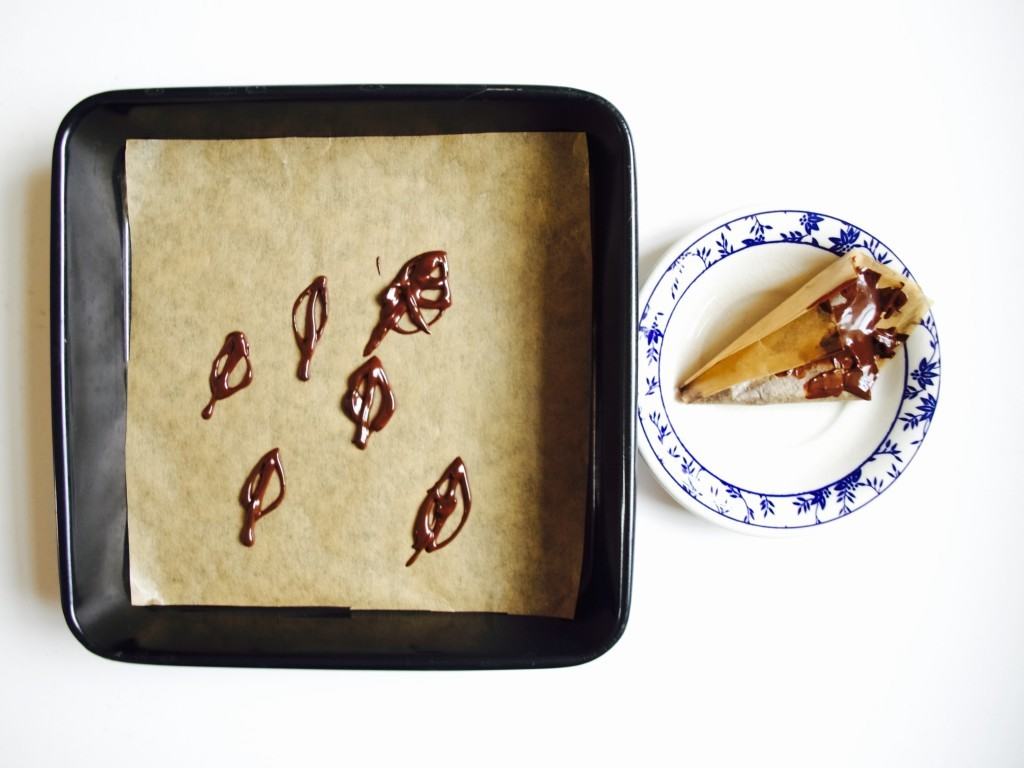
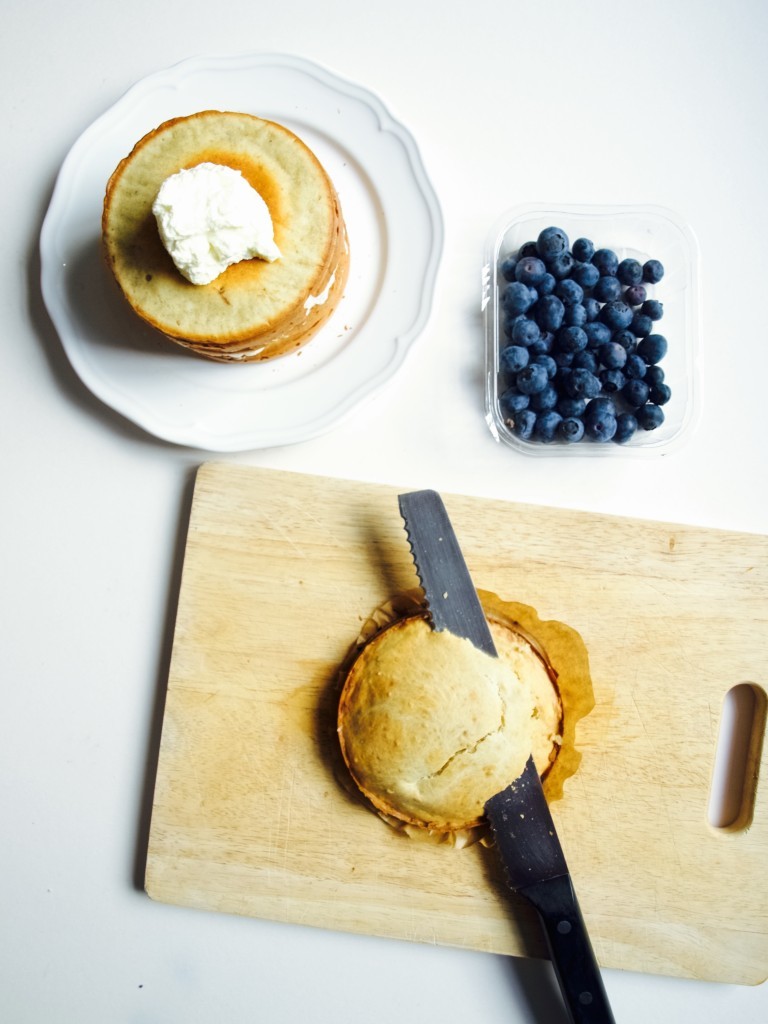
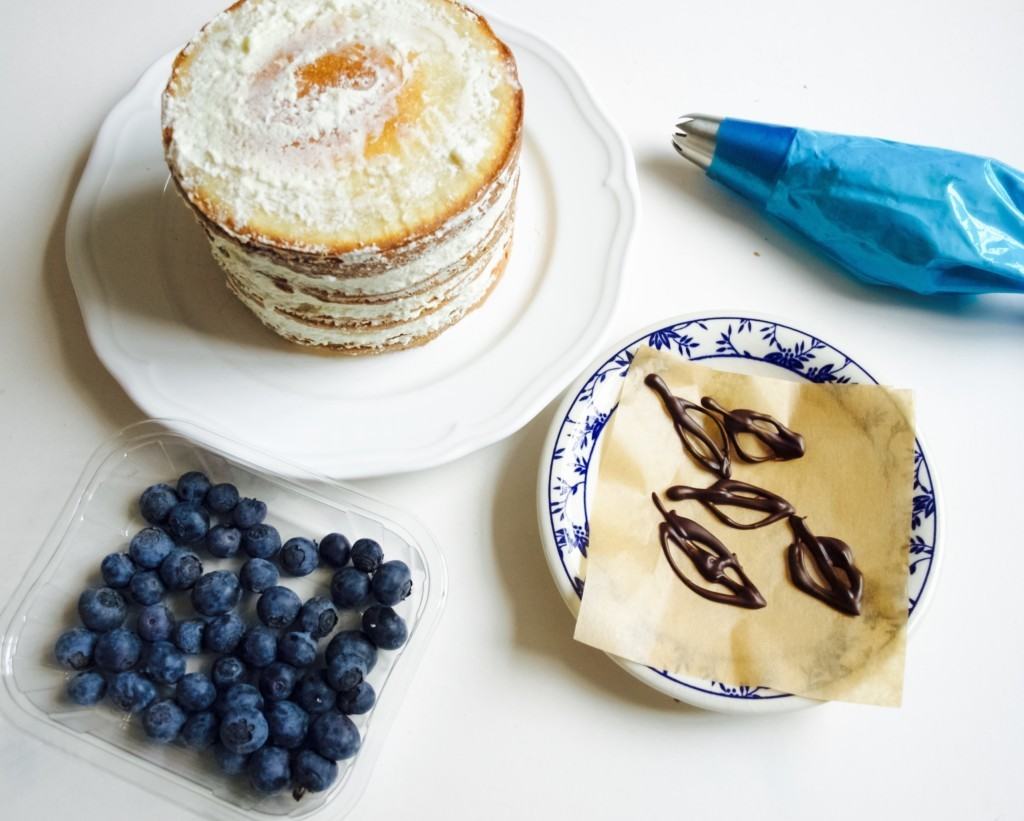
Baby friendly birthday cake4. Meanwhile I made chocolate cake decorations. I must admit I got little rusty, because I have not done it for aaaaages! I melted some chocolate, poured into pouch I made out of backing paper and cut the hole in it so I could pipe the chocolate out. I lined a metal baking tin with backing paper and piped chocolate on it in the leaf shapes. Placed it in the freezer for few minutes to set. Done!Baby friendly birthday cake5. Next up is decorating! Sandwich the cake by spreading whipped cream in between and then spread more on top and around to ice the cake. My tip is to really wait till the cakes are cool and trim the tops off, that really helps to make the cake square and therefore easy to ice.Baby friendly birthday cakeOnce the cake is iced, decorate it by piping some more whipped cream on top, sprinkling with blueberries and arranging some chocolate decorations on top if you wish.Baby friendly birthday cakeBaby friendly birthday cakeHope your baby likes it too ;-)

Rasa xx

0

Joni’s birthday trifle cake

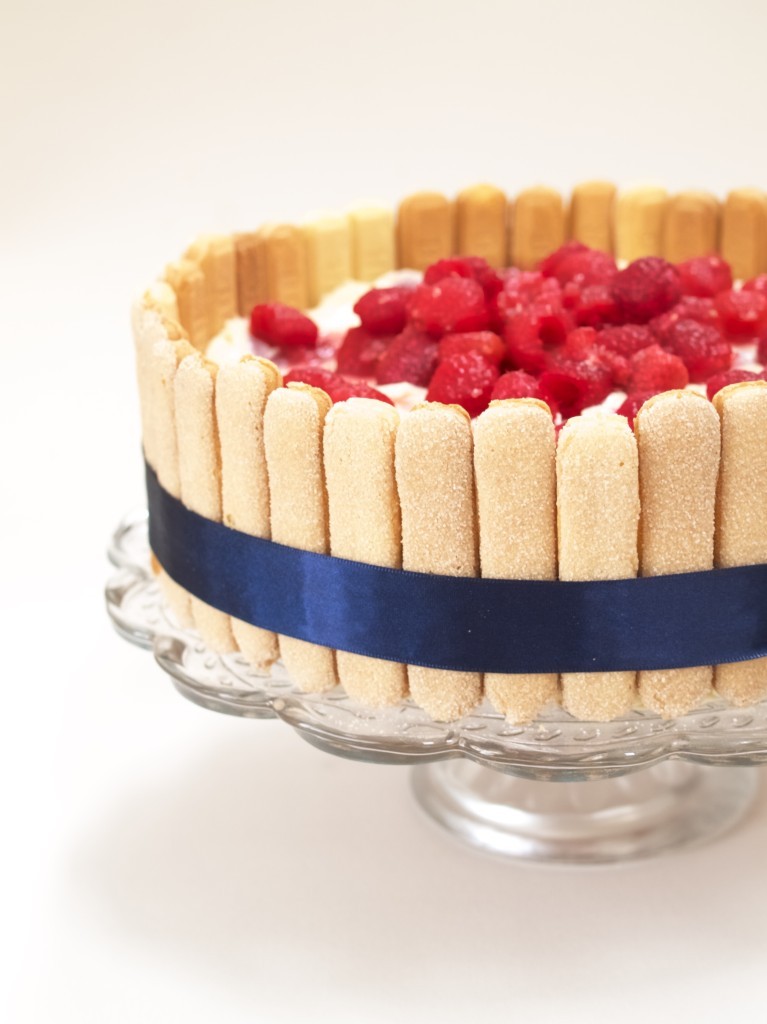
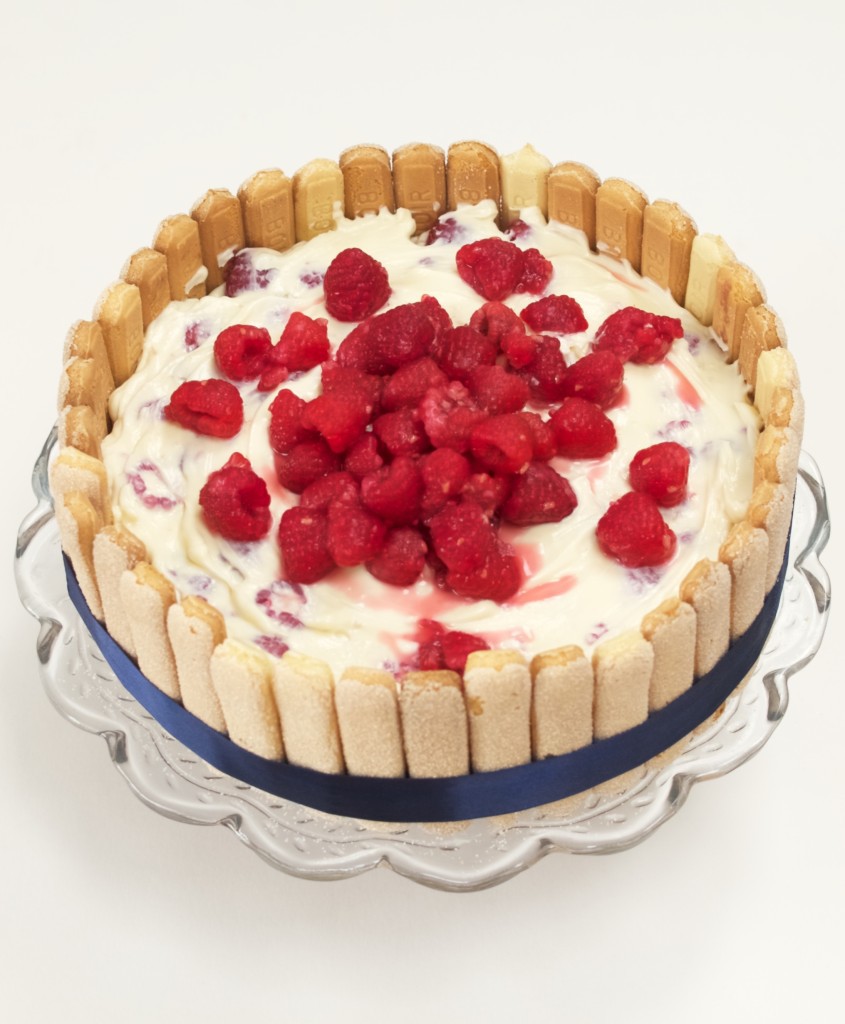
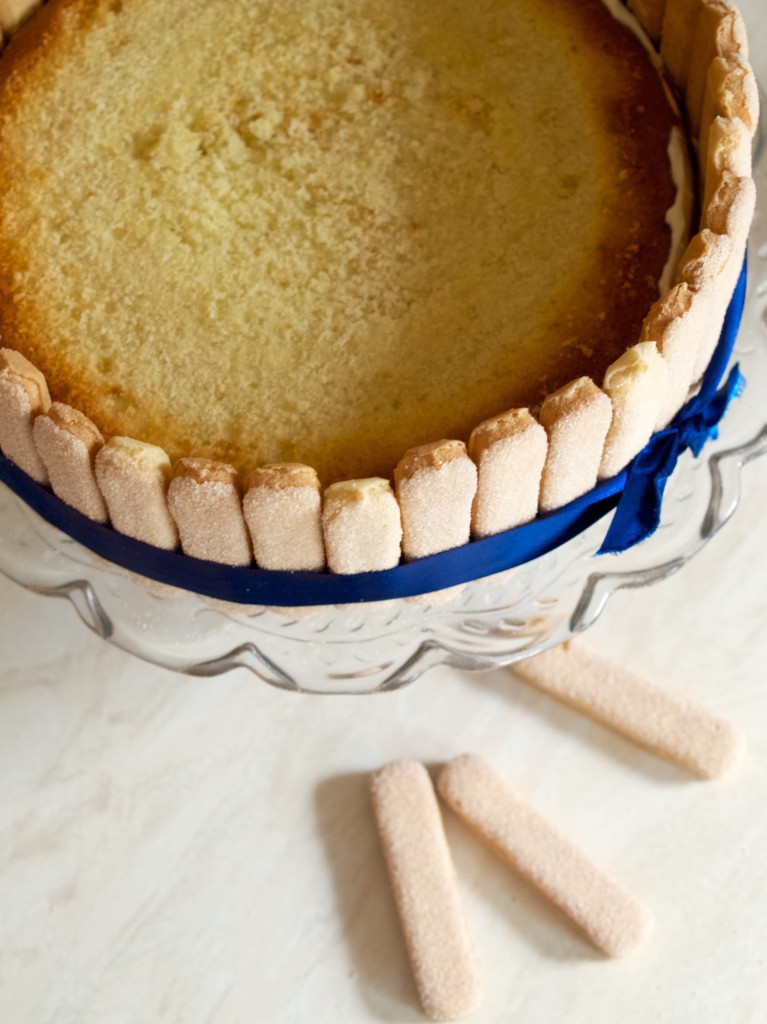
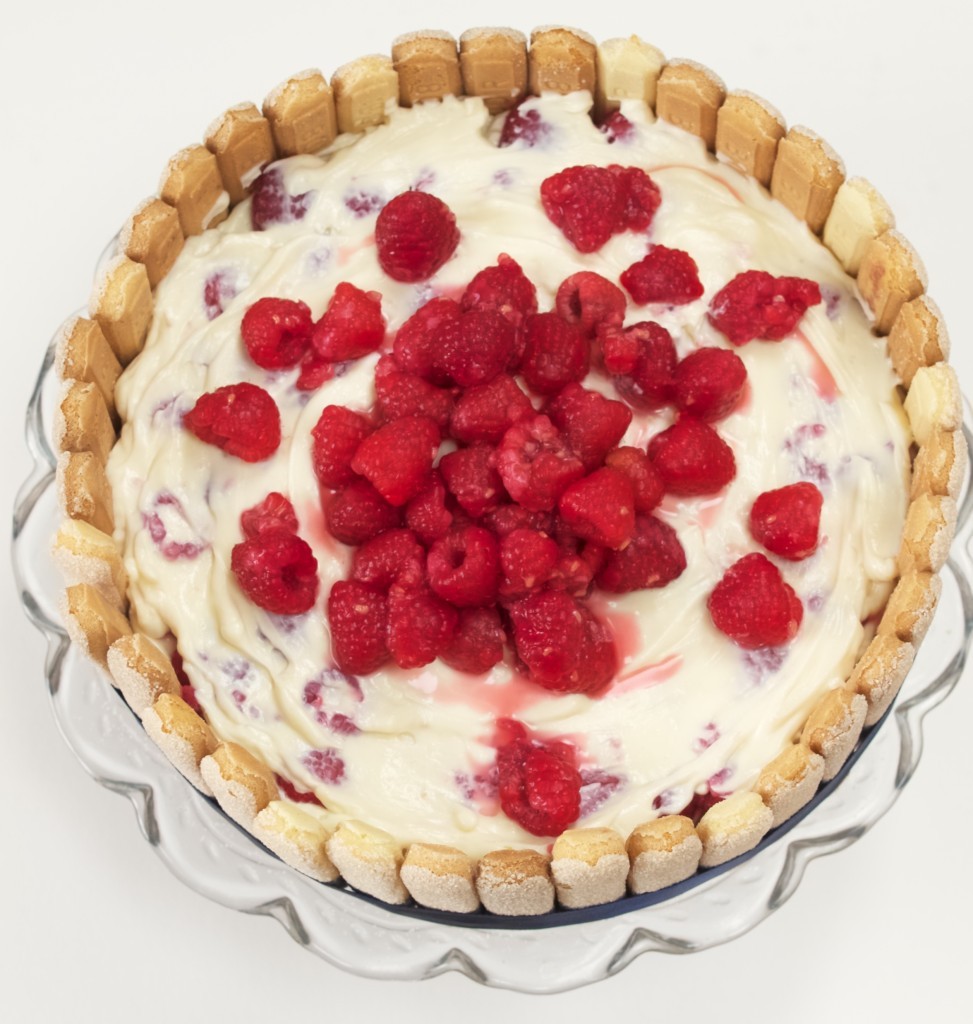
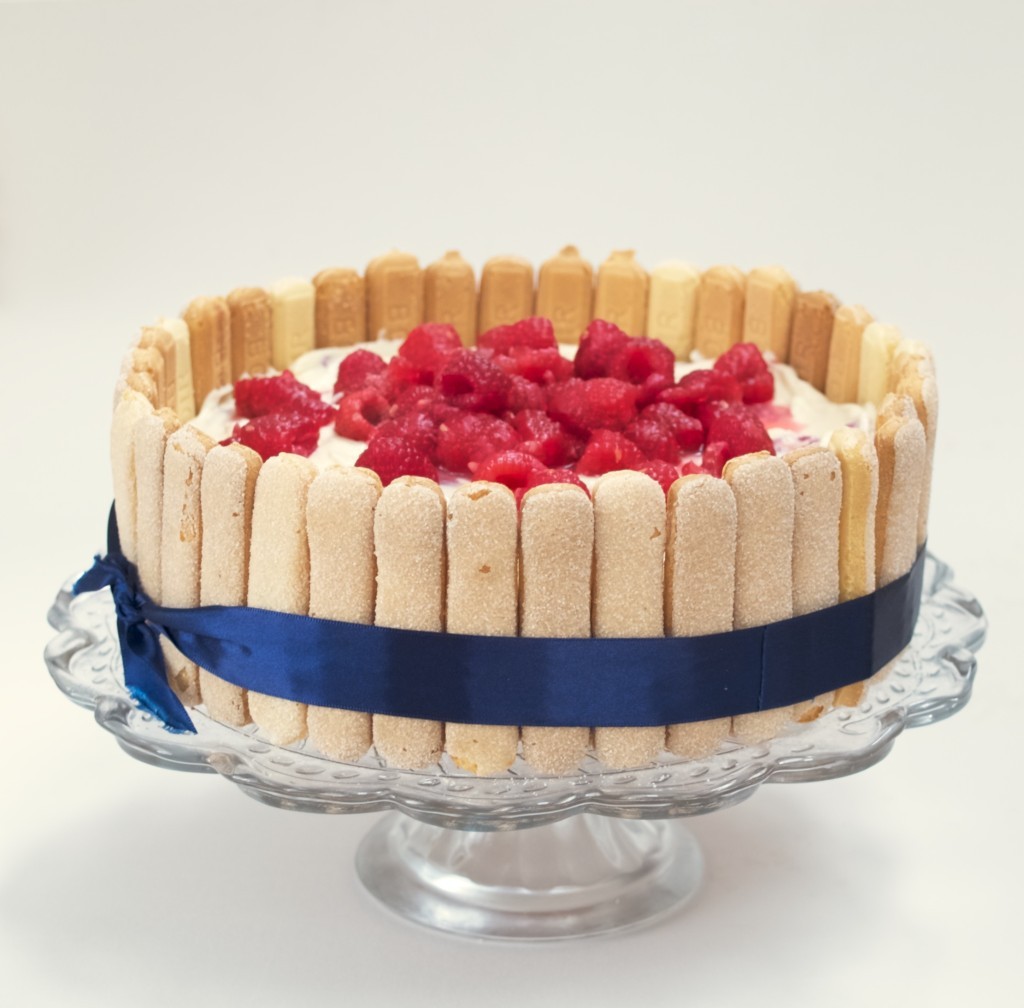
Trifle cake, perfect summer occasion cake!I know this might be a bit delayed, but I thought I will share what cake I baked for Joni’s birthday. This year Joni wanted a trifle (he mentioned that long time ago), but as you may all know it’s a difficult one to transport (We celebrated the birthday in Mudeford). I instantly thought I of making a cake version of trifle dessert! I decided to use a basic sponge as a base and lady fingers holding the cake’s shape (hence me experiments of baking lady fingers last week). Basically the aim was to make an edible dish if you know what I mean ;-). The result was great, however if I made this again, I would have filled it with more filling (the recipe edited accordingly). Unfortunately I wasn’t prepared for such a large trifle “dish” :-D. Here it’s how I got on… Trifle cake, perfect summer occasion cake!RASPBERRY TRIFLE CAKE

(for the sponge)

  • 225g butter
  • 225g sugar
  • 4 eggs
  • 225g plain flour
  • 2tsp baking powder

(for the filling)

  • 500g mascarpone and 500g fresh custard mixed together
  • 100ml sweet fruity liquor (such as cherry or  blackberry liquor)
  • 500g or more raspberries, drizzled with 2 tbsp elderflower cordial and lightly mashed

(extras)

  • lady fingers, enough to cover the cake sides (try baking your own or just buy them ready baked)

1. Bake the sponge. Cream butter with sugar then gradually add eggs, flour and baking powder. Mix everything to combine well. Spoon the cake mixture into lined round baking tin and bake it in the preheated 180C oven for 45min or so.

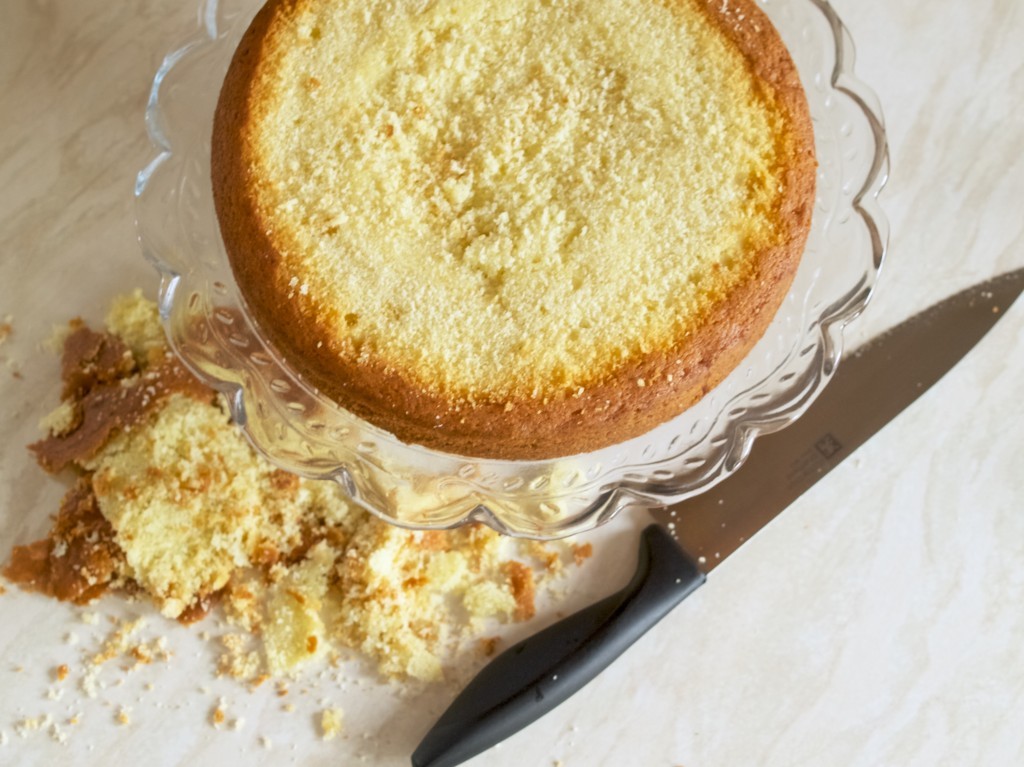
2. Once the sponge has cooled I have cut the top away with the knife. The reason for this was so there would be no “hill” caused by the rising cake and because I did not want the crust stopping the sponge from absorbing the liquor.Trifle cake, perfect summer occasion cake!3. Next I have arranged the lady fingers around the sponge base sides. I used a bit of filling cream to make them stick. I tied the ribbon to fix everything in place.Trifle cake, perfect summer occasion cake!4. Layer the filling! Started with the cream layer then the raspberries (then the cream and raspberries again and so on), just because I thought cream would seal the sides better and stop the raspberry juice running through the lady finger gaps. Trifle cake, perfect summer occasion cake! Trifle cake, perfect summer occasion cake!Chill the trifle cake in the fridge before serving. Enjoy!

Rasa xoxo
Leia’s birthday celebrations!

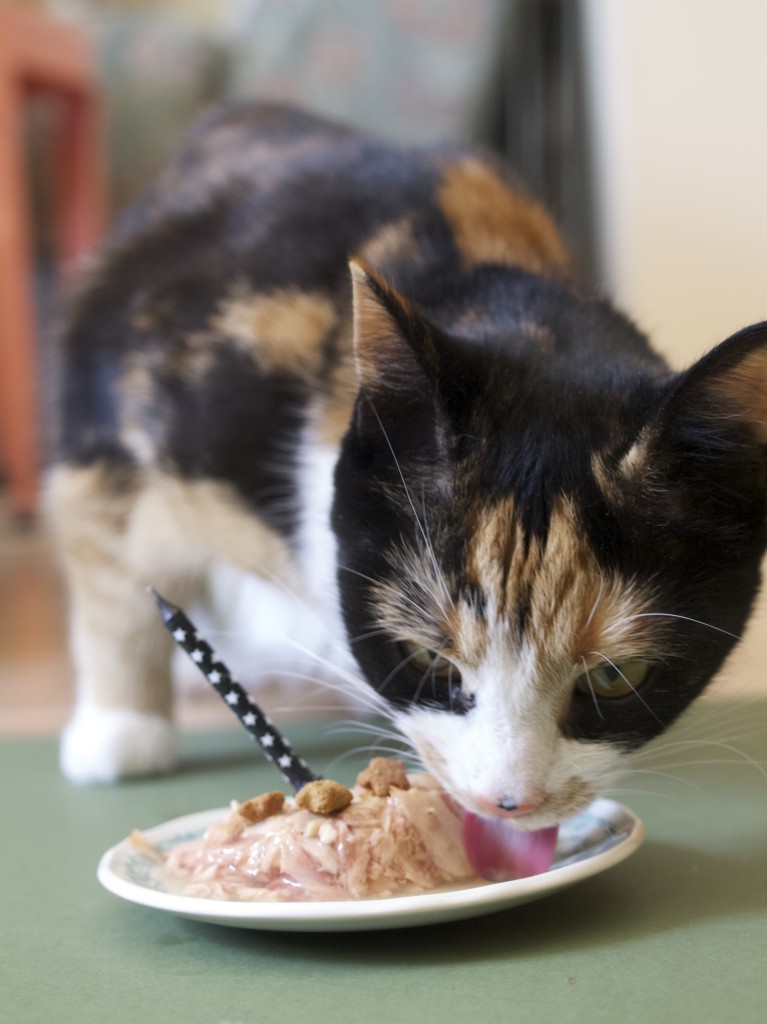
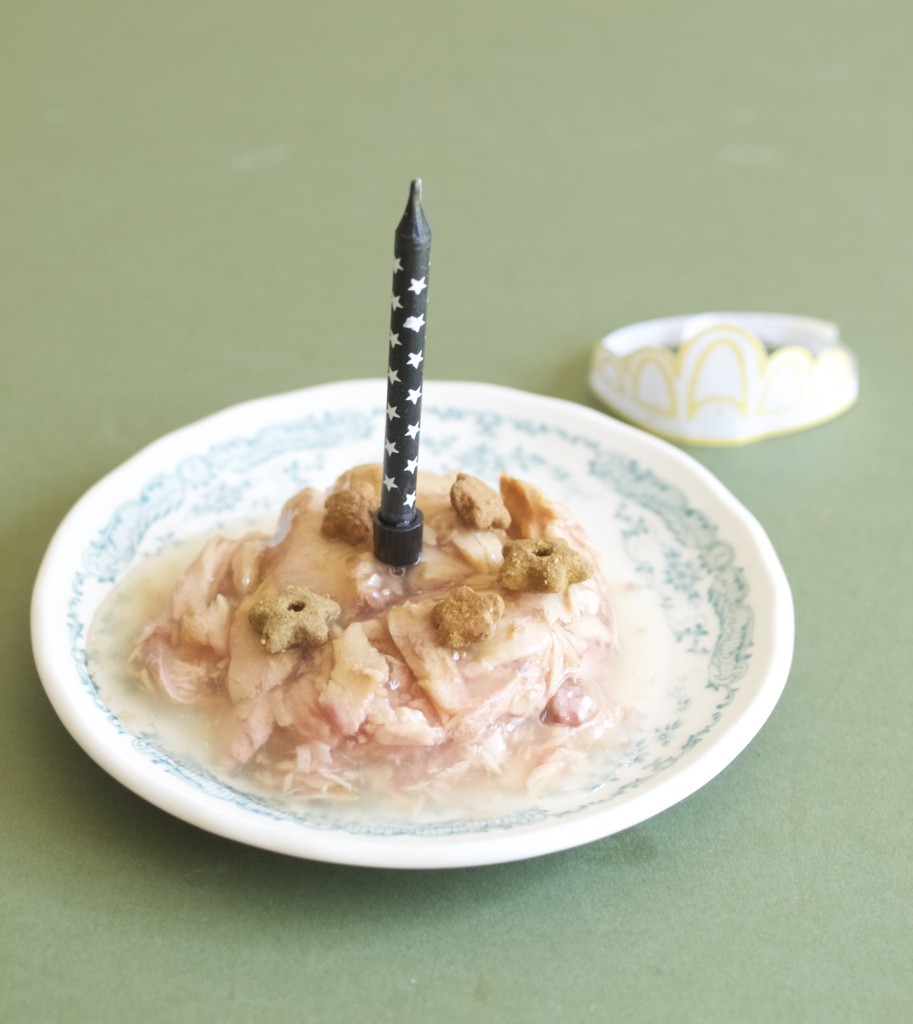
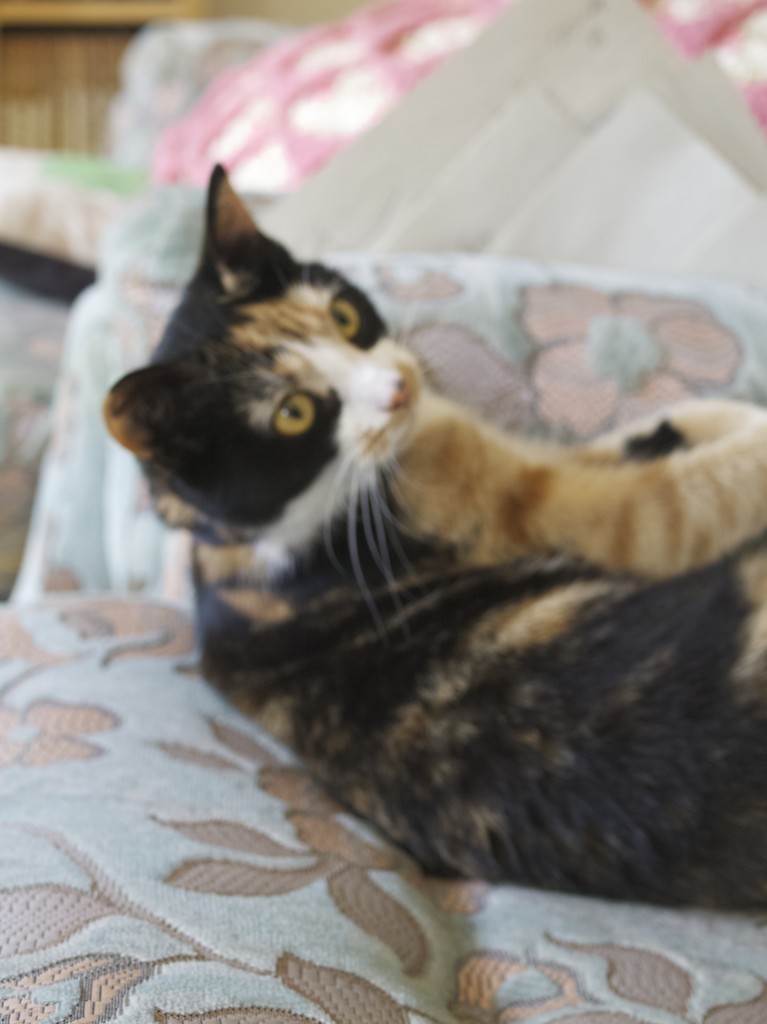
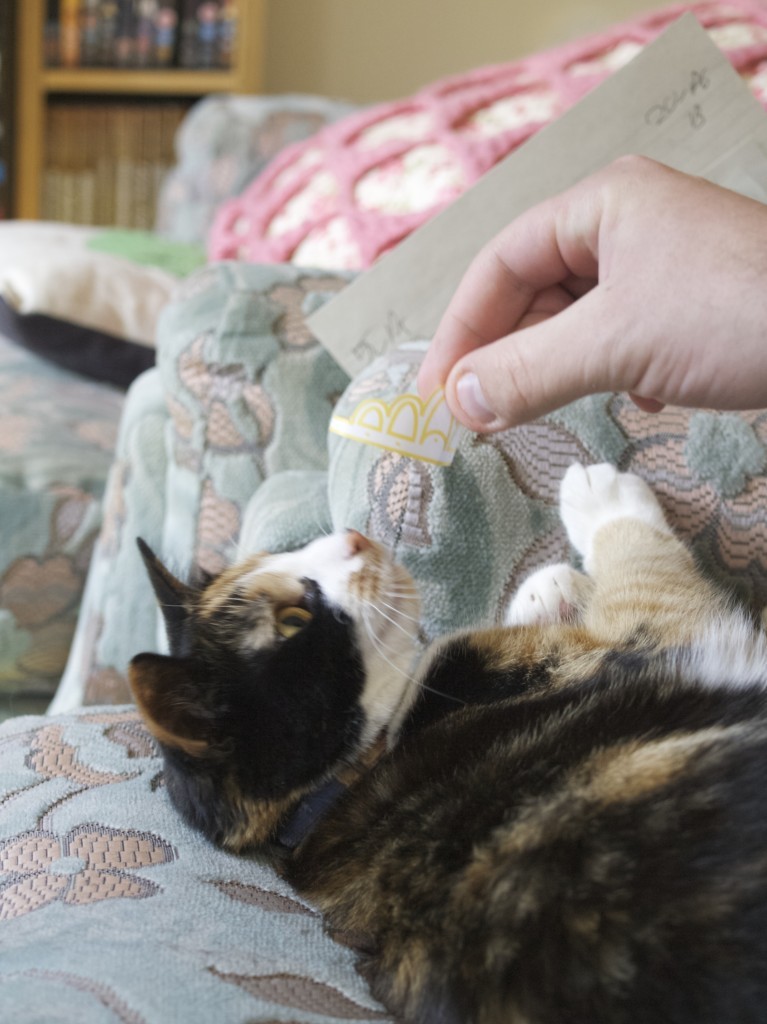
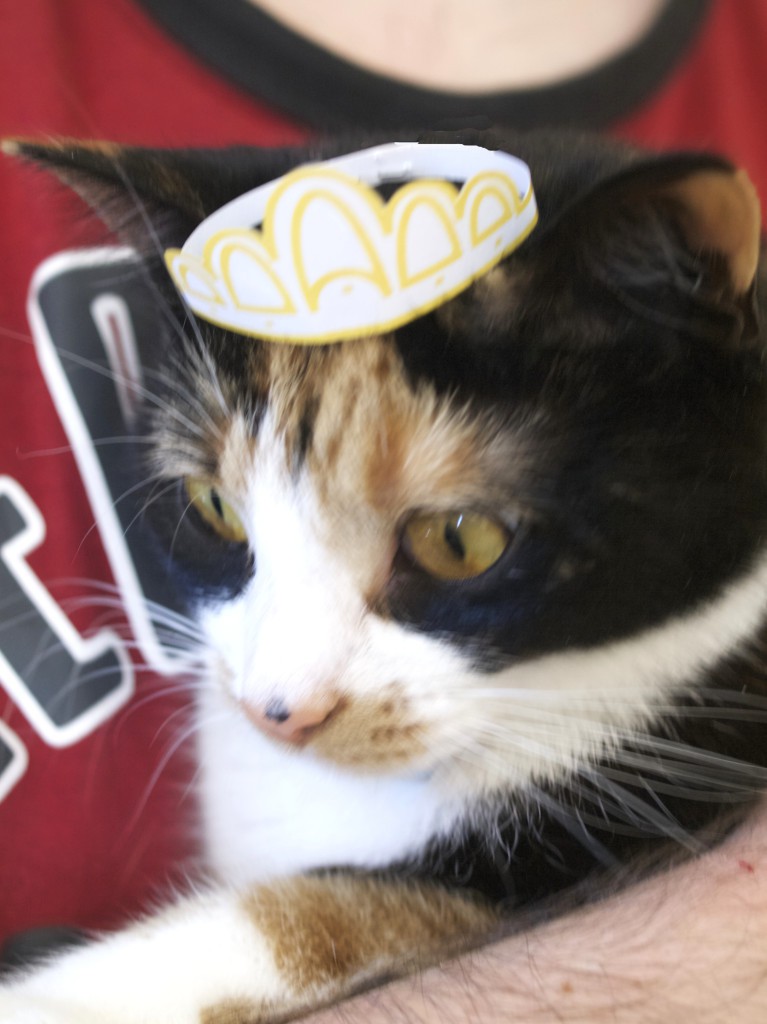
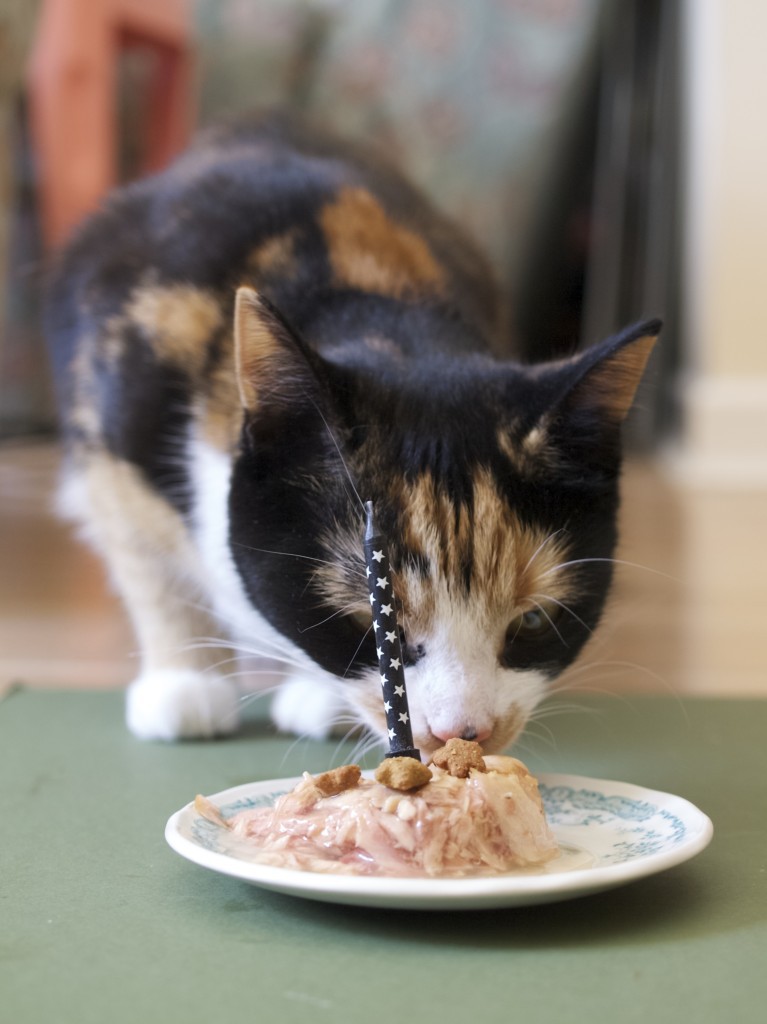
Leia's Birthday CelebrationsYesterday Princess Leia turned 1 years old (Yey!), which makes her and an adult cat now (even though she still acts like a teenager). I decided to celebrate it today however, because Saturday is the day when I am mostly free! I made her a “cake” out of tuna decorated with the treats (because she just would not enjoy a regular birthday cake) and tried placing a tiara on her head…Leia's Birthday CelebrationsTo be completely honest after seeing this a while ago I had a specific image in my head how I would celebrate Leia’s birthday. However I later realised that Leia is a cat and would not voluntarily wear a hat or eat a sweet cake (I don’t even think this would be safe for her to eat). But since she is a Princess I thought I could at least make her wear a tiara. Initially I thought I could crochet it, but then I shouted to myself “whom am I kidding?”. This much effort for crocheted tiara would most likely go to waist! Thats when I made a tiara out of paper. Leia's Birthday CelebrationsAs suspected Princess Leia did not like her crown :-(.Leia's Birthday CelebrationsBut we made her wear it anyways :-DLeia's Birthday CelebrationsFancy making tiara for your own cat? here is the drawing. All you need to do is cut it out and staple both ends together for the size you need ;-). Kitten's tiaraWell… At least Leia liked her birthday “cake”!Leia's Birthday CelebrationsI hope you have been entertained :-)

Rasa xoxo
0

My favourite moments of 2014

Eden Project 2014Hey dear crafters! Today is the last day of 2014! Are you ready for new beginnings? I love a fresh start, but also loved 2014. The year that is about to end was exciting and fun. This year is the year is when one of my biggest dreams came through as I got married to Joni!

2014 started with a trip to Eden Project. I like going somewhere warm while it’s cold outside! While the Eden Project isn’t in a hot country it’s easy to imagine it is when you are surrounded by tropical plants. I feel super lucky to be able to travel to Florida this January (so looking forward! my bags are already packed with many summer dresses!).

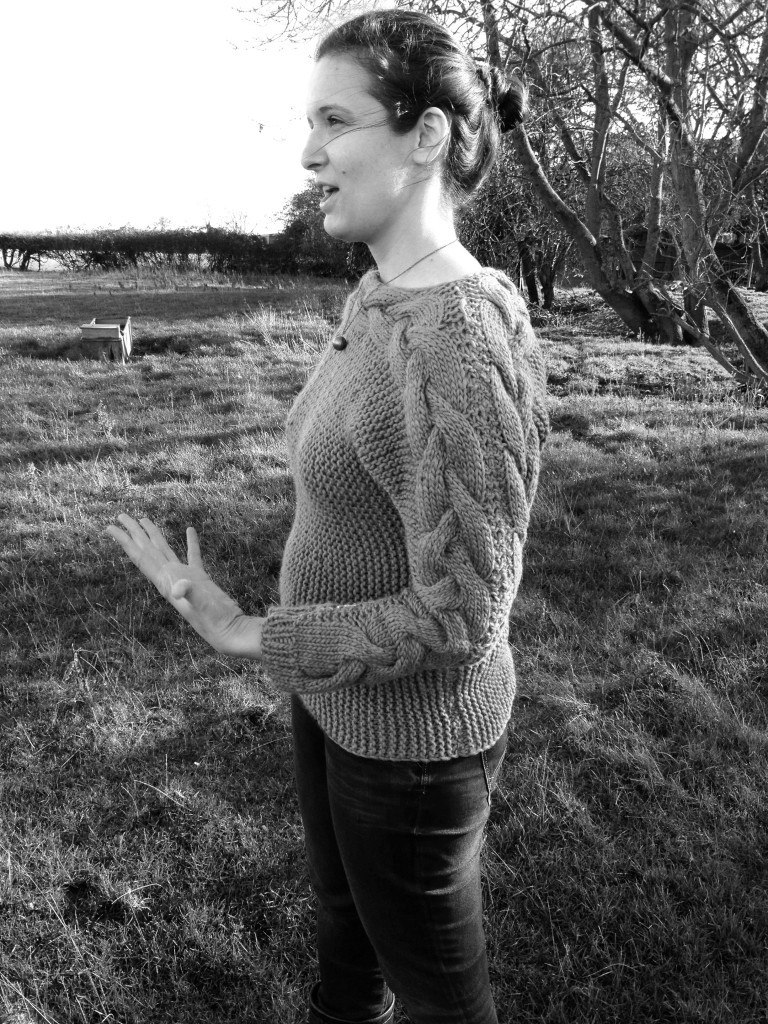
If I had to pick my favourite knitting project of 2014, I would definitely choose my knitted cable sweater. It’s the first sweater I have ever knitted and I love it so much up to this day and wear it quite frequently.My first ever hand knitted sweater: so pleased!2014 is when Joni visited Lithuania for the first time to meet my parents. It was a very misty weekend!Lithuanian mountainsVisiting Aunt Olivia in Beaulieu was also quite memorable (especially all those wild ponies!).

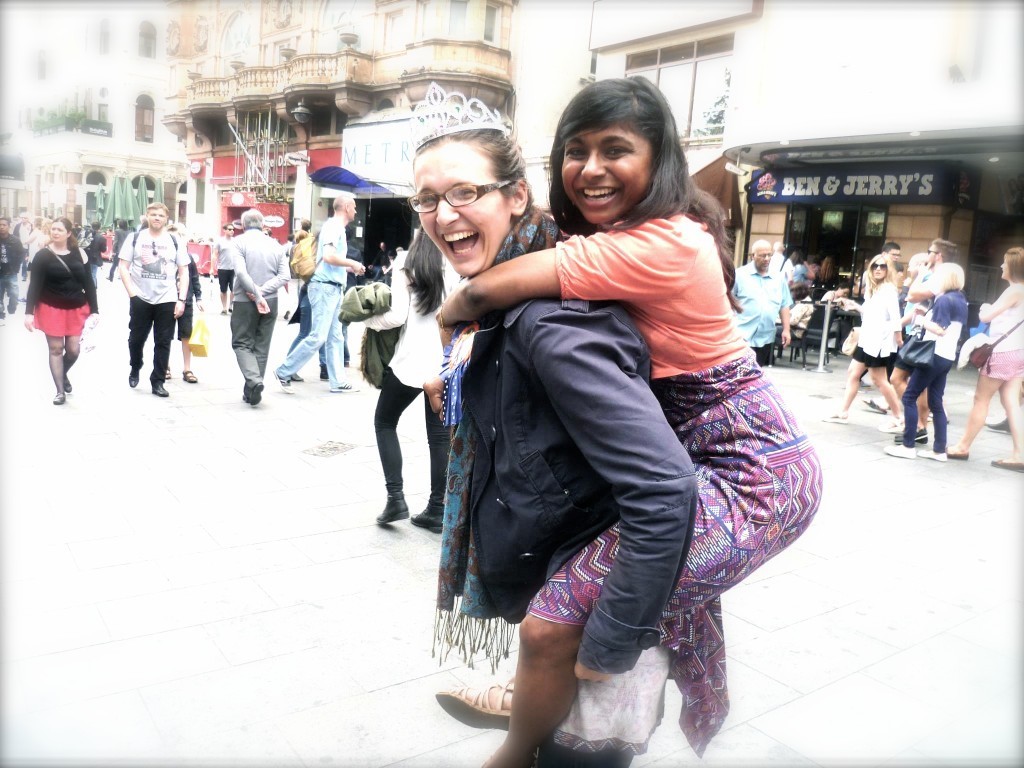
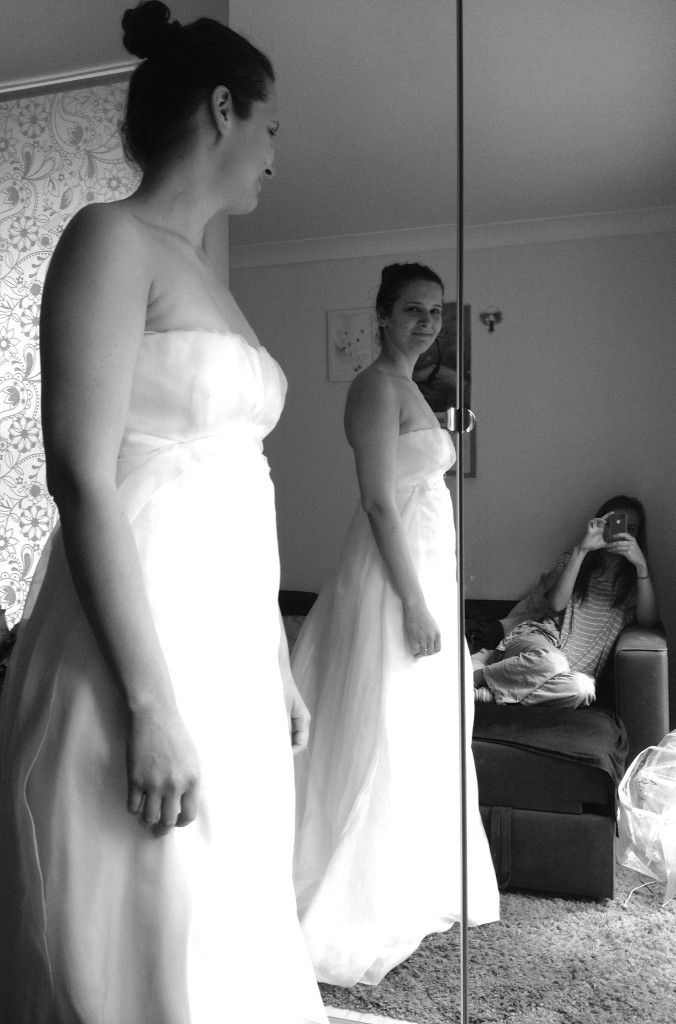
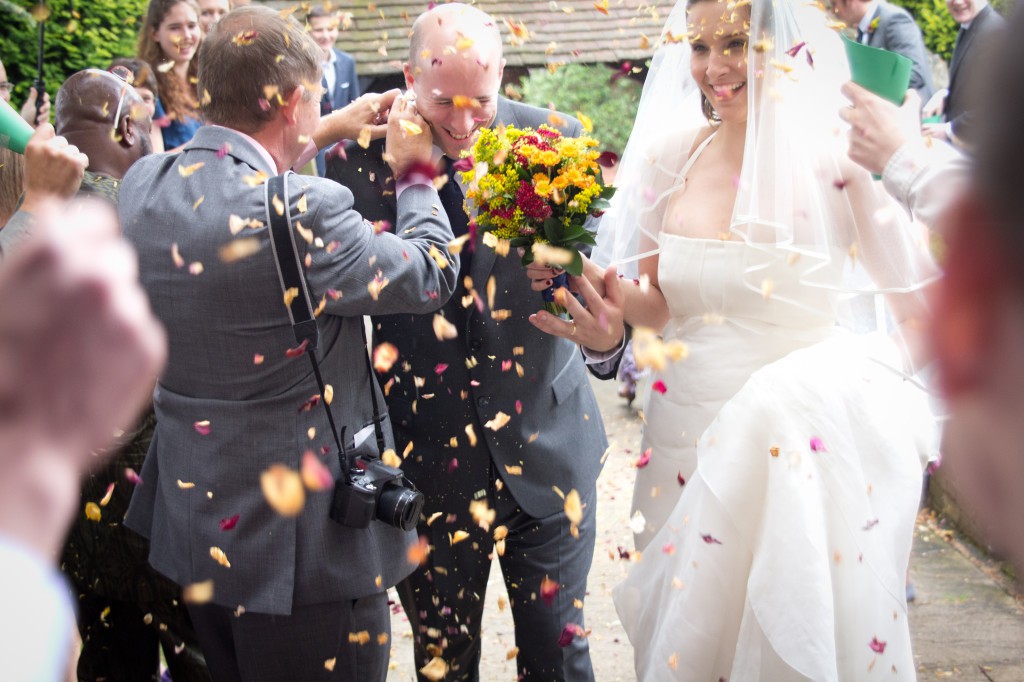
Beautiful Beaulieu I love spring and 2014 spring has been the bestiest so far! See what I have created while enjoying the meadow!Enjoying spring meadowA huge thanks to Suzanne for organising the most amazing Hen-do ever!My most amazing hen-doMy Wedding preparations has been stressful on some occasions, but I am thankful for the moments I had with Vicki. She was the only one who was able to fit me into my wedding dressWedding PreparationsOur Wedding was perfect if not better how we expected. The only thing I would do differently is choose the photographer carefully, especially when they are your friends. Our weddingWe spend our honeymoon in Tuscany where we enjoyed plenty of wine. You would never guess where we wanted to go for our honeymoon originally! It was Iceland, but we thought it would be nice to visit it in different season. Next autumn perhaps, to see the Northern Lights?

Here I am wearing one of the bridesmaid dresses that I made. I loved it so much that I wear it so often (thankful to Nicola for giving it back to me). Honeymoon in TuscanyAfter a honeymoon we had another Wedding celebrations in Lithuania. This was Joni’s second time in my home countly!Wedding celebrations in LithuaniaIn September for my birthday we welcomed Princess Leia into our team.  She is so fun to play with (a bit distracting when I am trying to get some work done!).

Our cat Princess LeiaVisited Granny Elizabeth twice in lovely Cley-next-the-Sea!Cley-next-the-seaVisiting Lithuania for Christmas is a nice way to end the year! I just wish there were snow on the seaside…Seaside in WinterI hope you have great New Year celebrations and may 2015 bring you fresh new beginnings ;-)

Rasa x

0

Evangeline’s birthday cake

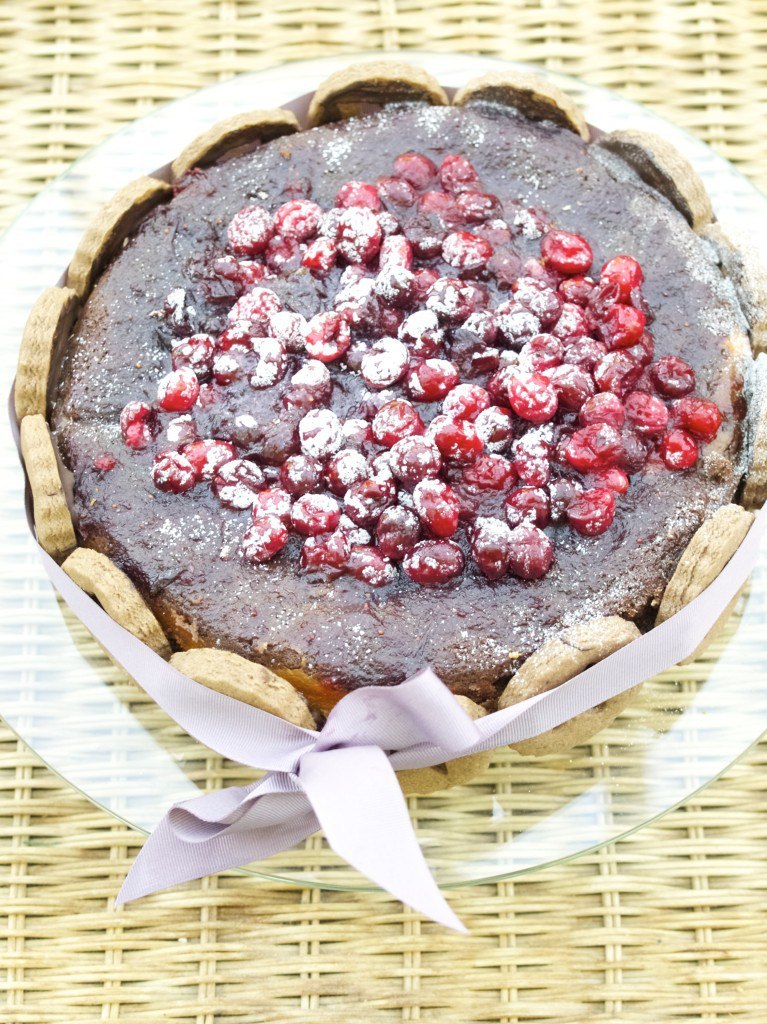
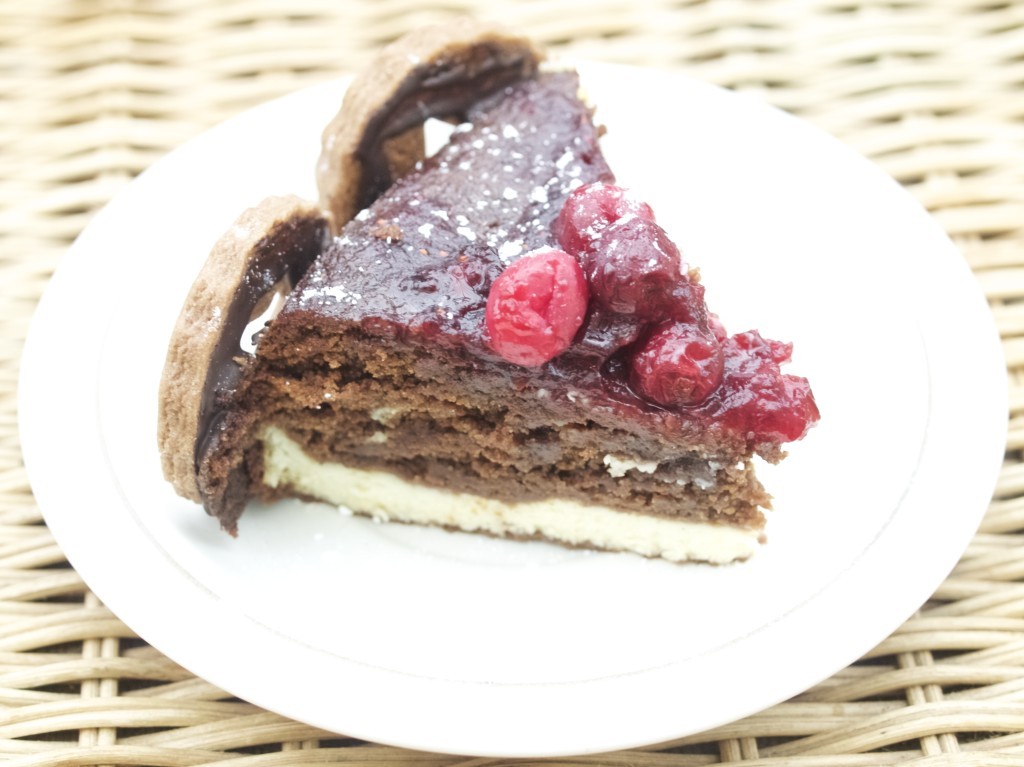
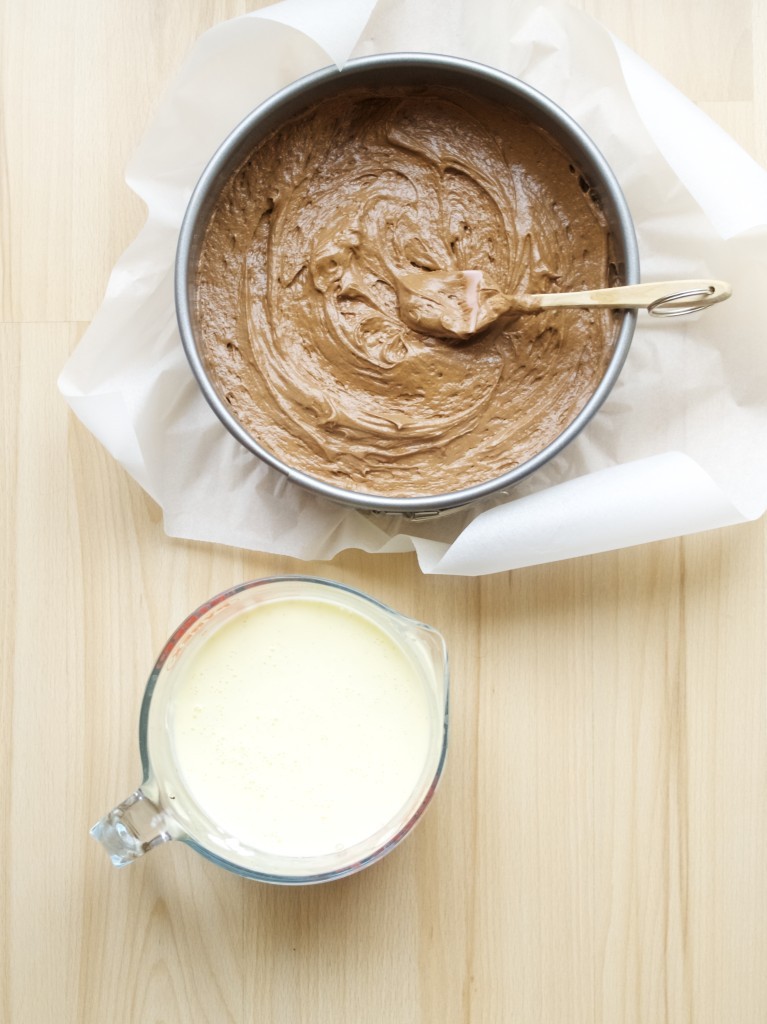
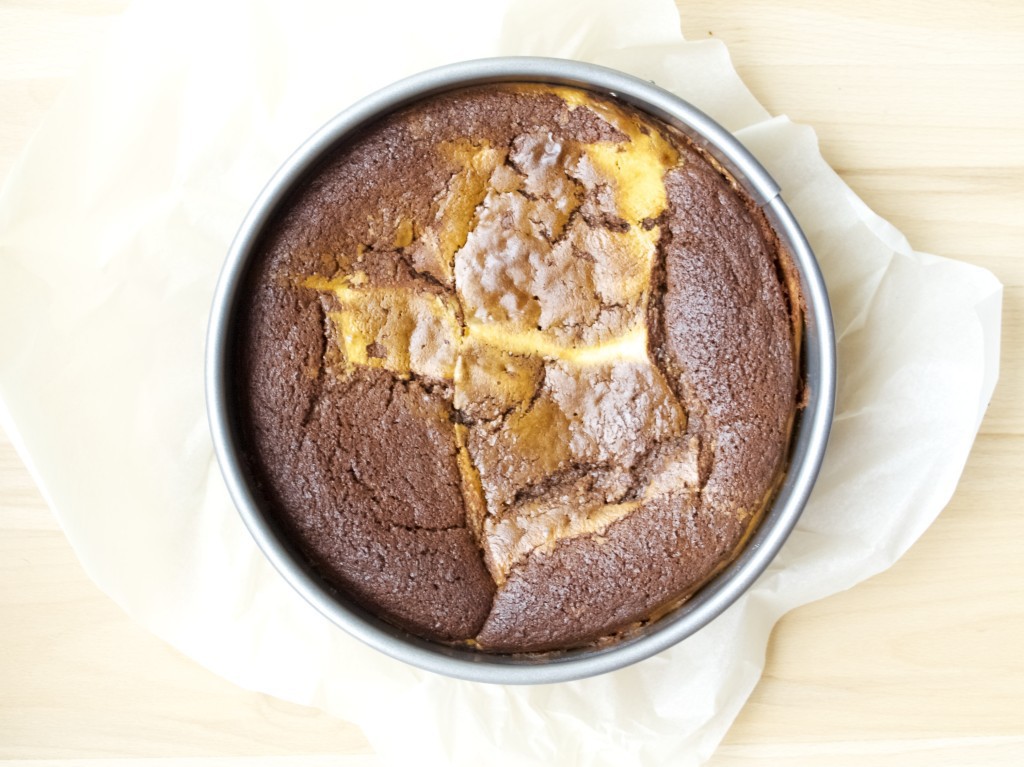
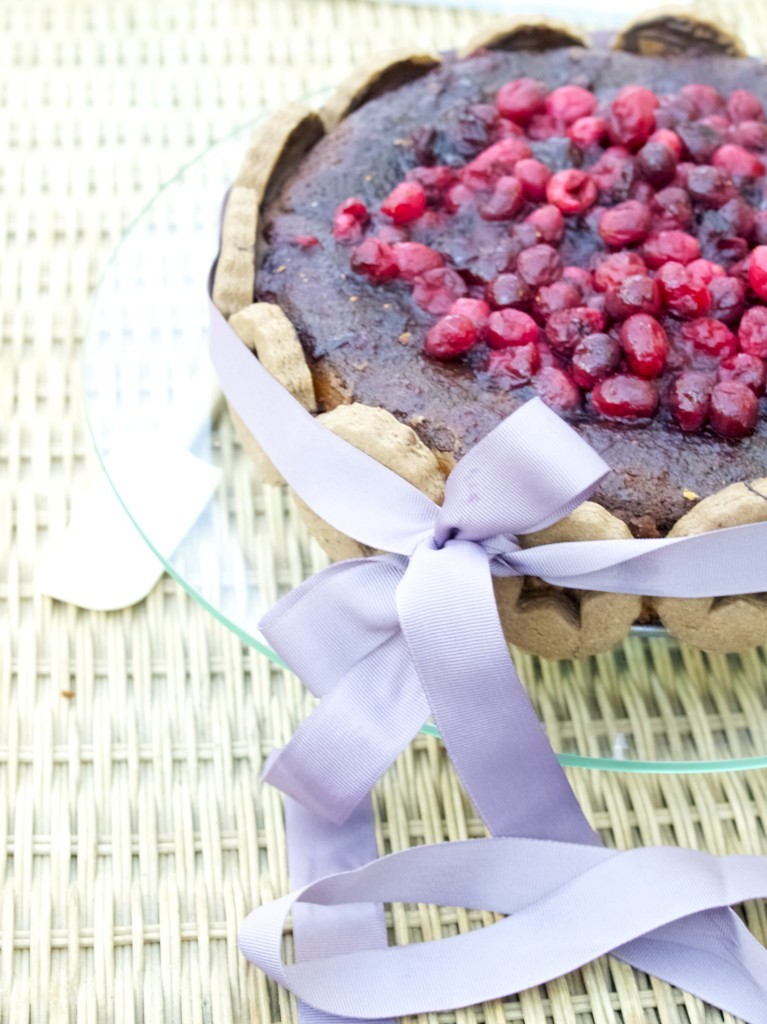
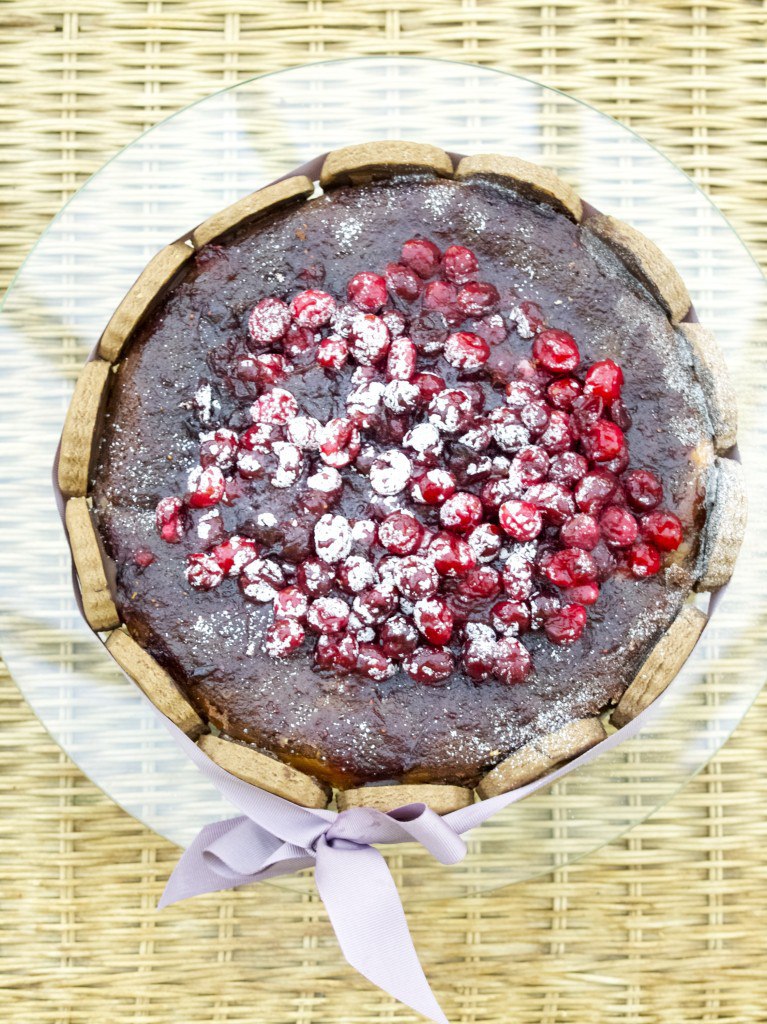
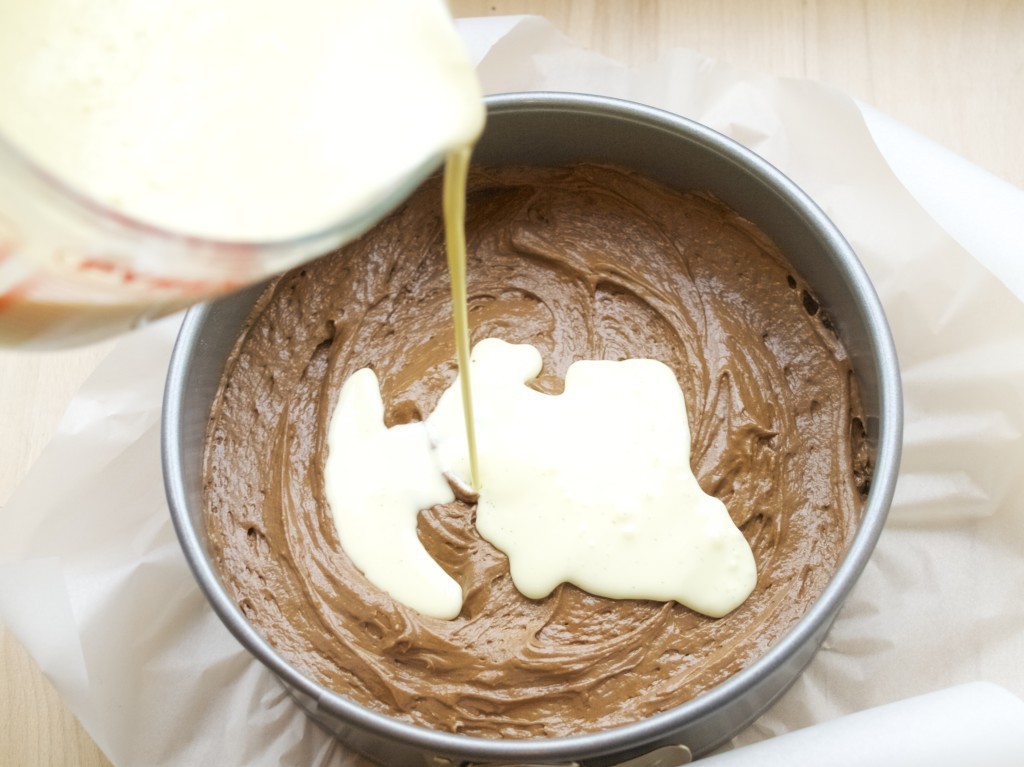
Chocolate sponge and Vanilla Cranberry cheesecake in oneThis cake that I baked for Evangeline’s birthday almost two weeks ago was received with the “awww…” wow!” and “that’s amazing” praises. Little did the know that this cake did not come out exactly how I imagined! I was experimenting with baking cheesecake on the top of the sponge (something like this). I took two of my favourite recipes and combined, the cheesecake unfortunately went under the sponge. I guess I will have to do more experimenting in the future! Chocolate sponge and Vanilla Cranberry cheesecake in oneCHOCOLATE SPONGE & VANILLA CHEESECAKE WITH THE CRANBERRY TOPPING

(for the sponge)

  • 50g dark chocolate
  • 55g butter
  • 100g golden caster sugar
  • 1 egg
  • 2tbsp milk
  • 2tbsp yogurt
  • 70g plain flour
  • 2tsp baking powder

(for the cheesecake filling)

  • 400g soft cheese
  • 120g caster sugar
  • 1 tsp cornflour
  • 3 eggs
  • vanilla seeds scraped from one pod
  • 1/4 tsp lemon juice or white vinegar

(for the topping)

  • 200g cranberry sauce
  • 300g fresh cranberries
  • 50g sugar

1. First make a chocolate sponge cake mix. Melt the chocolate in a heatproof bowl set over a pan of simmering water, then remove from the heat and set aside.

2. In Another bowl, cream the butter and sugar together until pale and fluffy. Add the rest of the ingredients gradually (including melted chocolate) and mix to combine. Spoon the mixture into the prepared baking pan.

3. Next, make a cheesecake filling. Place all the ingredients into the bowl or large measuring jug and mix everything well with the hand processor (I find this method the quickest!).  Chocolate sponge and Vanilla Cranberry cheesecake in one4. Pour in the cheesecake mixture on top of the sponge cake mixture. Pop the baking tin into the preheated 170C oven and leave there to bake for about an hour or hour and half. The cheesecake has to be not too wobbly!Chocolate sponge and Vanilla Cranberry cheesecake in one5. While cheesecake is baking, prepare the cranberry topping. Put cranberries, sugar and cranberry sauce into the small saucepan. Heat everything and mix until the sugar dissolves and cranberries bruise slightly.

Chocolate sponge and Vanilla Cranberry cheesecake in one6. Once cheesecake is cooked and cooled top it with the cranberry topping and let it set in the fridge for at least 2 hours.

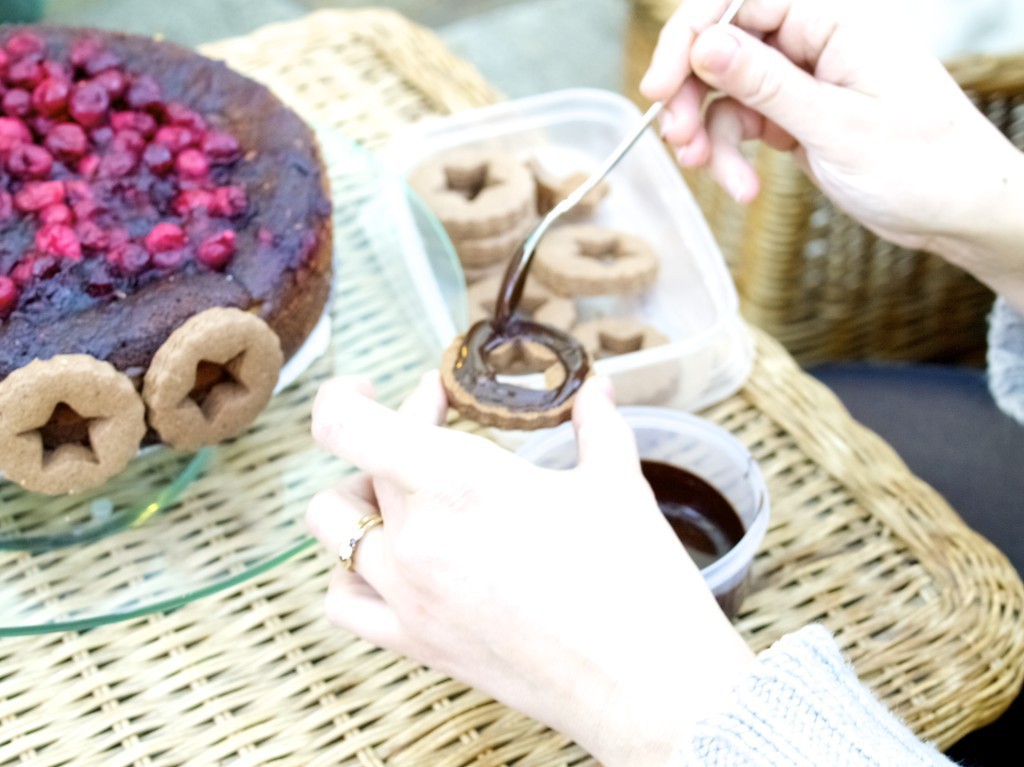
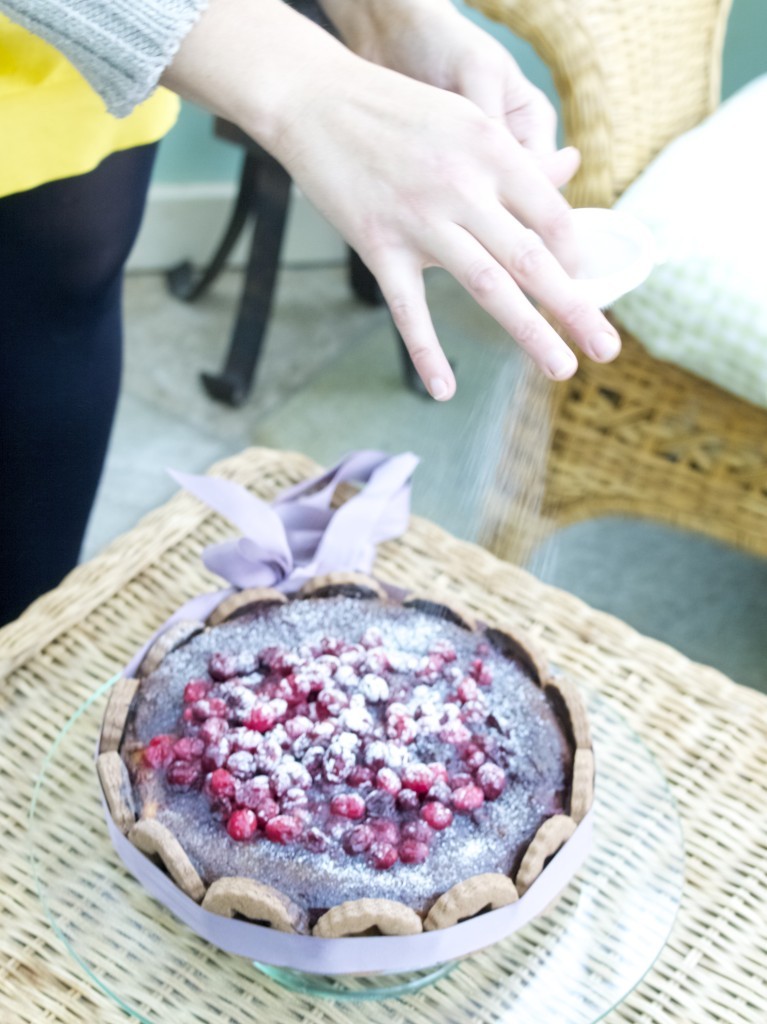
7. Decorate this cheesecake with biscuits. I used some melted chocolate as a glue!Chocolate sponge and Vanilla Cranberry cheesecake in oneA nice ribbon holds everything in place and it makes the cake look so cute!Chocolate sponge and Vanilla Cranberry cheesecake in oneYou can dust the cake with some icing sugar, but be warned! This lovely frosting effect does not last very long time :-(OLYMPUS DIGITAL CAMERA OLYMPUS DIGITAL CAMERAEnjoy cake decorating :-)

Rasa xoxo
0

Pinterest challenge: chocolate caramel and pecan turtle clusters

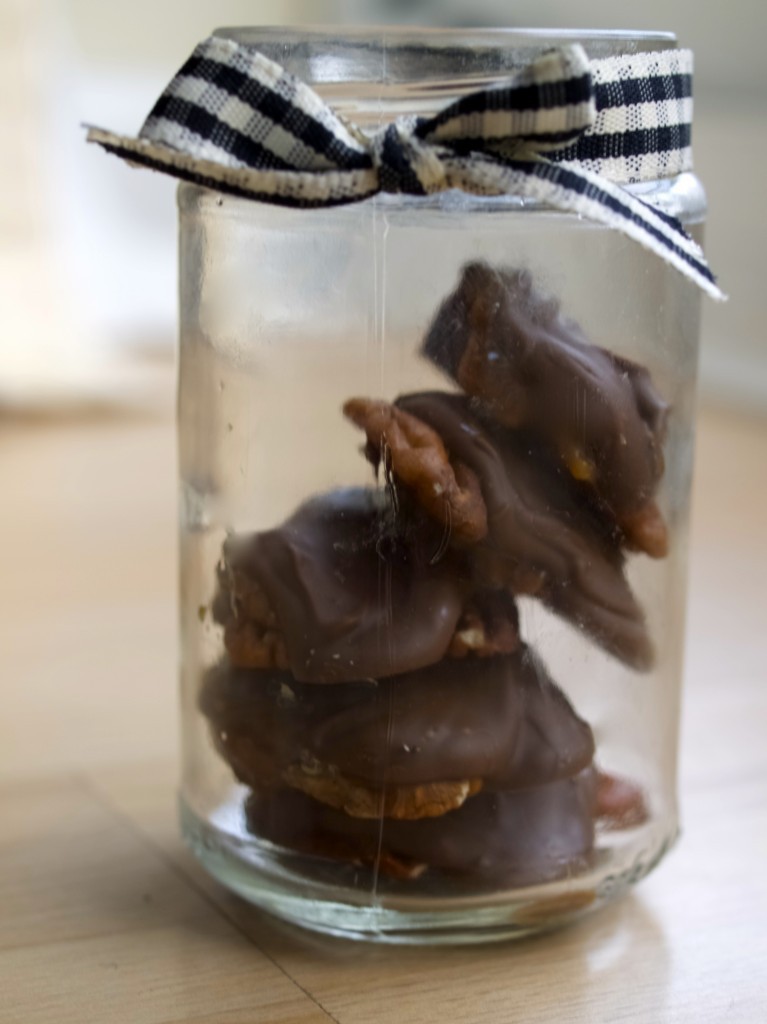
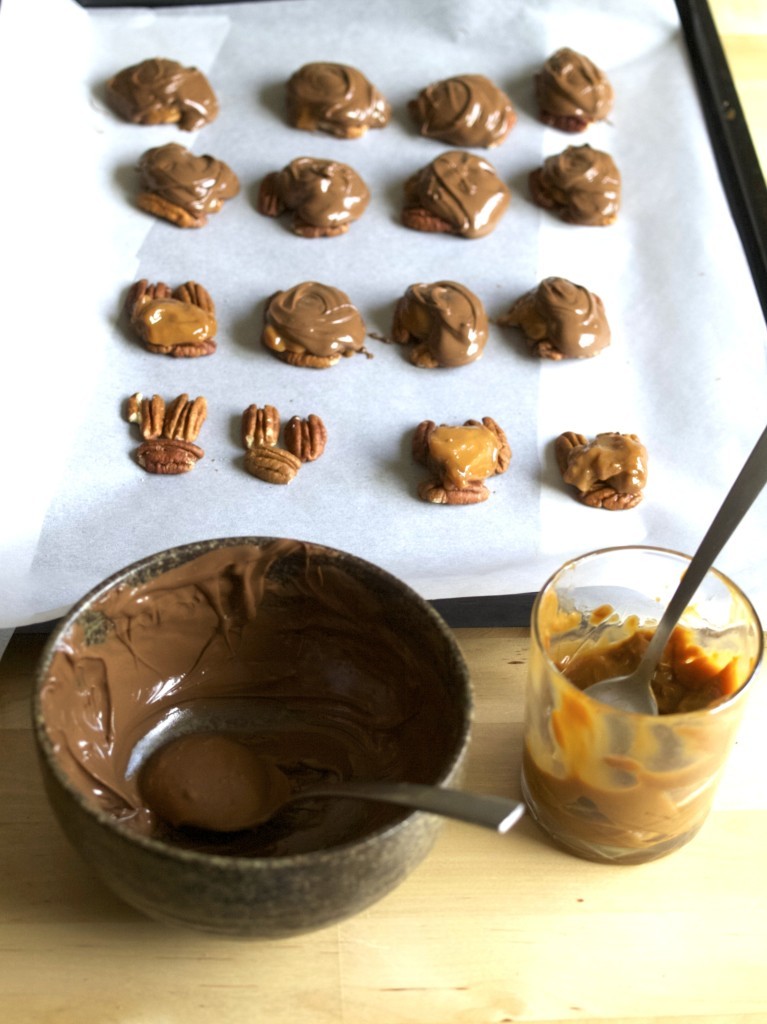
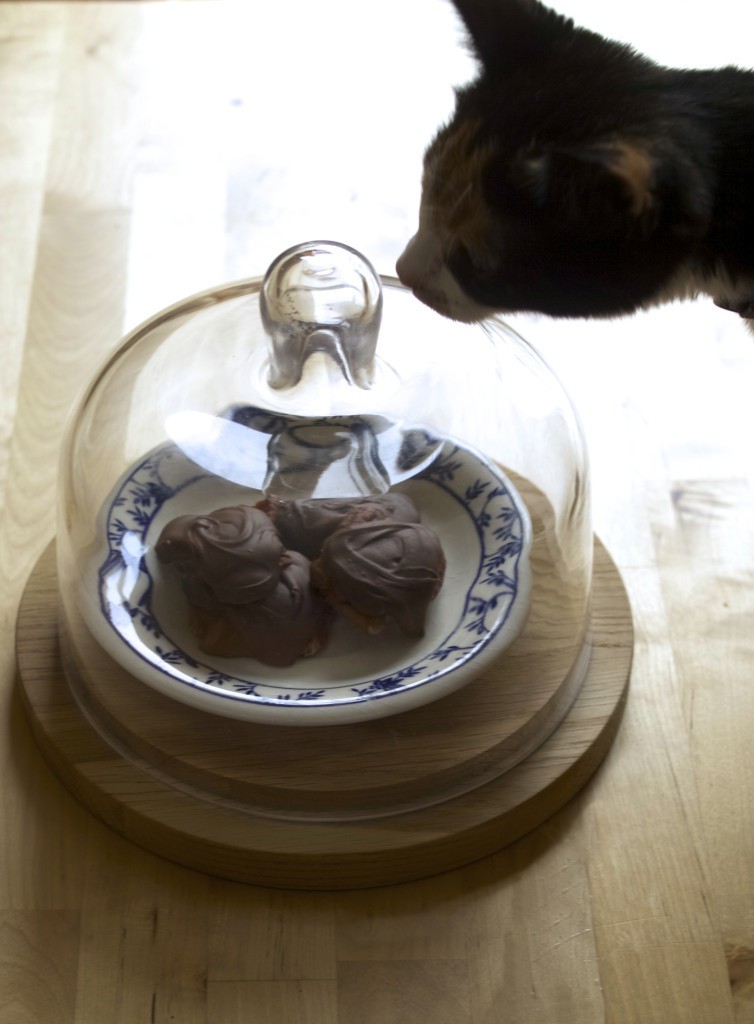
chocolate caramel and pecan turtle clustersI thought these mini sweat treats would be perfect for our house warming party, but never ended up making them. I eventually made them for a different reason, a serious need of chocolate fix! I found the recipe at Inspired Dreamer, but was quite disappointed with the missing instructions. It did not explain how to make the caramel! To be quite honest, I wanted a quick fix, so I was happy not to make any caramel, instead I used a shop bought. The only downside of that is that the shop bought caramel does not harden (unlike the homemade buttery caramel), therefore these clusters did not hold well (chocolate was holding everything). It was still very satisfying to eat, but if you made them with homemade caramel then they would be quite suitable to be wrapped like sweats or placed in the jar as a gift!chocolate caramel and pecan turtle clustersCHOCOLATE CARAMEL AND PECAN TURTLE CLUSTERS adopted from Inspired Dreamer 

  • 100g pecan nuts, toasted (whole)
  • 100g caramel
  • 200g milk chocolate, melted

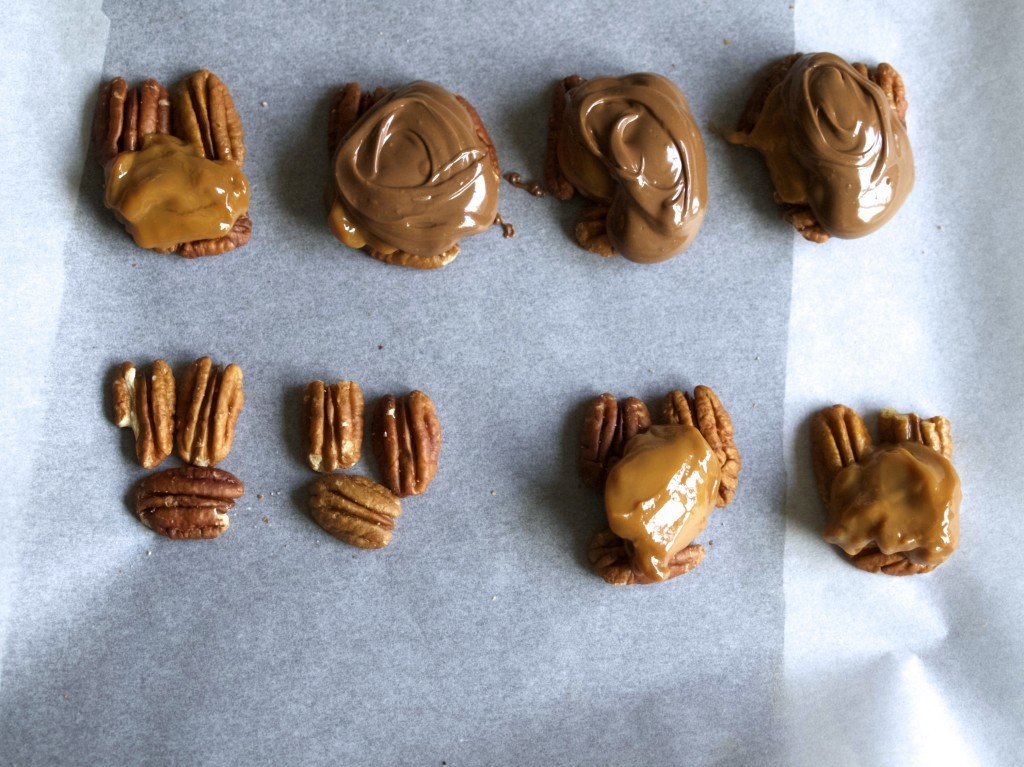
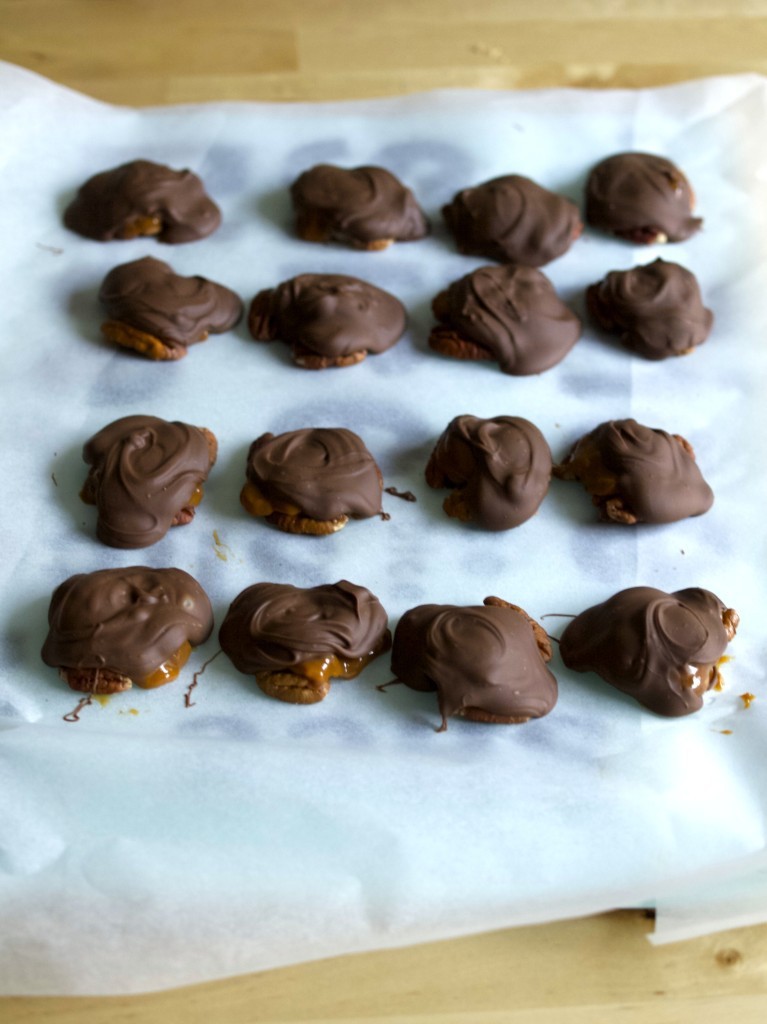
chocolate caramel and pecan turtle clusters1. Simply arrange the pecans onto baking paper (although no baking needed here), spoon a small portion of caramel of each and cover it with melted milk chocolate. chocolate caramel and pecan turtle clusters2. Place the tray into the fridge (or freezer if you want a quick result) and it is ready in 15 min!chocolate caramel and pecan turtle clustersEat them quick, before it’s gone!chocolate caramel and pecan turtle clustersHave a nice week ;-)

Rasa xoxo
0

Party decoration

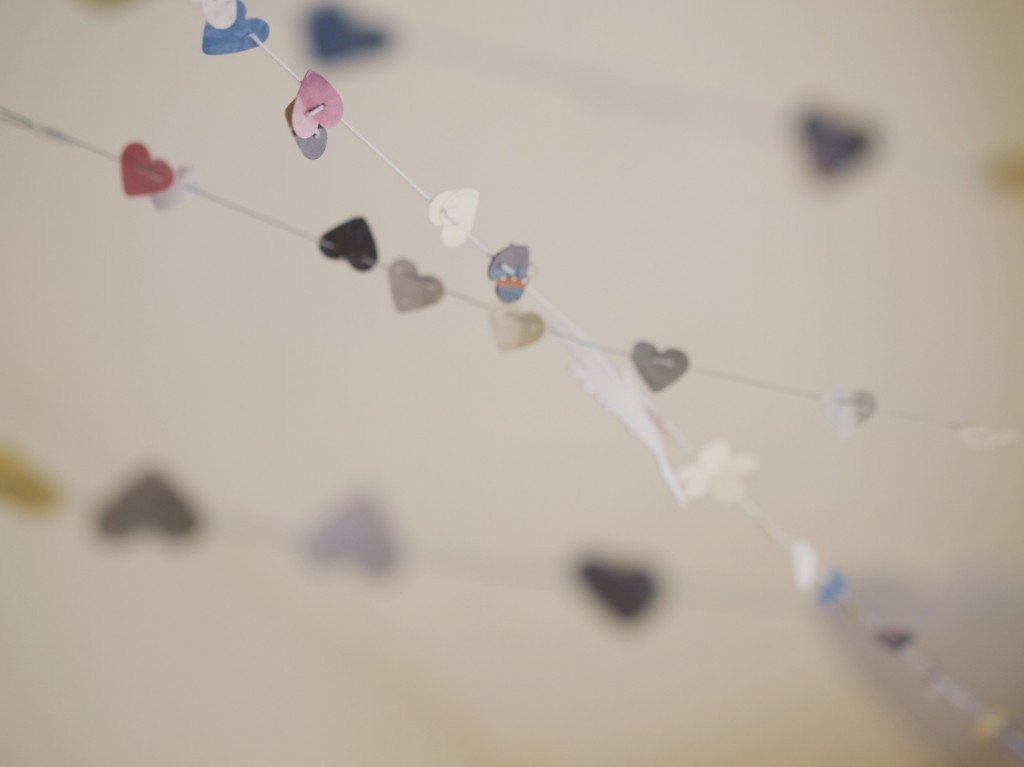
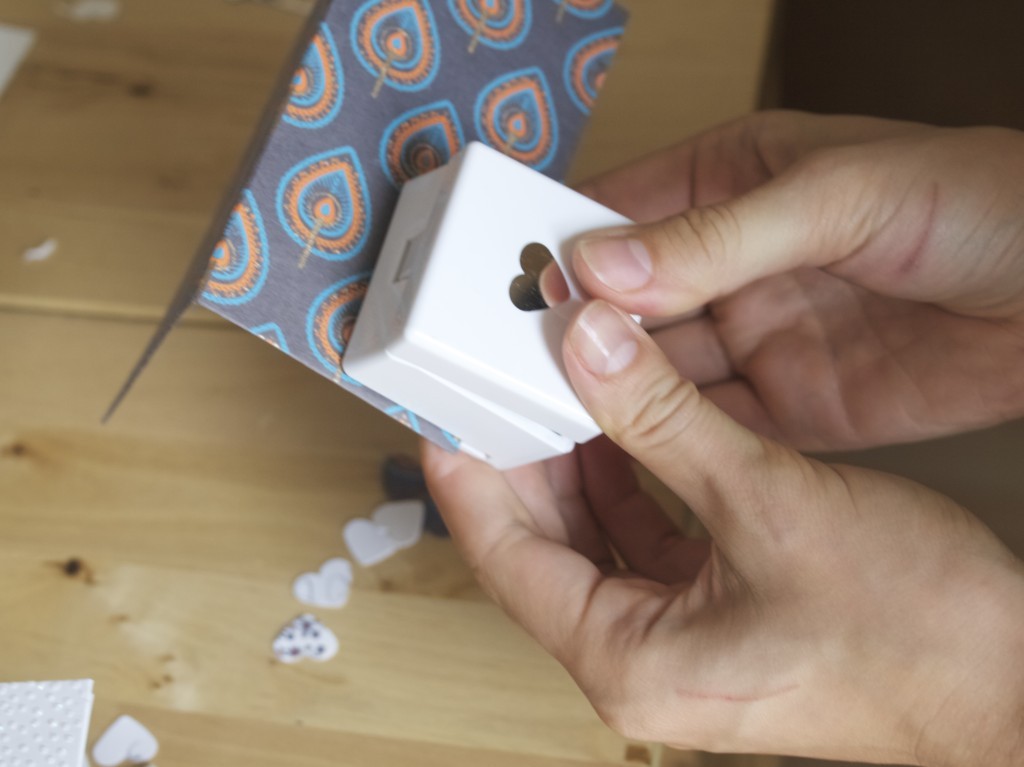
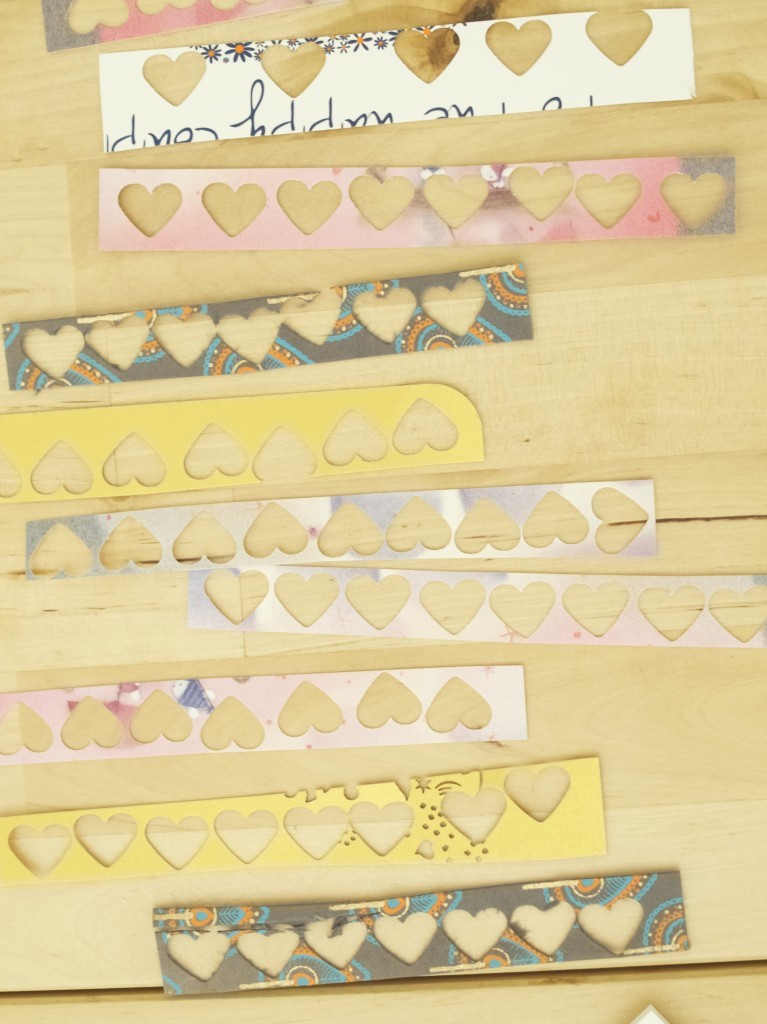
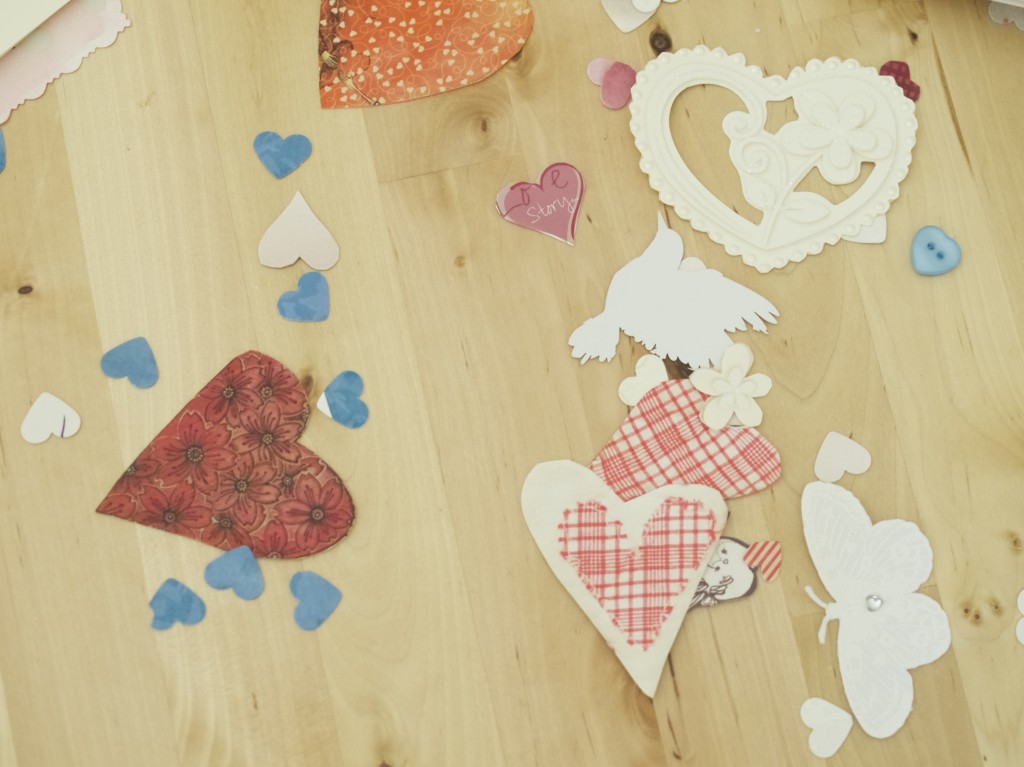
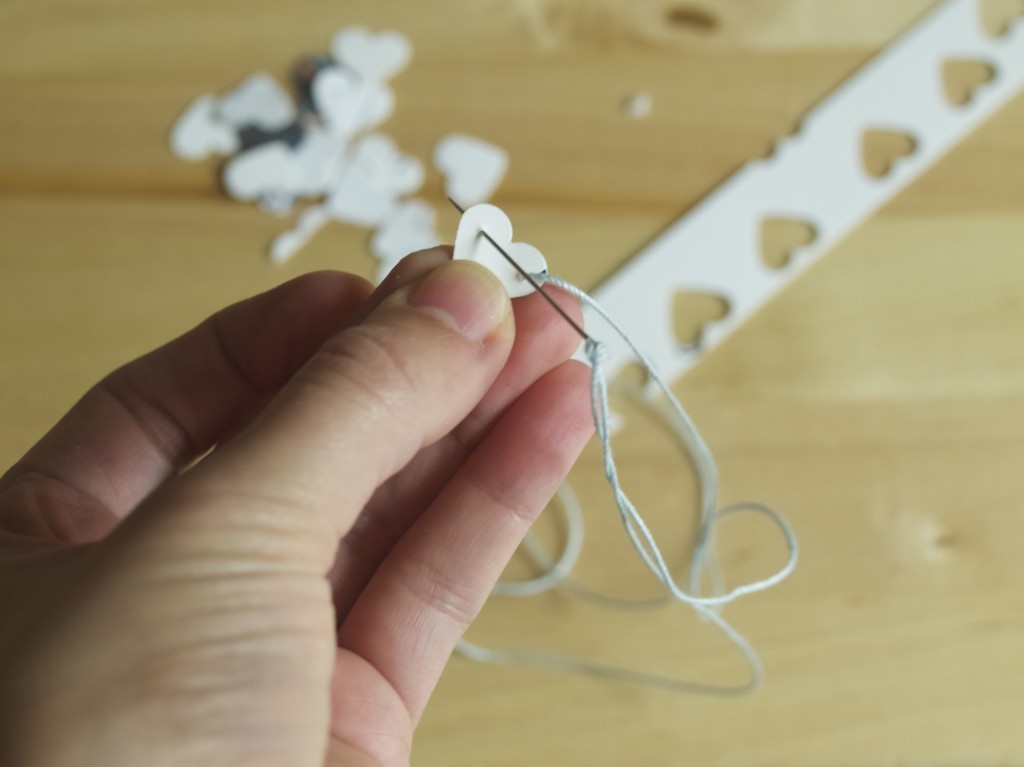
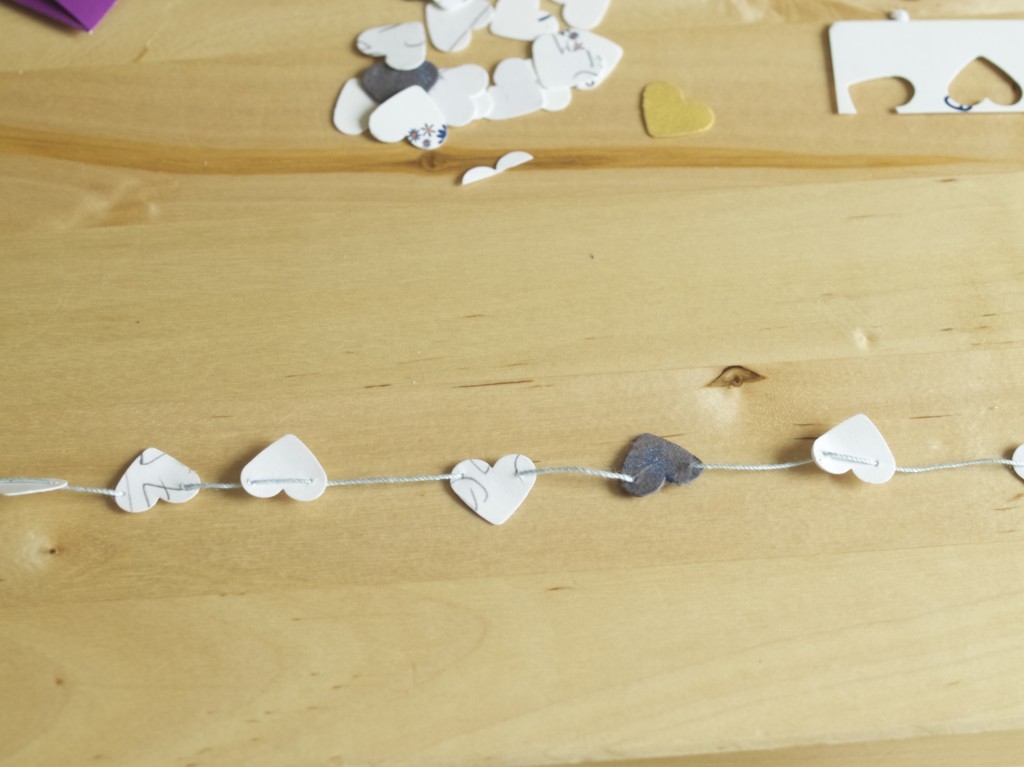
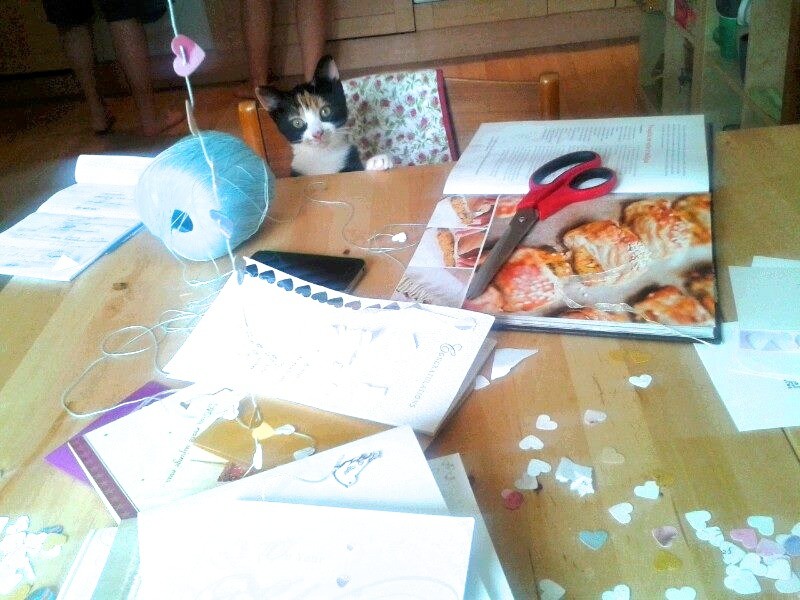
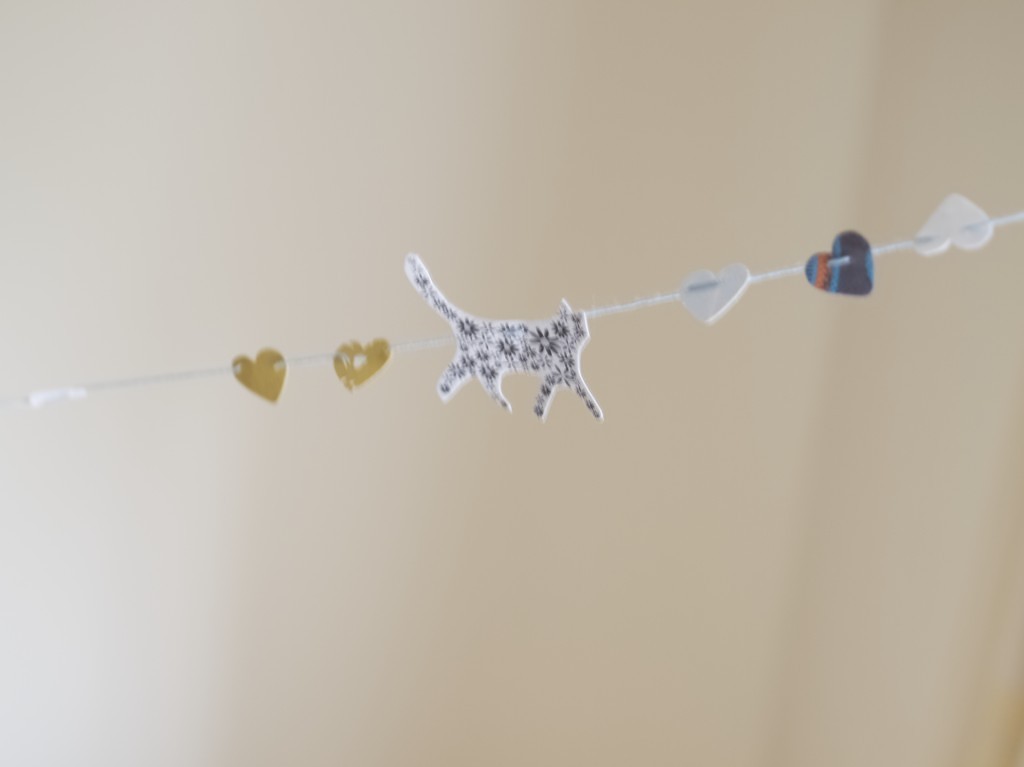
Making a garland out of greeting cardsLast weekend we had our house warming party! I got busy with the decoration straight away… well, at least with the planning. I generally love garlands, because they are fun to make and they give such a wow factor (if you make enough of them of course). I used all of those greetings cards that we have received for our engagement and wedding, because I would not like to throw them out (but I can’t keep them either). I absolutely love reusing something that I already have! Making a garland out of greeting cardsWe simply (me and Vicki) have made many heart shapes out of the greeting cards by using this heart hole punch. They are easy to find in many craft shops, I am sure one of the Tiger shops would have them ;-). Making a garland out of greeting cards Making a garland out of greeting cardsVicki even cut out some of the shapes that she found on the cards. Here you could find even more hearts, birds, flowers and even butterflies!!! Making a garland out of greeting cardsMeanwhile I started connecting all the card shapes with needle and thread. Making a garland out of greeting cards Making a garland out of greeting cardsLeia was really eager to help, mainly because she believed that we are making a new toy for her. Making a garland out of greeting cardsBut we did include a cat shaped card figure on the garland which we thought was super cute!!! :)Making a garland out of greeting cardsHope you feel inspired for your future parties to come ;-)
Rasa x

3