Top

Archive | Lunch or Dinner

Date night in: paper and pen games

Idea for date night in: paper and pen games table layoutMe and Joni have not gone out for ages. When you got kids it’s just not easy. Everyone who have young kids I am sure can relate how difficult it is to find a babysitter! And when you do find a babysitter this once in the while outgoing can cost you at least £40. Am I right or am I wrong?

Recently Joni had an idea to have date nights in. And that changed the dating game completely! We set to have the date night in every Friday and we reduced the amount of tasks we need to do that day so we are free. This gives me something to look forward every week! Since the Valentines day is coming up I though I will share how we do these night ins ;-).

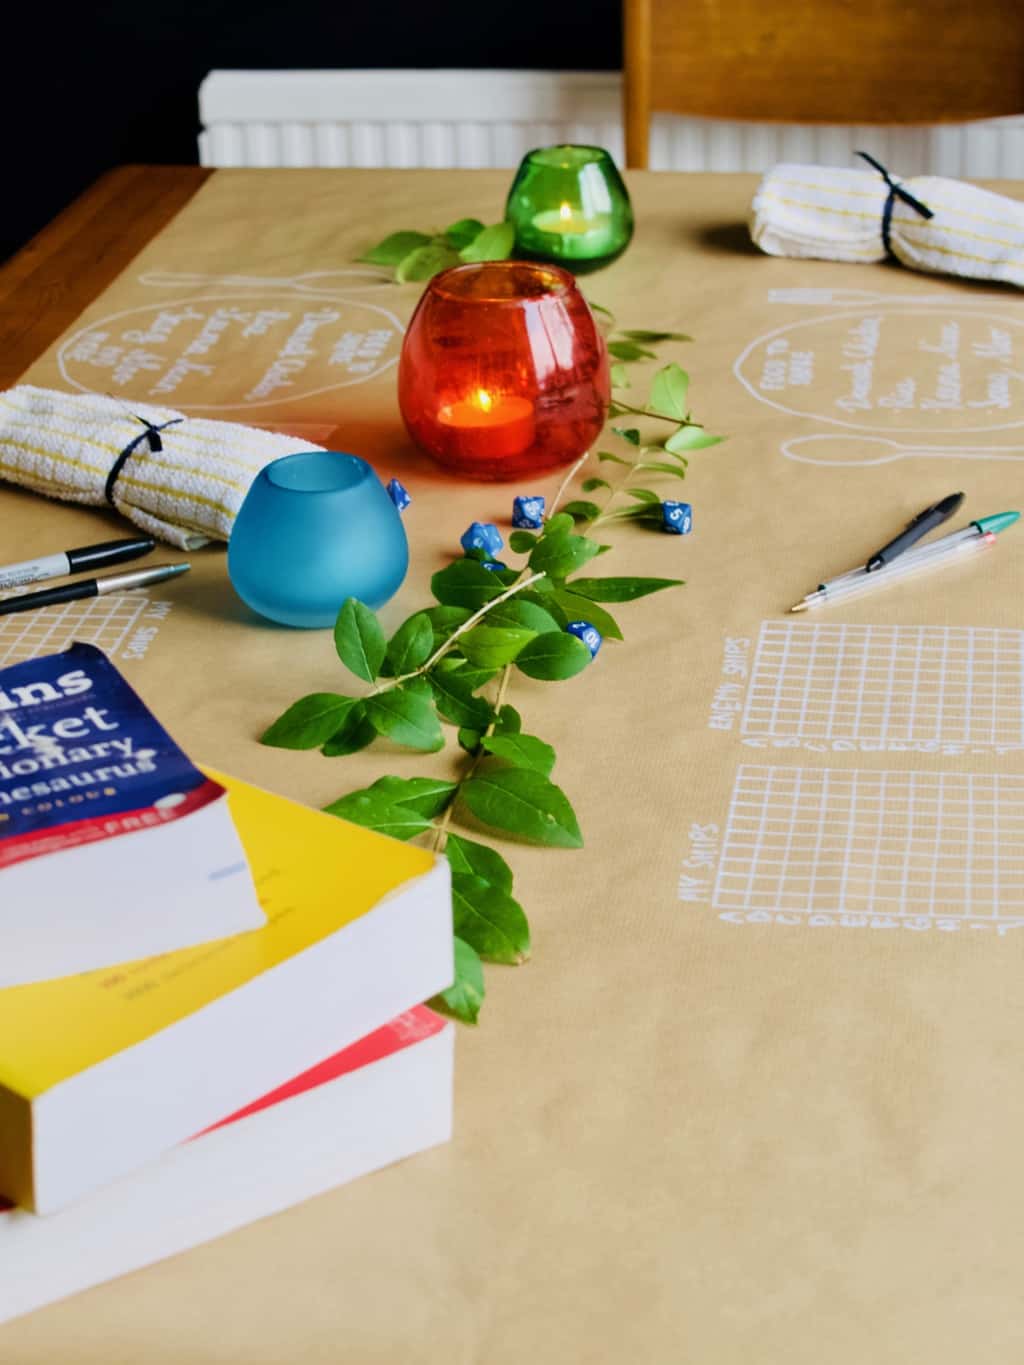
Me and Joni take turns who organises the date. If any money spend we budget into our own budgets. This time it was my turn therefore I could share the preview with you. I picked games theme and this is often what we like to do on our dates. We (I mean me) get a bit competitive sometimes!Idea for date night in: paper and pen games table layoutSince I decided to do paper and pen games this time round I used craft brown paper for the table layout. To be honest I don’t even have that many dining table setup props! This is why I mostly used what I already have. Kitchen towels instead of napkins for instance was one of those replacements when I did not want to buy something I may not use again.
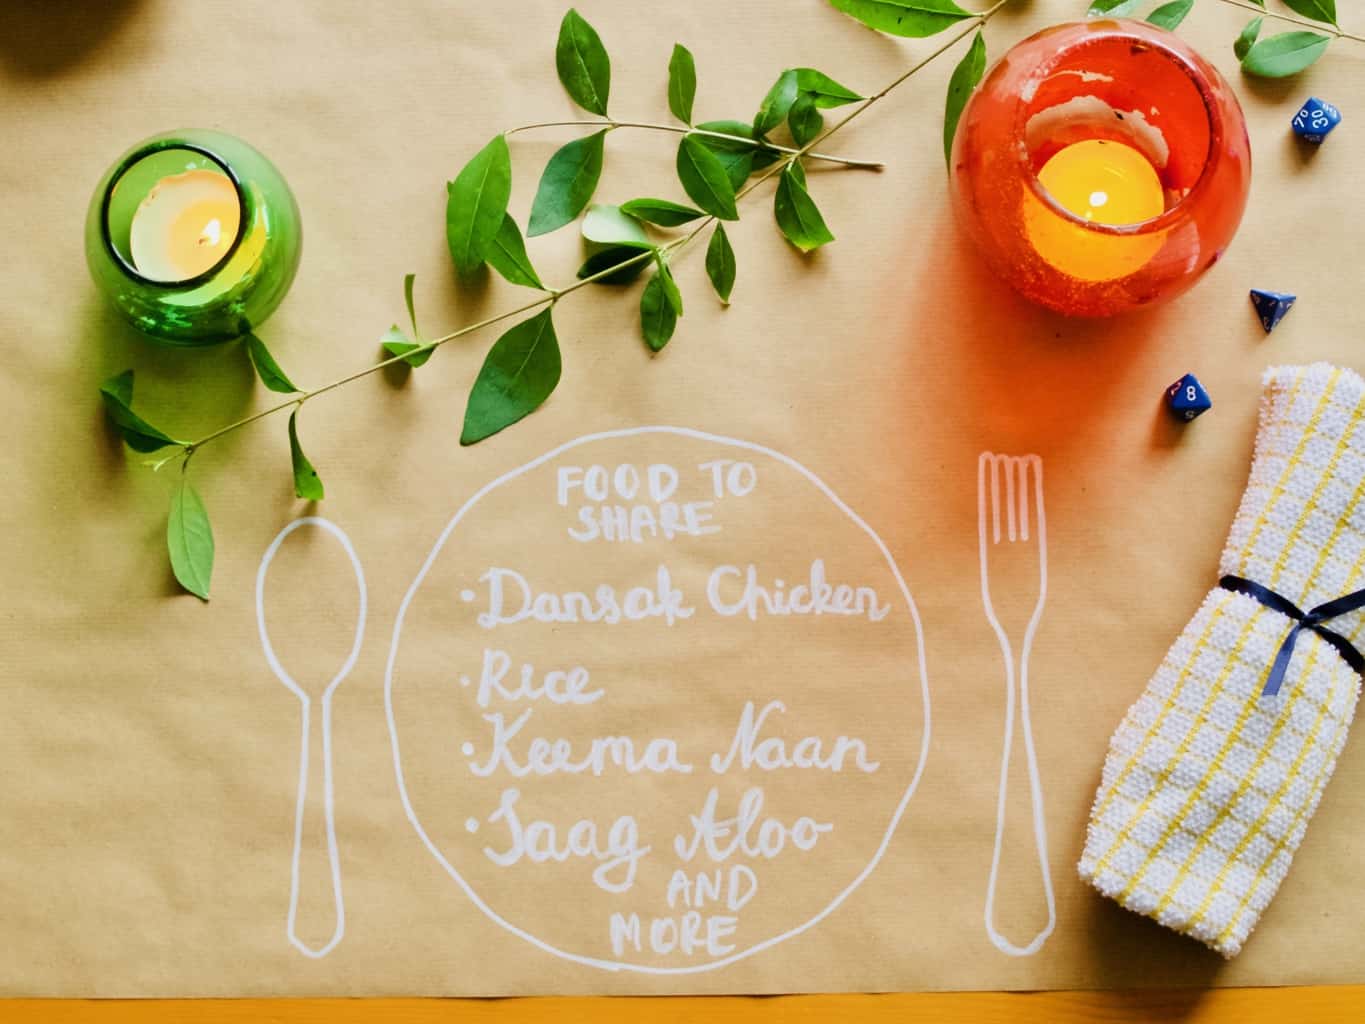
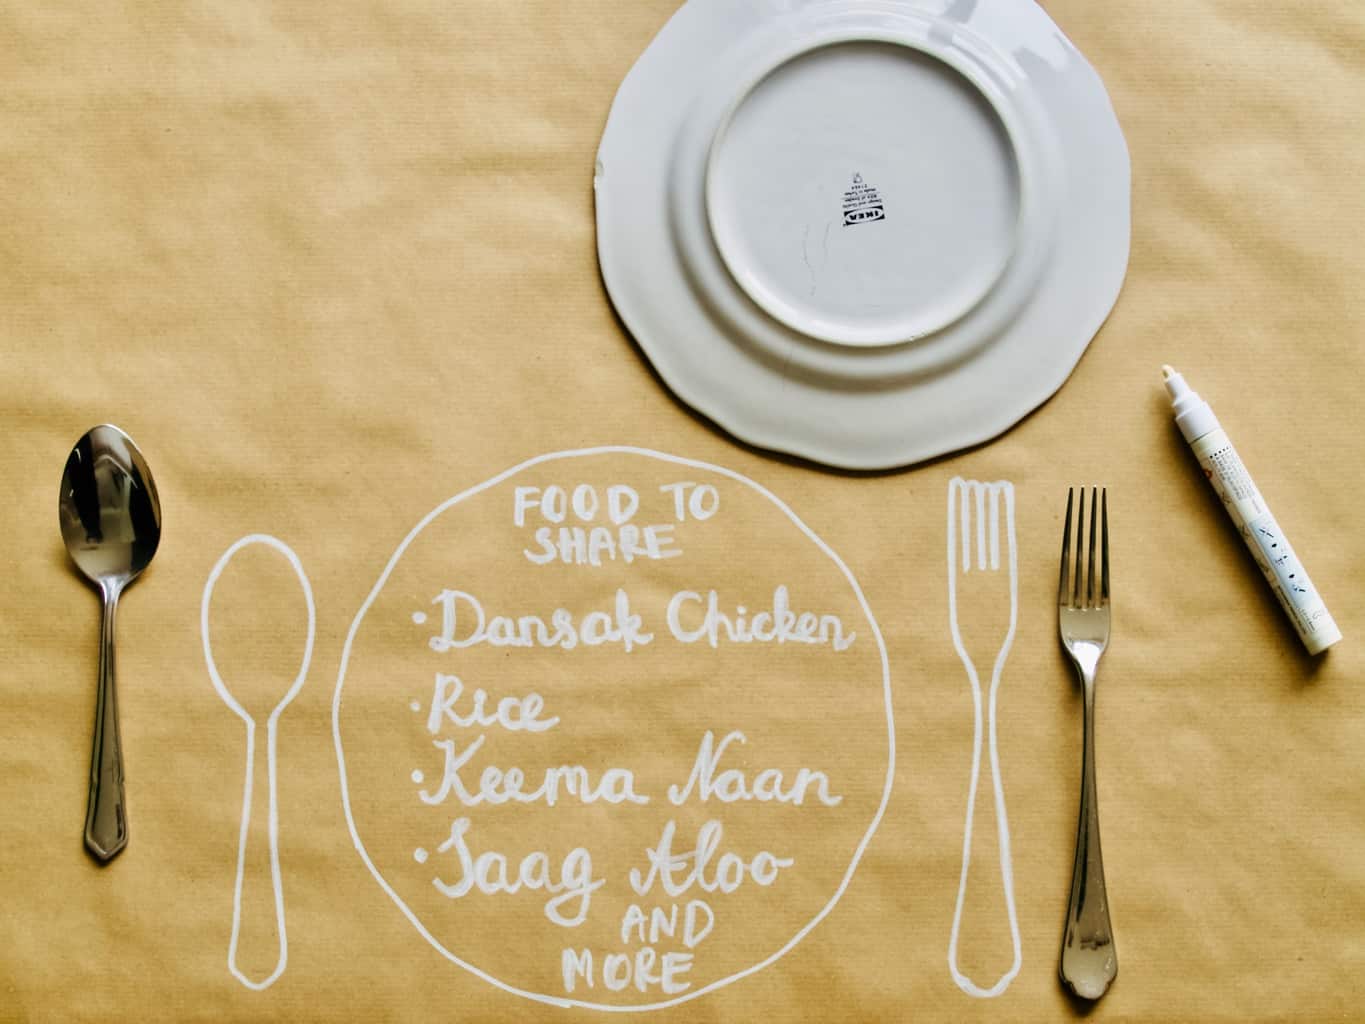
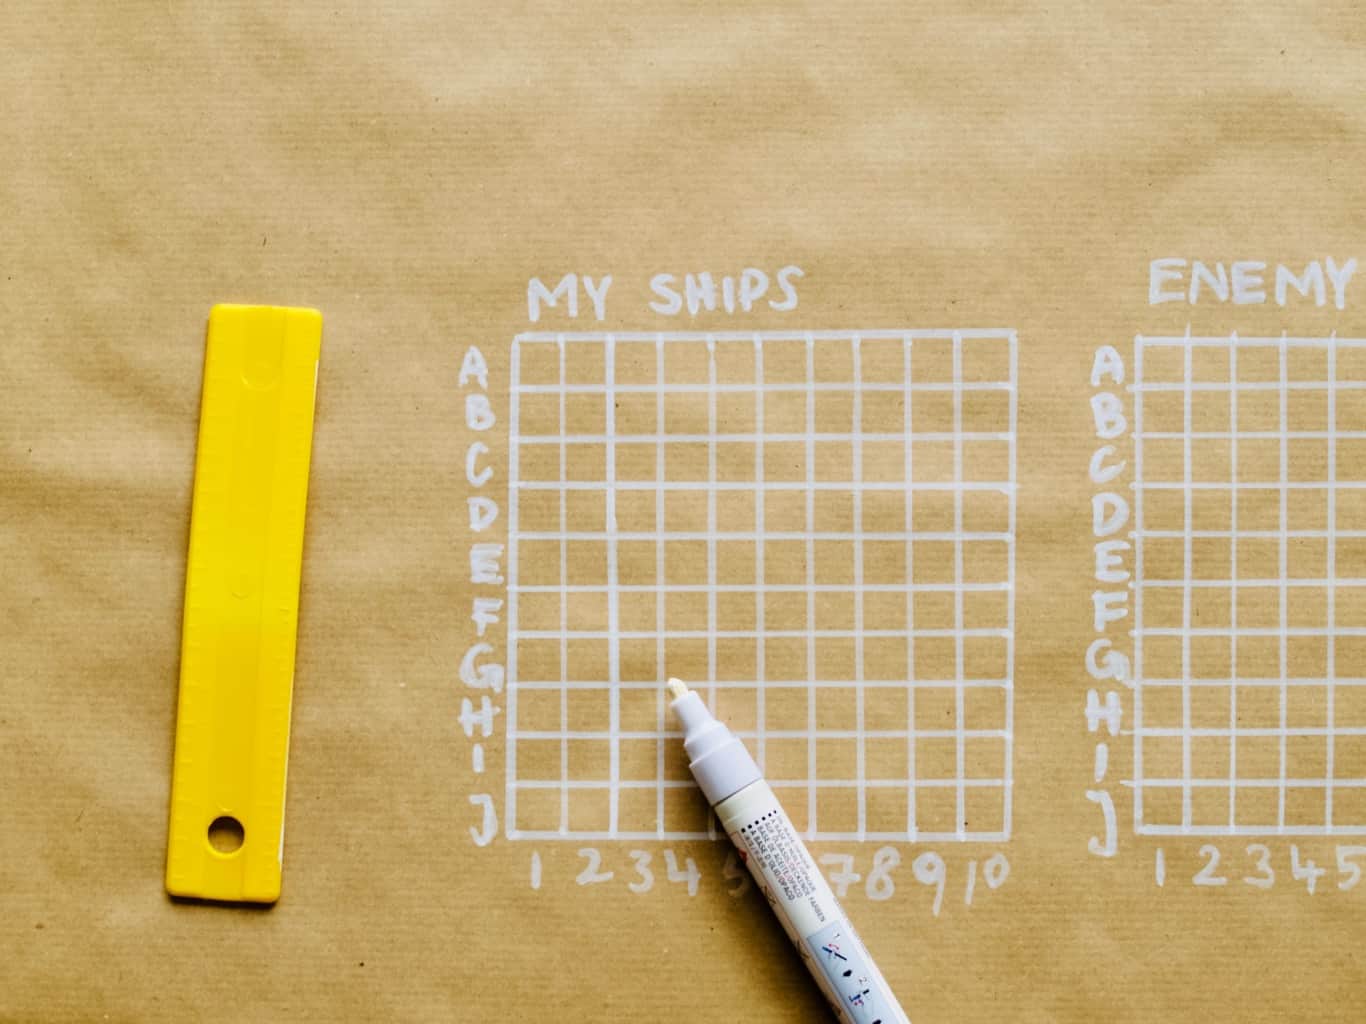
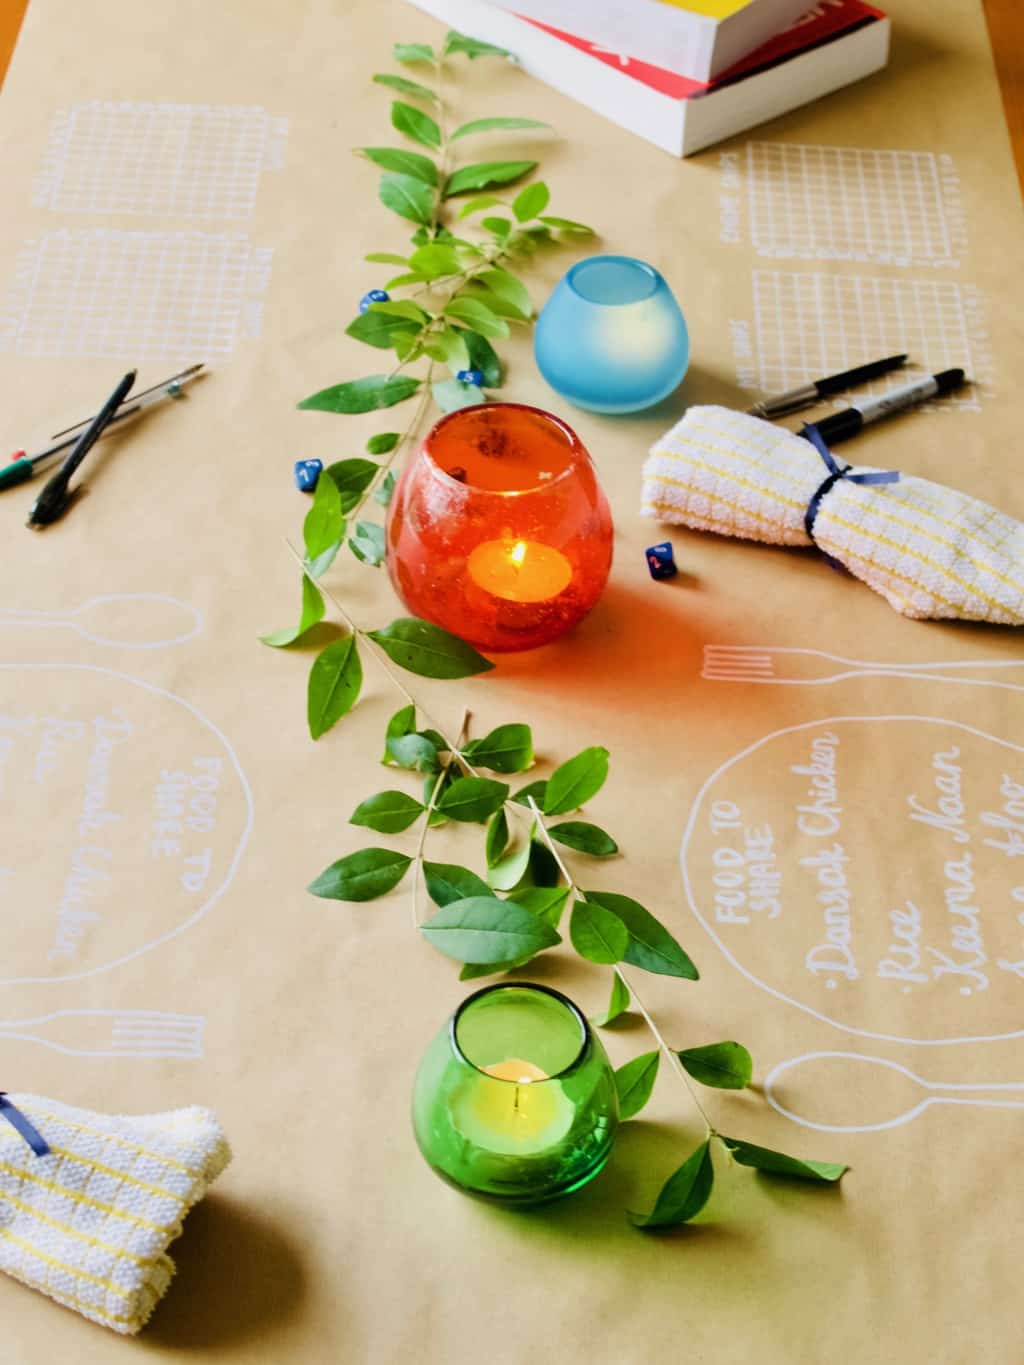
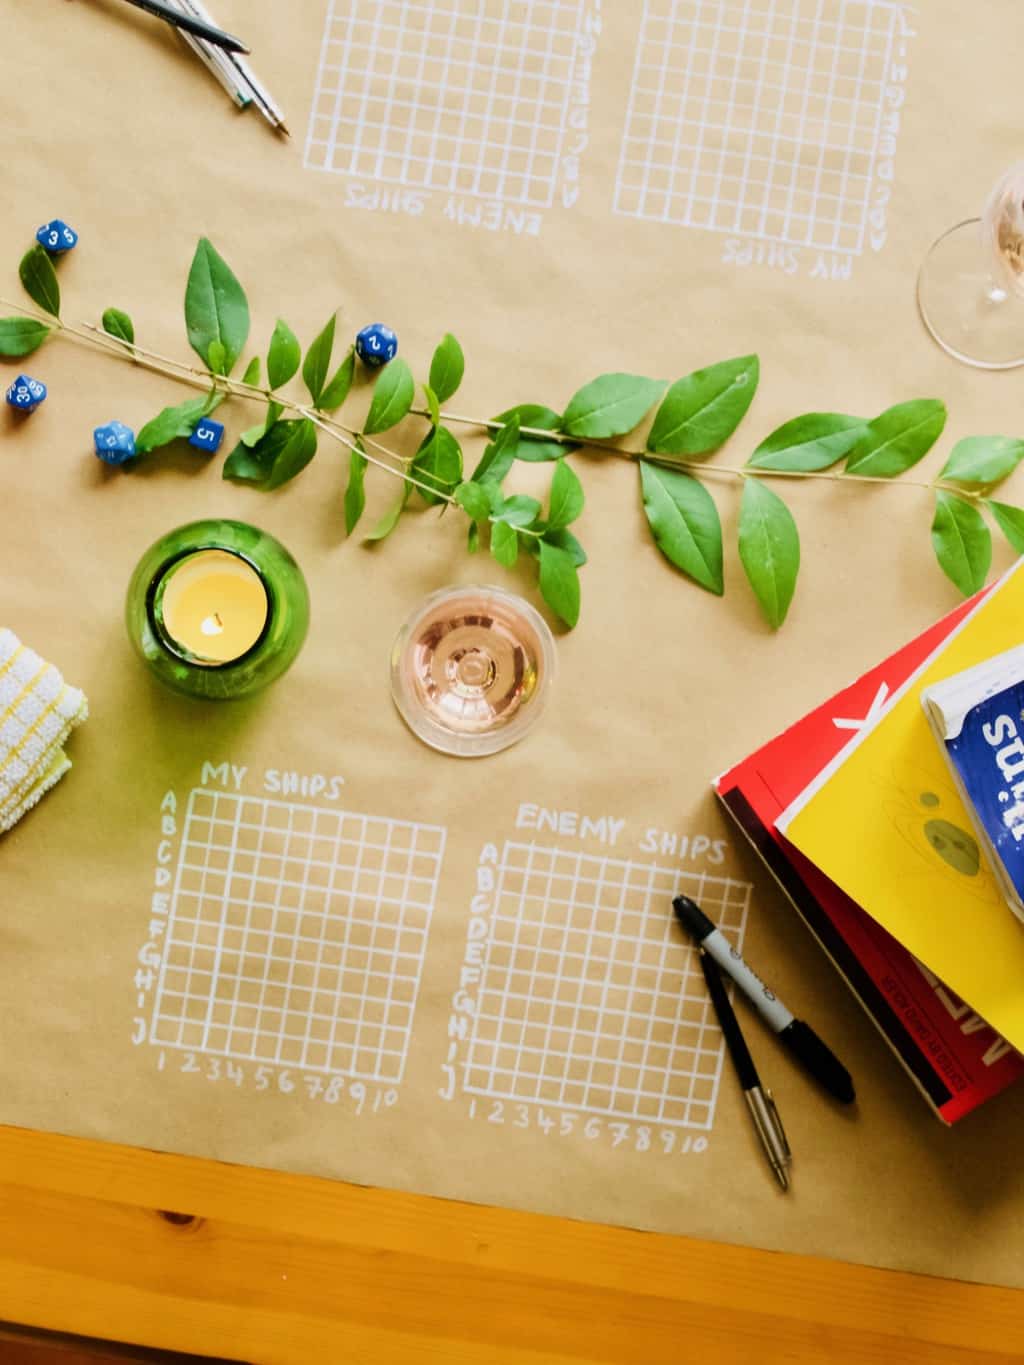
First I rolled brown craft paper out on the table and drew what is needed using permanent oil pen. I am sure you can use any other pen you like. I was tempted to use metallic pens and I used black marker pens before. I used plates and cutlery to trace out the table layout. I wrote out the menu here as well.Idea for date night in: paper and pen games table layoutI decided to play battleships for the night. So I did make a grid so we did not need to do that on the date.  Idea for date night in: paper and pen games table layoutNext I arranged some items related to games such as dices, pens and books (for protecting the battleships). Candles and some leafy twigs were not related but pretty and I could not help myself.Idea for date night in: paper and pen games table layoutThe date night was a complete success. Joni was very very surprised! I did not want to spend too much time in the kitchen so I used the take away to order some of the food. I made the dessert and rice myself. So I only spend £20 (half of the price to compare how much we would have spend if we went out). Idea for date night in: paper and pen games table layoutAnd do you know who won the battleships this time? It’s Joni. I may not want to play this game again ( ha ha).Idea for date night in: paper and pen games table layoutHappy Valentines day everyone and don’t forget the dates does not have to be spend with you husband or boyfriend. I am sure your BFF would appreciate this kind of date too ;-).
Rasa xoxo

0

Pinterest challenge: parsley cheese crackers

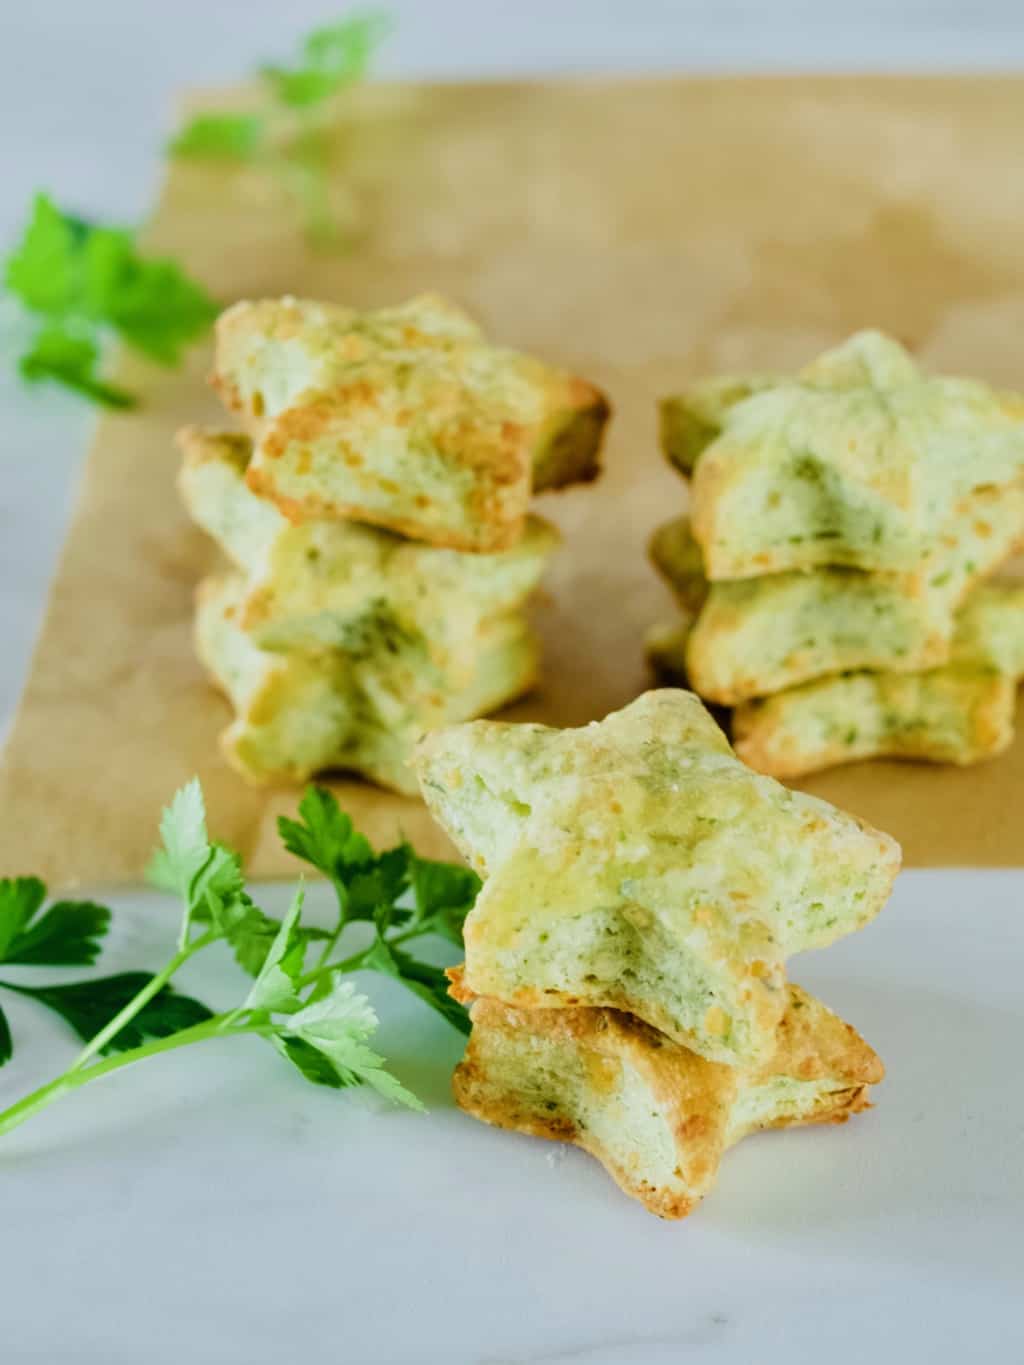
Parsley cheese crackers recipeFirst of all I would like to inform you that I won’t be doing any “Pinterest challenge” posts anymore (Booo! I know!). I feel like I have been doing this for ages (4 and half years to be more specific) and I felt these lack of creativity on my part. Yes, I have learned a lot, I have made my own alterations on some of the recipes, I tried many recipes that just have been sitting there on my boards and I use some of these recipes again and again… BUT I feel it’s time to move on! I realised I need to start creating more of my own recipes as well (which I have been doing already).

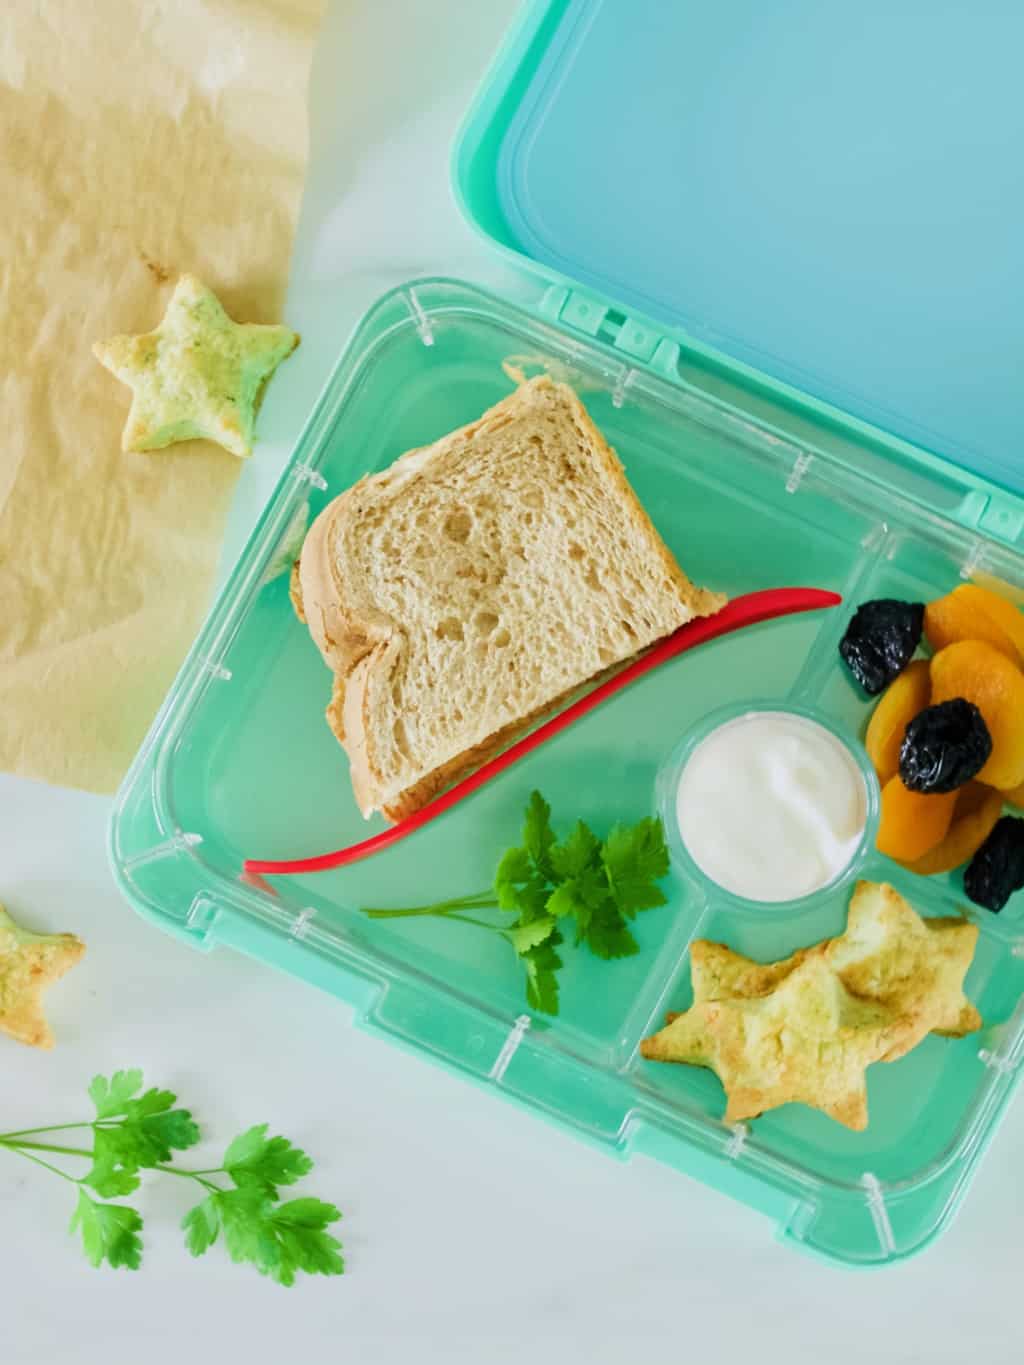
Now coming back to my final “Pinterest challenge” post. I have been doing a lot of cupboard clearing lately. This included me going through my cupboards and using up all these leftover flours and grains etc. Although these crackers does not call for any special flour, I baked them anyways as these make good lunch box fillers (Lukas calls them lunch box stars) and they make as a tasty snack on the go too! I tweaked the recipe a little bit to add some parsley. I feel better when this adds some green into the kids lunch boxes, even though I am not too sure how many nutrients from the parsley survive the process. Either way at least the parsley give some work out for the taste buds ;-). Parsley cheese crackers recipe PARSLEY CHEESE CRACKERS adopted from Winter Monroe

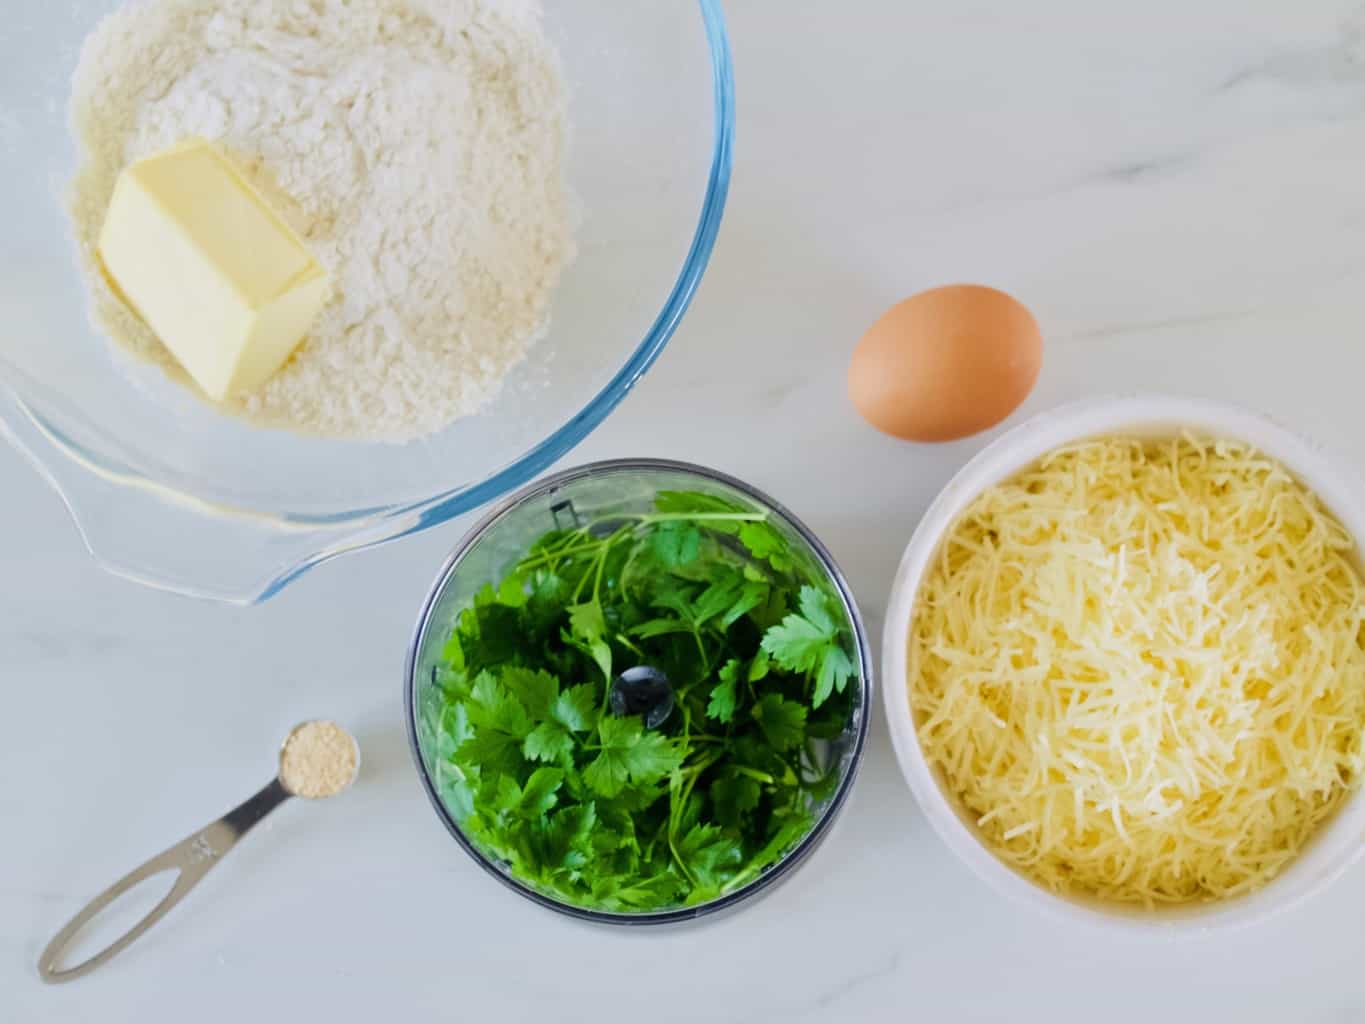
  • 200g flour
  • 1/2 tsp garlic powder
  • 85g butter
  • 200g cheese, finely grated
  • 1 egg
  • handful parsley + 2tbsp water, whizzed to a paste

1. Add the garlic powder into the flour and mix to combine. Rub the butter into the flour mix with your fingertips until the mixture looks like moist breadcrumbs.

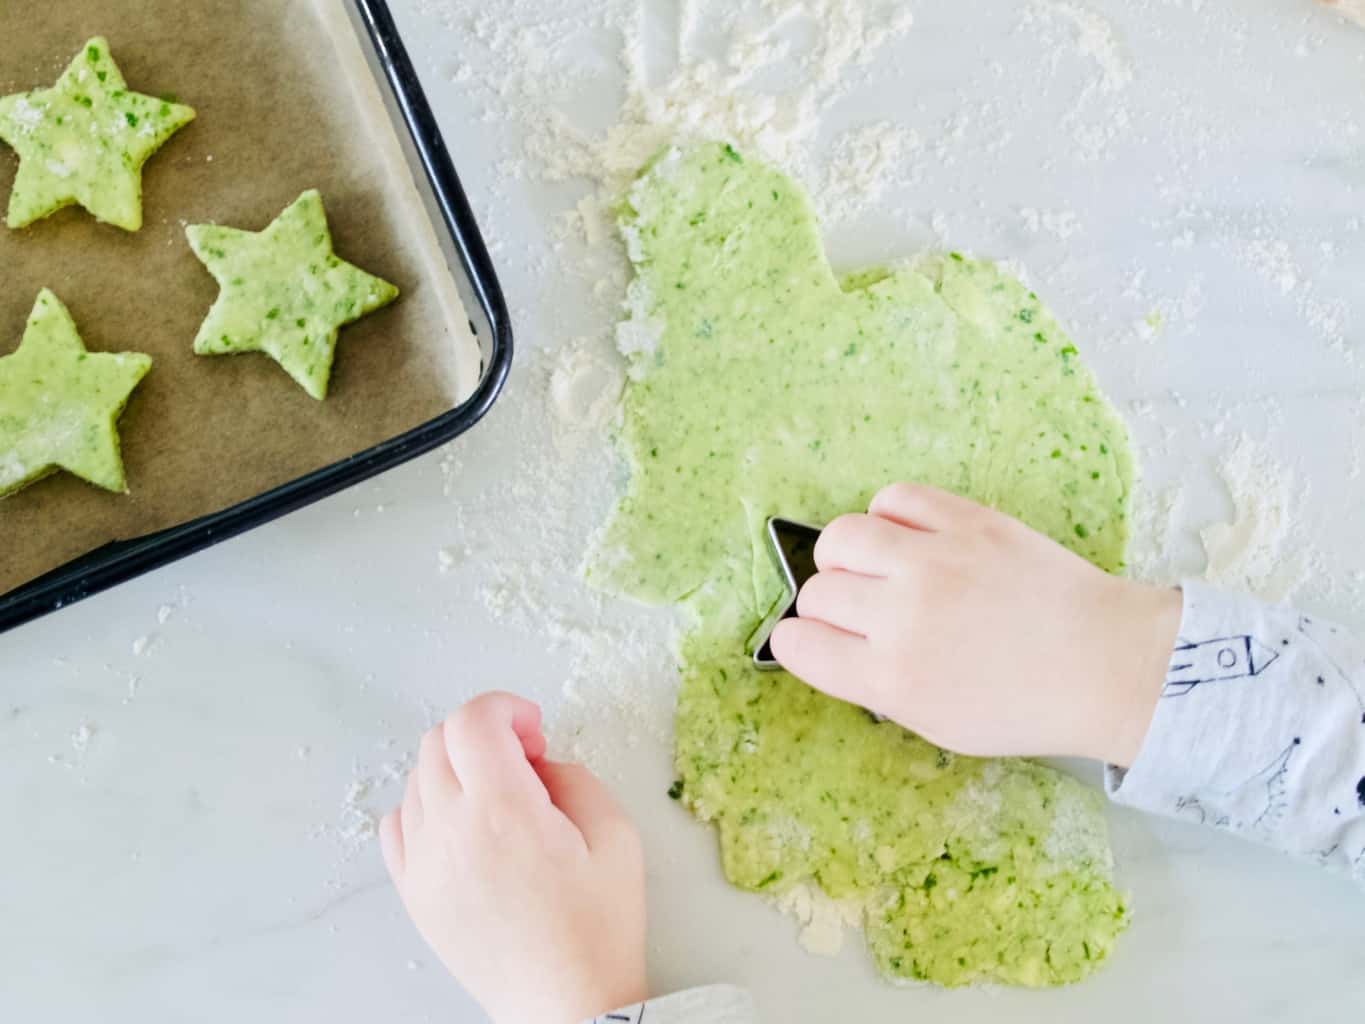
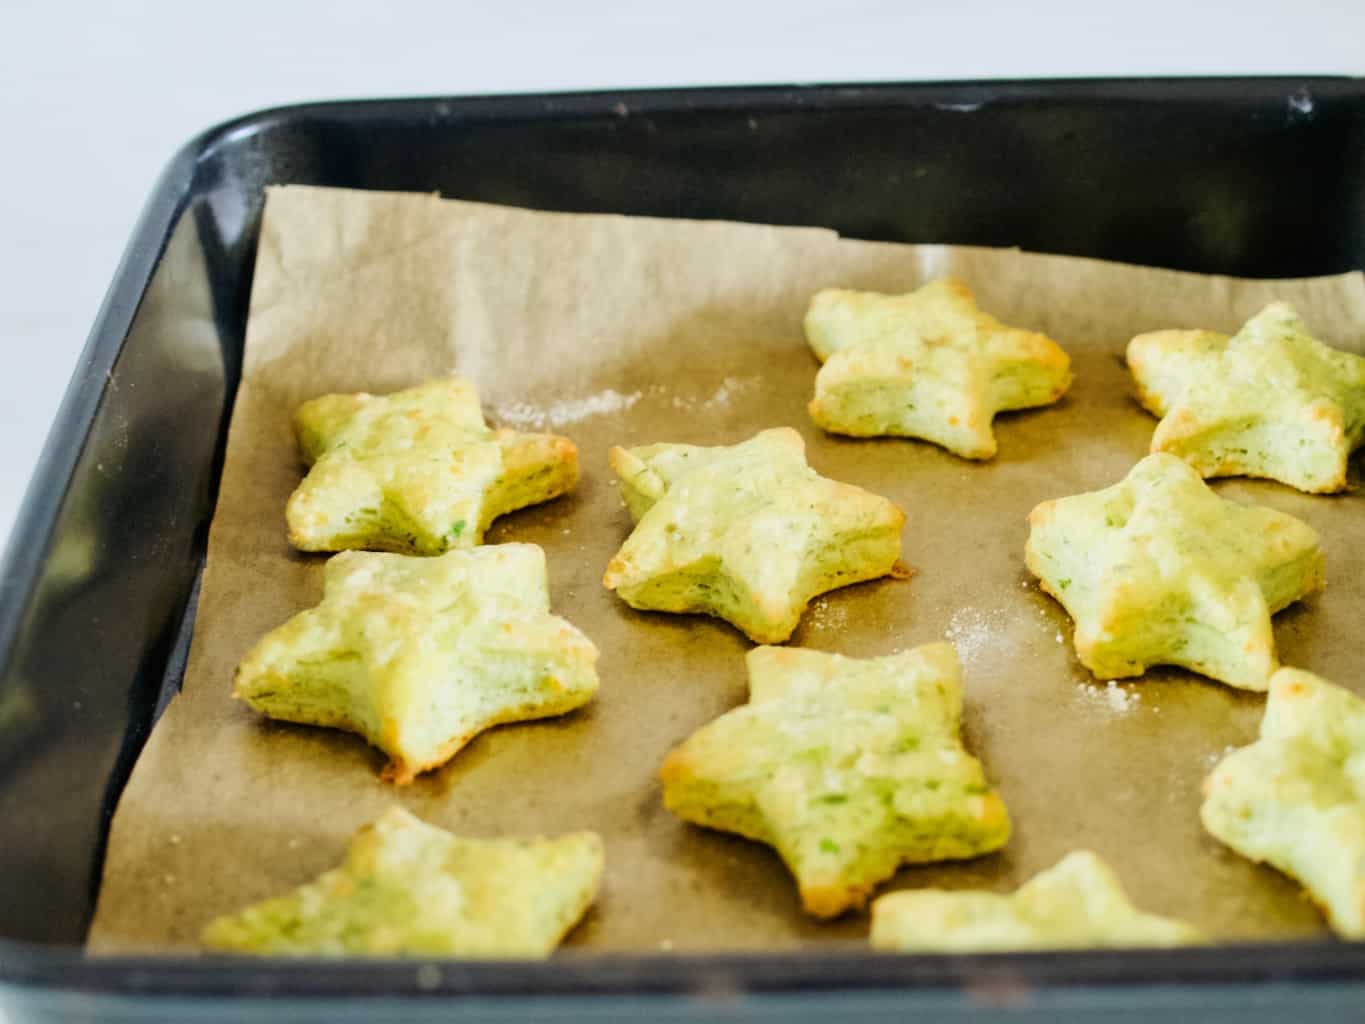
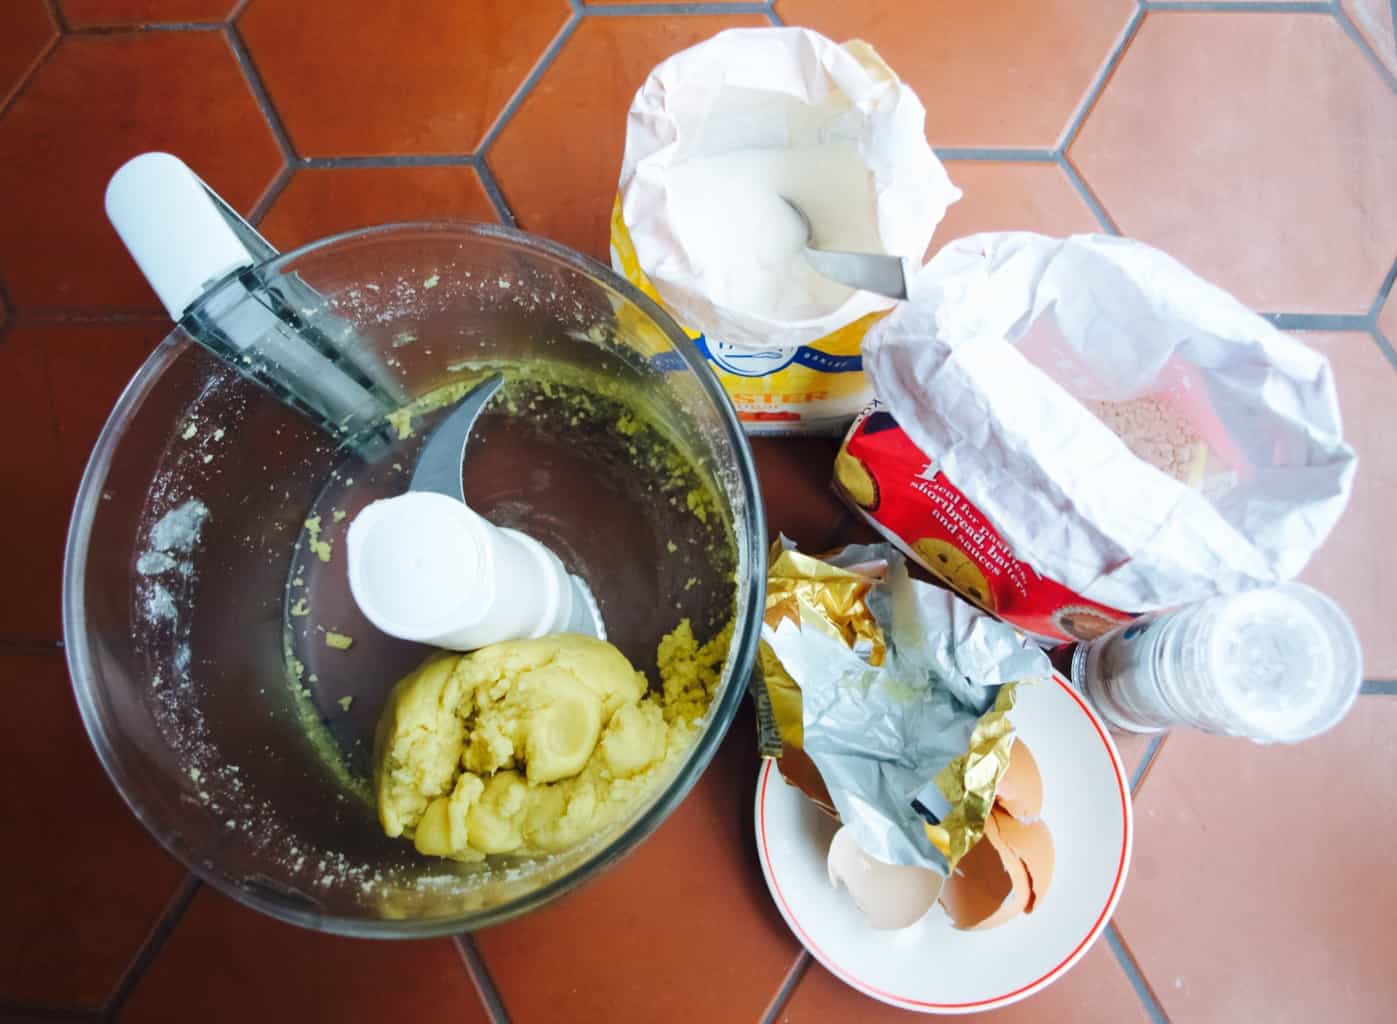
2. Add the rest of the ingredients and mix well to combine.Parsley cheese crackers recipe3. Roll the pastry out, 7mm thick. Using a cookie cutter cut out the shapes and place them on ready lined baking tin or tray. This part is fun to do with kids!Parsley cheese crackers recipe 4. Bake the crackers in 180C preheated oven for 10-15min.Parsley cheese crackers recipe Parsley cheese crackers recipeEnjoy!

Rasa xoxo
0

Gluten free pizza topped with fresh ingredients (two ways)

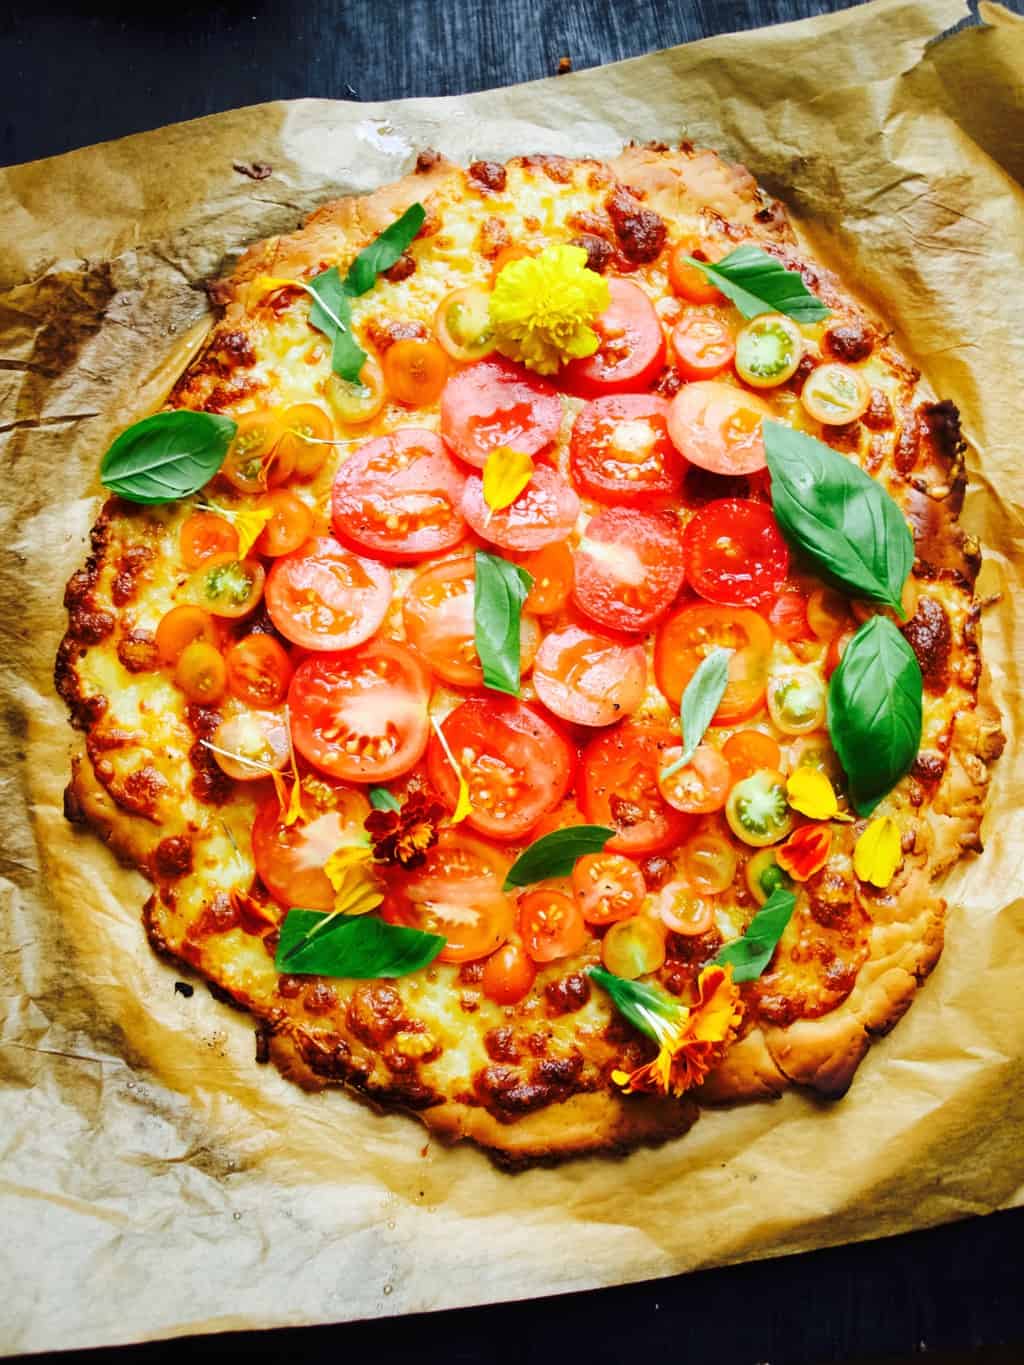
Gluten free pizza topped with fresh ingredientsSo we started a new diet for Tomas this month. We (which is really me) decided that his eczema may be caused by gluten intolerance. Like with any other diets we tried this includes a long 6 weeks trial where we change our menu to avoid the ingredient in question. I found gluten is not that difficult to avoid. Unlike dairy gluten mostly can be found in carbs. So essentially I thought I need to start baking my own bread, but then I was putting that off as bread baking involves quite a lengthy process…. however without gluten it is not so lengthy. The trouble with gluten free bread is that is difficult to bake a nice bread, but it does not take that much time to make it since we don’t need to kneed the dough to get the gluten to stretch. So all and all no gluten means hello quick bread!

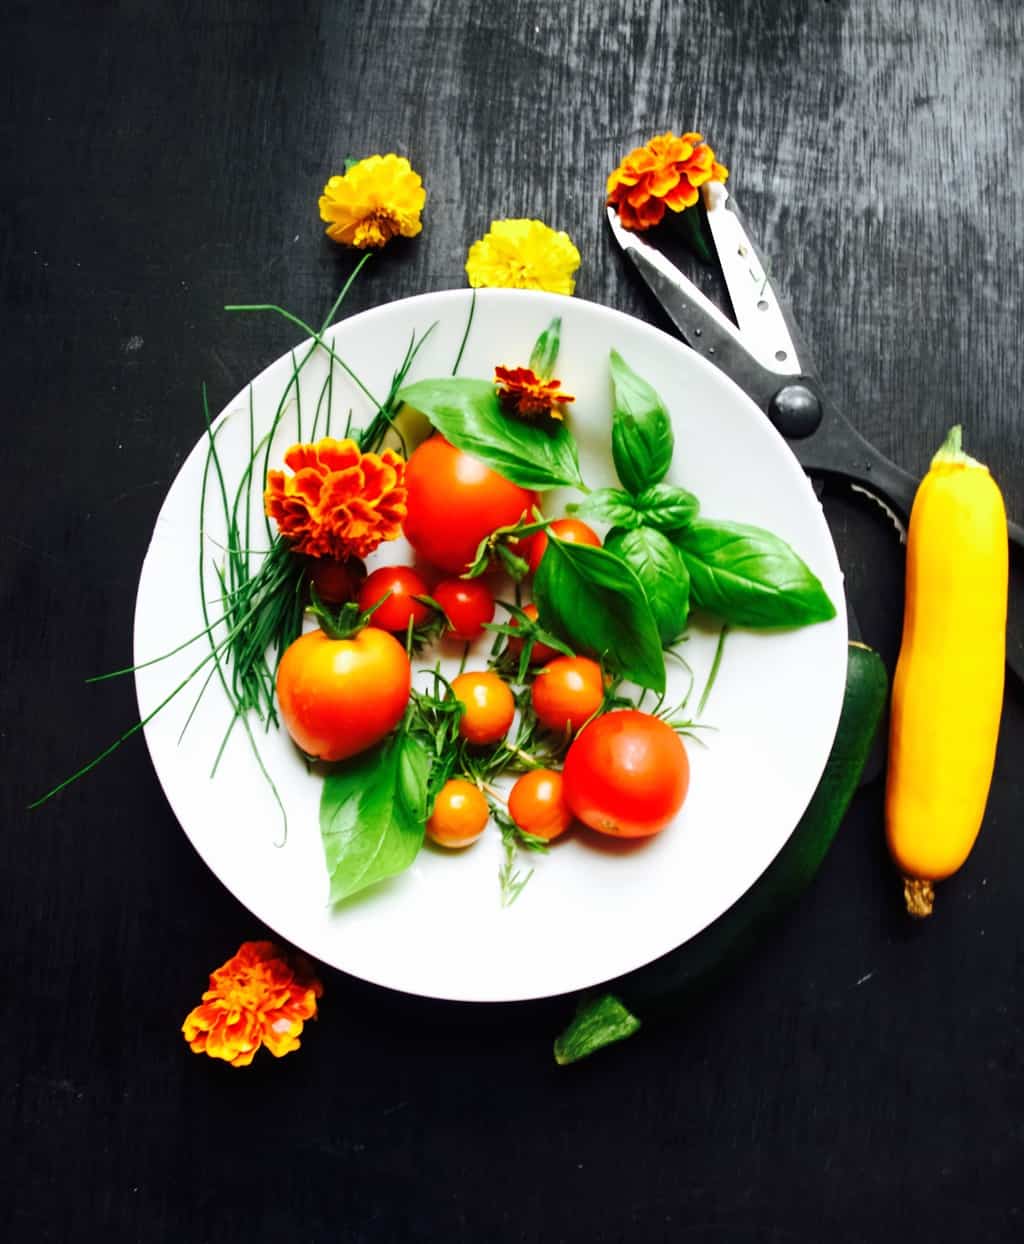
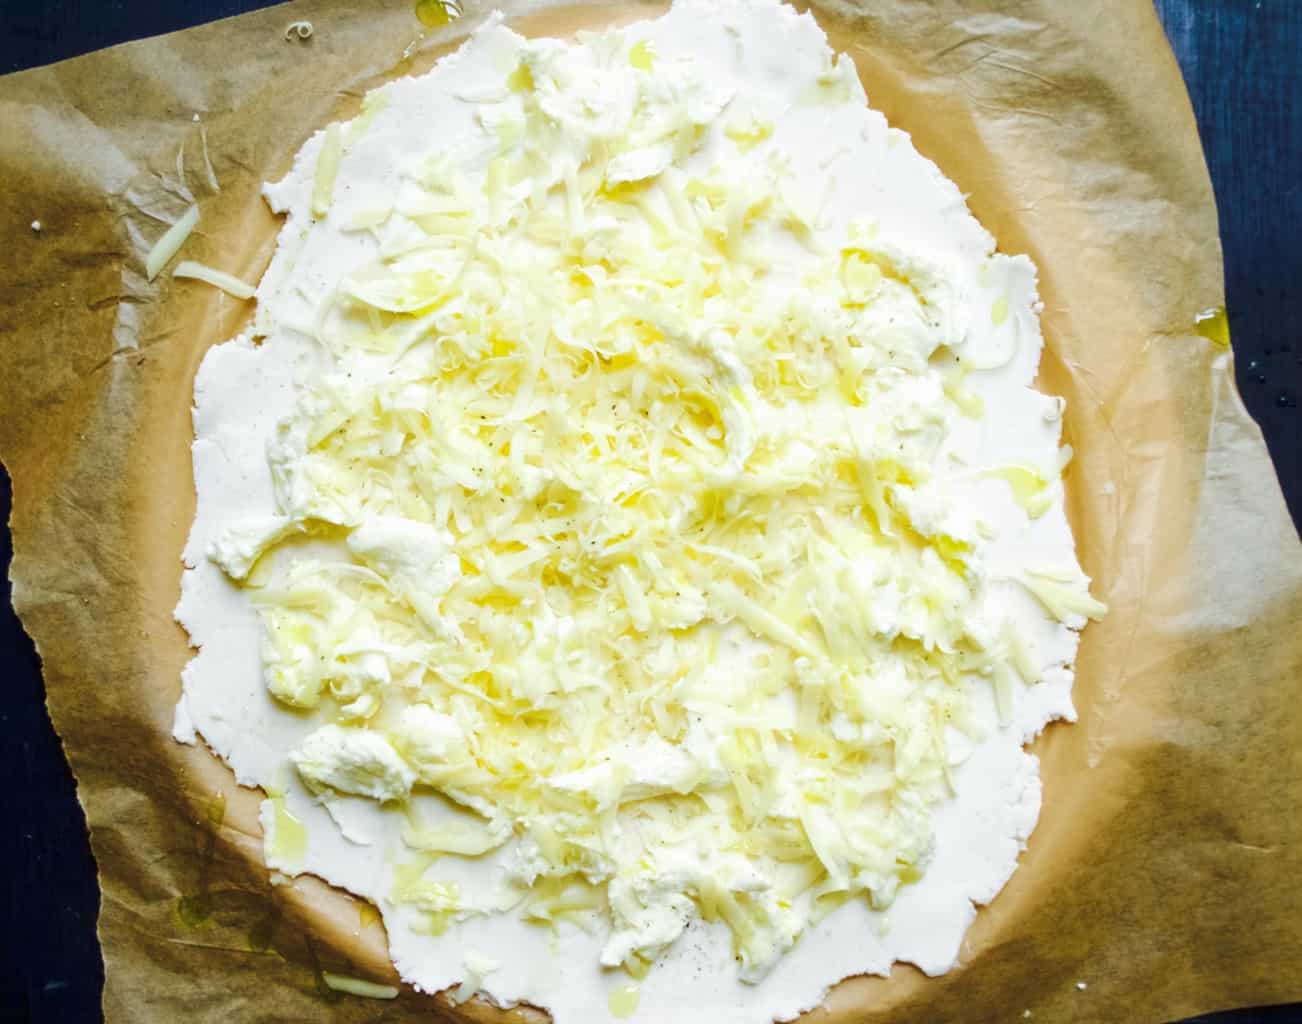
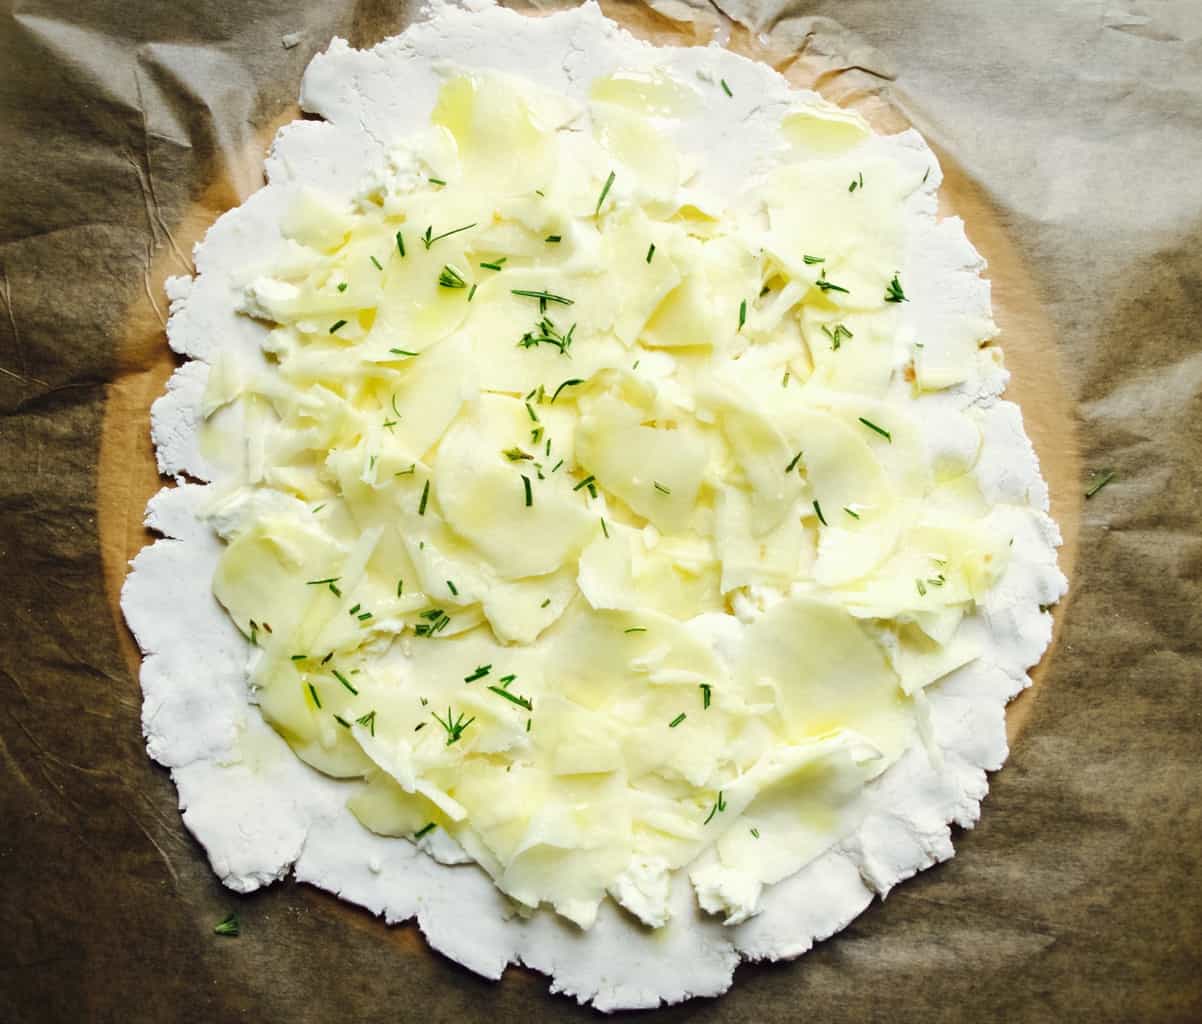
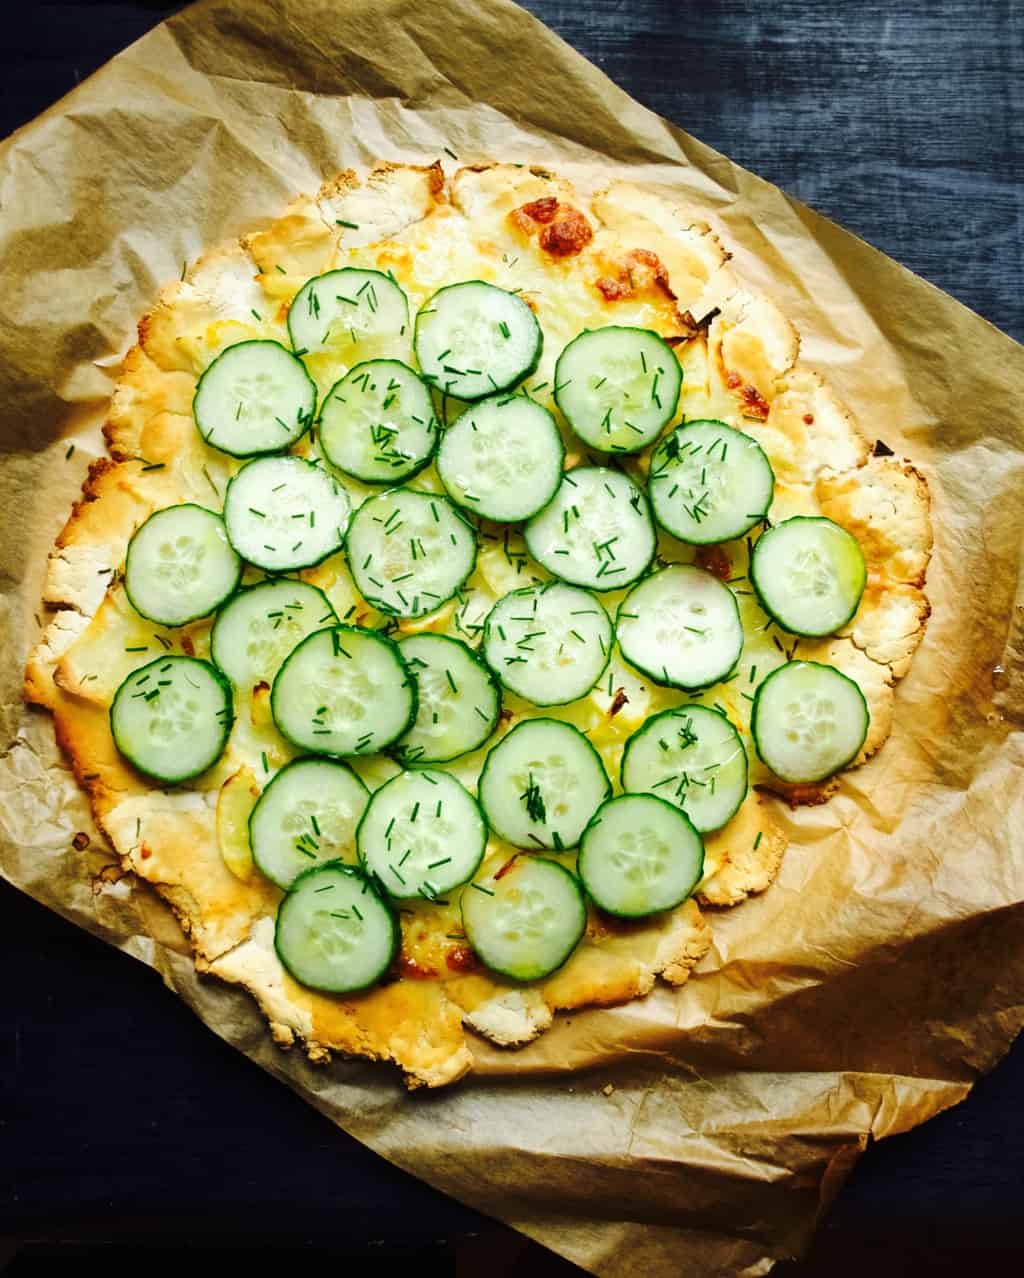
I have been recently inspired by fresh tomato toast recipes from Half Baked Harvest blog. Fresh tomatoes in summer are just amazing! I don’t have such a big harvest of tomatoes (yet) this year, but I thought it would be lovely to make fresh tomato pizza anyways. I made pizza with cucumber as well (I have started getting them in my green house too!!).Gluten free pizza topped with fresh ingredientsGLUTEN FREE PIZZA TOPPED WITH FRESH INGREDIENTS

Makes two pizzas

(for the base)

  • 600g gluten free flour mix (mine consisted of rice, tapioca and potato starch)
  • 25g xanthan gum
  • 1 tsp garlic salt
  • 2tsp brown sugar
  • 3 tsp baking powder
  • 10g quick acting dry yeast
  • 350ml warm water

(for the fresh tomato pizza)

  • 125g mozzarella cheese, torn into pieces
  • 100g cheddar cheese, grated
  • 1 clove garlic, smashed
  • ground pepper
  • 1 tbsp olive oil
  • 3-5 tomatoes, sliced
  • basil

(for the potato and cucumber pizza)

  • 125g mozzarella cheese, torn into pieces
  • 1 potato, pealed and thinly sliced (I used a grater)
  • salt and pepper to taste
  • 1tbsp olive oil
  • chives, finelly chopped
  • 1-3 cucumbers, sliced

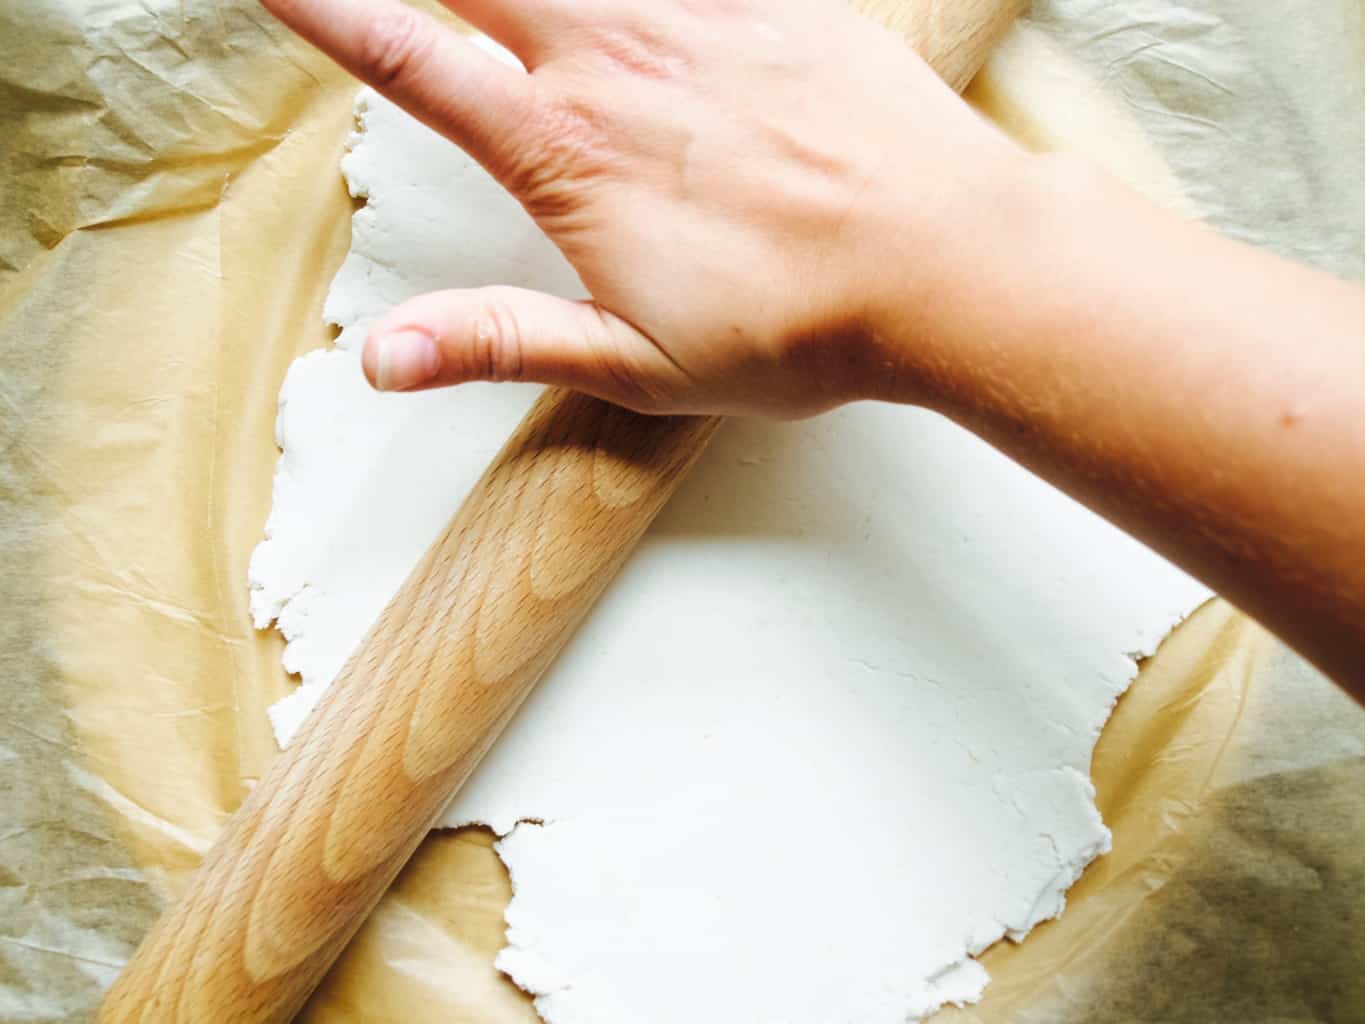
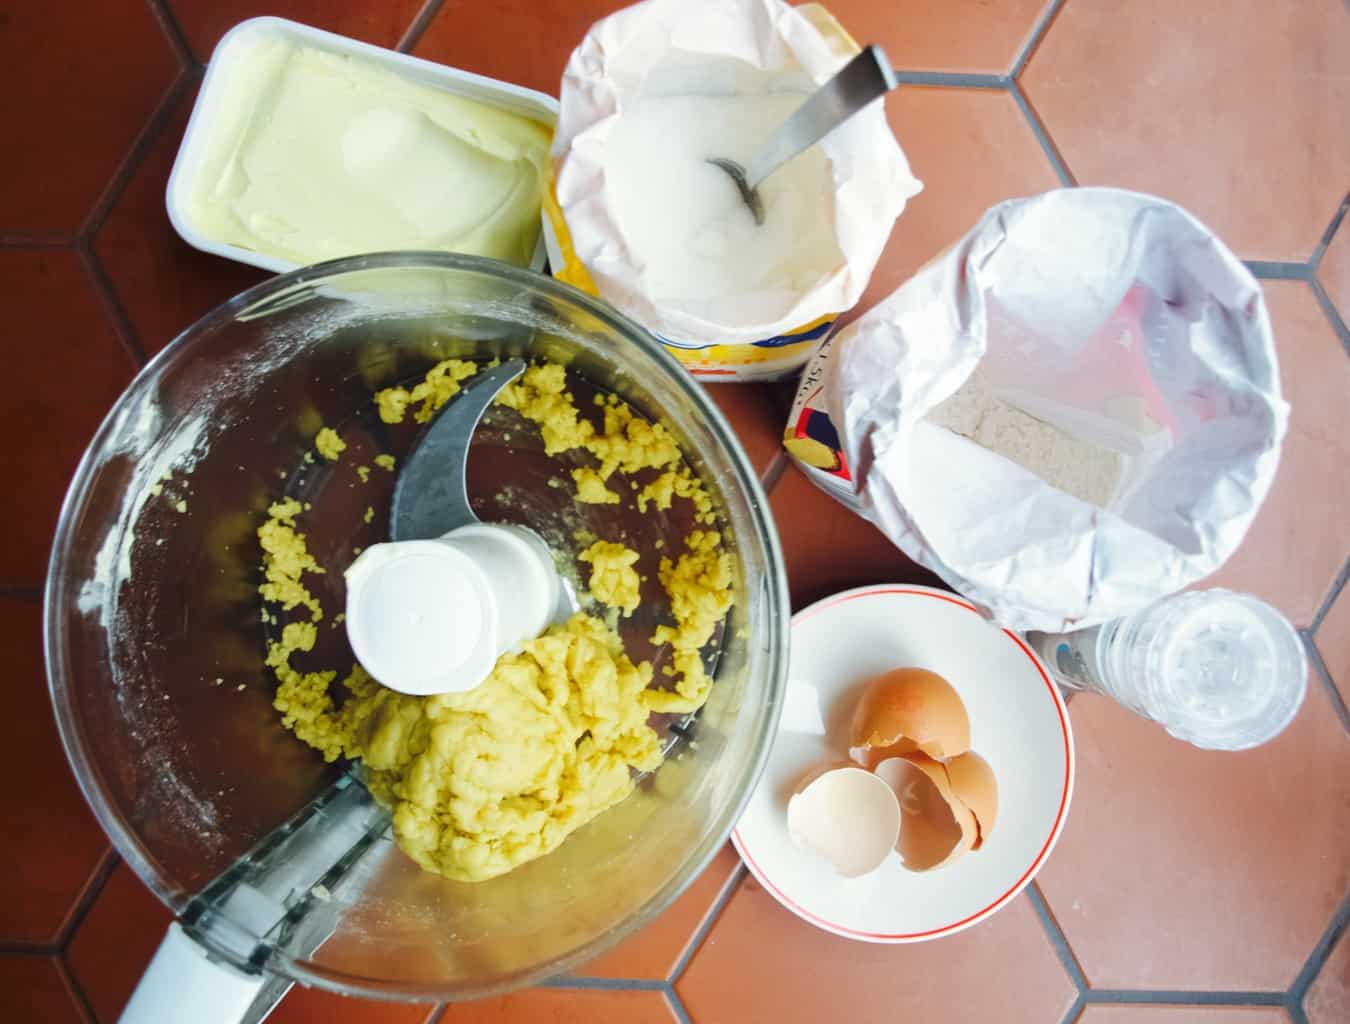
1. Mix together the flour, xanthan gum, garlic salt, sugar, baking powder and yeast in a large bowl. Make a well in the middle. Pour the water into the well and mix everything to form two balls. Roll out the dough onto the baking sheet until it is 5mm thick.Gluten free pizza topped with fresh ingredients 2. To make the cheese and fresh tomato pizza sprinkle the garlic, mozzarella and cheddar cheese over the base. Season it and drizzle some olive oil on top. Bake the pizza in the preheated 200C oven for 20-30min. Once baked top the pizza with sliced tomato and fresh basil.Gluten free pizza topped with fresh ingredients 3. For the potato and cucumber pizza sprinkle the base with mozzarella, potato and chives. Heavily season it (potato requires more salt) and drizzle some olive oil on top. Bake the pizza in the preheated 200C oven for 20-30min. Gluten free pizza topped with fresh ingredients 4. Once baked, top the pizza with cucumber and more chives (and maybe salt if needed). Gluten free pizza topped with fresh ingredientsEnjoy!

Rasa xoxo
0

Salad in a crepe

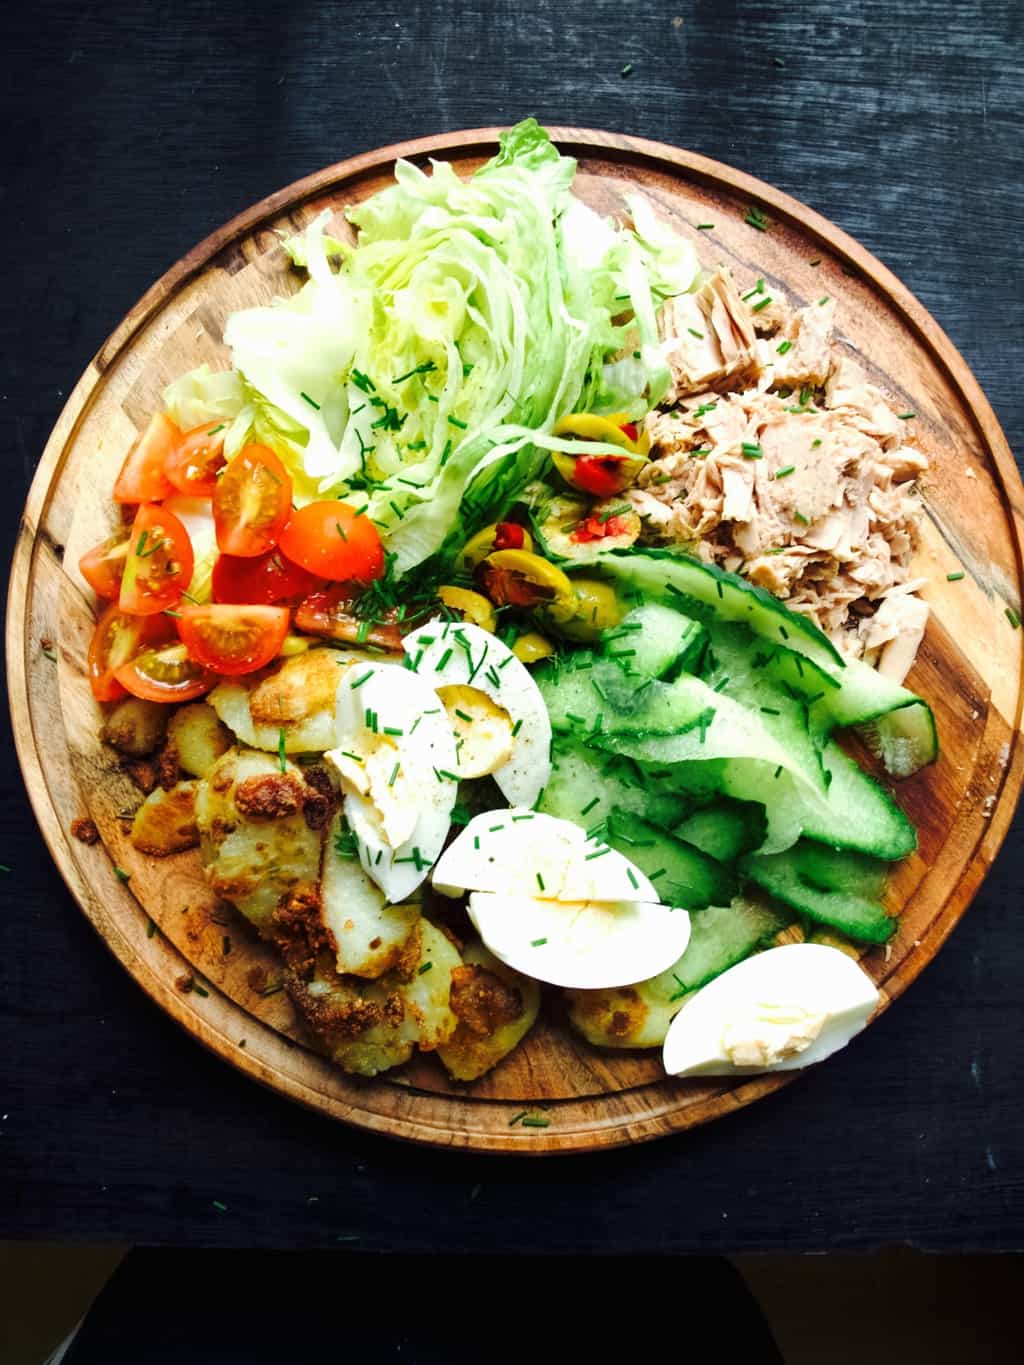
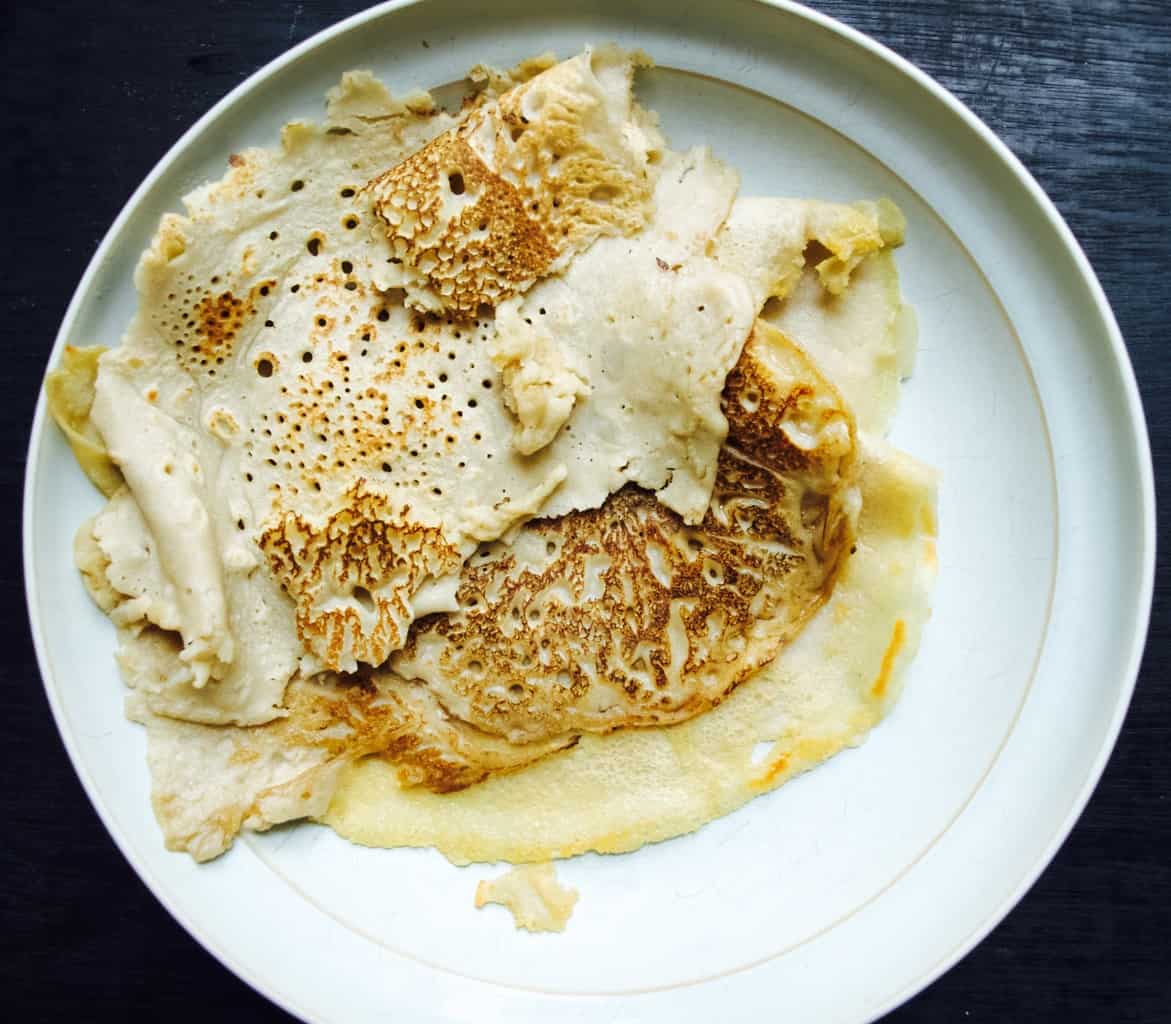
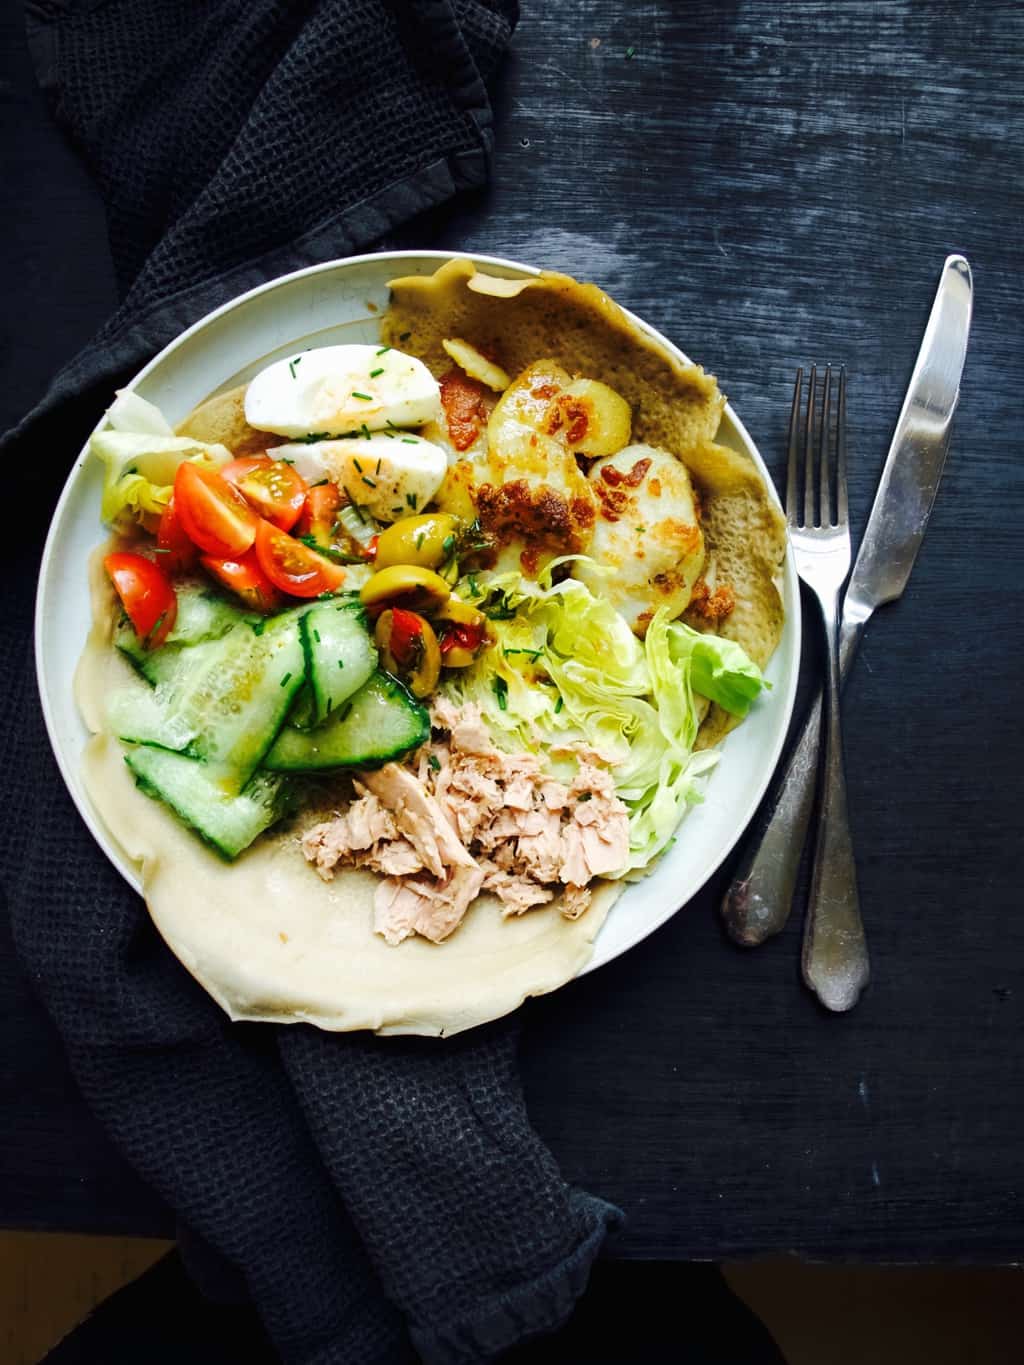
Nicoice salad in a crepe recipeMy love for crepes have reached the next level while in France. I knew crepes can be savoury and sweet but it never crossed my mind that crepes can be served with salad inside it. Woaaaah!!! Sunny times like these require a lot of salad eating I think! I also decided to brave up this time and make crepes 100% buckwheat (we all know pancakes without gluten are just too complicated). But after many failures you eventually get it, buckwheat pancakes need a lot of practice and patience. If you are not up for challenge, regular crepes/pancakes taste just fine ;-).Nicoice salad in a crepe recipeNICOISE SALAD IN A CREPE

(for the crepe)

  • 200g buckwheat flour
  • pinch of salt
  • about 500ml water
  • knob of butter for frying

(for the salad)

  • 3-4 potatoes, pealed and thinly sliced
  • sunflower oil
  • 200g canned tuna in brine
  • 20 green olives, halved
  • 1 cucumber, thinly sliced
  • 1 handful of lettuce, chopped
  • 1 handful cherry tomatoes, quartered
  • 3 eggs, quatered
  • 1 tbsp balsamic vinegar
  • 4 tbsp extra virgin olive oil
  • 1 tsp dijon mustard (we did not use it here, but I think it would taste good)
  • 1 clove of garlic, crushed to paste
  • juice of 1/2 lemon
  • 1 tbsp brown sugar
  • salt and pepper
  • chives, finelly chopped

1. First prep the crepe batter by combining all the ingredients. Start with dry ingredients and then gradually add water into it till the batter reach double cream consistently (be careful not to overmix). Refrigerate for an hour or overnight.

2. Boil the eggs.

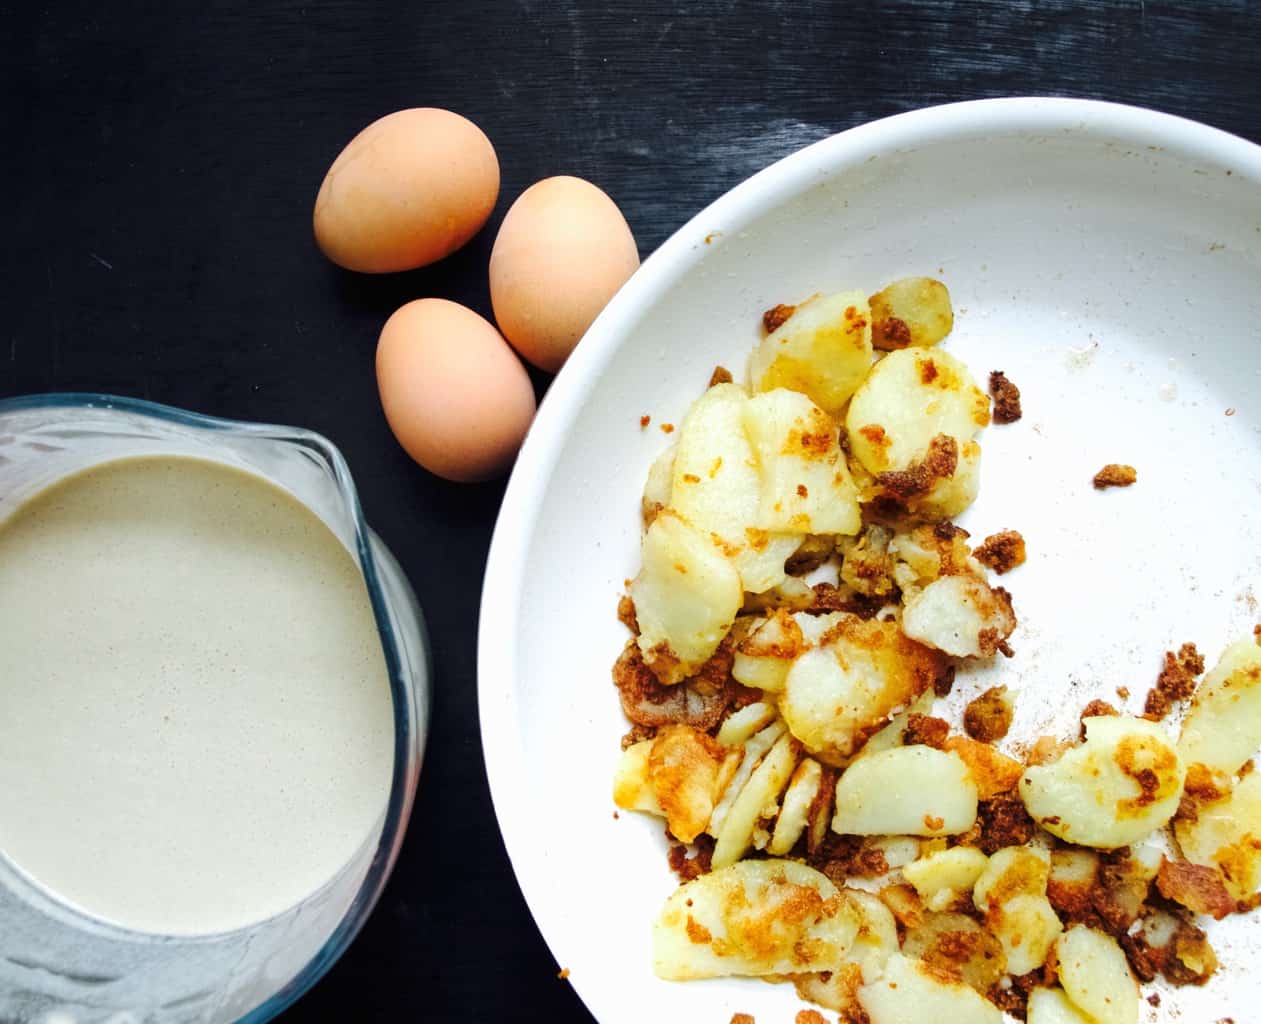
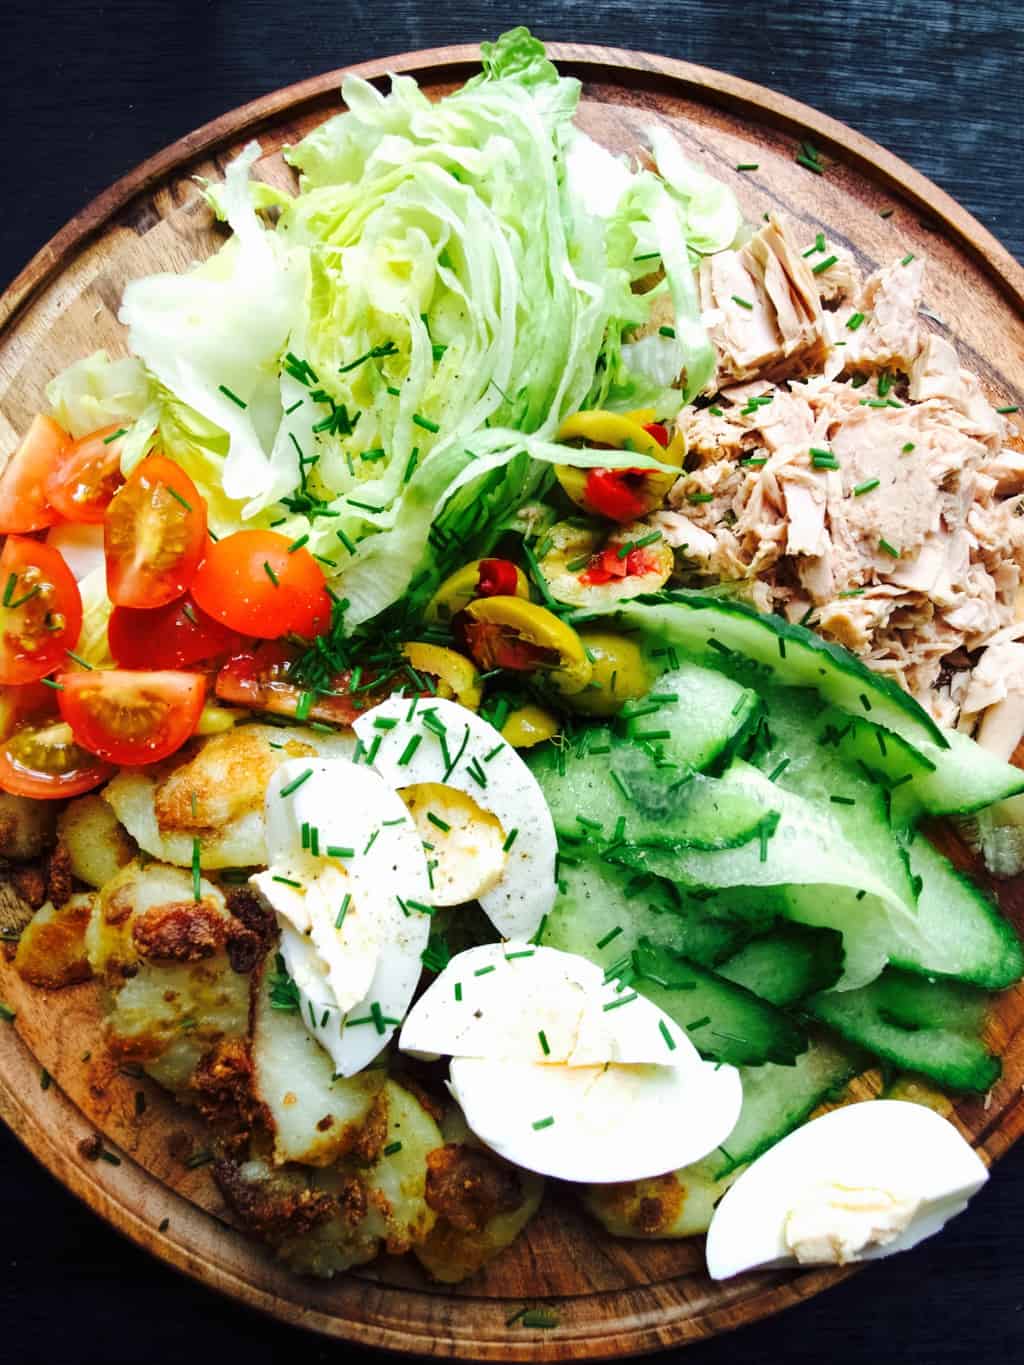
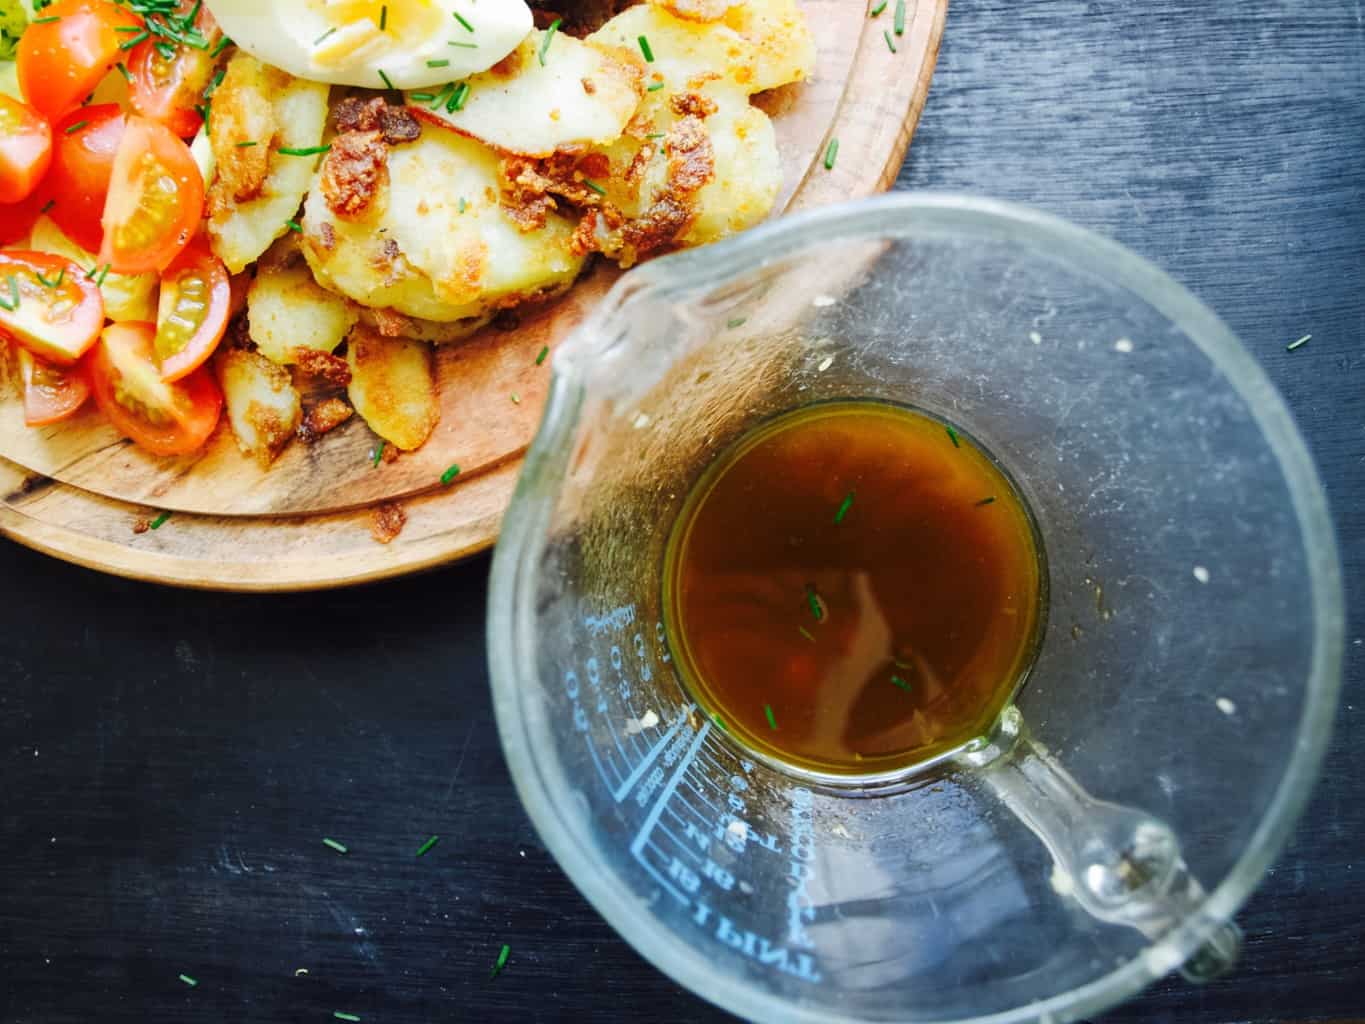
3. Fry the potatoes in the frying pan with the generous amount of oil.Nicoice salad in a crepe recipe4. Make the salad. Arrange prepped ingredients ready for serving. Sprinkle with chives and seasoning.Nicoice salad in a crepe recipe5. To make vinaigrette combine vinegar, olive oil, dijon mustard, garlic paste, lemon juice and sugar in the jug. Add salt and pepper to taste. Nicoice salad in a crepe recipe6. Melt the butter in well heated frying pan. Pour one spoonful of crepe batter and immediately start swirling round the pan to get nice even layer. Loosen around the edge with a spatula once the top “dries up”, then turn the crepe and cook for further 1 minute. As you can see its not easy as with lack of gluten these crepes are flaky and therefore easily collapse when flipping. However I am sure lovely crepes can be achieved once you have a bit of practice.Nicoice salad in a crepe recipe7. To serve arrange Nicoise salad on the crepe and scatter more chives on the top.Nicoice salad in a crepe recipeBon Apetitte

Rasa xoxo

0

Savoury pesto crepes (cheese filling is the best!!!)

Pesto crepes filled with cheese recipeTruth to be told I recently started to dislike mealtimes with my kiddies. Lukas has reached such a fussy age that I can’t predict if the food I make will meet his standards. Can anyone relate to this? And guess what, it’s not a gourmet food he is after. It’s pasta and pancakes that makes him really happy. Ok, we recently found out that he also likes curry, but I shall keep this story for another post. Ok? For now lets talk pancakes… hmmm

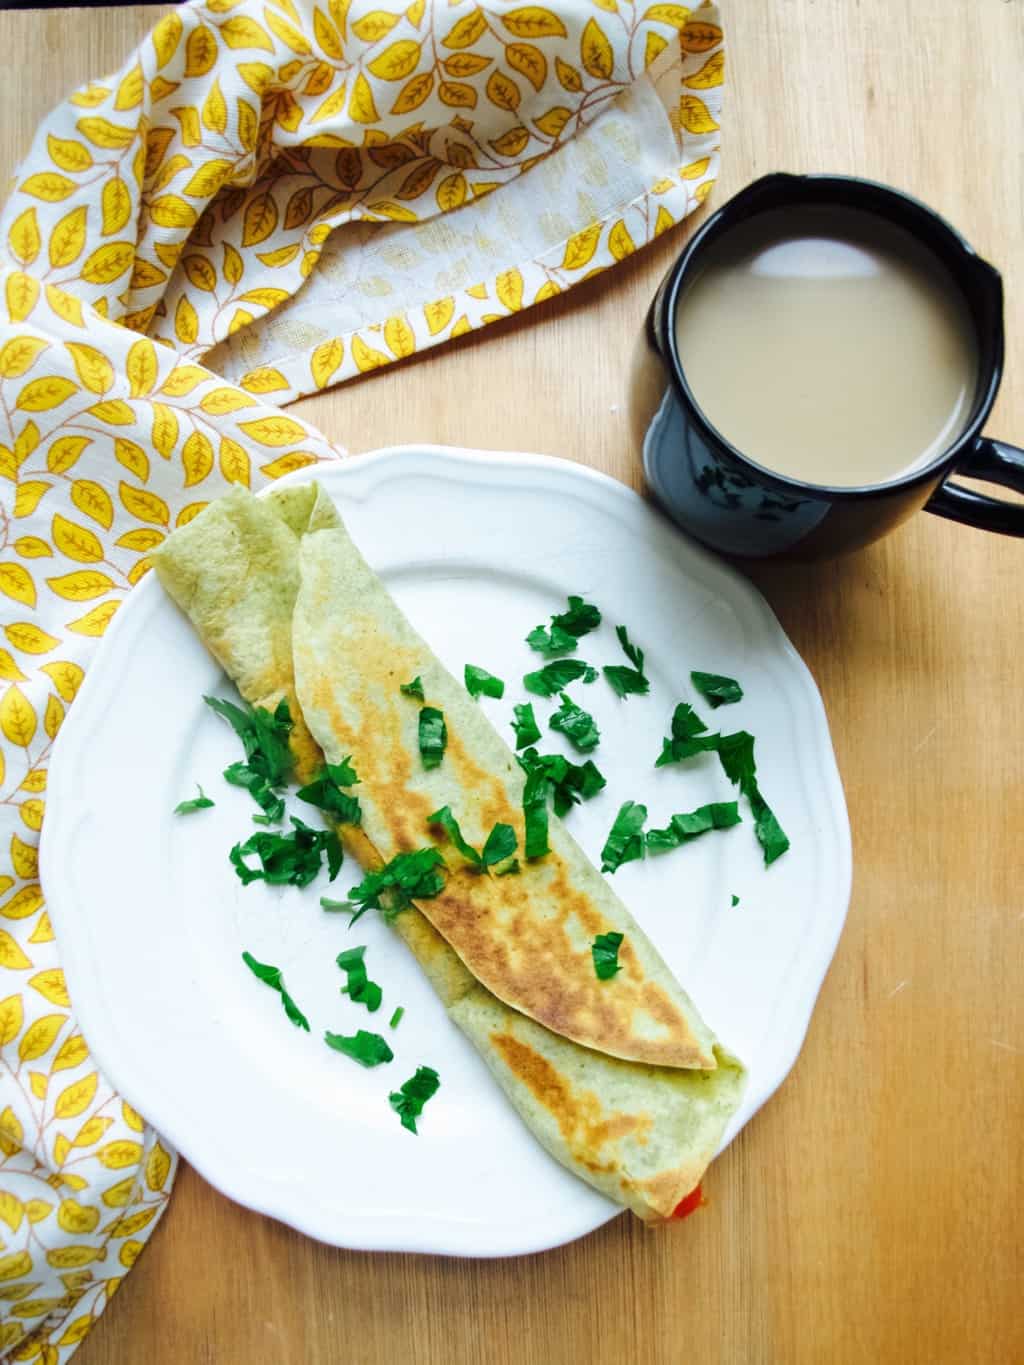
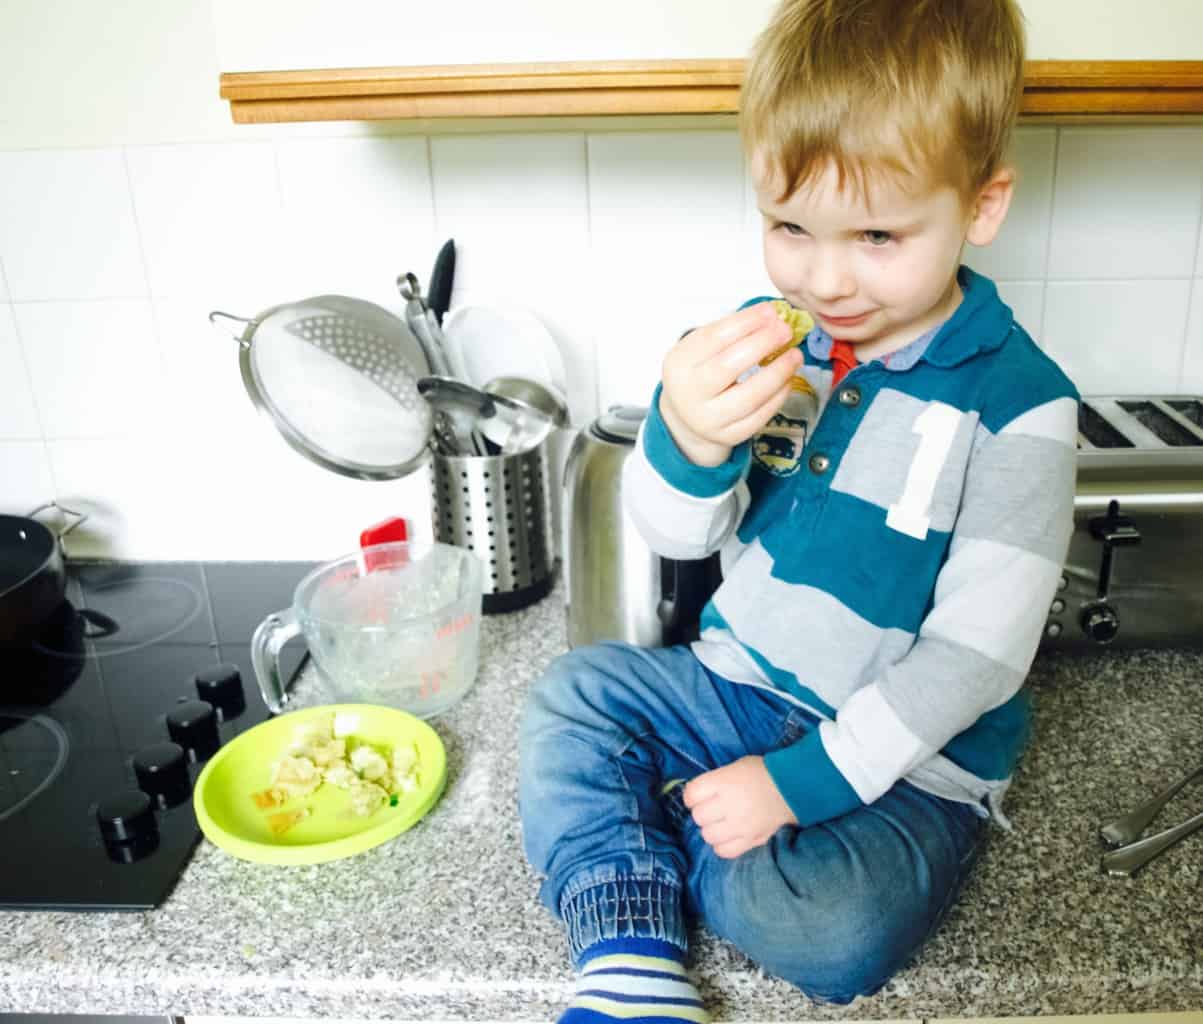
I came up with pesto crepes on one of those days when I wanted to keep lunch time casual. You see, sometimes Tomas goes for a nap in the middle of the day, which is why I started using this time to sort the meals out. I prep the dinner (often in slow cooker) and then me and Lukas casually lunch in the kitchen. I sit Lukas up on the counter while I fry some pancakes for him. I find this totally relaxing as I love nibbling on pancakes myself (with a cup of coffee on the side of course). This week I added pesto into the crepe batter which was a game changer. I started imagining how I could add different herbs next time as well  because it is so easy to make your own pesto using different kinds of bases (it can even be spinach!!). And most of all Lukas liked these “pancakes” equally as the plain ones. I made these savoury and filled it with cheese and tomato which was even better.

PESTO CREPES

  • 200g flour
  • 2 eggs
  • pinch of sugar
  • pinch of salt
  • 1 tbsp butter, melted (+ more for frying)
  • about 350ml water or milk
  • 4-6 tbsp pesto (doesn’t have to be basil pesto)

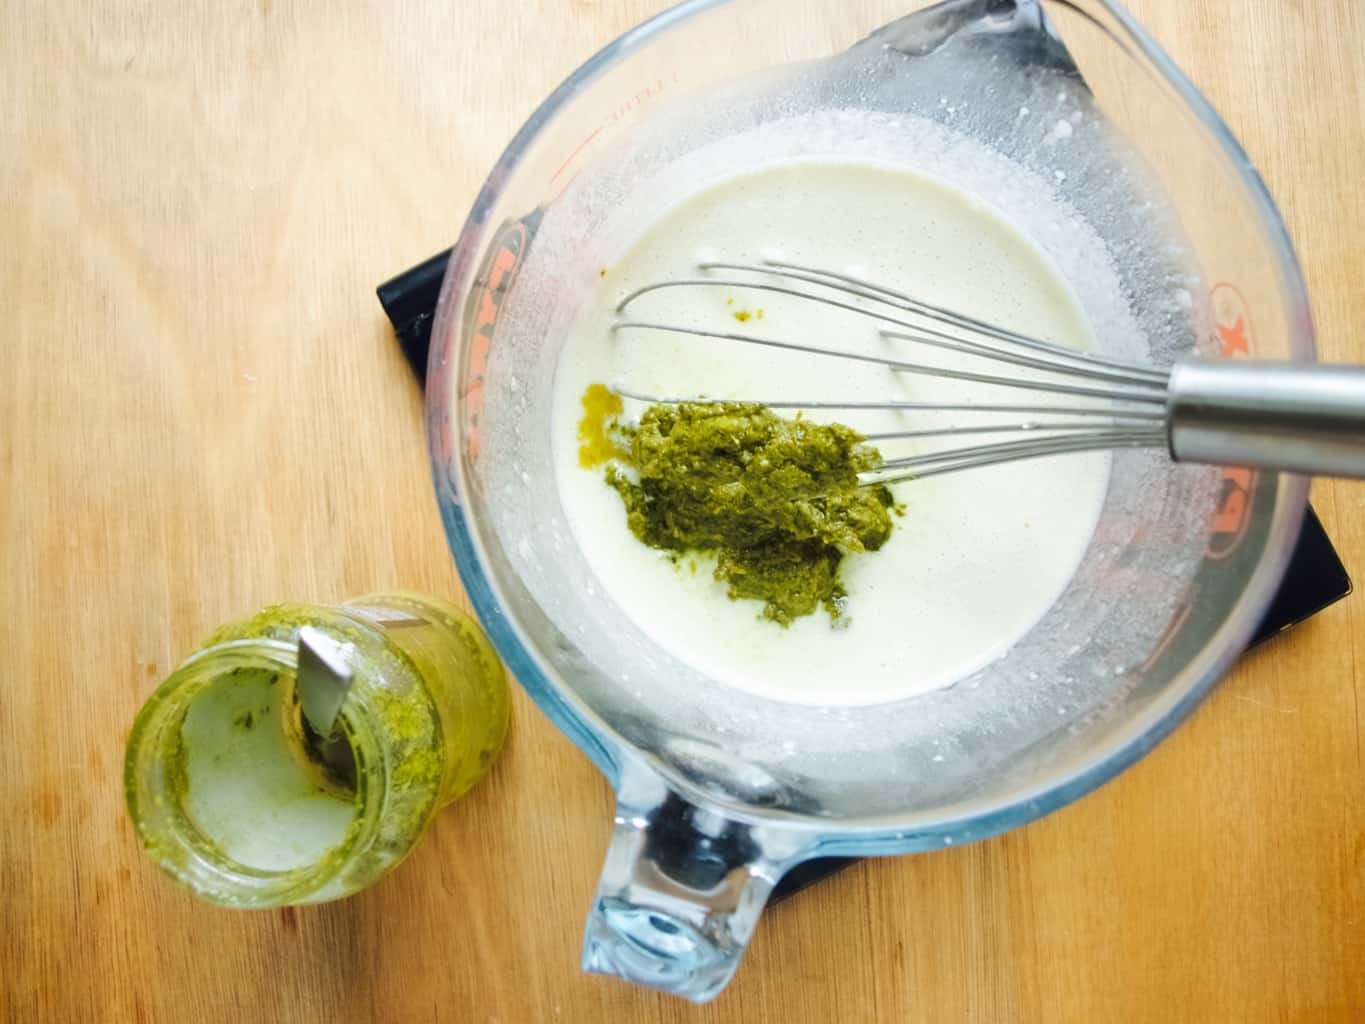
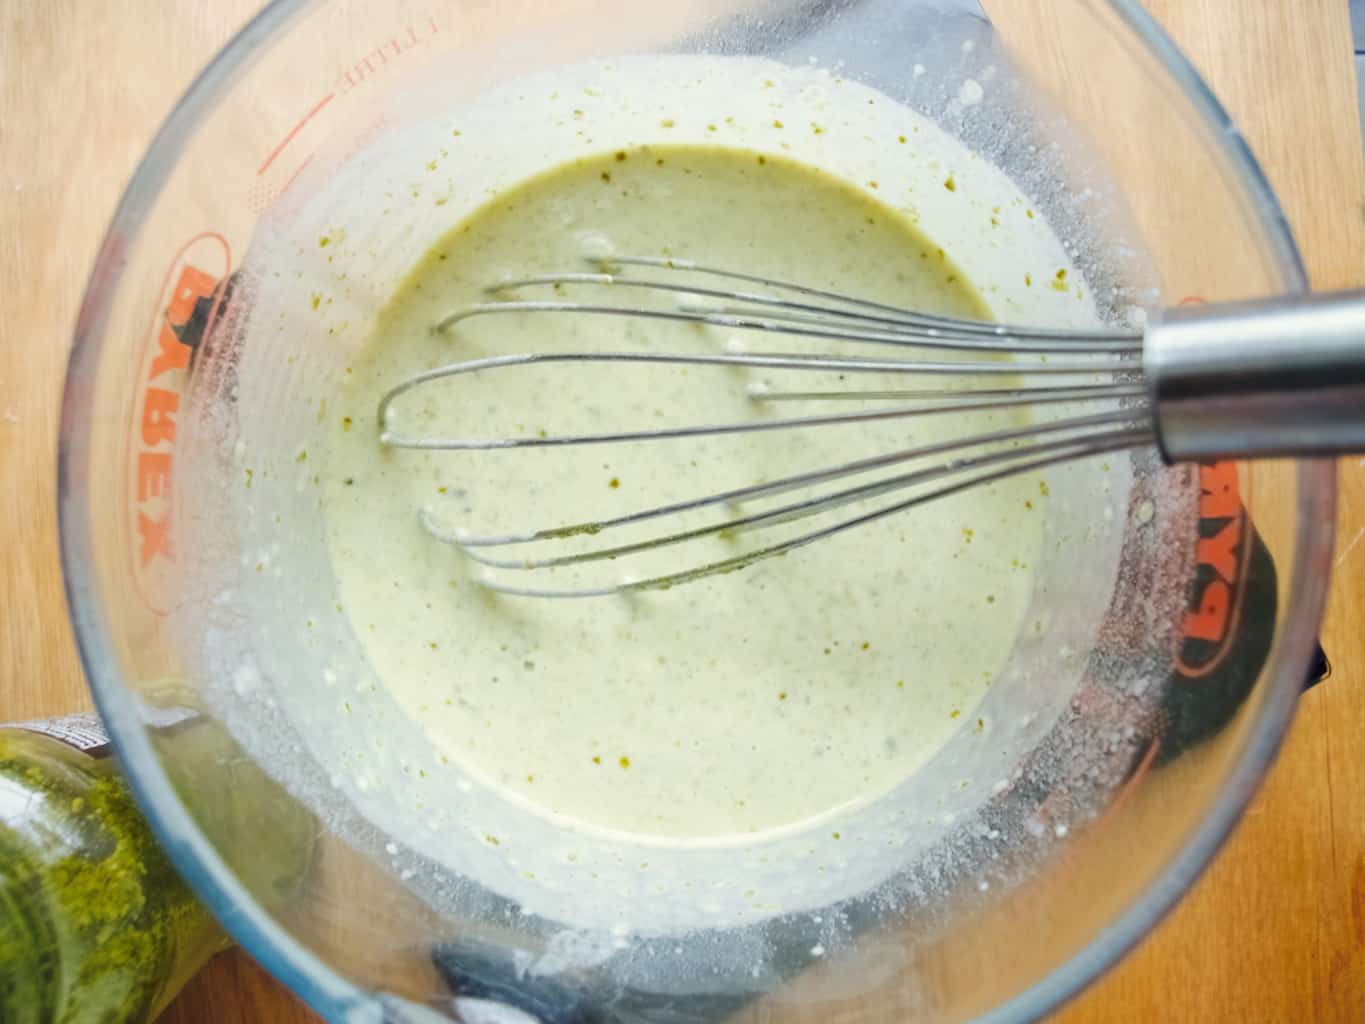
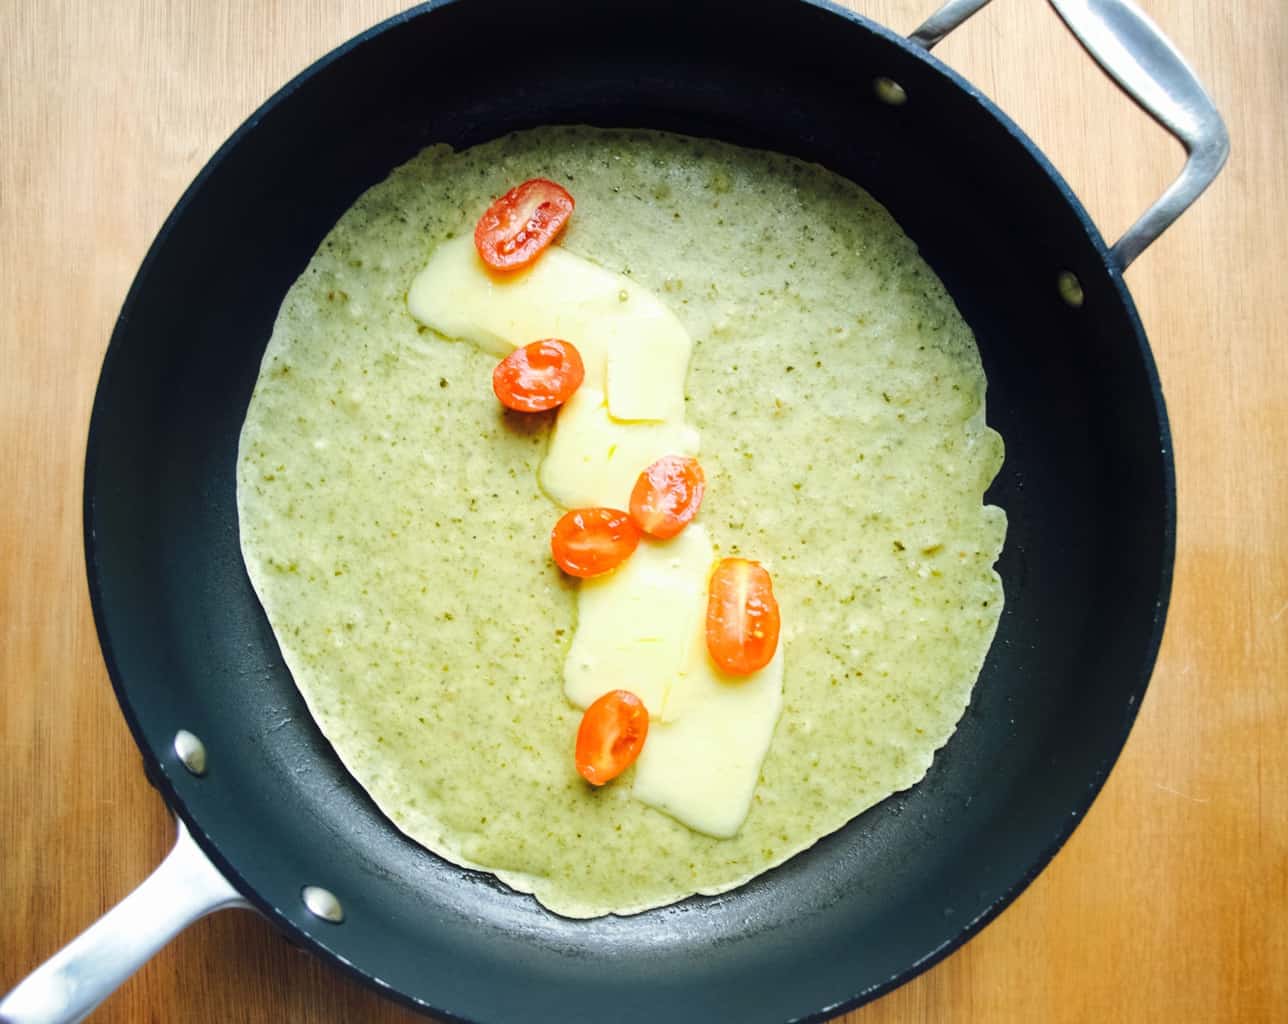
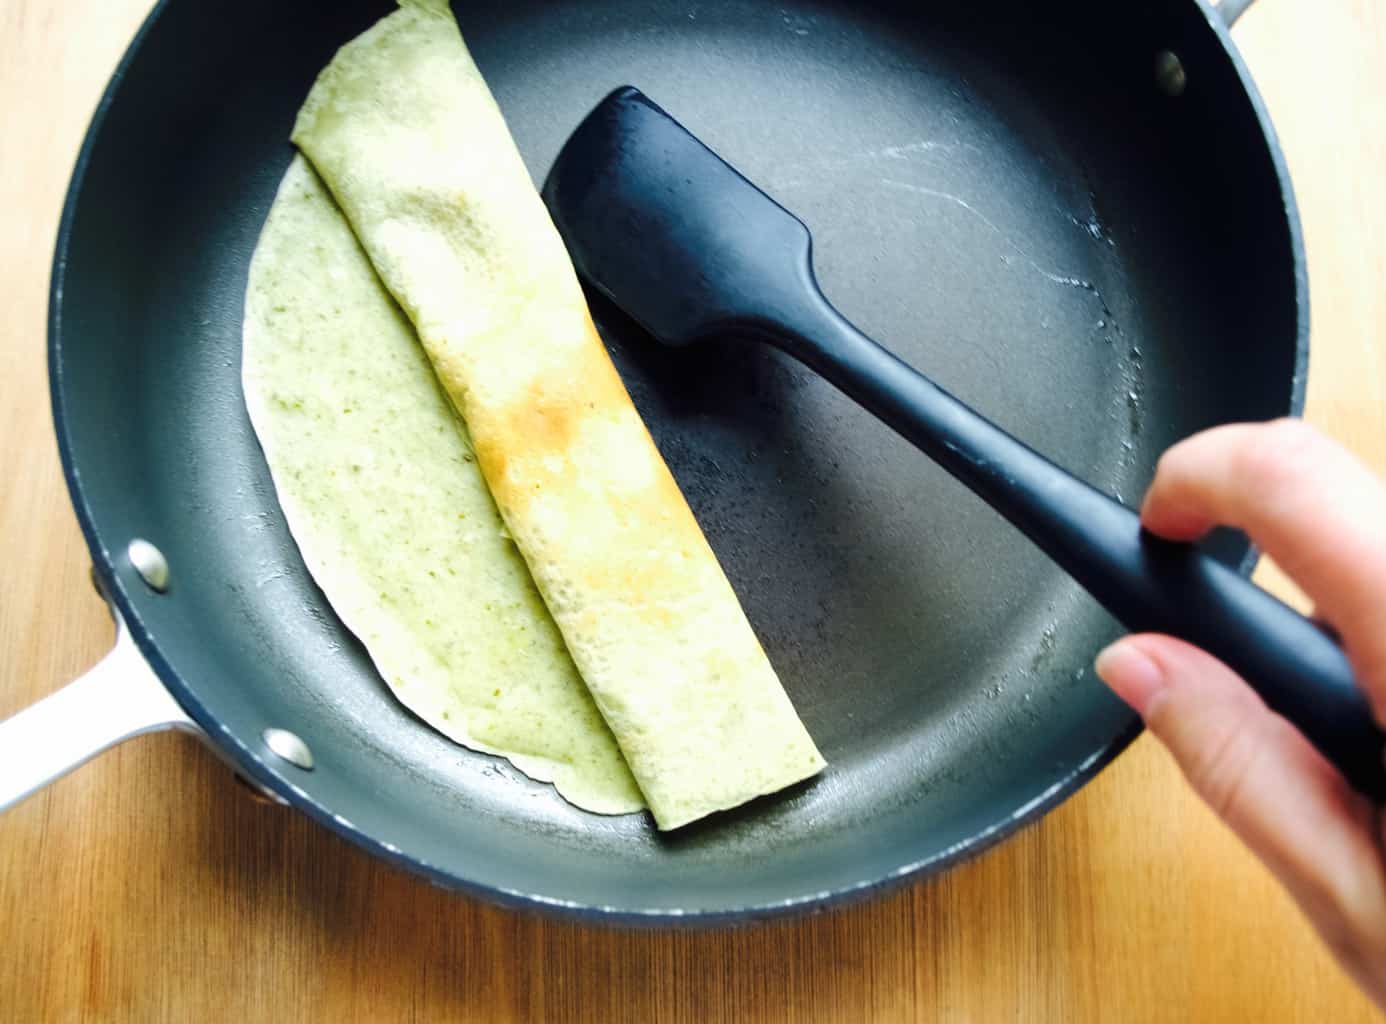
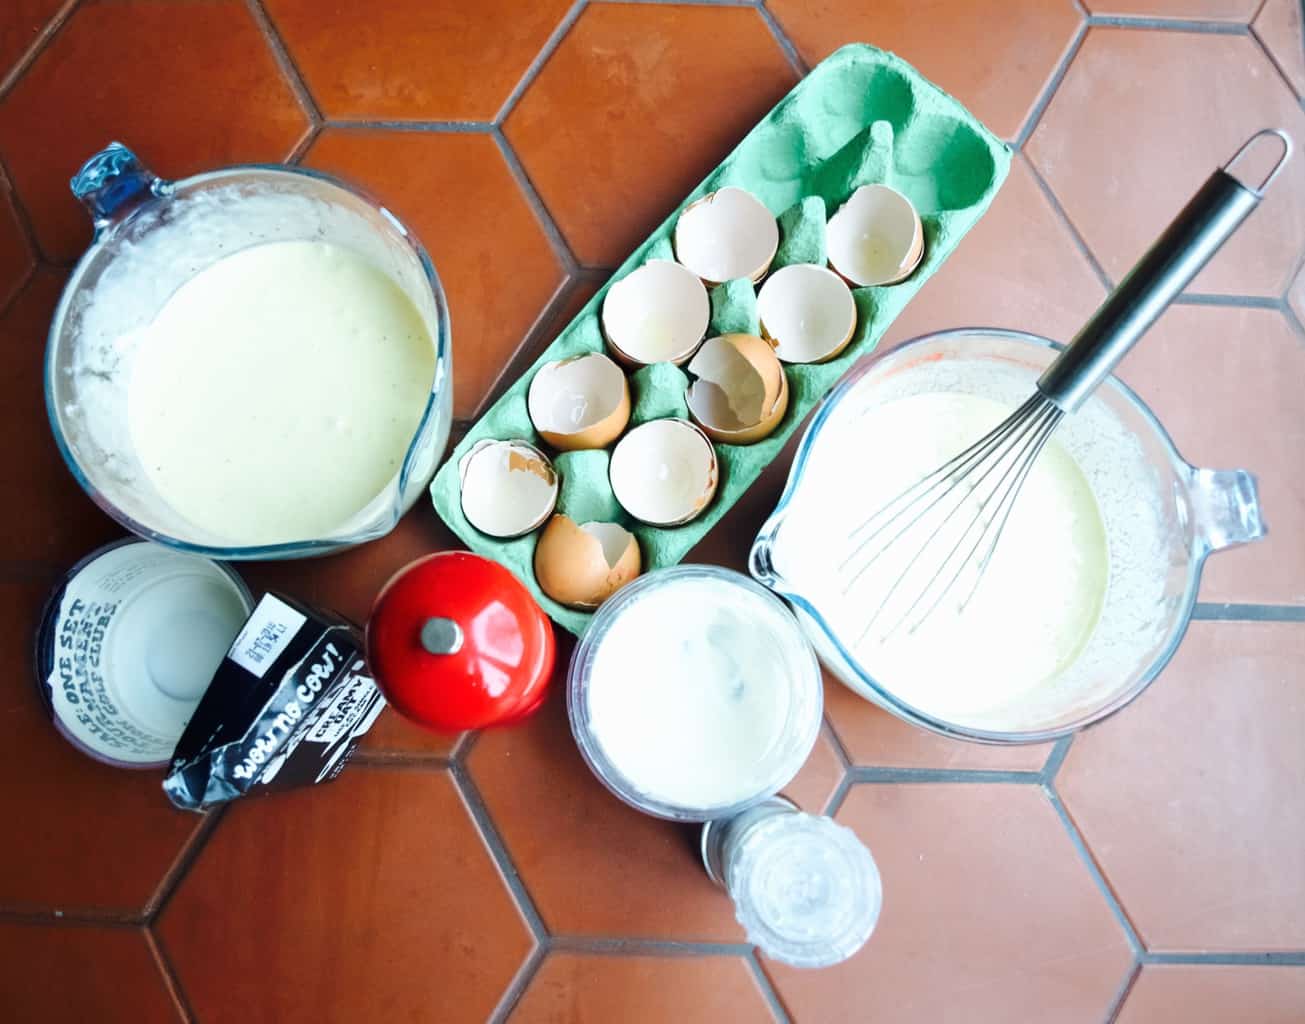
1. Place the flour into the bowl together with eggs, sugar, salt and butter. Whisk everything together into a dry mass. While whisking begin pouring the water gradually into the flour mass (not all in one go because you might not need it all). You are aiming for a batter consistency that easily drips down the whisk when held up but still leaves temporary traces when whisked. Pesto crepes filled with cheese recipe 2. Add pesto and mix again to combine.Pesto crepes filled with cheese recipe 3. You will need to fry pancakes in a well heated pan with a little butter. Pour one spoonful of batter into the pan and immediately start swirling round the pan to get a nice even layer. If you are having a cheese filling then add it at this stage as it needs to melt while the crepe is still frying. Pesto crepes filled with cheese recipe Just roll the crepe once the cheese is slightly melted.Pesto crepes filled with cheese recipe Best eaten warm!Casual lunch me and a toddler!Enjoy!

Rasa xoxo
0

Easy salmon and nettle quiche + dairy free version too!

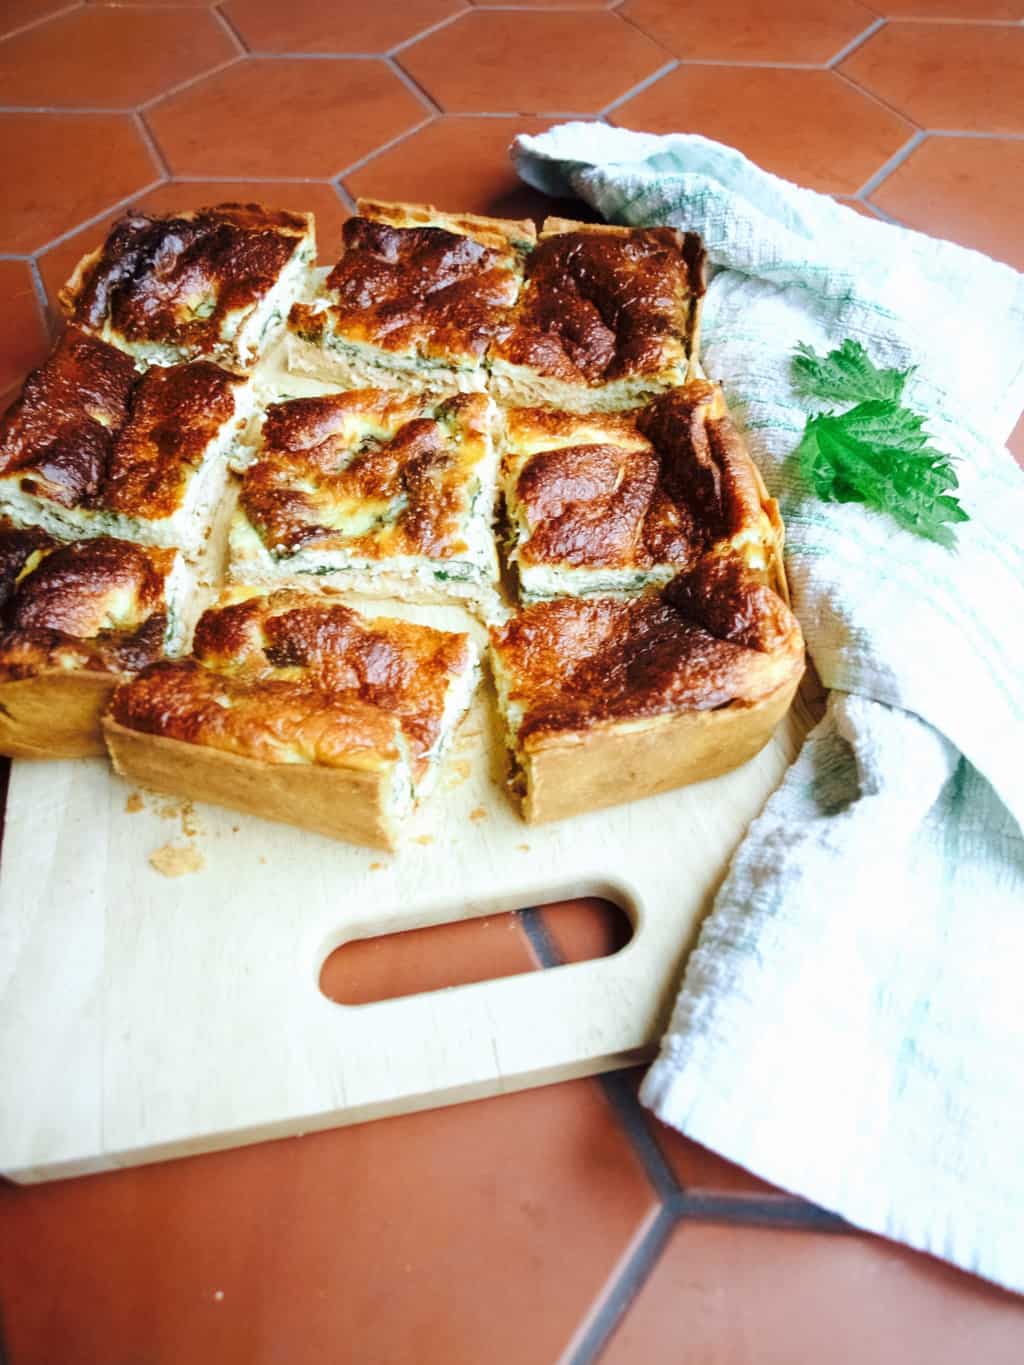
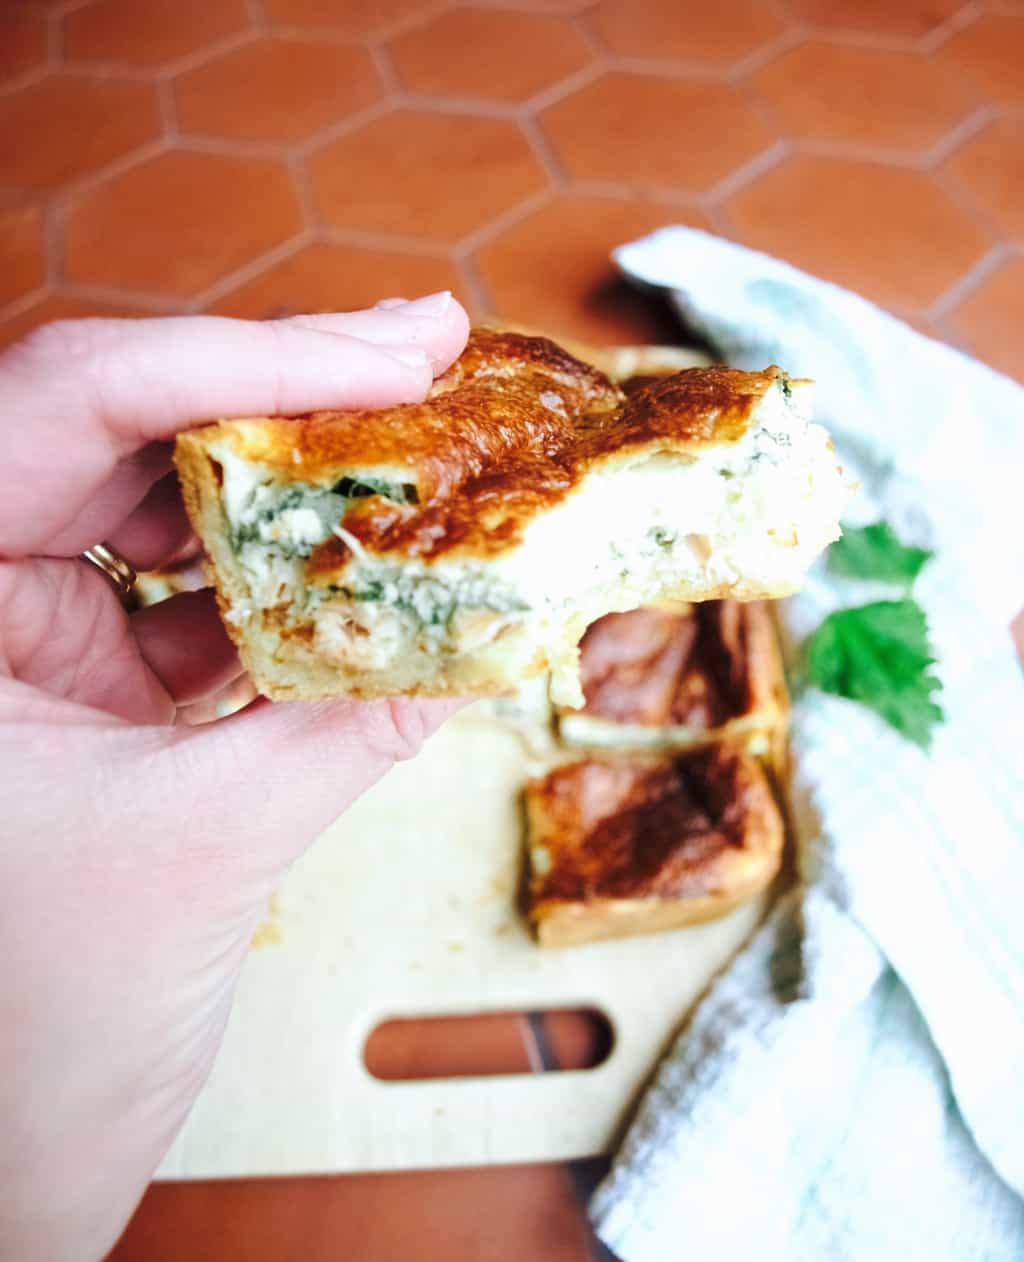
Easy salmon and nettle quiche recipe + dairy free version So finally I made something using stinging nettles. I’ve wanted to do this for so long because in spring time we have plenty of them in the garden. I heard that you can use this “weed” in place of spinach, so I was eager to try it out. I instinctively thought quiche is where it could work best. I usually match salmon with broccoli, but nettle seems to work really well too.

Generally I like foraging and sometimes taste different plants if I am not sure if they are what I think they are(I don’t recommend doing it though as you might consume poisonous plants by accident). However I rarely bring it home and make something out of it. While in Devon I found some wild garlic leaves, which was really exciting, and I wish I had brought some of that  home.

One more thing I would like to add is that I recently started trying out recipes dairy free. We currently testing whether Tomas eczema is related to a possible milk allergy and while I hope he isn’t allergic I am secretly enjoying the challenge. So I also made the quiche in a dairy free version too! It turned out very close to regular quiche, yey! If you would like to try these quiches then scroll down for the recipe.Easy salmon and nettle quiche recipe + dairy free version EASY SALMON AND NETTLE QUICHE

Its easy because you don’t need to blind bake the pastry ;-)

(for the pastry)

  • 90g softened butter (replace it with sunflower spread for dairy free version)
  • 1tsp sugar
  • a pinch of salt
  • 180g plain flour
  • 2 egg yolks
  • ice-cold water (you will find you don’t need this for dairy free version)

(for the filling)

  • 180g hot-smoked salmon fillets, flaked
  • a handful of stinging nettle leaves (pick young leaves from the plant that’s not flowering yet)
  • 4 eggs plus 2 egg yolk (save the whites to brush the pastry)
  • 300g creme fraiche (I used oatly creme fraiche and single cream mix for dairy free version)
  • 1 tsp salt
  • pepper

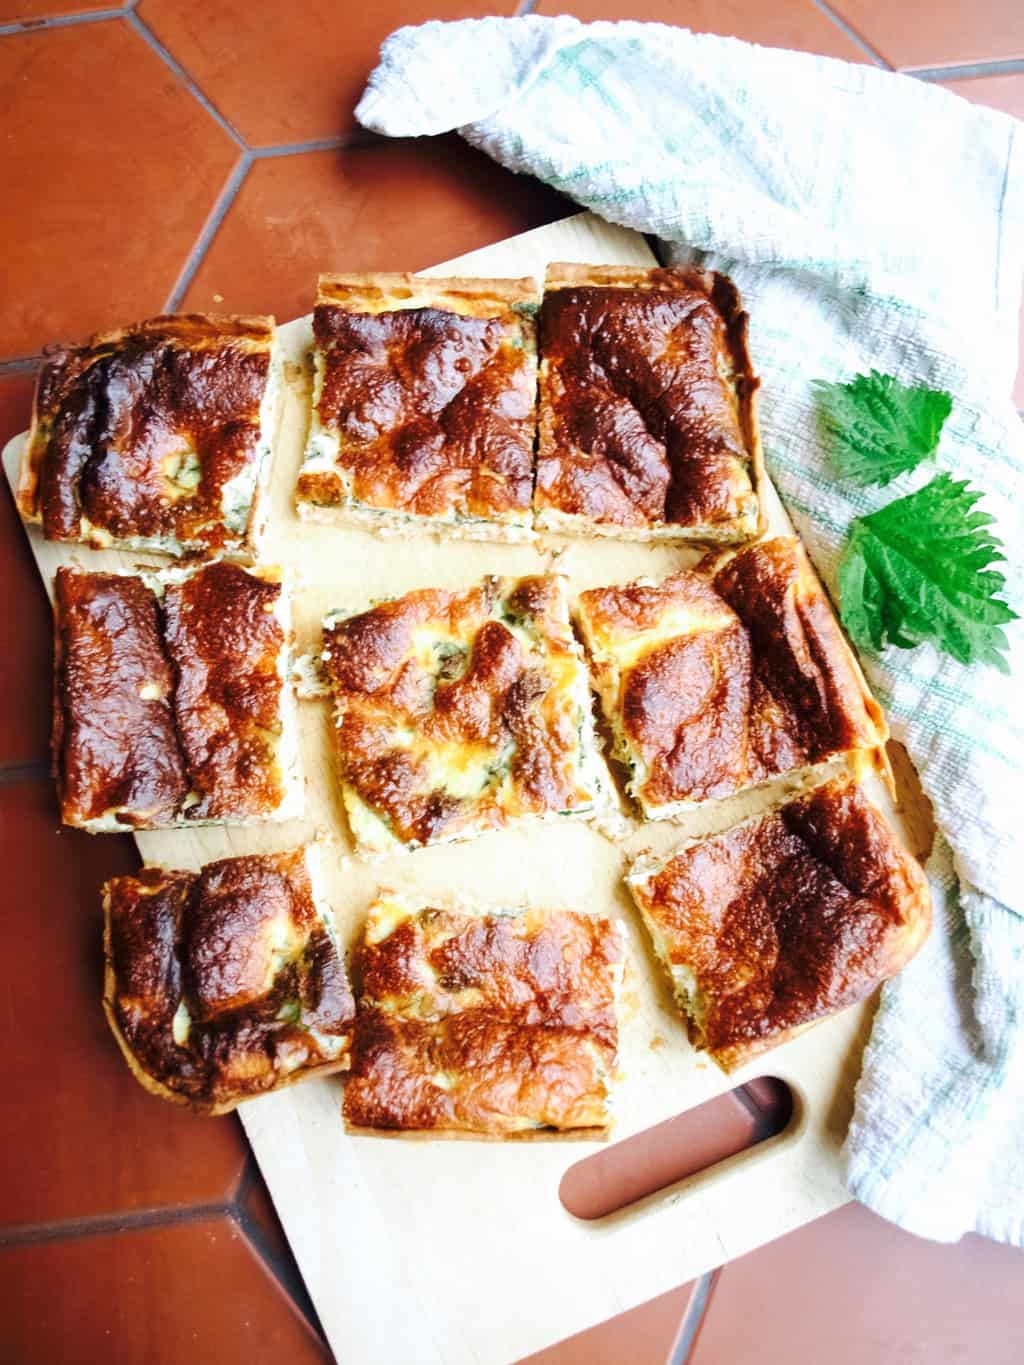
1. To make the pastry place all the ingredients (except the water) into the mixer. While mixing for few minuted gradually and slowly add water till it sticks into a ball. Wrap the dough in cling film and refrigerate for an hour or till when you are ready to use it.Easy salmon and nettle quiche recipe + dairy free version The dairy free version came out more moist (which is why you probably don’t need to add water into it) and did not solidify in the fridge.Easy salmon and nettle quiche recipe + dairy free version 2. Remove the pastry from the fridge 30min before using. Roll out the pastry between 2 sheets of baking paper to avoid until it is 5 mm thick. Line the baking tin or quiche dish with the pastry, brush it with egg white. Scatter salmon and nettle leaves in the pastry case. Refrigerate while preparing the egg mixture.Easy salmon and nettle quiche recipe + dairy free version 3. To make the egg mixture lightly beat the eggs in a bowl, add the creme fraiche (and cream if using) and seasoning and continue to beat until mixed well. Easy salmon and nettle quiche recipe + dairy free version 4. Pour the egg mix into the pastry case. Bake the quiche for 30-45min in 180C preheated oven or until the filling is golden brown and set.Easy salmon and nettle quiche recipe + dairy free version Can you guess which quiche is in the pics? I will give you a clue, it has oat milk in it! Yes, there were not many differences between these two quiches other that the texture and slight taste differences. Joni preferred the dairy one, I liked both. Tomas loved non-dairy one for all I care.Easy salmon and nettle quiche recipe + dairy free versionHope you like it too!

Rasa xoxo
0

Pinterest challenge: apple and butternut squash soup

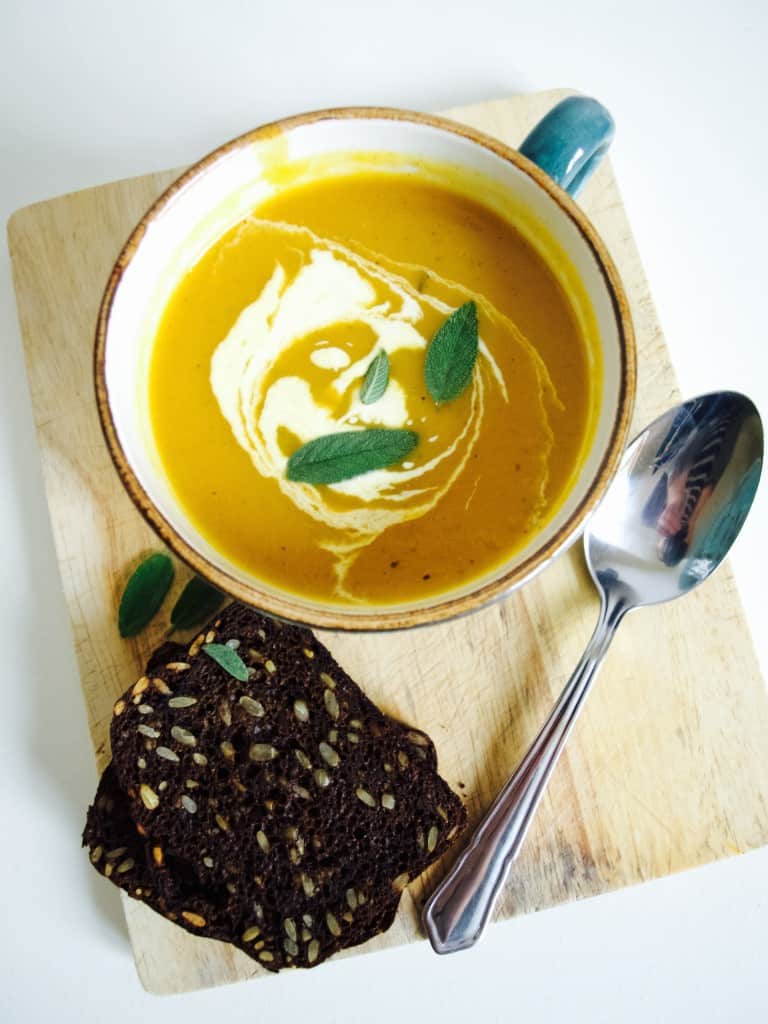
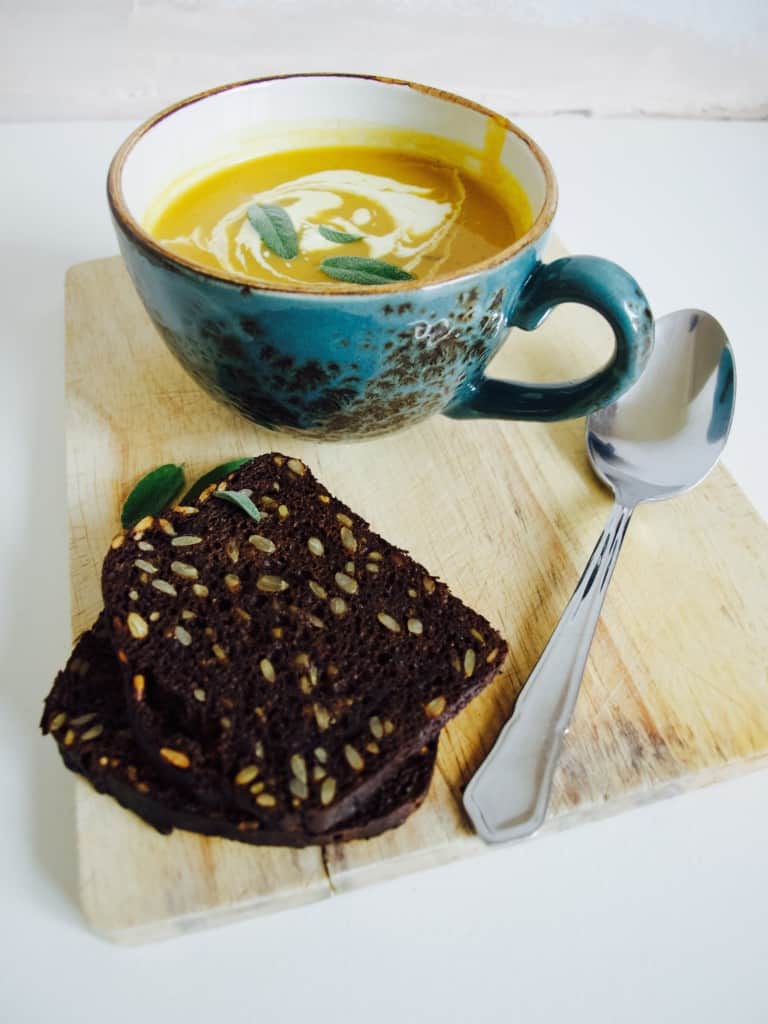
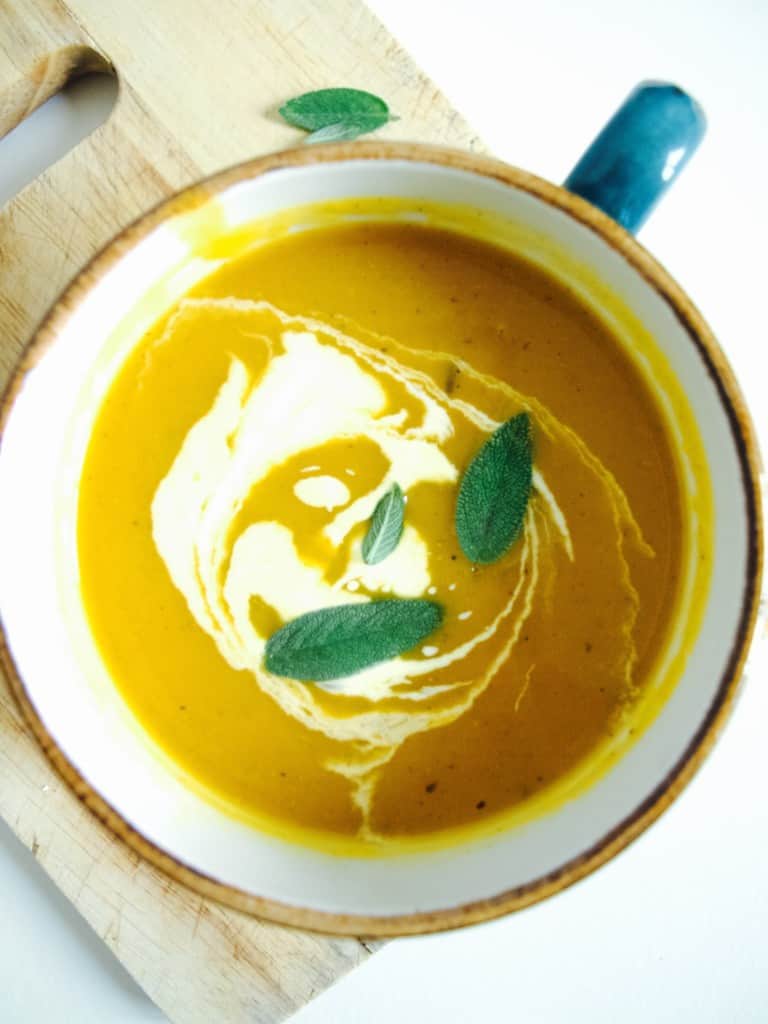
Apple and Butternut Squash soup recipe So the soup season is continuing here and I am trying to explore more and more flavours to stock up with (for the freezer). I find these soup portions very handy for lunches (super kid friendly too!!).

Apple and butternut squash seemed like a great match, was very eager to go and try it out as soon as I saw it on Pinterest. Made few changes, because I needed dairy free option as well as keeping it rich in flavour (I am talking about butter here). Hope you like it too as much as I did. Scroll down for the recipe ;-).Apple and Butternut Squash soup recipe APPLE AND BUTTERNUT SQUASH SOUP adopted from Foodess

serves 6 adults (you are welcome to double it up!)

  • 1 medium butternut squash, peeled and chopped
  • 1 large cooking apple, cored and chopped
  • 1tbsp fresh sage, or 1 tsp dried
  • olive oil for roasting and frying
  • 1 onion, diced
  • 1/2 tsp mixed spice
  • 1l chicken stock
  • double cream (optional)
  • salt and pepper to taste

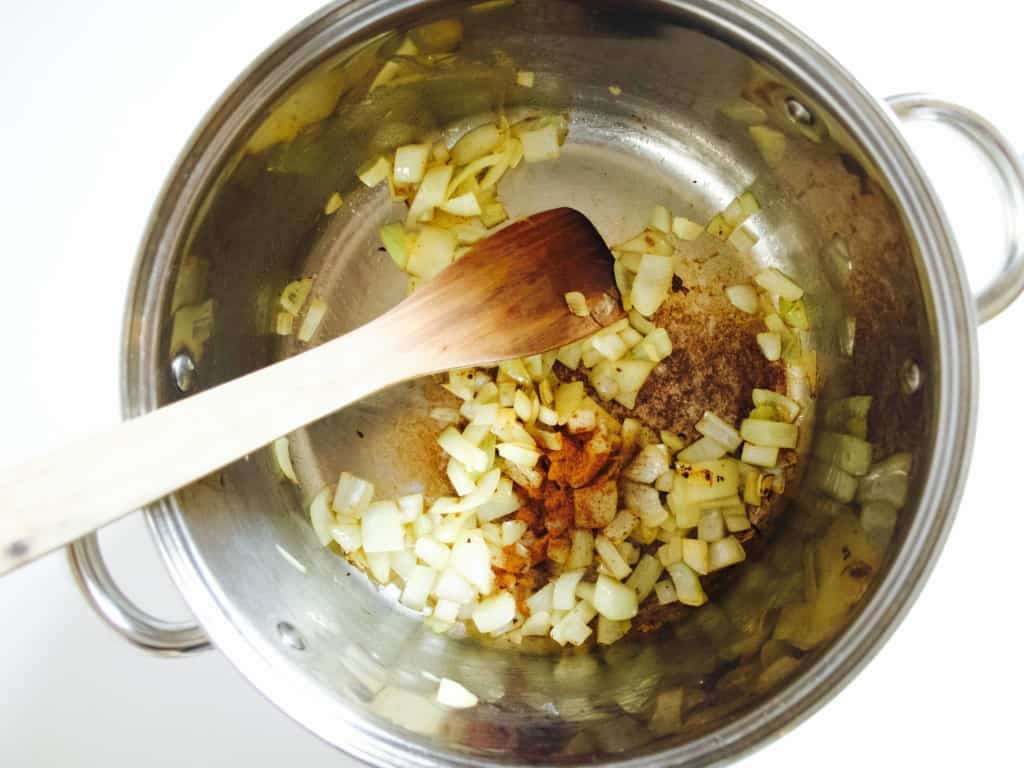
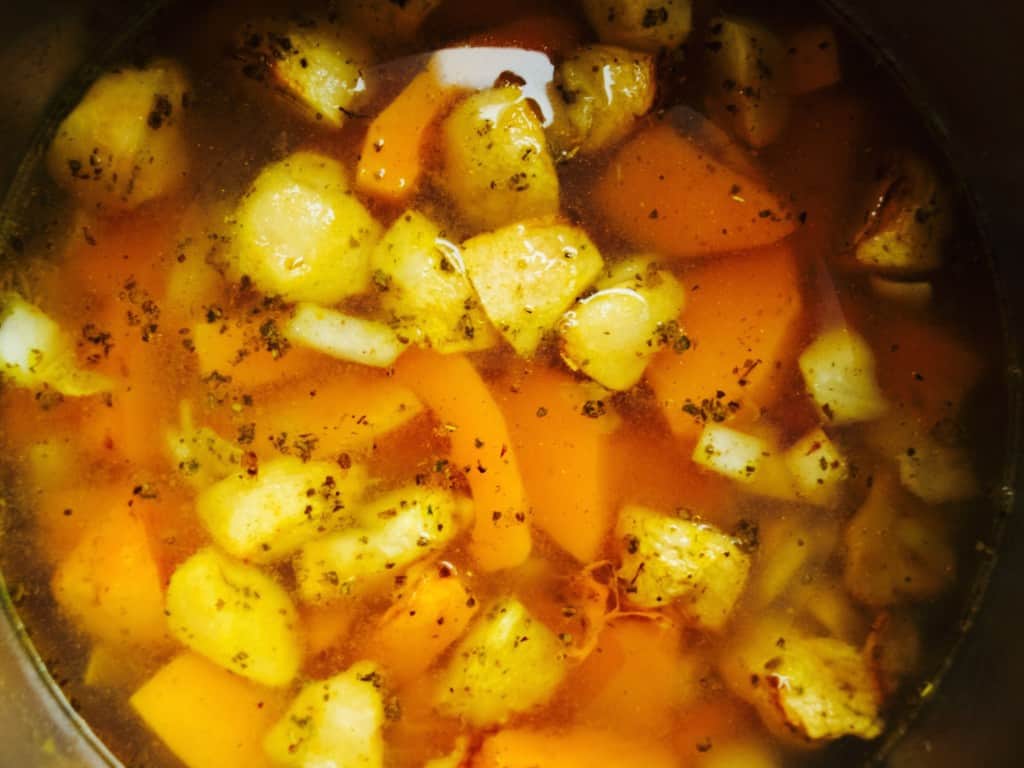
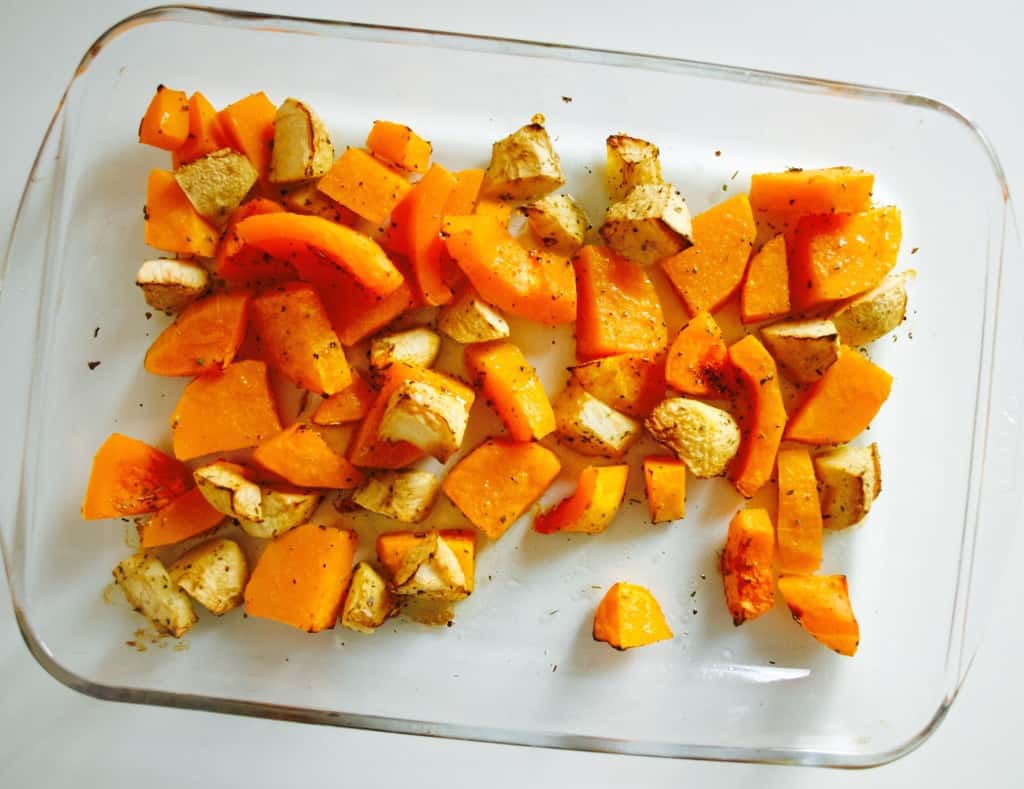
1. Place butternut squash and apple into the baking tray, sprinkle with sage and drizzle with olive oil. Roast the veg for 25min.Apple and Butternut Squash soup recipe2. In large pot fry the onion for 5 min and add the mixed spice.Apple and Butternut Squash soup recipe 3. Add roasted veg (and fruit) together with chicken stock. Bring everything to boil and simmer for 20min.Apple and Butternut Squash soup recipe4. Puree soup using a blender. Stir in cream, if using, and return to a simmer (although it tastes totally wonderful without the cream as well). Season with salt and pepper. Apple and Butternut Squash soup recipeEnjoy!

Rasa xx

0

Pinterest challenge: broccoli, cumin and yogurt soup

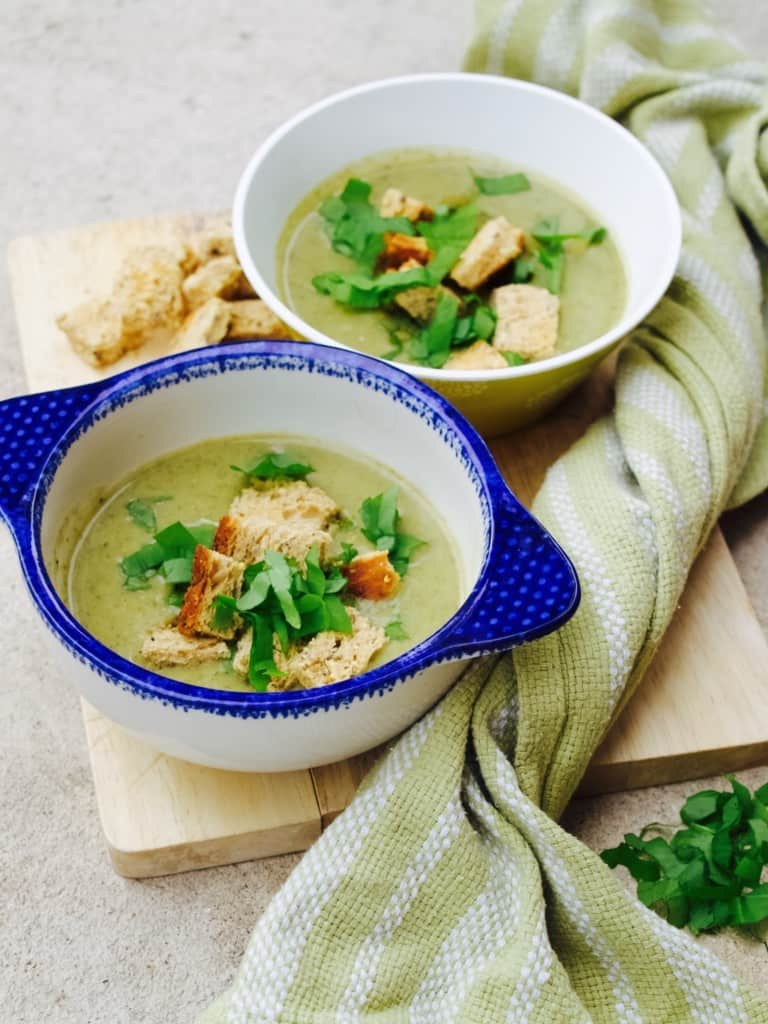
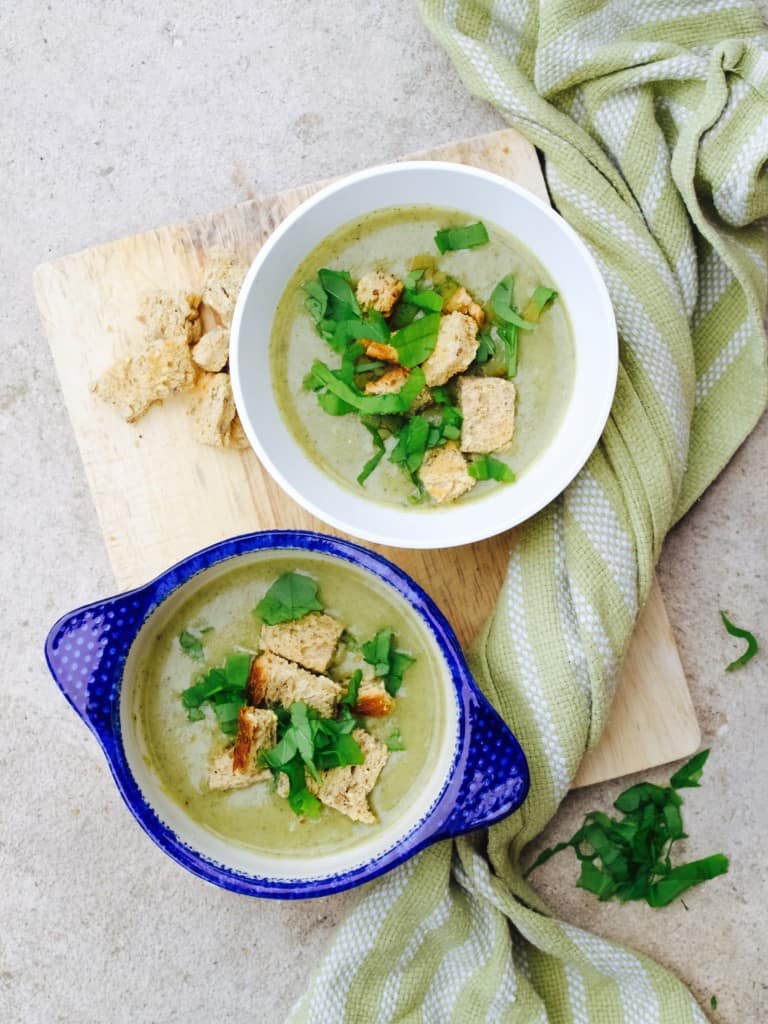
Broccoli, cumin and yogurt soup So the chill is on and I thought to better start the soup season (well… I have started it a while ago actually). Joni cooked this soup last year for Lukas dedication and I have been revisiting it ever since. Its my favourite soup at this moment! Whats not to like, its flavoursome (sorry to say it is better than stilton and broccoli soup), kids love it, packed with all the green veg and its freezable (lunches sorted in advance). It’s found on Pinterest but it is not challenging at all ;-).

BROCCOLI CUMIN AND YOGURT SOUP  adopted from Trois Fois Par Jour (thank goodness for Google Translator)

serves 12 adults or makes many many portions for kids lunches

  • 50g butter
  • 2 large onions, chopped
  • 2 large potatoes, sliced or cubed
  • 1-2 tsp cumin
  • 2 large handfulls spinach
  • 2 large broccoli heads, chopped
  • 5 garlic cloves, crushed and chopped
  • 2l vegetable stock
  • 2 tbsp maple syrup
  • salt and pepper to taste
  • 200ml yogurt

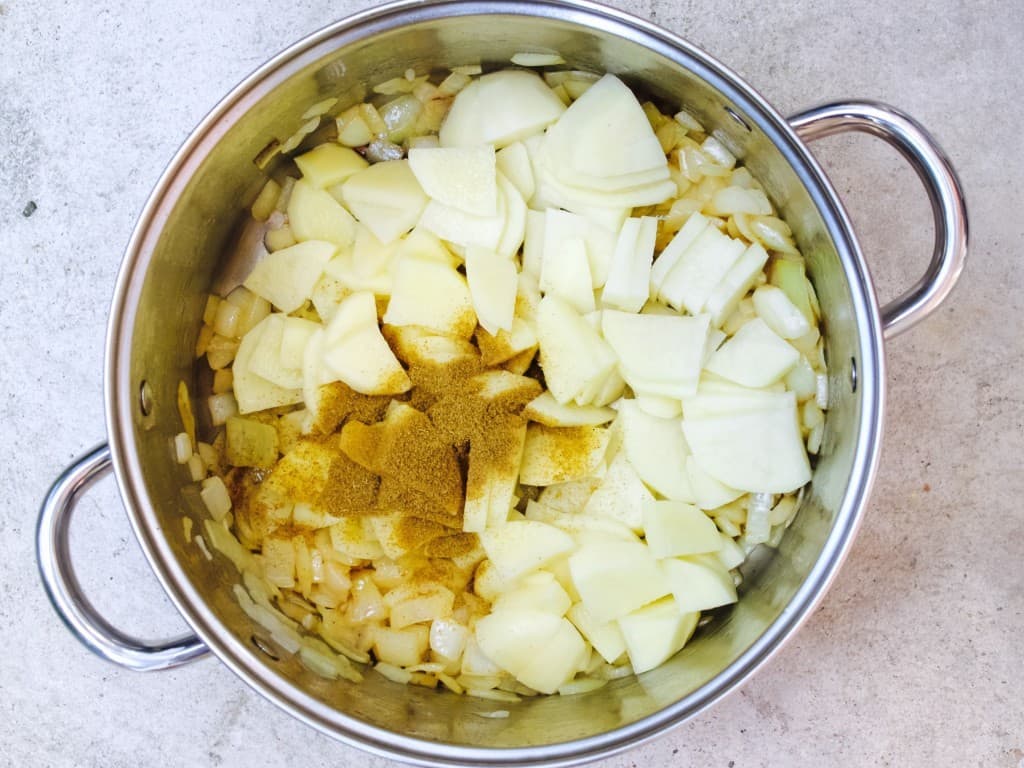
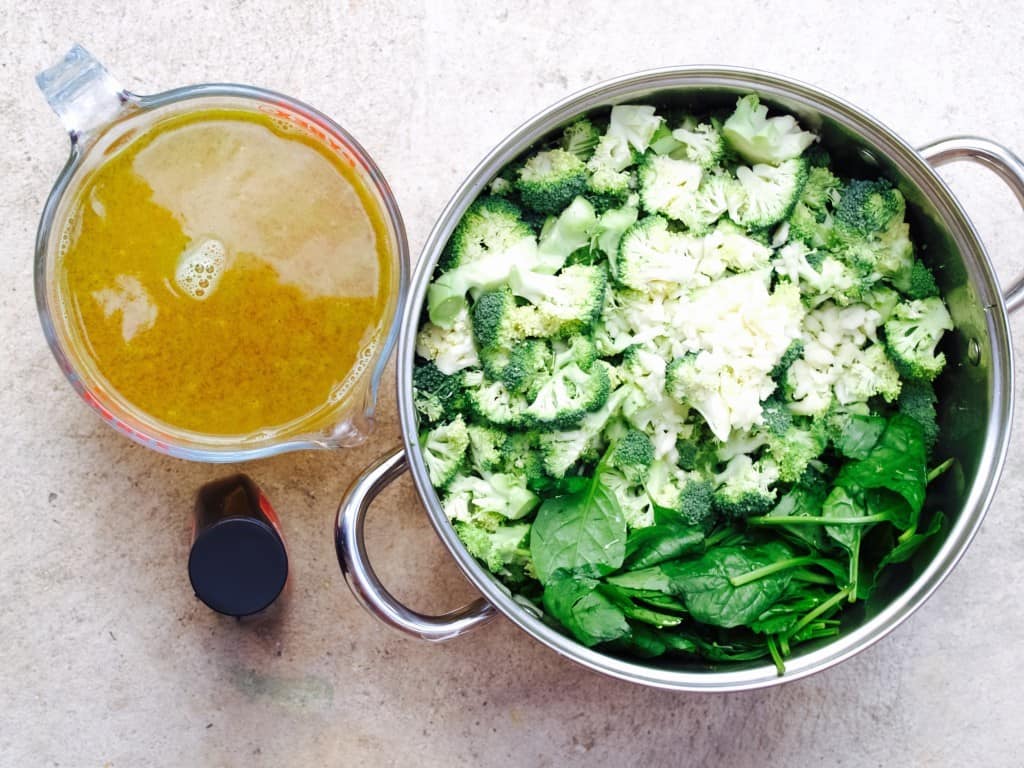
1. In the largest pot you can find, melt the butter and fry the onions for 3 to 4 minutes. Add potato and cumin, continue cooking for about 3 minutes.Broccoli, cumin and yogurt soup2. Add broccoli, spinach and garlic then mix well so that broccoli is soaked in spices and spinach has wilted. Cover everything with vegetable stock, then add maple syrup and simmer for 25 to 30 minutes.

Broccoli, cumin and yogurt soup3. Blend the soup and stir in the yogurt. Season and serve it while still hot! Broccoli, cumin and yogurt soupEnjoy xx

Rasa :)

0

My favourite kids lunch on the go

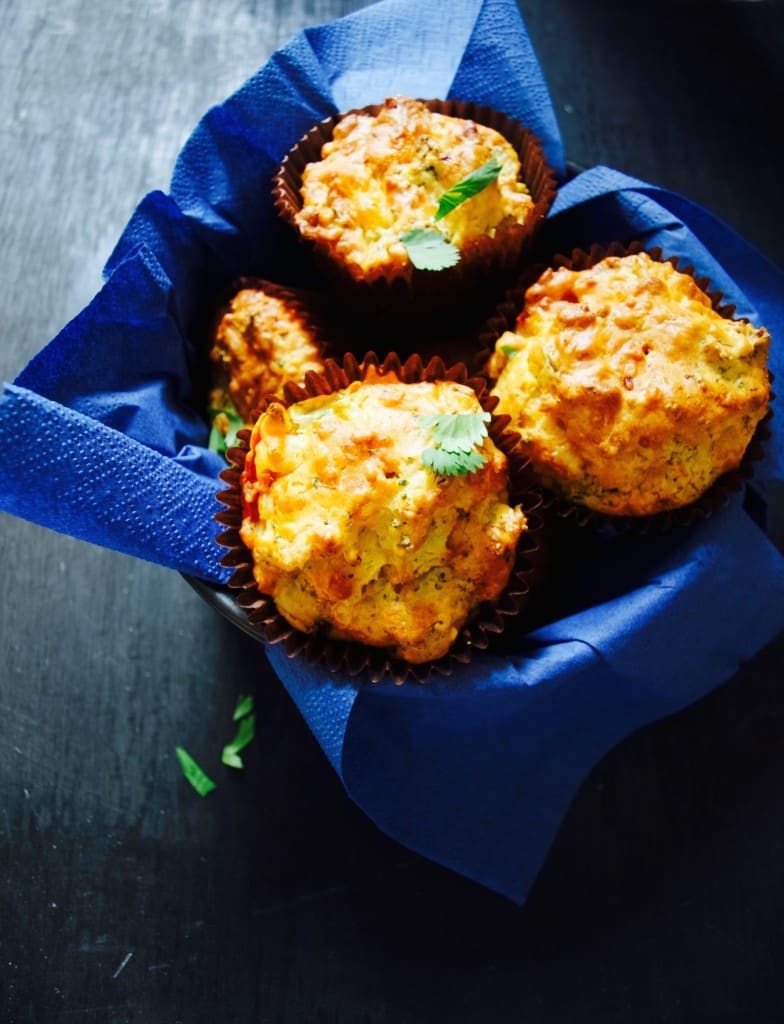
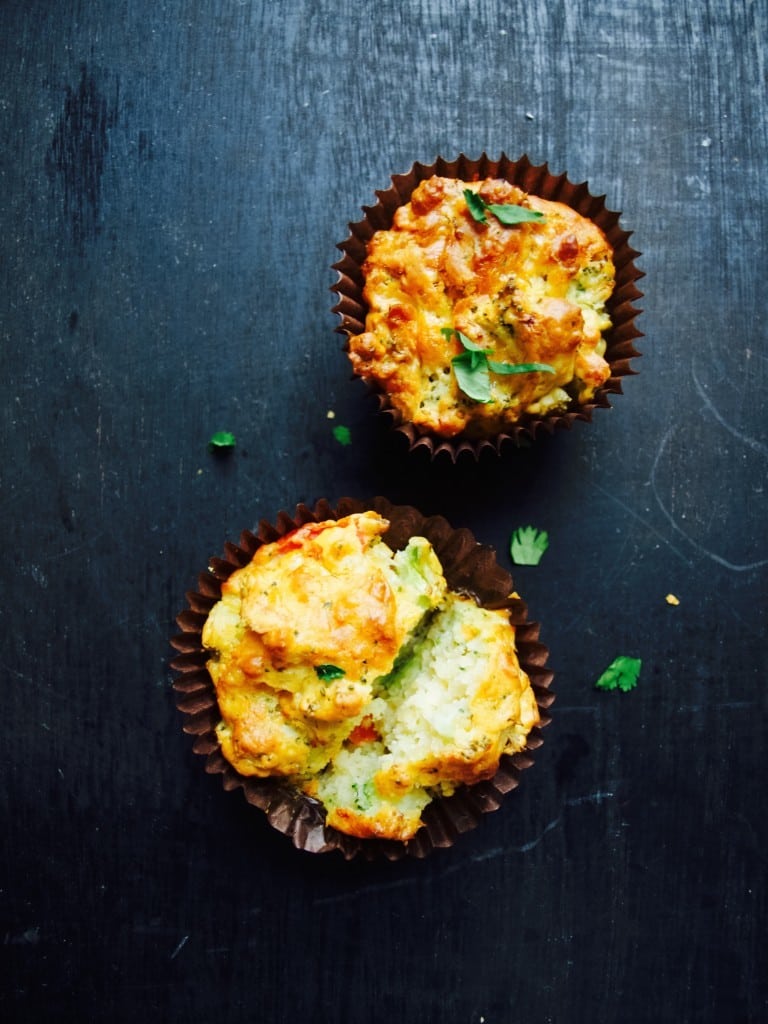
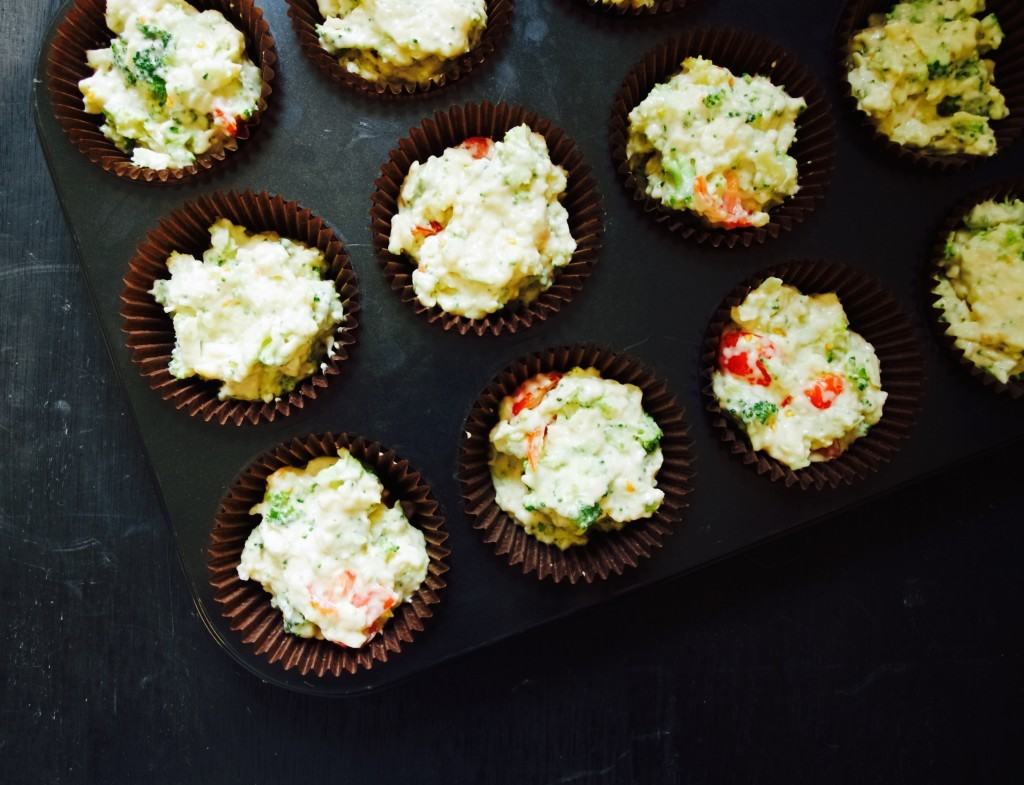
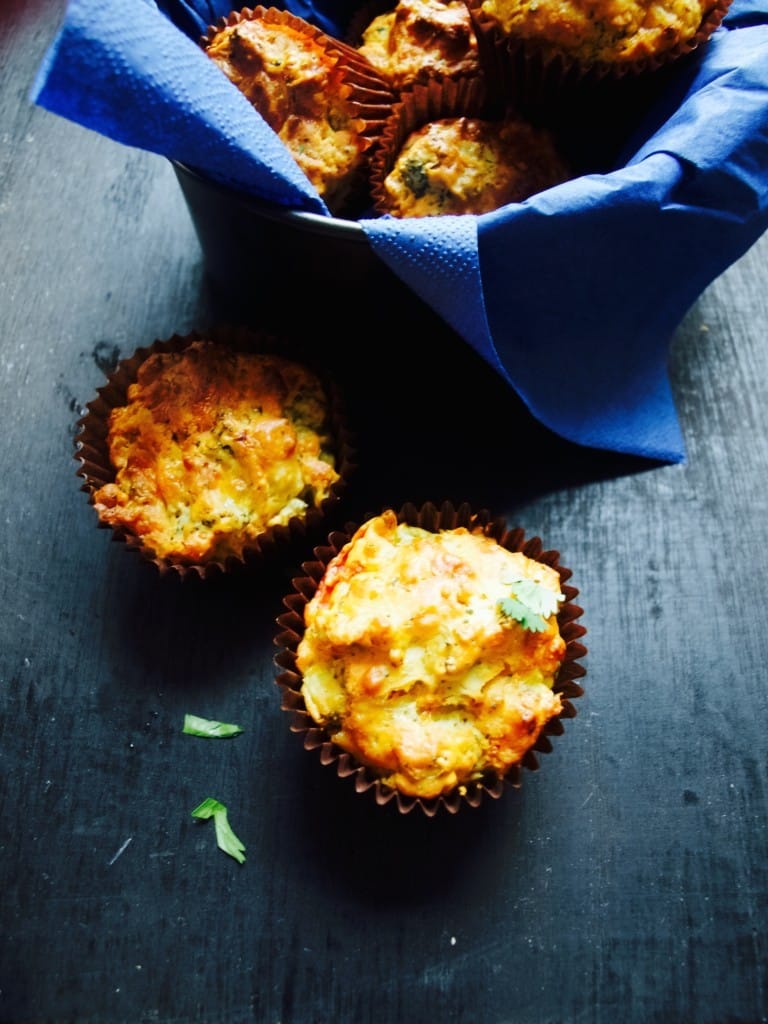
Full of veg savoury muffins recipe We have been traveling lots lately (I am talking day trips not an actual holiday) and to have something handy for lunch is essential (unless you want to spend the money at the cafe or something). This is why these muffins are amazing for obvious reasons. They are dry meaning the mess don’t stick to clothes, they are full of hidden veg (so hard to make Lukas eat veg these days) and they can be frozen for whenever you need them. Besides, they are carbs that children love to eat, su no fuss here ;-). Full of veg savoury muffins recipeFULL OF VEG SAVOURY MUFFINS

makes 12 muffins

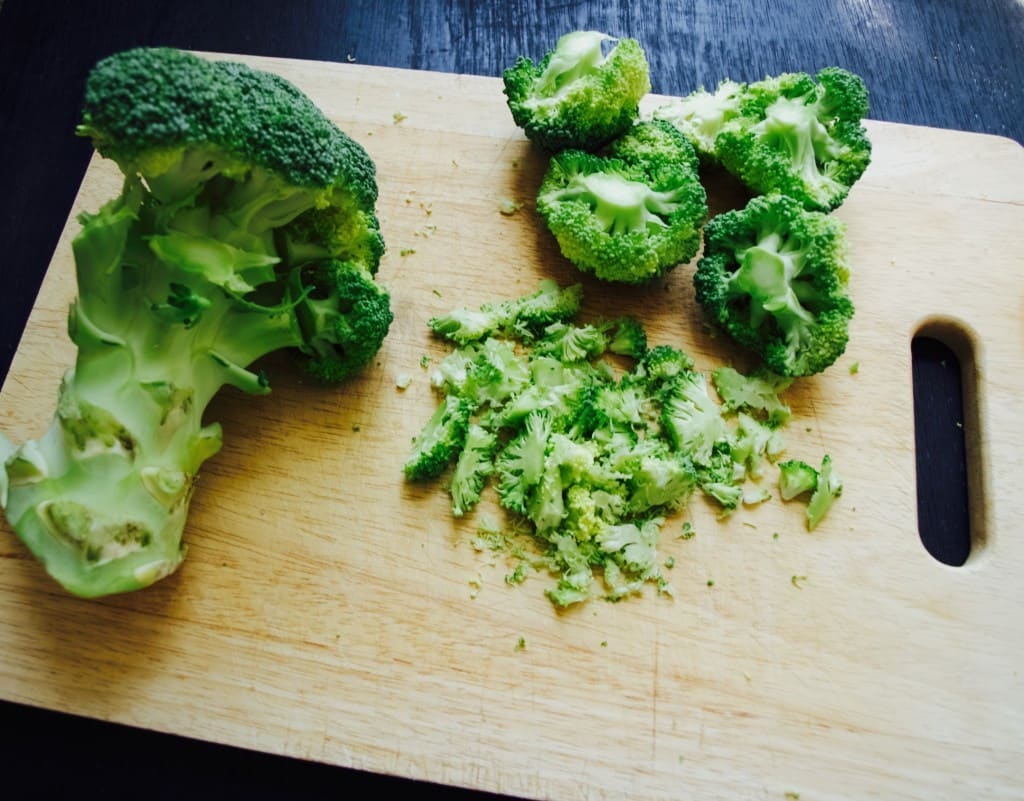
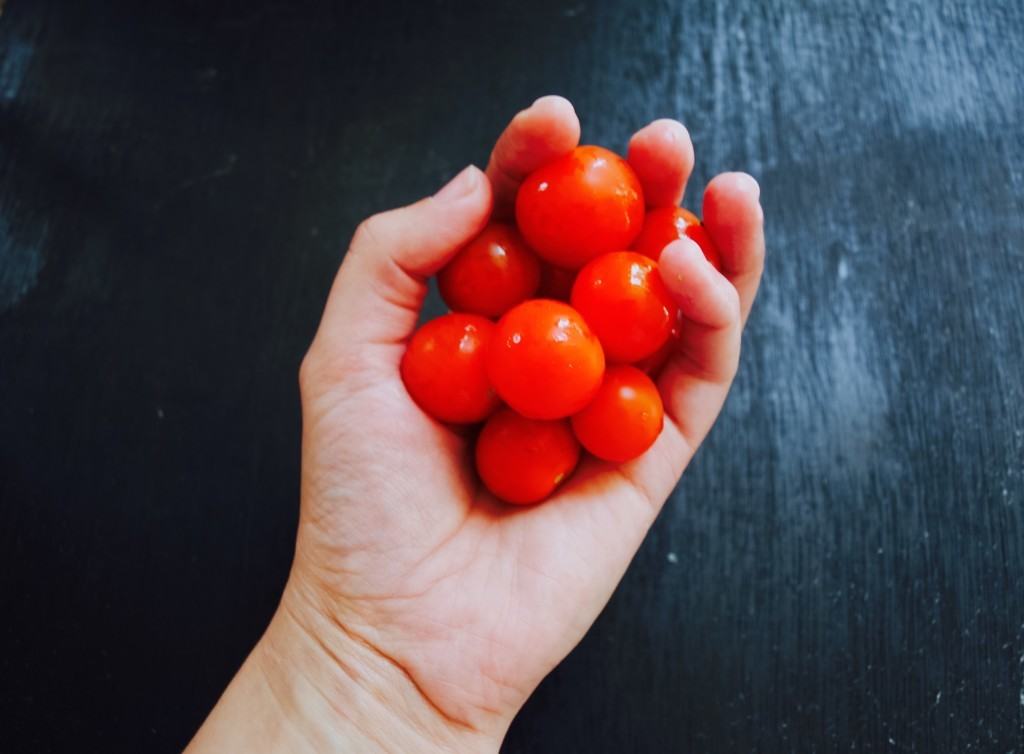
  • 2 handfuls of chopped veg of your choice (I had broccoli and cherry tomatoes)
  • 230g plain flour
  • 3tsp baking powder
  • 140g grated cheese
  • 200ml milk
  • 3tbsp olive or sunflower oil
  • 1 egg, beaten

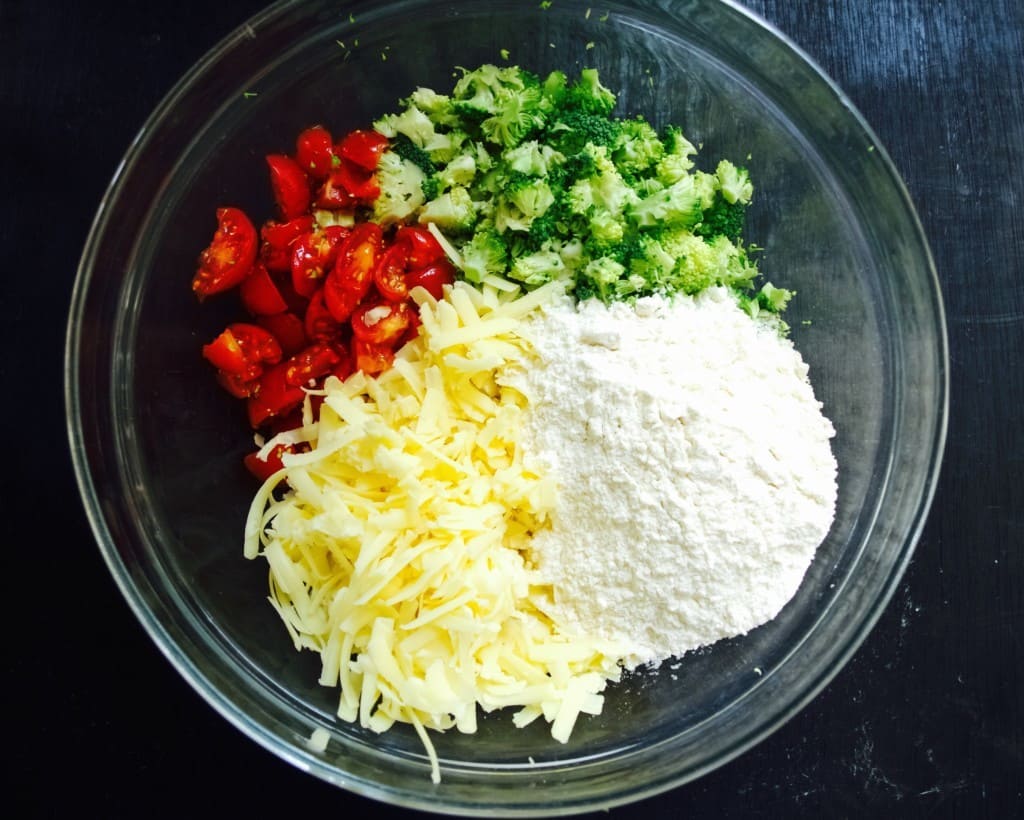
1. First, finelly chop all the veggies. Especially broccoli as it needs to cook through when baked.Full of veg savoury muffins recipe Full of veg savoury muffins recipe 2. Combine the veggies with the rest of ingredients.Full of veg savoury muffins recipe 3. Mix everything well before spooning the mixture into 12 hole muffin tin (all lined and ready). Bake for around 30min in 180C preheated oven.Full of veg savoury muffins recipe Full of veg savoury muffins recipeEnjoy your lunch!

Rasa xx

0

Caribbean chicken curry with pineapple

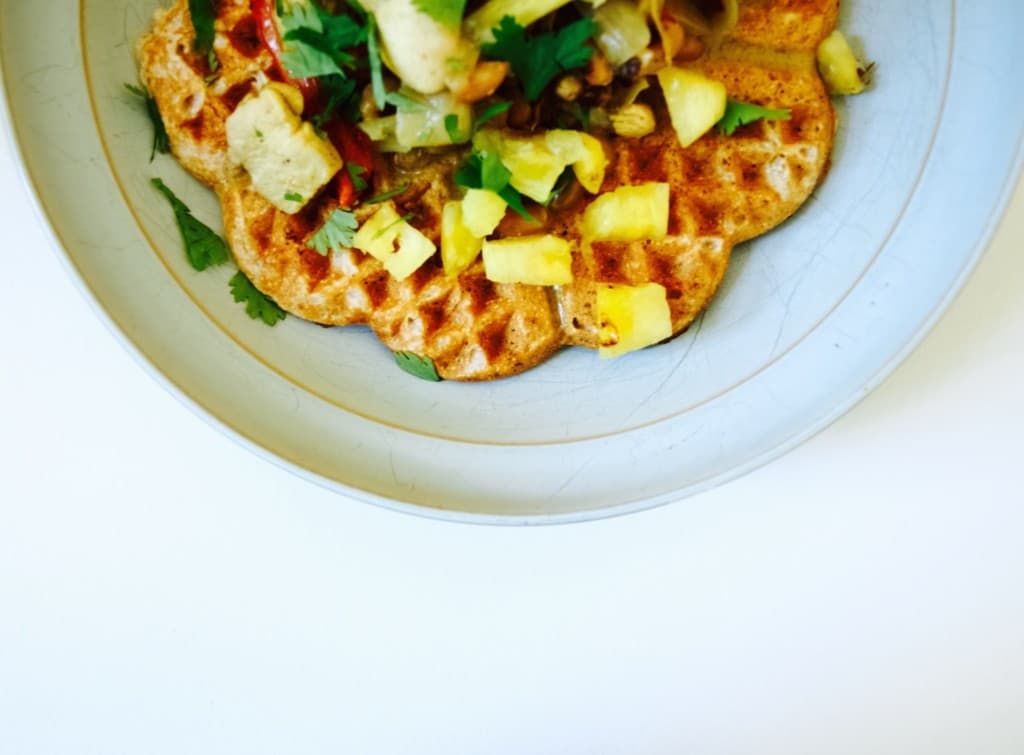
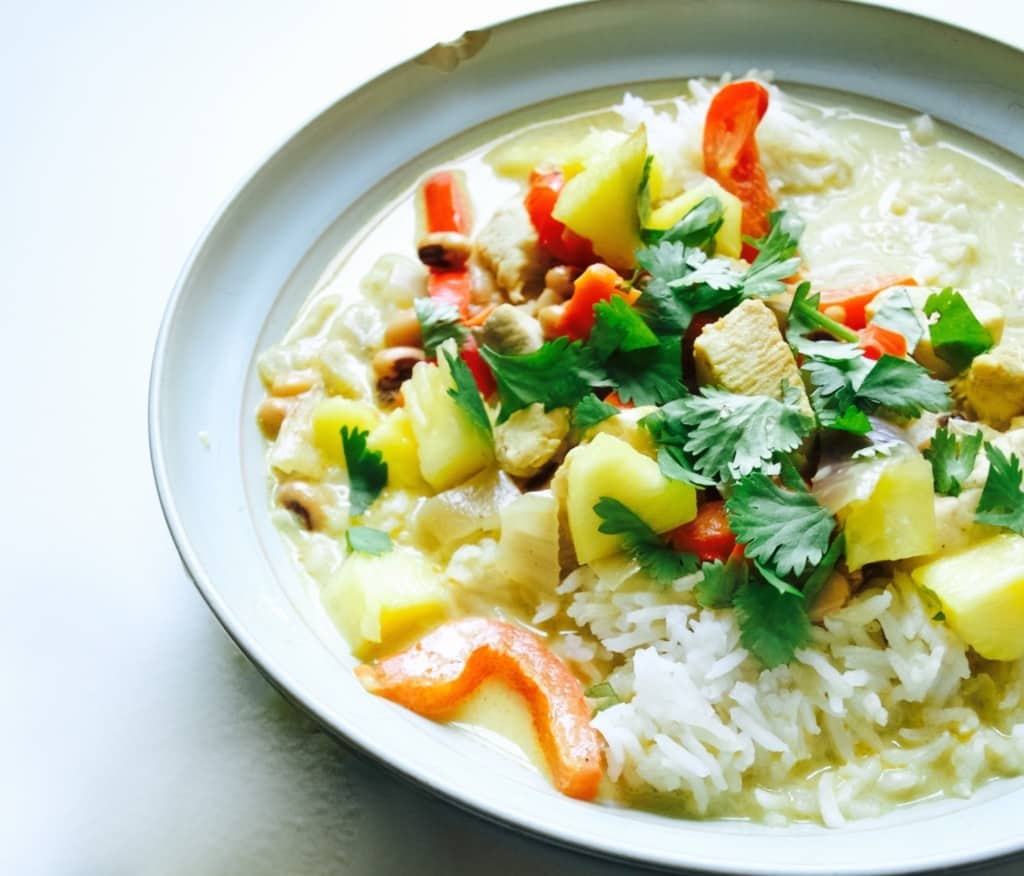
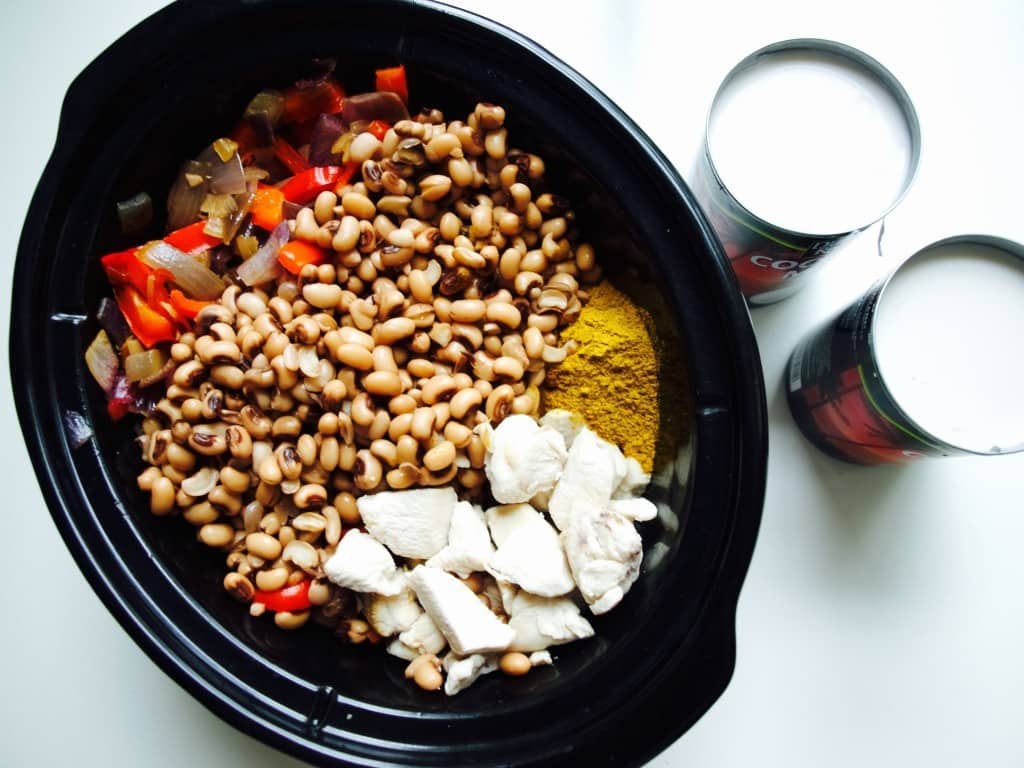
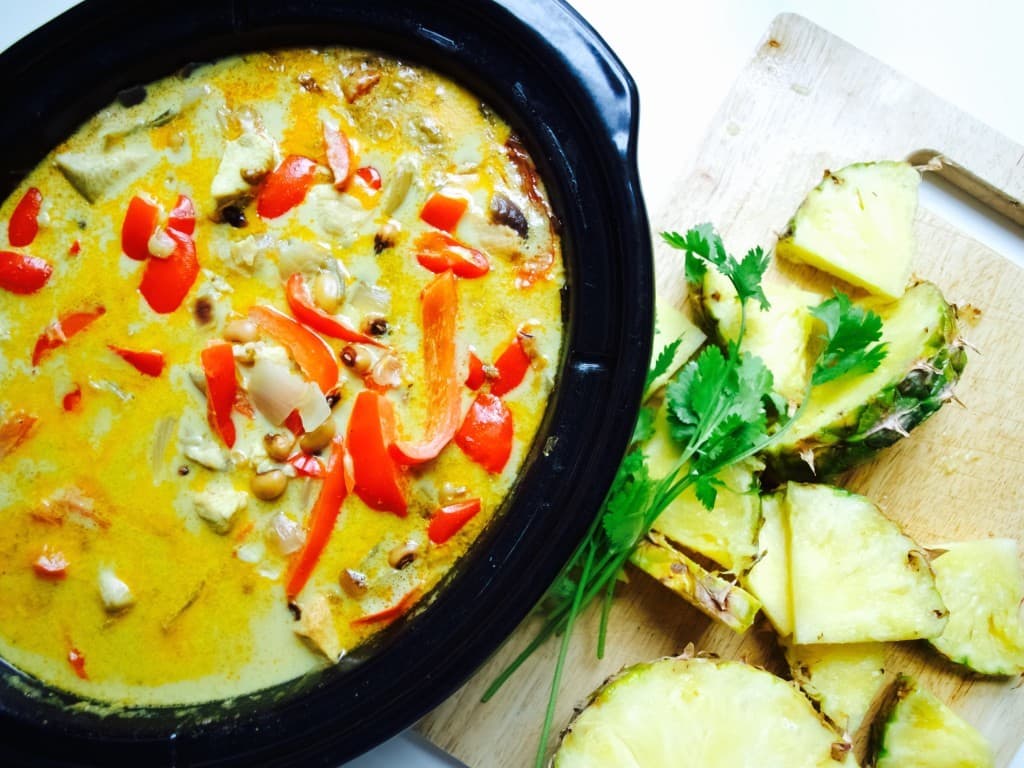
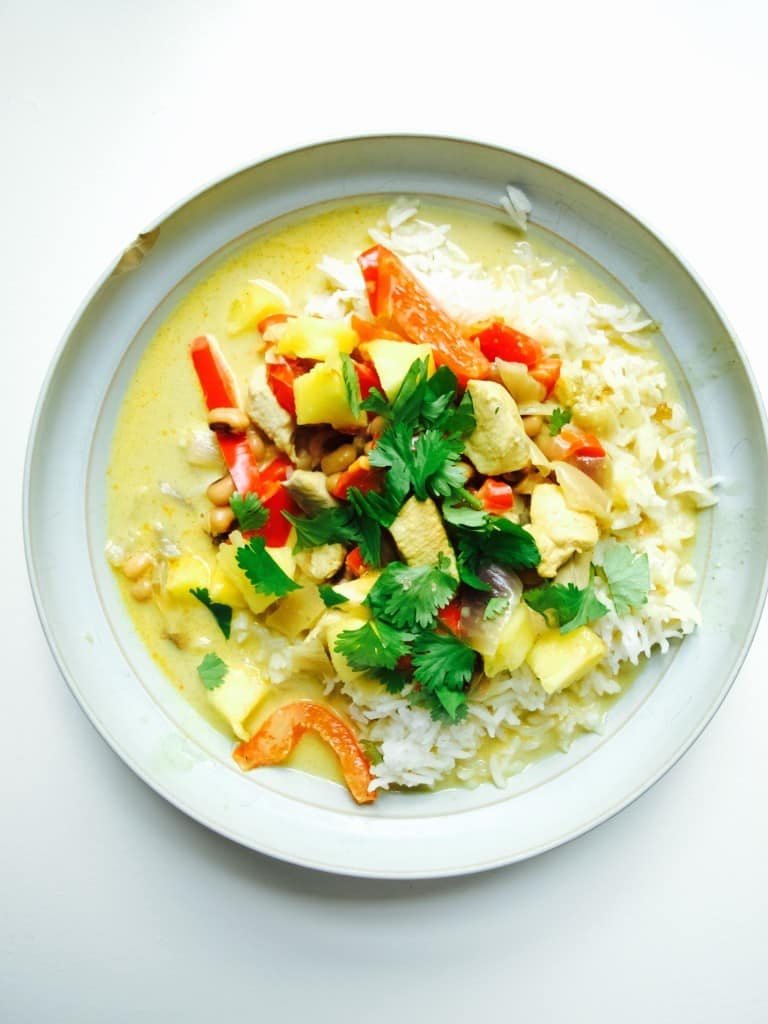
Caribbean chicken curry with pineapple recipeThe other day I tried curry on the waffle? What? Yes, me and my sister in law visited waffle house few weekends ago and this is what Waffle House had on offer! I absolutely loved it and tried to repeat the same at home. Except I did not have so much luck with waffles, but otherwise it makes a great family meal. Mild and sweet, something that is ok with kids. Caribbean chicken curry with pineapple recipe CARIBBEAN CHICKEN CURRY WITH PINEAPPLE

makes 3 meals for a family of three

  • 2 tsp sunflower oil
  • 5 chicken tights, diced (about 1 kg)
  • 2 large red onions, chopped
  • 2 red peppers, sliced
  • 3 tbsp mild curry powder (could be more if prefer more spicy)
  • 2 X 400g can coconut milk
  • 2 X 400g can black eyed beans, drained
  • 1 pineapple, pealed cored and diced
  • small bunch coriander, chopped
  • cooked rice or waffles to serve with

1. First fry the chicken, then transfer to the slow cooker or a large pot (if not using slow cooker). Add the onions and peppers to the same frying pan, and cook for 5 mins until the veg starts to soften.

2. Transfer the veg to the slow cooker together with chicken. Then add beans, curry powder and the coconut milk. Season and cook as required. If you are using slow cooker then cook it on low all day, medium half day or on high three hours. If its in the pot then for about 40min-1h. You get the idea?Caribbean chicken curry with pineapple recipe3. Serve it with chopped pineapple, coriander and rice or waffle if you are brave ;-). Caribbean chicken curry with pineapple recipe Caribbean chicken curry with pineapple recipeEnjoy!

Rasa xx

0

Easy slow cooker moroccan chicken

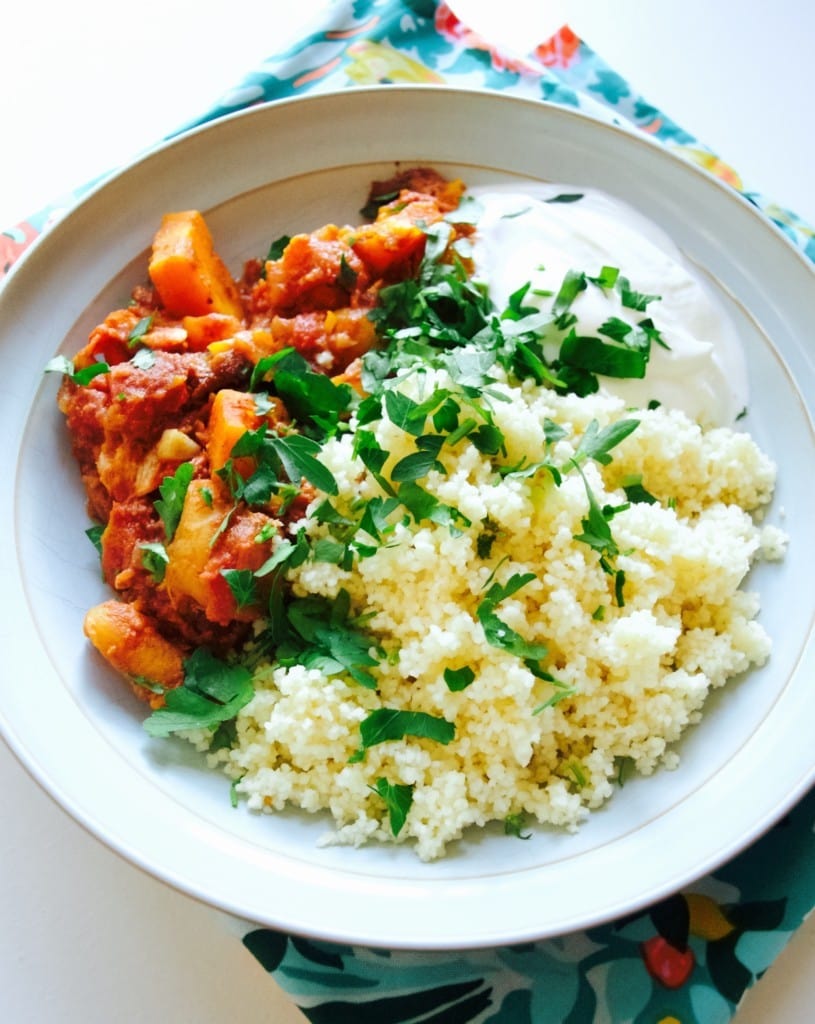
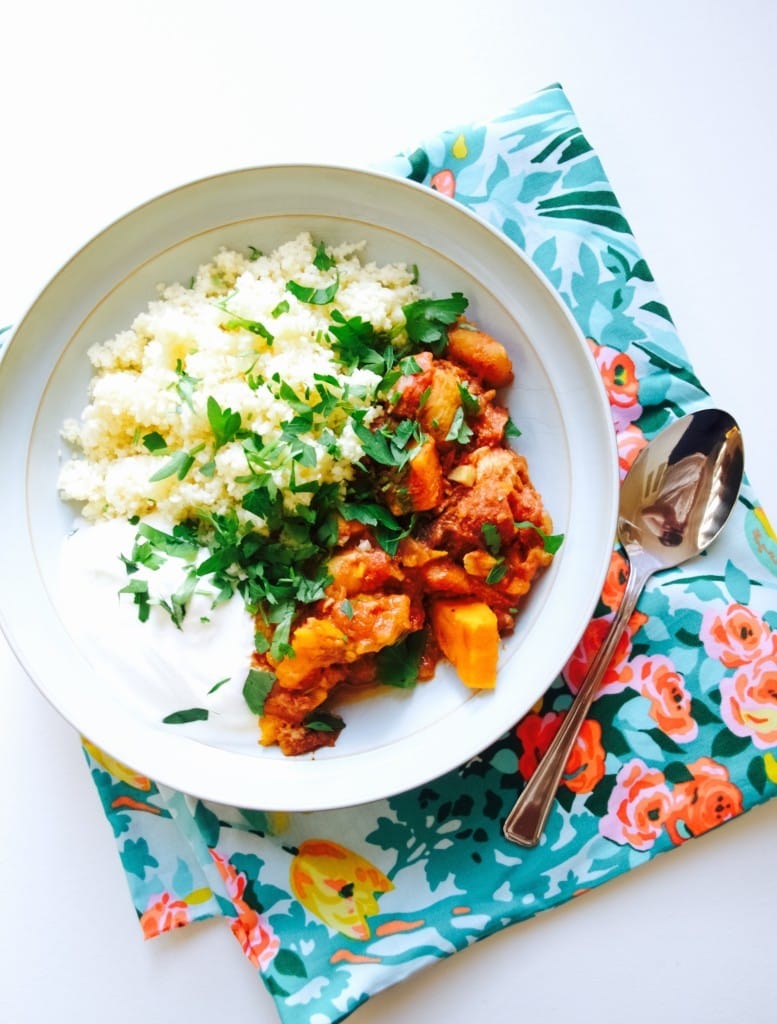
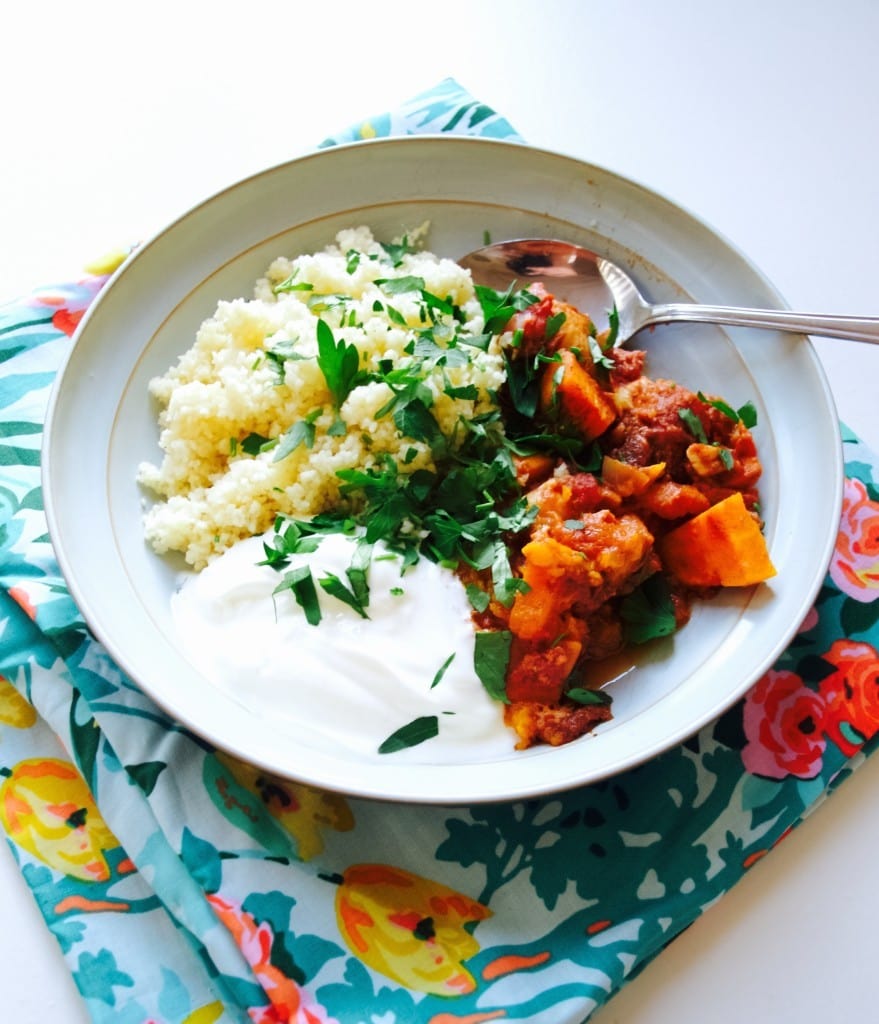
Easy slow cooker moroccan chicken recipeLet’s be honest, life is already complicated to cook complex dinners. I even struggle to make myself cup of tea! No wonder I often rely on slow cooker. Few weeks ago I came up with this recipe, which is even easer than my usual slow cooker recipe. I did not even spend any time for pre-frying anything or transferring. I just quickly chopped everything and thrown into one pot. At the end I was surprised with the results as it was very flavoursome yet a very lazy way to cook.Easy slow cooker moroccan chicken recipe  EASY SLOW COOKER MOROCCAN CHICKEN serves 8

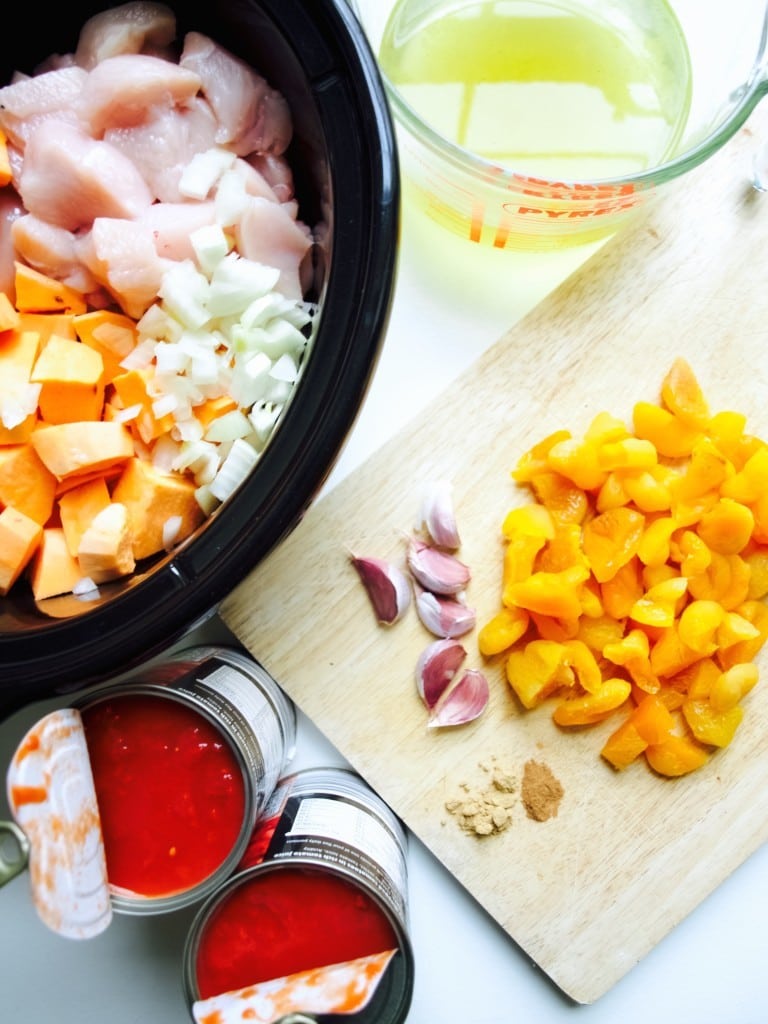
  • 1kg chicken breasts, chopped
  • 1 butternut squash or 2-3 sweet potatoes, pealed and chopped
  • 2 large onions, chopped
  • 6-7 garlic cloves, crushed
  • 2 handfulls dried apricots, chopped
  • 500ml chicken stock
  • freshly ground black pepper
  • 2 x 400g can chopped tomatoes
  • 4 tsp ground cinnamon
  • 2 tsp ground ginger
  • 4 tbsp clear honey
  • bunch fresh coriander or parsley, chopped, to serve
  • couscous, to serve
  • natural yoghurt, optional, to serve

1. Place all the ingredients (except coriander, couscous and yogurt) into slow cooker in the morning or lunchtime on high or medium setting. To be ready for dinner. Easy slow cooker moroccan chicken recipe 2. Serve cooked chicken stew with couscous, fresh herbs and yogurt. And that’s it! Easy slow cooker moroccan chicken recipeEnjoy!

Rasa xoxo
0

Pinterest challenge: sweet potato and chickpea moroccan style stew

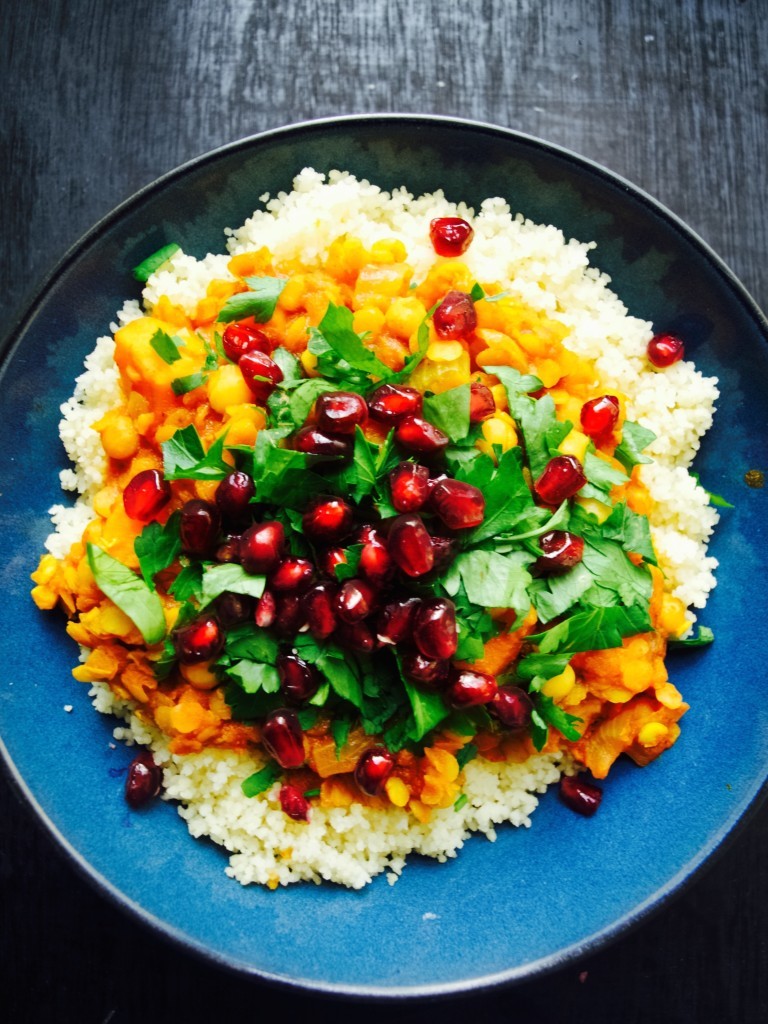
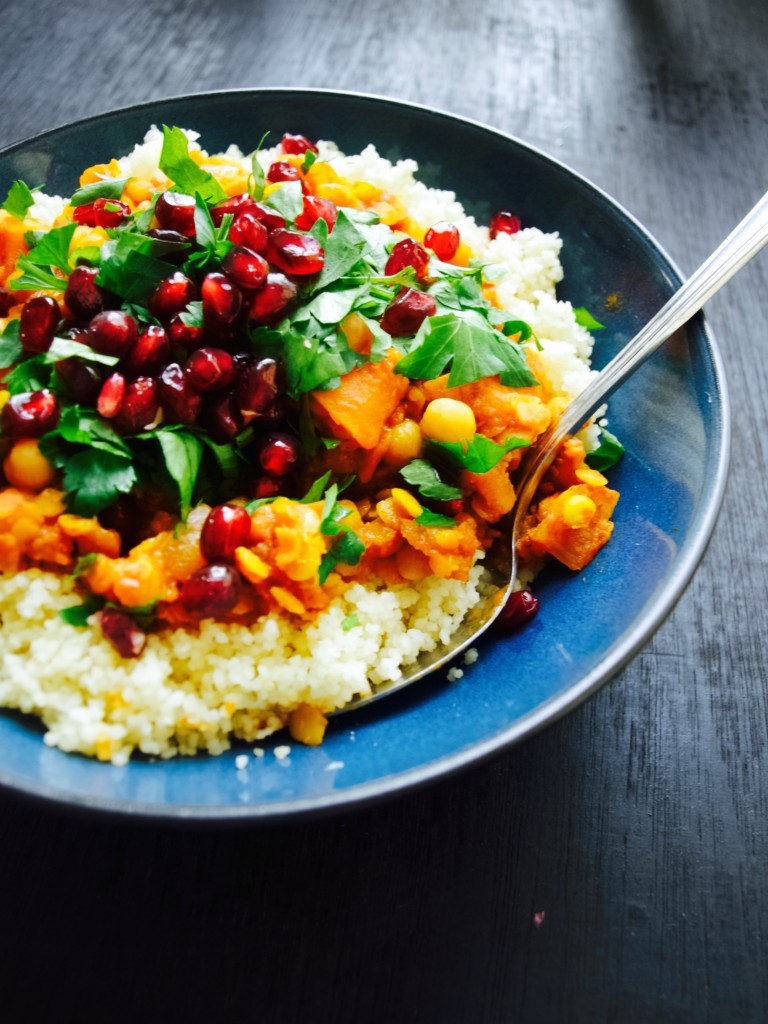
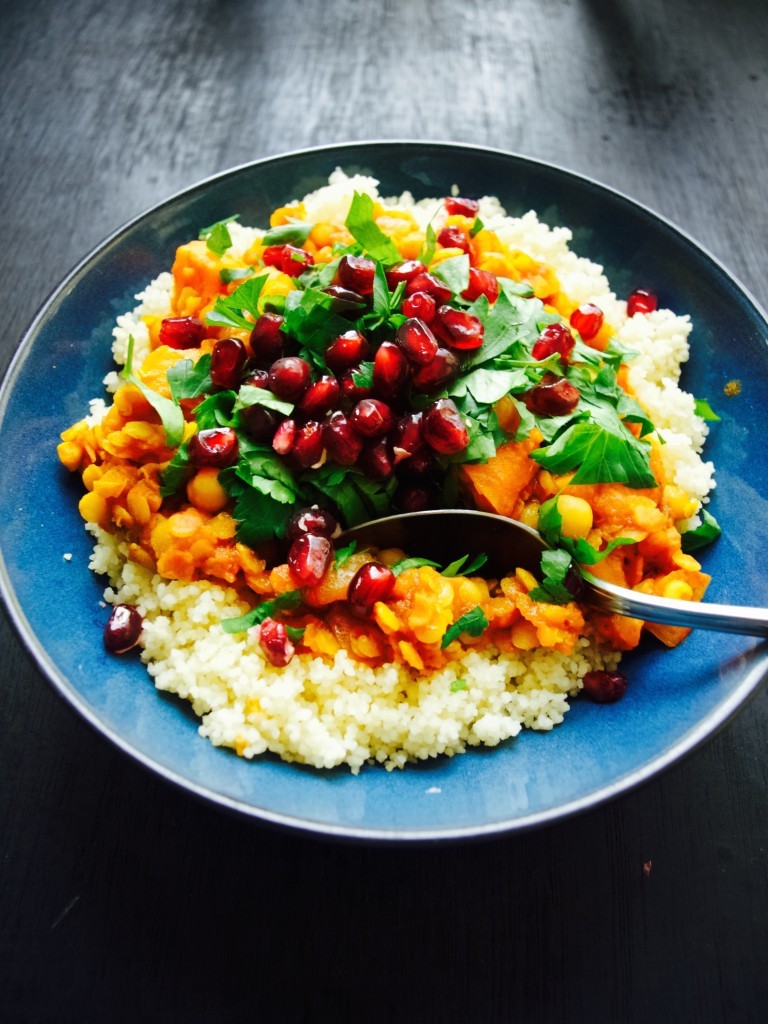
Sweet potato and chickpea moroccan style stew recipeI have made this vegetarian stew before (technically Joni made it since I was not up for cooking that day) and I fell in love with it. Its full of contrasting flavour, not much prep and it’s very easy to serve to babies. I made it again few days ago and it was as before very enjoyable meal (more for me than Joni as he prefers meat).Sweet potato and chickpea moroccan style stew recipeSWEET POTATO AND CHICKPEA MOROCCAN STEW practically copied from vegan Lauren Caris Cooks

Serves 6

  • 2 onions, diced
  • 2 garlic cloves, minced
  • 1 celery stick, sliced
  • 1tsp ground turmeric
  • 1/2tsp cinnamon
  • 1/2tsp ginger
  • 1/2tsp cumin
  • 100g red lentils
  • 500ml tomato passata
  • 1 tin (400g) chickpeas
  • 300g sweet potato, pealed and diced
  • 800ml veg stock
  • 1 bay leaf
  • 1 pomegranate
  • ready made couscous (we make it fresh for each use depending on how many portions are needed)
  • 1 bunch of fresh parsley, chopped

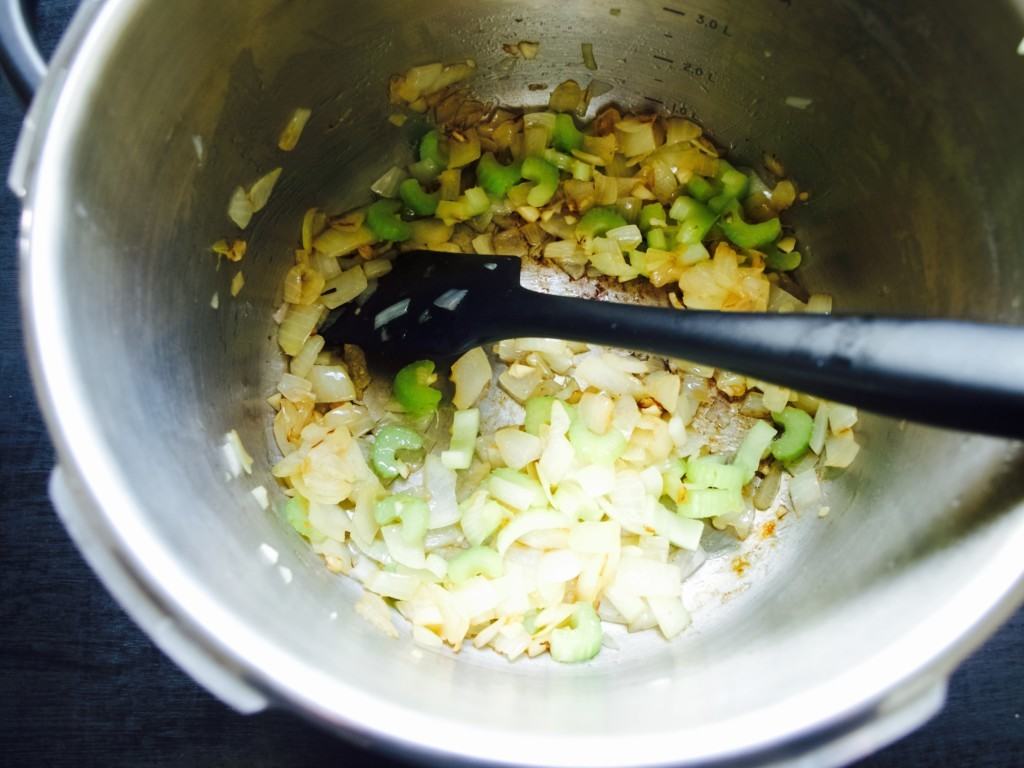
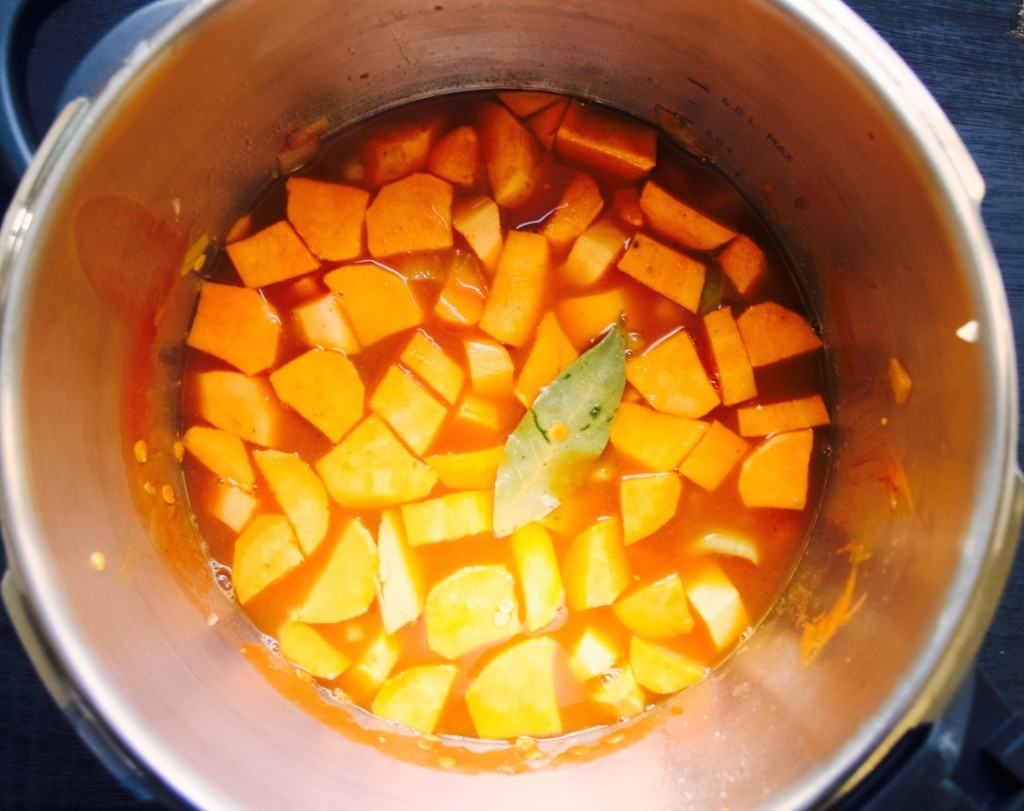
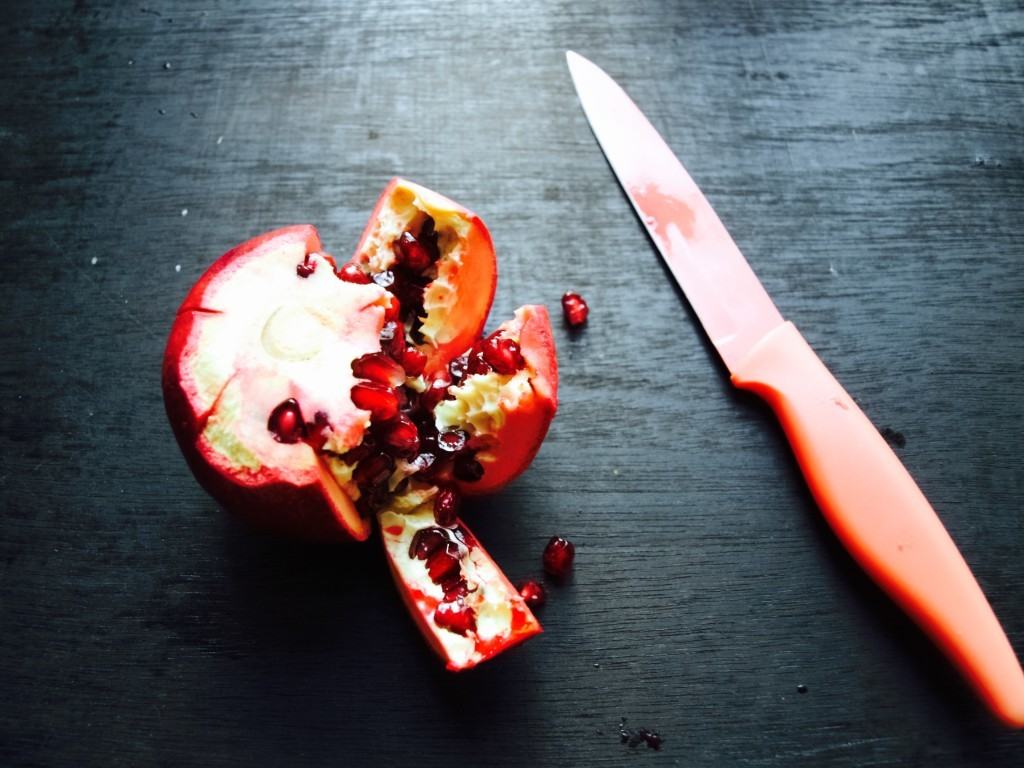
1.  Sautè the onion in a large pot for 3-5 minutes until it begins to soften. Add the celery and garlic and sautè for a further 3 minutes.Sweet potato and chickpea moroccan style stew recipe2. Add the turmeric, ginger, cinnamon and cumin and stir to coat everything. Add the lentils, passata sweet potato, chickpeas, bay leaf and vegetable stock, reduce the heat to low and simmer for 1 hour or until the stew is thick.Sweet potato and chickpea moroccan style stew recipe3. When it comes to removing pomegranate seeds it is pain in the butt. But it is totally worth it for this meal! My friend suggested easer method how to remove pomegranate seeds (apparently she learned it from YouTube). Remove the top and bottom with knife. Lightly slice the sides like an orange. Carefully “peal off” the skin and there we go seeds will come out in more orderly fashion!  Sweet potato and chickpea moroccan style stew recipe4. to serve dish couscous into the bowl, then the stew. Top it with parsley and pomegranate seeds. Sweet potato and chickpea moroccan style stew recipeEnjoy!

Rasa xoxo
0

Haddock Monte Carlo

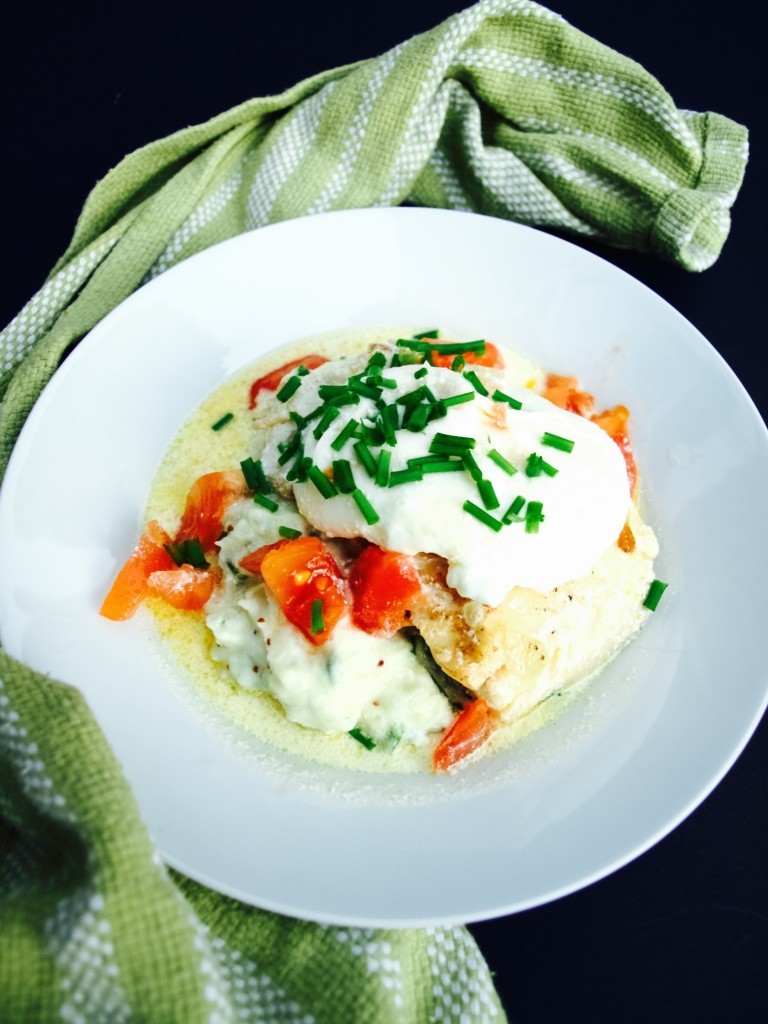
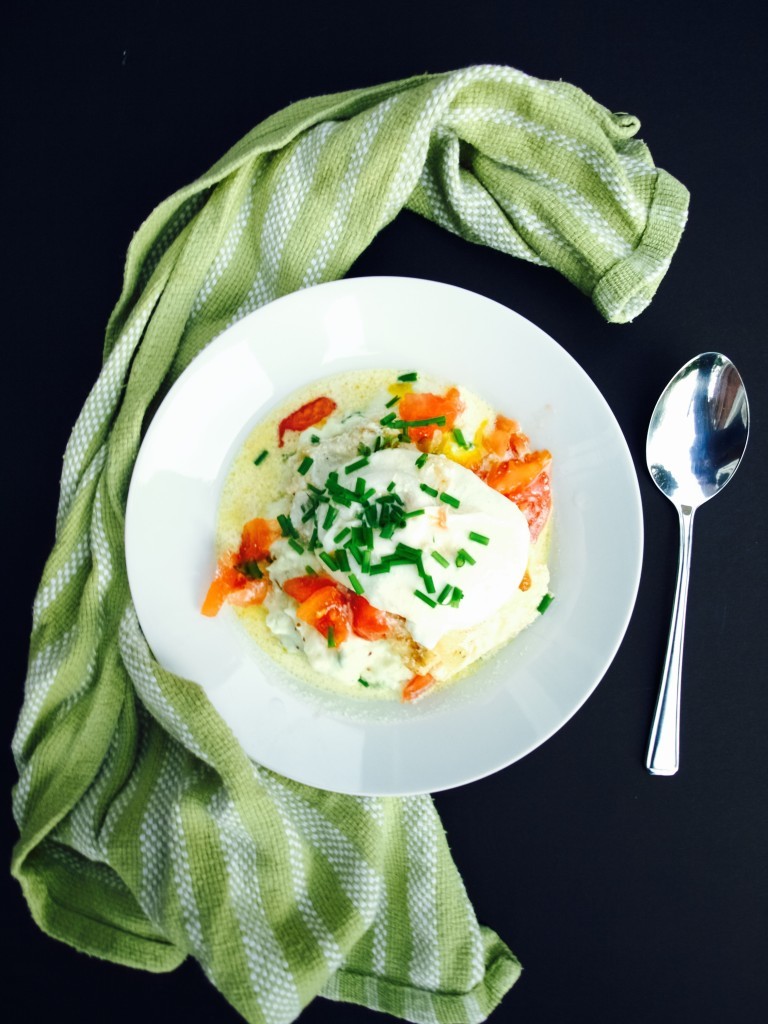
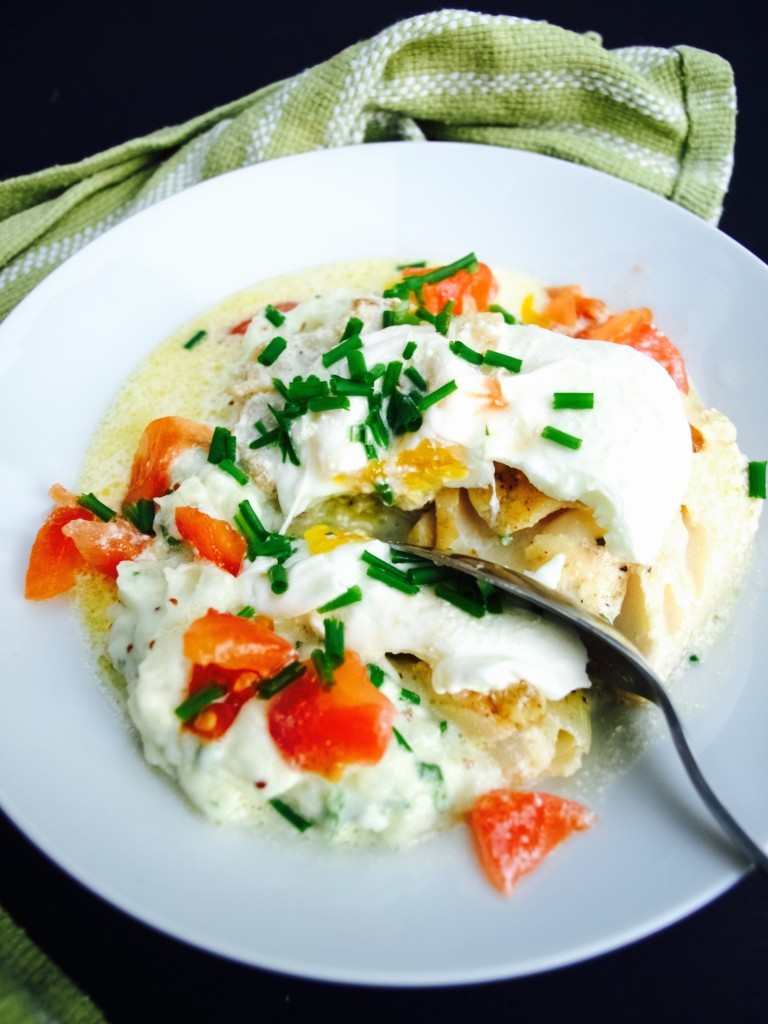
Haddock Monte CarloFew weeks ago we went to Center Parcs for a weekend away and while there I had this wonderful breakfast called Haddock Monte Carlo. When at home I researched about this a little and it turns out its not a breakfast item! I still think it is better suited for breakfast however… you see, you kind of need to eat this as soon as it is cooked and this is not what we do for dinner. At least not in our family! But then again it depends how it works best for you. I like making slow cooker meals for dinner when I can just dish out the food when we are ready and for Saturday special breakfast I like to make something quickish that we eat as soon as it is ready. All I am saying that Haddock Monte Carlo is hard to time but in return it is quick to make!

Another thing I found is that Haddock Monte Carlo comes in different versions, some seem very complicated and needs a some prep the night before! I of course chose a recipe that I thought was the closest to what I ate on our holiday in Center Parcs. And it did turn out pretty much the same, except the recipe that I used was a difficult to understand. Thankfully, after making this dish I can tell how I made it so hopefully you have an easer time with it ;-).

HADDOCK MONTE CARLO adopted from Big Oven

Makes 3-4 portions

  • 600g pealed potatoes (about 3 regular size potatoes)
  • 2tsp wholegrain mustard
  • handful of chives, chopped
  • 300ml double cream
  • 50g butter (about 2 heaped tbsp)
  • 2 shallots, chopped
  • 3-4 smoked hadock fillets, undyed
  • 250ml fish stock
  • 250ml white wine
  • salt and pepper
  • 3-4 eggs
  • 2 tomatoes, skinned and chopped

1. First things first, put the potatoes to boil. This takes the longest to do!

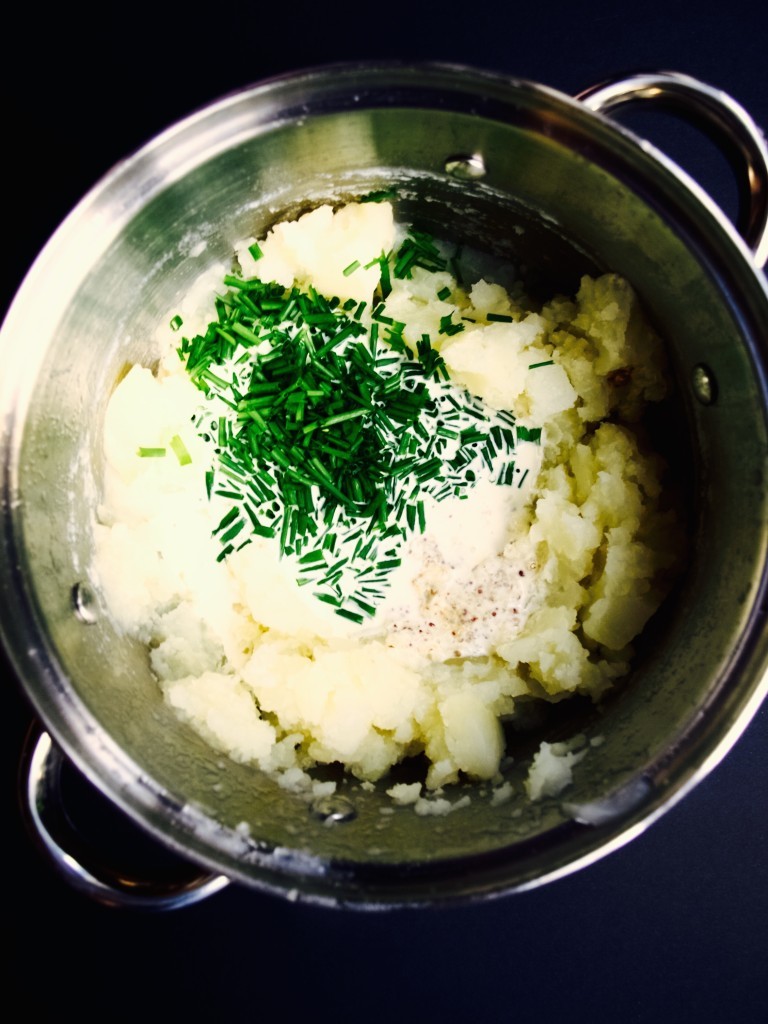
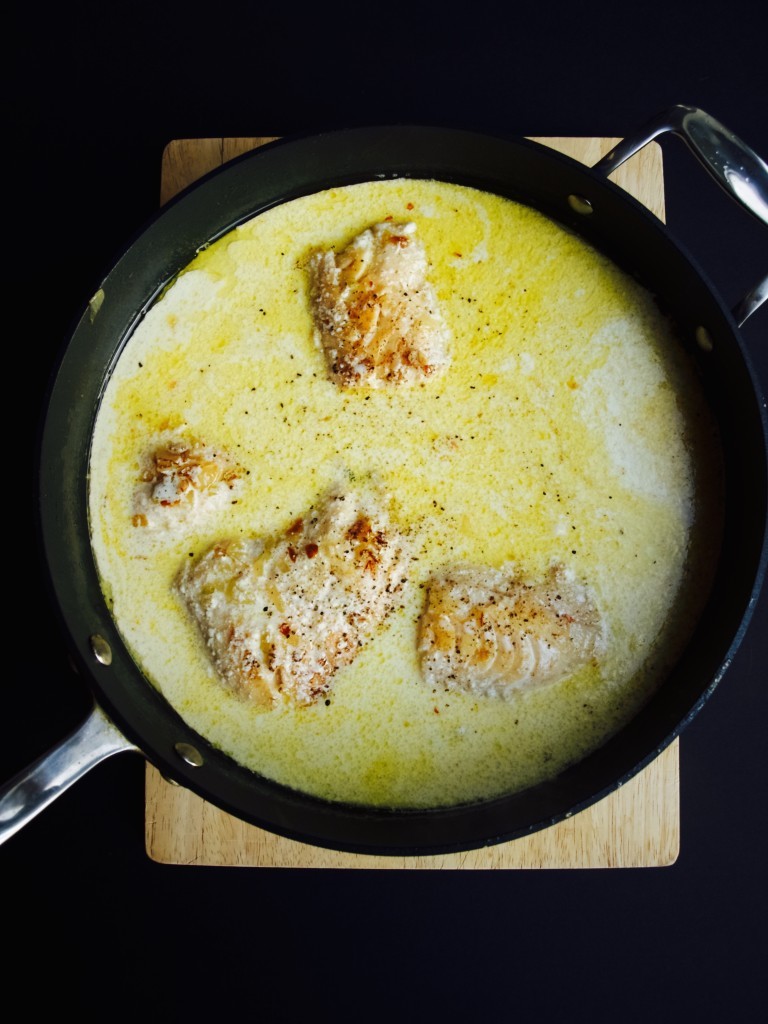
2. Once the potatoes are cooked, mash them and add mustard, chives (reserving some for later) and have of double cream. Mix again to make into creamy mash.Haddock Monte Carlo3. Next up is haddock with sauce! Melt the butter in the frying pan and fry the shallots till golden. Fry the haddock fillets in the same pan on both sides for few seconds then add fish stock and wine. Cover and allow to simmer for 5 minutes. Add the leftover cream and remove the pan from the heat. Season to taste.Haddock Monte Carlo4. Meanwhile pouch the eggs. My tip is to do in in the shallow pan (like frying pan) and with a bit of vinegar added to the boiled but not boiling water.Haddock Monte Carlo5. Put the mashed potato mixture in the centre of a plate and place the haddock on top. Put the poached egg on top of the fish and spoon the sauce over. Garnish with chopped chives and tomatoes. Haddock Monte CarloEnjoy!

Rasa xo

0

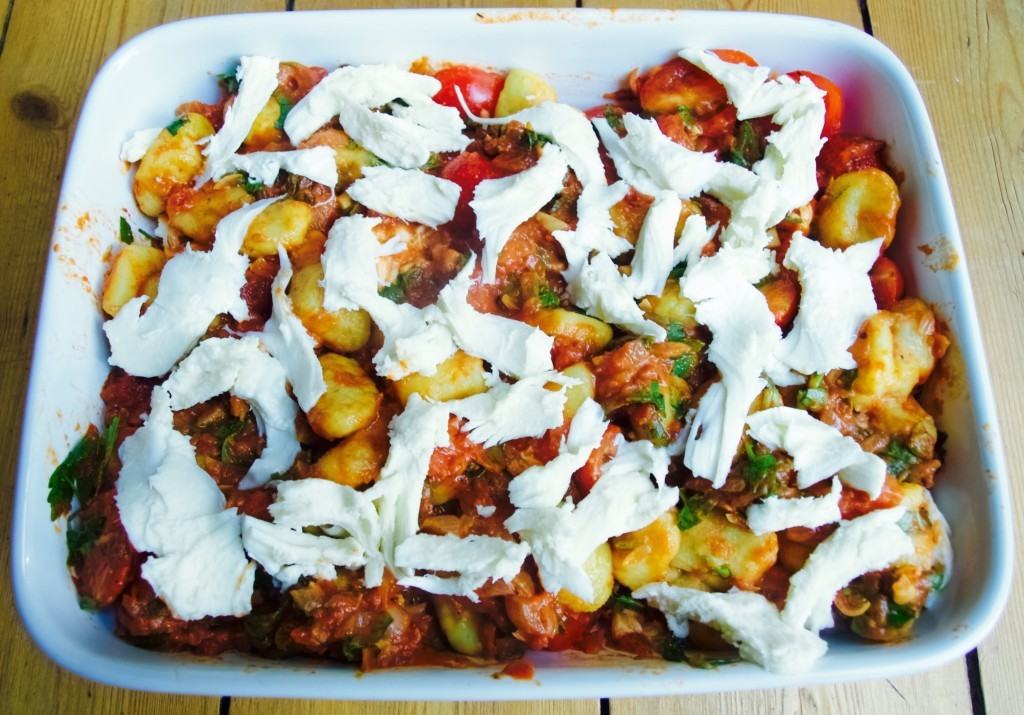
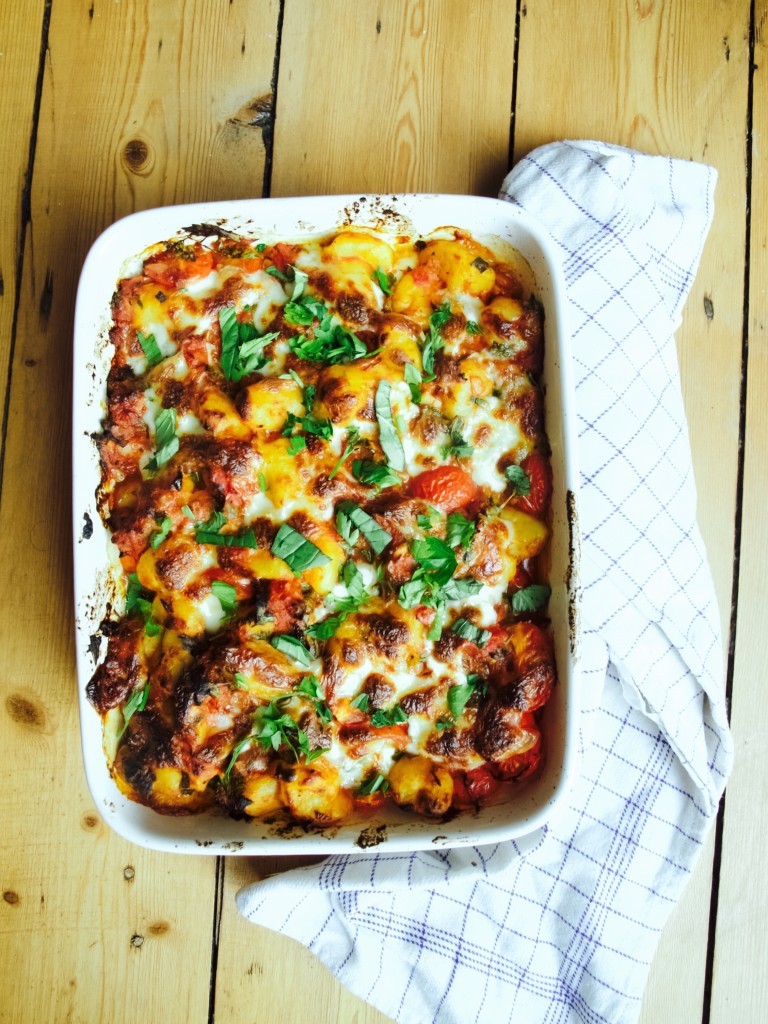
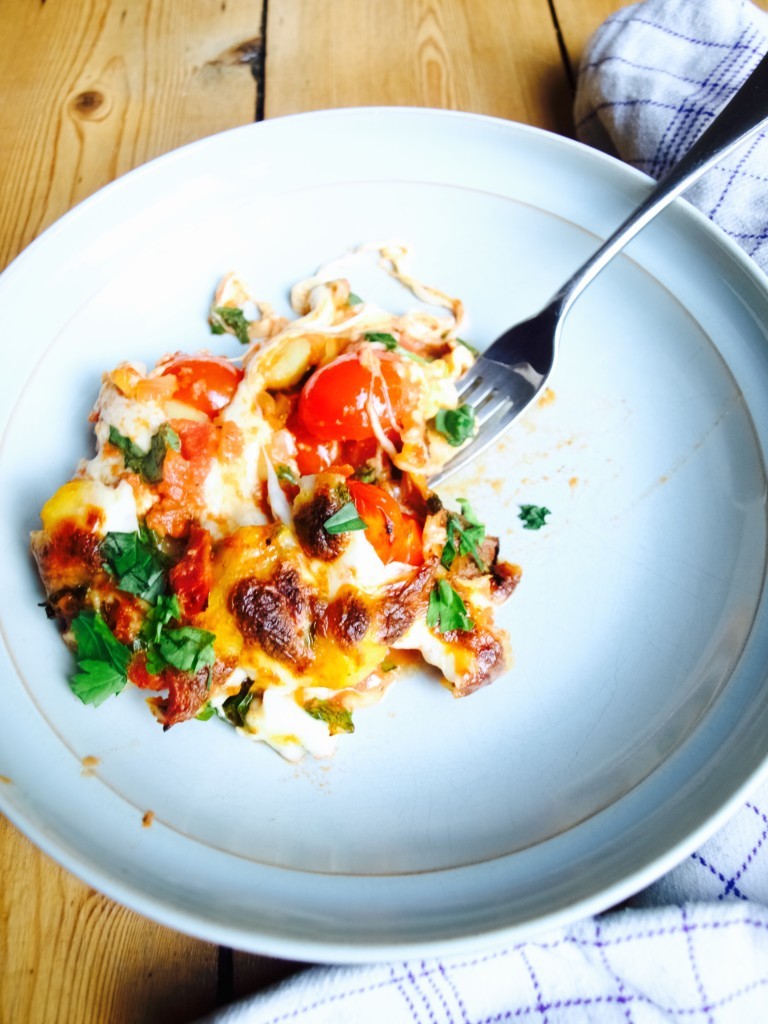
Pinterest challenge: easy baked Gnocchi with mozzarella and tomatoes

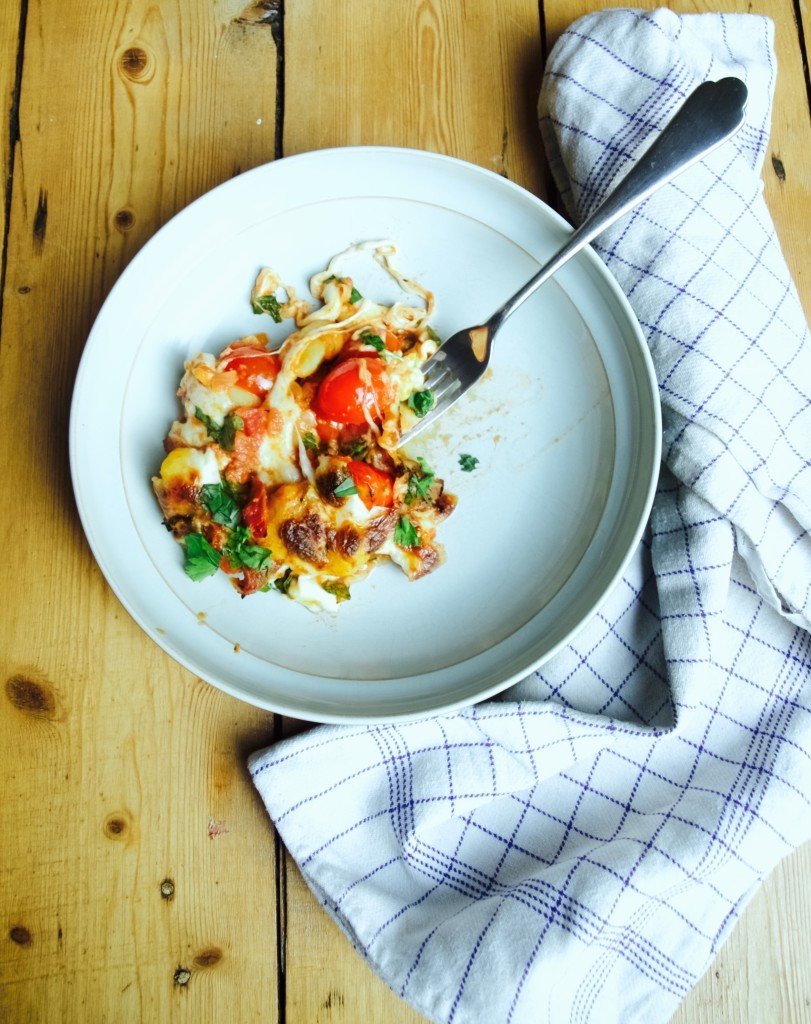
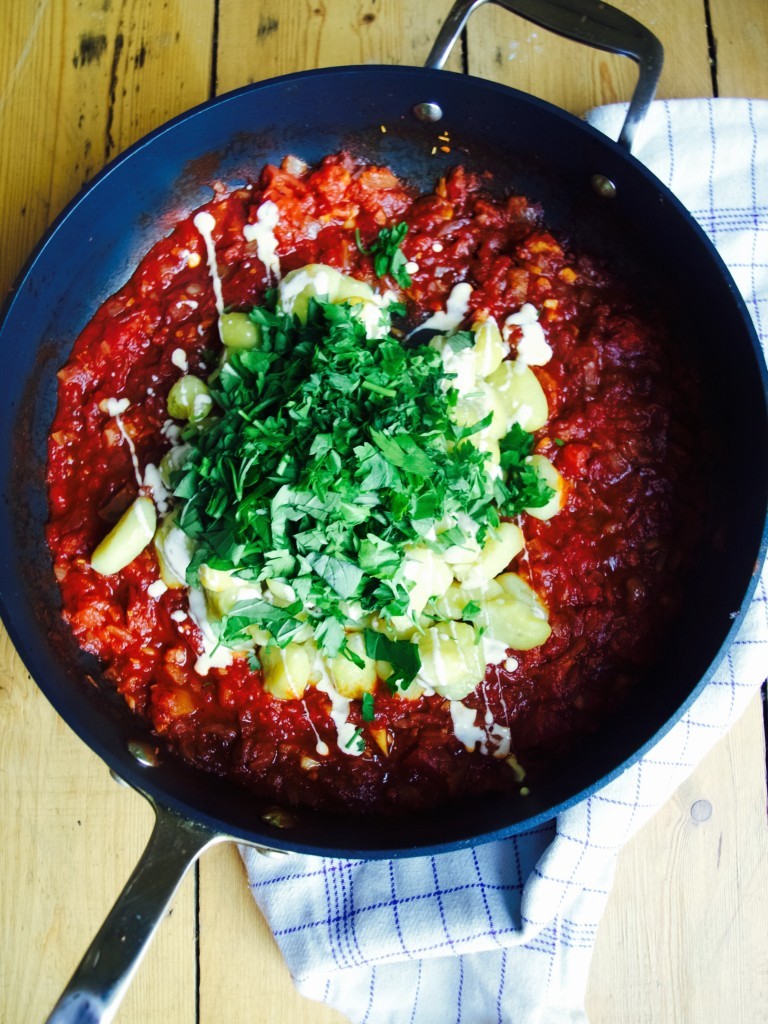
Easy baked Gnocchi with mozzarella and tomatoesI will be honest, it’s not our favourite meal I ever made but it is sure easy! I found it too tomatoey and Joni thought it was too plain (maybe bacon would sort it out!). But if you are fan of something basic and loaded with mozzarella cheese I think this dish might be for you ;-).

EASY BAKED GNOCCHI WITH TOMATOES AND MOZZARELLA adopted from Floating Kitchen

  • 500g gnocchi
  • 2 tbsp olive oil
  • 5 shallots
  • 4 garlic cloves
  • 1 tbsp tomato paste
  • salt and pepper to taste
  • pinch ground nutmeg
  • 1 tsp Herbs de Provence
  • 300 cherry tomatoes (about one pack)
  • 1 can chopped tomatoes
  • 2 tbsp balsamic vinegar
  • handfull chopped basil
  • handfull chopped parsley
  • 1 tbsp double cream
  • 250g mozzarella cheese (about one pack)

1. First prep the sauce (while gnocchi is cooking away of course). heat the olive oil in a large frying pan, add the sliced shallots and garlic and cook for about 3 minutes. Stir in the tomato paste, salt, black pepper, nutmeg, Herbs de Provence, cherry tomatoes, can chopped tomatoes and balsamic vinegar. Bring the sauce to a simmer and cook, stirring occasionally, for about 5-7 minutes. Remove the sauce from the heat. Stir in the fresh herbs, cream and the cooked gnocchi.Easy baked Gnocchi with mozzarella and tomatoes 2. Transfer about half of the gnocchi/tomato mixture to the baking dish. Top with about half of the torn mozzarella cheese. Then add the remaining gnocchi/tomato mixture and top with the remaining mozzarella cheese. Place the dish to 200C pre-heated oven and cook for 10 minutes. For the light crust place the dish under the grill for further 1-2 minutes.Easy baked Gnocchi with mozzarella and tomatoes3.Top with additional fresh herbs if desired and serve.Easy baked Gnocchi with mozzarella and tomatoes Easy baked Gnocchi with mozzarella and tomatoesHope you like it ;-)

Rasa xoxo
0

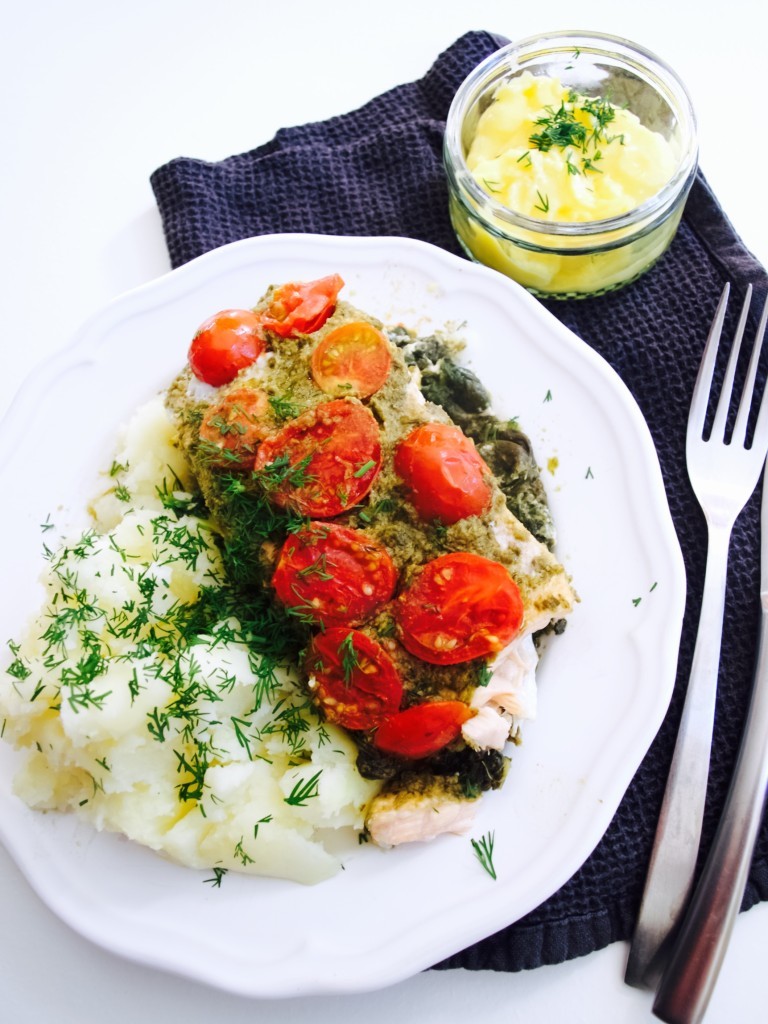
My very-easy-peasy pesto salmon pouches

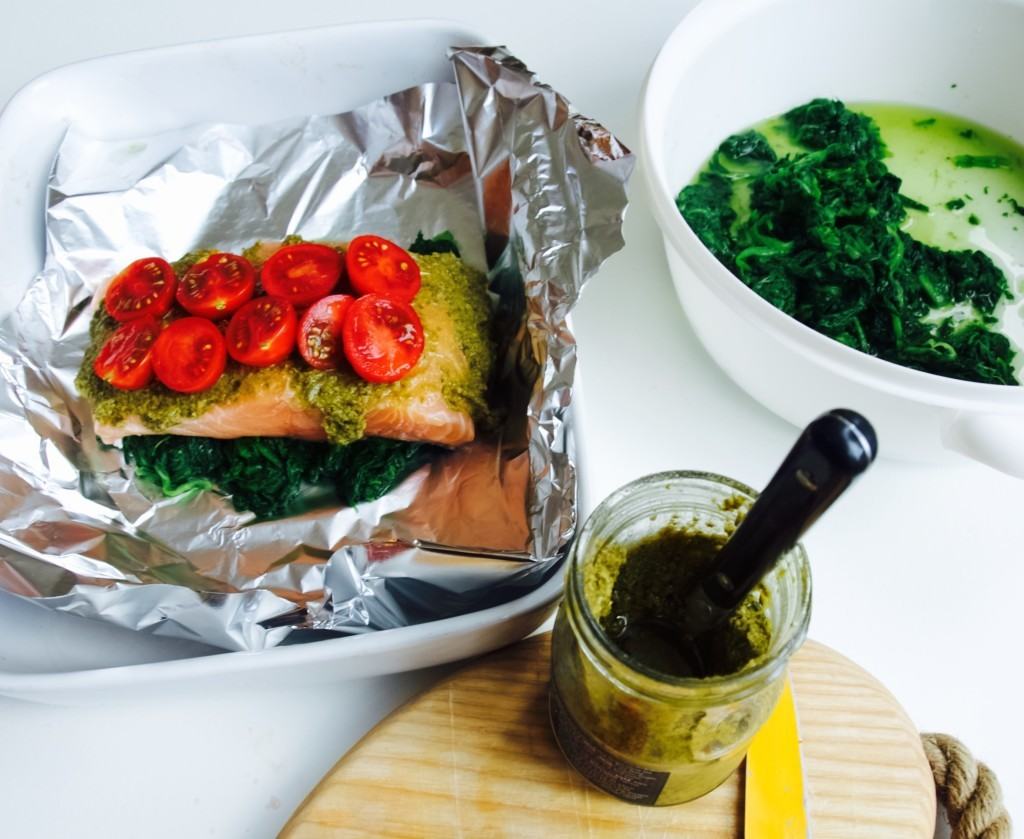
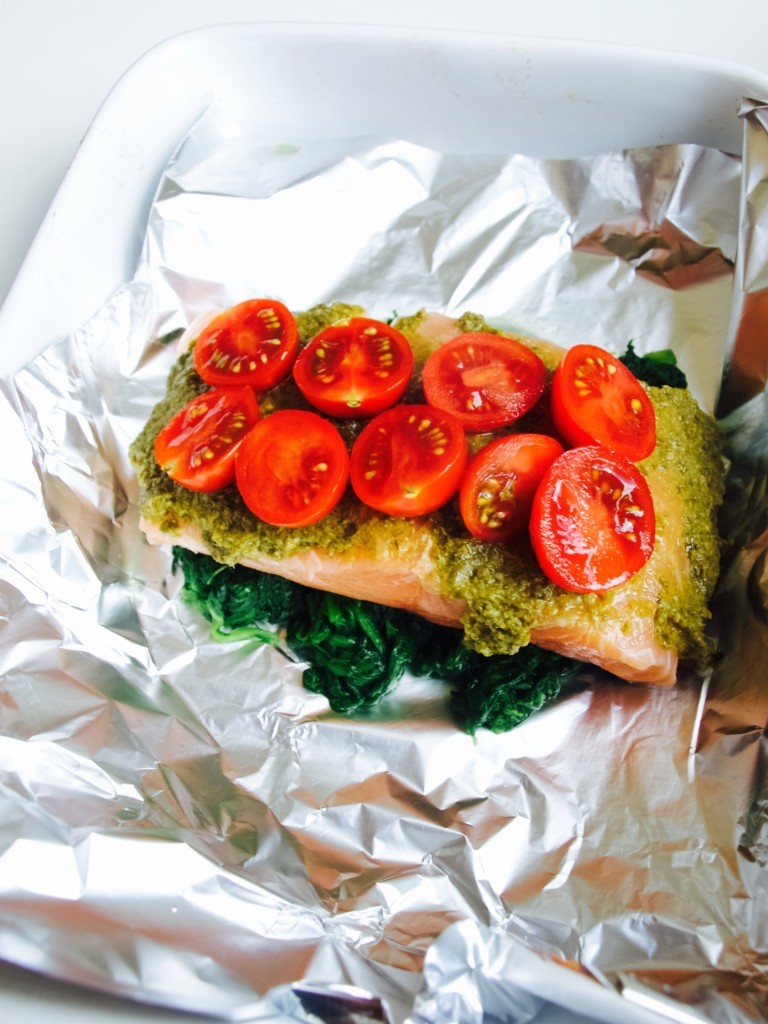
My easy-peasy pesto salmon pouches I have been making this for quite a while and it has been our family favourite as it is full of flavour and very easy to make. It does not need added salt so its suitable for babies as well. Although we adults eat it with hollandaise sauce which does contain salt, but its completely fine eating it without. Ready to try? Recipe is bellow ;-).

PESTO SALMON POUCHES makes 4 servings

  • 4 salmon fillets
  • a bag of baby spinach
  • pesto
  • 2 handfuls of cherry tomatoes
  • hollandaise sauce (optional)

My easy-peasy pesto salmon pouches1. Steam spinach till it starts to wilt, about 2 min.

2. Split spinach into four and place it on separate foil squares (about 20cmX20cm), top it with salmon fillet, pesto and cherry tomatoes.

3. Wrap the salmon to close. Bake the pouches in 200C preheated oven for 25min. My easy-peasy pesto salmon pouchesEnjoy!

Rasa xoxo
0