

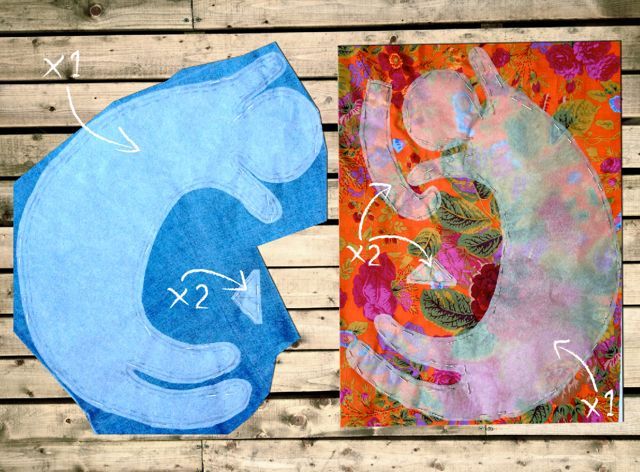


You can download the cutting pattern here!
Start with cutting pieces out of the chosen fabric. Here we used denim (reused old jeans) and flower print cotton fabric. Did you noticed that the bottom cat piece (on the left) is smaller then the top cat piece (on the right)? That is only by 5mm circular, because flower pattern has to be showing slightly less then denim. If you are cutting both pieces in the same fabric make them both in the same size, that will make sewing easer!
A little tip: when you are cutting one piece twice, cut it on the fold. That way you will cut two pieces out of one pattern: one as you cut and one flip side.
Next job is to stitch matching pieces together. It might be tricky with the main body as they slightly differs in size. While sewing on the machine hold the smaller piece on top and stretch it on the top of the bigger one. Leave stitch gap on all pieces so it can be inverted.
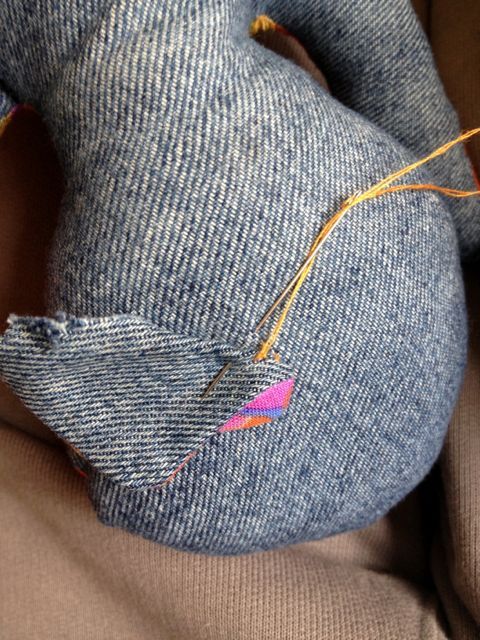
Now you can invert and stuff it with whatever soft things you can find (old pillow stuffing is perfect). No need to stuff the cat ears, they will be sticking out anyways! Maybe just iron them and fold the raw edges in.
Seal the body by stitching using the most basic stitch.
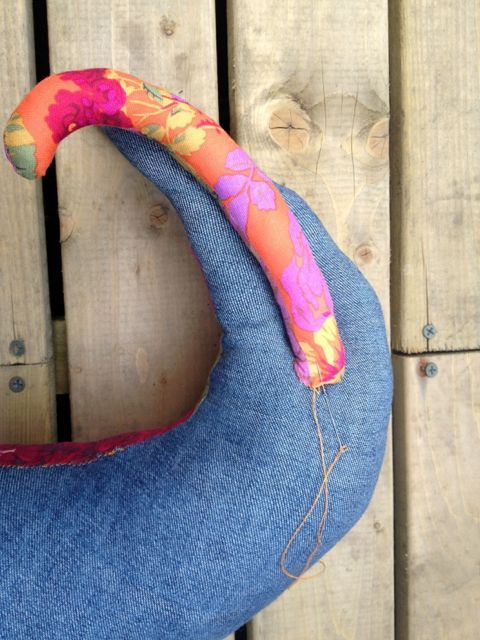
Using the same stitch attach the tail to the body.
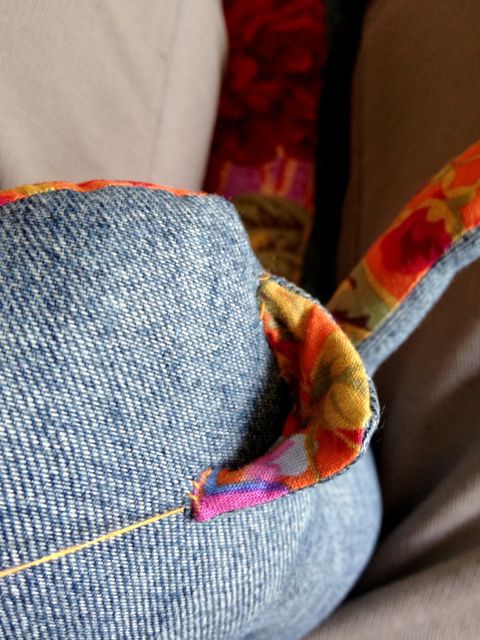
And same with the ears: stitch all around!
Now the only thing is left is the decoration. Feel free to add anything! We stitched flower buttons on for the eyes, embroidered “cheeks” and cute nose.
Psss… this cat is great for traveling when you have to sleep upwards, just put it around you neck!
Rasa xo