


You can download the cosmetic bag pattern here!
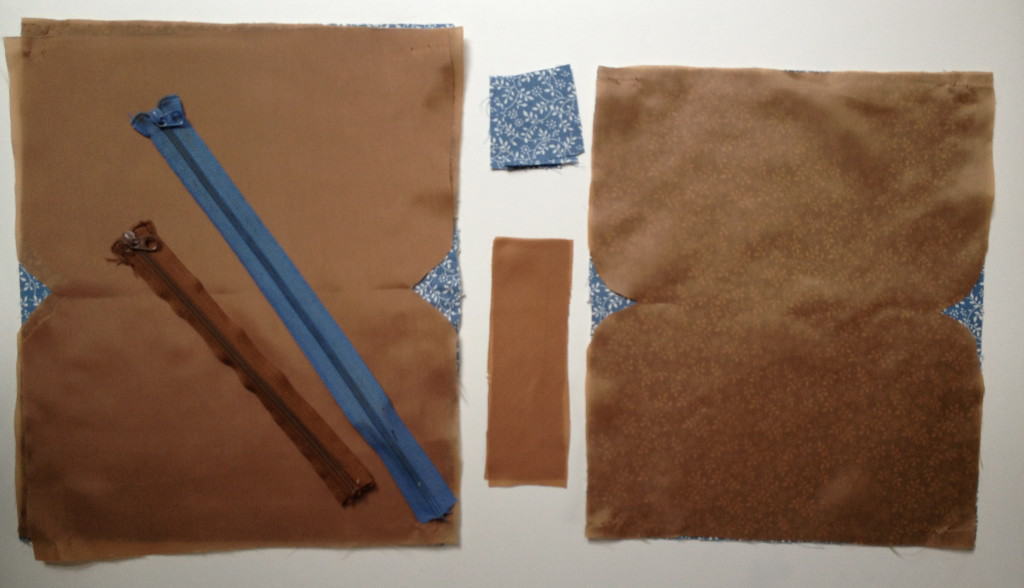
First, cut out the pieces according to the measurements provided! Give 1cm seam allowance everywhere except the zip stopper which is 0.5cm allowance. You will also need two zips (20cm long and 27cm long). You will be making stoppers so don’t worry if they are longer than specified as you can cut them at the bottom end. Prepare the zips by cutting off the top stoppers and stitching the ends at curved position.
Begin by stitching all the three bag pieces together. Tip: make dots where the ┗┛shaped stitch should go, it should be at least 4cm away from the edges.
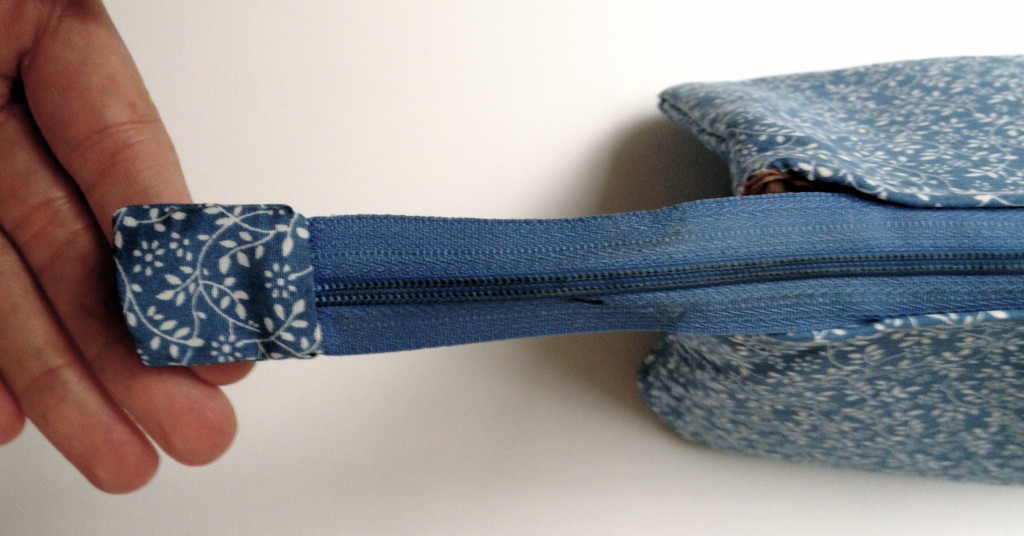
Make the zip stoppers by stitching two small squares (4cmX5cm) and the zip end together. Make sure that only the end edge of the zip is inserted while the sides are stitch free.
Once the zip stopper is stitched, it is ready to invert.
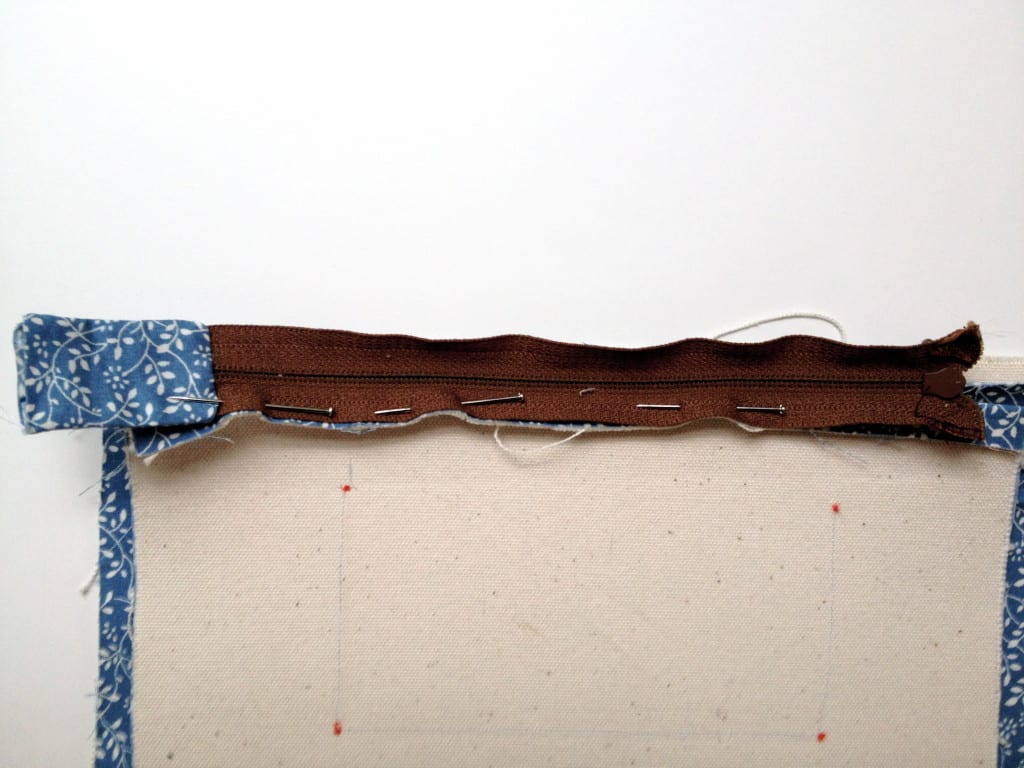
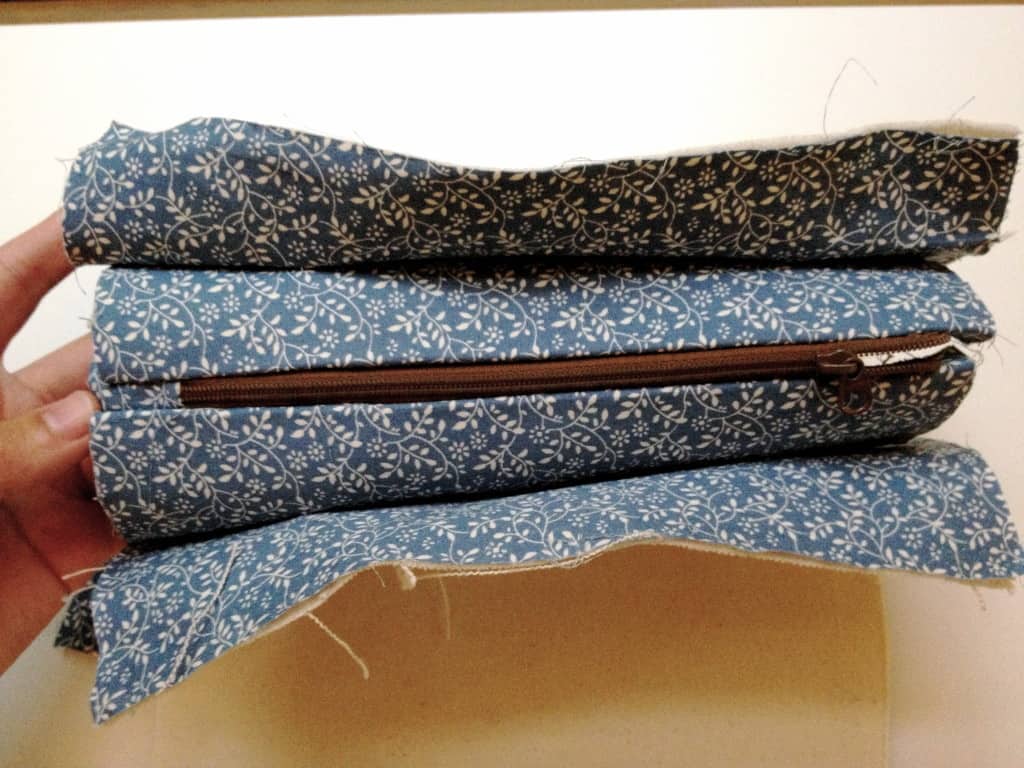
Insert the shorter zip on the internal bag shell. Pin the zip on one side by making sure that the beginning of it is 1.5cm away from the edge.
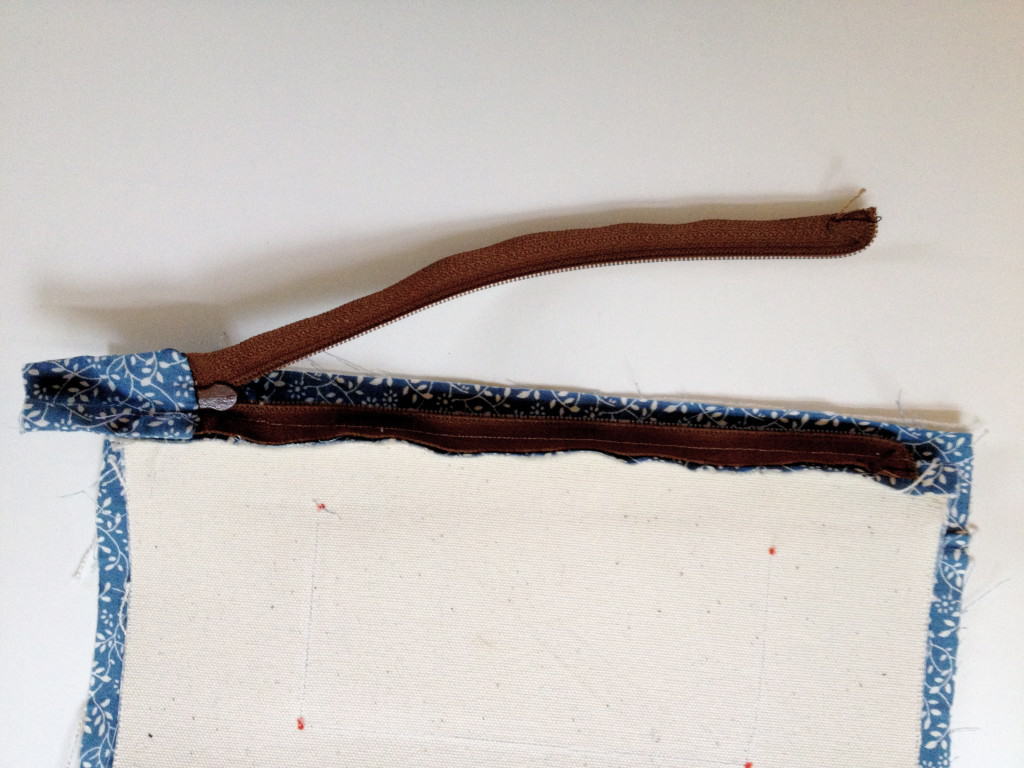
Stitch it up to the middle, stop and open the zip. Continue stitching until the end.
Invert the internal bag inside out and attach the other side of the zip. Keep the zip open while stitching it down.
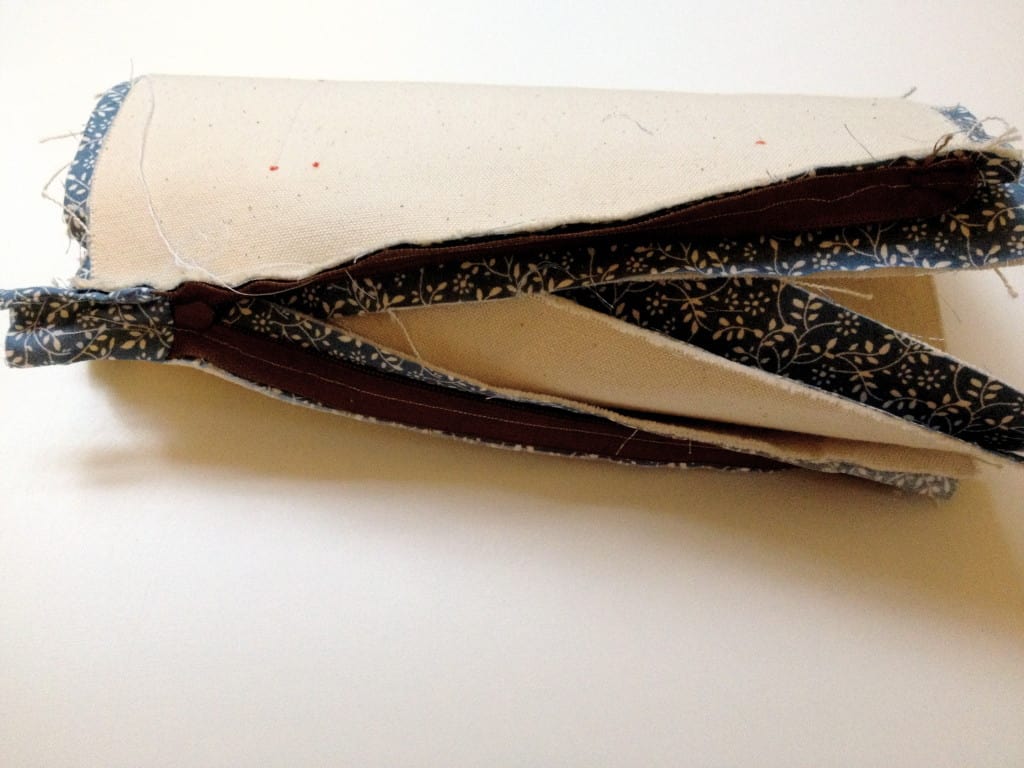
Invert the internal bag back to previous position to check if the zip is working properly.
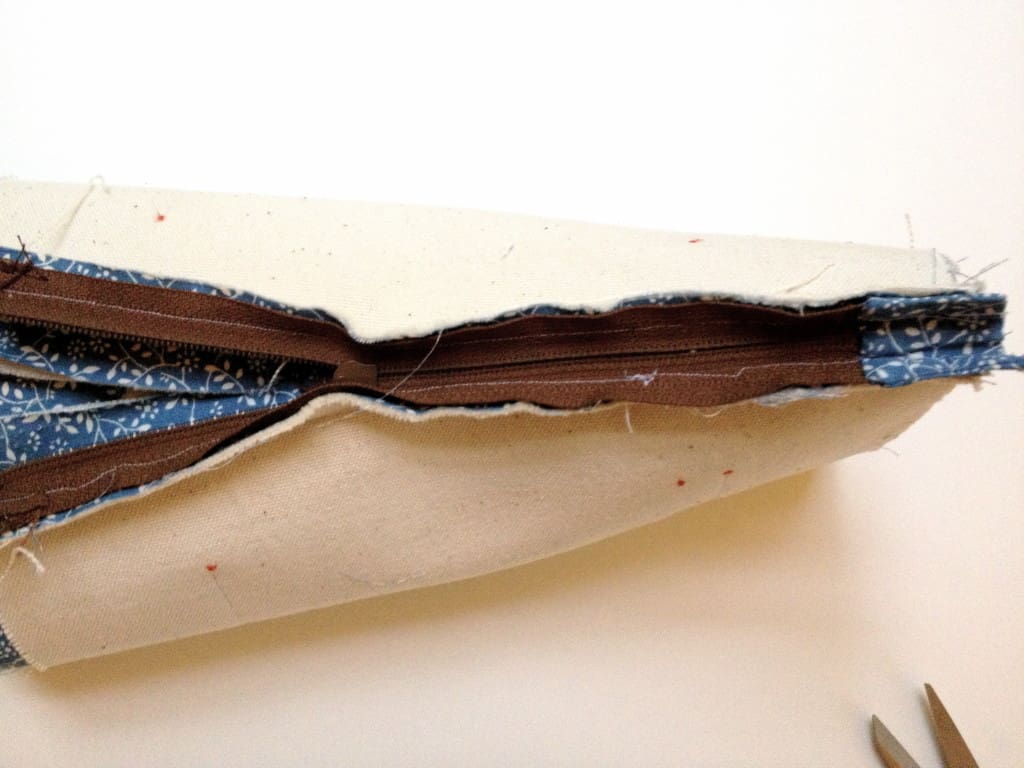
Invert the internal bag inside out again.
Stitch down the sides by curving at the end. Make sure that the top edge is folded by 1cm.
Pull back the bag into the previous position and get the external bags ready to be stitched in the same way.
So invert the external bags one by one and stitch the sides the same way. Make sure that the top edges are folded by 1cm.
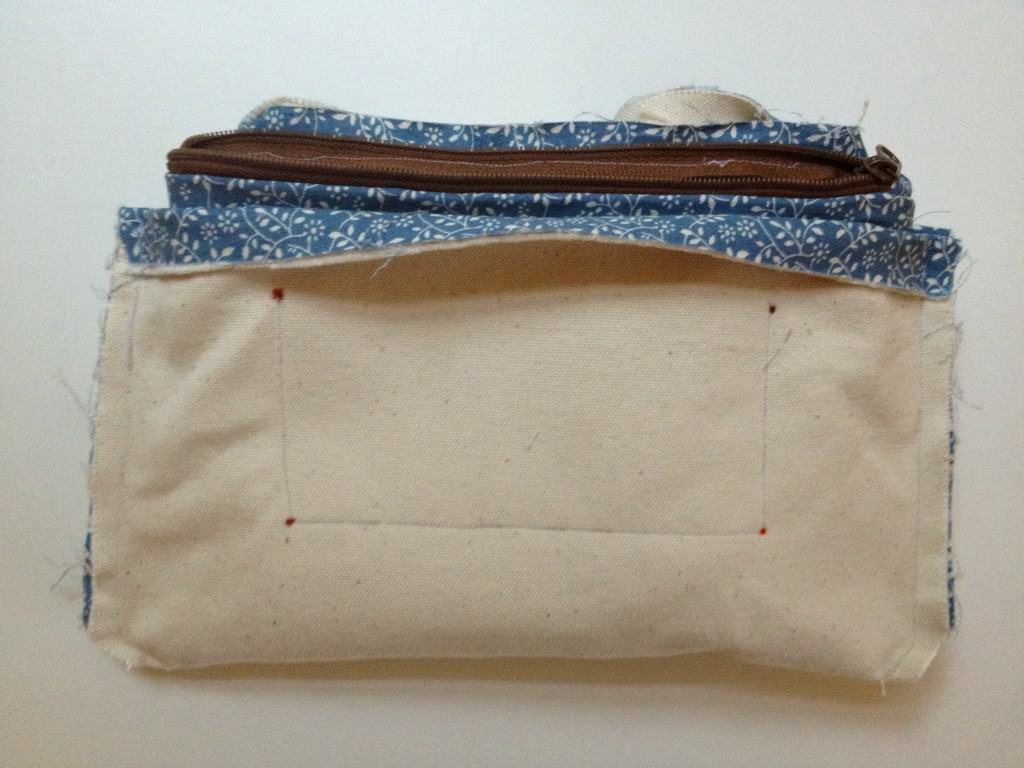
Once all the bags are stitched pull everything back into the original position.
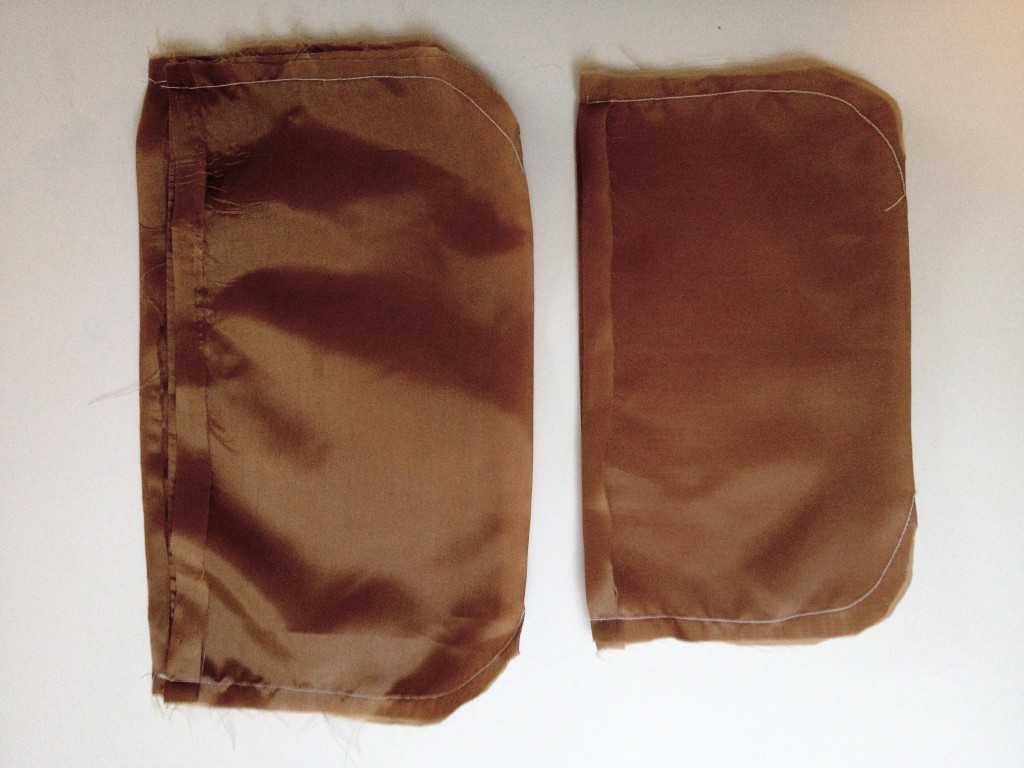
Make the bag linings by folding the pieces in half and stitching the sides together. Make sure that the top edges are folded by 1cm before stitching. Tip: use iron to press the folds so it stays while stitching the pieces together.
Insert the linings into the bags. Attach the linings at the external bags by stitching down on the edge.
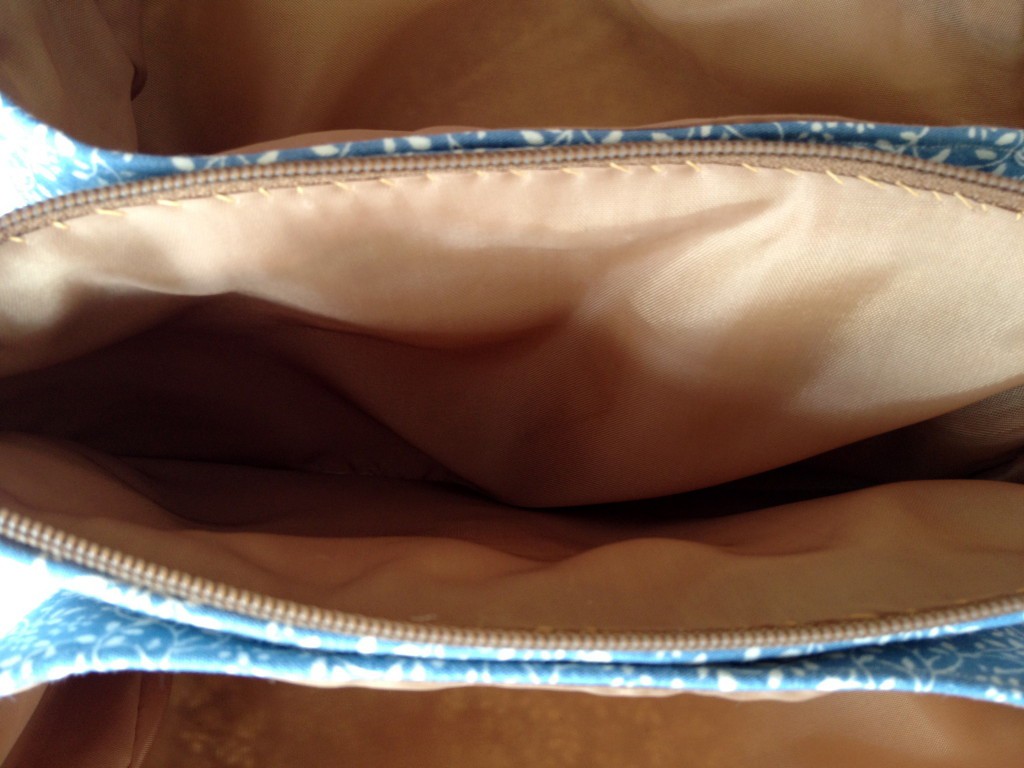
Use the hand stitch to attach lining into internal bag.
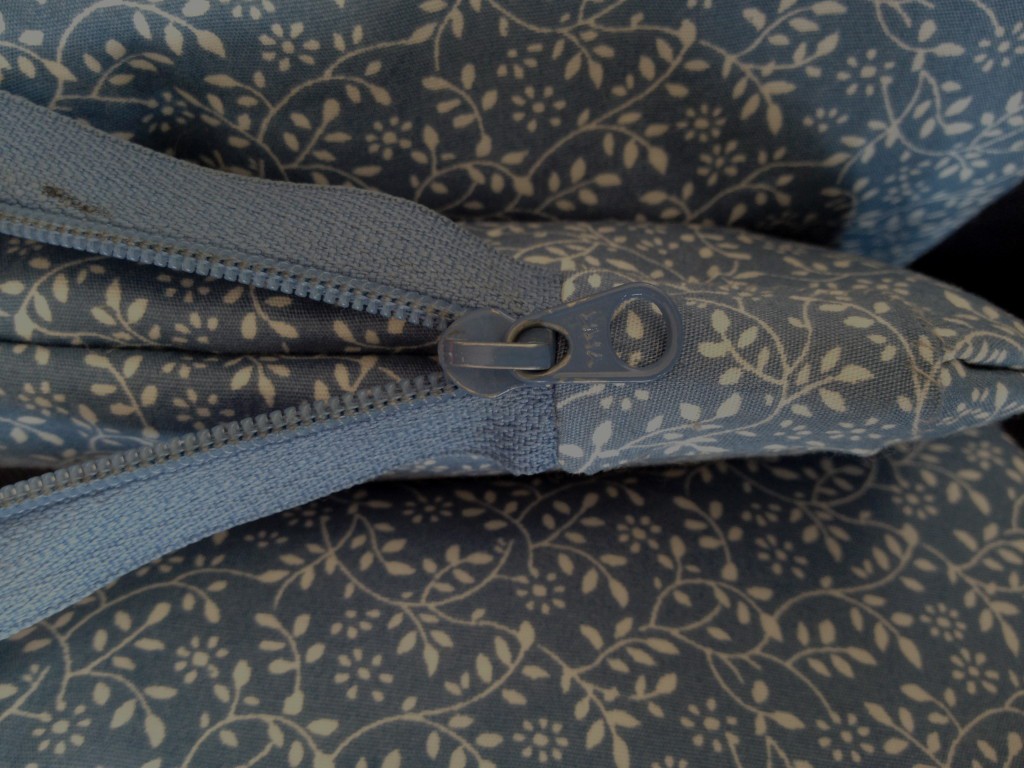
Attach the log zip by stitching one side of the zip on the left bag edge and the other side of the zip on the right bag edge.
Fold the zip stopper’s raw ends in to give a nice finish
Use the hand stitch to attach the zip stopper on the internal bag side.
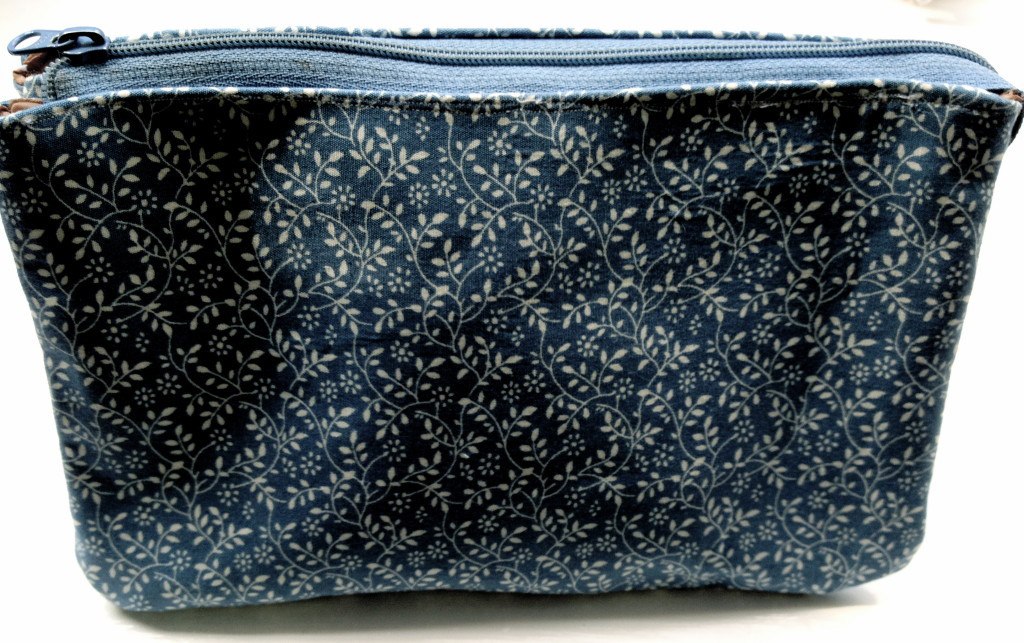
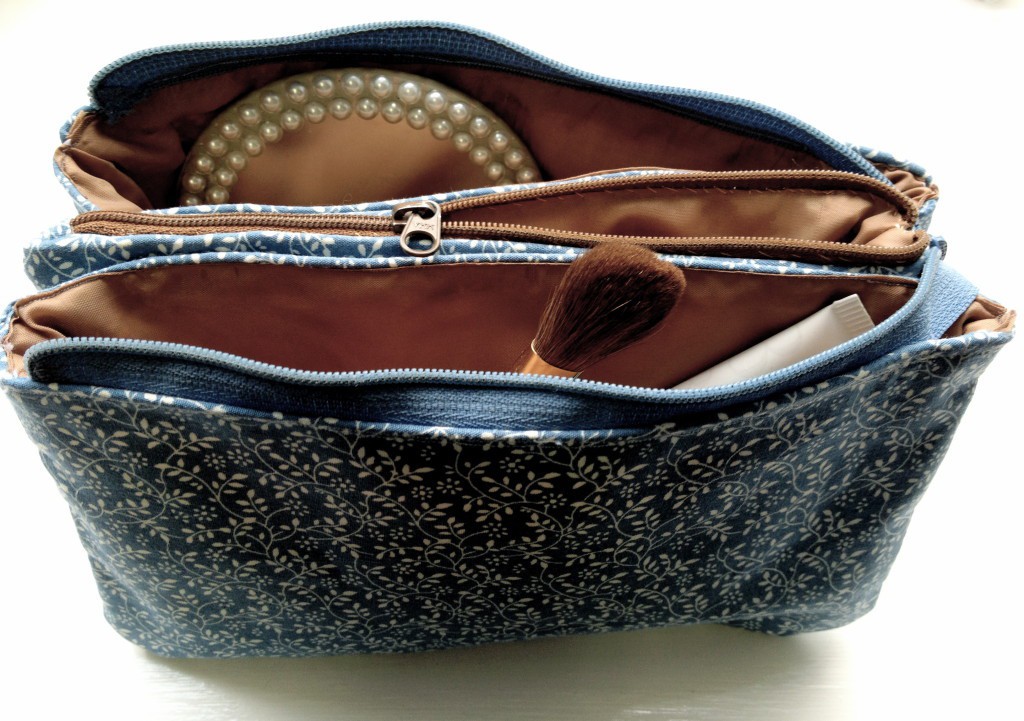
The bag is ready to be filled with your cosmetics!
Rasa ;)