


For this project you will need 2 card sheets (metallic if you prefer), glue, scissors, Stanley knife, cutting mat, Metal ruler (optional, but recommended) and pattern printouts that you can access here. For variation, here are some printable patterned paper designs.
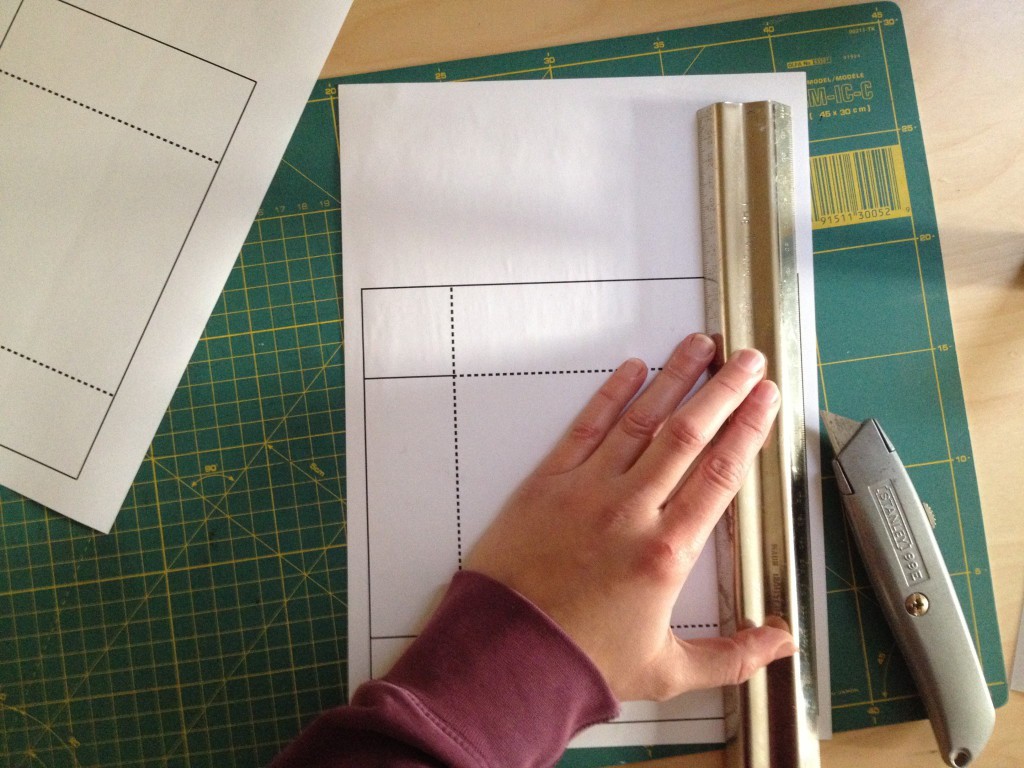
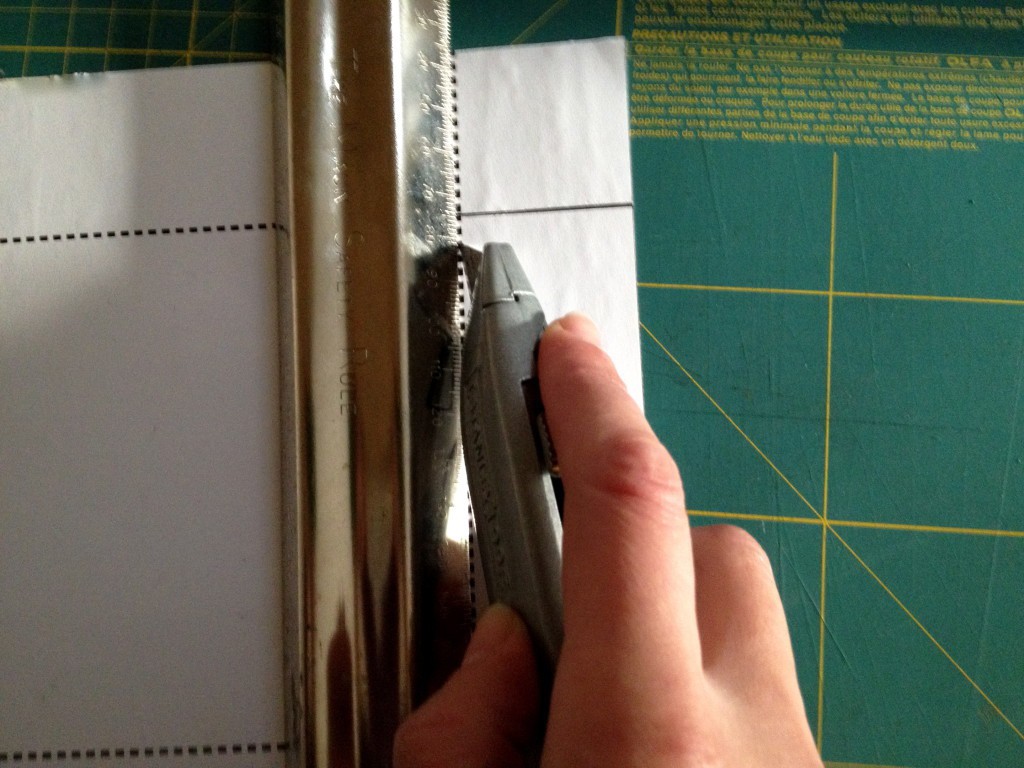
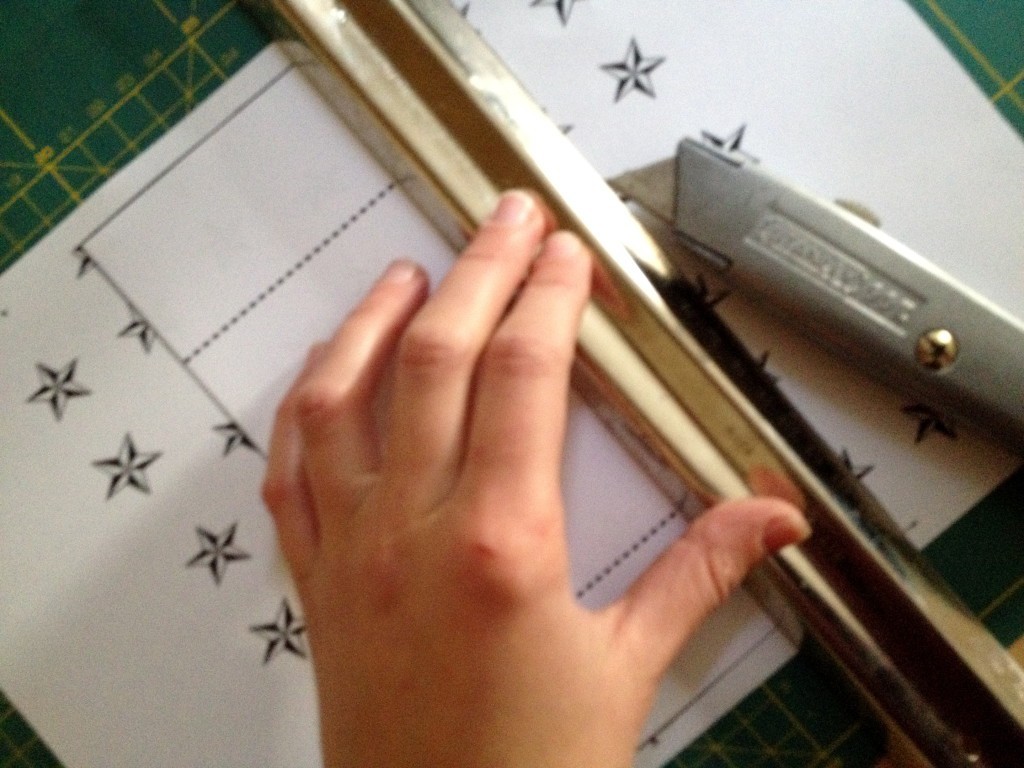
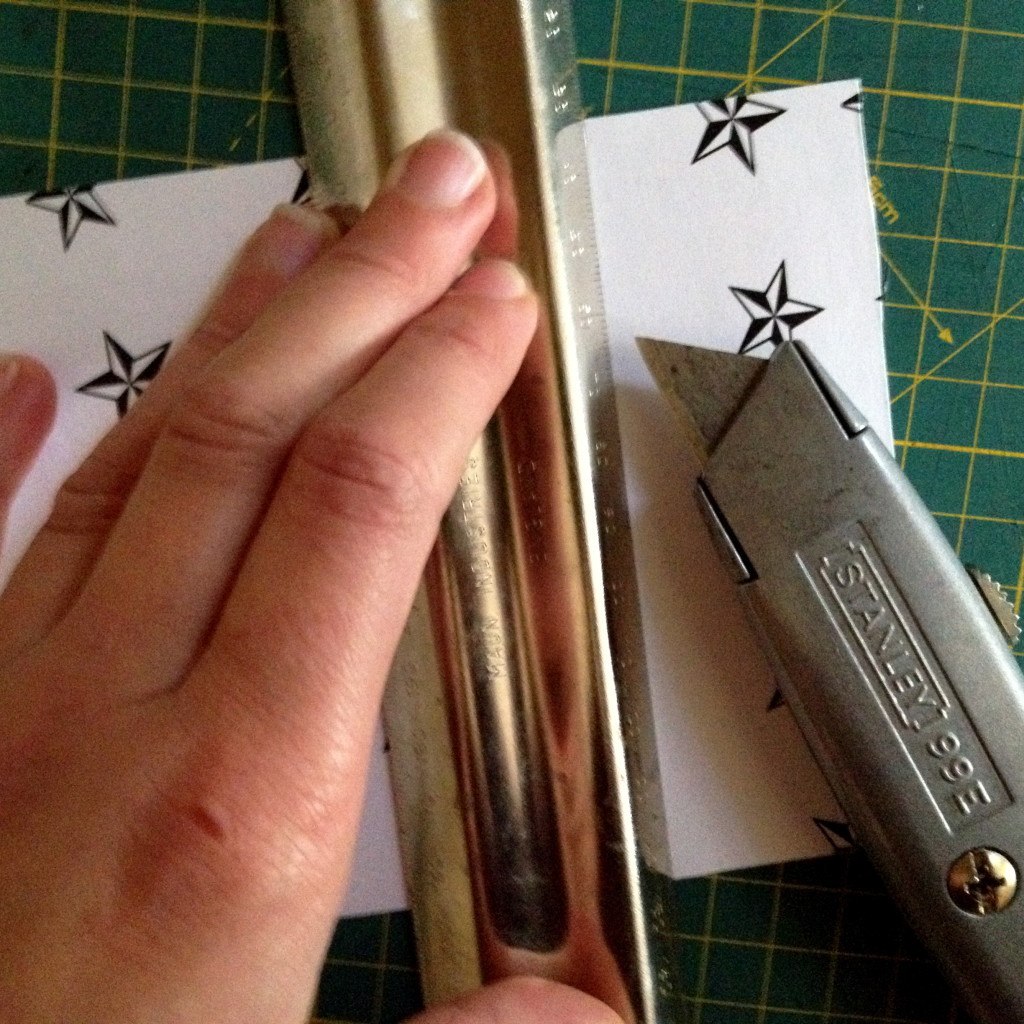
Glue the box pattern onto the card and start cutting the solid lines first. Use a ruler to achieve straight and sturdy cut.
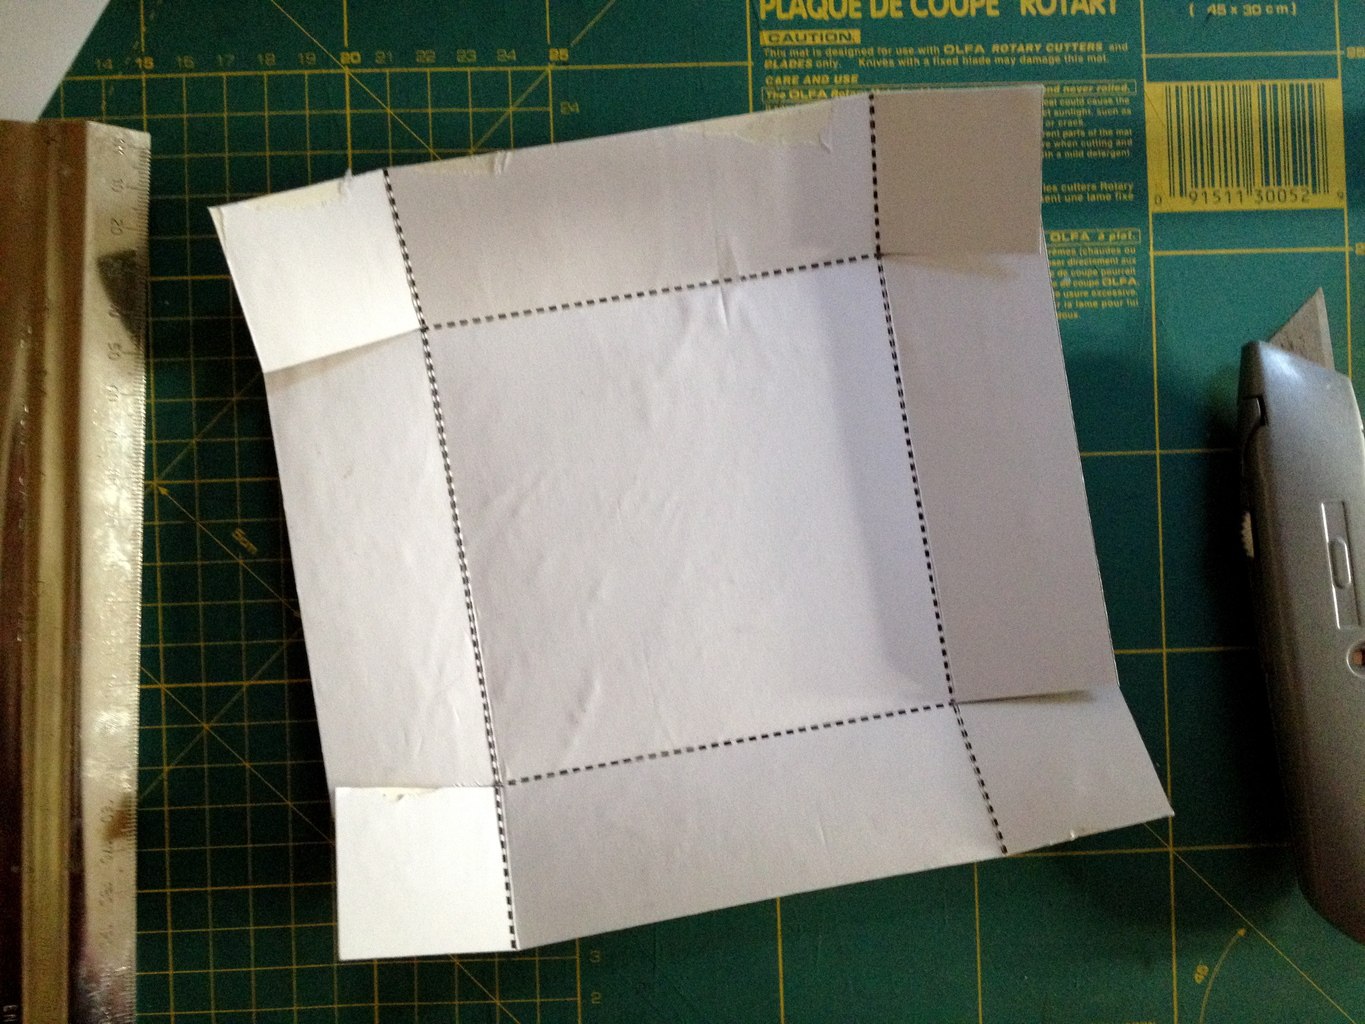
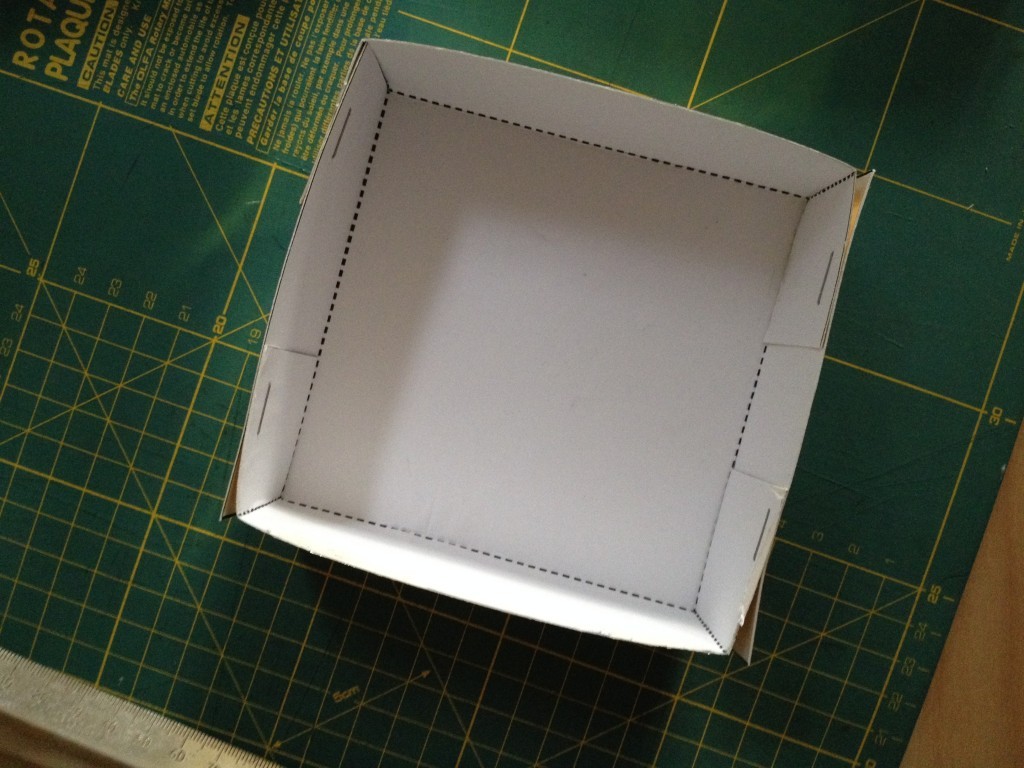
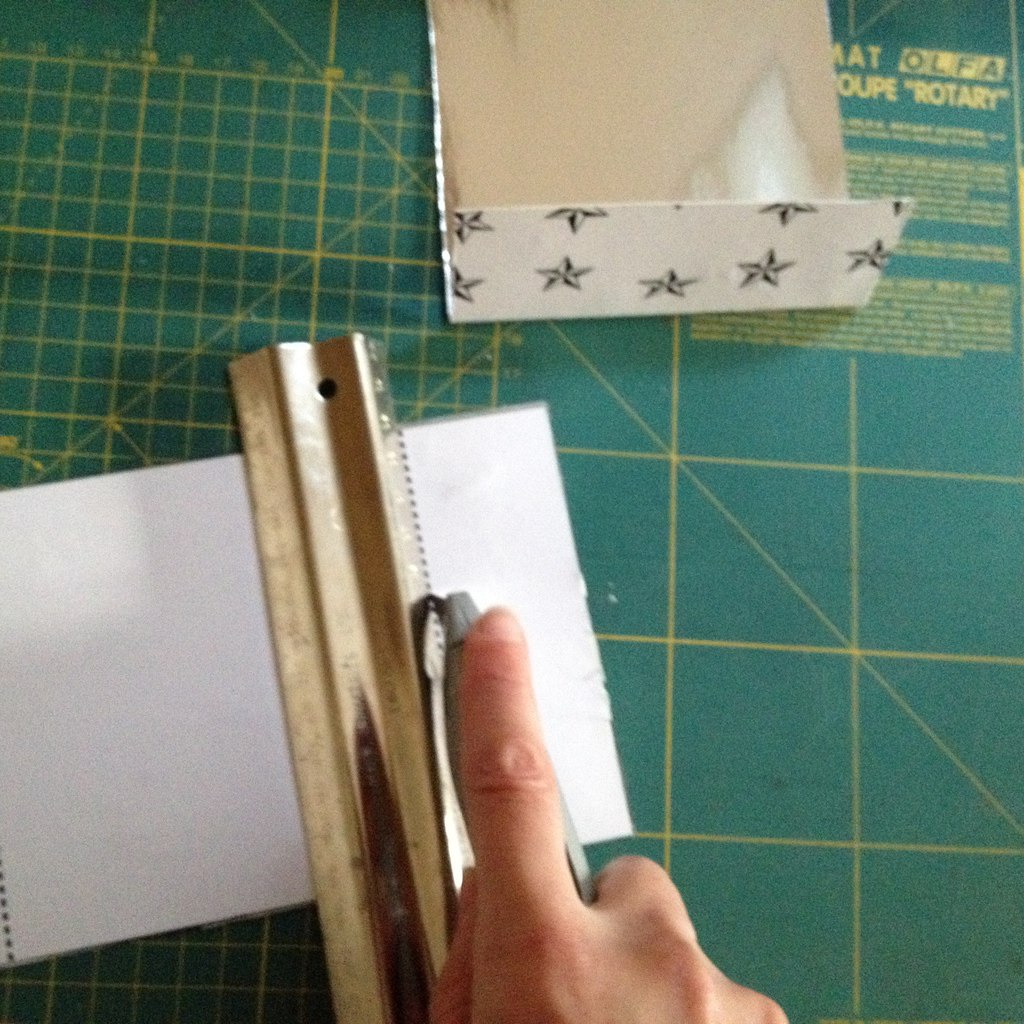
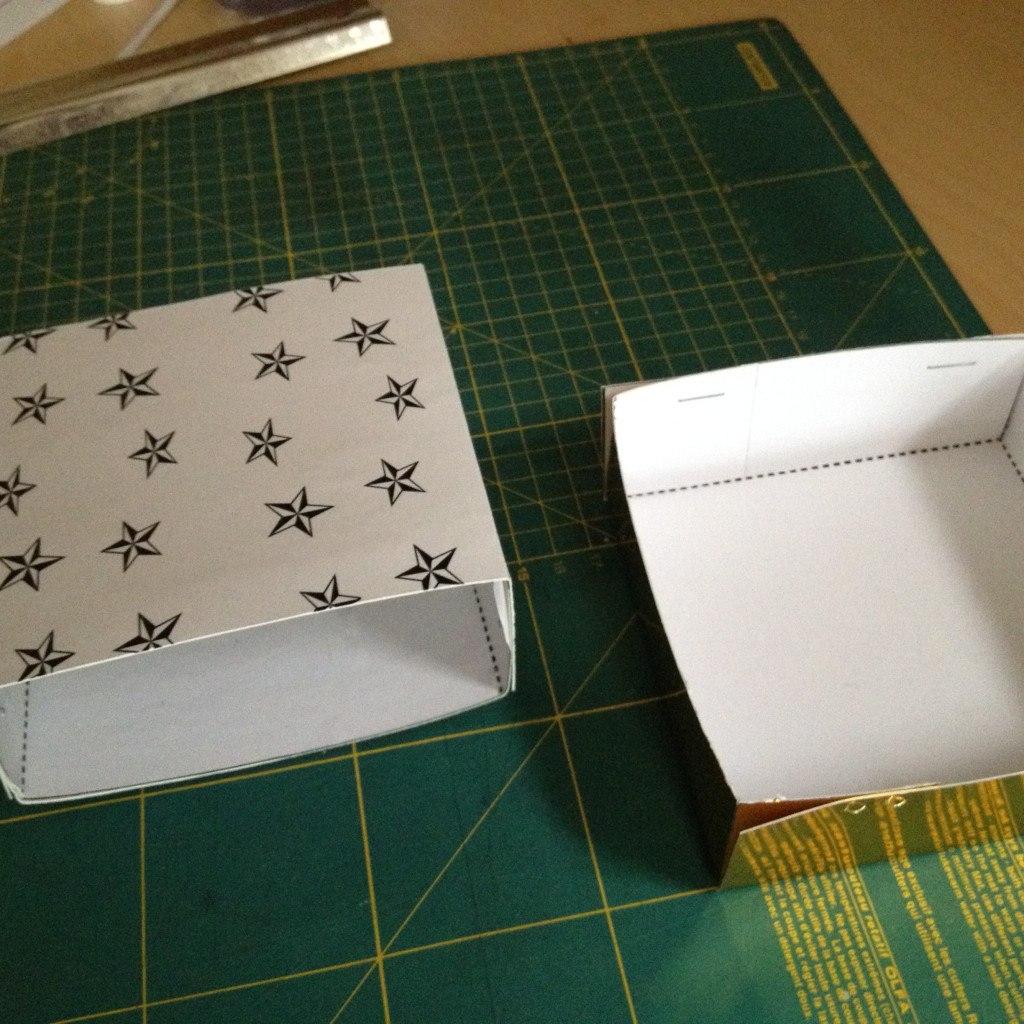
Lightly cut the dashed line for the folds.
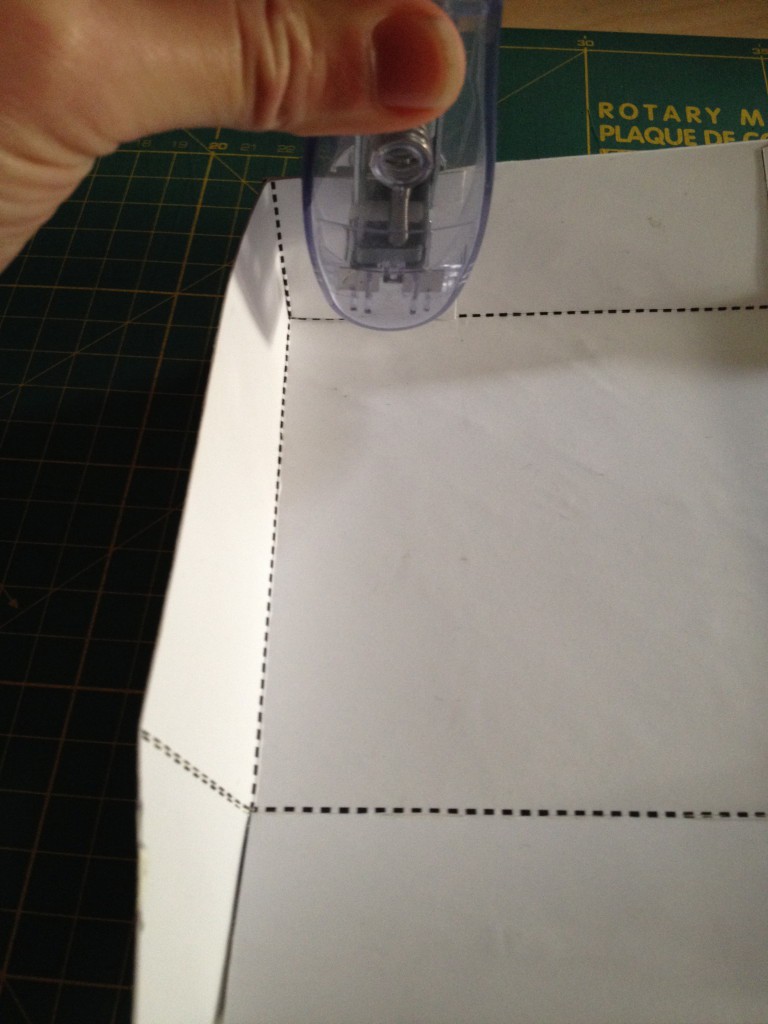
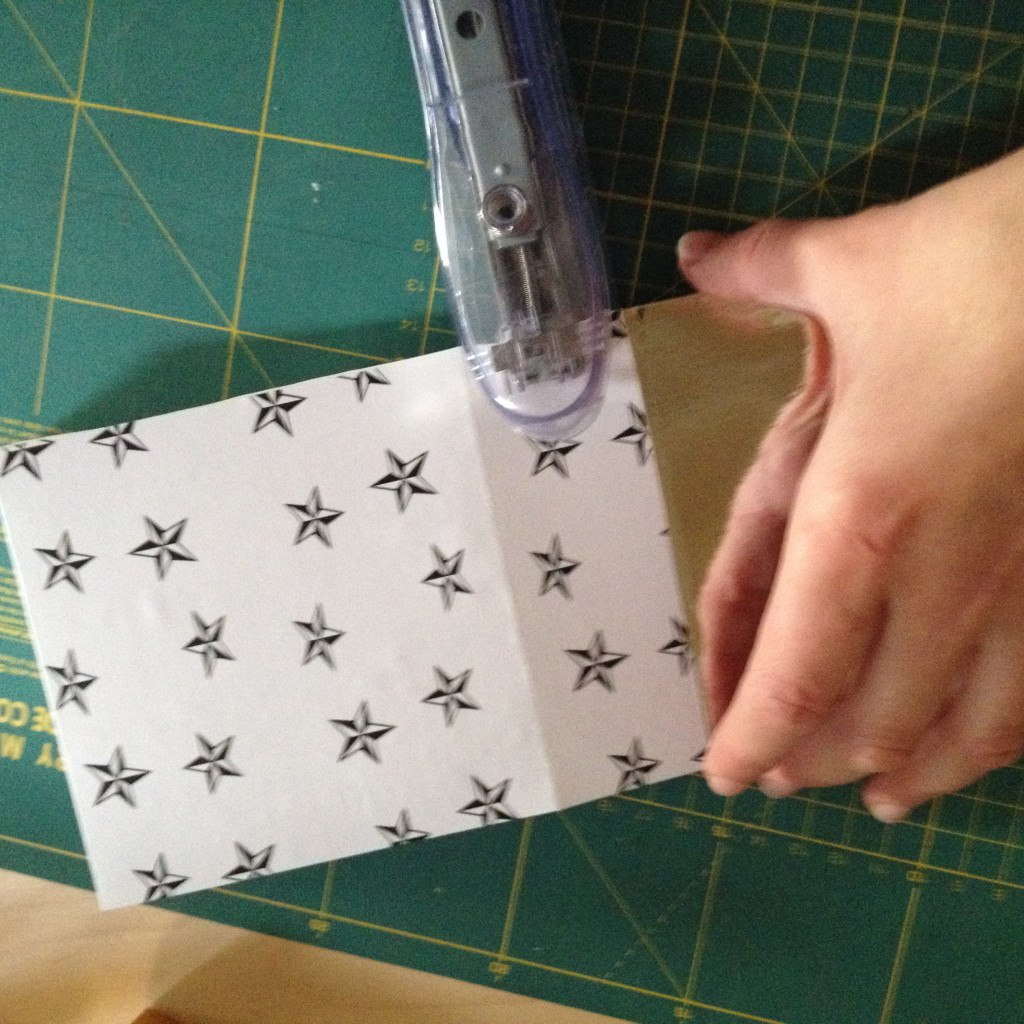
Staple the folded box to secure the shape.
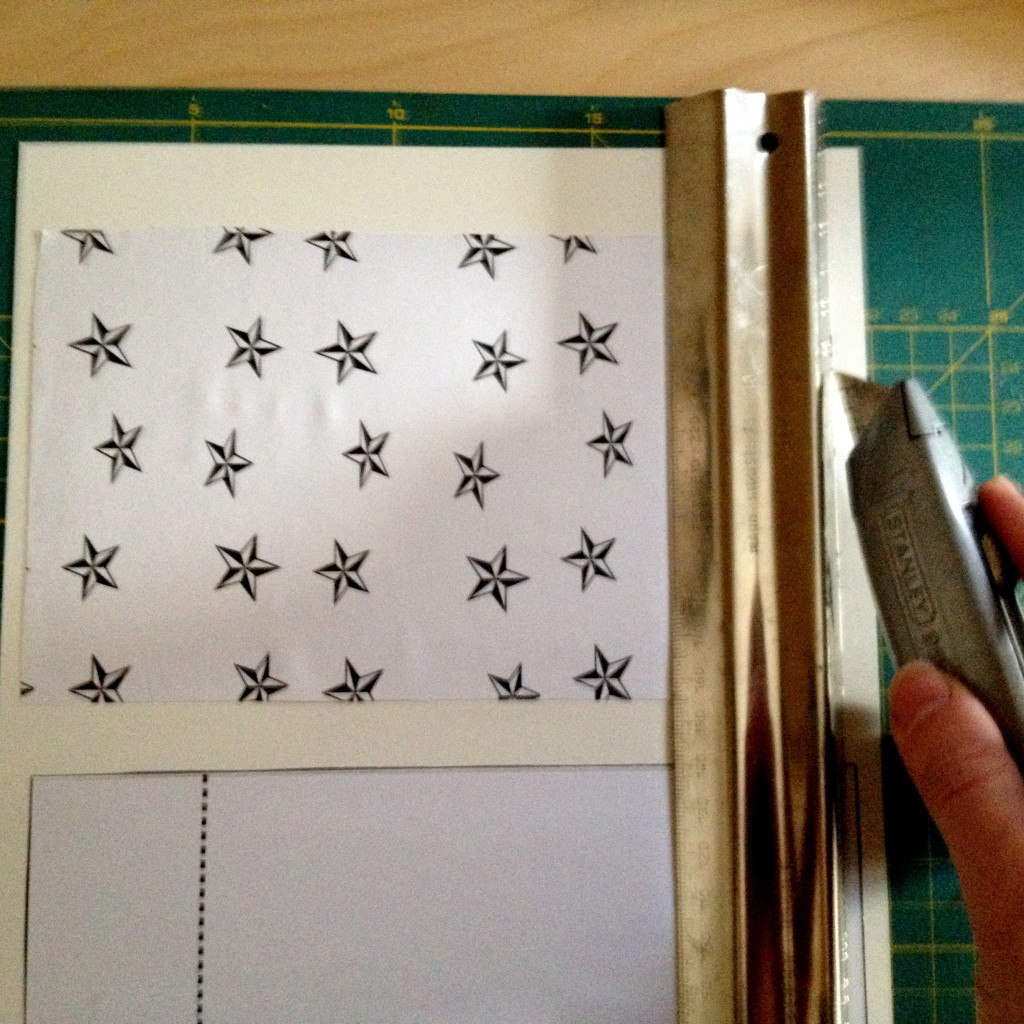
To make a sleeve, cut one of two pieces in patterned paper. Just put the sleeve pattern on top and cut around it.
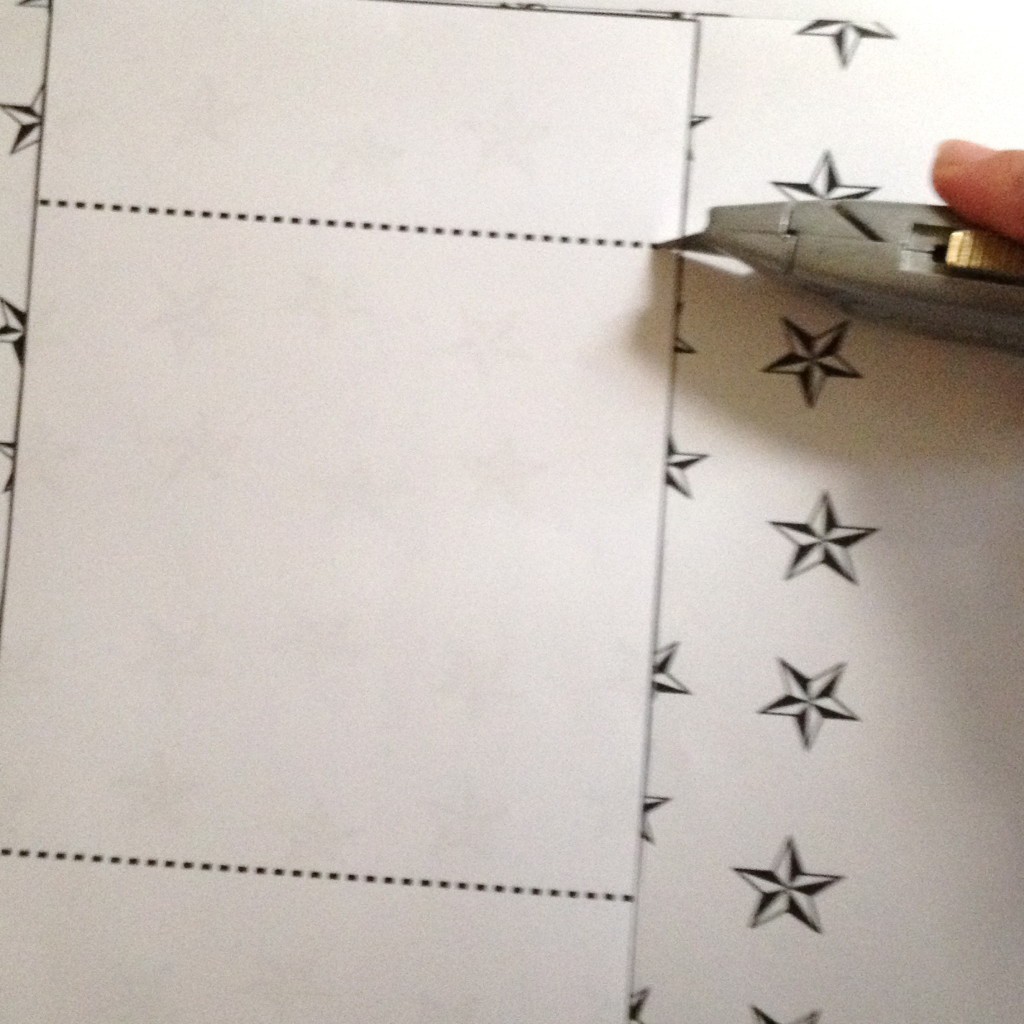
Make sure to mark where the folds are with a small cuts on the sides.
Glue two sleeve patterns onto the card and cut it out.
Lightly cut the dashed line for the folds.
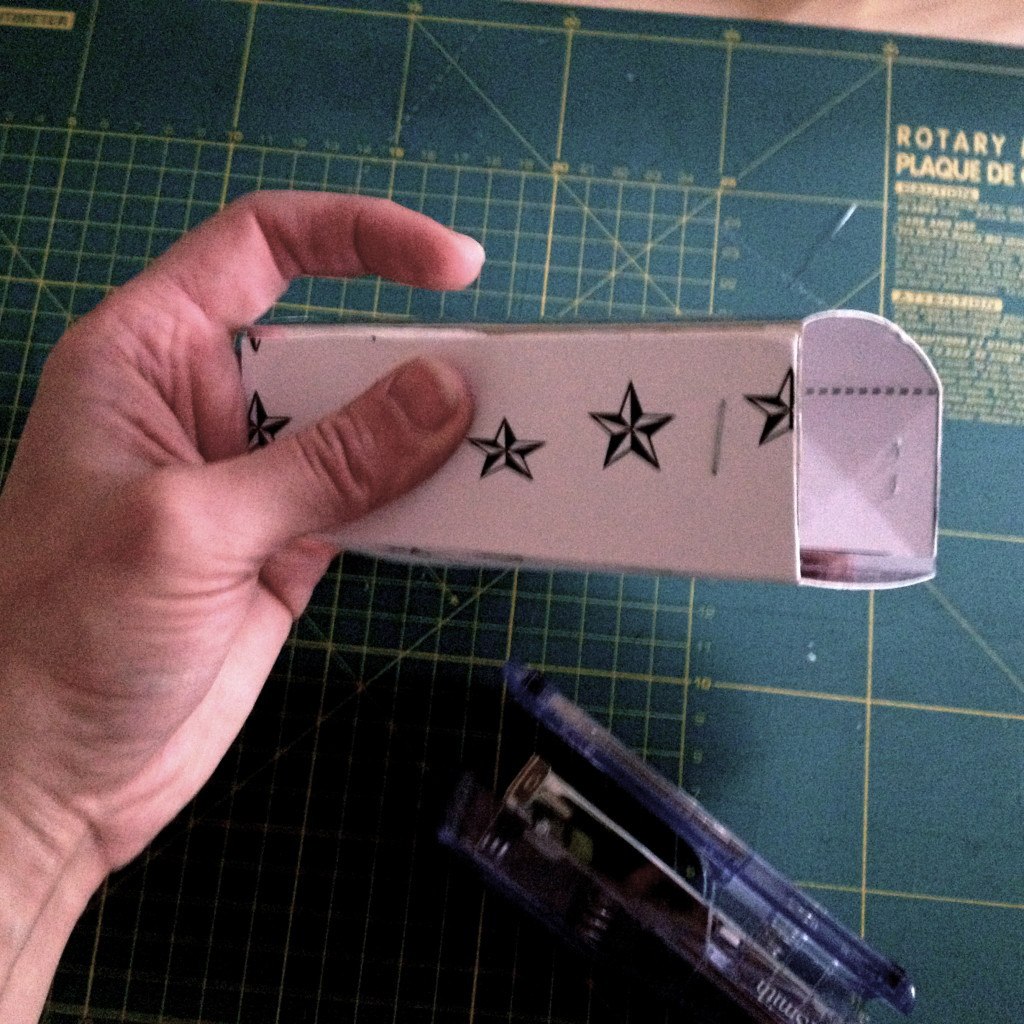
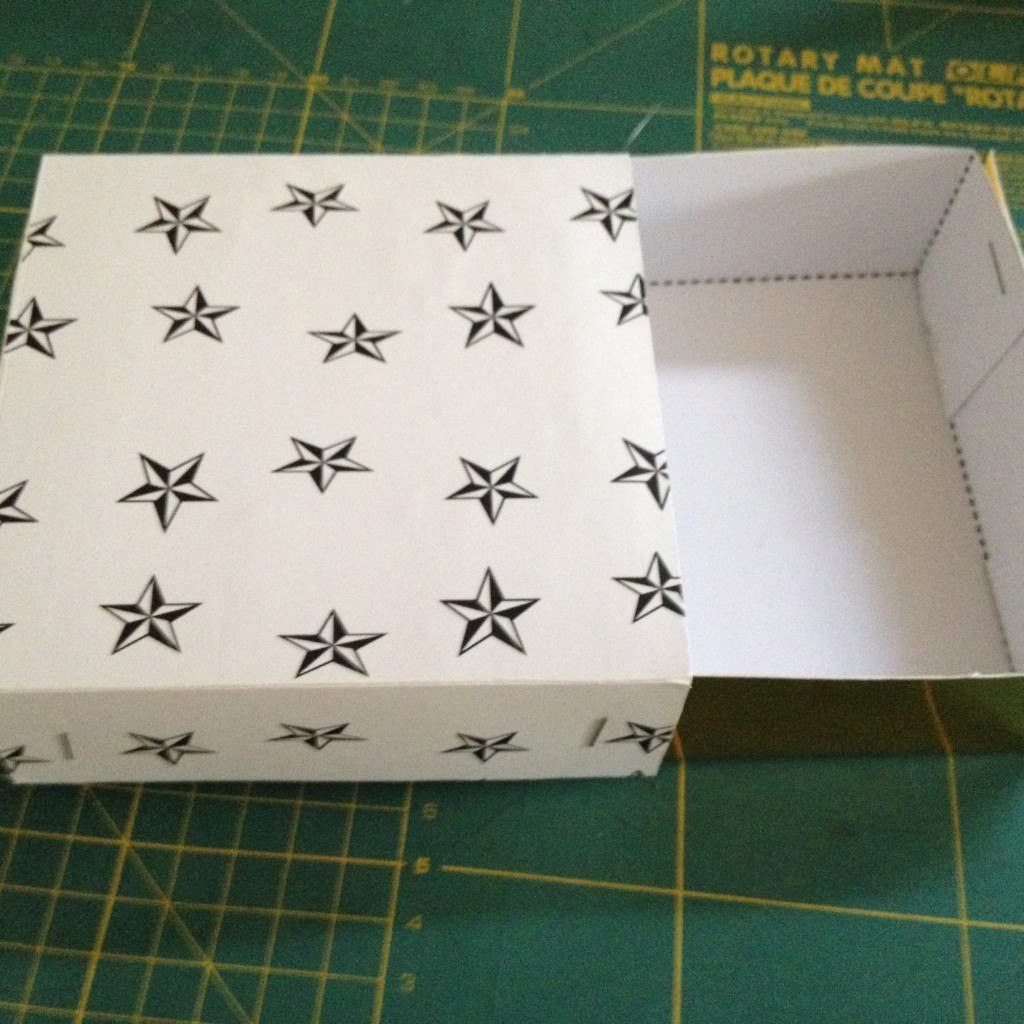
Staple sleeve pieces together by overlapping them on the sides.
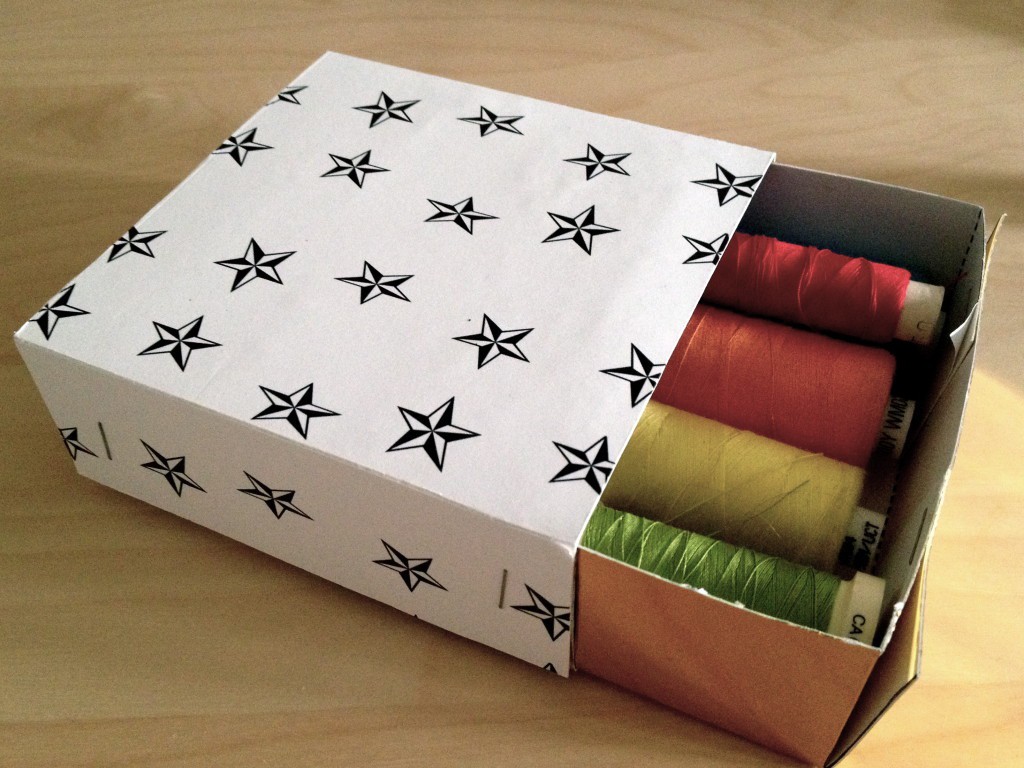
And this is it, gift box is ready to be assembled and filled with the small gifts.
Rasa :)