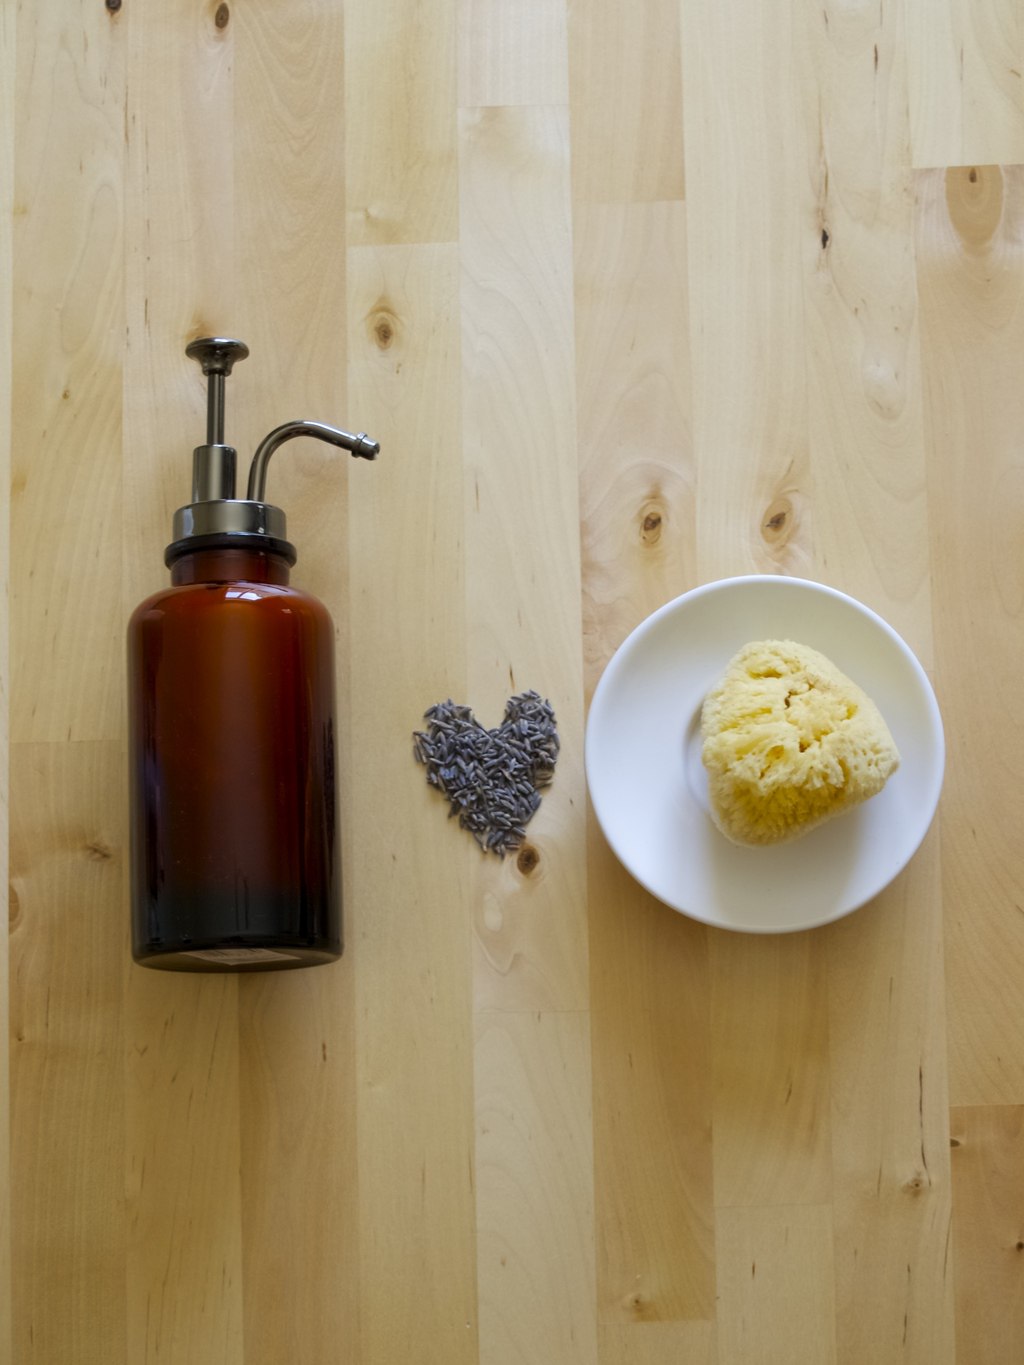
I love creating, crafting and DIY projects! I would like to think that I buy less (and spend less by being really really frugal) and make more, however this is still not truth. I started making my own cosmetics and soap so hopefully this will take towards my goal (to live homemade lifestyle of course).
To make this soap you will need:
610g olive oil
85g caustic soda (I bought mine in B&Q and I have seen some sold in Boots)
230ml water
2 tsp lemon balm or citronella essential oil
zest of 3 oranges
zest of 2 lemons
Safety googles
Rubber gloves
Scales
A stainless steel or enamel (not aluminum) pot
A glass or plastic pitcher to hold the water and caustic soda
A glass or plastic measuring jug
Plastic or wooden spoons (that you are not going to use for food again)
A stick blender/hand processor
Two thermometers with the prong (I used one, but had the kitchen towel paper at hand to wipe after each use)
Kitchen towel paper for clean ups
1. Prepare the workspace and gather all the ingredients ( you will be working with caustic soda, dangerous chemical, so make sure children and pets are not underfoot while you work). Make sure you have googles (I used my own spectacles which was safe enough) and rubber gloves at hand, because caustic should never touch your skin, as it would burn you (for more info read on how to work with caustic soda (sometimes called lye) safely.
2. Pour 230ml cold water (around 20C) into the pitcher. Measure 85g caustic soda and pour it into measuring jug. Add caustic soda into the water (not the other way round; don’t add water into the caustic soda) and as you doing that keep your face turned away to avoid inhaling the fumes. Set the mixture aside as it is cooling down and fumes dissipate.
3. Weigh out 610g of oil and pour it into pot. When Caustic soda water is around 45C start slowly heating the oil. When both oil and caustic soda are at the similar temperature (around 35C-39C), gradually pour caustic soda mixture into the oil while mixing (do not use metal spoon for this).
4. Use stick blender to mix the mixture for 5-10 min until “tracing” occurs (you should see the spoon leaving visible trace behind it, like in the pudding). If you don’t see any tracing, be patient and try again after 10-15min rest.
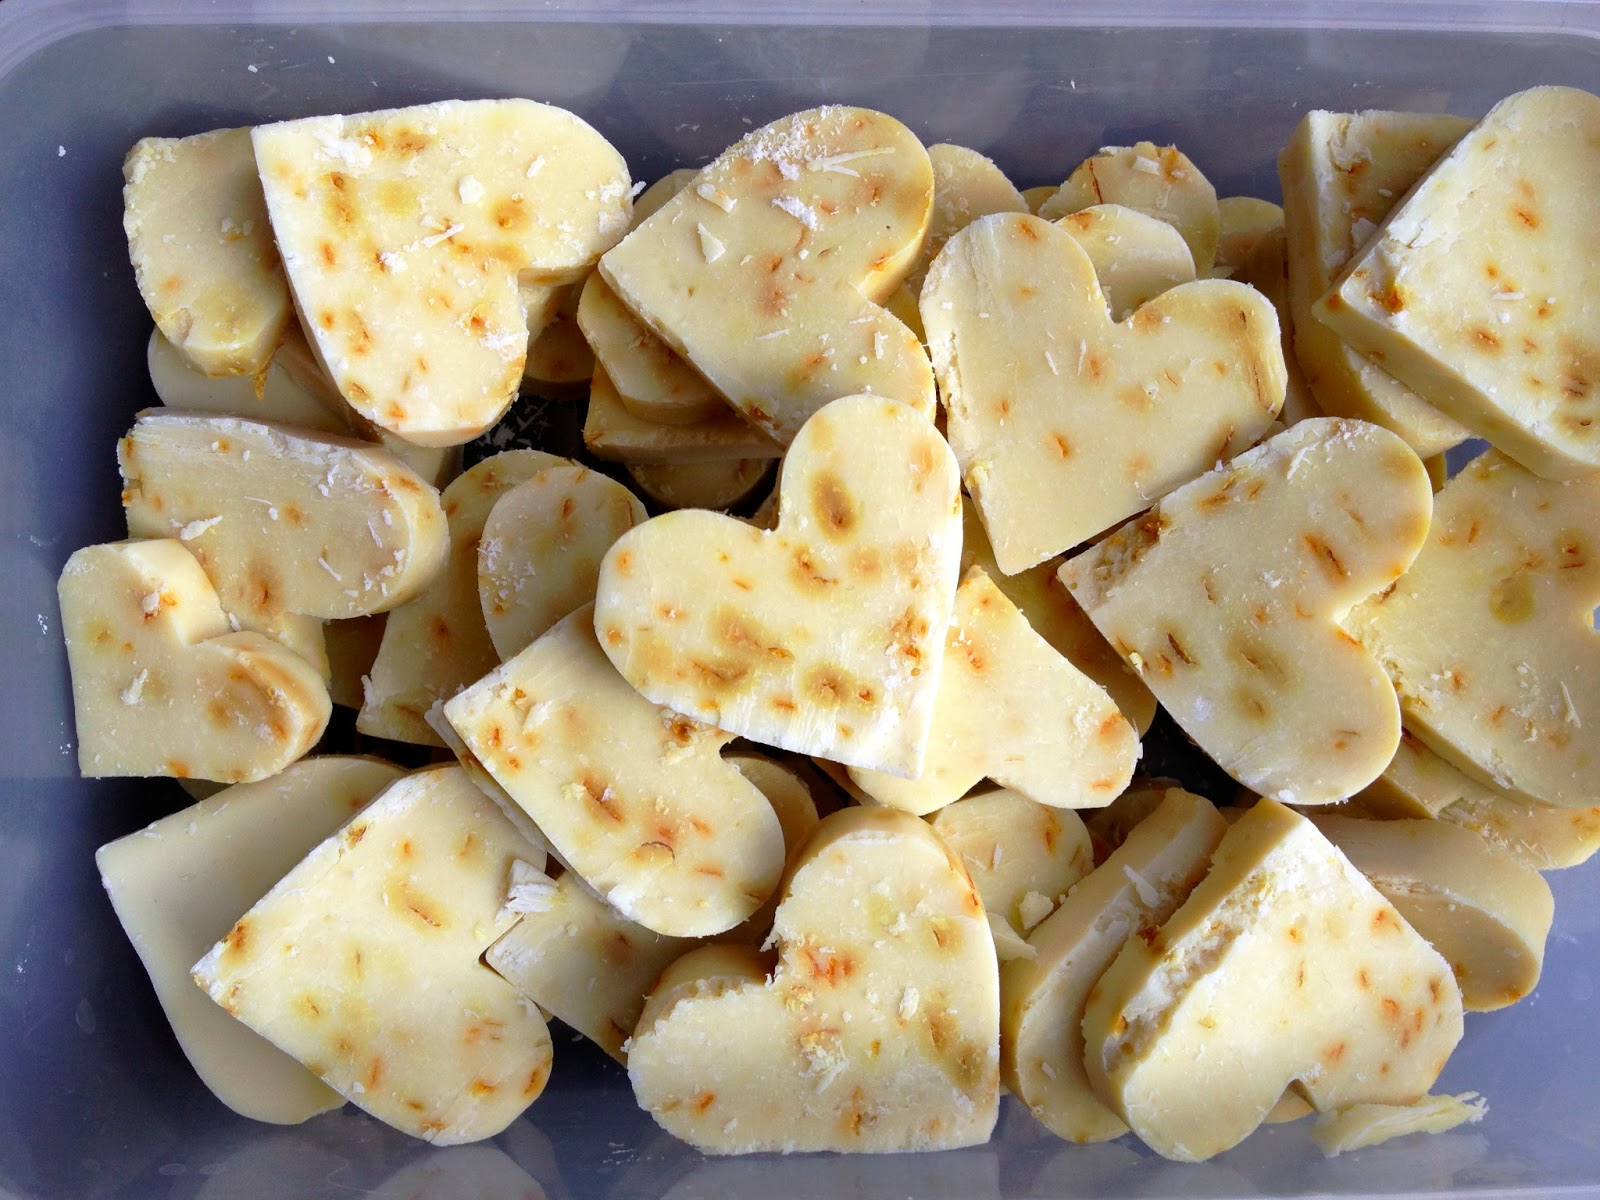
5. Add essential oil and orange/lemon zests in to the mixture, mix and then pour it into the moulds. I used celicon loaf baking tin, but if you are using regular baking tin do line it with baking paper as well. Be sure you are still wearing your rubber gloves at this stage, since raw soap is caustic and can burn skin.
6. Leave the soap in the tin/mould for 36hours before unmolding.
7. To unmold the soap turn tin/mould over and allow it to fall on a towel or clean surface. Cut the soap into desired size pieces (I used cookie cutters to cut out these lovely heart shaped pieces).
8. Allow the soap to cure before packaging or before use for min of 3 weeks.
Rasa xo


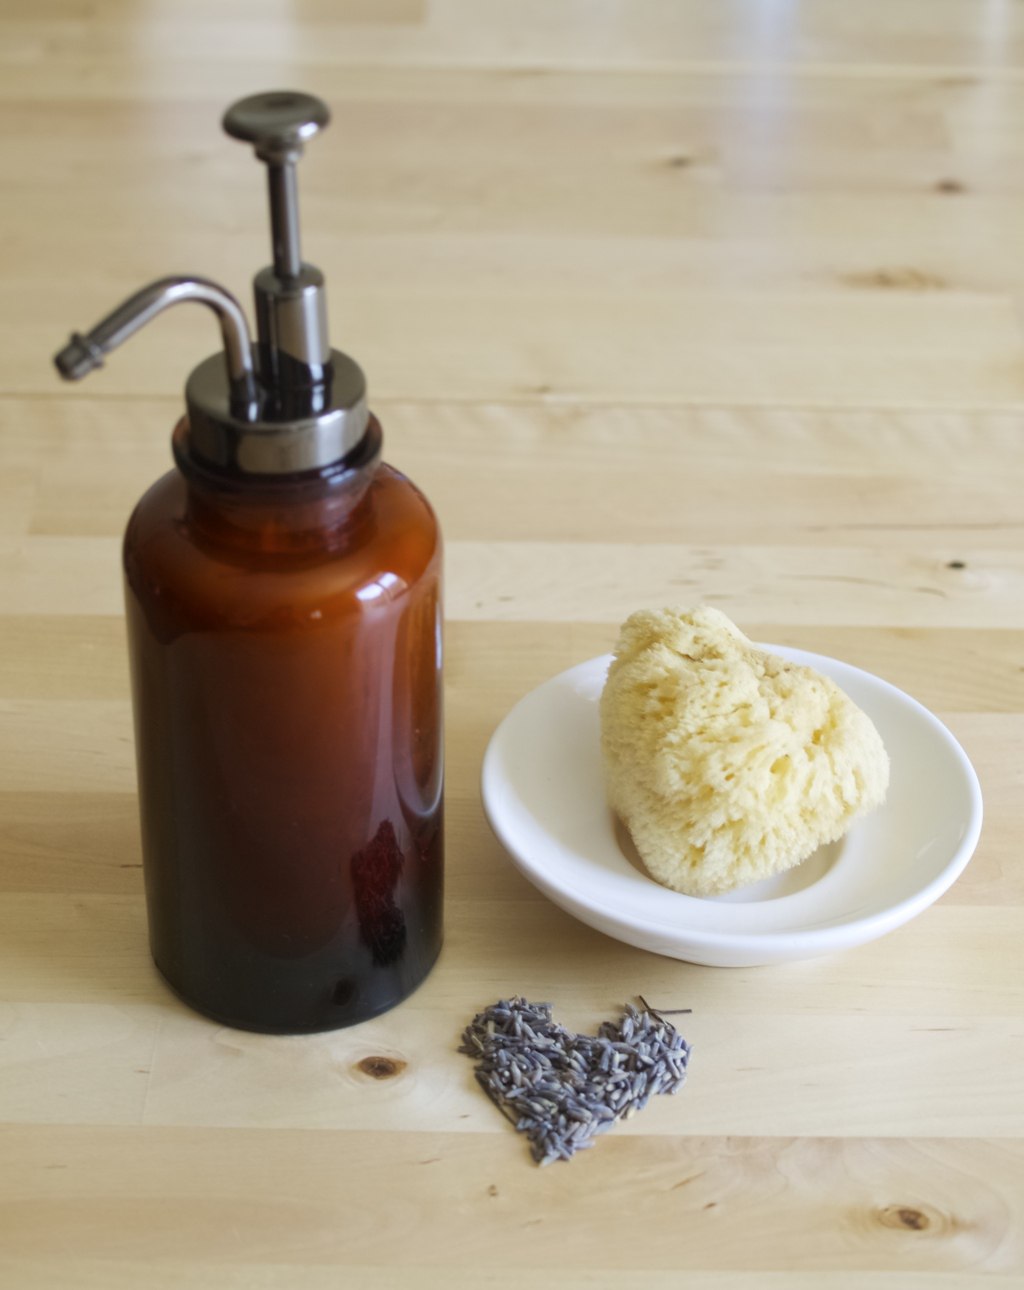
 One of our favourite wedding gifts we have received is this lovely soap pump from Alex. It looks very handsome don’t you think? The only con of having an empty soap pump it that it does come empty and we just realised that it is not so easy to find soap refillers in the shops. So I have decided to give a go and make my own! Few years ago I have made soap, so I know a little bit about how to make soap from scratch. However I have decided to make liquid soap half-way this time (I mean from existing hard soap). First, I had some soap to use up and second, I did not want to do much of preparation. Basically I wanted this to be a quick job without worrying about chemical reactions in my kitchen.
 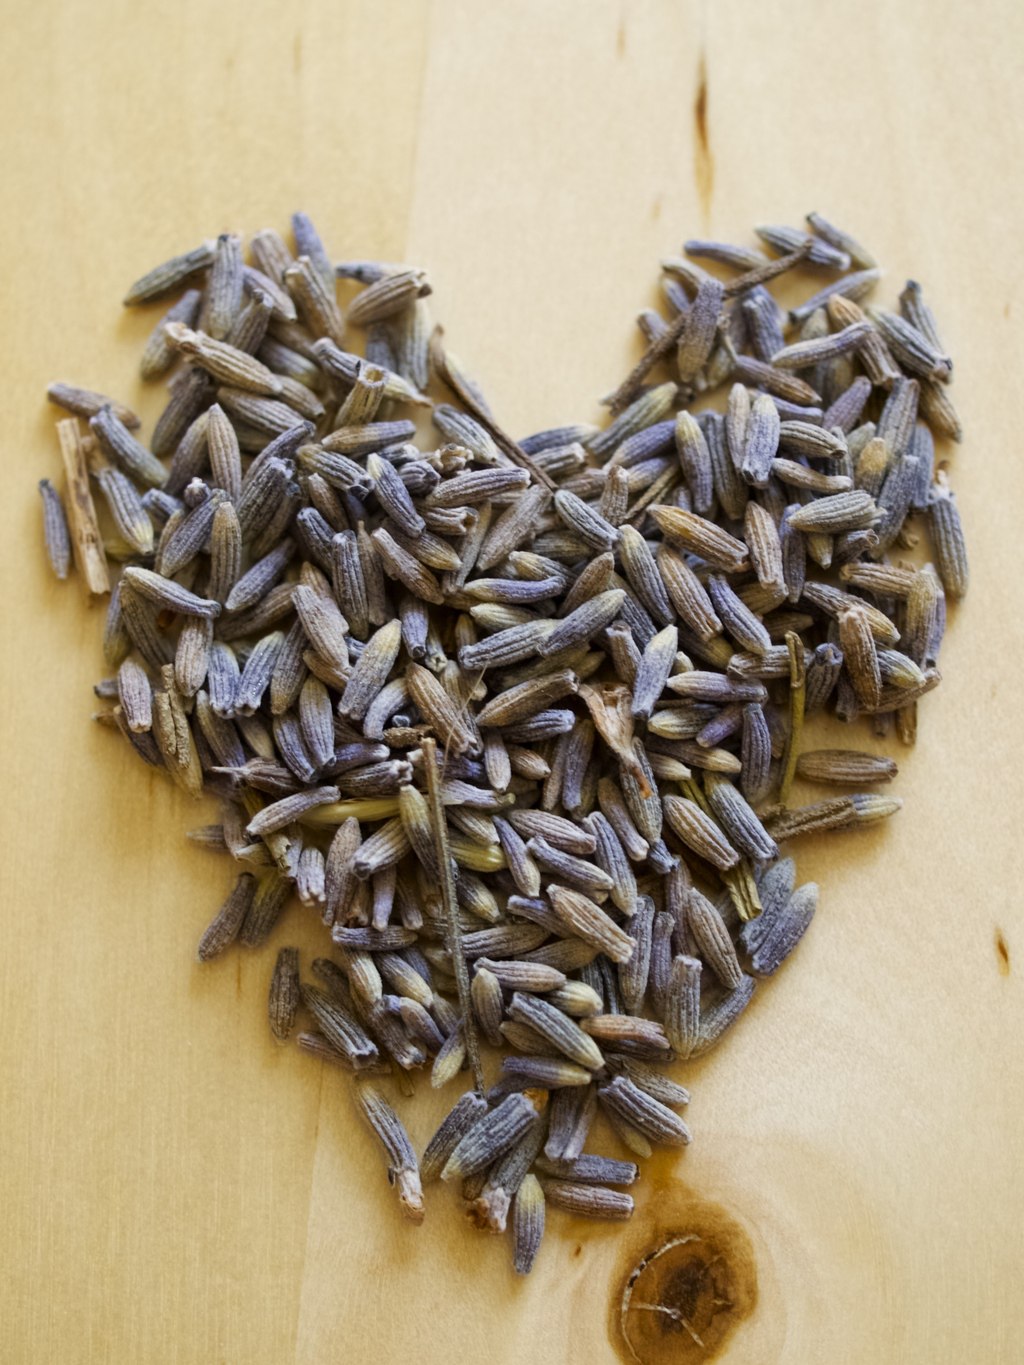 For this Liquid soup you will need:
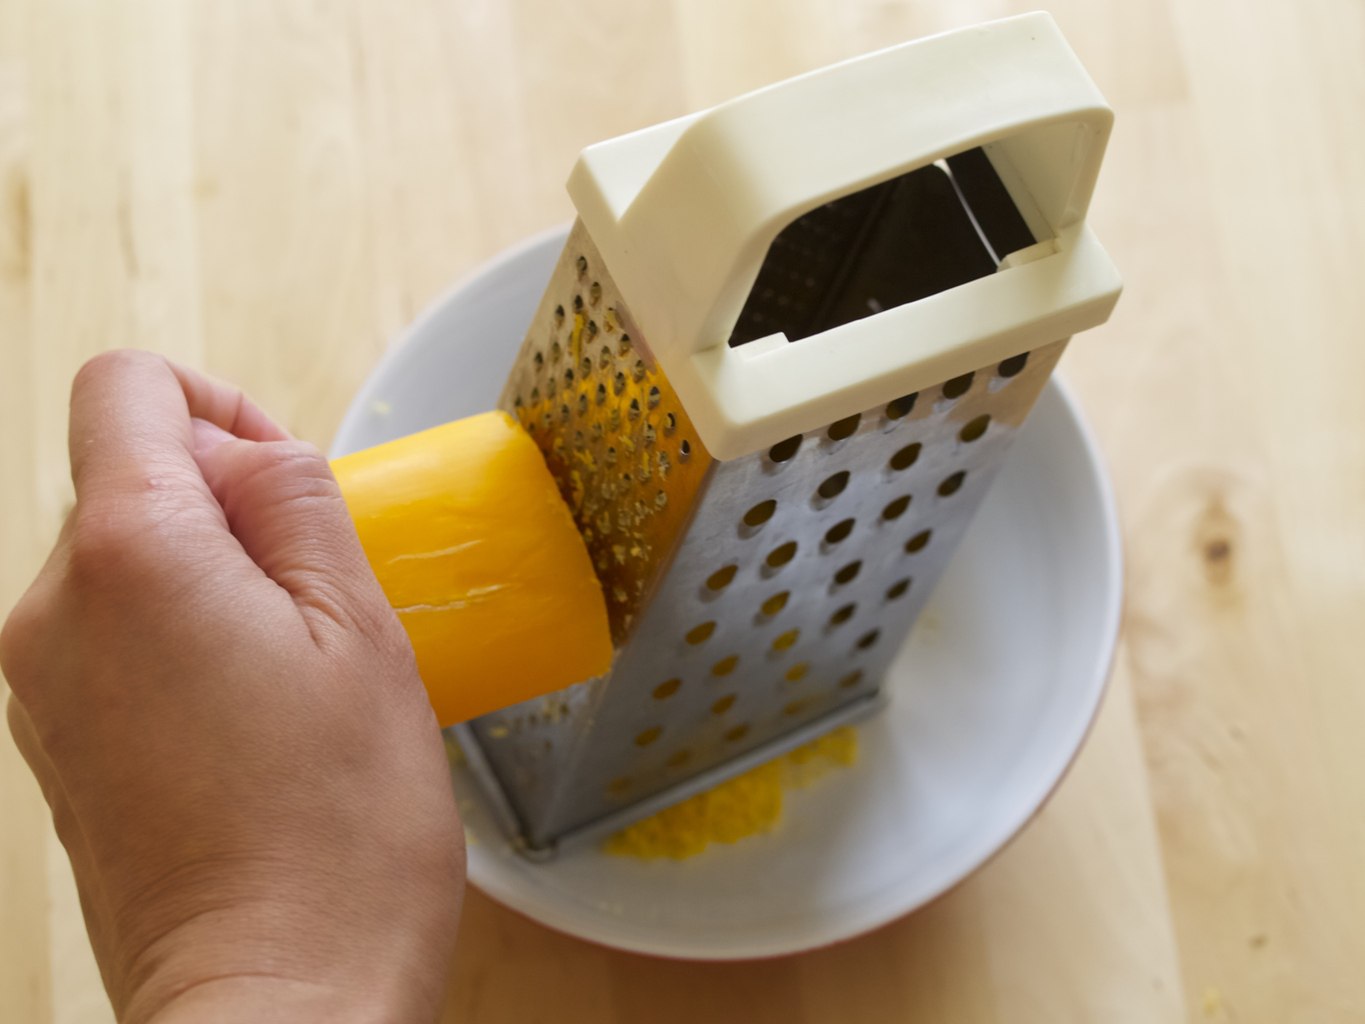
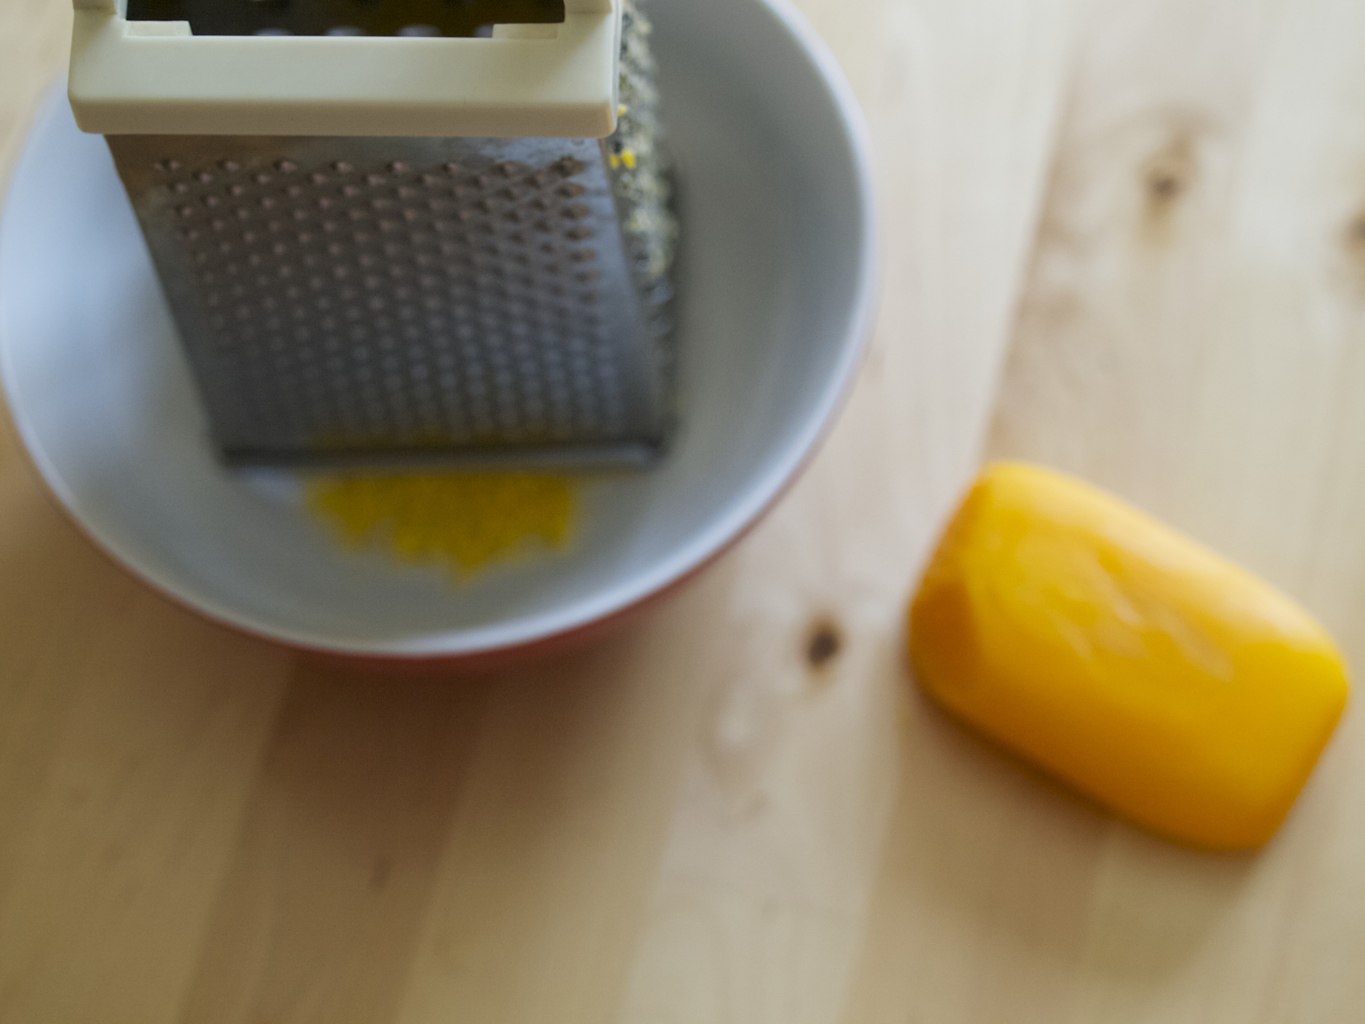

 2. Gather all other ingredients such as glycerin, and essential oils.
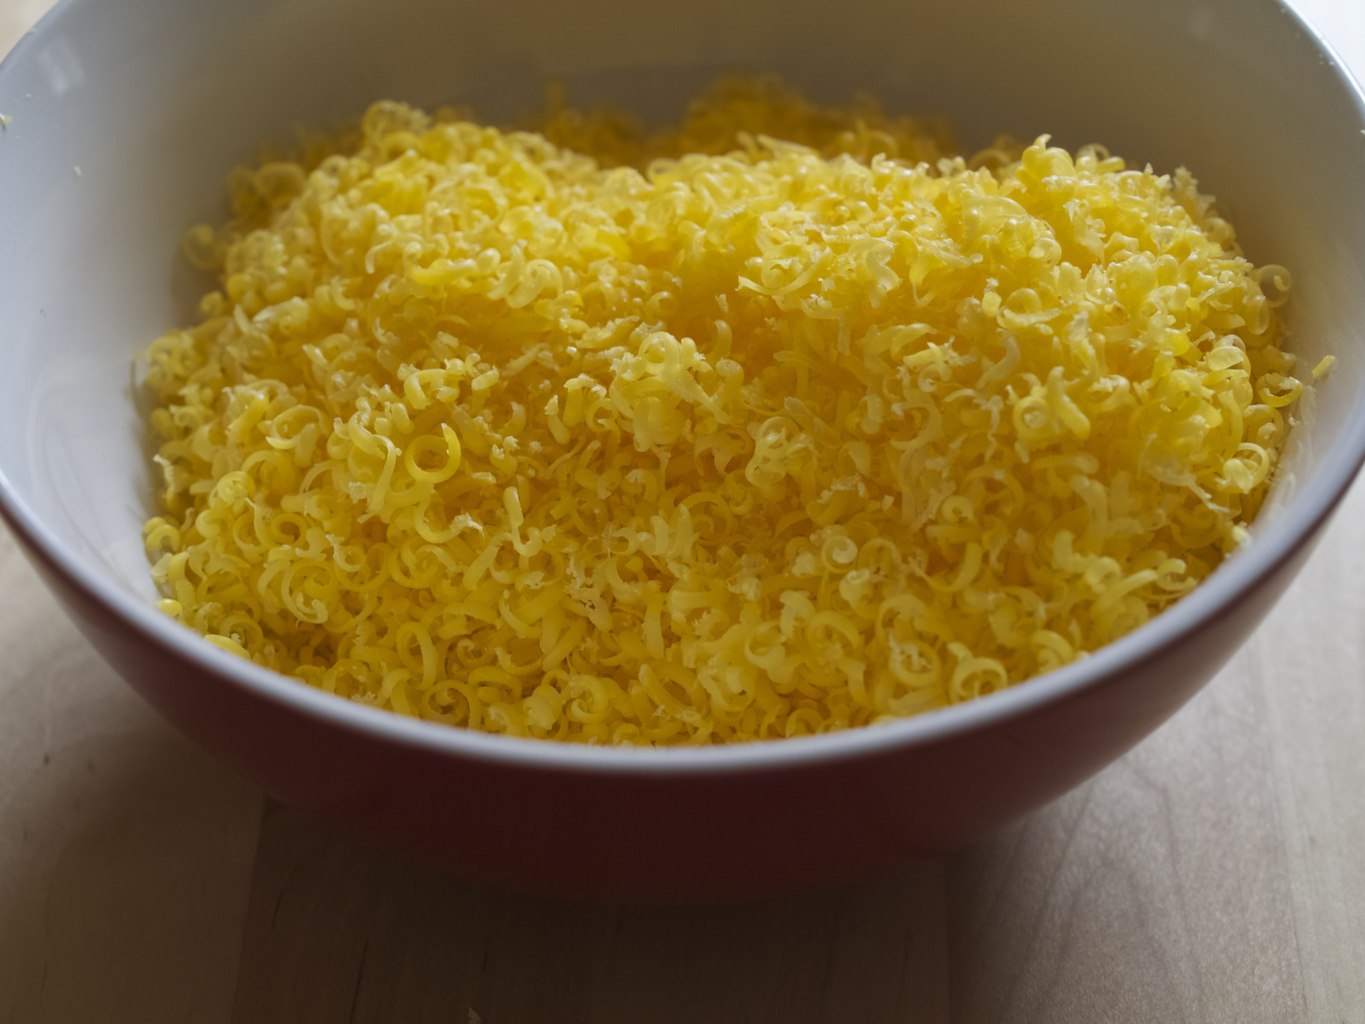
 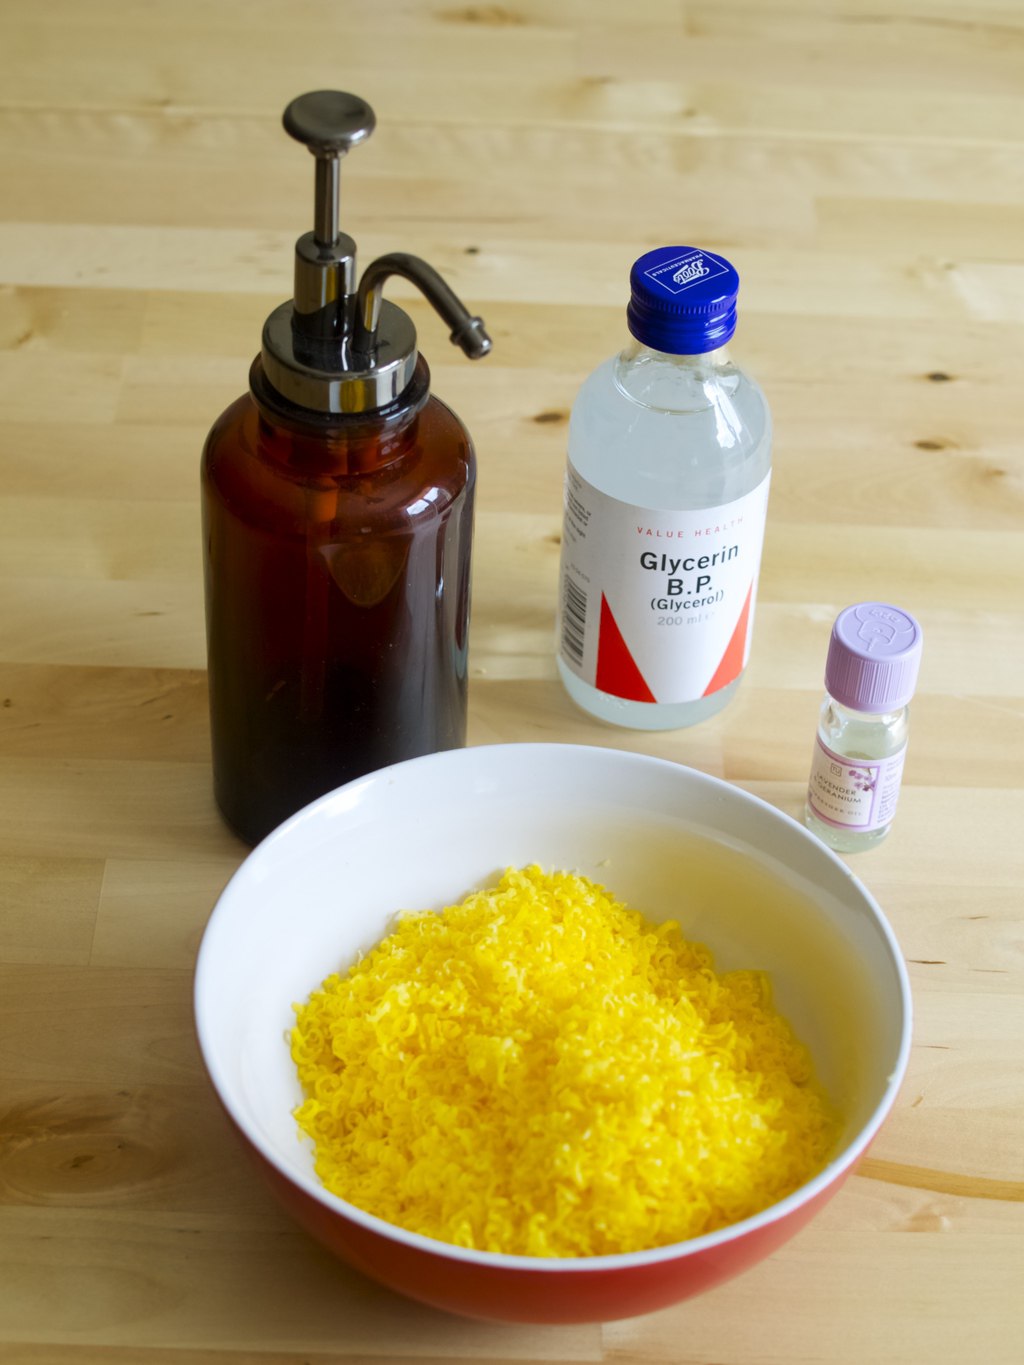 3. Weigh the soap flakes and boil water accordingly. There should be 200ml water per 100g of soap. Melt the soap flakes in boiled water and process it with the hand processor.
  4. Add glycerine and essential oil into the soap mixture and combine it well.
 Have you learned something new today? Rasa xoxo