Top

Archive | Budget £

Date night in: paper and pen games

Idea for date night in: paper and pen games table layoutMe and Joni have not gone out for ages. When you got kids it’s just not easy. Everyone who have young kids I am sure can relate how difficult it is to find a babysitter! And when you do find a babysitter this once in the while outgoing can cost you at least £40. Am I right or am I wrong?

Recently Joni had an idea to have date nights in. And that changed the dating game completely! We set to have the date night in every Friday and we reduced the amount of tasks we need to do that day so we are free. This gives me something to look forward every week! Since the Valentines day is coming up I though I will share how we do these night ins ;-).

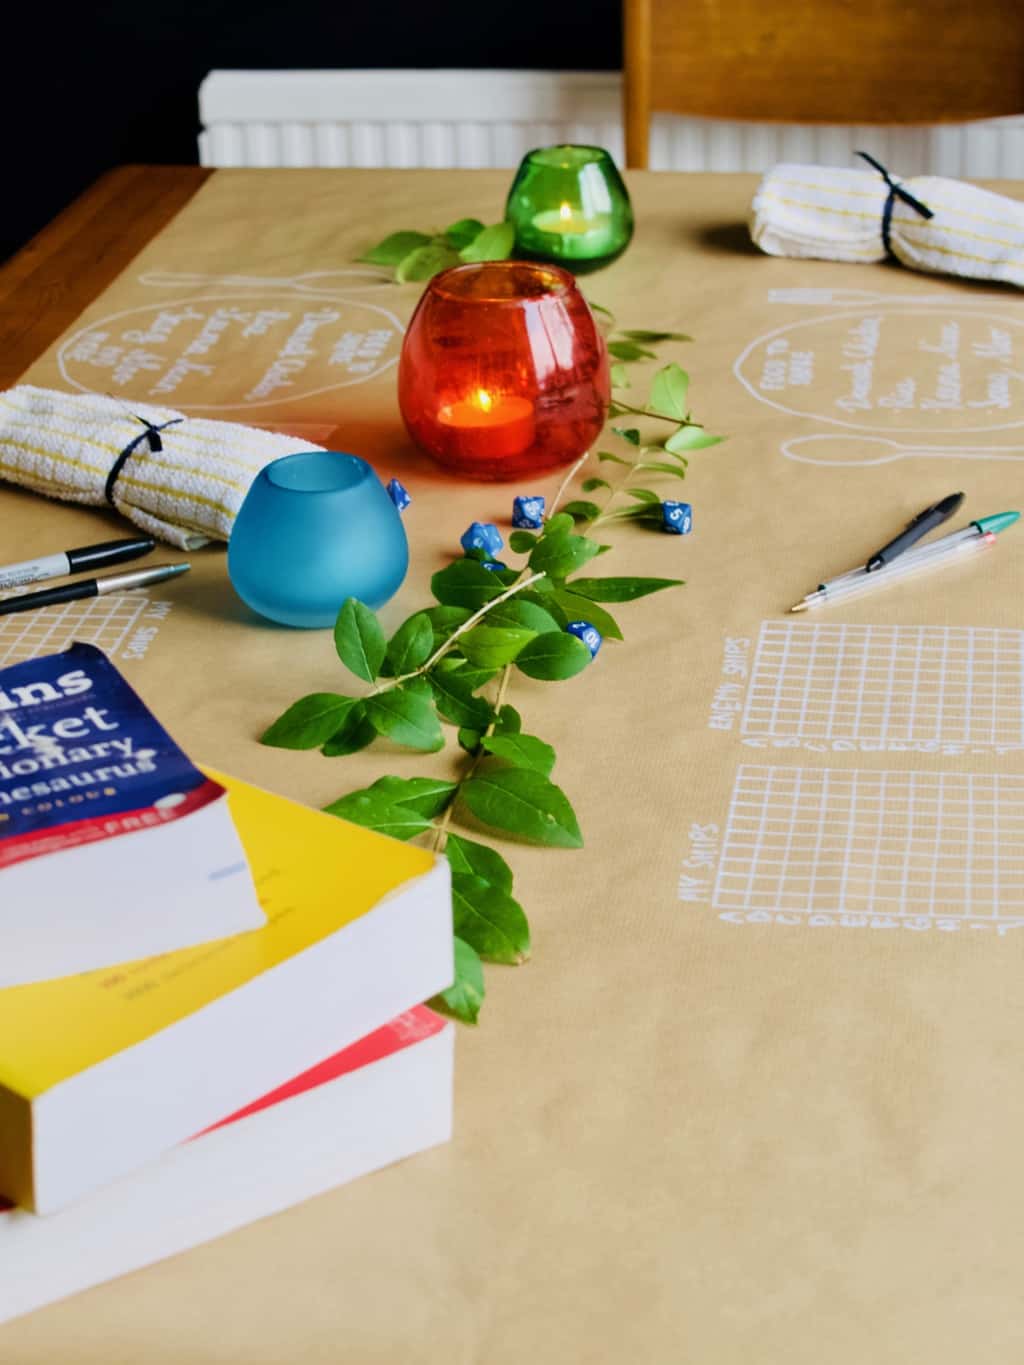
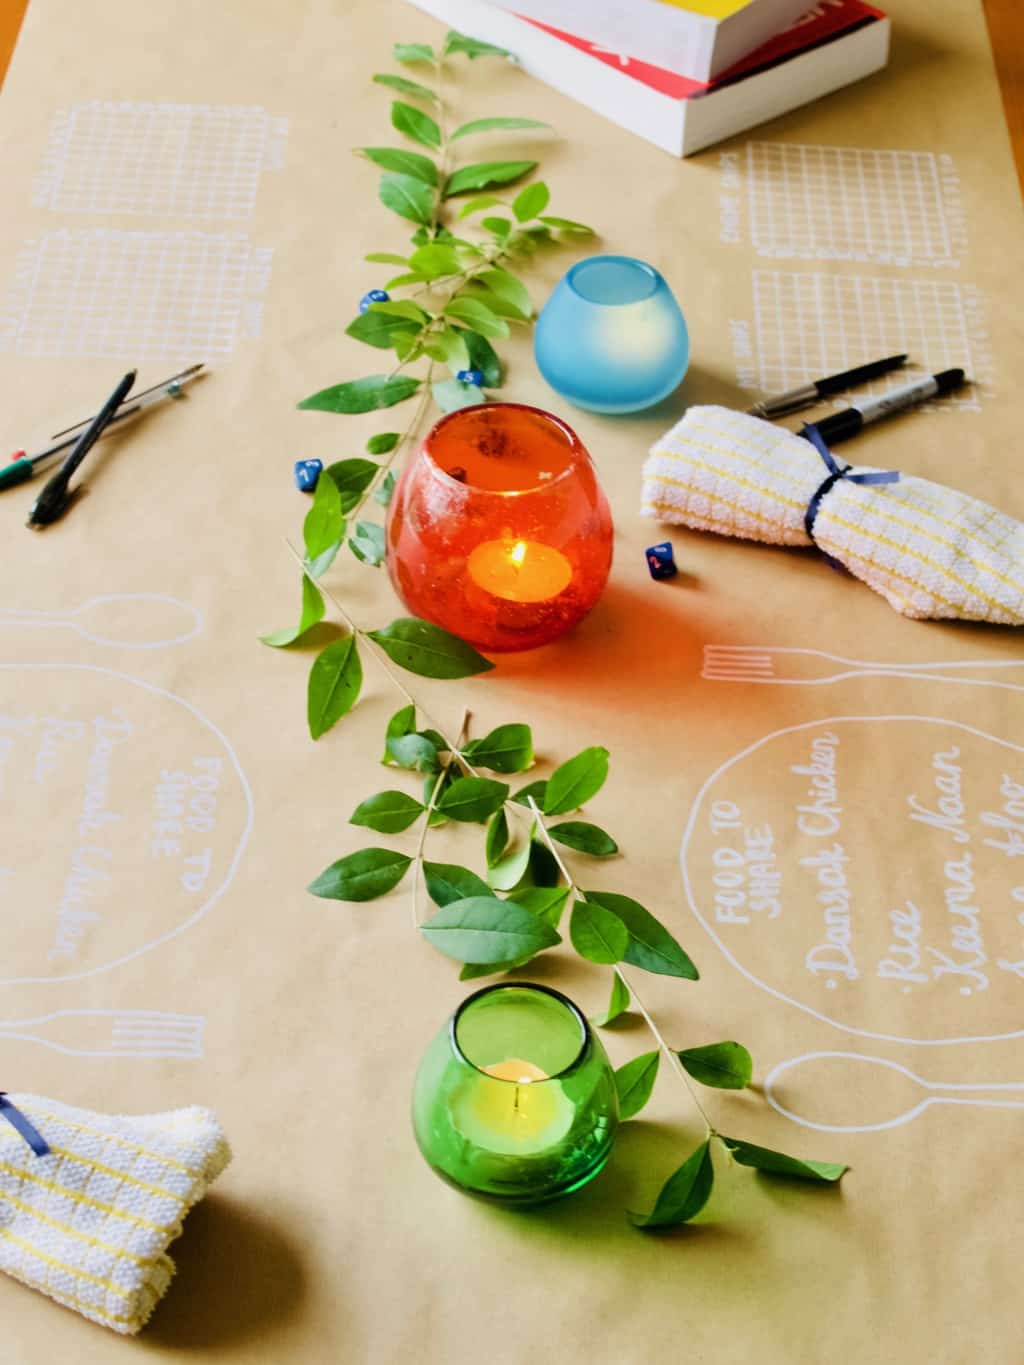
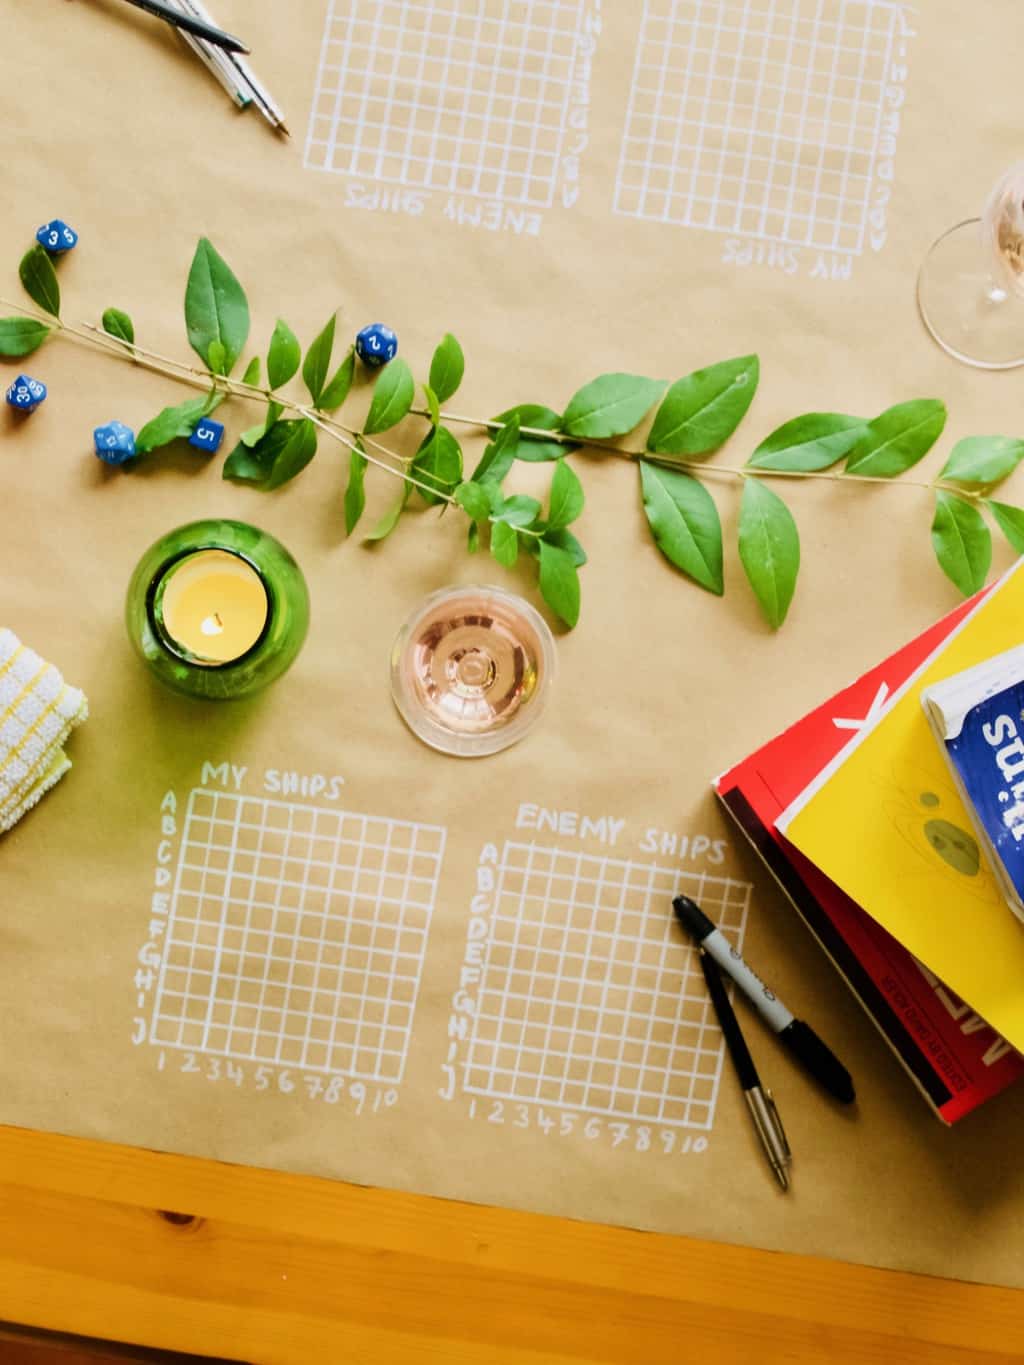
Me and Joni take turns who organises the date. If any money spend we budget into our own budgets. This time it was my turn therefore I could share the preview with you. I picked games theme and this is often what we like to do on our dates. We (I mean me) get a bit competitive sometimes!Idea for date night in: paper and pen games table layoutSince I decided to do paper and pen games this time round I used craft brown paper for the table layout. To be honest I don’t even have that many dining table setup props! This is why I mostly used what I already have. Kitchen towels instead of napkins for instance was one of those replacements when I did not want to buy something I may not use again.
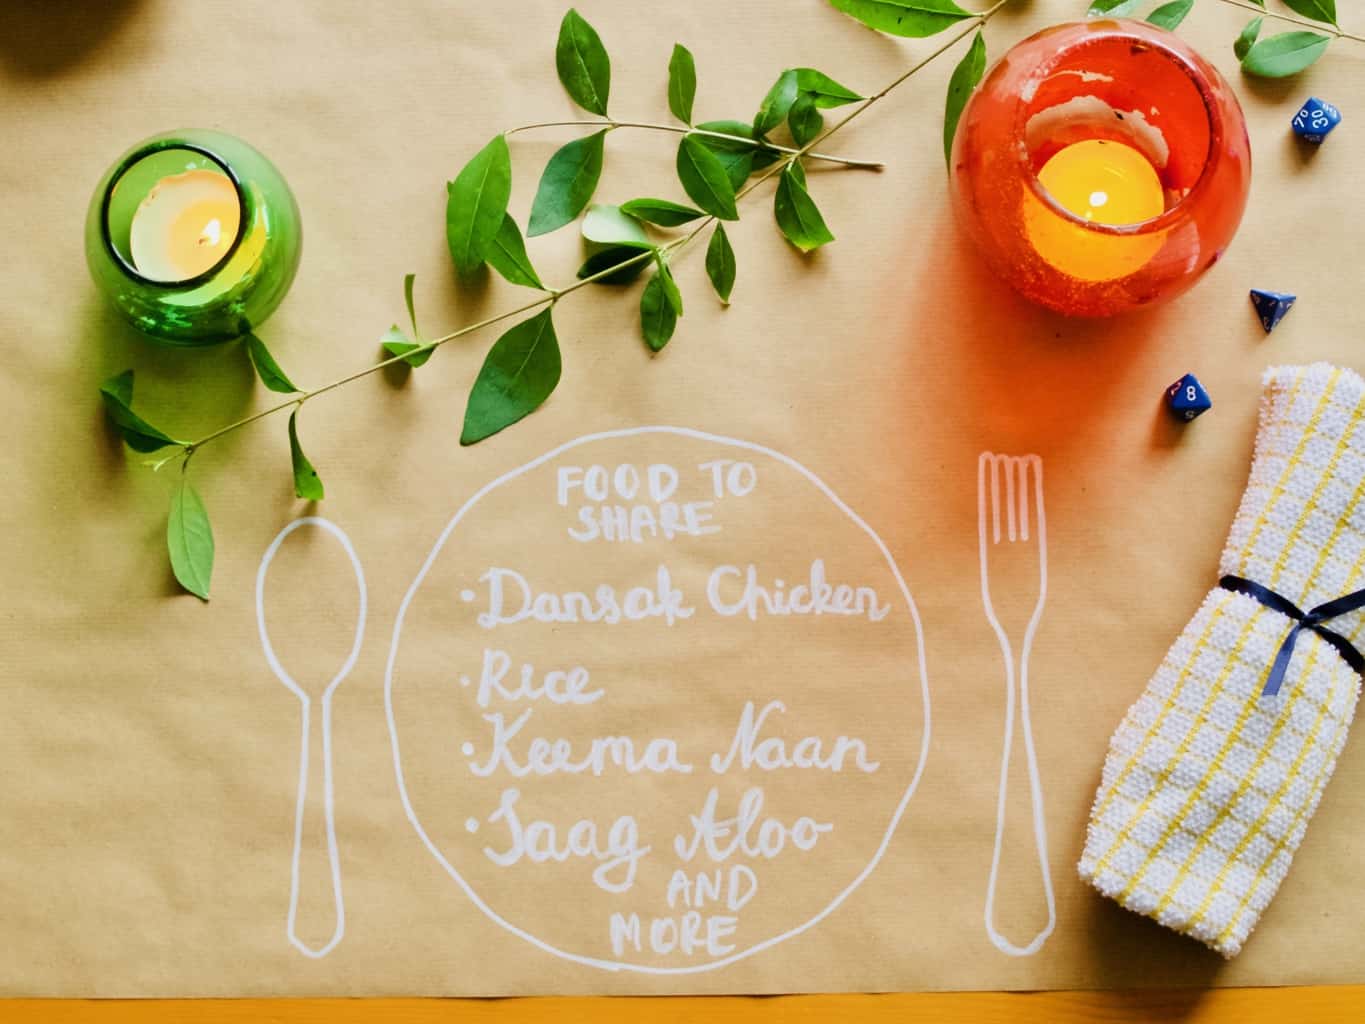
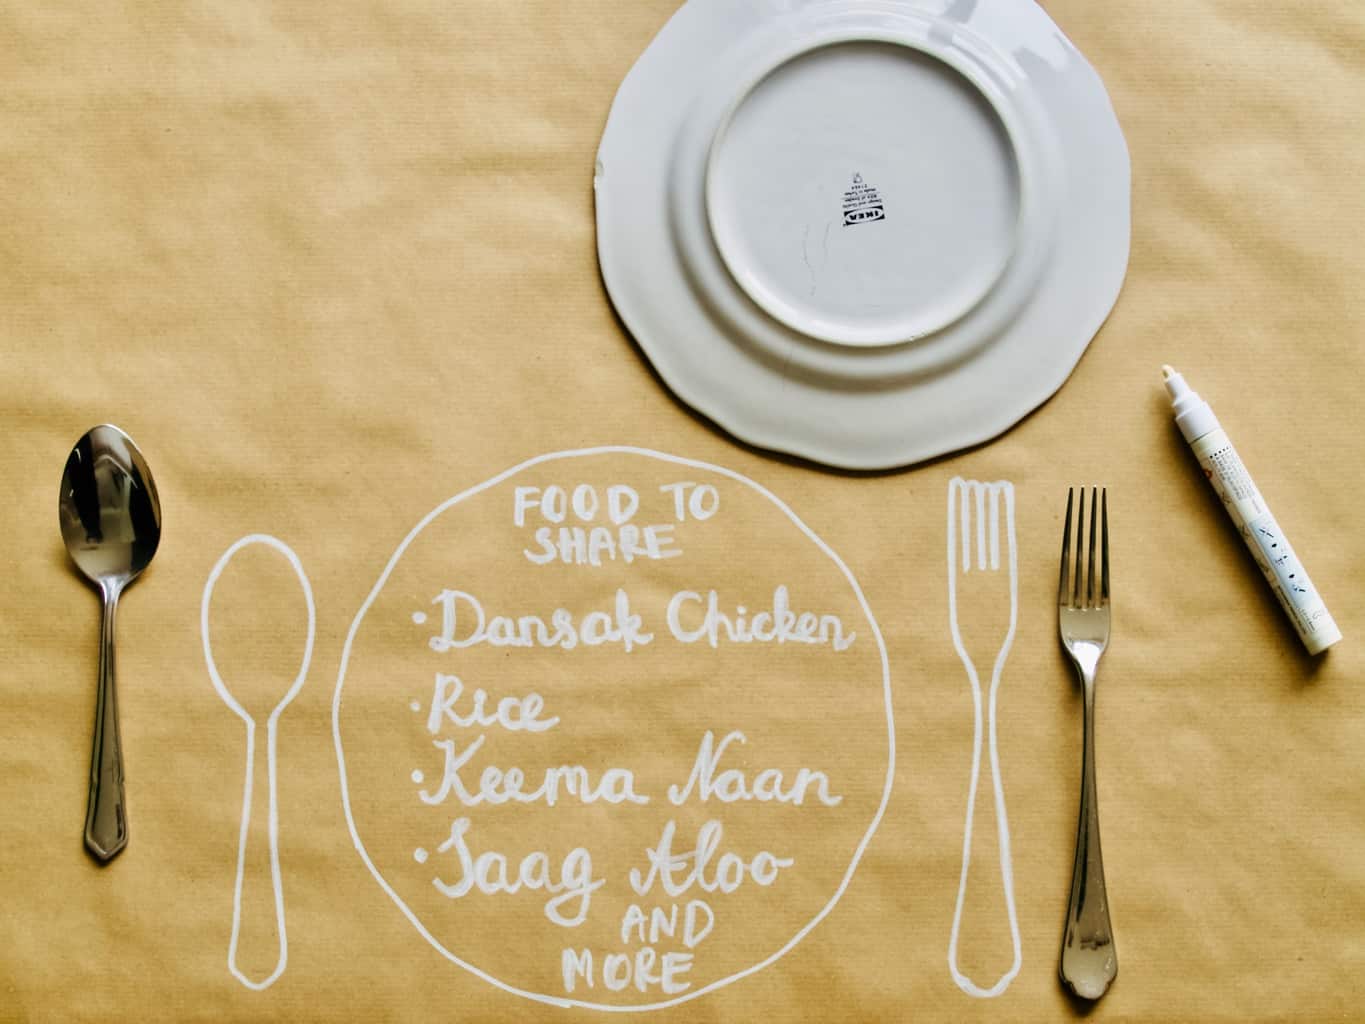
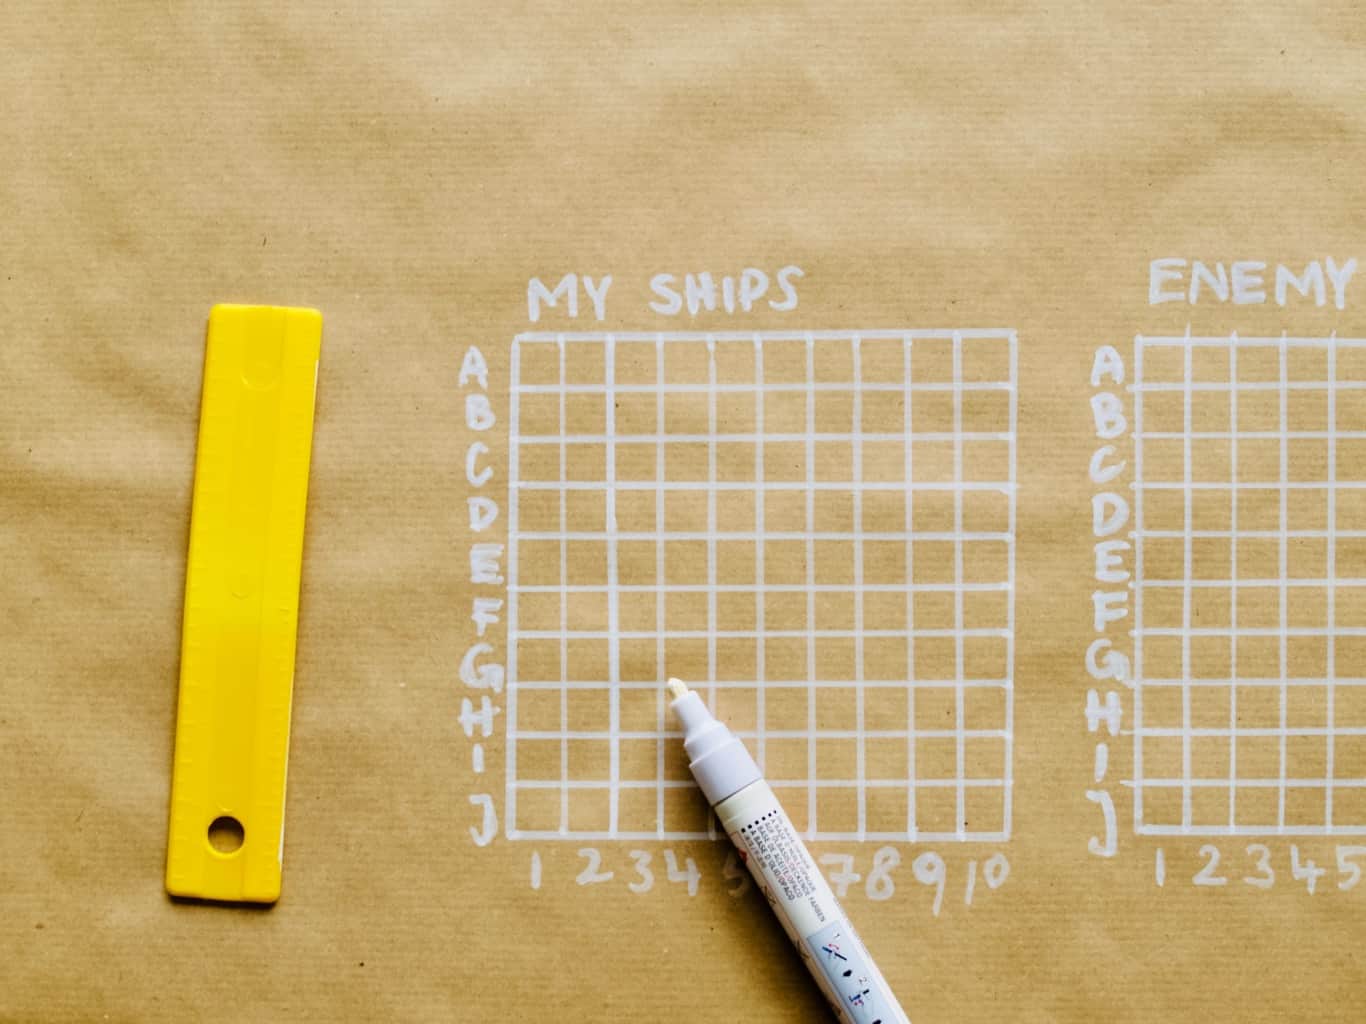
First I rolled brown craft paper out on the table and drew what is needed using permanent oil pen. I am sure you can use any other pen you like. I was tempted to use metallic pens and I used black marker pens before. I used plates and cutlery to trace out the table layout. I wrote out the menu here as well.Idea for date night in: paper and pen games table layoutI decided to play battleships for the night. So I did make a grid so we did not need to do that on the date.  Idea for date night in: paper and pen games table layoutNext I arranged some items related to games such as dices, pens and books (for protecting the battleships). Candles and some leafy twigs were not related but pretty and I could not help myself.Idea for date night in: paper and pen games table layoutThe date night was a complete success. Joni was very very surprised! I did not want to spend too much time in the kitchen so I used the take away to order some of the food. I made the dessert and rice myself. So I only spend £20 (half of the price to compare how much we would have spend if we went out). Idea for date night in: paper and pen games table layoutAnd do you know who won the battleships this time? It’s Joni. I may not want to play this game again ( ha ha).Idea for date night in: paper and pen games table layoutHappy Valentines day everyone and don’t forget the dates does not have to be spend with you husband or boyfriend. I am sure your BFF would appreciate this kind of date too ;-).

Rasa xoxo

0

Kitchen organisation ideas: jars

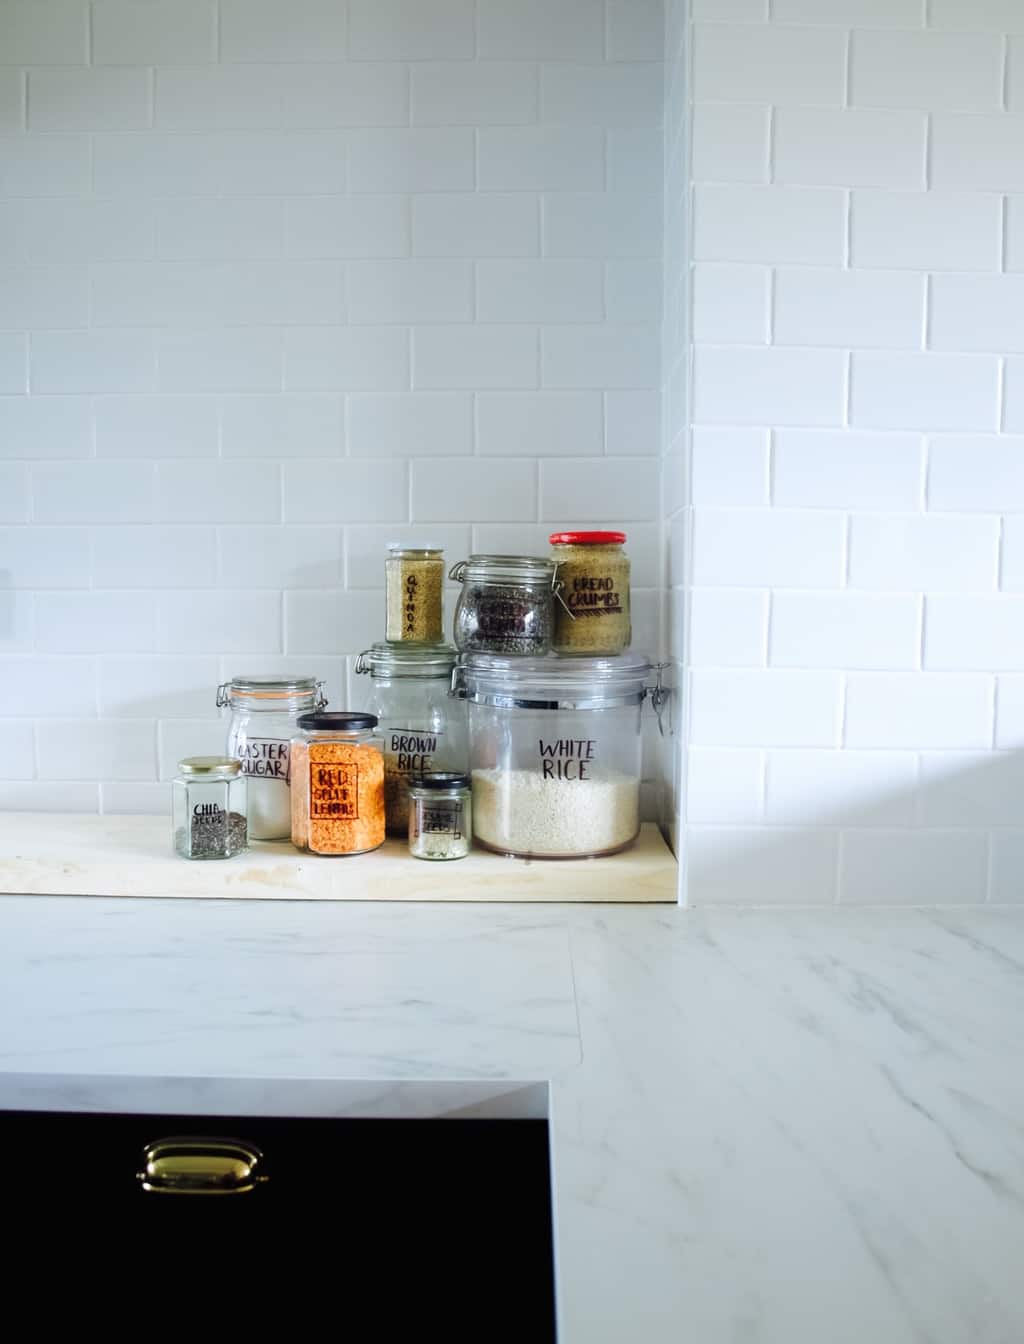
Kitchen organisation ideas: jarsOur kitchen completion is so so close that I can almost taste it! It’s those small little details that takes forever to finish, I don’t know why is it often like that. In order for us to move into our new kitchen (we are lucky to have an old kitchen in other part of the house), we still need to fill some gaps, touch paint, silicone and fit the shelves.

I am so excited about the shelves though! I love the open display plan. I already started preparing storage solutions that looks good and is a decoration itself. You guessed it right, jars are going to be my focus!

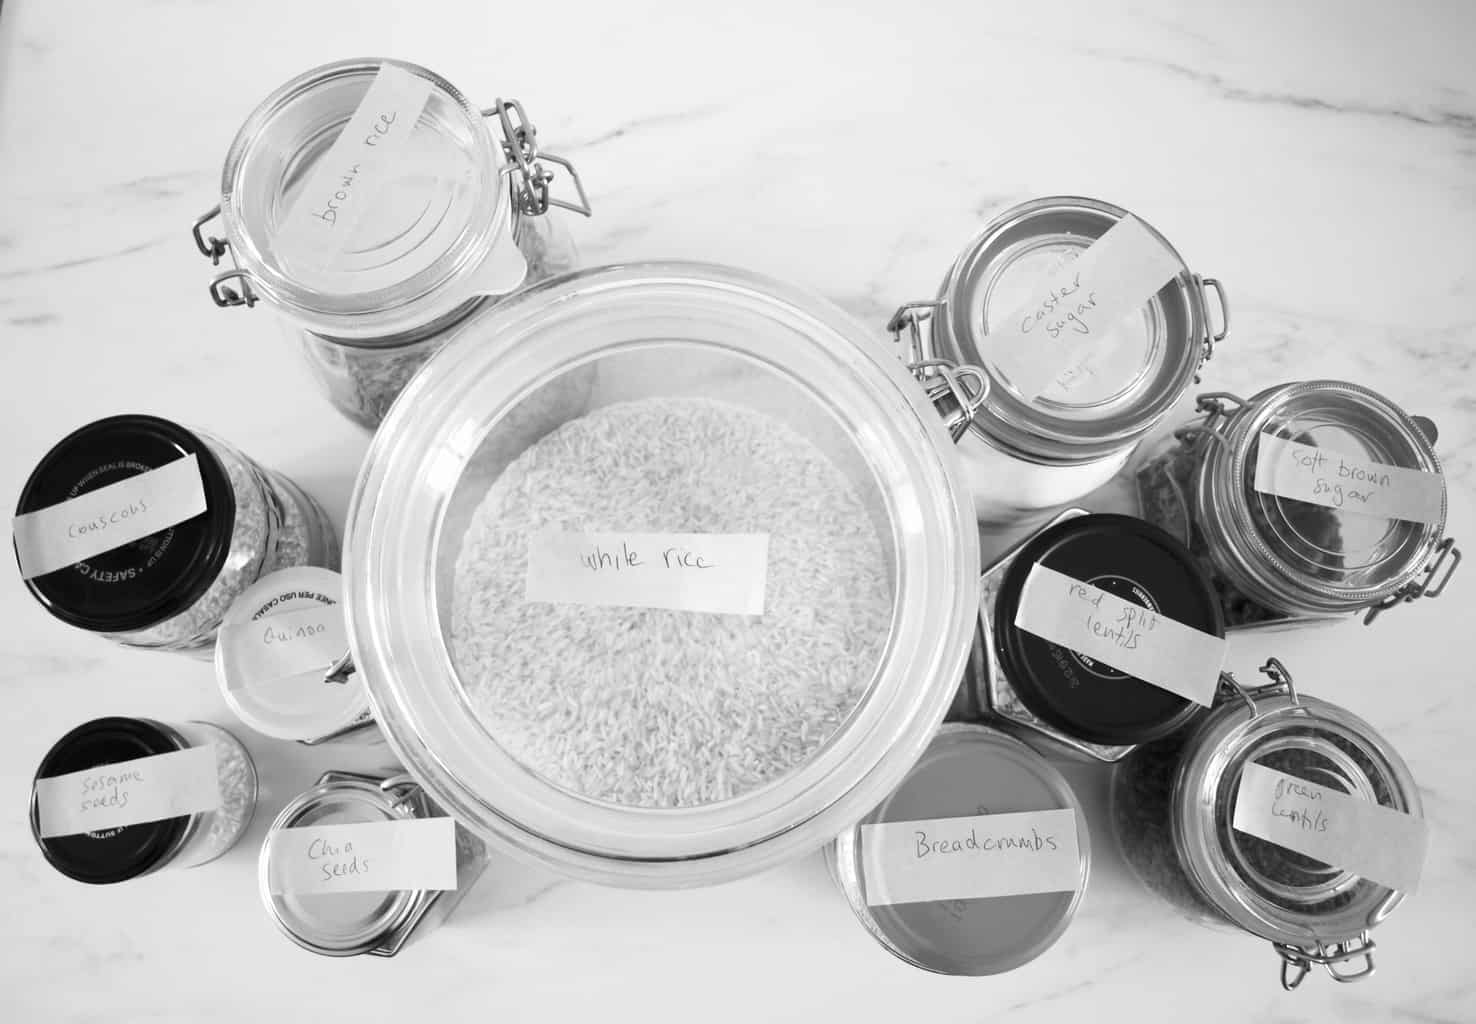
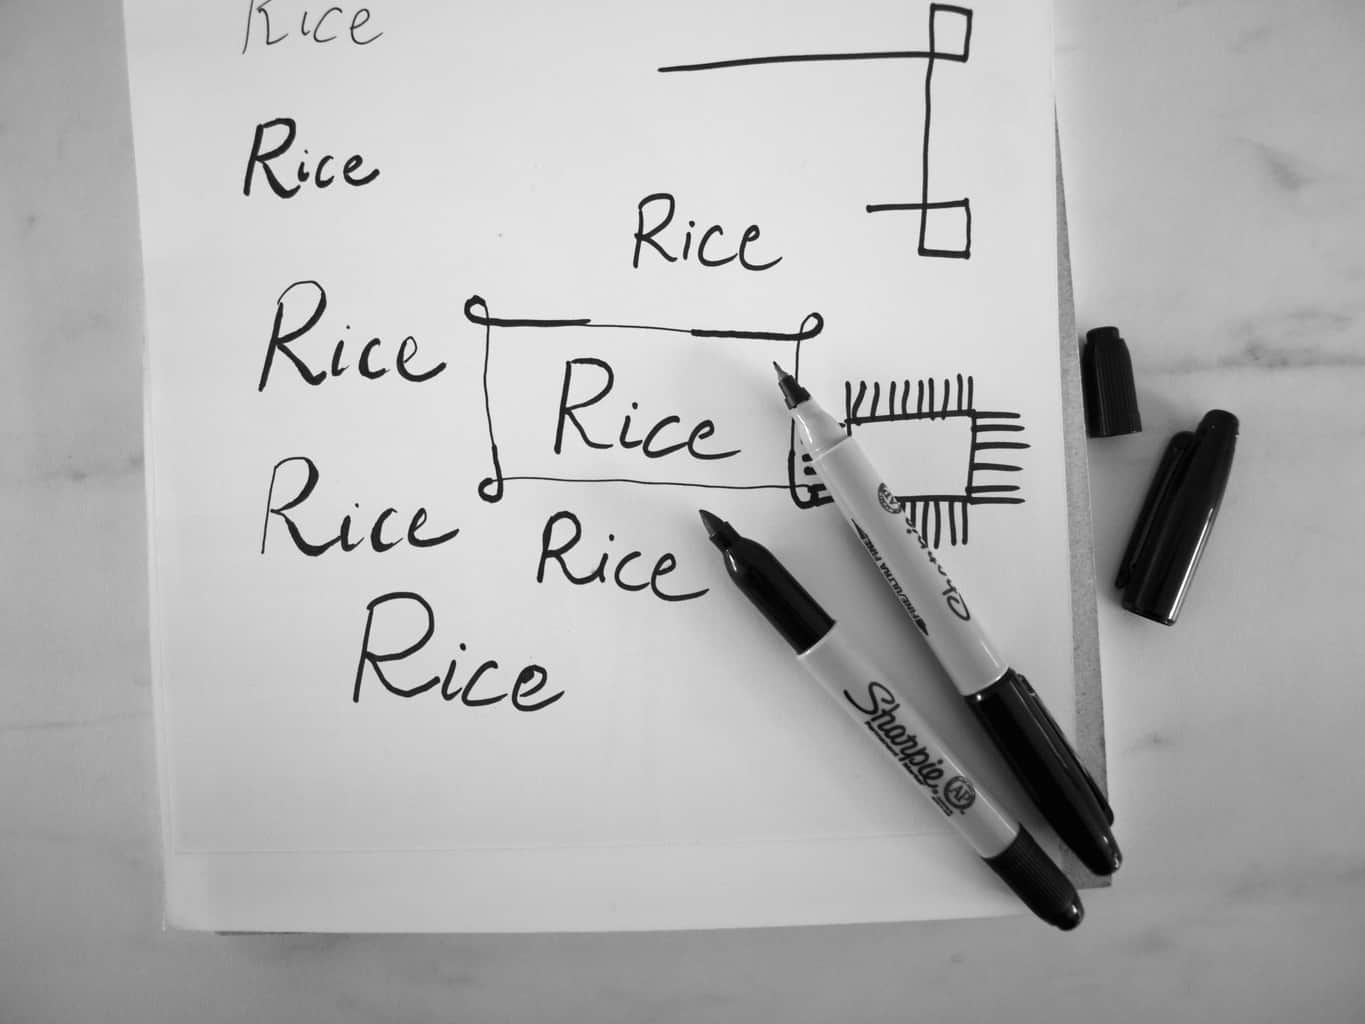
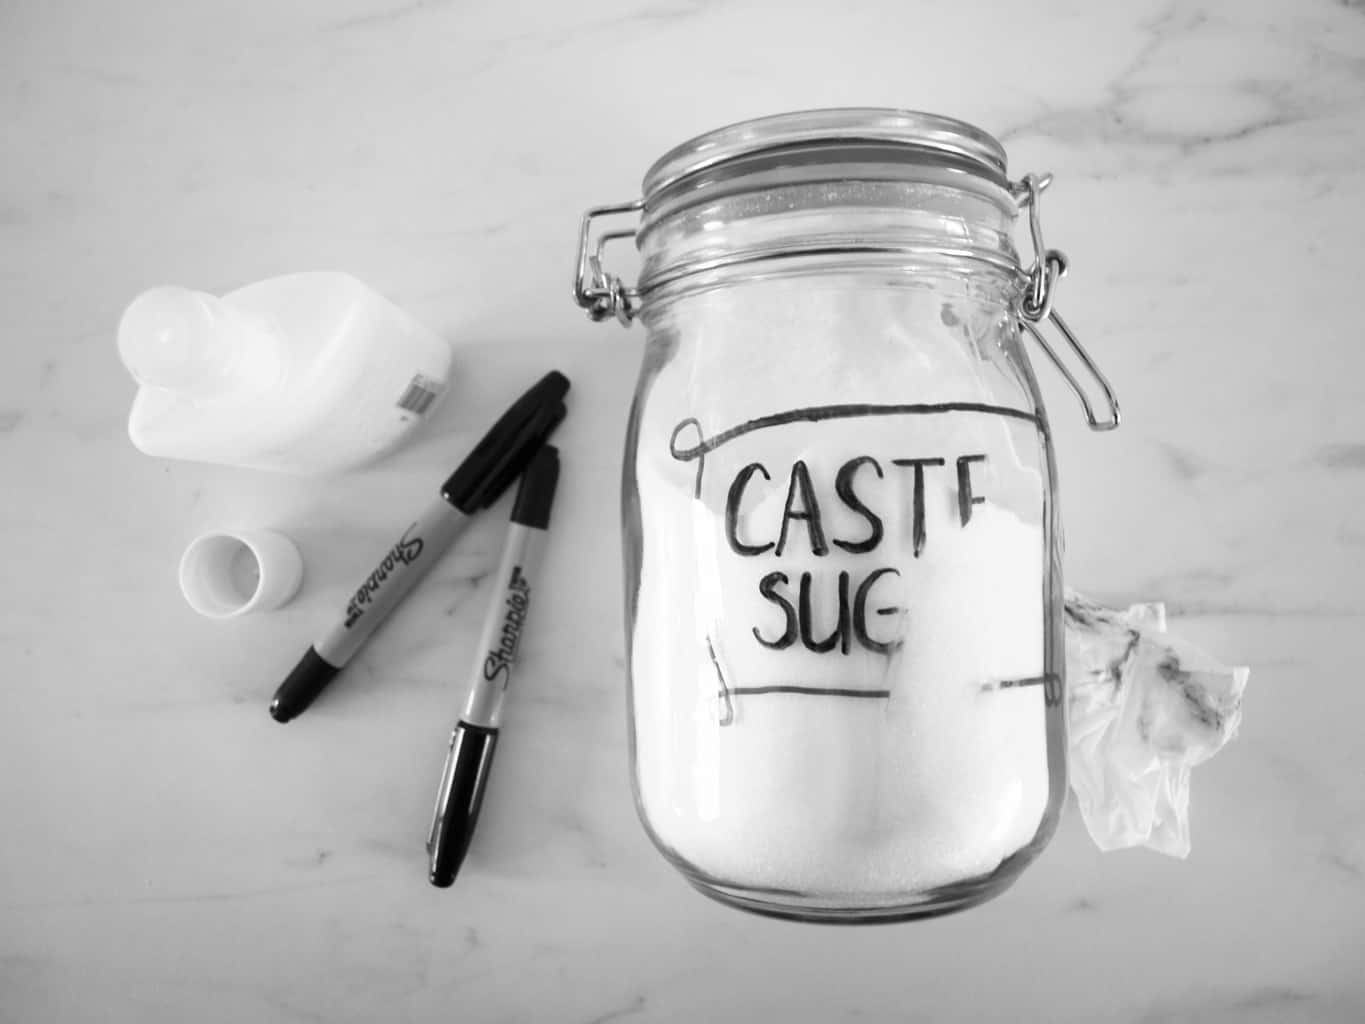
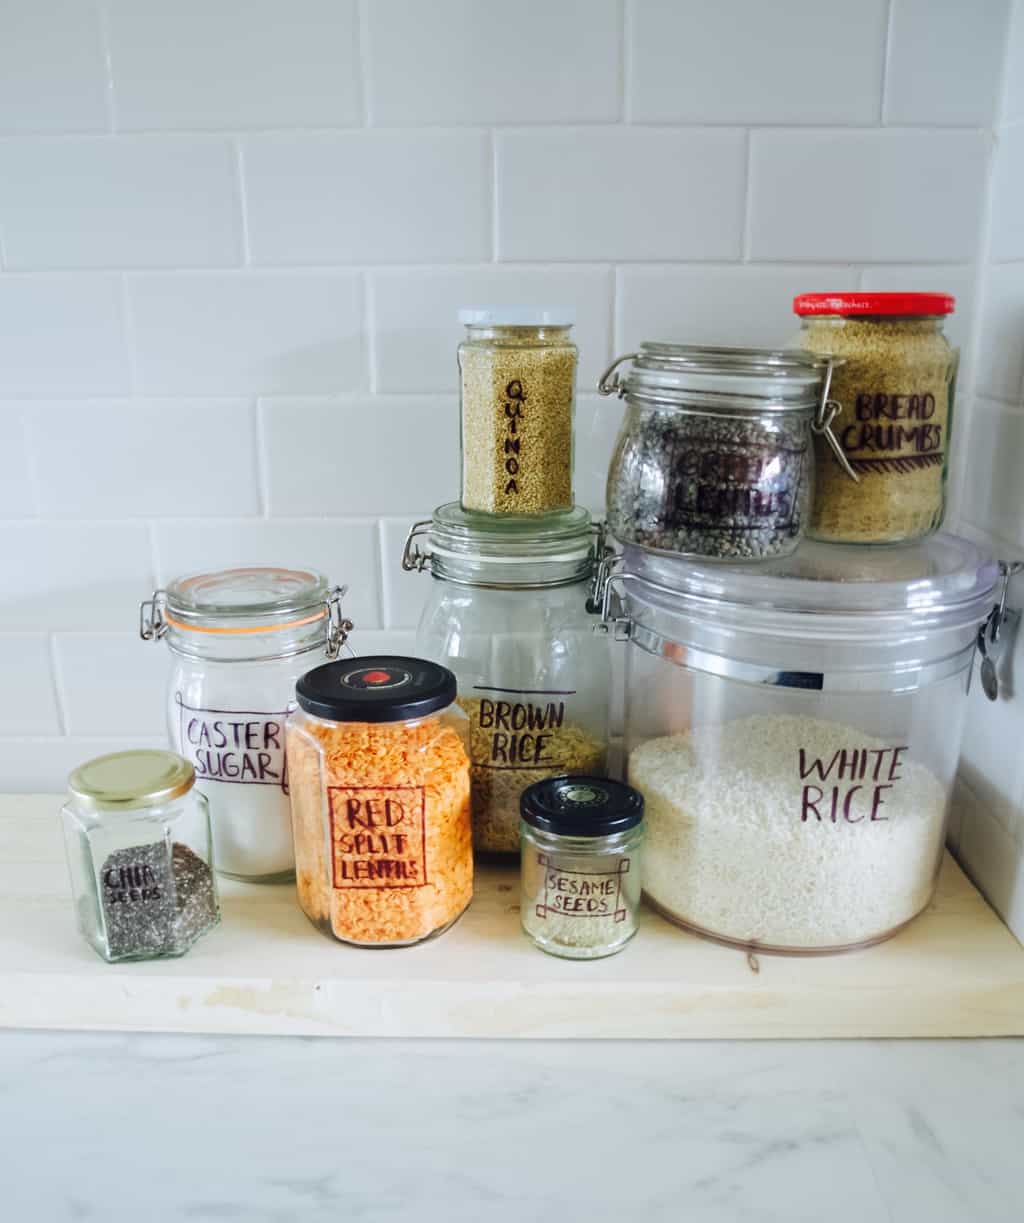
Jar storage solution is not a new invention, it’s just got really trendy in recent years. You can buy mason jars easily anywhere, however I don’t believe you need them to achieve the look. Although I do own few mason type of jars, majority of my jars comes from recycling. That’s right! I use a lot of jars that had were storing pickles in their past life. I think reusing these type of jars is so much better than recycling itself. It’s better for your pocket too!Kitchen organisation ideas: jarsTo begin with I started sorting out our grains, sugar, flour, seeds etc etc. I looked through lots of loose bags and I was little surprised to find some stuff that I did not even know I had (like quinoa). I stored these into right size jars according to the amounts, the use and the size I tend to buy them in the shop. For example, I hardly ever eat quinoa (don’t really like the taste of it) so it ended up in the tiniest jar the whole lot could fit. It’s different with the brown sugar and although I had a tiny amount of it left I stored it in a lager jar.Kitchen organisation ideas: jarsAs for labels I decided to go paperless. I got inspired by these and since my handwriting improved I thought I will give a go. I used basic black permanent pens instead of oil based paint pens. I experimented on the paper before going ahead and scribbling on the jar.Kitchen organisation ideas: jars Although the pens are permanent, it can be easily wiped out with some acetone or other type of solvent.Kitchen organisation ideas: jarsKitchen organisation ideas: jarsHope you like my jar organisation idea and get to adopt it at your home.

Rasa xoxo
1

knitted scrubby pouches + three ways to use it

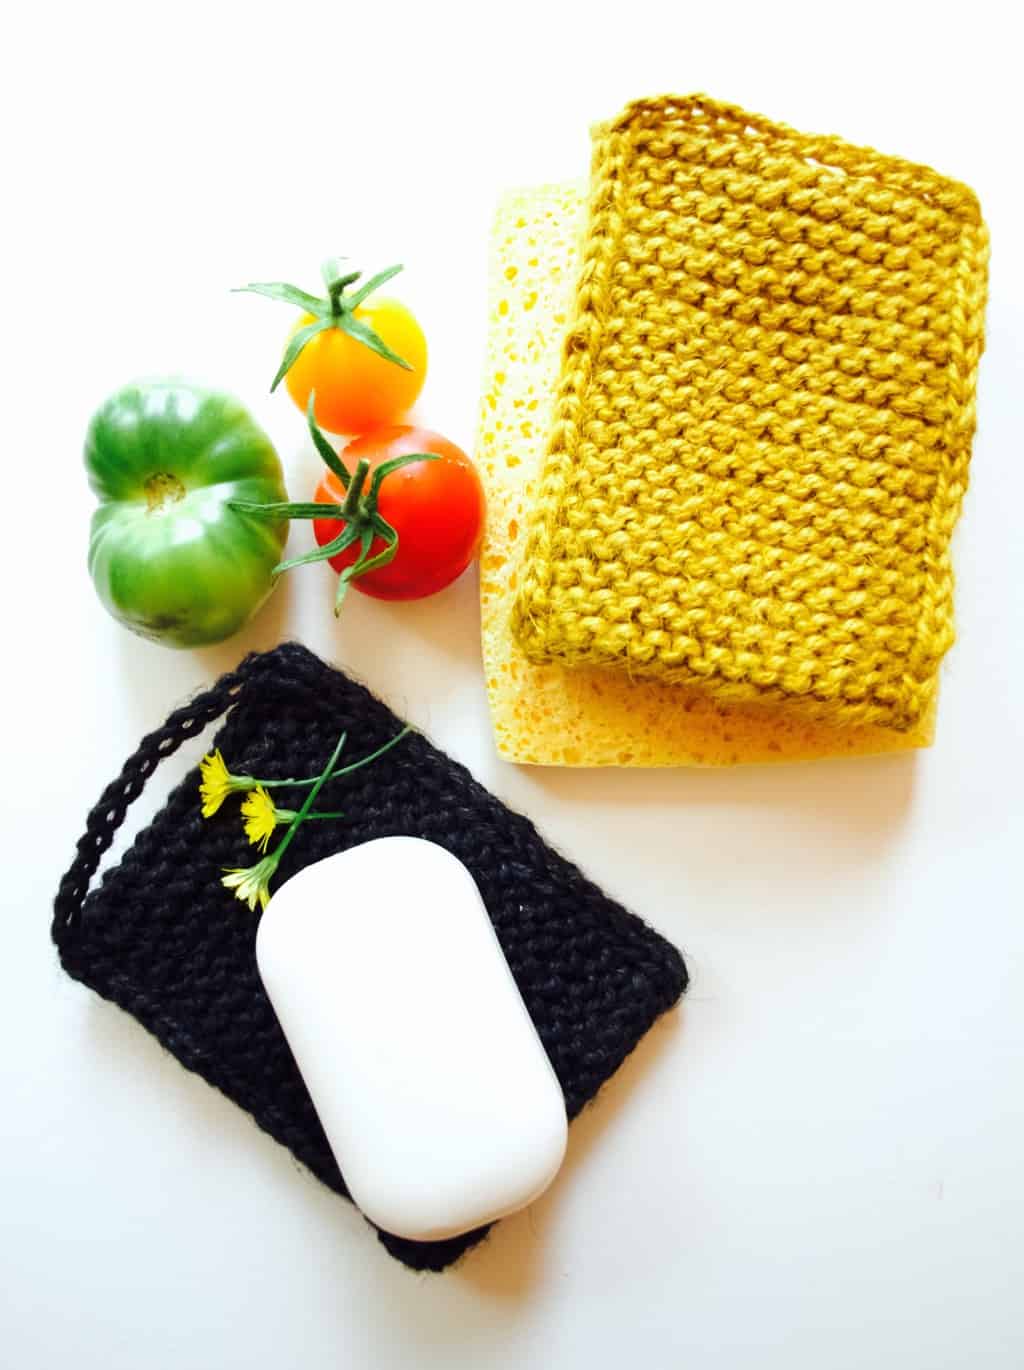
Knitted scrubby pouches It was such a breakthrough when we started reusing cleaning cloths, I am sure it saved few £££ too. It does not take a lot of space in the washing machine and I never seem to run out of them. Now my next step is to reuse scrubbing sponges, we go through soooo many! This is when I thought I could make my own! I saw few knitted wash cloths around so I thought it will be fun to knit the scrubbers too. I chose garden twine for it’s ridged and rough properties and garter stitch for it’s simplicity and texture. Let’s see how they hold up ;-)

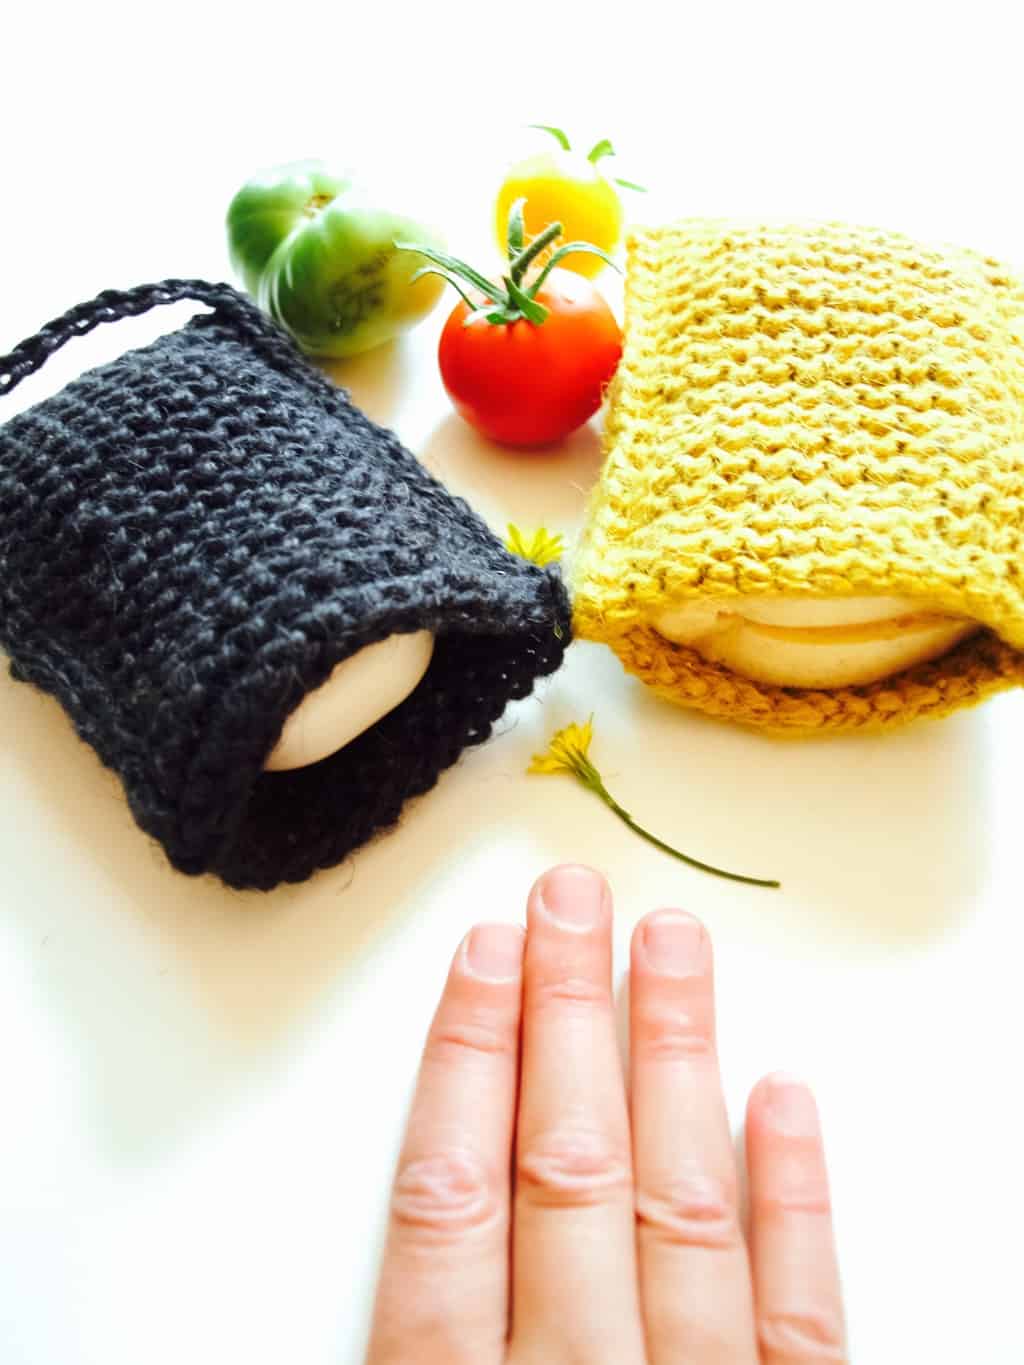
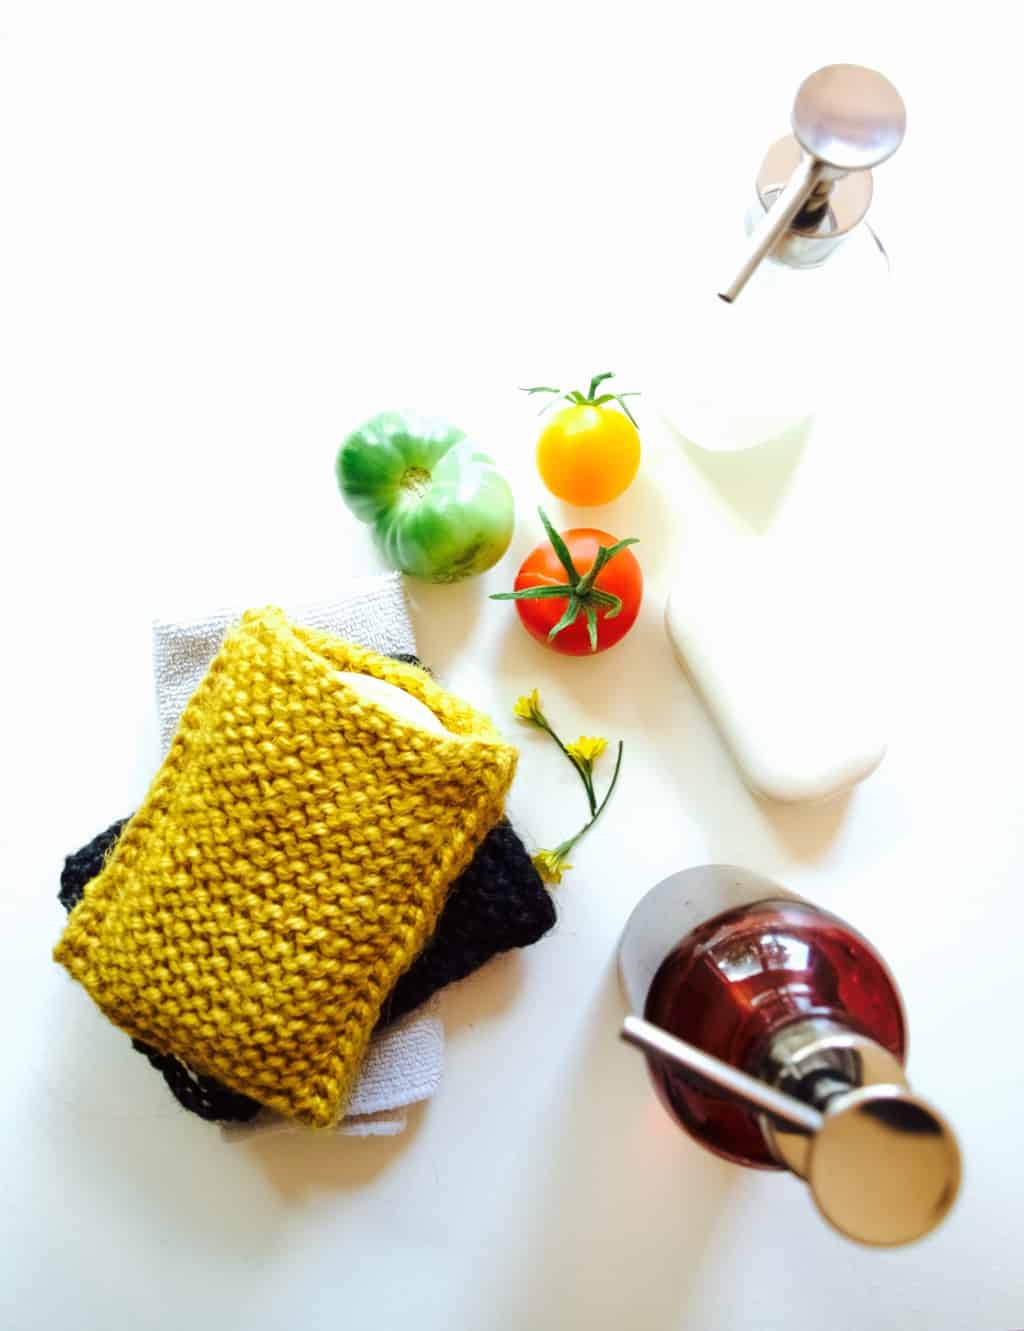
These scrubby pouches are great as they can be used three ways. You can insert biodegradable sponge for some sponginess or a bar of soap for continuous foam (this can be suitable to use it in the bath I am sure). Alternatively you can use your hand which I find is easiest when doing some intense scrubbing.Knitted scrubby pouches To make this scrubby pouch you will need:

  • garden twine
  • 4-6mm knitting needles
  • matching size crochet hook
  • scissors

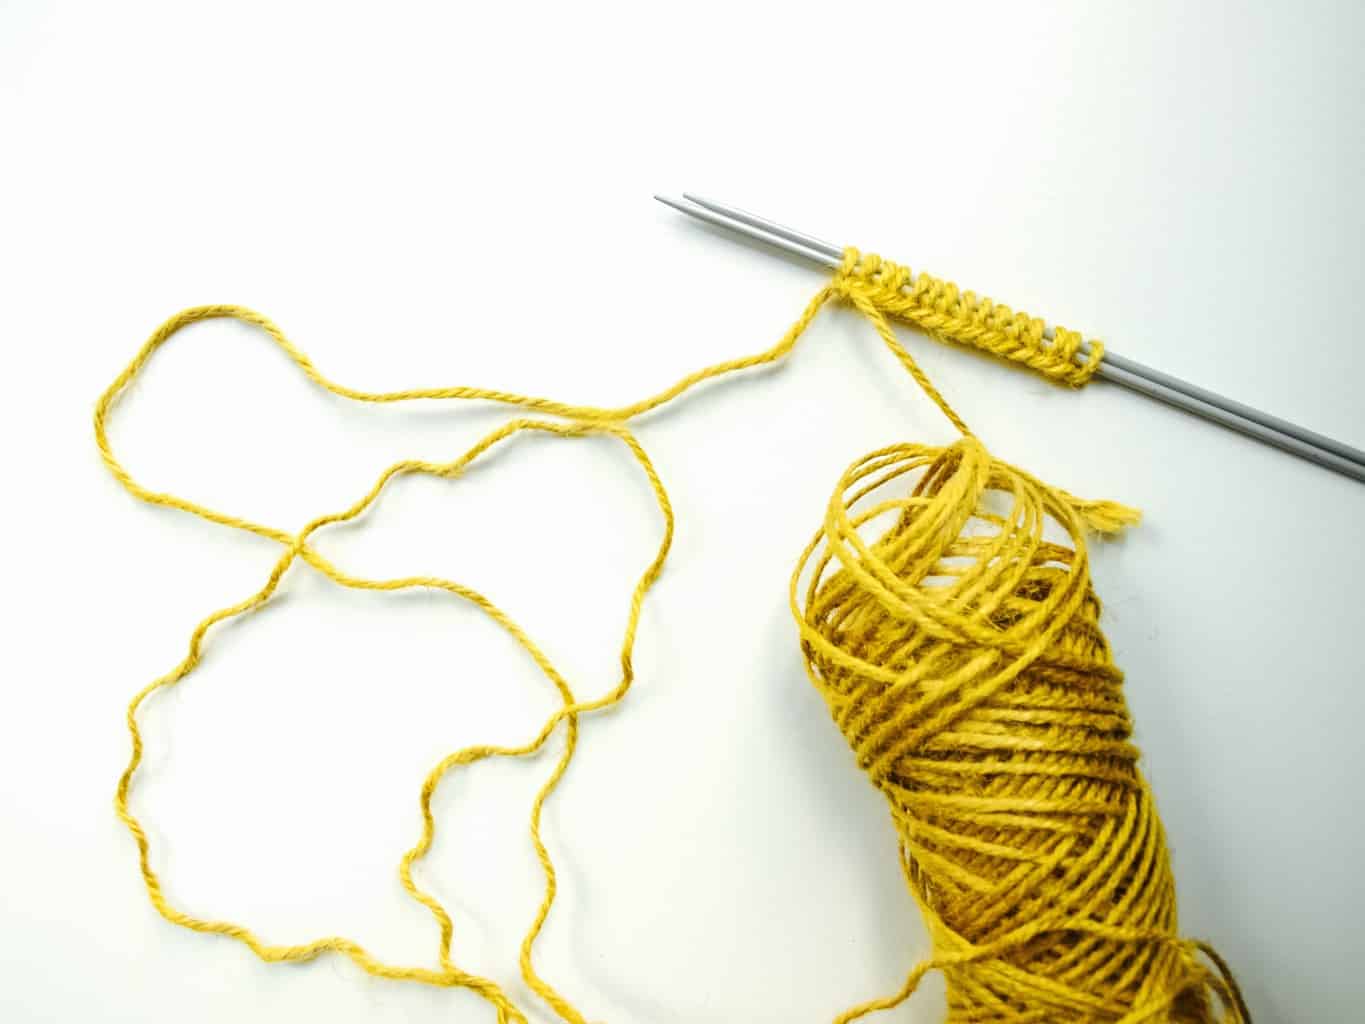
To begin with cast on a row measuring your hand width.

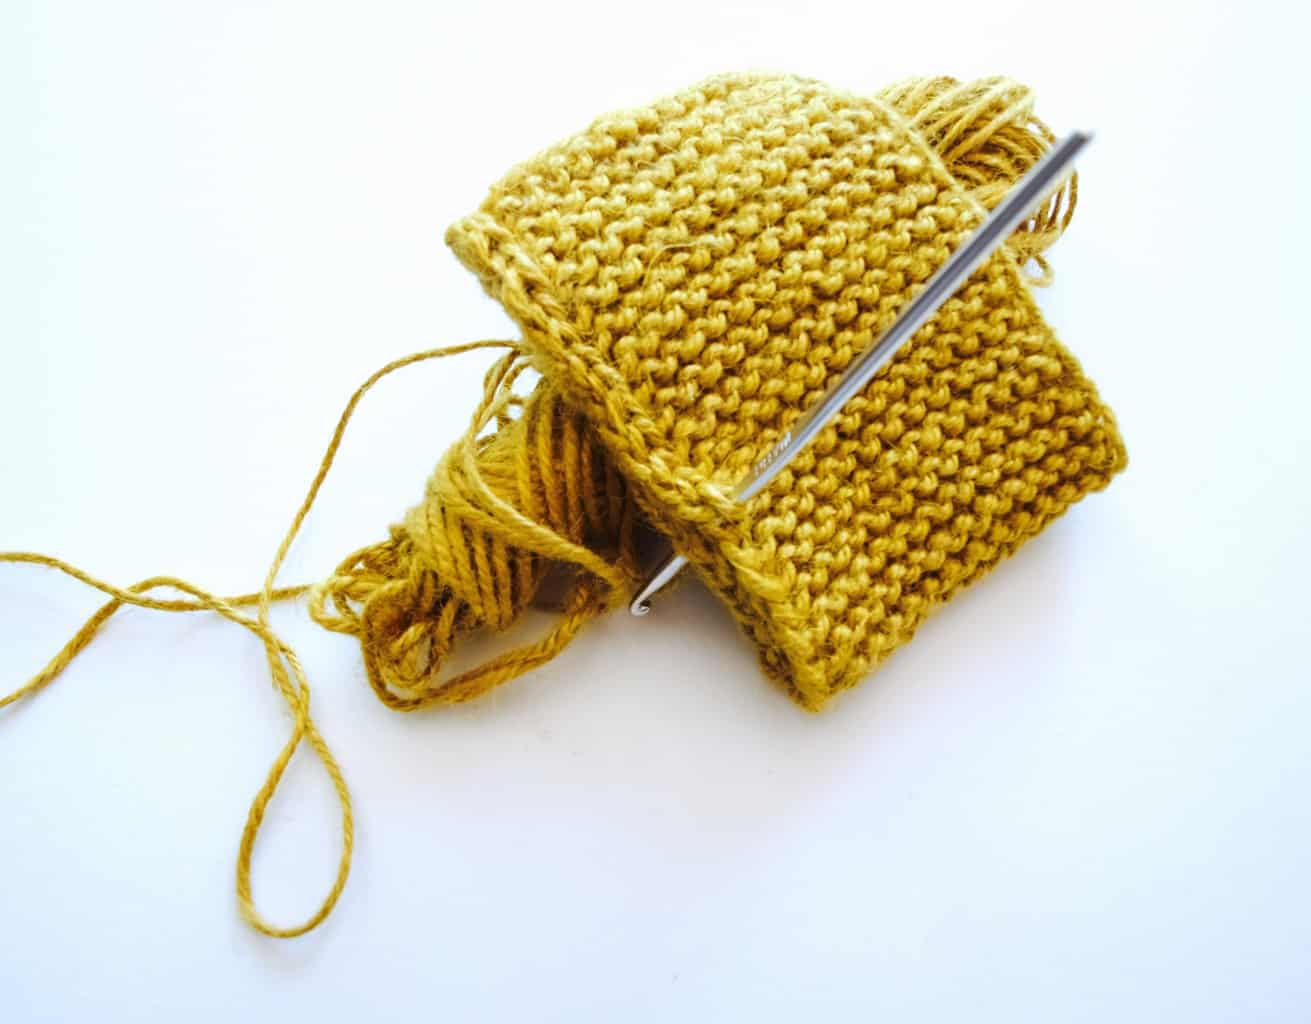
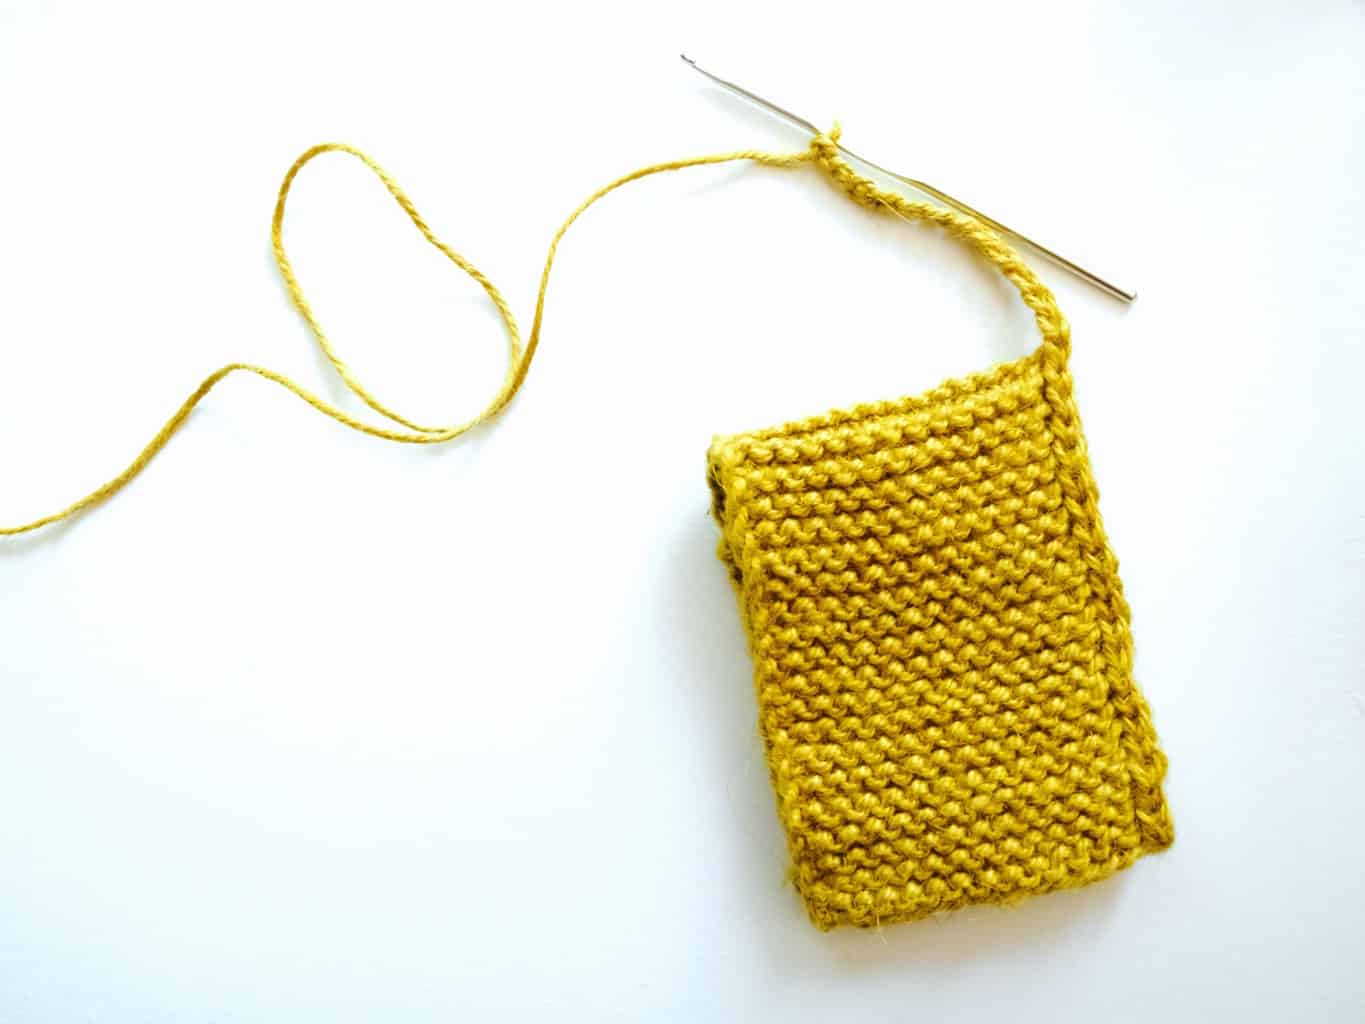
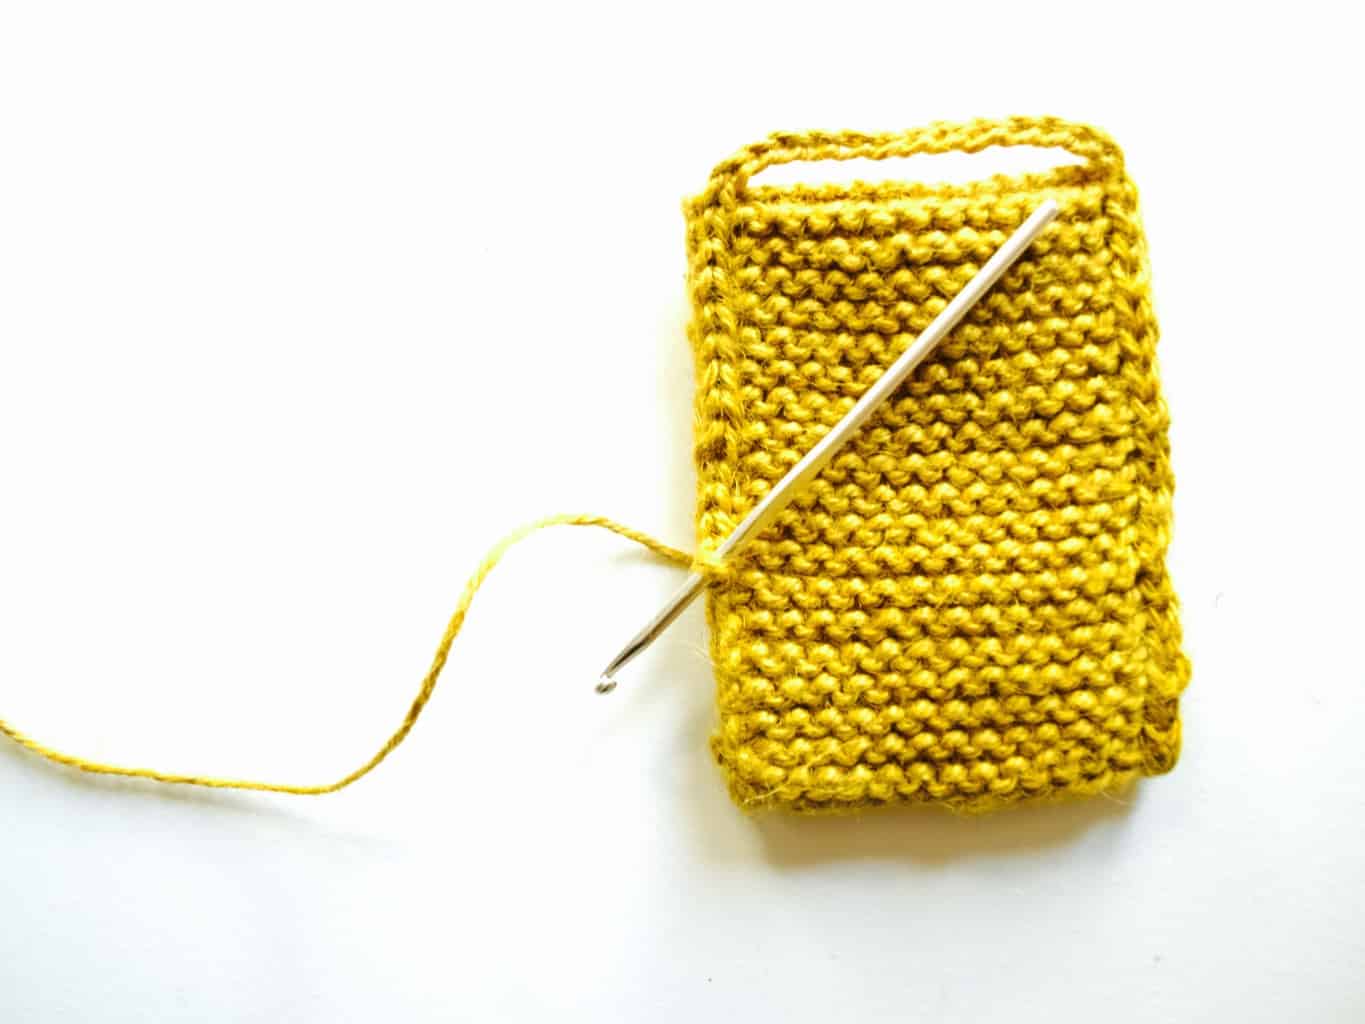
Knitted scrubby pouchesContinue by knitting on both sides which makes up garter knit stitch. Carry on knitting till you achieve long enough cloth that fits your sponge when folded.Knitted scrubby pouches Fold the cloth in half and join one side together using a crochet hookKnitted scrubby pouchesCrochet a chain same length as the cloth width. Knitted scrubby pouches Join another side same way as the other previously.  Knitted scrubby pouchesThis turns the cloth into pouch.Knitted scrubby pouches I have already tried out this scrubby pouch and must admit it is not as effective as a regular scourer sponge because it is not as flexible and soft. However with some practice it does work and it is gentle enough not to damage your pot and pans ;-).Knitted scrubby pouchesHope you found this useful!

Rasa xoxo
0

French holiday with friends

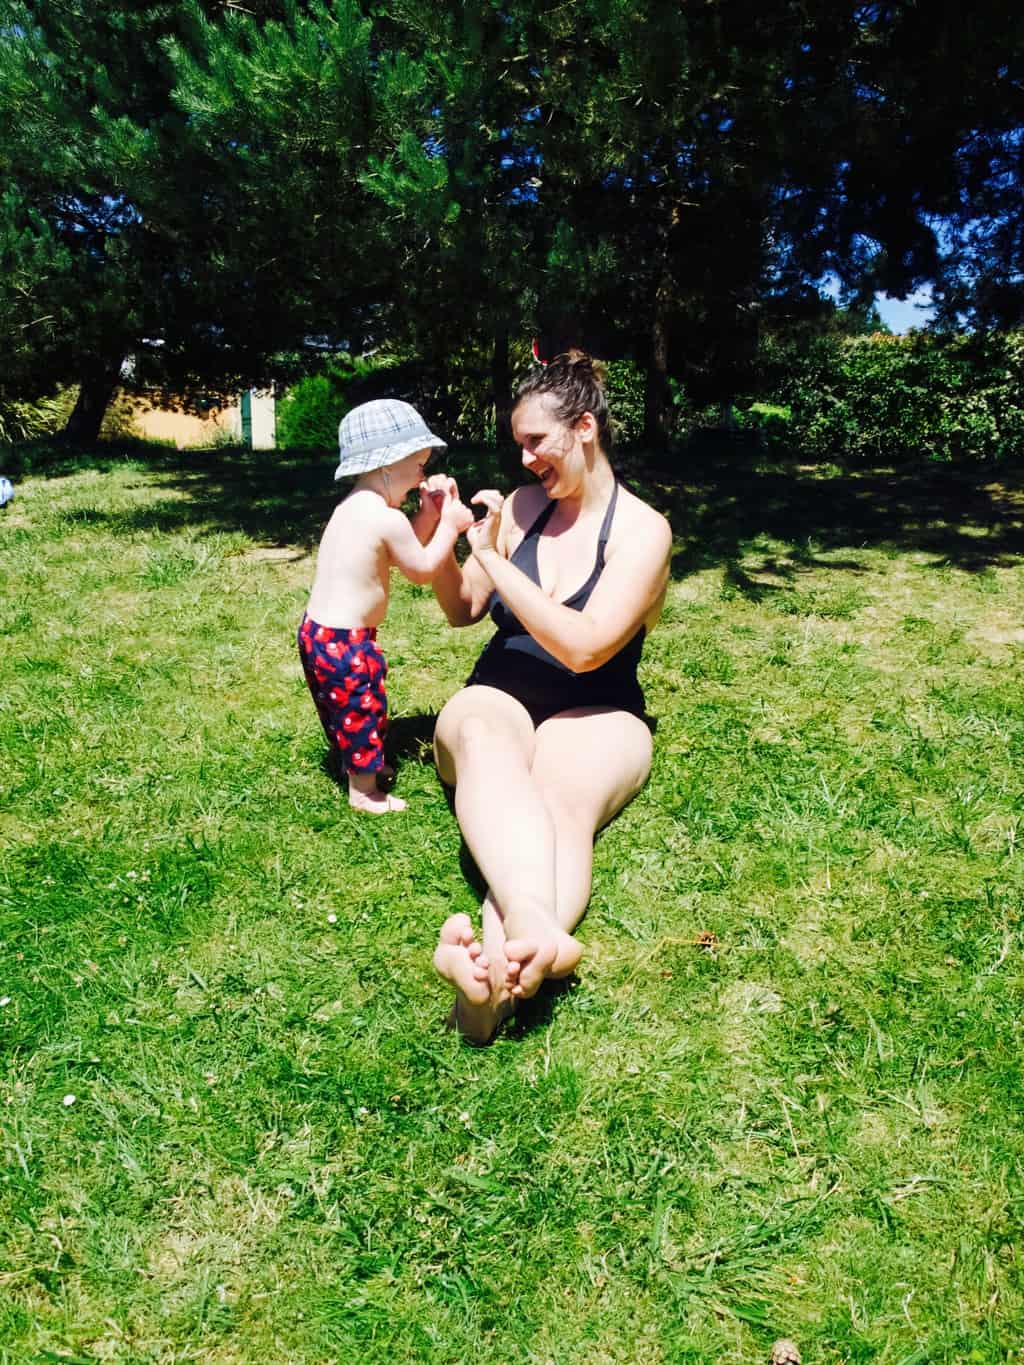
French holiday with friends (in Brittany)Back from French holidays last week and I can honestly say these were the best holiday so far since having kids. Although I thought I learned so much already how to do relaxing with kids, I still keep learning on the job. For those who are still struggling to holiday with babies here are my post from few years ago, I can only encourage you that things gets better with kids age.

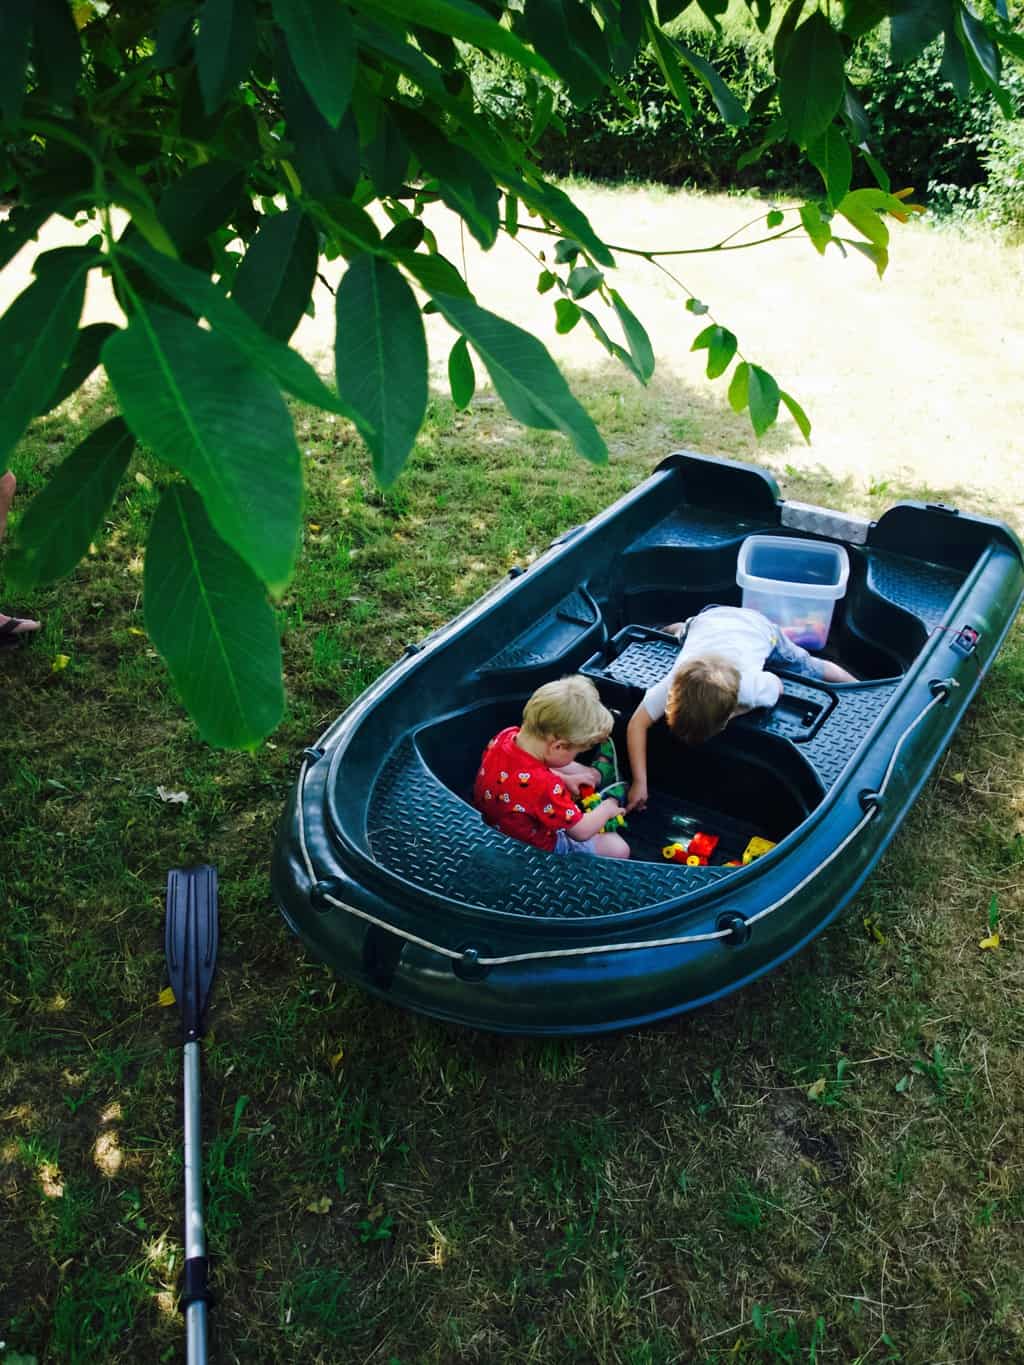
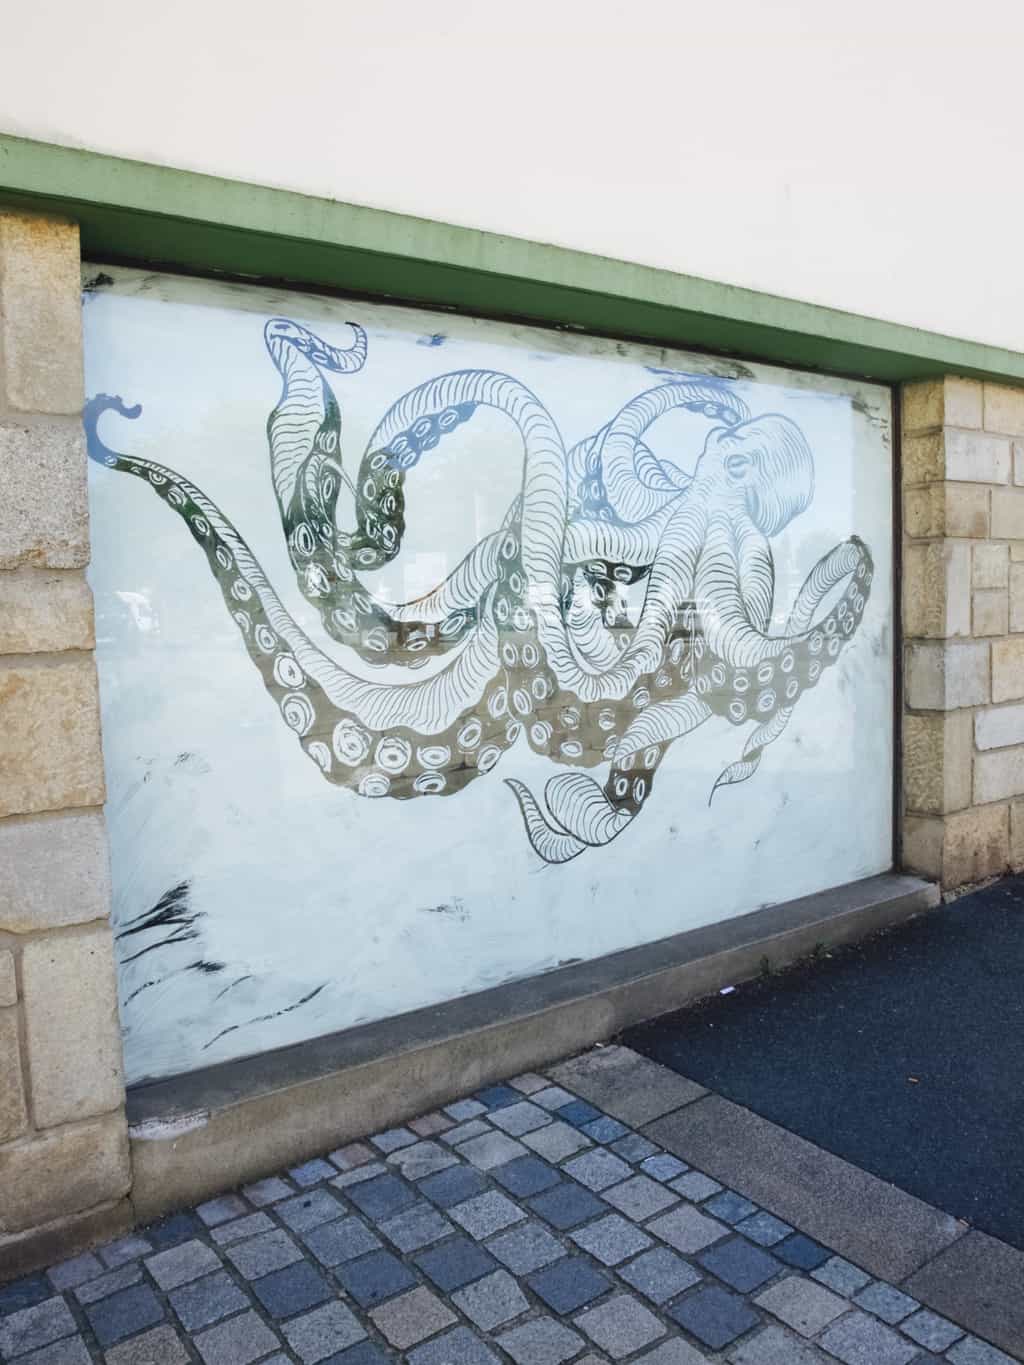
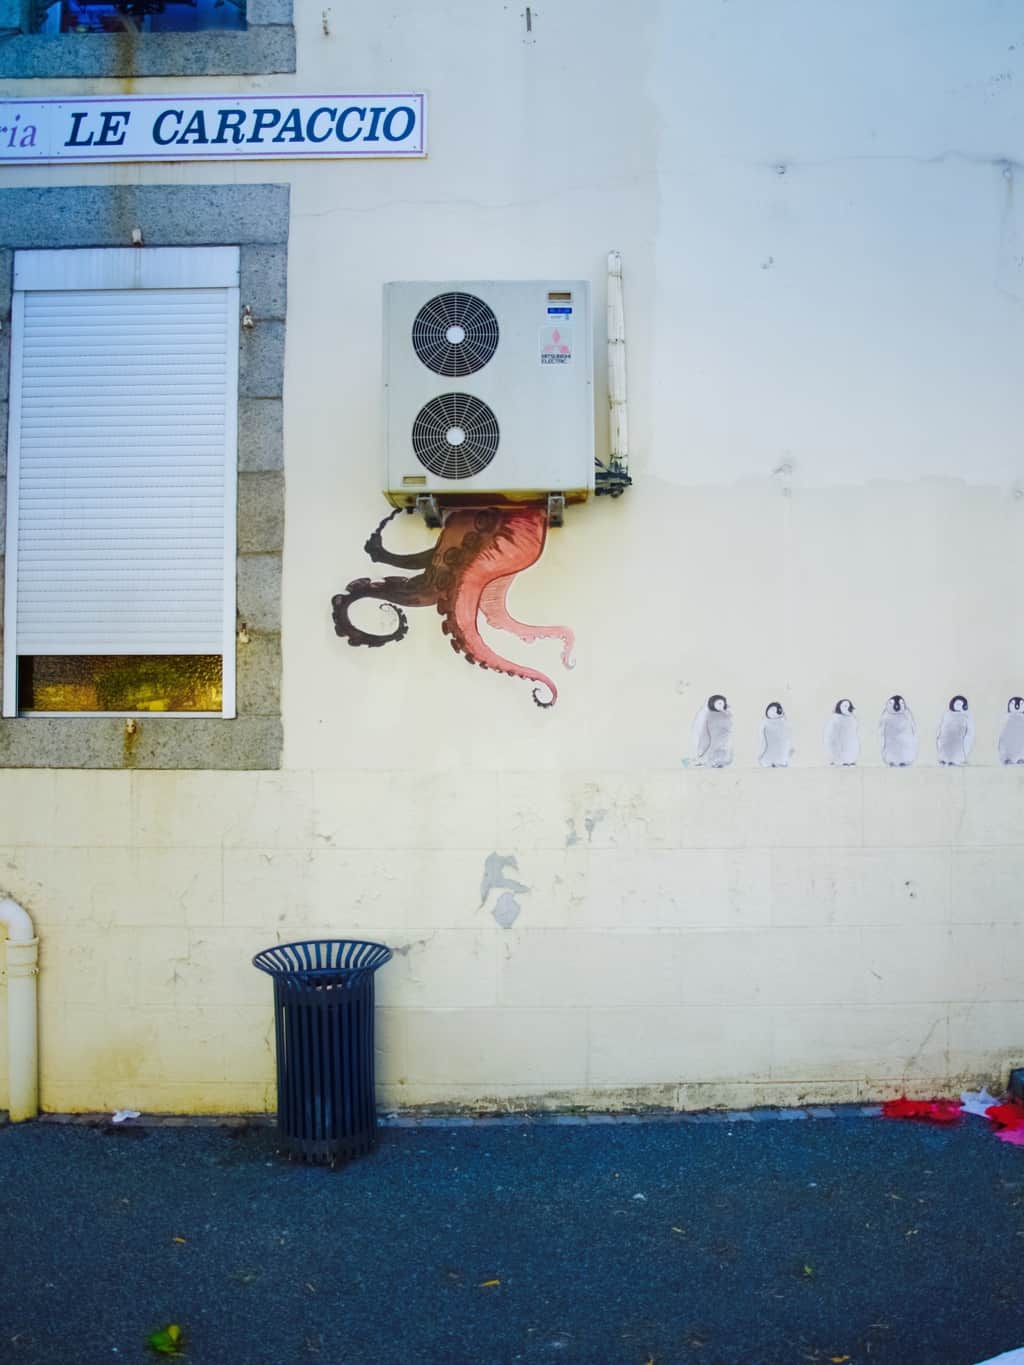
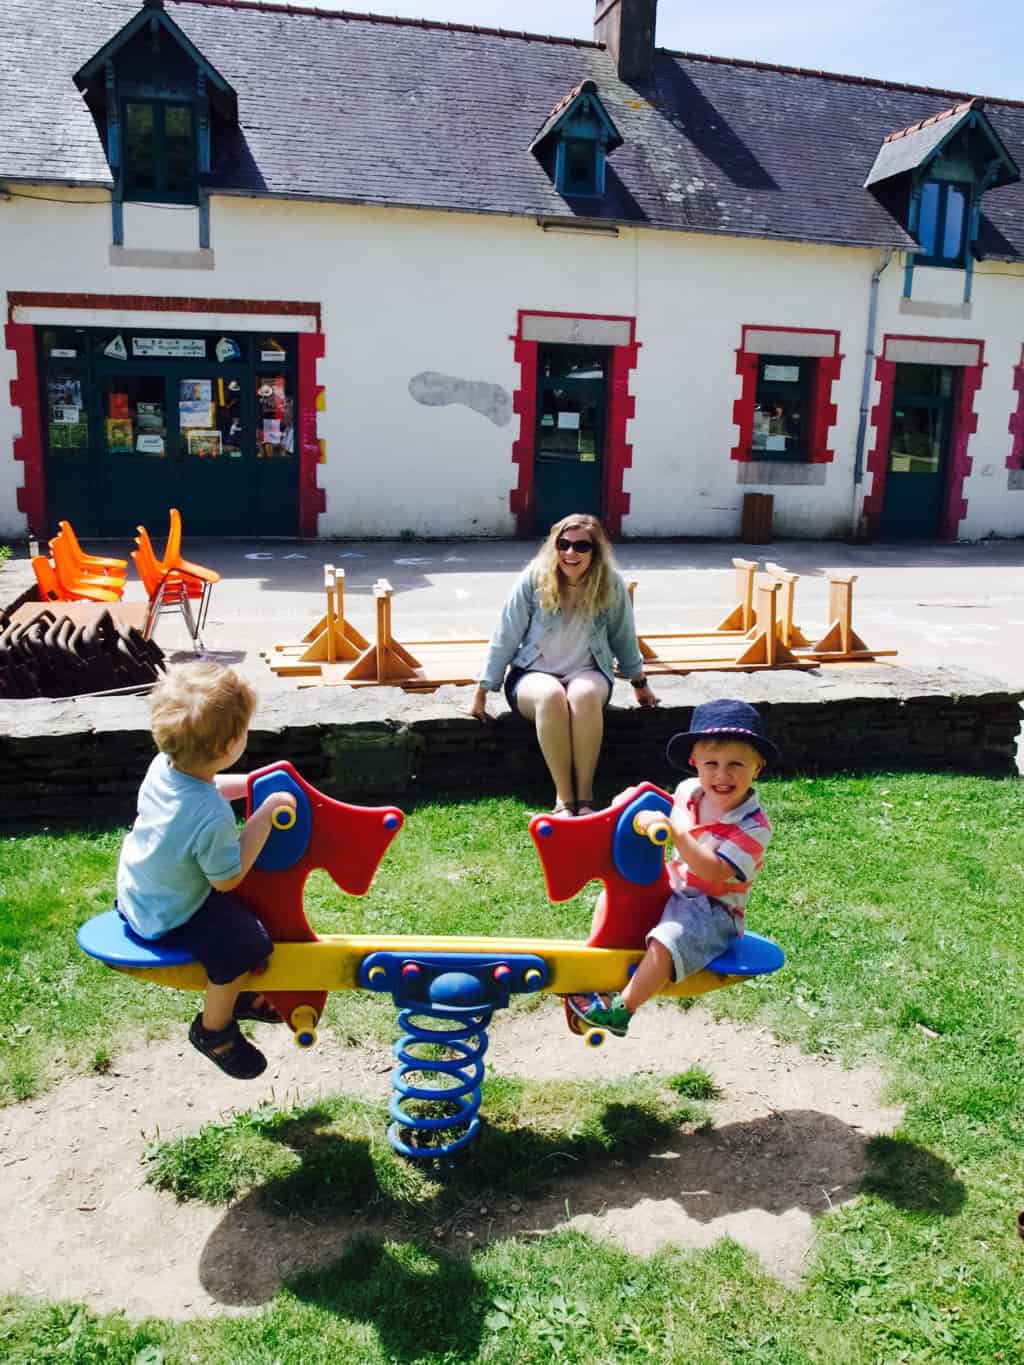
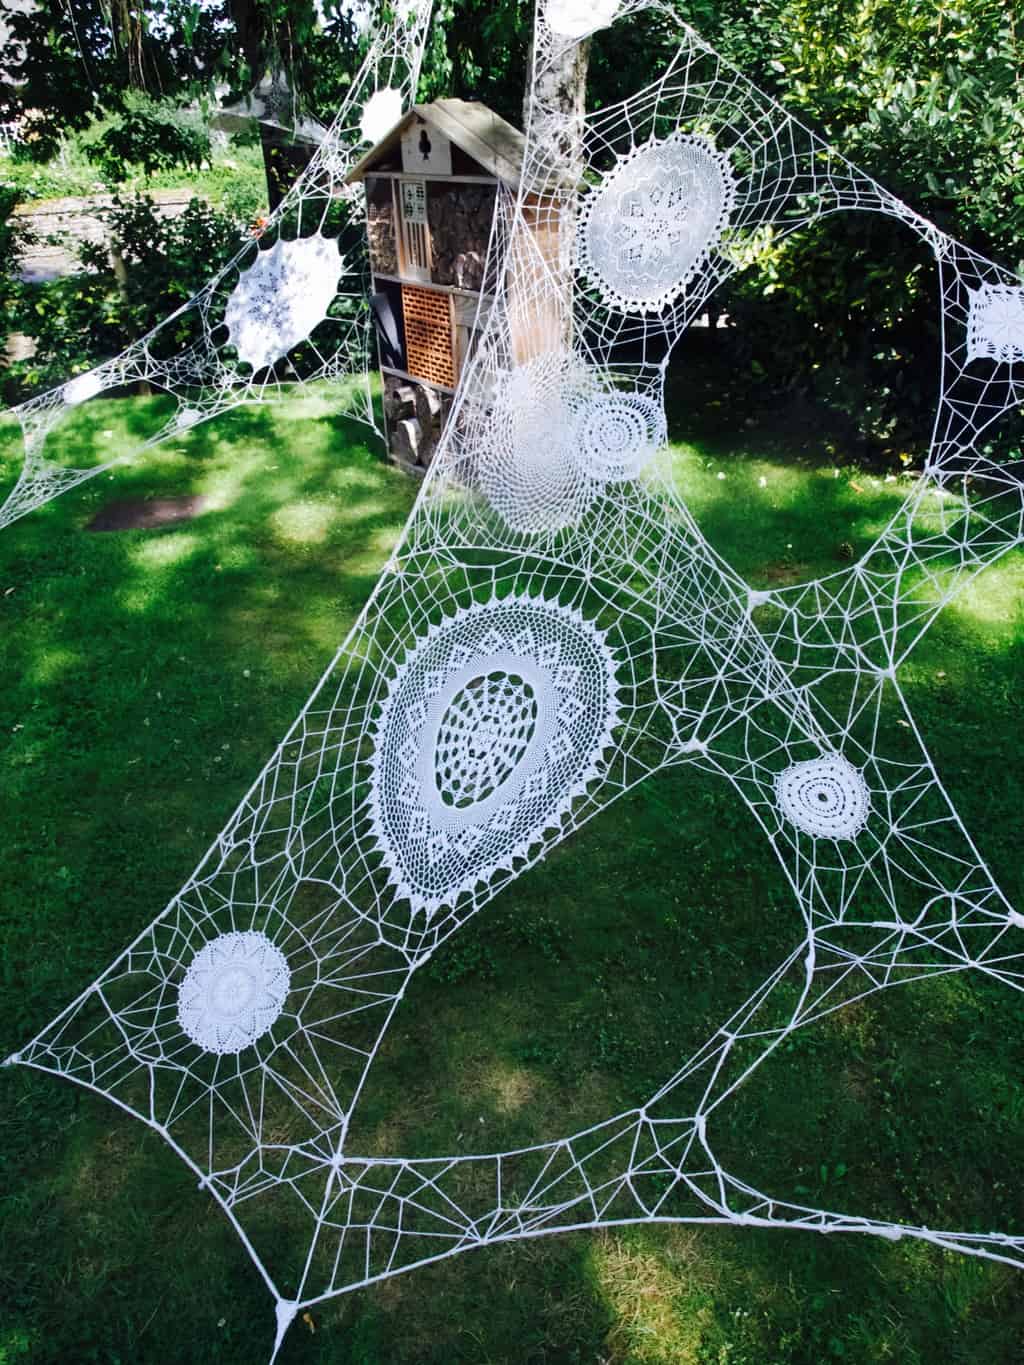
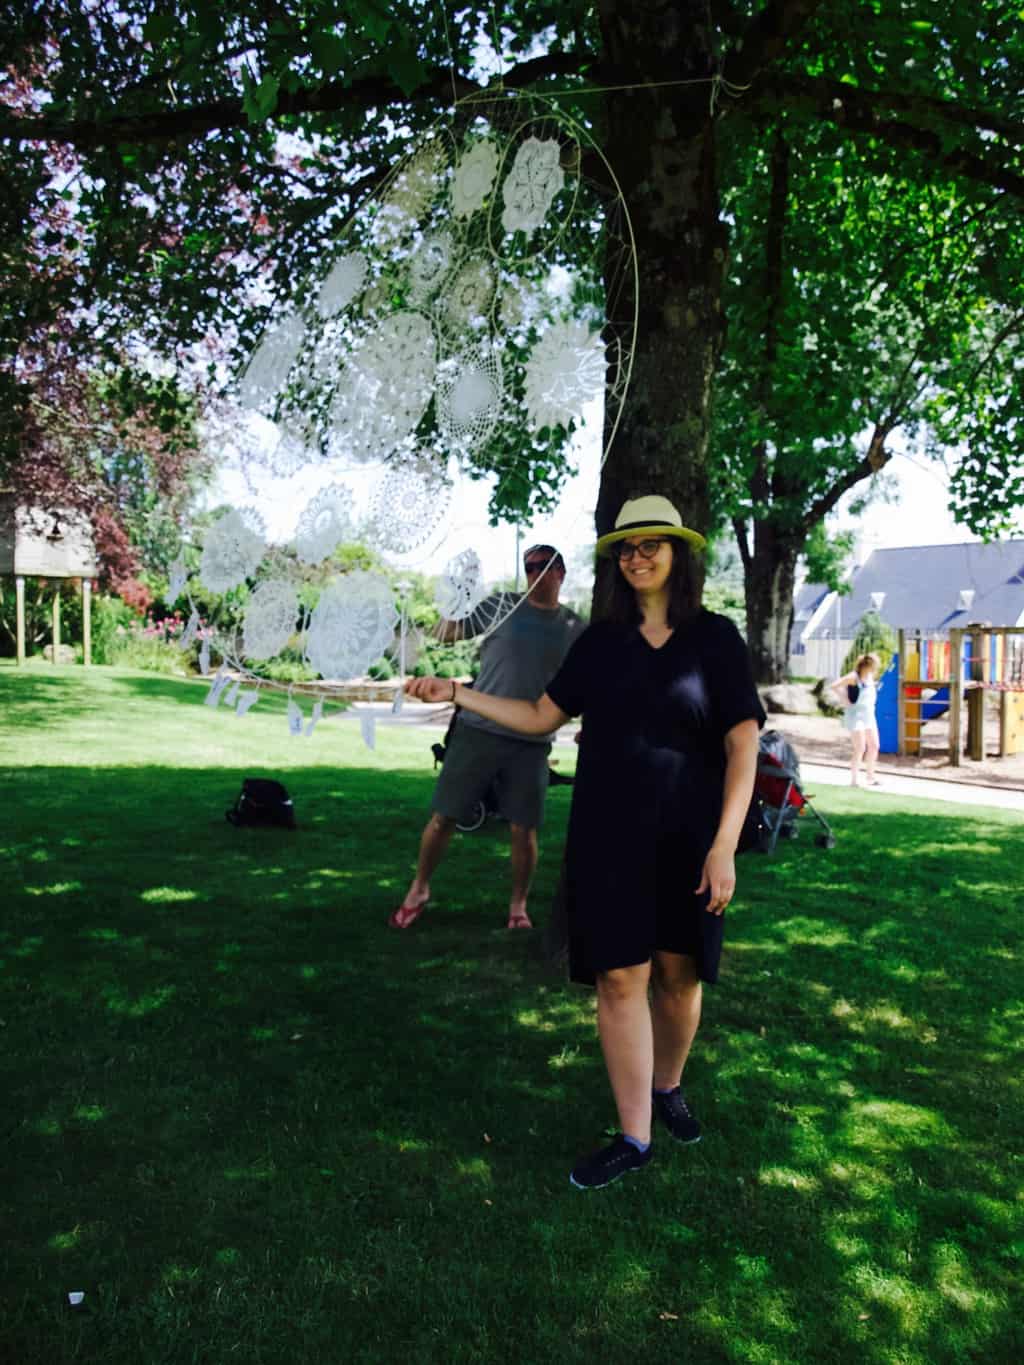
With older kids you can create play area where they can play independently. Which is why it is so important to pick a place that is child friendly and safe. Self catered houses/villas are the best! Not only that they provide more space for your children, but it also come up much cheaper than hotels. French holiday with friends (in Brittany)We loved eating in as it was so much more relaxing in the evening and that meant we could relax outside while kids are sleeping near by. I have learned (thanks to our friends that went on holidays with us) how simple is to pack lunches which saved us money and time (no need to find a restaurant and wait for a food with impatient kids). It was so much more relaxing just to picnic outside. We were so lucky to have such a good weather!French holiday with friends (in Brittany) We loved local activities such as kayaking and walks by the cannel. So my advice is to pick a location/house that comes with activities you like. That way you can exchange with baby sitting and do fun things in turns!French holiday with friends (in Brittany) French holiday with friends (in Brittany) French holiday with friends (in Brittany) French holiday with friends (in Brittany)French holiday with friends (in Brittany) We stayed in Brittany, near Carhaix-Plougue. It is a very cute and creative town with lots of wall murals around (I am so into #wallmurals right now!!!).French holiday with friends (in Brittany) French holiday with friends (in Brittany) French holiday with friends (in Brittany) French holiday with friends (in Brittany) French holiday with friends (in Brittany) French holiday with friends (in Brittany) French holiday with friends (in Brittany) French holiday with friends (in Brittany) French holiday with friends (in Brittany) French holiday with friends (in Brittany) There was this crochet doily artworks all around the town centre and library. Feeling very inspired just remembering it!French holiday with friends (in Brittany) Of course we also visited the lake and local sea side which was the highlight I think.French holiday with friends (in Brittany) Amber water is not what people tend to get excited about lol, but I did!French holiday with friends (in Brittany) French holiday with friends (in Brittany)Have you started the holiday season yet? Hope my tips help ;-)

Rasa xoxo

1

How to make your own laundry liquid

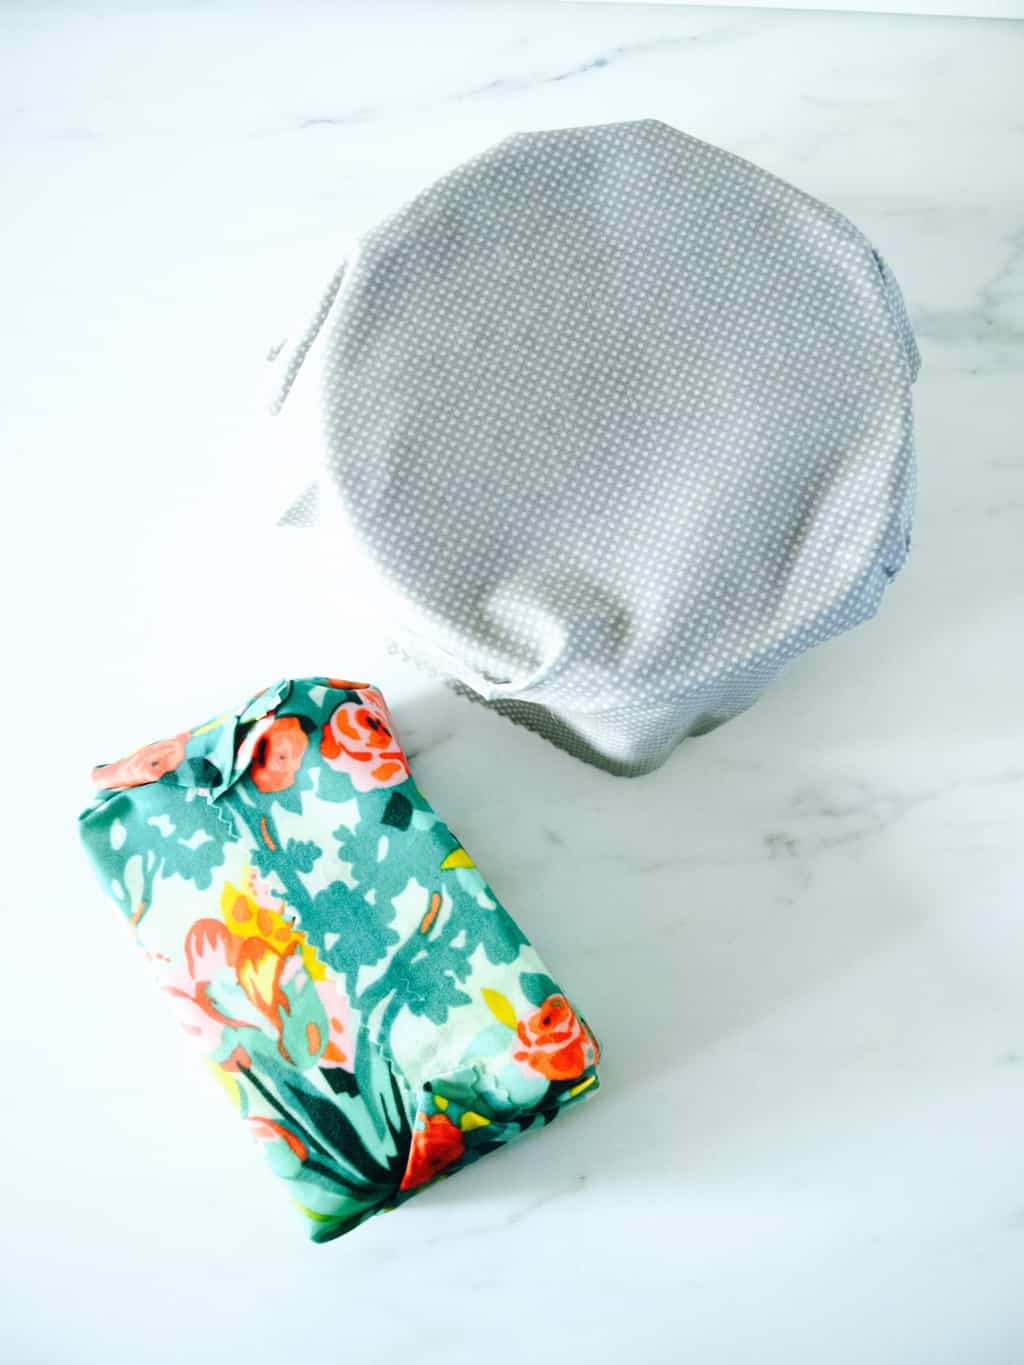
All natural laundry liquid recipeLiving sustainably does not mean going extreme, I believe every little bit helps (oops, did not mean to sound like Tesco slogan). I dream to be completely sustainable one day, but for now I only choose the steps towards it that have immediate benefits for us (like reusable food wraps I made last month).

So this month I have been researching about cleaning products (all natural as possible of course!!!). I am very sensitive to synthetic and strong smells, so this was my main driver for going ahead and making some myself. Because I thought I could make cleaning products that smell nice and do not break the bank.

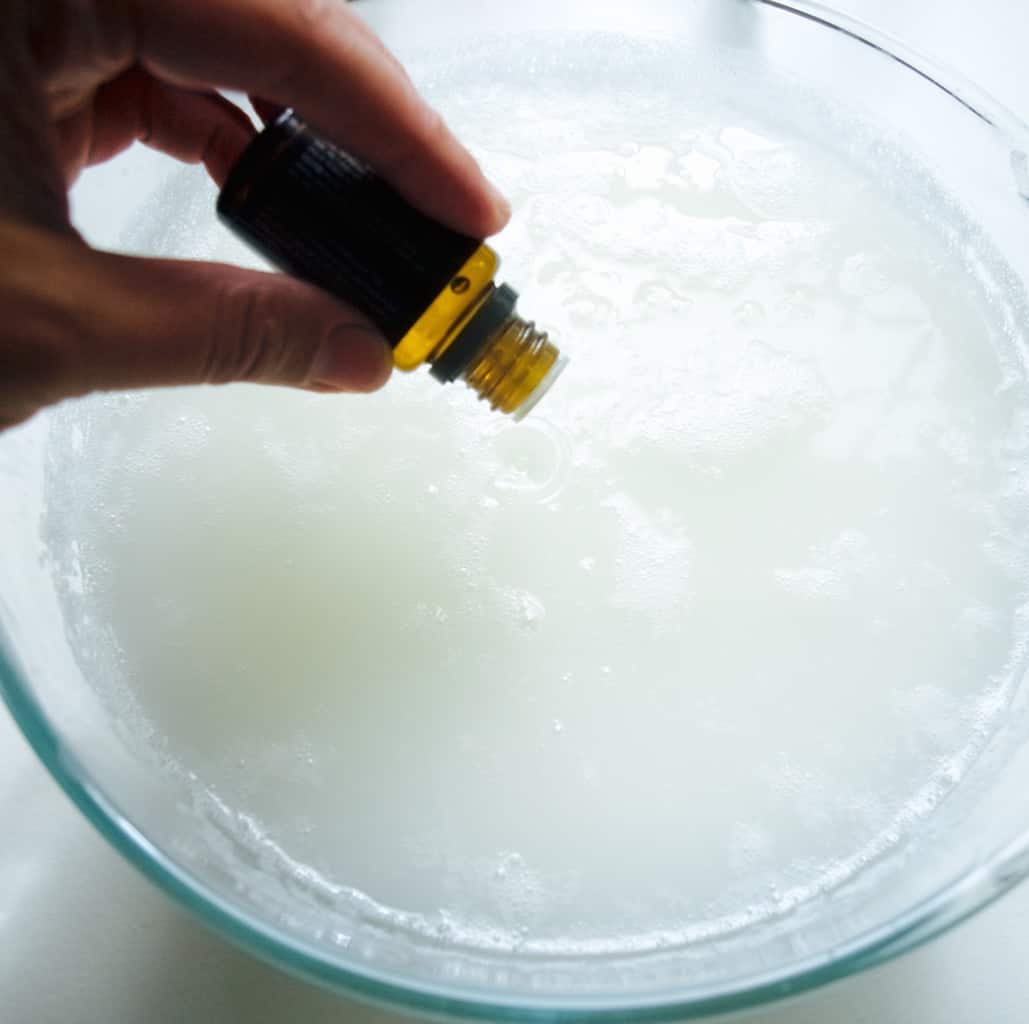
I made laundry liquid first because I was keen to make something for Tomas who has eczema. I heard that added perfumes and other nasty bits can make eczema worse! I looked at a few laundry liquid recipes and decided on the ingredient combination that I though would work best and that are easily accessible in UK (so you won’t find any borax in my ingredient list!). I added some lavender essential oil so now my laundry liquid smells very similar to the Ecover liquid that we tend to buy. All natural laundry liquid recipeTo make your own laundry liquid you will need:

  • 240g soda crystals (similar to Borax but not the same)
  • 50g bicarbonate soda (can be baking type)
  • 150ml liquid Castile soap
  • 800 ml boiling water (it needs to dissolve soda mix)
  • 20 drops essential oil of your choice (I used lavender)
  • large bowl or a jug
  • whisk

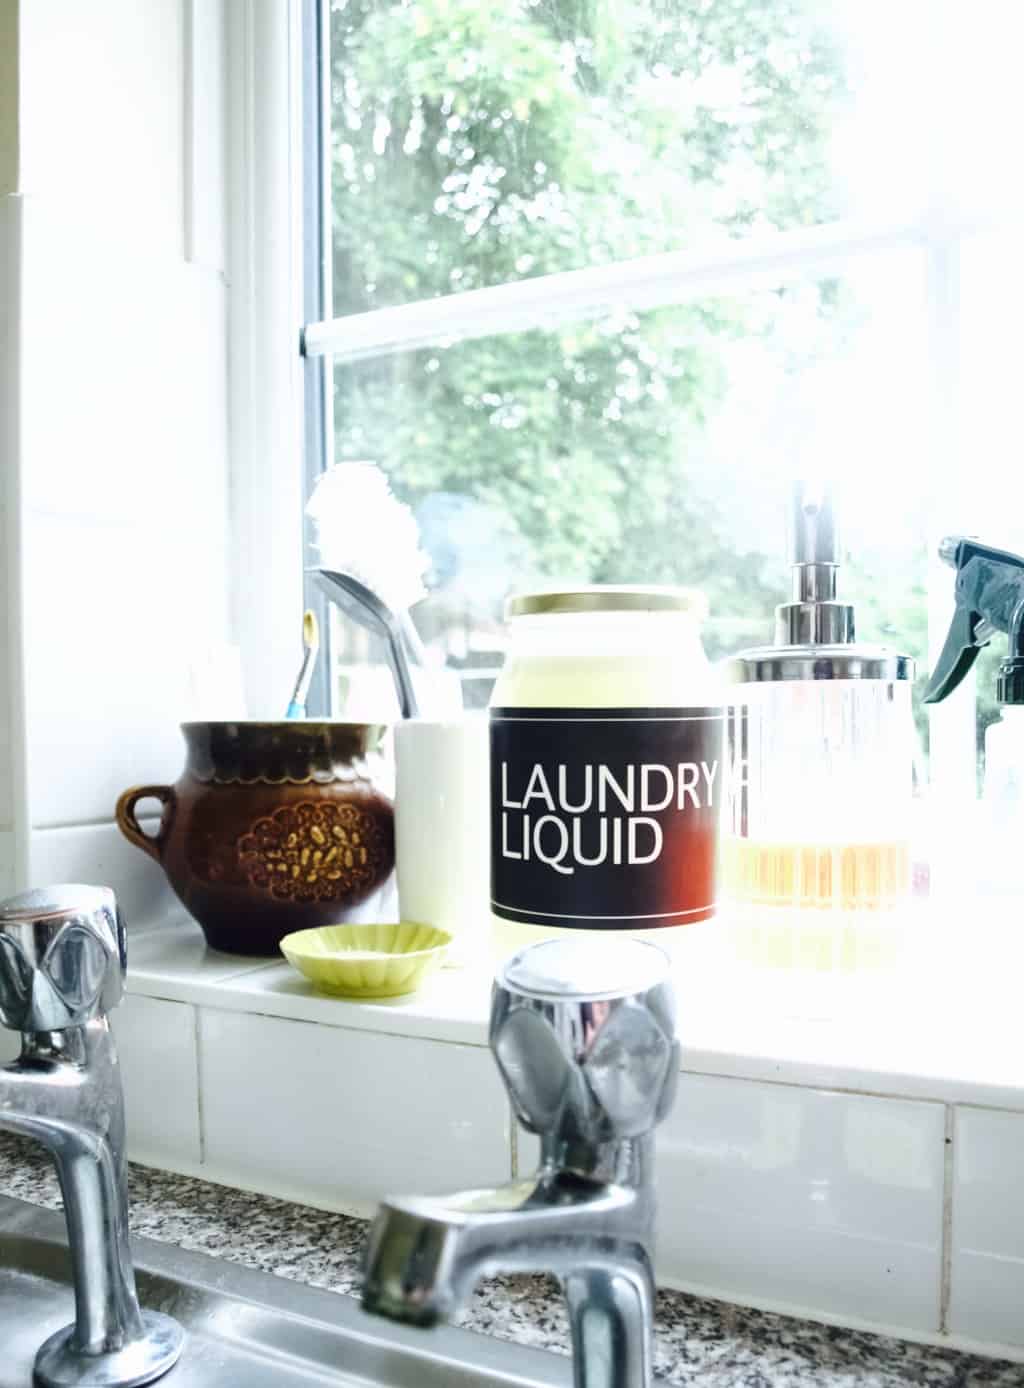
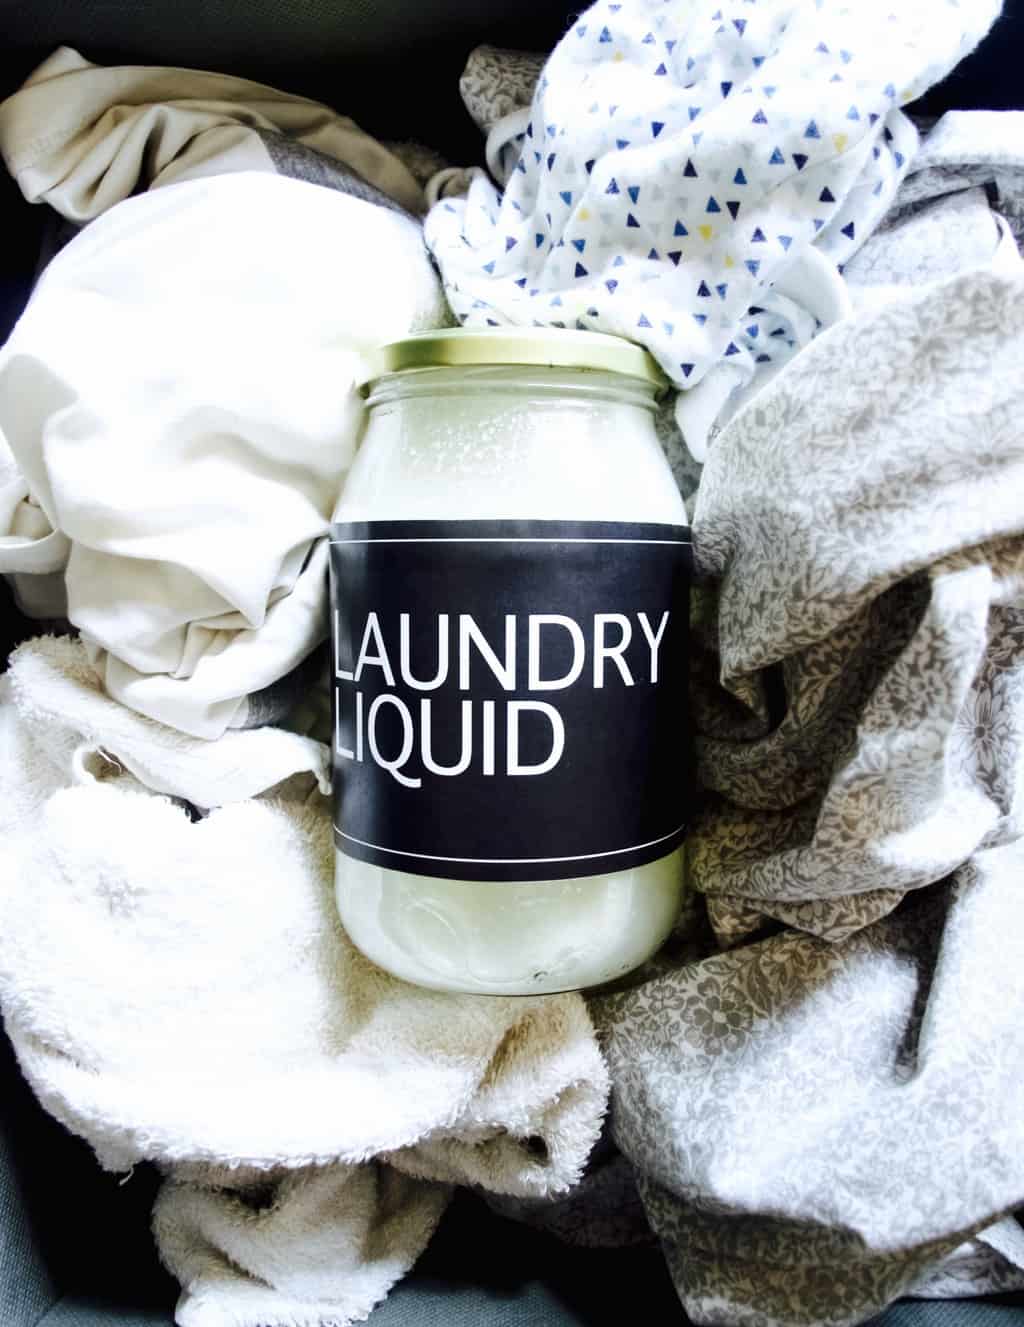
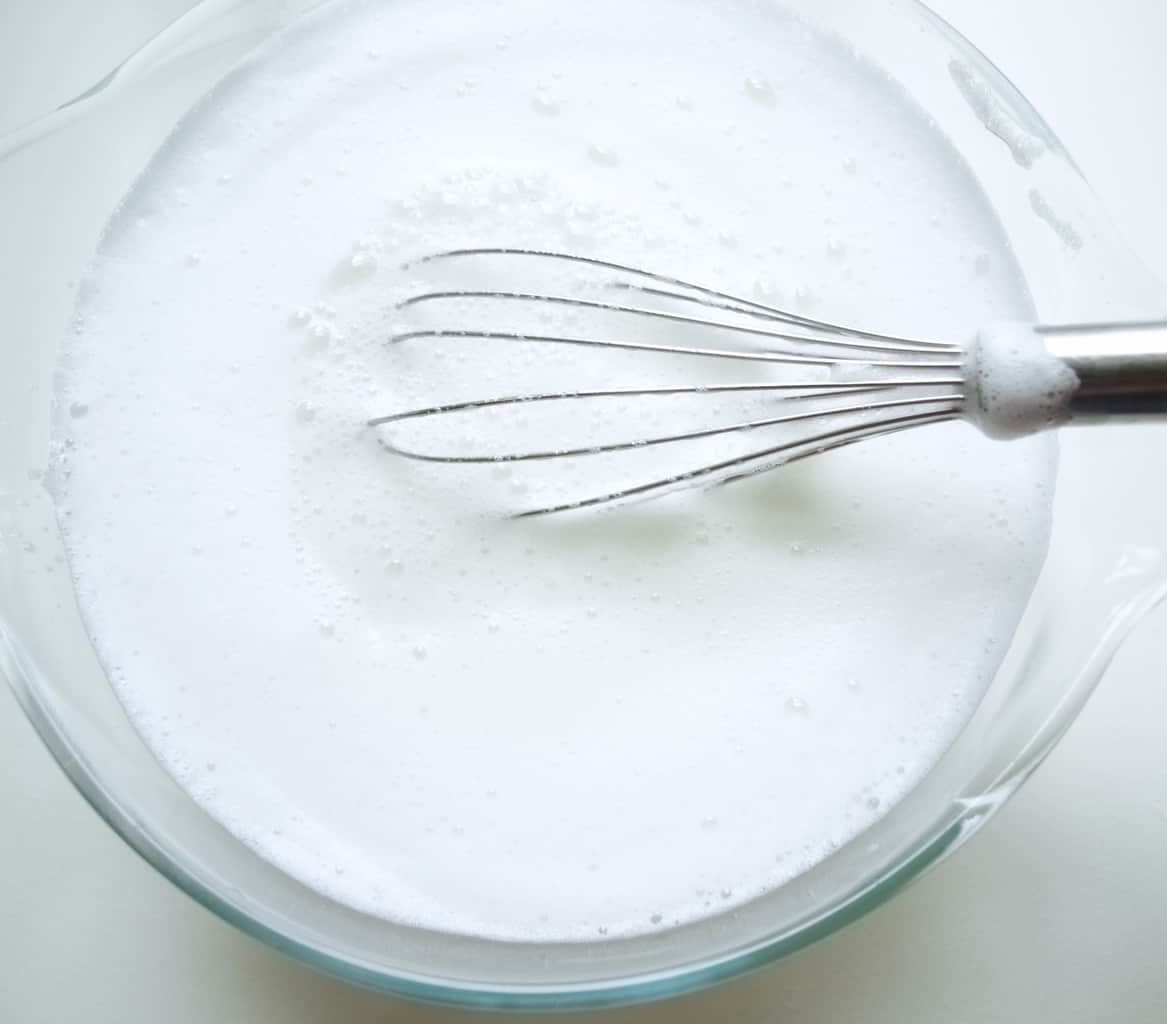
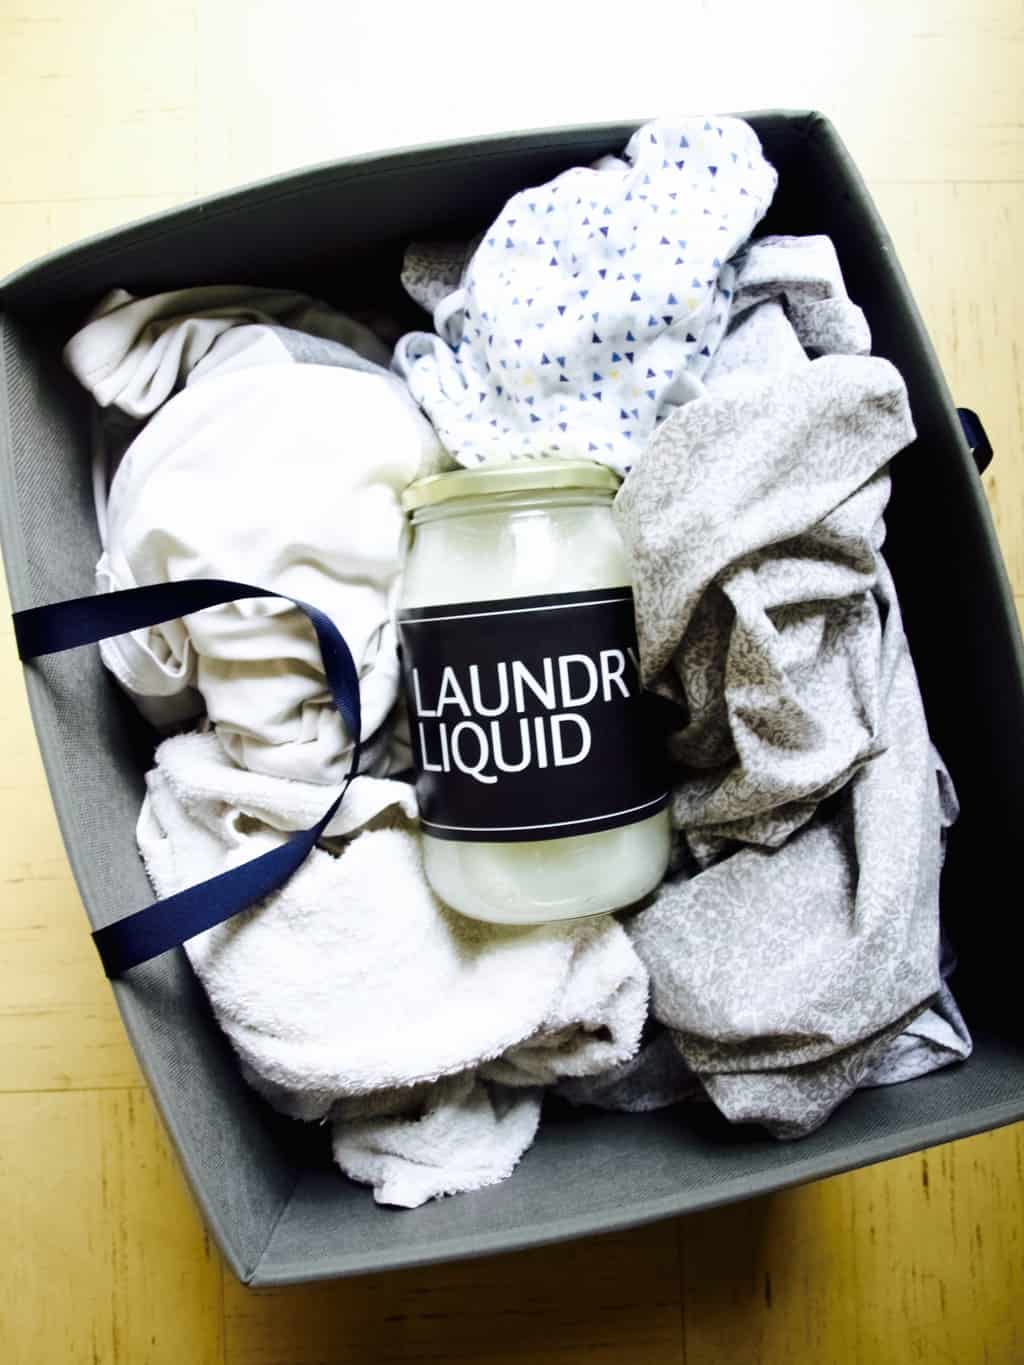
All natural laundry liquid recipeMix soda crystals with bicarbonate soda. Gradually add boiling water and the Castile soap while whisking. Continue whisking till it combines well and the soda is dissolved. You should end up with foam on top.All natural laundry liquid recipeLet the laundry liquid cool down and then add essential oil if using.All natural laundry liquid recipePour the laundry liquid into jars or bottles. Use half a cup per wash, so the recipe last for about 12 loads. I already did a few washes and I must admit I can’t see much of a difference between shop bought and mine, except the homemade one is much cheaper. Besides this laundry liquid is so quick to make and uses similar ingredients that other cleaning products need. So essentially you only need a few basic ingredients to make many cleaning products for around the house!All natural laundry liquid recipeHope you found this useful ;-)

Rasa xoxo

1

How to make reusable food wraps (to replace cling film)

Reusable food wrap DIY (with wax and resin)The thing is that I always dreamed of living sustainably, even before it be became popular. Sometimes I succeeded and sometimes business just took over my life and I had to cut some corners. The bottom line is I passionately hate waste and I feel like my heart bleeds when I see stuff wasted when it could have had another life (hope I don’t sound like a hoarder, because I am definitely not!!).

When it comes to sustainable living I believe it comes to choosing the products that should also benefit us directly (not only the earth). You see I dislike wasting money too (or even seeing somebody else wasting theirs). Which is why I always look out for things I could make myself and save money that way. For instance, last week I made some reusable food cloths, because I thought it would be lovely not to use as much cling film. I know, I know, this is not our biggest household waste (nappies and baby wipes are), but you’ve got to begin somewhere! I researched quite a few recipes and methods, so trust me you are getting the best here! Although after making some wraps I had a few other ideas how to make it even easier and cheaper.

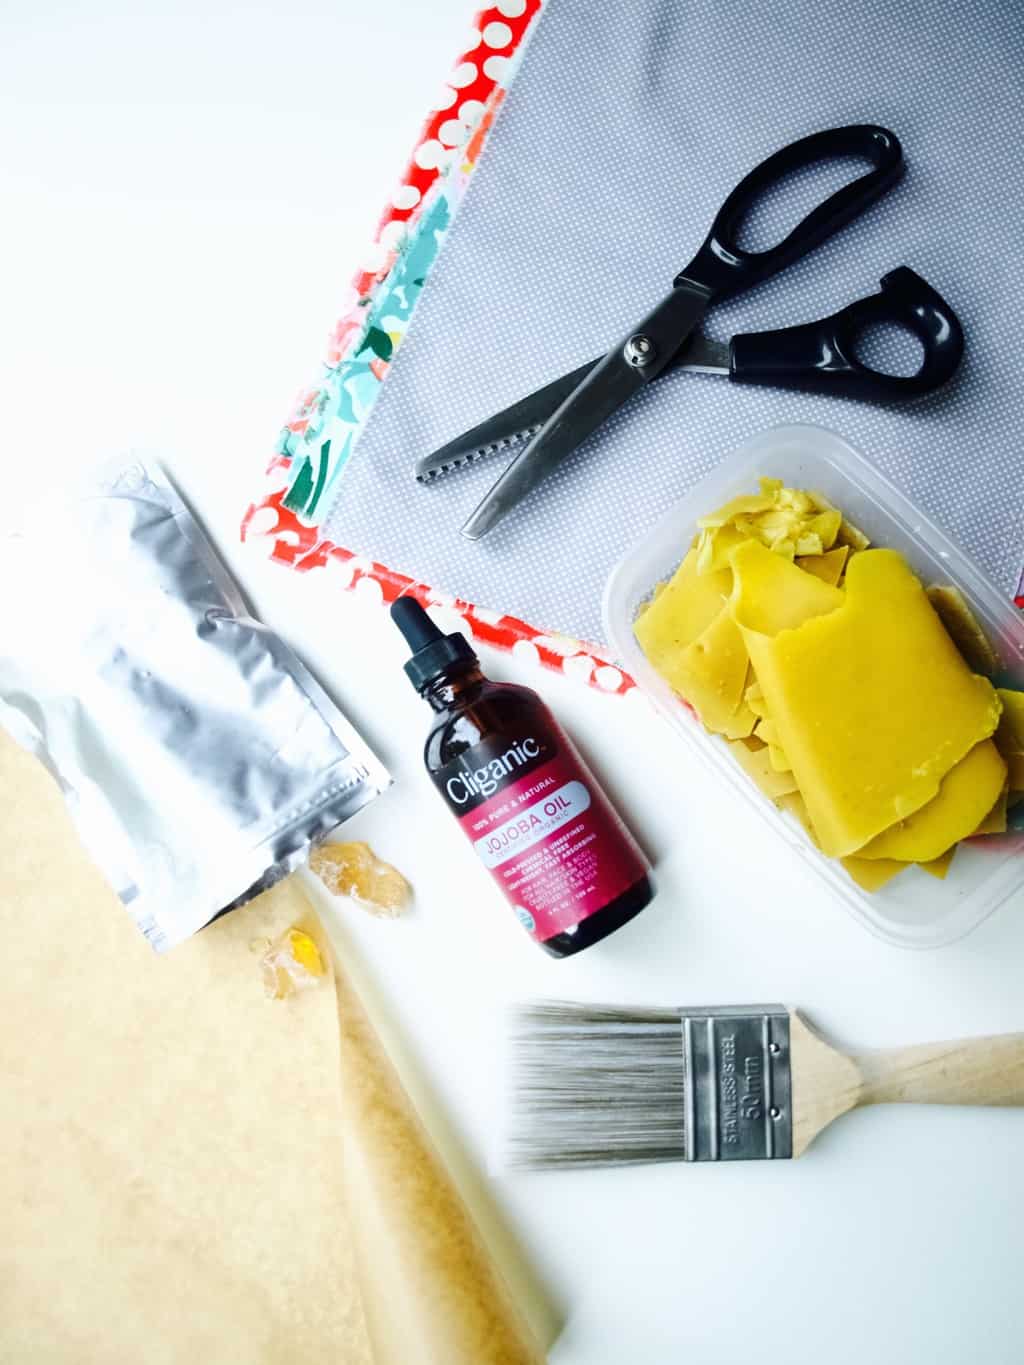
To make these reusable food wraps you will need:

  • 130g wax (I used some wax thats been given to me by my mother in law who keeps the bees)
  • 26g pine rosin (or any other tree resin)
  • 4tsp jojoba oil
  • about 5-7 squares of light, woven cotton
  • pinking shears
  • old pot
  • old paint brush (optional, you will only be using it just for this)
  • baking paper
  • iron with the ironing board

Reusable food wrap DIY (with wax and resin)First cut your fabric to size. I used pinking shears as this really helps to stop fabric from fraying

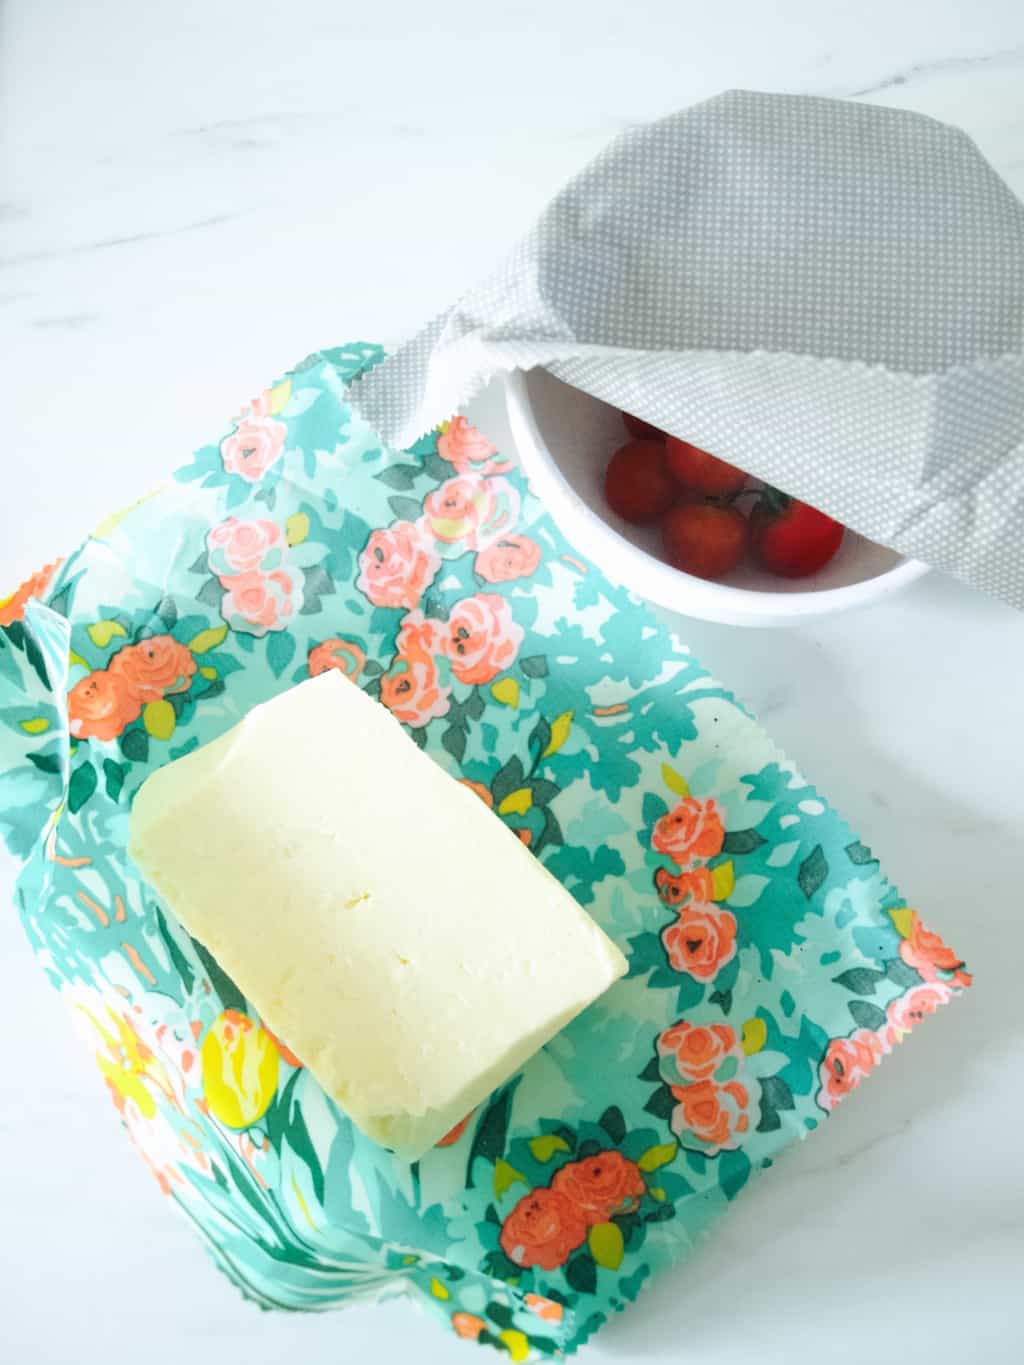
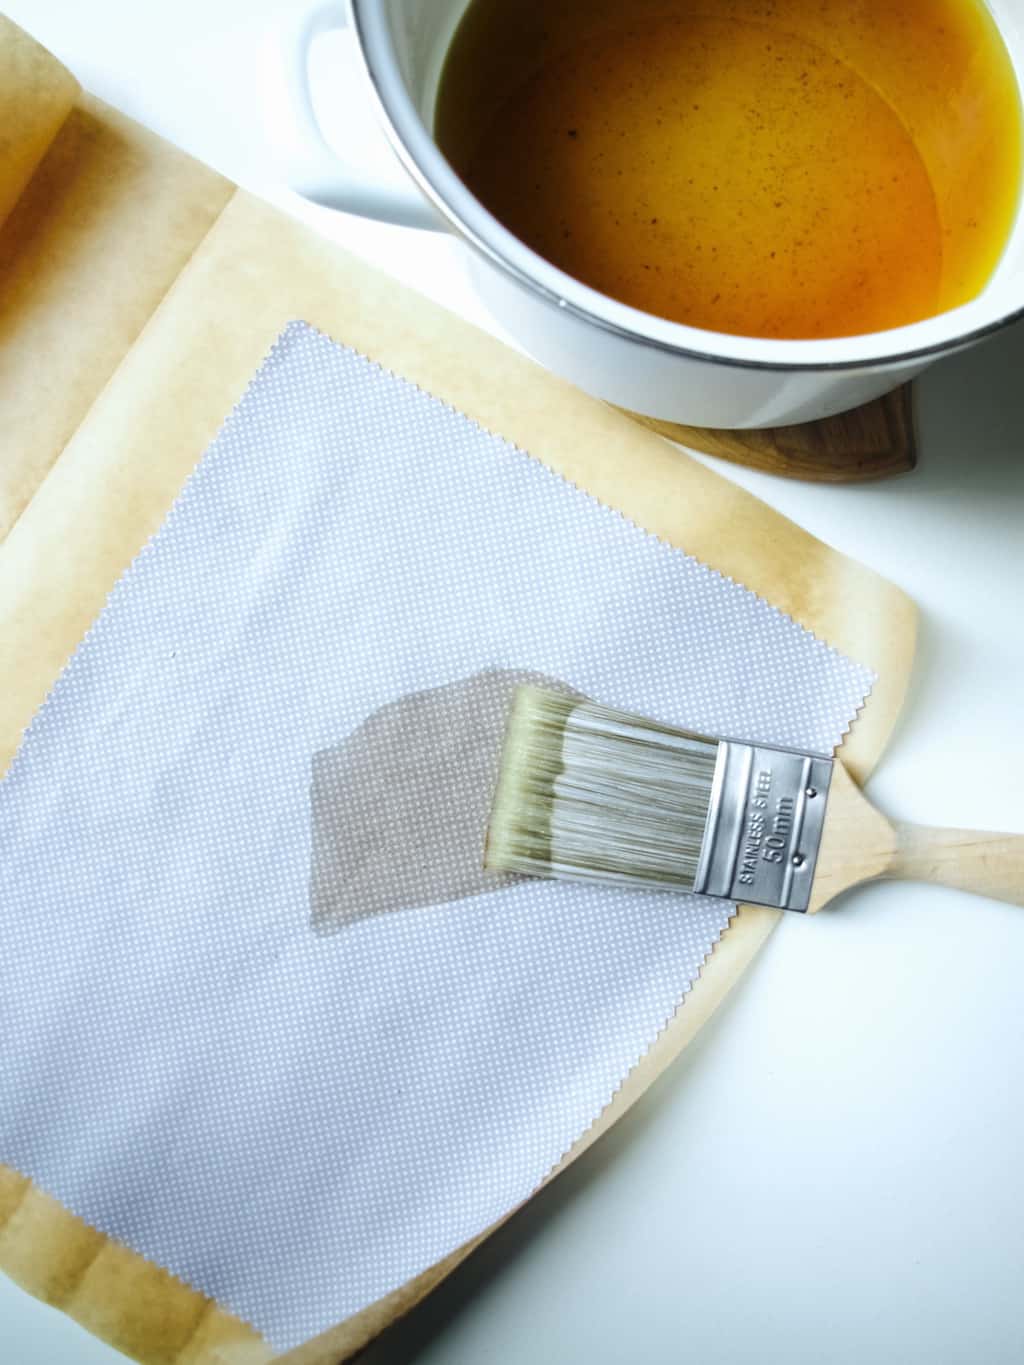
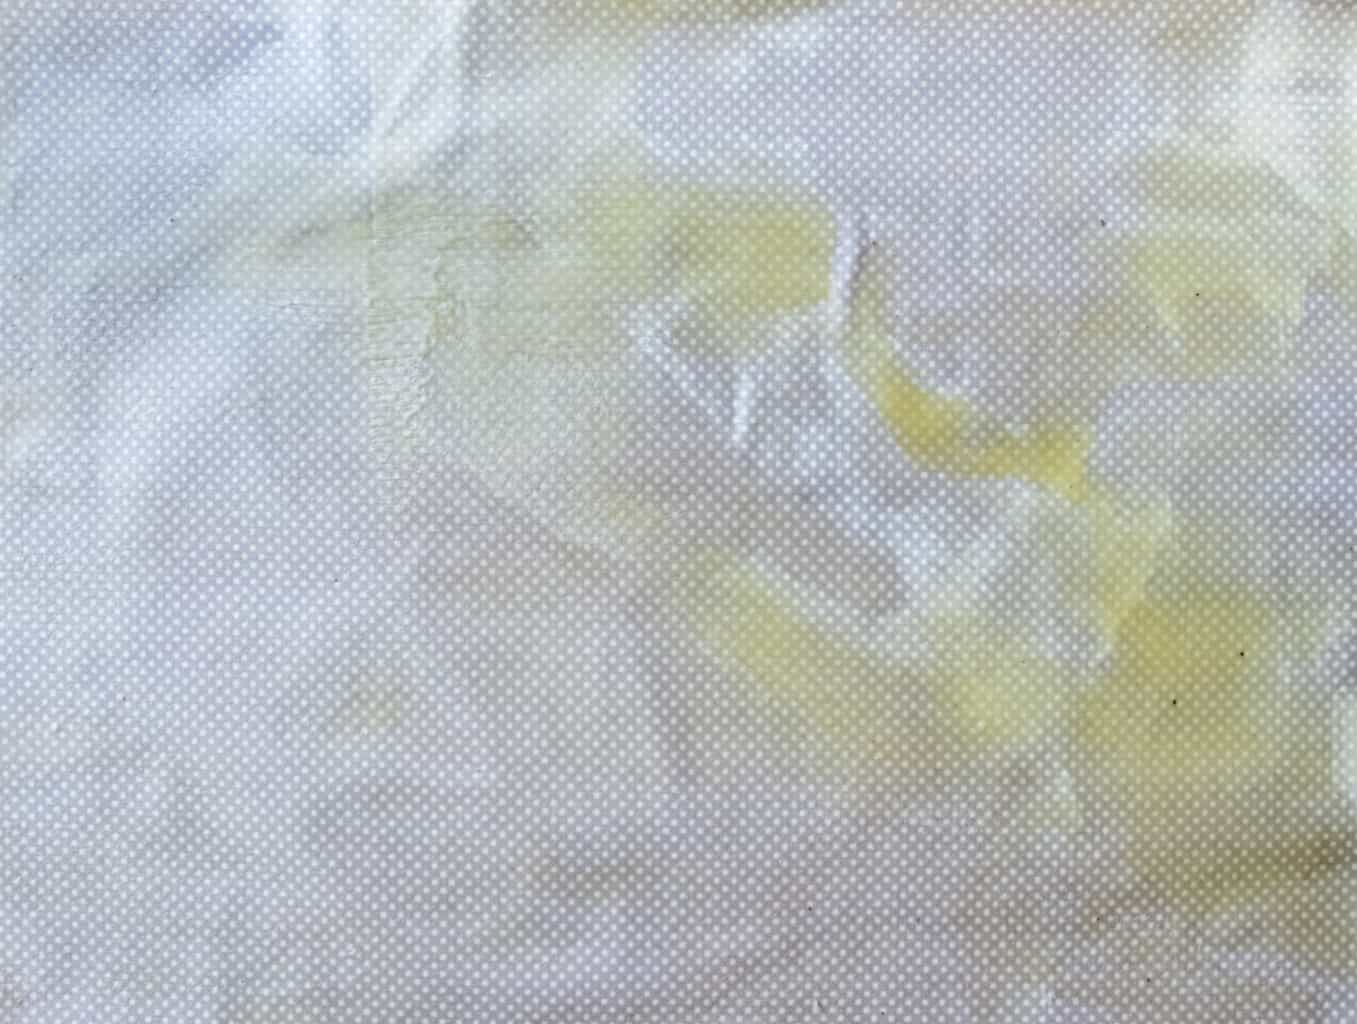
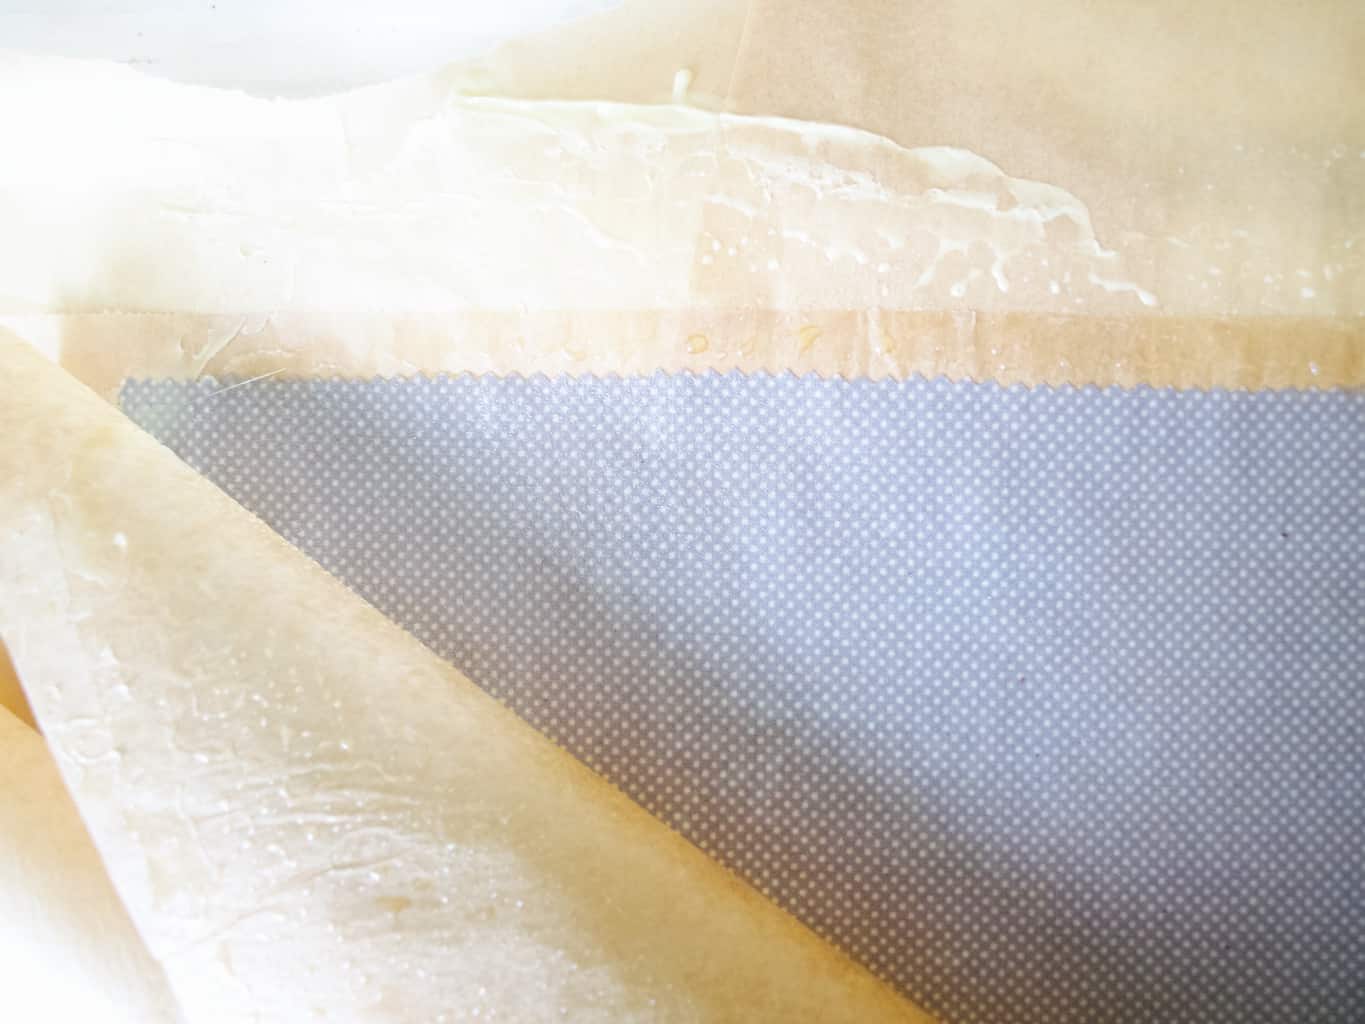
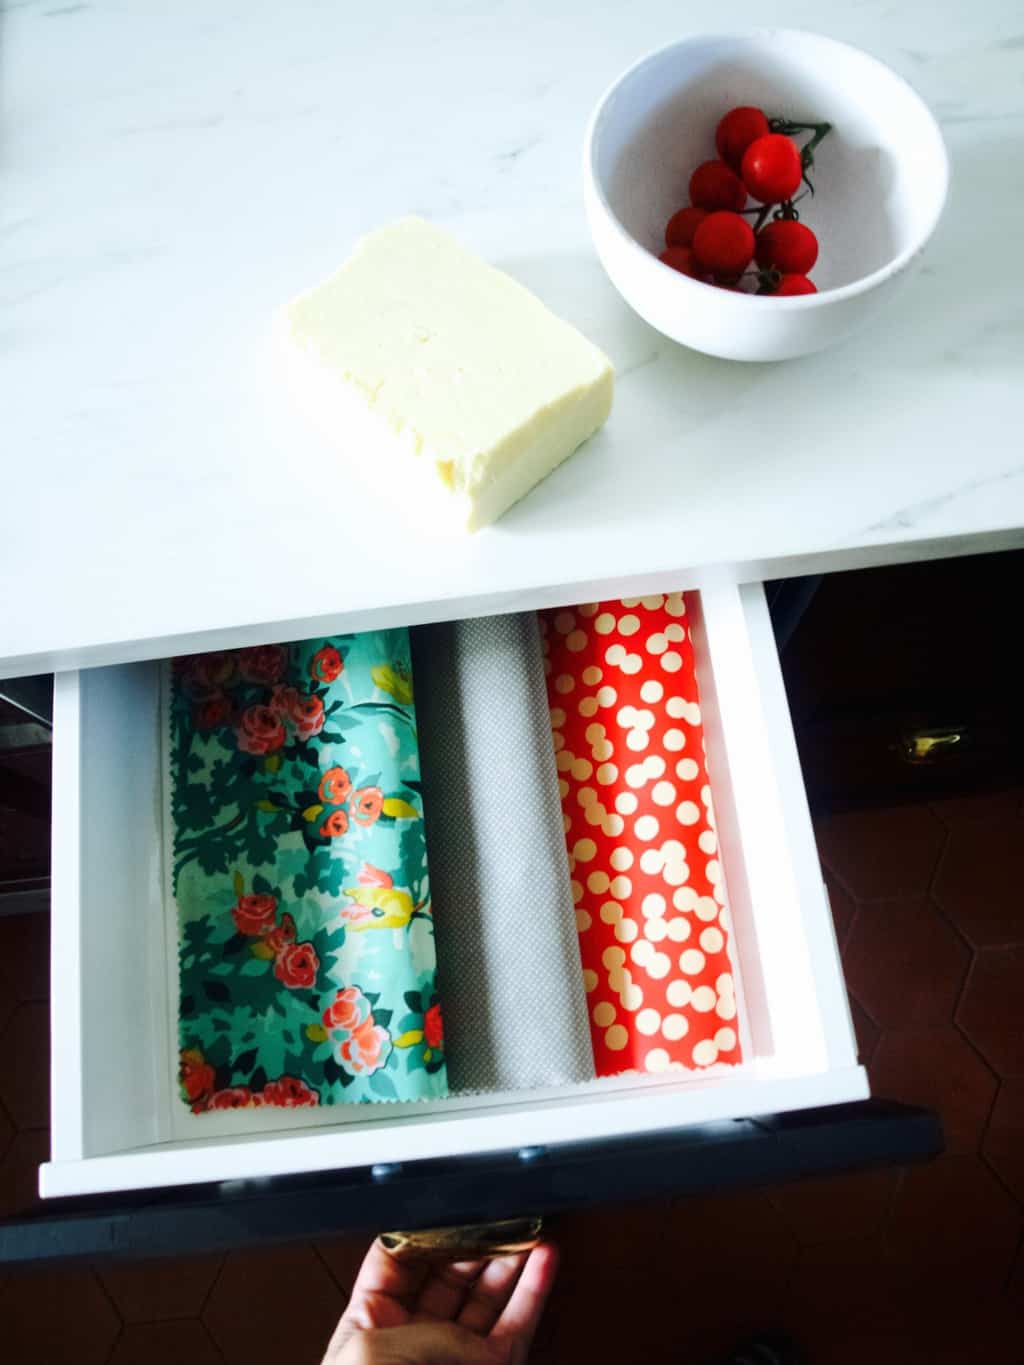
Put the wax, rosin, and oil into the pot and while stirring heat all the ingredients till melted. I think because I used not well filtered wax it had few black bits in it. It did not cause too many problems in the end result but it did leave a few black speckles on the cloth.Reusable food wrap DIY (with wax and resin)As you brush the wax mixture onto the fabric it hardens very very quickly. I think I was too generous with it (so be stingy). The excess wax created lots and lots of mess later. I felt like a brush is not necessary here as the wax hardened after few strokes. I think I will try just dipping the fabric straight into hot wax next time. I imagine that should give good coverage without the wax hardening onto the surface. But of course I could be wrong!Reusable food wrap DIY (with wax and resin)So here comes the mess I was talking about. In order to impregnate the fabric with the wax mixture completely, the fabric needs to be reheated. When I researched how to make reusable food wraps it seemed that one of the most popular methods to reheat the wax in the fabric is to stick it into the oven. That seemed a bit limited by oven size and I imagined it would be messy (plus the oven tray to clean up). I guess I failed to avoid the later! I used baking paper to sandwich the waxed cloth and heated the wax and the fabric once again by ironing it. In my case the excess wax spilled everywhere: the floor, another layer of baking sheets (I wasted whole roll!!), and the ironing board (thankfully not the iron itself). This wax mixture was very sticky to clean because of the resin (special ingredient to make the cloths clingy). Definitely NOT applying that much wax liquid on the fabric next time!!!Reusable food wrap DIY (with wax and resin) The cloth cools almost immediately and can be used a few minutes after making it.Reusable food wrap DIY (with wax and resin) As I mentioned before the resin mixed in with the wax makes the wrap slightly sticky against itself which is why you can use this exactly as you would use cling film.Reusable food wrap DIY (with wax and resin)Hope you found this very useful and you can learn from my mistakes.

Rasa ;-)

2

IKEA hack: custom laundry baskets

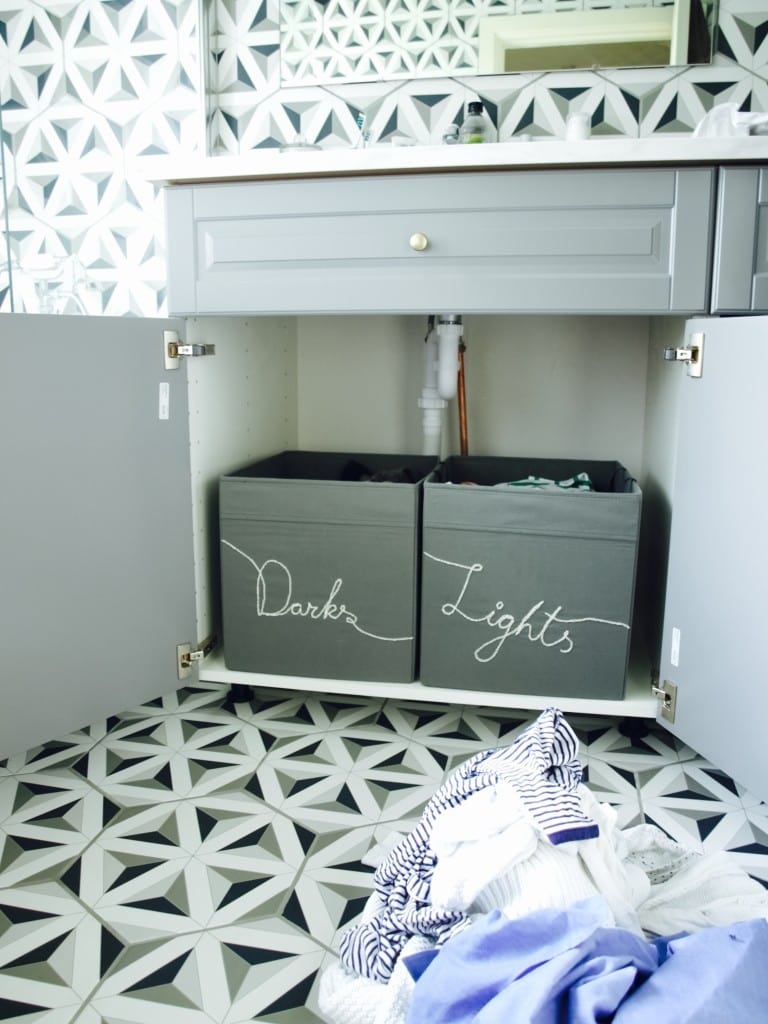
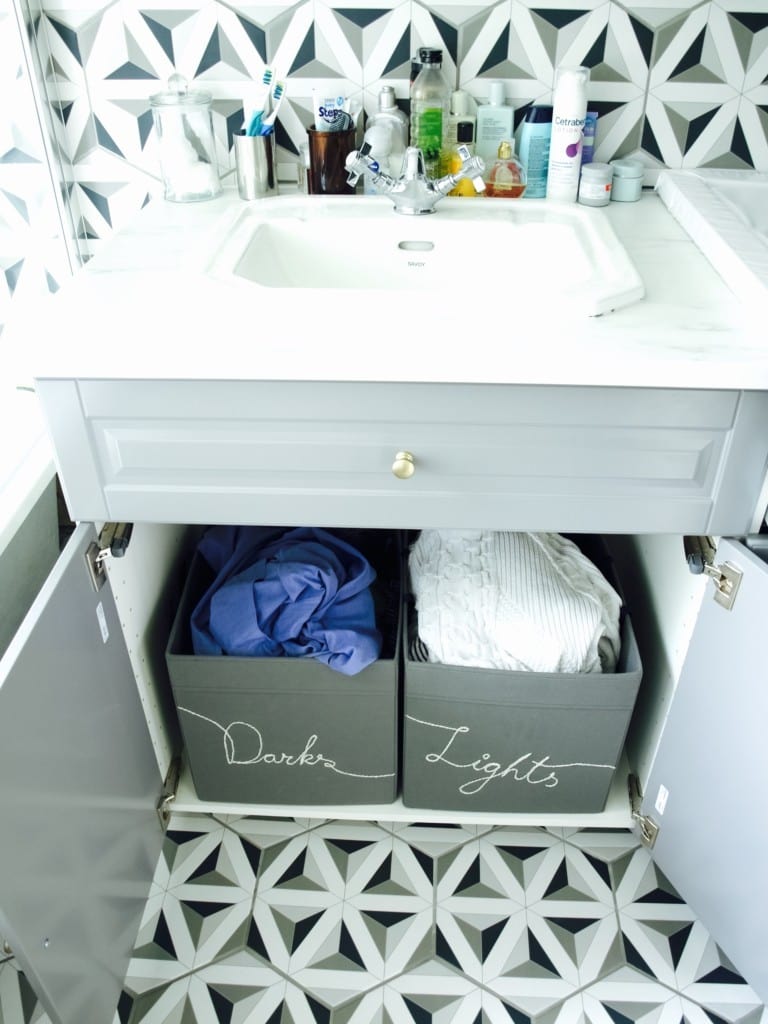
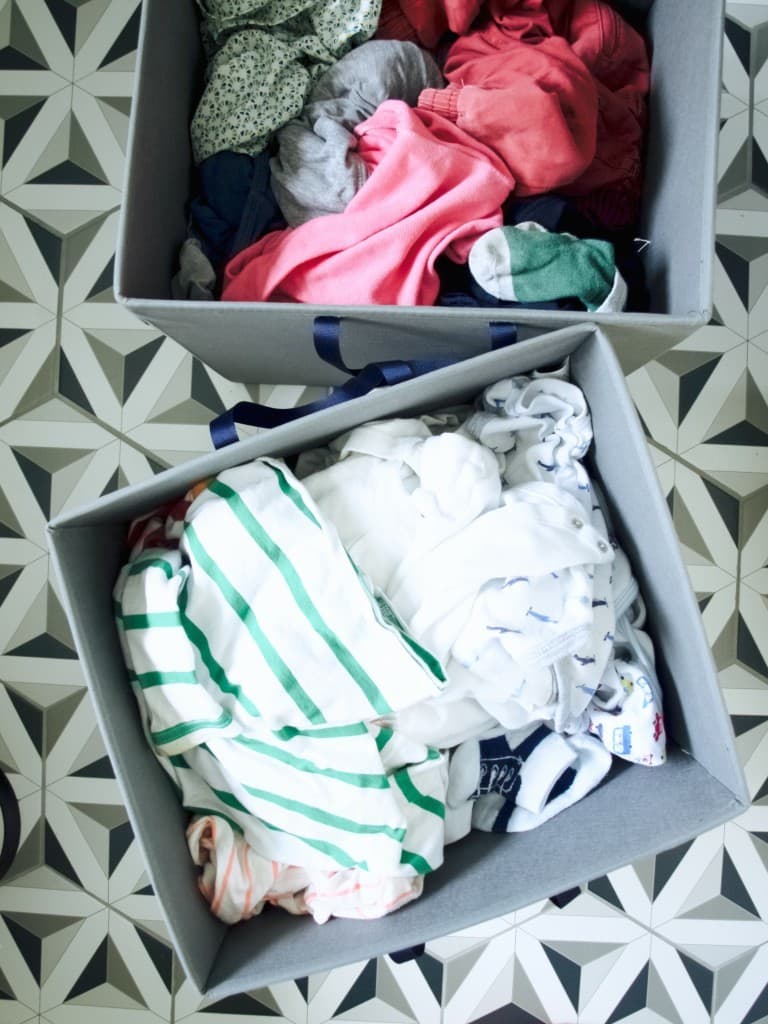
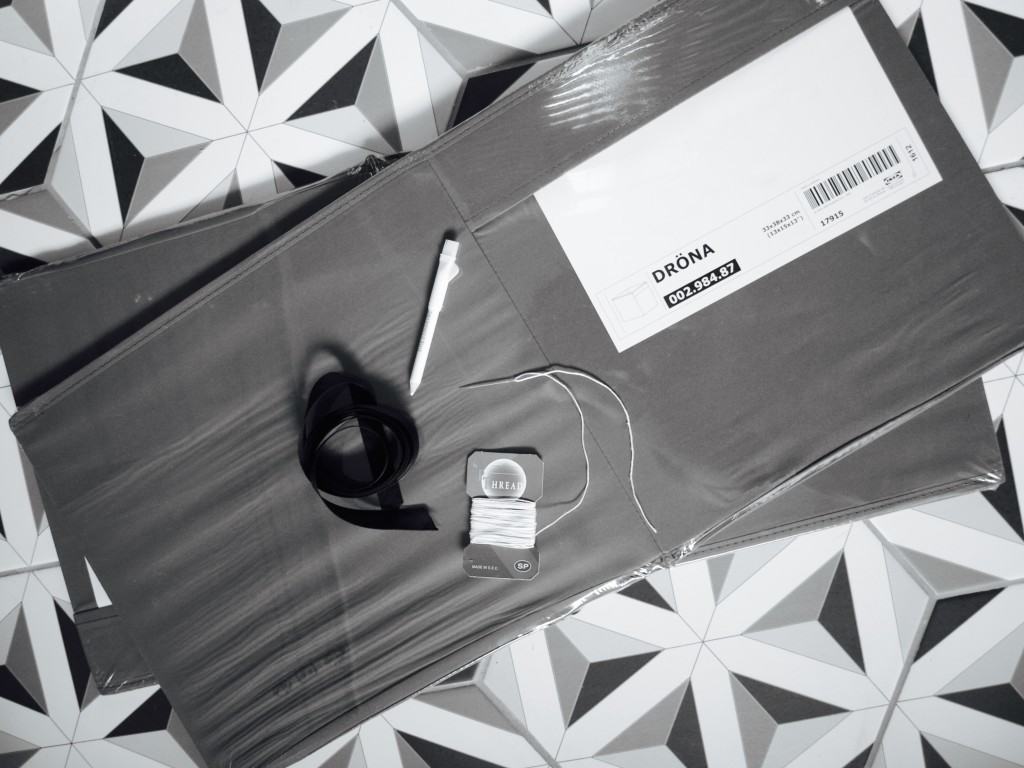
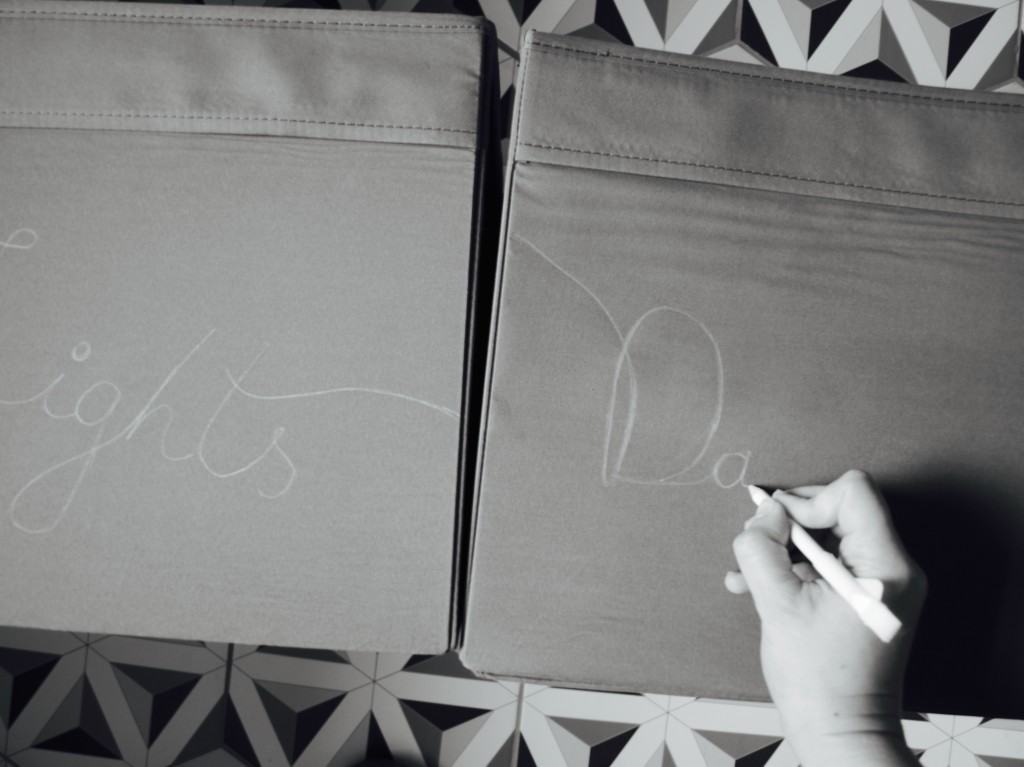
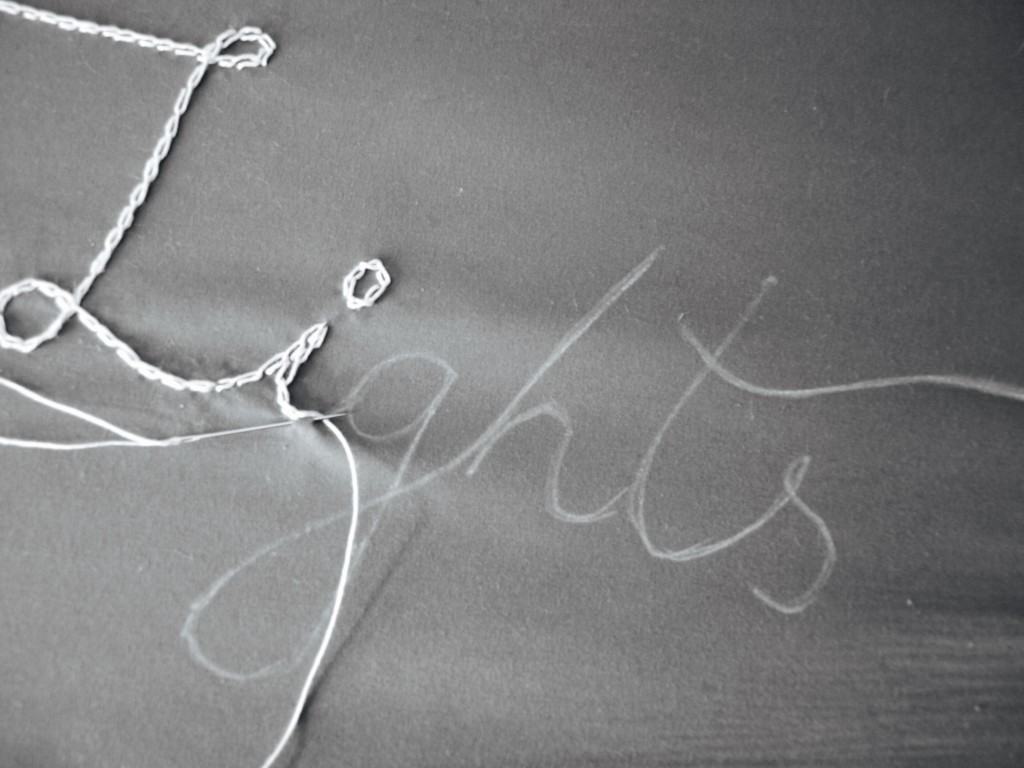
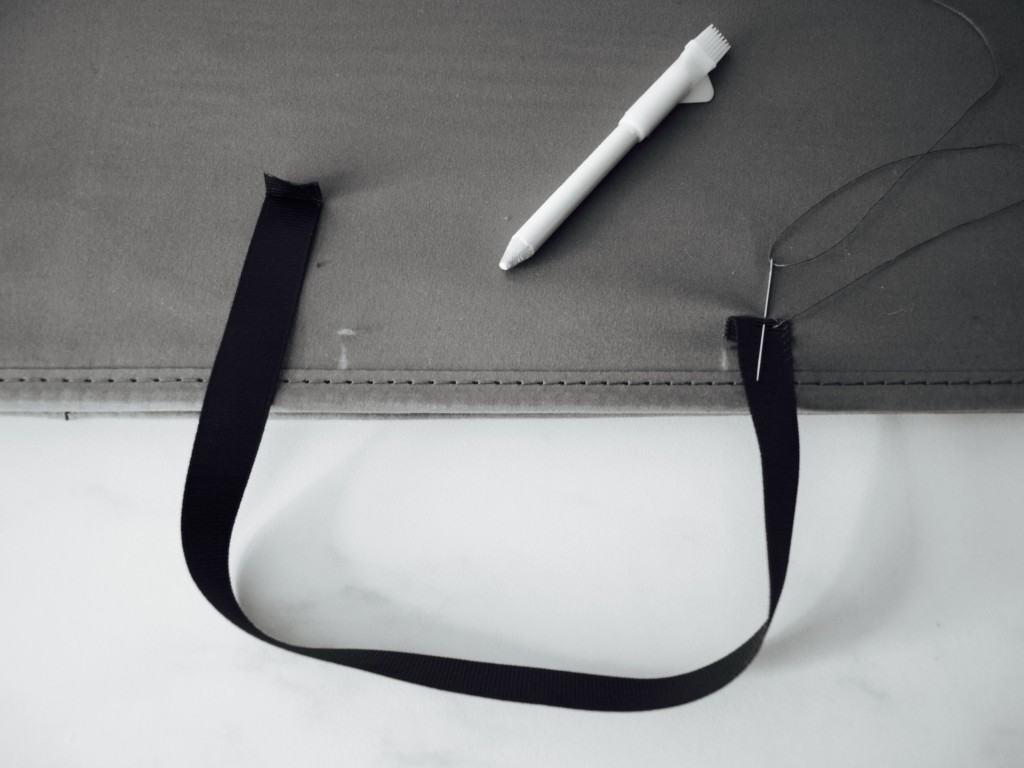
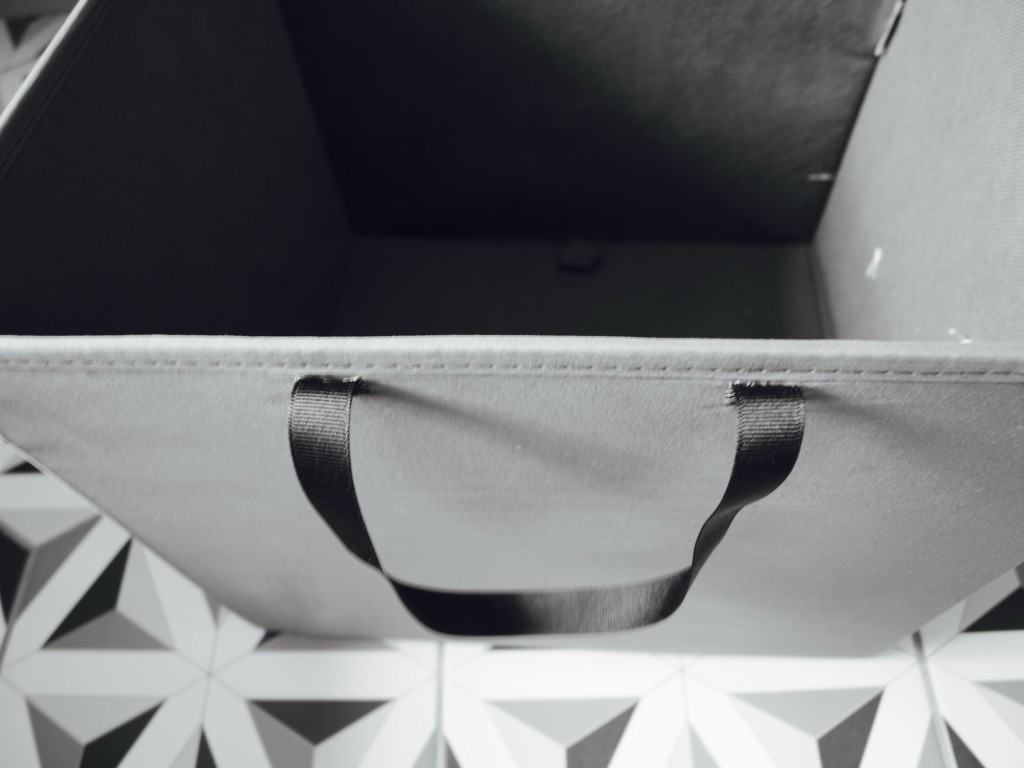
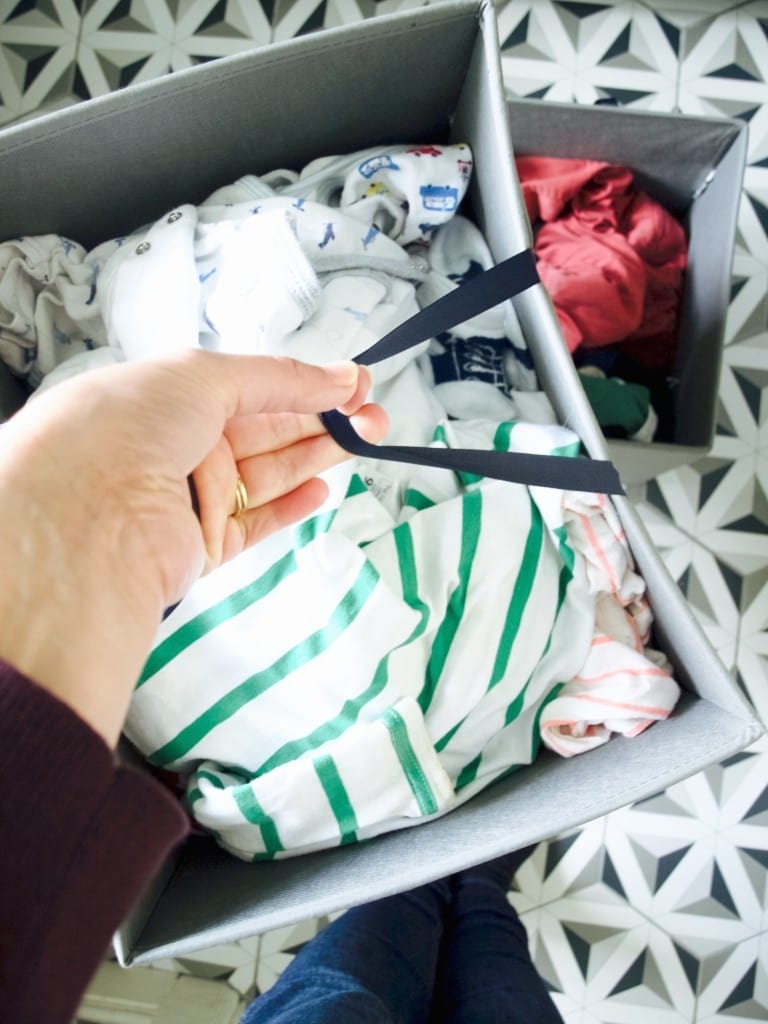
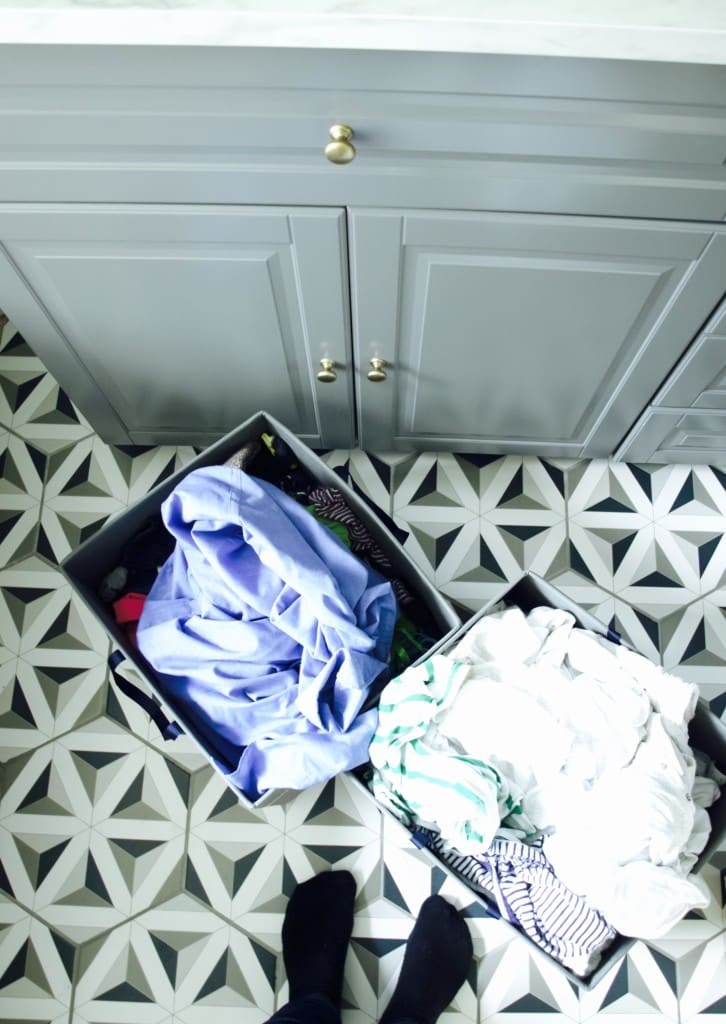
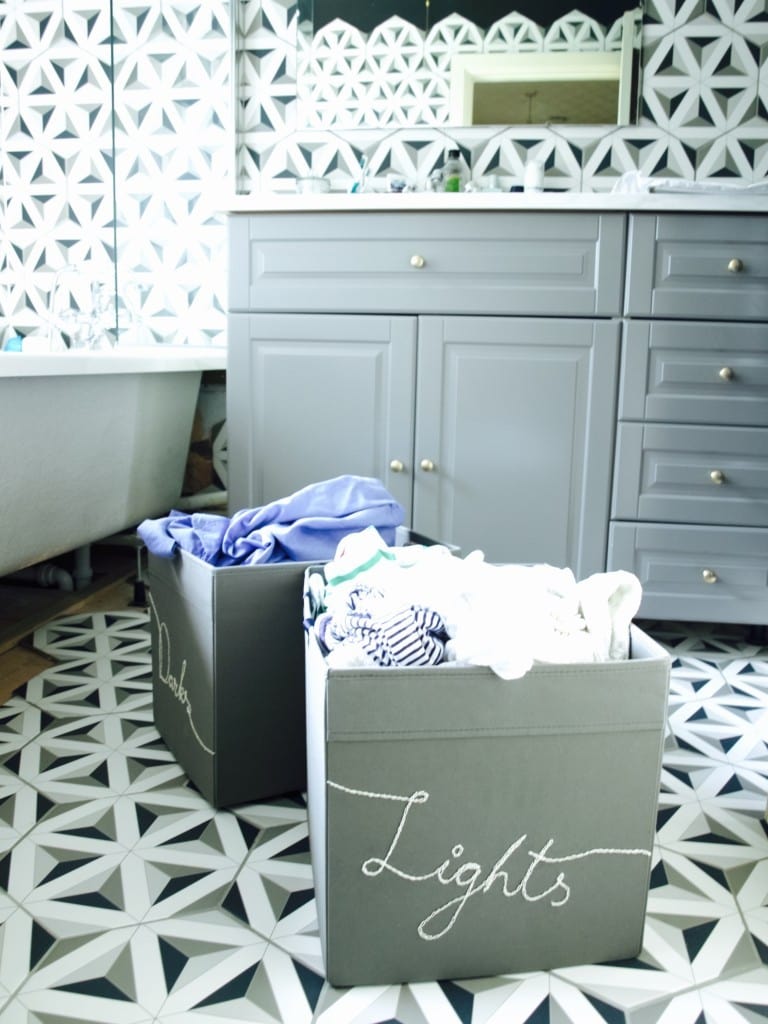
Ikea hack: custom laundry basketsWell…. hello here looking through my never ending laundry pics. I never quite manage to have all baskets empty completely! This is why I was looking for ways to organise my dirty clothes while I work my way through it if you know what I mean. I thought under the sink in the bathroom would be the most convenient for them since this is where we get undressed and changed most often. Except I struggled for a while to find a right size baskets…. until one day it occurred to me that the storage boxes from Ikea we already have fit perfectly! I know I know, they are storage boxes, not a laundry baskets, but I saw a vision how I could alter them a little. All it needed are some handles, a little bit of lettering embroidery and its done! Yey!Ikea hack: custom laundry baskets Ikea hack: custom laundry baskets So this is how I did it. I purchased some fabric storage from Ikea. I know I know I said I had them already, but wanted in different colour and it’s not like £2.50 breaks the bank! Then I found my fabric pencil, embroidery tread & needle + some ribbon to match. Ikea hack: custom laundry basketsFirst I marked the writing I wanted to embroider. You don’t have to use special pencil for it, but it helps since you can rub it off if you make mistake. Otherwise regular pen mark would be hidden behind the stitches (I have gone this risky route too many times before).Ikea hack: custom laundry basketsFor embroidery I chose my favourite stitch which is the chain stitch. You can get more inspiration for your embroidery here.Ikea hack: custom laundry baskets Next I stitched the handles. I folded the ribbon at the ends so it does not fray ;-).Ikea hack: custom laundry baskets Ikea hack: custom laundry baskets Ikea hack: custom laundry baskets Ikea hack: custom laundry baskets Ikea hack: custom laundry basketsHope you found this inspiring

Rasa xoxo

0

Mirror mirror on the wall…

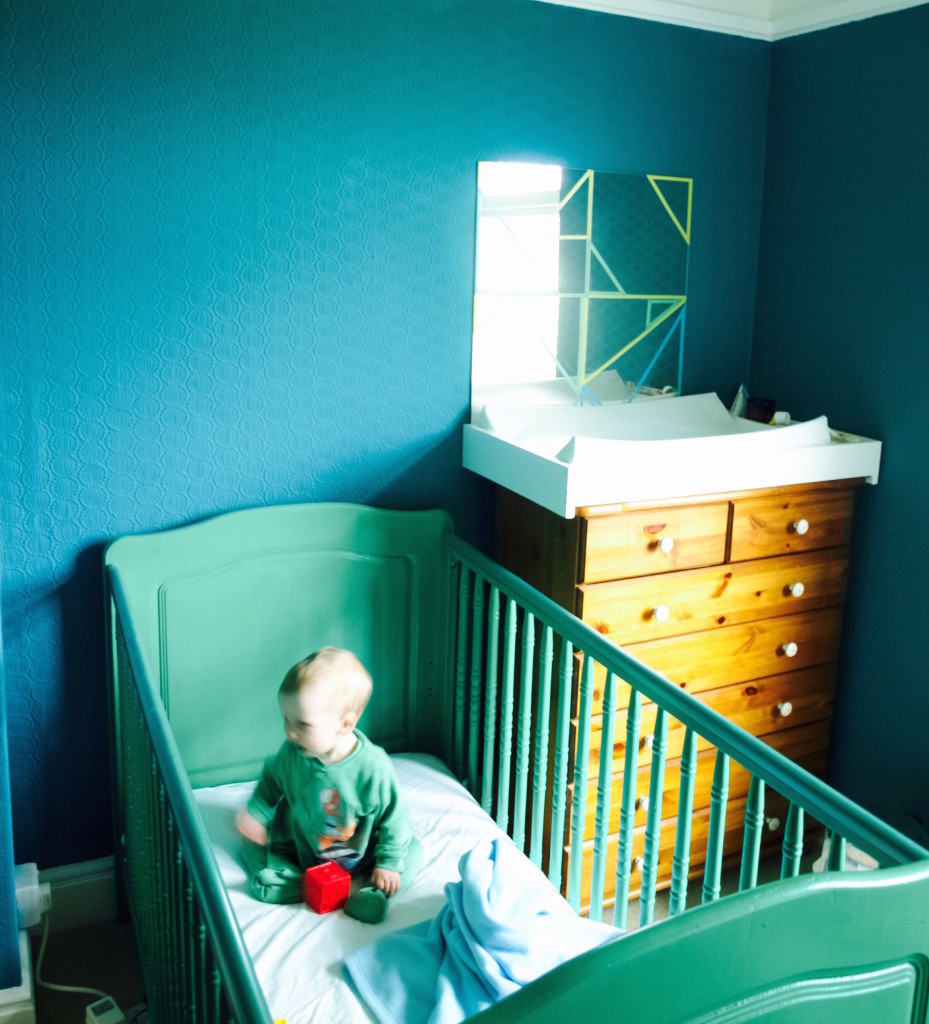
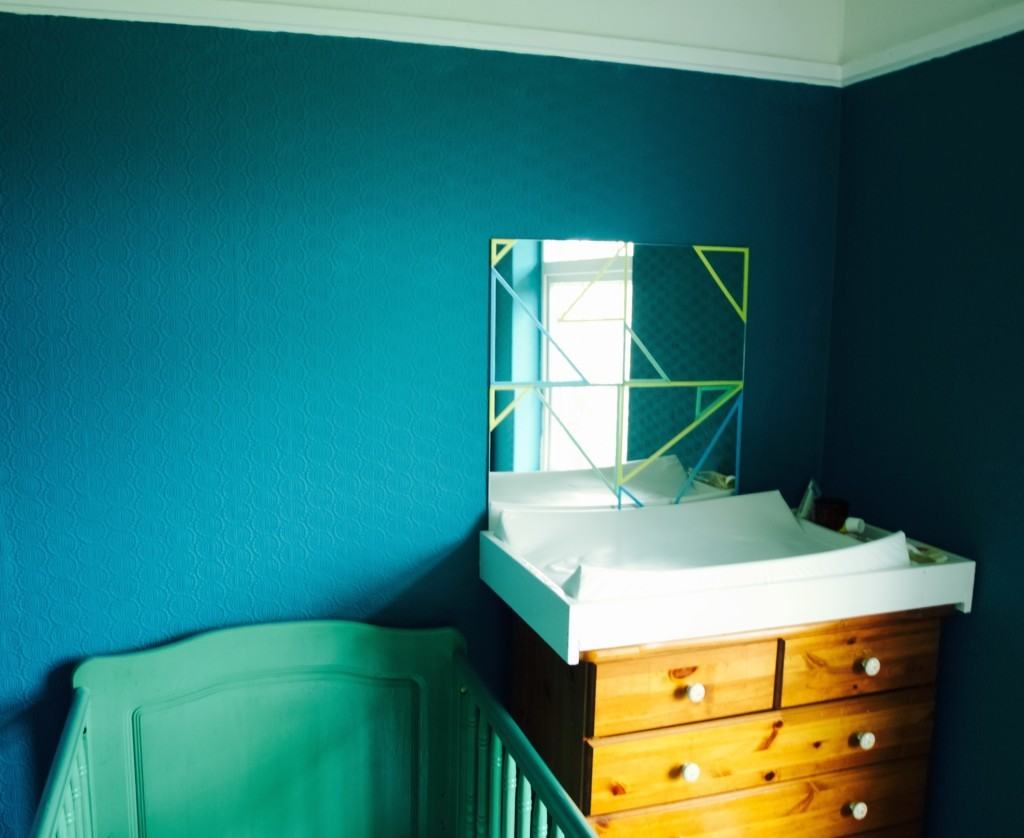
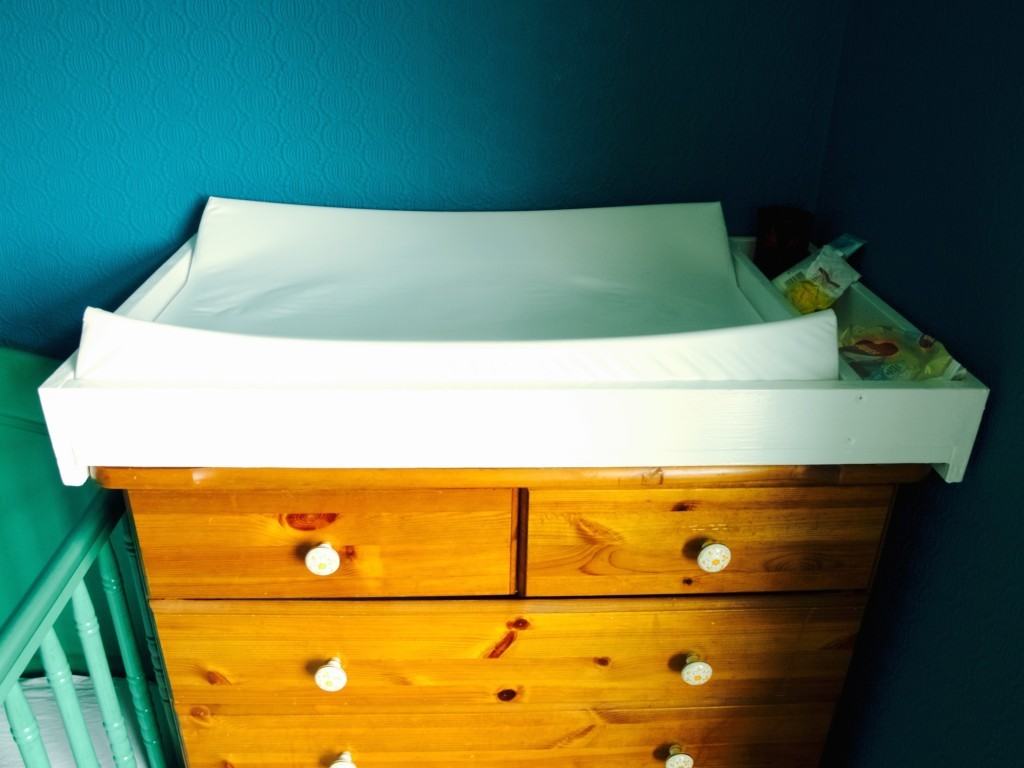
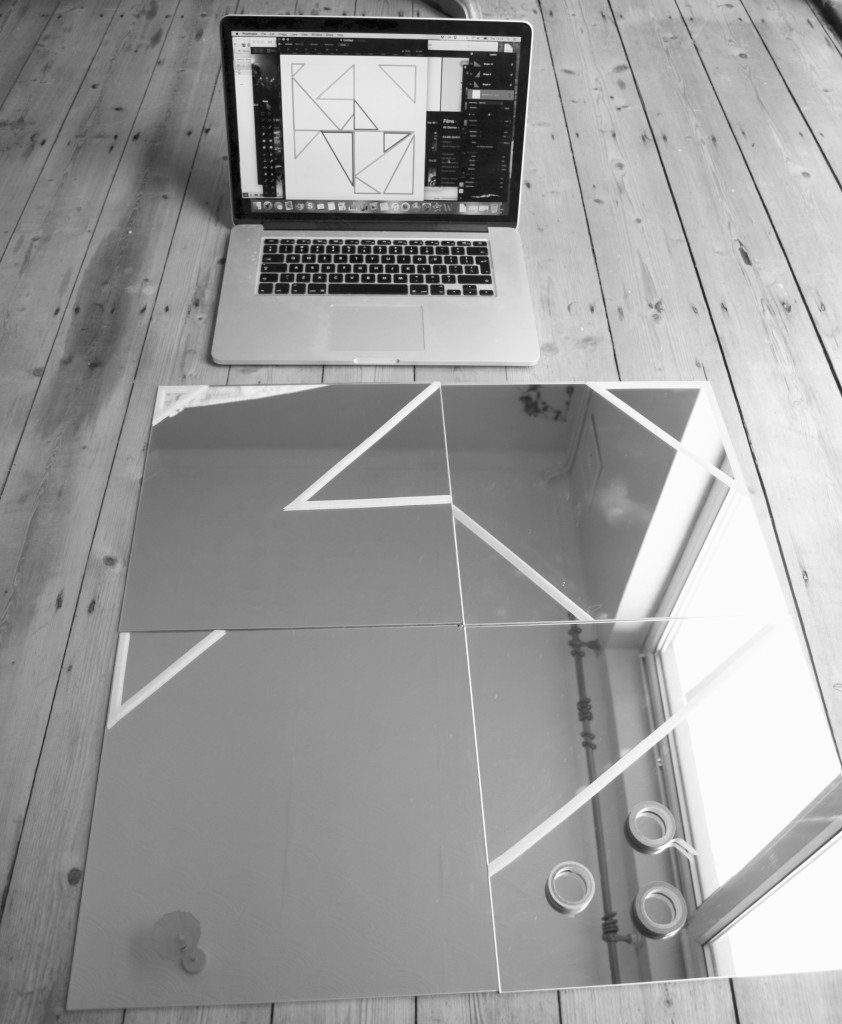
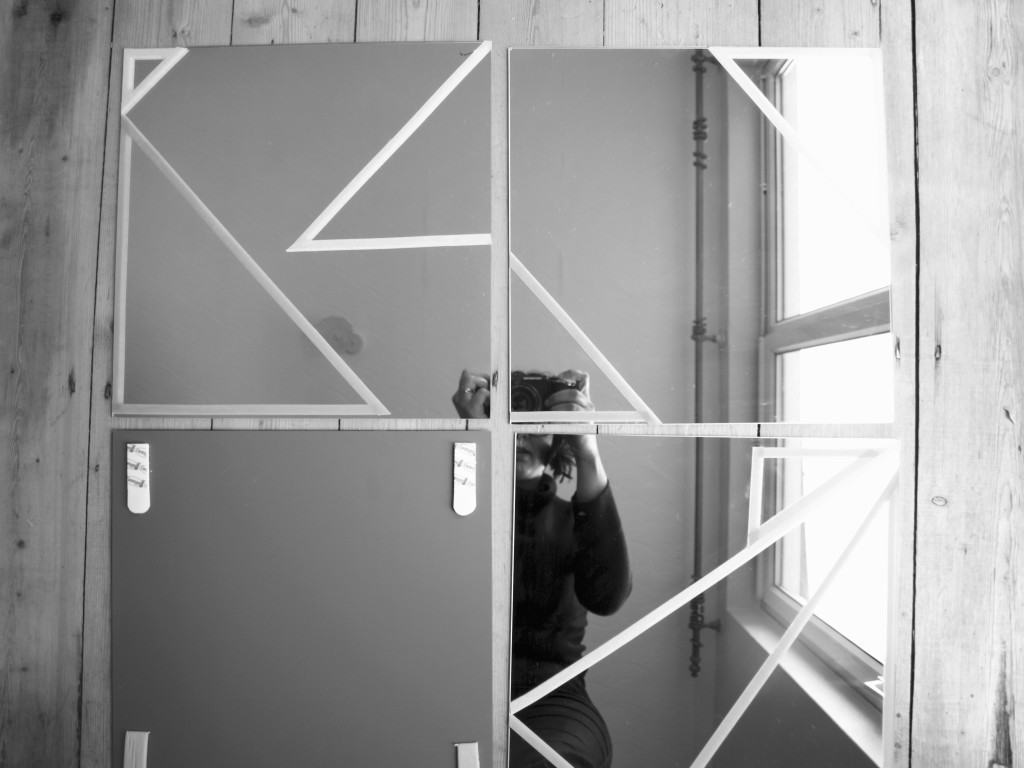
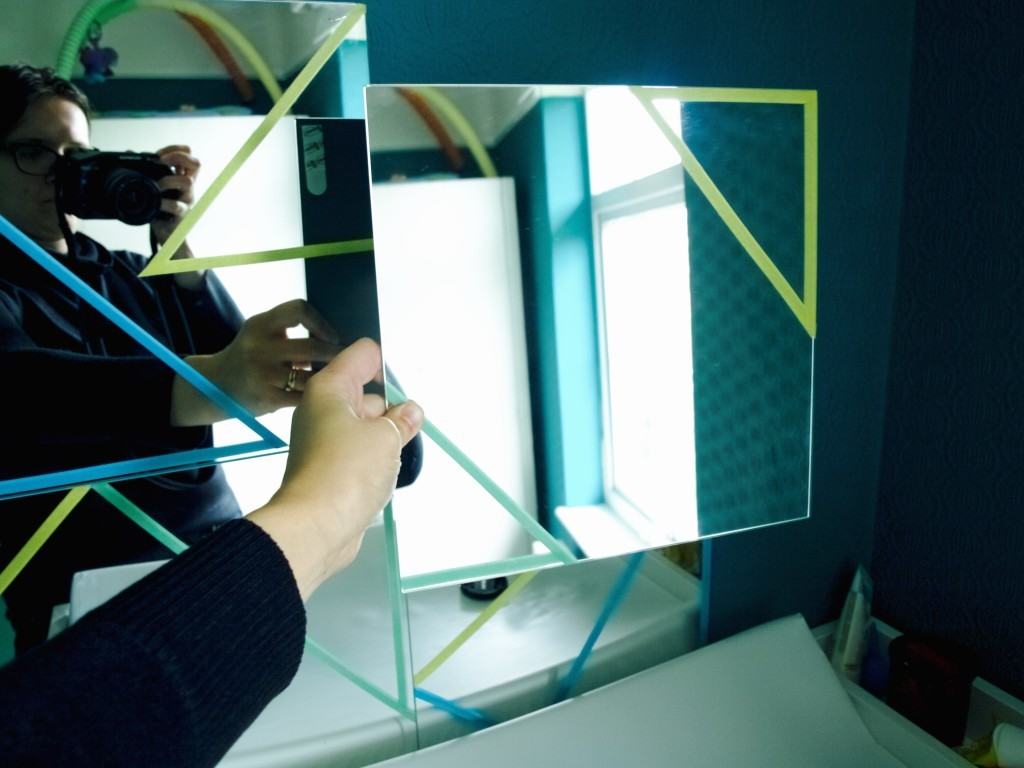
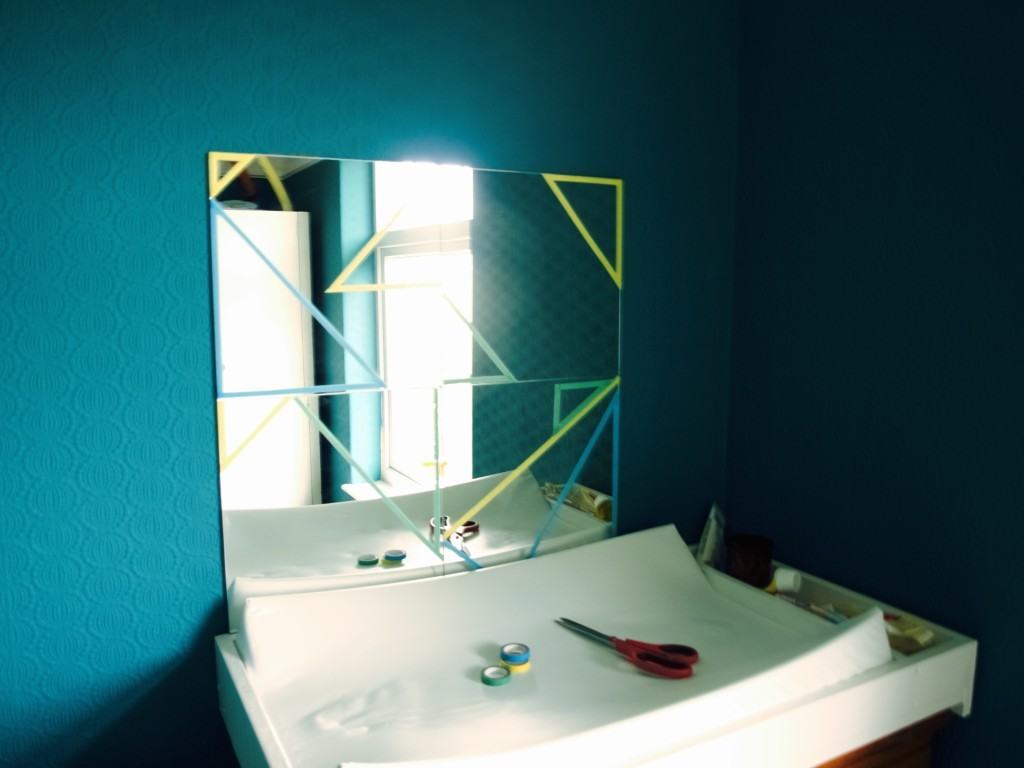
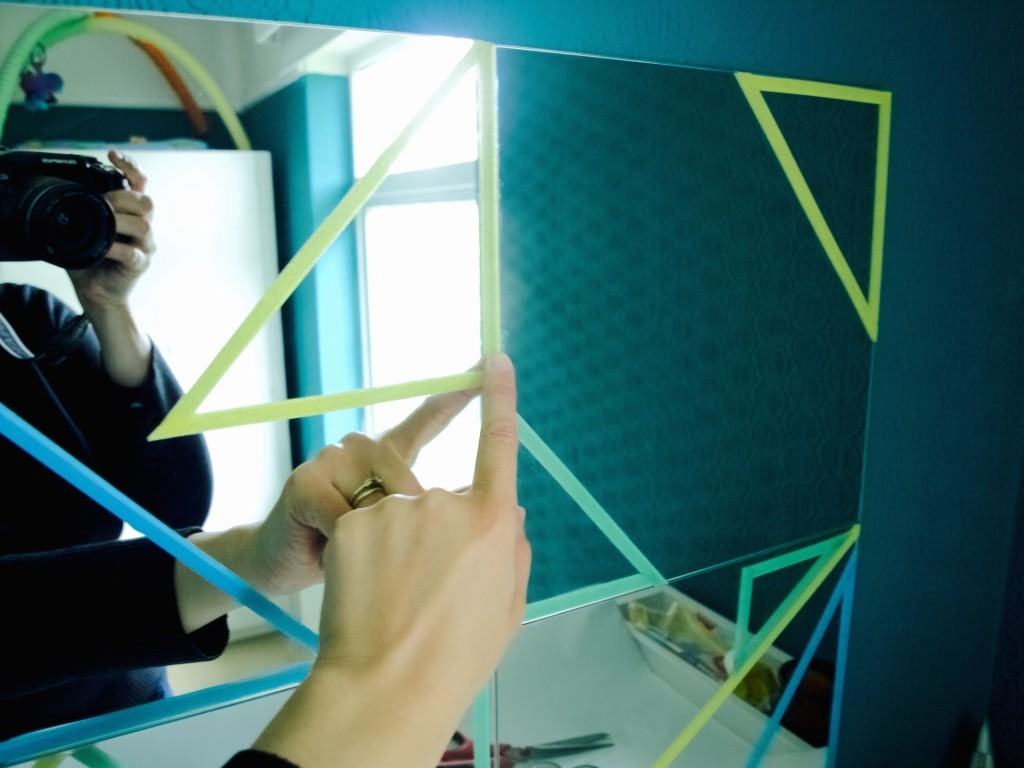
When Lukas learned to roll he never stopped moving. Changing his nappy became such a challenge! This is how the idea of  having mirror over changing unit came about. Since Lukas smiles at the image of himself (he certainly confident about his looks!) I thought having a mirror there would distract him. I of course did not want to spend much money for this so I decided to reuse the mirror I already had. The only issue was with it is that it consisted of squares and I did not like tiled mirror look. This is when I thought of disguising it with geometric design. I got this idea after seeing this mirror in Ikea few months ago.Geometric mirror DIY on the budgetFor this quick DIY I used four 30X30 square mirrors, Command strips (a bit pricey, but it does not damage the wall so win win!), slim washi tape.Geometric mirror DIY on the budgetAs usual I like to plan my design on paper, but it is possible to be spontaneous and create the look as you go. The choice is yours ;-)Geometric mirror DIY on the budget

First I made the initial lines that are not on the mirror joints. Geometric mirror DIY on the budgetThen I applied Command strips on the back ready to apply the mirror squares on the wall. Geometric mirror DIY on the budget Geometric mirror DIY on the budget Geometric mirror DIY on the budgetFinally, I applied finishing lines on the mirror where they meet so they all concealed. Geometric mirror DIY on the budgetI am very pleased with the outcome of this mirror. The only thing that I am not 100% happy is the colour of washi tape when is on the glass. I was expecting it would be bright and bold, but now it rather look pastel. On the other hand Lukas just don’t care while applying multiple fingerprints on it. I guess I will have to clean it often to maintain the look. Will let you know if this design lasts.Geometric mirror DIY on the budgetHope you feel inspired!

Rasa xoxo
0

Our Christmas tree this year

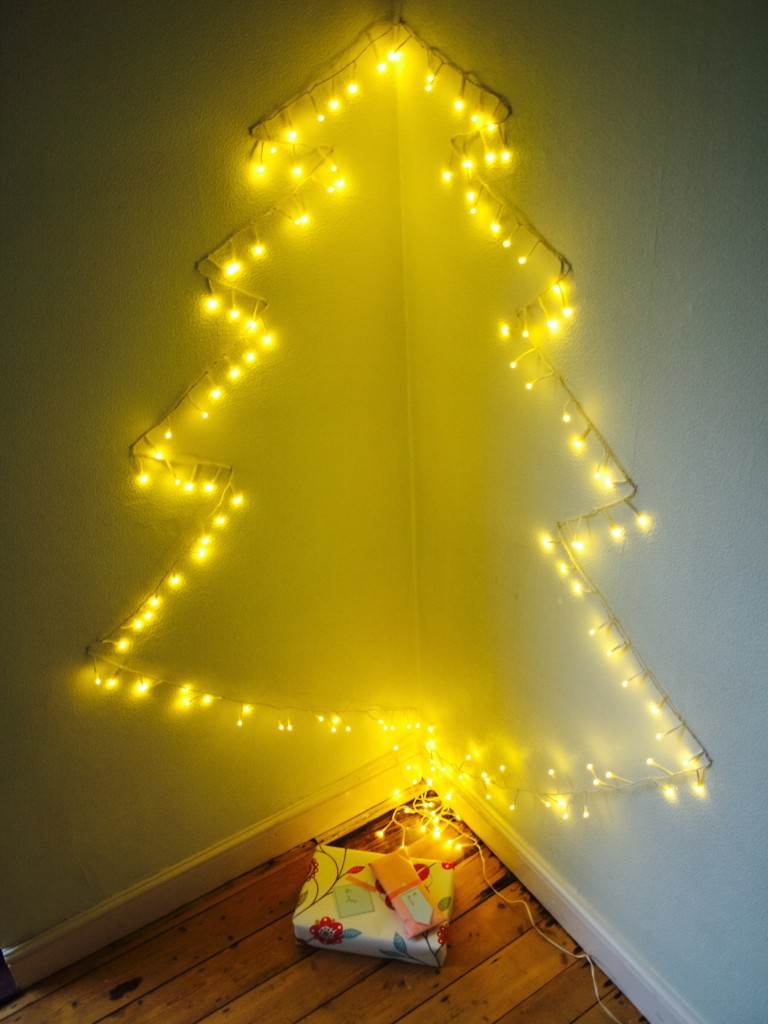
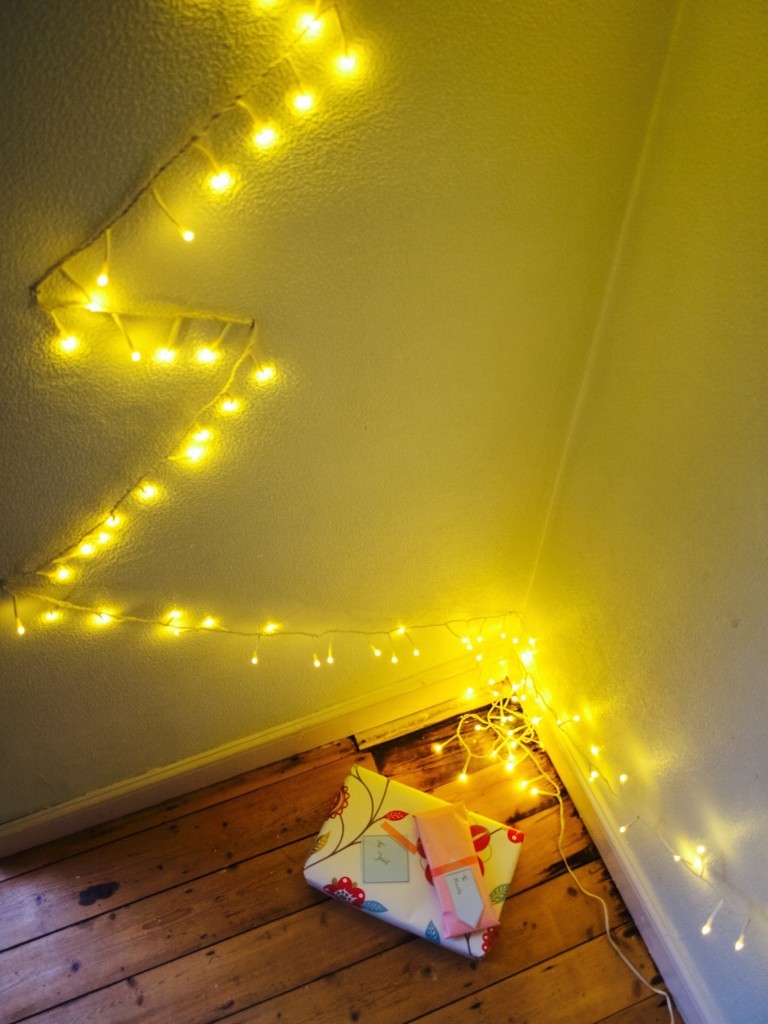
DIY fairy light Christmas tree I was about to say no to Christmas decorations this year (with all that going on in the house), until I remembered it can actually hide all the ugly interiors that we are not able to amend just yet. Few years ago I posted about controversial Christmas tree DIY’s, I picked fairy light christmas tree for this years focal (and only) Christmas deco for our house. It is so simple to make that I could almost do it with a baby in one hand!

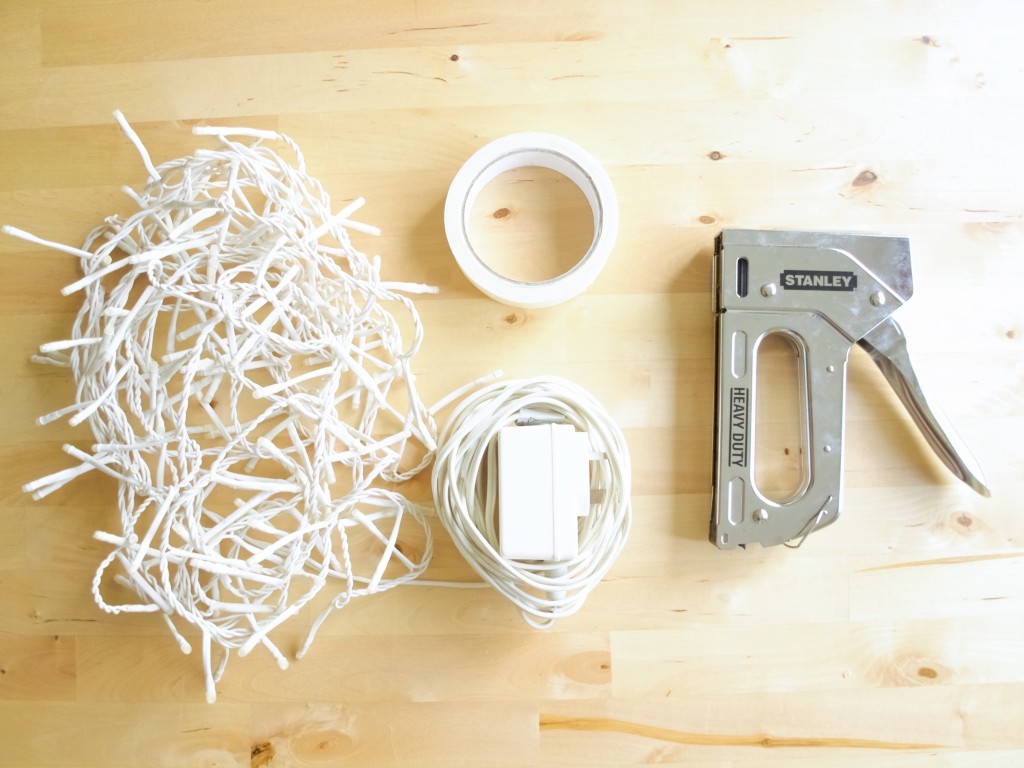
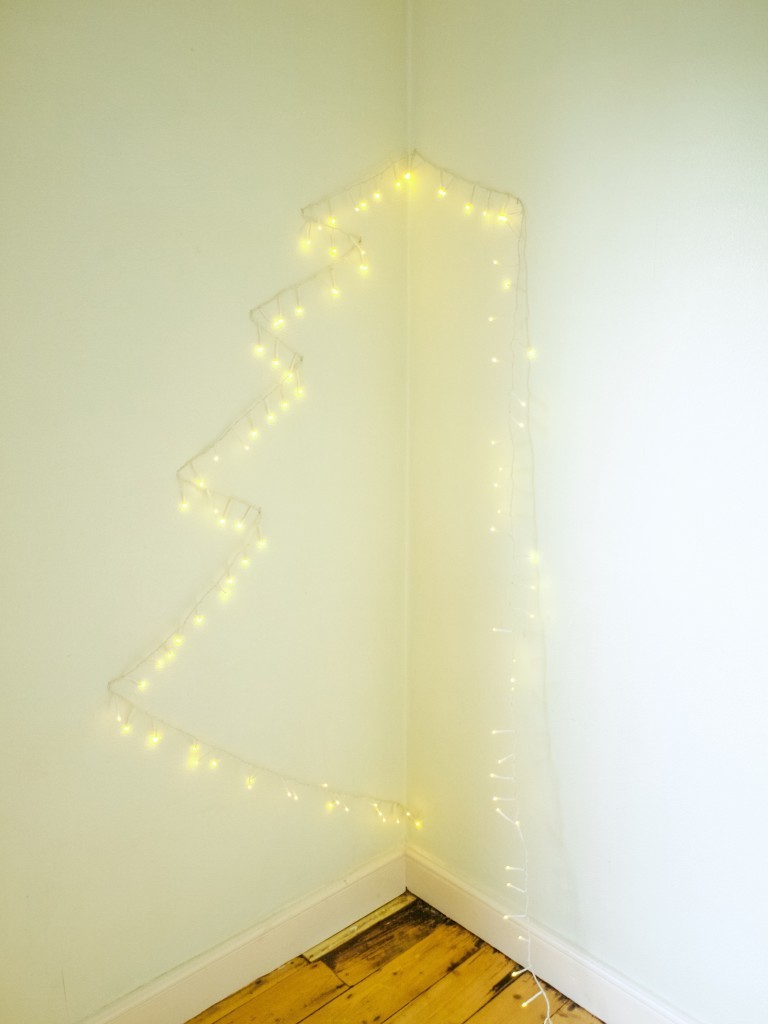
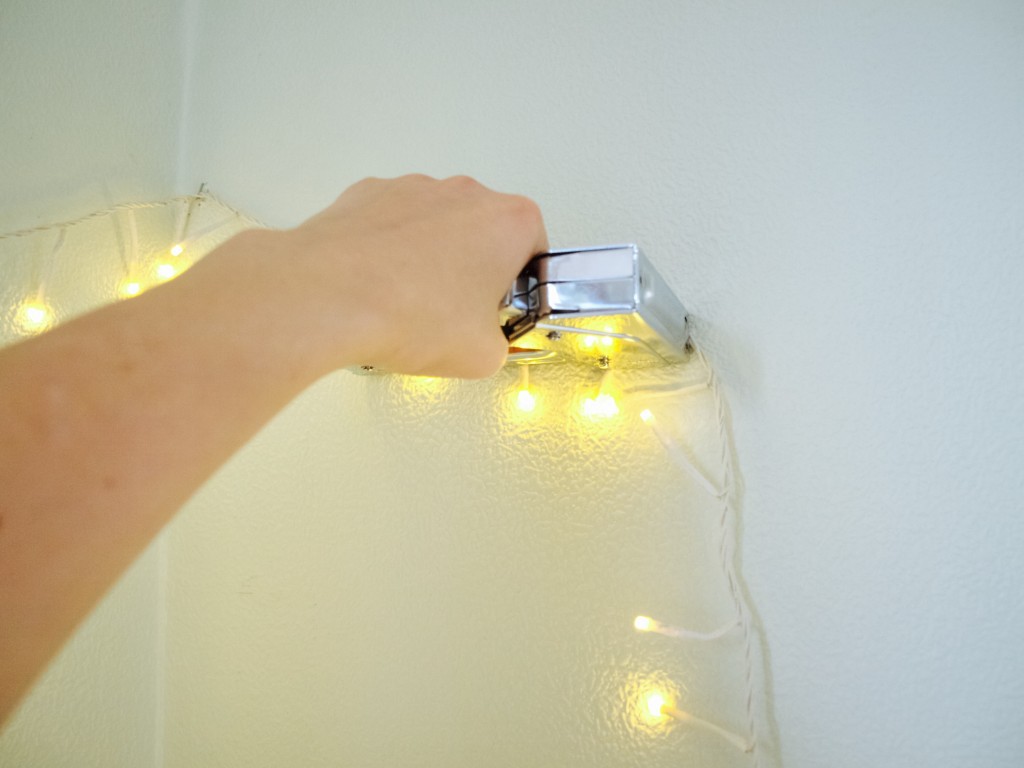
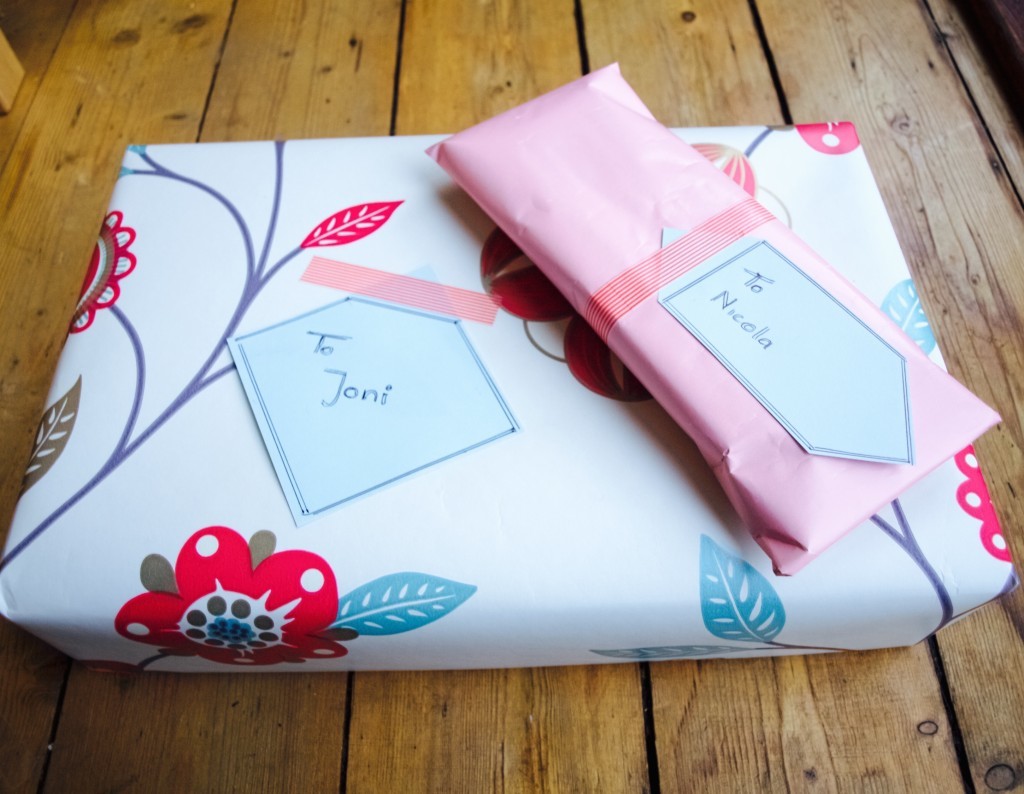
To make this fairy light Christmas tree you will only need 1. fairy lights (I had them since my house warming party in London!), masking tape & scissors (for attaching the lights onto the wall) and/or staple gun (more aggressive tool for attaching lights onto the wall if masking tape does not work).  DIY fairy light Christmas tree DIY fairy light Christmas tree I used a staple gun to attach and arrange the fairy lights onto the wall in fir tree shape because the masking tape just would not stick to the textured wall paper. I know you might be thinking that staple gun would destroy our walls. Well… yes and no! We are painting those walls among other things next year, so we will be treating and fixing those minor damages before doing that anyways. But I do agree the staple gun may not be a right tool for everyone (especially if you re living in the rented place).DIY fairy light Christmas tree As for gift wrapping I have been using what I have in the house (such as leftover wallpaper from London house I owned). I sort went with Art Deco style I would say (I am so in love with Art Deco style at this moment!).Christmas gift wrappingDIY fairy light Christmas treeHappy Christmas waiting!

Rasa xoxo
0

How we fitted a light fitting (+upcycled an old glass lamp shade)

New lamp fitting As you may all know that we are working our bedroom to be while sleeping in our future office/craft room/guest room. Can’t wait till we move into our actual bedroom!

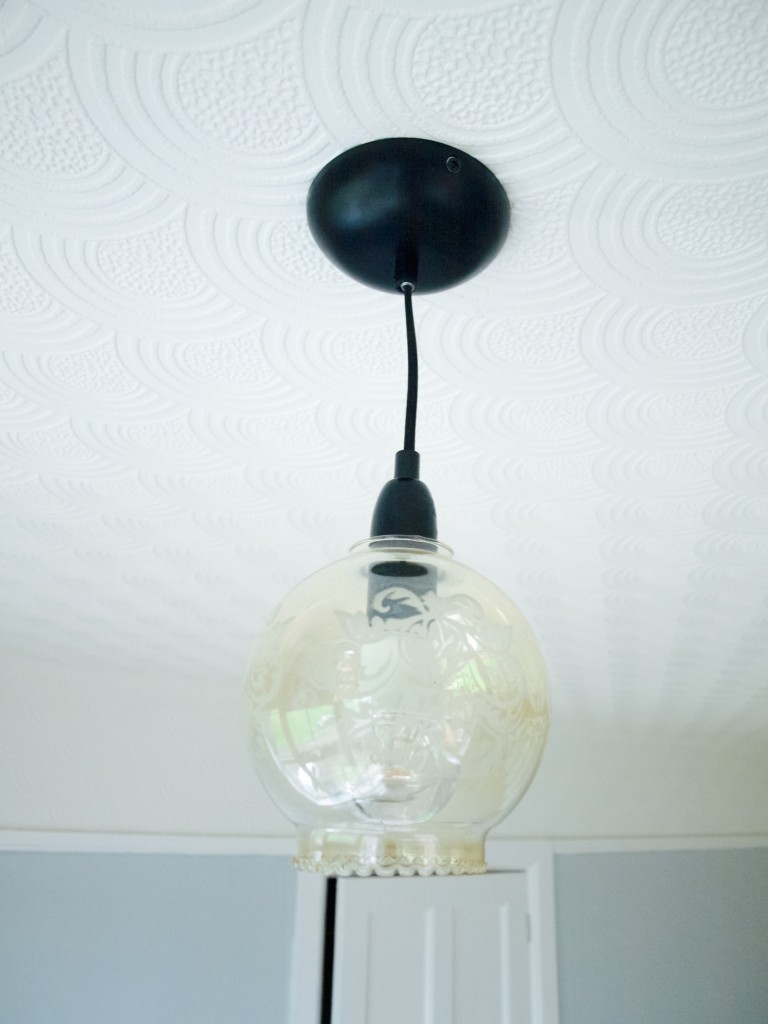
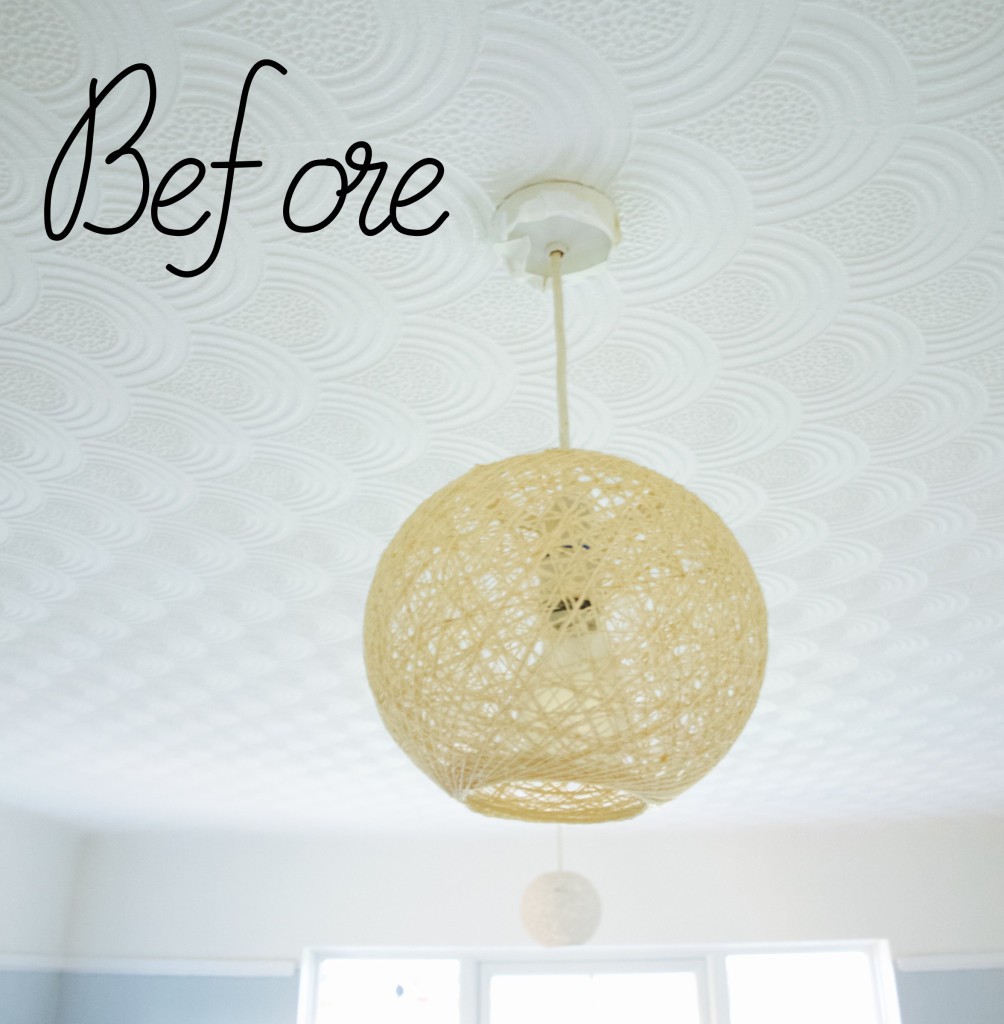
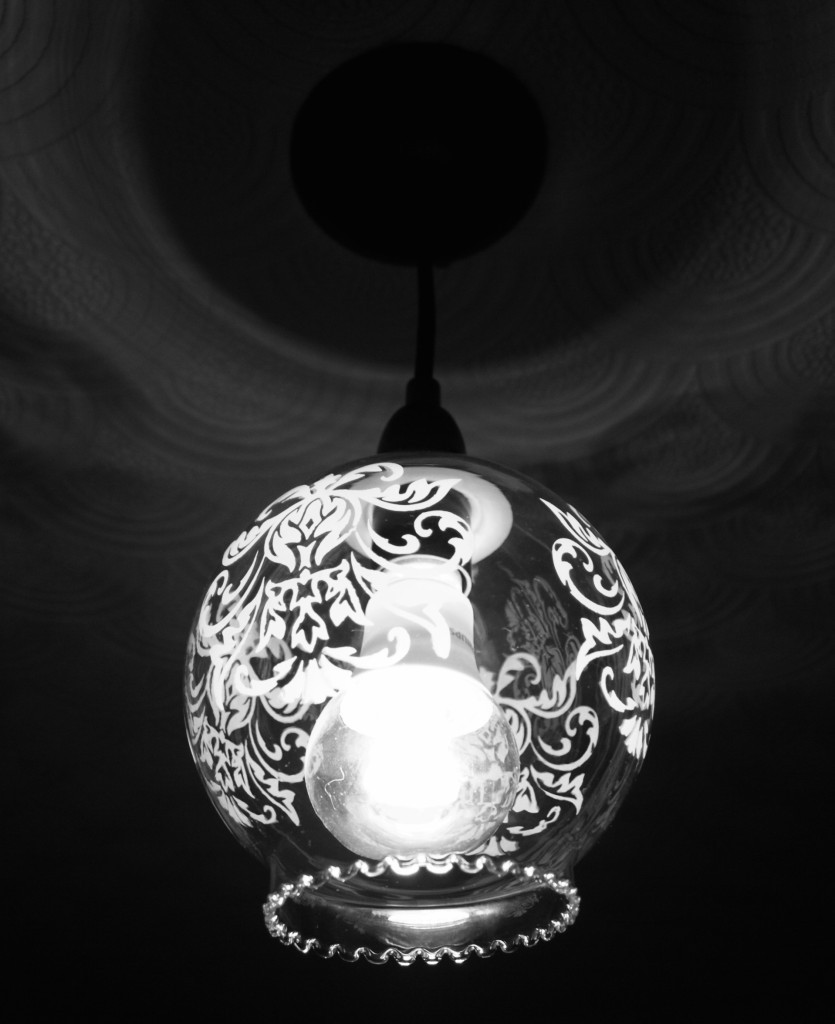
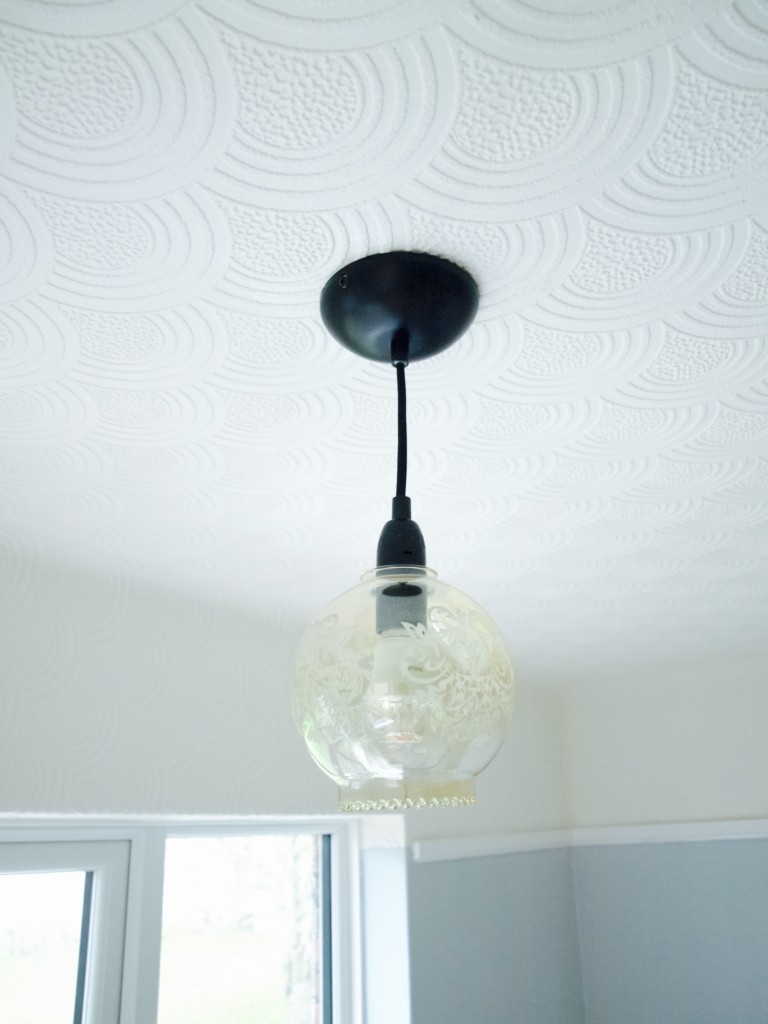
Today I would like to share about our lamp fittings that we installed recently. they only costed us few pennies (under £10 to be specific)! Yey! Thats because we reused some lampshades that we had in the corridor (I love to be able to use whats already in the house!). All I needed to do is buy the basic lamp fitting ;-). The lamp fitting beforeNeither of us are electricians so this is not a step by step guide how to wire the light fitting. Every house can have a different wiring so it would be pretty difficult to cover all here anyways. I fitted light fitting before which was pretty basic as it was a very similar one to the one I had to replace. I remember just removing old fitting wires and replacing with the new fitting wires in exact same way as it was. I guess I was lucky that time as that light fitting was not connected to any other light fitting in the house.

Before you begin it is very important!!

  • to switch off the lights and the electricity on the distribution board (that box with the switches).
  • start working (touching the wires) with the right hand, not both!

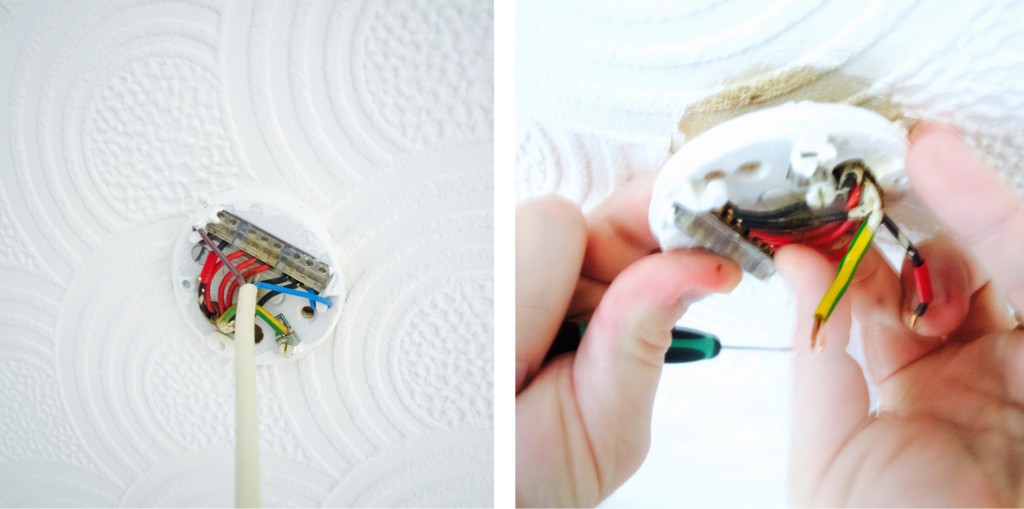
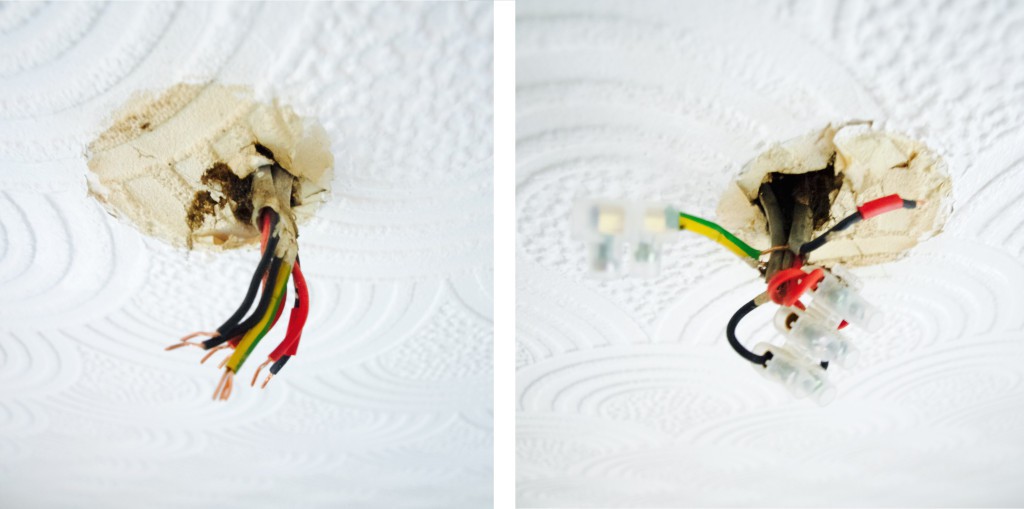
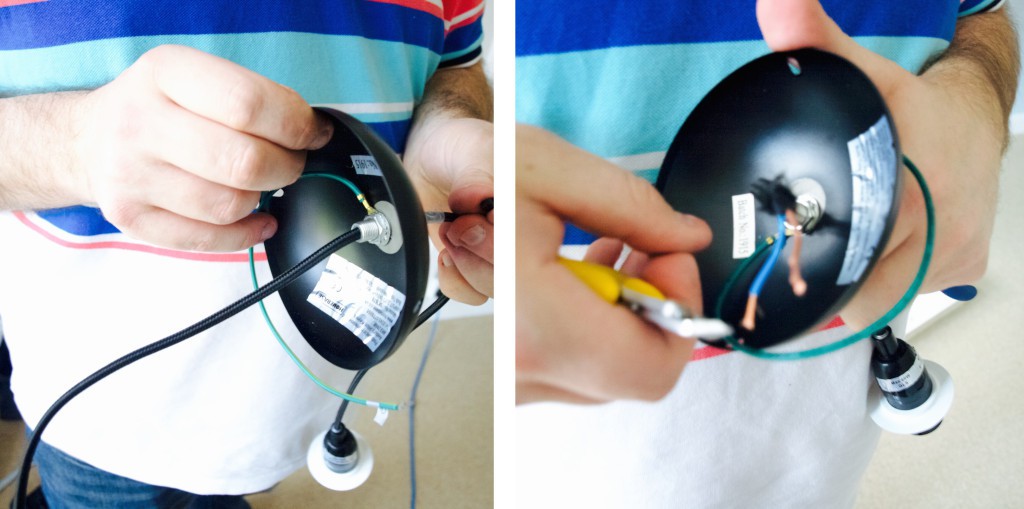
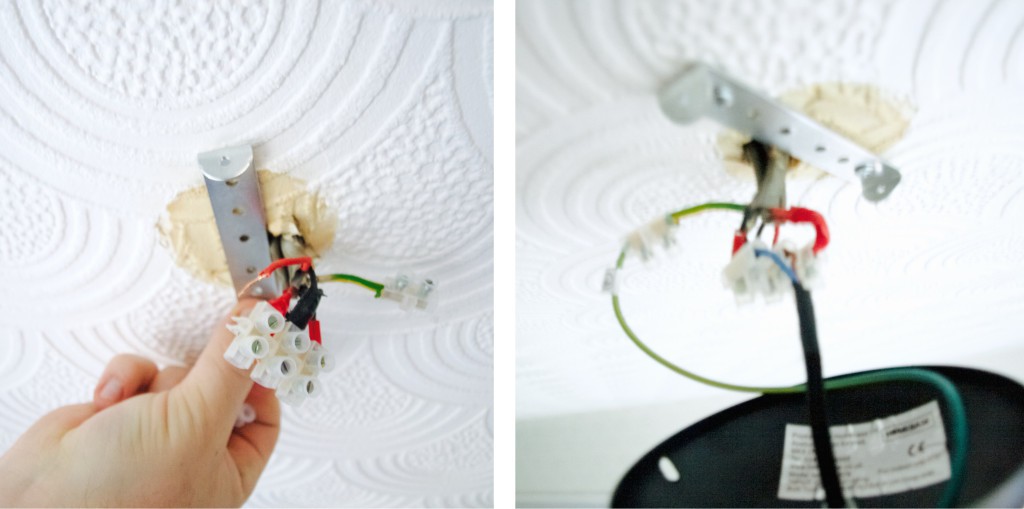
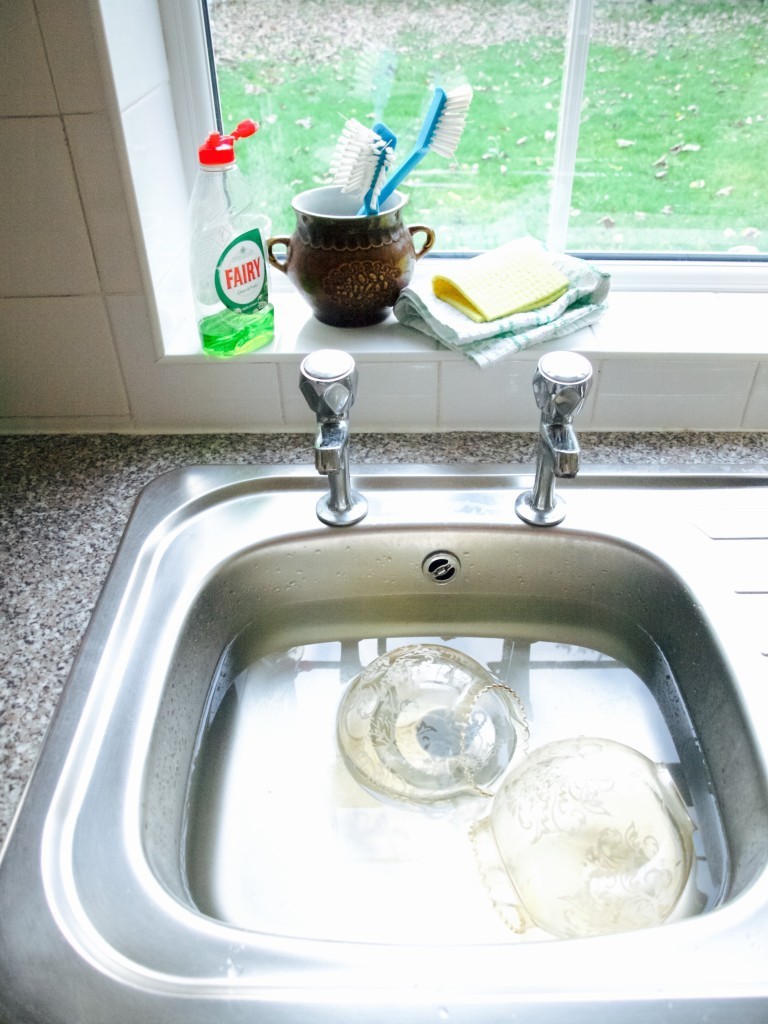
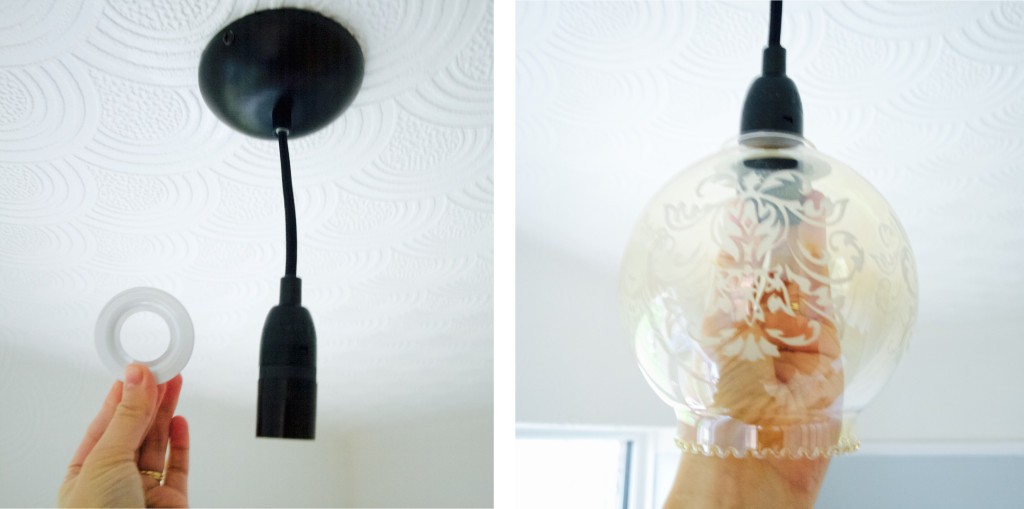
So to replace the light fitting in our new house we had to follow very a similar routine (even though the wiring is completely different and very very old). First we removed the cover and bit by bit unscrew the little screws on the connector that were holding all the wires. Eventually the light fitting base got freed! Removing light fittingThen we connected the ceiling wires back to the new connector. Joni used this guide in order to connect old type of wires with new.Connecting wires with the connectorWhen the wires on the ceiling were ready, we had to prepare the light fitting we bought for the fitting. Unfortunately it was a very long fitting perfect for high ceilings or landings, but not so good for our bedroom. Luckily Joni was able to adjust the length of it! He pulled the wire cord inwards, then cut it to required length and stripped the insulation leaving two wires open (neutral and live).Adjusting lamp fitting lenghtWe then attached the light fitting bracket onto the ceiling that suppose to hold the fitting itself (don’t worry, this comes with the fitting you buy). After fitting wires have been connected to the connector on the ceiling we closed it off by attaching the light fitting itself onto the bracket.Fitting in the lamp fittingFinally we are ready to hang the lampshade on the light fitting. Our lampshade was a glass ones so to restore it all we needed to do is to clean it! I dipped the lampshades into the soapy water, wiped it with the soft sponge and carefully dried it with the clean tea towel.To hang the lampshade I used shade reducer. I unscrew the light fitting skirt, inserted the lampshade then the reducer and finally put the skirt back on. Attaching lamshade onto the light fitting with adaptor:reducerHow we installed new light fittingHow we installed new light fittingI hope you found this useful!

Rasa xoxo
0

My journey in chair upholstery

My journey in chair upholsteryToday I have decided to finally share my experiences in upholstery. I know this may not be the simplest project to start with, but I have learned so much from it! Of course I did not do this alone, my mum-in-law and her friend Mariane helped me a lot with their knowledge. Now looking back, I can’t believe it is still the same chair!

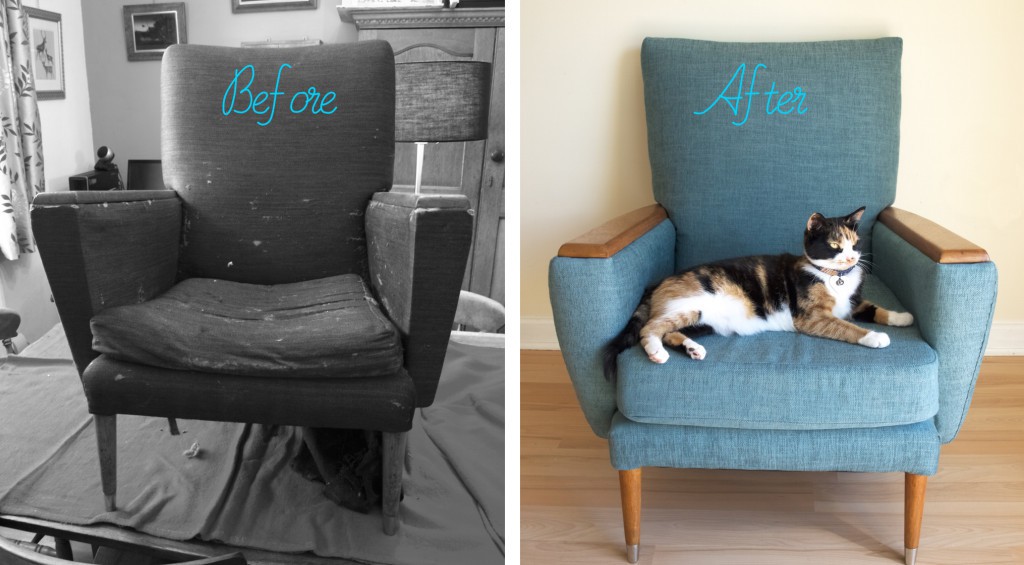
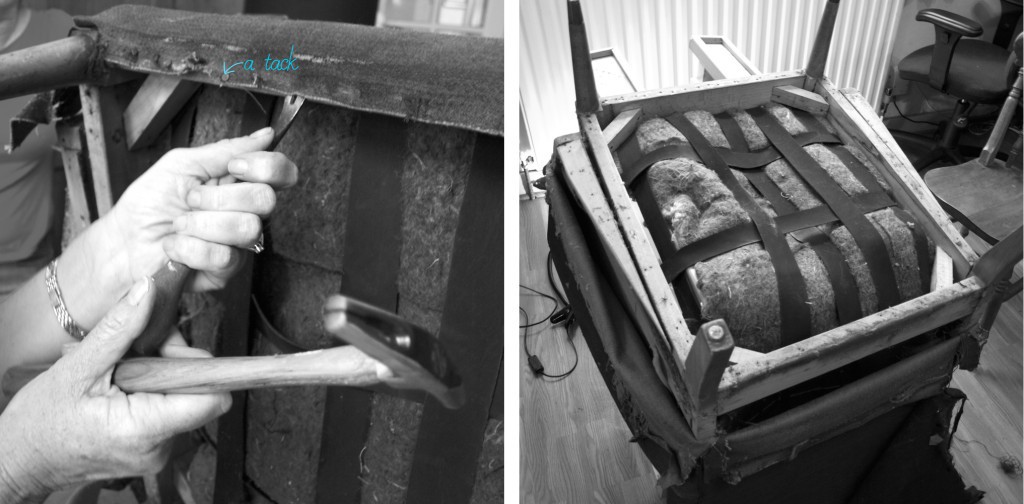
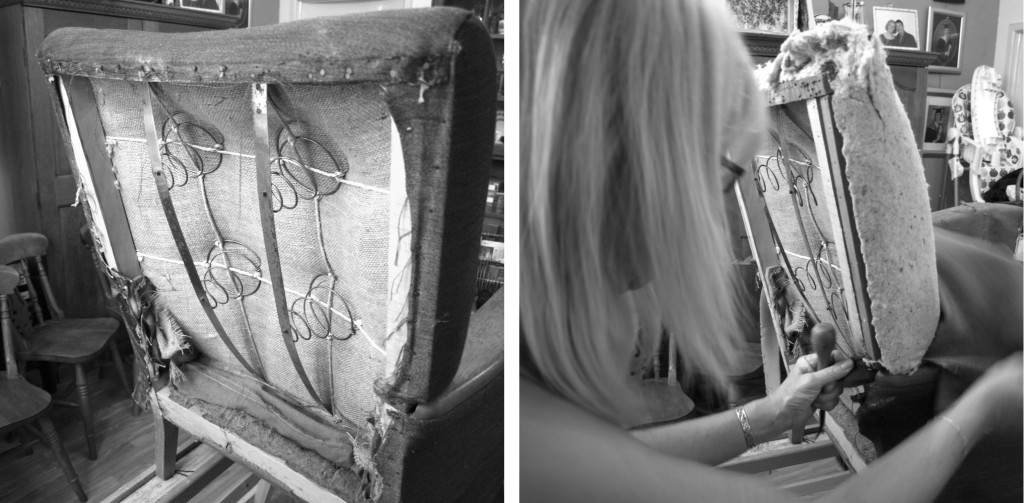
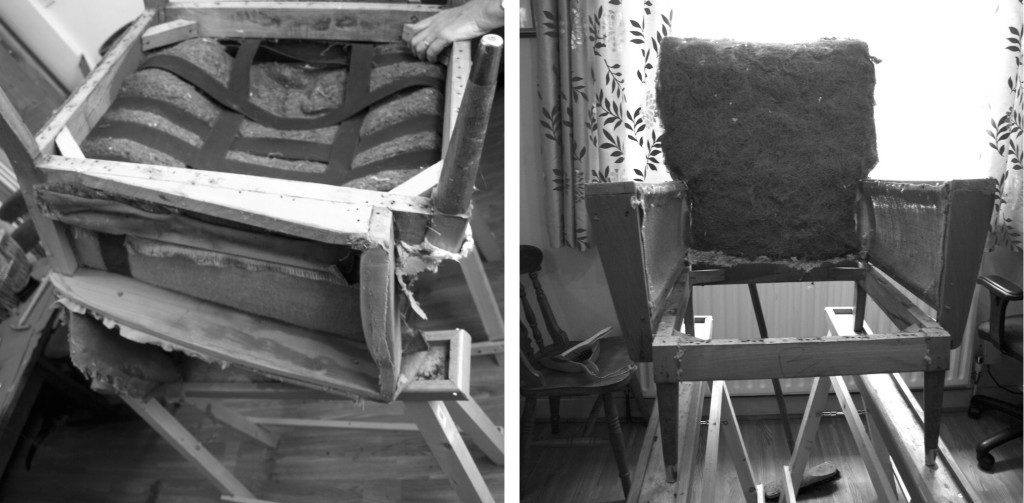
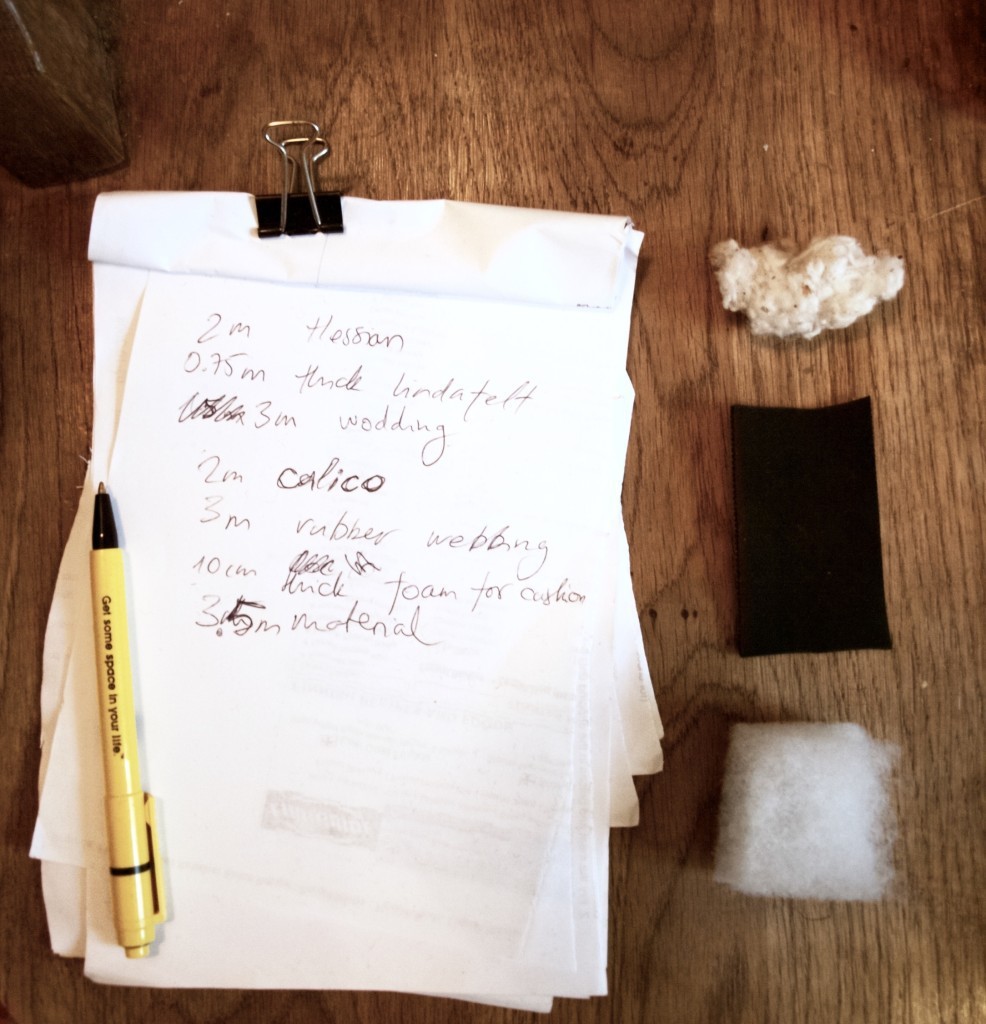
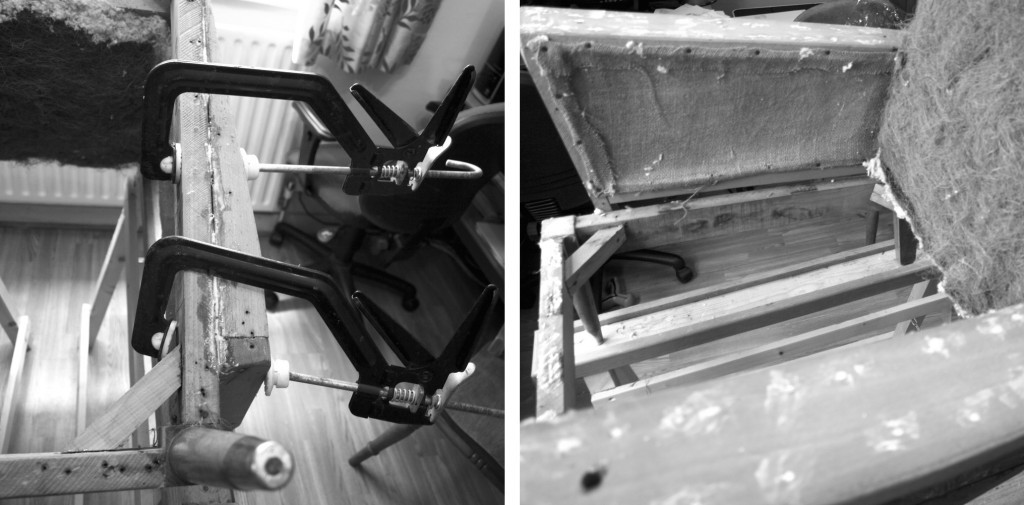
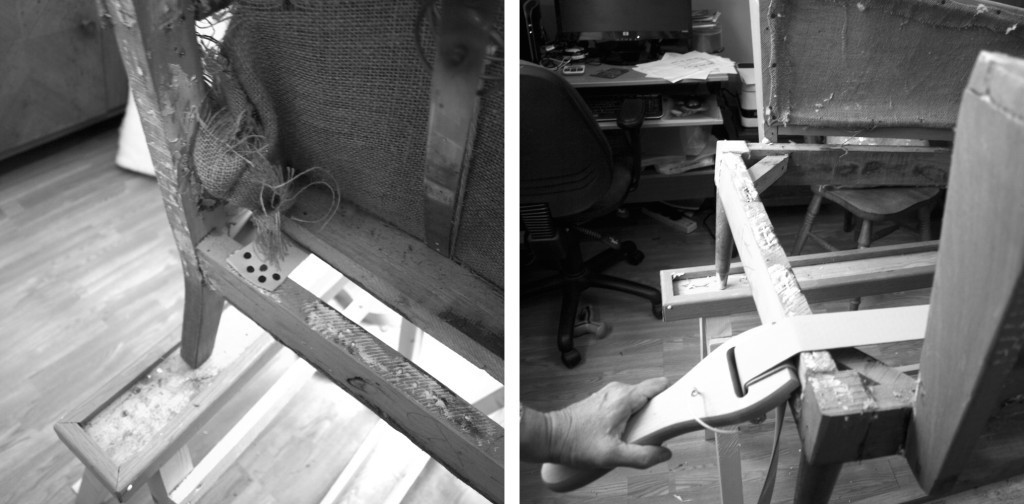
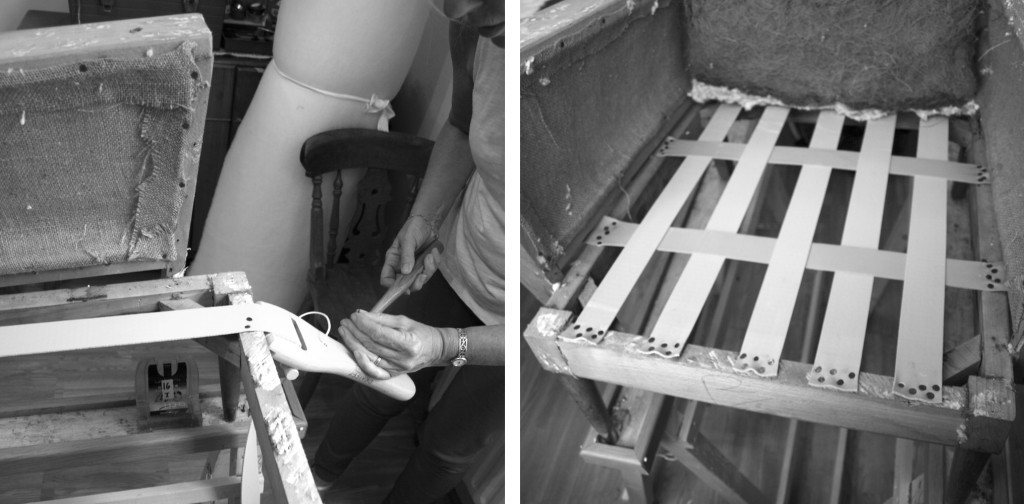
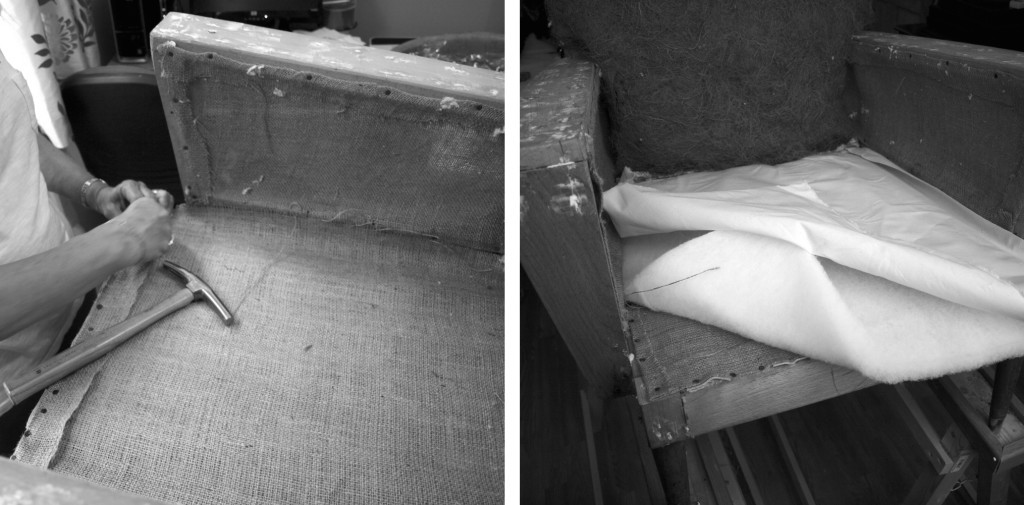
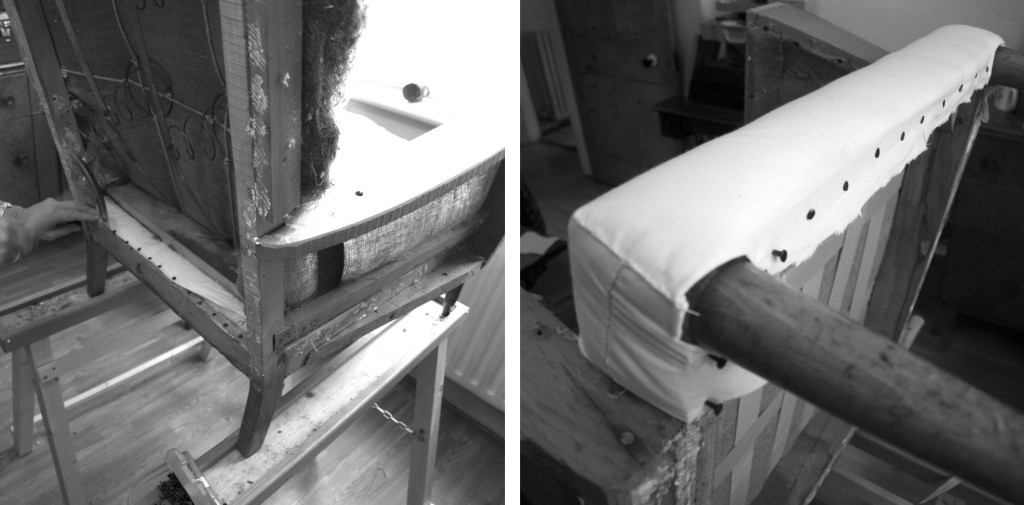
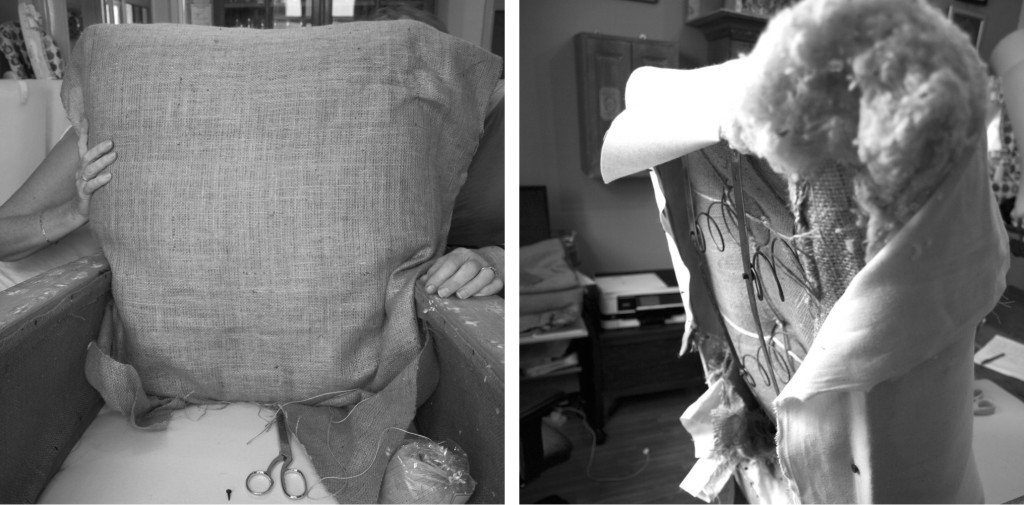
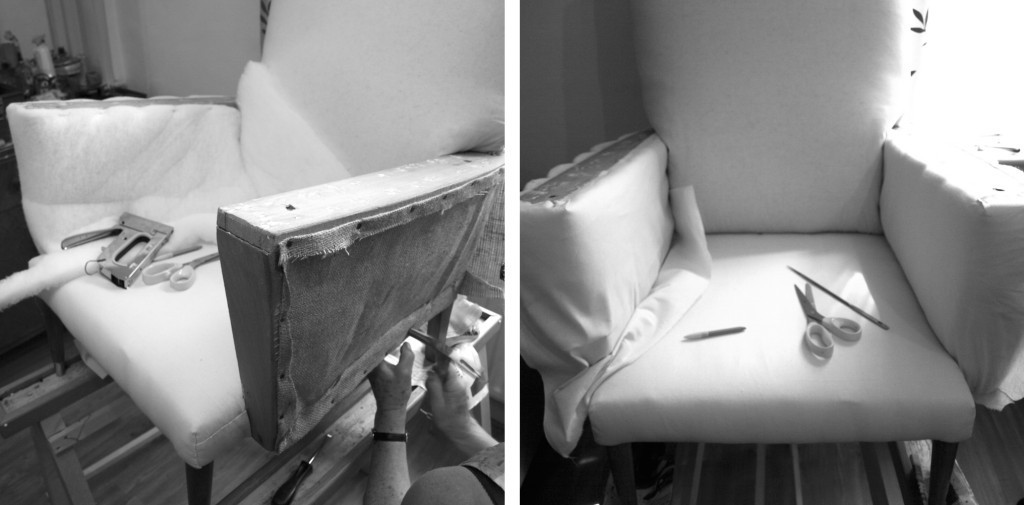
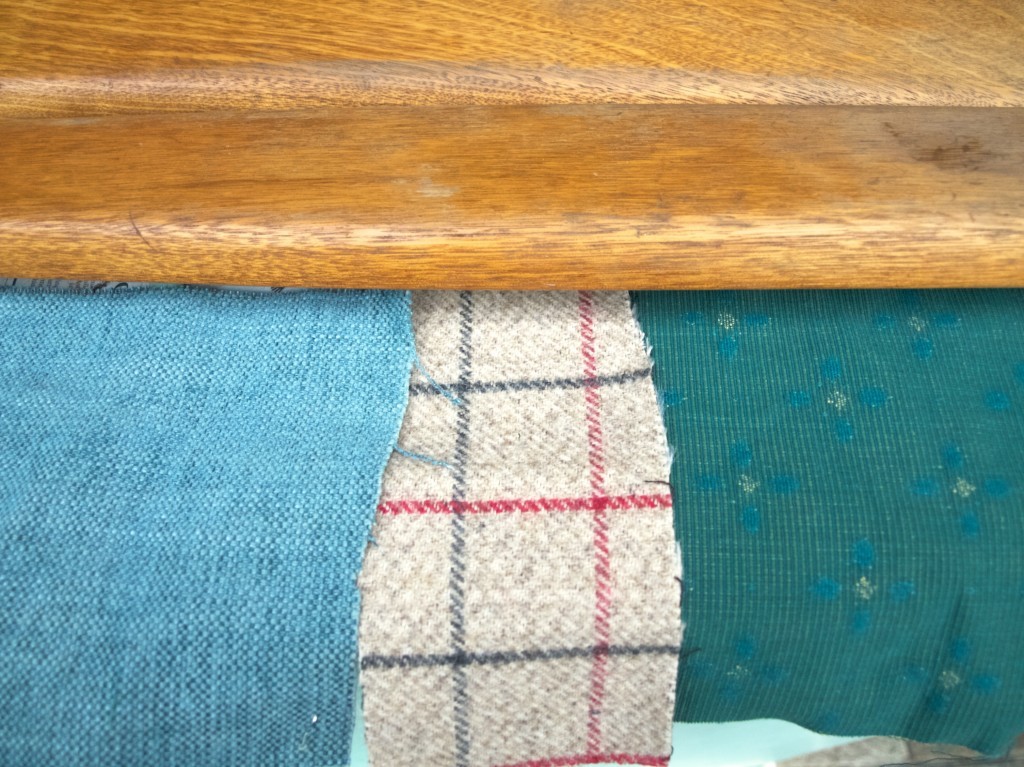
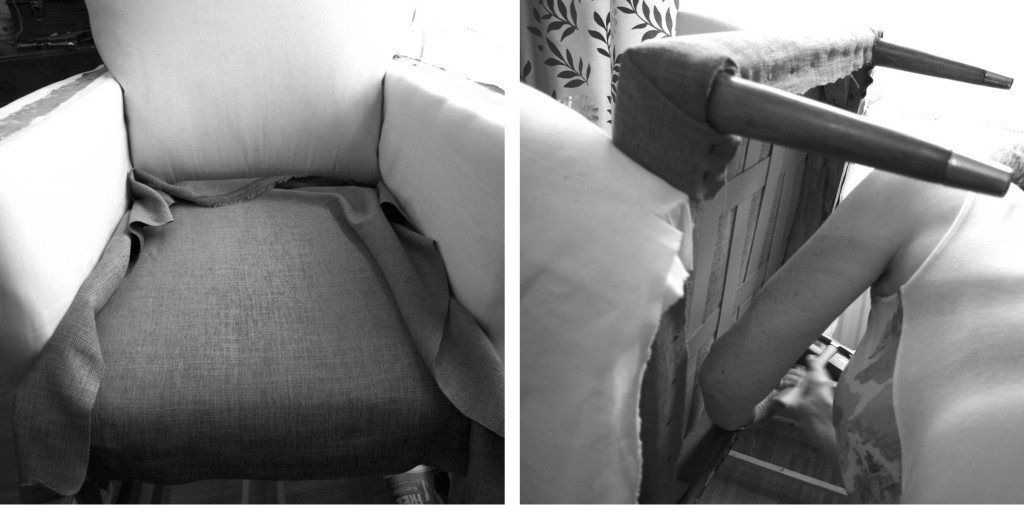
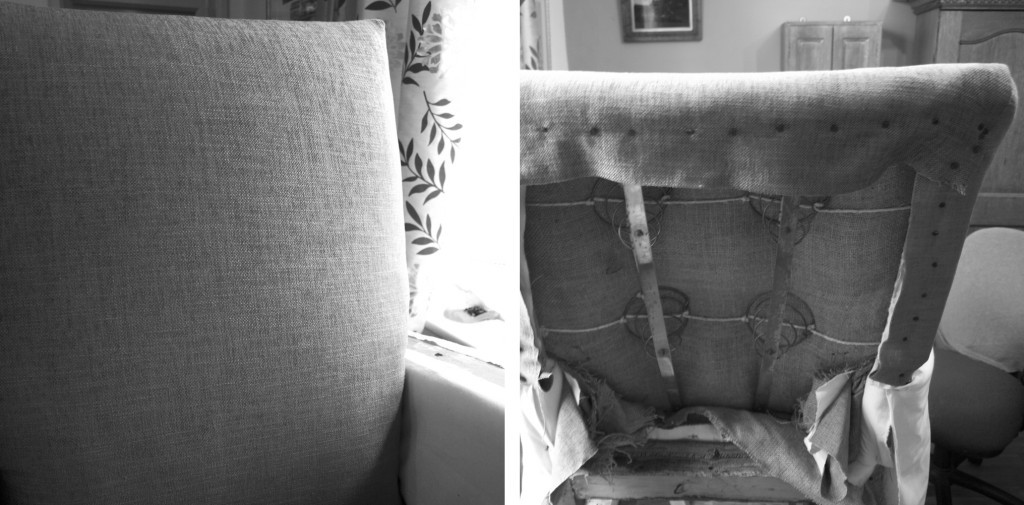
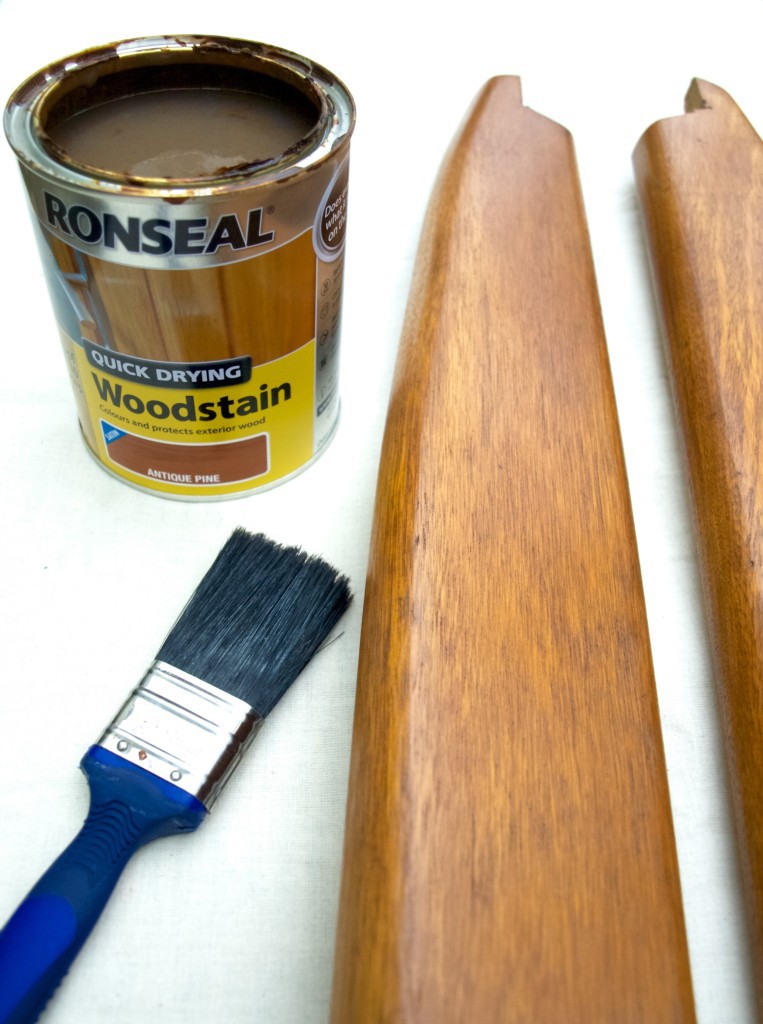
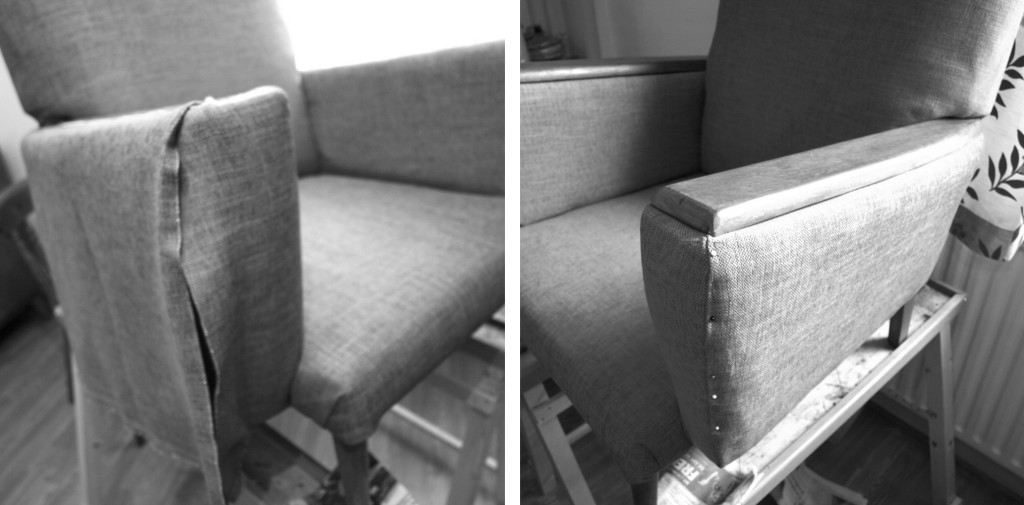
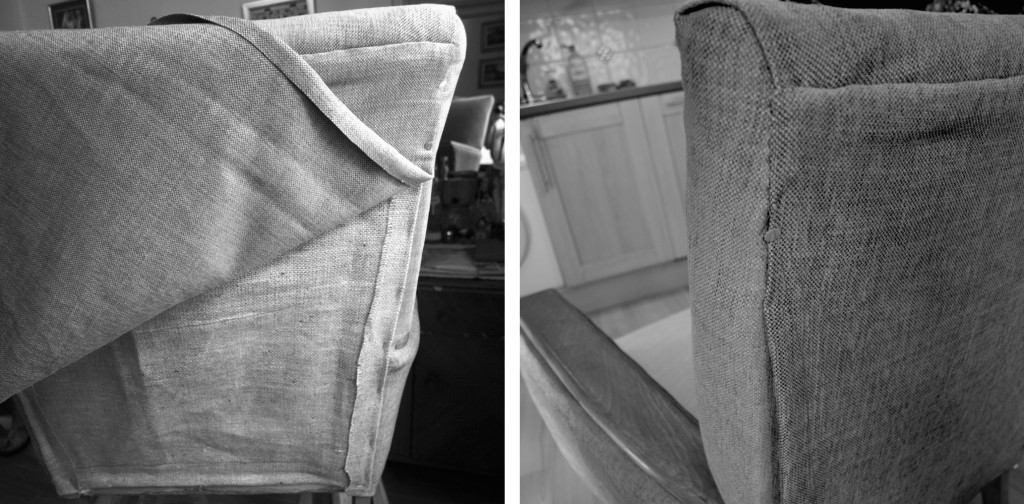
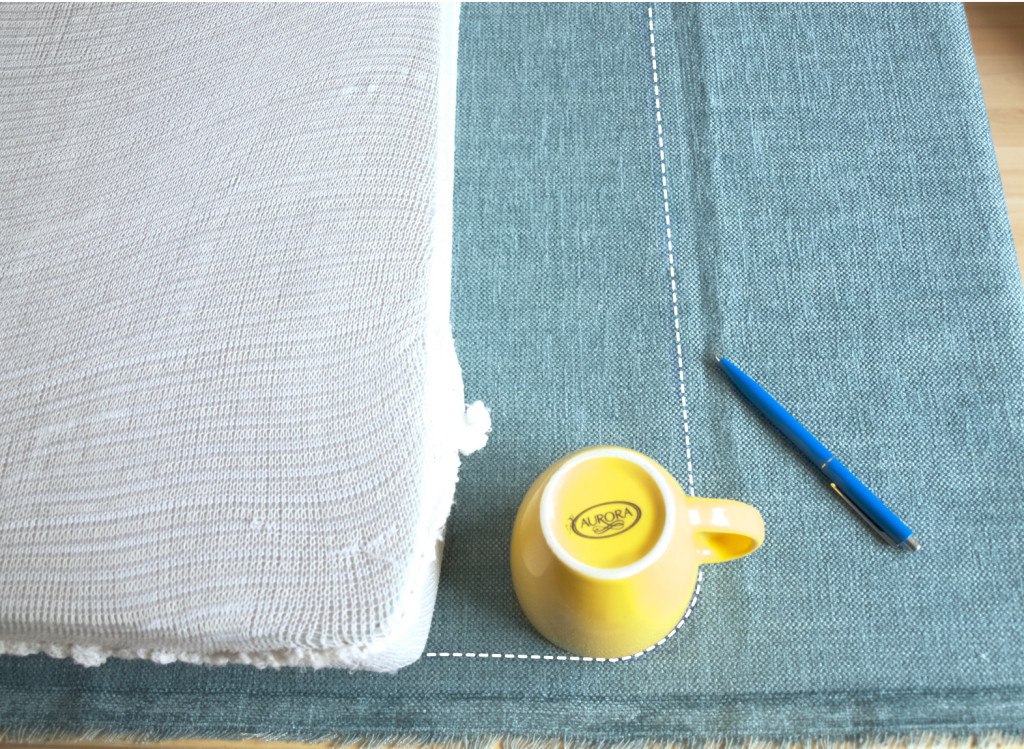
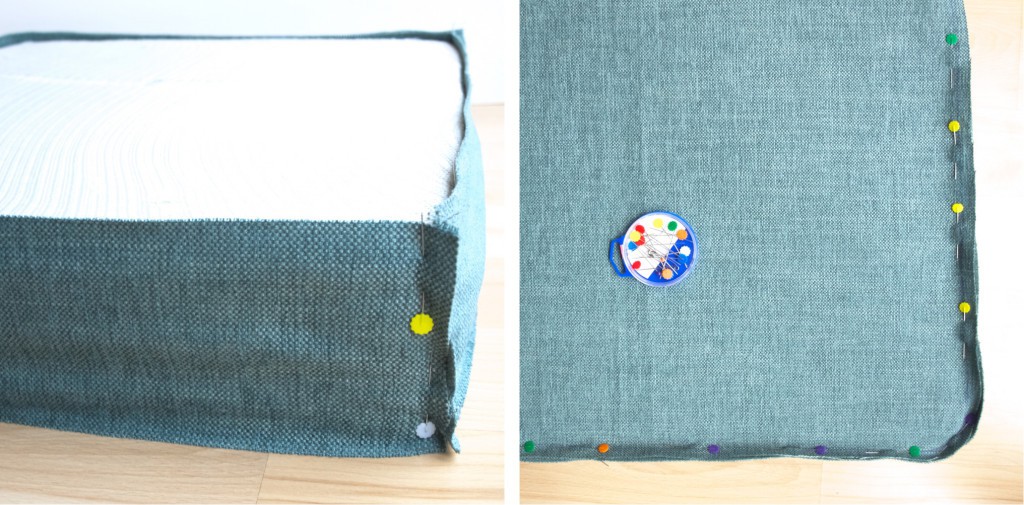
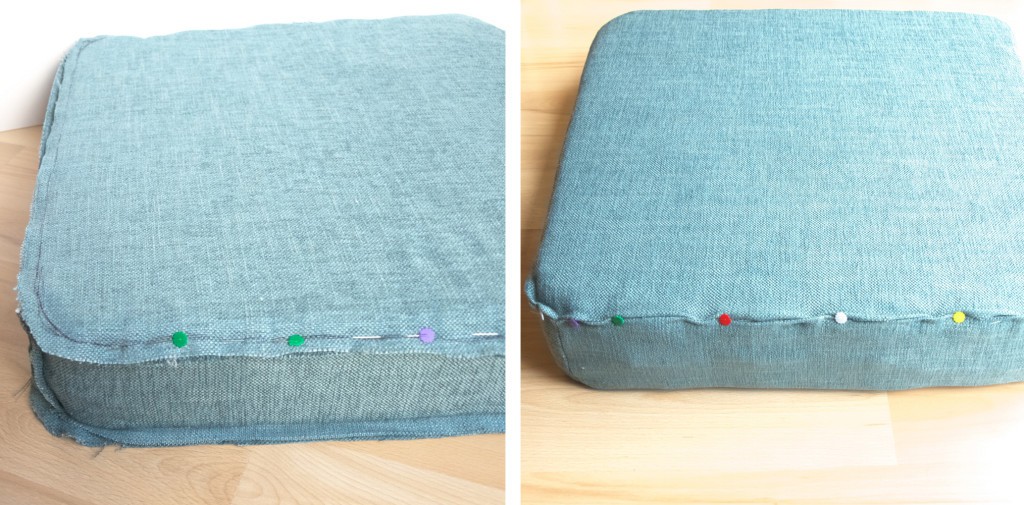
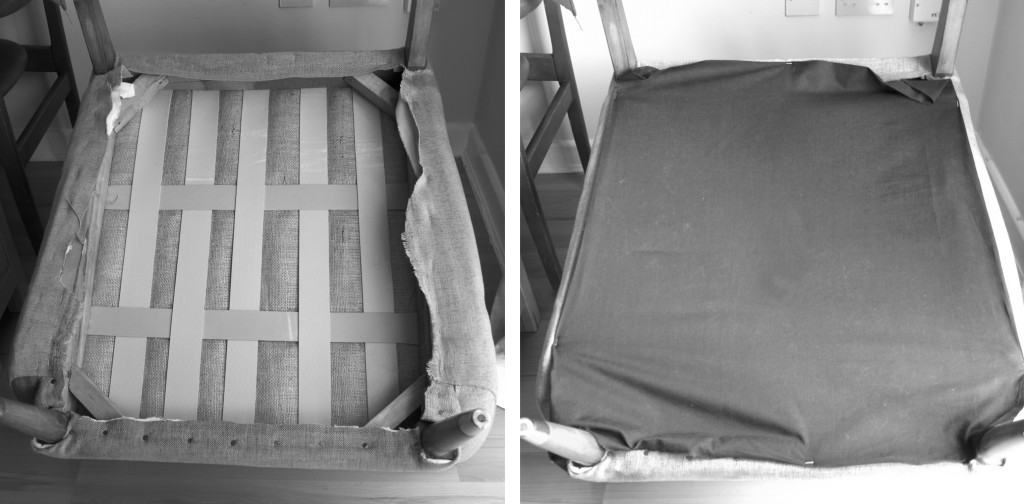
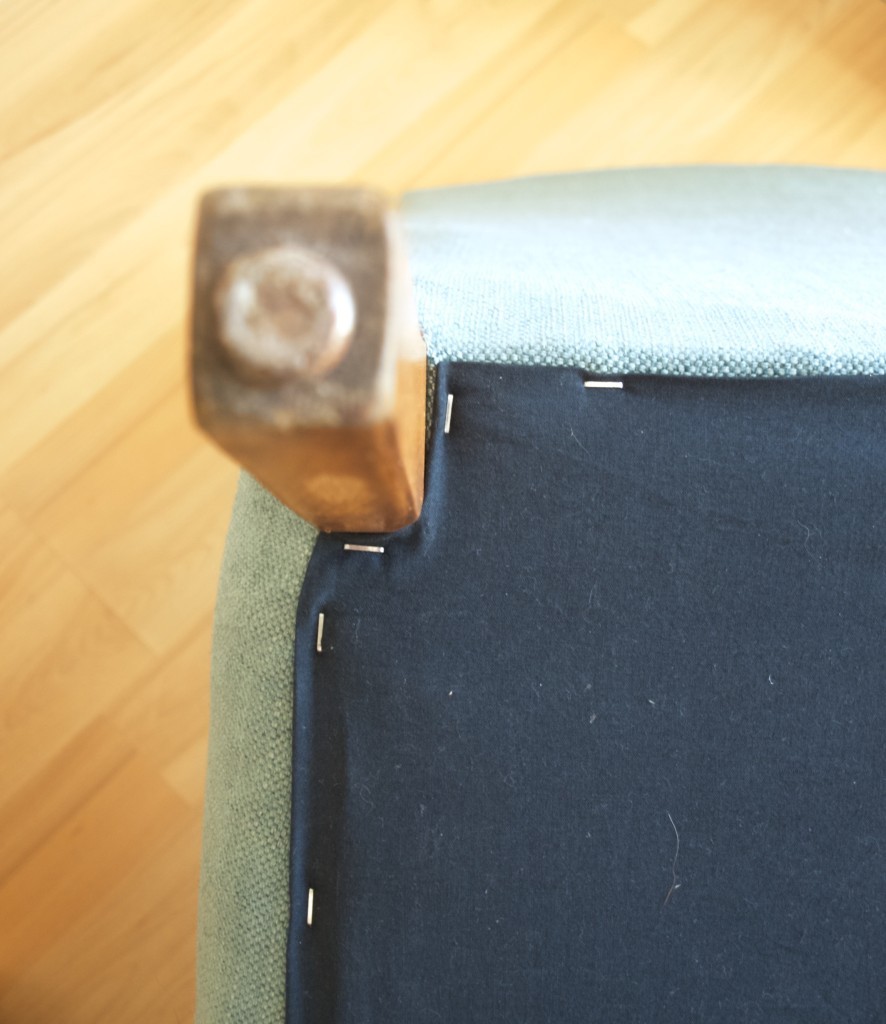
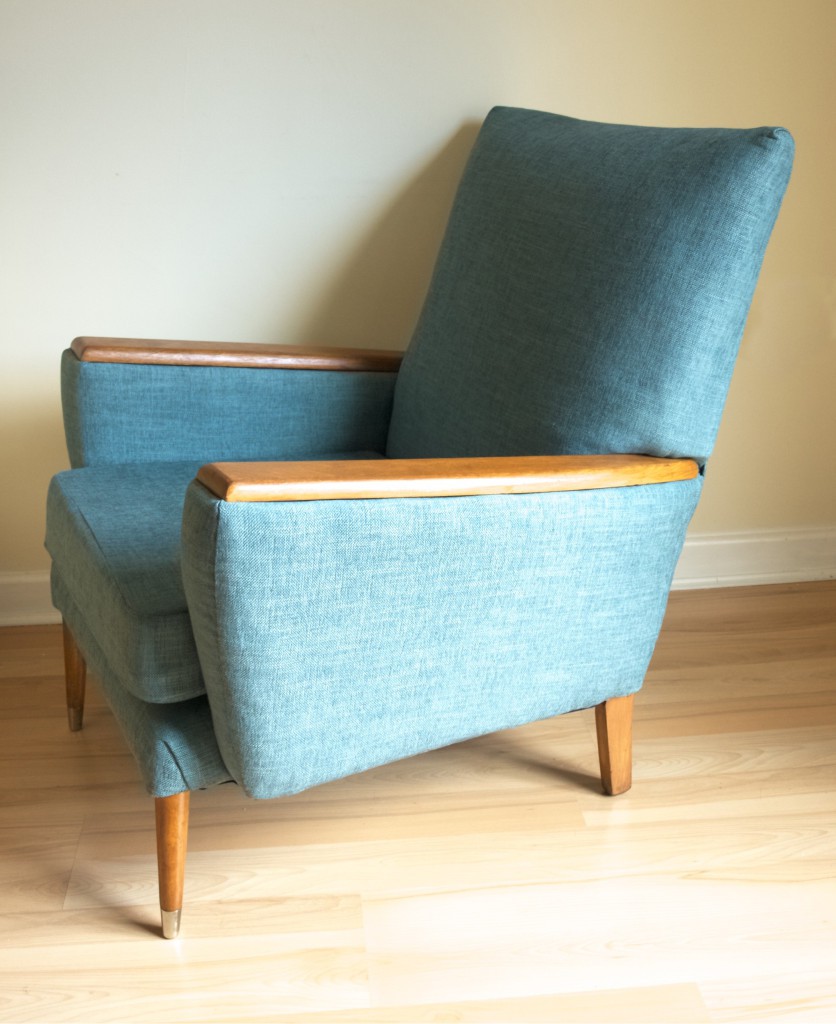
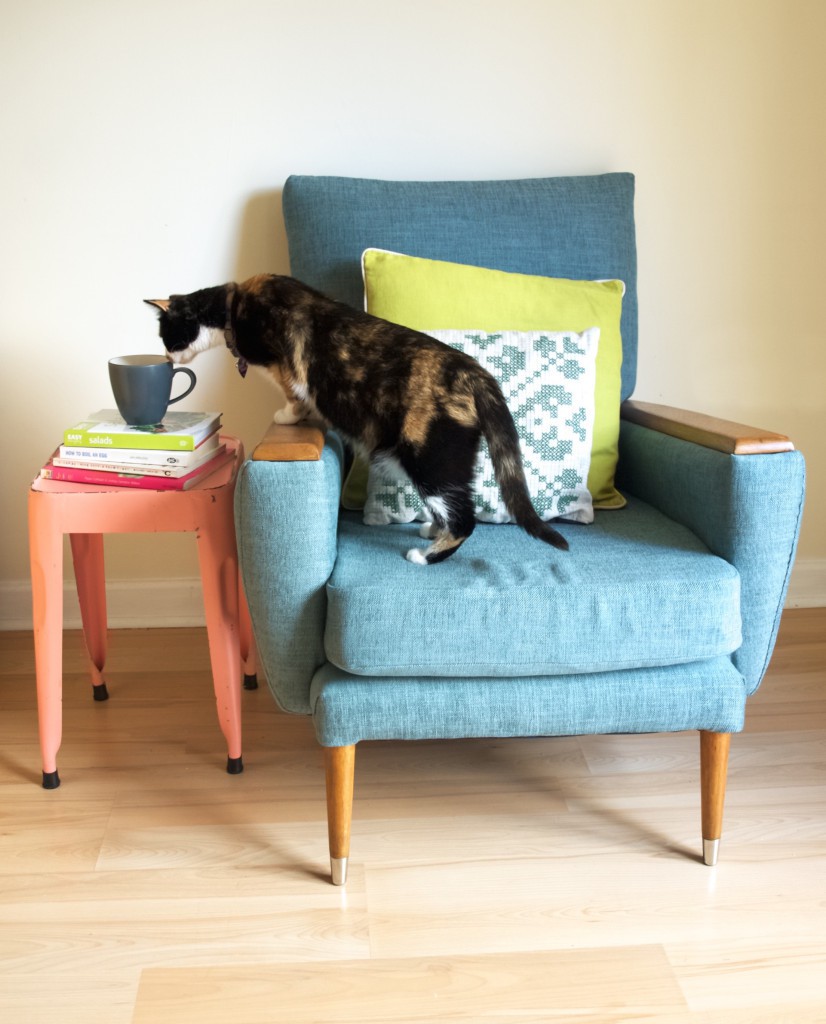
I got this chair from a cafe that once I helped out at, it was about to go to the dumpster. Luckily I saved it and now it gain it’s second life as a nursery chair :-).  before and after chair upholsterySo we started the chair refurbishment with removal of old material such as top fabric, felt, foam, hessian and lots of dust (yuck!). Everything was tacked with little nails called tacks. We did stripping in this order: first we removed the bottom covering fabric, then from there we removed tacks to strip the fabric all around. removing tacks in chair upholseryThen we removed back fabric where we could access even more tacks! This allowed to remove top fabric and felt from the front of the back. I was so pleased to find that original springs were in very good condition, so we left them as they were.removing old upholsery from the back of the chairFinally we stripped the chair arms and removed the rubber webbing that stretched out over the years. Other than original back springs we left hair material on the back and hessian on the inner arms.  We removed top wooden arms to be sanded, re-stained and re-applied back once the arms are covered with the new top fabric.Complete old upholsery removalAfter the chair is stripped, I was told it is good idea to go shopping (Yey!). We made the list according to what we stripped and what needed to be added so the chair ends up all nicely padded. At the end of the project we realised that we bought too little of rubber webbing, but way too much of wadding. My shopping list for chair upholsteryWhile we did our shopping Joni’s dad fixed the chair frame. Some parts were loose and the little holes that were made by old tacks needed to be filled. Fixing chair frameFirst thing we did after shopping is stretched out the webbing onto the seat of the chair. We tacked one end of the webbing on the back of the seat and then stretched it over to the other side with this very cool tool just made for that kind of job.  Applying rubber webbing on the chairWe repeated the same technique to apply webbing from left side to the right side.Applying webbing on the chairWe started the chair upholstery with the seat. We applied hessian and calico with wadding layer in between. Applying hessian, wodding and calico on the chair seatSecured everything with the tacks….Tacking a calico layer onto the chair seatThen moved onto the front back and repeated practically the same. Except this time we used upholstery felt for extra cushioning.Applying hessian, wool felt and calicoAnd same with the arms as with the seat.Applying hessan wodding and calico onto chair armsFinally the day have came when we could apply top fabric! To choose top fabric was a hardest bit for me. Eventually I narrowed down to three pictured bellow. The blue one seemed like the most obvious choice as the check fabric is difficult to work with and the dark green fabric reminded me of those tacky furnitures at the skiing resort (you know, those green carpets matched with pine wood?). Anyway, I am really happy with my final choice as this fabric not only turned out to be versatile, but also really forgiving and easy to work with!OLYMPUS DIGITAL CAMERAApplying top fabric is almost like applying calico. With calico, I felt like practicing to upholster, therefore when it came to applying the real thing, I wasn’t that nervous!Upholstering with the top fabricUpholstering the front back of the chairWhilst doing upholstery Joni’s mum made sure that all dents from the arms went away. She used ironing technique, where she applied wet cloth and ironed it on the wood. Eventually Joni’s dad sanded it down to perfection as well as chair legs. I used antique pine stain that really suits overall chair style I was aiming for. OLYMPUS DIGITAL CAMERAUpholstering the chair arms witht the top fabricAfter we finished upholstering the chair I closed the back with the hessian (for support) and top fabric. I used invisible stitch to sew the sides (I did the same to join inner and outer arm top fabric pieces). Upholstering the back of the chairWe got the cushion foam specially cut for the size, slightly thicker than original cushion because I wanted to sit slightly higher when nursing. It came covered in stockinet that helps to insert into the cushion case and also protects it from wear. To begin with I have traced the foam shape onto the fabric as tightly as I could and then rounded the edges for extra fit. I cut two pieces out with 1cm seam allowance. pattern tracing for custom cushionThe foam measured 10cm thick, therefore I cut out long 12cm wide strip (1cm seam allowance on each side). I wrapped the strip tightly around the foam and stitched it according to the fitting. I applied one piece I cut out earlier on to of the cushion and pinned it down onto the strip. I stitched it according to where I placed the pins. pattern cutting for custom box cushionNext I turned the cushion up side down and repeated the same with the second piece as I did with the first piece. This time I left a gap so I would be able to turn the cushion cover inside out. Once the cover is finished I re-inserted the cushion and by using invisible stitch I closed the gap completely. Custom shape pattern for box cushionMy final step was to close the bottom of the chair. I used a very basic black fabric for that. I measured roughly the size and cut out the square according to that measurement. Then I stretched the fabric onto the bottom making sure the edges of the fabric are folded in.Closing the bottom of the chairI secured the fabric by neatly stapling all over the edges.OLYMPUS DIGITAL CAMERAThe end!My journey in chair upholsteryLeia is loving new chair!My journey in chair upholsteryI hope you found this inspiring!

Rasa xoxo
0

Never ending, upcycled crochet rug (made of socks!)

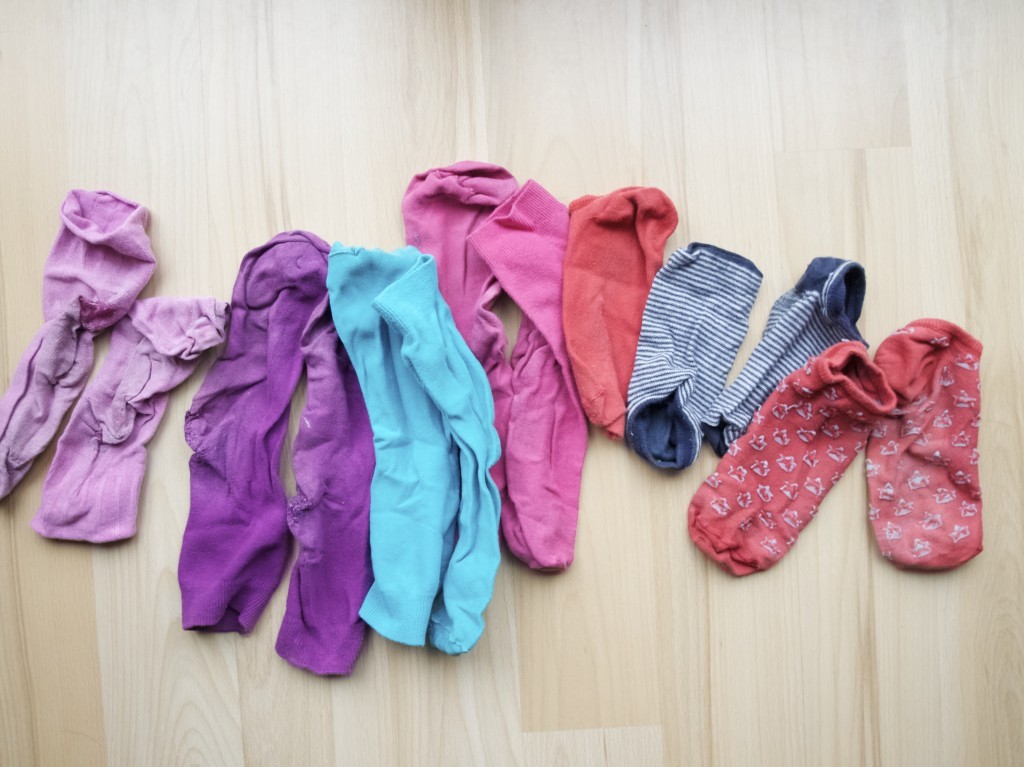
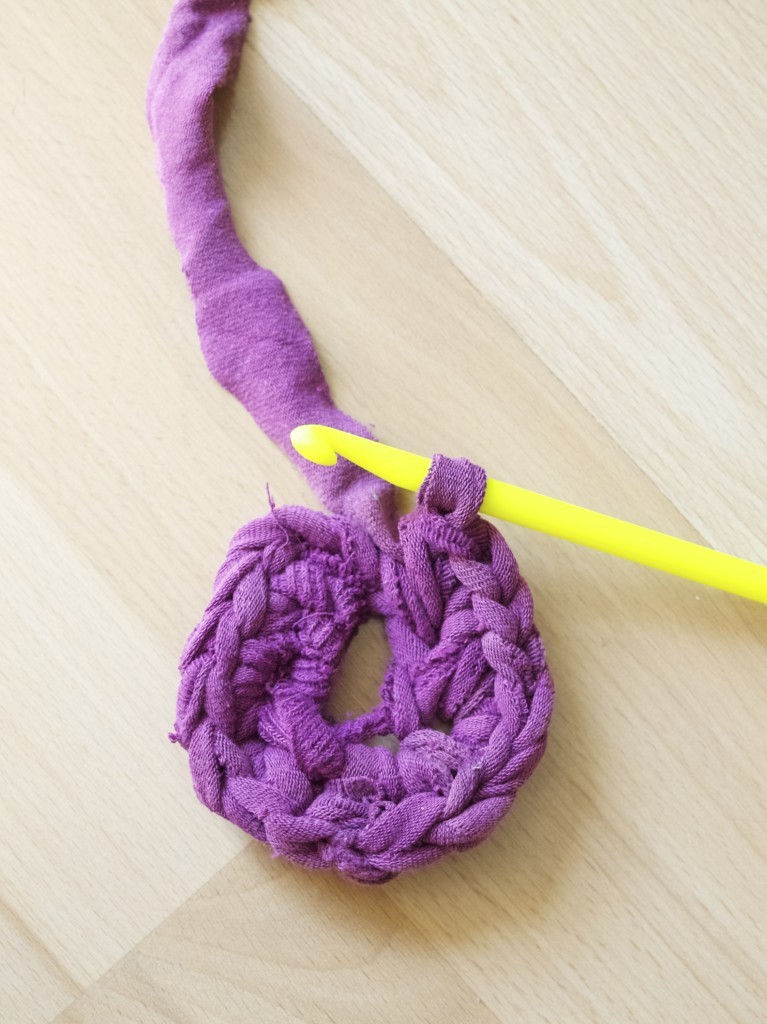
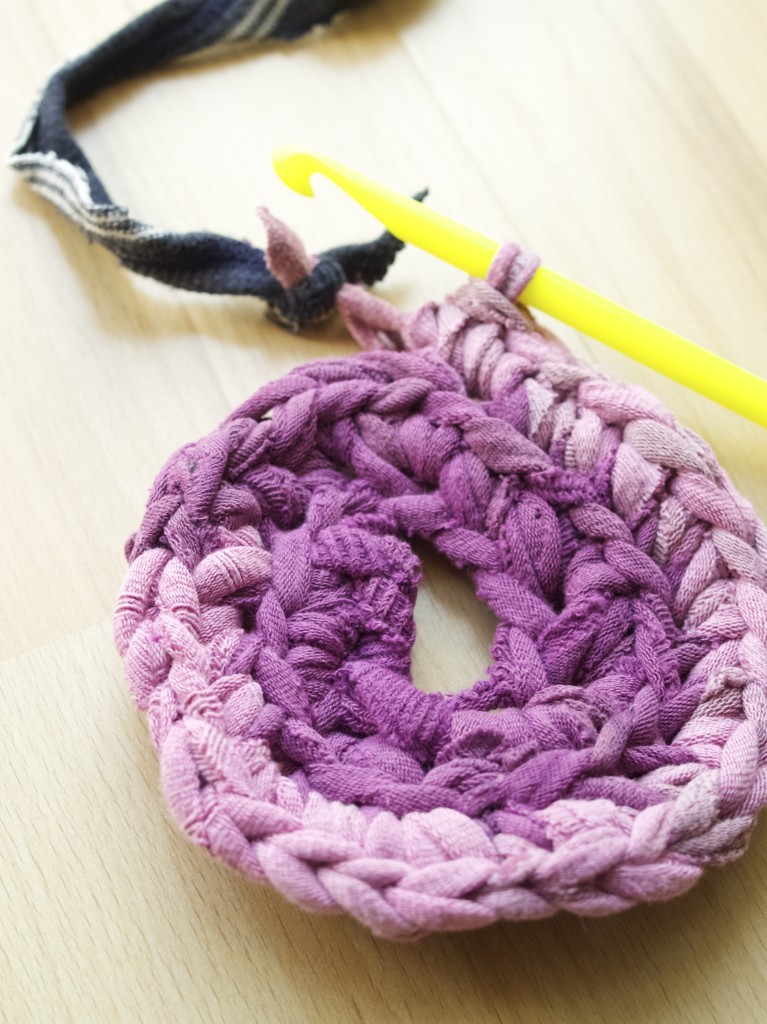
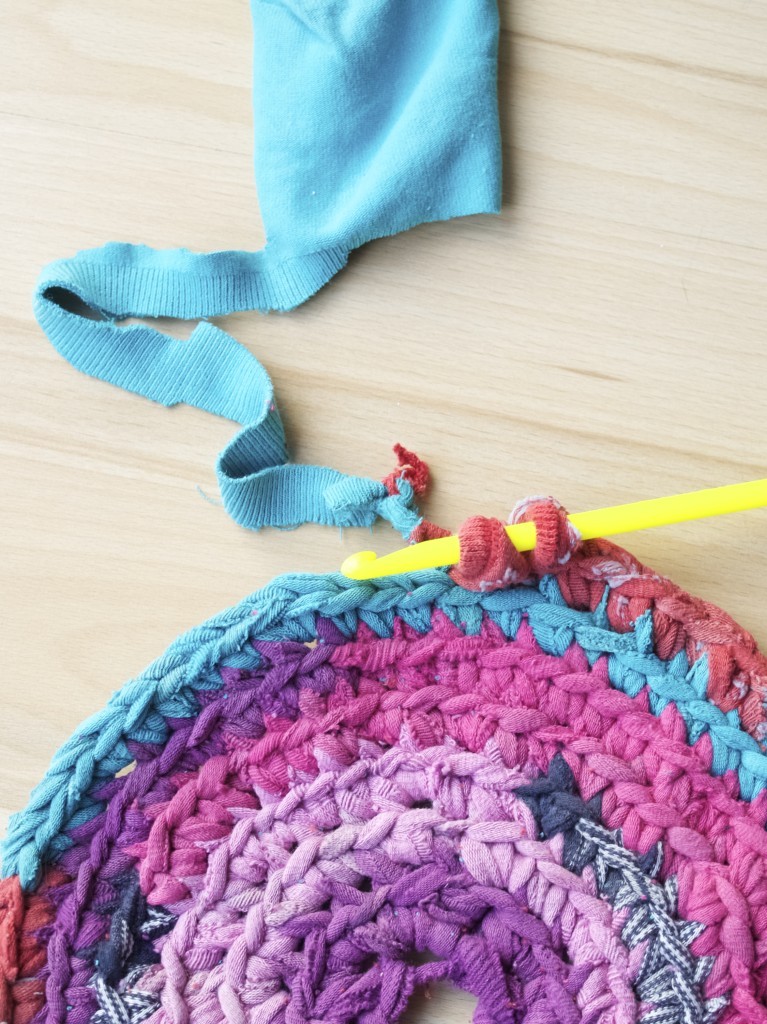
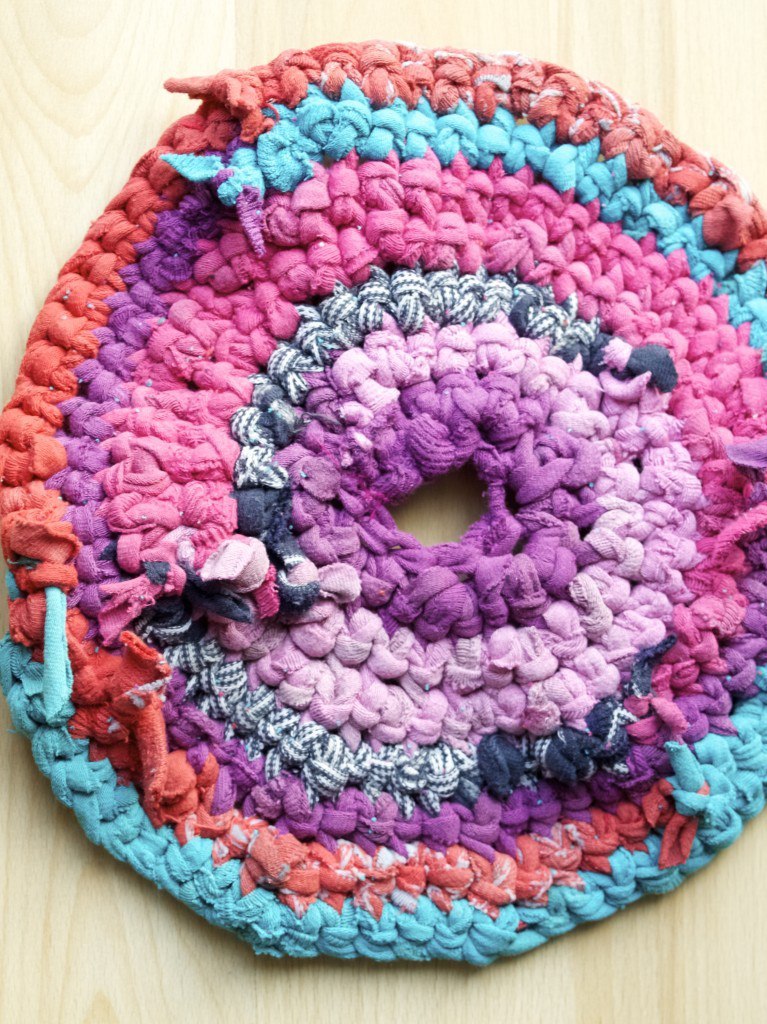
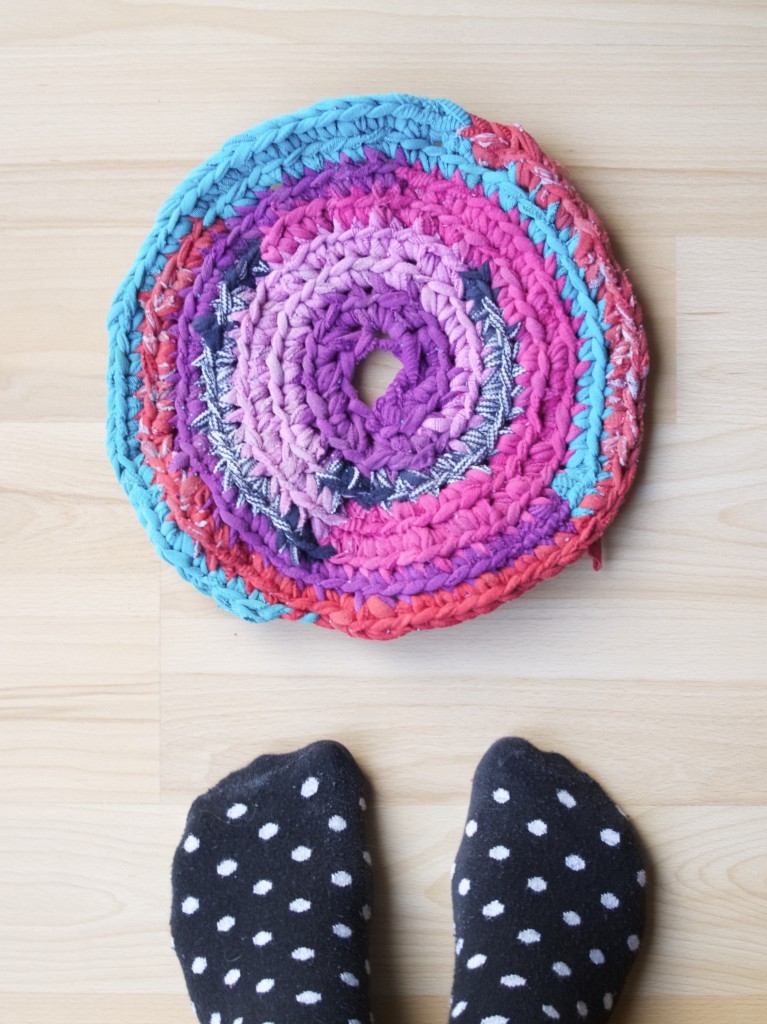
Upcycled crochet rug made of socks DIYHi there and here are my olds socks! You are probably wondering why I am showing my colourful collection of socks that I no longer wear. Well… I kept them for very very long for the day like this when I finally go ahead and do the upcycling project that I had thought of ages ago. To be honest what really prompted me to do it is finding out that my friend is also on the same idea and well ahead of me ( I am quite competitive and everything tend to be a race for me even if the other person have no idea that I am racing with them), I went ahead and did it.

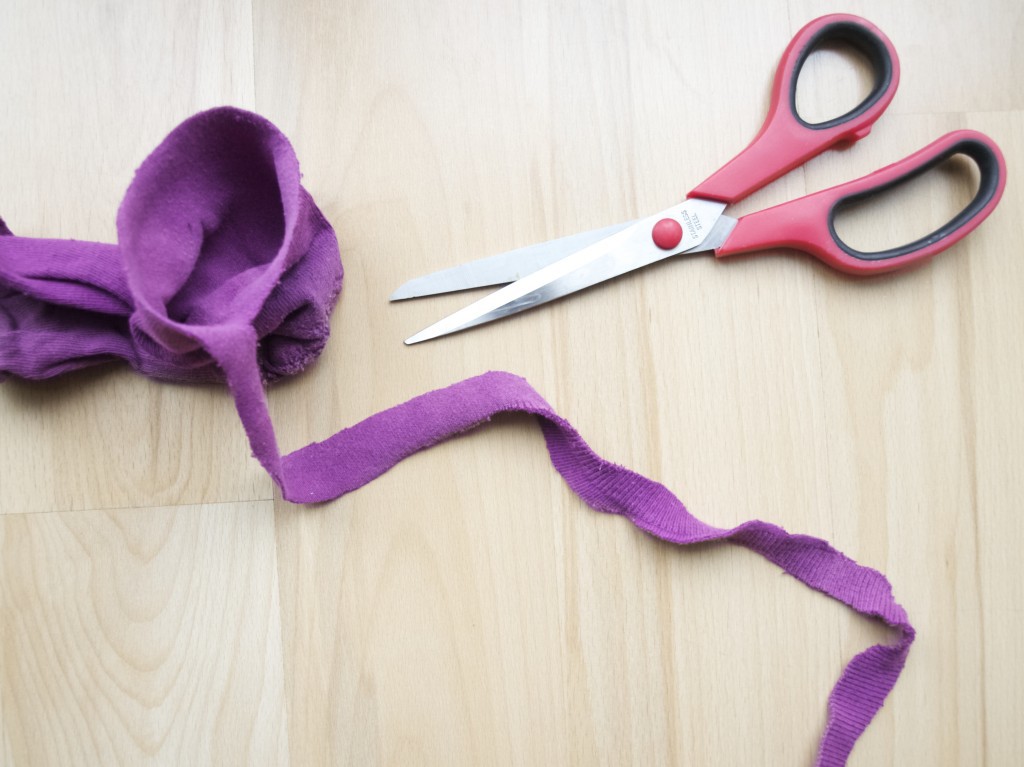
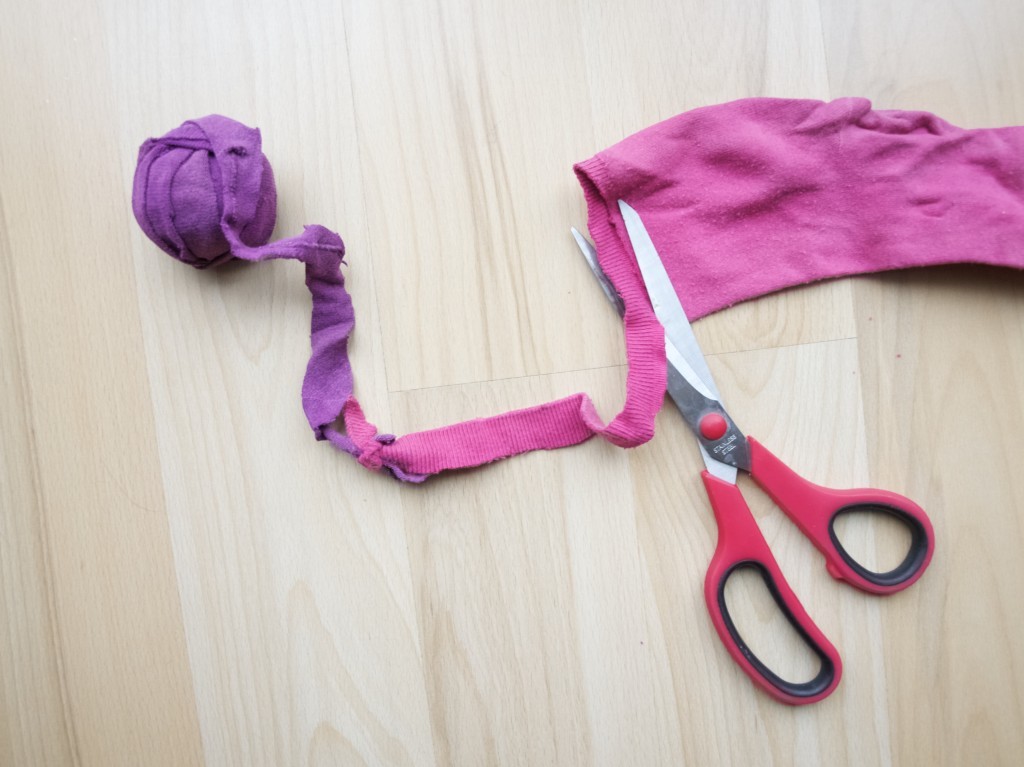
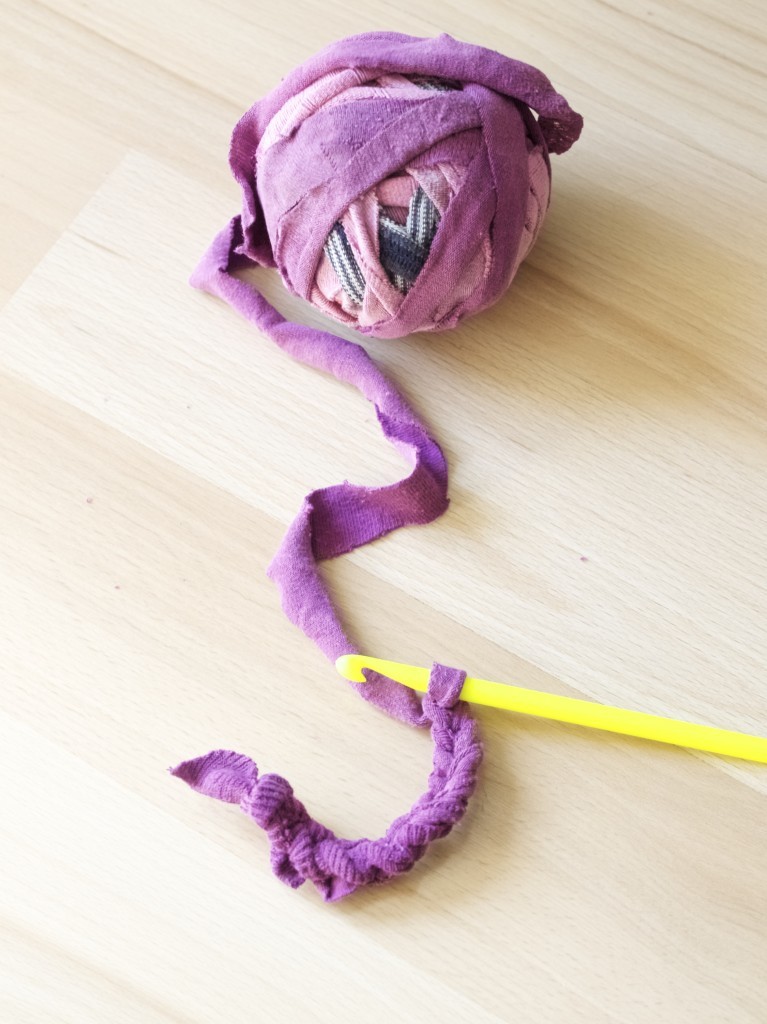
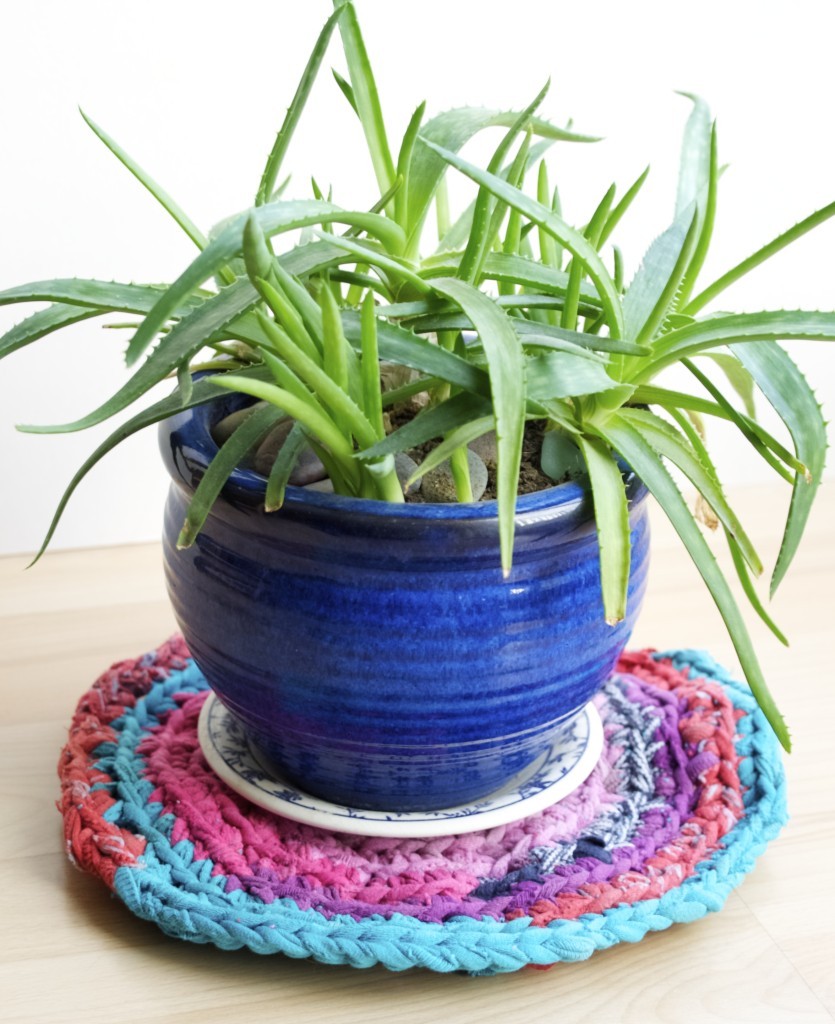
So today I will share how it all went. I essentially made a mini rug (still in process to get bigger and bigger) out of socks that are too worn to wear but too pretty to throw away. Upcycled crochet rug made of socks DIYTo make the ‘yarn’ I have cut the sock in spiral direction,Upcycled crochet rug made of socks DIYthen joined it with other socks by tying the knot.Upcycled crochet rug made of socks DIYI ended up with a ‘yarn’ ball that was big enough to start crochet. I started with the chain stitch!Upcycled crochet rug made of socks DIYThen formed a circle. For the tutorial video click here!Upcycled crochet rug made of socks DIY Upcycled crochet rug made of socks DIYWhen the ‘yarn’ ball is finished you can always attach another sock to it. It can be never ending, always expanding circle rug!Upcycled crochet rug made of socks DIYHide all the knots on the wrong side (that side that faces the floor, which is not visible).Upcycled crochet rug made of socks DIYMy rug is tiny at this moment, but don’t you worry it will soon expand when I add all Joni’s old socks in it :-D.Upcycled crochet rug made of socks DIY Upcycled crochet rug made of socks DIYI hope you found this inspiring!

Rasa xoxo

0

5 steps to basic budgeting

5 steps to basic budgetingAt the beginning of this year I promised I would share a little bit about the budgeting system I use. I hope that this will be of help to you. I have made plenty of money related mistakes in the past and by 2008 I was in debt and my wage was not covering my expenses. This is when I have started budgeting and with a few breaks I have continued applying my method to this day. So if you are completely lost and maybe in debt, I know how you must feel.

So here are my five steps to basic budgeting.

STEP 1. Review your expenses and be honest with yourself! Because you need to have a clear view of your spending before setting an actual budget. See how much you spend for food, rent, transport not forgetting those sneaky annual subscriptions. Write a list of what you spend money on and how much in each category. Try to keep it monthly, so items that are annual should be divided by 12 to let you know how much you should budget towards them in any month..

STEP 2. Set monthly allowances! Once you reviewed your expenses you can start deciding how much you should spend each month in each category. e.g. food, transport or some craft supplies. Don’t forget to set some money aside each month for unexpected expenses and even Christmas costs (I know it’s little early to think about Christmas but it really helps to have a lump some at the end of the year ready to spend on all those gifts, food, and hosting). When it comes to the lifestyle budget, I would say be reasonably generous (unless you are paying off some debts). Because you need to treat yourself often enough! I used to set a very small budget for my lifestyle and often used to overspend it leading to even quitting budgeting all together sometimes. So it’s better to keep your budget then trying to save unrealistic amount of money. Another thing I would suggest is to make a spreadsheet for your budget. It’s so much easer to your goals when it is placed in writing! Monthly budgetSTEP 3: Put some money to savings. After you have worked out your budget you can now work out how much you have leftover. Some people say that you should first set money to save and then count your budget. But I think my way is easer, because I believe that it helps to save more when you earn more and then use some of the savings when you earn little. Your choice! I generally set up a standing order to go out each month for saving. Online banking is awesome!

STEP 4: Track your expenses every time you shop. Back in 2008 I had a spreadsheet to record my spendings. I used to collect receipts and then at the end of the day I used to type it all up. Luckily in 2009 I have got myself a smartphone where I could track my budgeting on the spot (The app I used and still use is called “Spend”). As you can imagine my purse got slightly without that bulk of those receipts!

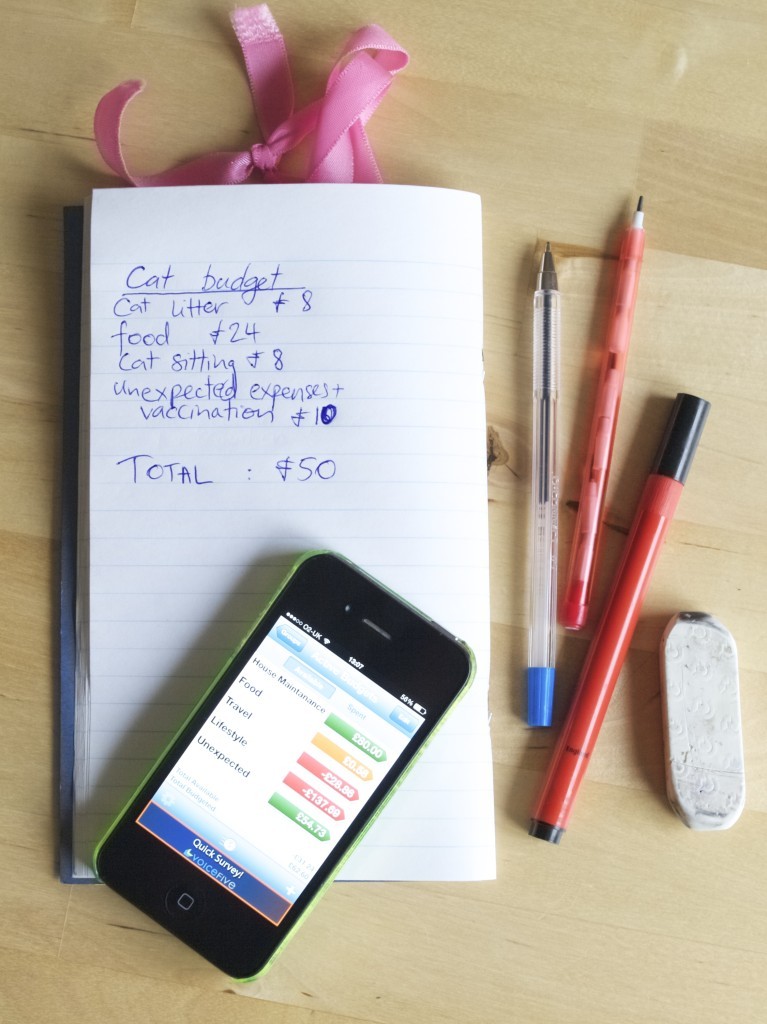
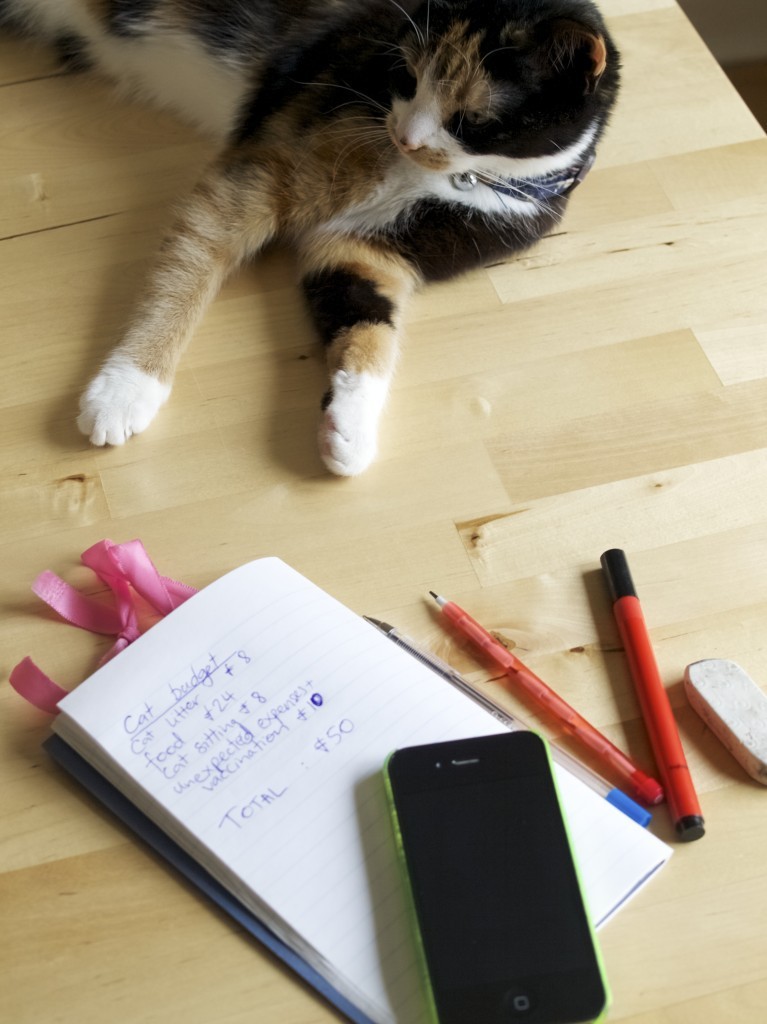
STEP 5: Review your budget once in the while (not only in January). You need to constantly check what you are spending and whether it is less then expected and maybe set a smaller budget. Or maybe there are expenses that you don’t have a budget for?5 steps to basic budgetRecently we realised we needed a new budget category as Leia our cat was constantly draining our grocery and lifestyle budgets. We would not have noticed that if we did not do our budget reviews!5 steps to basic budgetI hope you found this useful!

Rasa xoxo
0

How to organise your knitting/crochet stuff (in little spaces)

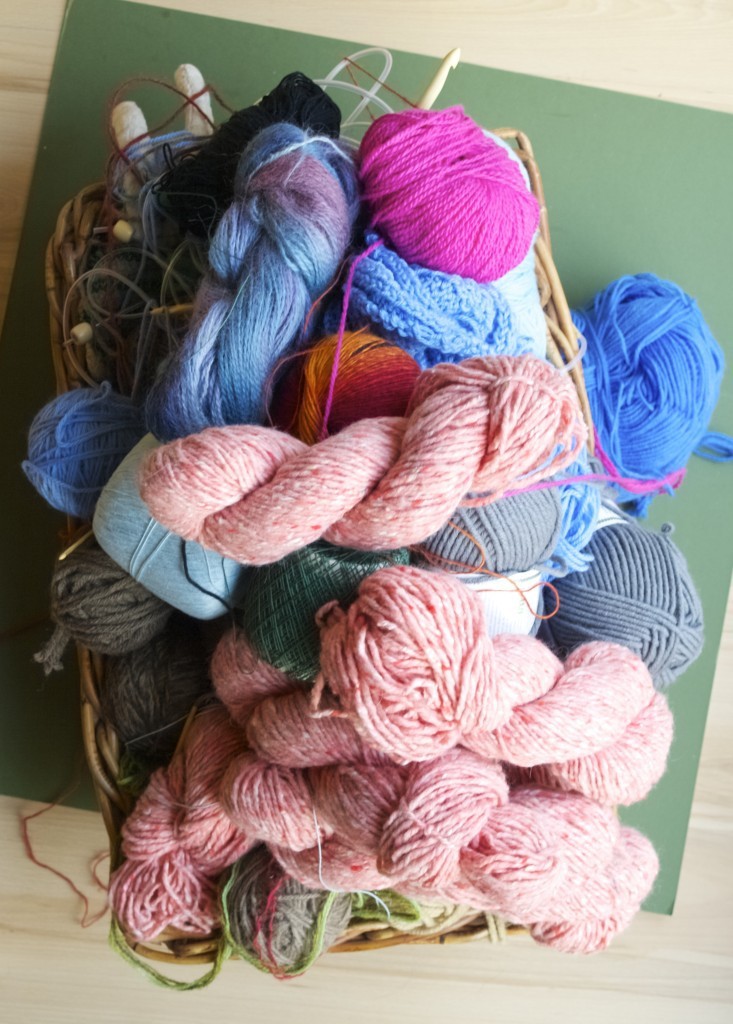
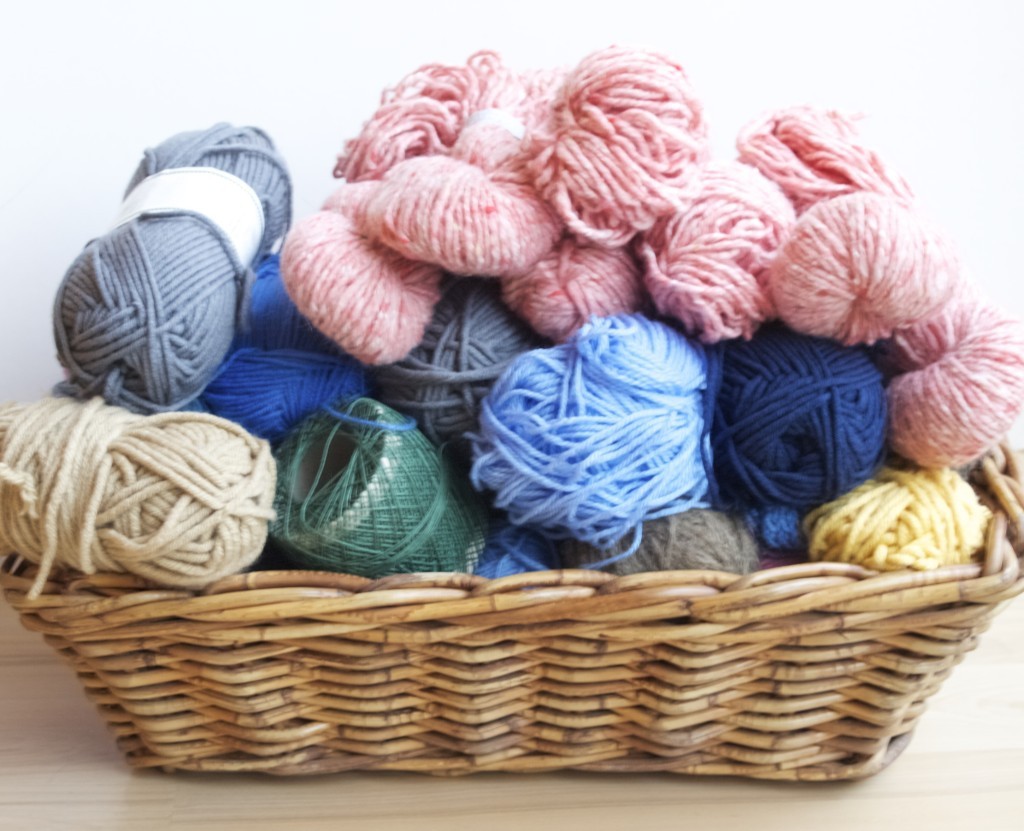
How to organise knitting/crochet stuffIn the beginning of this year someone have asked me “How to keep all your knitting gear organised, needles, thread etc etc etc?”. Ha ha, you got me there! The pic above is exactly how my yarn looked like yesterday before I tidied it up for this post. Although I am proud to say that my needles and crochet hooks are organised nicely (at least current method is working for me for now). 

The thing is when you live in a small rented flat it is difficult to keep your yarn and needles organised. Like every crafter I dream about one day when I do have an actual craft room or a study at least! But for know small space is the reality and here are my few tips to keep organised in situations like this.

1. Make it as part of your deco! I don’t know about you, but I don’t like a minimal looking home that looks clinically pristine (unless this represents your personality). So if you are someone who knits/crochets why hide it? Yarn and needles can compliment your home!

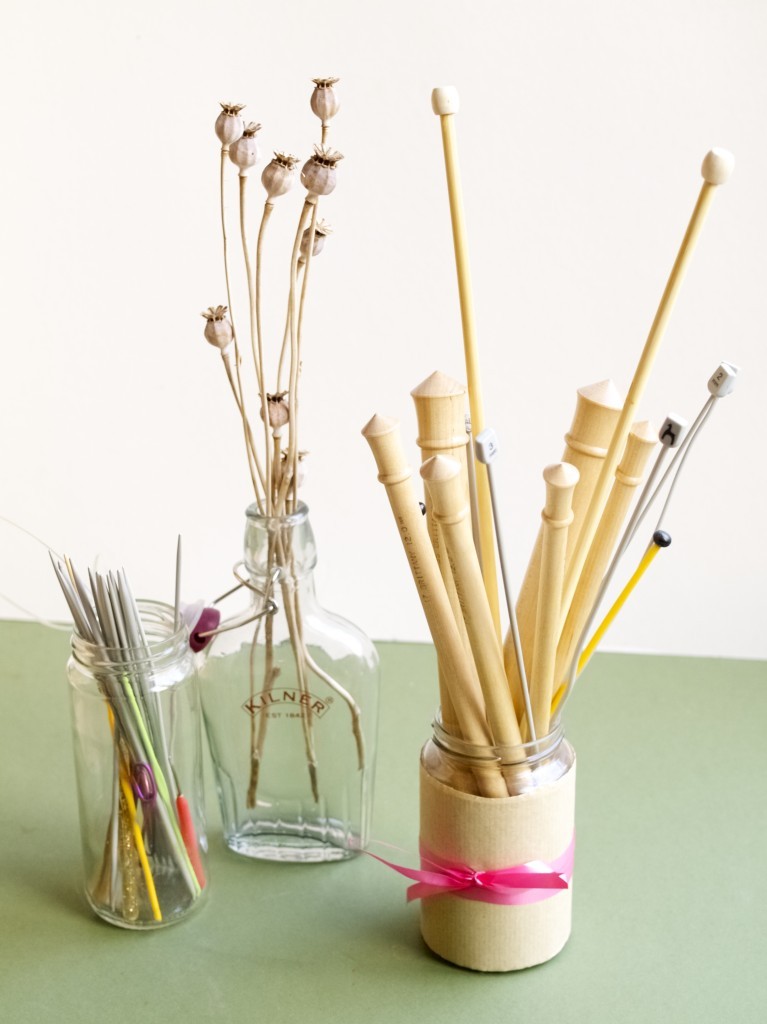
I store my needles and crochet hooks in upcycled jars that are placed on the shelves. These go well with other jars stuffed with dried branches and other pretty stuff I find outdoors. If you have a large selection of needles and stuff then you can split them into jars according to their types and sizes and label them. I don’t have a large selection of needles so I sometimes just wrap my jars with wrapping paper and some ribbon. But when I do have lots and lots of needles then probably I am going to crochet around those jars and label them like this! I have seen some people storing their needles in rolls or pouches. I guess if you are constantly crafting on the move then this is great. But for me that would not work. I like to take only one project at the time when traveling so I only need one size needle/hook and some yarn that I just stuff in my handbag.

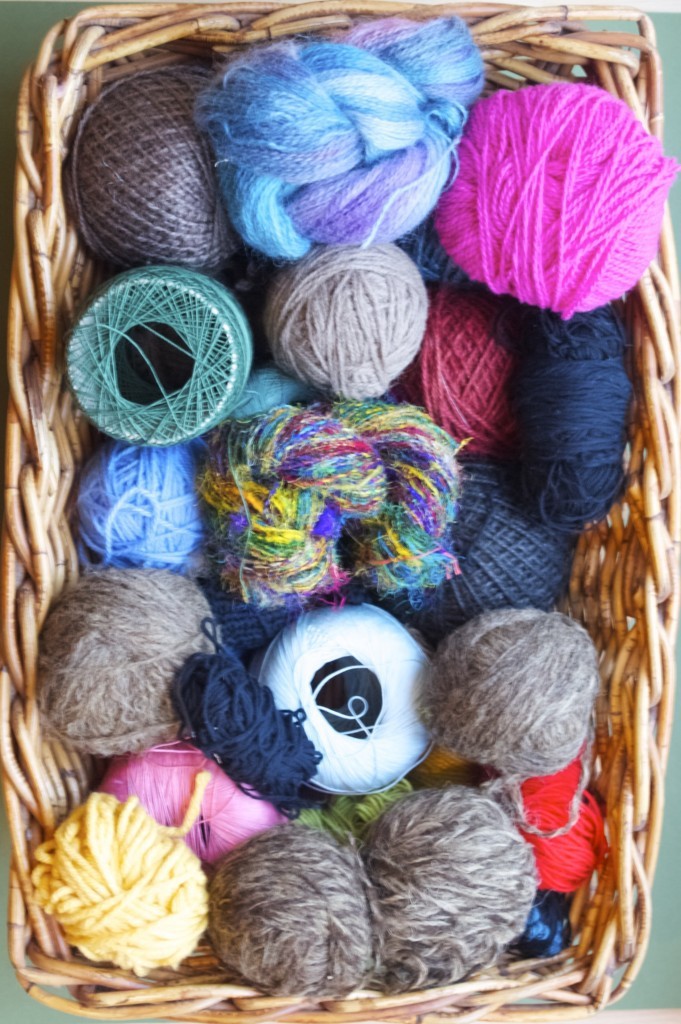
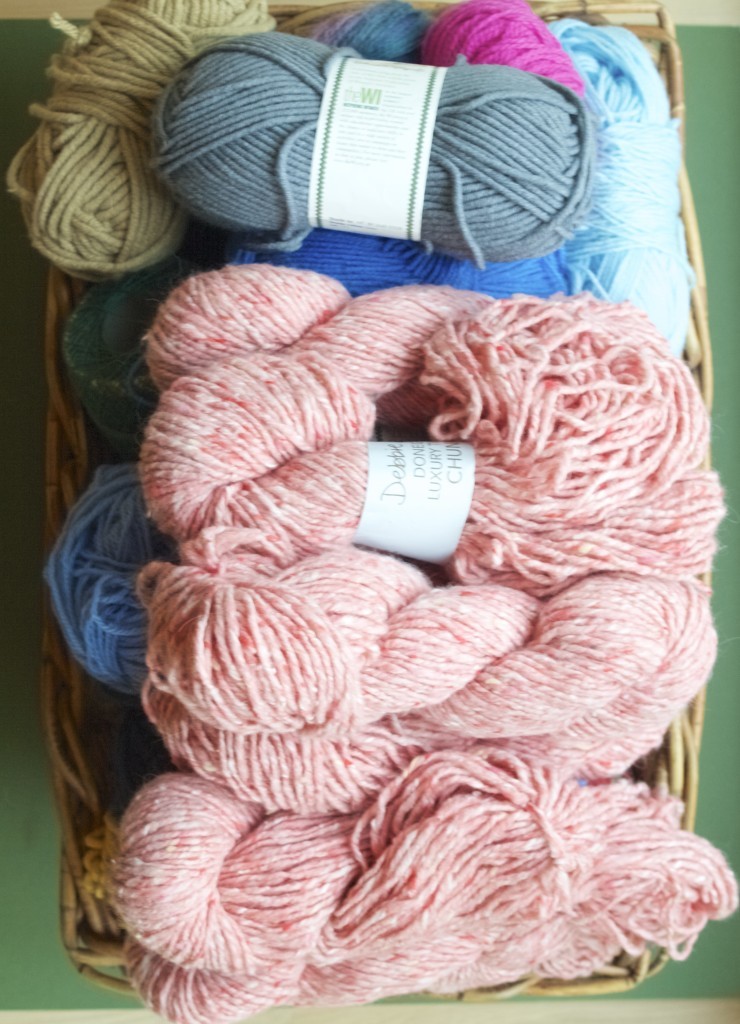
When it comes to yarn I keep it low (see the next tip). I only have one big basket that also sits there in the open (ok, not so open, because we have a very curious cat in the house). Because colourful yarn looks sooo pretty! I have a dream one day when I do actually open my dream cafe I will have a wall full of yarn! If you (unlike me) would like to keep your organised yarn stash in secret then here is a solution for you…You could sooo keep that in your secret closet!How to organise knitting/crochet stuff2. Keep it low, I mean your yarn stash! I never saw a point of keeping a large amount of yarn in the house. If I buy a yarn, I always try to think of what I am going to make with it. And even if I think of what to make I try to consider to giving unused yarn a chance!  3. Prioritise your yarn stash. Go through once in the while (it took me 15ming to reorganise my basket yesterday). See which yarns you are going to use one day (usually itsy-bitsy stuff) and separate that from the yarn you are working with now. Place those unused yarn balls at the bottom while leaving the “current” wool on top! 4. Keep records of your yarn stash! This is if you have lots of yarn and keeping them in many separate baskets, crates or boxes. In this case I would try recoding in a notebook or folder with little samples of yarn. I would record their name, colour, size, location (where it is stored) and how much of it you have left. If you prefer a more virtual organising system then you should definitely have a go with Ravelry! I did sign up but never used. But I heard good rumours that it lets you to take pics of your yarn and record it in same way as you would with the folder I mentioned here. I hope this has been useful!

Rasa xoxo
 

2

Handmade gift idea for kids

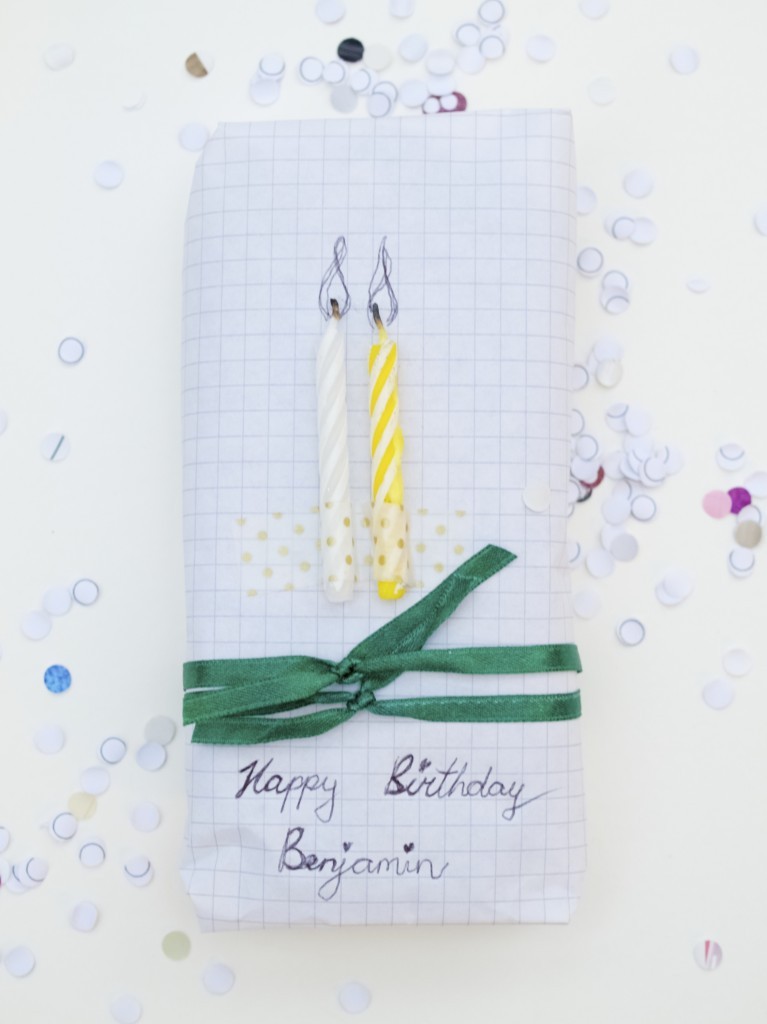
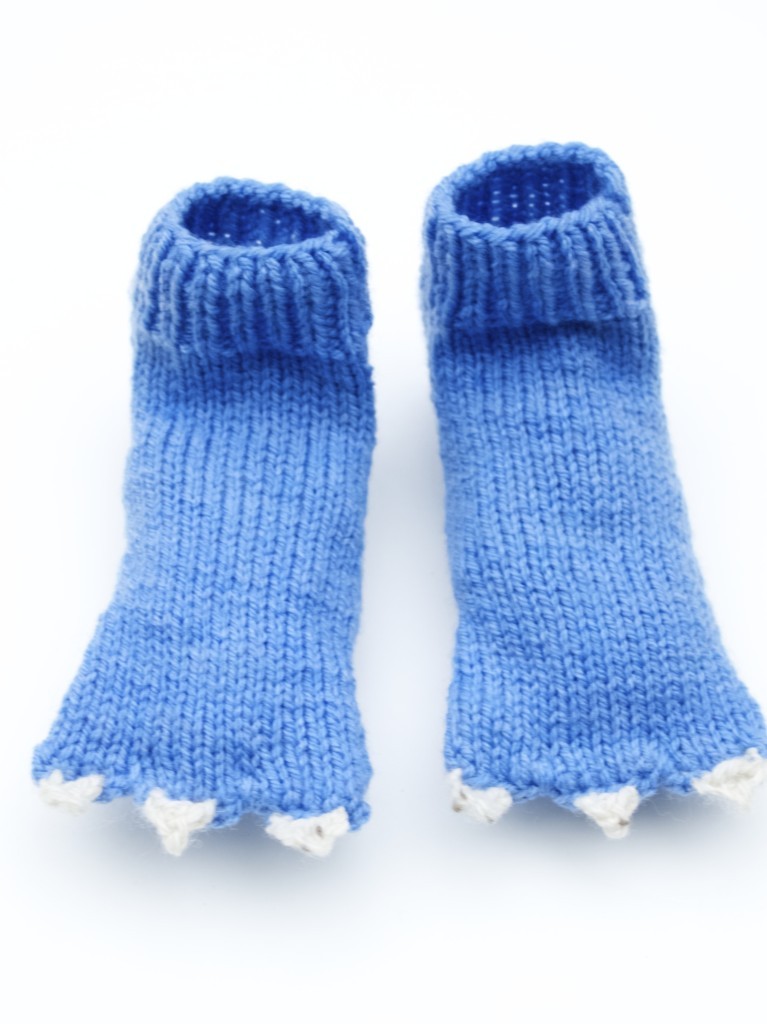
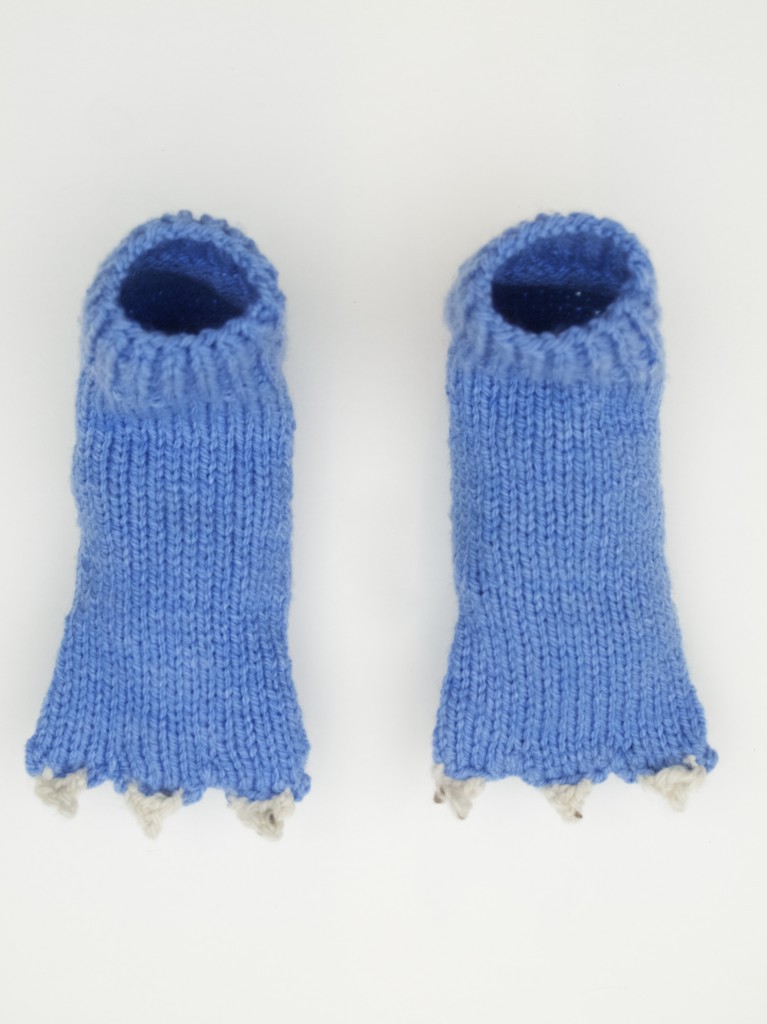
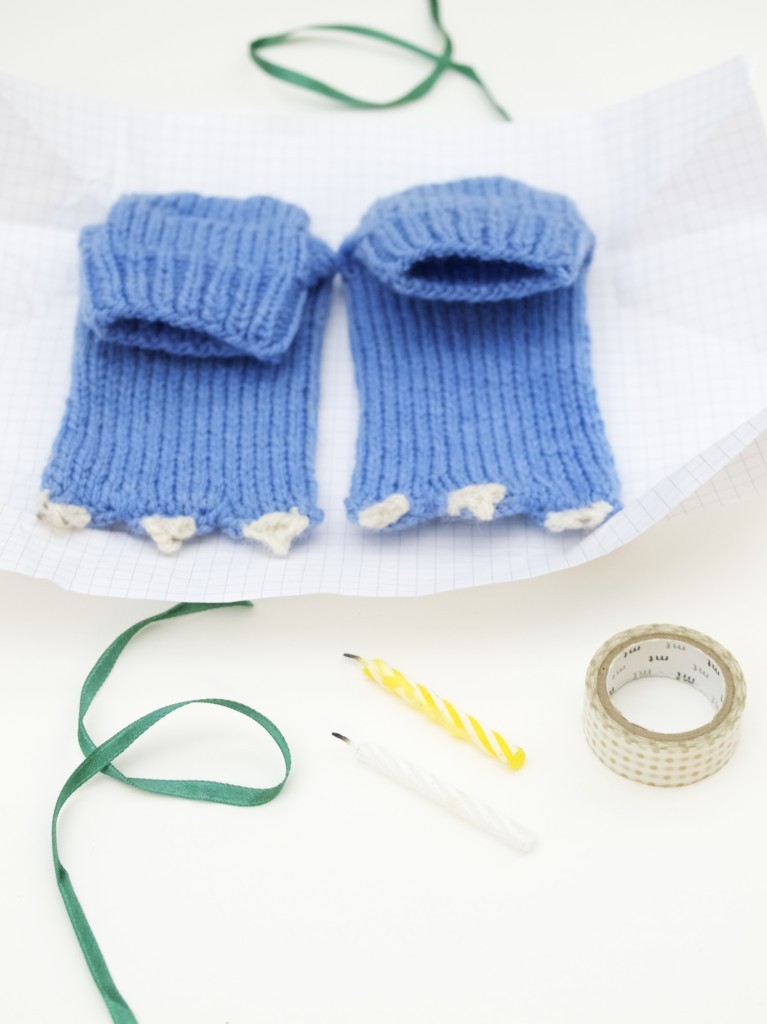
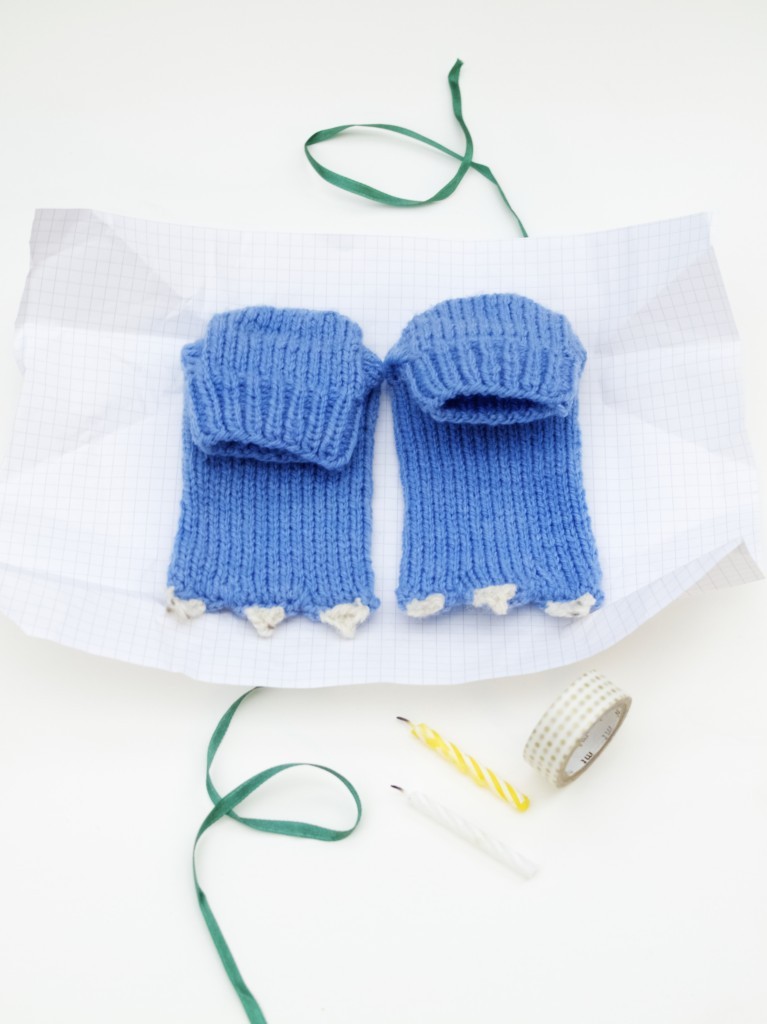
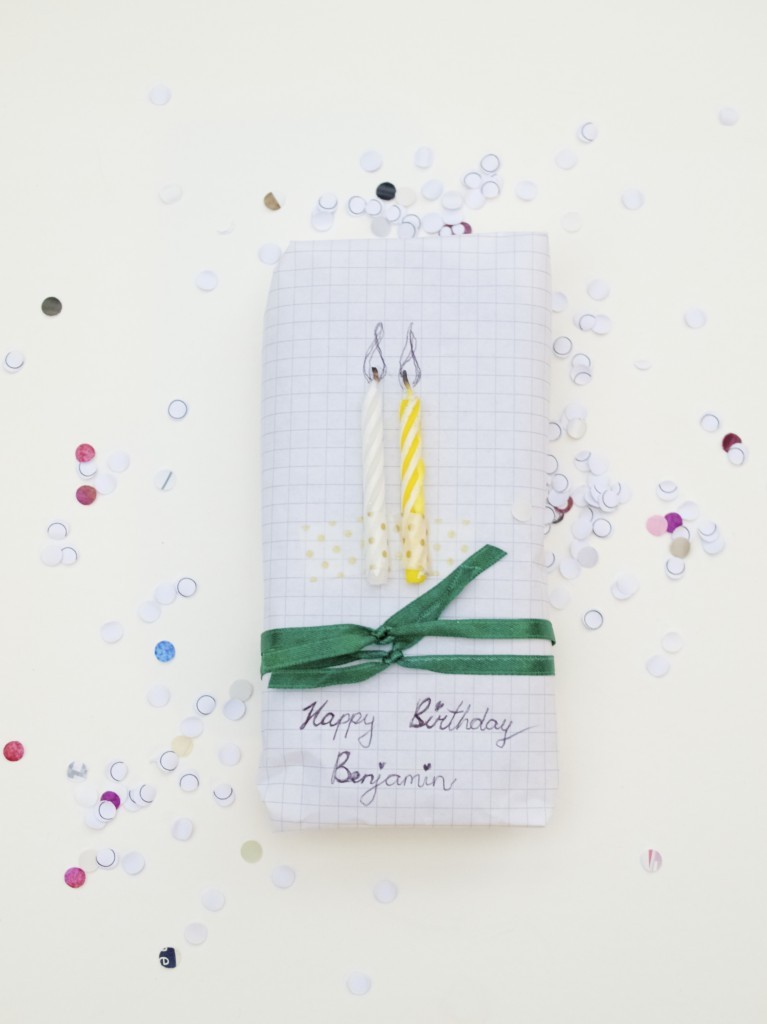
Birthday gift idea for a childGiving gifts to kids is so fun and easy (I mean the toddler age)! I remember when my little brothers were still little. They used to be so excited about any toy I got for them. Those days are unfortunately over as I find it tricky to please those teenagers. Luckily last year I got a nephew-in-low and only yesterday he turned two!Monster sock knitting patternI love knitting socks, or any other circular knitting! This is why I knew I will knit these monster socks. This way it’s fun for me and hopefully it looks cute to Benjamin’s parents. Do you find these cute? If so, here is how you could make yours! Click here for detailed step-by-step instructions.monster sock DIYGift idea for kids!As for wrapping I nicked this idea from Pinterest. I used materials I had: graph paper from my A4 notebook, washi tape, used cake candles and a spare ribbon. I wish I had better pen to write with though. Gift idea for kids Birthday gift idea for kids + wrappingEnjoy gift giving!

Rasa xoxo
0