Top

Archive | Learn something new

How to create your own palette using paint

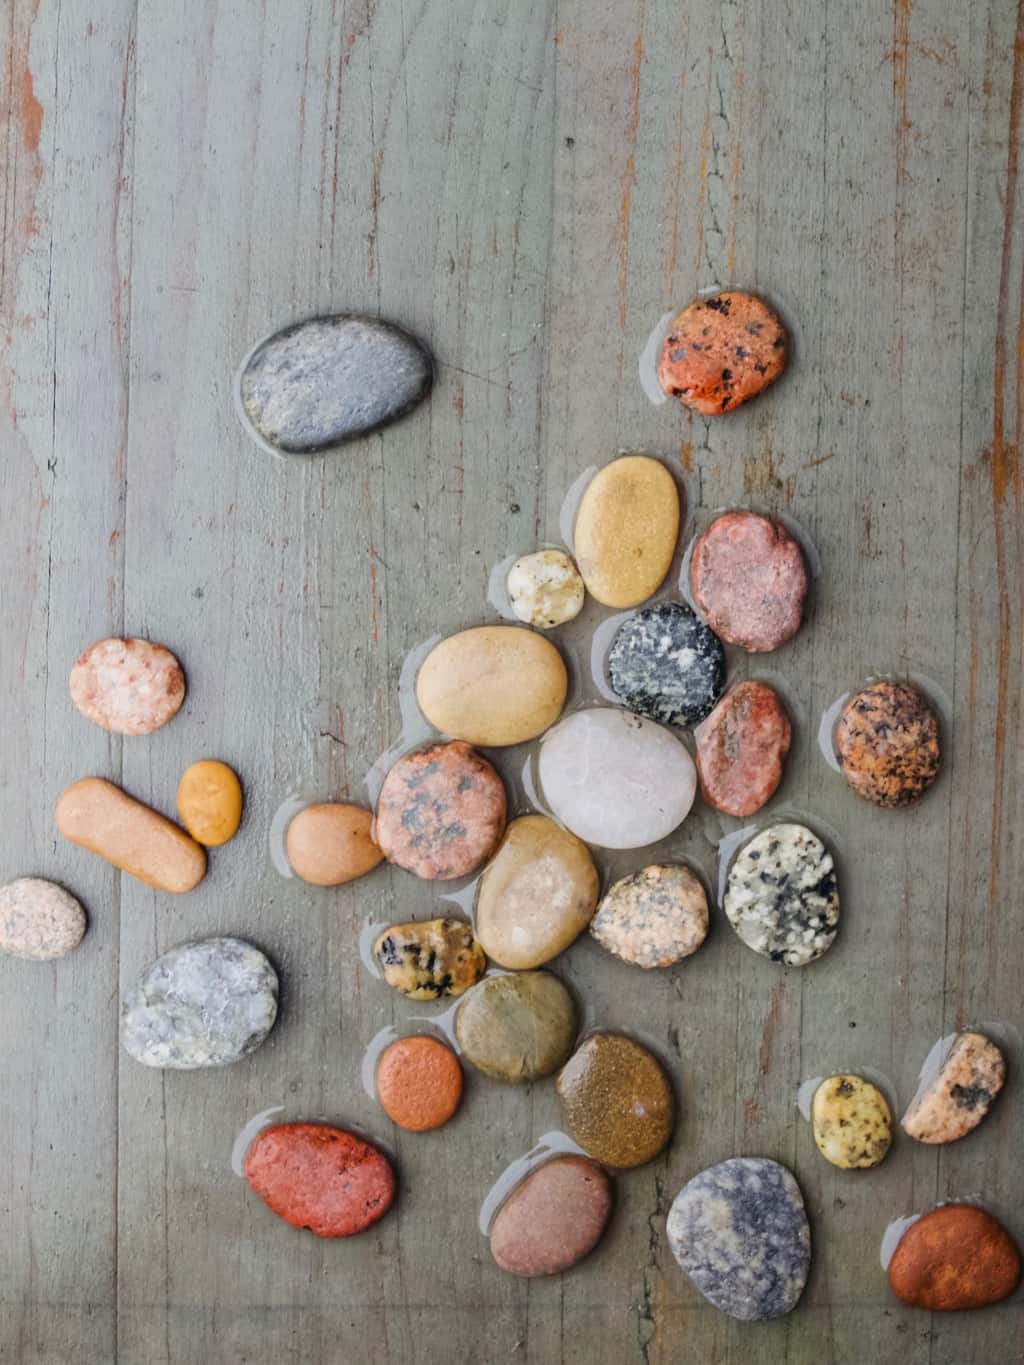
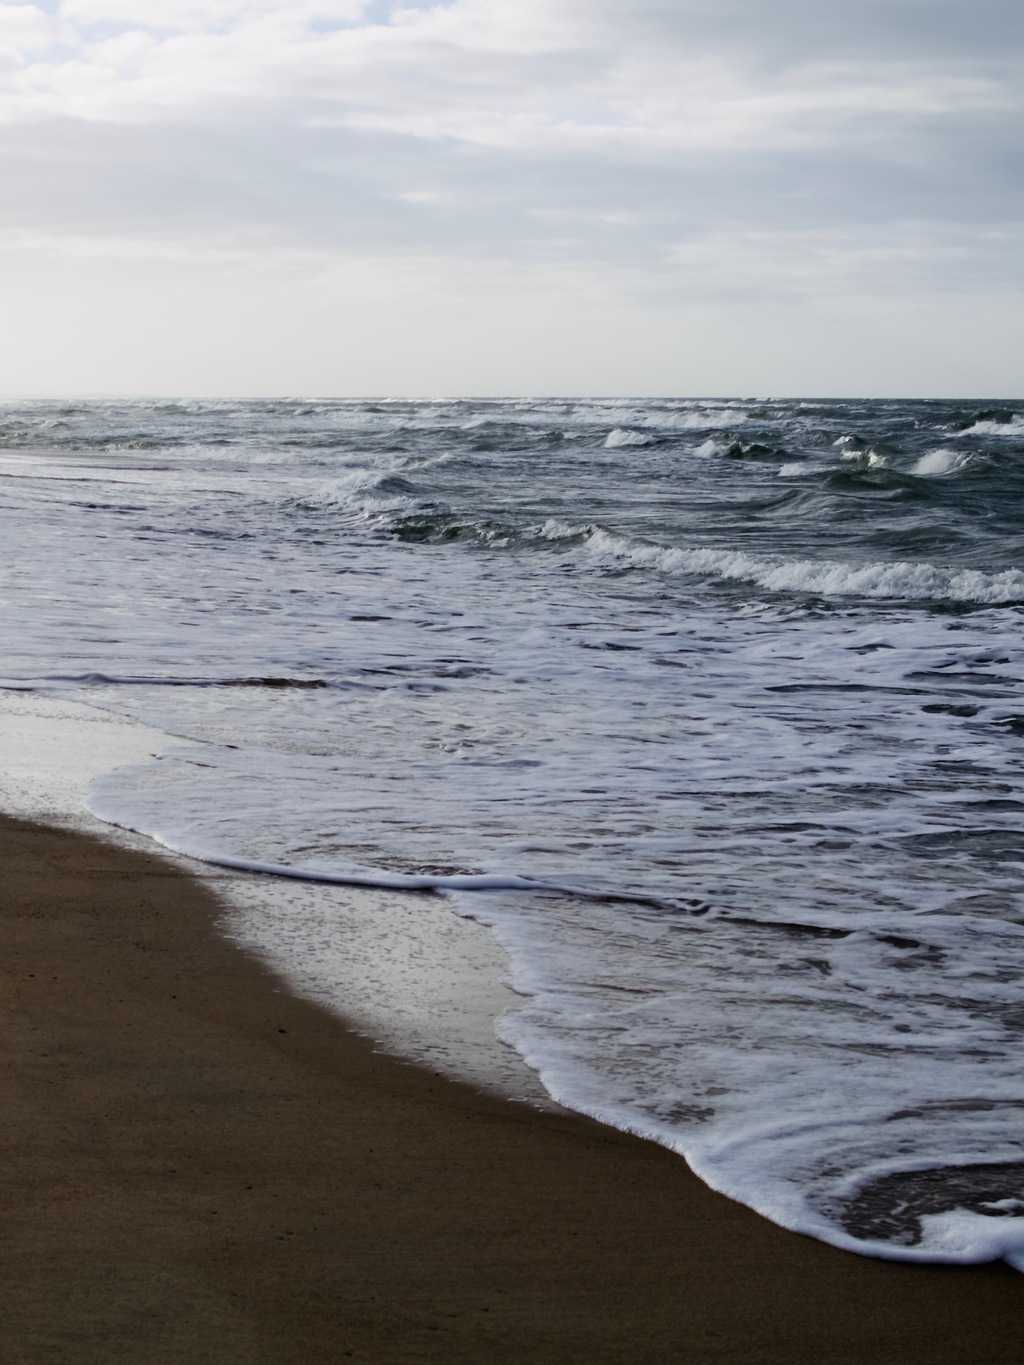
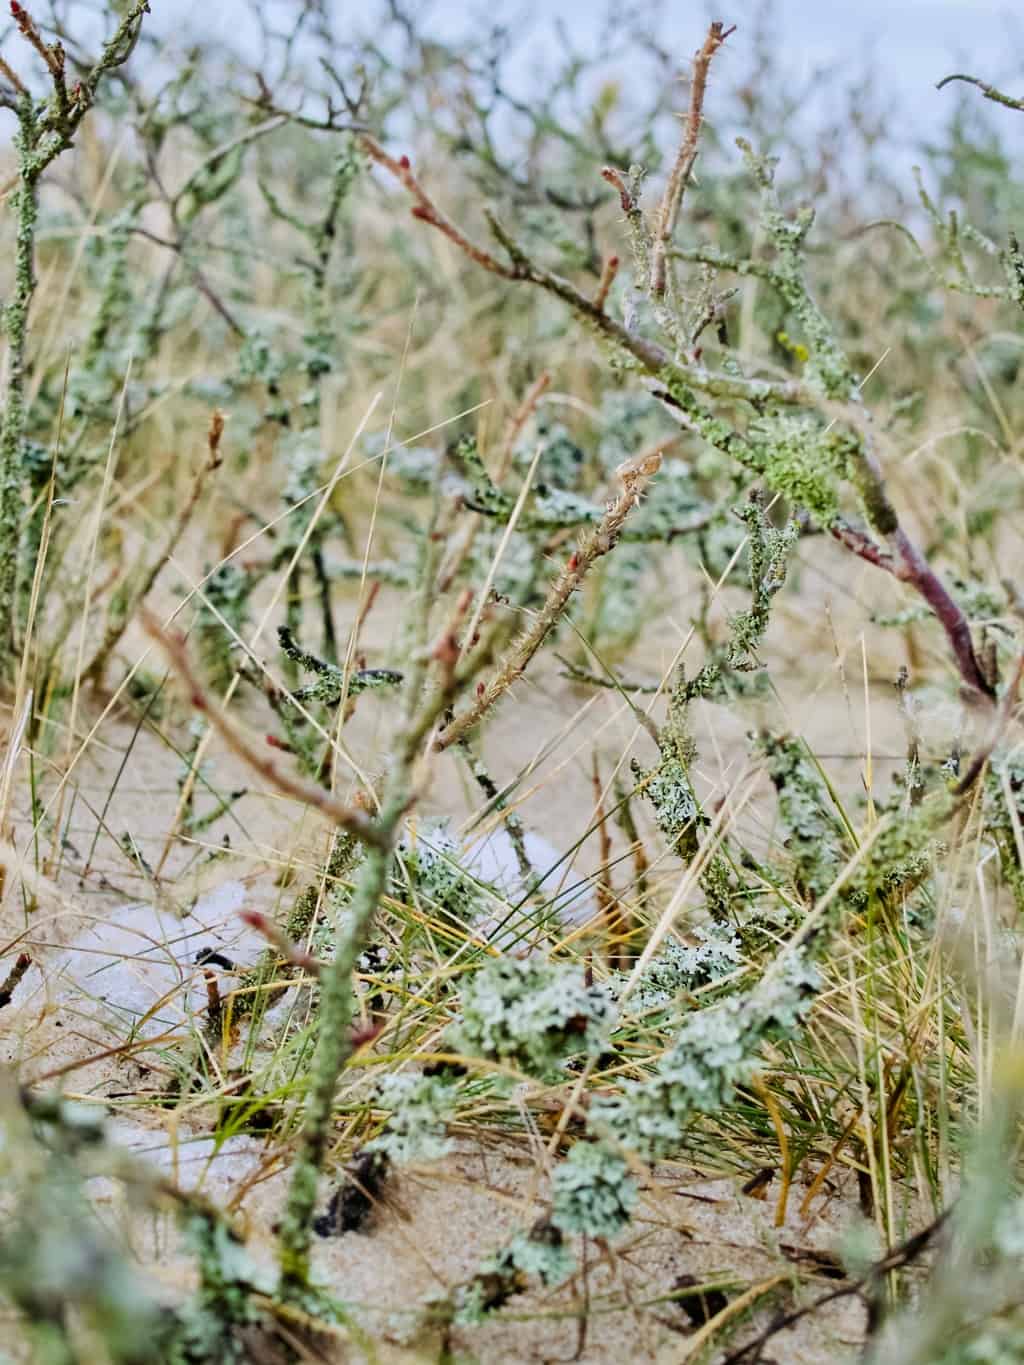
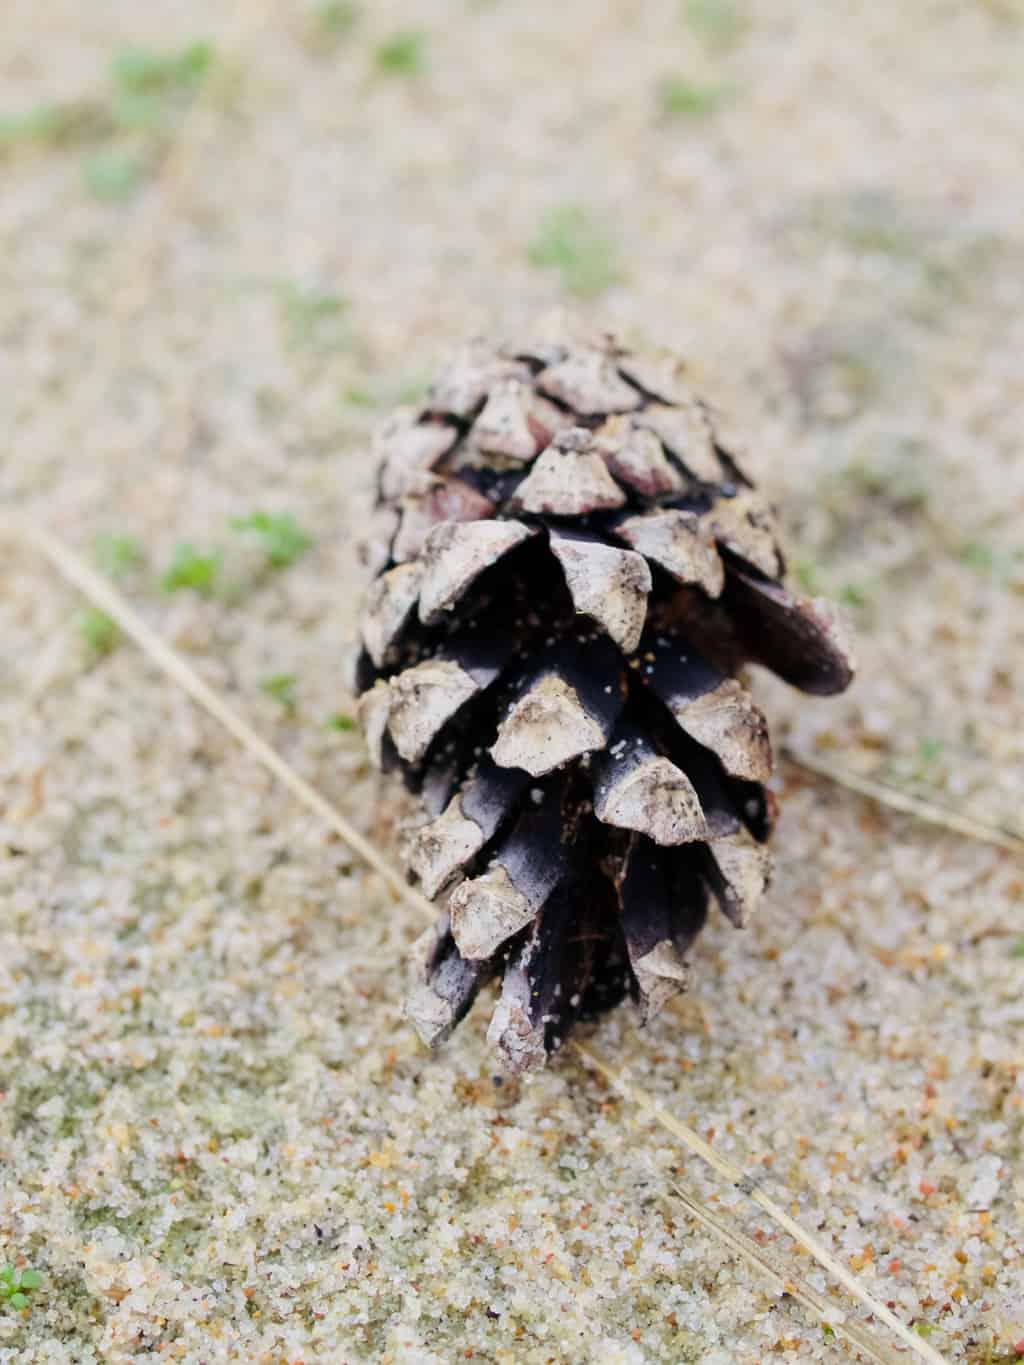
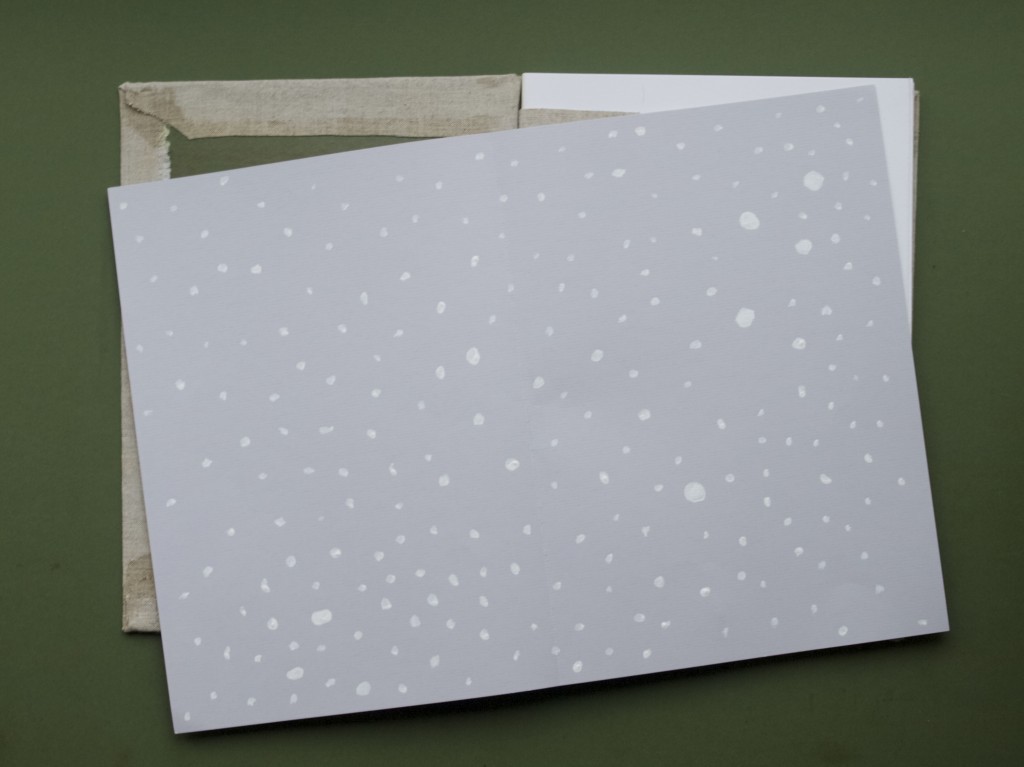
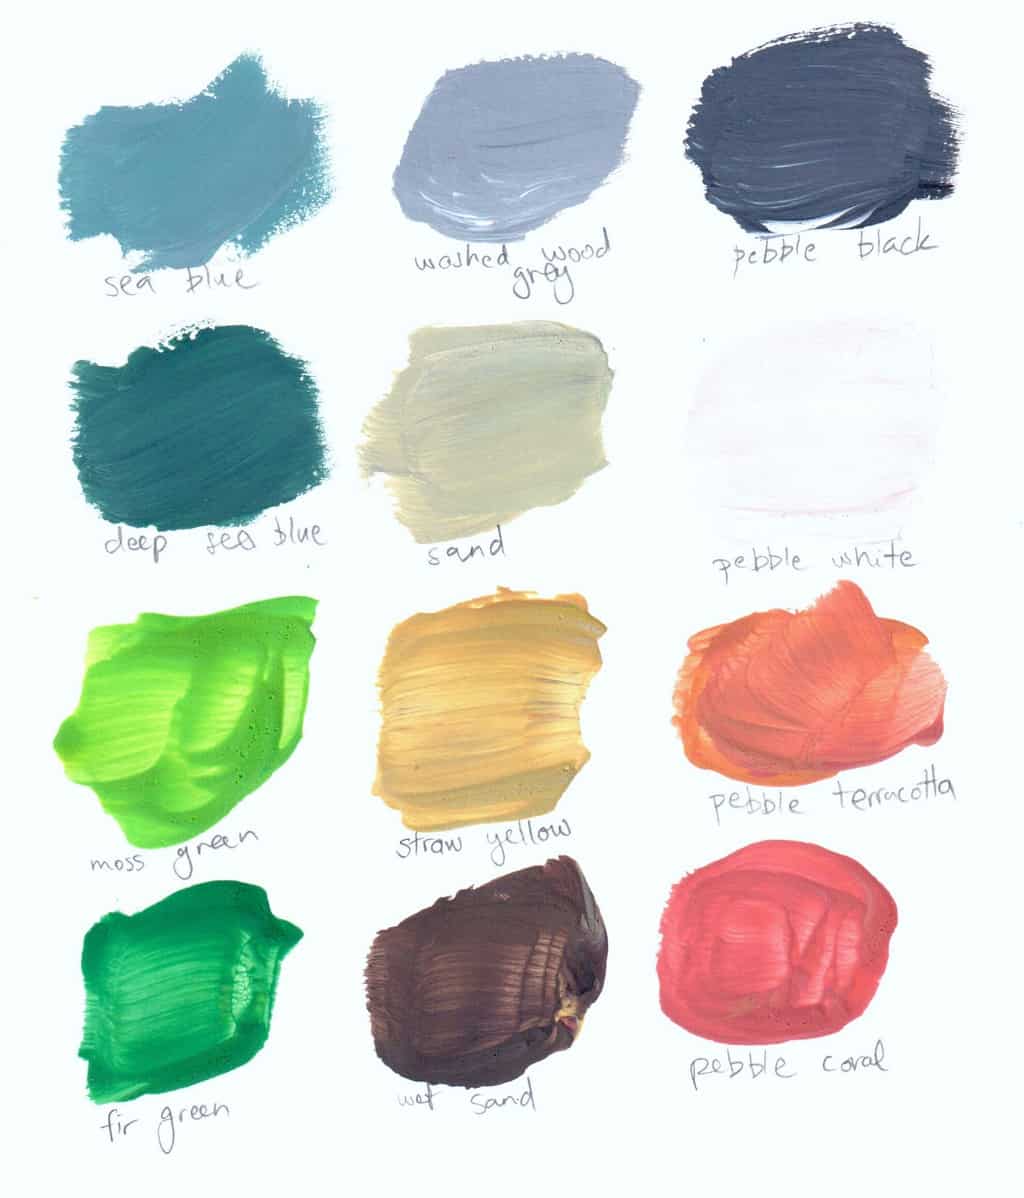
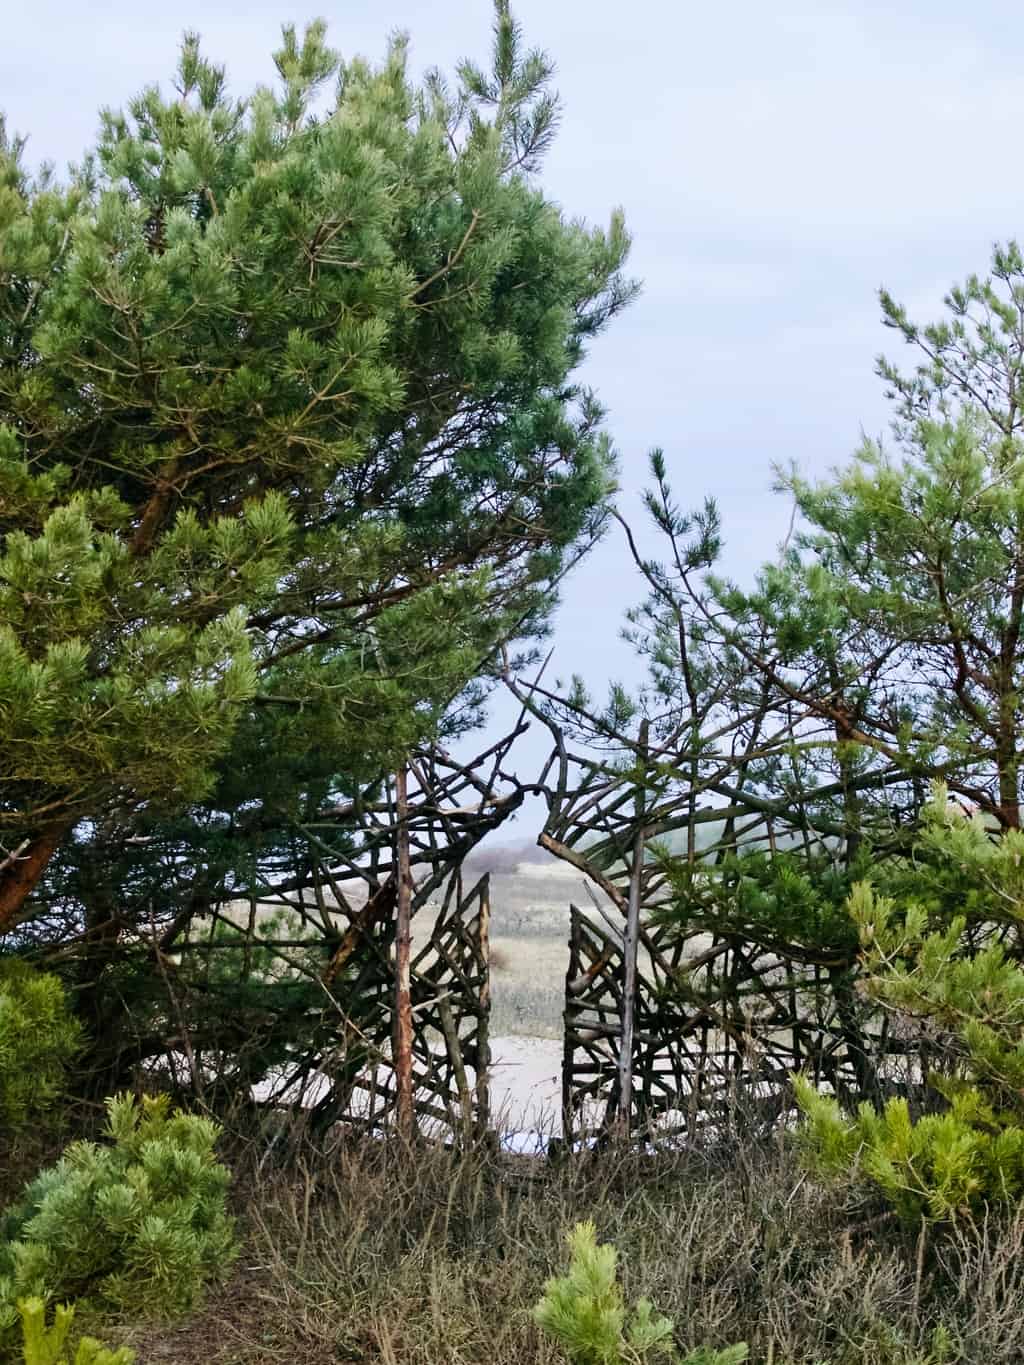
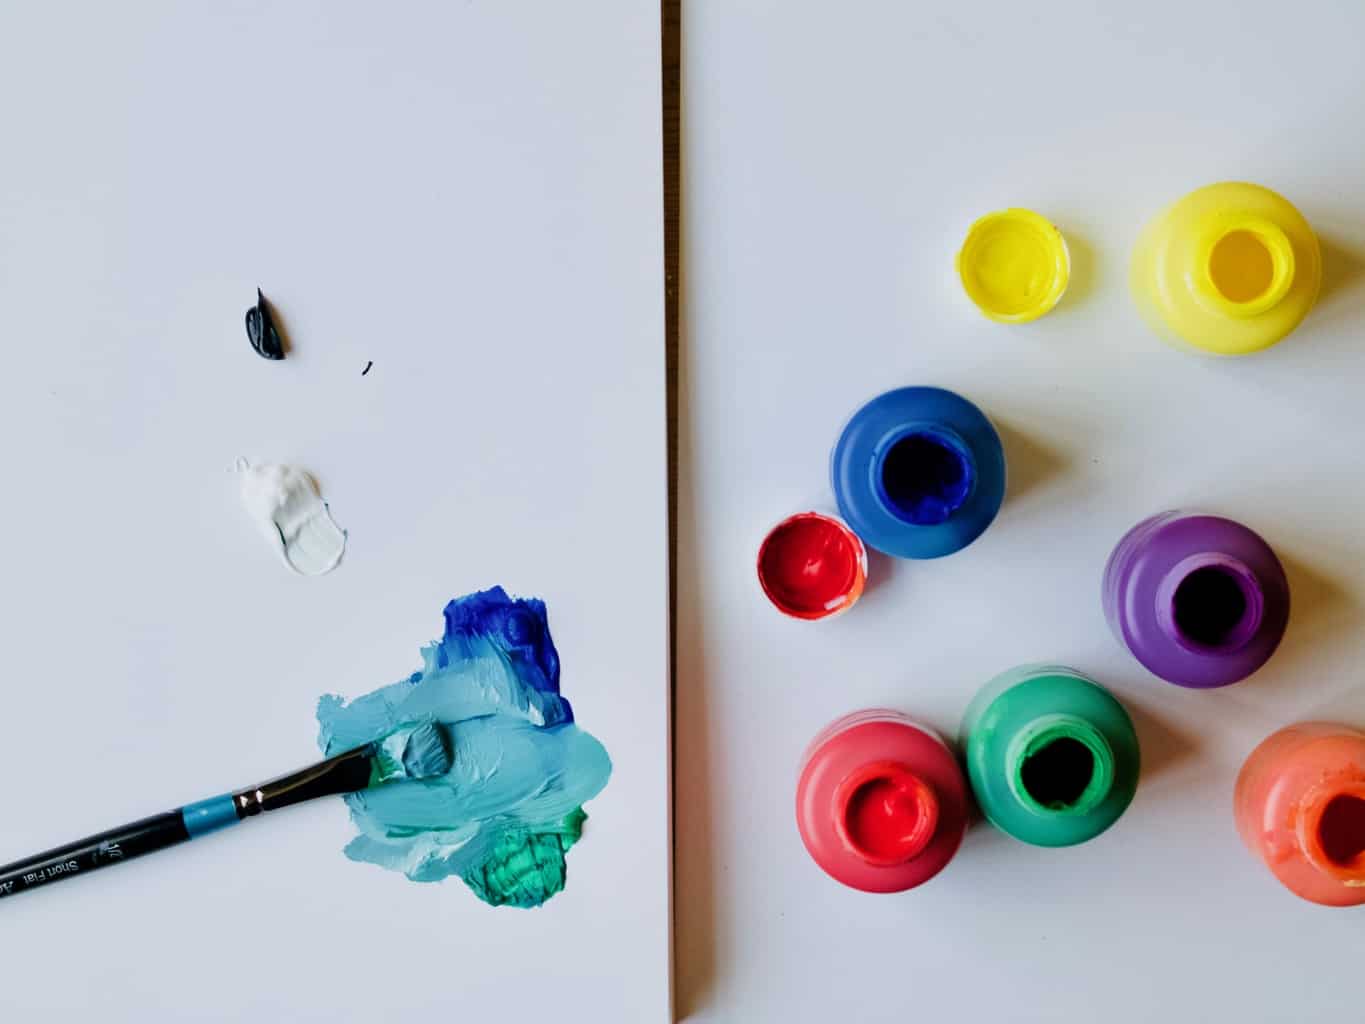
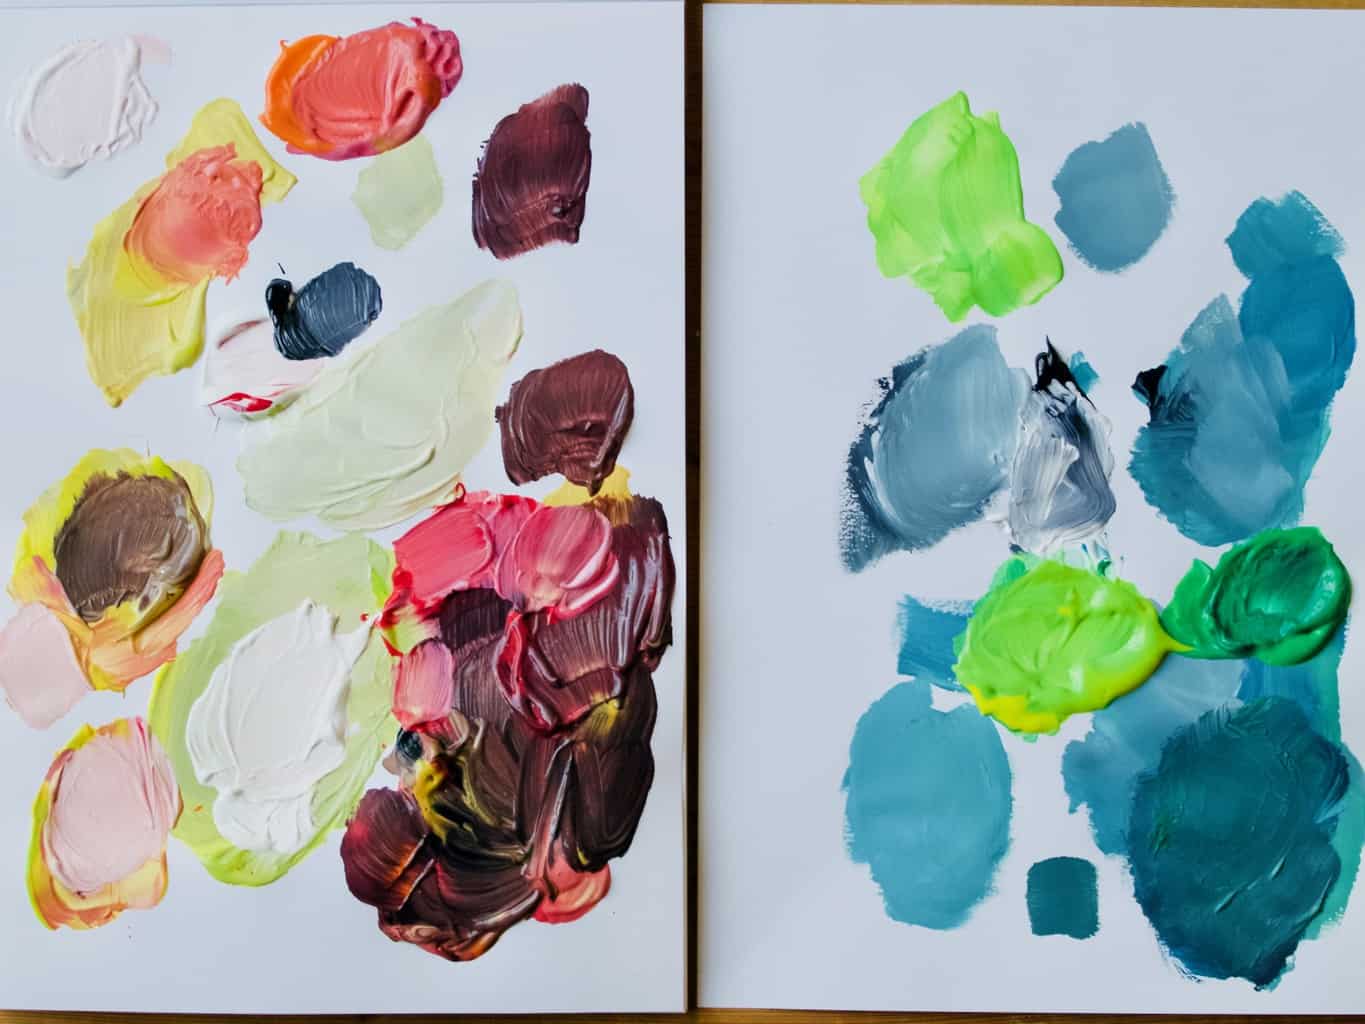
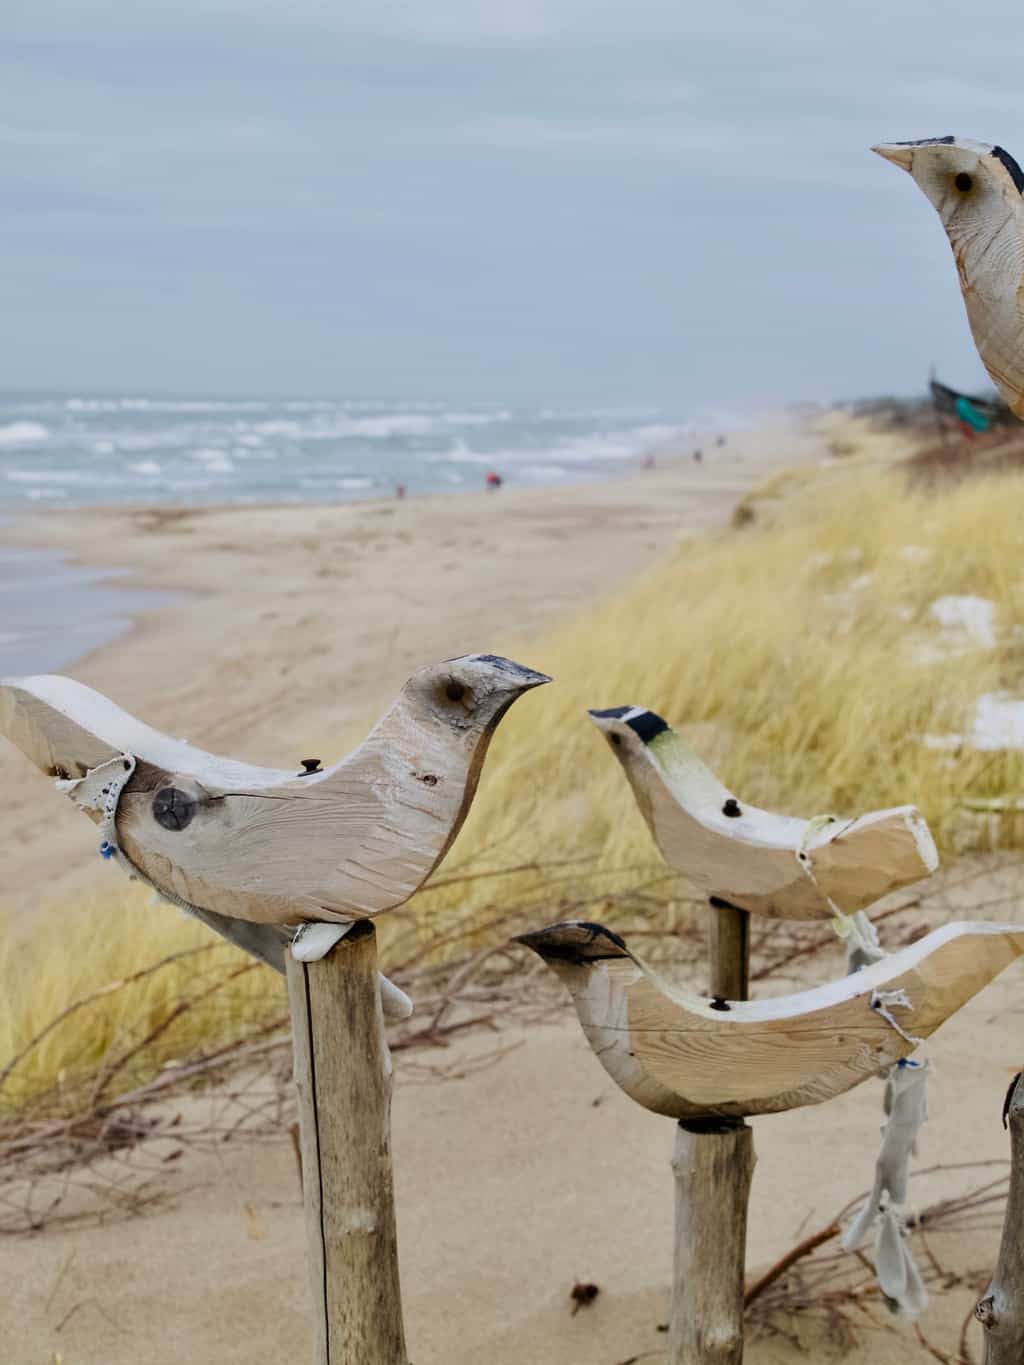
Baltic sea colour palette, how to create palette using paintColour palettes are useful little things when designing, especially interior design. Colour palettes are a selection of colours kept on a board or paper as a reference, ready mixed for specific project/artwork. It helps you to keep focus on the selection of the colours that create concept consistency through the design/painting process. There are many ways you can create a colour palette. You can use different material swatches or magazine cutouts to create 3D colour palette. Computer generated swatches are quite useful too and easy to create. However today we are talking how to make a colour palette by mixing your own paint. This technique is especially useful when you need to use some colours to create wall artwork or want a specific paint colour when painting the walls or furniture (of course these swatches can be successfully scanned at the paint shop for a larger quantity paint).Baltic sea colour palette, how to create palette using paintRecently I visited the Lithuanian seaside that I get constantly inspired by. I blogged about it  many times across different seasons. This time I visited when there was still a little snow left! I used the photos I took as my inspiration.Baltic sea colour palette, how to create palette using paintSo how do I create a colour palette using paint? First step is of course to choose the paint. Any type of paint can be used for this purpose, but acrylic is probably the easiest to handle. I used a mix of acrylic paint and also some kids washable water based paint because I did not have a good selection of acrylics. It is important that you have the primary colours (yellow, green, blue and red), plus black and white. The rest of the colours can be mixed.  Baltic sea colour palette, how to create palette using paint Baltic sea colour palette, how to create palette using paint Baltic sea colour palette, how to create palette using paintTo create the colour palette you really need to have a good understanding of a colour wheel. When you understand how to achieve secondary and intermediate colours from primary colours you unlock so many other colours. Once those colours are unlocked they can be further developed by adding adding white or black to lighten or darken them. Just remember that black and white also dull the colours as well. Baltic sea colour palette, how to create palette using paint But first, before you begin creating the palette, you need to find an inspiration. You can either use photos like I did or pick an object (like a rug or patterned fabric) that has a colour combination you like. Mixing colours take practice, but it’s so fun when you get the right shade! Once I achieve the right shade I simply transfer them onto a clean piece of paper and let it dry. I particularly enjoy naming those colours, claiming ownership over them.Baltic sea colour palette, how to create palette using paint Baltic sea colour palette, how to create palette using paint Baltic sea colour palette, how to create palette using paint Baltic sea colour palette, how to create palette using paintHope you found this inspiring!

Rasa xoxo

0

Watercolour challenge: starry sky

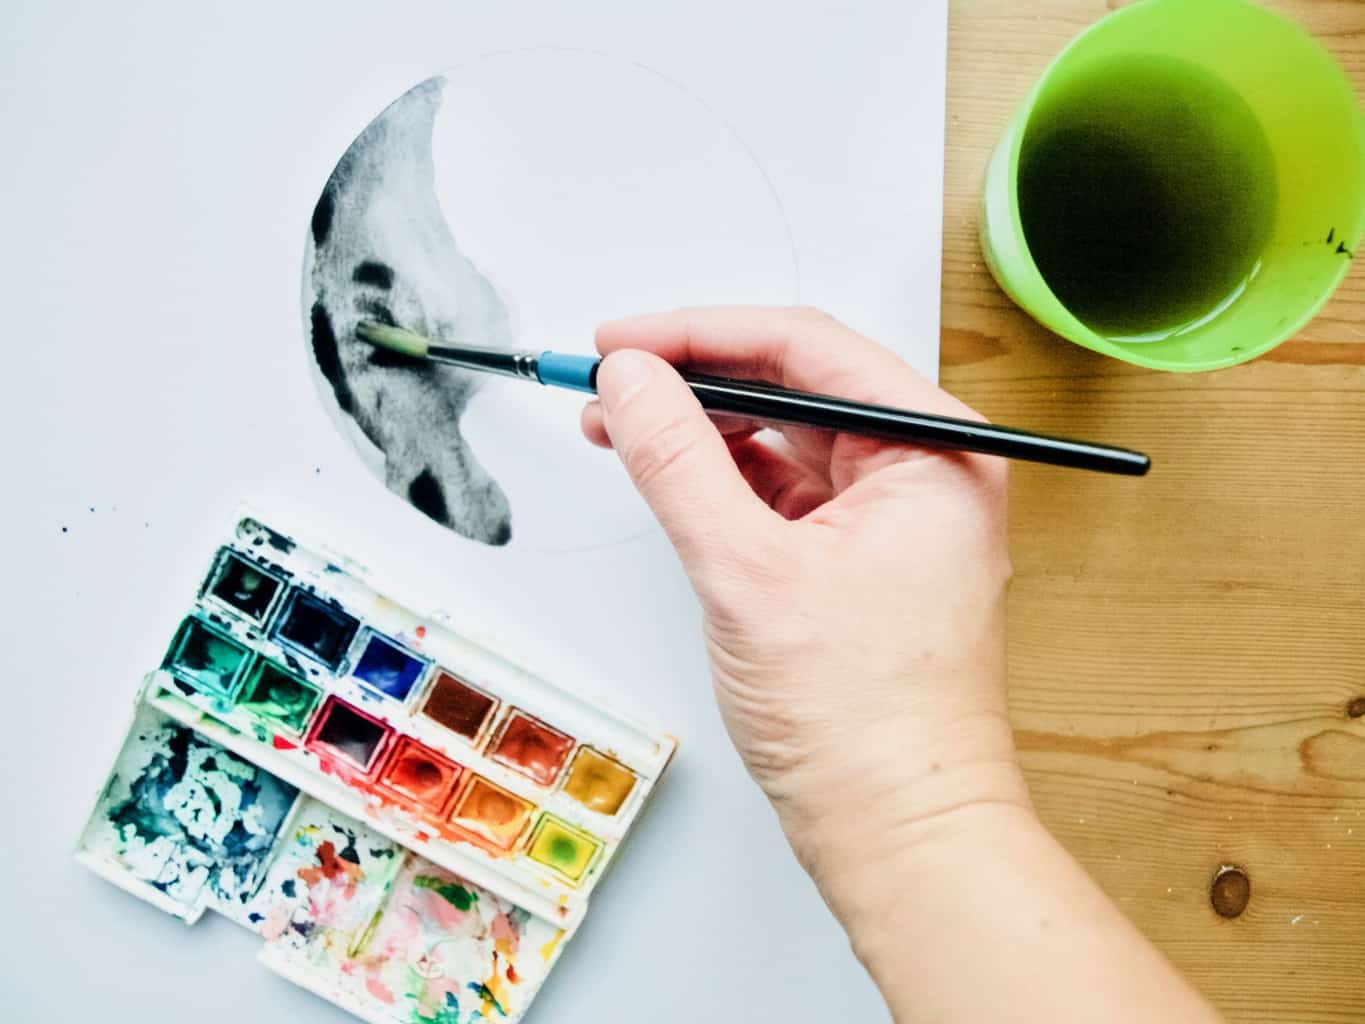
Galaxy watercolour painting for card makingIt’s that time of year when the nights are long, Christmas cheer is all around us and neighbours started lighting up their fairy lights. It could not be a better time to learn how to do galaxy paintings (A must must have skill for water colour painters!). These could turn into magical magical Christmas cards, and invites, and so many other things as well as wall art.

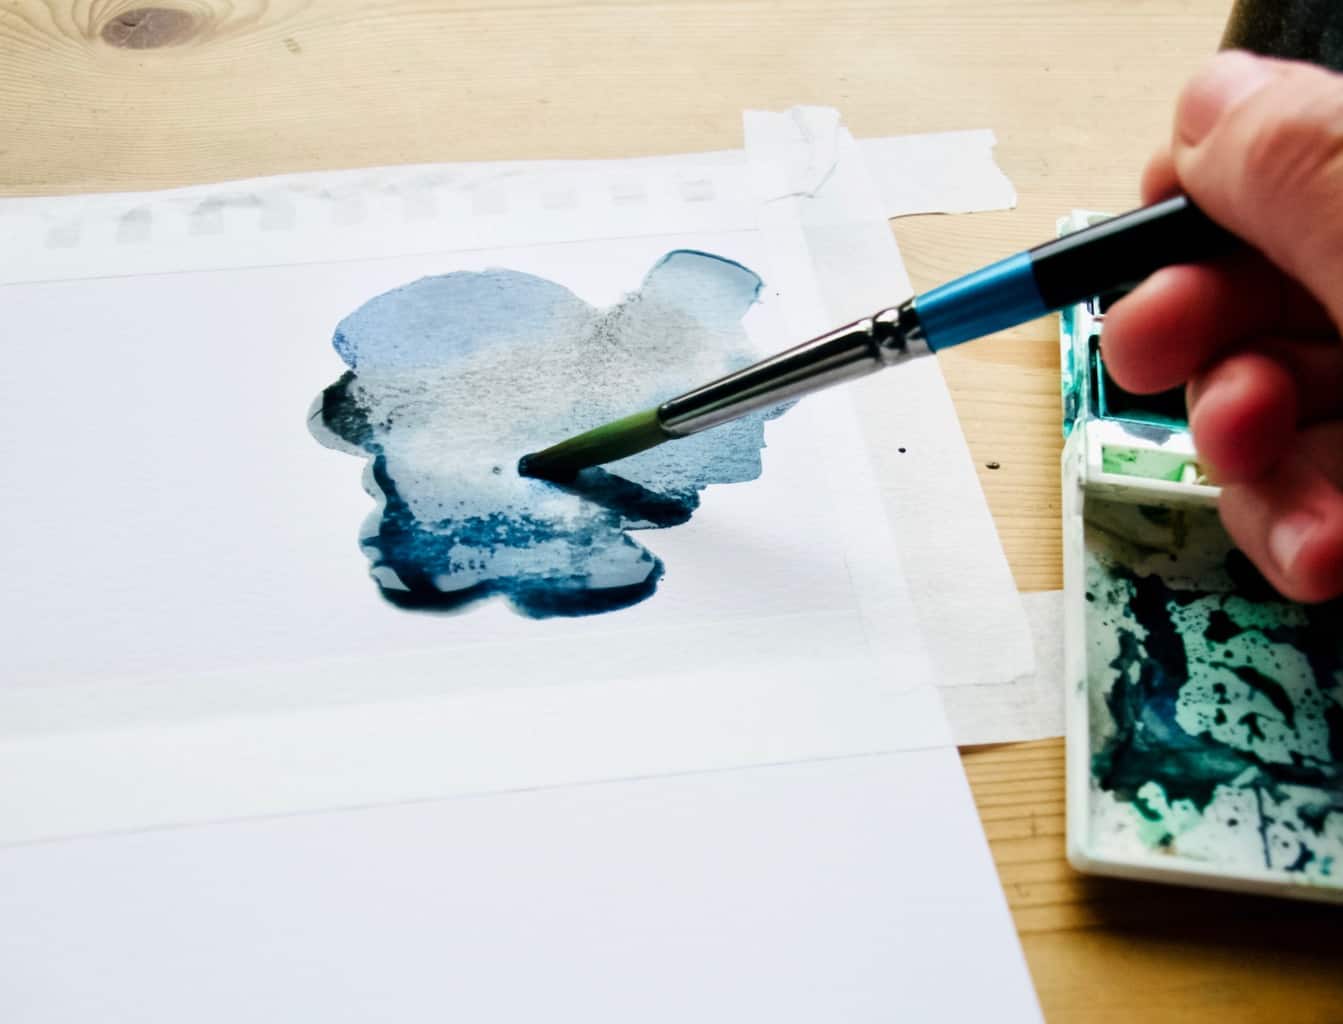
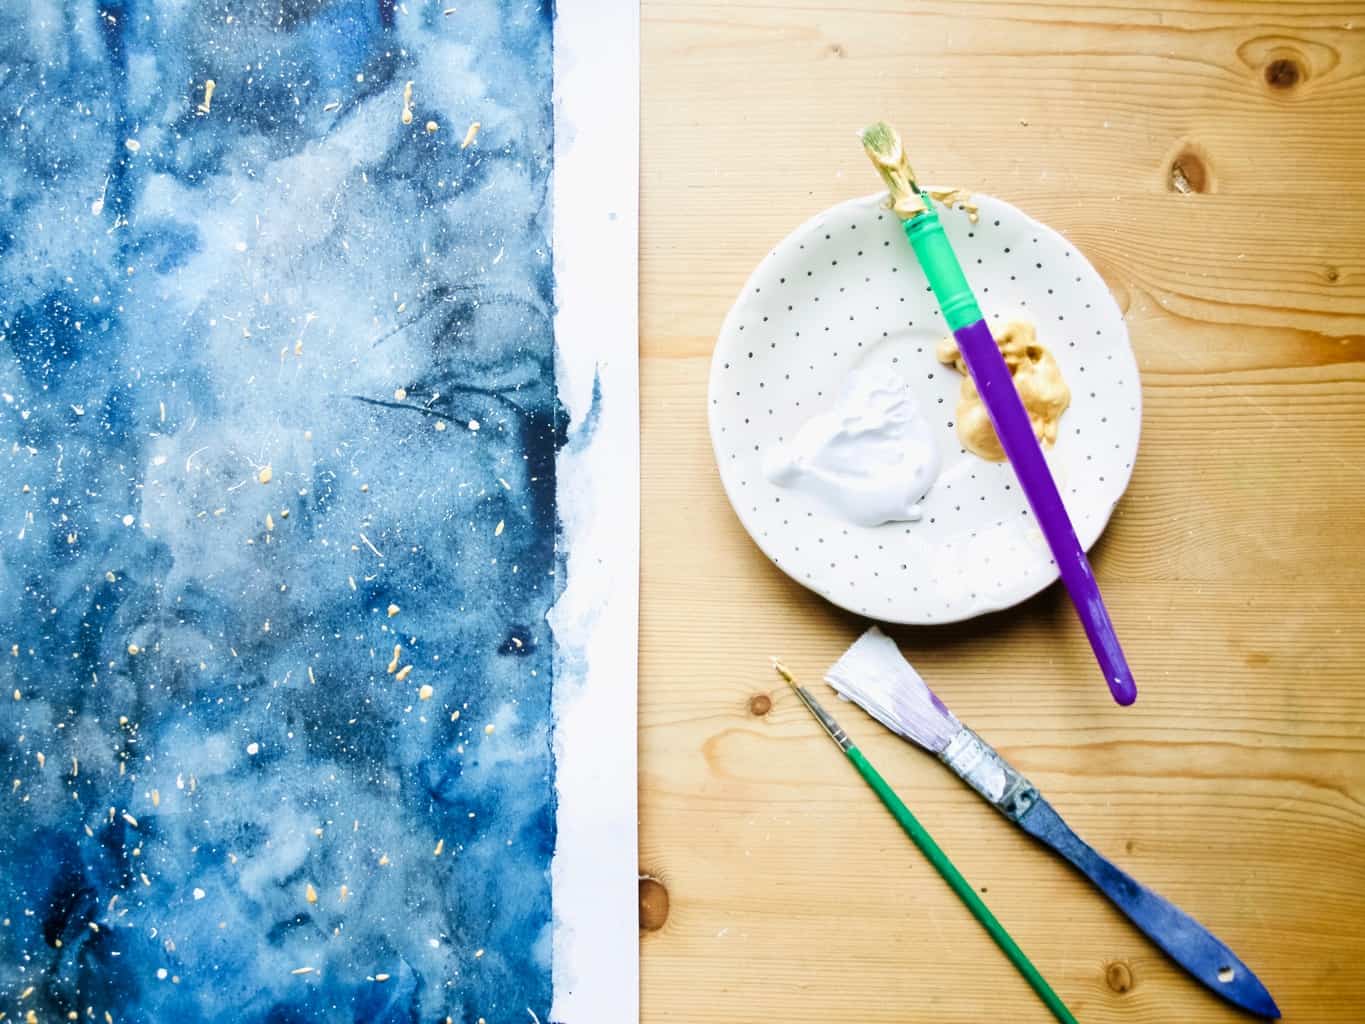
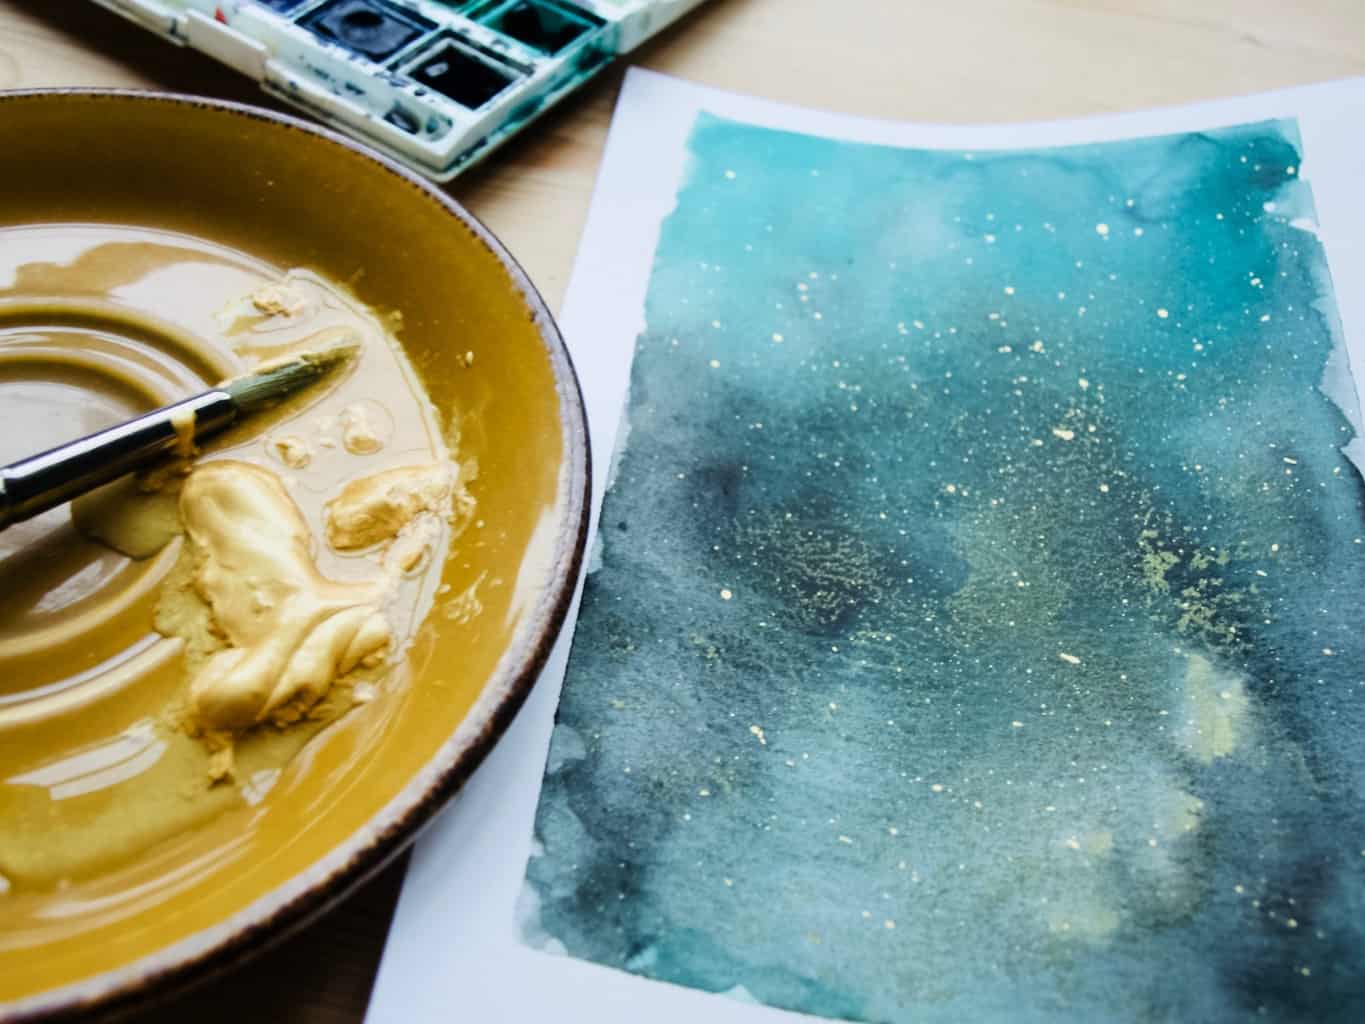
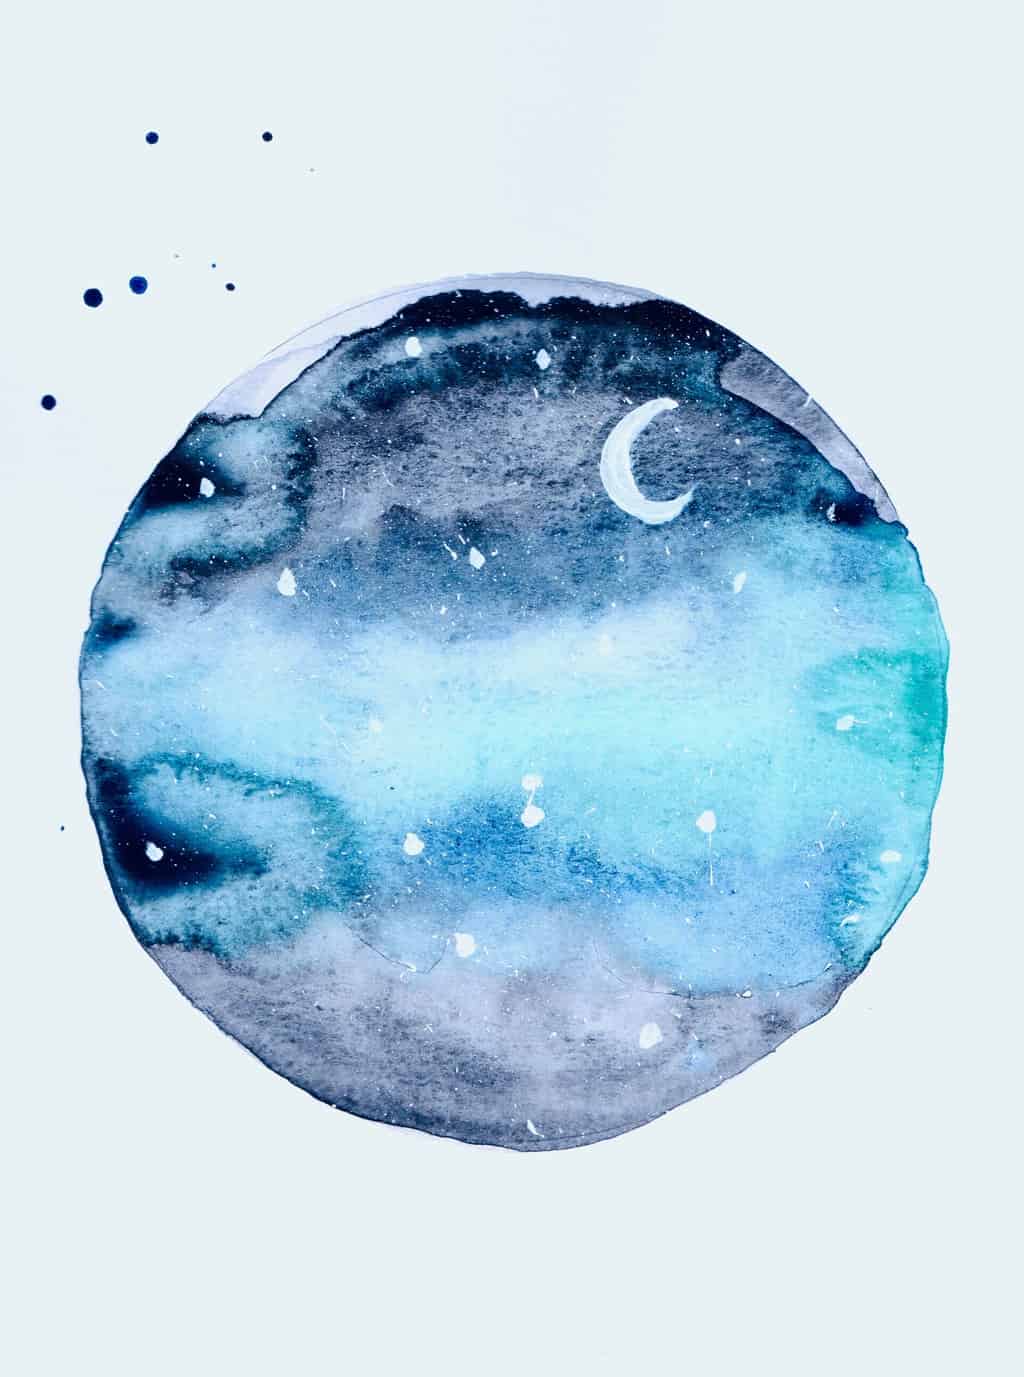
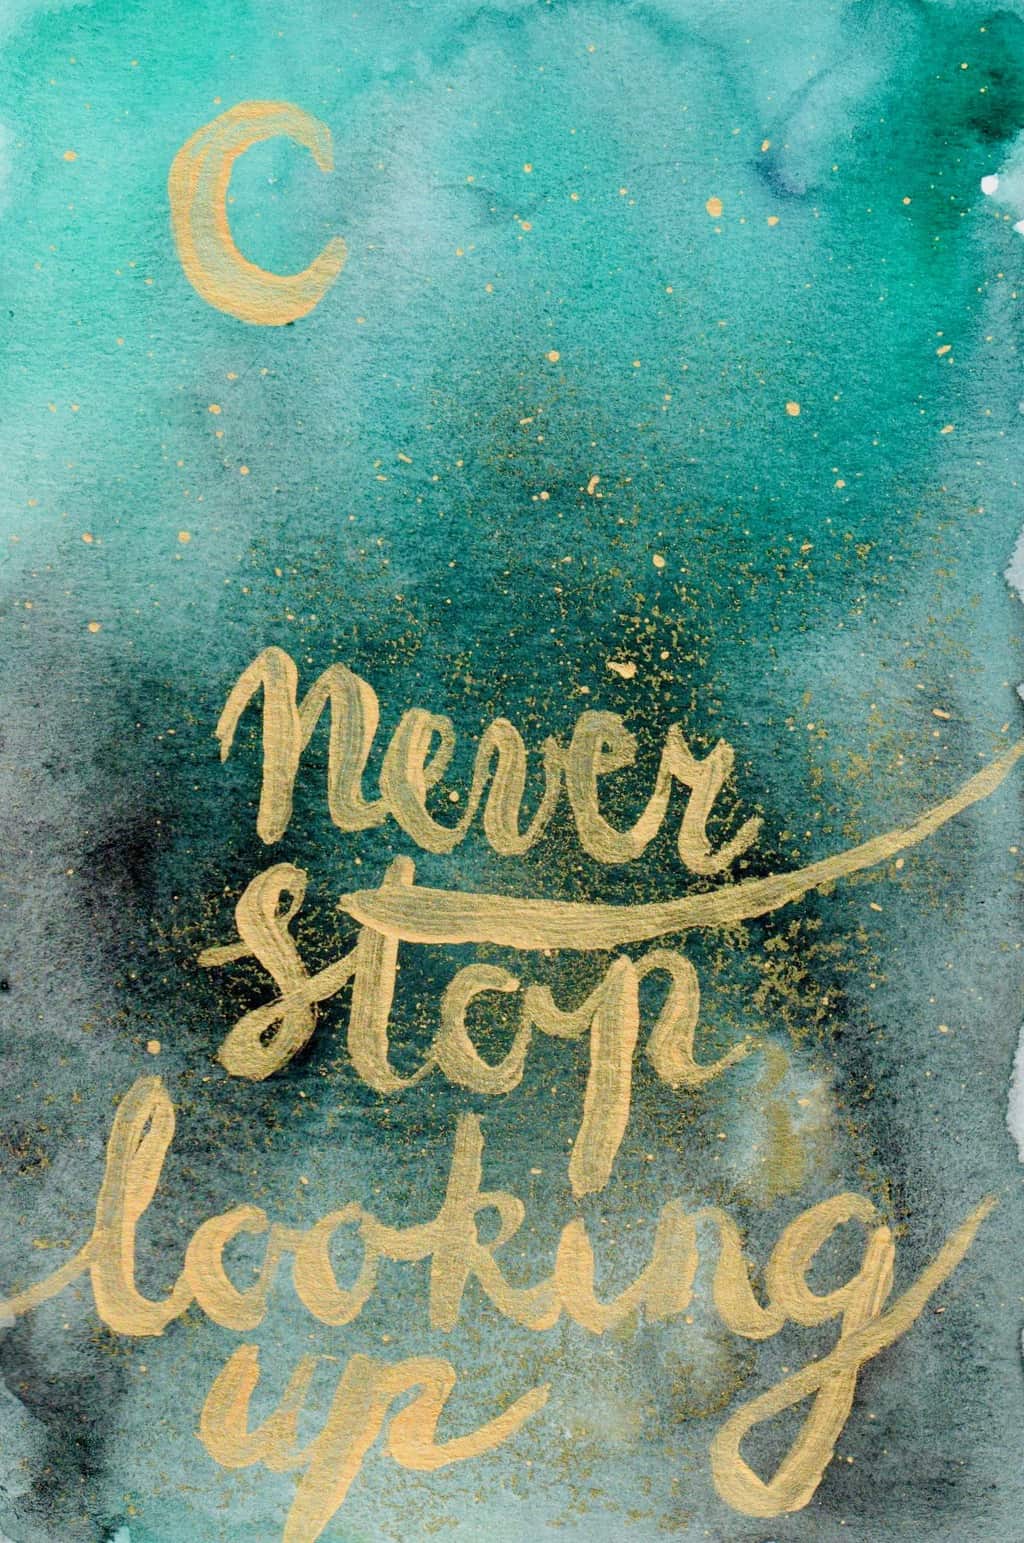
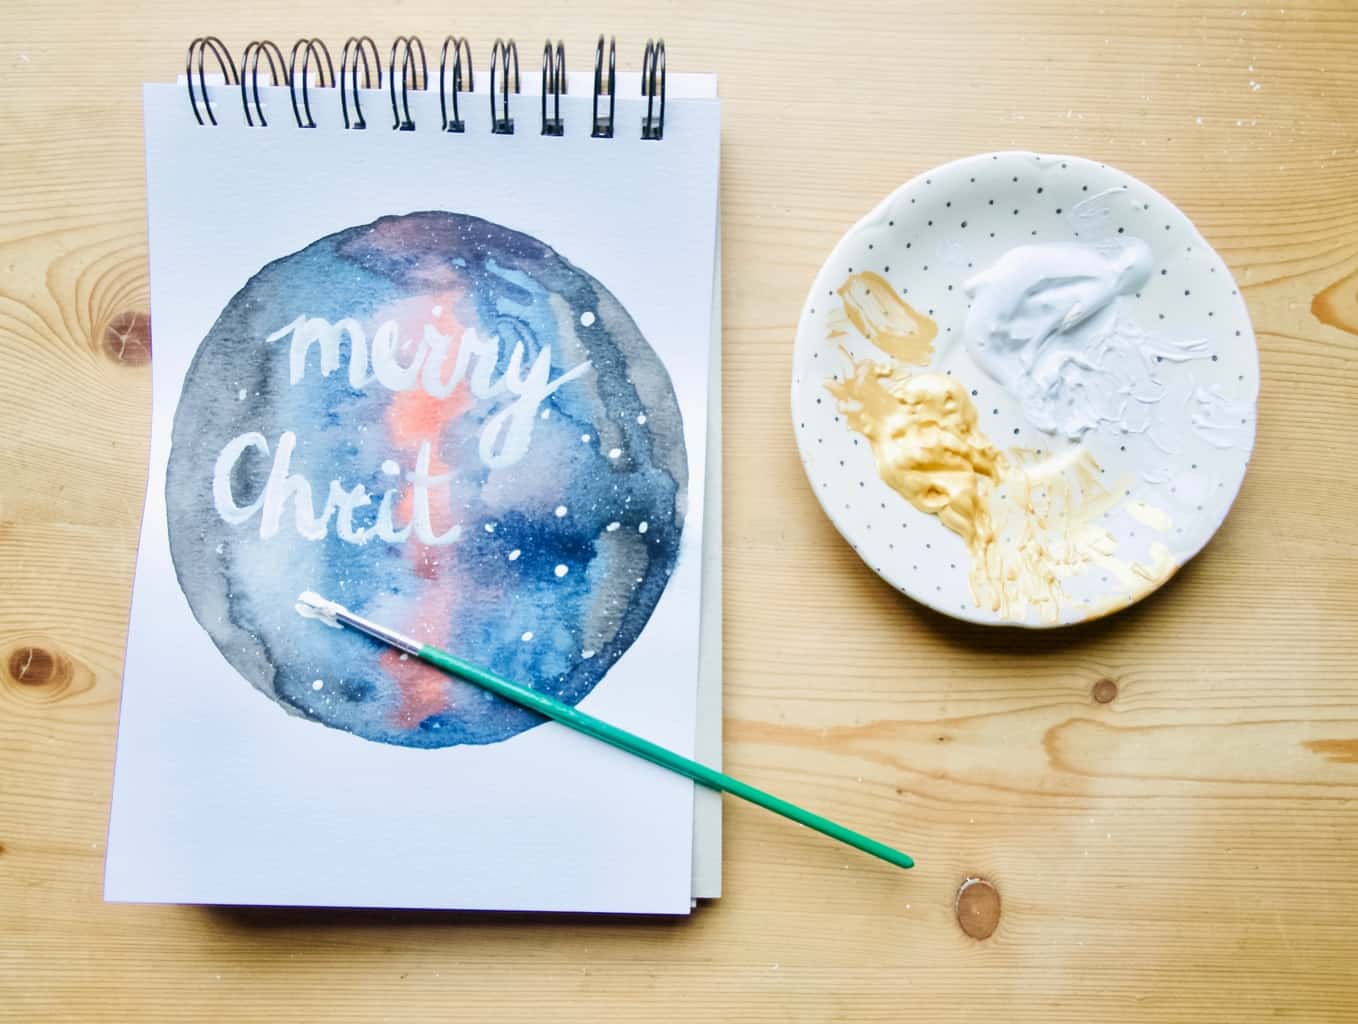
First I began by working on my brush strokes. To achieve a deep night sky impression I moved my brush in circular movements to form cloud like patterns. It’s important to use a generous amount of water as well as layering the paint to build darker shades. To begin with I only worked with two basic colours which were black and blue.  Galaxy watercolour painting for card makingOnce the sky painting is dry, I sprinkled some “stars”. I used a heavy type of brush and using my thumb movement on it I successfully applied the micro sized stars. I then used thin paint brush to paint in bigger stars. Although majority galaxy paintings I have seen around are white, I thought it would be very cool to try gold colour acrylic paint to create some gold stars. I am totally in love with the variation!Galaxy watercolour painting for card makingOnce I mastered the galaxy painting with two colours I of course then tried including more colours. I even tried gold colour! Now, I don’t have gold watercolour paint, so I used watered down gold acrylic paint. This experiment actually worked!! The picture bellow cannot do its justice though, the painting sparkles in the real life!Galaxy watercolour painting for card makingFinally I experimented with painting into confined shape (circle). What changed are the brushstrokes. I tend to do longer brushstrokes to define the edges. The borders also meant that the painting had some sort of structure rather than ending up looking like continuous repeating pattern. Galaxy watercolour painting for card makingTip: when watercoloring with high amounts of water the paper becomes uneven and wrinkly. The best way to make the paper flat again is to iron it. Cover the painting with baking paper and iron it with steam free setting. I find this is safe even with the high temperature setting.Galaxy watercolour painting for card makingWhen the time came to make the Christmas cards I decided to experiment with foiling (I am so in love with gold right now!). Sadly this did not work out. I am sure it’s all my fault! This foil I bought meant to be used with the foiling machine, but someone suggested this could be used with iron. At the end the foil melted instead sticking onto paper. I even used PVA after unsuccessful application using toner pen. Nothing worked! I decided to leave foiling for later, I am sure I will figure this out some other time. Galaxy watercolour painting for card making I ended up using gold paint to paint the letters which was acceptable, but not ideal (hope my neighbours like it).Galaxy watercolour painting for card making White acrylic paint works fine too. If only I did not misspelled “Christmas” over here!Galaxy watercolour painting for card makingHope you found this helpful! Are you making your cards yourself this year?

Rasa xoxo

0

Watercolour challenge: repeating patterns

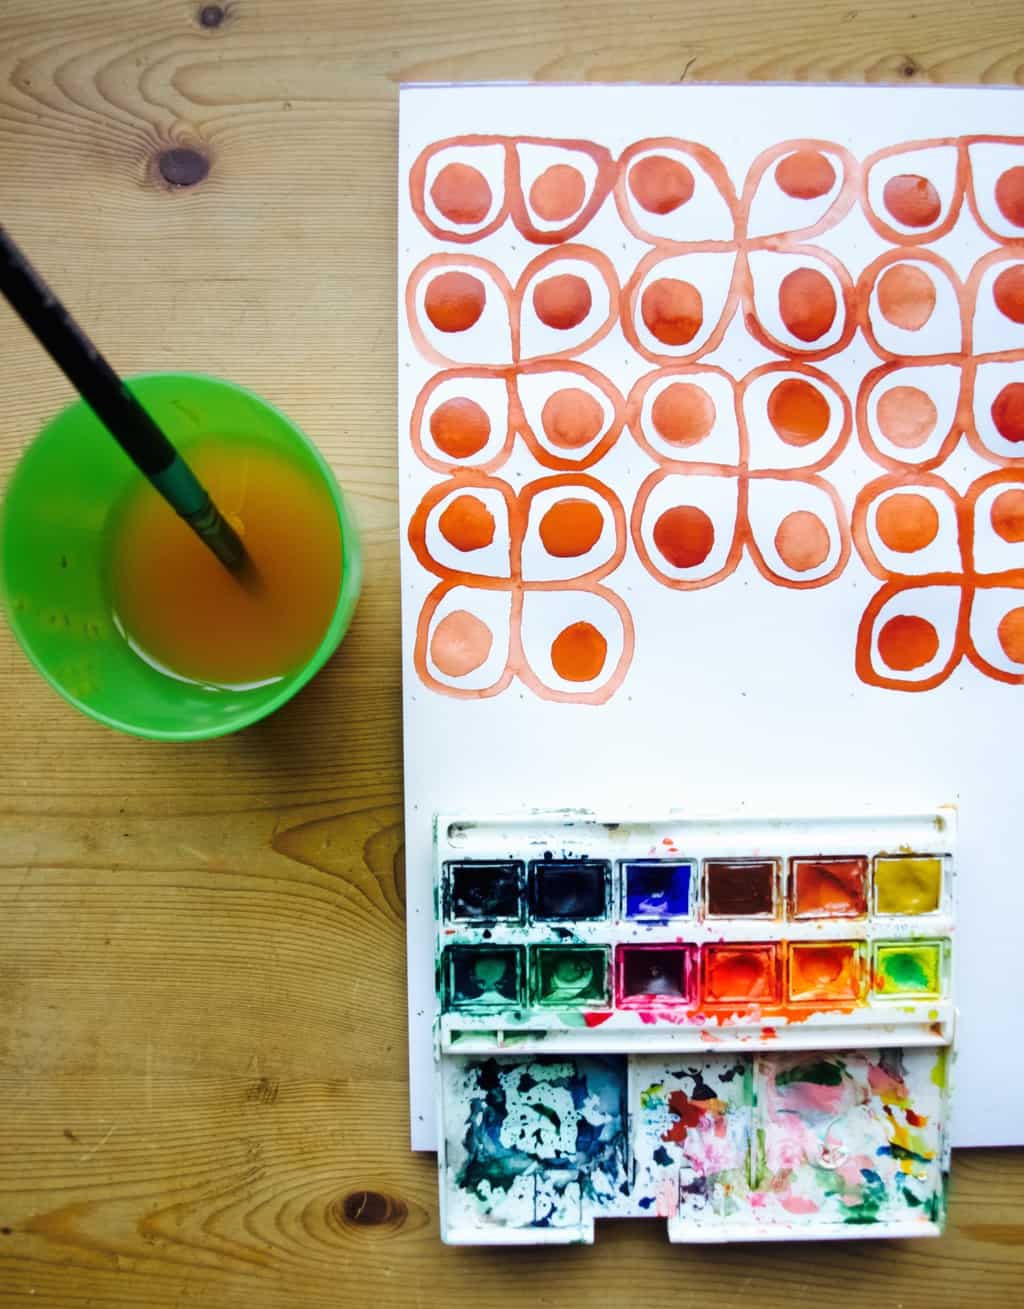
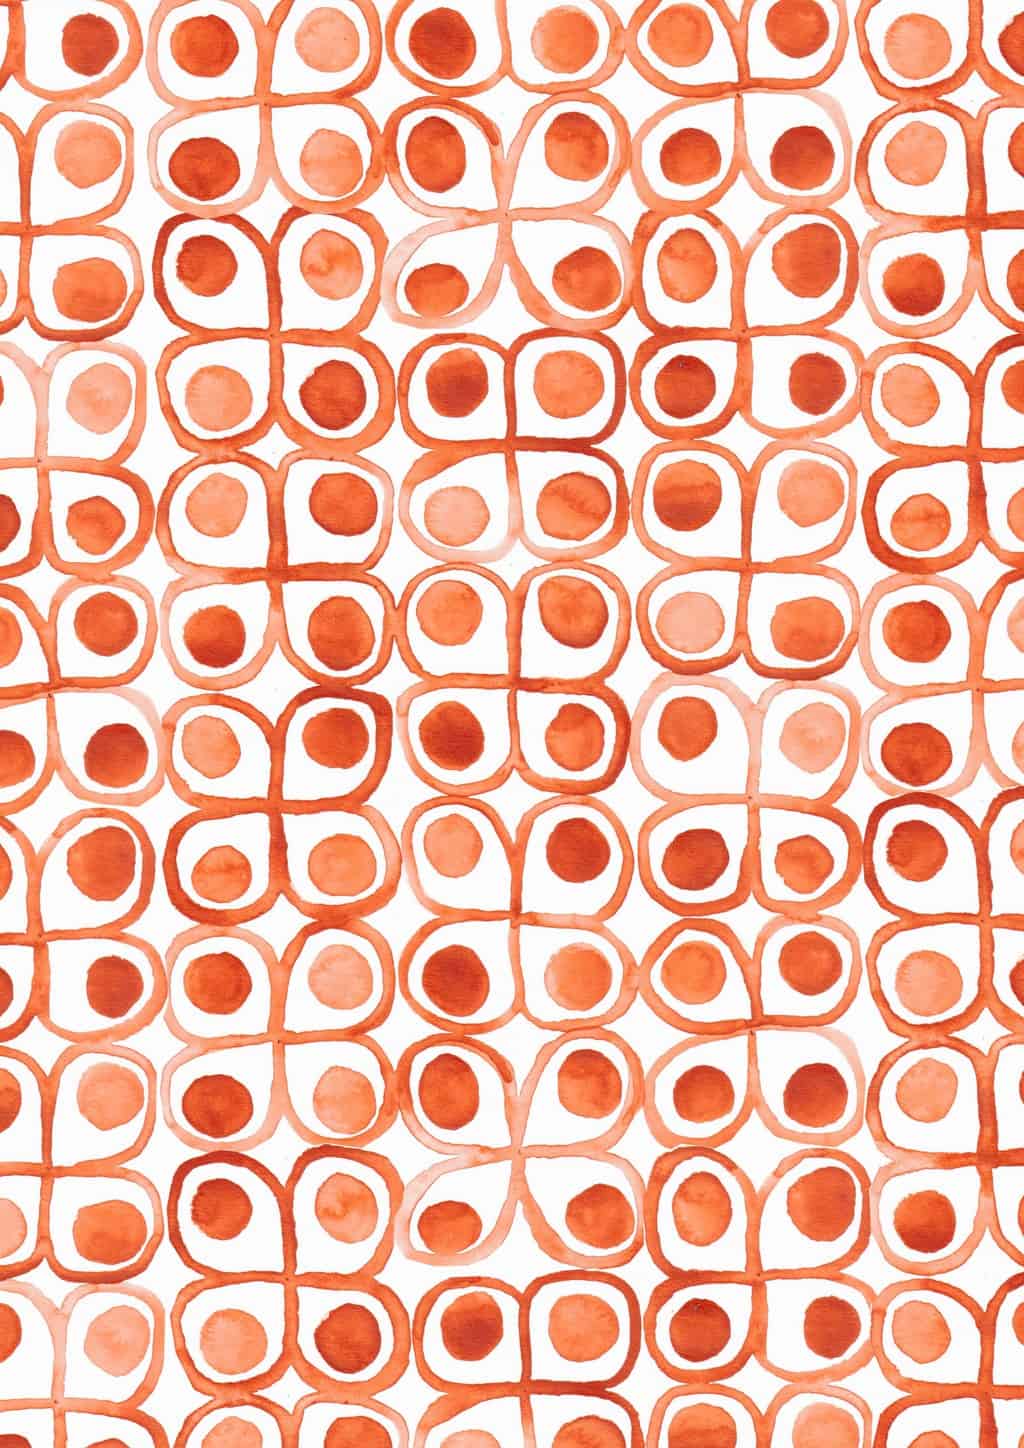
Repeating patterns with watercolour This month I am doing something very exciting for my watercolour challenge. Yes, it’s patterns, my favourite art form! However it would be not very challenging if I did something I am good at already?! This is why I decided to perfect my skill of repeating patterns with some new methods.

When I used to create repeating patterns before it was mostly by drawing/painting/arranging different items/details in repeating order. But as you may all know this is not an accurate way to create repeating patterns. The objects I draw can differ in size as it is literally impossible to exactly replicate the same item/detail every time.

Alternatively I used to take a square of the drawing or paining and repeat it on the photoshop (or any other editing software), but this created very boring, common patterns. I always wondered how do you make repeating patterns that are seamless.

I was little inspired by this YouTube and other few videos on how to create drawn repeating patterns. This method is all about cutting a square shaped picture into four blocks and then swapping them around so the edges of the picture end up at the centre so you can draw on the seams to make it look like that those seams were never there (you really need to watch that video to really understand it). However, this method would not work with watercolour. As you can imagine, watercolour would probably leak at the cut edges.

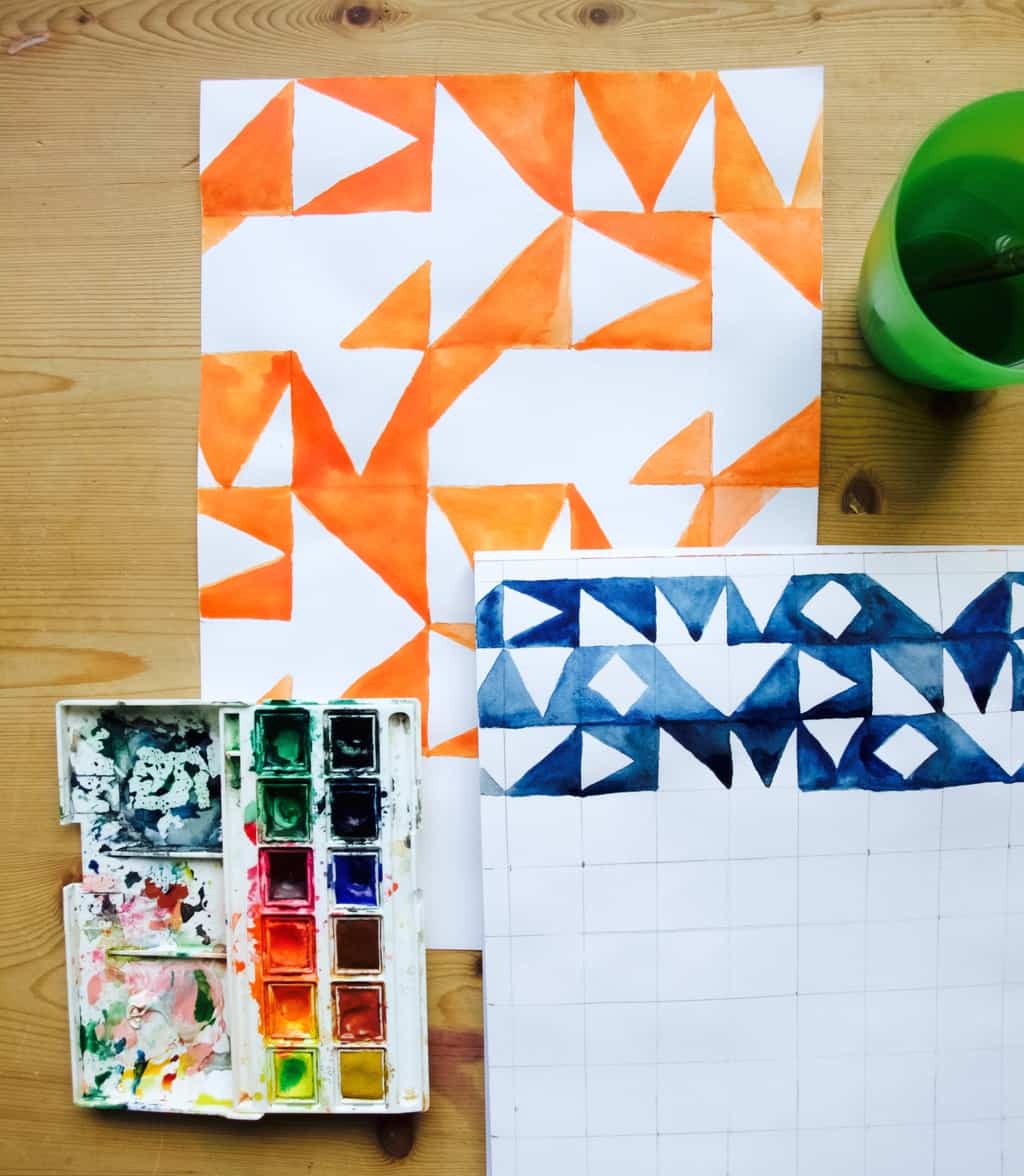
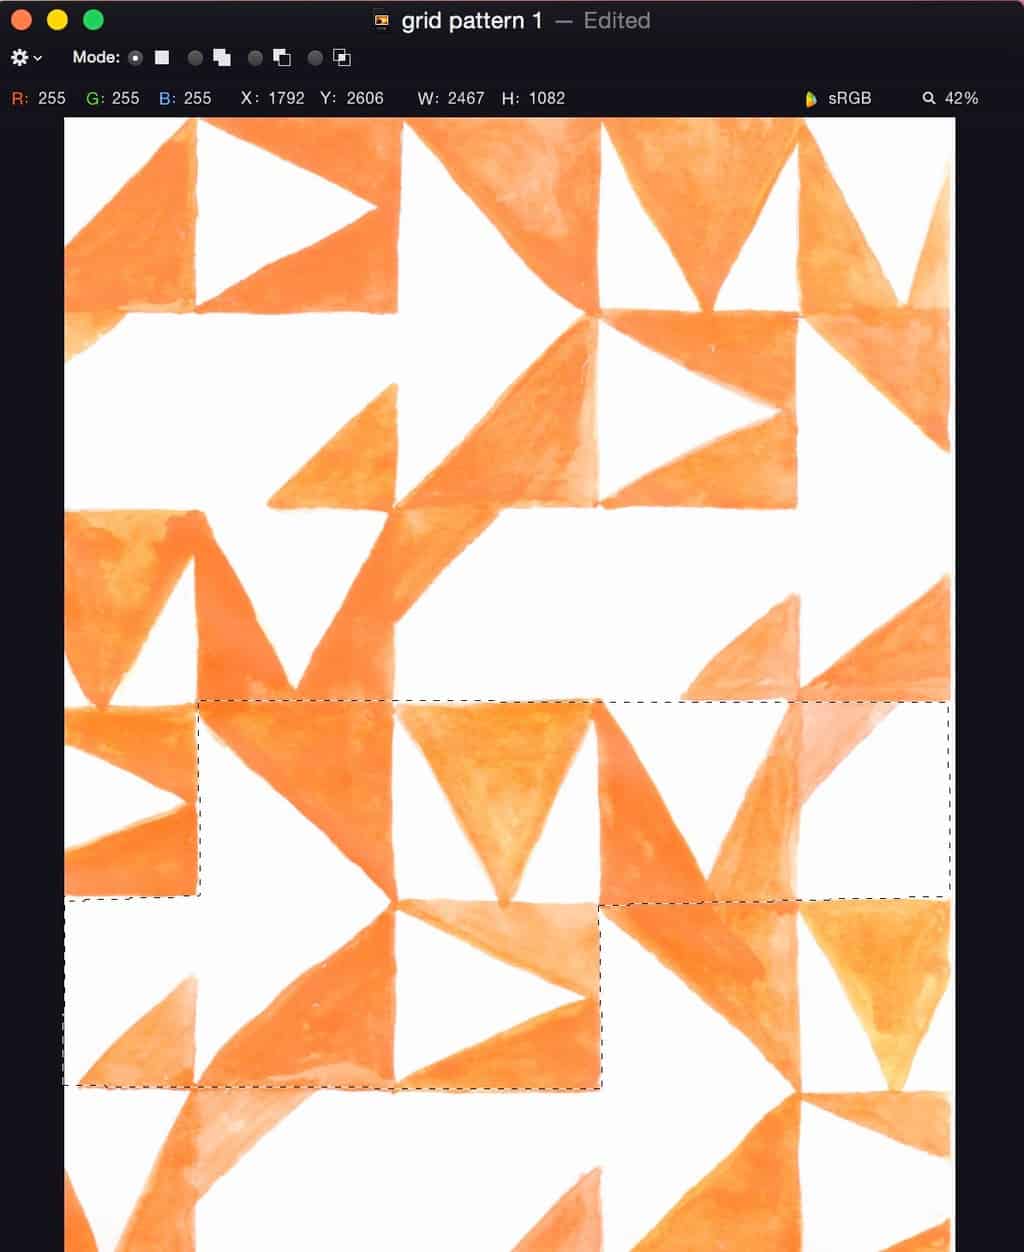
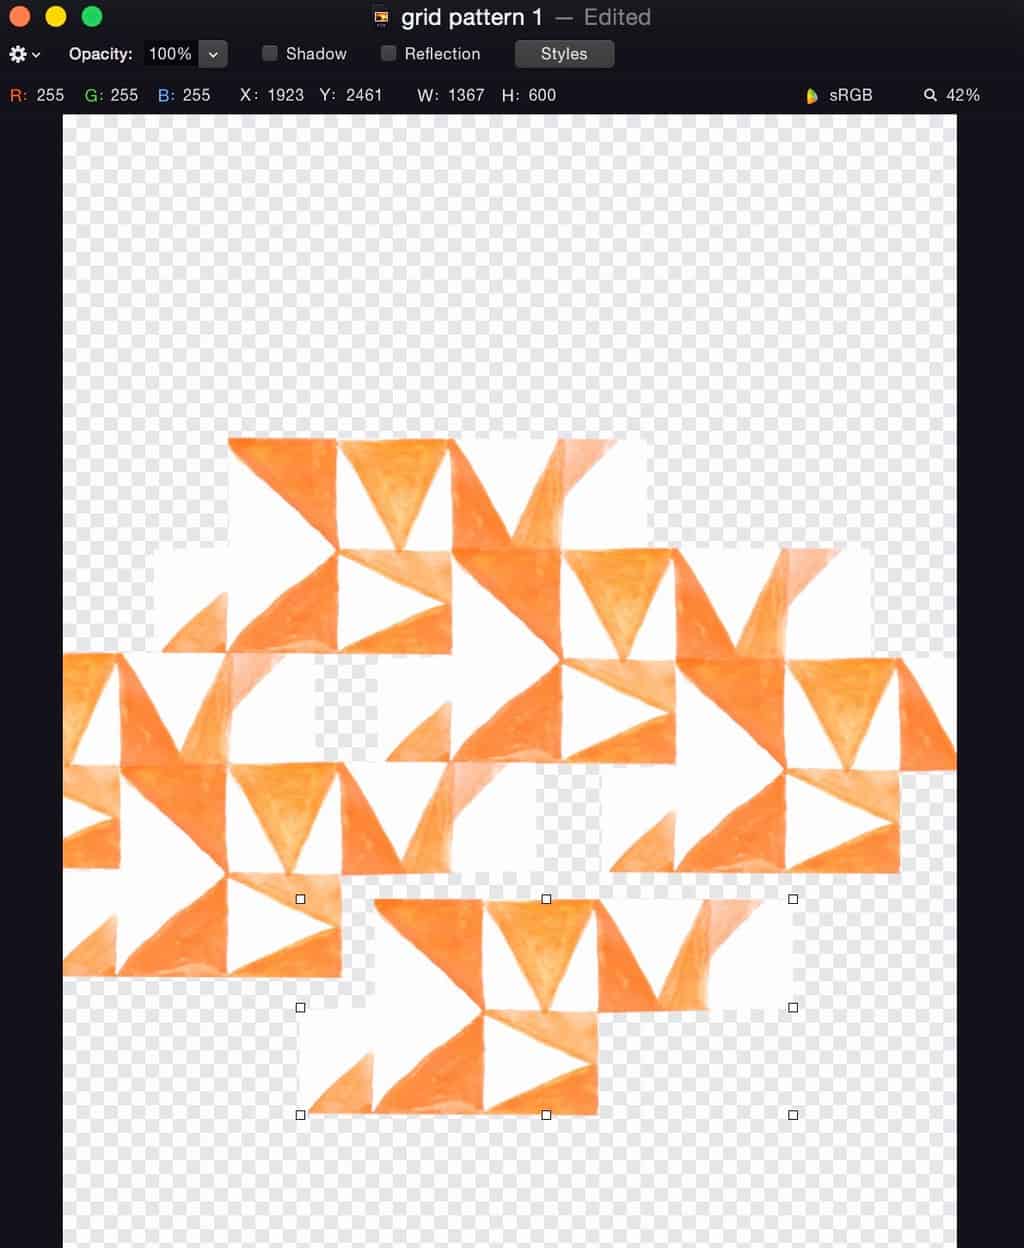
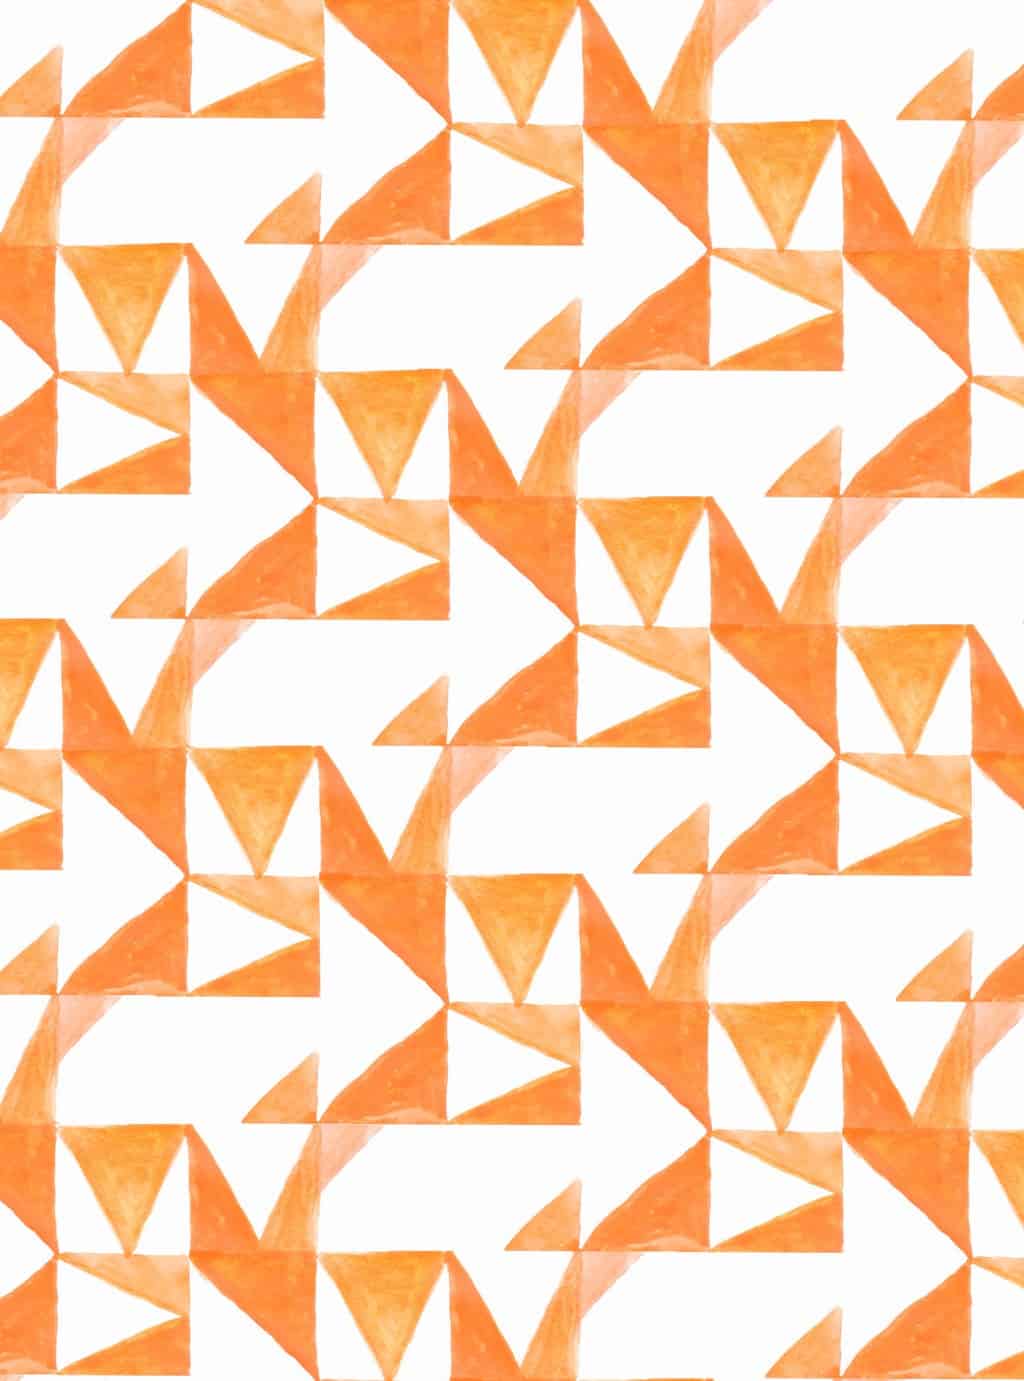
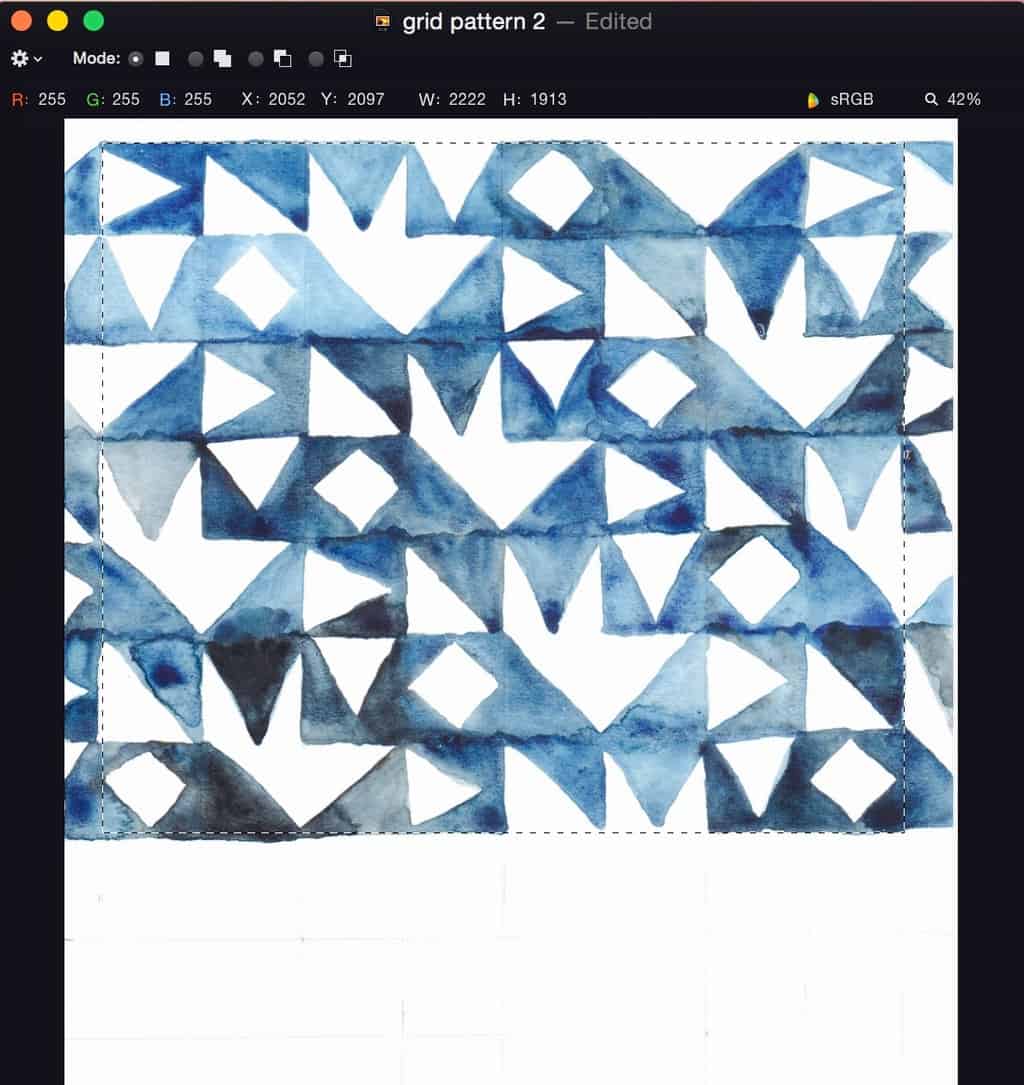
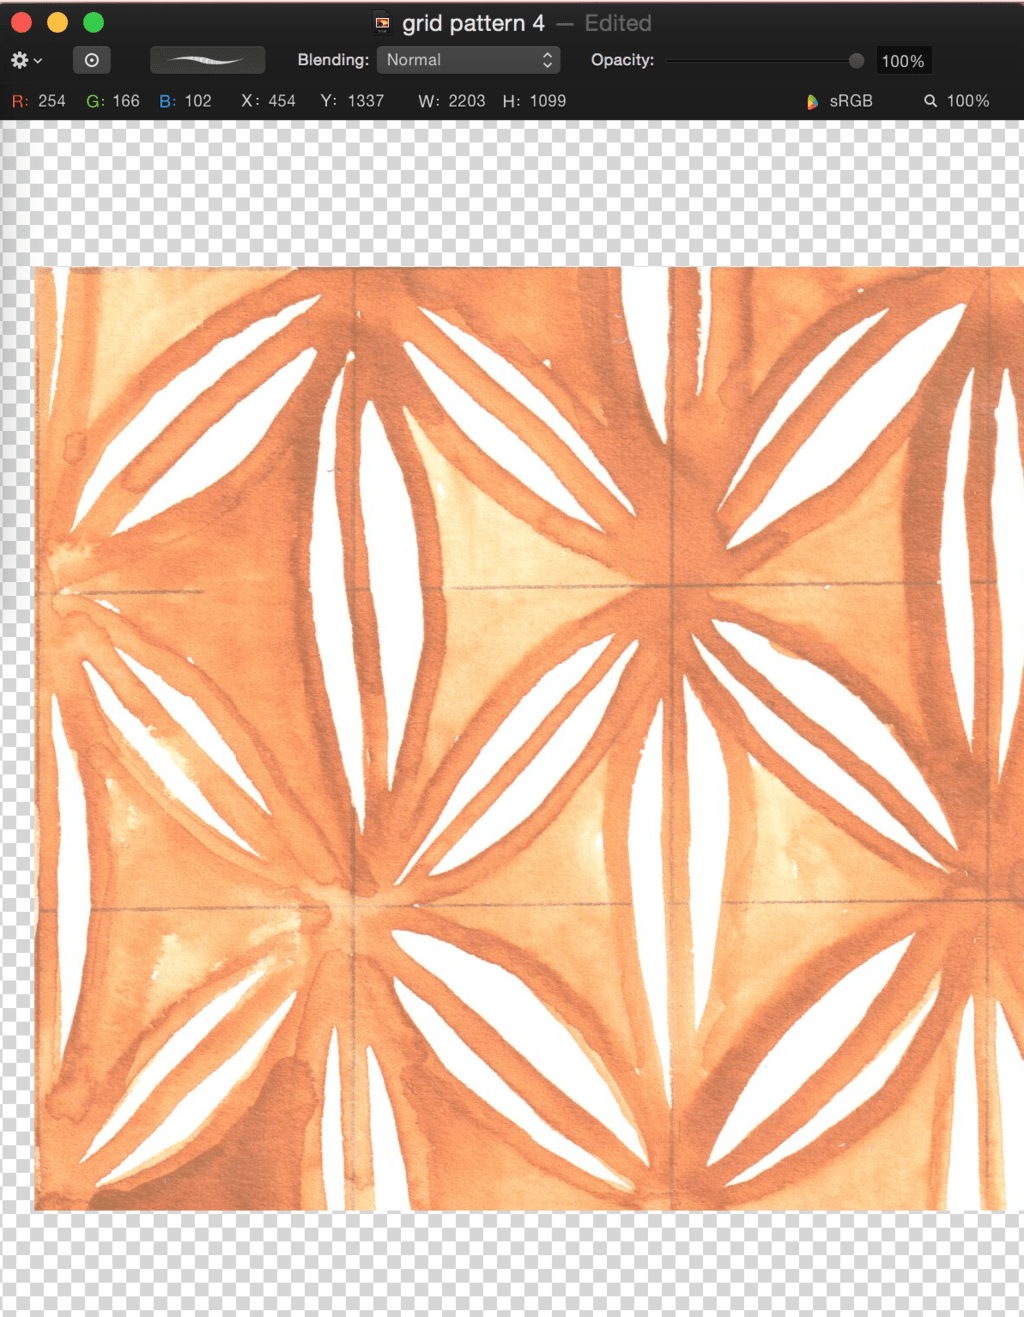
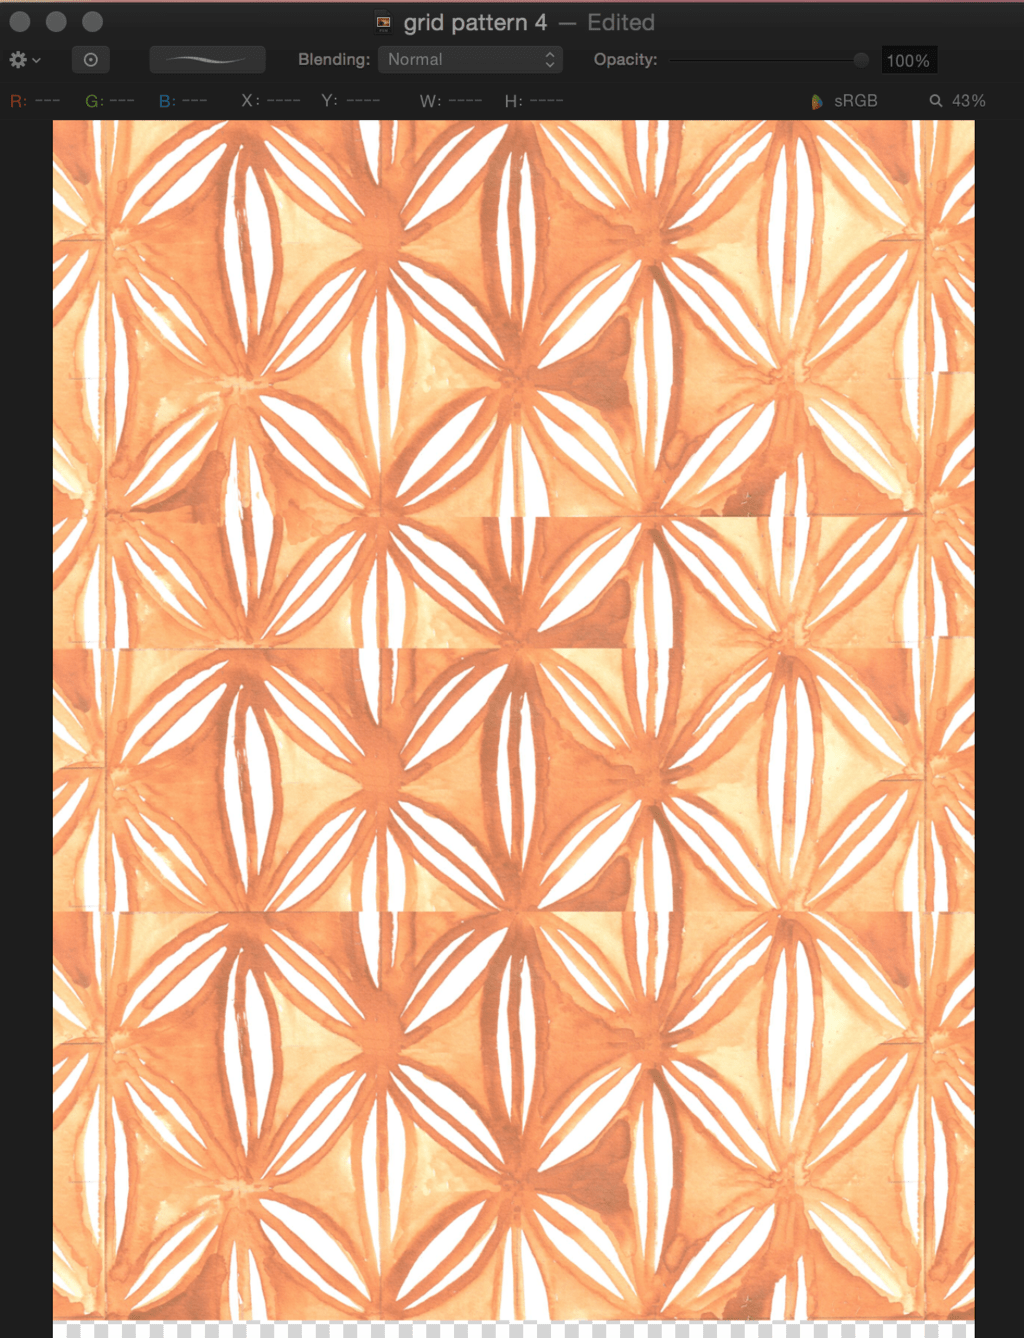
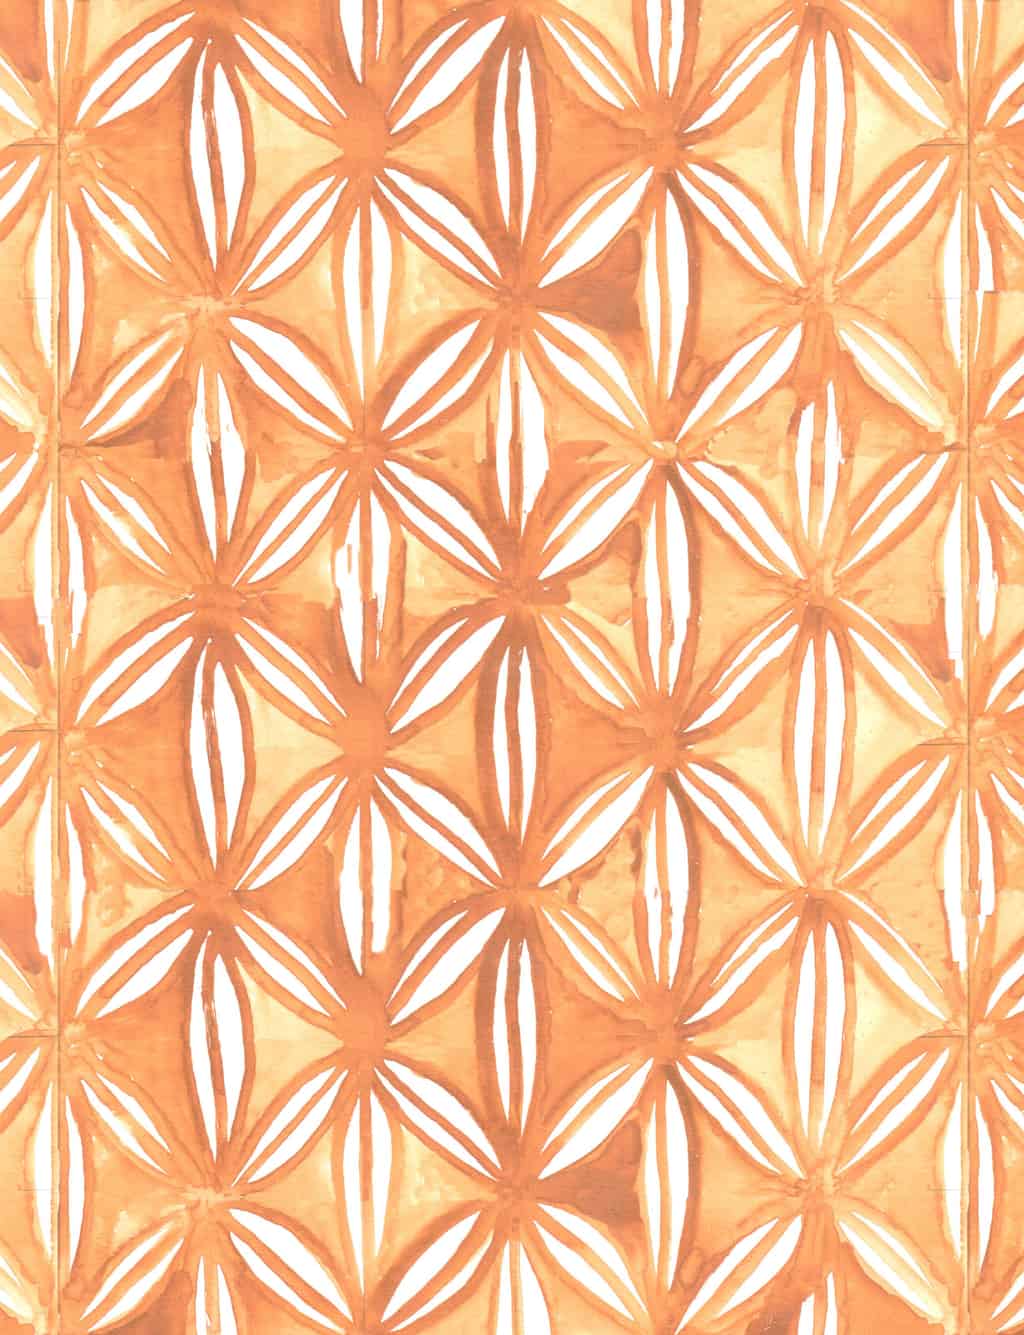
This is when I came up with the idea to create repeating pattern using a grid. Although this is not a perfect way to create a repeating pattern, I realise the grid gives a good guideline. I started this by painting 7 different design blocks that flows into each other(tesselates) and creates a reasonably repeating pattern.    Repeating patterns with watercolour  This could then be coped and pasted on any editing software.Repeating patterns with watercolour Pattern seem to be more accurate when created on the computer, however it still has that hand painted look because of its origins.Repeating patterns with watercolour I created another pattern in a similar way, except this time round I painted enough of those 7 blocks in a row that created one huge block which was repeating itself naturally. This way all I needed to do is copy and paste this block few times.Repeating patterns with watercolour Repeating patterns with watercolour  Next I wanted to break away from the grid without actually leaving it. I painted leaves in repeating order. The grid allowed me to keep the leaves in similar shape and line. So when I repeated it on a computer this pattern repeated itself flawlessly. Repeating patterns with watercolour I tried the same technique on another design and this time round I realised the problem of the grid itself. The grid would not erase after it has been painted over. And with the light colour you can see the grid very clearly. I had to use the clone tool to hide those annoying lines that was never meant to be part of the pattern.Repeating patterns with watercolour After repeating the pattern the same way as the others I realised it does not match very easily with plain painted areas (it’s very difficult to get the same shade of colour every time). This also had to be corrected with the clone tool.Repeating patterns with watercolour Repeating patterns with watercolour  Finally instead of a grid I used a dot system. It guides you like a grid, but its not as visible in case you can’t erase it. Repeating patterns with watercolour As you can see, this creates almost perfect repeating patterns ;-).Repeating patterns with watercolourHope you are inspired

Rasa xoxo

1

Watercolour challenge: brush lettering

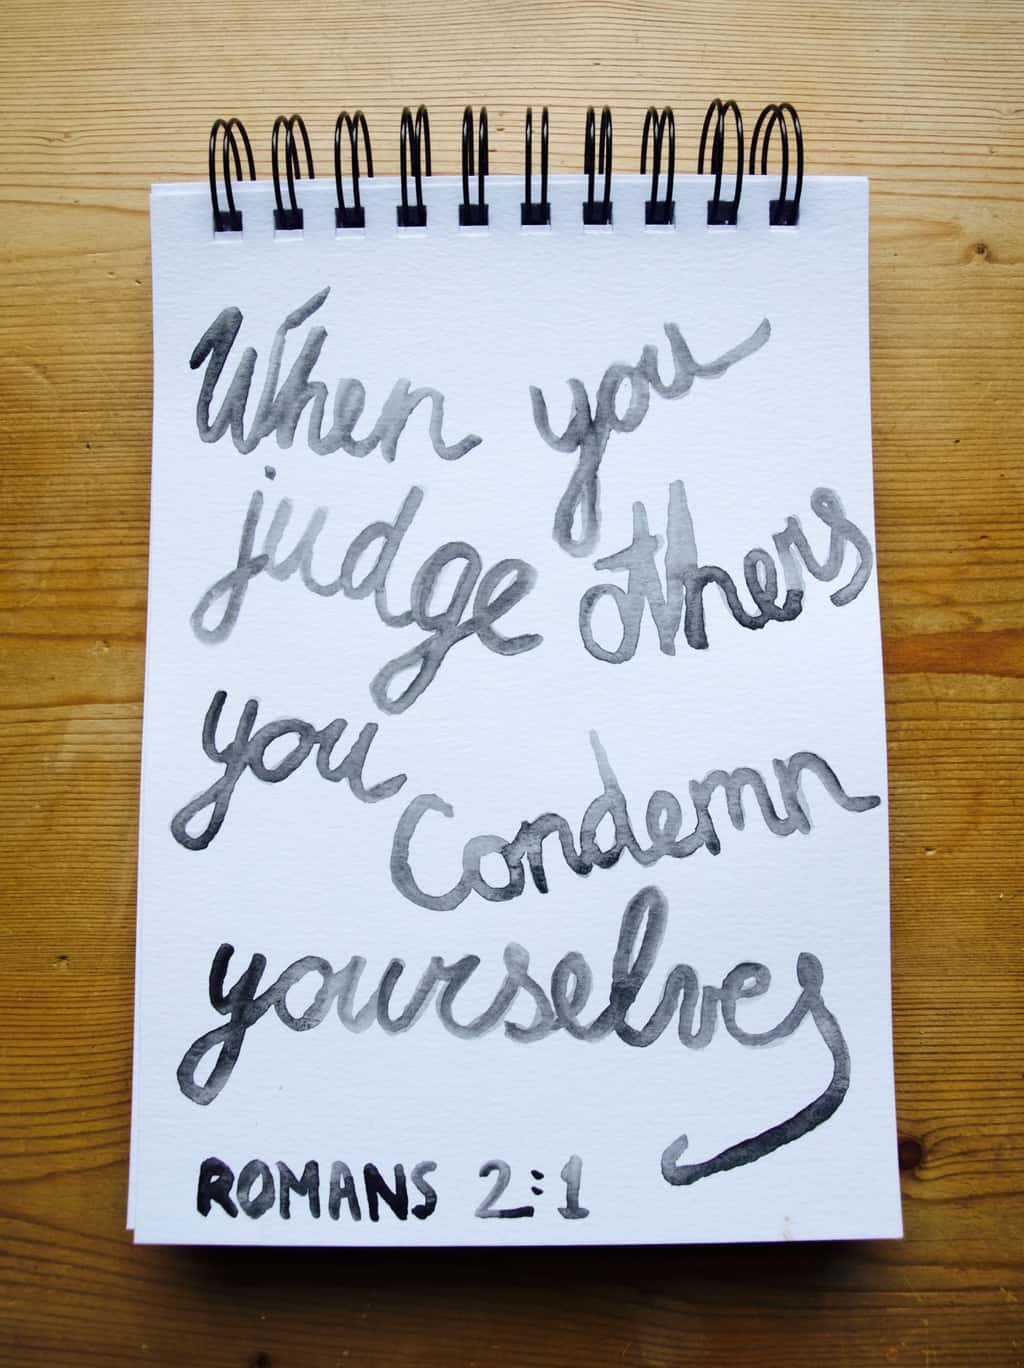
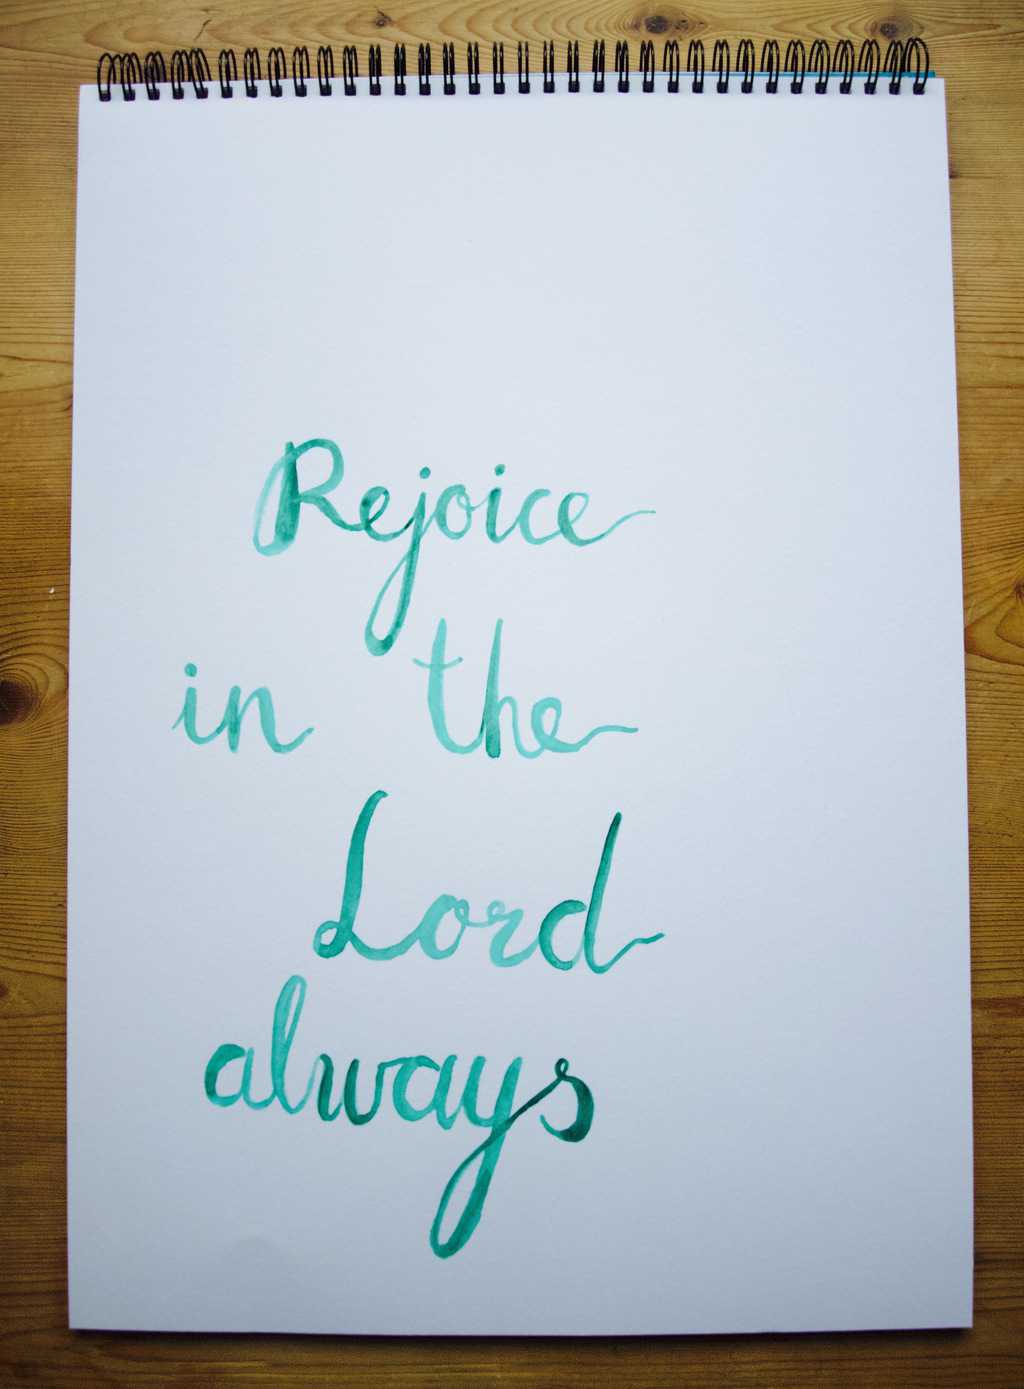
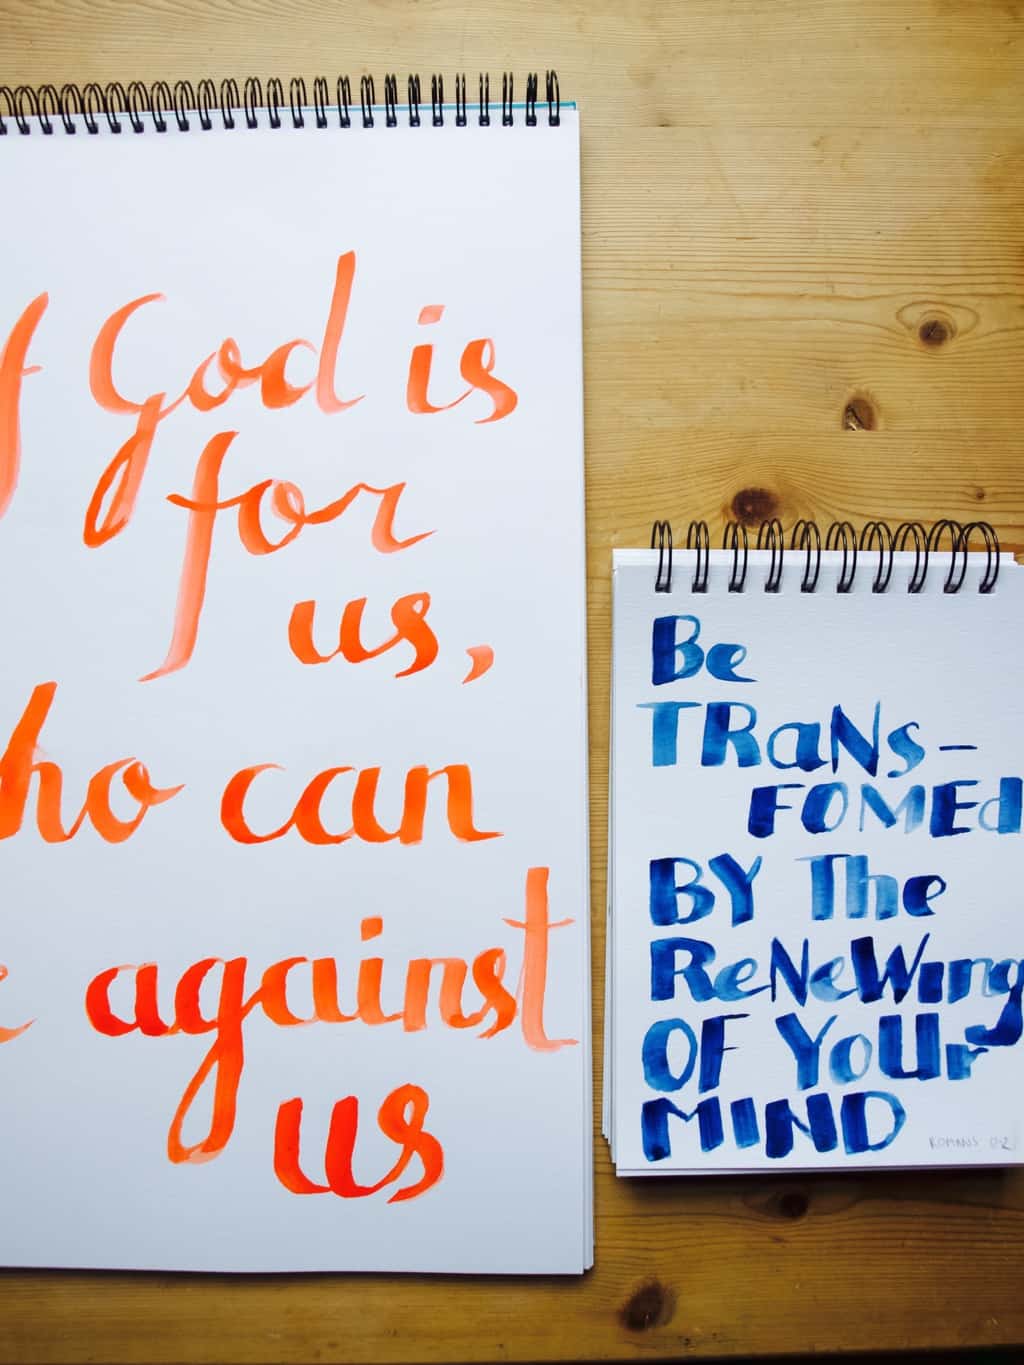
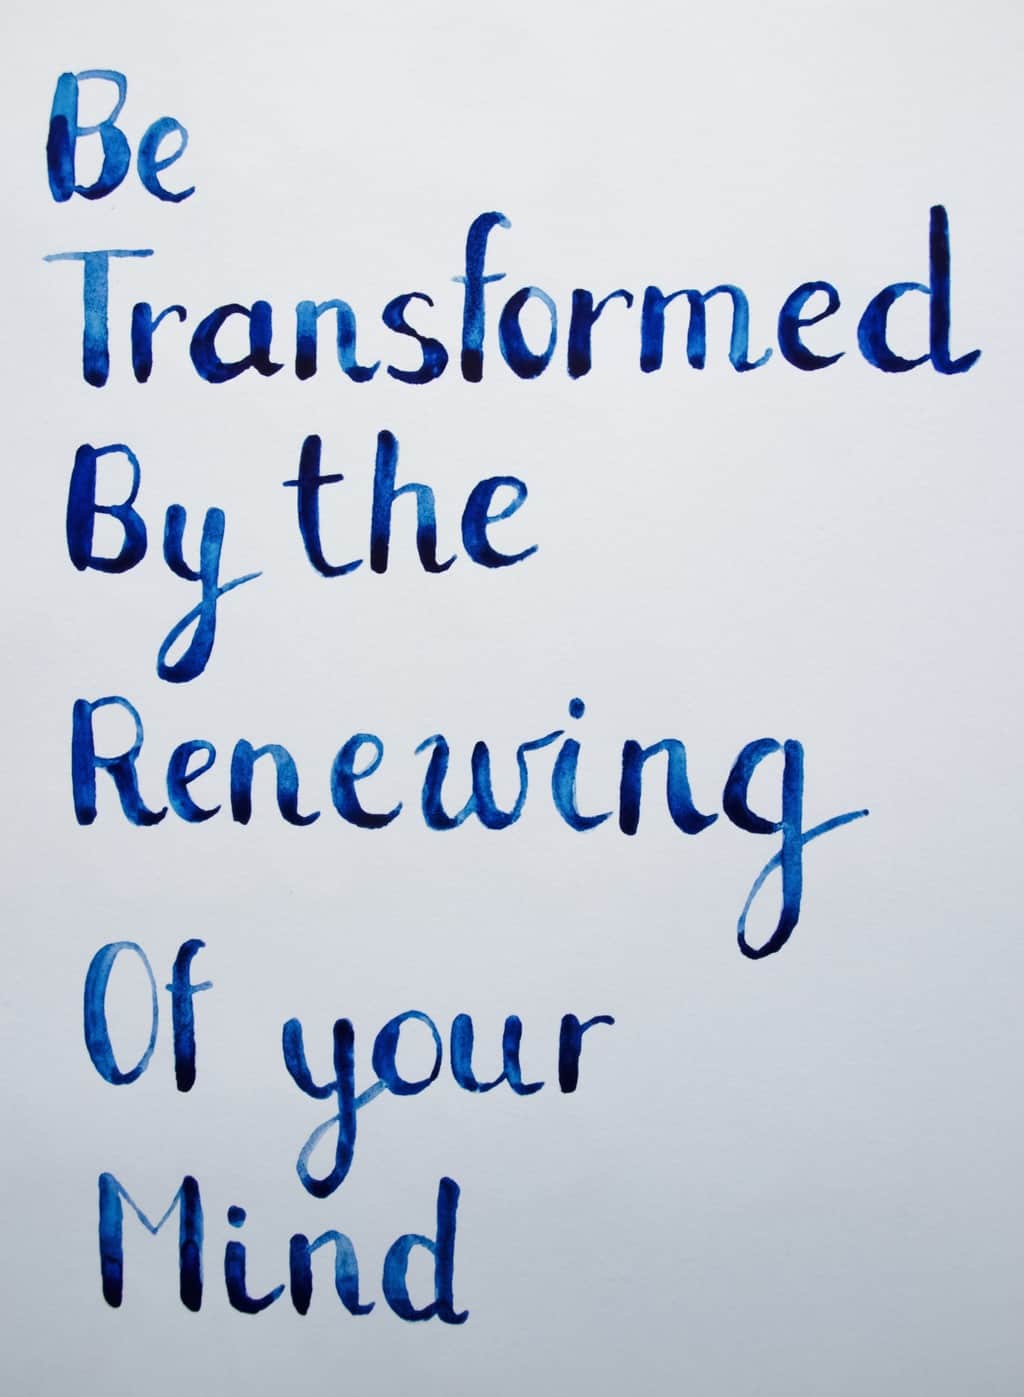
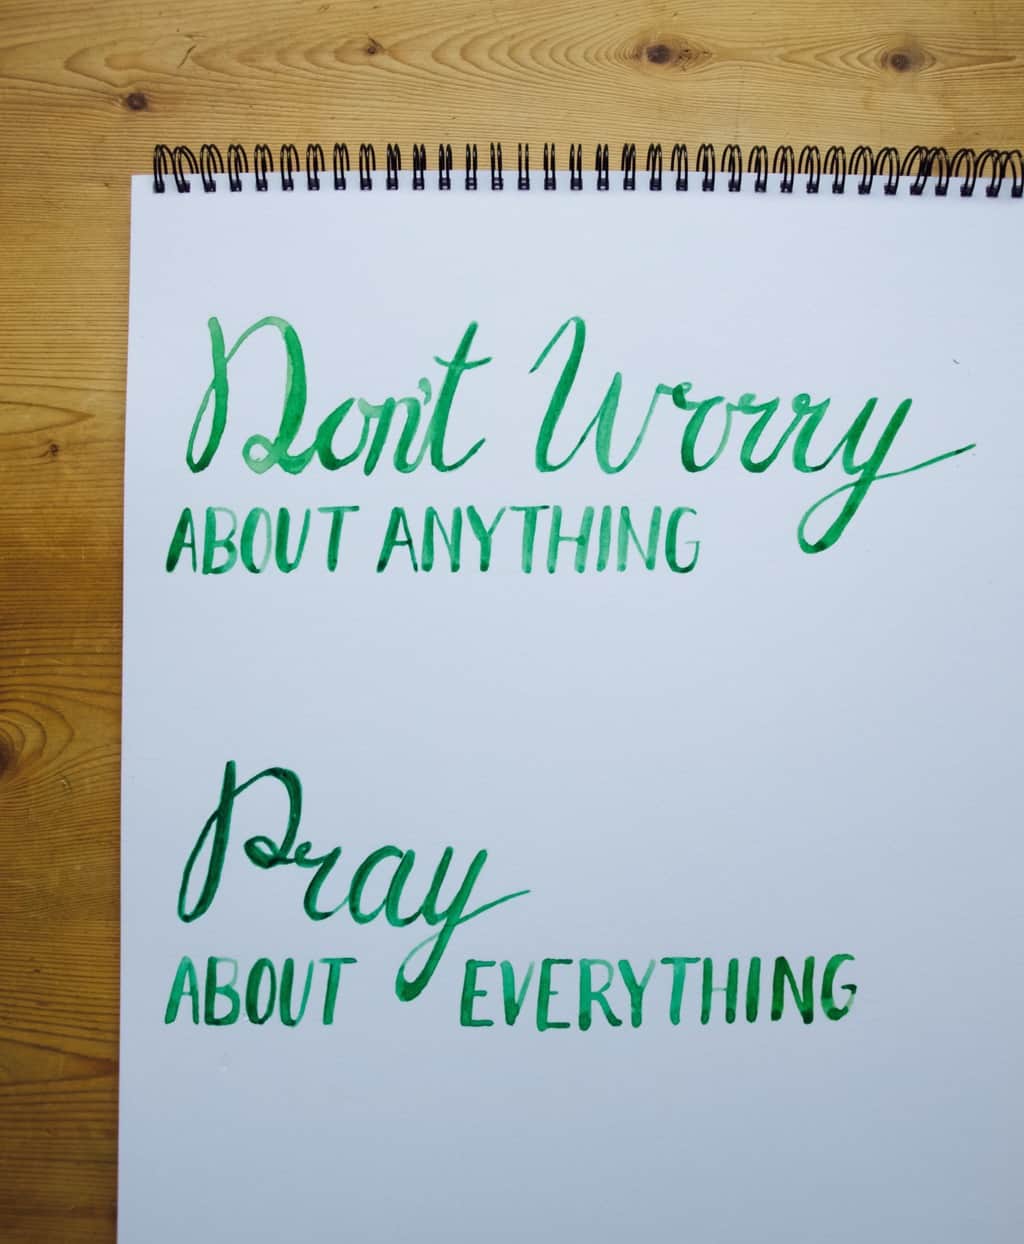
Watercolour brush letteringLast month I was reviewing my yearly goals and I realised that I was nowhere close to learning calligraphy. This is when I decided that I needed to focus on hand lettering, hence watercolour brush lettering! I also used bible verses for this project so that way I could meditate on the word as well as learning new skill.

I started with the basic handwriting style that I once learned from my friend Vicki. It was the type of handwriting style that you learn in old school where you draw all of your letters connected and within the lines (remember?). Except this hand lettering style does not require lines. It flows out freestyle!

I soon got bored with that writing style and was ready to add more character to my hand lettering.

This is when I came across brush lettering. Brush lettering is a style of writing similar to calligraphy, but done with brush pens. When doing brush lettering the key thing to remember is the pen pressure and the stroke thickness:

  • Heavy pressure is applied in a downward motion to create thick stroke
  • Light pressure is applied in an upward motion to create thin stroke

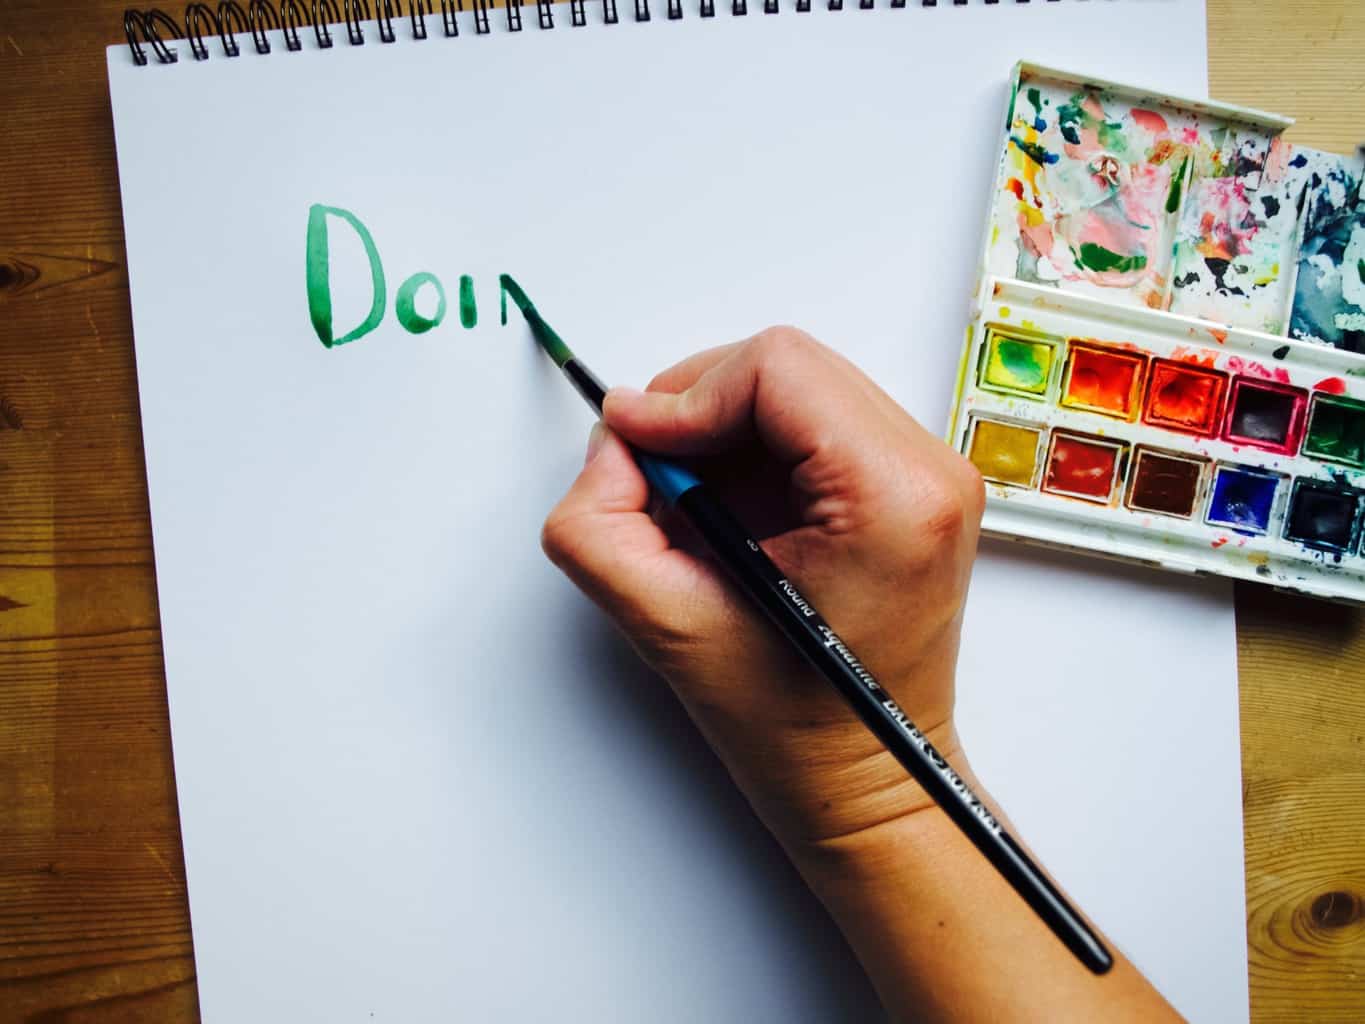
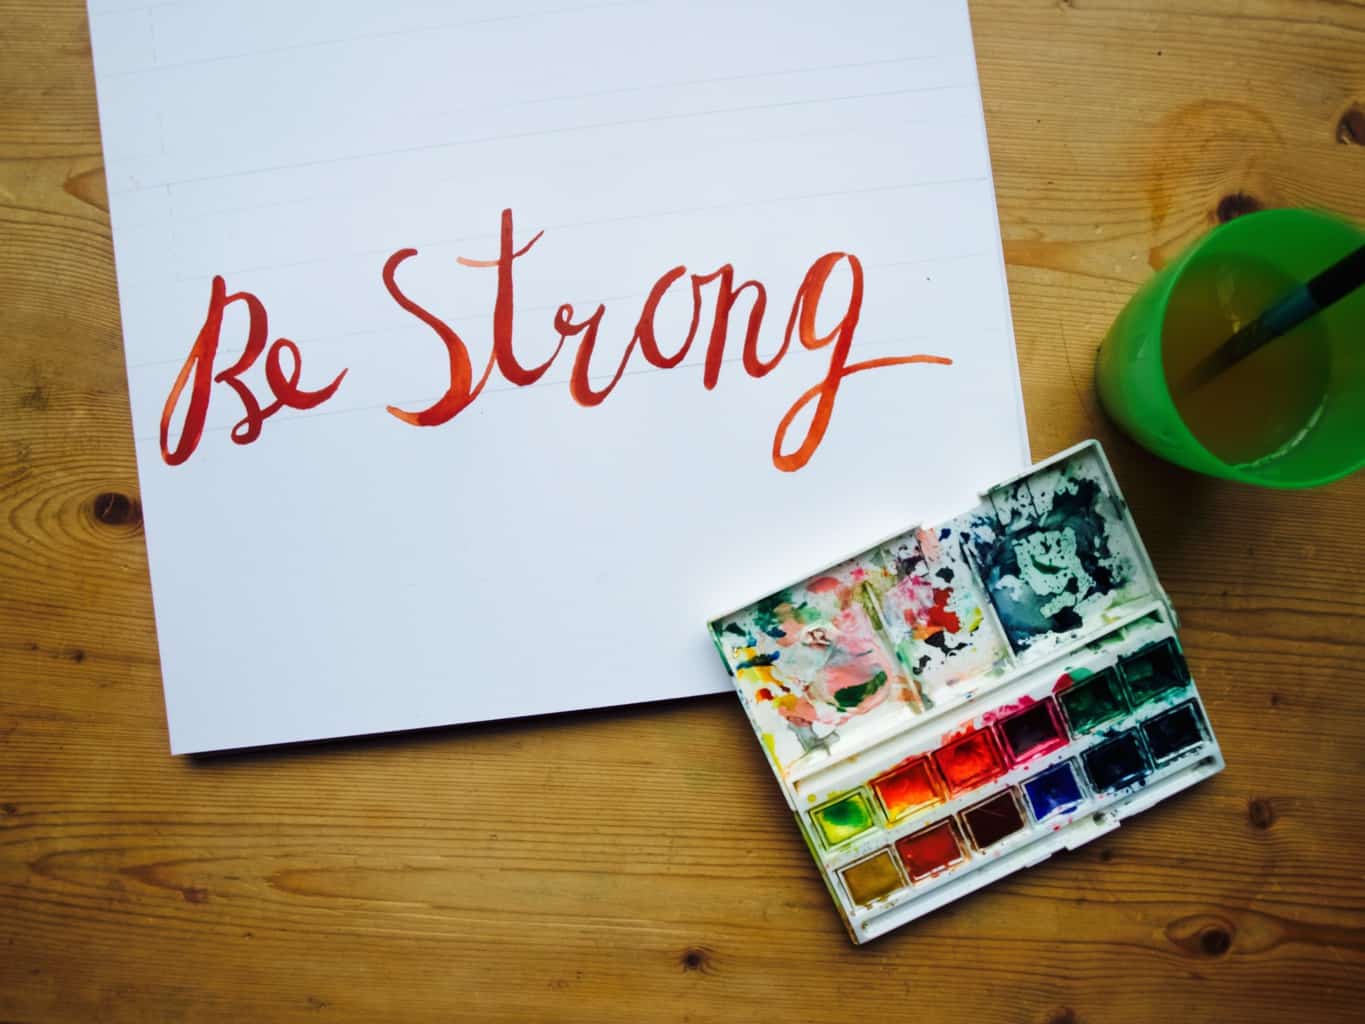
Watercolour brush lettering Although I was painting letters with an actual brush, it was not easy to control the strokes. At some places I needed to thicken the lines manually instead of applying pressure as I paint.Watercolour brush lettering Initially I tried a round brush but then switched to a flat shaped brush that made neat thick lines. However I found it difficult to paint thin lines with it. The only way to paint thin lines with this brush was to paint sideways. I quickly ditched that and went back to a round shaped brush.Watercolour brush lettering Watercolour brush lettering With the round brush back in hand I soon got got the hang of brush lettering. You know what they say, practice makes perfect ;-). I experimented with different types of font such as printed, joined or separated hand lettering. I even tried to format my hand writing. I drew lines with the pencil to mark the guidelines. Watercolour brush lettering Once I learned to format the lettering I had a go with the bounce hand writing font. This was so so much fun. Bounce hand lettering is all about drawing letters outside their guidelines: one letter down, the second letter up and third letter down again (I hope you get the point). Essentially the letters bounce ;-)Watercolour brush lettering Watercolour brush letteringI loved loved loved learning watercolour calligraphy, hope you will too ;-)

Rasa xoxo

0

Watercolour challenge: underwater

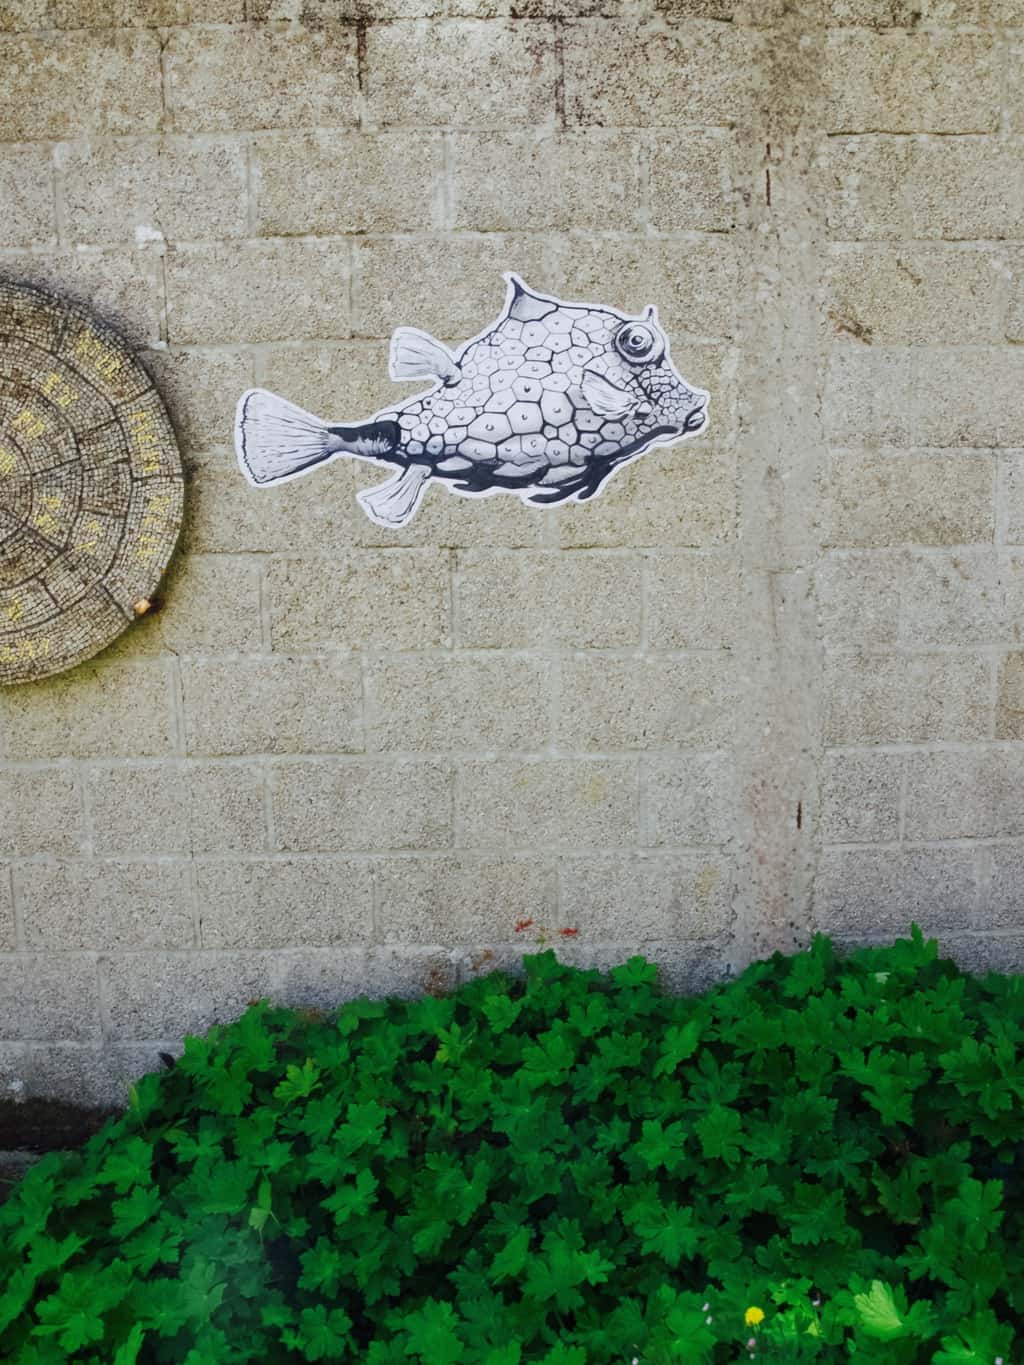
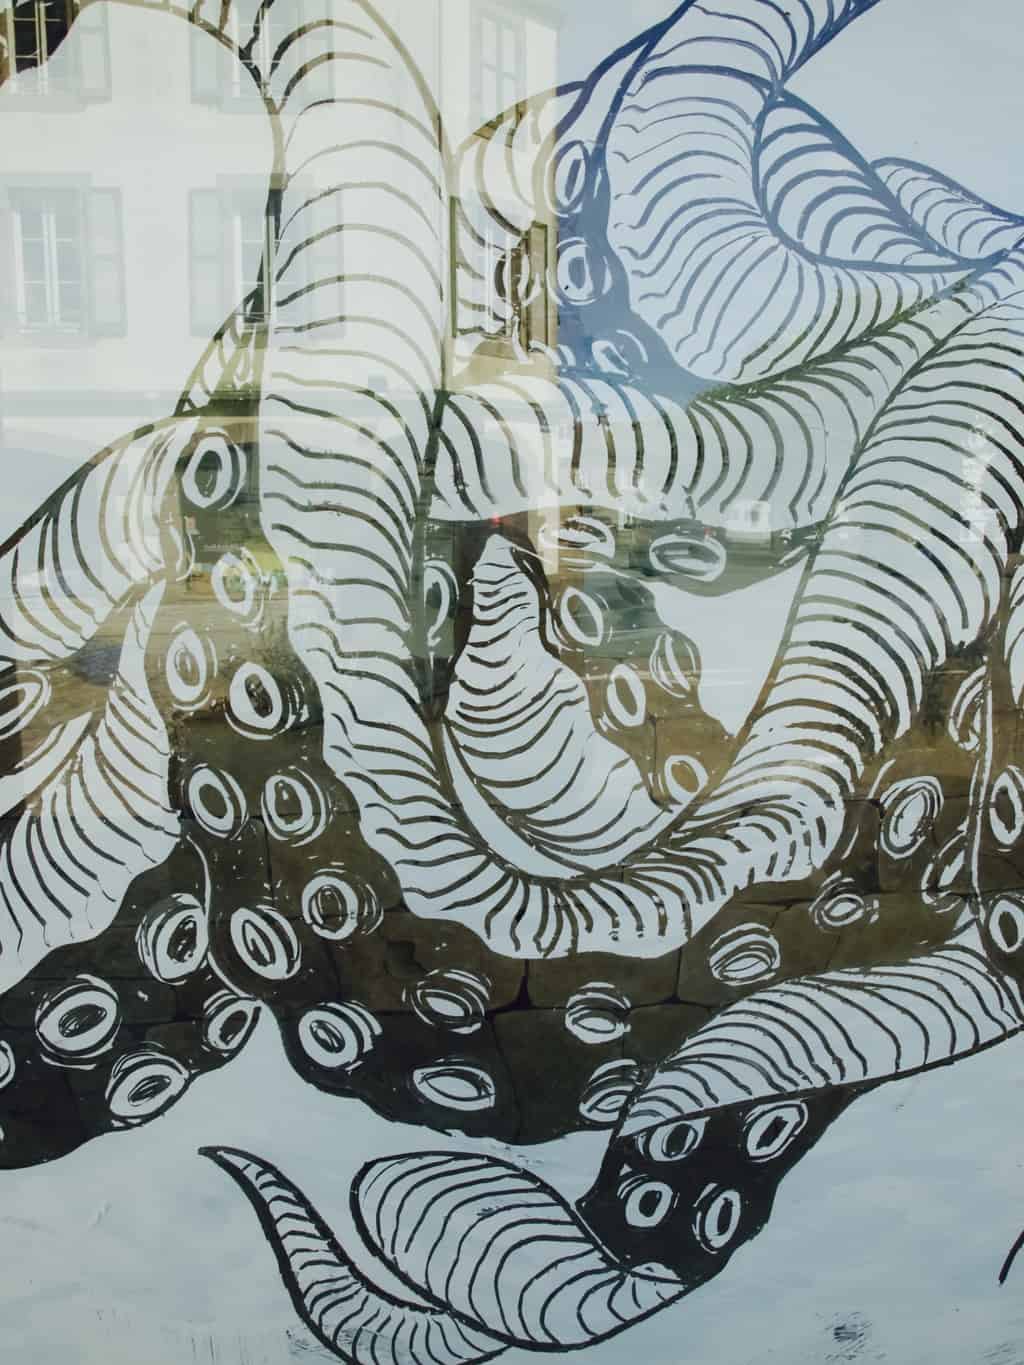
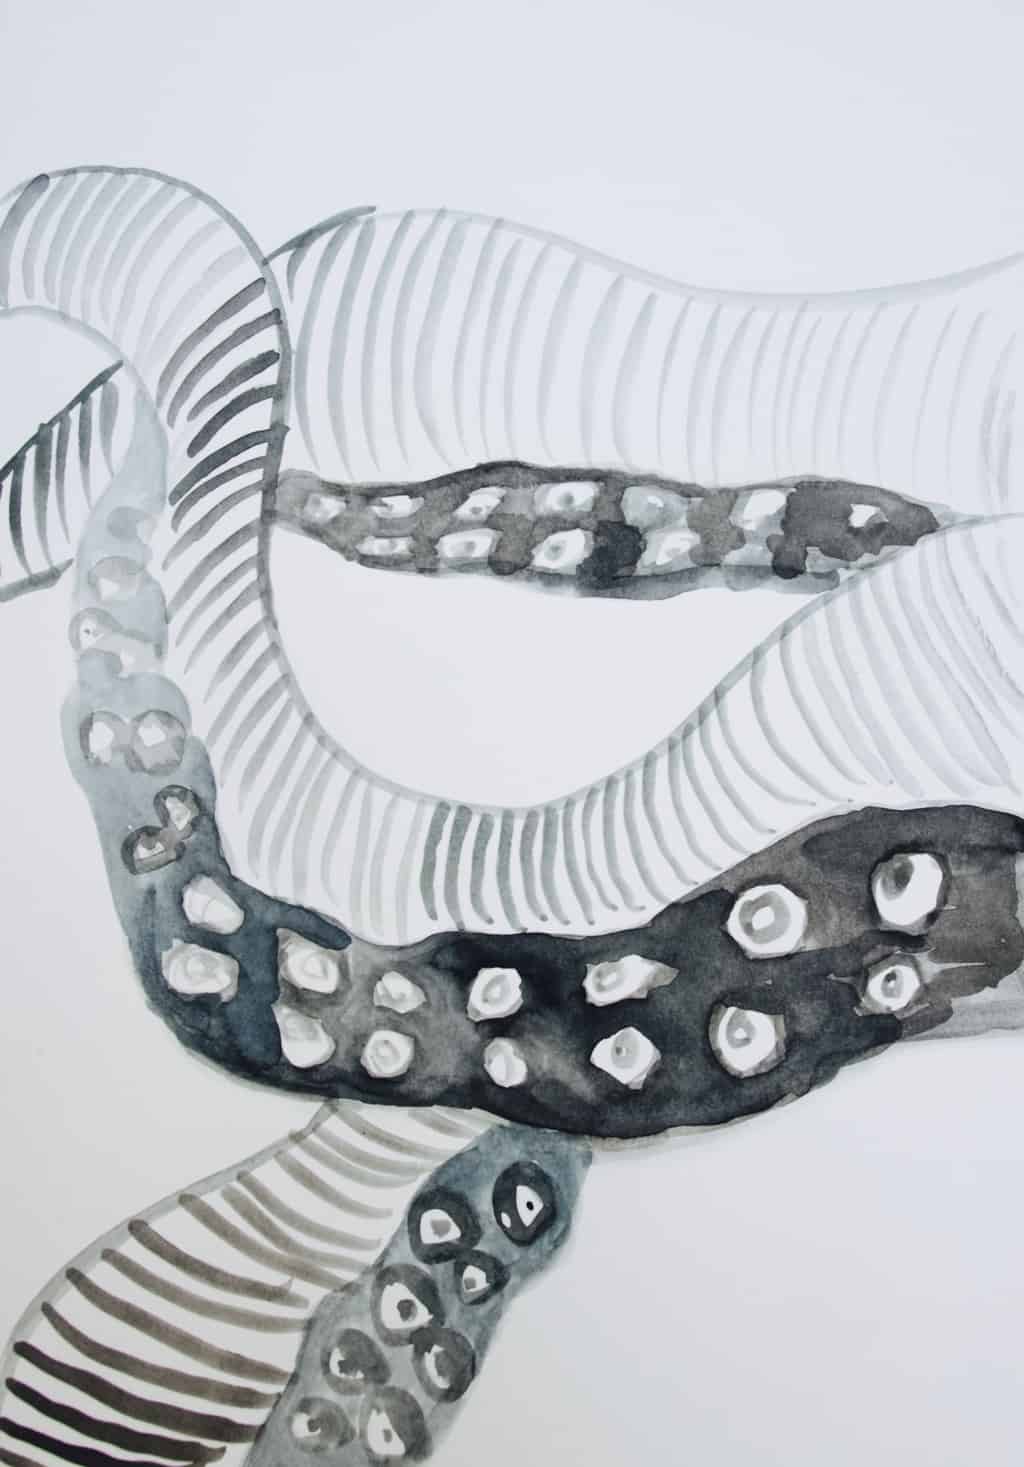
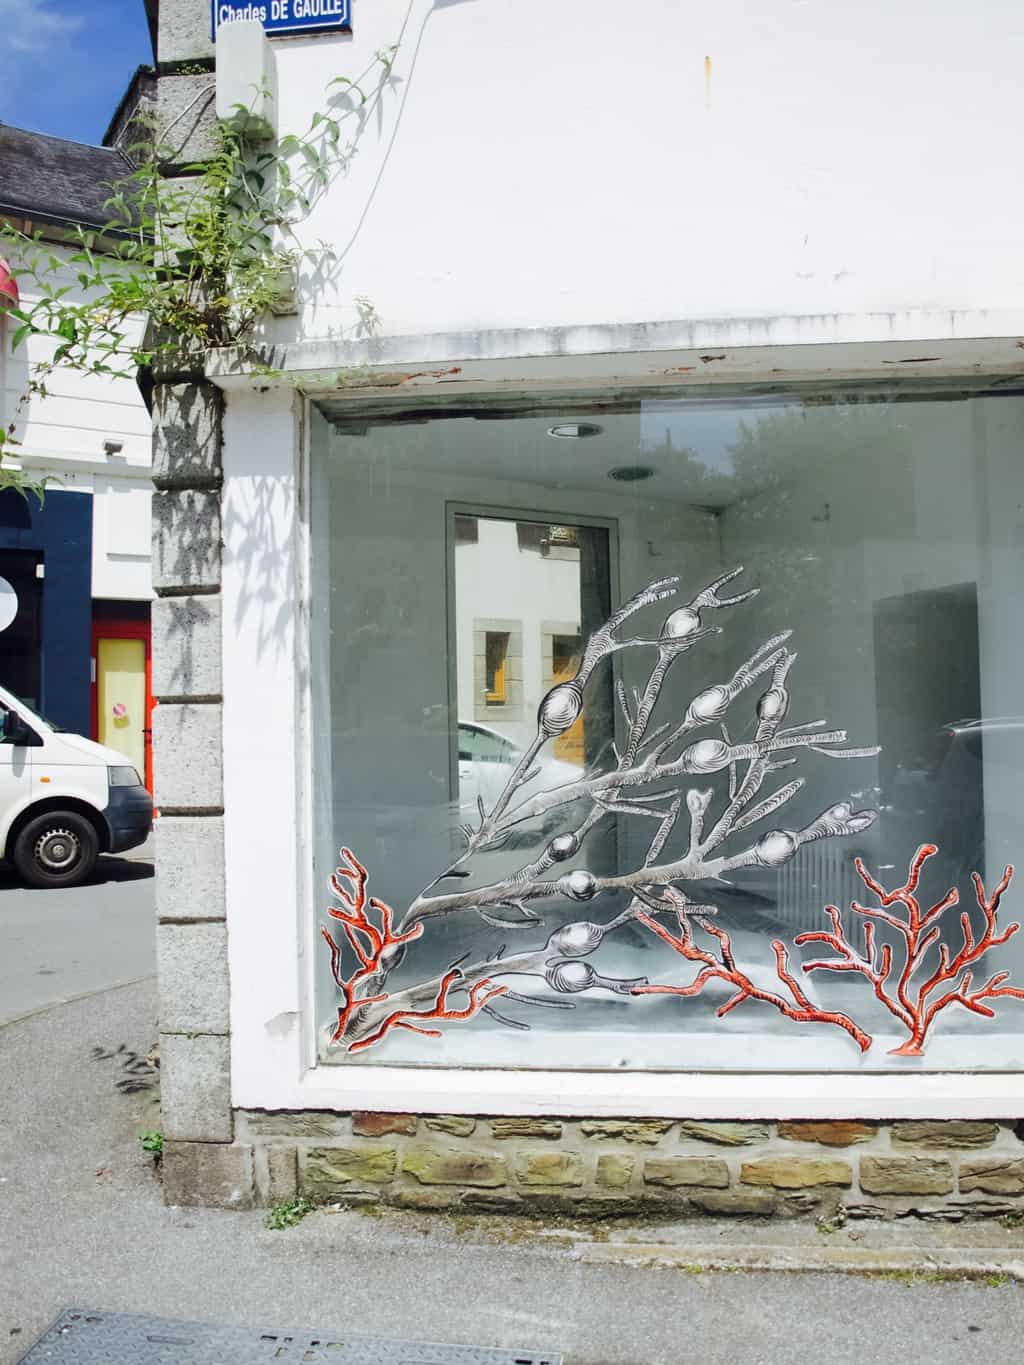
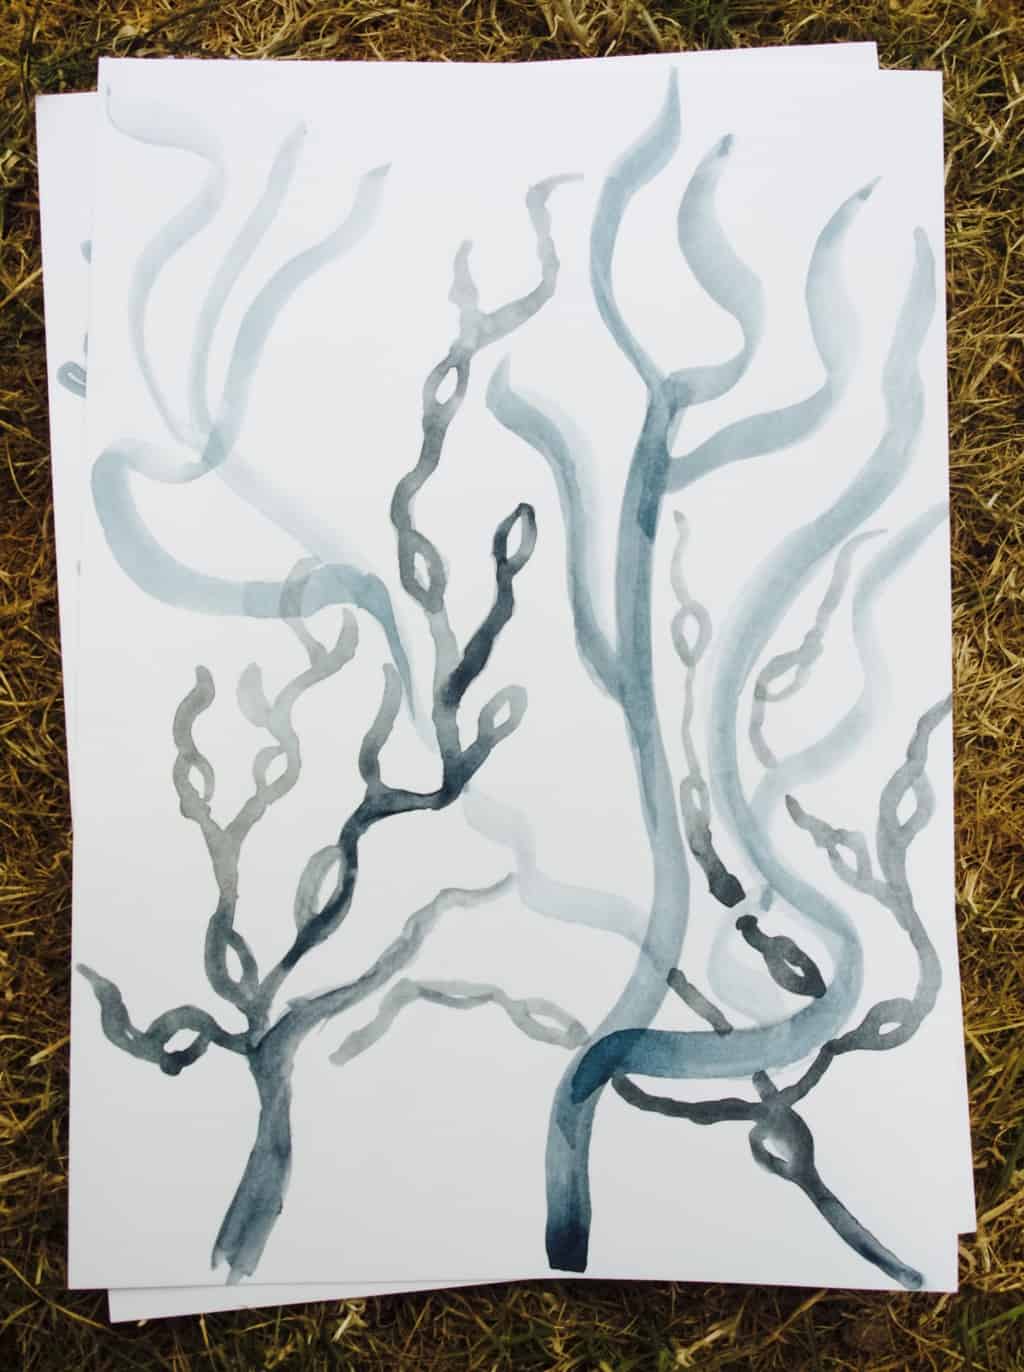
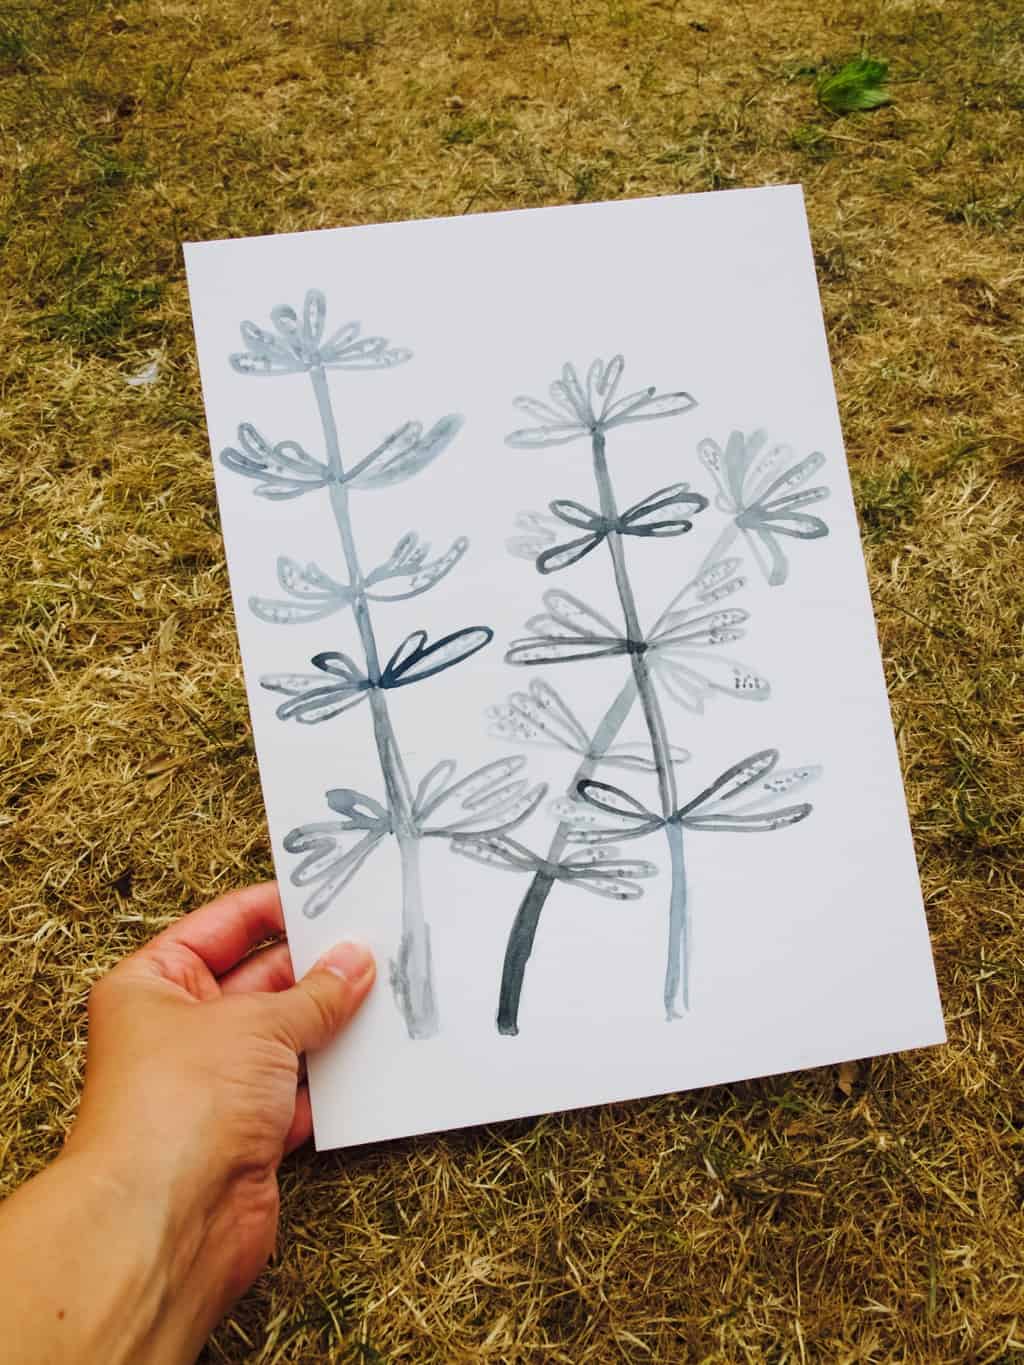
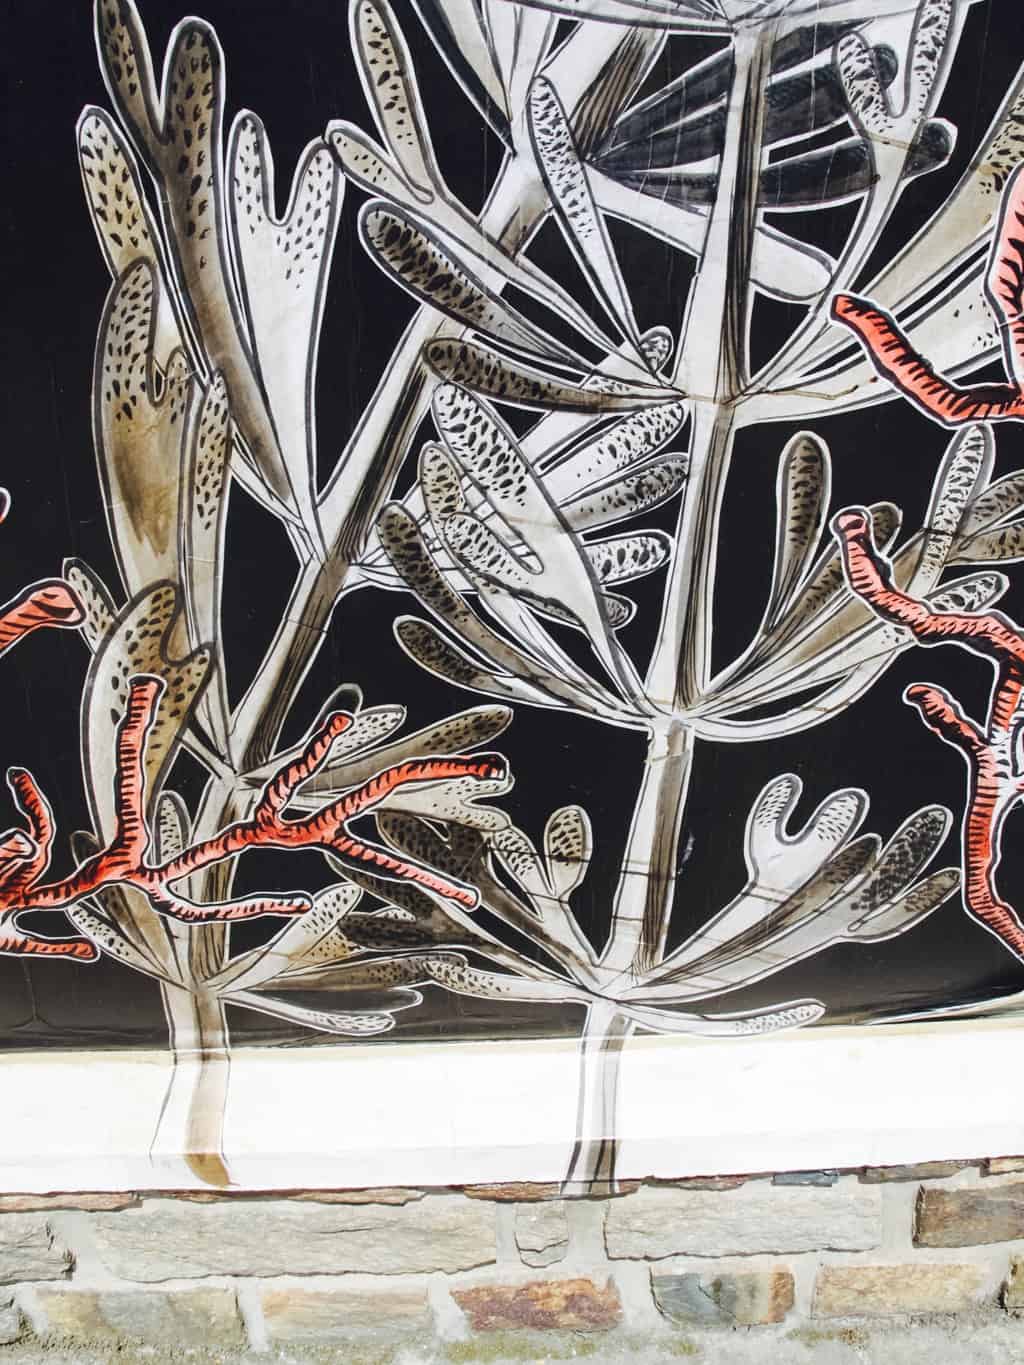
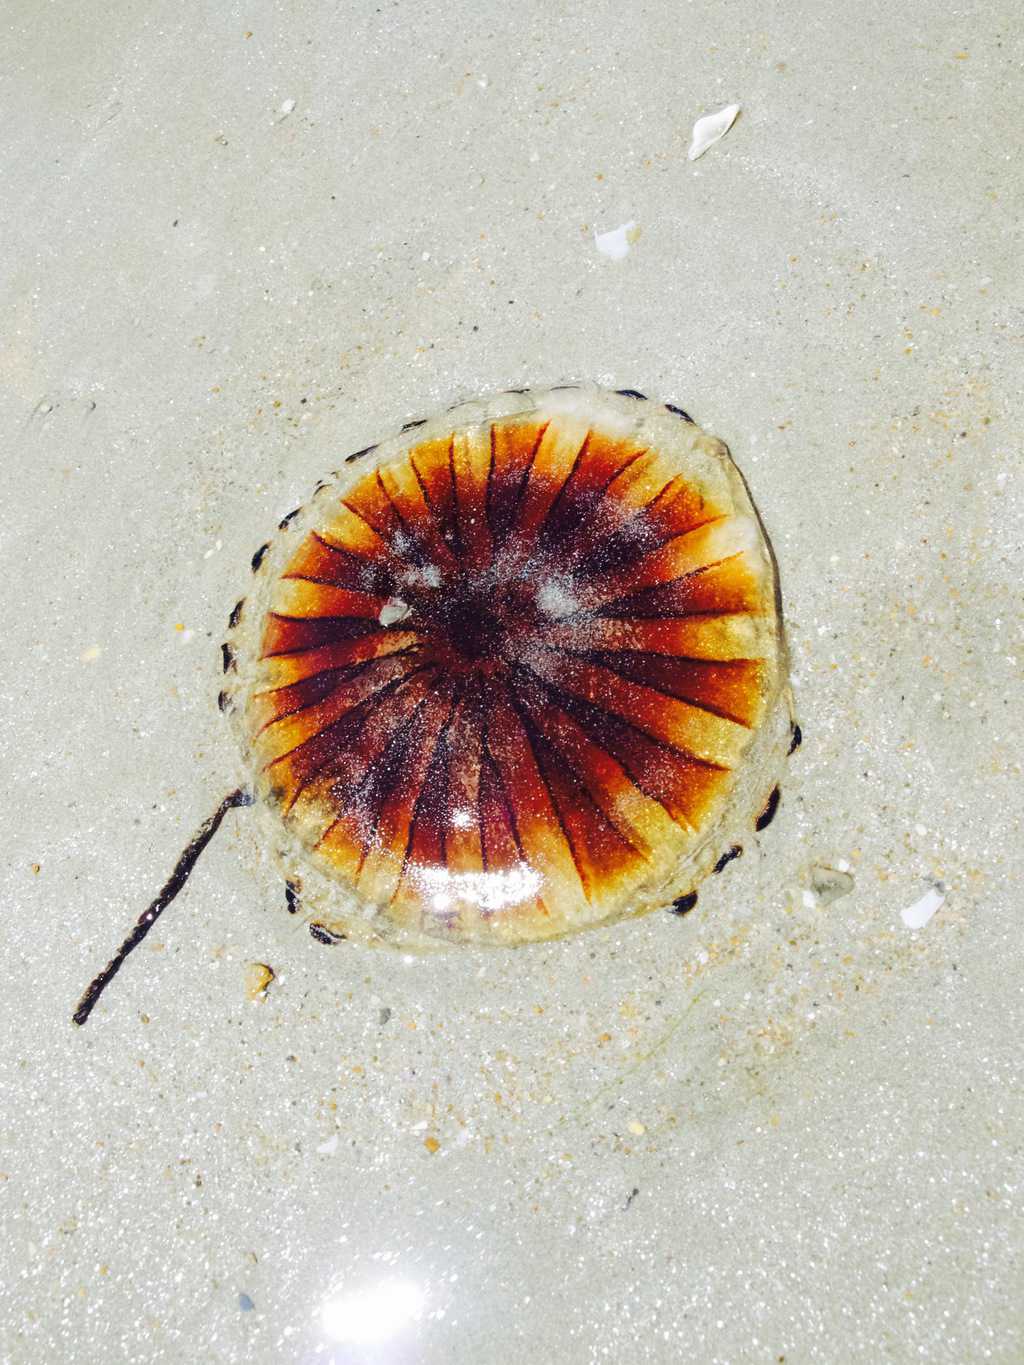
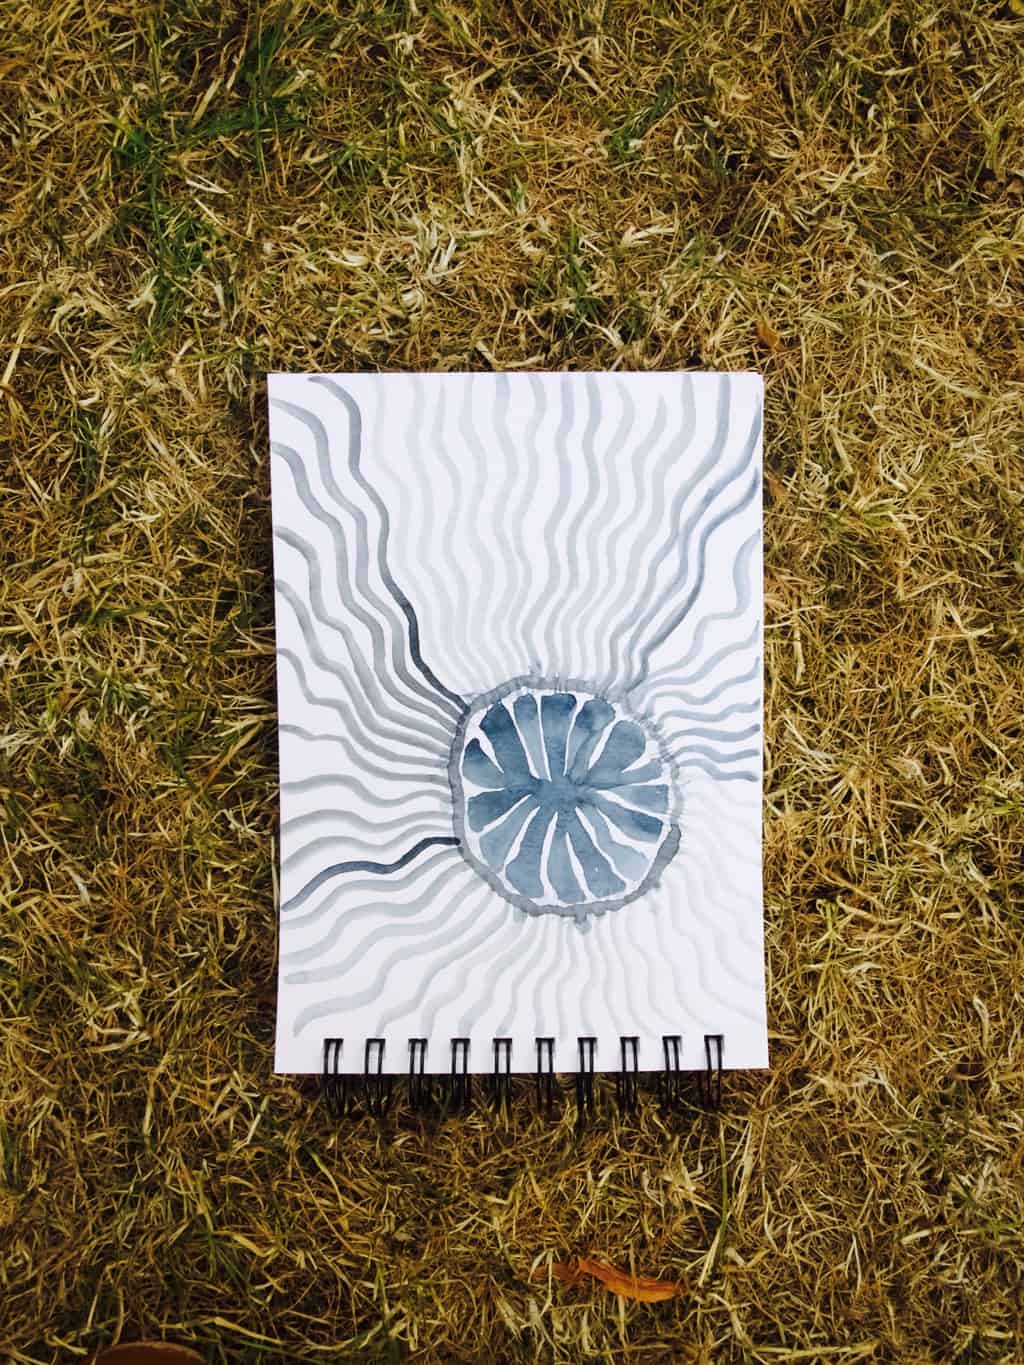
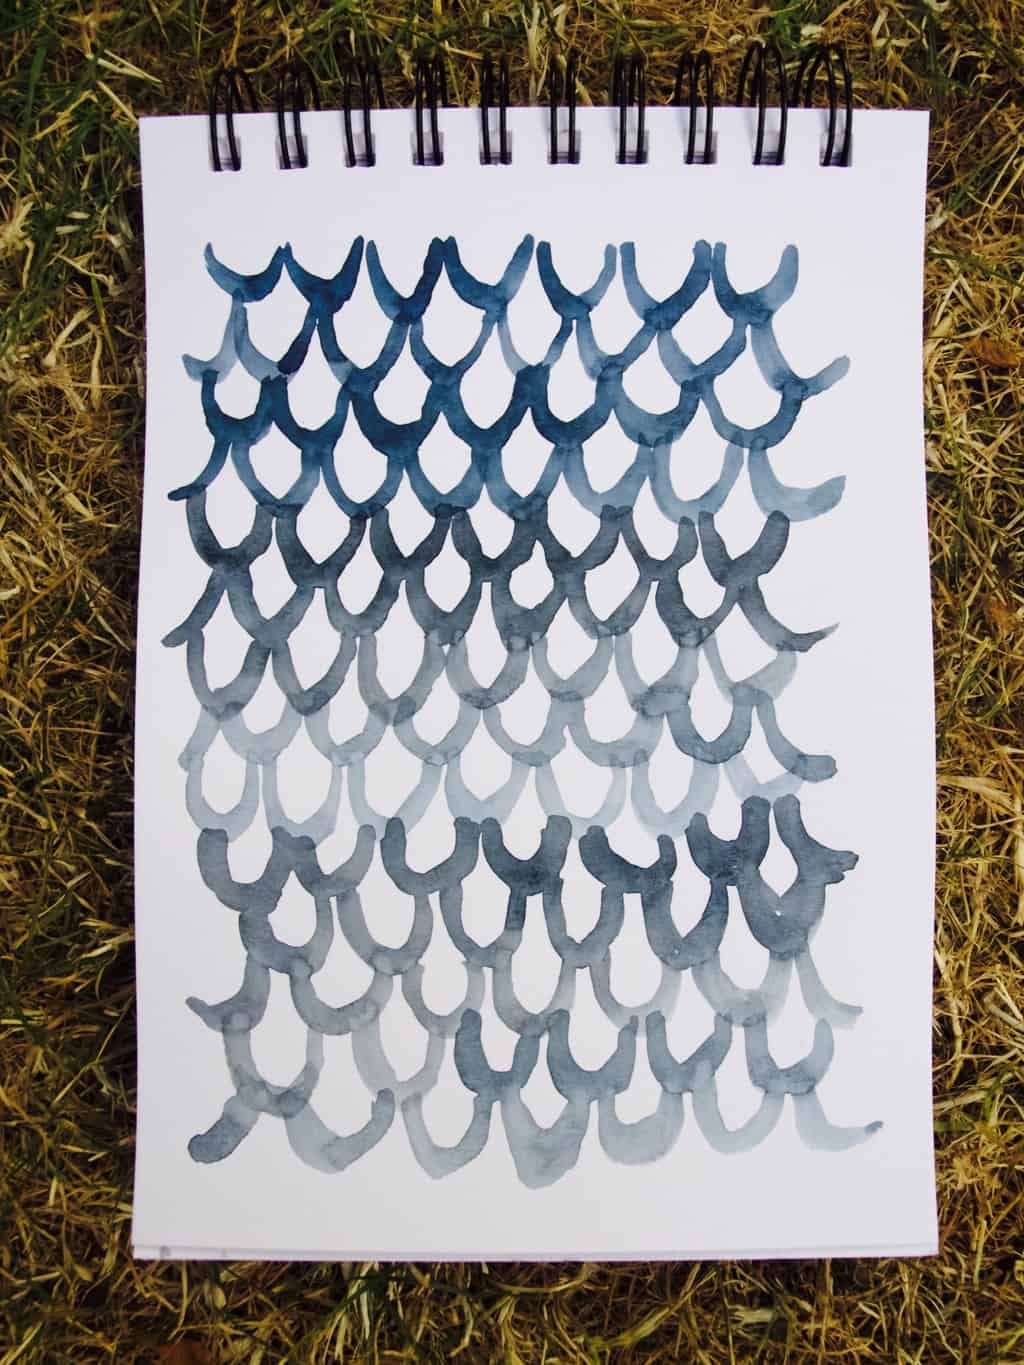
Watercolour challenge: underwater paintings inspired my mural walls in FranceLast month while exploring Carhaix-Plougue in France I was surprised to see so many creative wall murals around. These were mostly underwater creatures and seaweed that were appearing not only on the walls. There were few similar artworks displayed on the windows too. Watercolour challenge: underwater paintings inspired my mural walls in France Watercolour challenge: underwater paintings inspired my mural walls in France Watercolour challenge: underwater paintings inspired my mural walls in FranceSo inspired by all this art I decided to paint similar art for my watercolour challenge. It has been refreshing to paint something in one colour and discover different tones in it. I chose bluish grey which was perfect for sea world paintings.Watercolour challenge: underwater paintings inspired my mural walls in France Watercolour challenge: underwater paintings inspired my mural walls in FranceLater I realised that the wall murals in France were actually just the paintings on white paper and then stuck onto the wall. I wonder if they were having an open-air art gallery out there in Carhaix-Plougue…. hmmWatercolour challenge: underwater paintings inspired my mural walls in France Watercolour challenge: underwater paintings inspired my mural walls in FranceWe found this jelly fish at the beach which is soo pretty and obviously made its way to my pages on my notebook. I think sometimes the best inspiration comes from nature itself ;-).Watercolour challenge: underwater paintings inspired my mural walls in France Watercolour challenge: underwater paintings inspired my mural walls in FranceThanks for letting me share!

Rasa xoxo

0

Watercolour challenge: planes and letters

Watercolour challenge: planes and lettersSooo, we are still on the mission to fill the walls in the kids room with pictures and Lukas is involved in this project as always (even if I don’t ask him to).

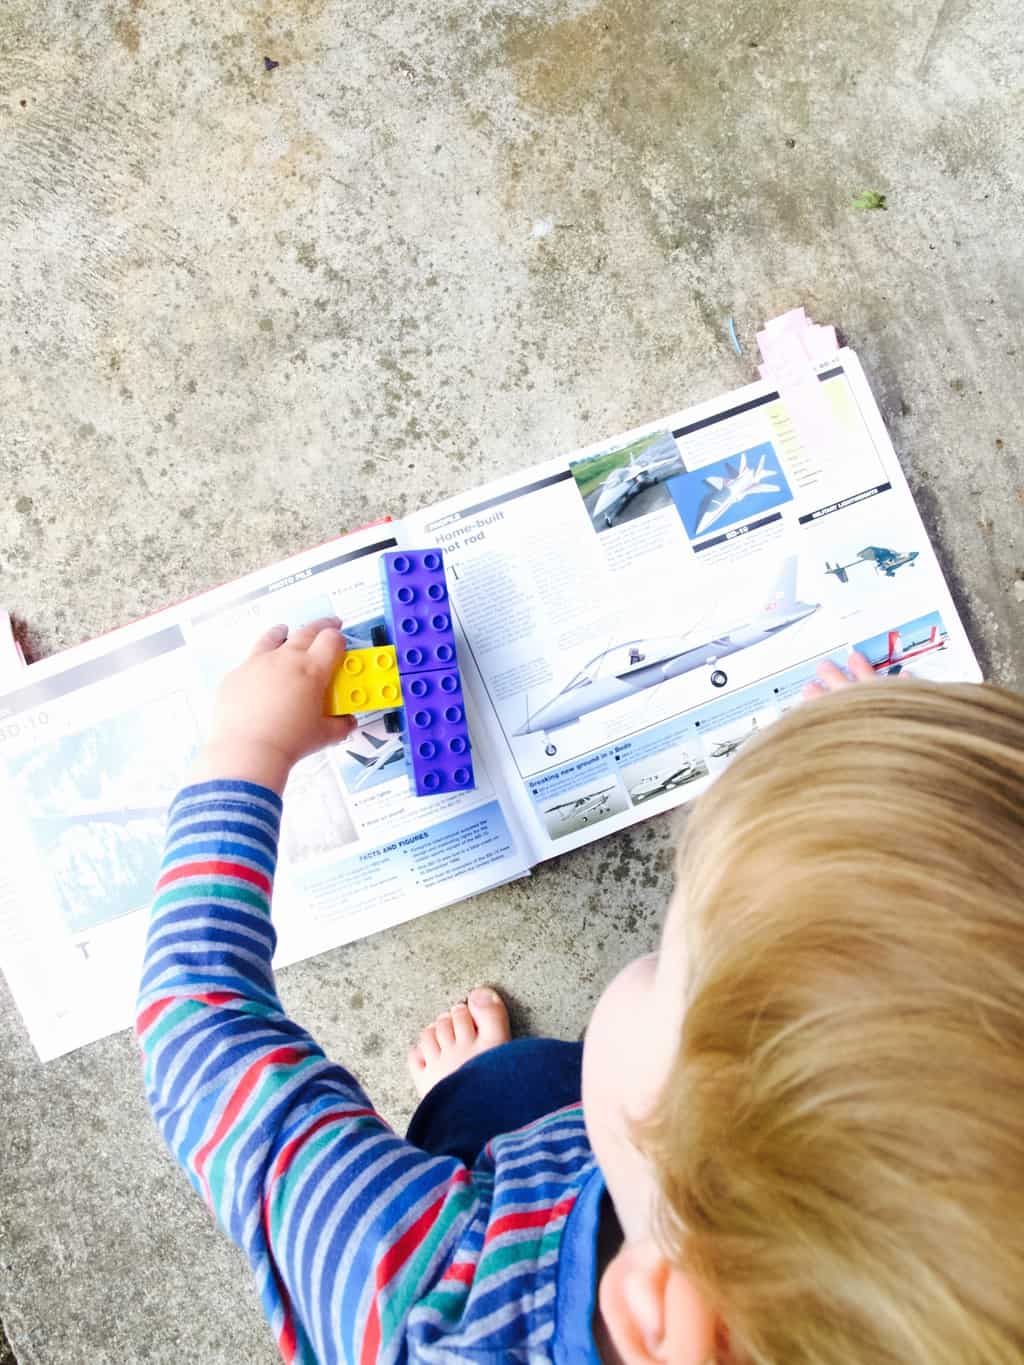
This months watercolour challenge theme is planes! Obviously because Lukas loves planes! This boy builds the planes out of lego, pretends to be flying like a plane and flies every possible object like a plane. You got the picture! I felt I had to make the boys room plane themed.

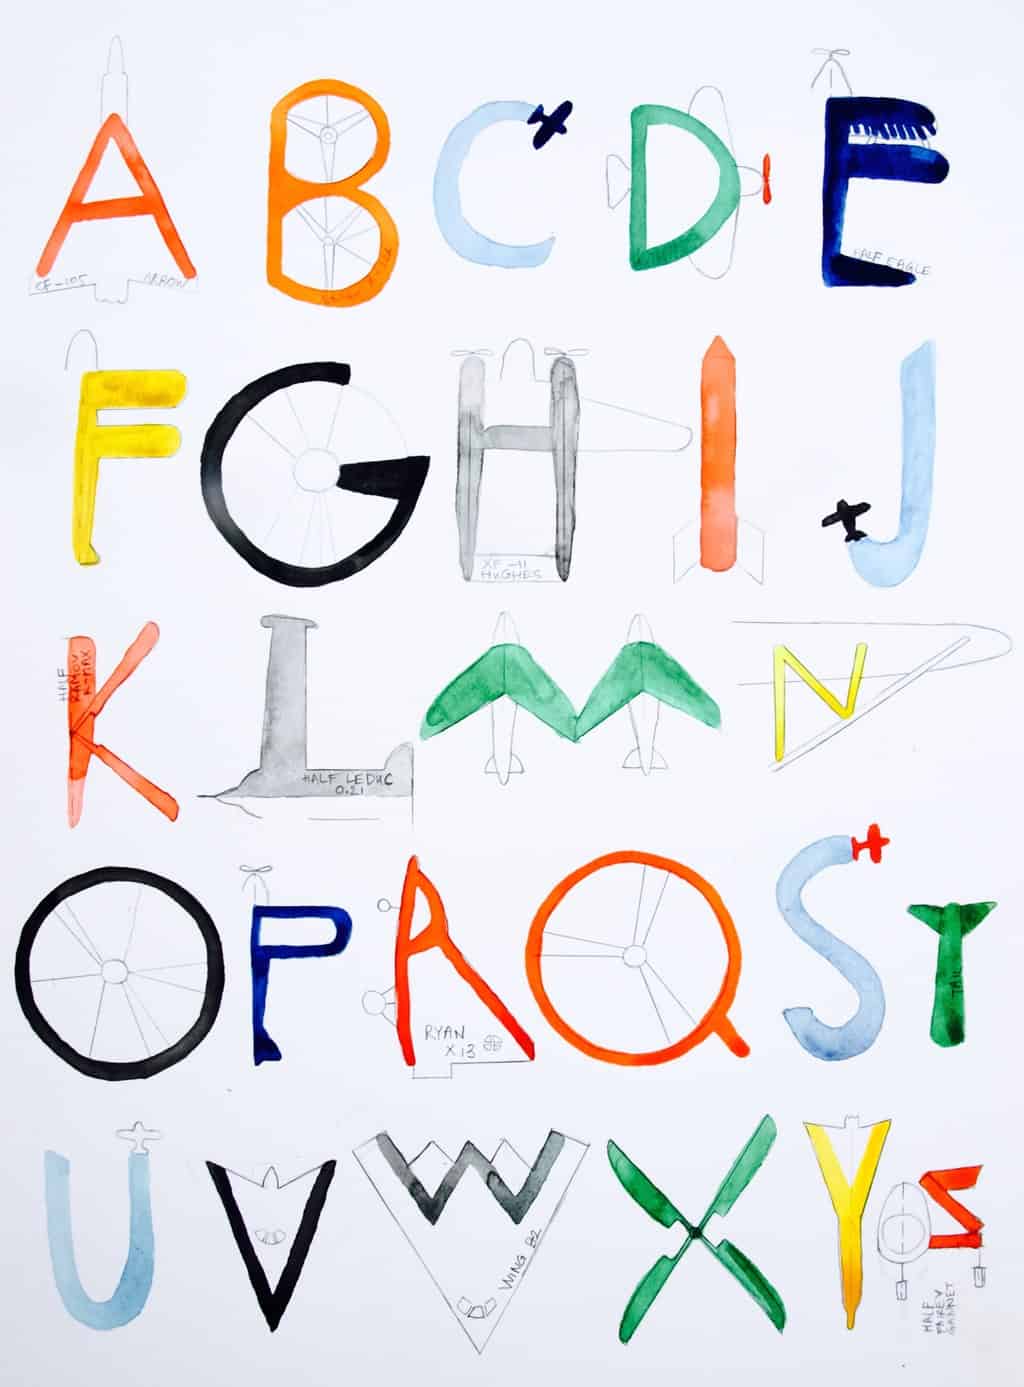
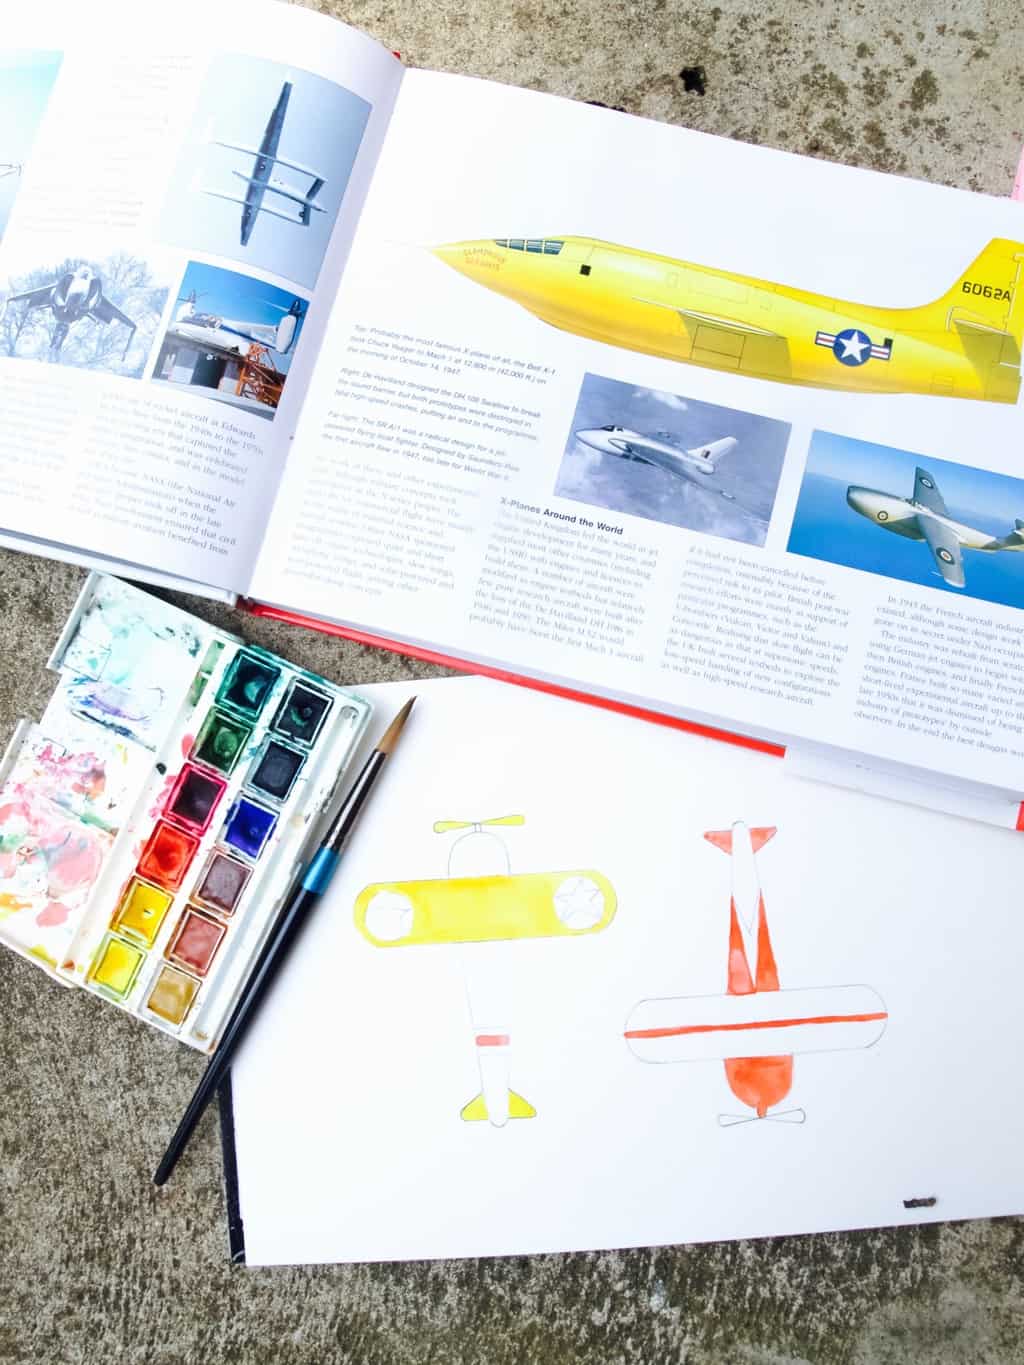
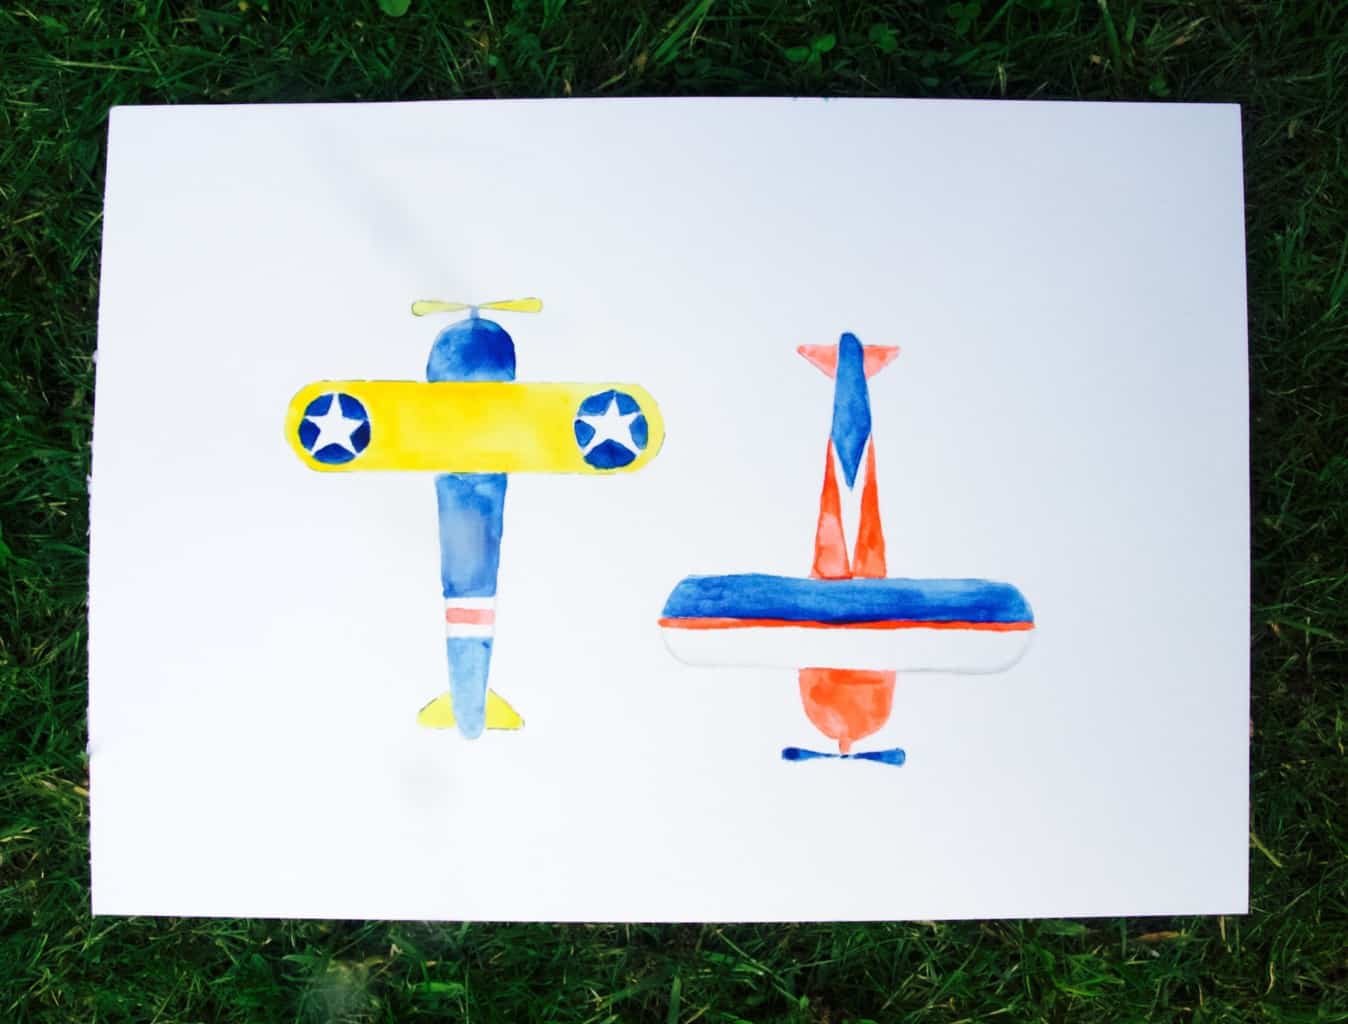
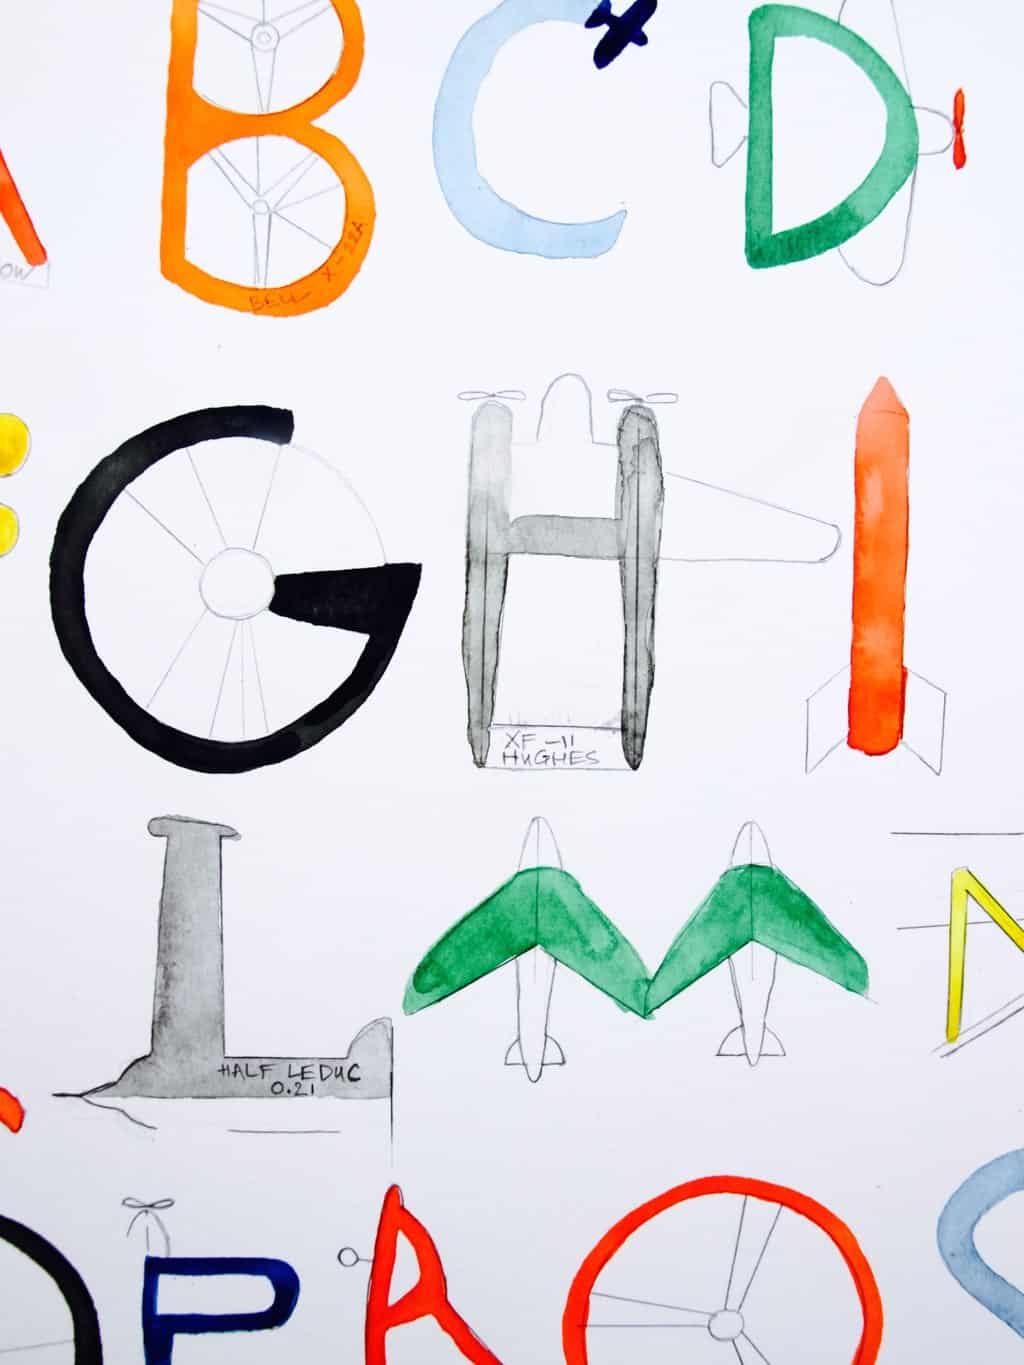
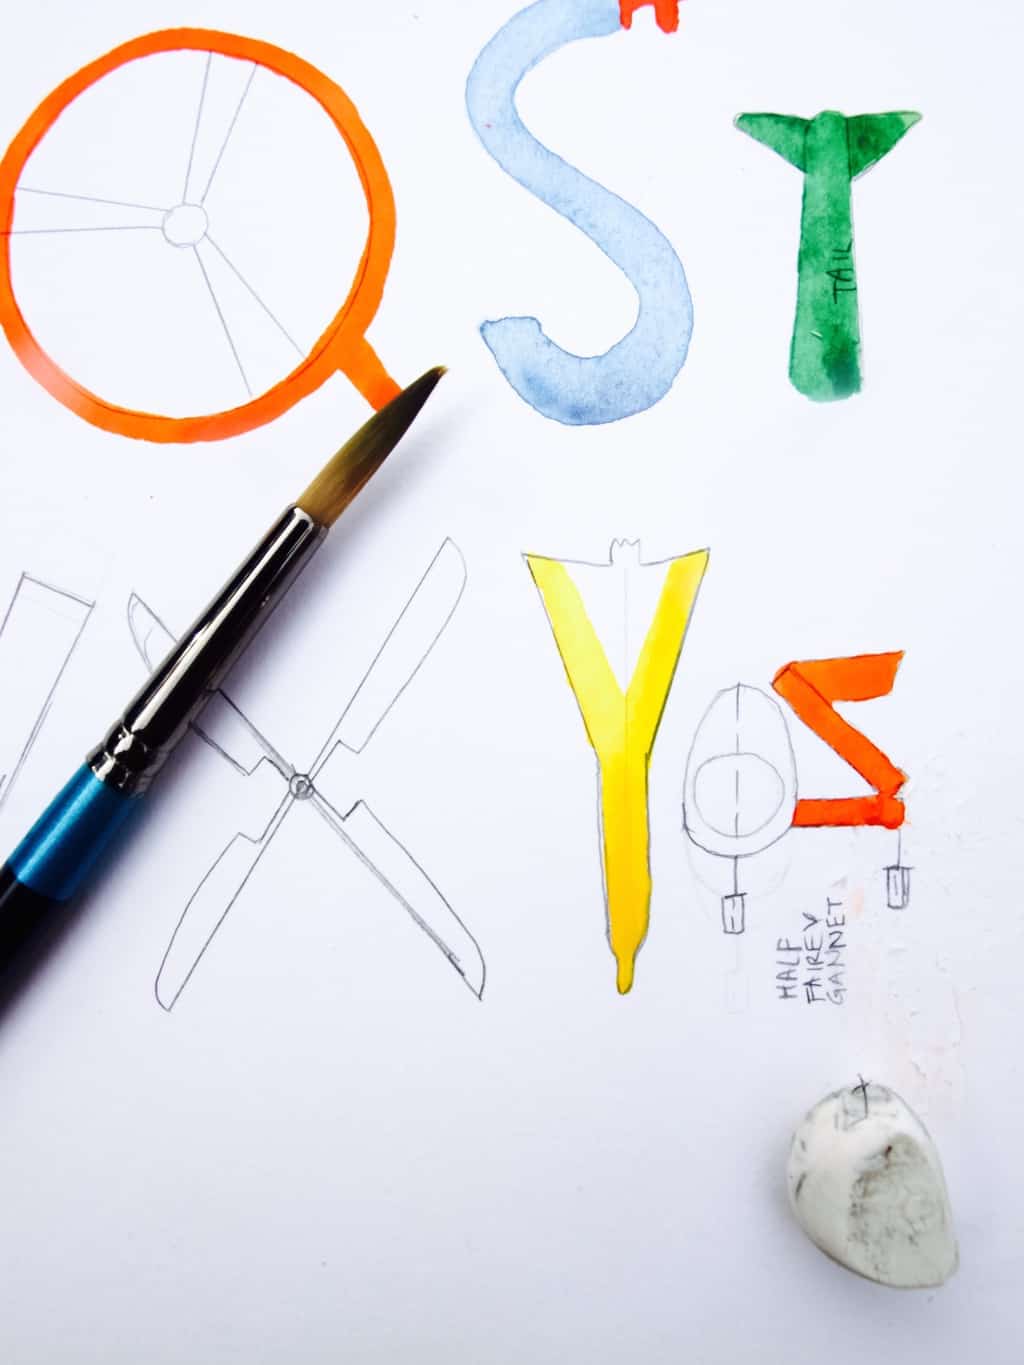
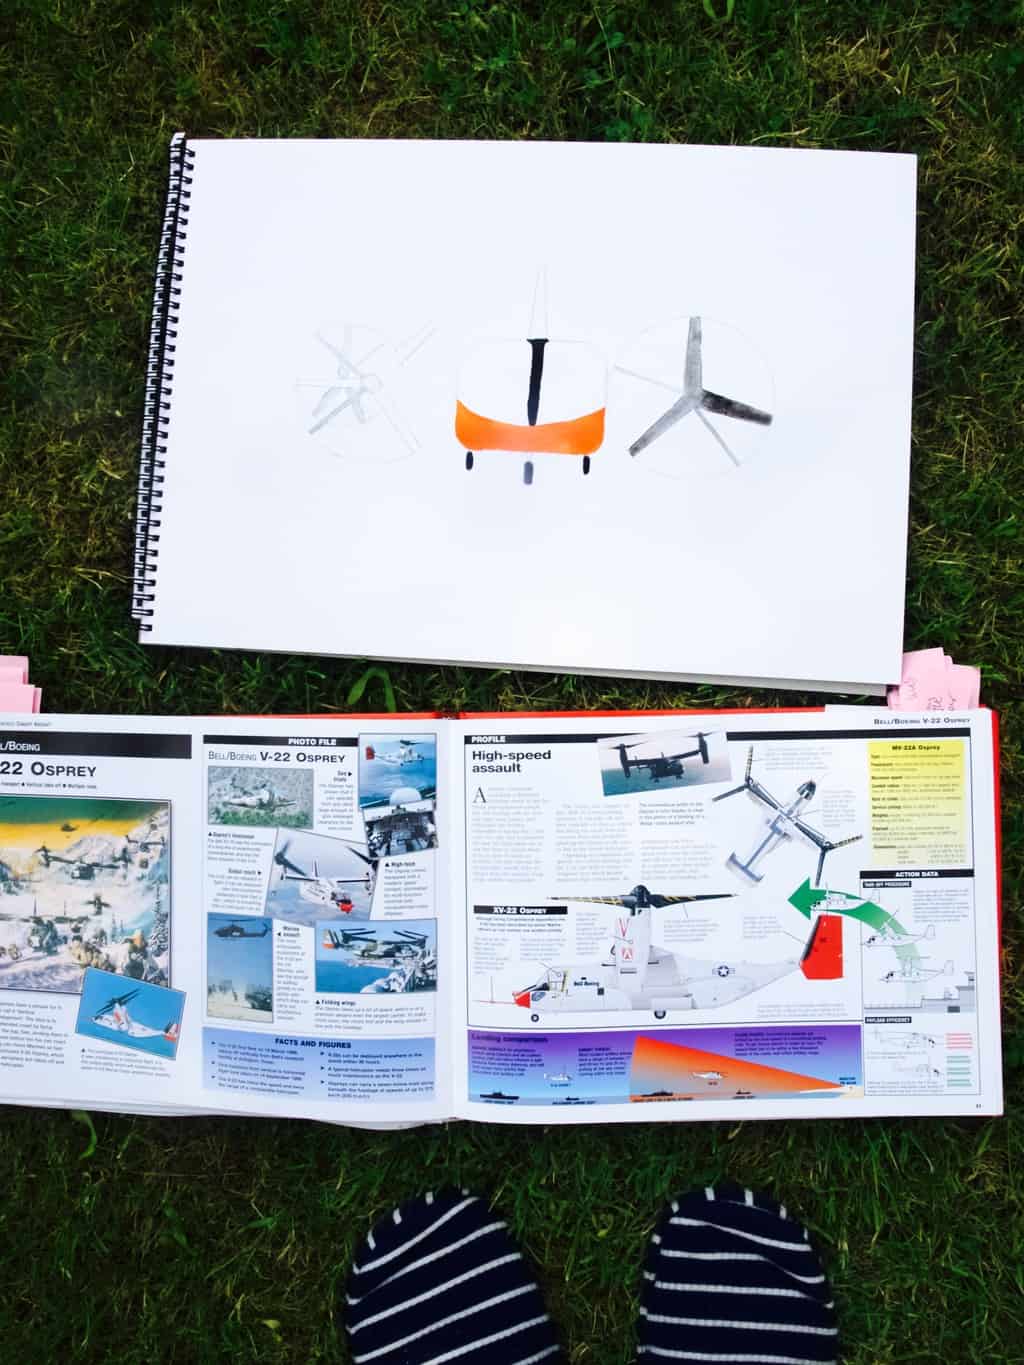
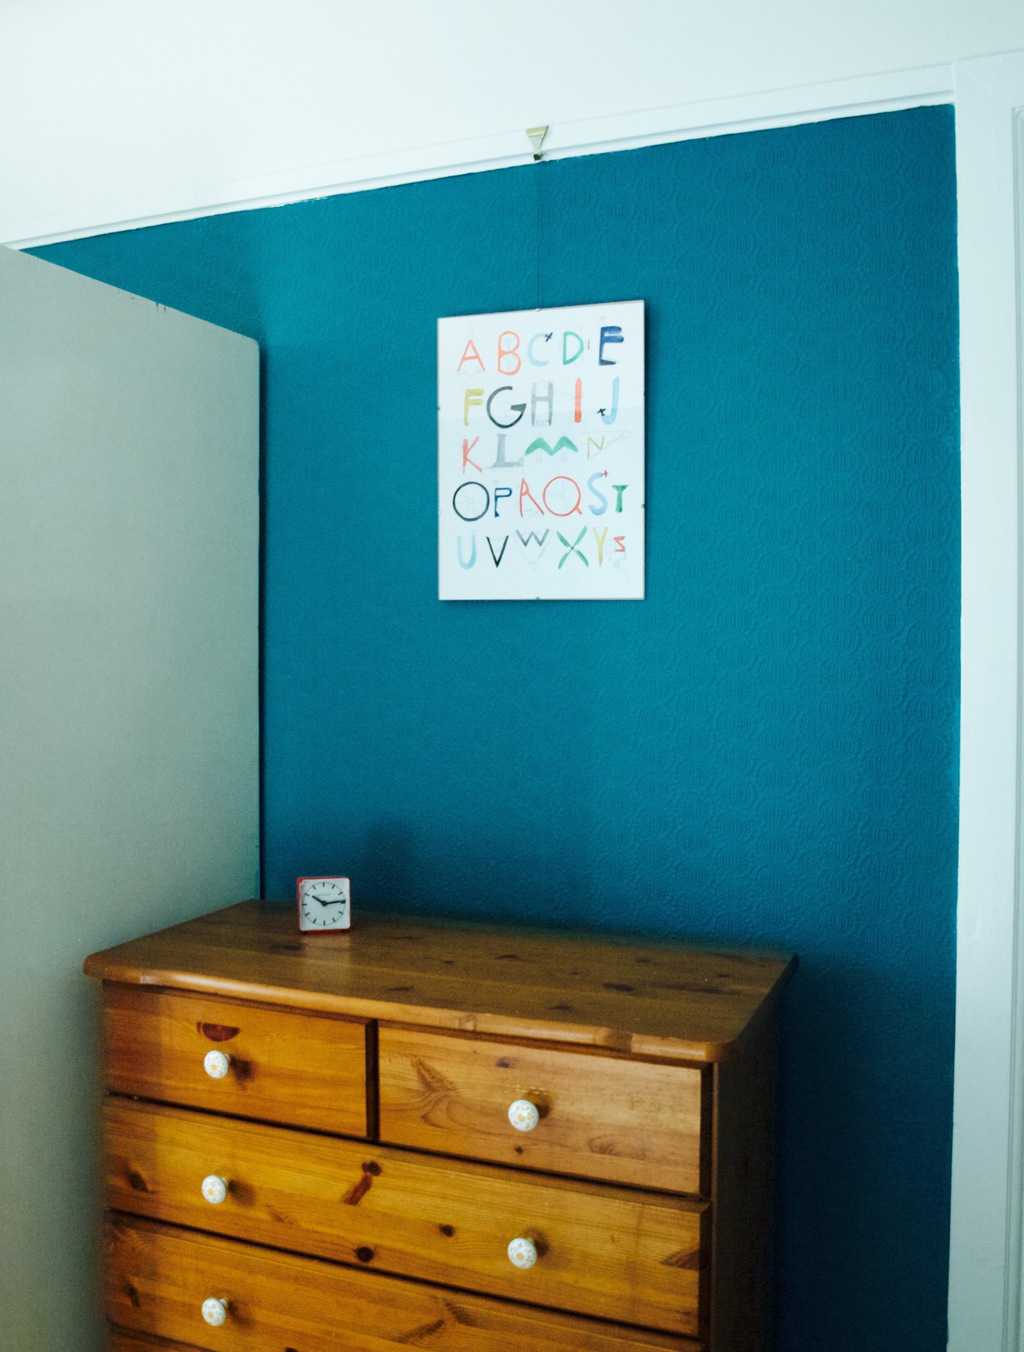
I have been imagining to paint those pretty biplanes and then an alphabet to go along with it. However (as always) things did not go to my plan. Although at least I have one artwork on the wall now!! Watercolour challenge: planes and letters Watercolour challenge: planes and lettersI started this month’s watercolour challenge with painting biplanes. It needed lots of attention to detail and lots of pencil work with rulers. The watercolour part only took few minutes. I did not like the end result too much. I can’t even explain why, definitely did not look what I had in my vision.Watercolour challenge: planes and lettersNext I started on the alphabet and I guess because painting biplanes did not work that much I looked at other planes to inspire me too. It was real fun to look through Joni’s plane books to find some planes that actually start with the letter I wanted to use it for. For instance I used the Avro Arrow aircraft to represent letter “A”.Watercolour challenge: planes and letters Watercolour challenge: planes and lettersI made plenty of mistakes, the letter “Z” is the wrong way round and plenty of mess that I could not quite rub off with the eraser. However I do love this artwork and it is hanging in the boys bedroom till one day I will decide to redo it.Watercolour challenge: planes and lettersSince I had so much fun painting different aircrafts from Joni’s book, I tried drawing one with propellers. Was not too pleased with this painting so decided to end painting here.Watercolour challenge: planes and letters Watercolour challenge: planes and lettersFor now I am just so pleased with the plane inspired alphabet.

What’s your favourite painting?

Rasa xoxo

0

Watercolour challenge: toddler doodles

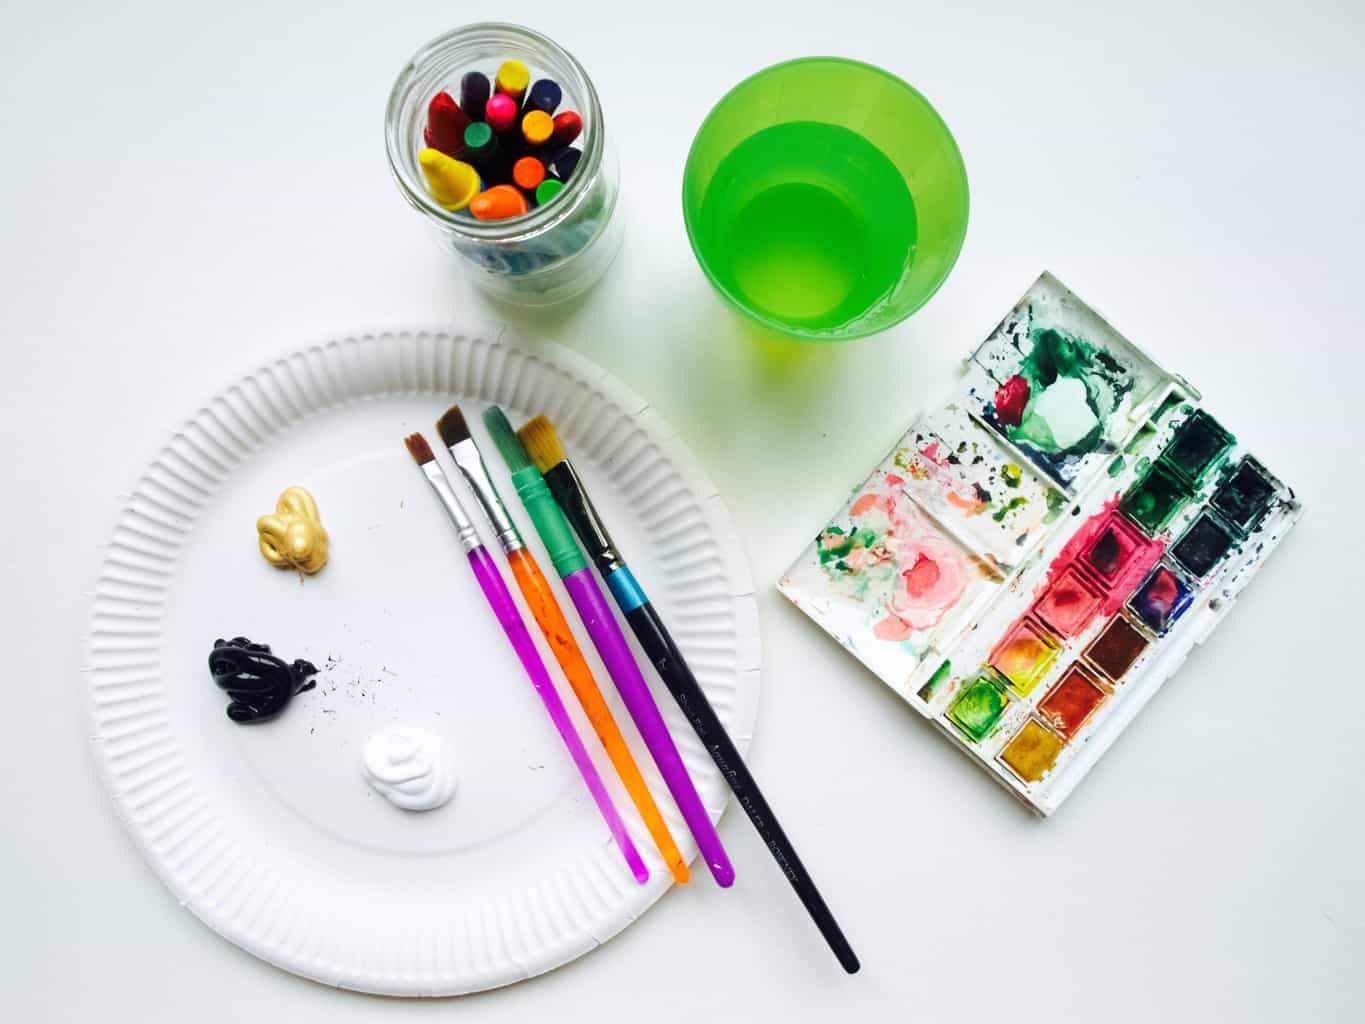
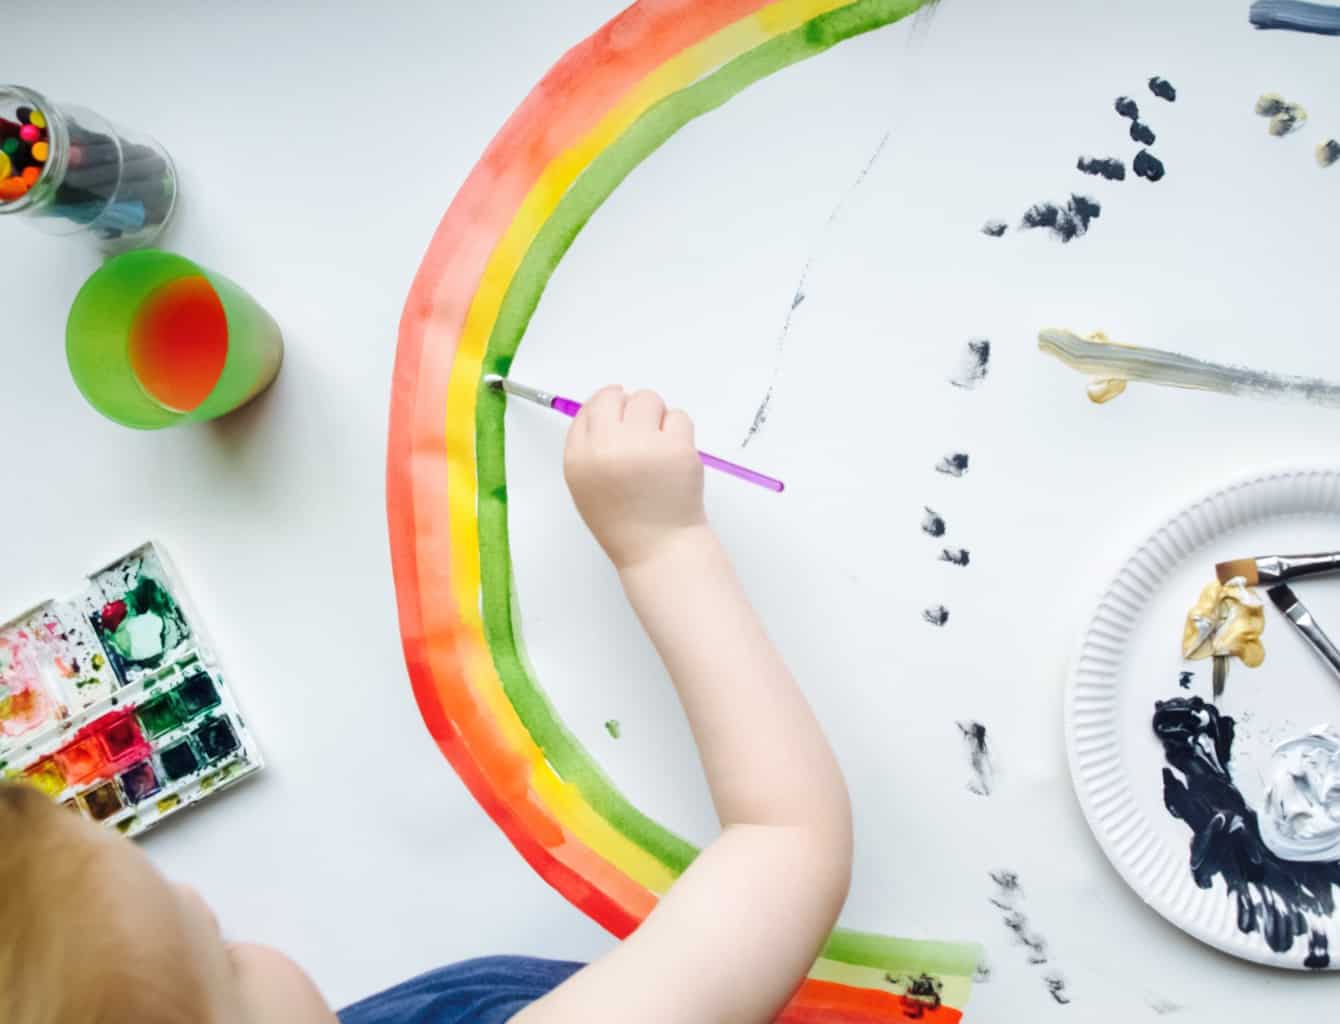
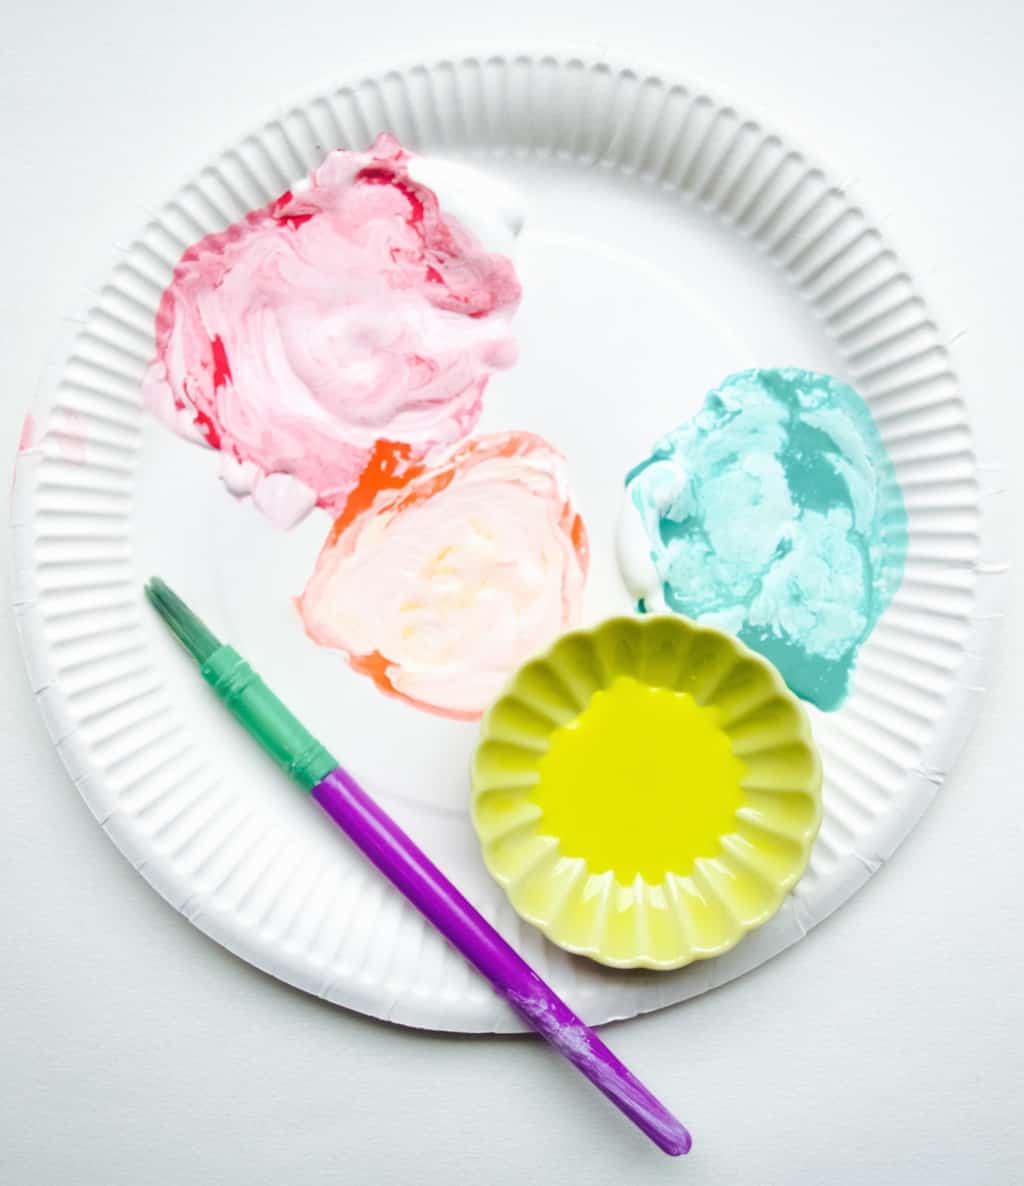
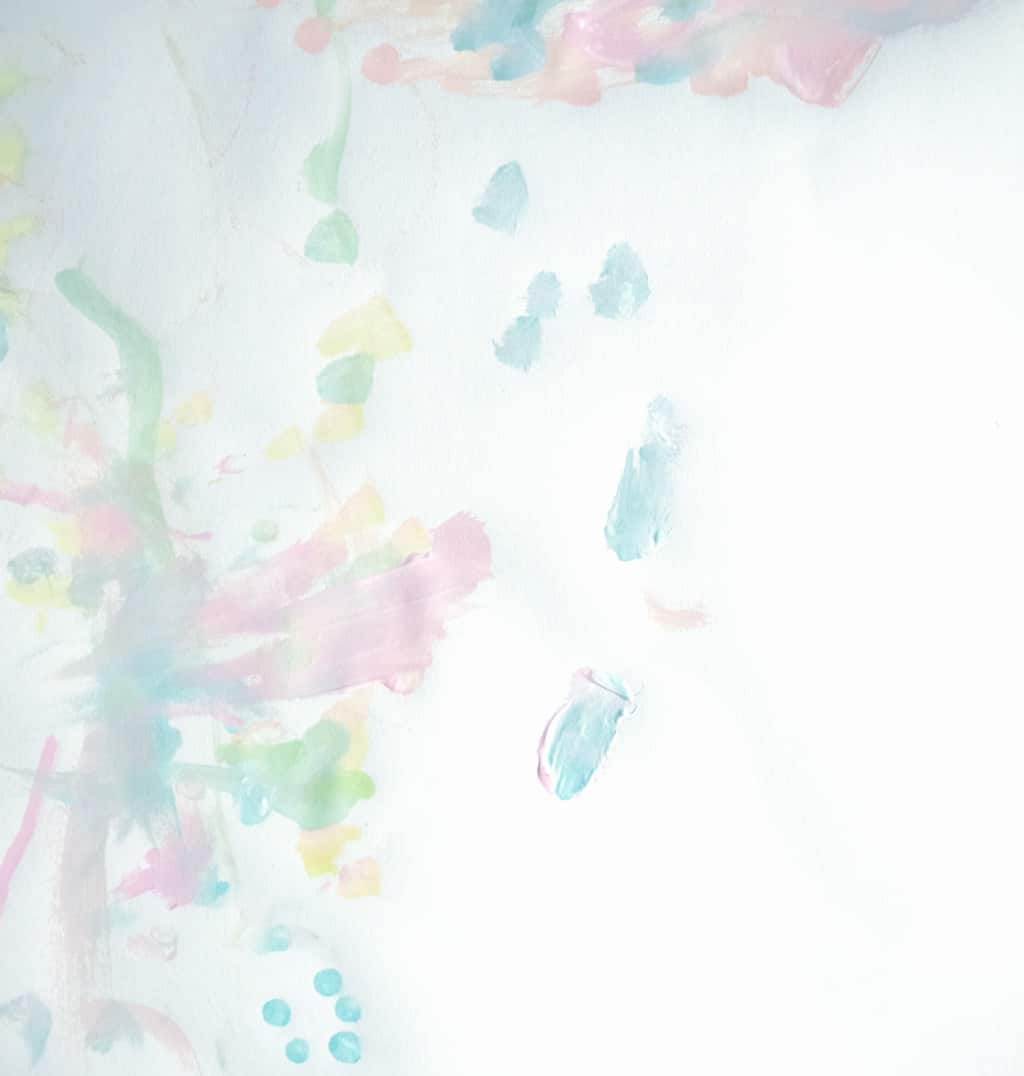
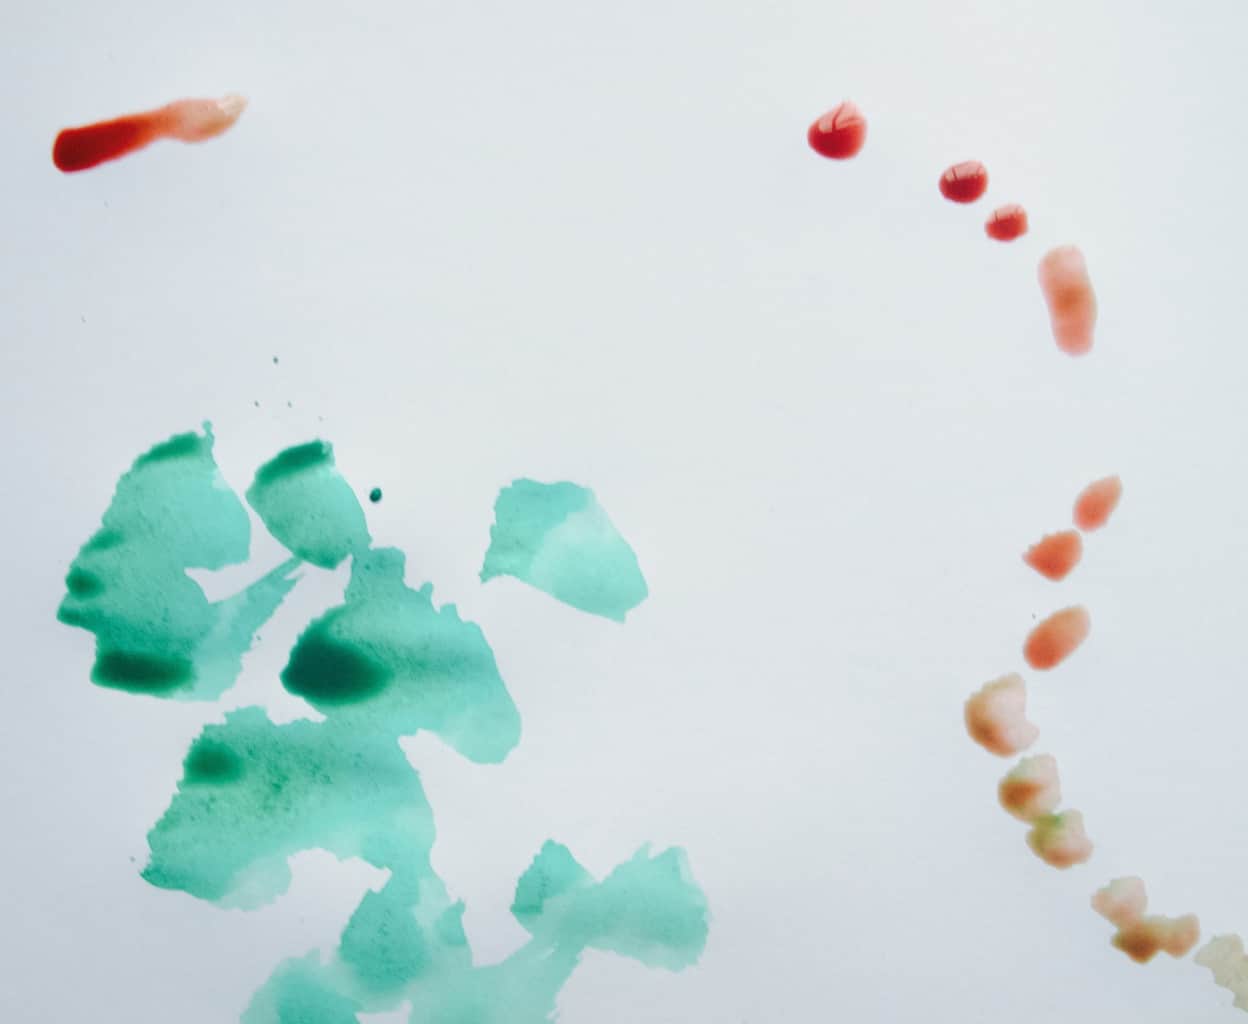
Toddler doodles turned into abstract artSo this month for my watercolour challenge I decided to collaborate with my own 2 year old toddler (Eek!!). I enjoyed watching Lukas do art so much that I thought it would be very cool to create some careless abstract art inspired by his doodles and fill our kids room walls with it. Isn’t that the greatest idea you ever heard? Well, not quite! Although it did not work out exactly how I imagined (no artwork on the walls yet), working with the toddler thought me one thing or two. Before I tell you all about it, shall I explain how we did go about it first? If you agree then read on to hear my full story below. For our first arty session I set out with all material I had in stock. Although I don’t have crazy amount of art material, it was still little too much. This was my first lesson on how to make art with the toddler. Never give too much choice or you will be overwhelmed or (what happened in our case) he will be obsessed with one art media. I started by painting large rainbow on the page and Lukas joined in as soon as he noticed me painting. He picked a brush and kept dipping it where ever he could find: acrylics and water paint. The result was as I was expecting although I am not sure about the colour combo here, it did not go with our house interior at all.  Because I noticed Lukas likes to spread a paint with the brush, I realised watercolour was too watery. This is why I mixed up few watercolours with white acrylic paint to get thicker paint. But that meant the colours ended up very pastel. If you like pastel colours than this is fine, but I was not a big fan of this as I LOOOOOVVEEE bold colours.Toddler doodles turned into abstract art Toddler doodles turned into abstract artBut why I did not like Lukas using water colour straight? Well… a 2 year old did not quite understand the concept of using it. To use watercolour you need to constantly dip your brush into water between colour change and before to moisten the paint as well. To fix this problem I tried to dilute some watercolour pigment in little water. Here it is, I made a palette that I though would work.  Toddler doodles turned into abstract artExcept, yellow soon got mixed with green, created lime colour and other colours got mixed up as well. Did I tell you how easily watercolour mixes? You get the image: lots of grey/brown paintings. The pic below was the least overdone (lol).

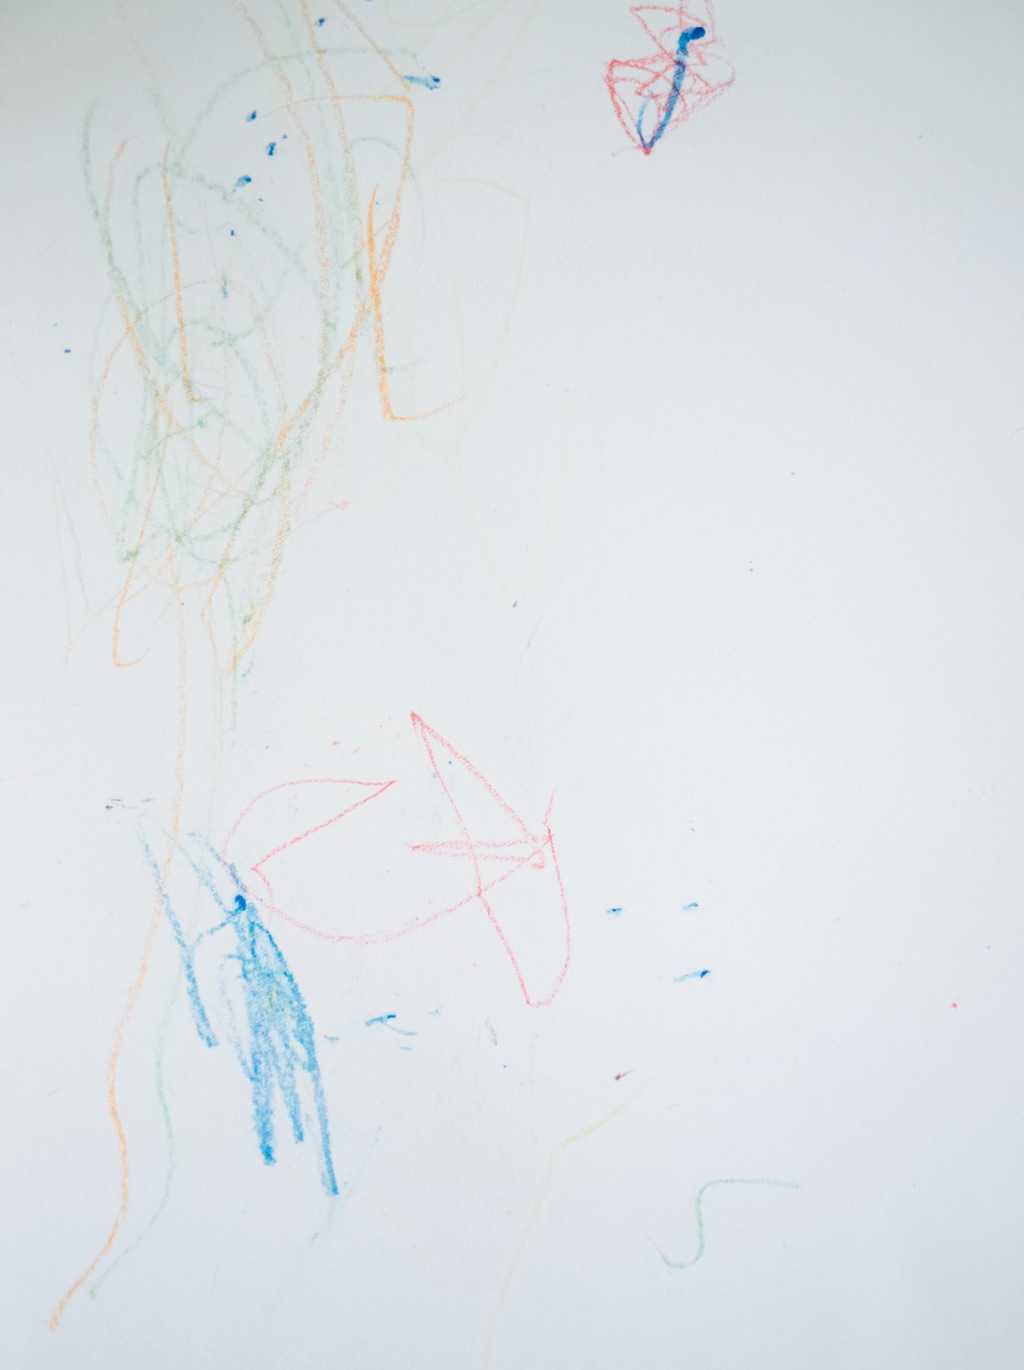
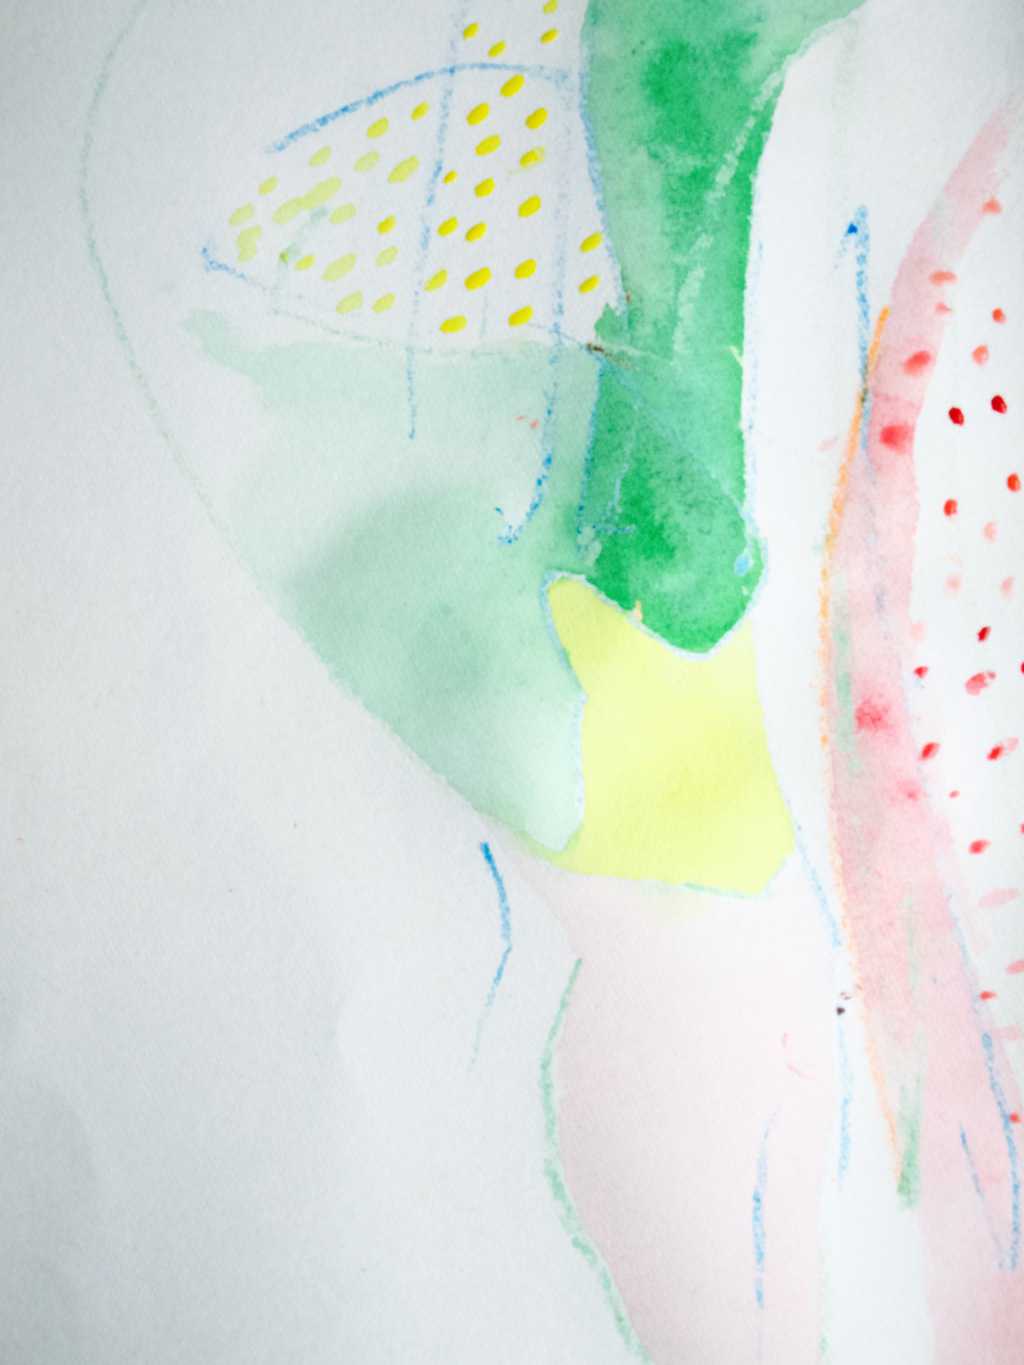
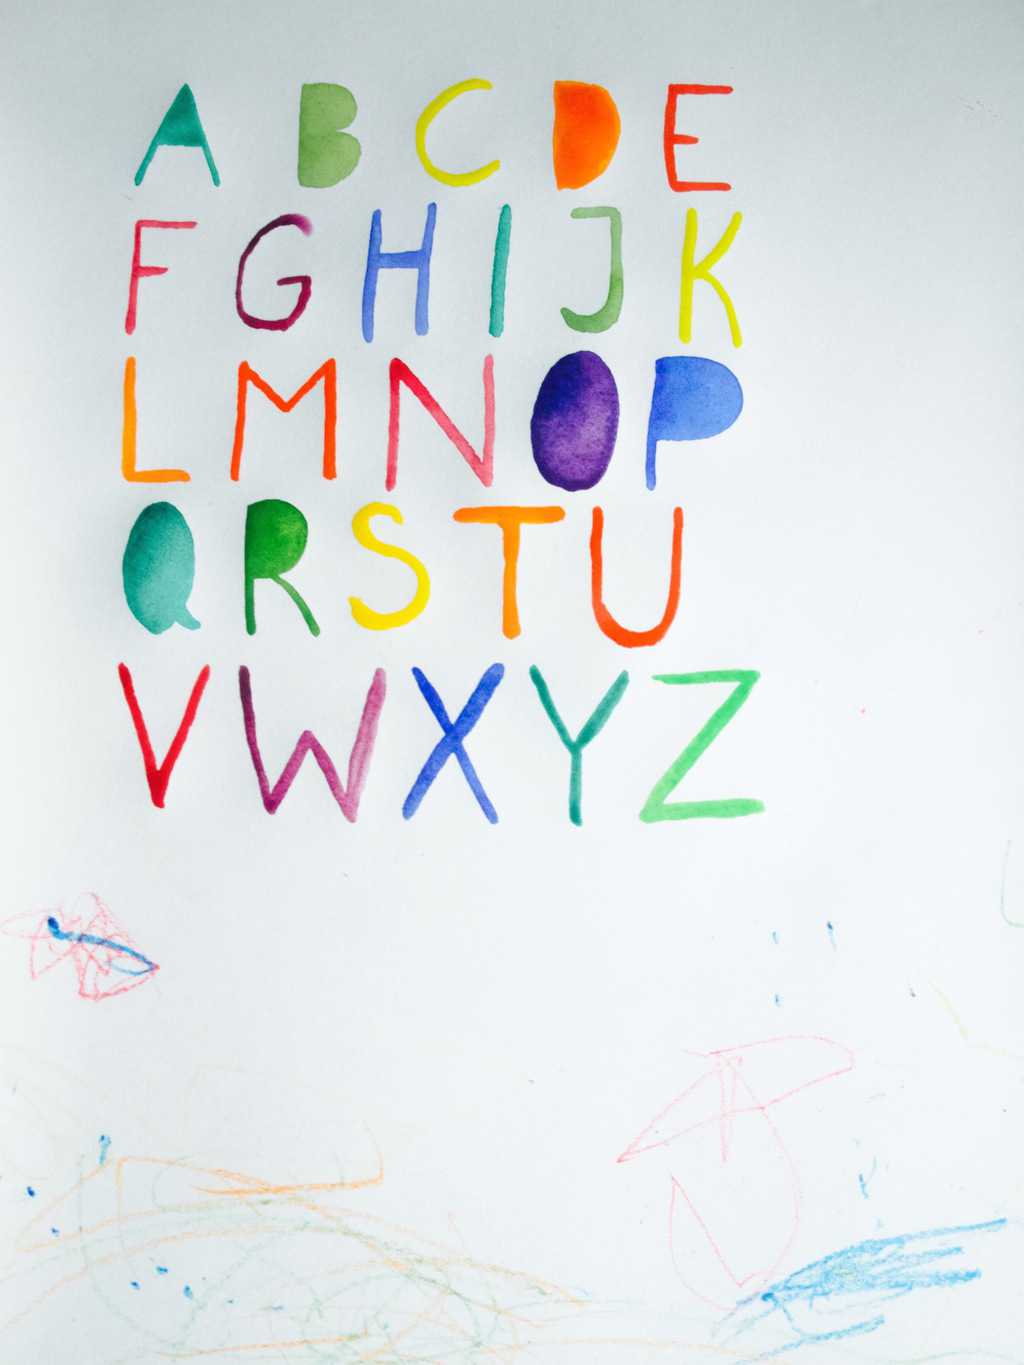
I also tried placing few drops of watercolour ready on paper. You can blow on those drops to create pretty lines and patterns (this is my fave painting technique!!!). However this did not work out with 2 year old, he just did not quite get what exactly I wanted him to do with the straw I gave him (although I gave him plenty of demonstrations). Toddler doodles turned into abstract art Eventually I let him scribble away with crayons. Toddler doodles turned into abstract art I used Lukas scribbles to make my own abstract art which I much preferred. However I realised that this does not go with our house or my style. Toddler doodles turned into abstract artThe artwork with alphabet is my fav, however it does not have so much input from Lukas. I am thinking maybe for my next watercolour challenge I should do something alphabet themed (I really really enjoyed painting letters). Will see ;-).Toddler doodles turned into abstract artHope you have been inspired ;-)

Rasa xoxo

0

Watercolour challenge: jungle

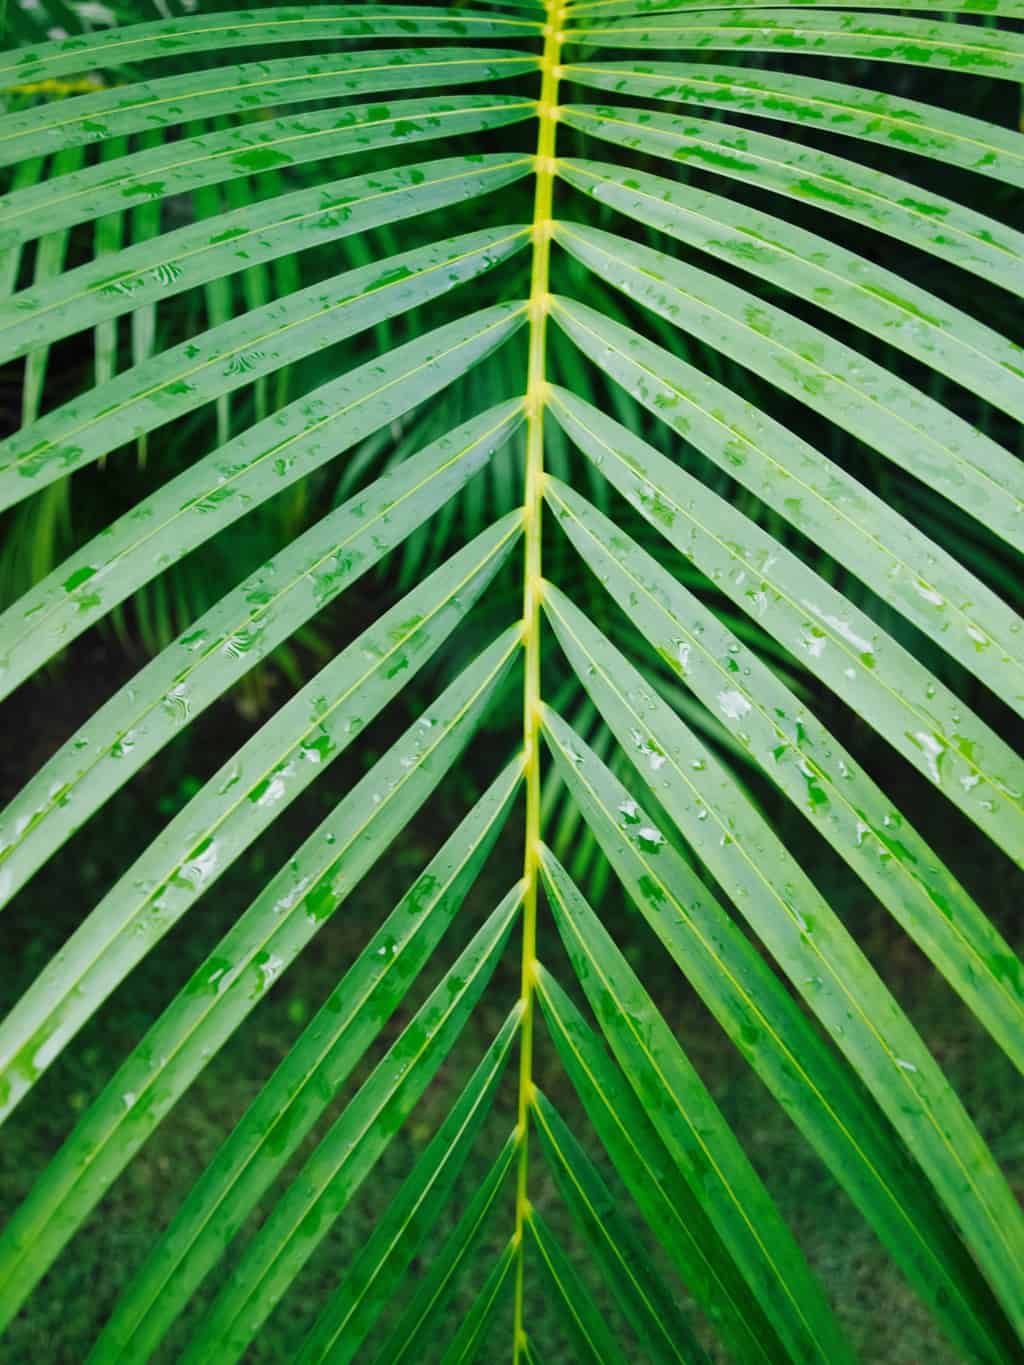
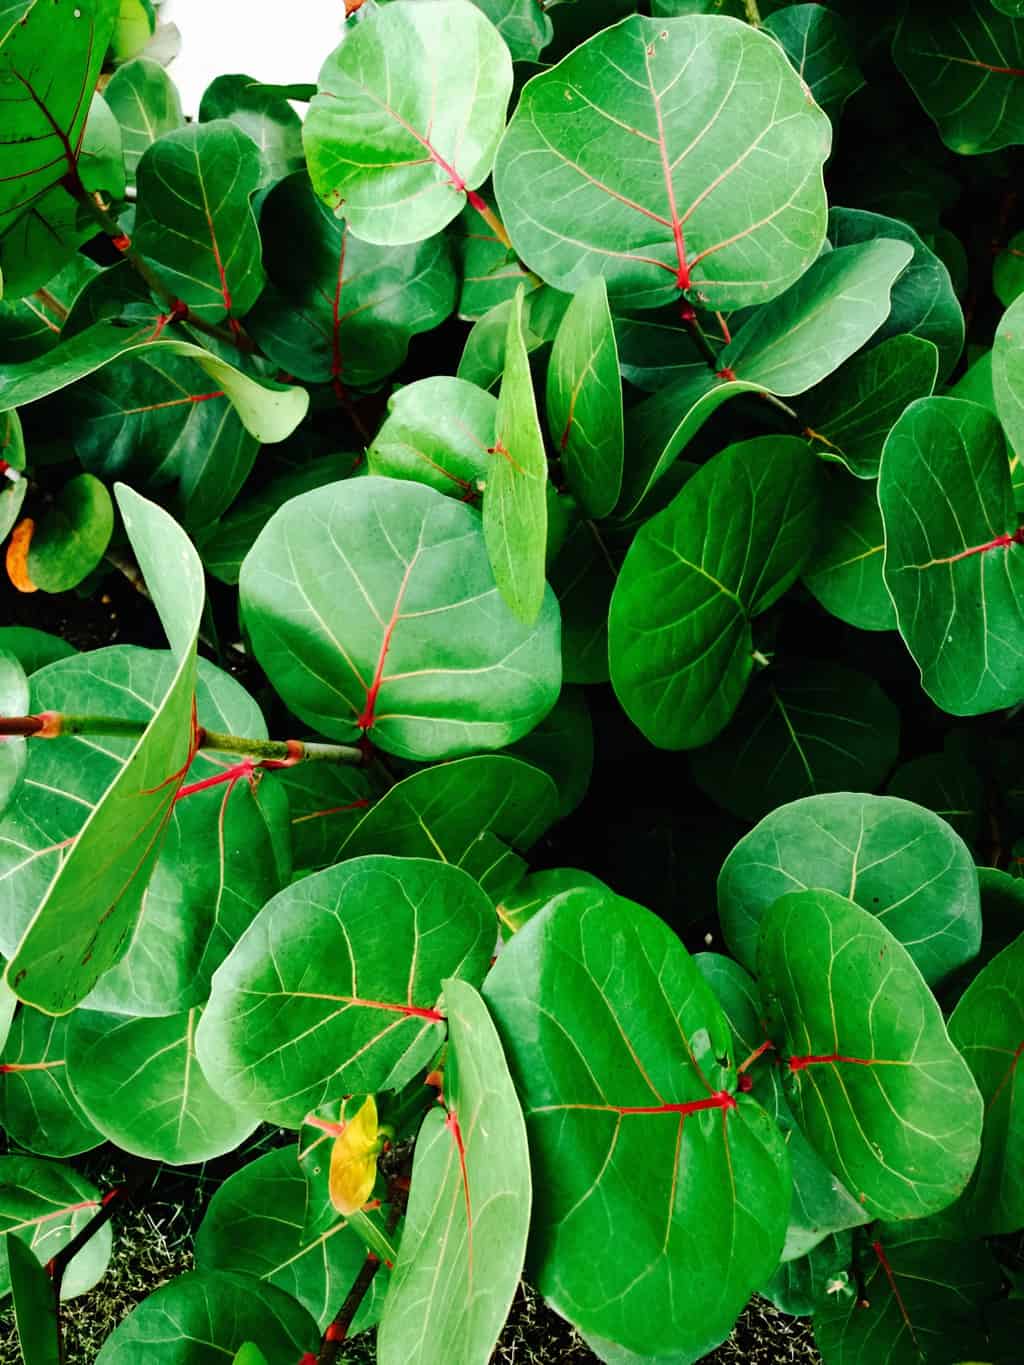
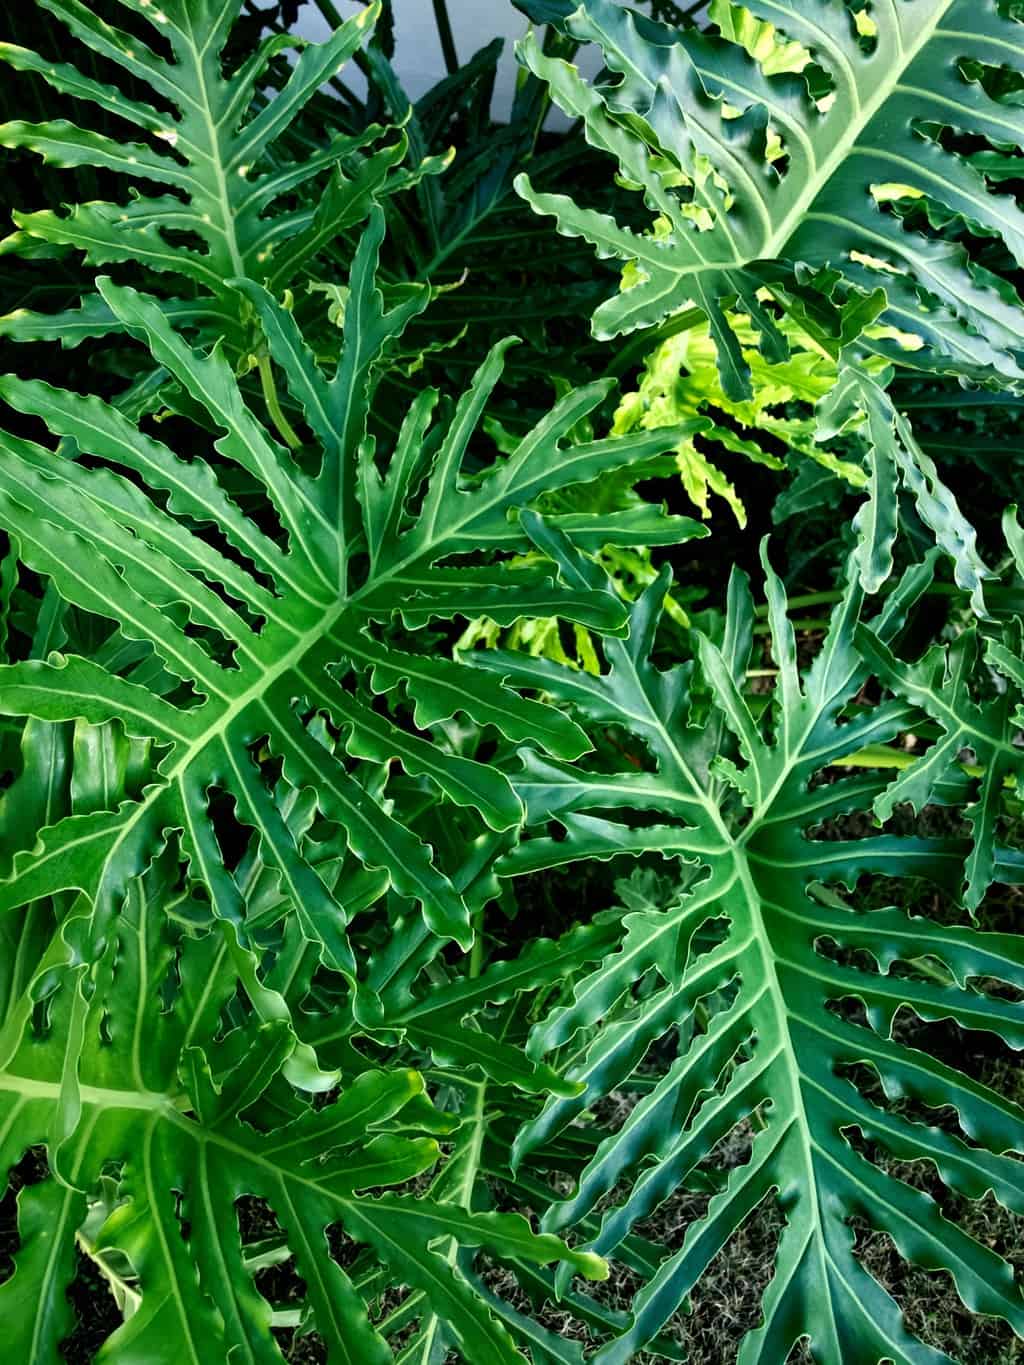
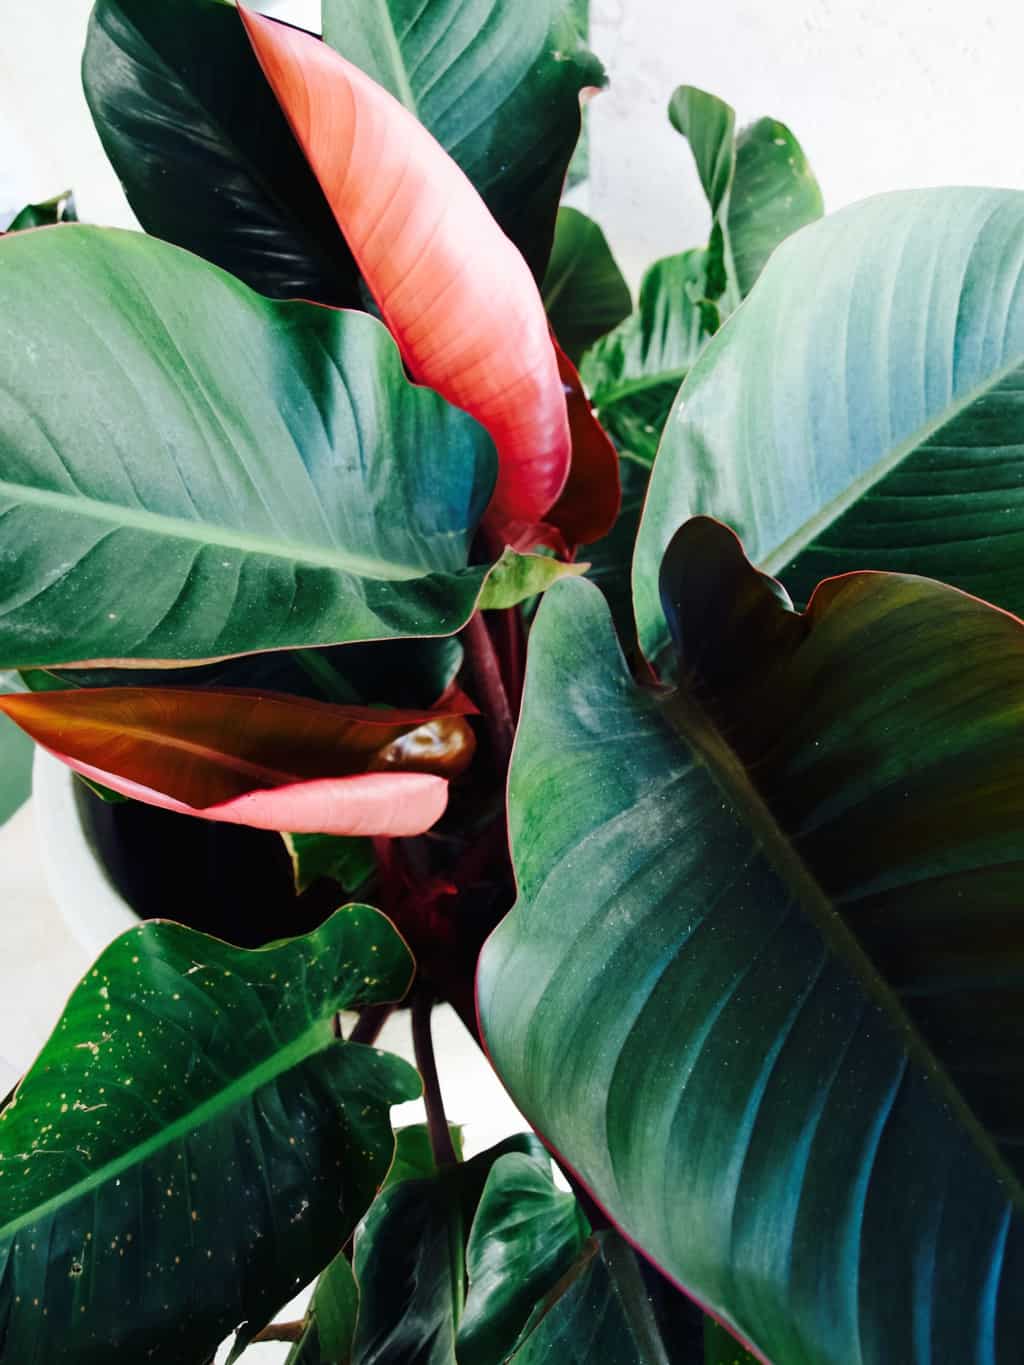
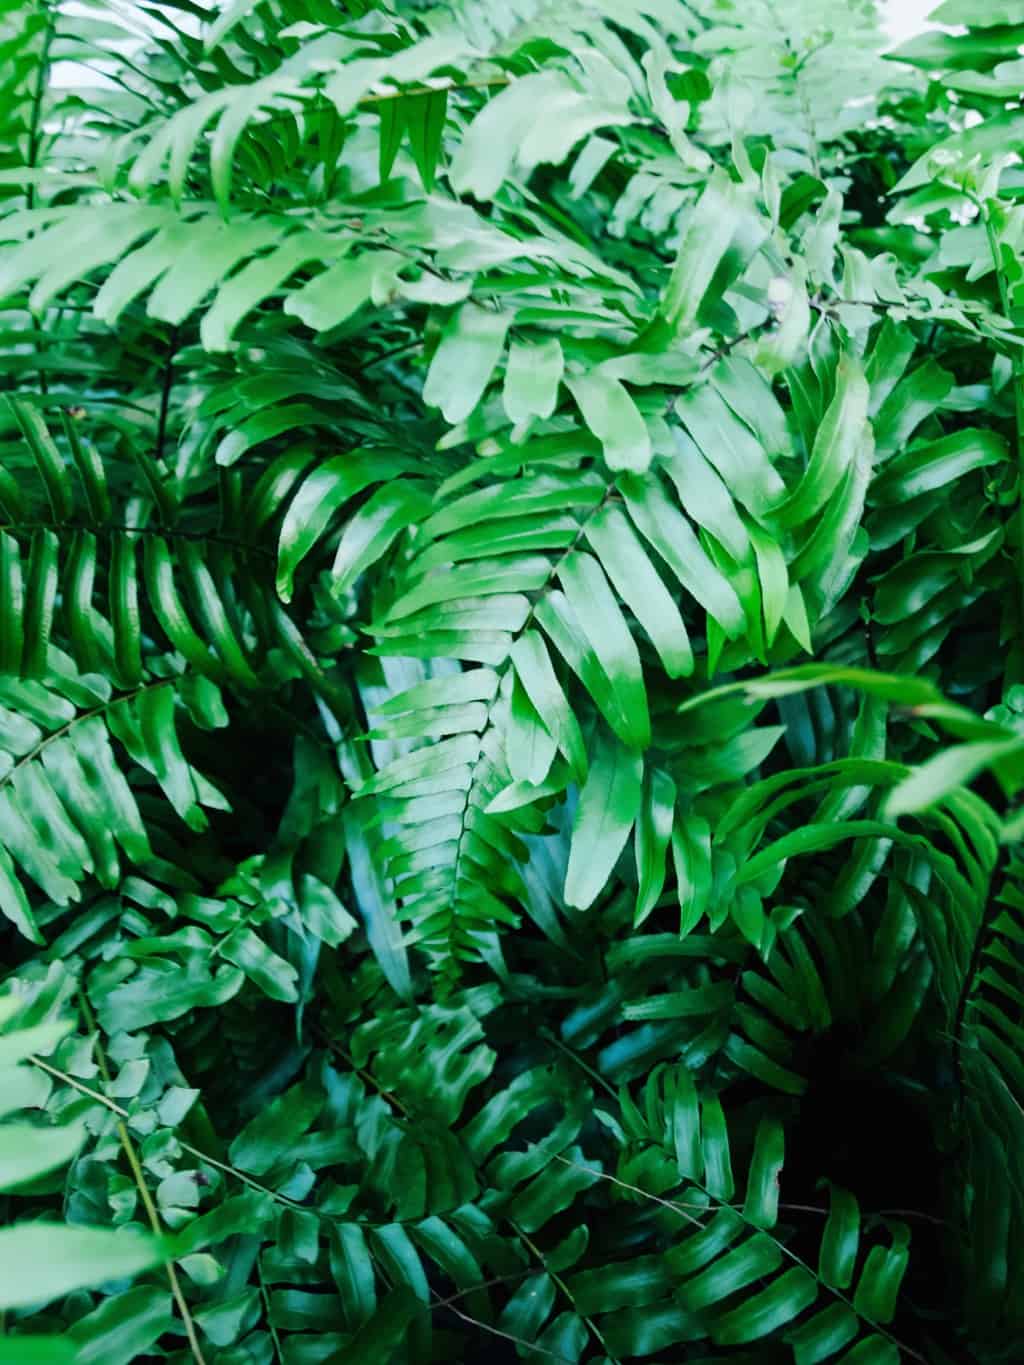
Watercolour challenge: inspired by jungle To be completely honest it was very hard to come back to painting but once I started I really felt piece and joy. I felt inspired by the plants that I saw on our holiday in Dominican Republic. Tropical climate plants are so so pretty!!! I am inspired to have some of them at my home some day, but for now they can at least live on my walls.

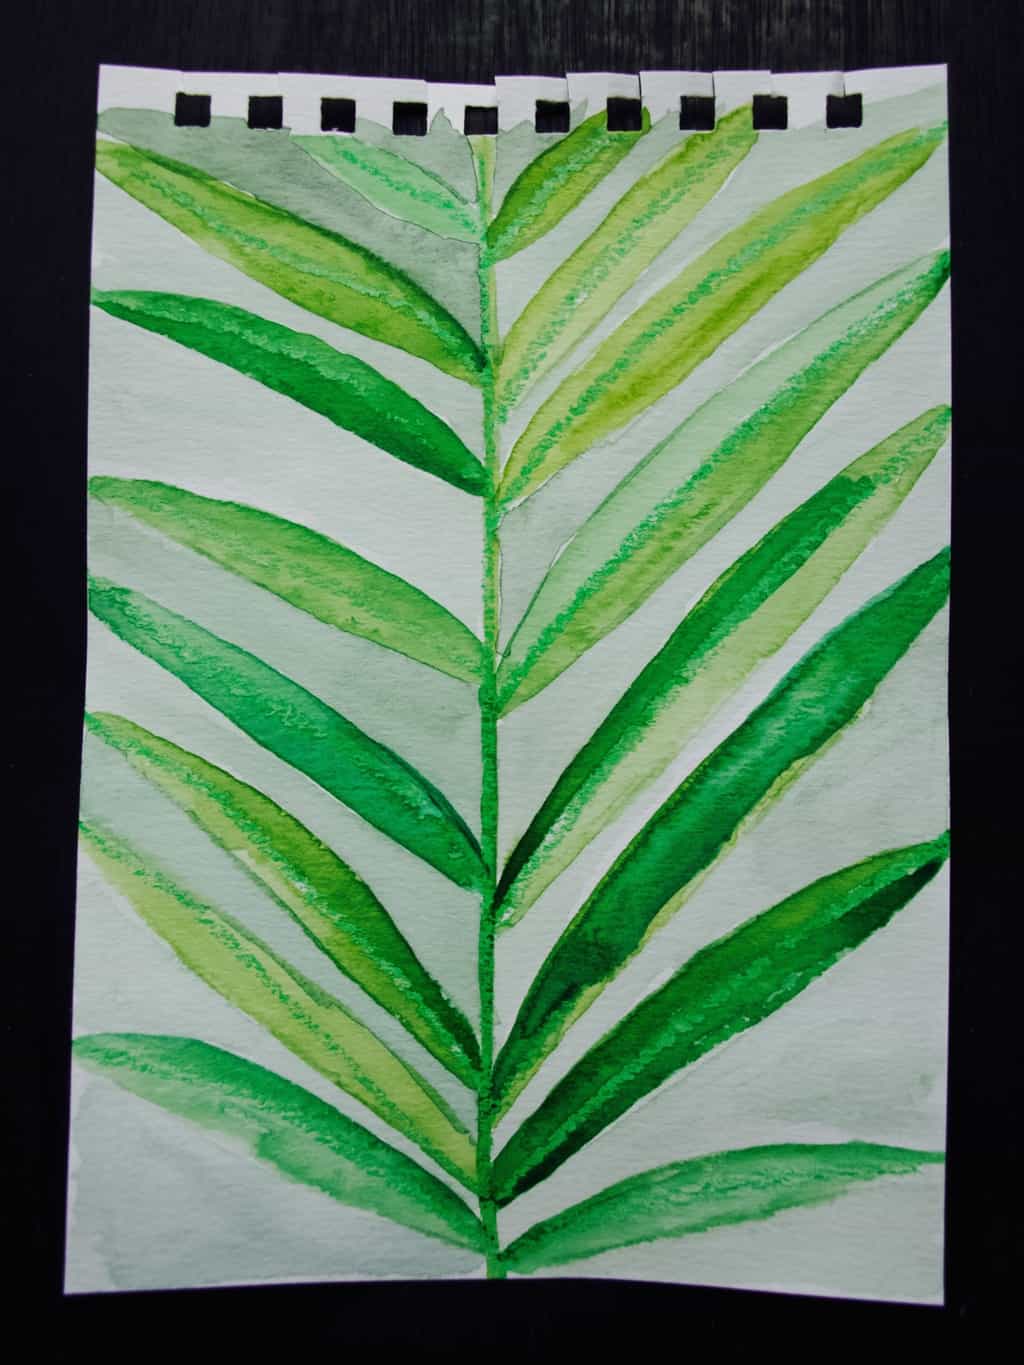
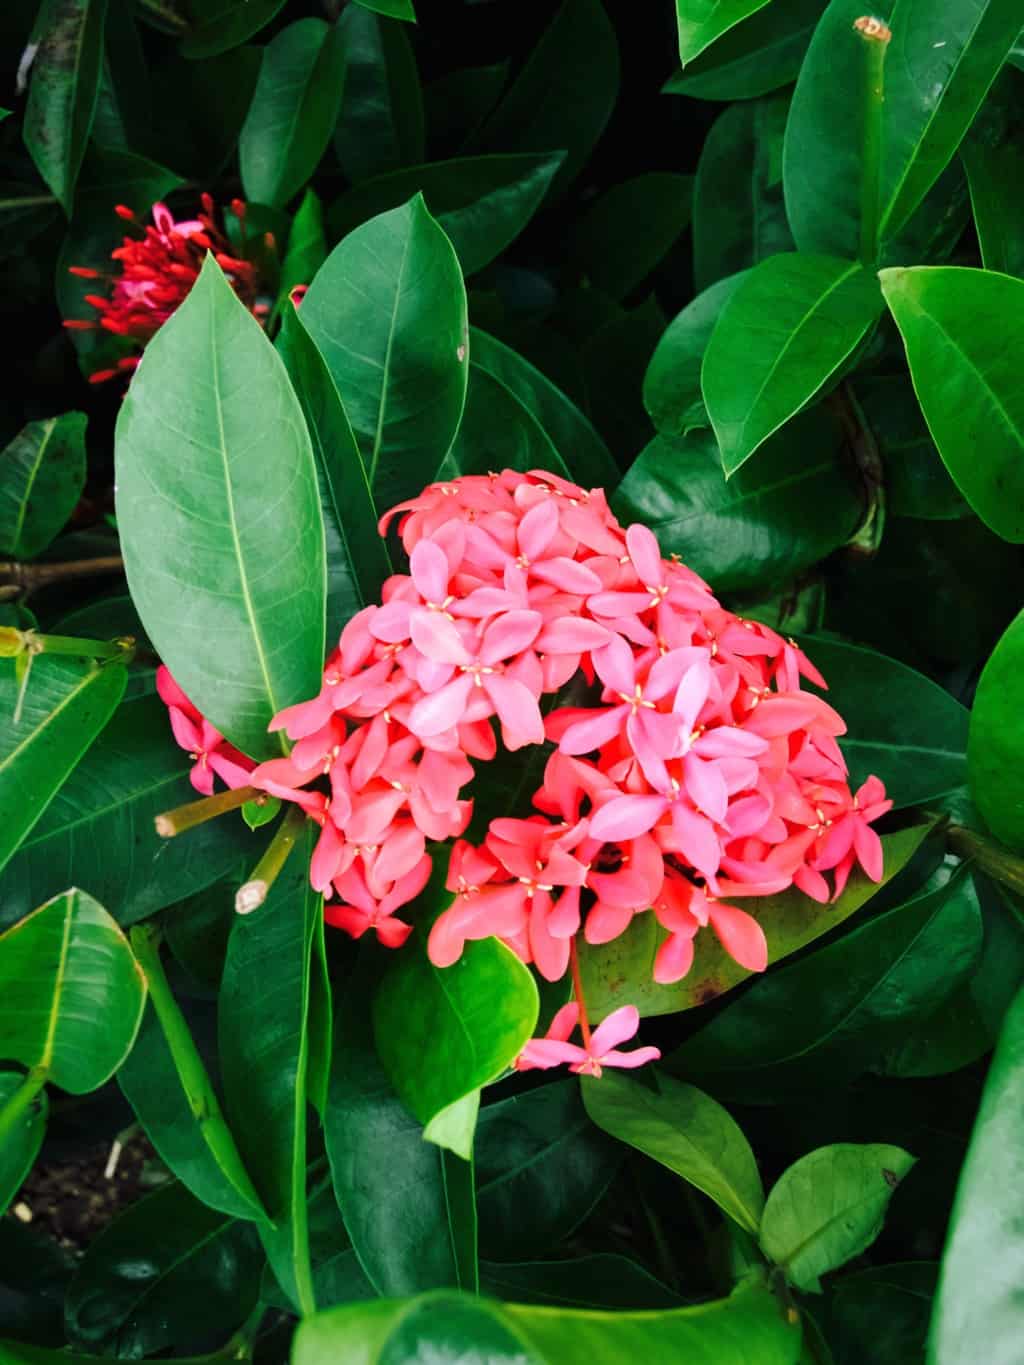
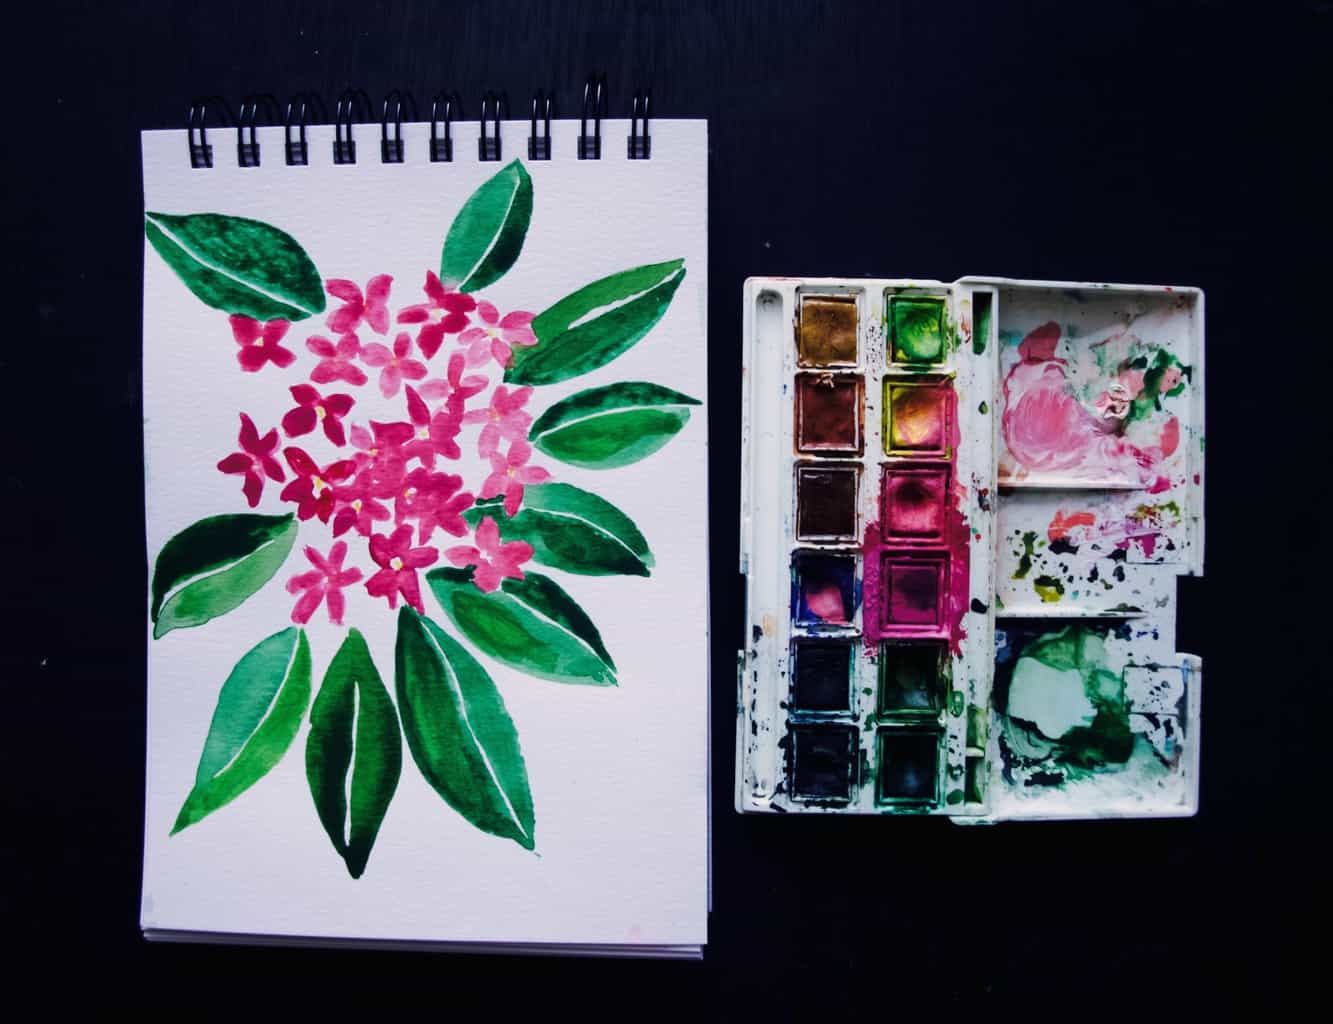
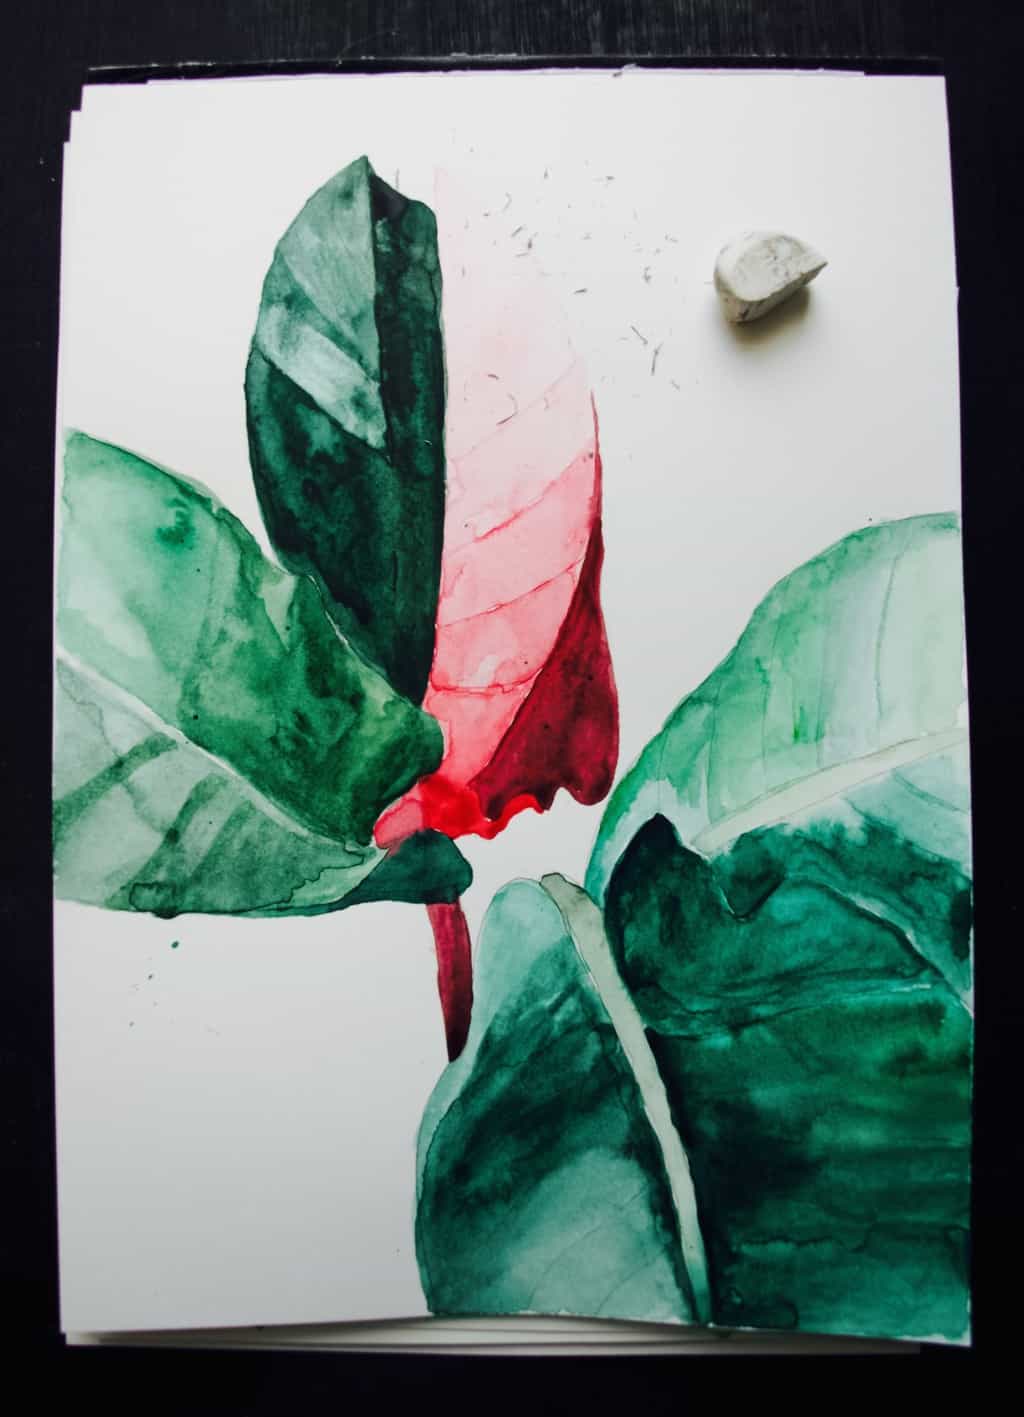
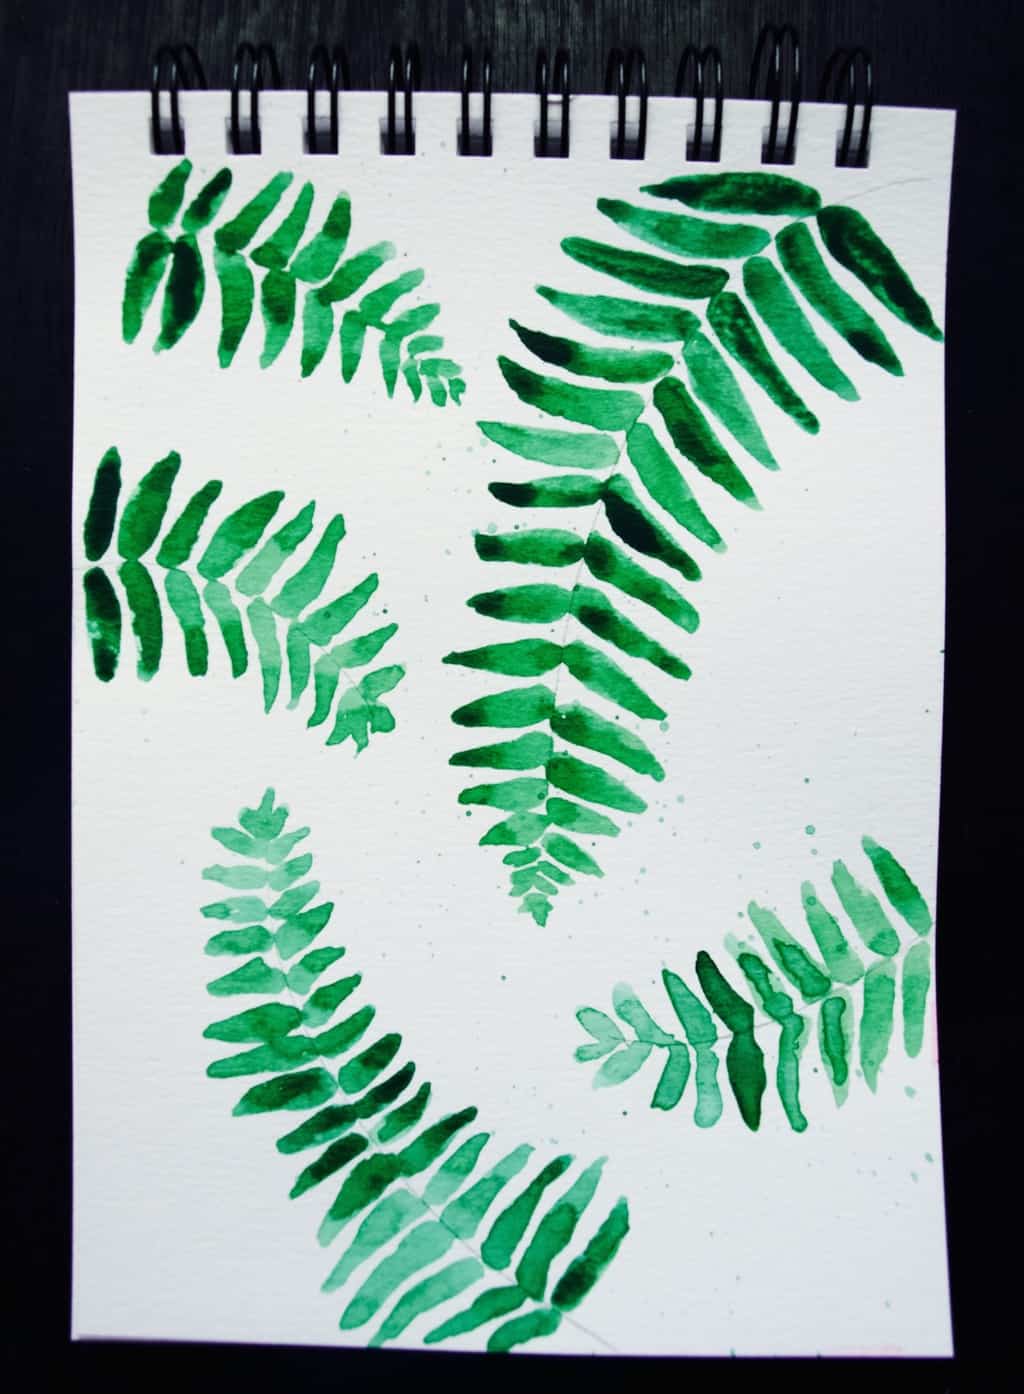
As usual I started with the method in mind I wanted to try. This time I wanted to try watercolour combined with the wax crayons. I remember first time I fell in love with the watercolour is when my Finish art teacher showed me how crayons makes paper waterproof and when watercolour is painted on top of it, the wax of crayon blocks from colouring (mixing with) the drawing leaving the colour it was but colouring all around it instead. This technique really fascinated me back then which is why I wanted to try it out again. In the painting above I drew the core lines with the crayon and painted leafs on top of it. I was pretty pleased with the outcome. The lines kept its sharp green shade!Watercolour challenge: inspired by jungle Watercolour challenge: inspired by jungleThe plant in the pic above have been my favourite so far! Although I don’t feel I depicted it well in my painting…Watercolour challenge: inspired by jungle Painting this curly leaf plant was quite fun! I love making repetitive patterns and painting these wiggly lines been real pleasure.Watercolour challenge: inspired by jungle Watercolour challenge: inspired by jungle Watercolour challenge: inspired by jungle To add some colour (not only paint in green) I tried painting this pink flower. I feel this was not my best painting so far. And look at all this mess I made in my watercolour palette! I wonder if other artist end up like that. Although I have seen other people just using water colour from the little tubes and mixing palette on separate piece of paper. I wonder if it is worth investing in fresh collection of water paint, hmm…Watercolour challenge: inspired by jungle Watercolour challenge: inspired by jungle For my next botanical painting I decided to use pencil instead (and rub it off after), that way I thought I will improve my shading technique. I divided the leaf into different segments that are “coloured in” separately and therefore shading is visible (hopefully). This painting took 2-3 hours, but it was so so worth it. I am in love!Watercolour challenge: inspired by jungle Watercolour challenge: inspired by jungle Finally this was a quick painting, I used pencil to mark the stalk of the fern and leaf in watercolour. I don’t know why, but this is my another favourite, so simple but so beautiful at the same time!Watercolour challenge: inspired by jungleThanks for letting me share my experiences here re my new found passion :-)

Rasa xoxo

0

How I started bullet journal + my New Year goals

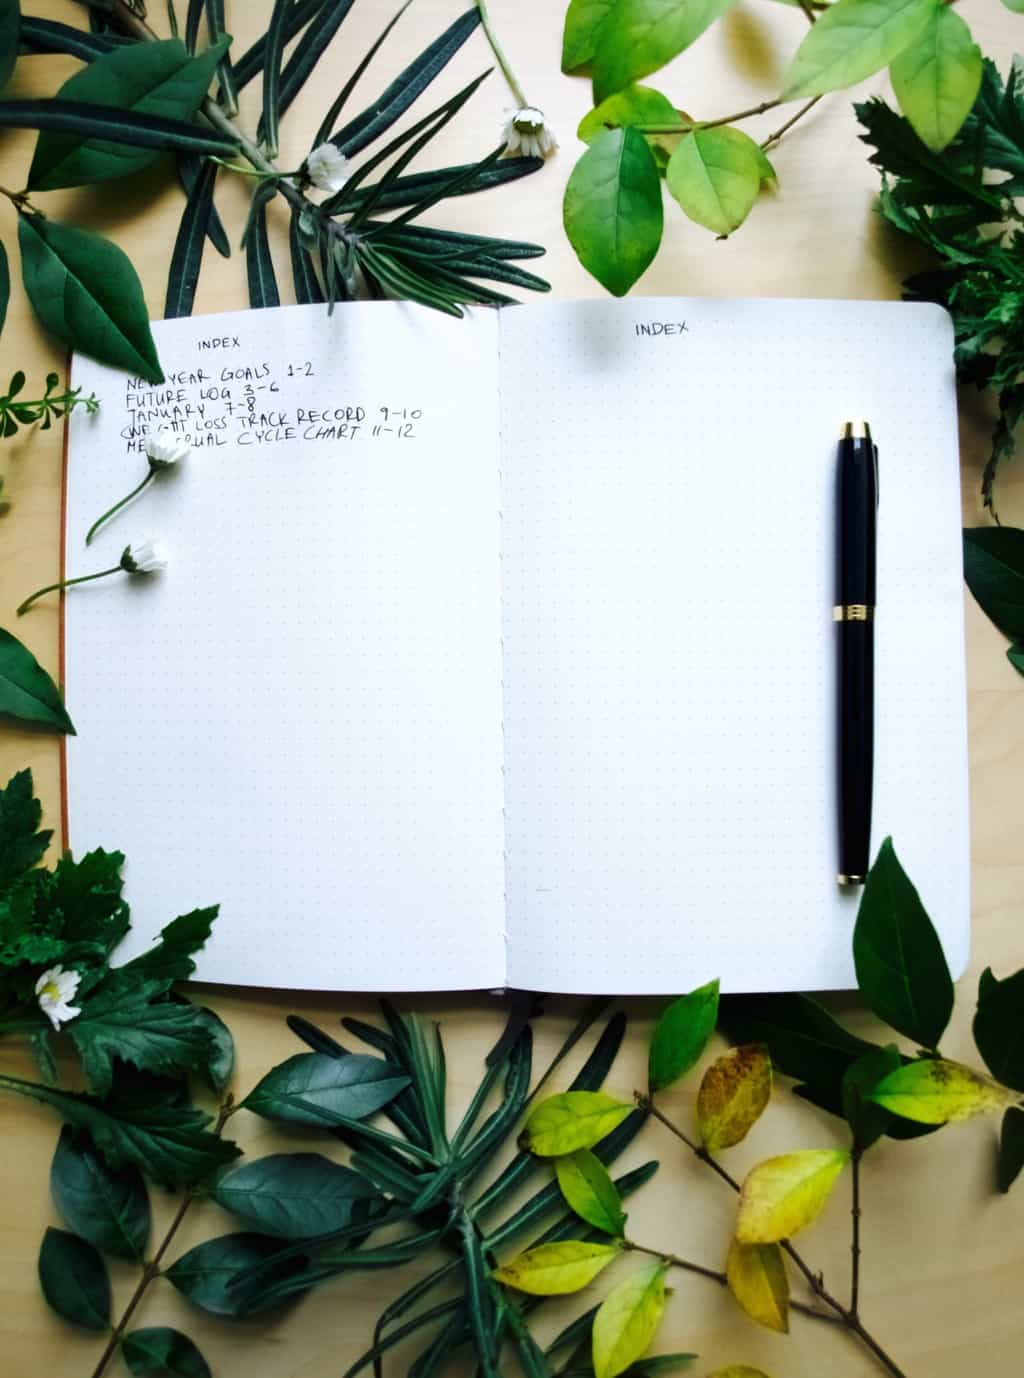
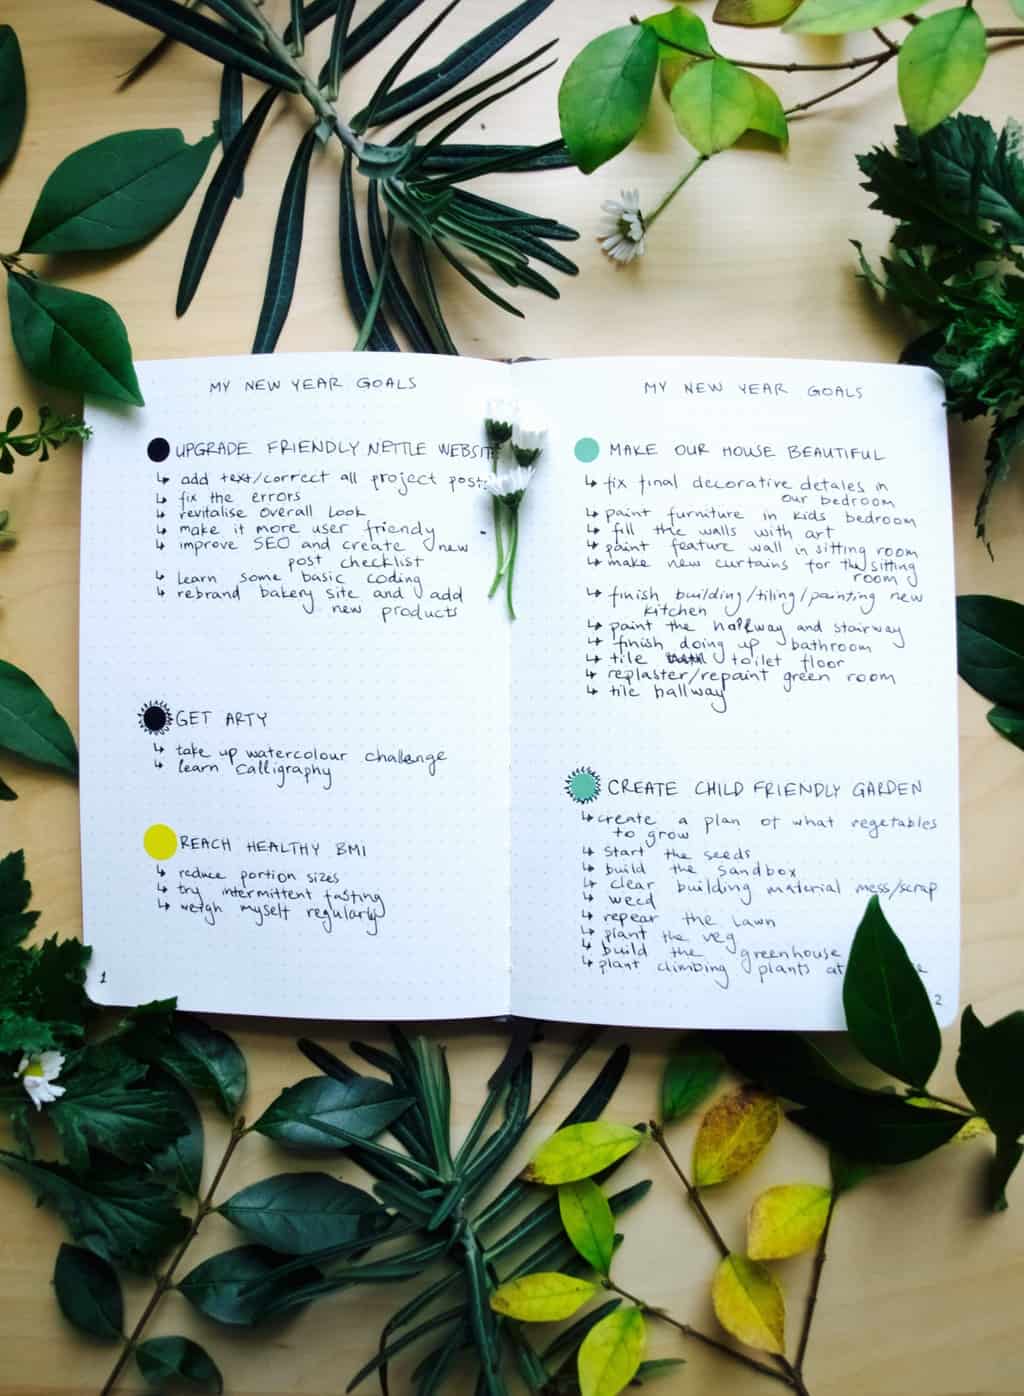
How I started bullet journal So here we are, I am starting my very first bullet journal!! As excited as I am you should really know that it took me over a year to actually try out this organisational system. Initially I noticed my friend Jacolien journaling on the Instagram (@made2celebrate) and then I read somewhere that this system lets you do more with less??? This could not fit in my head, how pretty page layouts with beautiful fonts would save me time and make me more organised? This is when my friend Jacolien explained that these layouts are completely optional and bullet journal can be whatever you make of it! So I decided to go with the original Ryder Carroll style (who by the way created this system after all) which is very simplistic indeed. May upgrade it later if my handwriting improves in any way. I will let you know how I got on, but for now here are my goals for this year that is already included in my bullet journal.

I may not set many goals last year, I am expecting quite a lot this year. My bullet journal is pretty full for the next six months which has not happen for few years. For each goal I listed tasks to help me to achieve it, some tasks have the deadline and some have been scheduled into calendar already.

1.Upgrade Friendly Nettle website goal was on my mind for four years. I think this year will be the year when I finally do it. I I will begin in February as this is when I am thinking to take a break from blogging for a month and from then on I will schedule once a week appointment with the website. Hopefully this will do.

2.Get arty, because I forgot how to paint or draw. This is why I decided this year to replace reading books to watercolour painting (the media I like the best). Like with books I will review my artwork here on the blog.

3.Reach healthy BMI as I am seriously overweight. I reached my biggest I have ever beed and I am feeling this is effecting my health too. Luckily loosing weight is not time consuming. All I need to do is reduce my meal portions, don’t stress eat and fast once a month. I think this should do the trick.

4.Make our house beautiful, because we still doing it up. Hopefully this year the cosmetics and decorations are going to be done. I am not actually thinking it’s possible to finish all the house DIY completely.  I have already set up some deadlines for some tasks, although this goal I am feeling least confident about sadly.

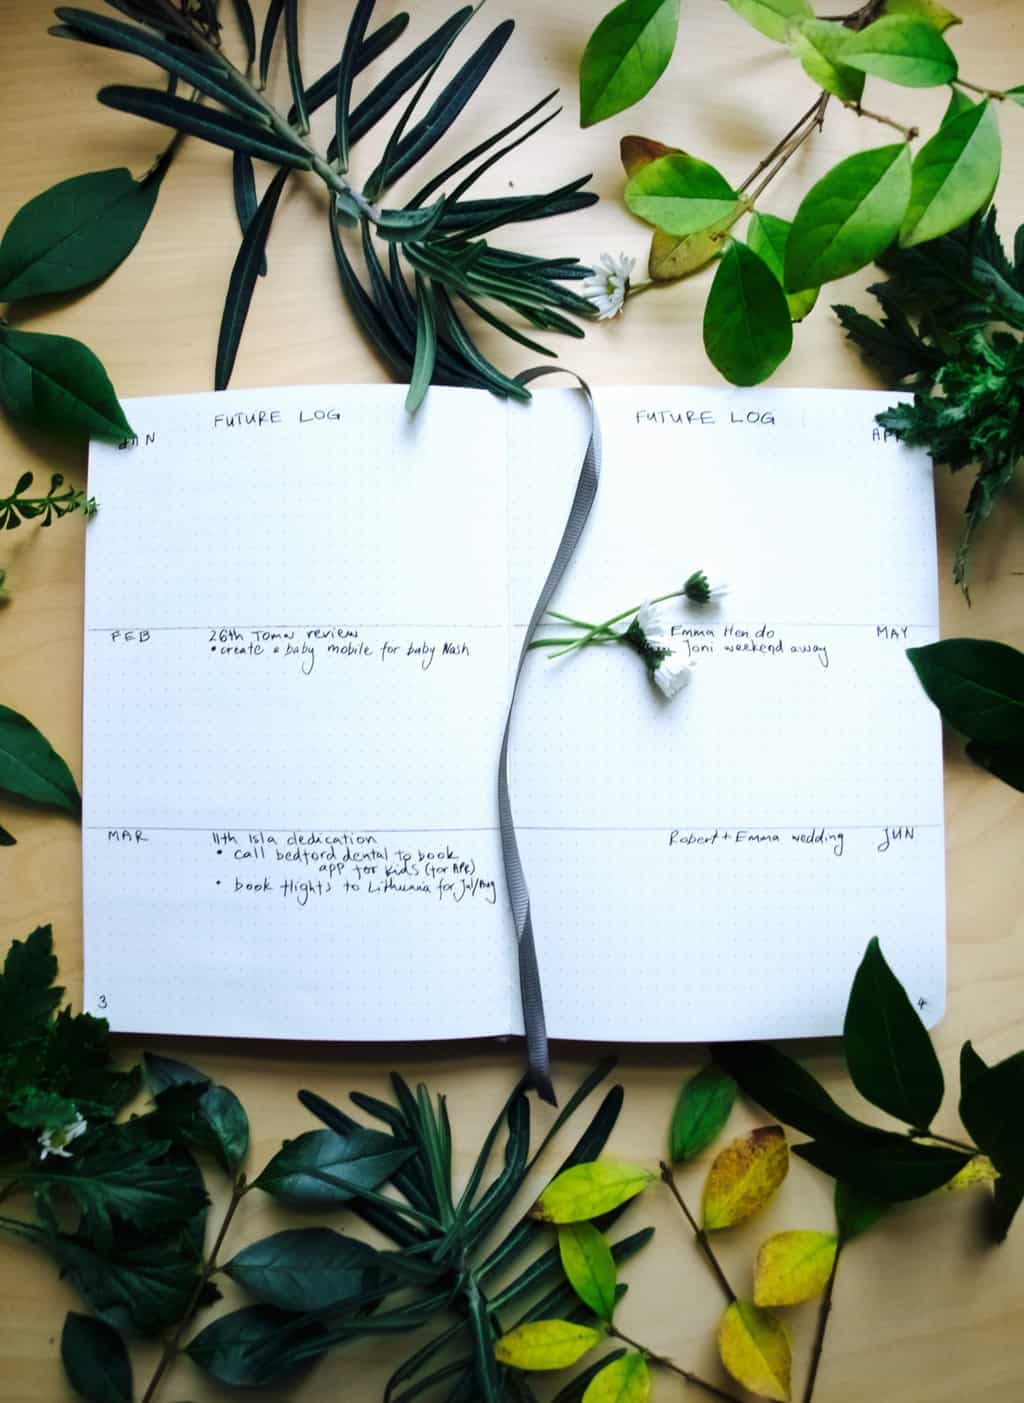
5.Create child friendly garden has been my dream for a while. I need to be confident that kids can play safety outside as well as growing a small patch of veg on the side. I am thinking to start in March once the preps for Tomas dedication/birthday party prep is over.How I started bullet journal So how did I got on with bullet journaling so far? I think quite ok, I understood the system after reading about it on few blogs, but the video that explain it best is on bullet journal website. There are few pros and cons that I can see so far. But what does’t have pros and cons? So far I love that this system requires you to (1) handwrite (kind of con as well), you got to have a love for stationary! I even bought myself a fountain pen that I get so much pleasure out. The bullet journal itself is (2) very easy to set up, all you need is index, future log and a monthly log. From that on you just can start scribbling simple notes that are either to-do lists or ideas. As long as all those notes are attached to the right symbol you are set to go. Besides, you can (3) customise it as much as you like! I started using my BUJO (short for bullet journal) for personal stuff such as tracking my weight loss and recording my body temperature for NFP. So these are my positives.

Things that I am still trying to work out is (1) how to organise events between our family planner and my personal journal. I end up writing the same event twice, to the journal and then to our planner, this is often confusing and sometimes I wish all those notes synchronised somehow! The other issue I have so far is that (2) the bullet journaling is not for perfectionist (at least at the beginning). I already made many mistakes that can’t be erased. I guess I just have to look at it as a journey on improving my hand writing.How I started bullet journalHope you started 2018 well!

Rasa xoxo

1

How John Smedley knitwear is made

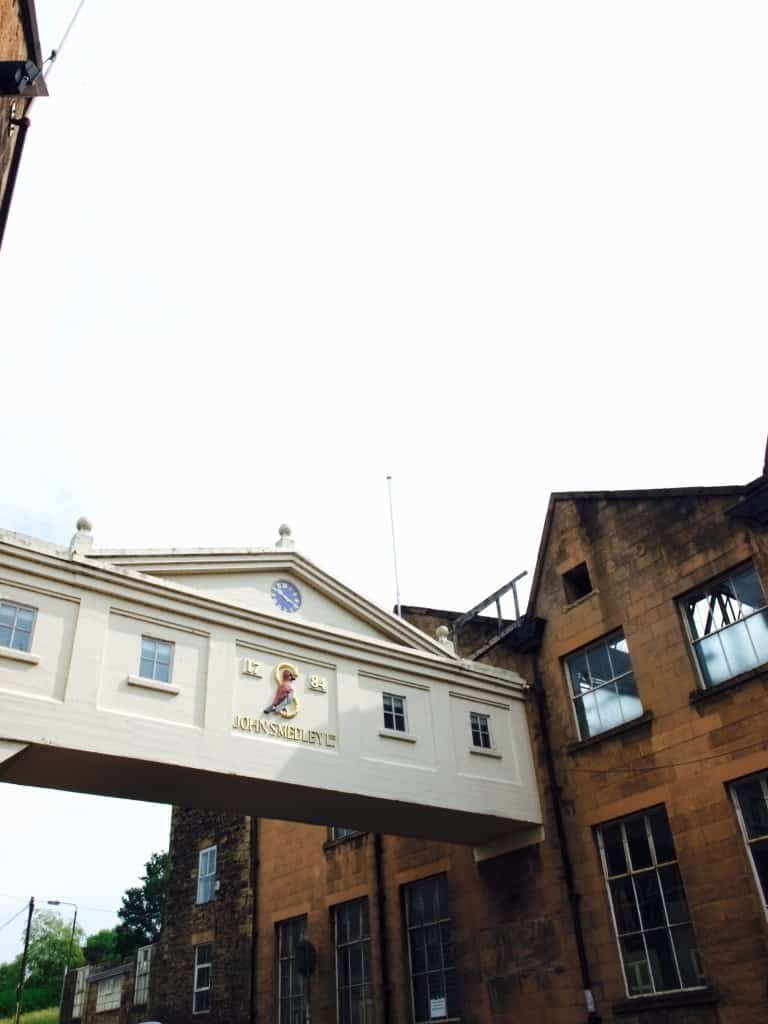
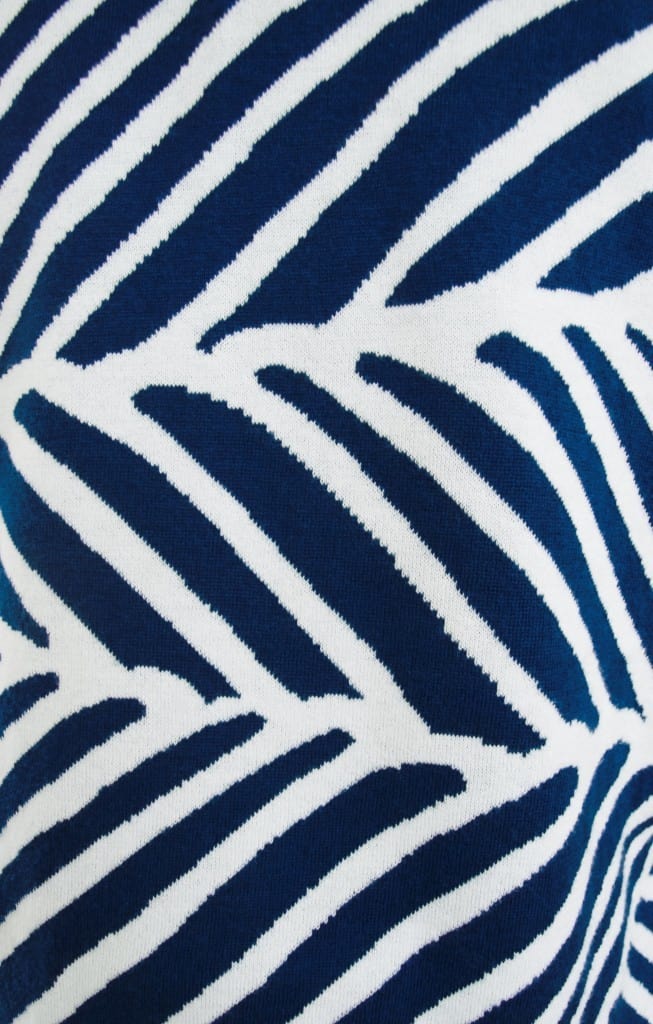
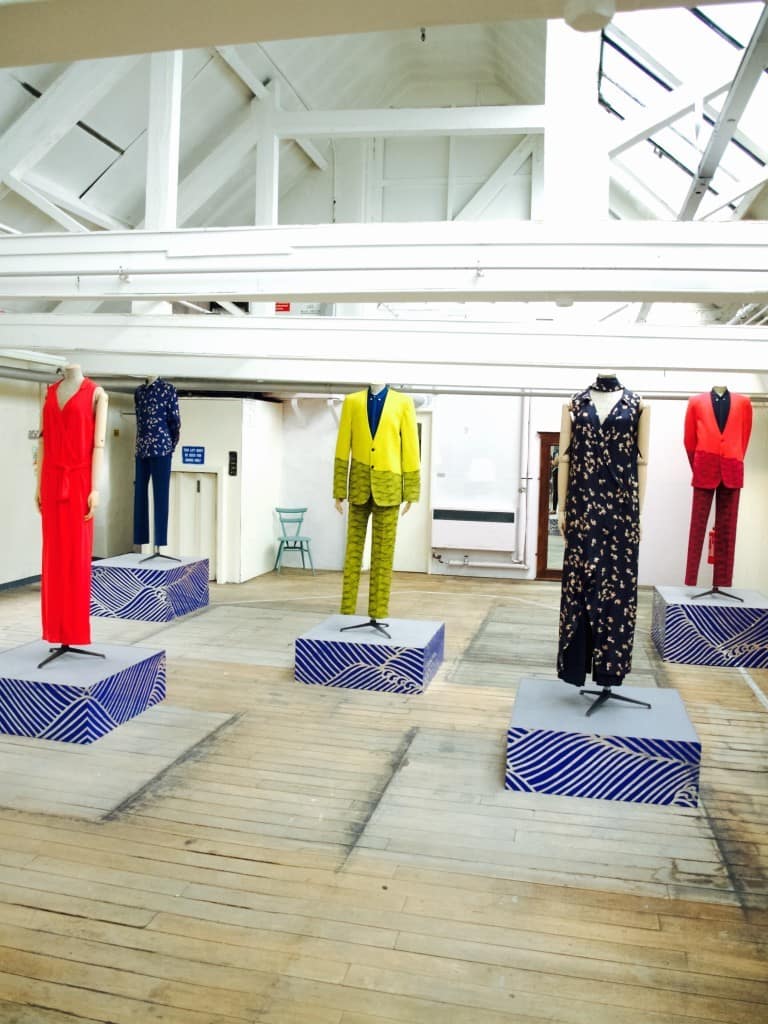
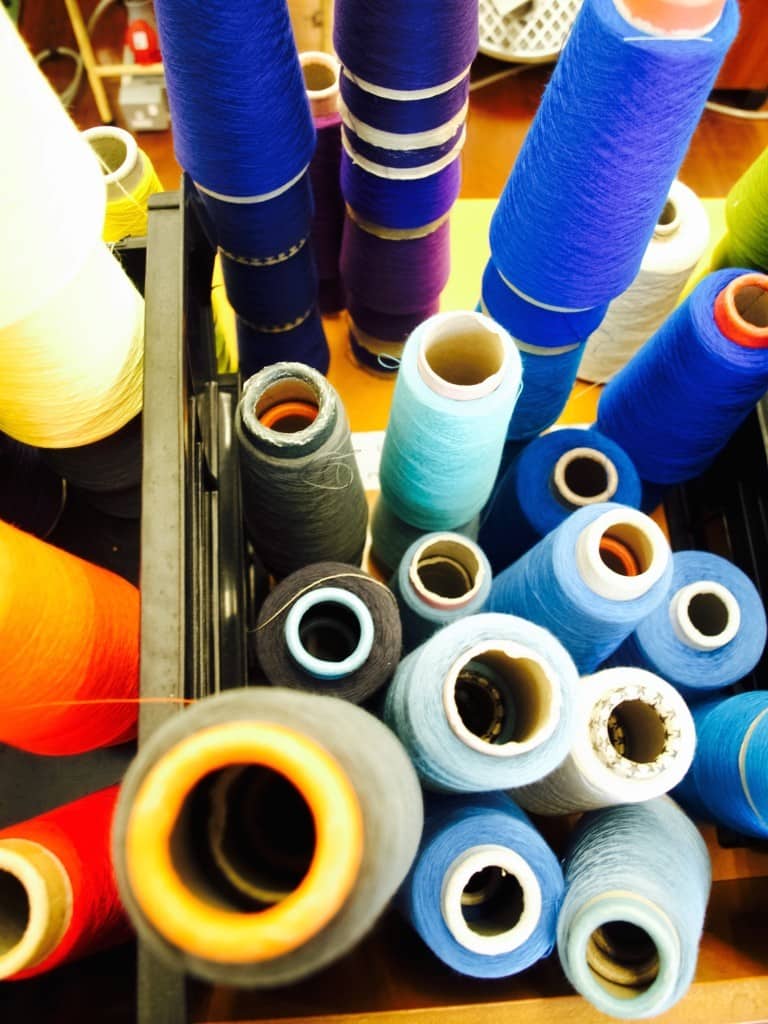
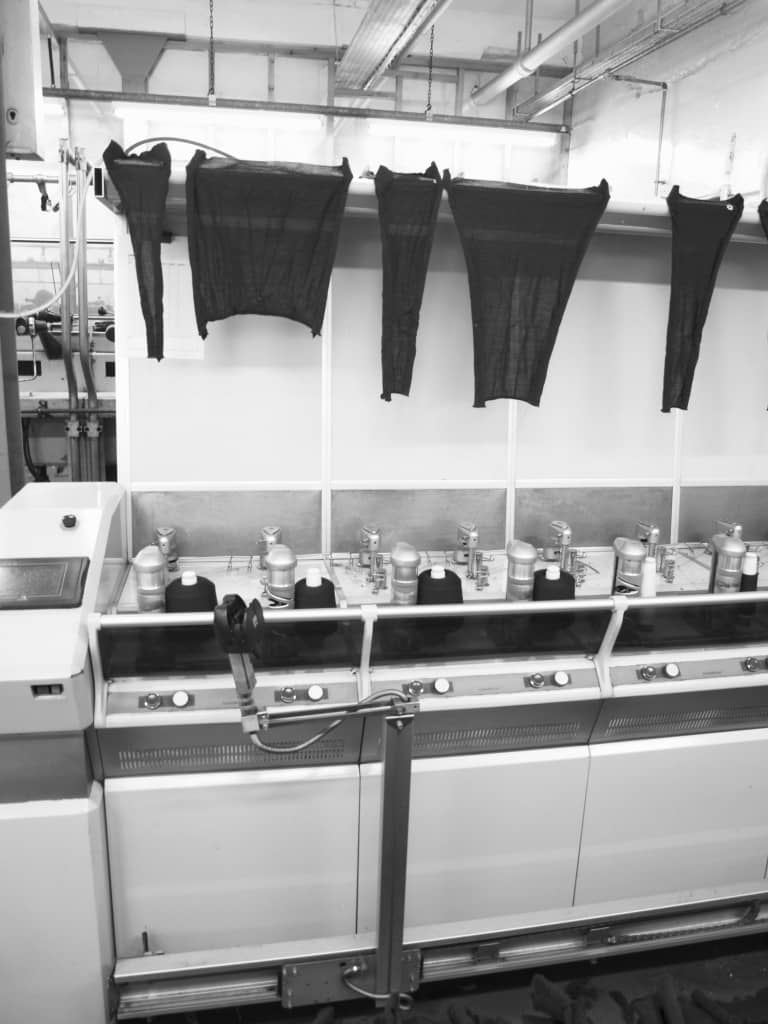
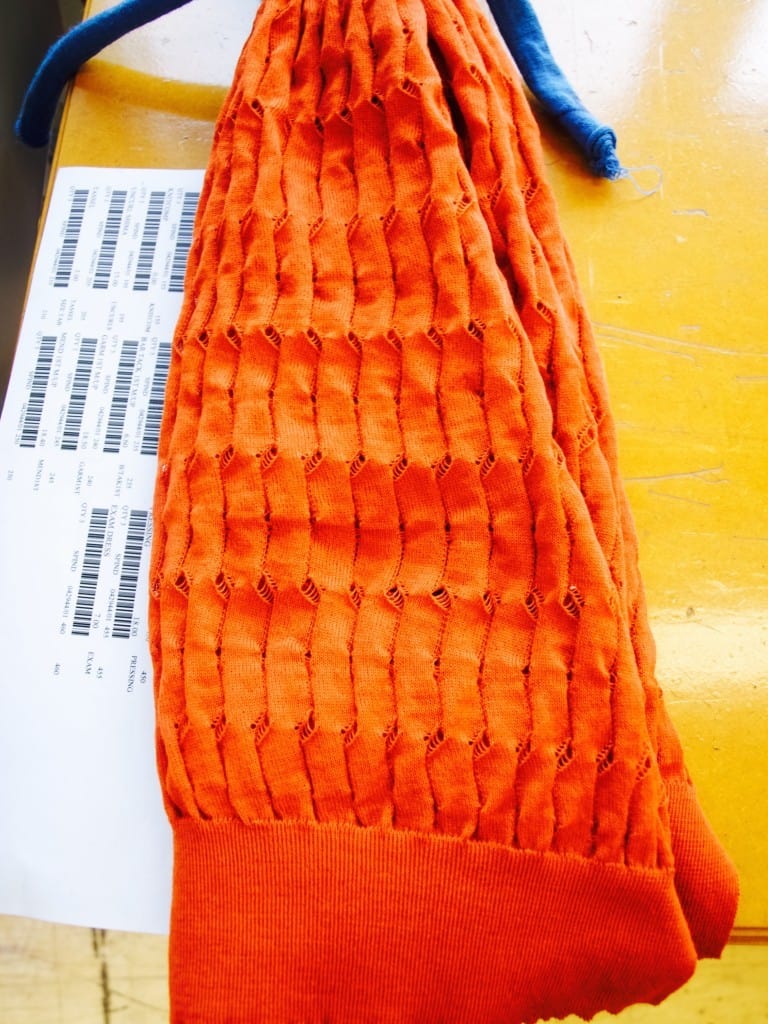
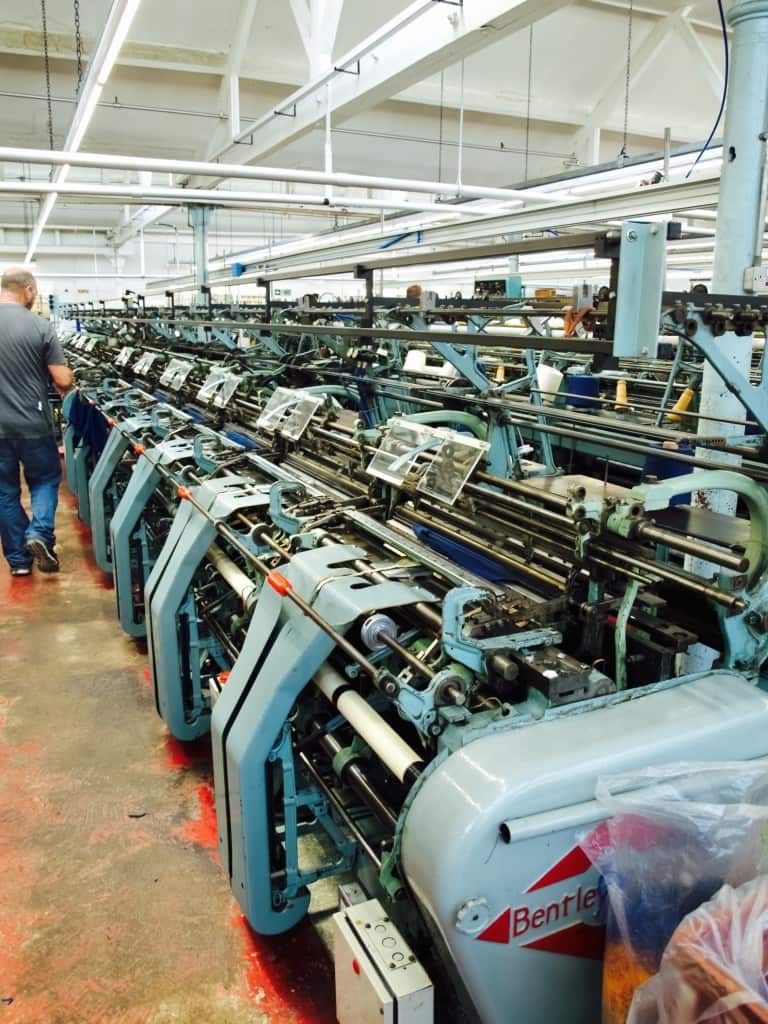
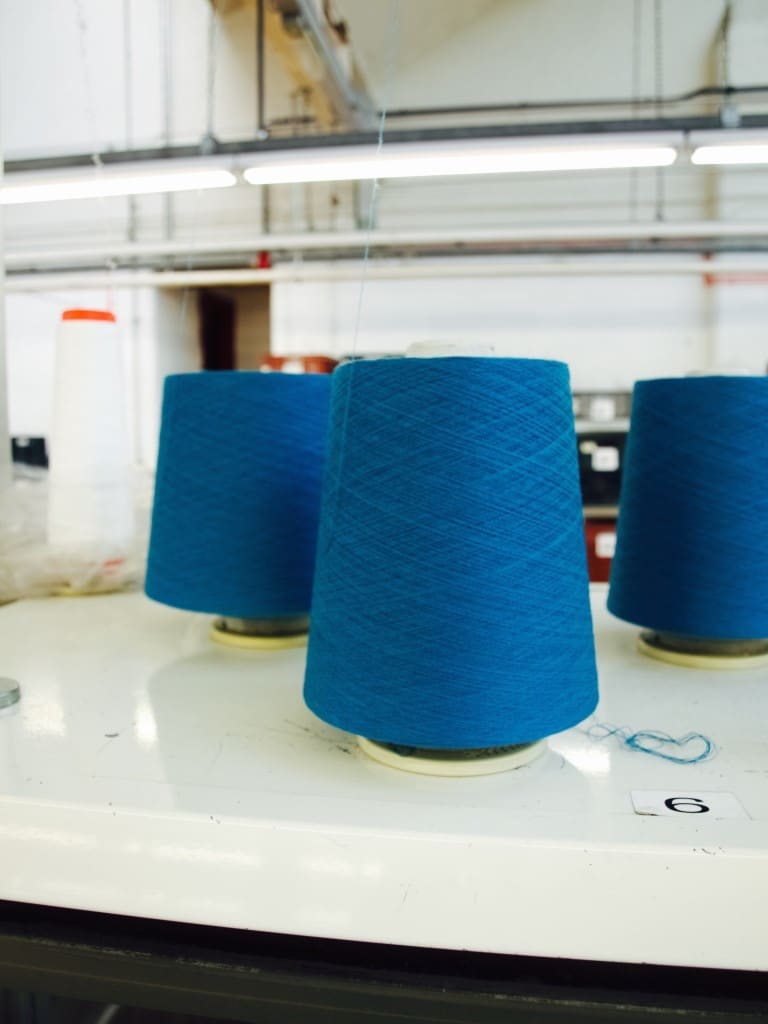
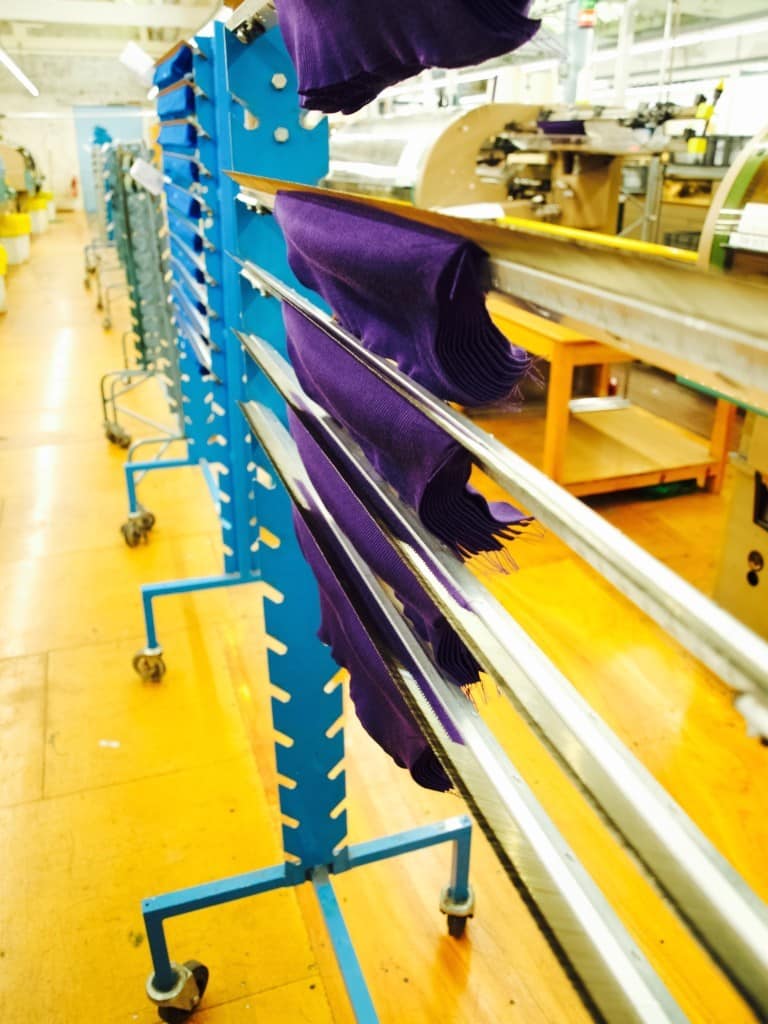
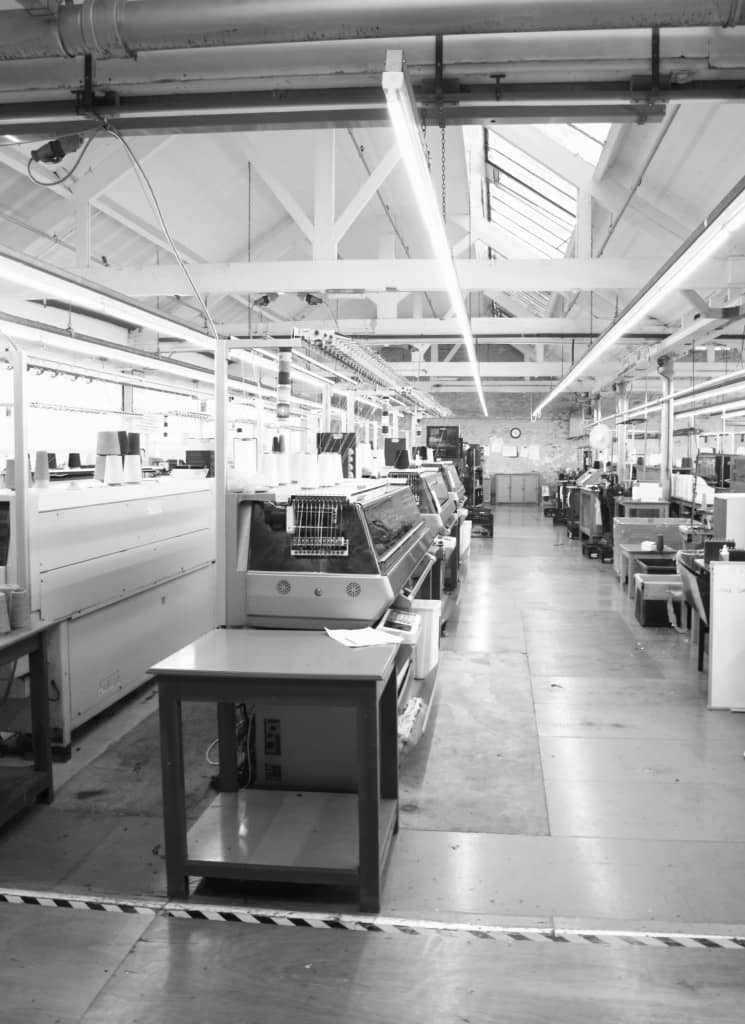
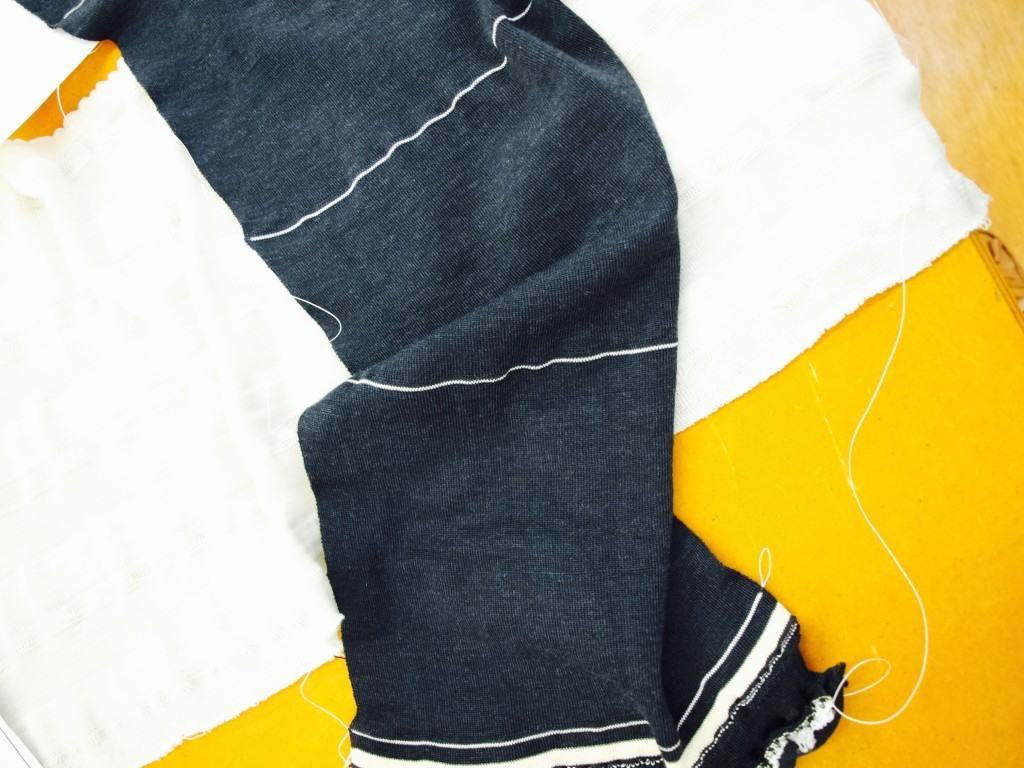
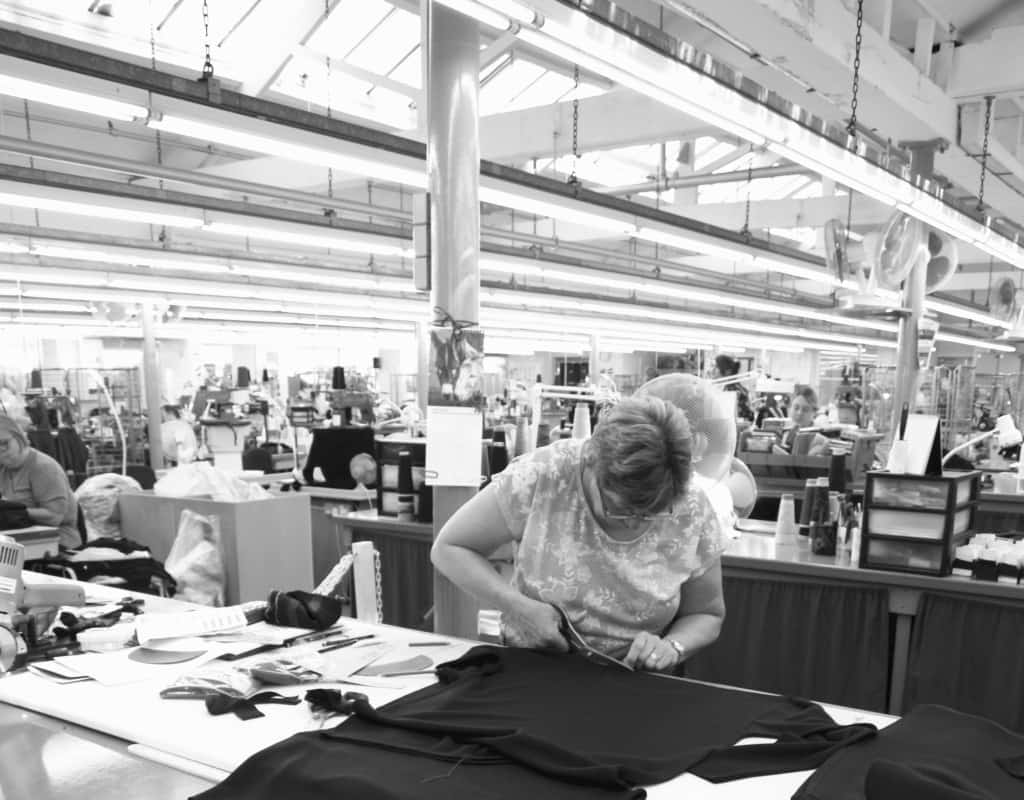
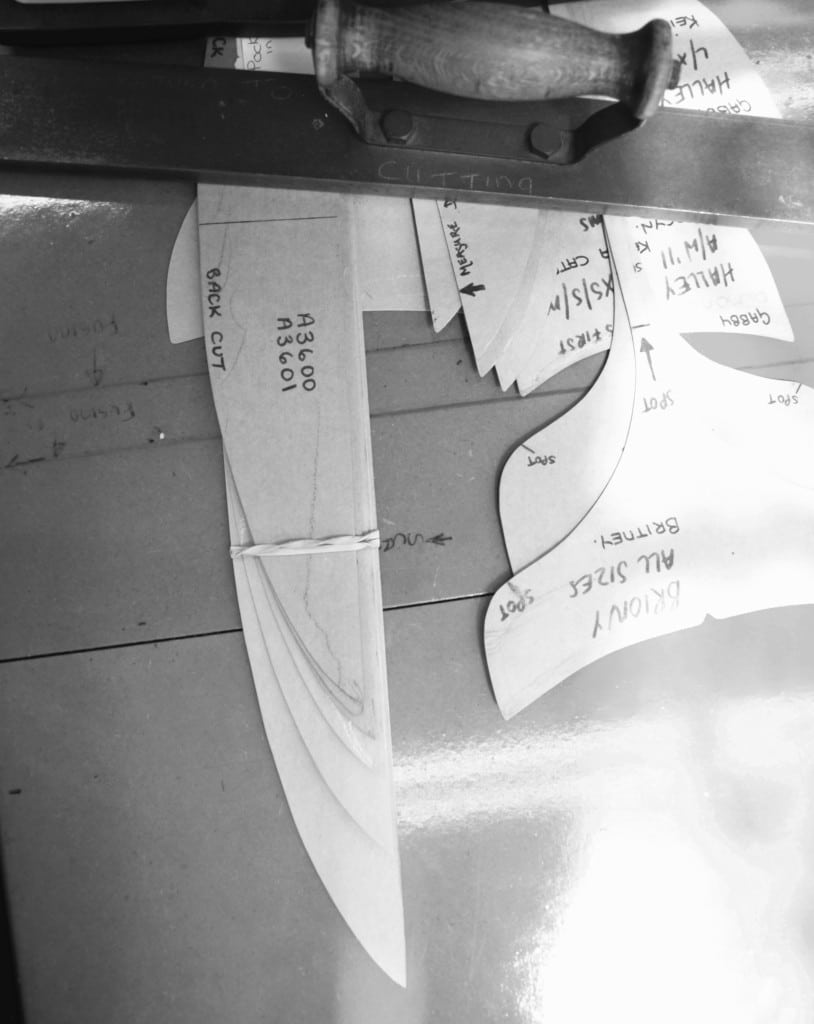
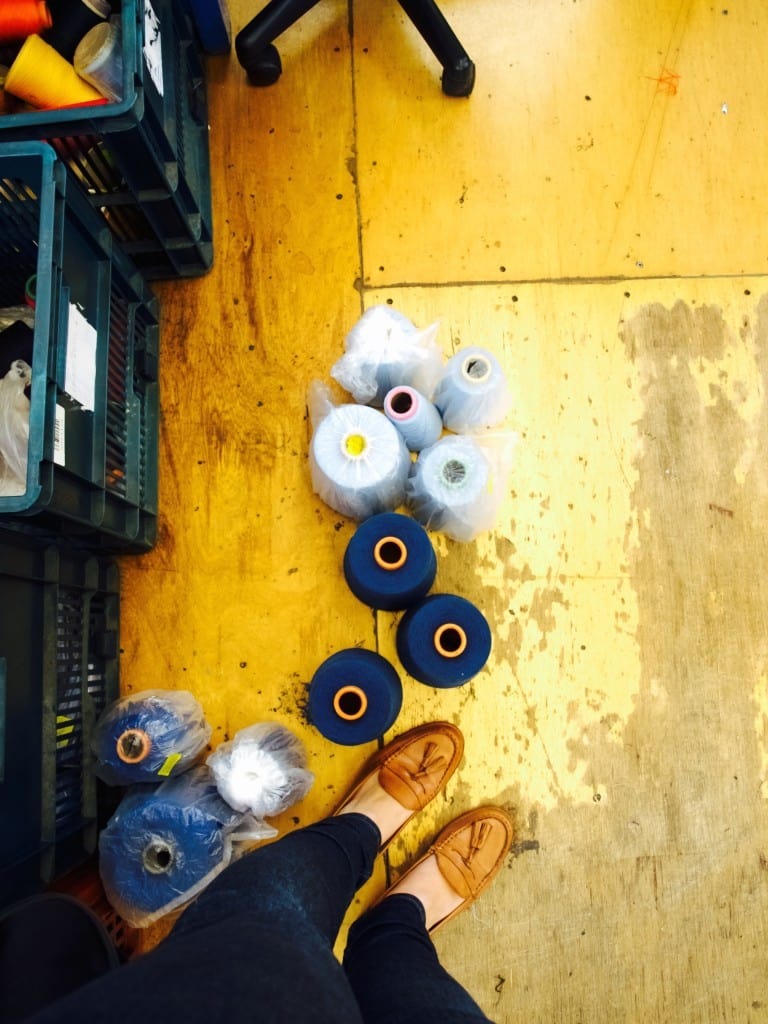
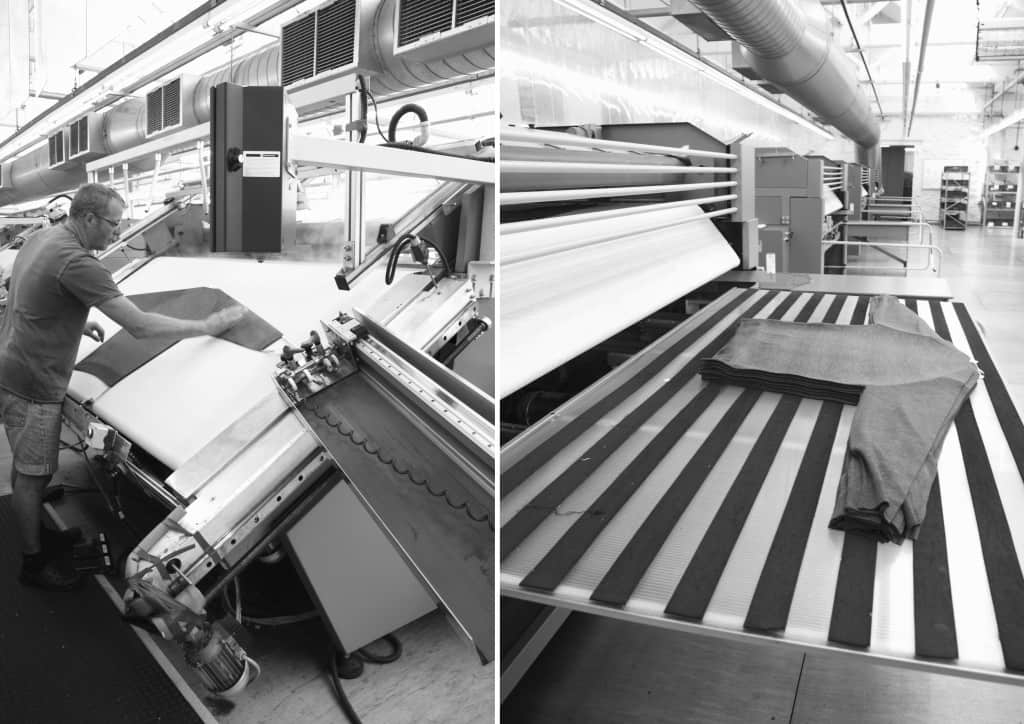
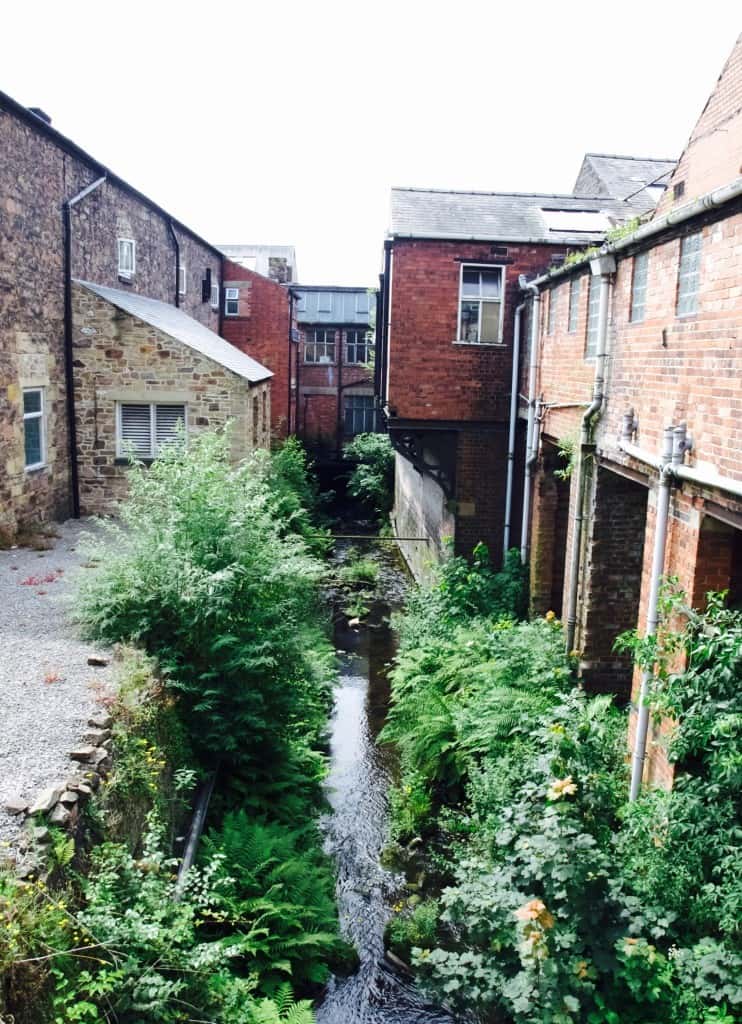
John Smedley factory tour A few weeks ago I was lucky enough to be able to look around the John Smedley knitwear factory. I left Lukas with Nanny and took Tomas with me on the tour all the way to the beautiful Peak District. It felt like my fashion years are back again!!John Smedley factory tour For those who don’t know John Smedley knitwear I really recommend to visit their website where you will find more detailed info (the whole history if you want). John Smedley is a family business that is owned by many generations of the same family. They still handcraft finish their garments and still maintain many traditional craftsmanship methods. So buying their knitwear is really worth the money if you want to add some staple jumpers and cardigans to your wardrobe as they are made to last ;-).John Smedley factory tour John Smedley factory tour John Smedley factory tour John Smedley factory tour John Smedley factory tour John Smedley knitwear starts with a good quality yarn, mostly made with sheep hair (or cotton for summer) which I was quite surprised by. My memories of sheep wool is not great and I remember it being rough and stingy on the skin. But wait, this yarn comes from special sheep that come from New Zealand (called merino sheep). Their hair is softer because of better weather conditions. John Smedley factory tour The yarn then gets washed and conditioned to achieve maximum softness.John Smedley factory tour As I was visiting John Smedley factory it was obvious that the quality is the top priority here. The knitting is checked and checked again at many different stages and gets rejected when it does not meet these high standards. But it does not go to waste. These clever machines unravel the knitwear so this beautiful yarn have another chance to become a piece of knitwear again. Pfew! Thats good to know ;-).John Smedley factory tour John Smedley factory tour I especially loved some of the older machinery that although it is vintage is still very well maintained and making quality garments(however these are a little louder than modern ones). John Smedley factory tour John Smedley factory tour Every piece of knitwear is kept on needles as you would expect (If you are knitter yourself you would understand what I mean here). There is special compartment for trims as you can see here that get later attached to the main body.John Smedley factory tour John Smedley factory tour John Smedley factory tour This is where the garment gets its handcraft finish. The neck hole is cut by hand and then a special machine knit stitches the body and the trim together.John Smedley factory tour John Smedley factory tour John Smedley factory tour Finally each garment gets a final steam press.Smedley garments are beeing pressedThe factory building has it’s old charms as well. The original water mill is still here, although it is no longer used to power the machinery it still makes a very pretty feature.  John Smedley factory tour John Smedley factory tourHope you found this post interesting as much as I did when visiting this fine knitwear factory ;-).

Rasa xoxo

0

My journey in chair upholstery

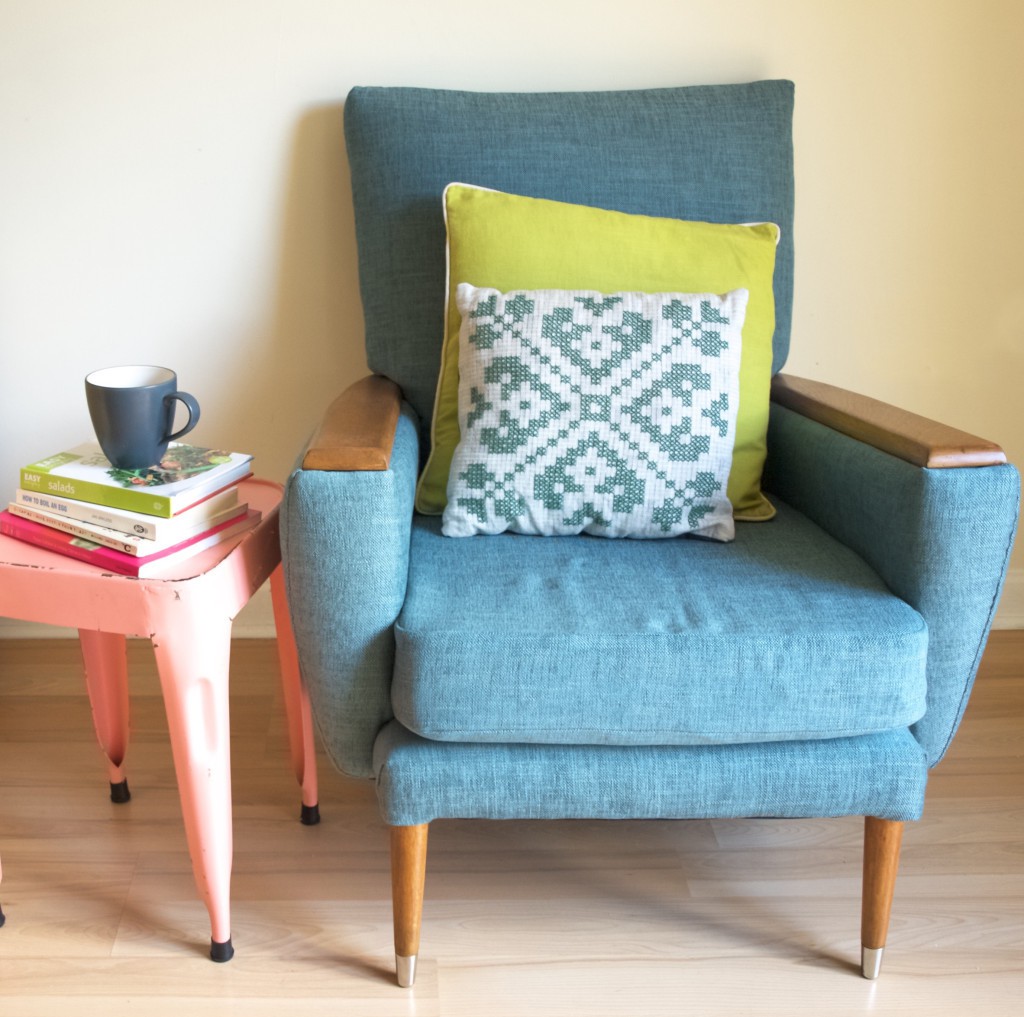
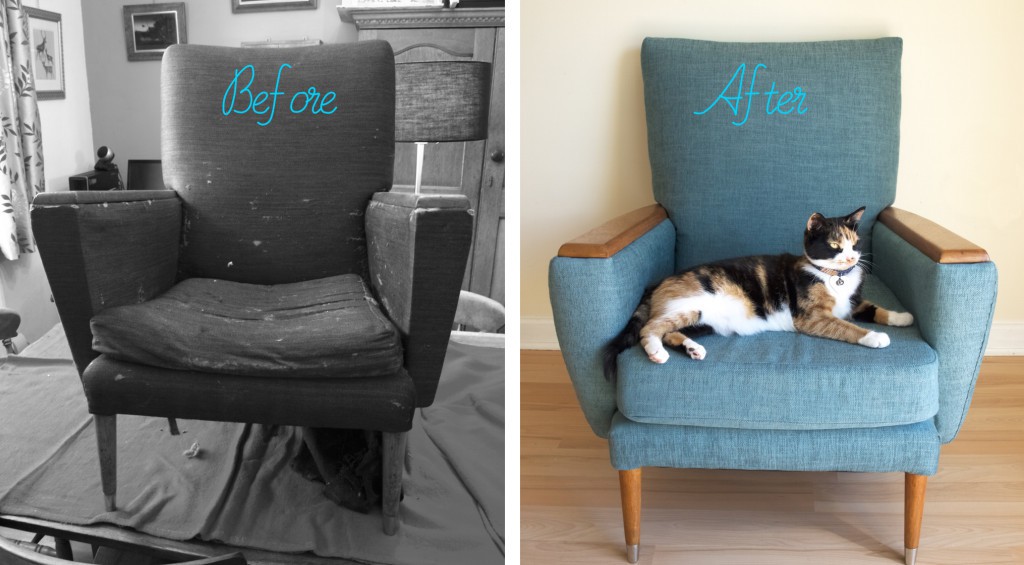
My journey in chair upholsteryToday I have decided to finally share my experiences in upholstery. I know this may not be the simplest project to start with, but I have learned so much from it! Of course I did not do this alone, my mum-in-law and her friend Mariane helped me a lot with their knowledge. Now looking back, I can’t believe it is still the same chair!

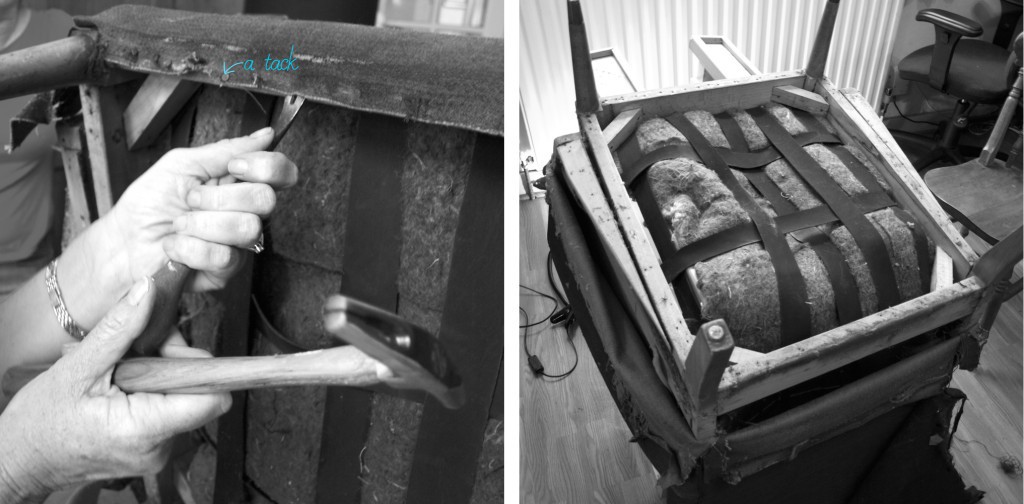
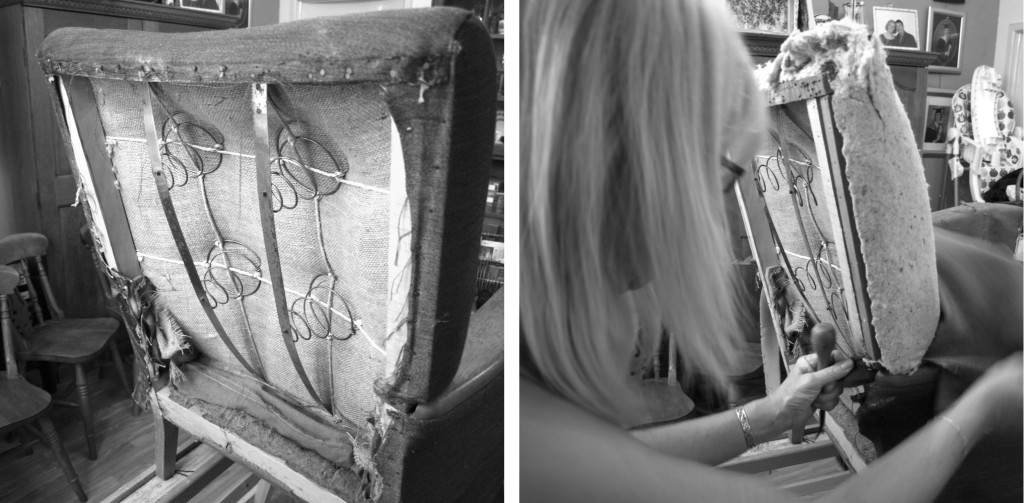
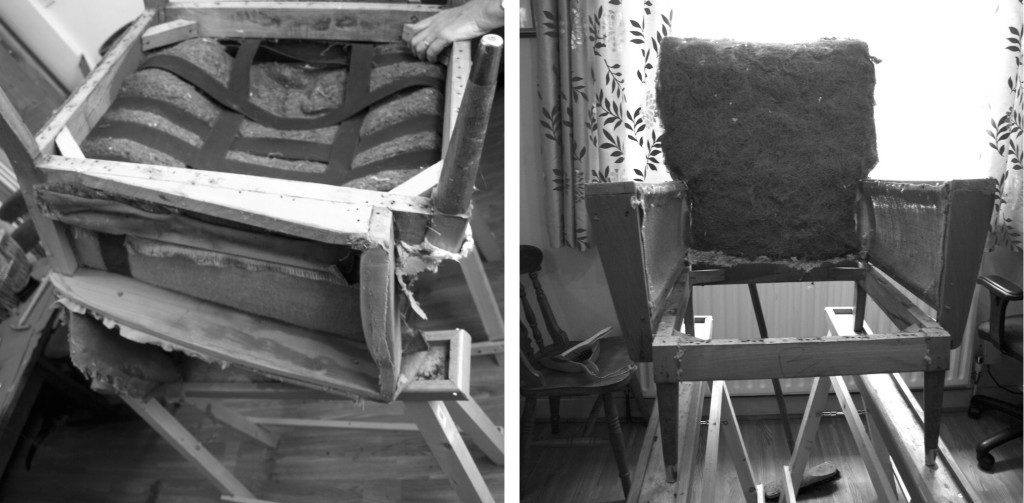
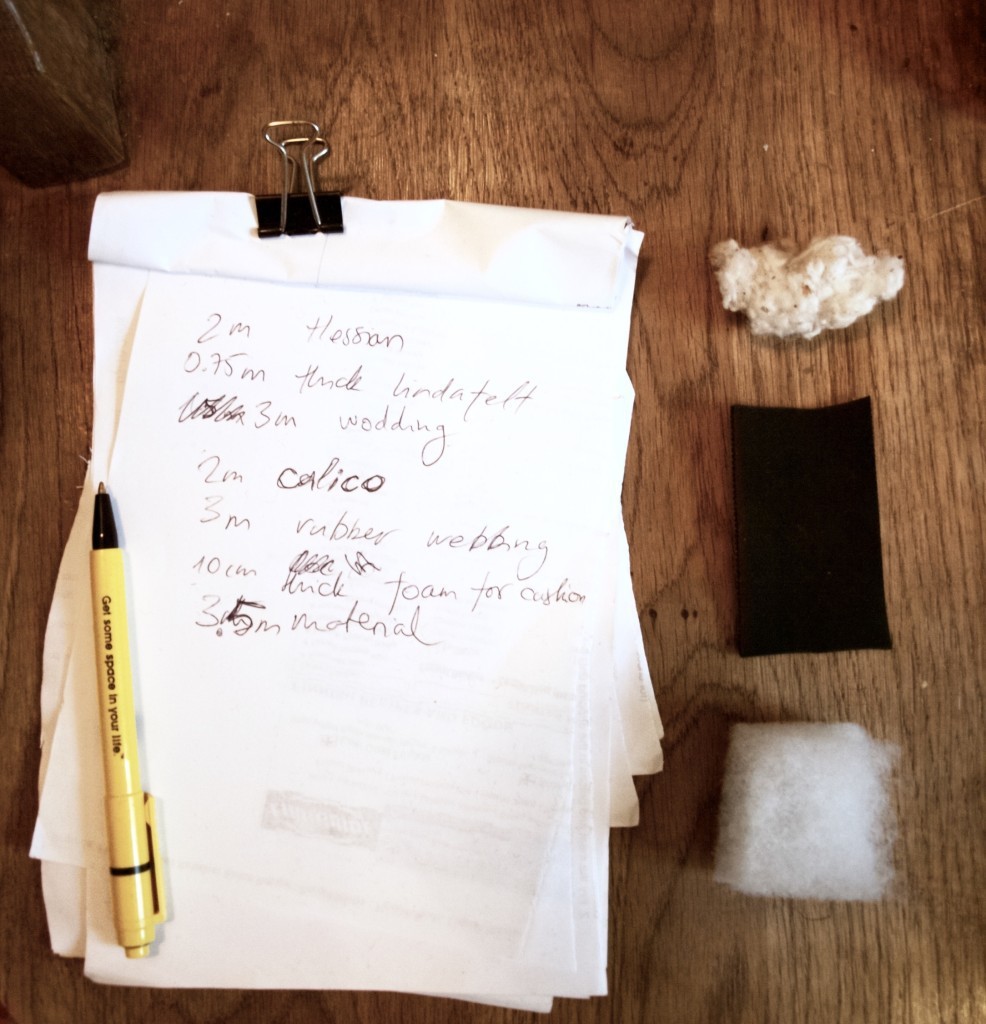
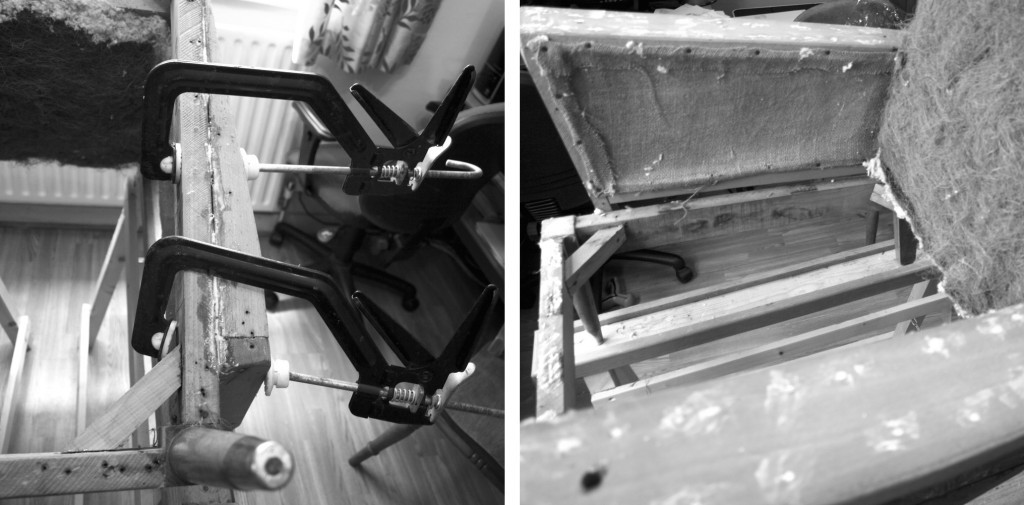
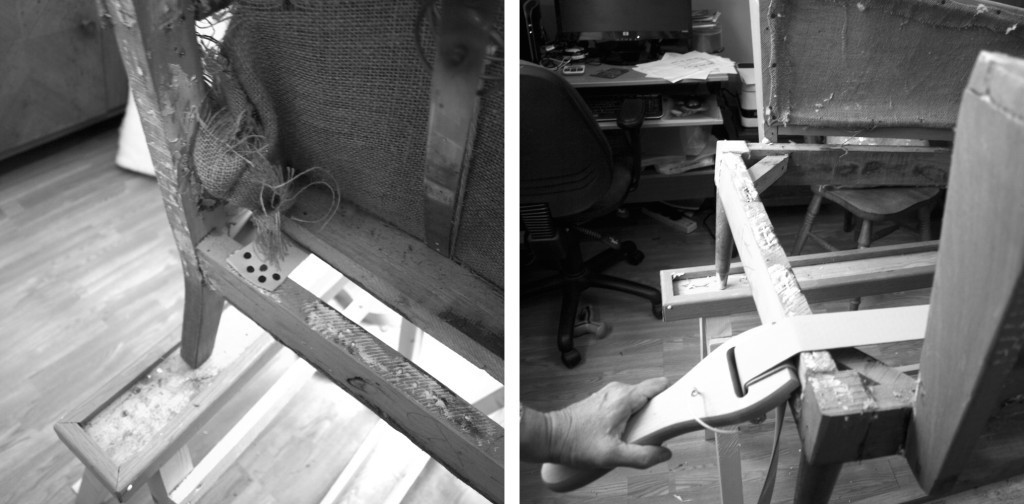
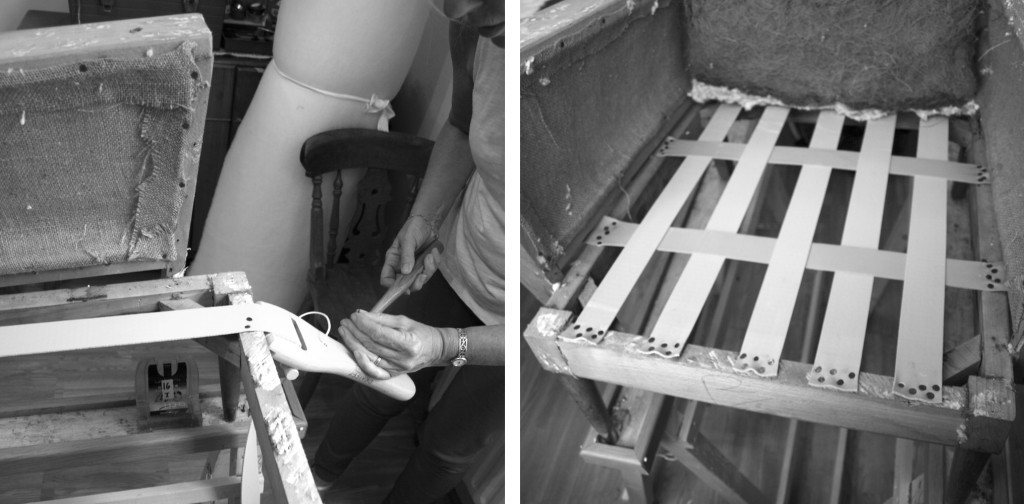
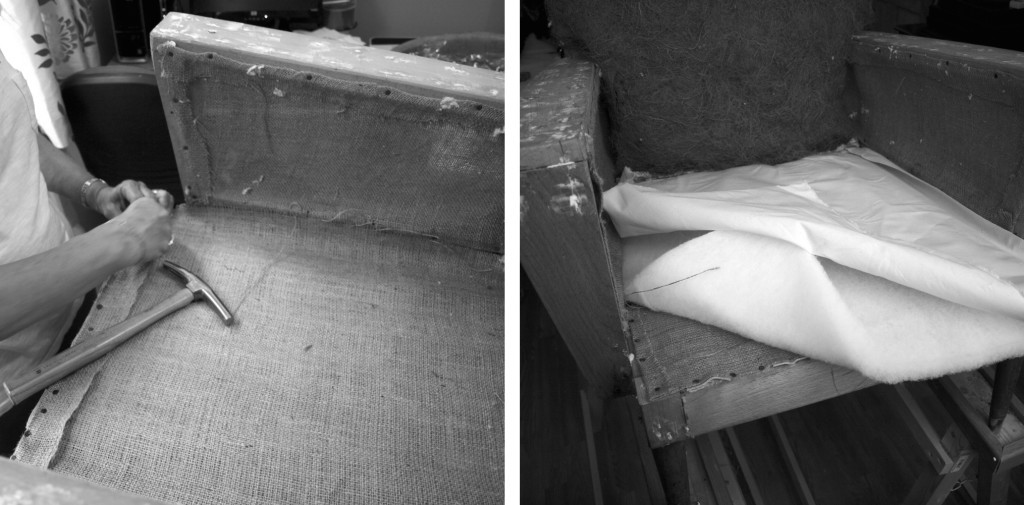
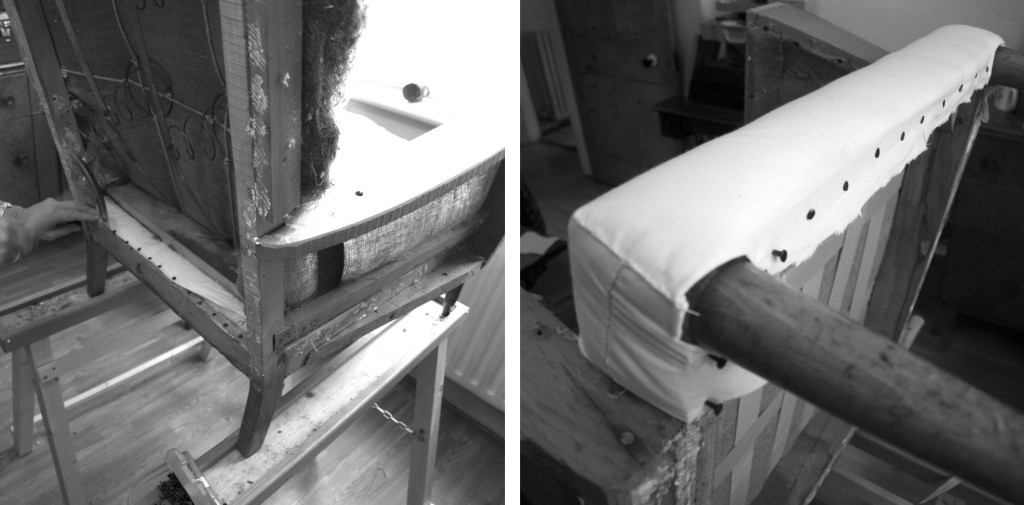
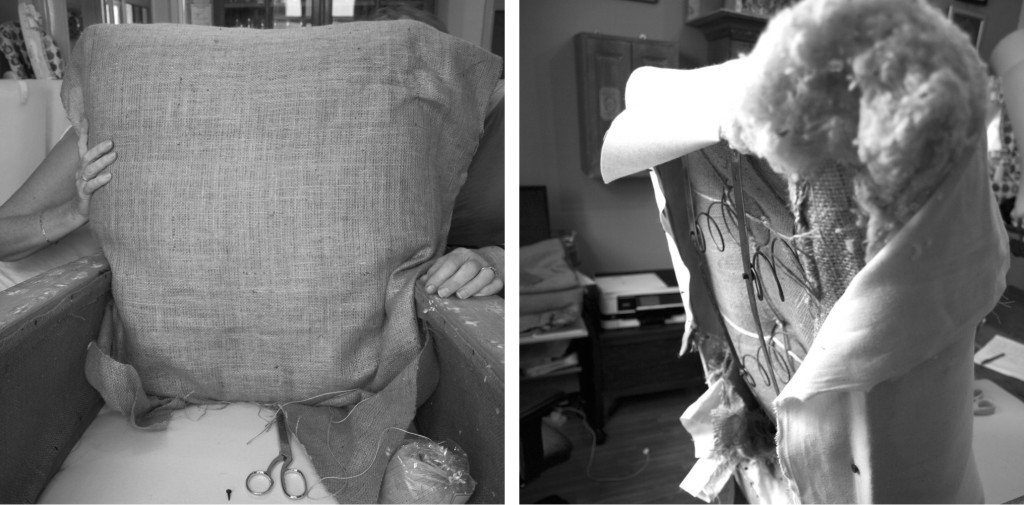
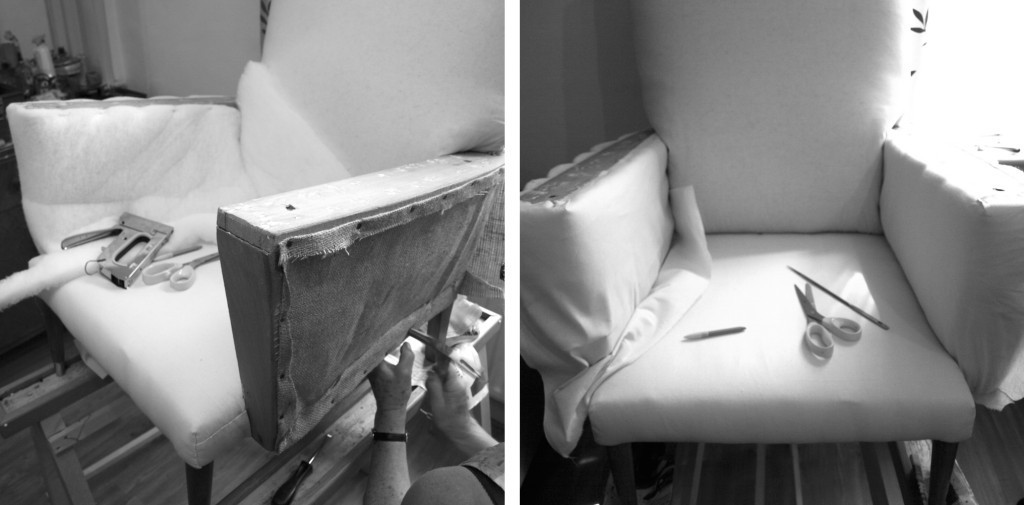
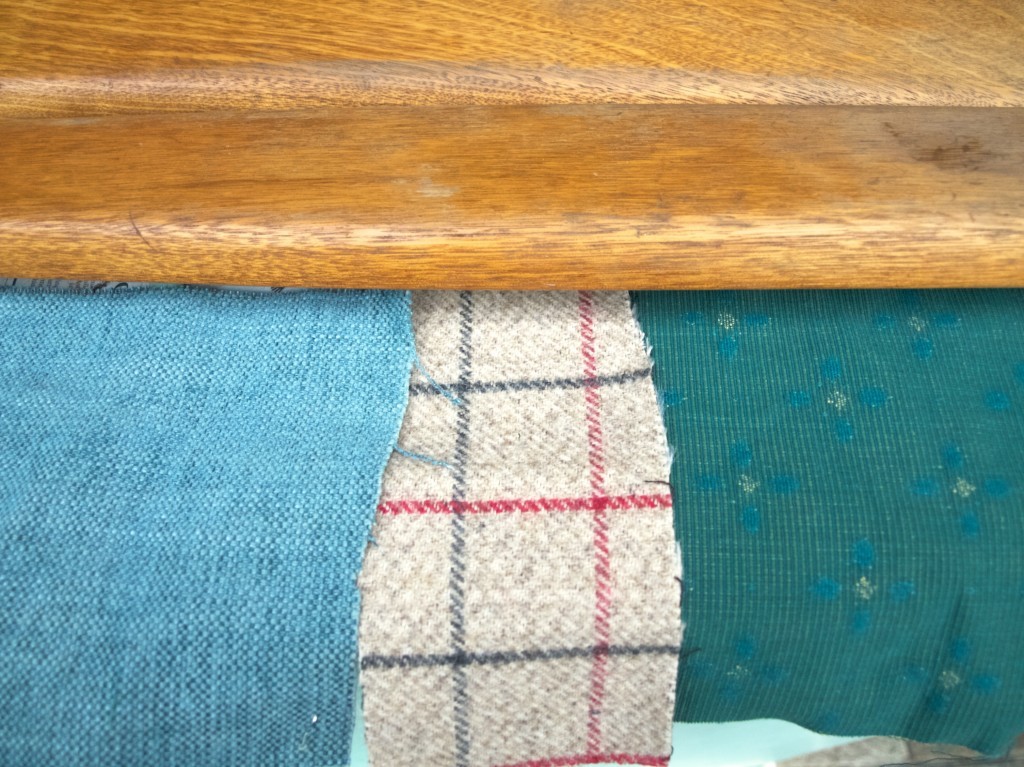
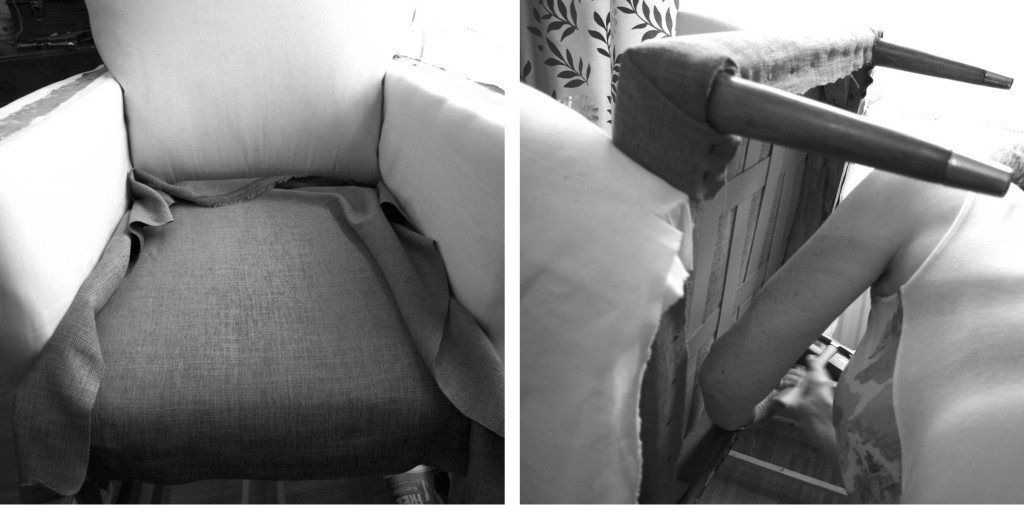
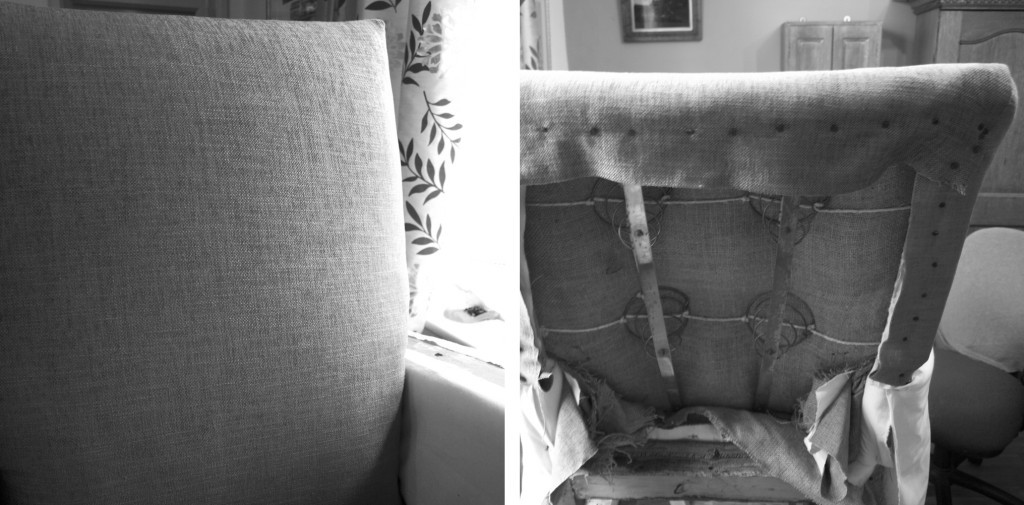
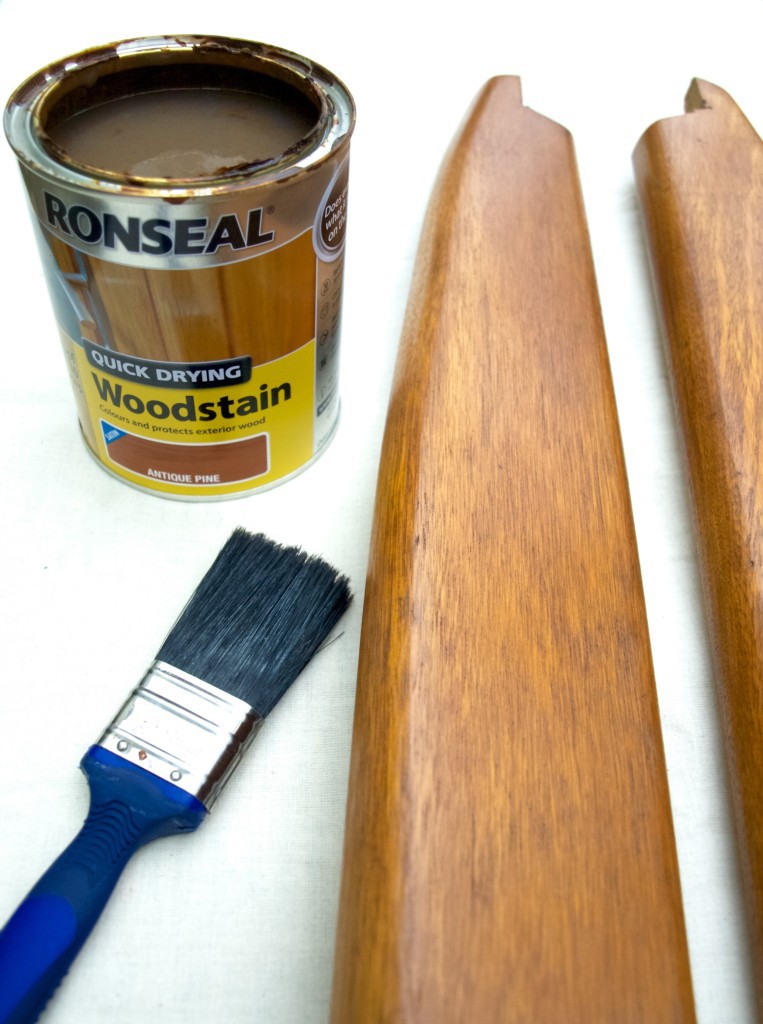
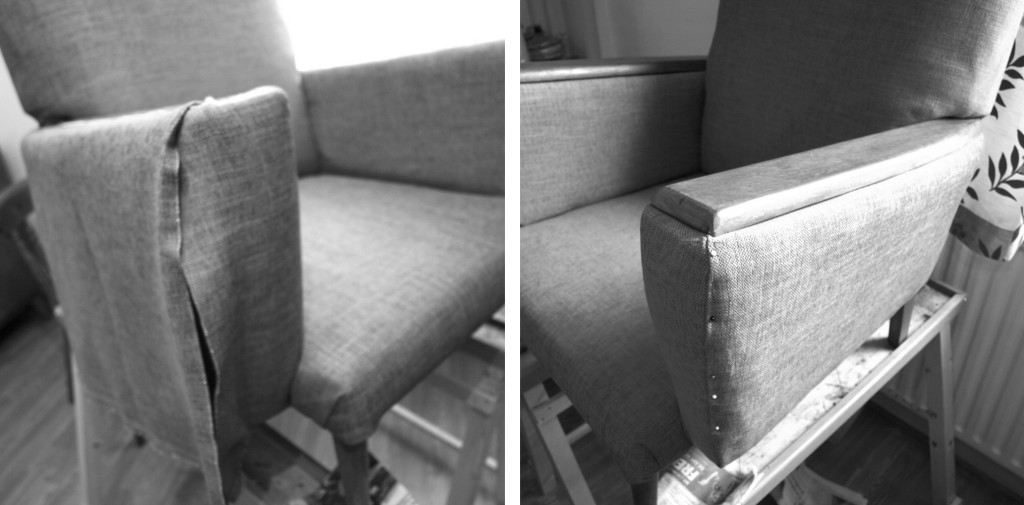
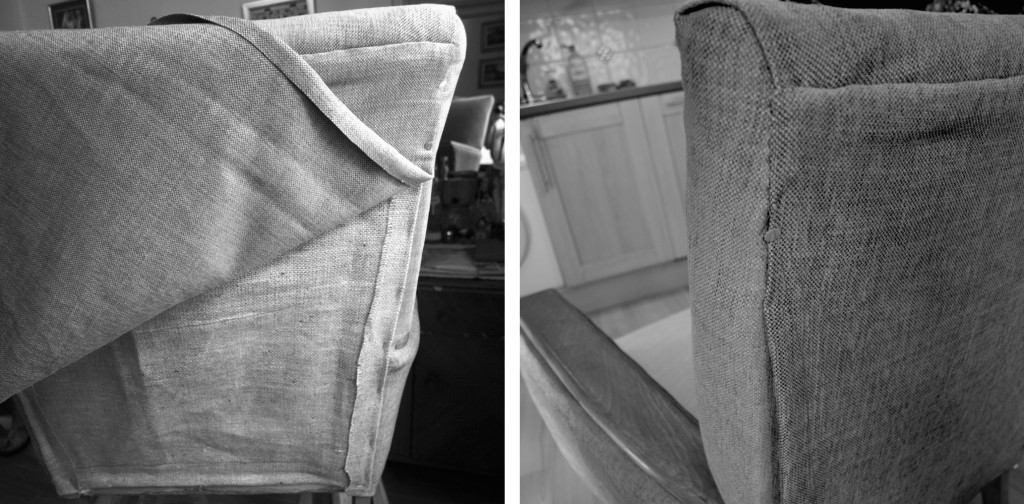
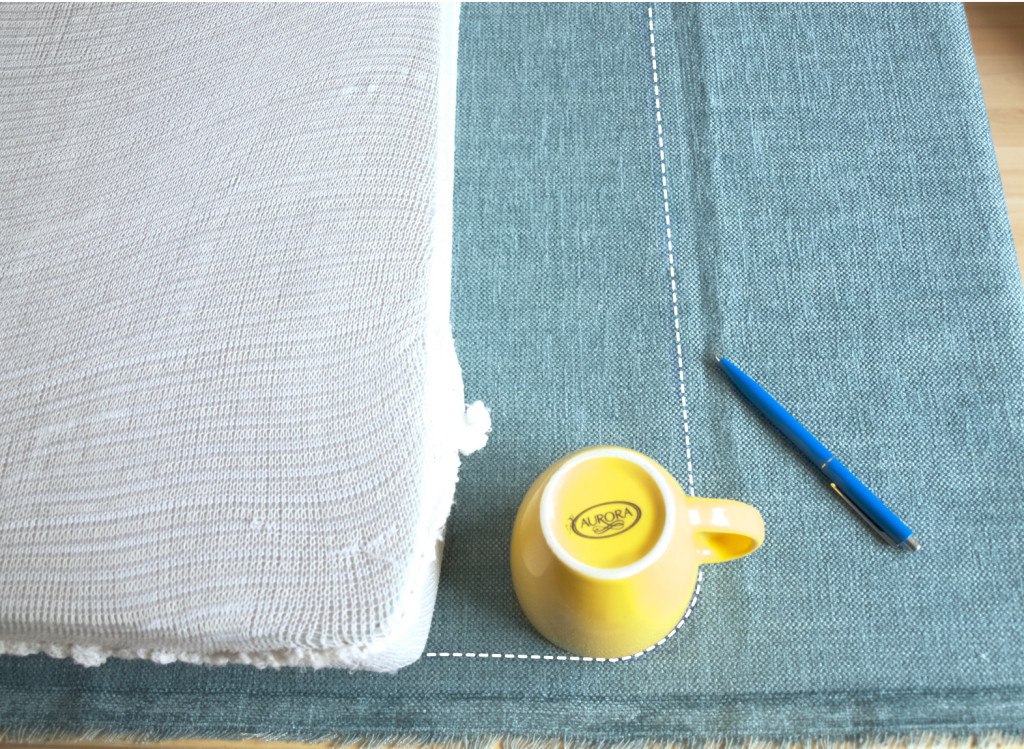
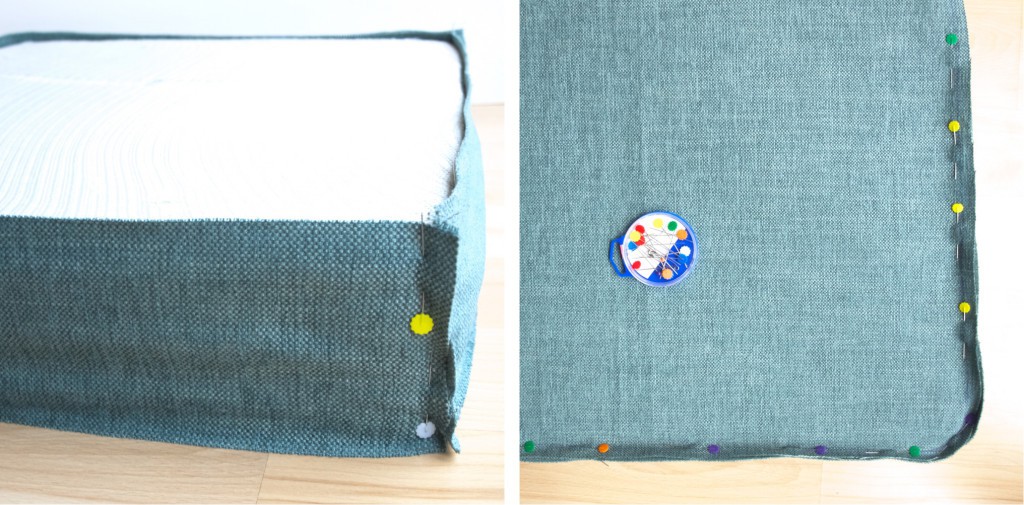
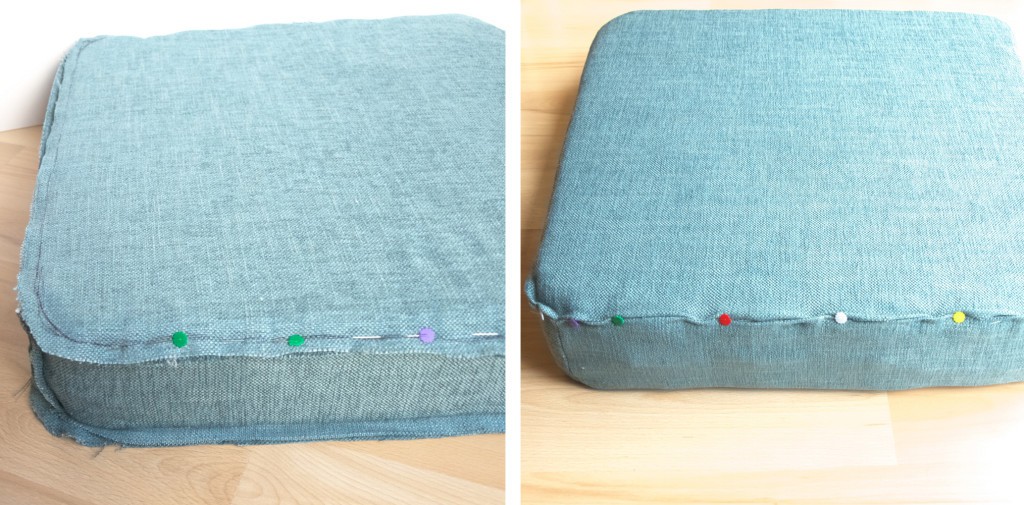
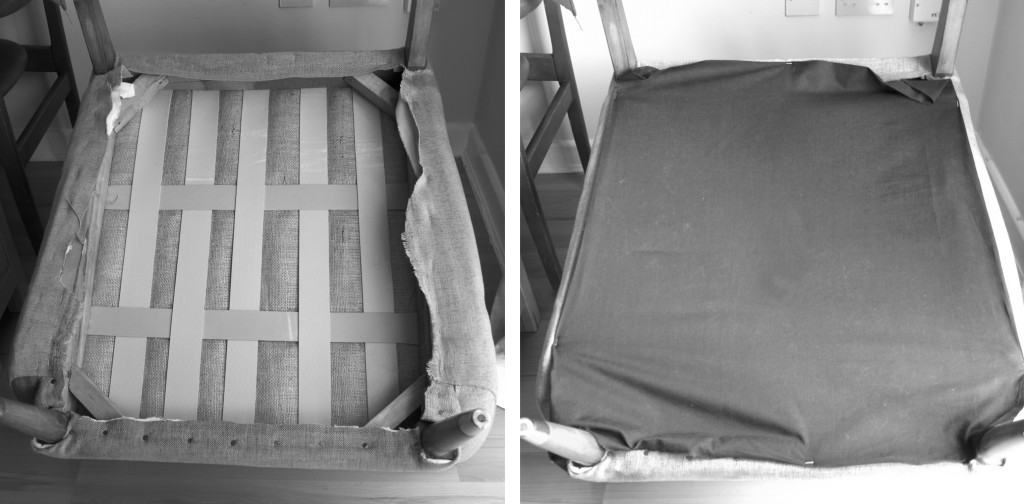
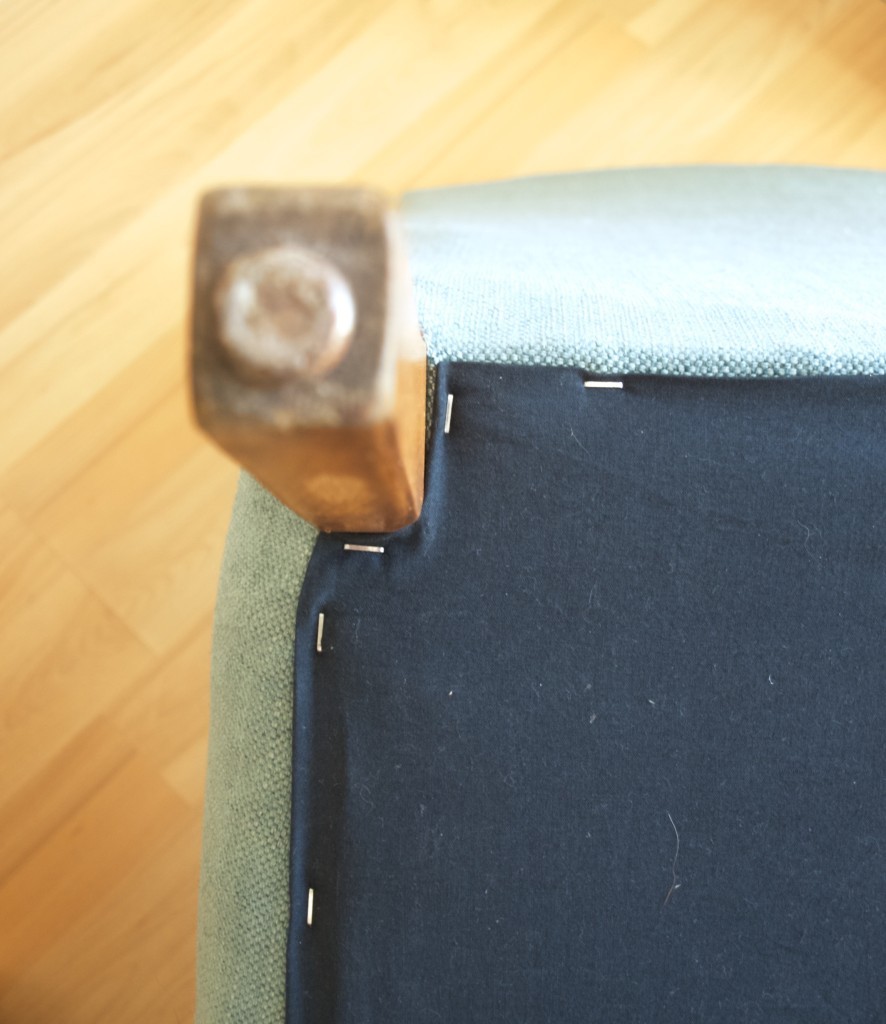
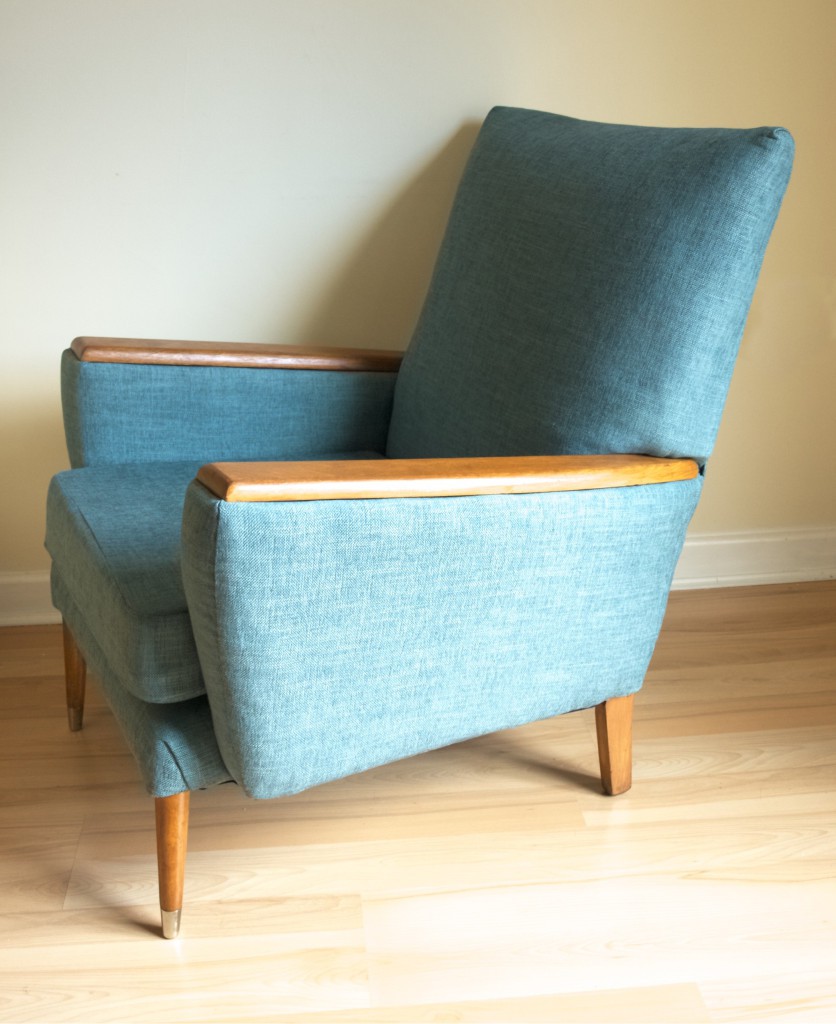
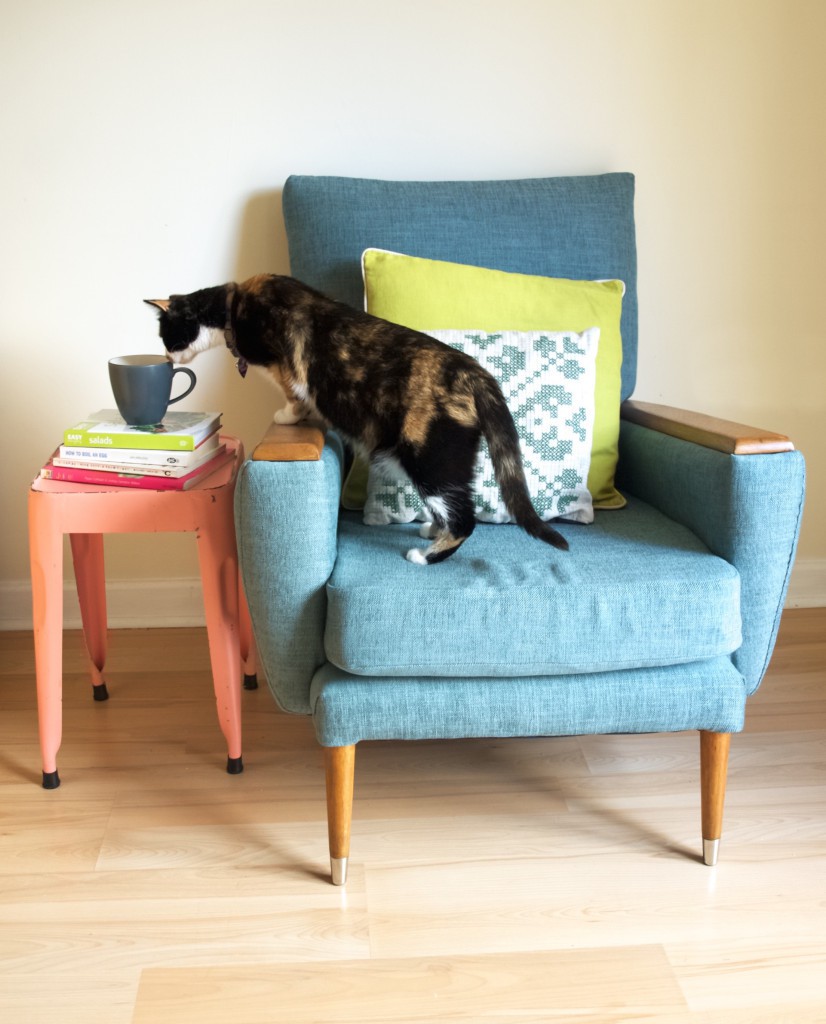
I got this chair from a cafe that once I helped out at, it was about to go to the dumpster. Luckily I saved it and now it gain it’s second life as a nursery chair :-).  before and after chair upholsterySo we started the chair refurbishment with removal of old material such as top fabric, felt, foam, hessian and lots of dust (yuck!). Everything was tacked with little nails called tacks. We did stripping in this order: first we removed the bottom covering fabric, then from there we removed tacks to strip the fabric all around. removing tacks in chair upholseryThen we removed back fabric where we could access even more tacks! This allowed to remove top fabric and felt from the front of the back. I was so pleased to find that original springs were in very good condition, so we left them as they were.removing old upholsery from the back of the chairFinally we stripped the chair arms and removed the rubber webbing that stretched out over the years. Other than original back springs we left hair material on the back and hessian on the inner arms.  We removed top wooden arms to be sanded, re-stained and re-applied back once the arms are covered with the new top fabric.Complete old upholsery removalAfter the chair is stripped, I was told it is good idea to go shopping (Yey!). We made the list according to what we stripped and what needed to be added so the chair ends up all nicely padded. At the end of the project we realised that we bought too little of rubber webbing, but way too much of wadding. My shopping list for chair upholsteryWhile we did our shopping Joni’s dad fixed the chair frame. Some parts were loose and the little holes that were made by old tacks needed to be filled. Fixing chair frameFirst thing we did after shopping is stretched out the webbing onto the seat of the chair. We tacked one end of the webbing on the back of the seat and then stretched it over to the other side with this very cool tool just made for that kind of job.  Applying rubber webbing on the chairWe repeated the same technique to apply webbing from left side to the right side.Applying webbing on the chairWe started the chair upholstery with the seat. We applied hessian and calico with wadding layer in between. Applying hessian, wodding and calico on the chair seatSecured everything with the tacks….Tacking a calico layer onto the chair seatThen moved onto the front back and repeated practically the same. Except this time we used upholstery felt for extra cushioning.Applying hessian, wool felt and calicoAnd same with the arms as with the seat.Applying hessan wodding and calico onto chair armsFinally the day have came when we could apply top fabric! To choose top fabric was a hardest bit for me. Eventually I narrowed down to three pictured bellow. The blue one seemed like the most obvious choice as the check fabric is difficult to work with and the dark green fabric reminded me of those tacky furnitures at the skiing resort (you know, those green carpets matched with pine wood?). Anyway, I am really happy with my final choice as this fabric not only turned out to be versatile, but also really forgiving and easy to work with!OLYMPUS DIGITAL CAMERAApplying top fabric is almost like applying calico. With calico, I felt like practicing to upholster, therefore when it came to applying the real thing, I wasn’t that nervous!Upholstering with the top fabricUpholstering the front back of the chairWhilst doing upholstery Joni’s mum made sure that all dents from the arms went away. She used ironing technique, where she applied wet cloth and ironed it on the wood. Eventually Joni’s dad sanded it down to perfection as well as chair legs. I used antique pine stain that really suits overall chair style I was aiming for. OLYMPUS DIGITAL CAMERAUpholstering the chair arms witht the top fabricAfter we finished upholstering the chair I closed the back with the hessian (for support) and top fabric. I used invisible stitch to sew the sides (I did the same to join inner and outer arm top fabric pieces). Upholstering the back of the chairWe got the cushion foam specially cut for the size, slightly thicker than original cushion because I wanted to sit slightly higher when nursing. It came covered in stockinet that helps to insert into the cushion case and also protects it from wear. To begin with I have traced the foam shape onto the fabric as tightly as I could and then rounded the edges for extra fit. I cut two pieces out with 1cm seam allowance. pattern tracing for custom cushionThe foam measured 10cm thick, therefore I cut out long 12cm wide strip (1cm seam allowance on each side). I wrapped the strip tightly around the foam and stitched it according to the fitting. I applied one piece I cut out earlier on to of the cushion and pinned it down onto the strip. I stitched it according to where I placed the pins. pattern cutting for custom box cushionNext I turned the cushion up side down and repeated the same with the second piece as I did with the first piece. This time I left a gap so I would be able to turn the cushion cover inside out. Once the cover is finished I re-inserted the cushion and by using invisible stitch I closed the gap completely. Custom shape pattern for box cushionMy final step was to close the bottom of the chair. I used a very basic black fabric for that. I measured roughly the size and cut out the square according to that measurement. Then I stretched the fabric onto the bottom making sure the edges of the fabric are folded in.Closing the bottom of the chairI secured the fabric by neatly stapling all over the edges.OLYMPUS DIGITAL CAMERAThe end!My journey in chair upholsteryLeia is loving new chair!My journey in chair upholsteryI hope you found this inspiring!

Rasa xoxo

0

How to transfer laser printer image onto almost anything

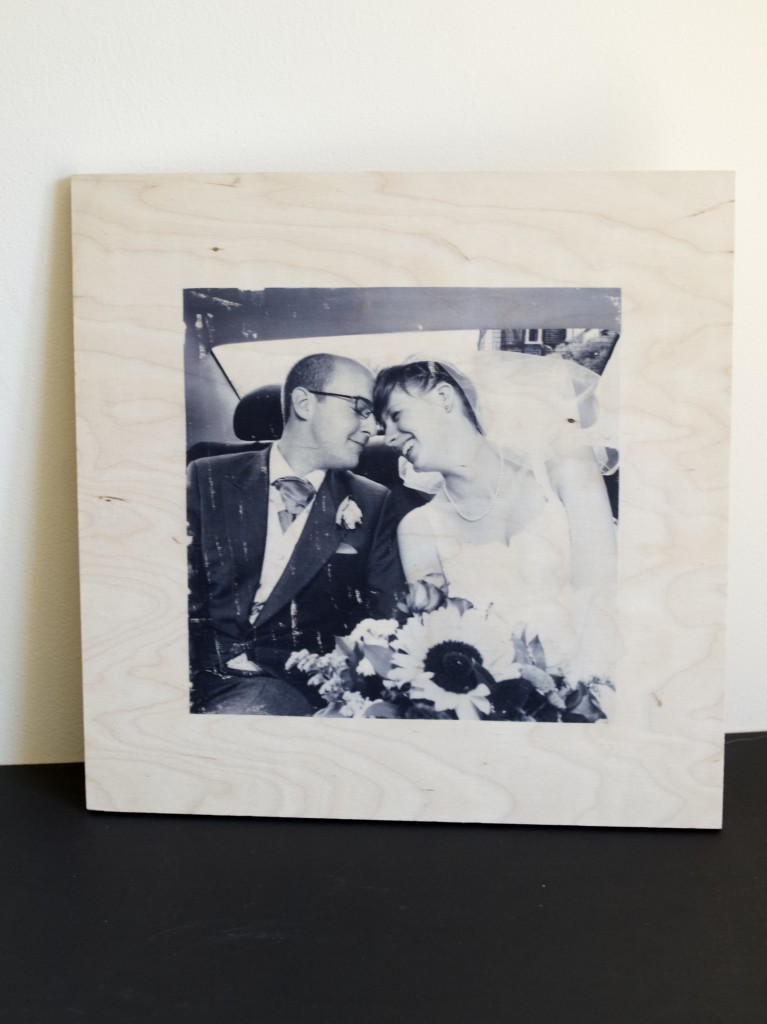
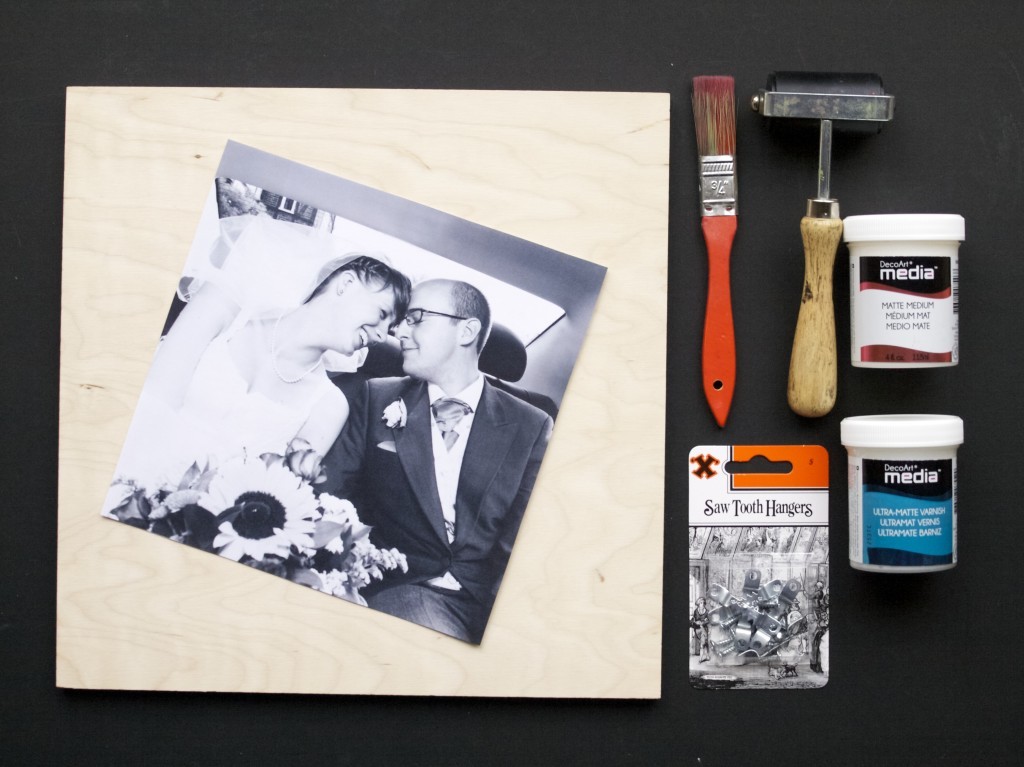
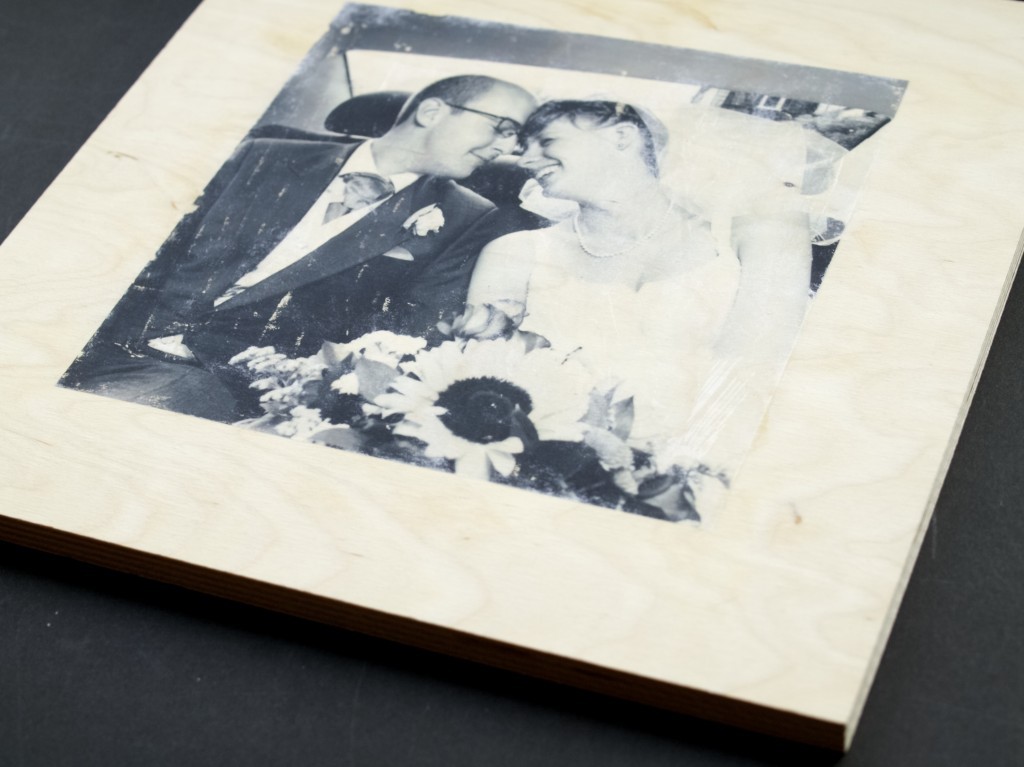
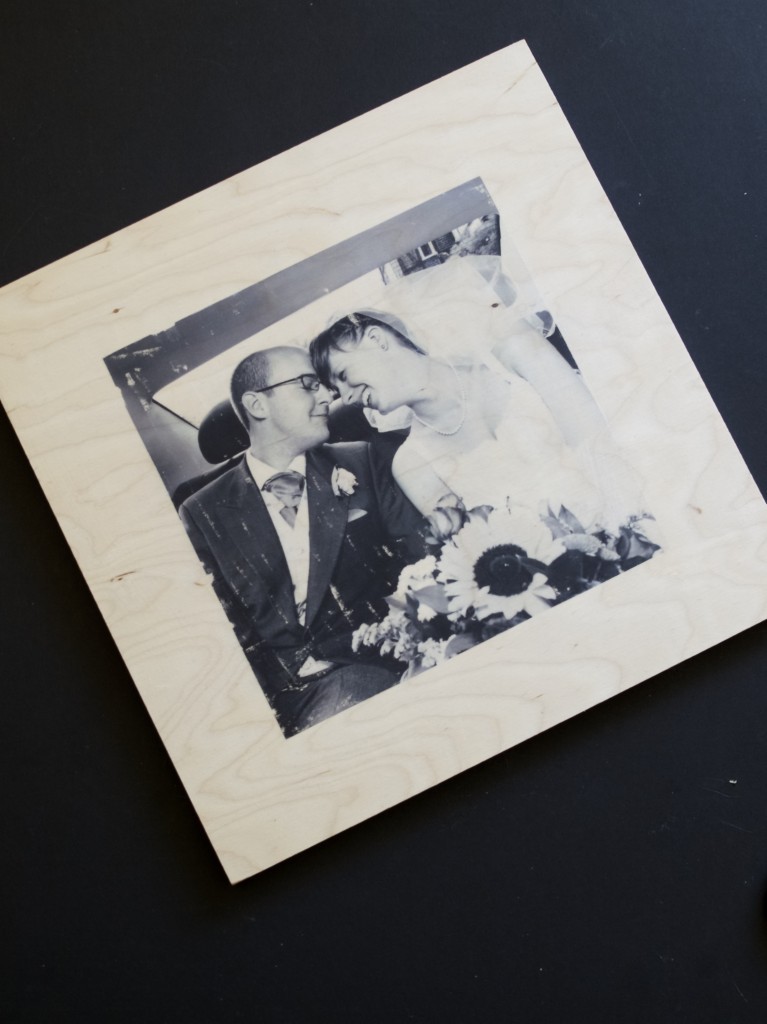
how to transfer laser printer image onto almost anythingWhen I have been asked for nicely printed wedding photo as a birthday gift I got really excited as I realised that I could try out different techniques on transfer printing. To begin with I thought I will transfer the wedding photo on canvas, but then realised printing on wood would be much more unique (well, kind off). I also got stuck with slight limitation. I have laser printer which means I could not use the ink from the printer like I would with ink jet printer. But there is always hope, even if that means buying extra products in the craft shop instead of using what is already available at home. So instead of extensive experiments I just did a bit of research on what products to use (only because I did not want to spend a massive amounts of money). Here is what products you can try when transfer printing:

PVA or Mod Podge. I heard that some people swear by it and apparently it works, especially with Mod Podge (which is I believe a fancy type of PVA). I went and bought Mod Podge only because it was available in matte finish unlike PVA basic glossy finish. However I ended up returning it after reading this helpful article.

Mod Podge image transfer (or any other brand image transfer). I have no idea where to get it, but here is the post where I have seen it used. The blogger there then used Matte Mod Podge as a finishing sealer.

Gel Medium. This is mainly used for mixing your acrylic paints with so larger areas can be painted more cost effectively. Unfortunately it often comes in huge pots, so if you only buying this for one off project it can be quite costly. They did not have gel medium in my local craft store which sort of worked out for the best! However gel medium can be used for finishing as well.

Acrylic Medium. Like gel medium it comes glossy or matte. It is also cheaper to compare to gel medium , but can’t be used for finishing the print.

Here is what I used to make my image print:

  • A block of plywood
  • A laser printed picture, flipped horizontally on Photoshop (or any other image editing program)
  • A paint brush
  • A Roller
  • Acrylic matte medium
  • Matte varnish
  • Saw tooth hangers (for picture hanging)

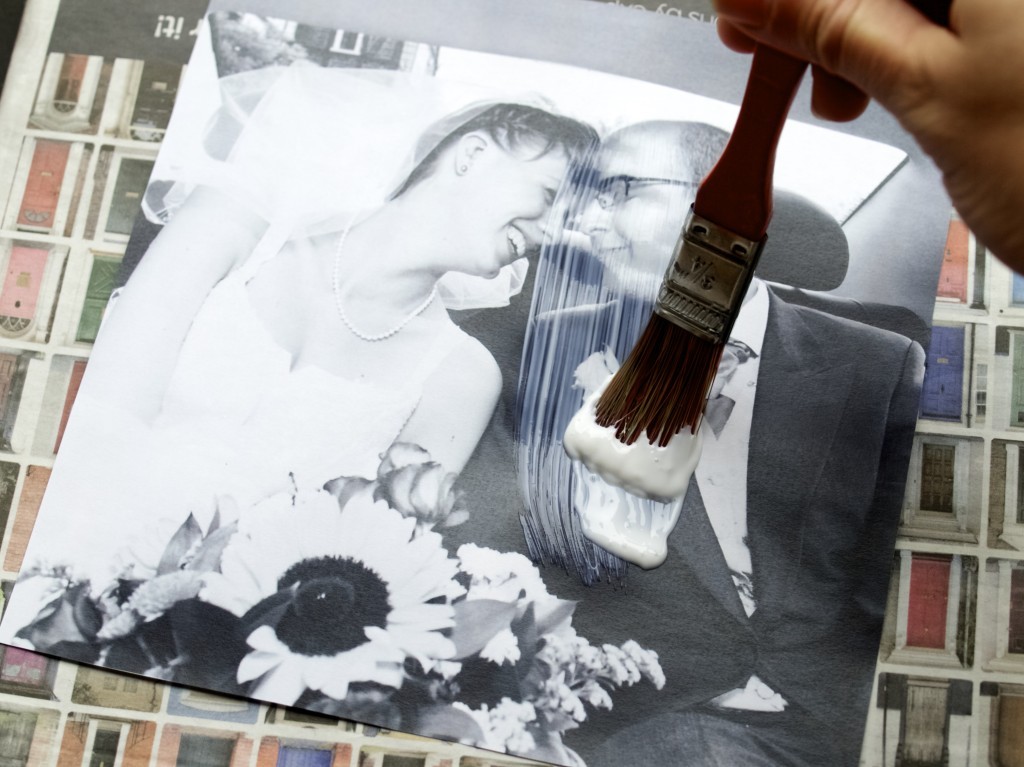
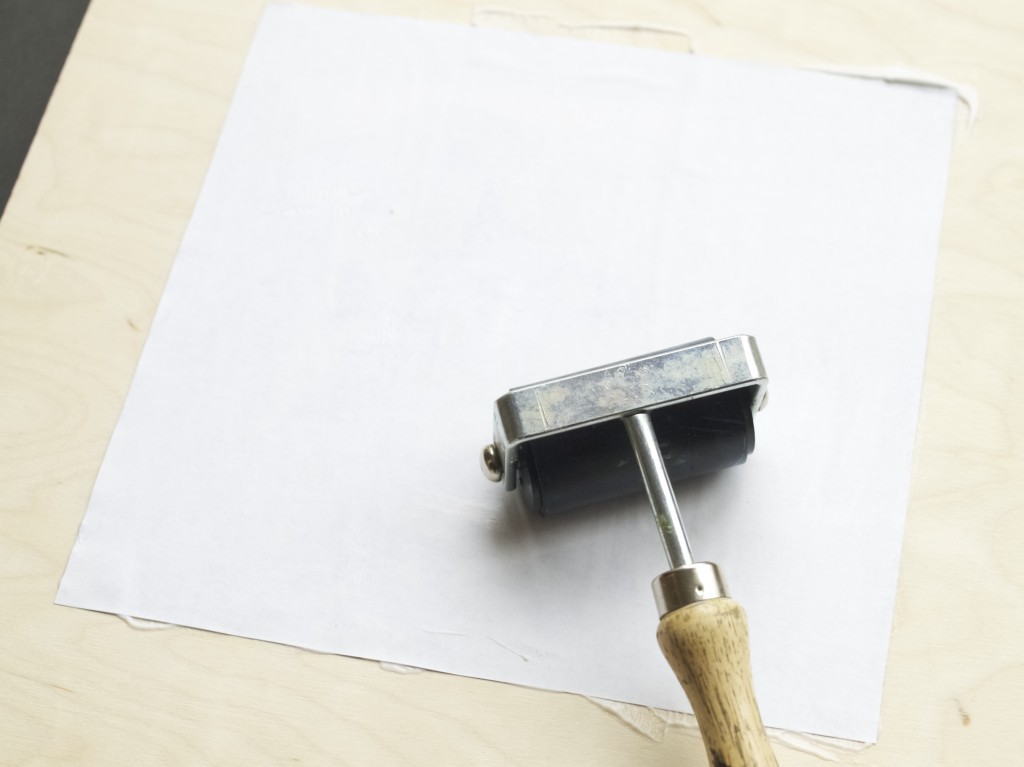
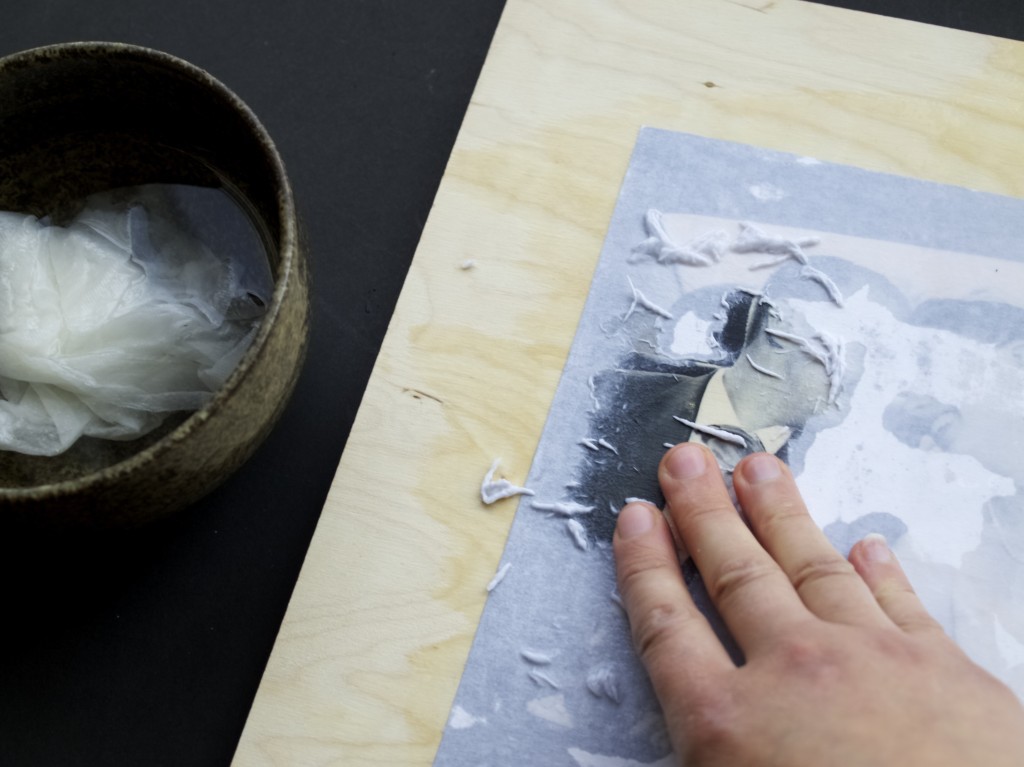
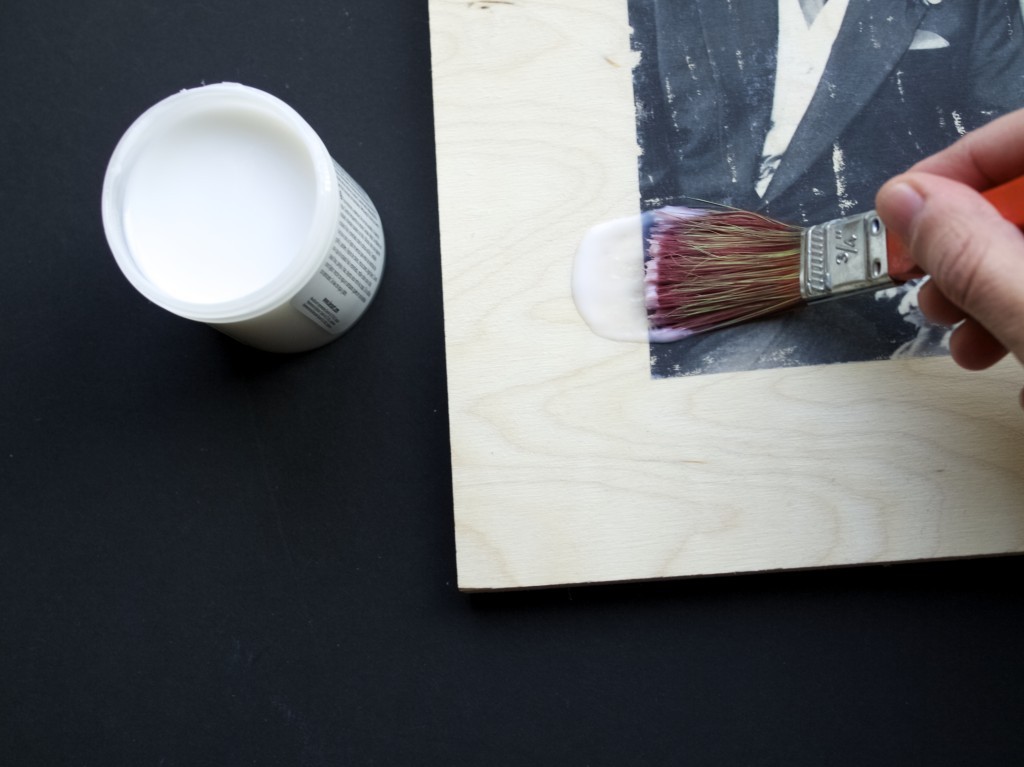
I applied acrylic medium on top of the photo.how to transfer laser printer image onto almost anythingI used a roller to press the picture onto the wood. Make sure the bubbles trapped underneath get pushed out.  how to transfer laser printer image onto almost anythingOnce completely dry (after 8 hours or so) dampen the image and start rubbing the white layer off. Make sure don’t rub too much as the image itself can be easily rubbed off at this stage.how to transfer laser printer image onto almost anythingLet it dry before the next stage…how to transfer laser printer image onto almost anythingI applied matte varnish (acrylic type) on top. This stage fixes the image onto the wood (or any other surface) and remove all the white layer imperfections as well.how to transfer laser printer image onto almost anythingApply the hanger onto the picture:

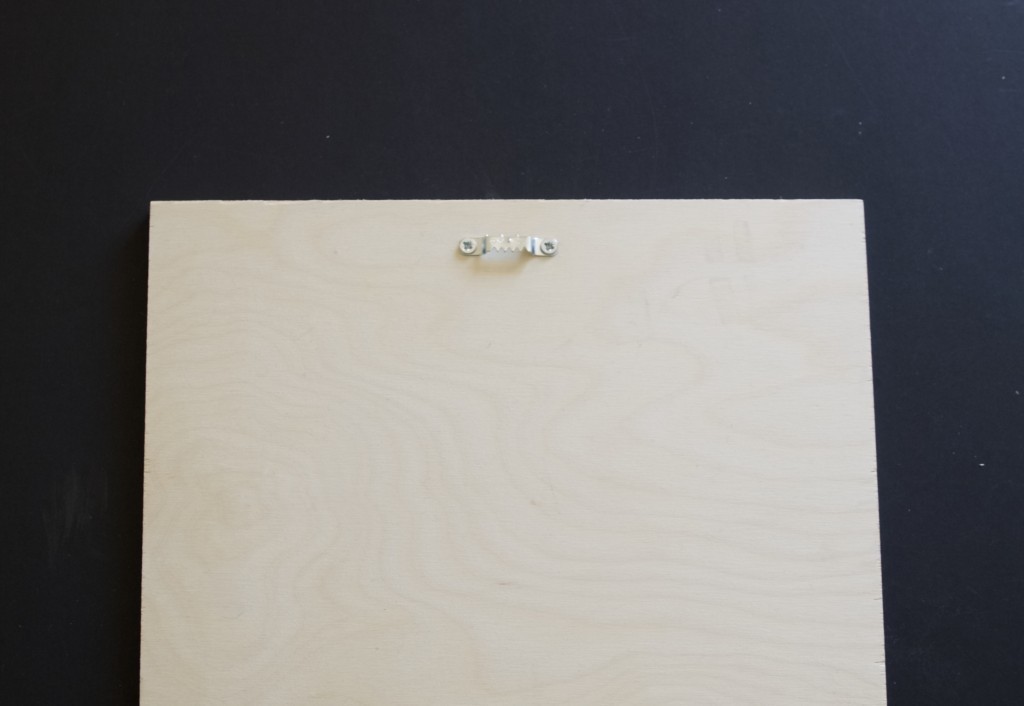
1. Measure and place the hanger in the centre. Use a pencil to mark the dots where the screws should go.

2. Make a hole with the nail (smaller then the screws) by hammering it in and then removing it with the other end of the hammer.

3. Screw the screws in to hold the hanger.how to transfer laser printer image onto almost anythingTa-da!how to transfer laser printer image onto almost anything how to transfer laser printer image onto almost anythingI hope you found this inspiring :)

Rasa

0

Crafty afternoons in Bedford (you are welcome to join us)

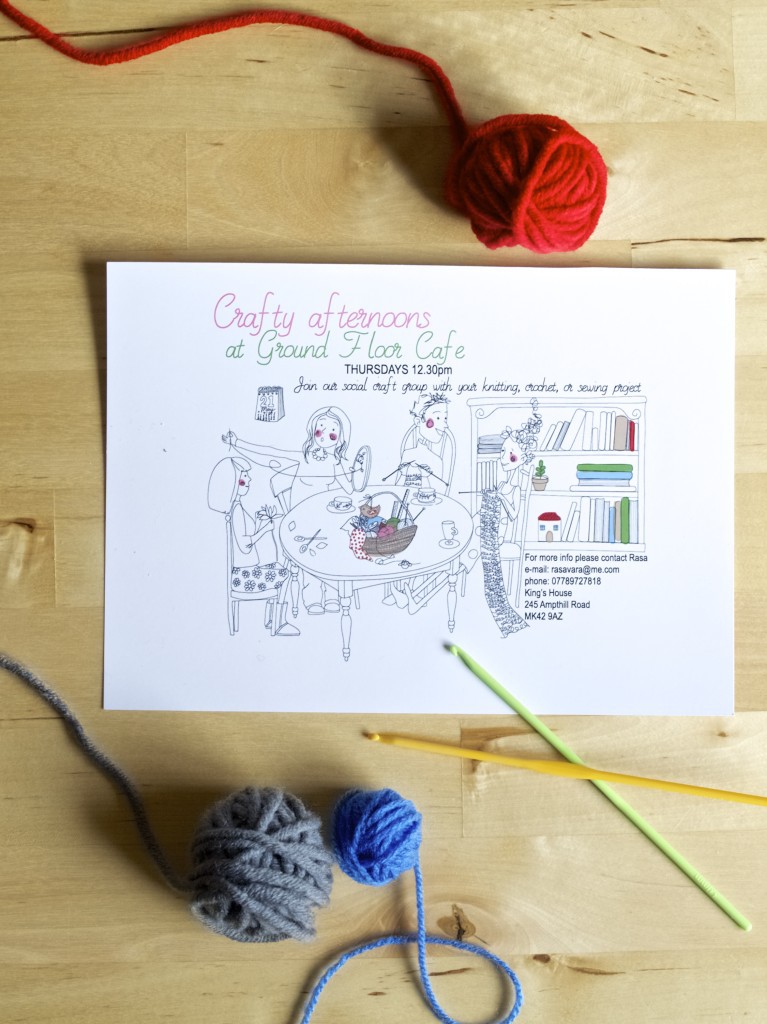
Crafty afternoons in Bedford (join our social group)Hey guys, I got some wonderful news! Our crafty social meets are back and are better than ever :). The improvements include:

  • Unlimited space (almost), so no RSVP needed
  • Super comfortable sofas at the ground floor cafe in Kings House
  • Convenient location (if only you live in Bedford)
  • Any type of crafts are welcome (before we were only knitting)

Interested to join? Visit our events page for more info.King's House ground floor cafe, BedfordCrafty afternoons in Bedford (join our social group)Hopefully see you soon!

Rasa xoxo
0

Handmade pasta (without pasta machine)

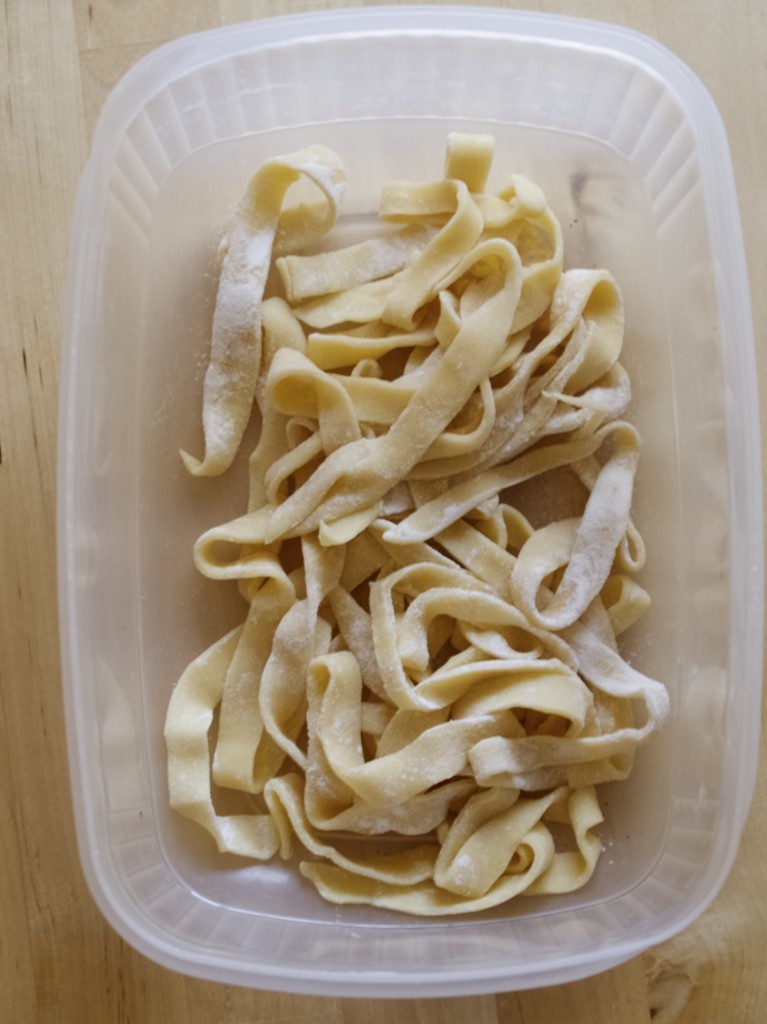
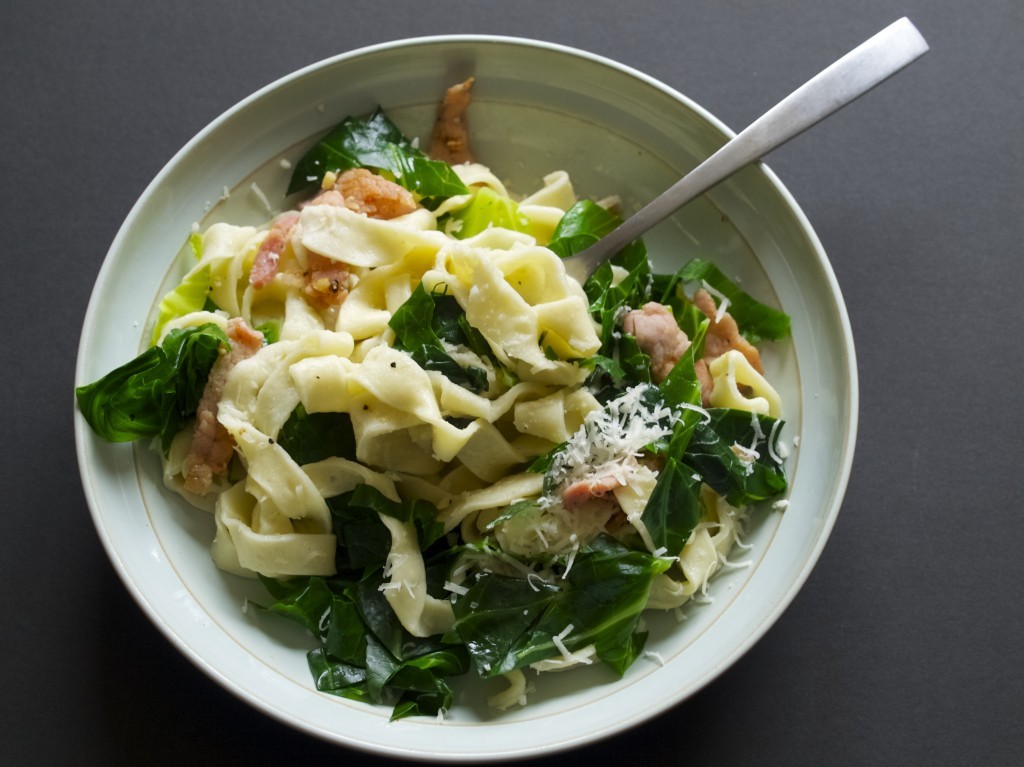
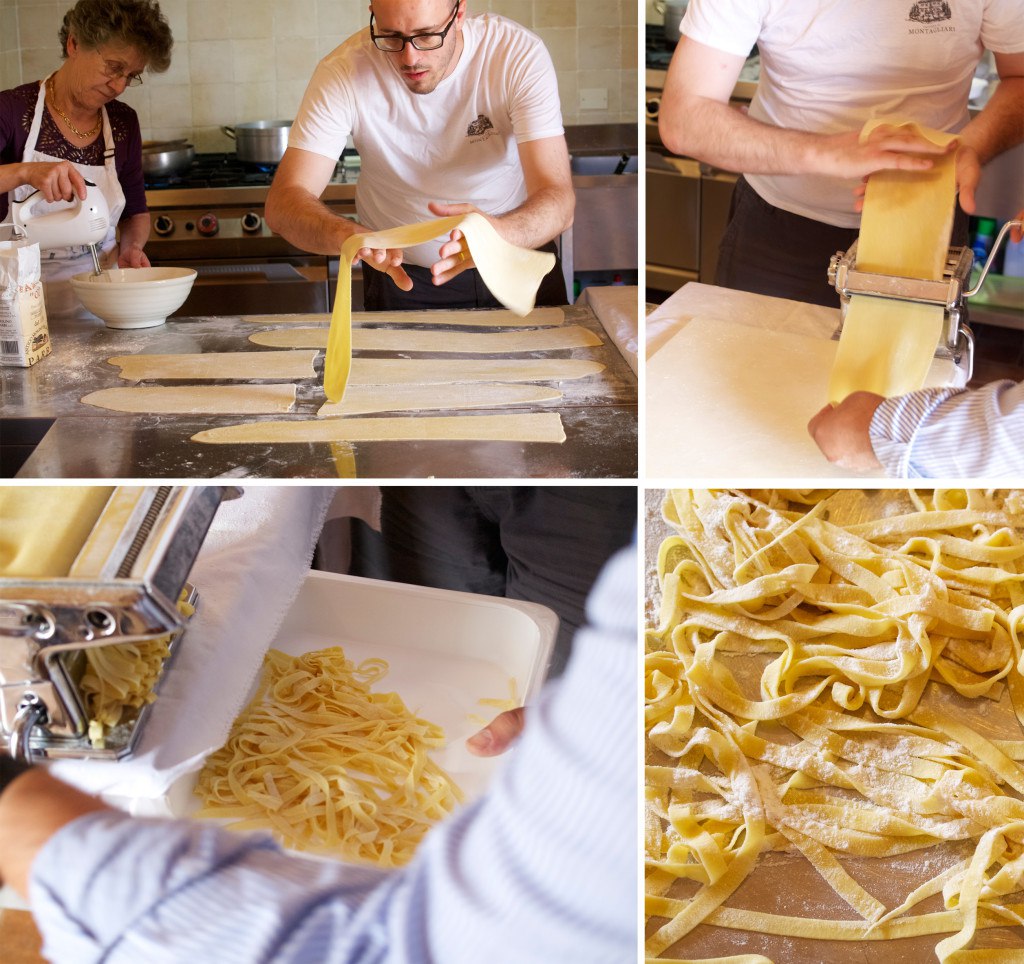
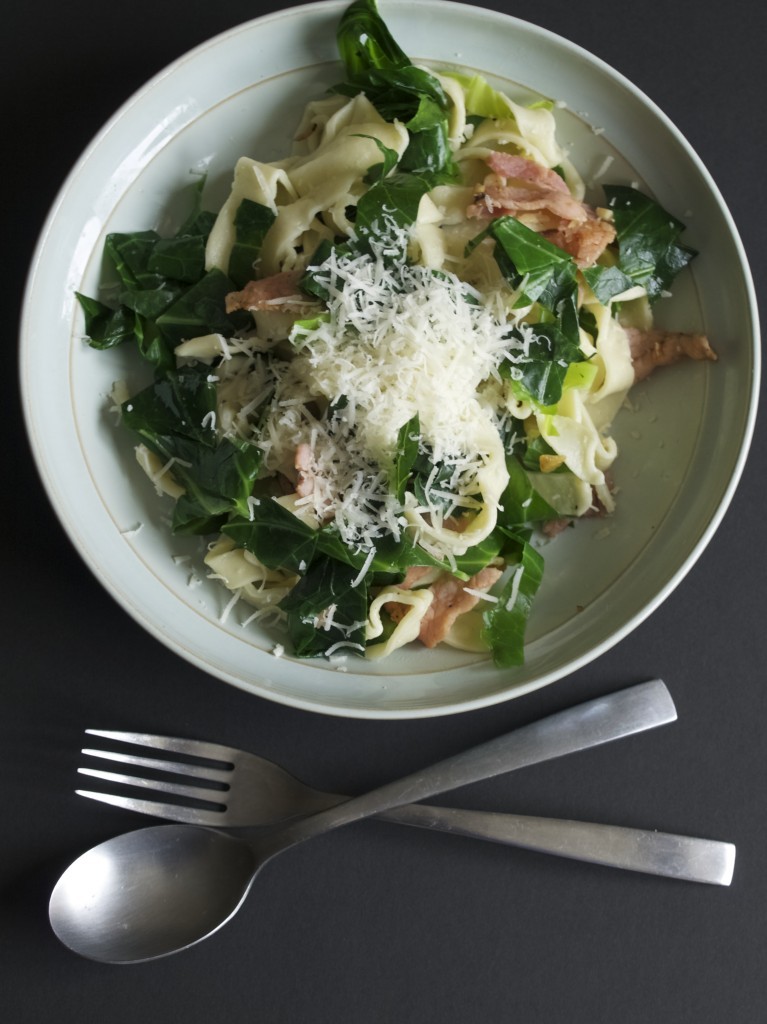
How to make handmade pasta at home without machineI will admit that making your own pasta is a lot of hassle! It takes long and it is soooo messy (with all that flour). But I still like making it as things made from scratch are the way of life for me. Like most of types of pasta such as gnocchi or skryliai (Lithuanian pasta) you can make lots of it over weekend and then freeze it for a quick lunch or dinner later in the week. I have not tried doing this with this pasta, but I believe it should work. Will let you know if I try that out! My favourite pasta is with cabbage (this one is with kale actually, but it is as good!). I know, I know this is a weird preference, but after trying out this recipe I just keep coming back to it!!!  How to make handmade pasta at home without machineI have learned making Italian fresh egg pasta while in Tuscany. Me and Joni took some cooking lessons while on honeymoon. Luckily Joni had some experience with pasta machine before, while I just stood and watched. “Dust the pasta machine with a lot of flour to avoid the dough sticking to it” apparently thats the most important tip! However today I will show you how I made pasta by hand. Same tip applies here as well (lot’s of dusting with flour indeed)!Making pasta in ItalyBASIC HANDMADE PASTA serves one, multiply as needed!

  • 1 medium egg
  • 95g ’00’ flour

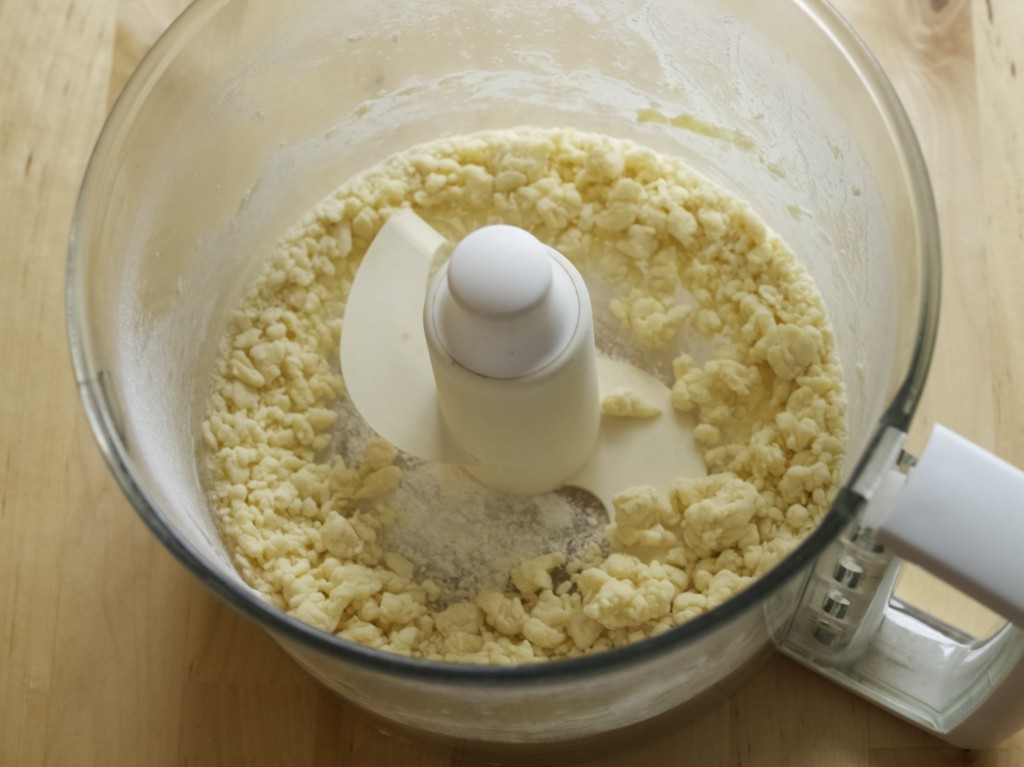
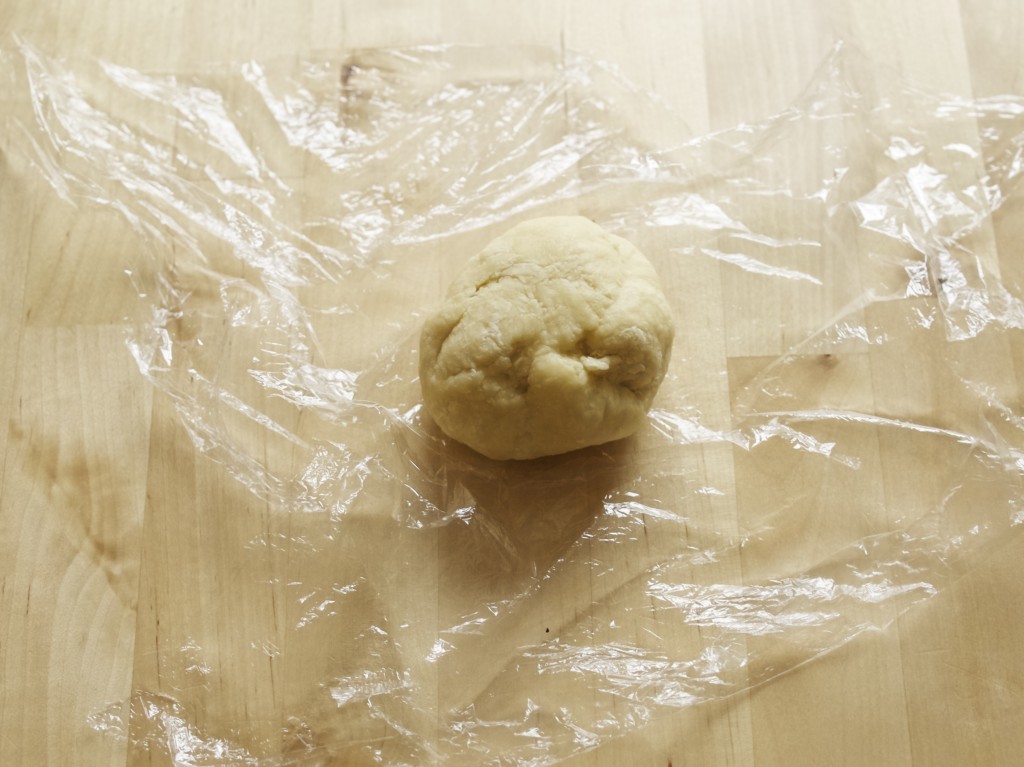
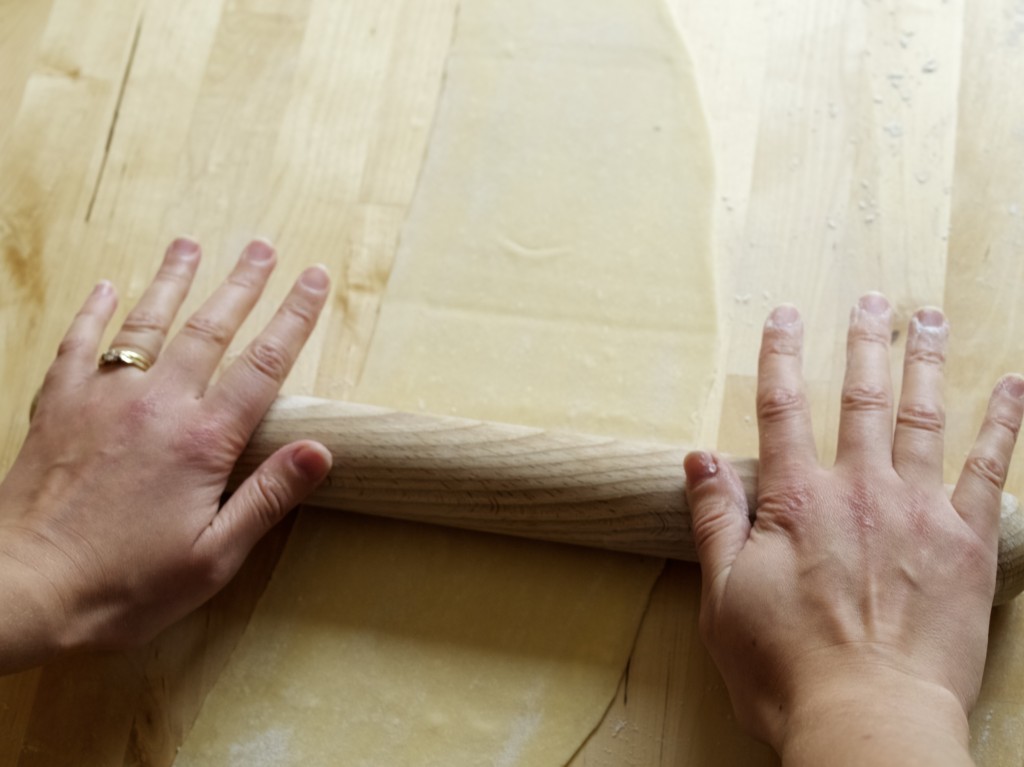
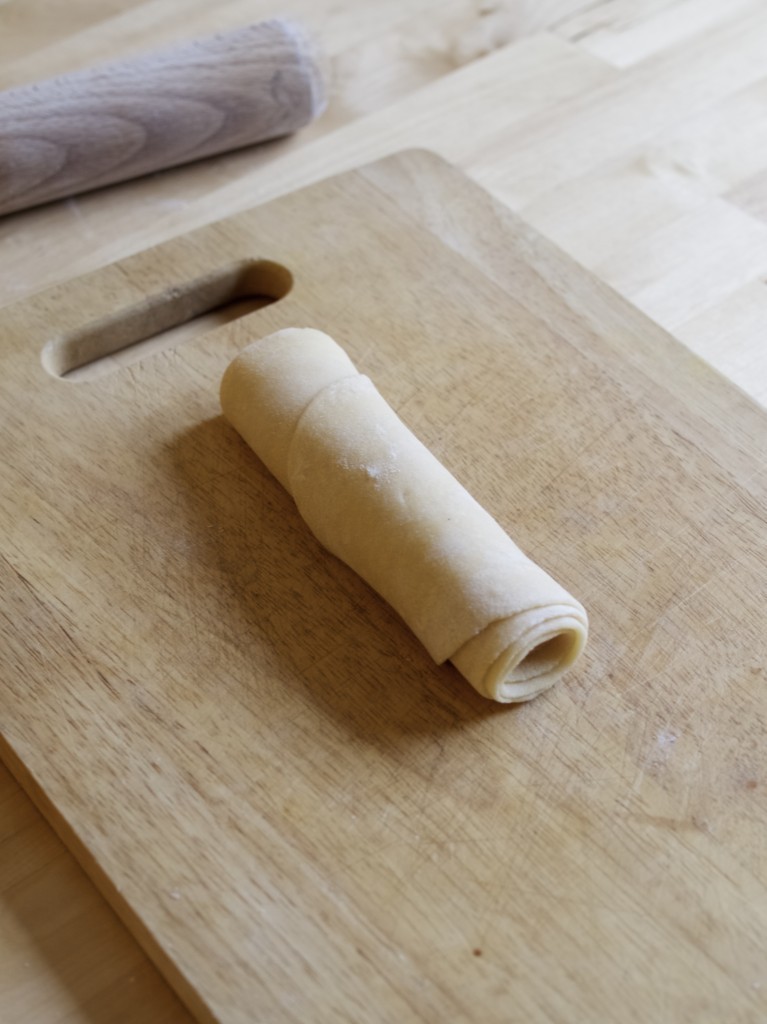
1. In the food processor or by hand combine egg with flour. The dough will be crumbly at this stage.How to make handmade pasta at home without machine2. Kneed the dough into the ball and wrap it into cling film. Let it rest for 1 hour.How to make handmade pasta at home without machine3. Flatten the dough ball with the rolling pin on the well floured surface (flour the rolling pin as well). Roll and lift the dough as many times as it needs. The dough should become as flat as a piece of fabric. How to make handmade pasta at home without machine4. Roll the dough into the roll. If I did this stage again, I would have rolled it into looser roll. Would have been easer to unroll it later on!

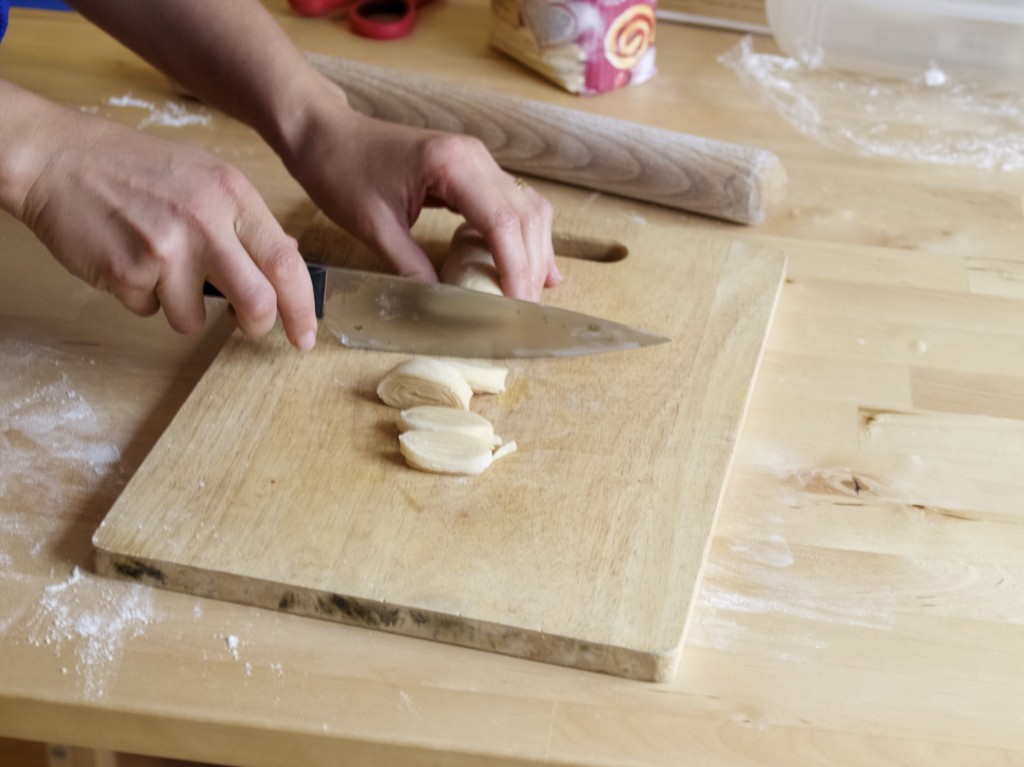
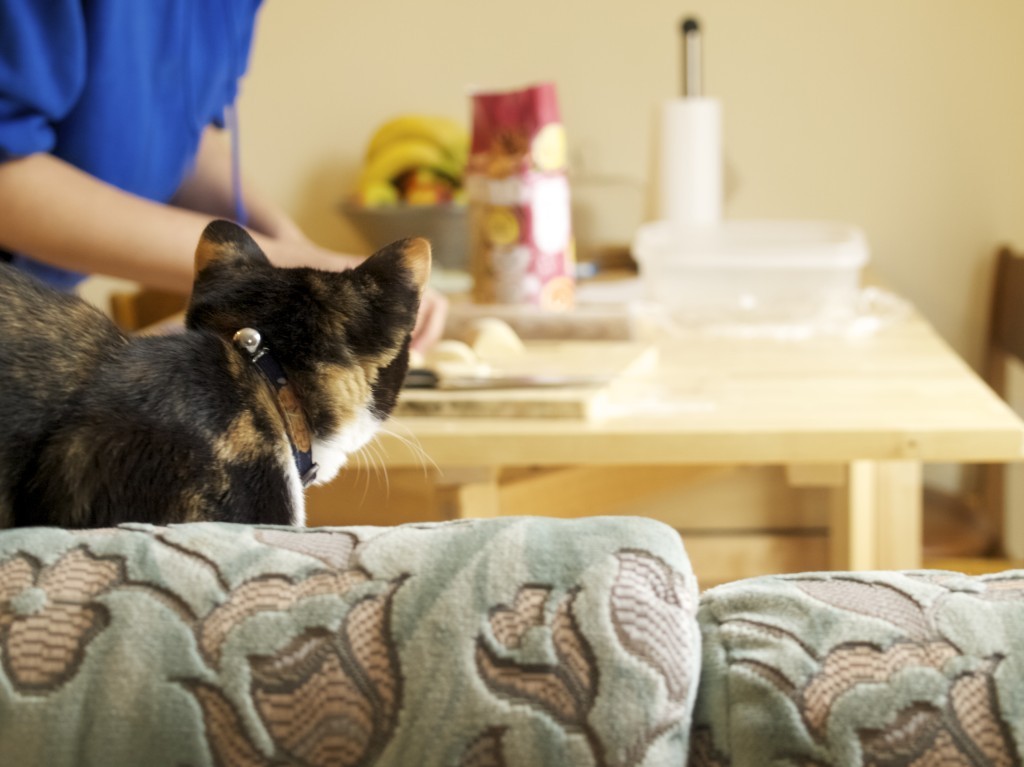
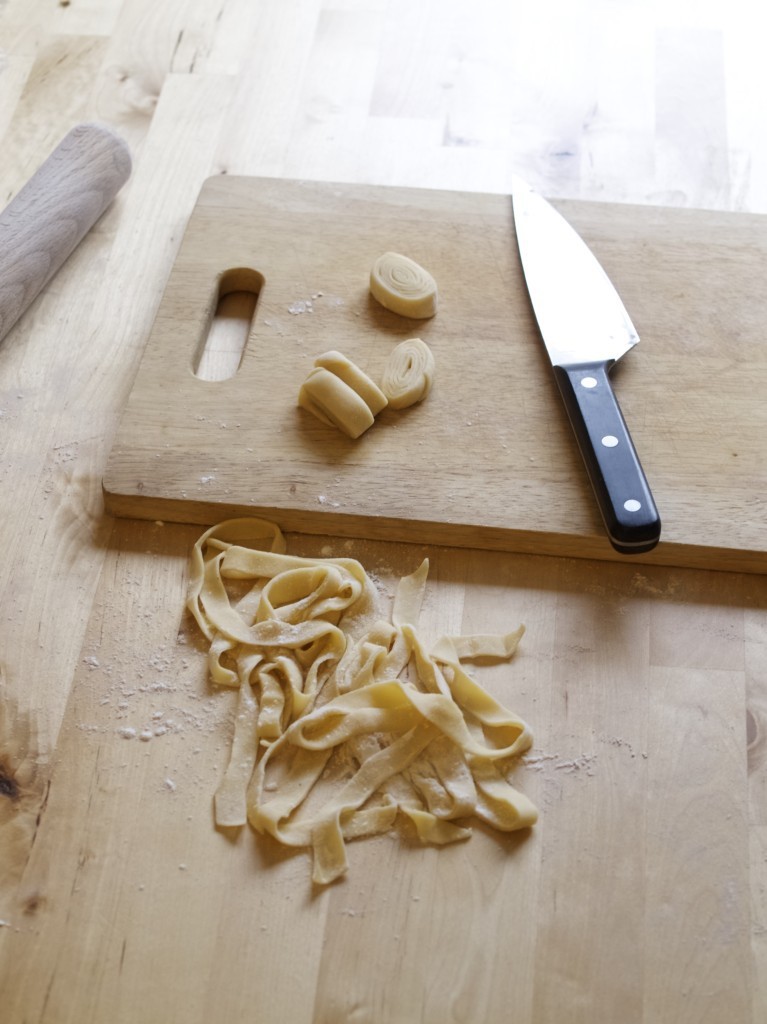
How to make handmade pasta at home without machine5. Slice the roll into the 7mm slices. How to make handmade pasta at home without machineThis has been observed by Leia of course :-)How to make handmade pasta at home without machine6. Unroll the pasta while keeping it well floured. And that’s how it is done!How to make handmade pasta at home without machineCook pasta for 4 min in boiling water (longer from frozen) and serve it with your favourite sauce.How to make handmade pasta at home without machineEnjoy!

Rasa xoxo
0

Learn how to bind books!

Learn to bind booksEvery time I want to start a journal or a diary I can’t find one that I like in the shops. Can you relate? They either are too expensive or the styles available don’t quite fit mine. So that is why I have decided to make my own book. There are so many pros to making your own hand bound book. There are unfortunately also cons as it takes sooooo long (it took me a day to make two books)! But I guess the pros weighs it down so this is totally worth it. Here are the pros:

1. Create your own cover design

2. Insert the paper type you like

3. Have fun making it

4. It will be much much cheaper!

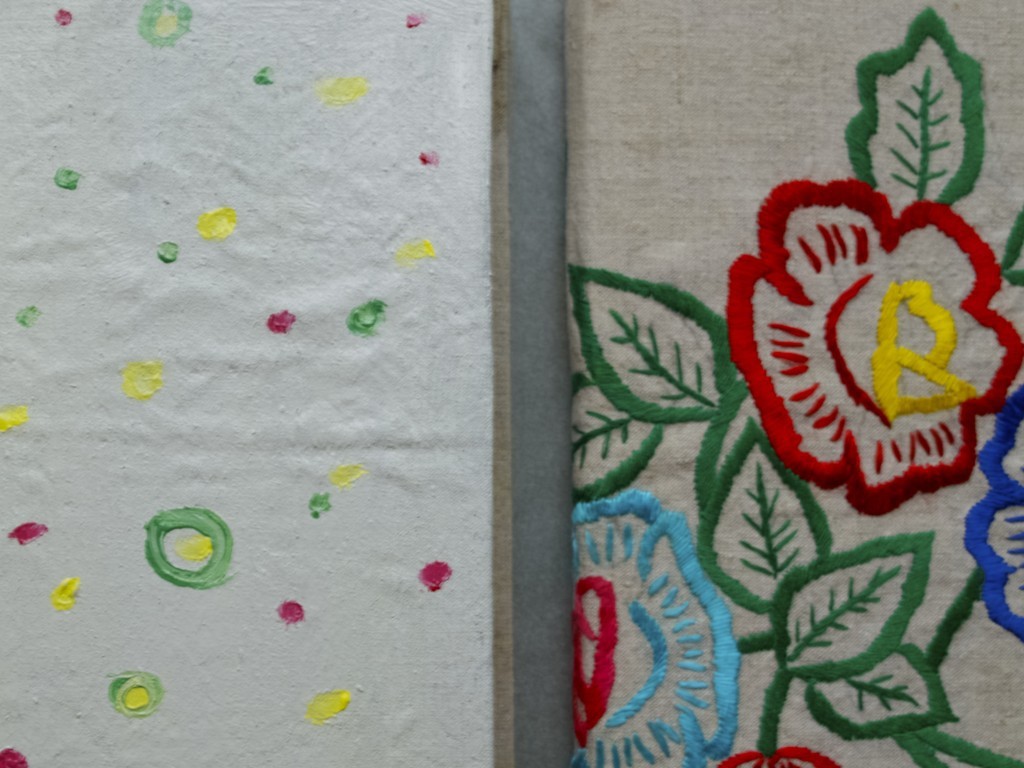
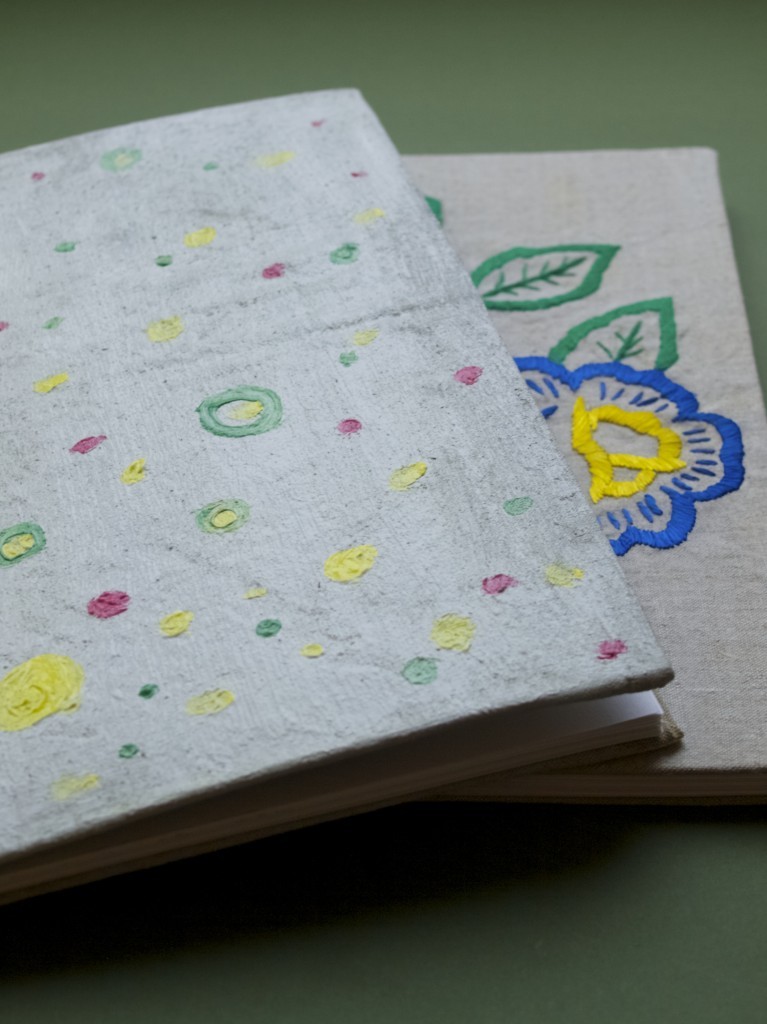
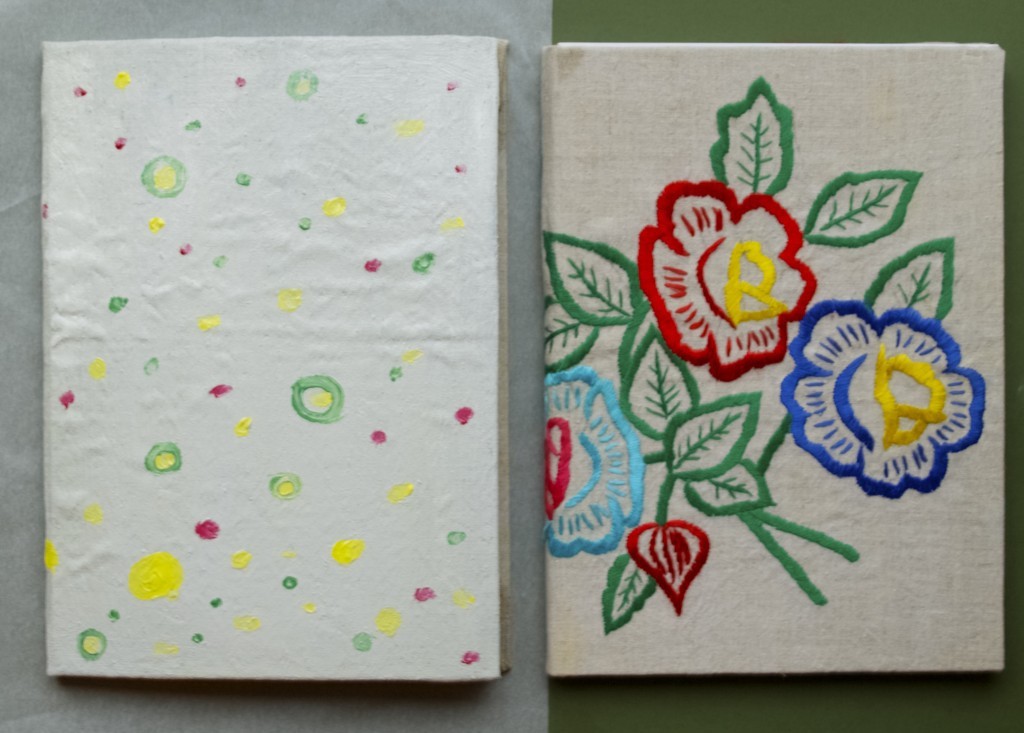
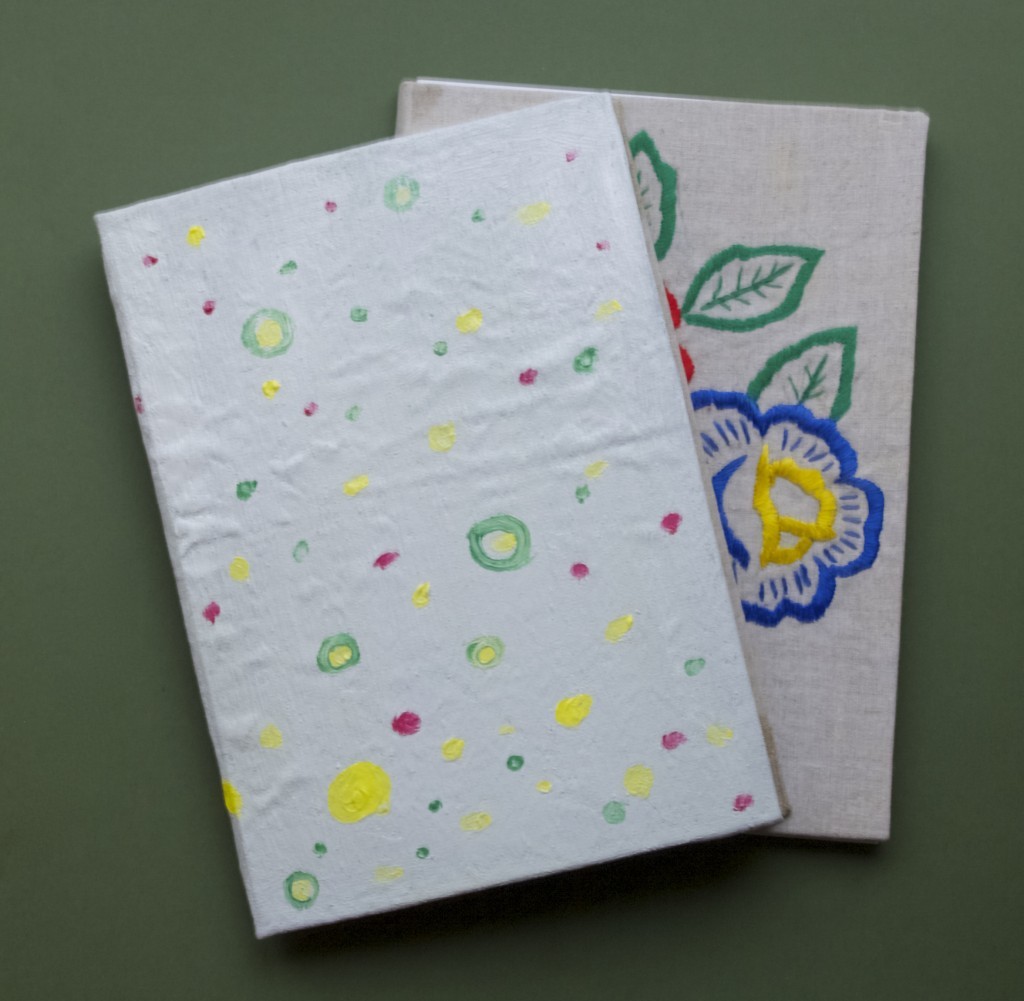
The choice is yours ;-)Learn to bind booksI made two books completely from scratch. I planned it to be painted over with an oily sort of fabric paint. However the cover surface did not come out as I expected. I hoped for a neat looking cover, but it turned out to be a bit messy. I would still use this technique in the future, but maybe not in such big amounts. For now however, I do prefer my second book that I covered with embroidered fabric.Learn to bind booksReady to make your own hand bound book? Click HERE for the step by step instructions.Learn to bind books Learn to bind booksHappy book binding ;-)

Rasa xoxo

0