Top

Archive | Homemade

Quick and easy liquid hand soap recipe

Quick and easy liquid hand soap recipeI have a little confession to make. When I go shopping for cleaning products or cosmetics I often judge it by its cover. I feel very very embarrassed by it as I made very bad (spontaneous) decision few weeks ago. I saw this handwash in a pretty packaging at Aldi and without much research or checking ingredients label I went and bought it…. Just because it looked stylish! I placed this bottle of hand soap by our kitchen sink and after first use I was hugely disappointed. A hand soap that supposed to smell like grapefruit stunk like cheap perfume. Not something you want to smell when preparing the food. This is when I decided to make my own liquid hand wash.

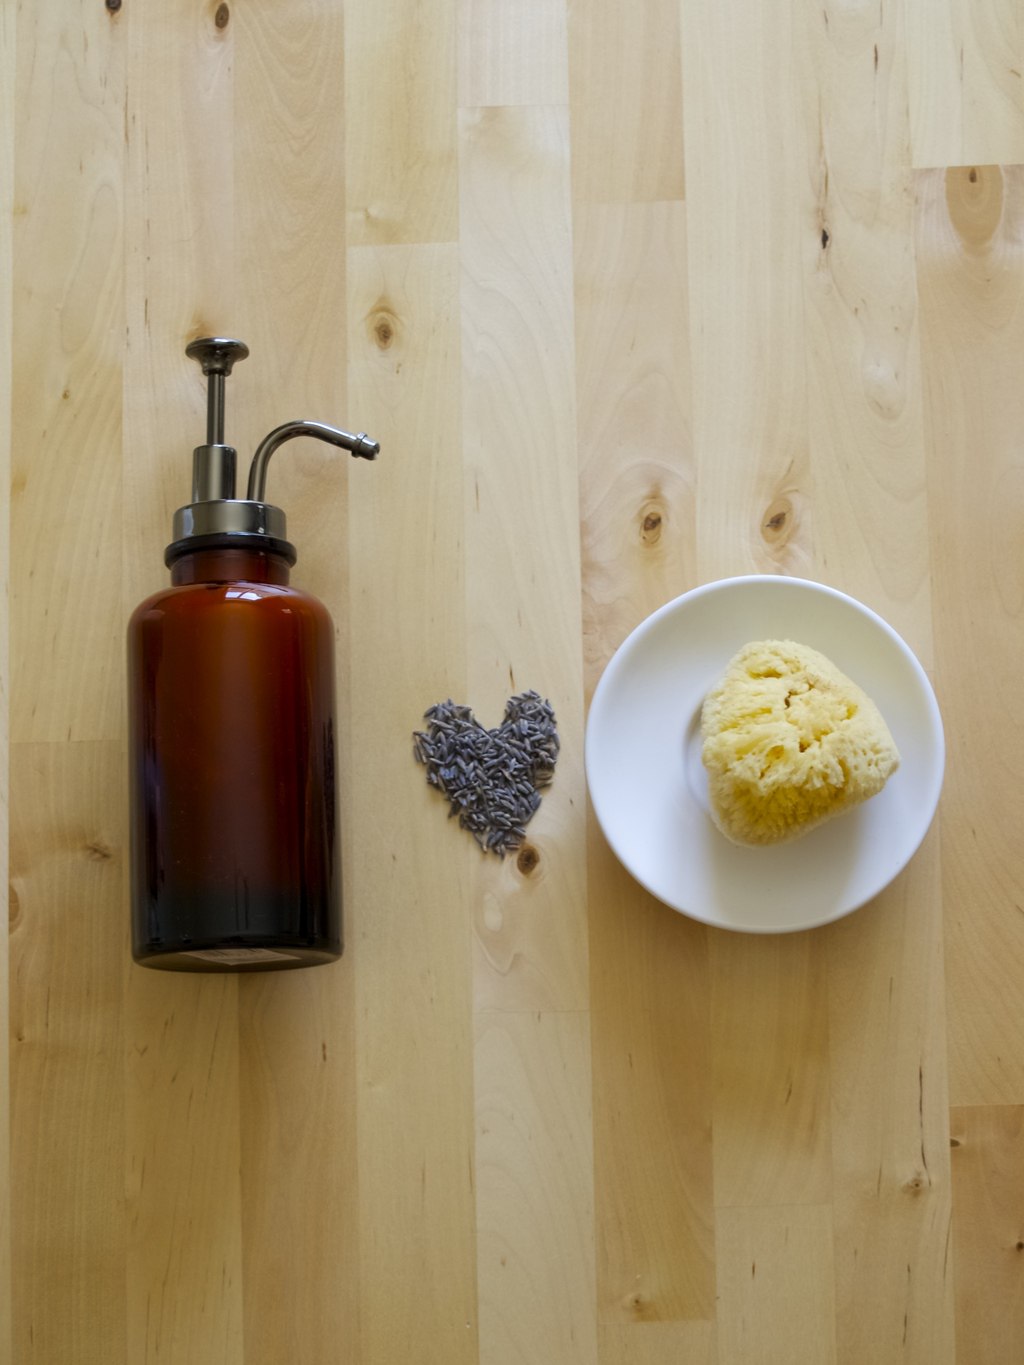
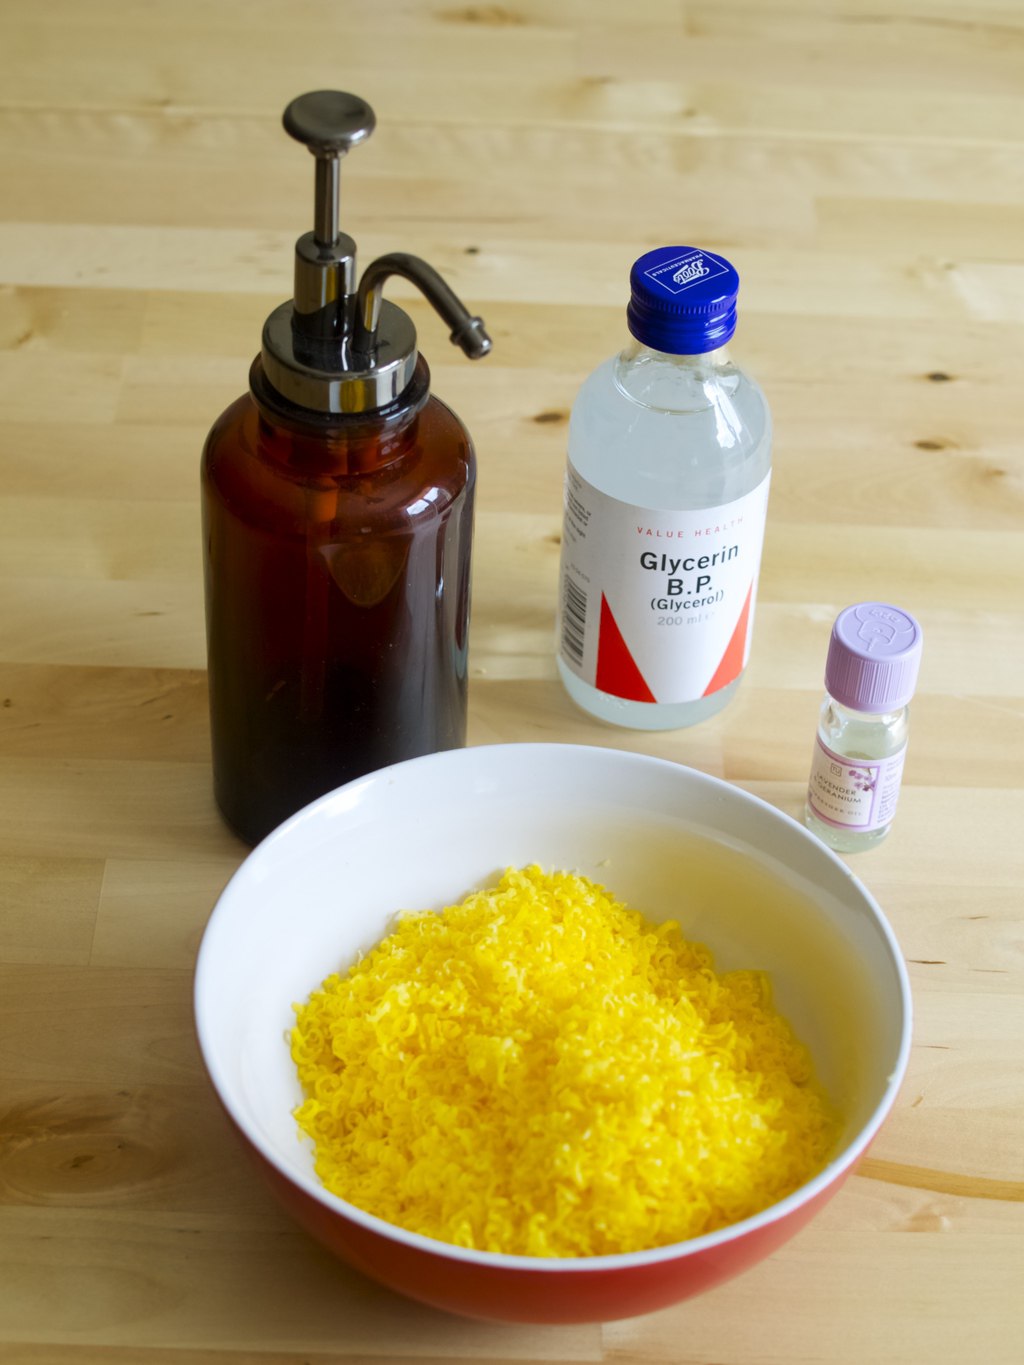
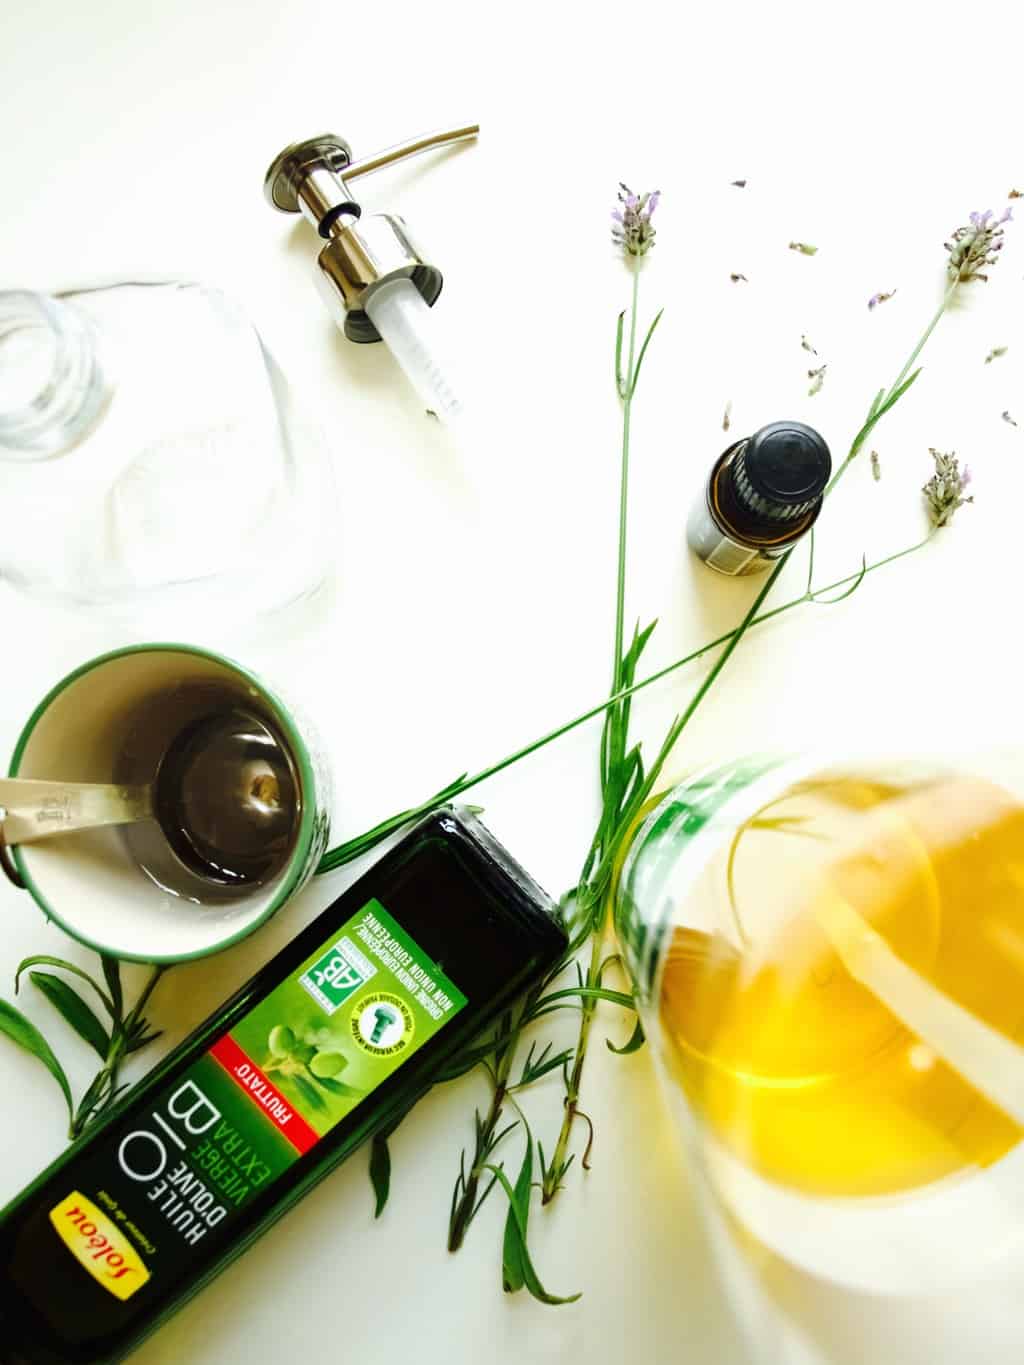
Now I made liquid soap before my friends, but honestly that recipe I used before never been used again. Why? Because it was not easy enough to make! I knew I needed a recipe that is quick to make and I could just mix something up when I run out. I was hoping to make soap in small quantities that does not need to be stored. After some research I came up with the recipe that is simple and easy and hopefully uses ingredients you already have (if you made any cleaning products before like this laundry liquid). I realised that the magical combination for perfect liquid hand soap is liquid castle soap, oil, essential oil (for a lovely smell) and water. For oil you can use glycerol or even fractionated coconut oil to make antibacterial soap. For water I saw people often use distilled water, but I used cooled boiled water instead.Quick and easy liquid hand soap recipe 
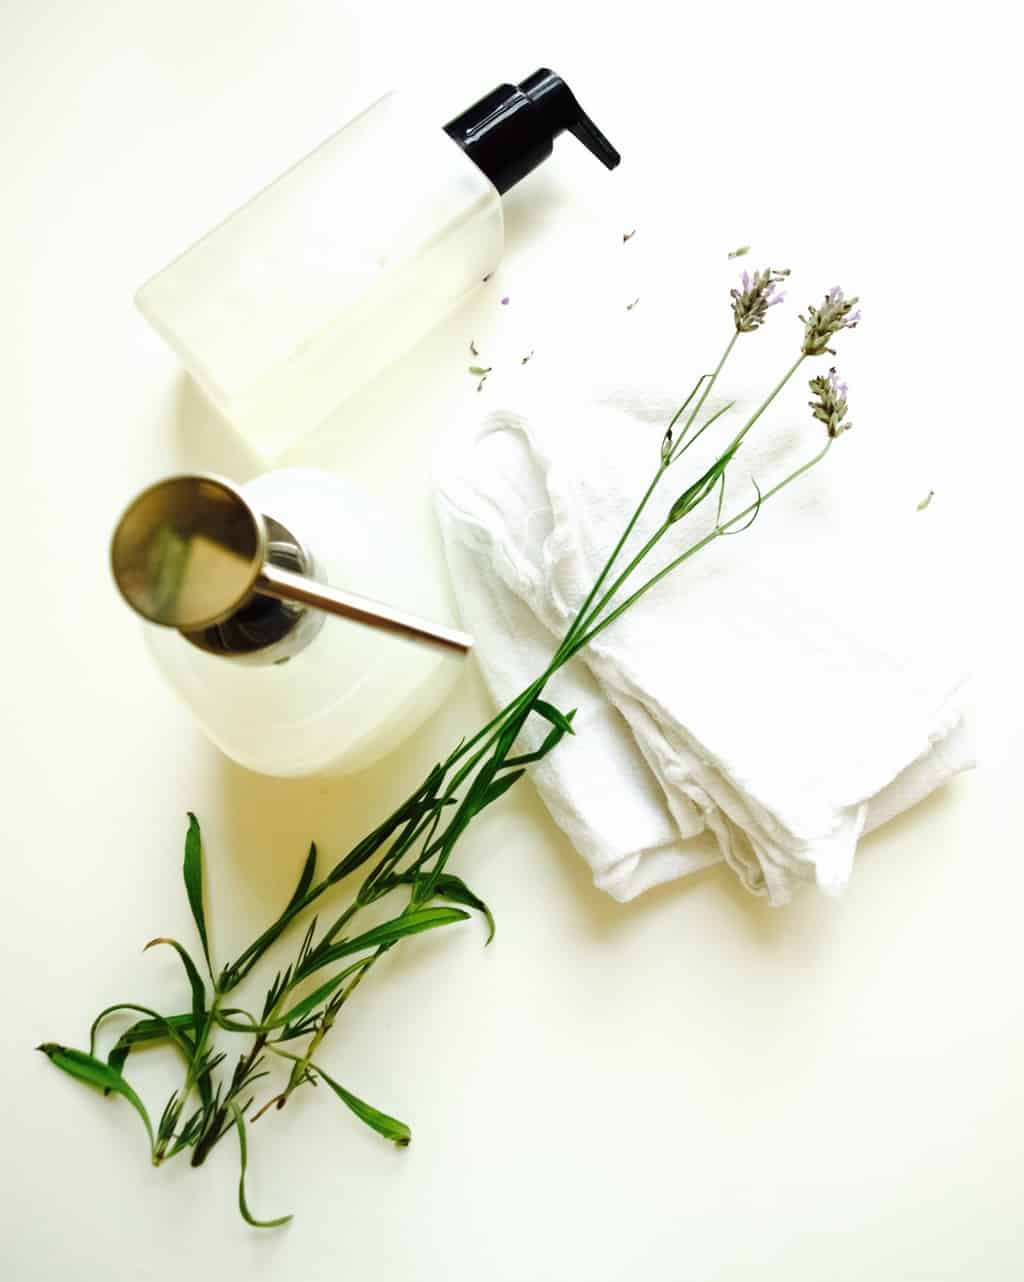
To make your own hand soap you will need:

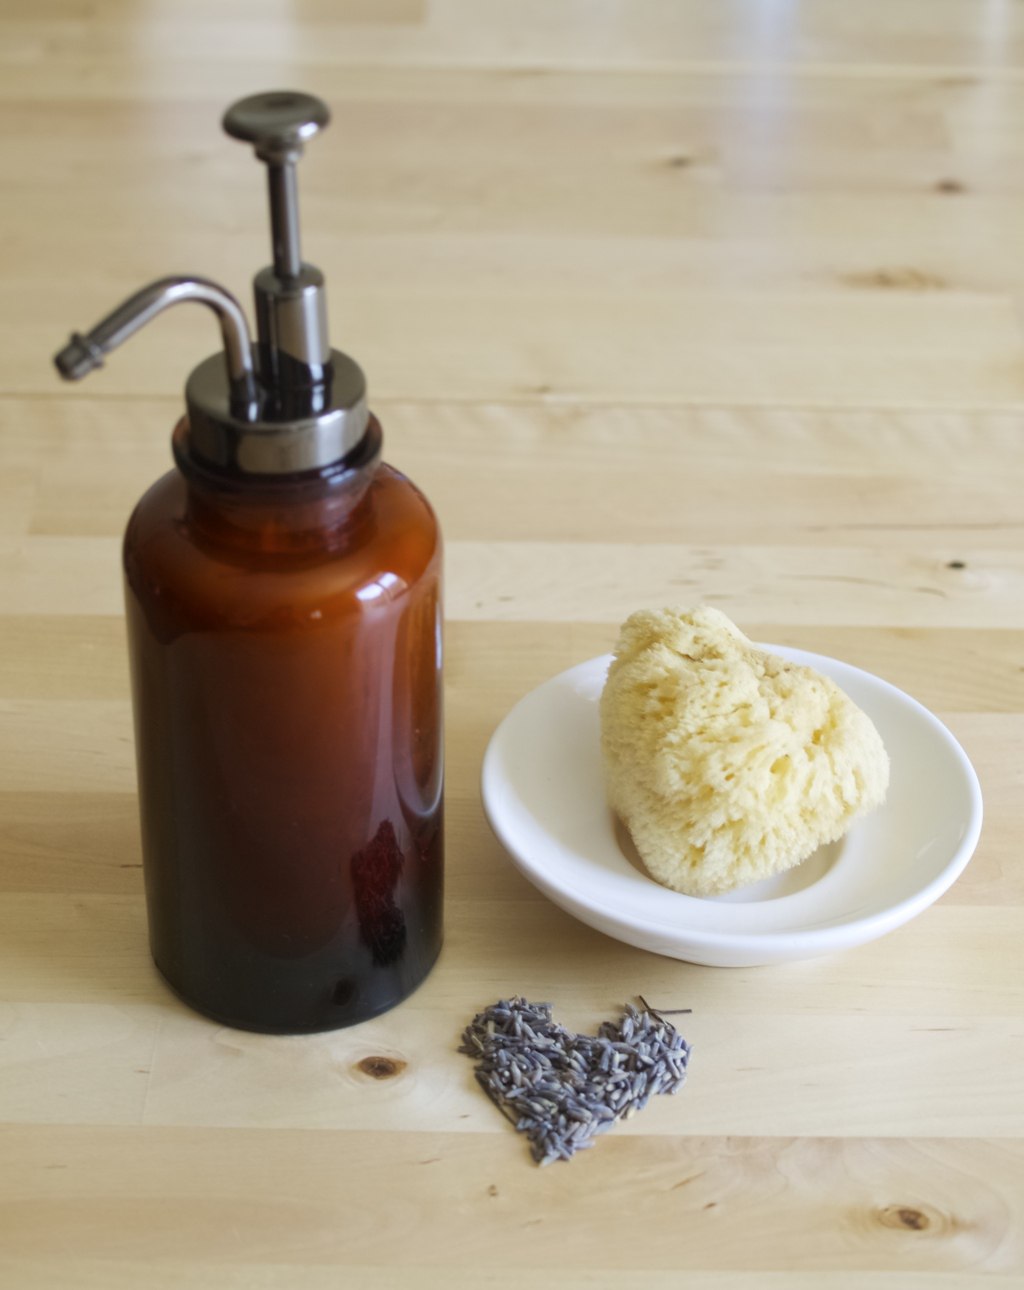
  • about 300ml soap dispenser
  • 130ml liquid Castile soap
  • 70ml oil (I used glycerol instead as I had some already)
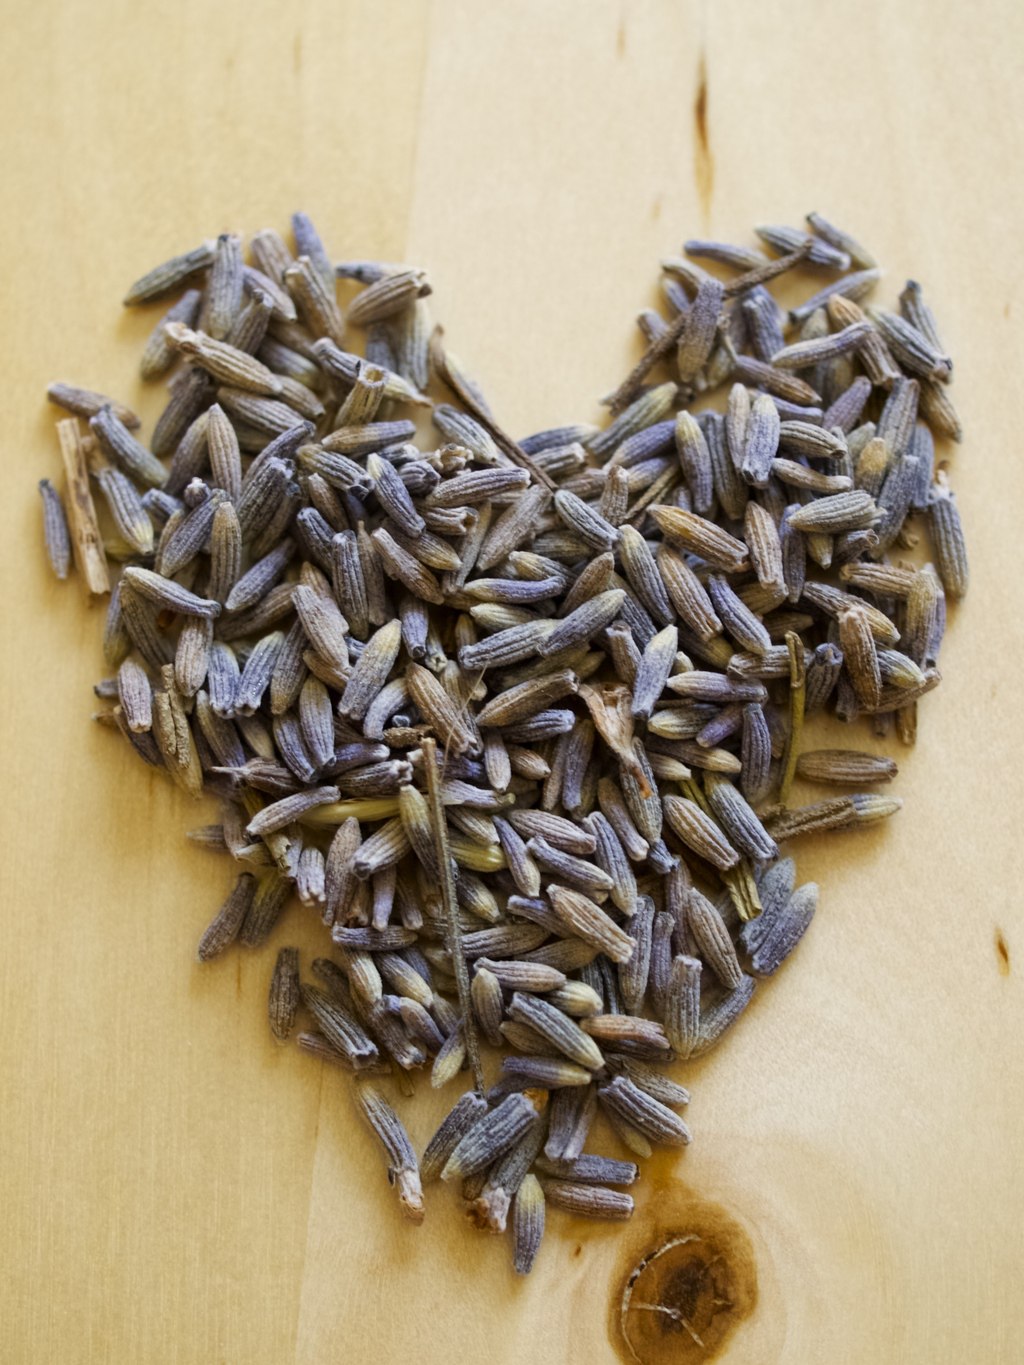
  • 15 drops essential oil (I used lavender)
  • cooled boiled water

Quick and easy liquid hand soap recipe 
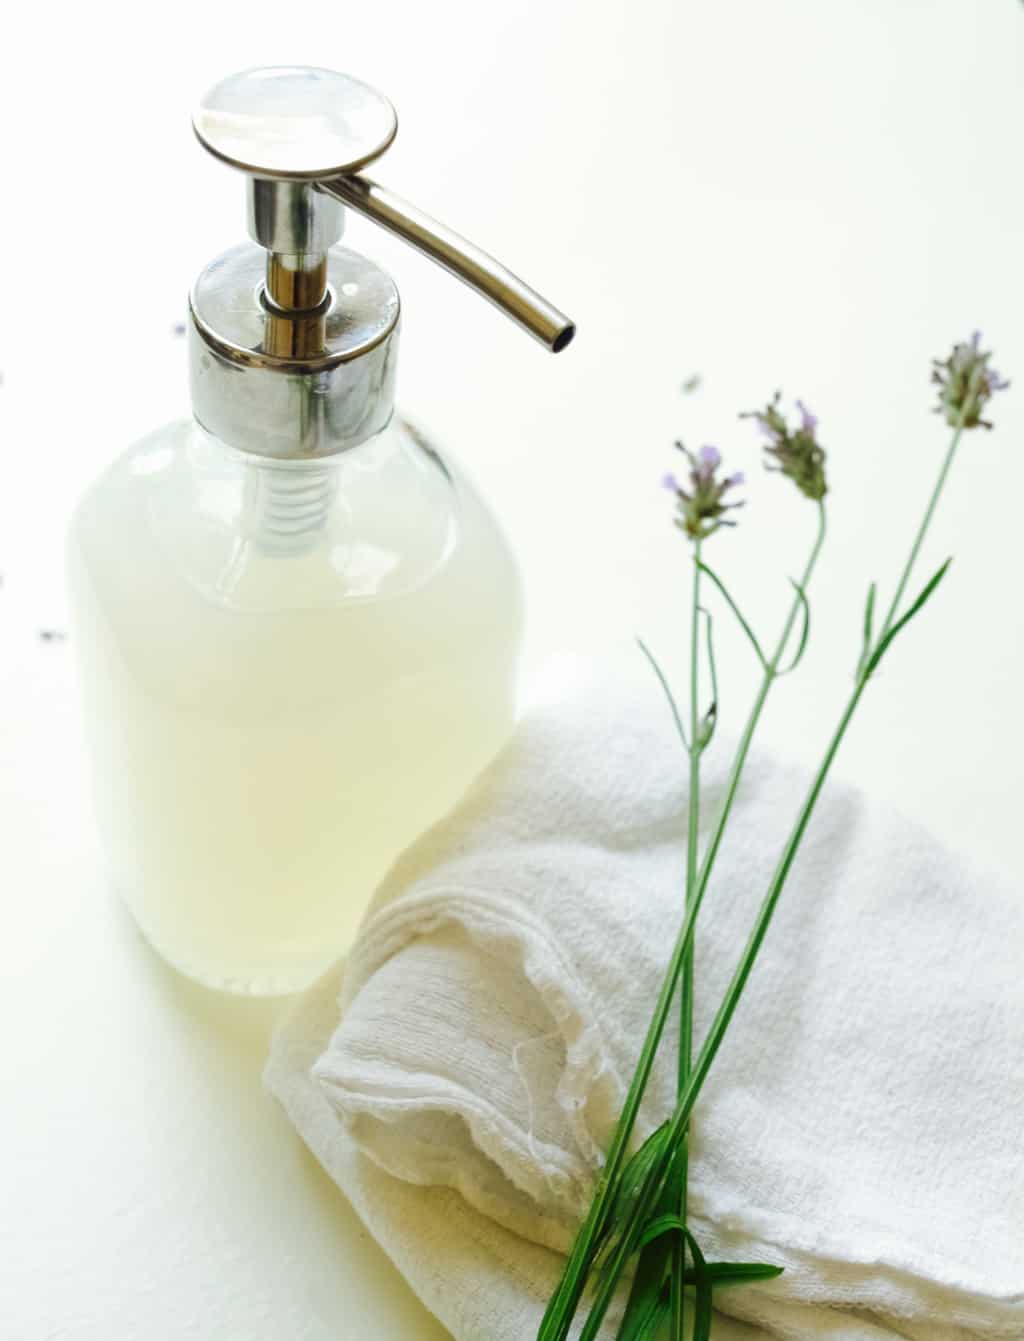
Pour the Castile soap, oil and essential oils into the dispenser bottle.Quick and easy liquid hand soap recipe 
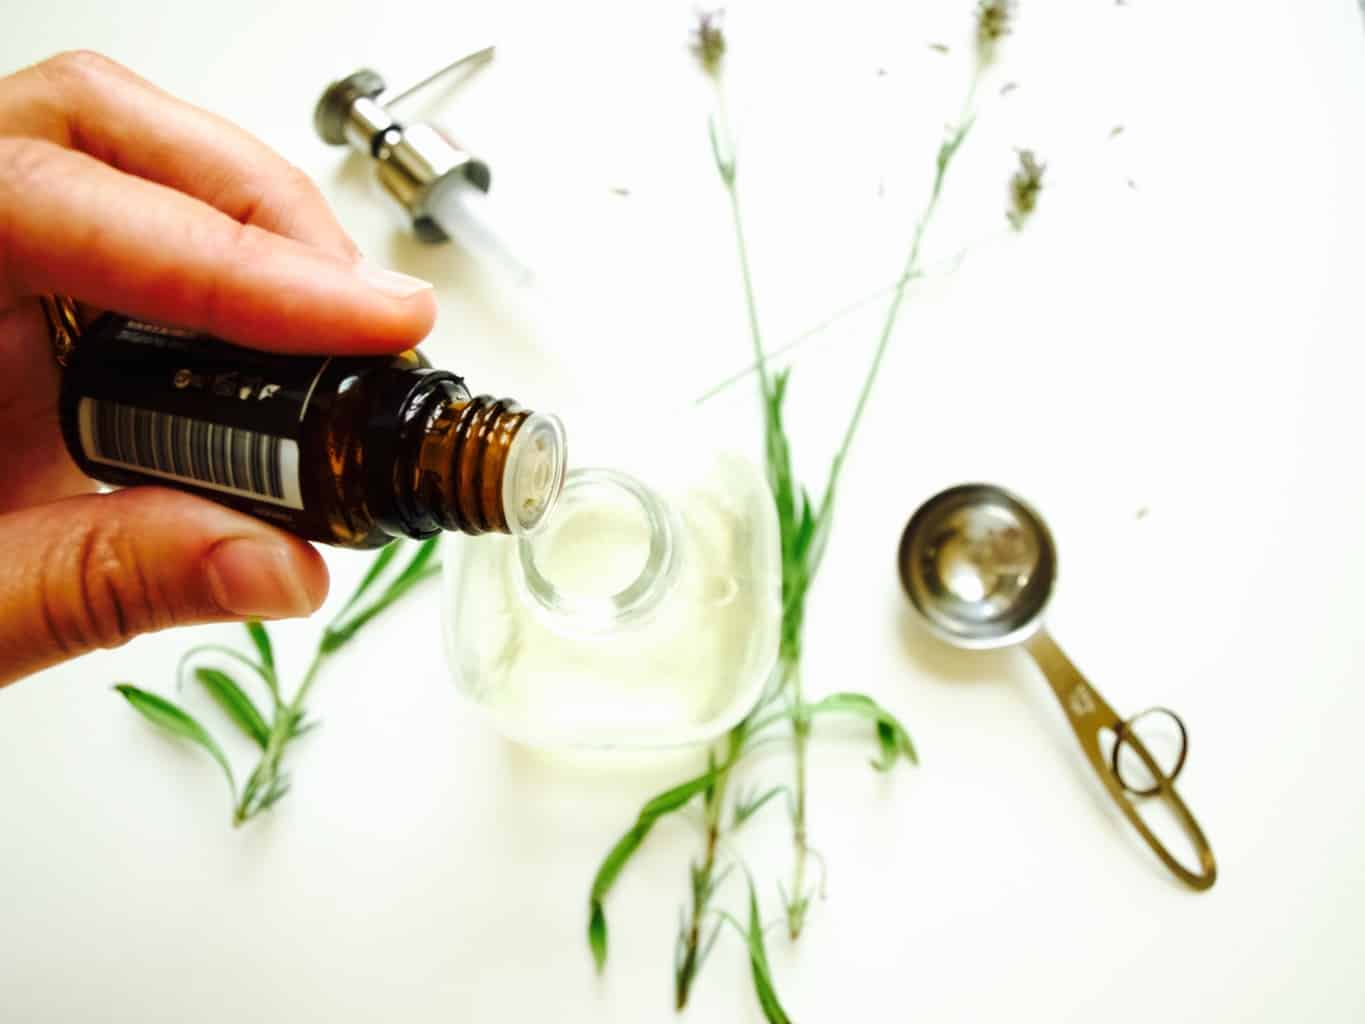
Fill up the rest of the dispenser with water.Quick and easy liquid hand soap recipe 
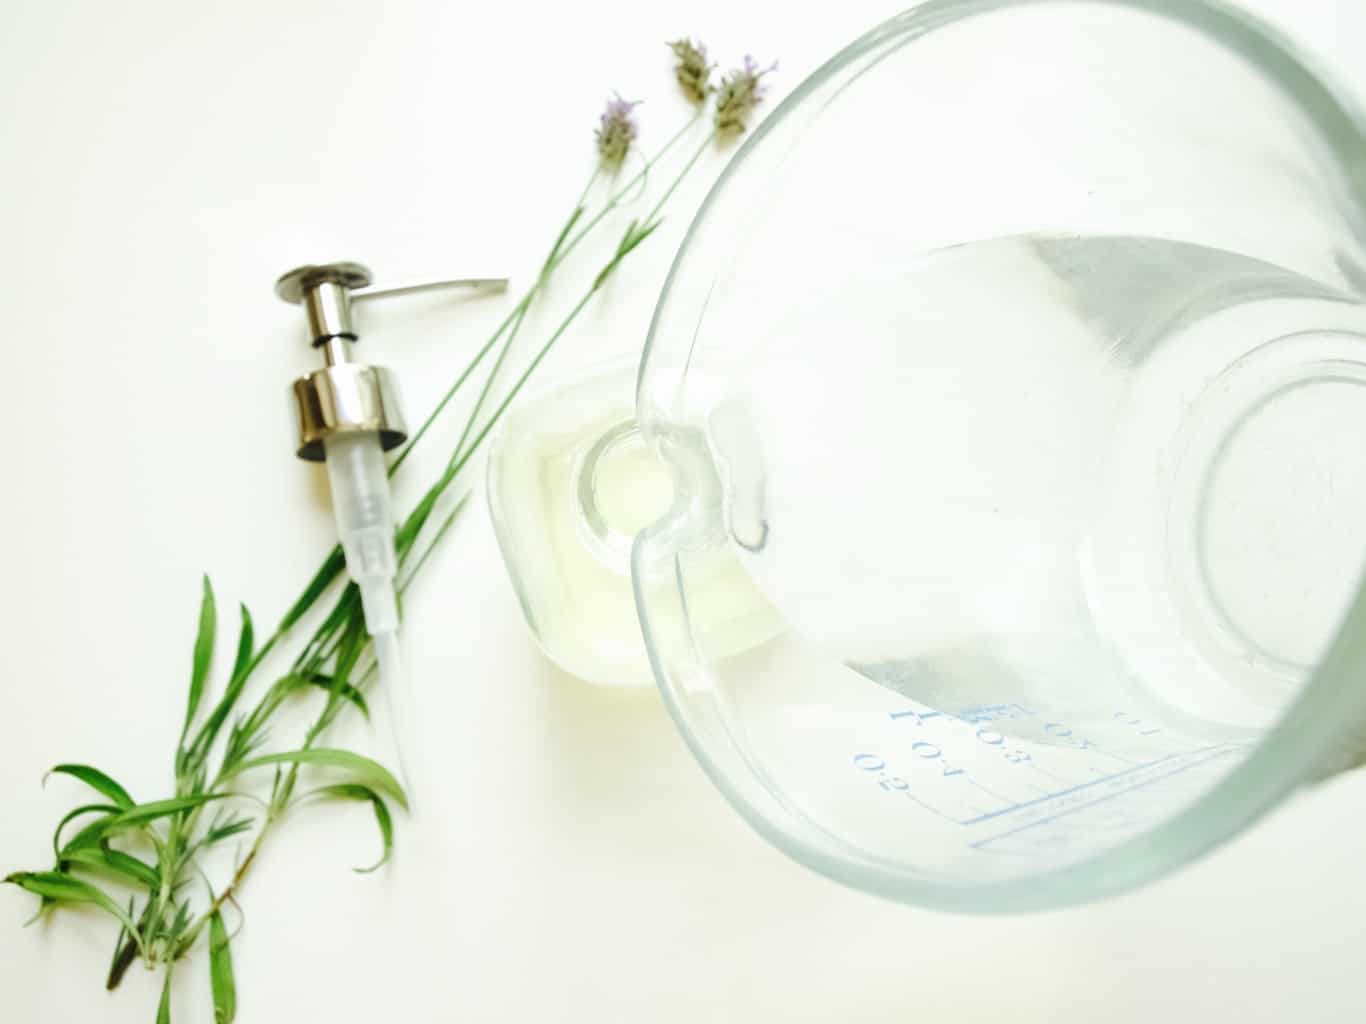
Voila, it is that easy!Quick and easy liquid hand soap recipe
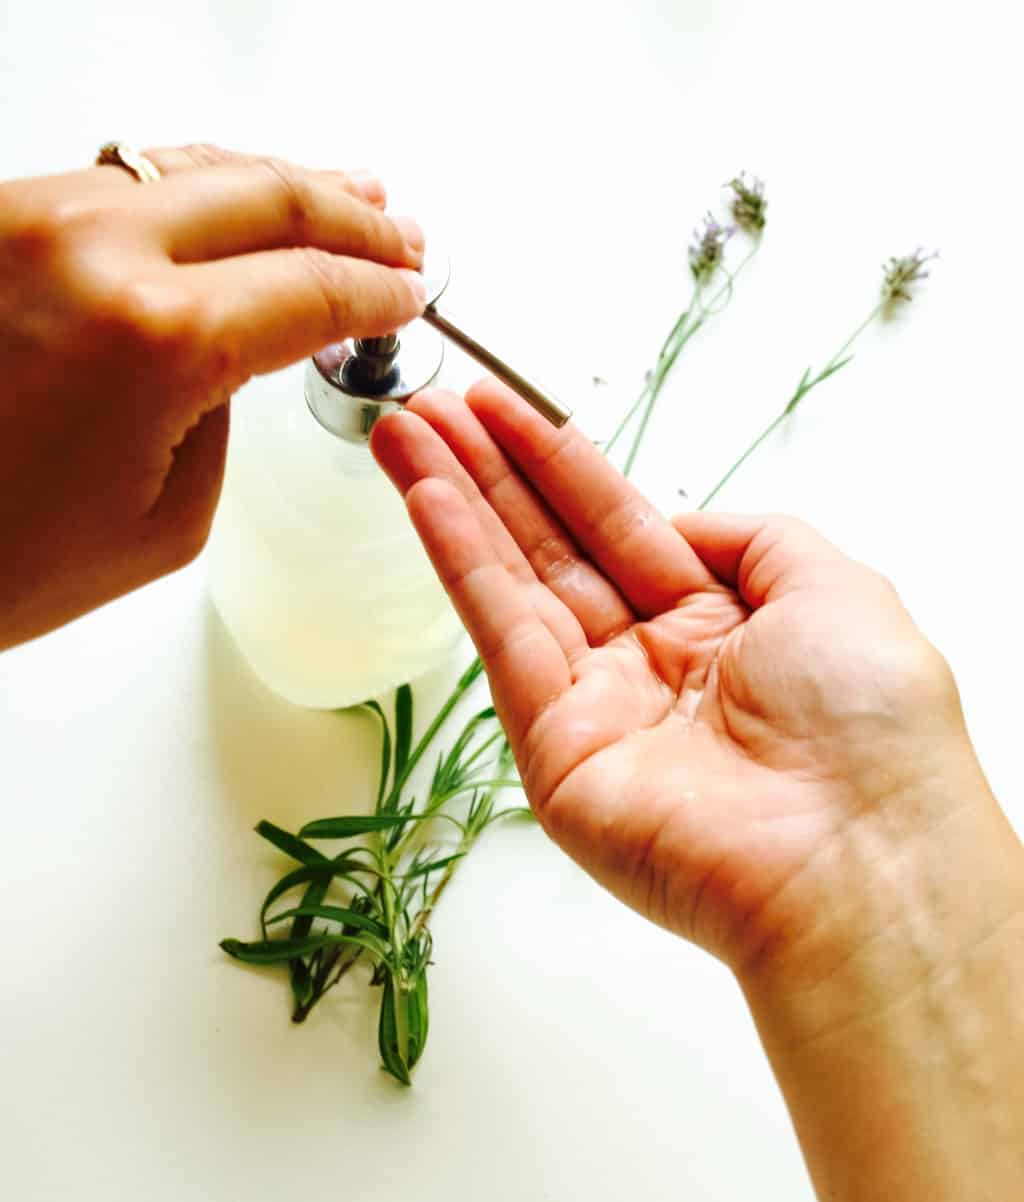
Hope this has been useful

Rasa ;-)

0

Making clotted cream from scratch

Making clotted cream from scratchHad a very tiring week (maybe it’s a baby thing). Really glad that it’s a bank holiday weekend!

Few months ago or so my mum was asking for the recipe for the “butter” that she tasted once with the “fruit cake” during her visit in England. It took me a while to figure out what she meant (could that be brandy butter?). Anyways it turns out it was the fruit scones with clotted cream. We obviously don’t have clotted cream in Lithuania so I said there is no recipe for it… until my mum in law told me it’s quite easy to make. So there we go, I finally decided to try it out and make it from scratch. I researched a little bit and it seemed that Nigella Lawson clotted cream recipe is most genuine, however it needed milk so I decided to go with the simpler ones such as this or this. I was hoping for thick gooey texture with the yellow “crust” on top. So I definitely did not like this or this.  At the end of my loooong experiment I got something like mascarpone, which is alright, but not perfect :(. Could that be because I used pasteurised cream? It did not say if it was ultra pasteurised I swear!Making clotted cream from scratchSo what I did was I got a pot of double cream from Tesco (300ml pot) and poured it into shallow casserole dish. I covered it and placed it into 90C preheated oven for about 8hours (I wonder how much energy did that use!). Making clotted cream from scratchAfter “baking” the cream looked like soft cheese, a little bit like mascarpone without any liquid or milk behind it. Making clotted cream from scratchBut it tasted wonderful with the scones! Will have to try making the clotted cream (hopefully from unpasteurised cream) in Lithuania. But I would never make it again in UK when clotted cream is so easily available in shops. Making clotted cream from scratchHave a lovely weekend!

Rasa x

1

Soda bread baking

Soda Bread with Spelt recipeI always try to bake my own bread, but to be completely honest here I don’t get to do that very often. Who has the time to wait for at least 3 hours? I guess I could be more organised and think in advance when bread is need for dinner. But that is not always possible either. Thanks to the Irish, there is a quicker solution for home bread baking. Soda bread as the title suggest uses baking soda instead of yeast, therefore the rising process is faster. So no waiting time! Great! Over a week ago I baked these little soda bread buns for dinner (we had burgers) that had spelt. You see, I really wanted to try Leatheringsett Watermill spelt flourSoda Bread with Spelt recipeWHOLESOME SODA BUNS makes 8-10 buns

  • 250g spelt flour
  • 250g strong white flour
  • 10g salt
  • 4tsp baking powder
  • 150ml milk
  • 150ml yogurt
  • 1 egg, whisked
  • seeds of your choice (optional, I used sesame seeds)

1. Combine all the ingredients in the bowl (except egg and seeds) and kneed briefly to make a dough. Soda Bread with Spelt recipe2. Divide the dough into 8 or 10 balls. Place them on a baking tray and cut a cross in the top f each bun. Brush some whisked egg on top and sprinkle with seeds.Soda Bread with Spelt recipe3. Bake these buns in preheated 200C oven for about 20 min until they sound hollow when tapped on the base. Soda Bread with Spelt recipe4. Let the buns cool for few minutes before enjoying them ;-) .Soda Bread with Spelt recipeHave a lovely week!

Rasa xoxo

0

Homemade play dough

Make your own play dough that last up to 6 monthsAlthough I have no children of my own, I once had a chance to make some play dough for a kids group. My favourite Lithuanian cook book (yes, a cook book!) had a recipe for play dough and I was determined to try out ALL the recipes from the book. I sort of had a competition going with my mum, which of us will complete the book sooner. If you are wondering who won, it was of course ME!!! I take competitions very seriously, just in case you did not know ;-).

Anyway, making play dough was fun, although not everything came out right. This time round I decided to do more research rather than relying on one recipe. I was looking for a recipe that  is quick and easy to make, long lasting, and a very flexible texture. I came up with a semi-cooked version which basically does not need a hob, but “cooks” in boiling water you pour over it. Smart, isn’t it? And apparently it last 6 months!

So, the reason for this post (in case you are wondering), is to make some play dough for gifts to friends/family who have children. These are perfect for that I thought. I even thought of custom packaging!Make your own play dough that last up to 6 monthsFor one lump of play dough the size of an orange you will need:

  • 1 cup flour
  • 1/4 cup salt
  • 1 tbsp citric acid or cream of tartar
  • 1 tbsp oil
  • food colouring (amount depends on the brand of colouring you are using)
  • 1tsp orange extract (totally optional, adds nice smell)
  • 3/4cup boiling water

1. Combine flour, salt, citric acid, oil and orange extract (if using) in the large jug or bowl.Make your own play dough that last up to 6 months2. Mix food colouring with boiling water and pour it over the flour mixture. Mix it with the spoon until you get a clean dough ball. If it is too sticky, add some flour.

3. Remove the dough from the bowl and kneed it vigorously until it becomes really smooth. I love this part of the making as the dough is still warm and nice to touch!

4. If you are giving this as a gift the best way to store is all wrapped in cling film or in the air tight container.Make your own play dough that last up to 6 monthsHere are the labels, free to print ;-).Playdough labels Make your own play dough that last up to 6 months Make your own play dough that last up to 6 months Make your own play dough that last up to 6 monthsI hope you will enjoy making this :)

Rasa xoxo

0

Liquid soap making

Liquid soap making (recipe included)One of our favourite wedding gifts we have received is this lovely soap pump from Alex. It looks very handsome don’t you think? The only con of having an empty soap pump it that it does come empty and we just realised that it is not so easy to find soap refillers in the shops. So I have decided to give a go and make my own! Few years ago I have made soap, so I know a little bit about how to make soap from scratch. However I have decided to make liquid soap half-way this time (I mean from existing hard soap). First, I had some soap to use up and second, I did not want to do much of preparation. Basically I wanted this to be a quick job without worrying about chemical reactions in my kitchen. Liquid soap making (recipe included)For this Liquid soup you will need:

  • 100g hard soap (can be any you want, but scent-free ones are preferable)
  • 200ml water
  • 1 tsp glycerin (can be purchased in many pharmacy shops)
  • 1 tsp essential oil (I used lavender)

1. Grate the soap. I used Wrights coal tar soap, which wasn’t a good choice as it is almost impossible to kill that strong burned smell. Liquid soap making (recipe included) Liquid soap making (recipe included) Liquid soap making (recipe included) Liquid soap making (recipe included)2. Gather all other ingredients such as glycerin, and essential oils. Liquid soap making (recipe included)3. Weigh the soap flakes and boil water accordingly. There should be 200ml water per 100g of soap. Melt the soap flakes in boiled water and process it with the hand processor. Liquid soap making (recipe included)4. Add glycerine and essential oil into the soap mixture and combine it well.Liquid soap making (recipe included) Liquid soap making (recipe included)Have you learned something new today? Rasa xoxo

1

Soap making (from scratch)

I love creating, crafting and DIY projects! I would like to think that I buy less (and spend less by being really really frugal) and make more, however this is still not truth. I started making my own cosmetics and soap so hopefully this will take towards my goal (to live homemade lifestyle of course).

To make this soap you will need:
610g olive oil
85g caustic soda (I bought mine in B&Q and I have seen some sold in Boots)
230ml water
2 tsp lemon balm or citronella essential oil
zest of 3 oranges
zest of 2 lemons
Safety googles
Rubber gloves
Scales
A stainless steel or enamel (not aluminum) pot
A glass or plastic pitcher to hold the water and caustic soda
A glass or plastic measuring jug
Plastic or wooden spoons (that you are not going to use for food again)
A stick blender/hand processor
Two thermometers with the prong (I used one, but had the kitchen towel paper at hand to wipe after each use)
Kitchen towel paper for clean ups
1. Prepare the workspace and gather all the ingredients ( you will be working with caustic soda, dangerous chemical, so make sure children and pets are not underfoot while you work). Make sure you have googles (I used my own spectacles which was safe enough) and rubber gloves at hand, because caustic should never touch your skin, as it would burn you (for more info read on how to work with caustic soda (sometimes called lye) safely.
2. Pour 230ml cold water (around 20C) into the pitcher. Measure 85g caustic soda and pour it into measuring jug. Add caustic soda into the water (not the other way round; don’t add water into the caustic soda) and as you doing that keep your face turned away to avoid inhaling the fumes. Set the mixture aside as it is cooling down and fumes dissipate.
3. Weigh out 610g of oil and pour it into pot. When Caustic soda water is around 45C start slowly heating the oil. When both oil and caustic soda are at the similar temperature (around 35C-39C), gradually pour caustic soda mixture into the oil while mixing (do not use metal spoon for this).
4. Use stick blender to mix the mixture for 5-10 min until “tracing” occurs (you should see the spoon leaving visible trace behind it, like in the pudding). If you don’t see any tracing, be patient and try again after 10-15min rest.
5. Add essential oil and orange/lemon zests in to the mixture, mix and then pour it into the moulds. I used celicon loaf baking tin, but if you are using regular baking tin do line it with baking paper as well. Be sure you are still wearing your rubber gloves at this stage, since raw soap is caustic and can burn skin.
6. Leave the soap in the tin/mould for 36hours before unmolding.
7. To unmold the soap turn tin/mould over and allow it to fall on a towel or clean surface. Cut the soap into desired size pieces (I used cookie cutters to cut out these lovely heart shaped pieces).
8. Allow the soap to cure before packaging or before use for min of 3 weeks.
Rasa xo
2