

 Since Easter is coming up soon (so looking forward to it!), I thought I will make these hanging egg decorations. Last year I went au naturel with dying the Easter eggs, but this year I have decided to pain my eggs with the nail polish. I wasn’t sure how safe it is to eat the eggs that have been painted this way so I took extra precautions and made hanging decorations out of eggs instead. I have seen plenty of different marbling techniques on Pinterest (also had a chance to try this while in college), but nail polish technique seemed like the most suitable.
 To make the hanging egg decoration, first you need to remove the inside of and egg without breaking an actual egg shell. Why? Because in order to hang it you need to make the egg much lighter in weight (otherwise it would weigh out the branch you hanging that egg on!). I have done this “operation” quite many times in my childhood. I remember we used to make loads of hanging egg decorations not only for Easter!
To remove the eggs from the shell safety you will need the eggs (of course!), a straw, push pin and some toothpicks. If you have a long thick needle it may be even better to use it instead of push pin and toothpicks. 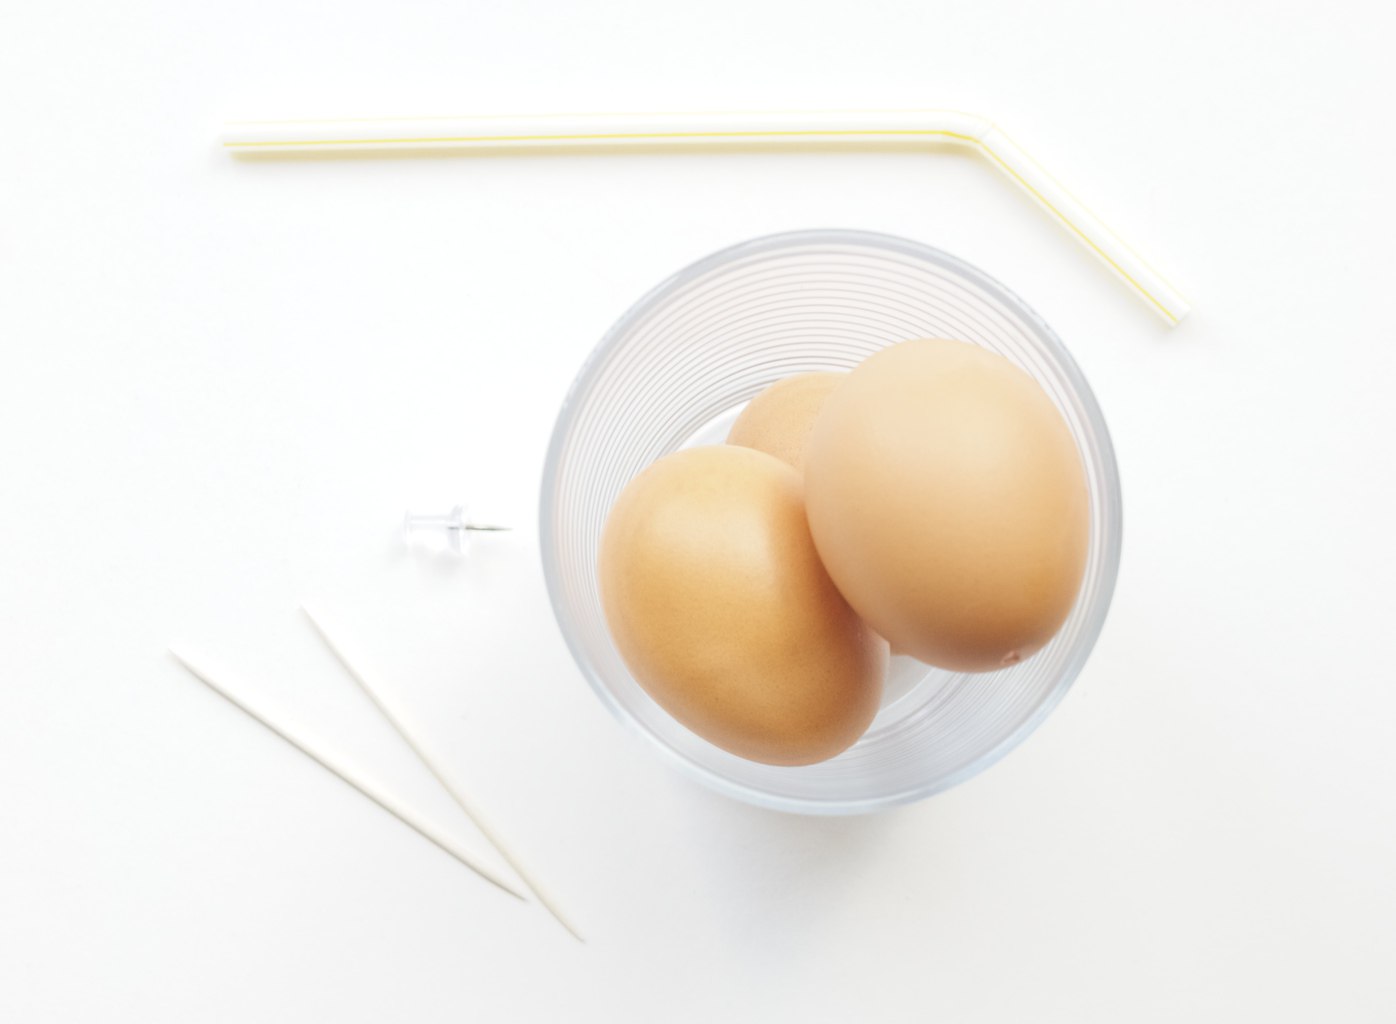 1. Make a hole by LIGHTLY twisting a push pin against the egg shell at the bottom or top of the egg (you will need two holes: one at the top and one at the bottom). Eventually you will get a small hole that needs to be widened. I usually make few holes around the main hole so I can break large enough hole the slightly larger than the toothpick.
2. With the toothpick break the yolk by stabbing it through the hole.
3. Blow into the hole with the straw (this may take a while) until it becomes easy to blow.
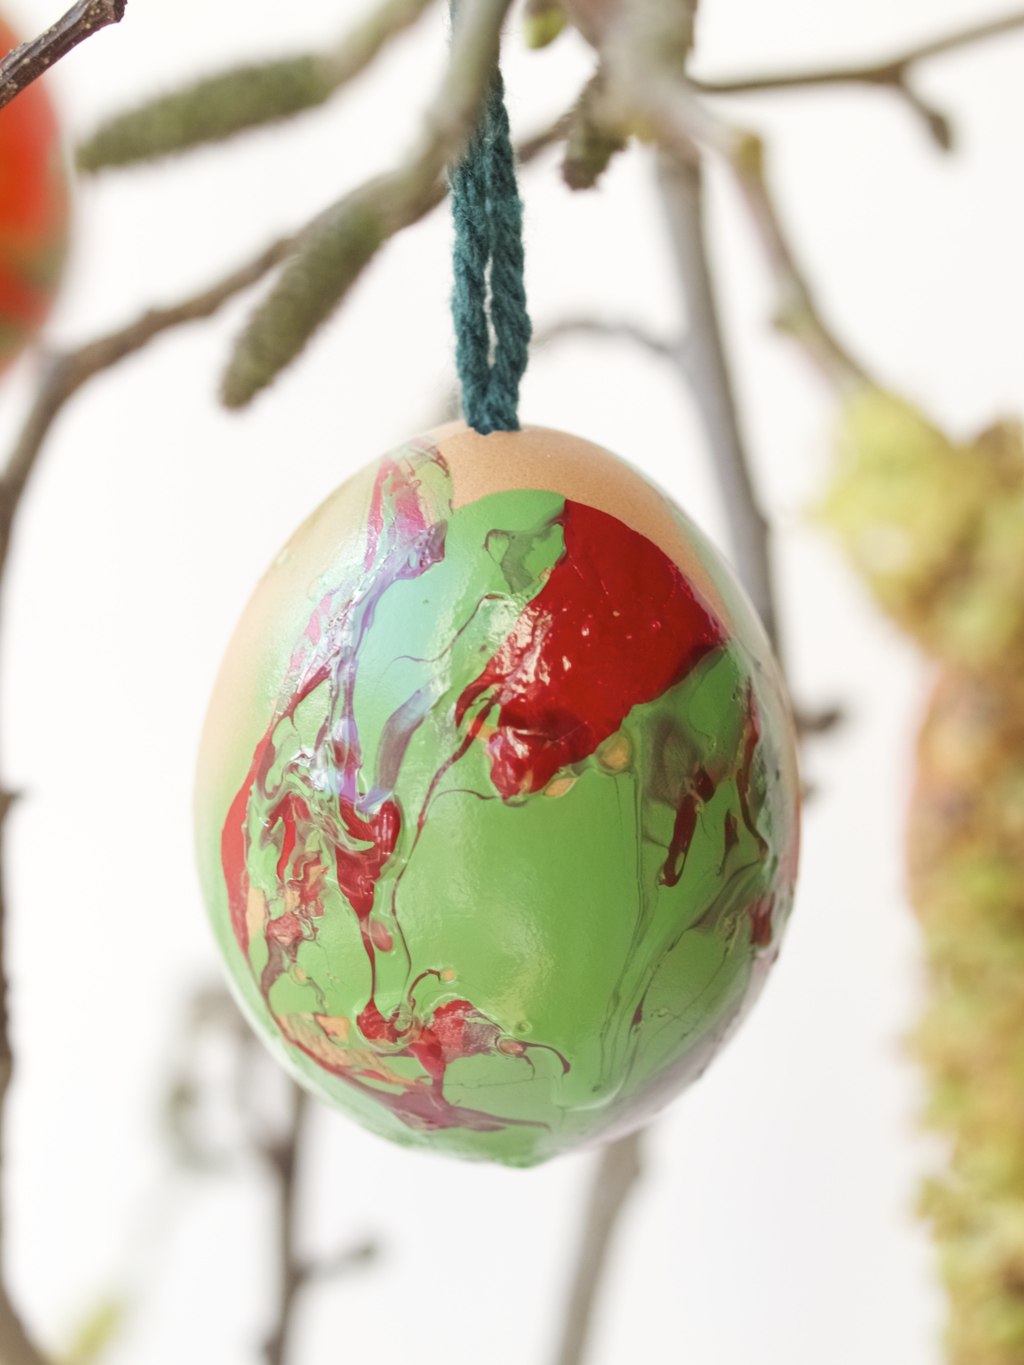
4. The egg liquid should come out through other side of the egg.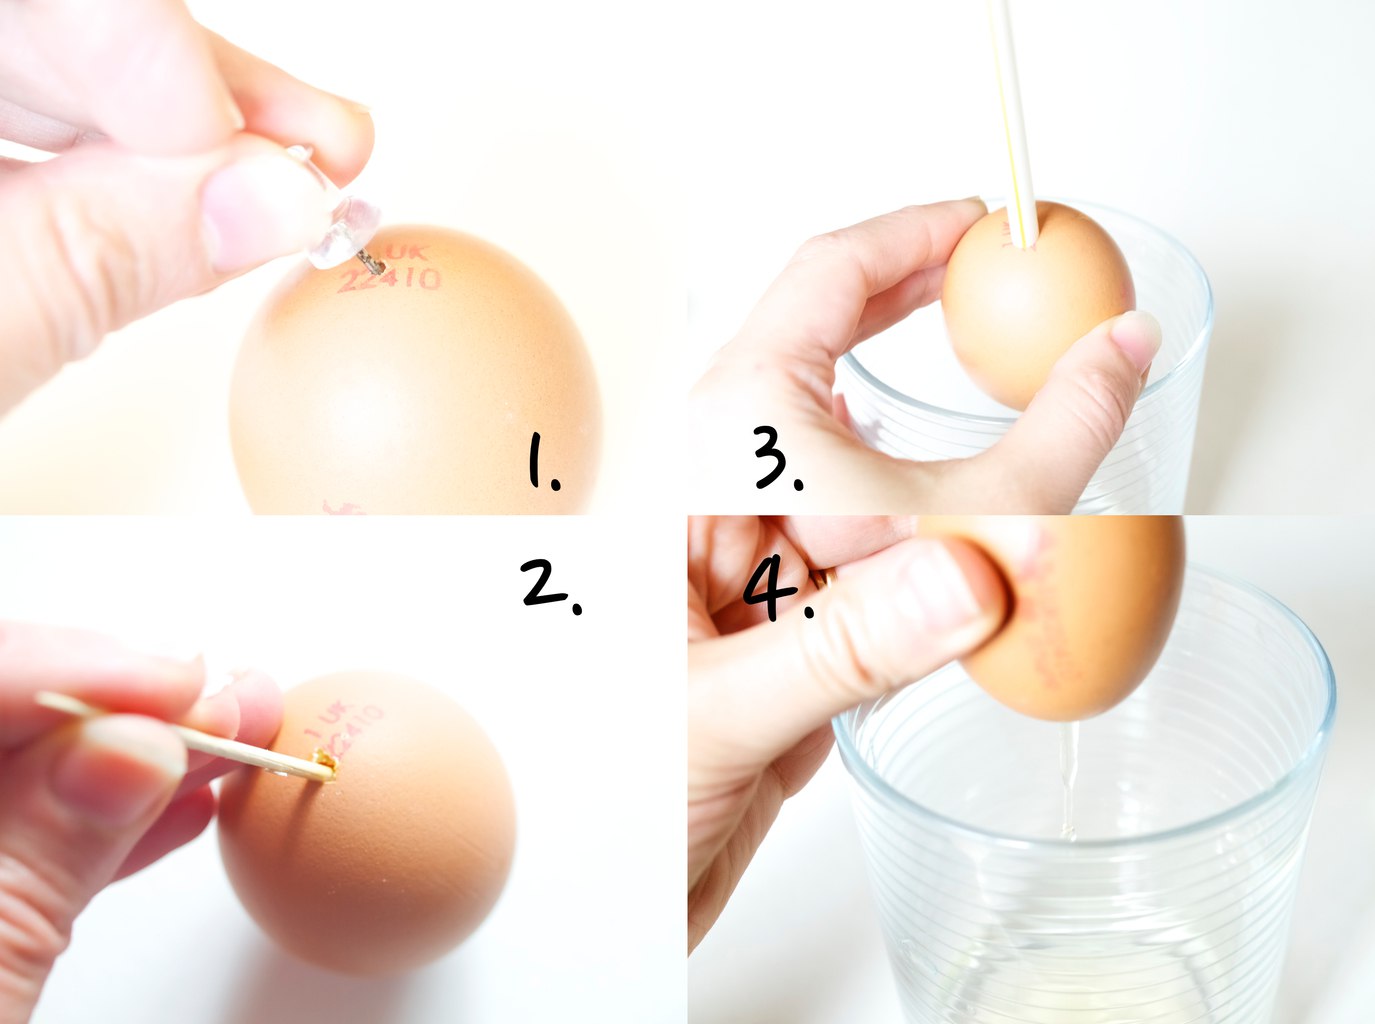 The next stage is marbling! As mentioned above, I had a chance of trying out this wonderful “painting” effect while in the college. Although I remember it being messy as the paint took forever to dry, I still like the look that this effect makes. As soon as I realised that you can use nail varnish I was so eager to try it out, because I knew nail varnish do dries out and become solid.
 For egg marbling session you will need the empty eggs (see previous stage to learn how to remove the inside of an egg), a shallow disposable container, treasury tags, a tool to swirl the colours (I used wooden skewers) and nail varnish.
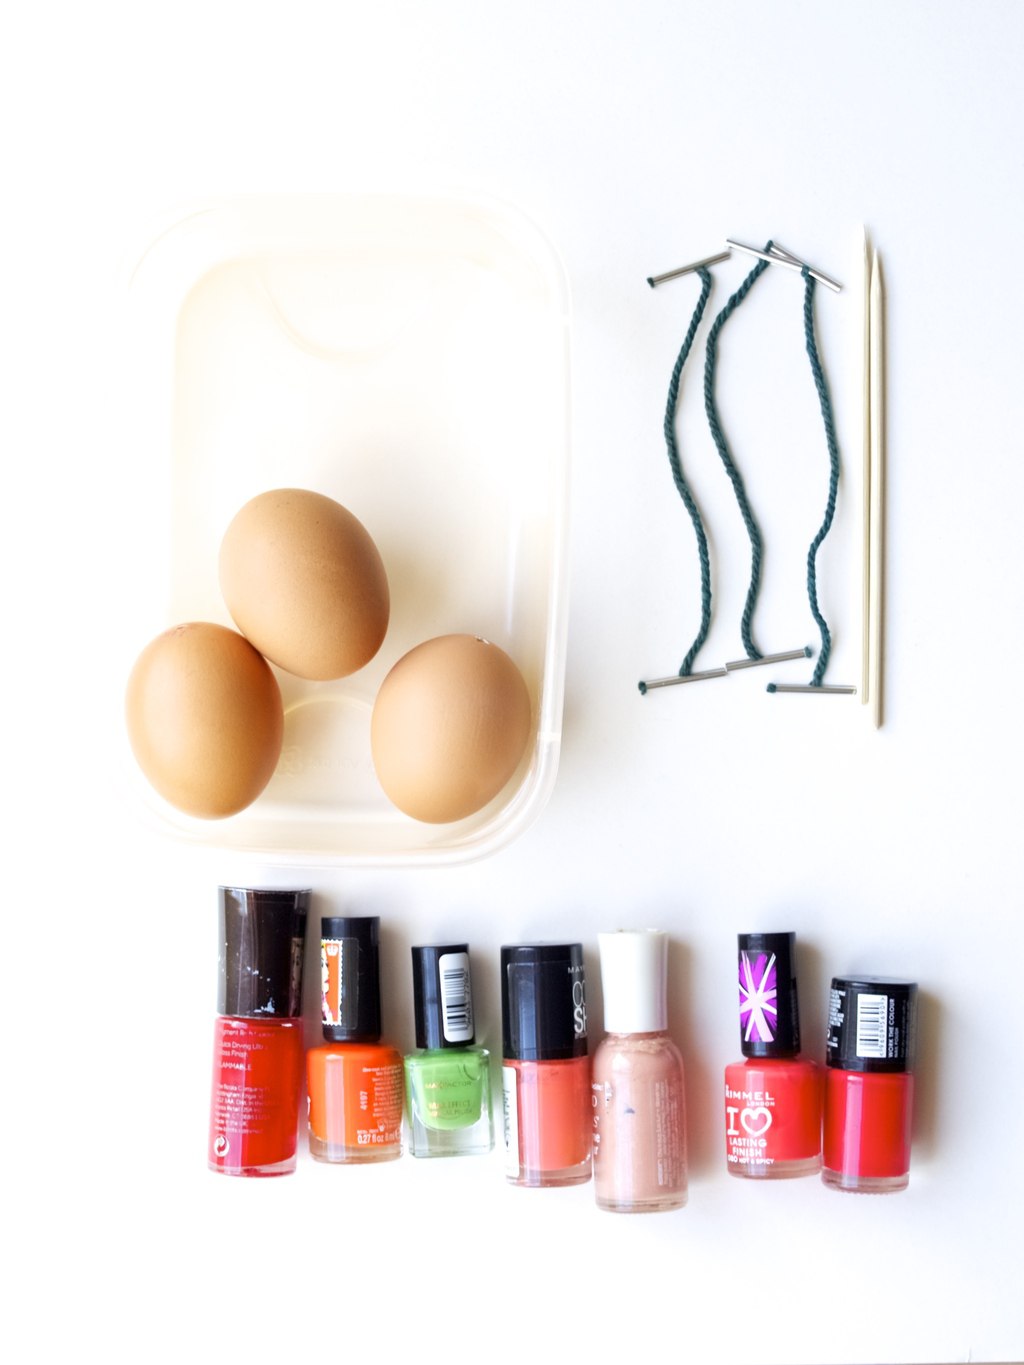 1. Insert both ends of treasury tag through the top egg hole to form a loop.
2. Prepare the marbling container by filling it with some water and dropping few nail polish colours inside it.
3. Use a tool (disposable preferably) to swirl the colours. This is completely optional and I found that the eggs that came out the nicest was marbled with the nail varnish that wasn’t swirled.
4. Dip the egg and roll it on the water surface as much as you can so it covers the whole surface.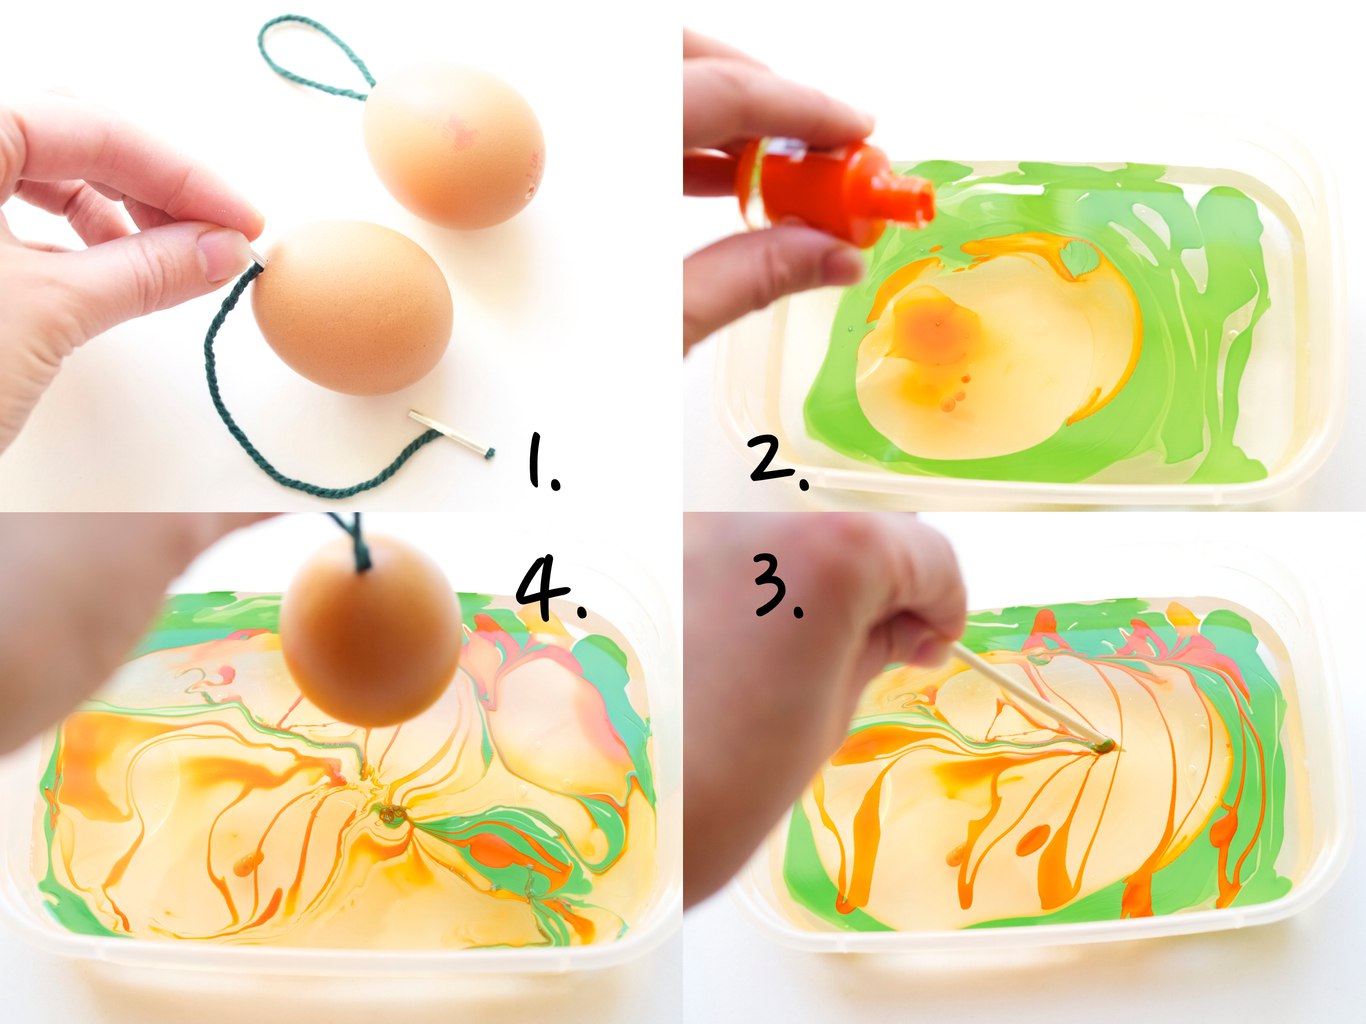
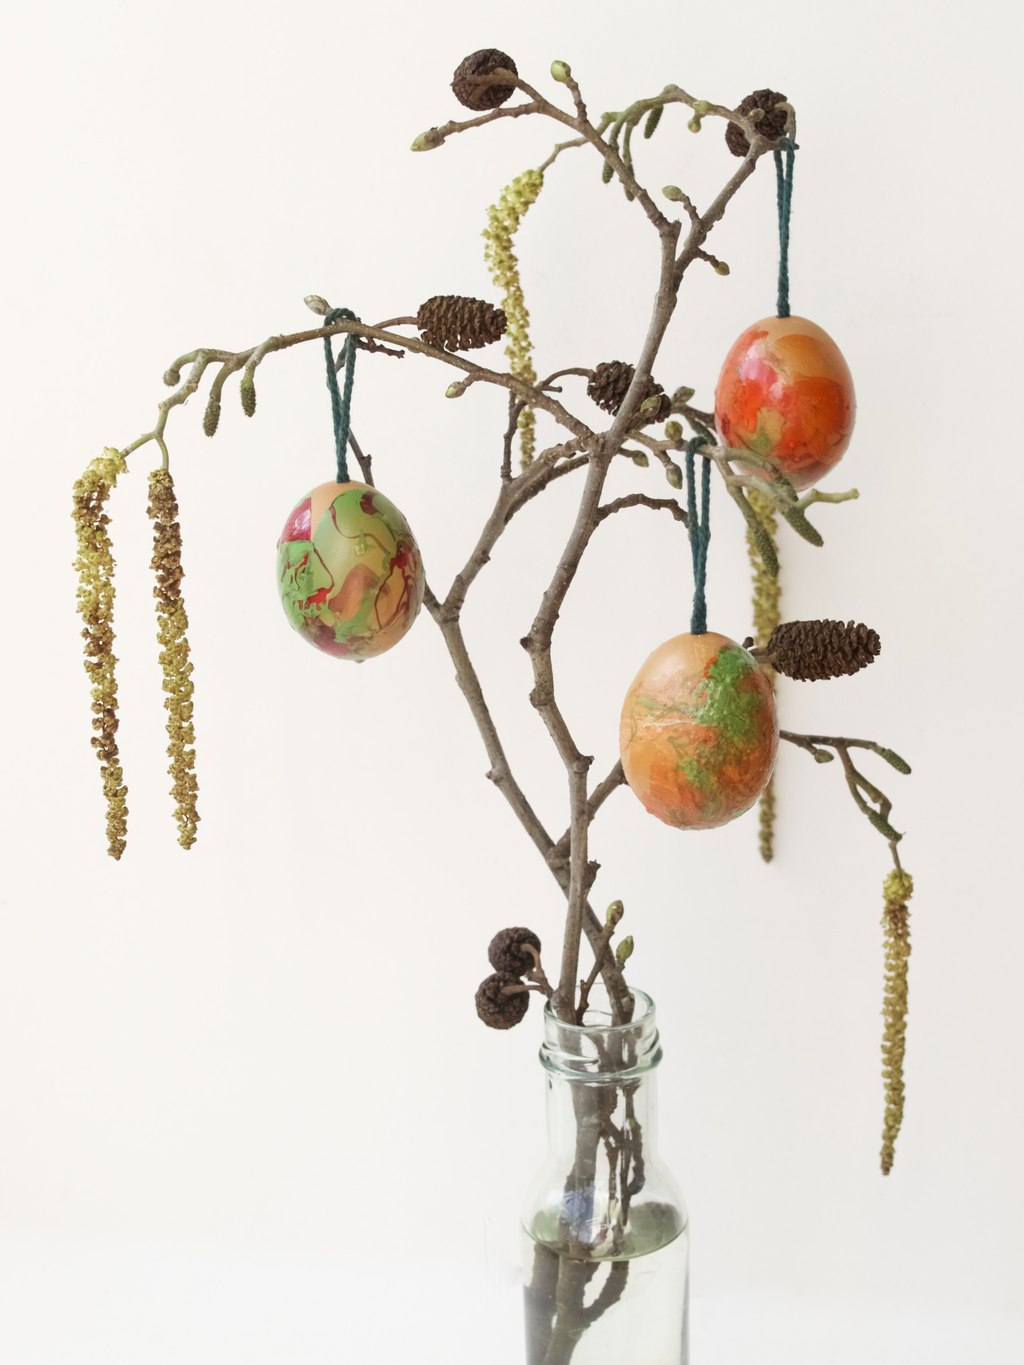
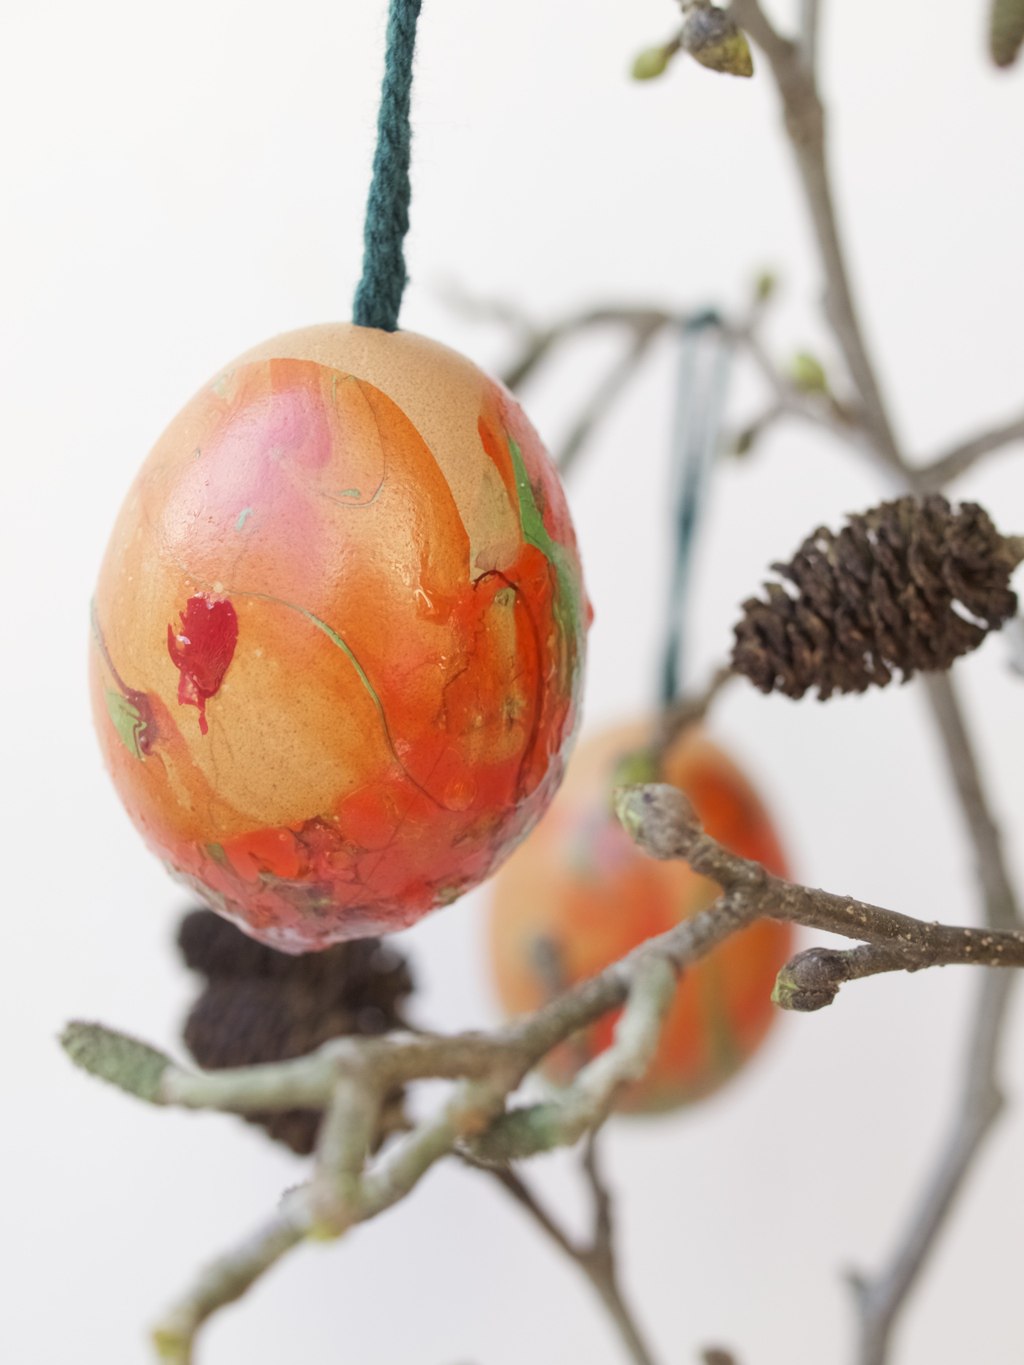
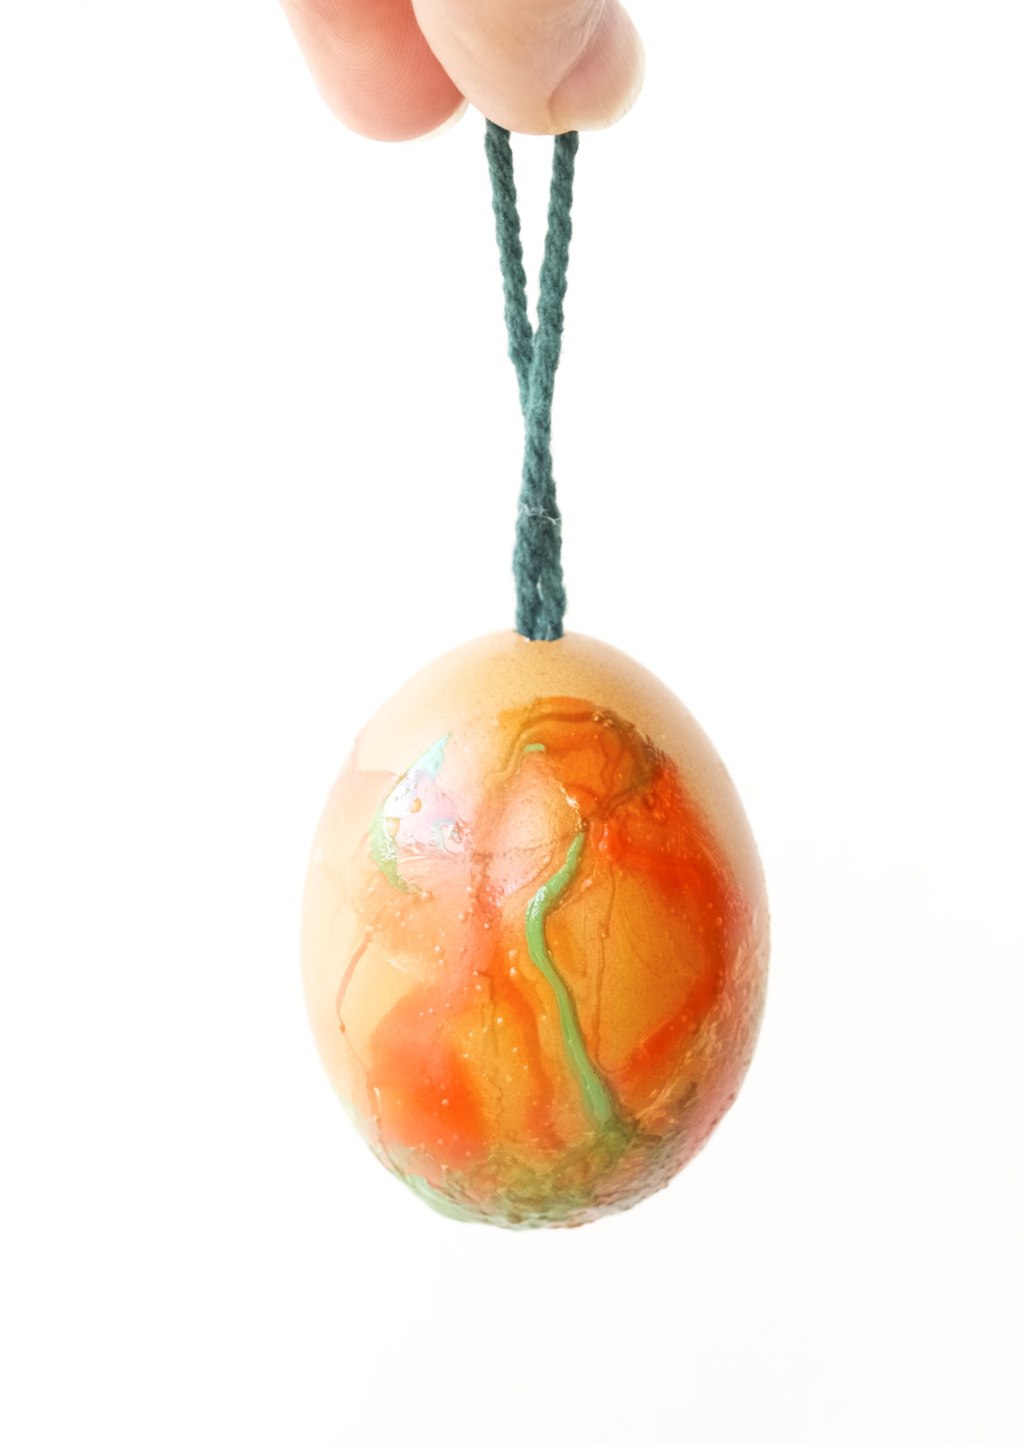 Hang the eggs to dry and once dry decorate the tree branch or anything else you want at home with it ;-).

 I hope you found this inspiring :-)
Rasa xoxo
No comments yet.