Top

Archive | Crafts!

It’s not too late to knit a hat!

kids bear hat knitting instructionsFirst of all, Happy New Year everyone!

Secondary, just because it’s winter, that does not mean it’s over very soon. I hope I am not sounding too negative for some (I know some of you are really looking forward to Summer already), but we only had one winter month and there are two left to go. My point is that we should enjoy this weather and make the most of it!

I personally love love January (I learned to love every season), because it’s time for refocusing, spring cleaning (would like to call it winter cleaning but it sounds weird), detoxing (If you are into it) and knitting of course. I love January because it is a beginning of the year and the plans are not strictly set therefore it is often not a busy month.kids bear hat knitting instructionsOver holidays I have started knitting because we have gone away and I was free from doing all the house tasks. I find knitting (or any other crafting) is something I can do while chatting or watching a movie. I find it very relaxing! I knitted this hat for my nephew that Tomas is modelling here, hence blurry pics because he can’t stay still. If you fancy knitting this hat then you can access the project here!kids bear hat knitting instructionsHave an enjoyable January!

Rasa xoxo

0

Origami advent calendar

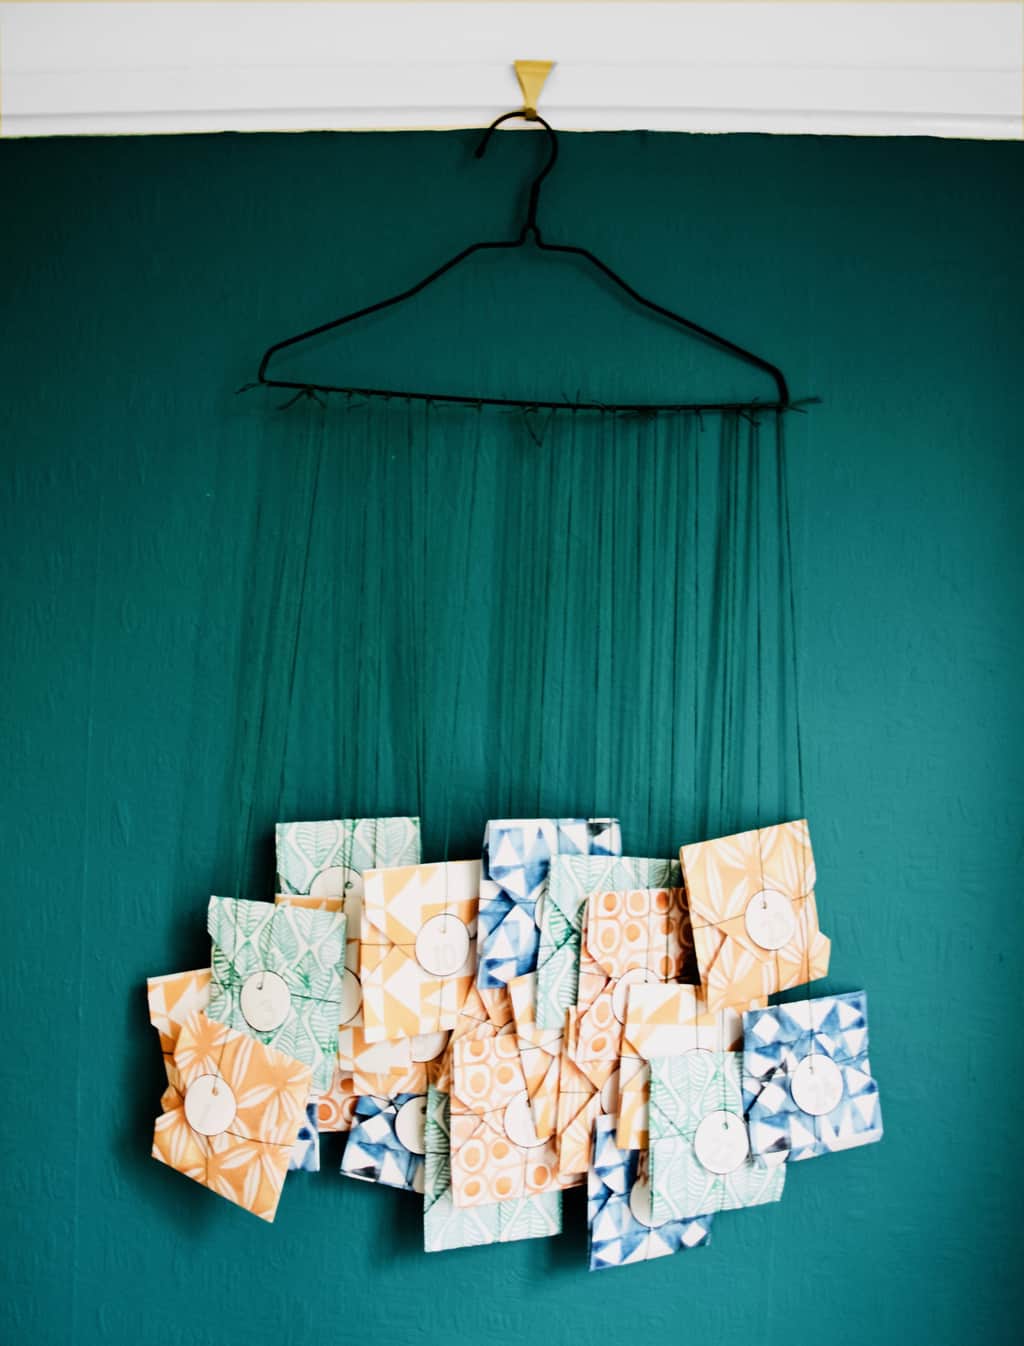
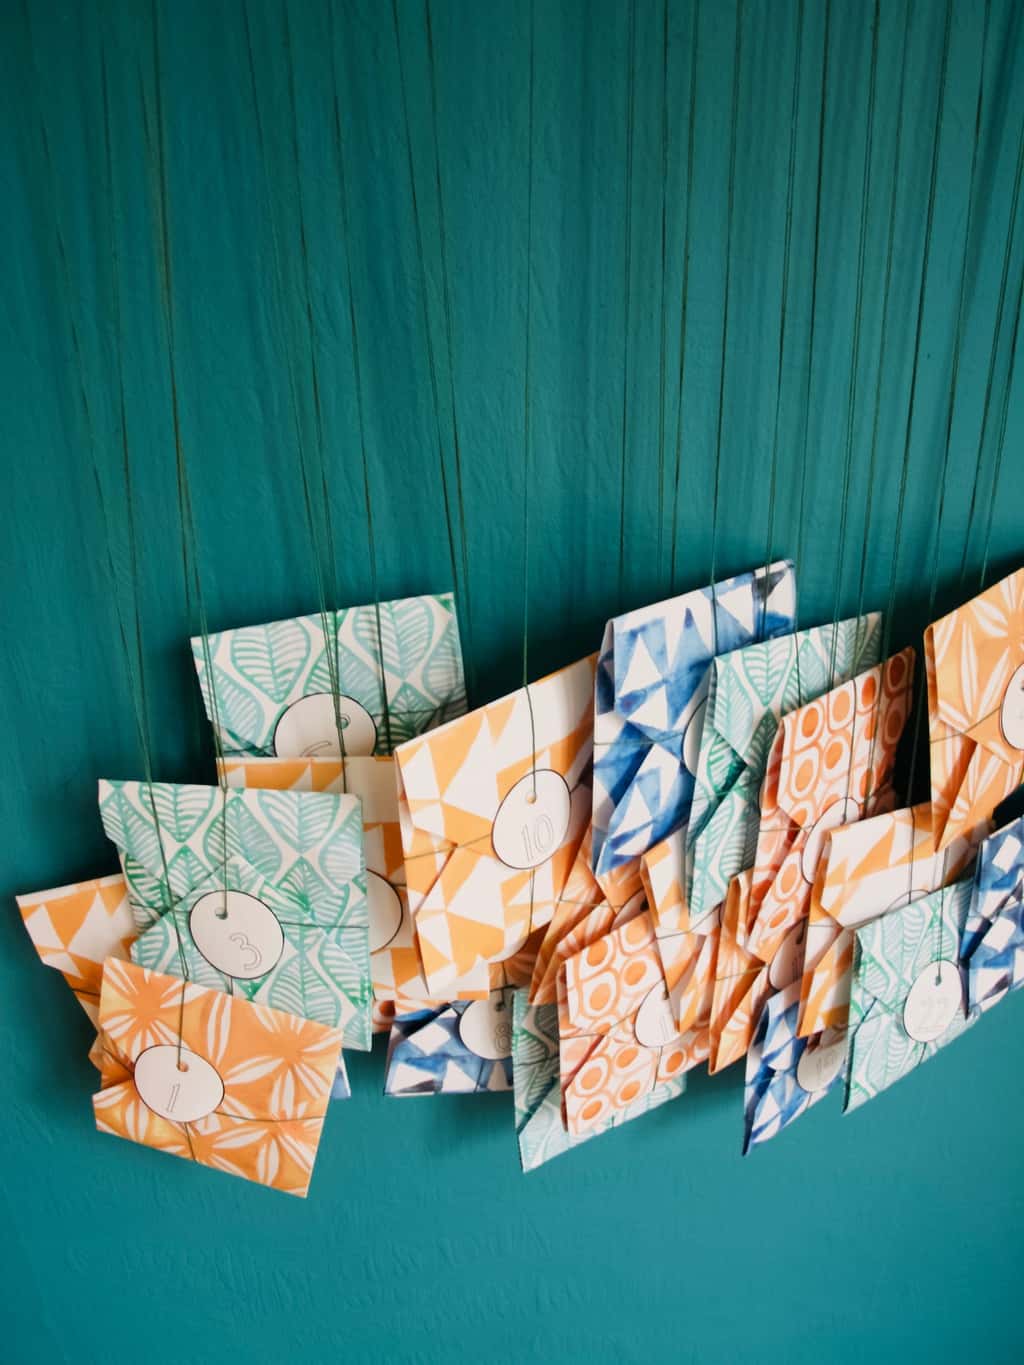
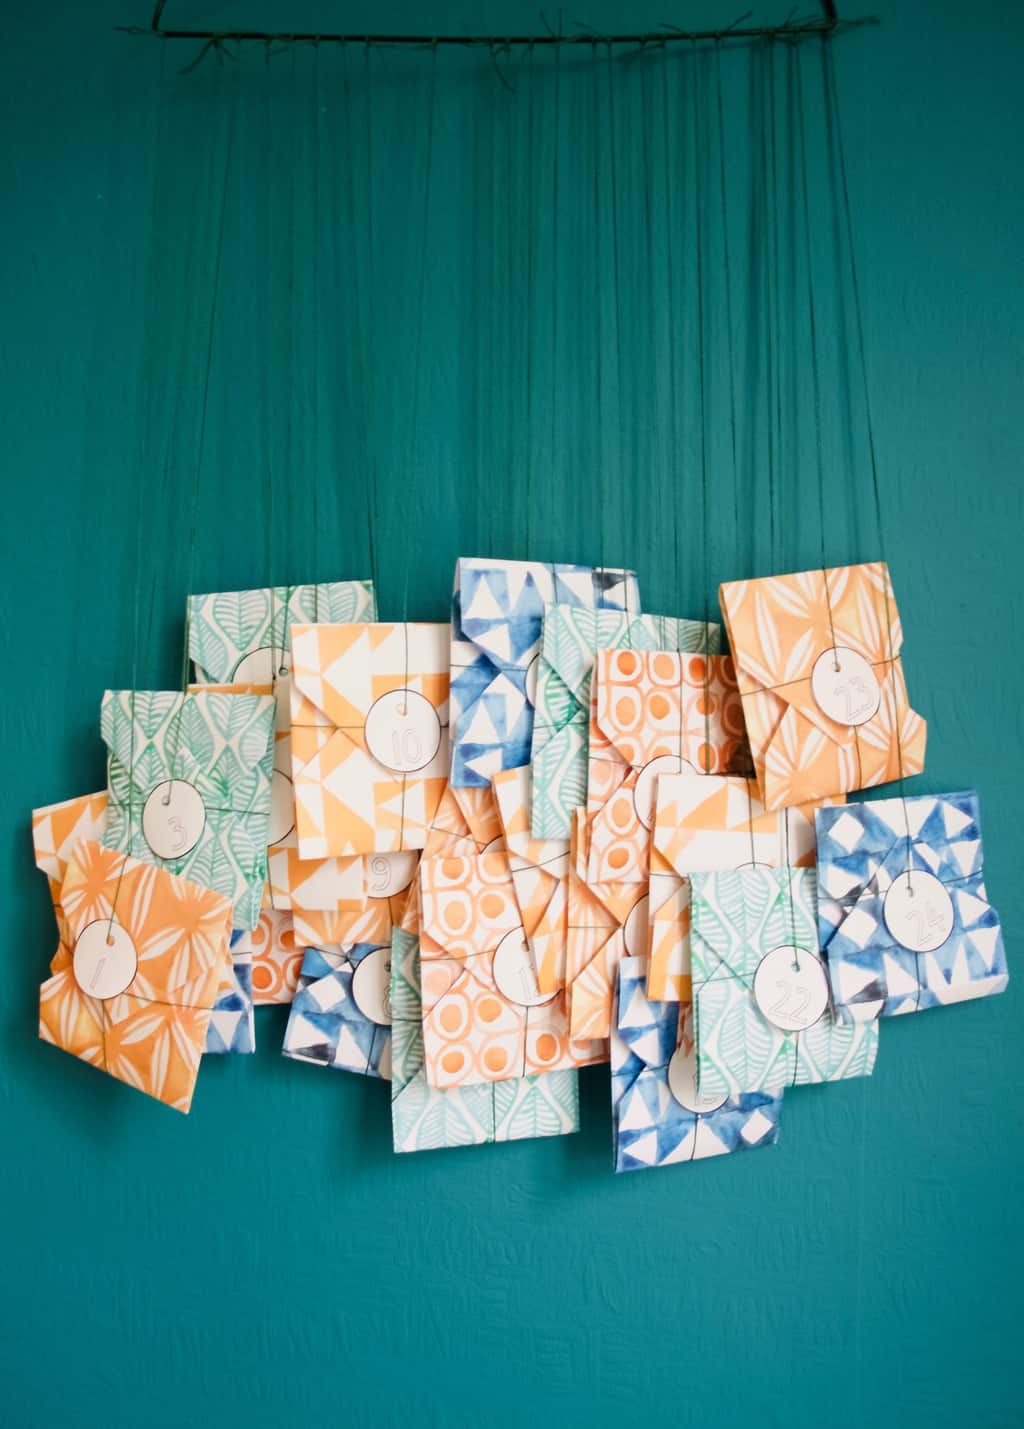
Origami advent calendar DIYSo here it is, our advent calendar for this year :). Very very simple to make and I have already received many compliments from friends! I simply used some pattern designs that I created for watercolour challenge few months ago and it brighten up our living room already. Yey!

Each package contain origami idea which is great for me (I love learning something new!) and great with involving kids. I am planning to either teach Lukas how to make stuff by folding paper (for easy ones) or let him decorate completed origami item. I am also considering not to be stuck with using only paper. The possibilities are endless, regular blanket could turn into star for all you know. For those who are following me on social media be prepared for daily dosage of origami!Origami advent calendar DIY You ready to make your own origami advent for this year? Then let’s crack on!

You will need:

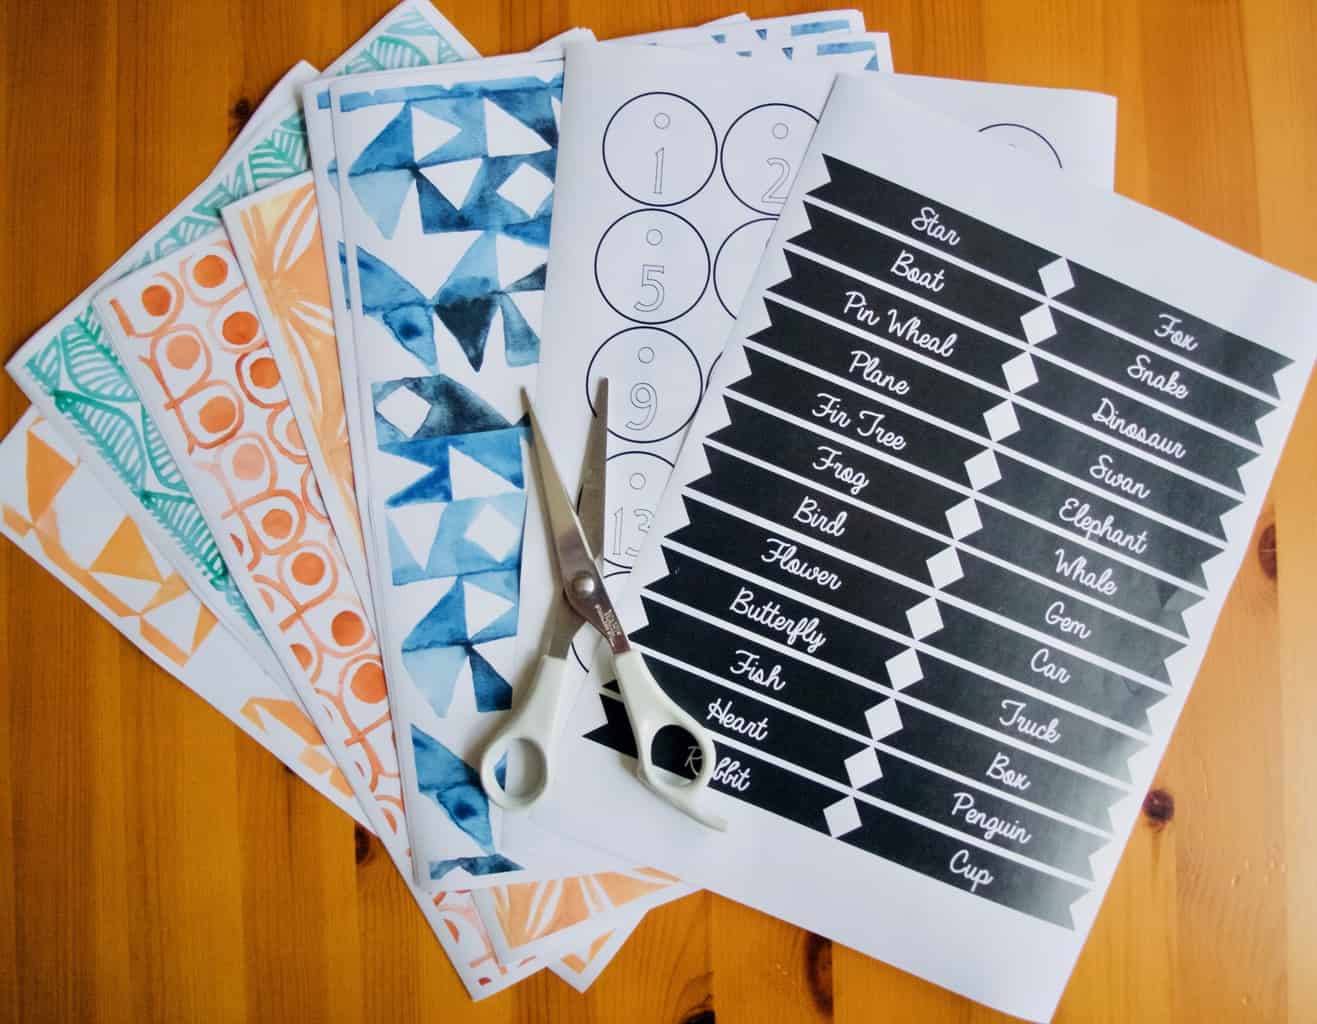
  • A4 or square size patterned paper, either printouts or shop bought gift wrapping paper
  • number tags
  • origami idea “ribbons”
  • scissors
  • treats to add into the packages (optional and we decided to go without this year)
  • a hanger
  • string or slim ribbon

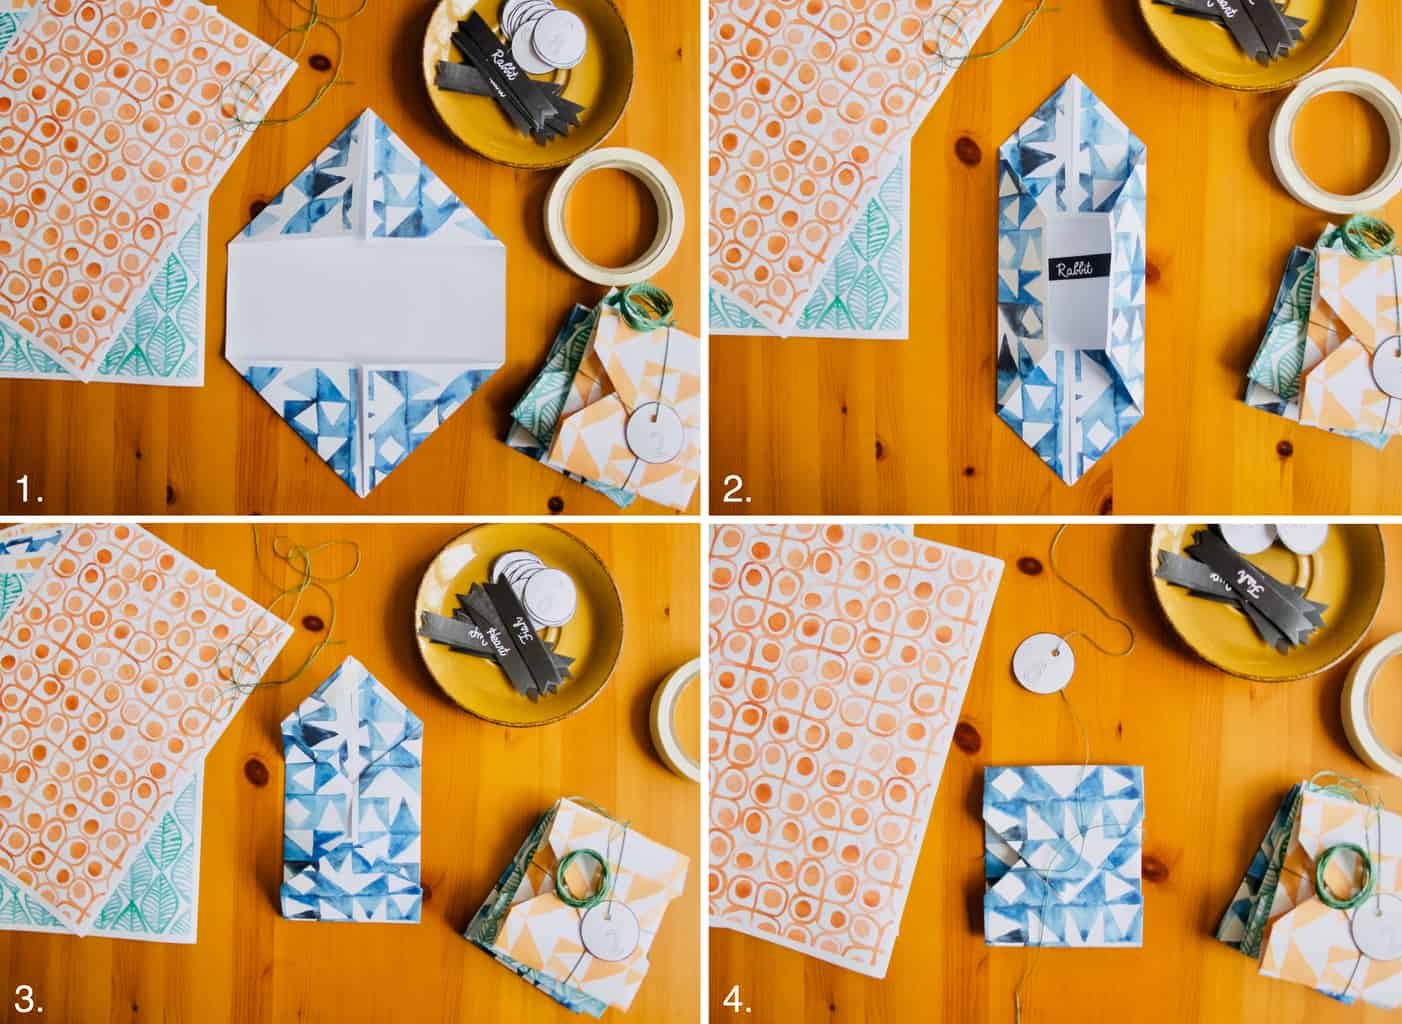
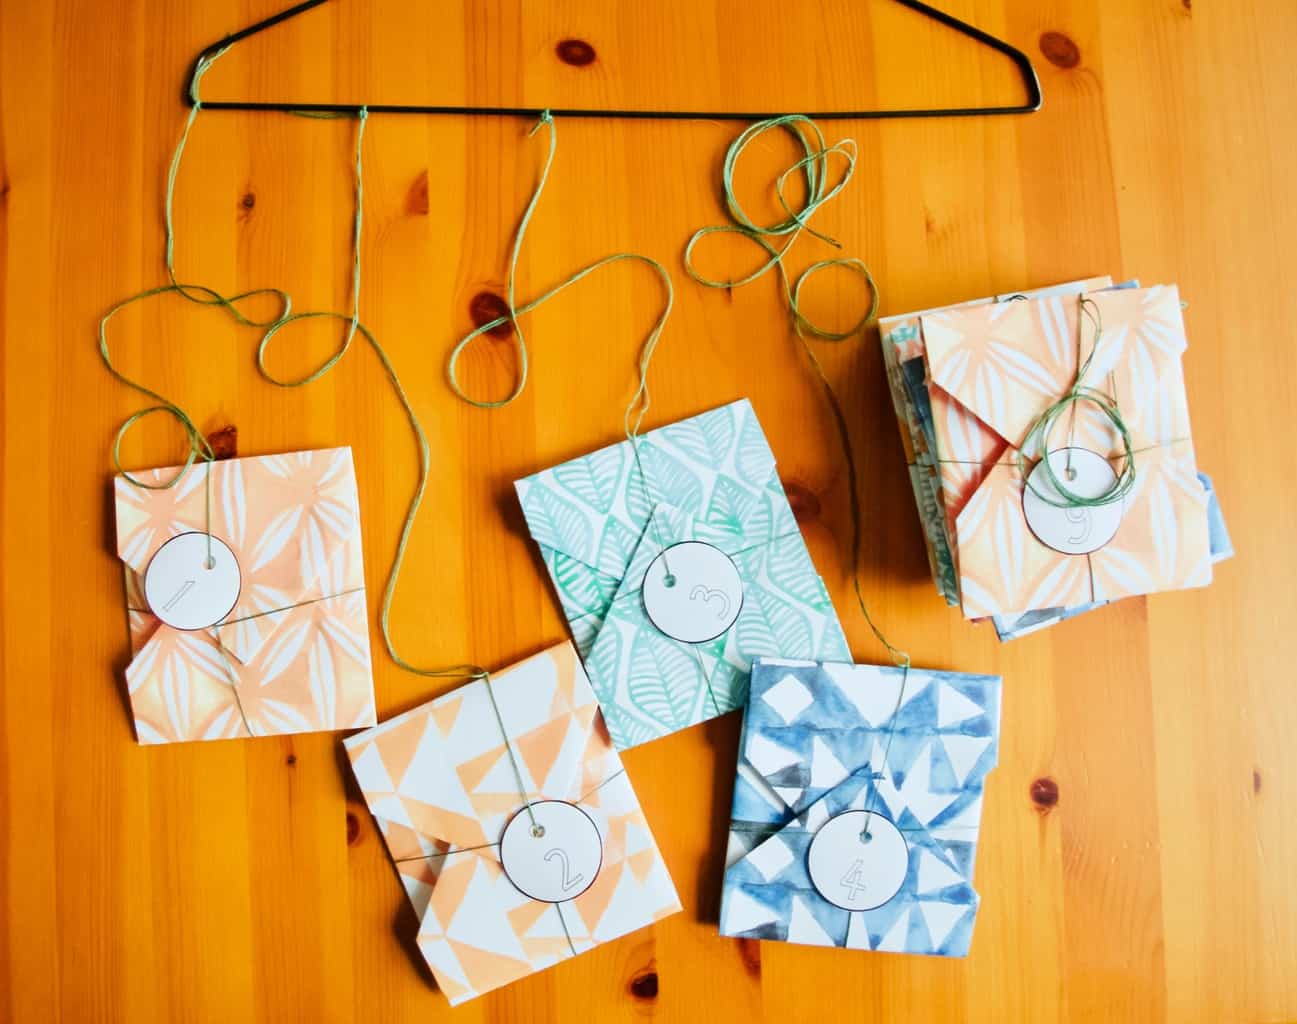
First, cut out all the tags and origami idea “ribbons”.Origami advent calendar DIYMake all the packages for every 24 days. Begin with folding in corners (1.), then fold in the sides and insert all the contents (2.). Finally fold in the pointy corners once again on both sides (3) and secure it using double sided tape. Use a string or a ribbon to wrap the package like a gift (4.). Don’t forget to insert the tag before tying the knot.How to fold an envelope from A4 Once all the packages are complete, then all you need to do is tie them on the hanger and hang it on the wall.Origami advent calendar DIY Origami advent calendar DIYHappy Christmas waiting!

Rasa xoxo

0

Make your own macrame inspired crochet wall art

Do you remember when I made watercolour and embroidery wall art? I did say I was not 100% sure if it went with our bedroom interior and I think I was right (although there is no right and wrong when it comes to deco they say). This artwork never grew on me and it was time to replace it to something else completely different.

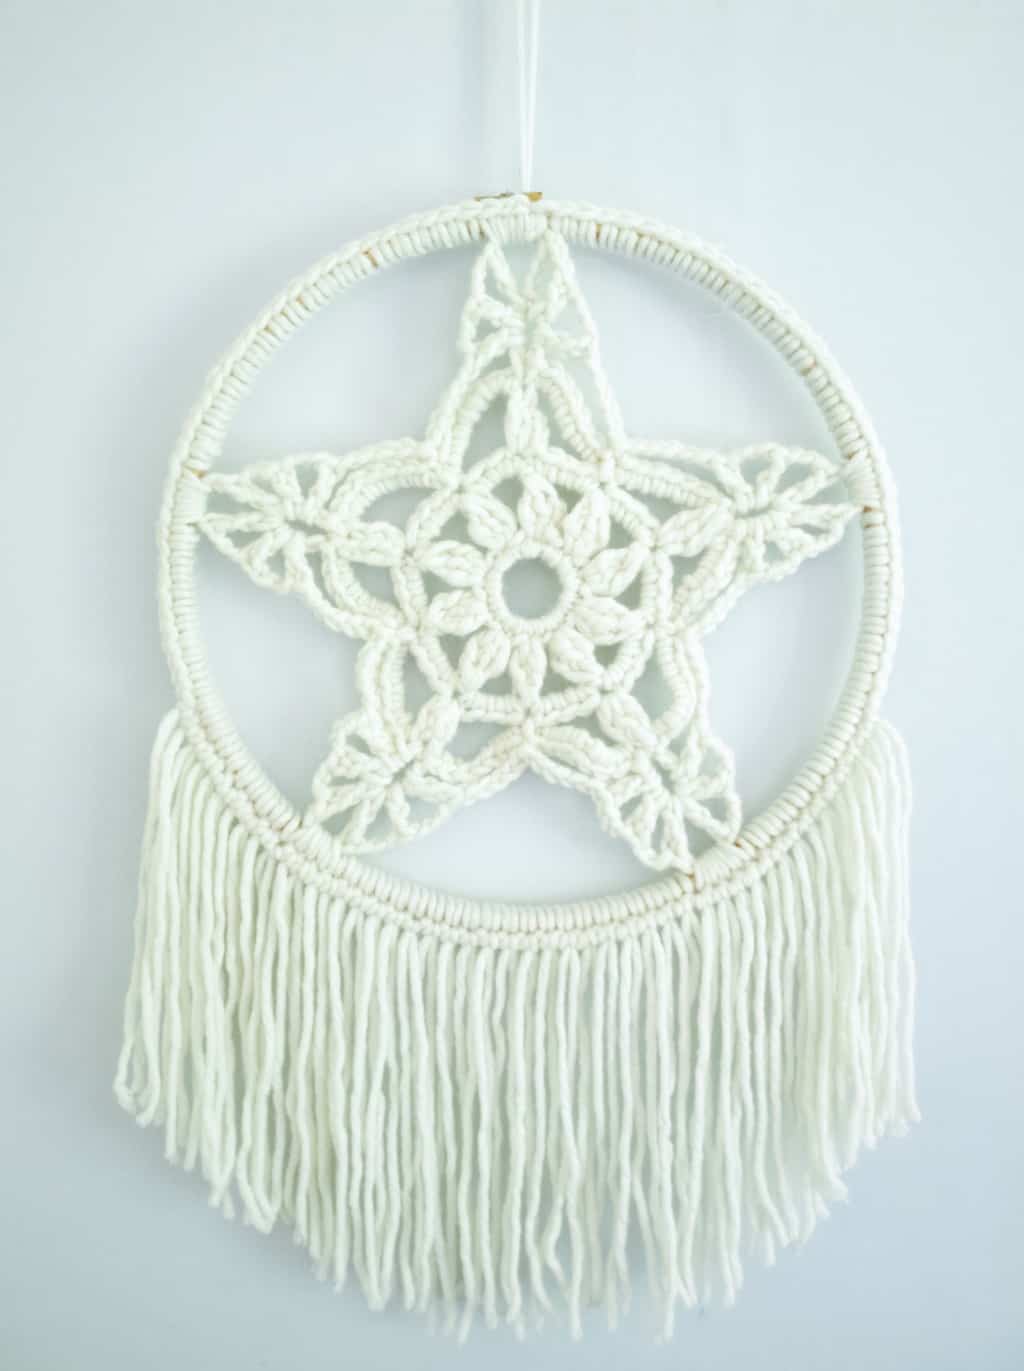
Now I am currently loving macrame craft although I am clueless how it’s done. When you are too busy with other projects I think sometimes its best to use the skills you already have. In my case this means crochet. Don’t you think crochet looks visually similar to macrame? I think when it is done the right way it can look pretty close!

Few months ago I made the climbing plant trellis inspired by macrame. I loved the outcome (and some yarn left) so I decided to repeat the technique somewhere else (although it happened to be in the same room). What do you think?Make your own macrame inspired crochet wall art If you are loving this as much as I do then you can access the project here.Make your own macrame inspired crochet wall artThanks for letting me share my macrame love ;-)

Rasa xoxo

0

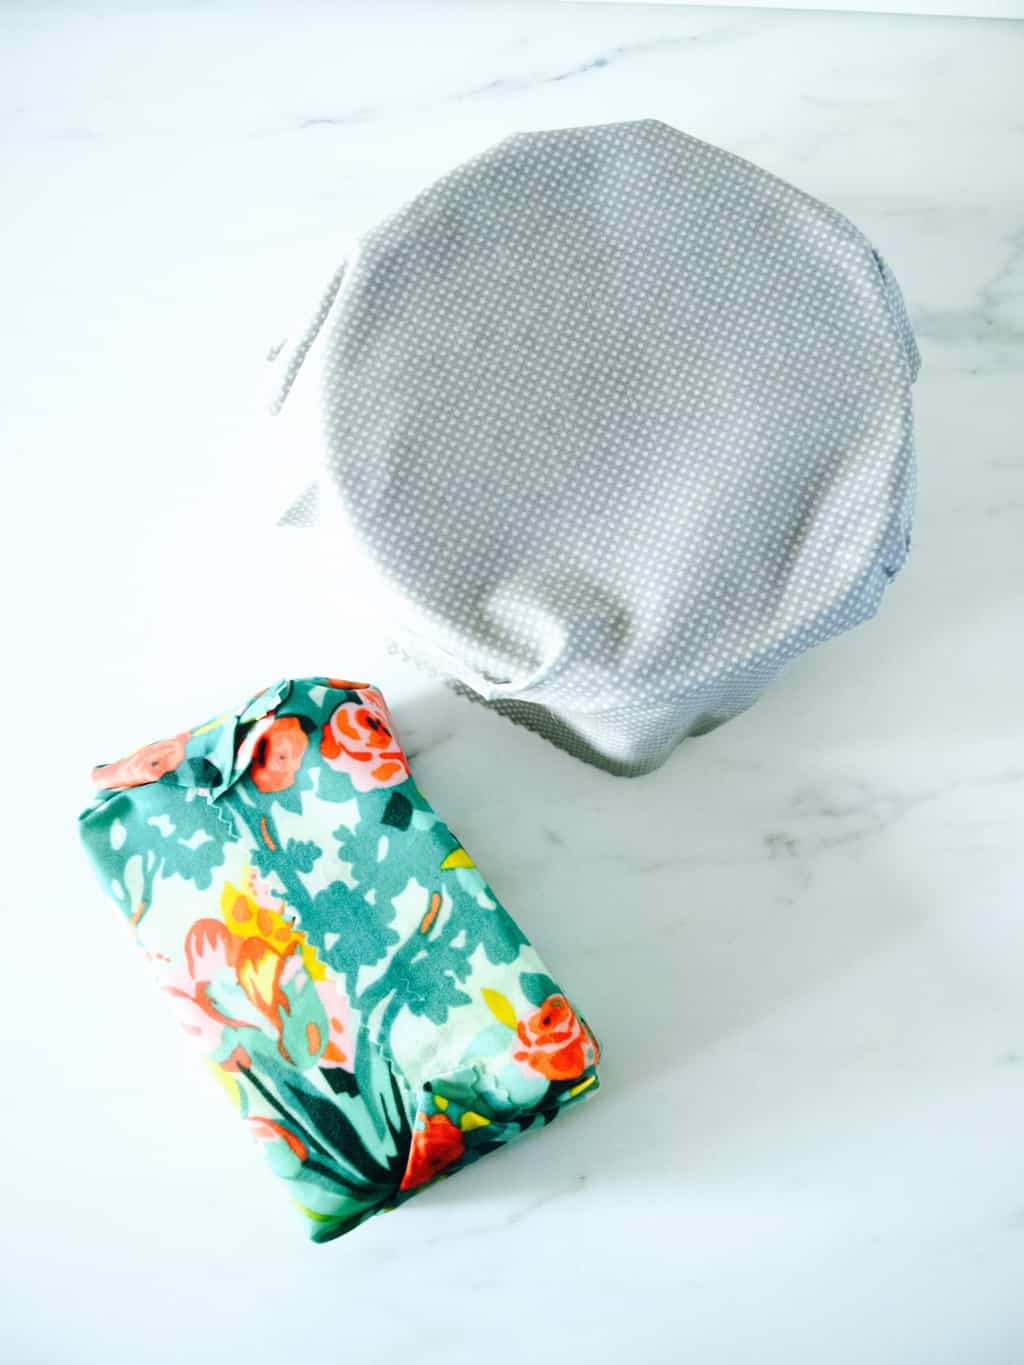
How to make reusable food wraps (to replace cling film)

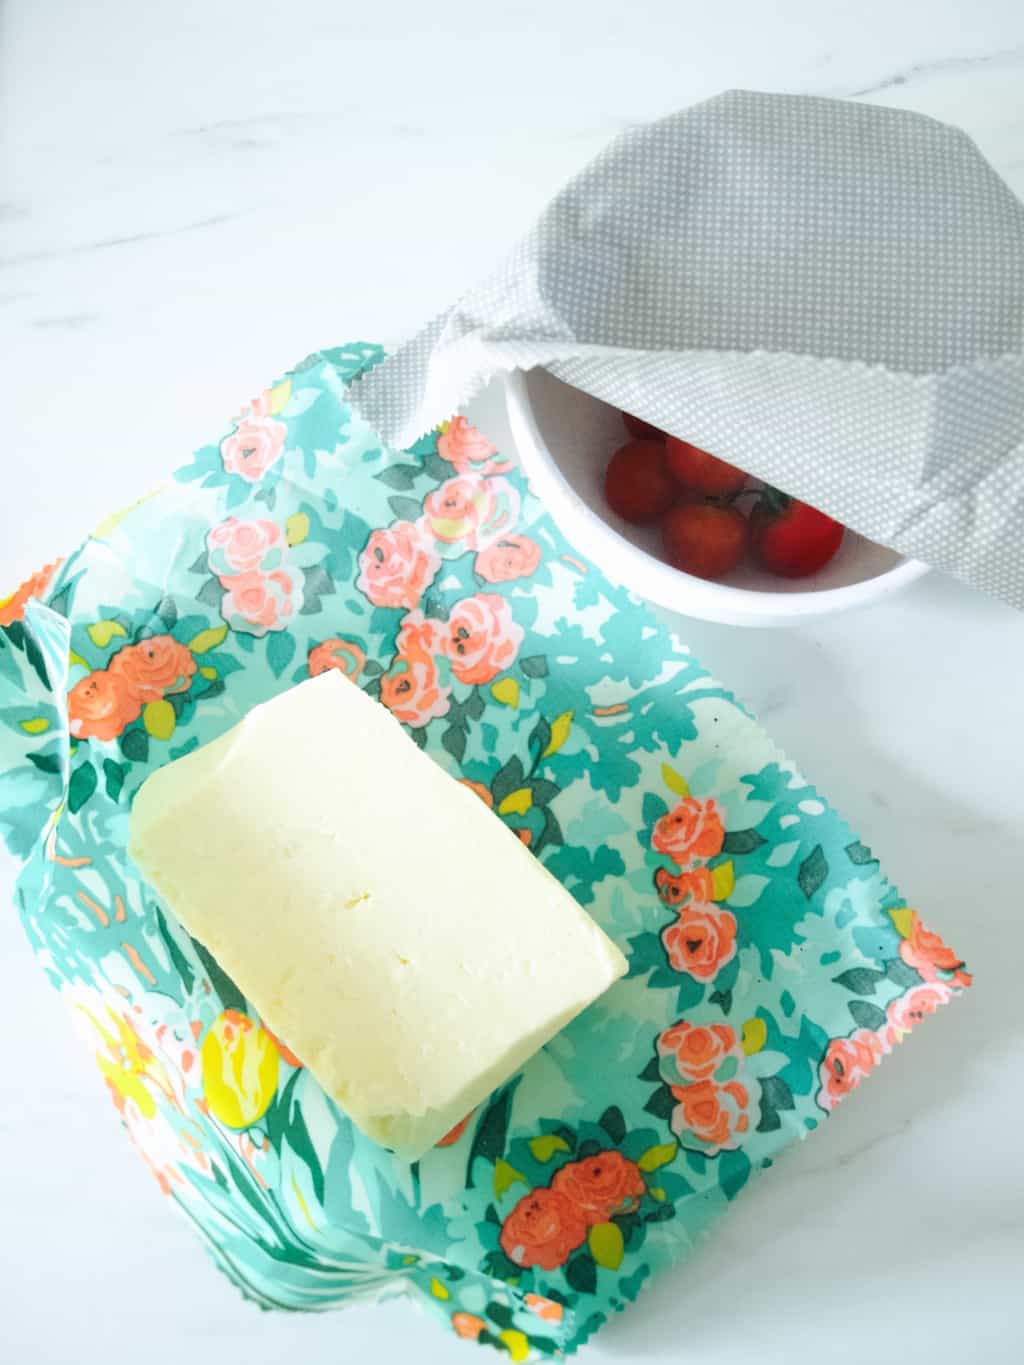
Reusable food wrap DIY (with wax and resin)The thing is that I always dreamed of living sustainably, even before it be became popular. Sometimes I succeeded and sometimes business just took over my life and I had to cut some corners. The bottom line is I passionately hate waste and I feel like my heart bleeds when I see stuff wasted when it could have had another life (hope I don’t sound like a hoarder, because I am definitely not!!).

When it comes to sustainable living I believe it comes to choosing the products that should also benefit us directly (not only the earth). You see I dislike wasting money too (or even seeing somebody else wasting theirs). Which is why I always look out for things I could make myself and save money that way. For instance, last week I made some reusable food cloths, because I thought it would be lovely not to use as much cling film. I know, I know, this is not our biggest household waste (nappies and baby wipes are), but you’ve got to begin somewhere! I researched quite a few recipes and methods, so trust me you are getting the best here! Although after making some wraps I had a few other ideas how to make it even easier and cheaper.

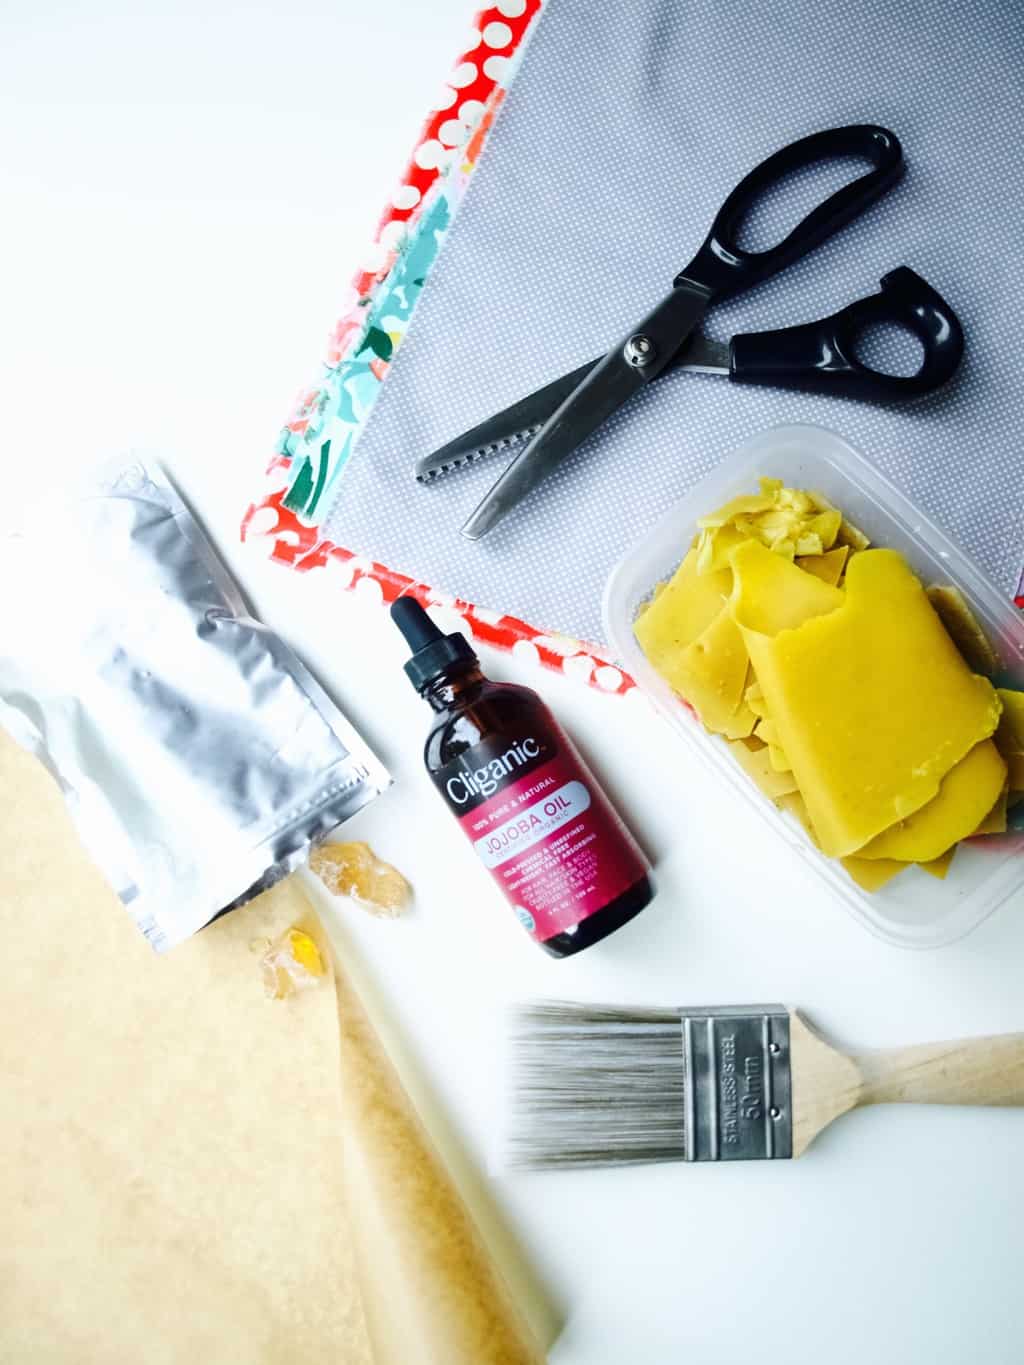
To make these reusable food wraps you will need:

  • 130g wax (I used some wax thats been given to me by my mother in law who keeps the bees)
  • 26g pine rosin (or any other tree resin)
  • 4tsp jojoba oil
  • about 5-7 squares of light, woven cotton
  • pinking shears
  • old pot
  • old paint brush (optional, you will only be using it just for this)
  • baking paper
  • iron with the ironing board

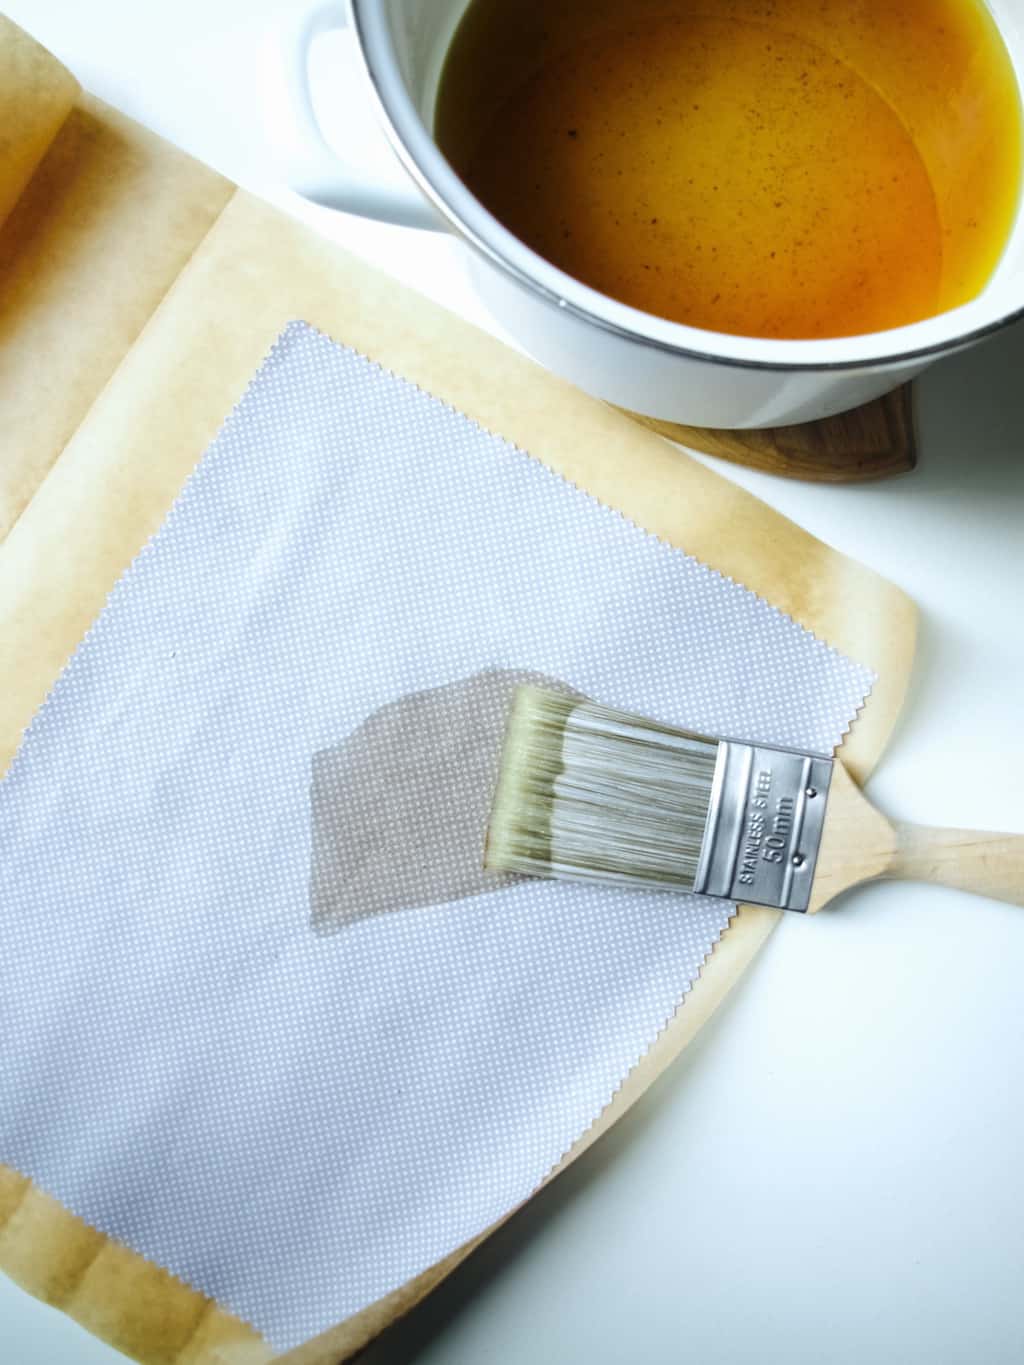
Reusable food wrap DIY (with wax and resin)First cut your fabric to size. I used pinking shears as this really helps to stop fabric from fraying

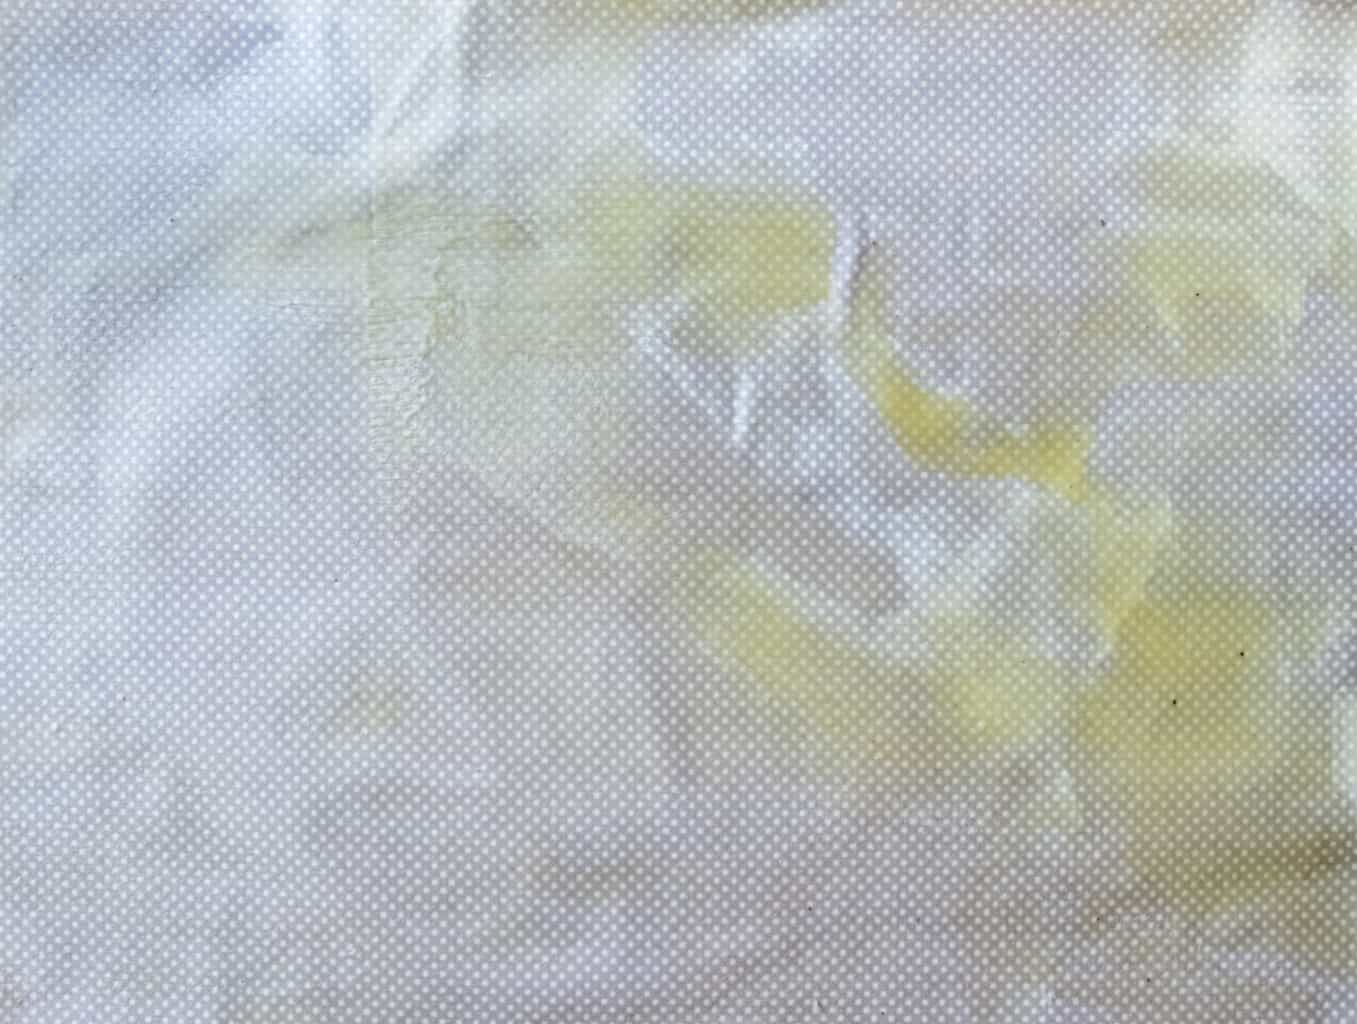
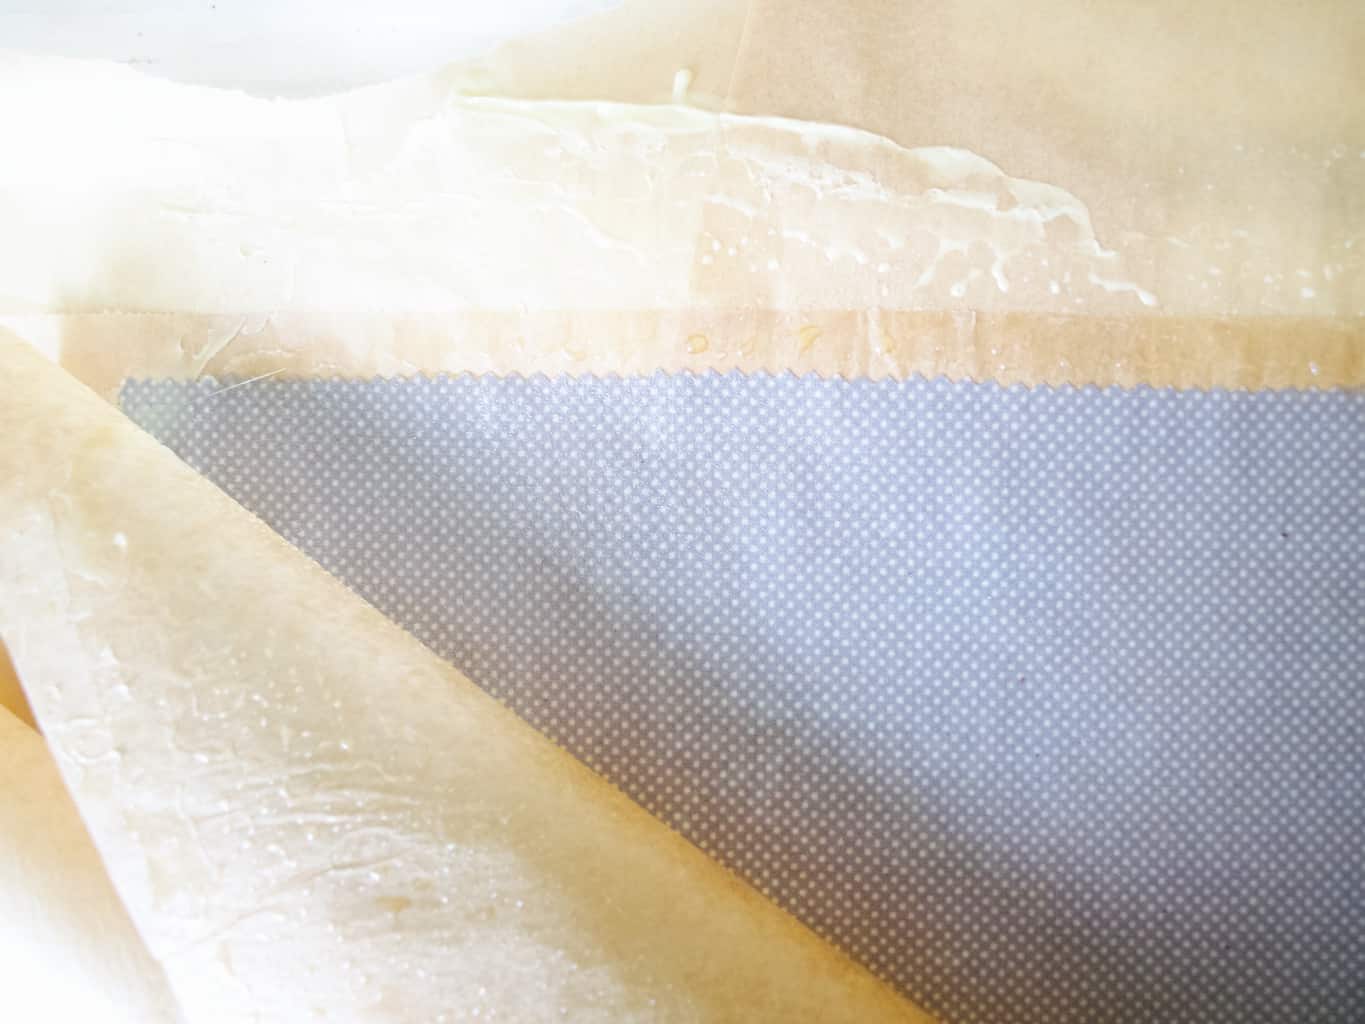
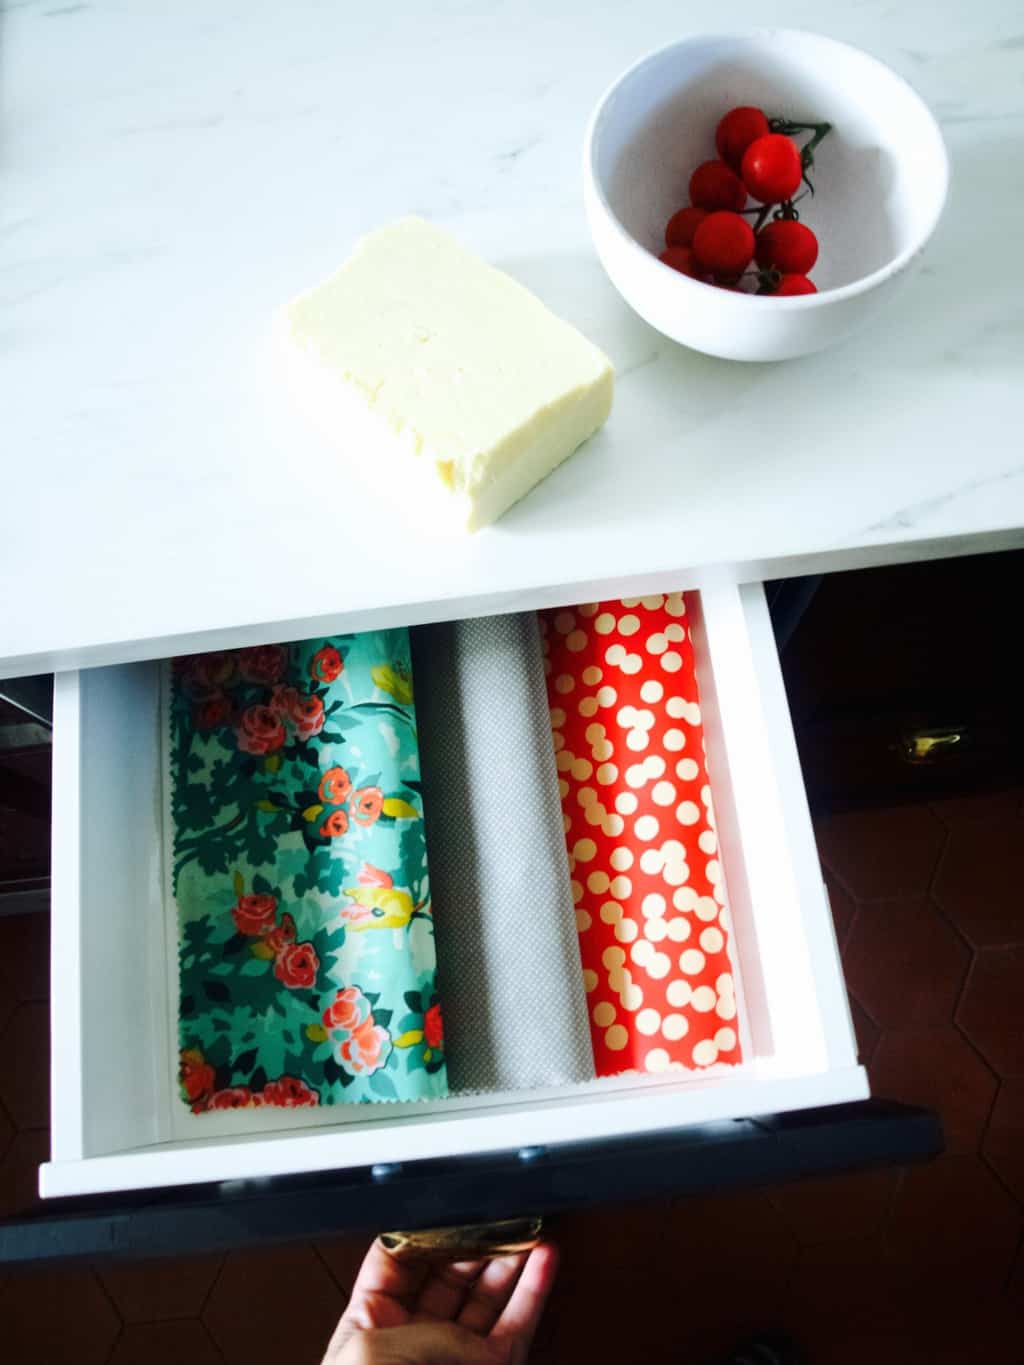
Put the wax, rosin, and oil into the pot and while stirring heat all the ingredients till melted. I think because I used not well filtered wax it had few black bits in it. It did not cause too many problems in the end result but it did leave a few black speckles on the cloth.Reusable food wrap DIY (with wax and resin)As you brush the wax mixture onto the fabric it hardens very very quickly. I think I was too generous with it (so be stingy). The excess wax created lots and lots of mess later. I felt like a brush is not necessary here as the wax hardened after few strokes. I think I will try just dipping the fabric straight into hot wax next time. I imagine that should give good coverage without the wax hardening onto the surface. But of course I could be wrong!Reusable food wrap DIY (with wax and resin)So here comes the mess I was talking about. In order to impregnate the fabric with the wax mixture completely, the fabric needs to be reheated. When I researched how to make reusable food wraps it seemed that one of the most popular methods to reheat the wax in the fabric is to stick it into the oven. That seemed a bit limited by oven size and I imagined it would be messy (plus the oven tray to clean up). I guess I failed to avoid the later! I used baking paper to sandwich the waxed cloth and heated the wax and the fabric once again by ironing it. In my case the excess wax spilled everywhere: the floor, another layer of baking sheets (I wasted whole roll!!), and the ironing board (thankfully not the iron itself). This wax mixture was very sticky to clean because of the resin (special ingredient to make the cloths clingy). Definitely NOT applying that much wax liquid on the fabric next time!!!Reusable food wrap DIY (with wax and resin) The cloth cools almost immediately and can be used a few minutes after making it.Reusable food wrap DIY (with wax and resin) As I mentioned before the resin mixed in with the wax makes the wrap slightly sticky against itself which is why you can use this exactly as you would use cling film.Reusable food wrap DIY (with wax and resin)Hope you found this very useful and you can learn from my mistakes.

Rasa ;-)

2

How to make a baby mobile

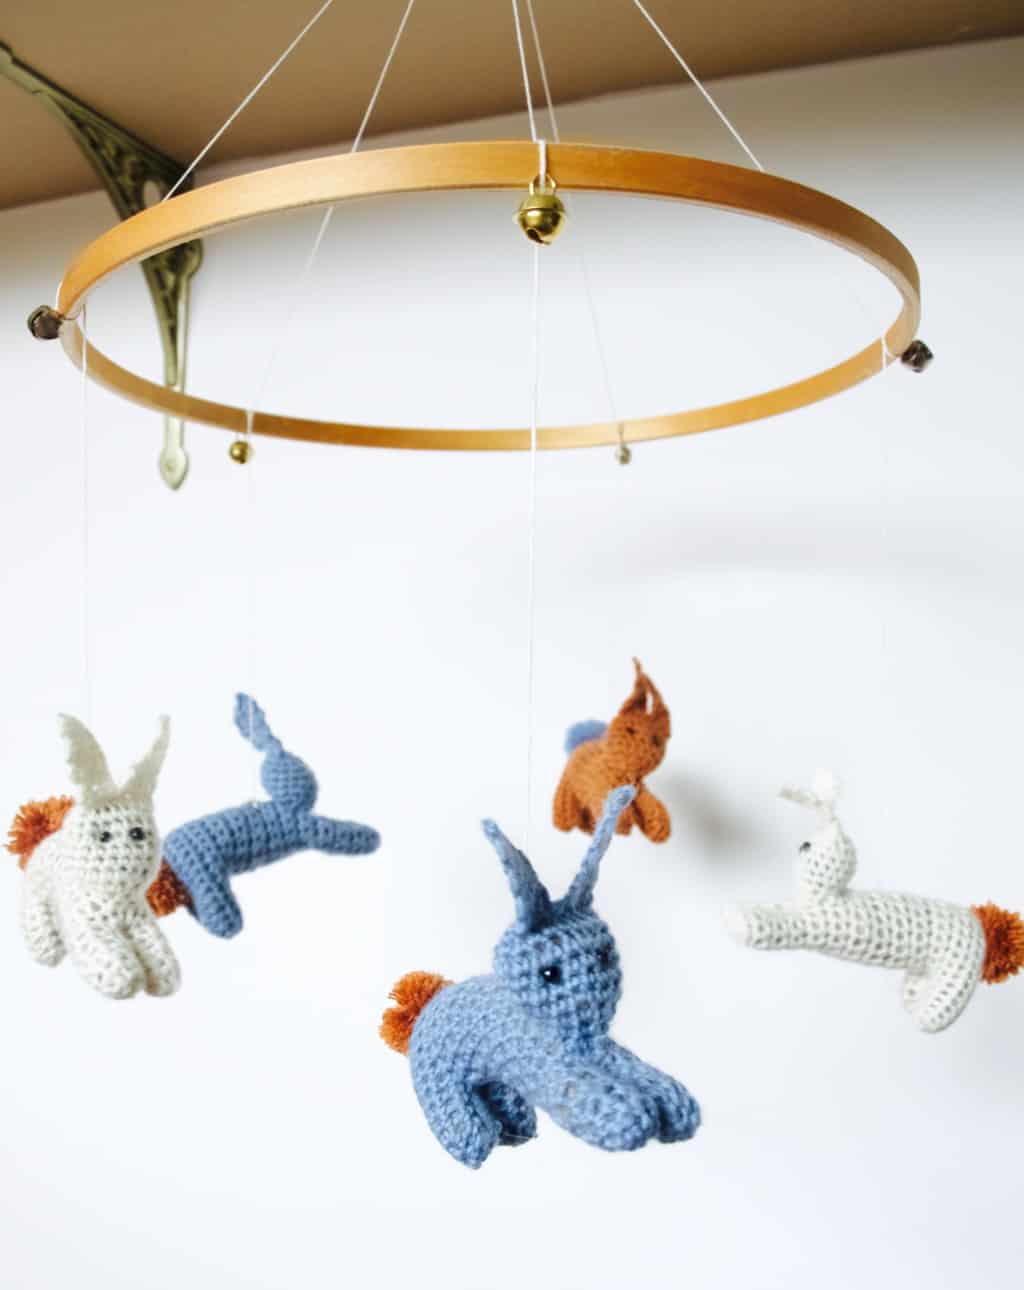
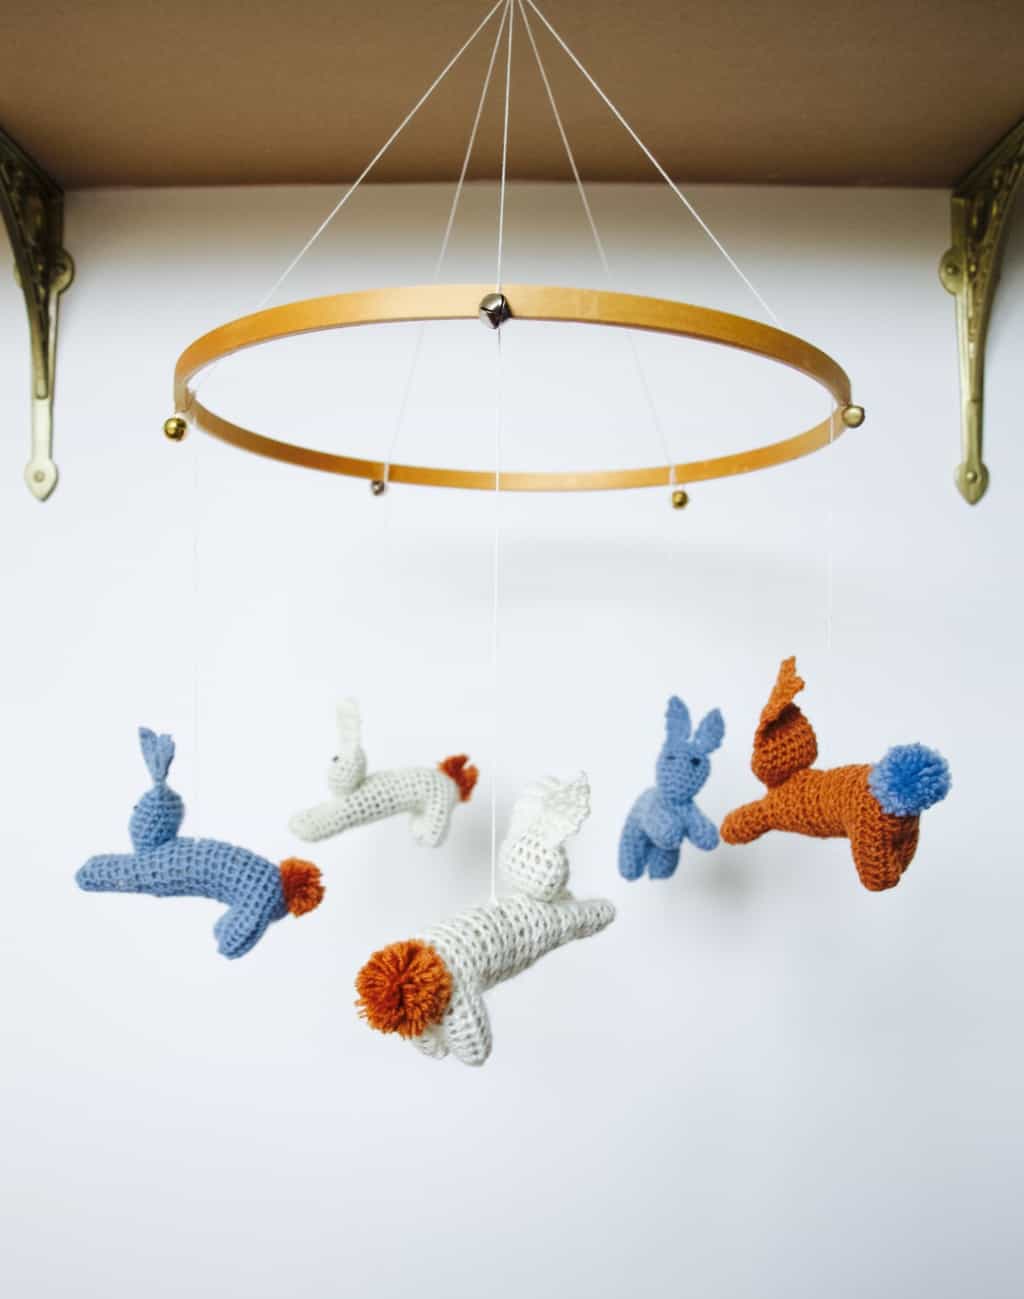
Jumping bunny baby mobile diy No no, I am not expecting again! This baby mobile I made last week is for my new nephew Alexi. Although I do think this is a perfect project when you expecting… hmm. Think of all that time you have when the baby is not out yet (only kidding there is always another one near by to pester you about his needs lol).

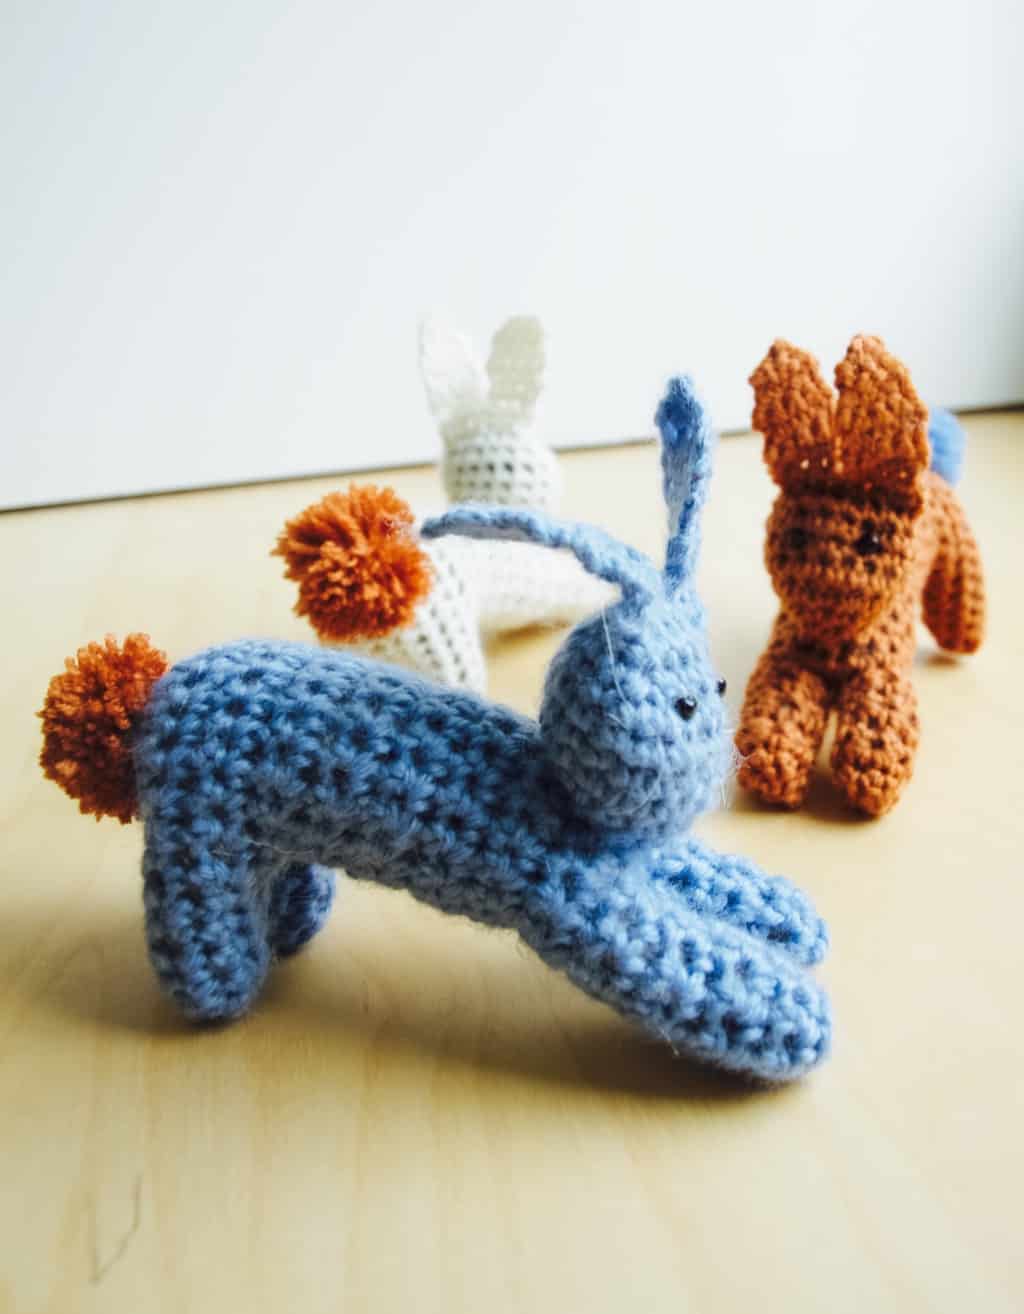
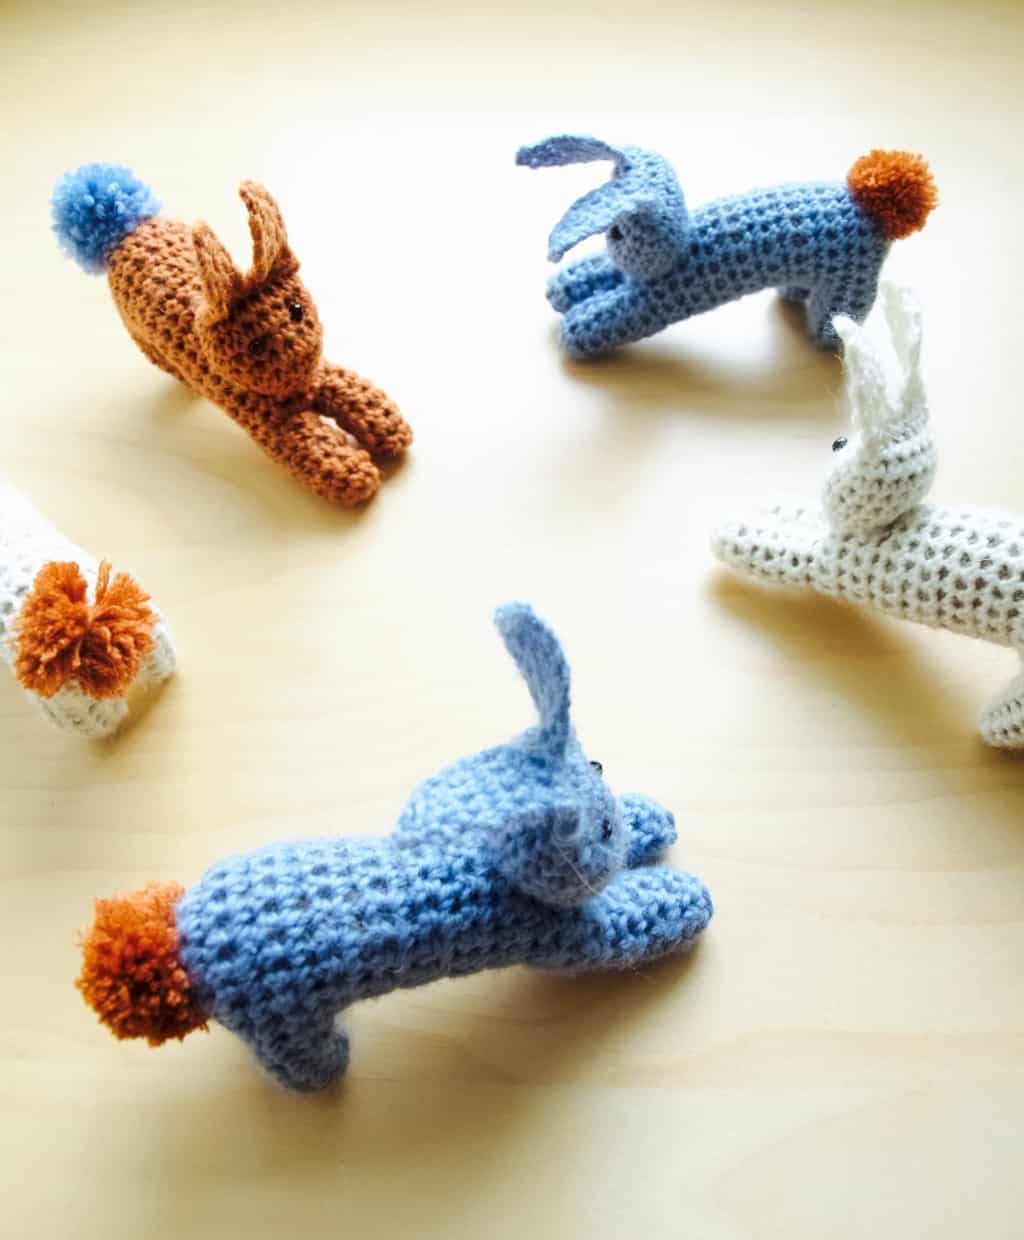
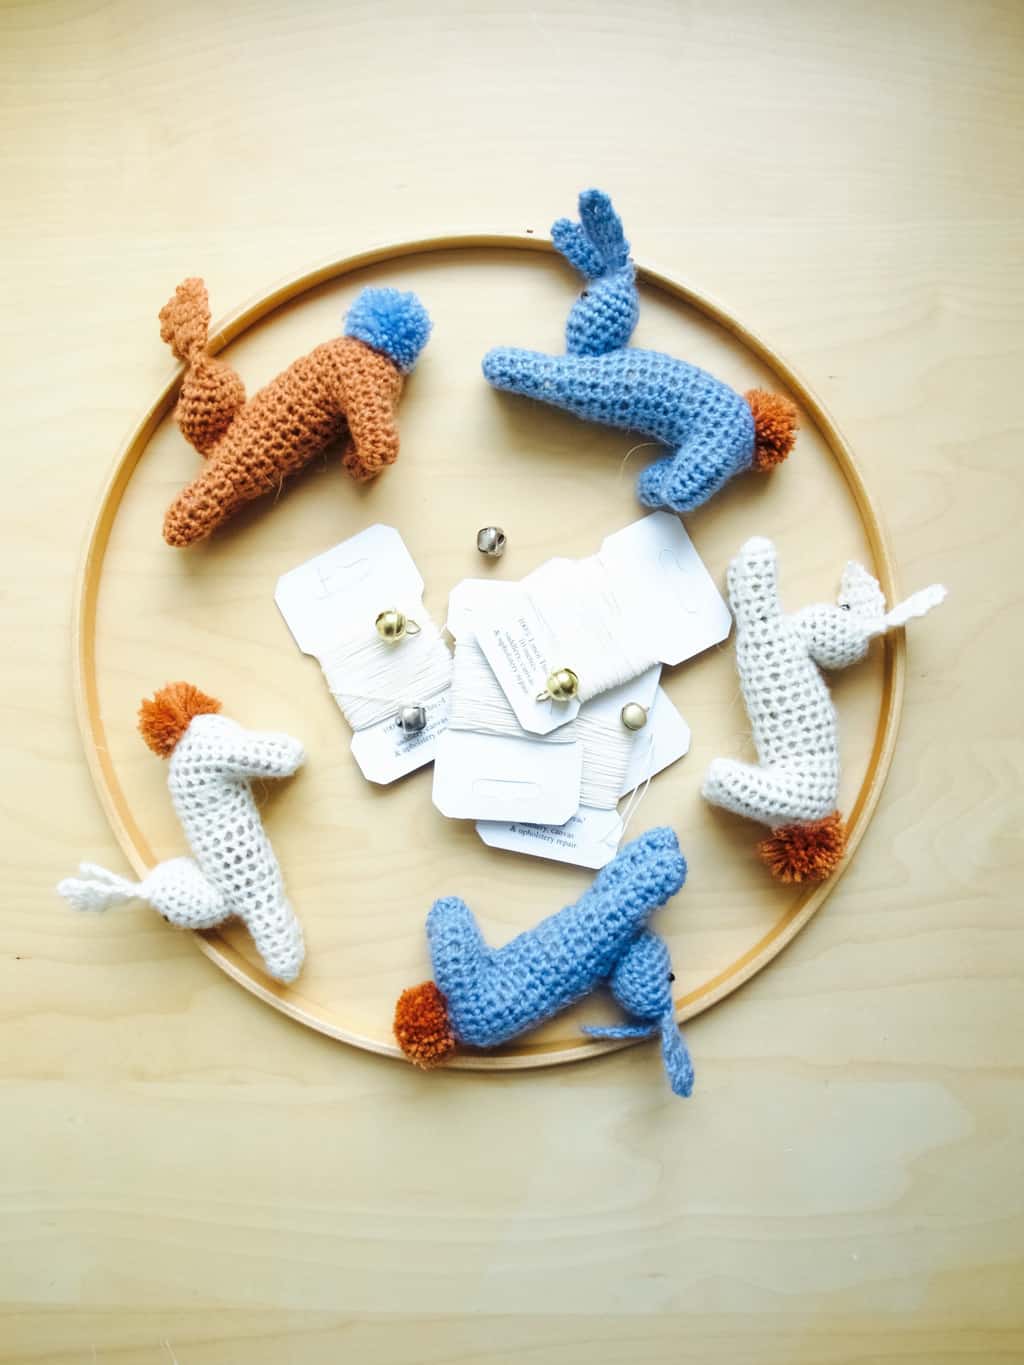
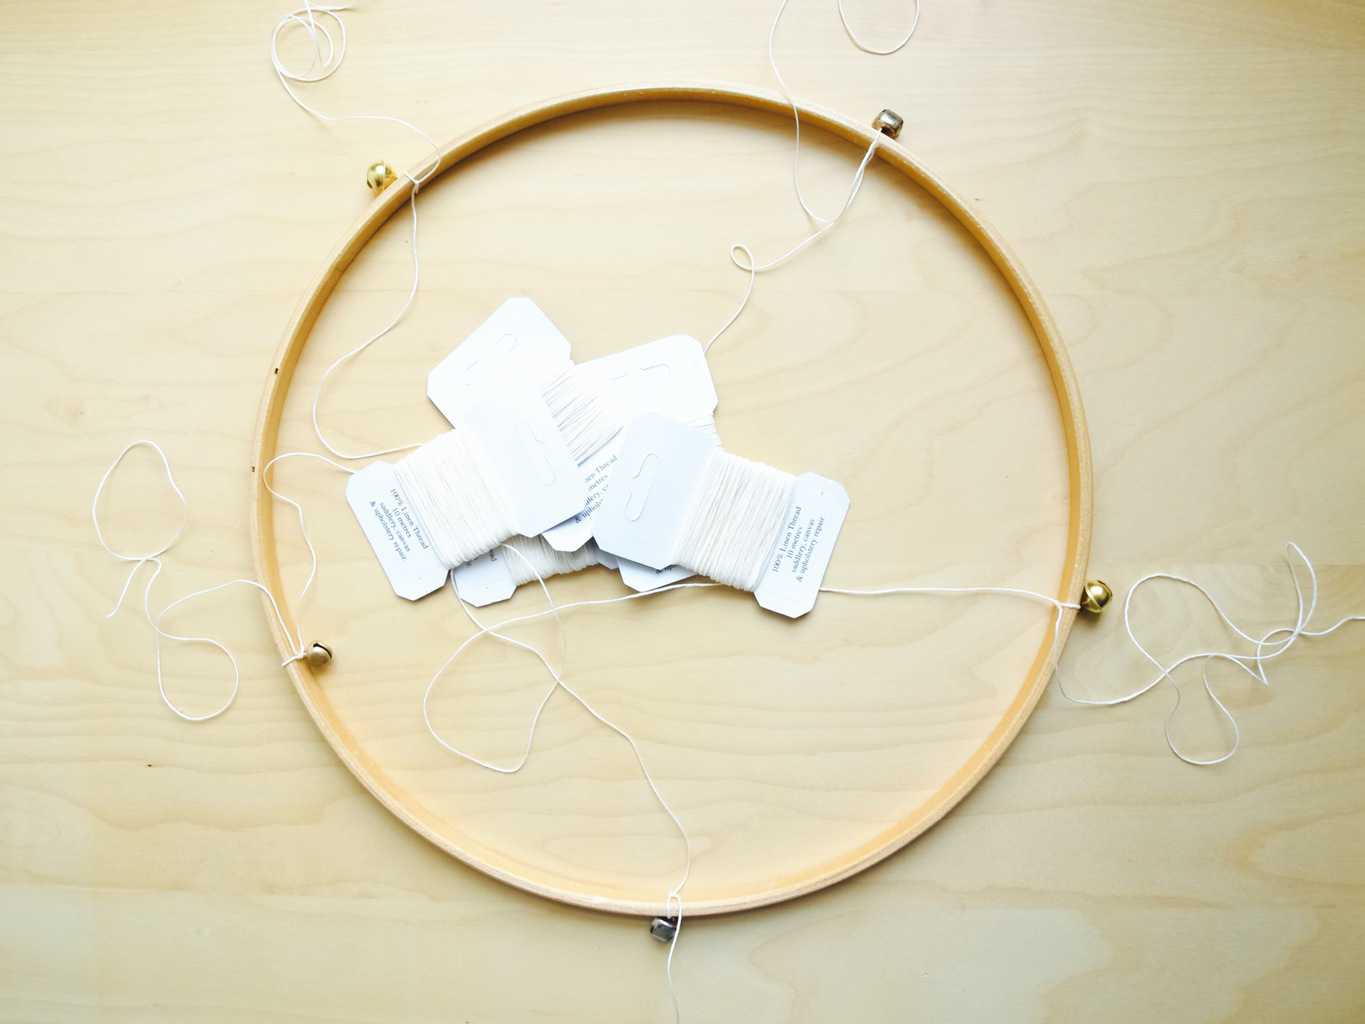
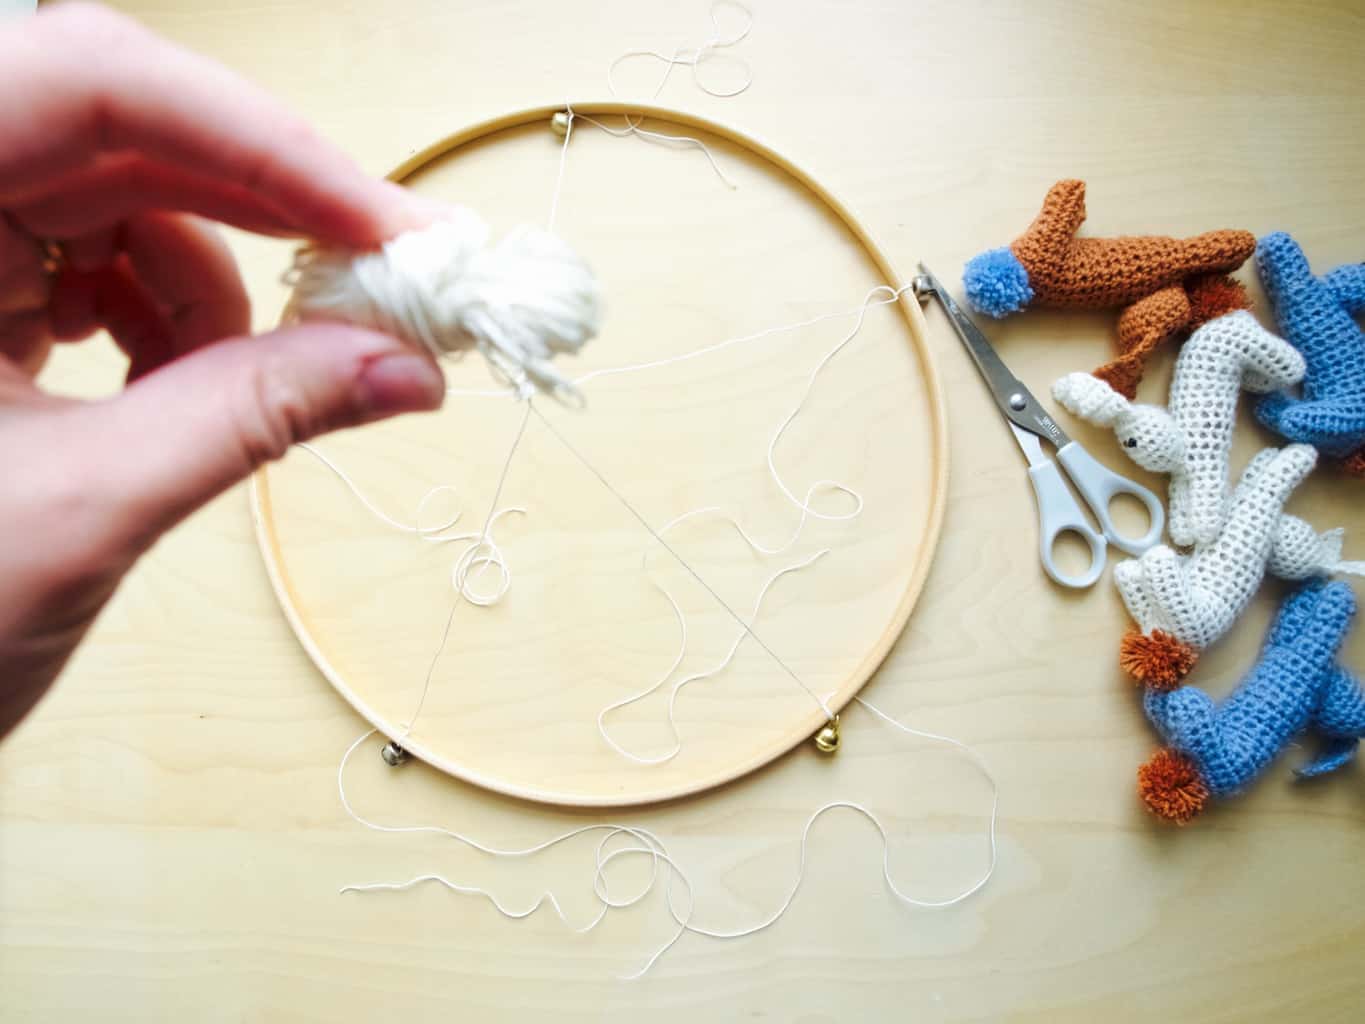
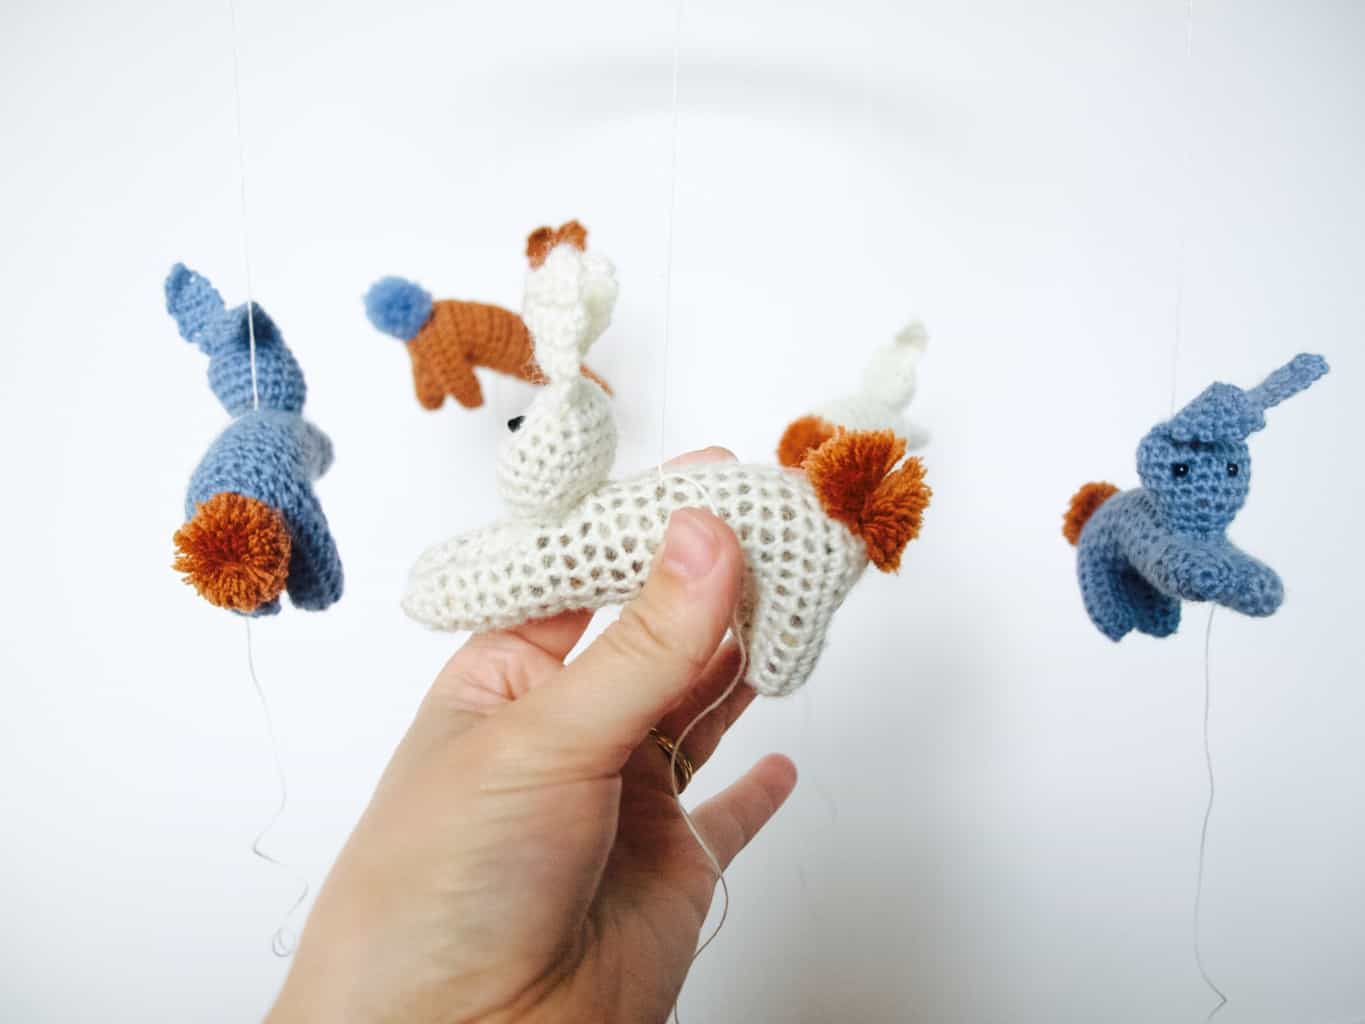
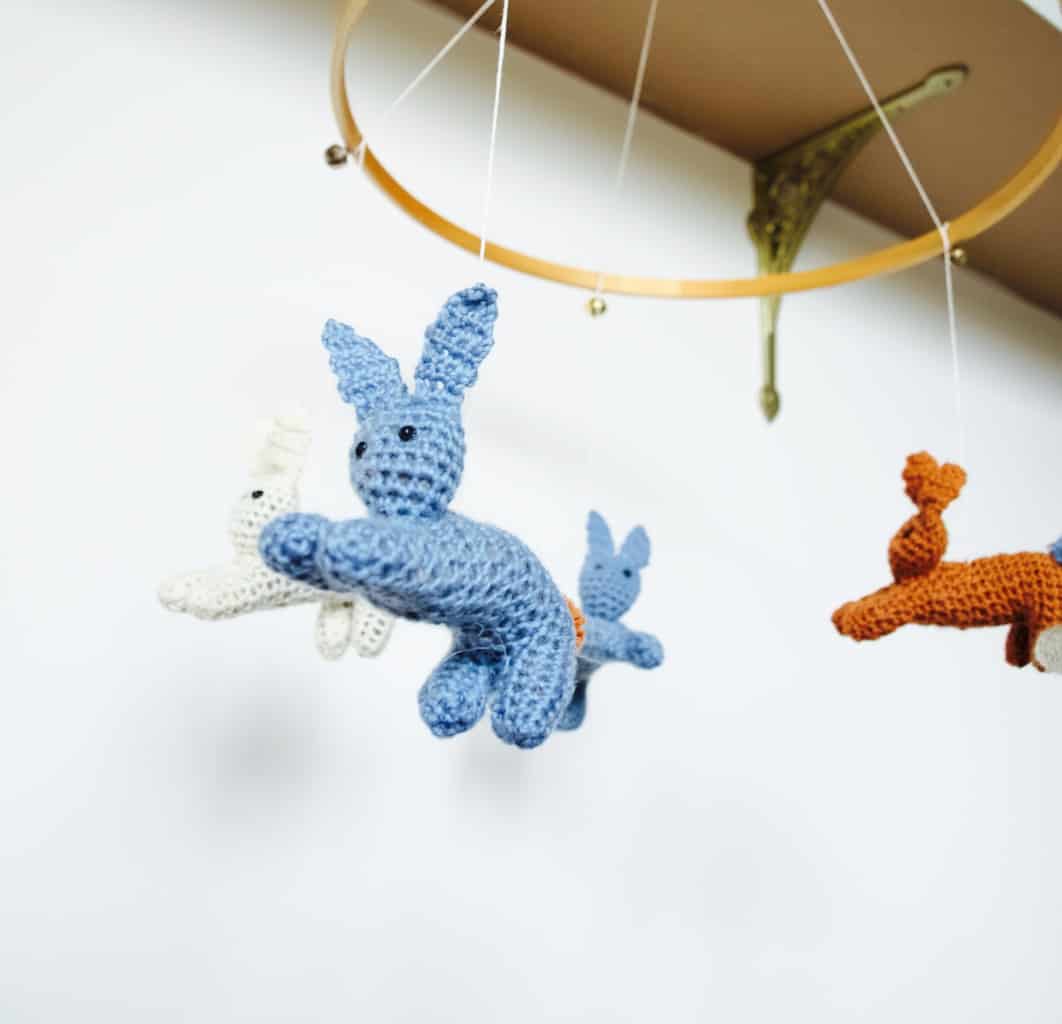
Anyhow if you would like to make a baby mobile then you will need something to hang on it. I prefer soft mini animals or shapes and this time I chose these crochet jumping bunnies (because that was the theme), but you can hang on it anything else suitable such as this knitted bird or this felt bird.Jumping bunny baby mobile diy Jumping bunny baby mobile diy To make the baby mobile you will need a hoop (around 12 inches), some thread (strong enough to handle hanging weight), some mini jingle bells (or beads) and 5 jumping bunnies (or any other mini stuffed animal or shapes).Jumping bunny baby mobile diy Attach five threads to the hoop together with the jingle bells.Jumping bunny baby mobile diy Join all five threads leaving lots of space on top for hanging (you might want to hang it onto the ceiling).Jumping bunny baby mobile diy Hang the mobile and carefully attach all the bunnies onto each thread at the bottom while trying to keep it all level (its very challenging I know!).Jumping bunny baby mobile diy Ta-da!!Jumping bunny baby mobile diy Jumping bunny baby mobile diyHope your baby likes this mobile although I believe it is more for mummy to enjoy ;-)

Rasa xoxo

0

Make your own triangle garlands

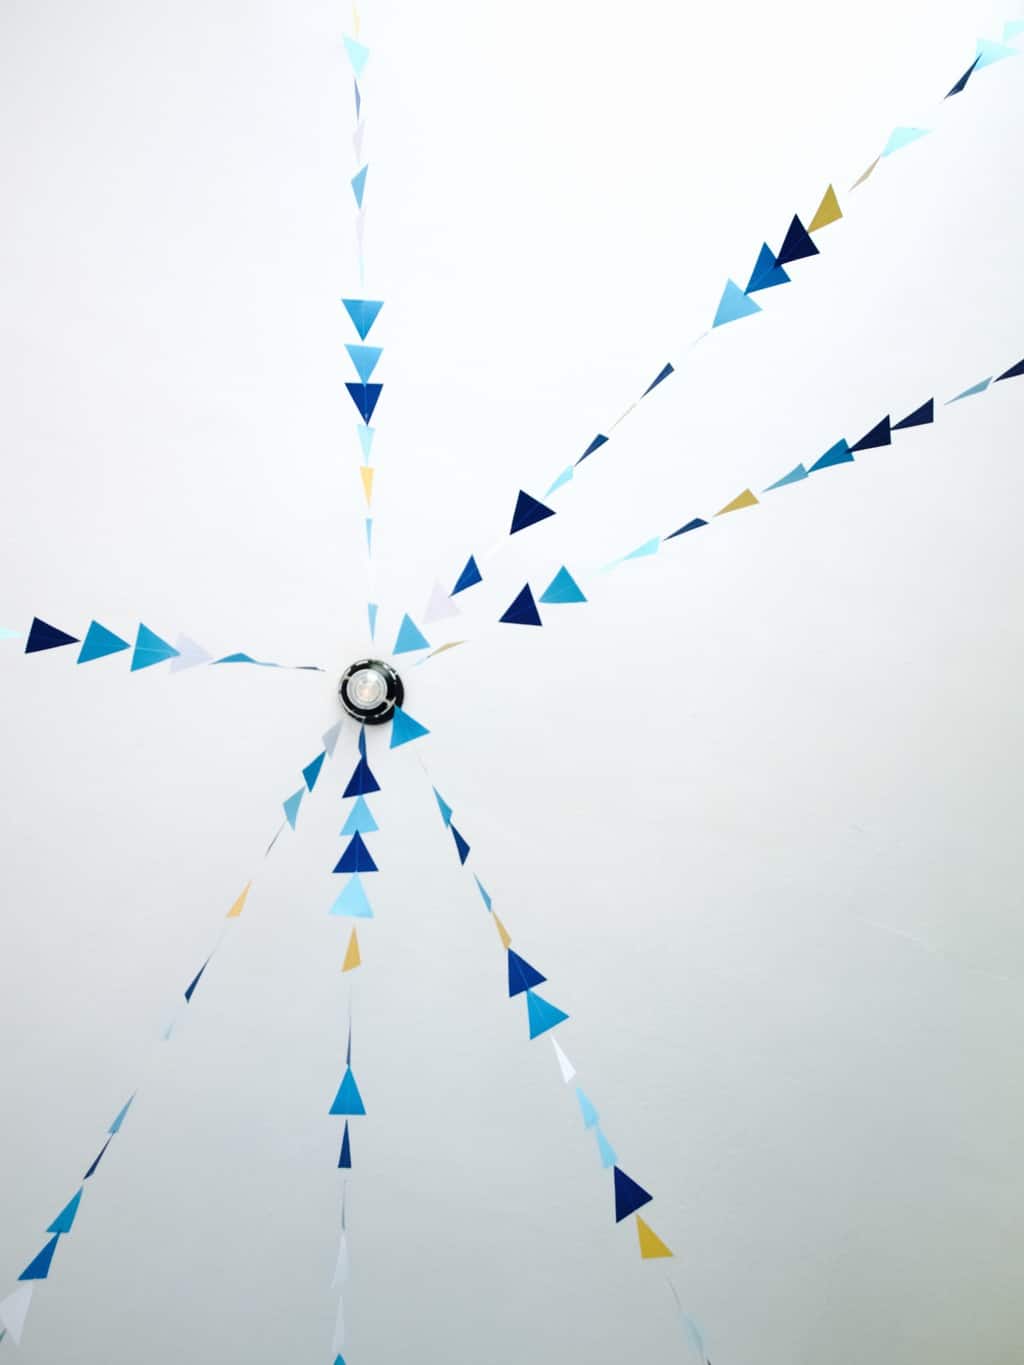
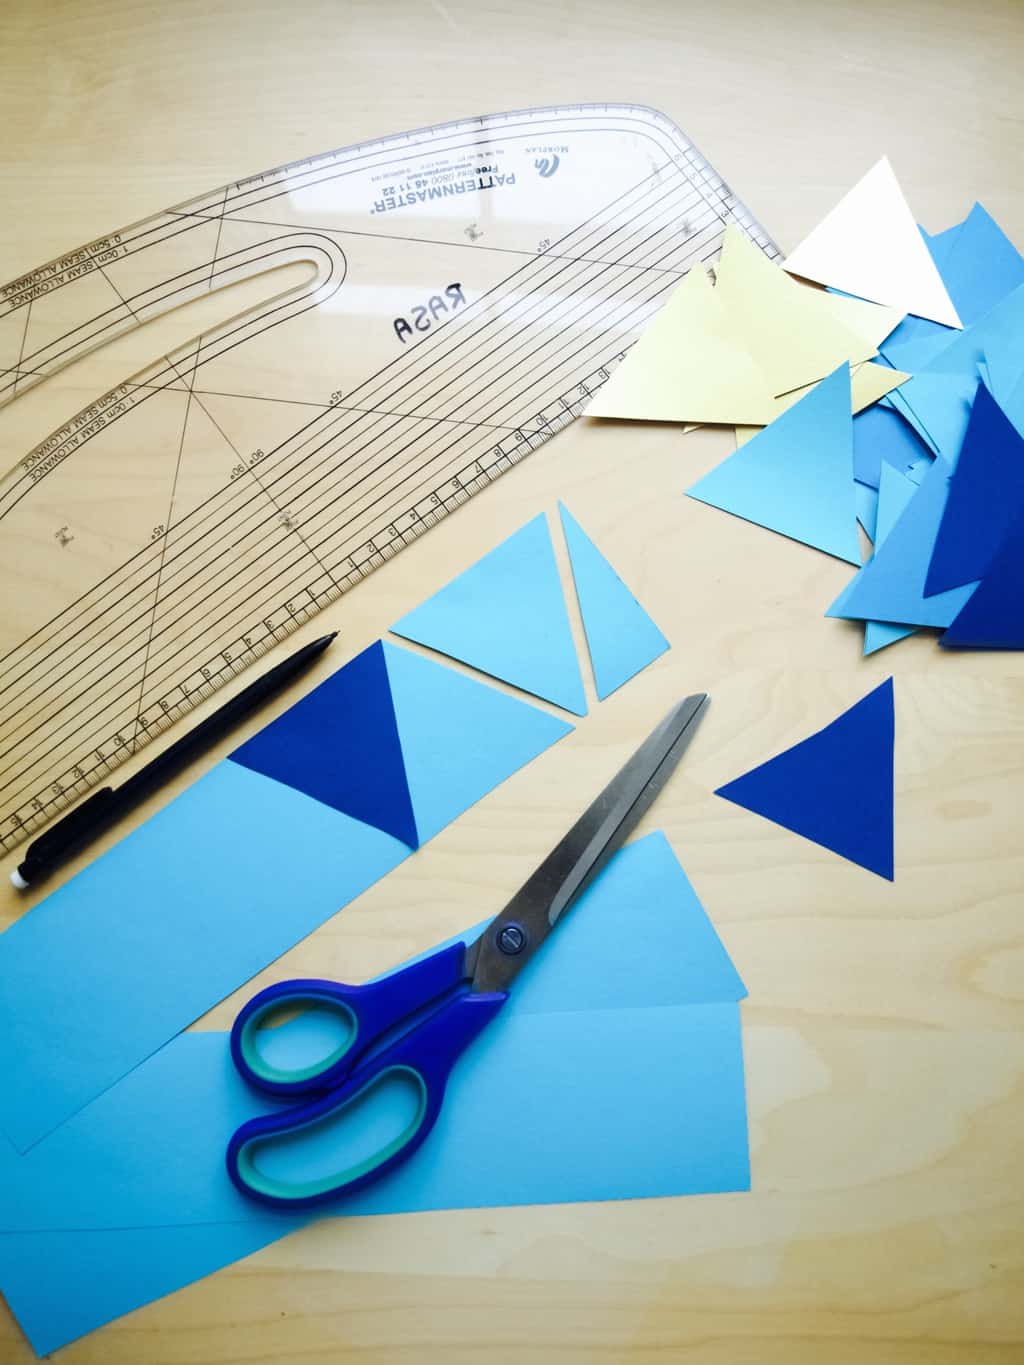
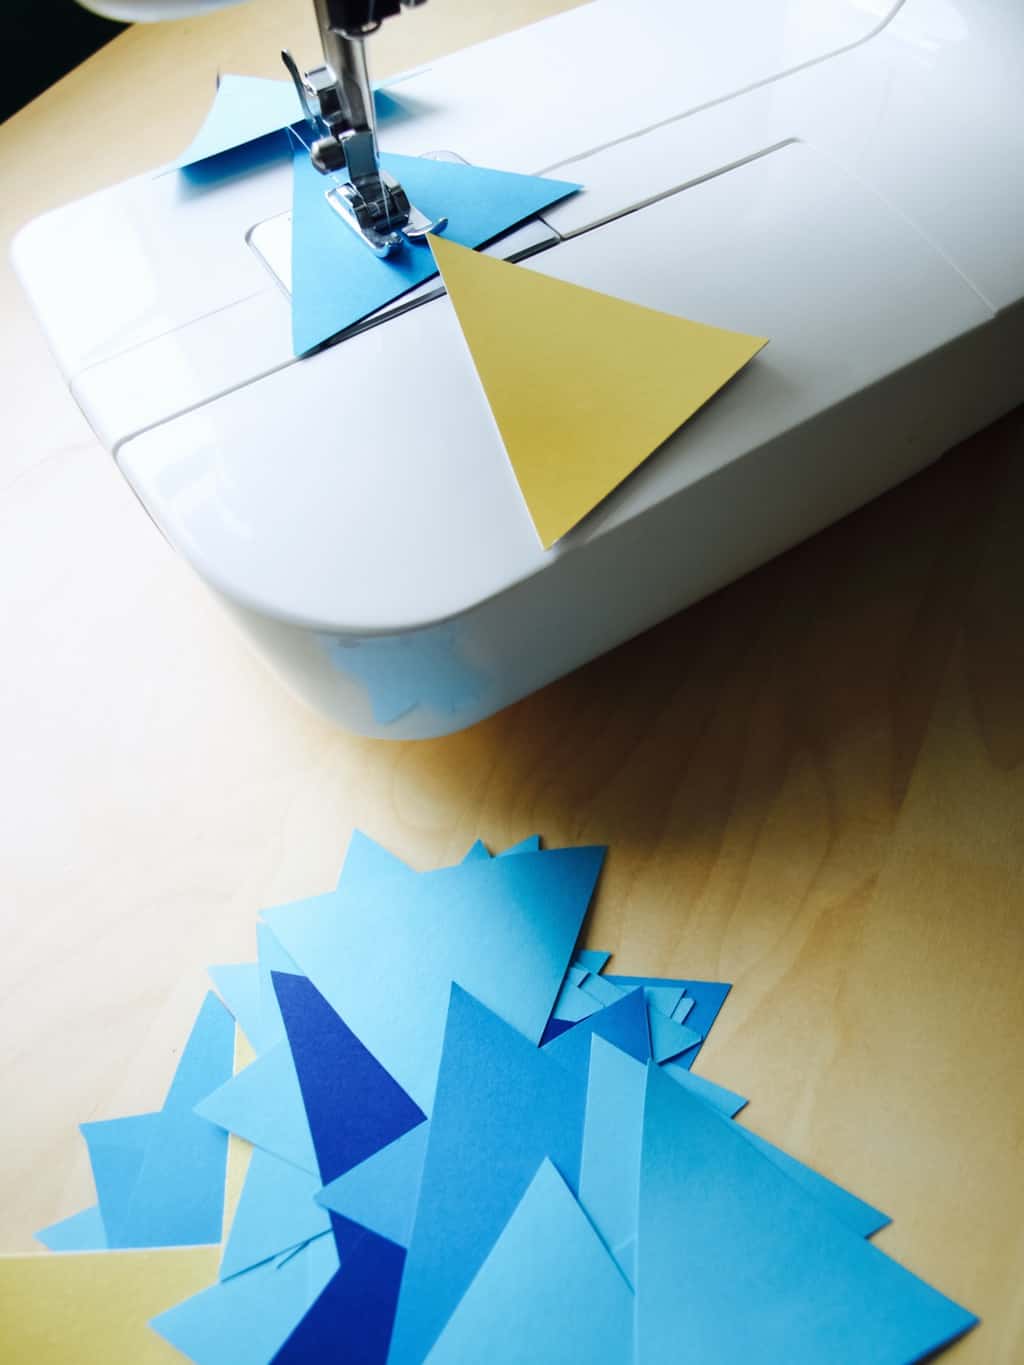
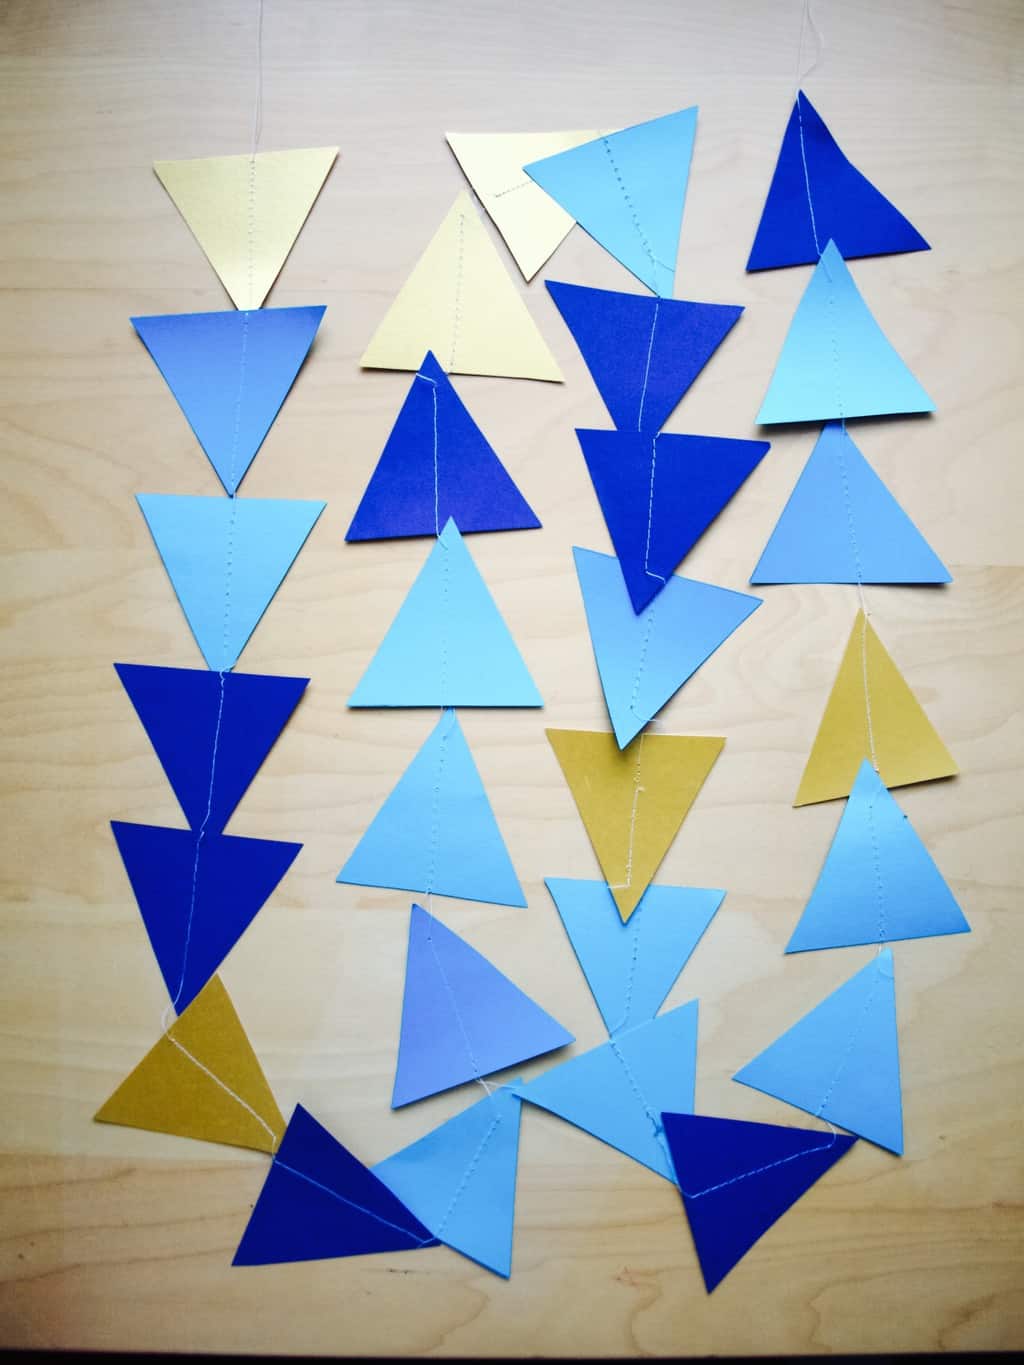
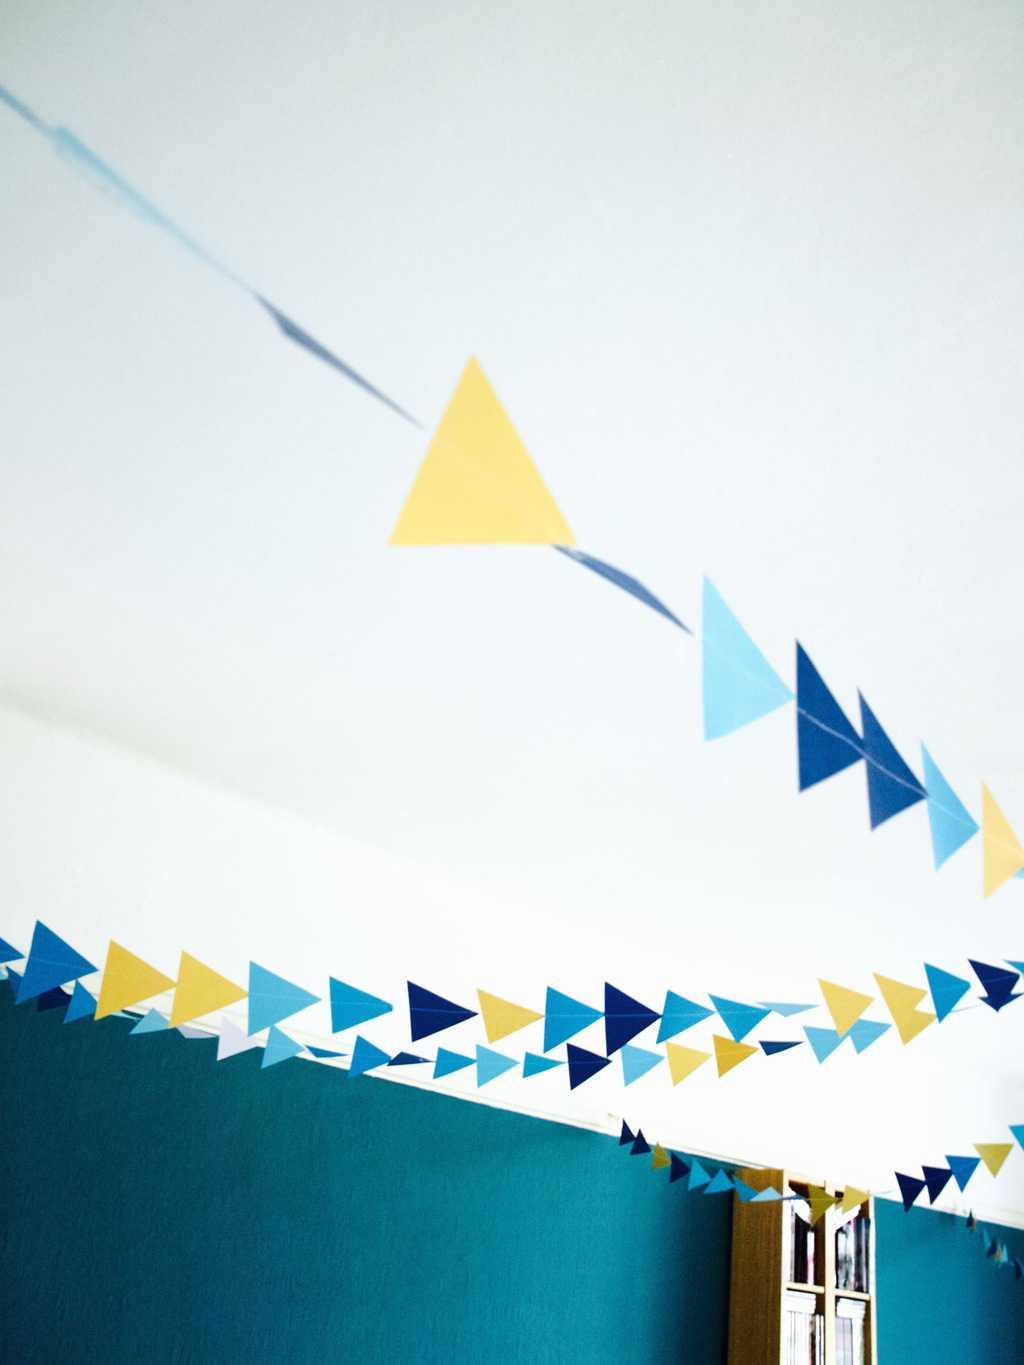
Triangle garland DIYAs a follow up from a previous post here is what we had as a decoration for Tomas’s birthday last month. These triangle garlands fitted really well with our “cheerful, exciting and bold” theme. If you would like to make these for your next party (does not have to be kids party at all) then you are in luck, I am sharing how I made mine (along with the struggles I had too). Triangle garland DIY So first I cut some card/paper into triangles. I used the same technique to cut it as I used to make confetti just on a bigger scale of course! I was not bothered about being precise, the important thing is to be fast as there are quite a lot of them to cut in order to make an impact. Having done this myself however I do not recommend choosing different thickness paper/card (will tell you why later). Triangle garland DIY Next up is stitching all the triangles together and this is where I struggled the most. You see the different thickness paper/card can really confuse the sewing machine (unless my machine is not very good… hmm). It stitched either tight or loose or was cutting the thread in the middle of the job, it was really really frustrating for me. So if you can avoid it, please do! I think this project could be relatively quick otherwise.Triangle garland DIY Triangle garland DIY And there we are, its done! I hung mine from the light fitting in the centre to different corners of the room. I am sure you can hang from corner to corner too!Triangle garland DIYHope I inspired you xx

Rasa

0

How to make mini triangle confetti

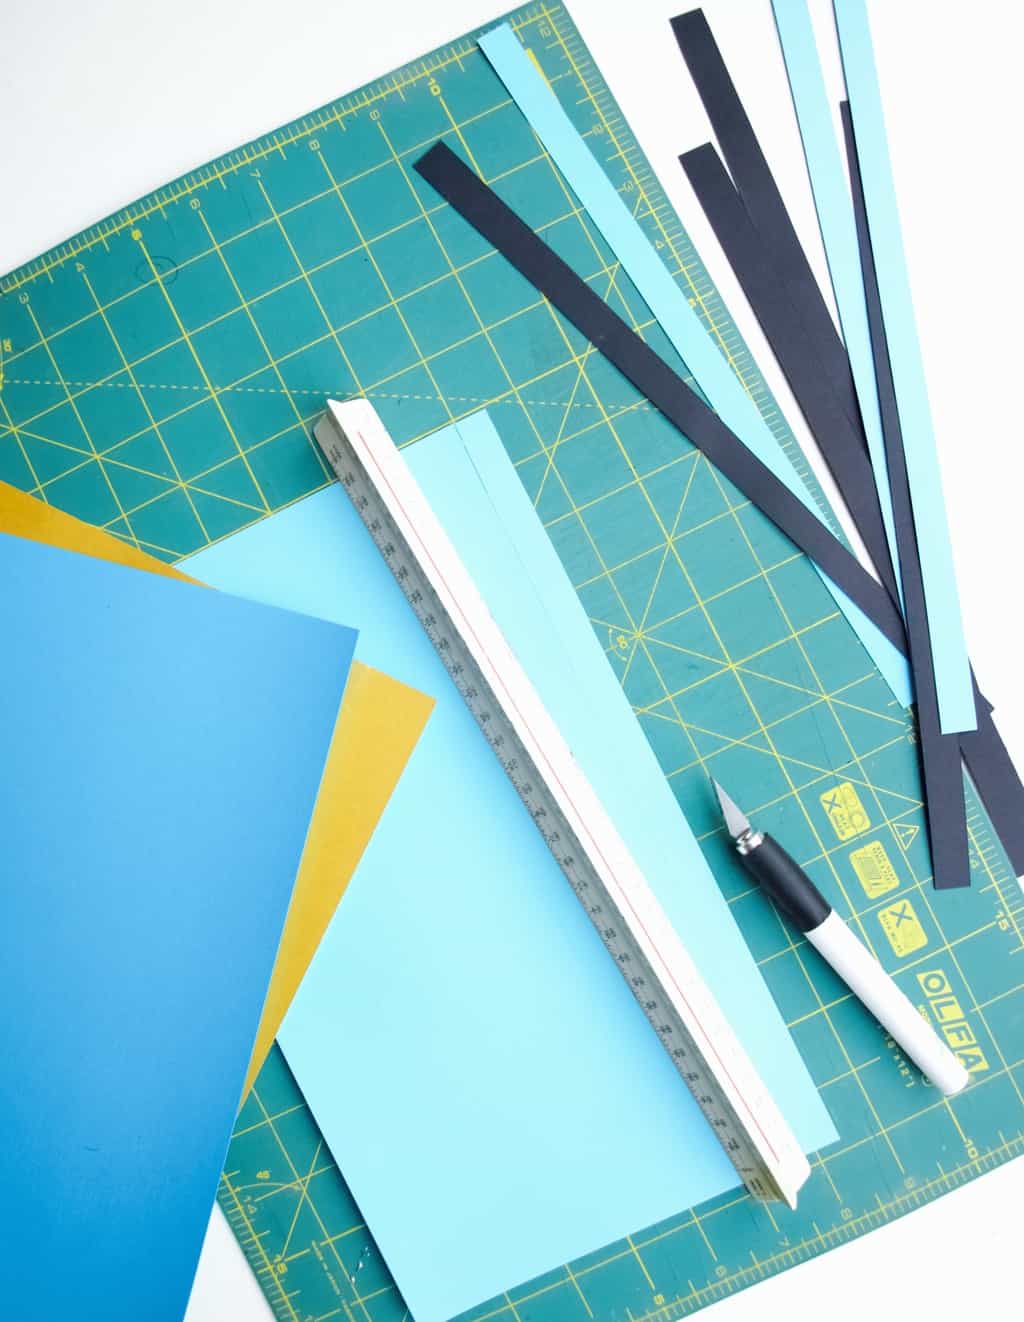
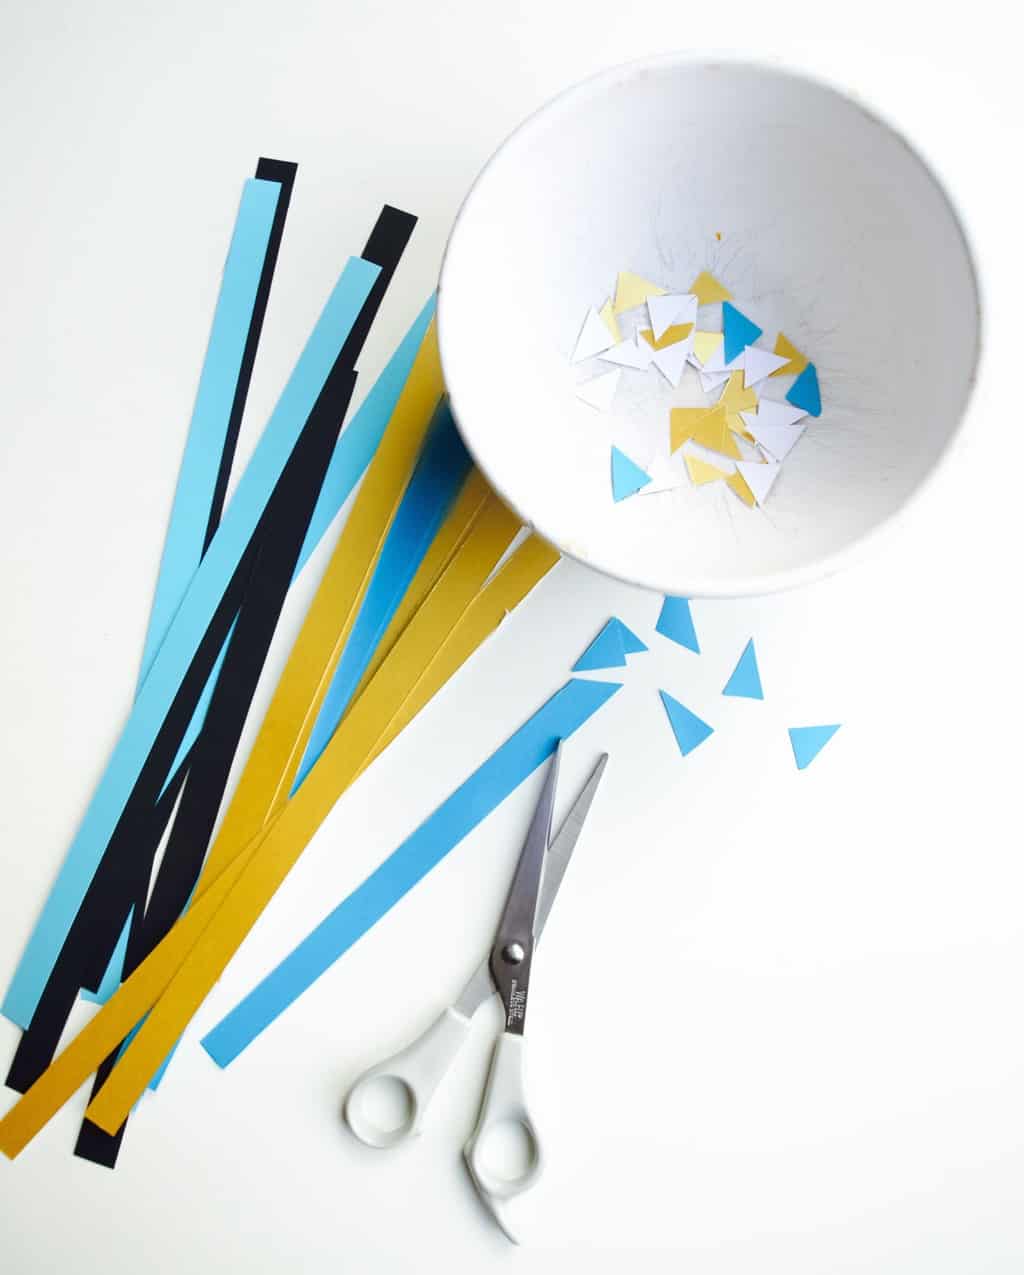
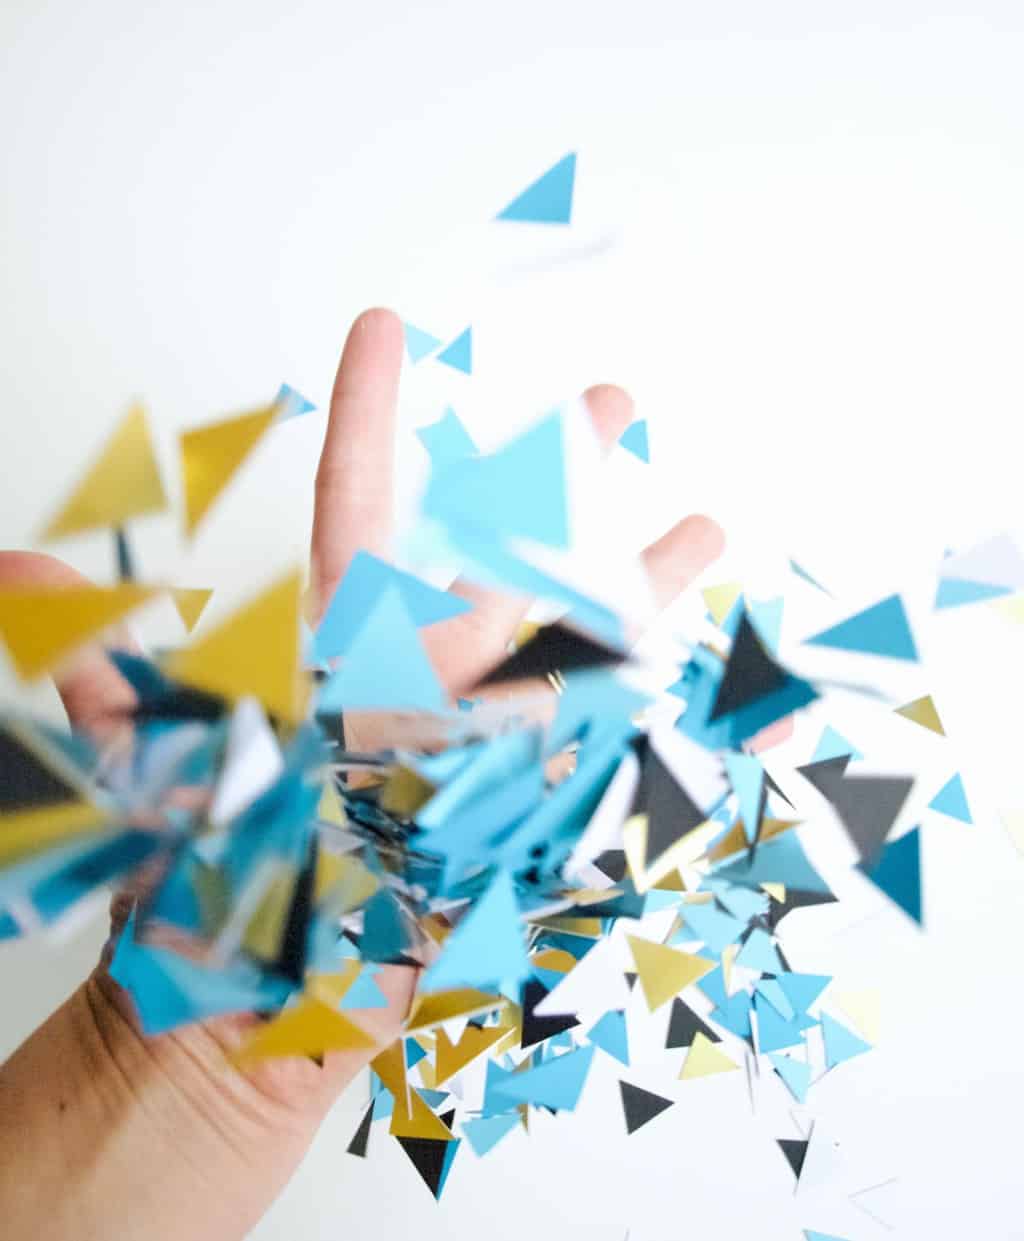
Handmade confettiConfetti was not the love at the first sight but something that I fell in love with over time. Now when I see some confetti sprinkled anywhere I get really really excited! It makes everything so much more joyful and thats what you need when the new year is approaching. And it can be used in soooo many ways! It can be sprinkled on the dining table, party floor, letters, present wrapping and anywhere you need some happiness sprinkles. Of course not everyone likes confetti (very sad, I know!!), but for those who do, here is how I make mini triangle confetti. Trust me, it is very simple to make and you don’t need any special punch for it.mini triangle confetti diy (no need for punch)First I cut the cardboard into strips. I use the ruler and the scalpel knife to make really straight strips.

mini triangle confetti diy (no need for punch)Then I cut / and then \ to get the triangle shapes.mini triangle confetti diy (no need for punch)mini triangle confetti diy (no need for punch)Did I forget to mention that confetti is brilliant in making fab photography effects and backgrounds. Try it for your next photoshoot ;-).mini triangle confetti diy (no need for punch)Happy celebrating!!!!

Rasa xoxo


1

Christmas wreath chandelier

Christmas wreath chandelier DIY I don’t know how 2017 Christmas came round so quickly, but our house is still not there yet with all the DIY’s. Although I am glad with current progress on our new kitchen that might be functional this year (yey!), when it comes to Christmas decoration I realised we are still not ready for an actual Christmas tree. For starters, children would rip it apart in few seconds. So not worth the stress…

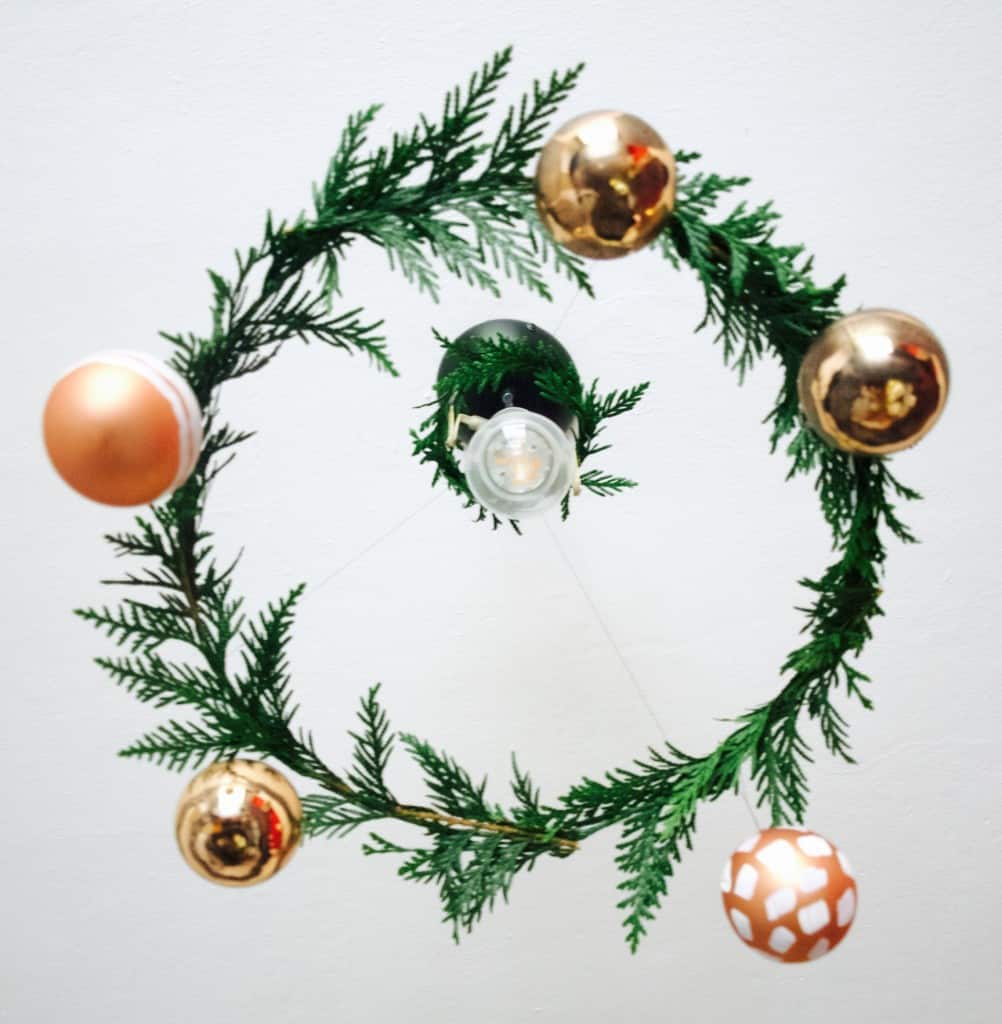
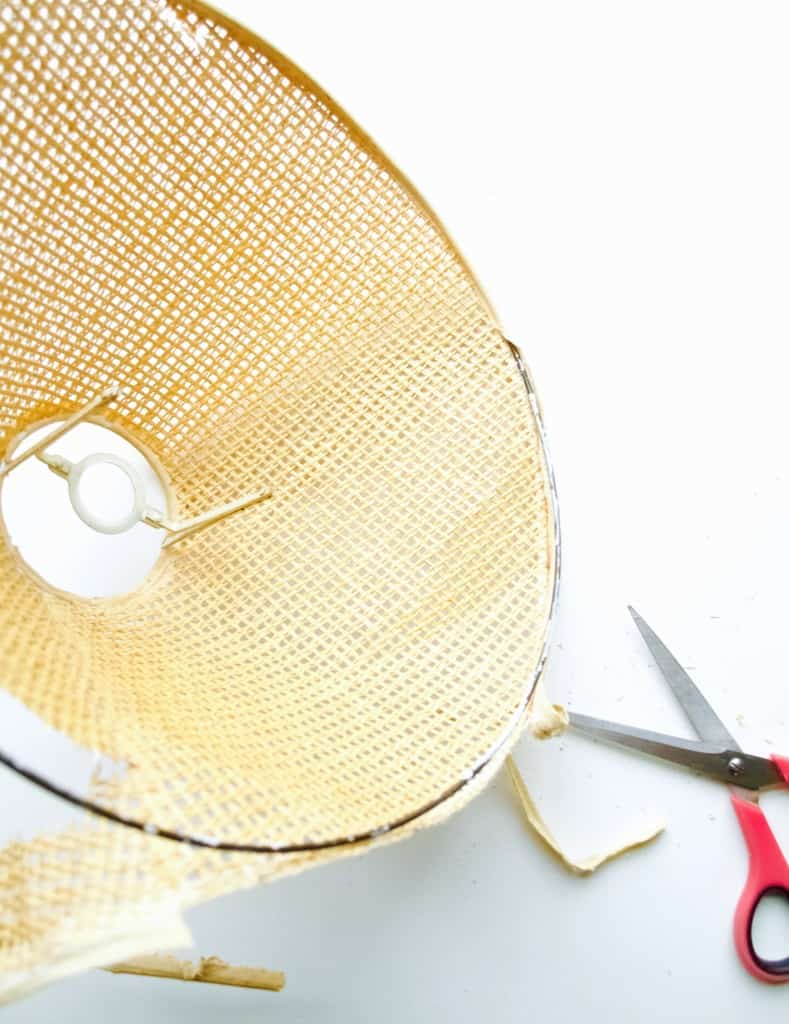
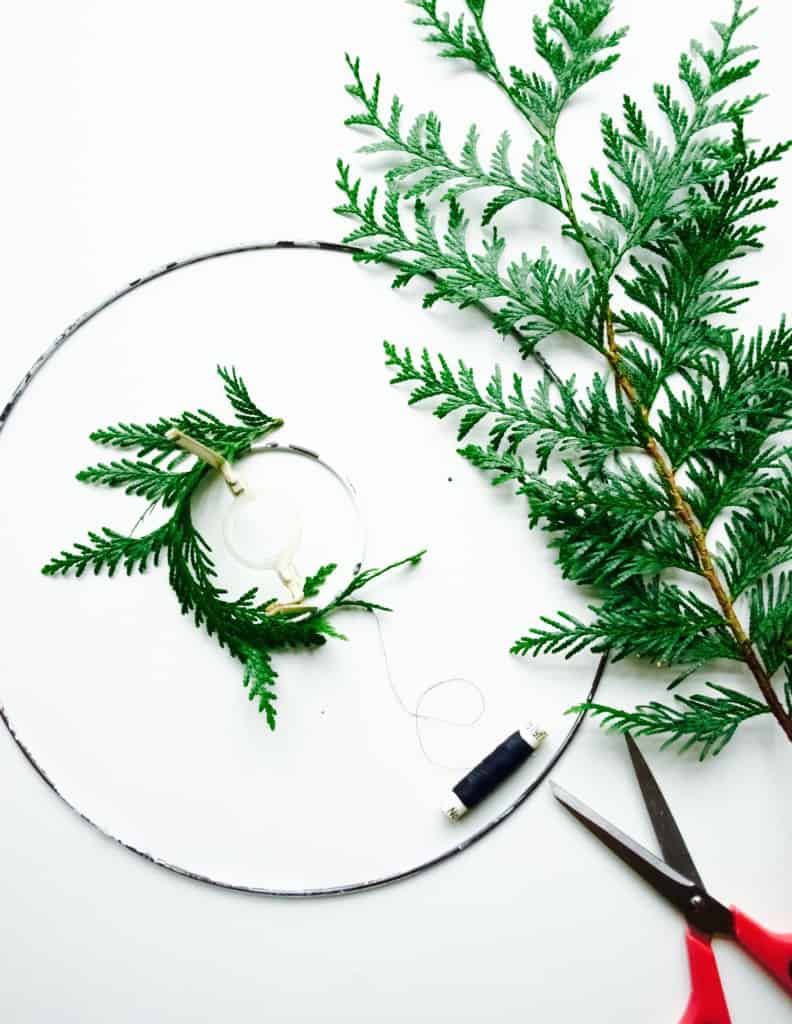
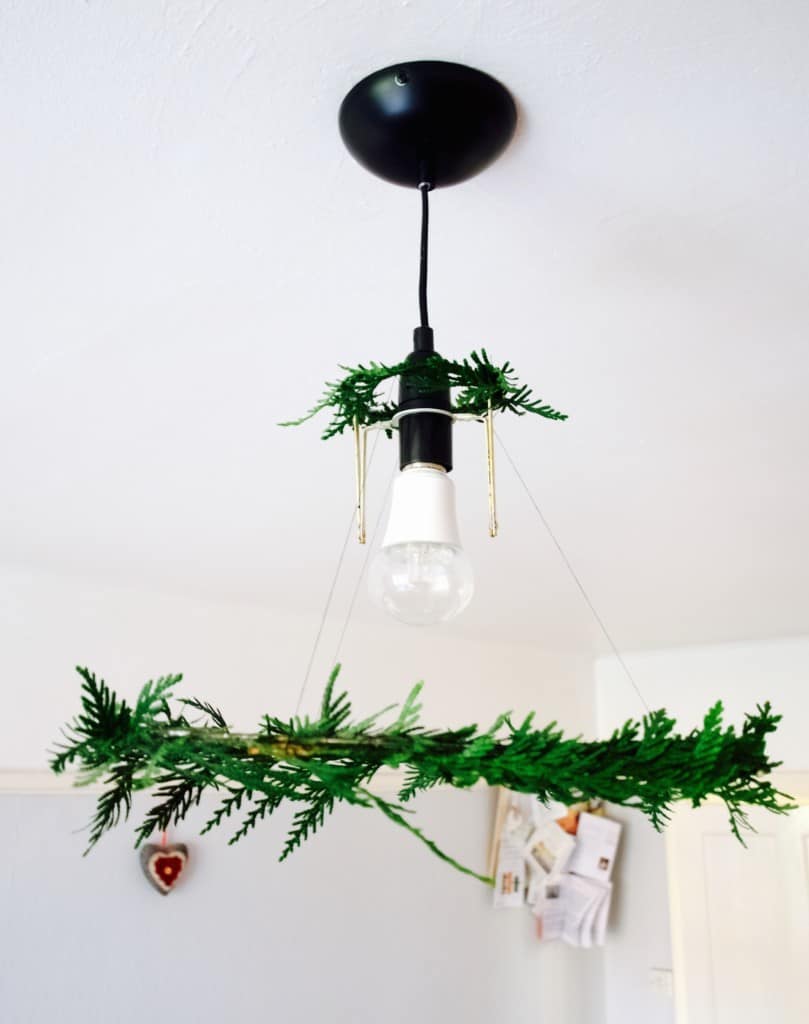
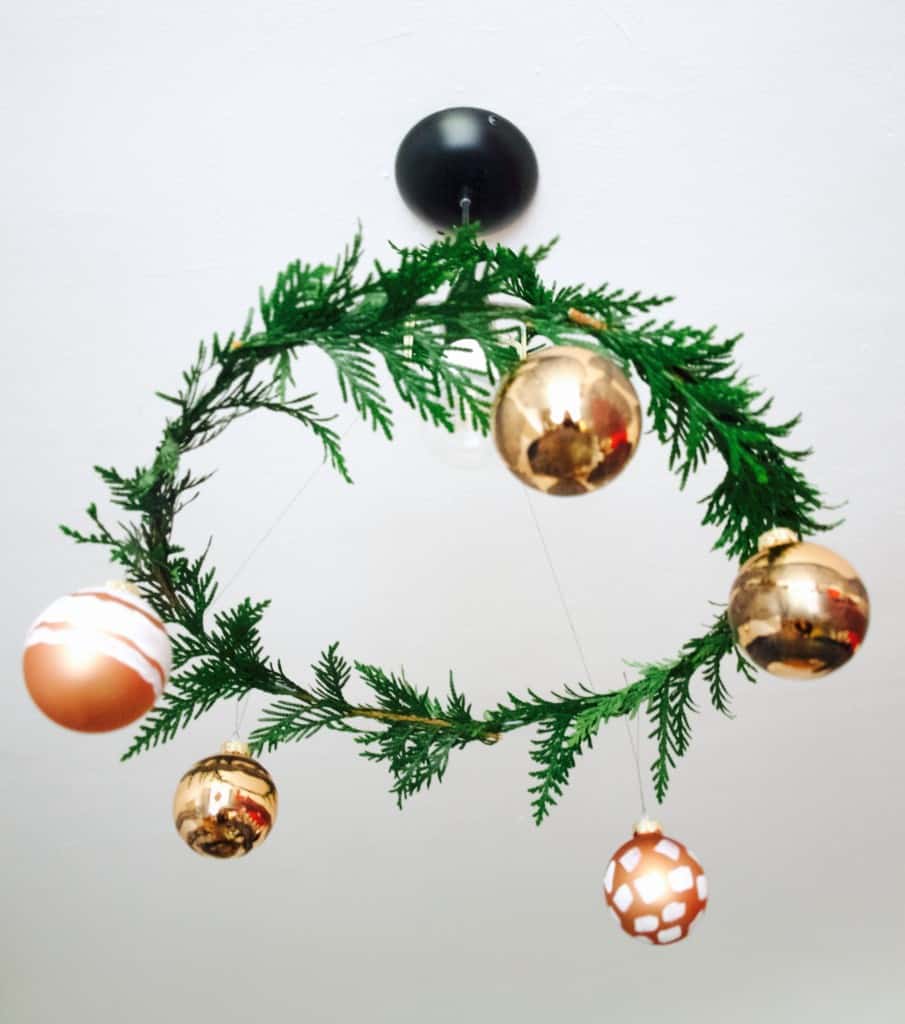
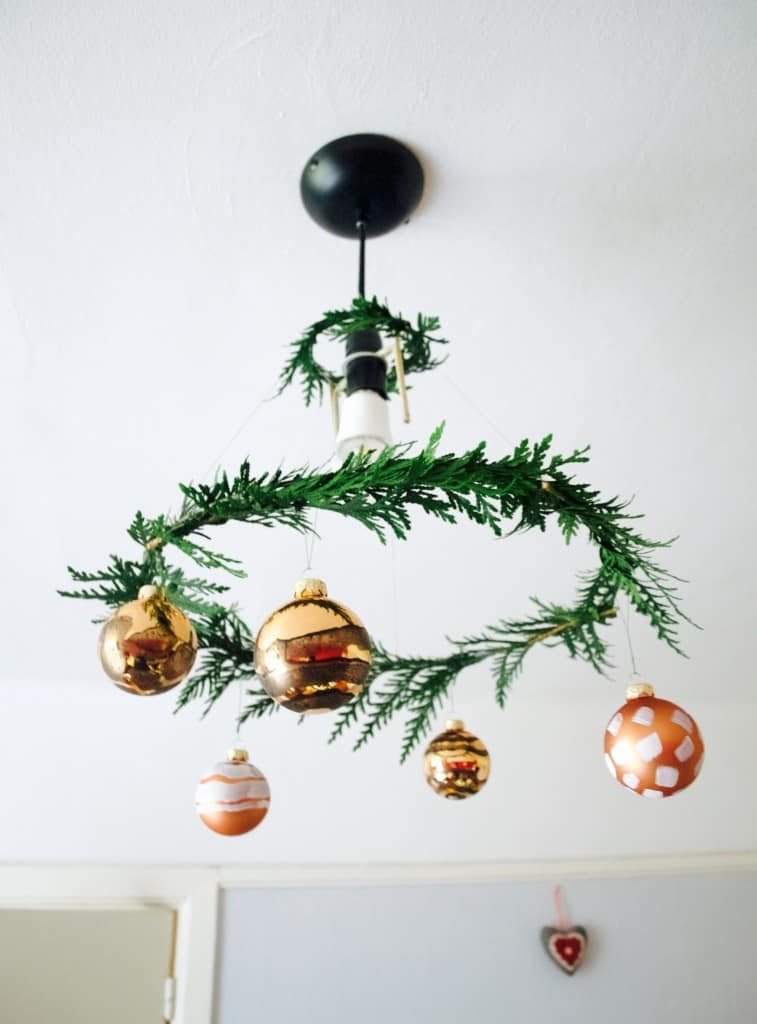
Unless I can hang it? And this is how Christmas chandelier idea came around :-).Make your own Christmas wreath chandelier To begin with I made the wreath. For this you will need some sort of hoop. I ripped our old lamp shade apart to get the hoop that turned out to be a bit rusted (never mind), but maybe you can use embroidery hoop instead (the inner part)?? Anyways, this is why I categorised this project as upcycled ;-).Make your own Christmas wreath chandelier Because I ripped our old lampshade I also got an attachment to connect the hoop to the lamp. I covered both (the attachment and the hoop) with some greenery (mostly parts of the tree in my friends garden). Make your own Christmas wreath chandelierI used three treads to connect the attachment with the hoop. Hope it’s visible in the picture bellow.Make your own Christmas wreath chandelier As for Christmas “tree” deco I chose baubles that I decided to customise myself. I thought to paint with the acrylic that I already have… very risky I know! But I have to be frugal sometimes. Turned out to be ok actually, not sure how long it would last. The black acrylic pain was a bit watery and run in places a bit, but created a nice sort of vintage look. Make your own Christmas wreath chandelierAfter hanging all there baubles on the wreath, there were few leftover. I mounted them above our mantelpiece so everything looks Christmas ready. If only we stayed at home for all the celebrations.Make your own Christmas wreath chandelierHope you feel inspired and ready ahead with Christmas decorating.

Rasa xoxo

0

Ways to use up your yarn scraps

How to use up yarn scraps: projects and tips So the thing is that since I organised my yarn and saved it from moth infestation I realised I had lots and lots of scraps. If you been crafting for many years, than you will understand it’s never a good idea to let your small amounts of yarn just keep piling up. It takes up a lot of space and then you may worry about moths possibly attacking it again. No, thanks! So what do you do with all those little bits of yarn that are leftover after your knitting and crocheting projects? I thought of few ways…

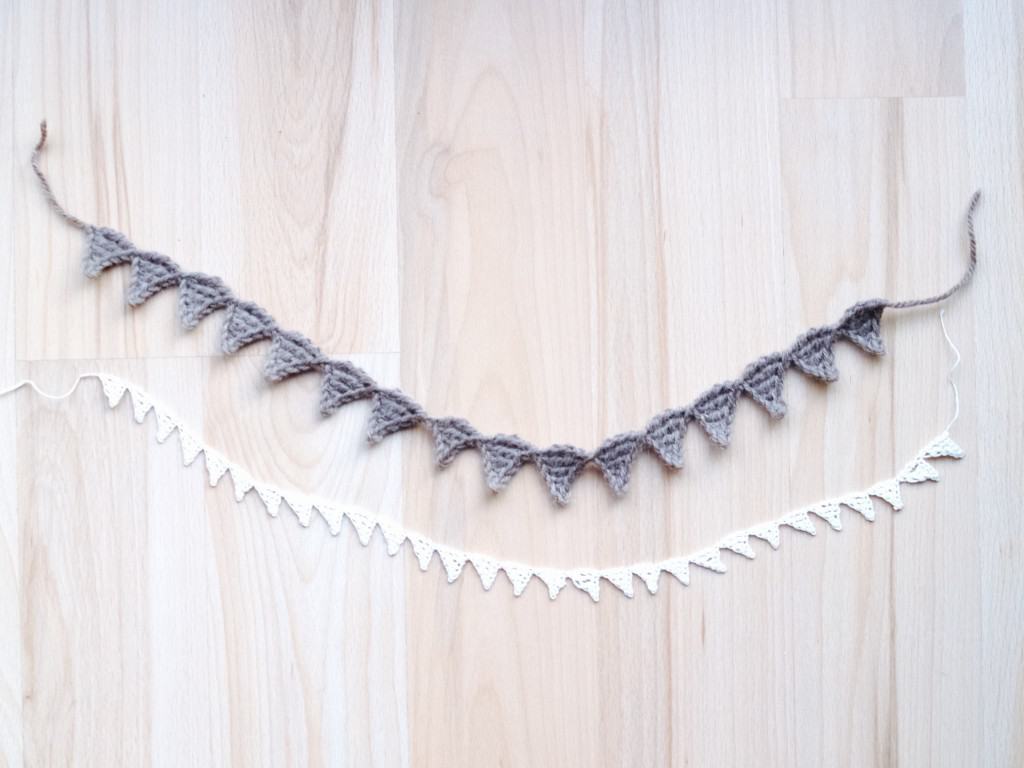
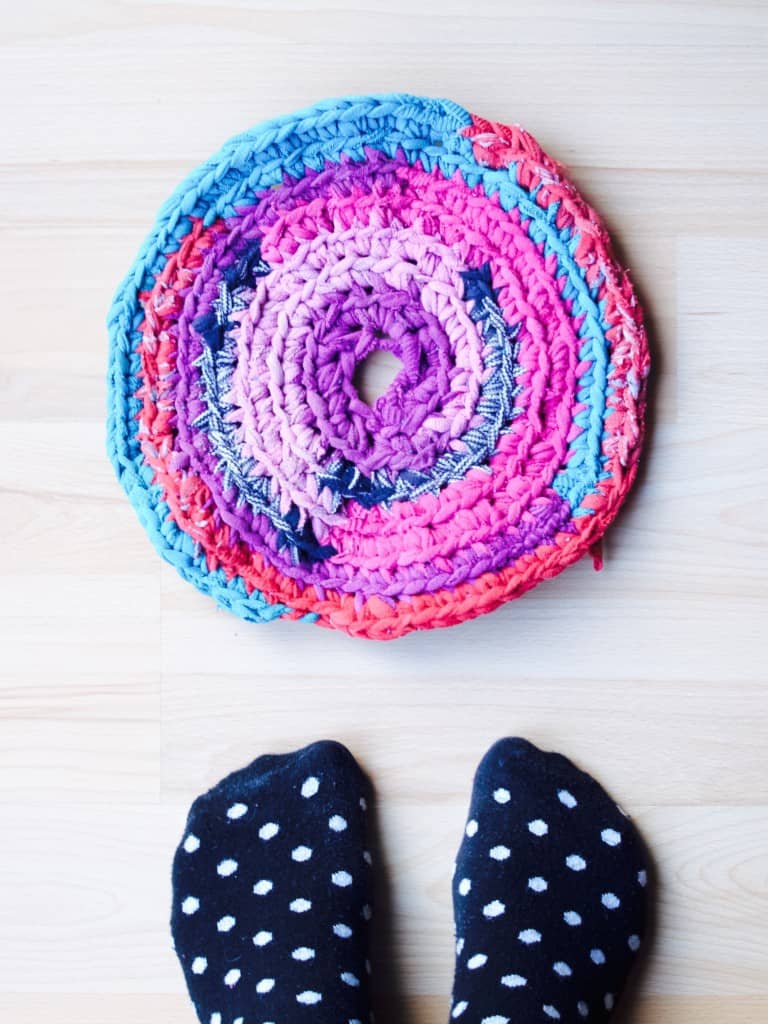
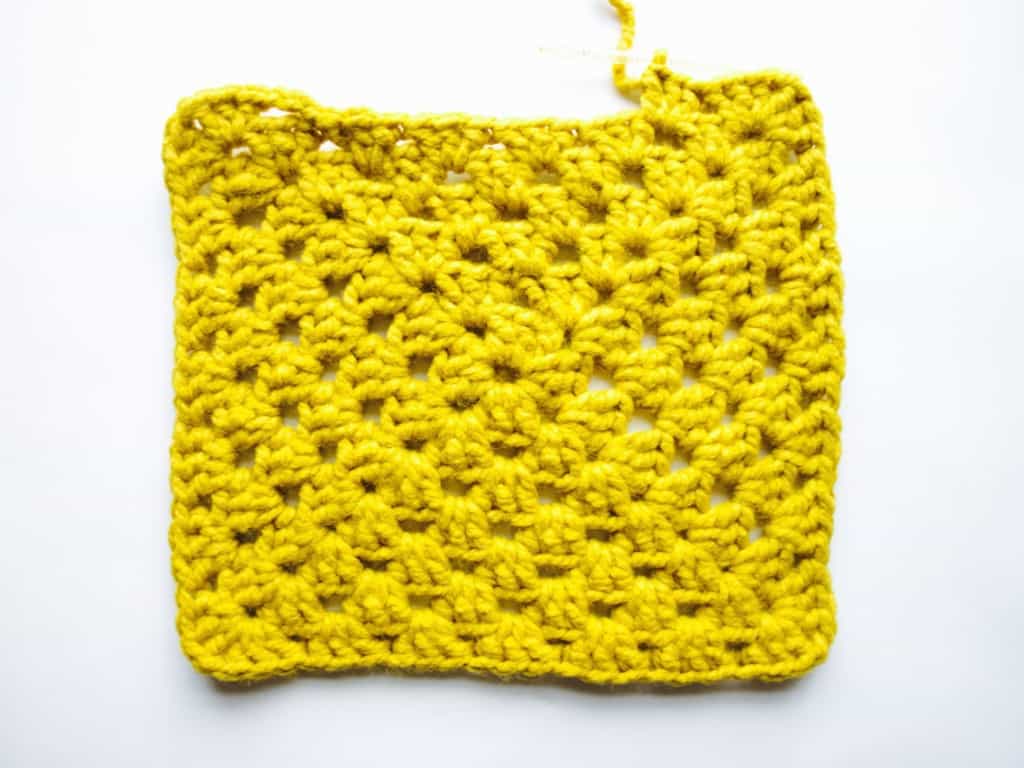
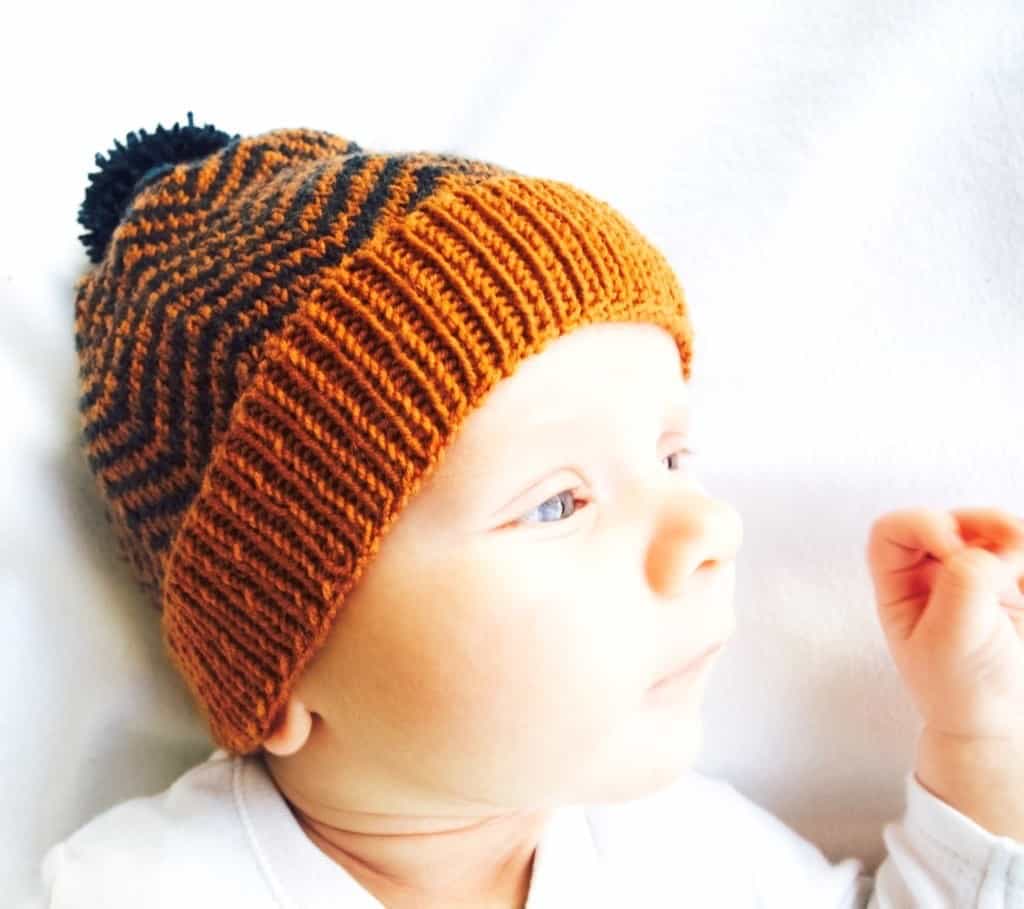
1. Small projects, first comes to my mind. With winter coming over I have been knitting socks and hoping to knit some gloves and maybe hats. These are fit to become Christmas gift too!How to use up yarn scraps: projects and tips While there are plenty of small projects out there I find knitting socks is my favourite item to knit (that magical heal turn gets me every time!).  If you feel the same then click here for basic kids socks. Or if you prefer to knit this pretty baby hat then the tutorial for it hides here :D.How to use up yarn scraps: projects and tipsIf you are after for a very teeny weeny project then you should check out this crochet triangle pattern tutorial. It makes a very cute garland for Christmas tree perhaps??!How to use up yarn scraps: projects and tips 2. Making big multicolour rugs or blankets is another good way to use up yarn scraps. Few years ago I started making this never ending, upcycled crochet rug that sadly did not continue (because it did not fit our new home style). But the point I am trying to make here, this is very good project to do to use up all those itsy bitsy bits of yarn. How to use up yarn scraps: projects and tipsOr this giant blanket, very popular way to use up all that scrap yarn. I know, I know, I made it in one plain colour, but trust me, it looks good in multi colours too!How to use up yarn scraps: projects and tips3. Using up scrap yarn can mean using it in patterns or trims. Here is one example, but there are plenty projects out there with pretty patterns ;-).

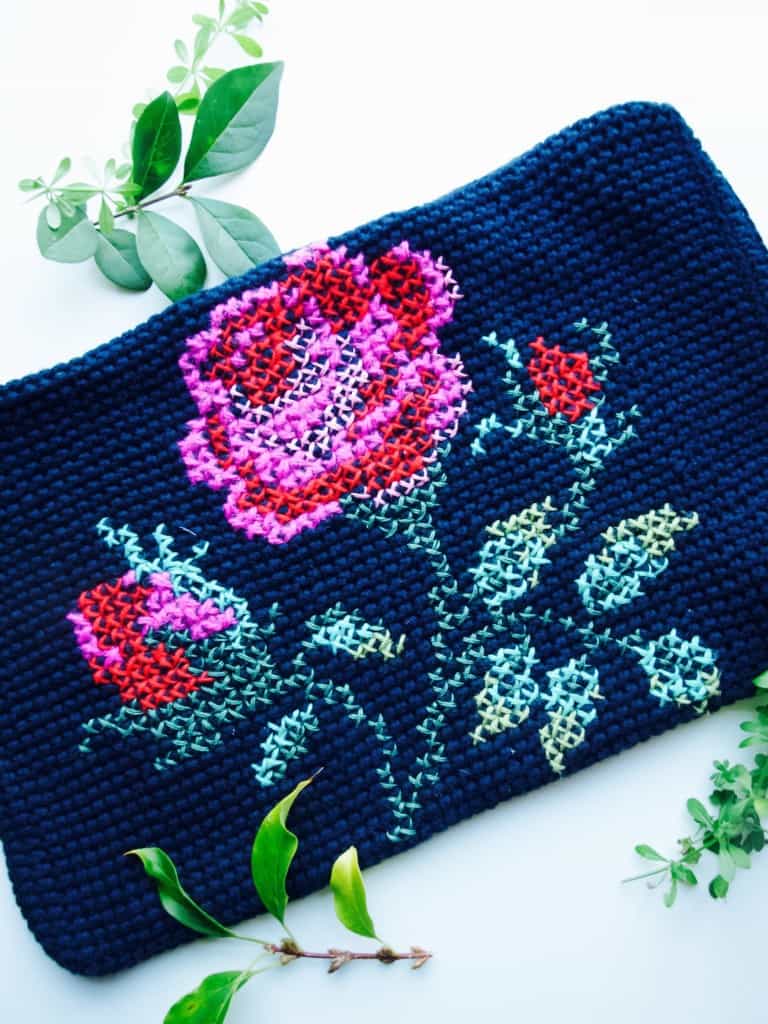
How to use up yarn scraps: projects and tips 4. Did you know that you can use leftover yarn for embroidery and cross stitch? Here is my laptop cover that I made few years ago. It is still one of my favourite items that I made :).How to use up yarn scraps: projects and tips Finally, here are the socks I recently made for Lukas. I could not be more proud :).How to use up yarn scraps: projects and tips How to use up yarn scraps: projects and tipsHope you got inspired ;-)

Rasa xx

0

Water colour and embroidery wall art idea

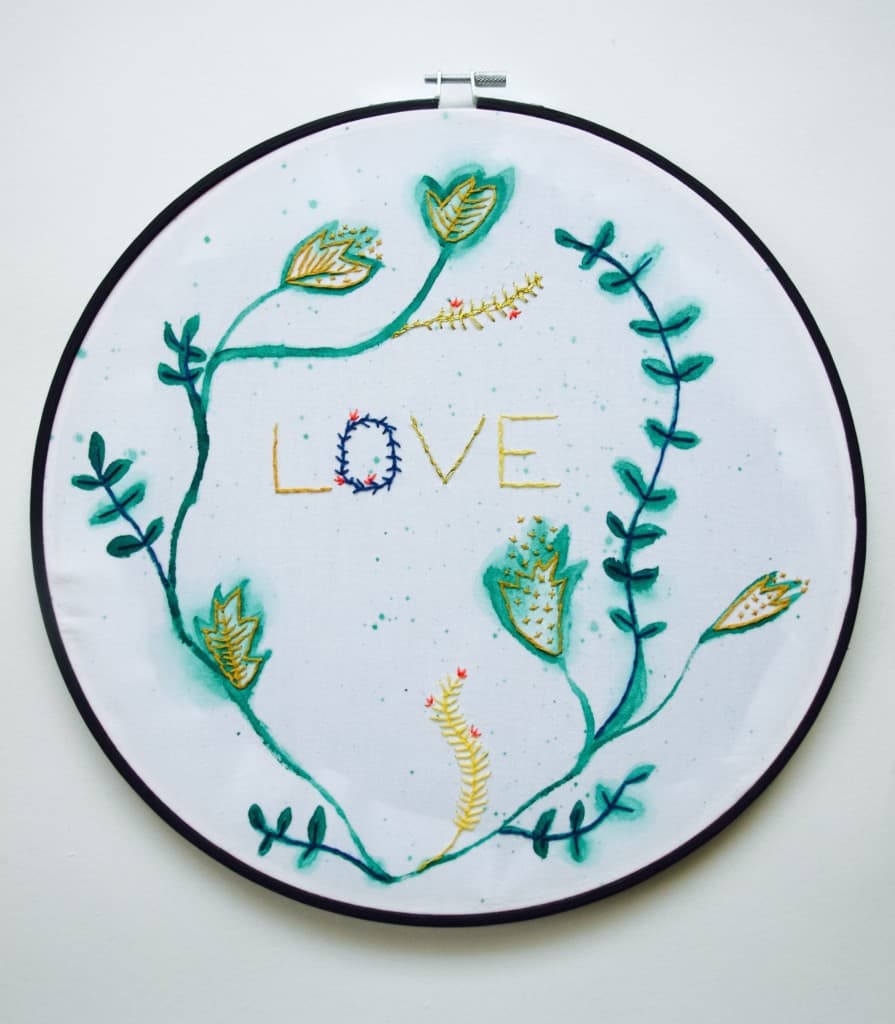
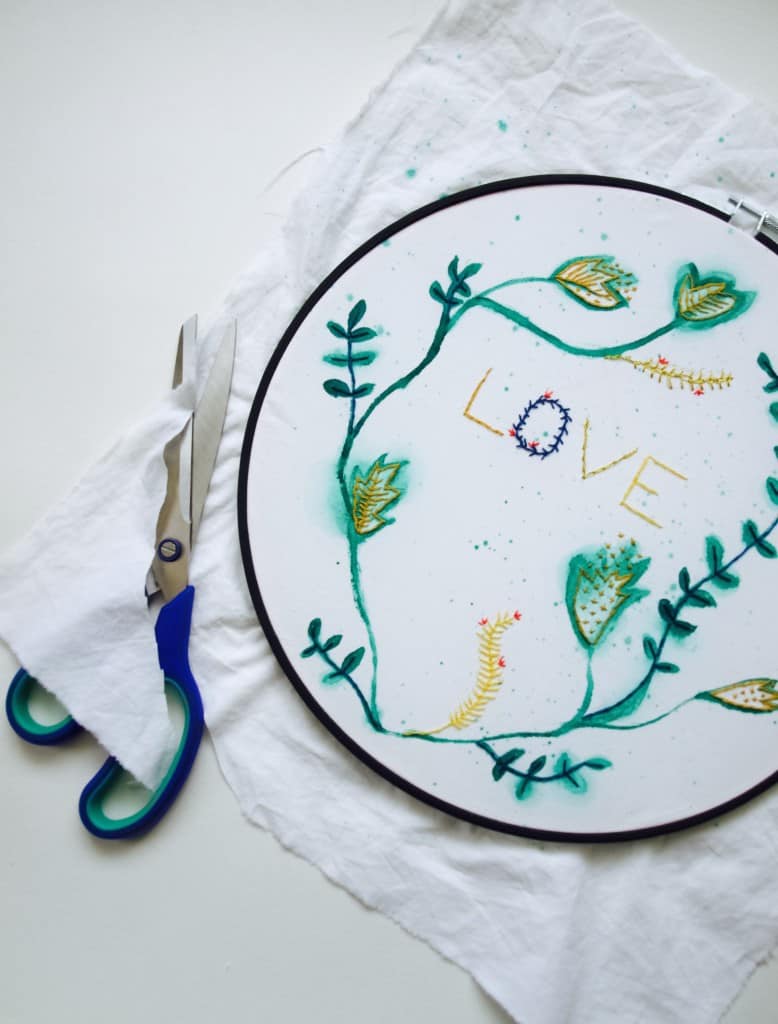
Embroidery and watercolour art DIY I love love love (and still falling in love further) with water colour! I did some watercolour last month and this month I decided to incorporate some embroidery in it. This is why I thought to try to paint on the fabric and let me tell you it totally works!!! It felt almost the same as painting on paper, if not easer. I think fabric soaks up more water, so the results can be even more dramatic for all those dreamy watercolour blurs… ahh. Will tell you more in the minute….

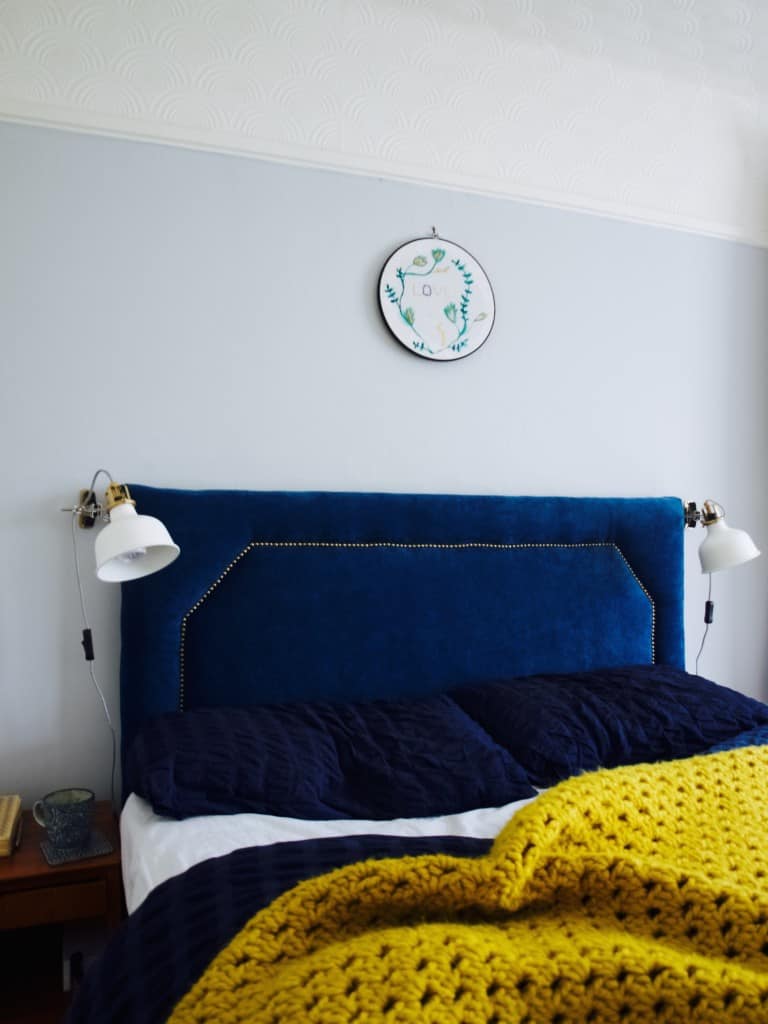
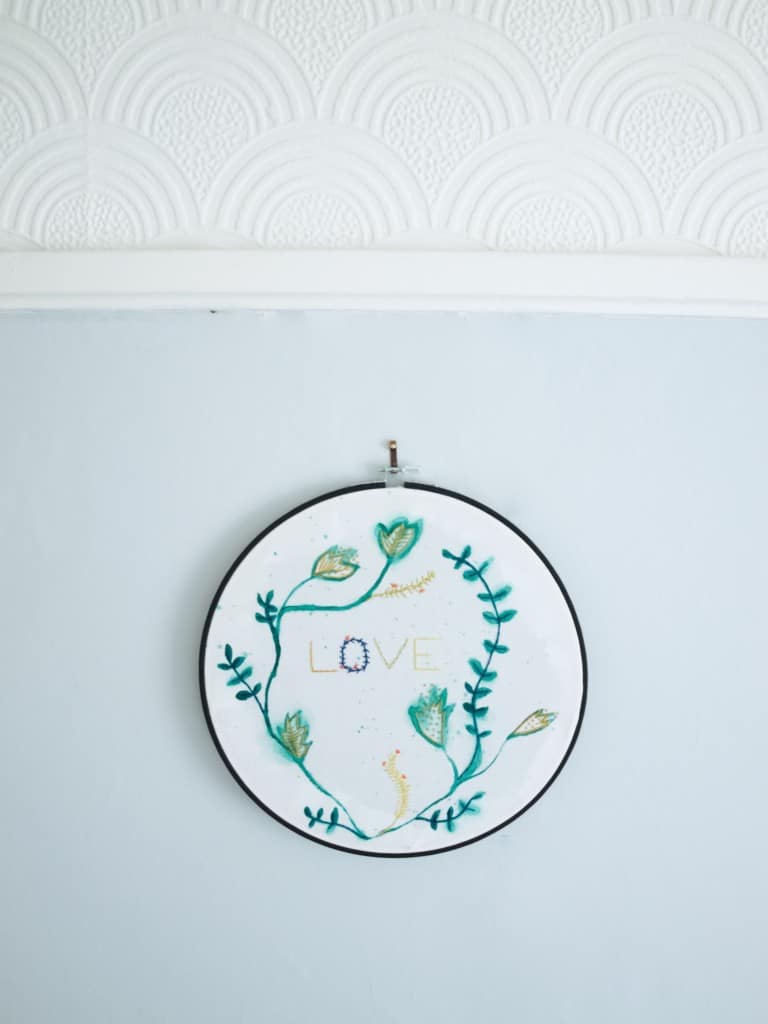
But first I would like to make a little confession. You see I am not 100% sure if this artwork I made goes where I intended to go over our bed (yes, it happens to me too when my vision don’t match with the results). Which makes me feel a little embarrassed that I did not think it through. I am now realising that the artwork over the bed should be more dramatic and definitely more geometric. When I was thinking what artwork I would like to put over our new refurbished headboard, I was imagining something round and thats when I thought of idea using an embroidery hook (and embroidery). Which works fine here, but my painting has to change. Will let you know what I come up with :-).

Embroidery and watercolour art DIY Although the artwork did not suit the interior of our room, I still liked it and I definitely enjoyed the process of making it! So I thought to share my experience of watercolour on fabric anyways.

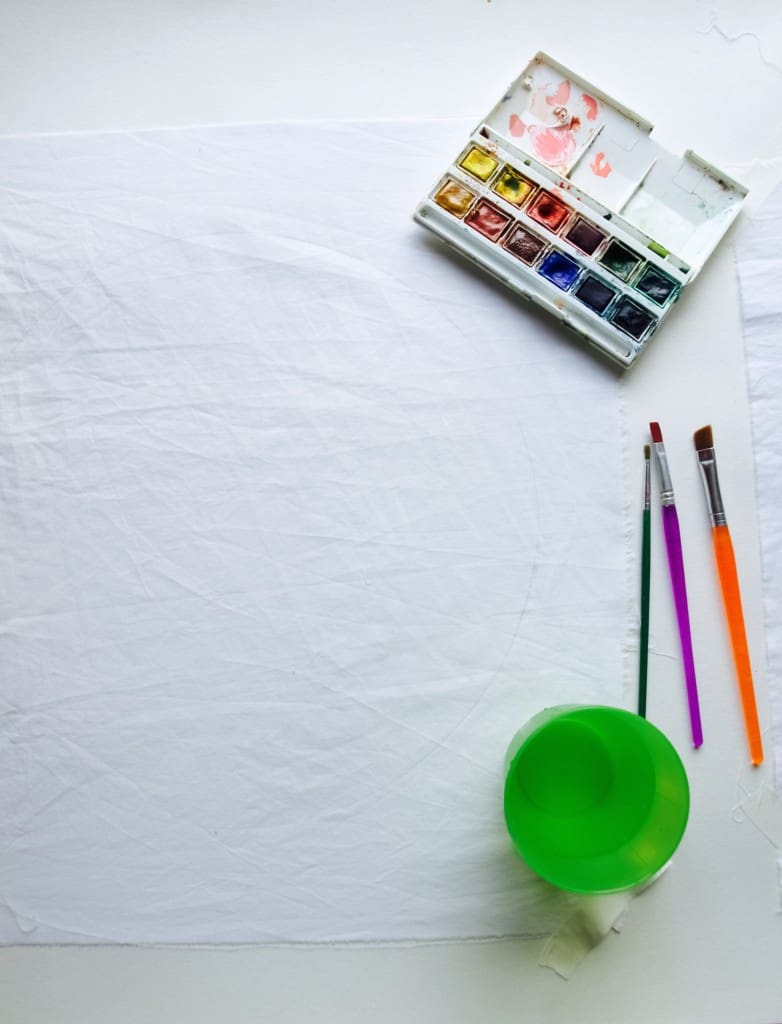
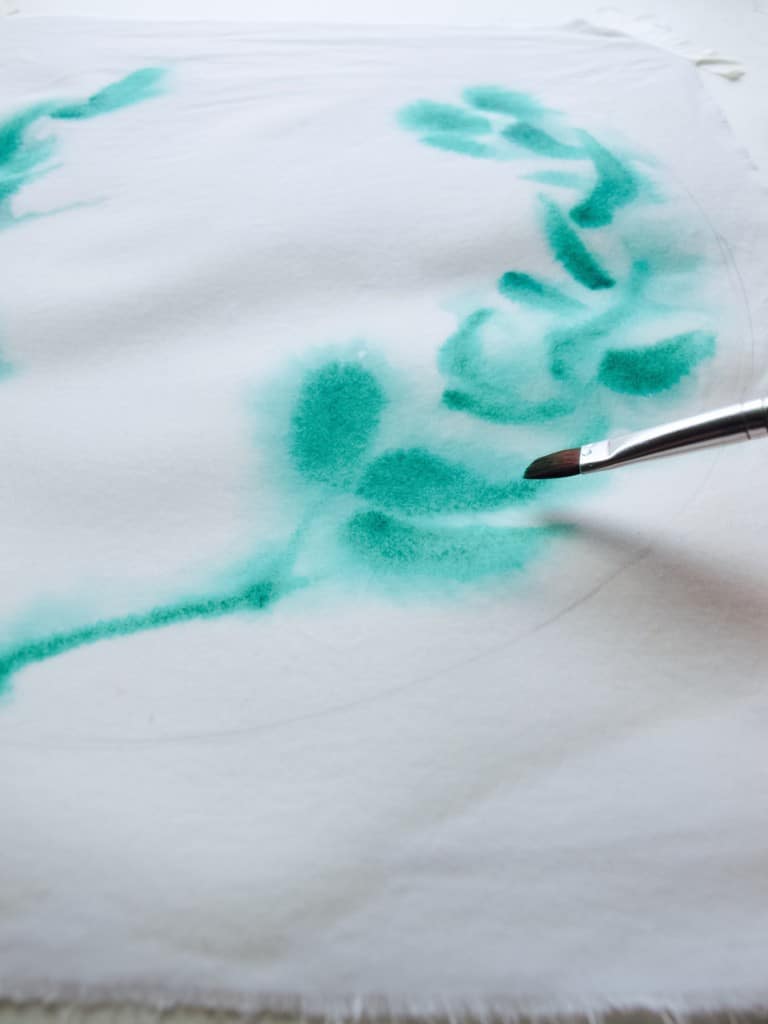
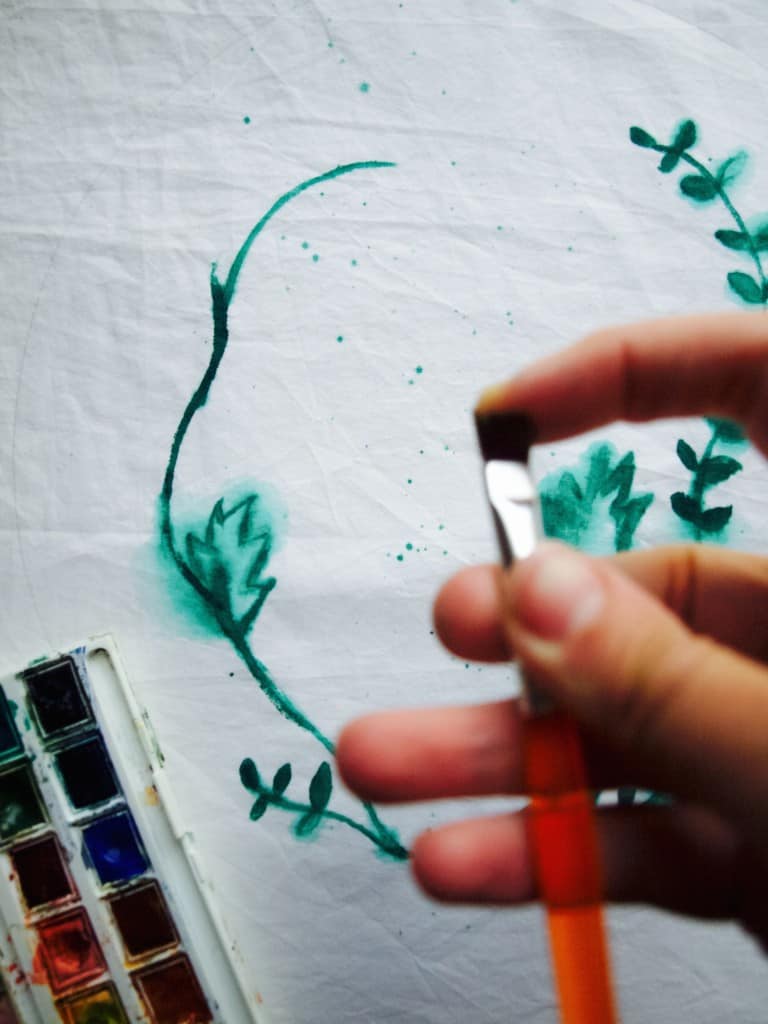
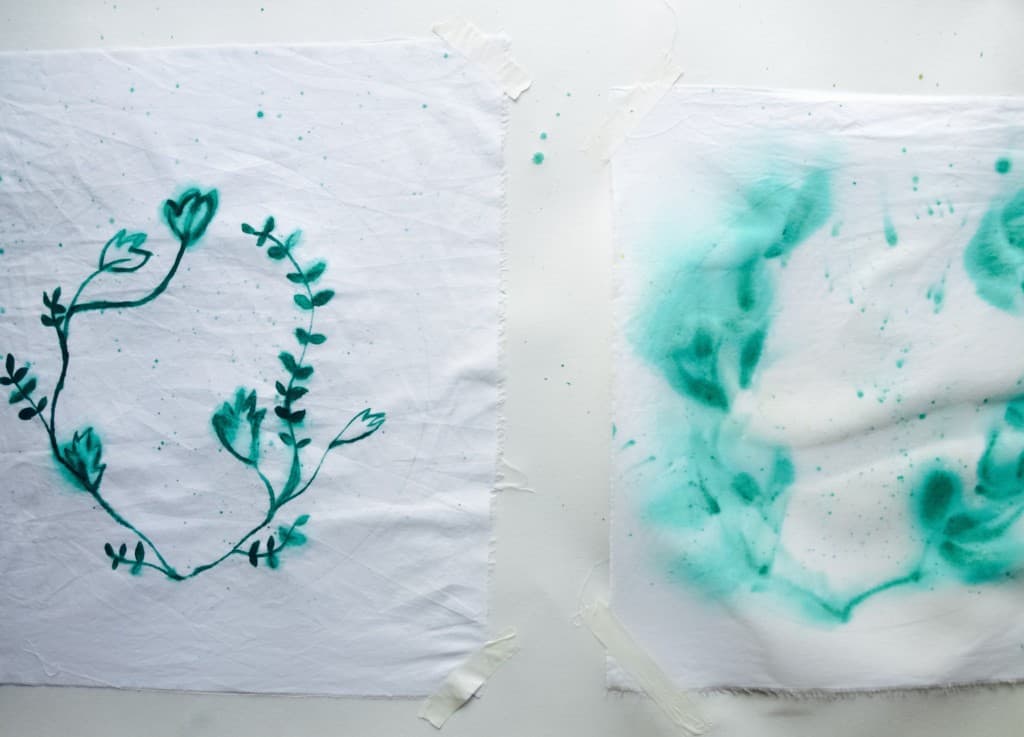
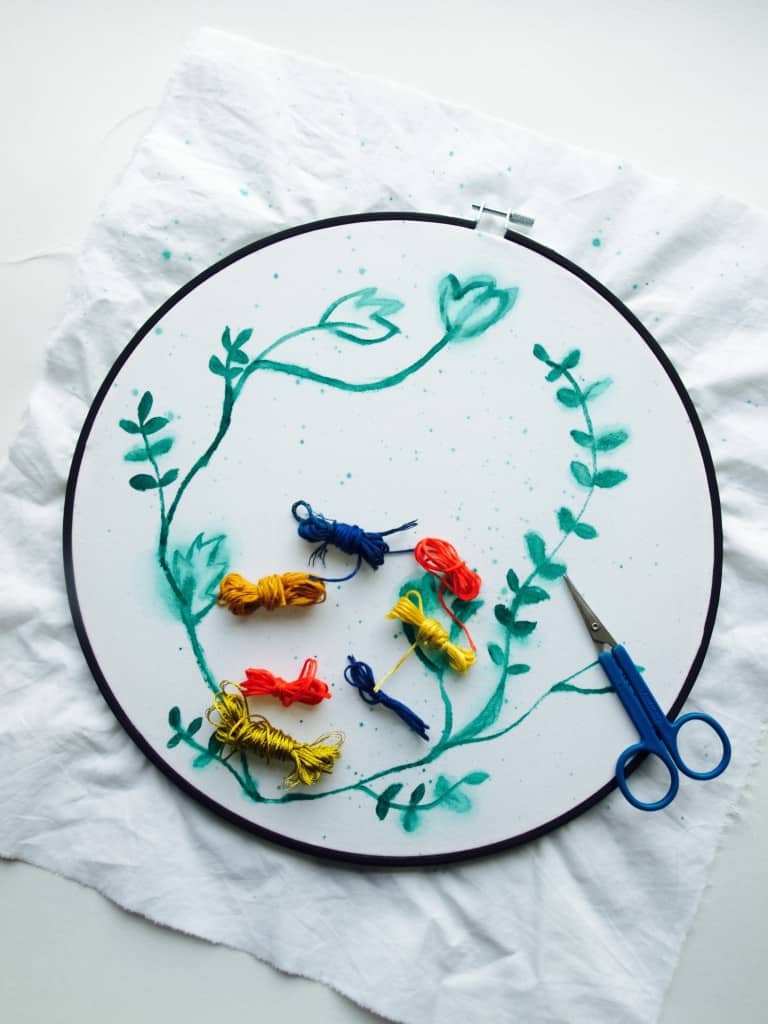
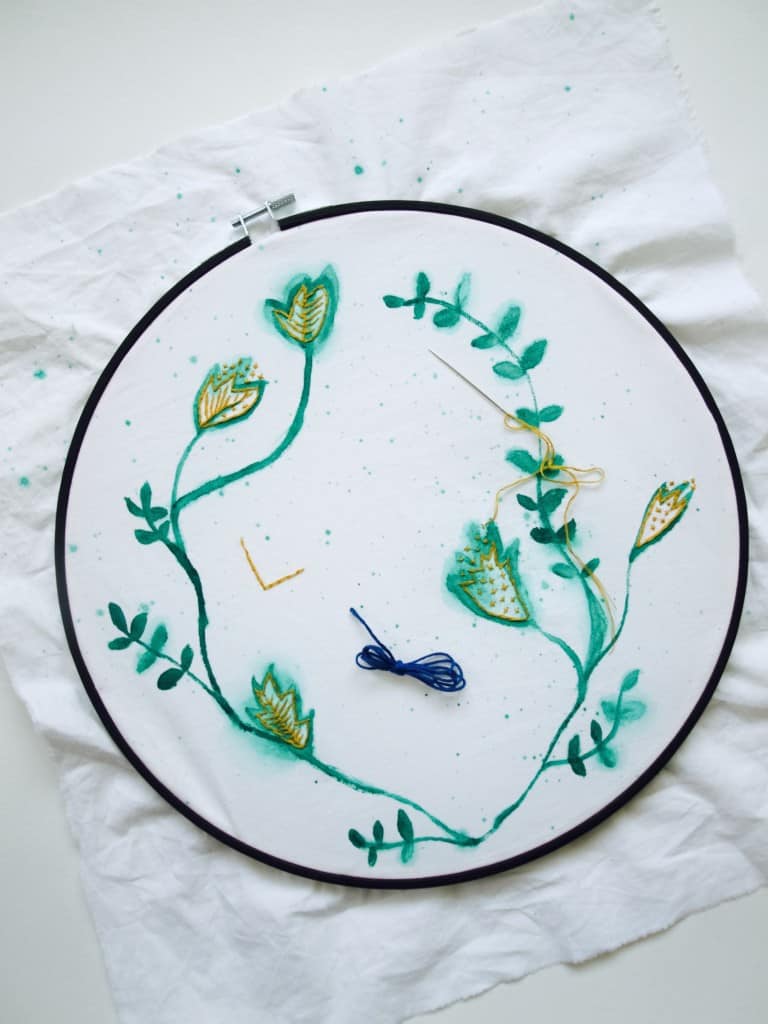
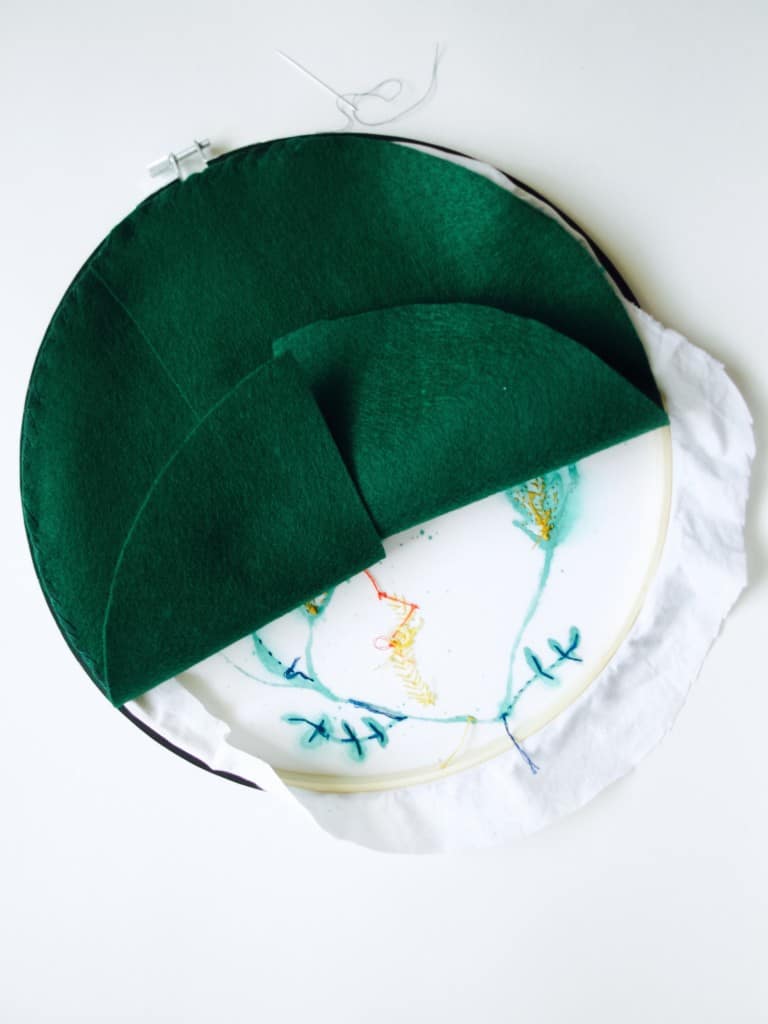
To prepare I cut out some pieces of cotton fabric (I used old bed sheet) and stuck it onto large piece of paper. I used plain wallpaper roll and stuck few fabric pieces next to each other. That way I could practice and have few goes at it. I had a cup of water and paintbrushes lined up as you would normally when you use water colour paint. Embroidery and watercolour art DIY I started with the most common water colour technique. I brushed the whole fabric with water to achieve this classic blurry water colour look. Embroidery and watercolour art DIY I also tried watercolour with less water so I could paint in more detail. I loved that I could just add more water and make some parts more blurry then others.Embroidery and watercolour art DIY Embroidery and watercolour art DIY Once the painting dried I chose the colours for the embroidery. If you need more inspiration on embroidery stitches then you should definitely check out this tutorial.Embroidery and watercolour art DIY Embroidery and watercolour art DIY Embroidery and watercolour art DIY To tidy up your artwork simply stitch a round piece on the back so you can tuck in all the raw edges of the fabric. Embroidery and watercolour art DIY Embroidery and watercolour art DIYHope I inspired you ;-)

Rasa xoox

1

Christmas village display

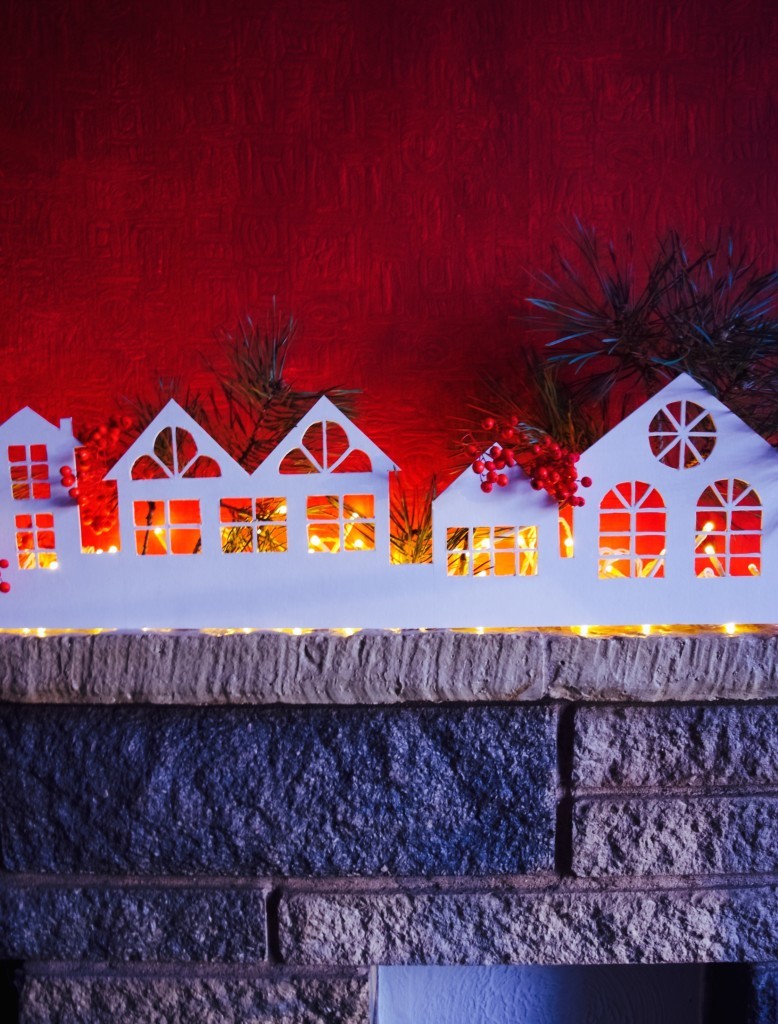
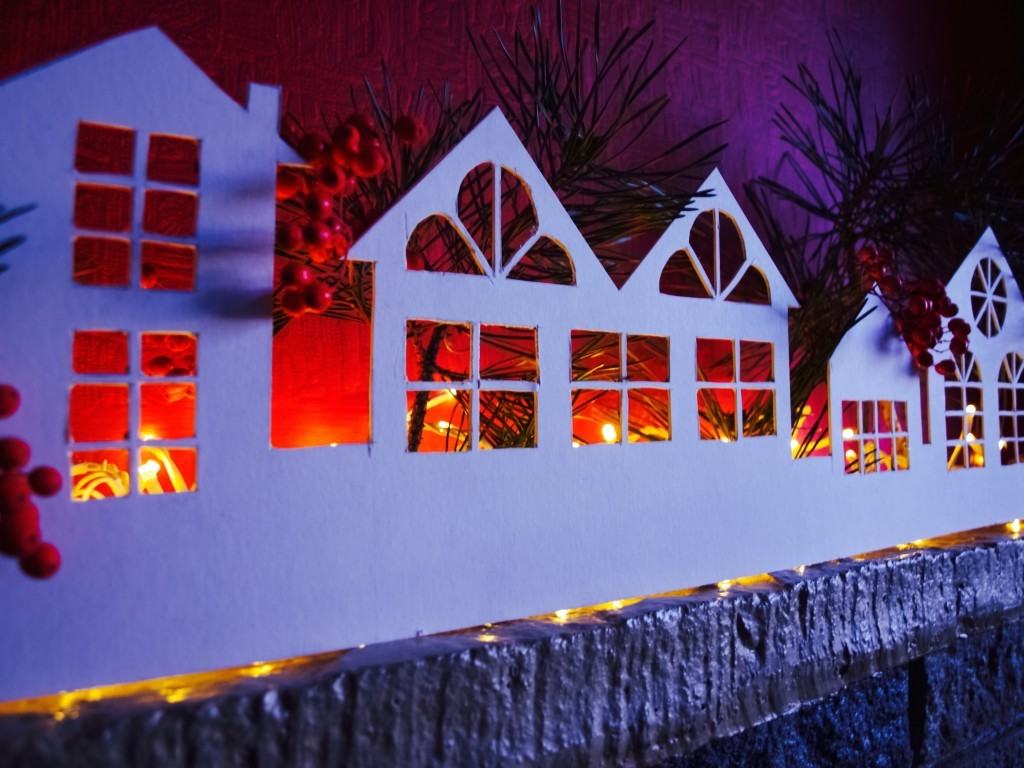
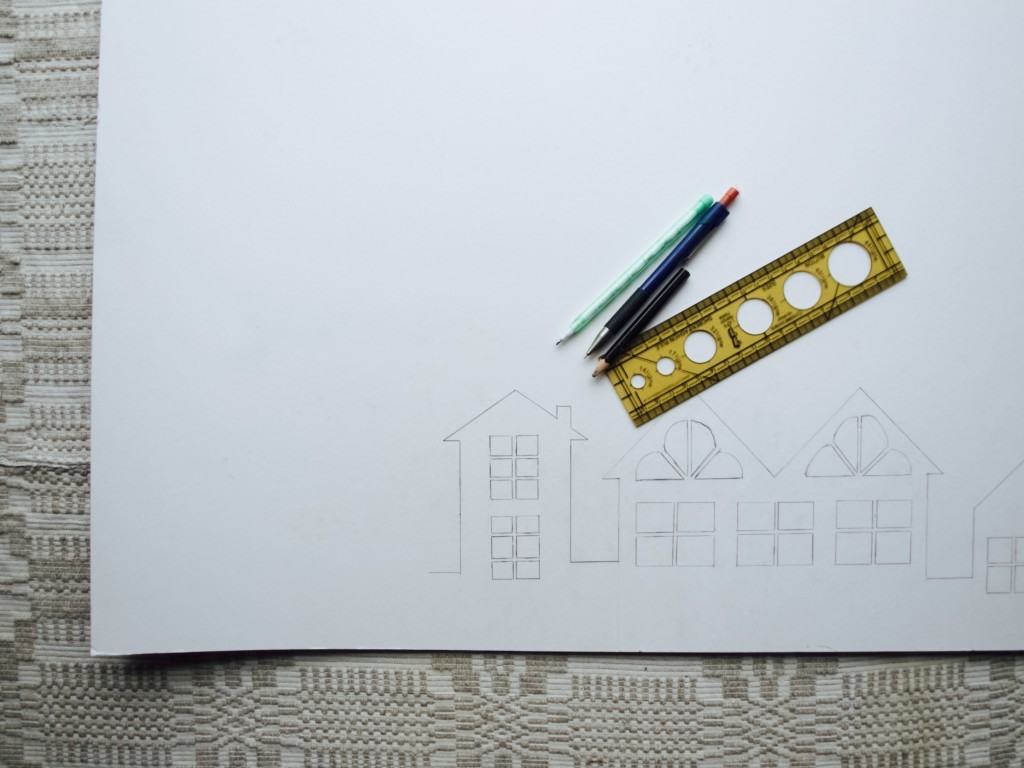
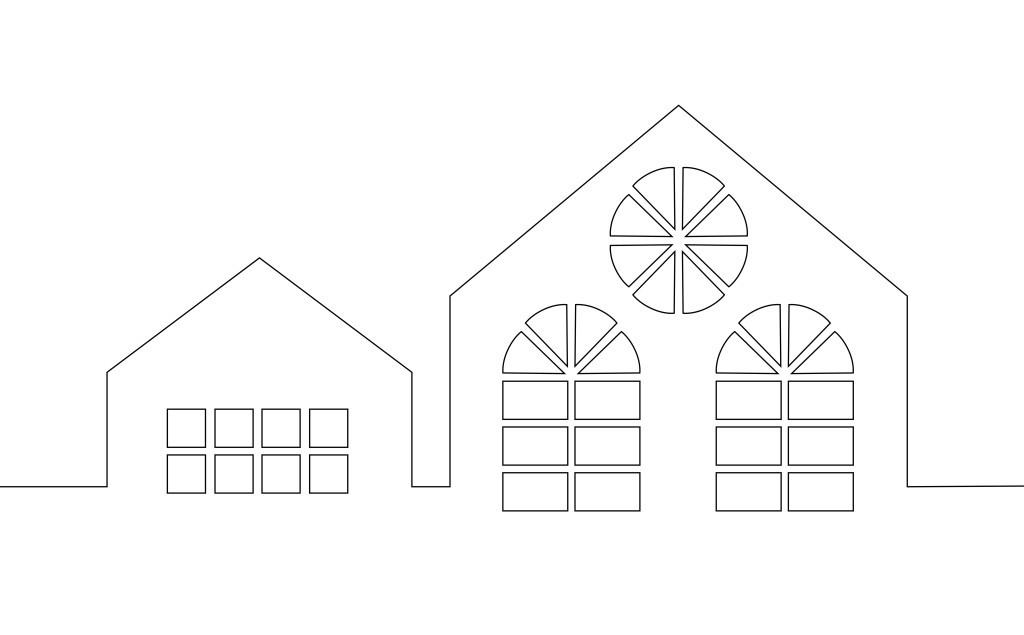
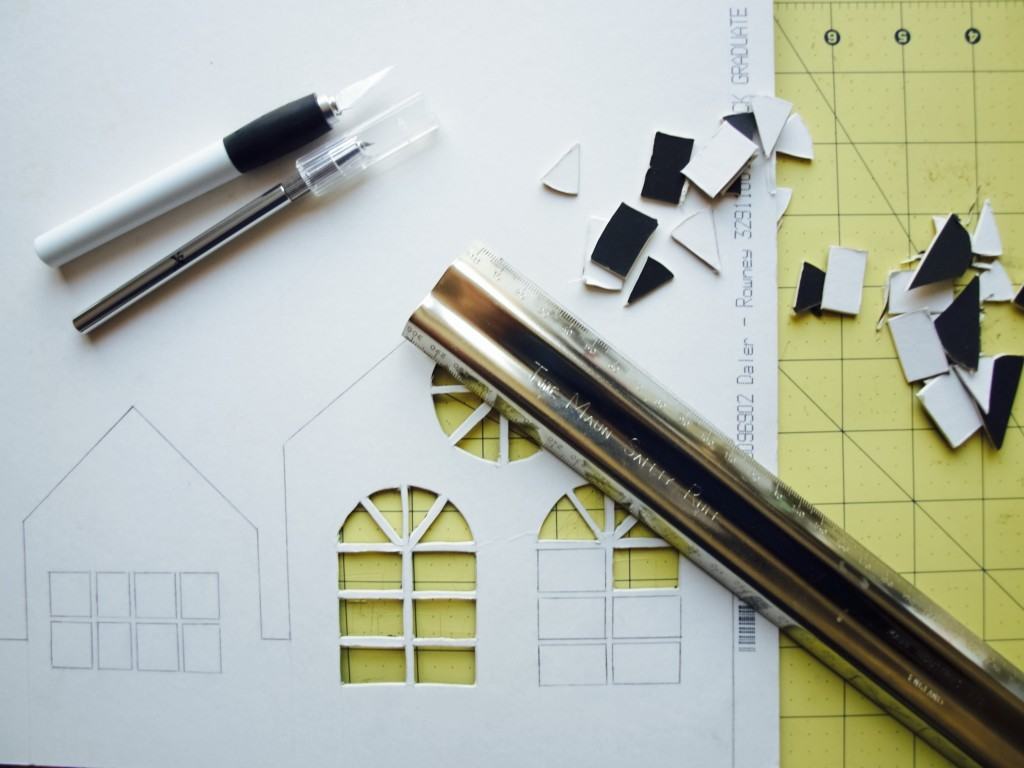
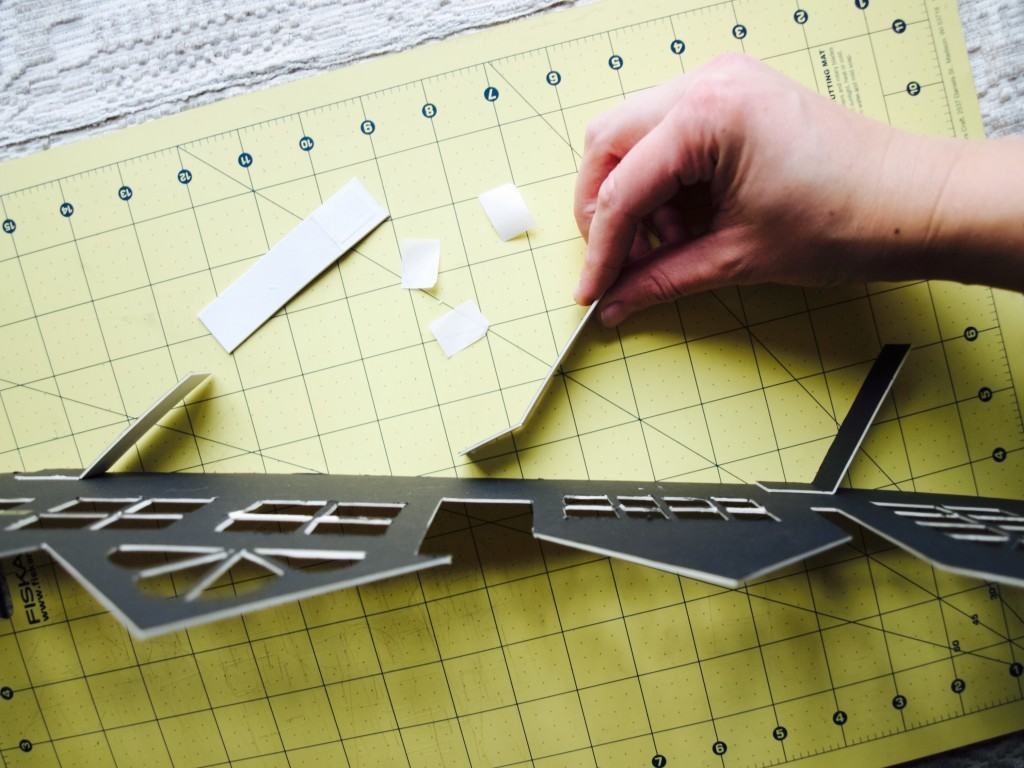
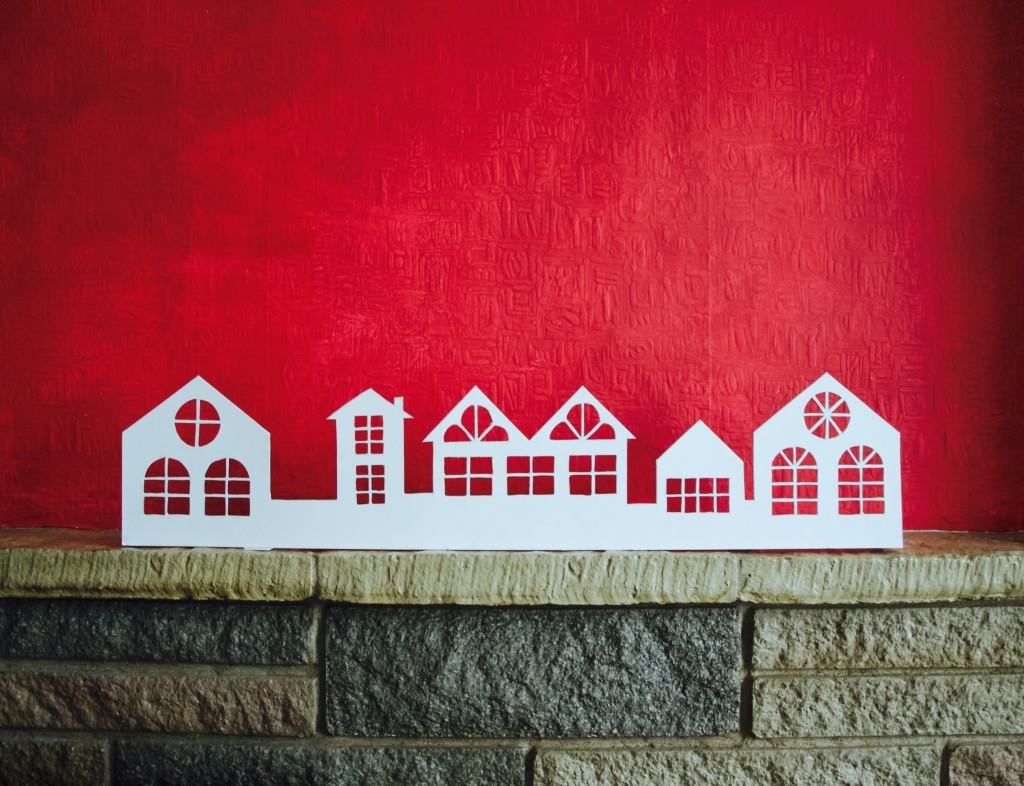
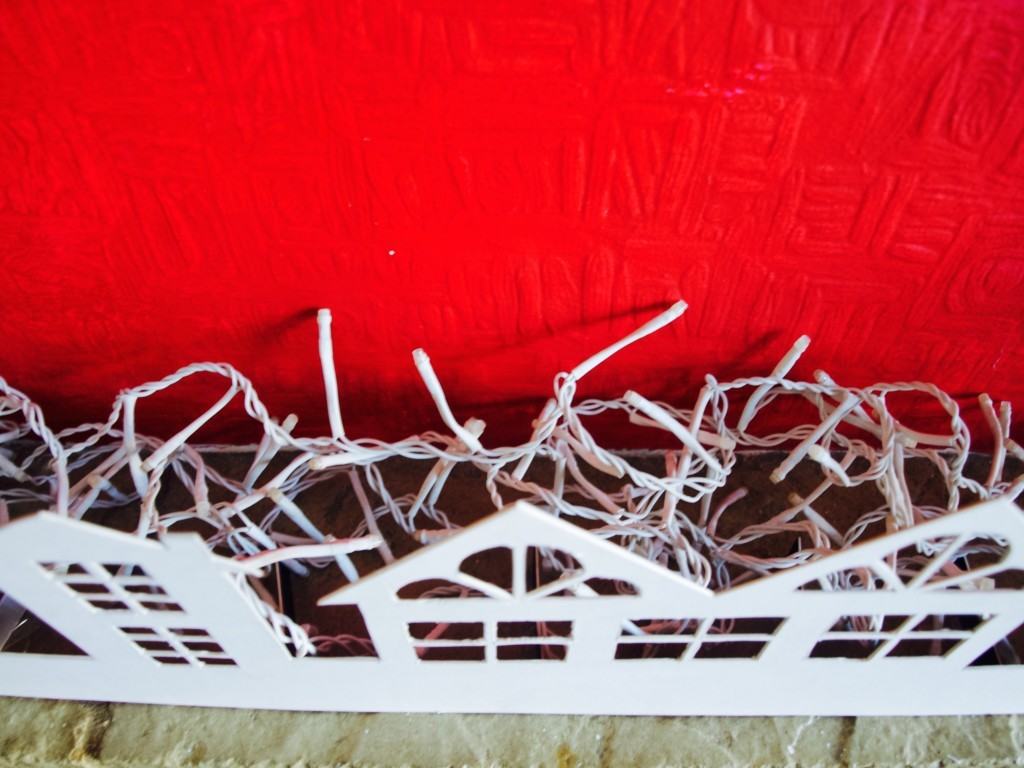
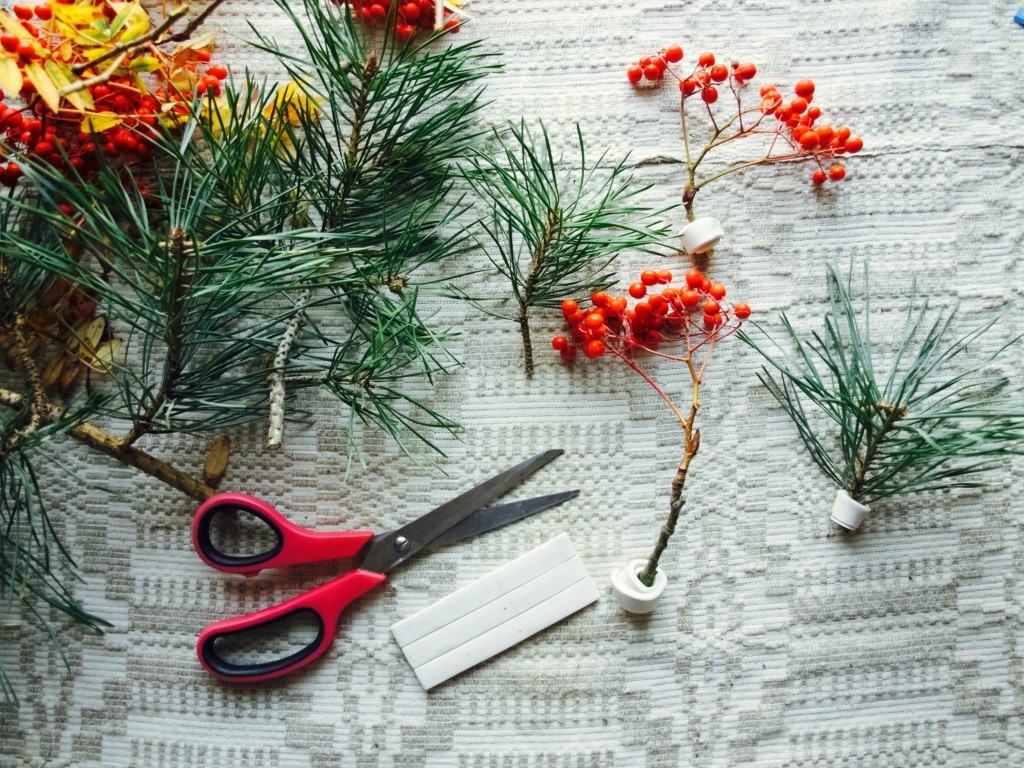
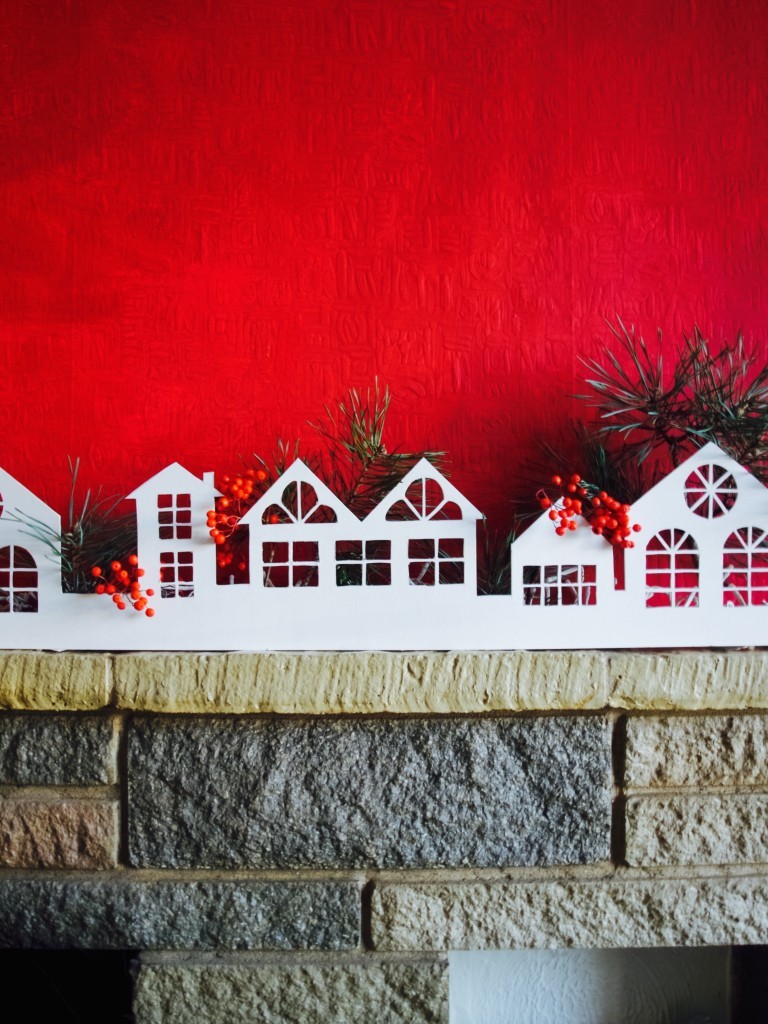
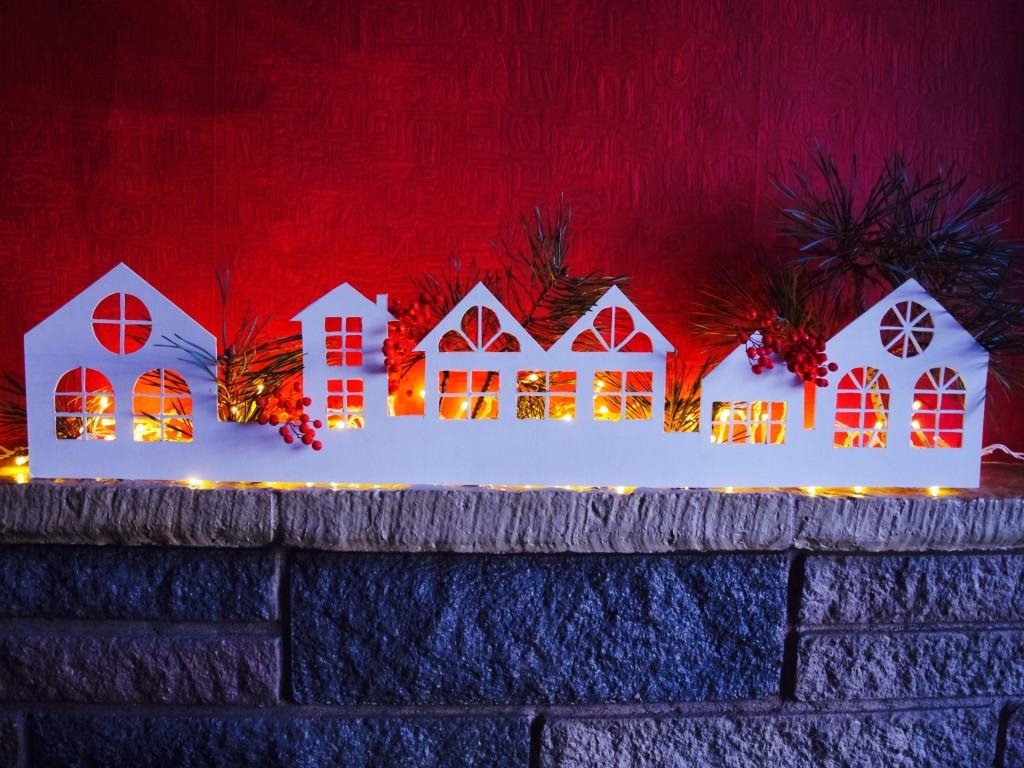
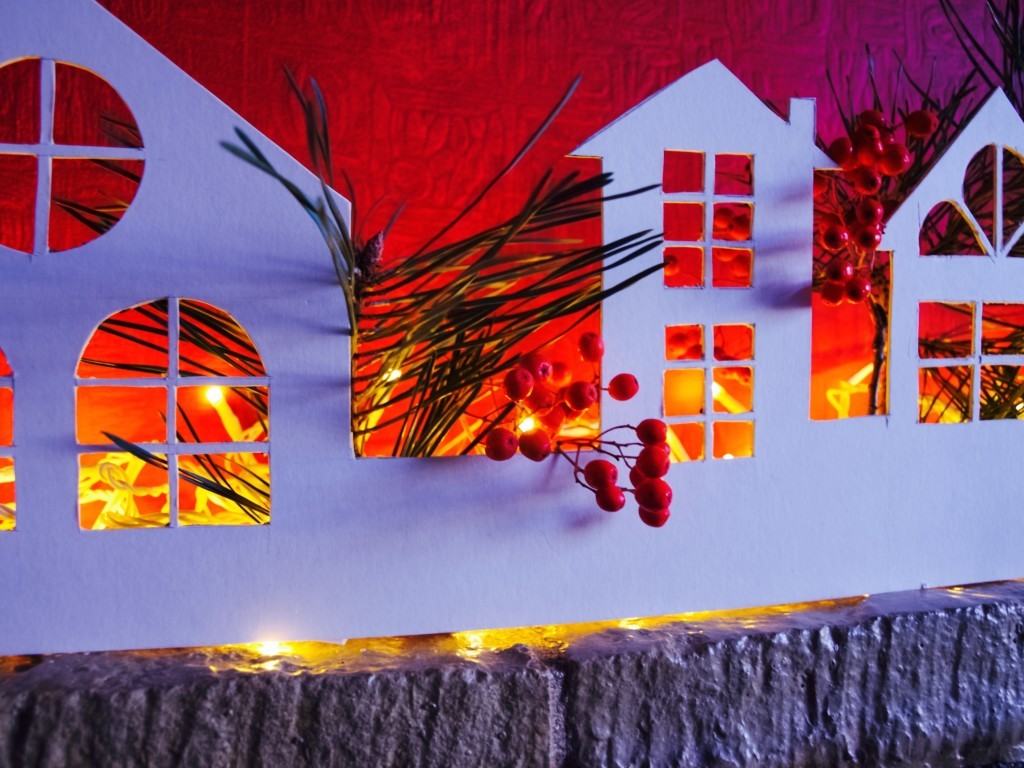
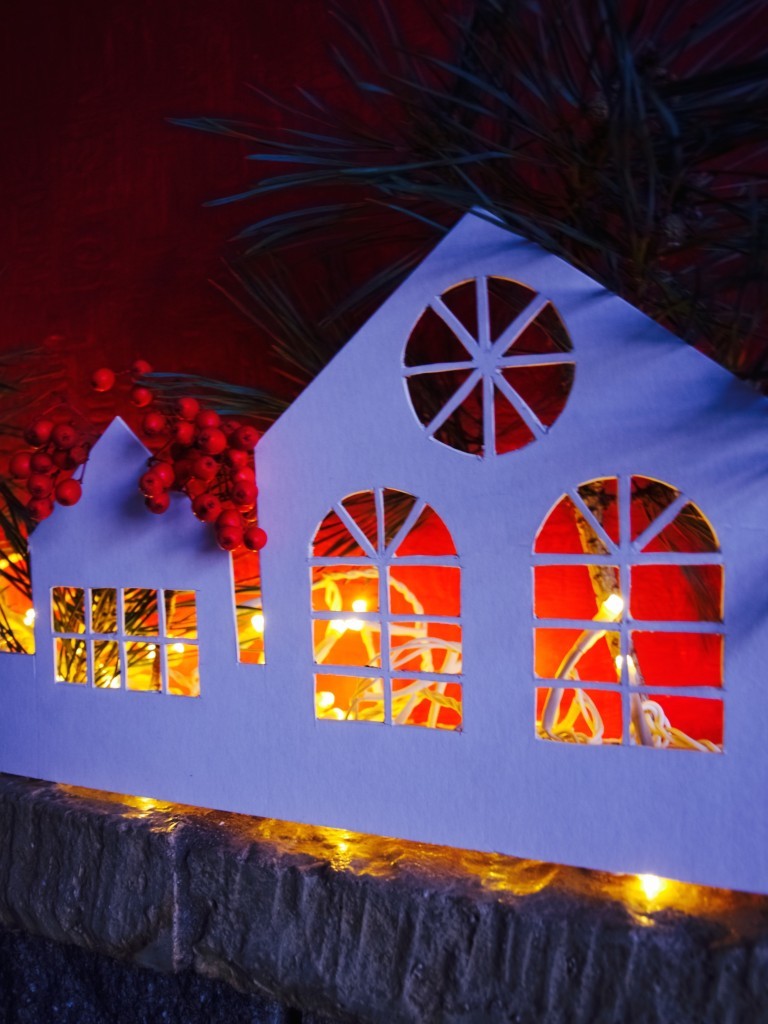
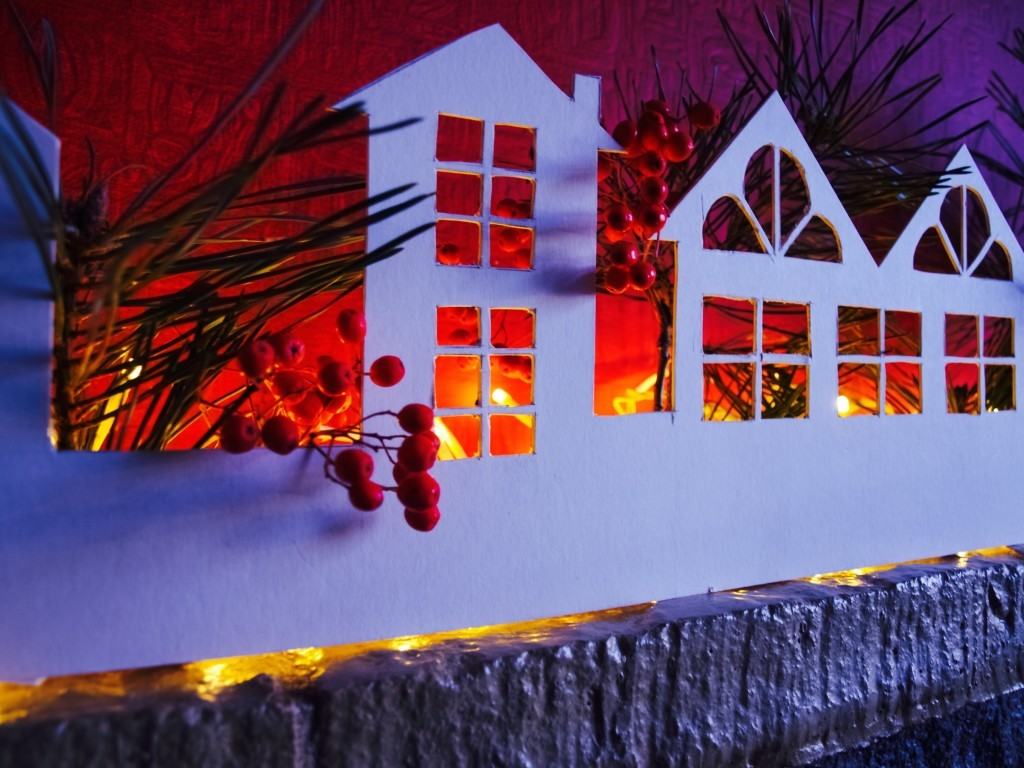
Christmass village decoration I must admit, I was a bit scared of Christmas this year because of what is going on around us. House DIY, Lukas often ill (I’ve been told he is perfecting his immune system) and our new baby on the way have added a lot of pressures already, but also I could not quite think what gifts I should get for the family. The major additional pressure I find at Christmas is buying those gifts.  Since when did we lose the true meaning of Christmas? When did it get so materialistic? I dread every year of this gift giving madness when I am pushed to get gifts that somebody may not even like. I prefer spontaneous gifts that I put lots of thought in it (such as handmade ones perhaps), not something I got from the amazon to fulfil set occasions. Thankfully our family was very understanding and agreed to gives us a little break this year. My mother-in-law even said “that’s a relief”, bless her. I am very lucky to have such a wonderful mum in law! I was relieved myself as well of course and started looking forward to Christmas already. I took some time to make our home slightly Christmassy with this winter village display. Something to brighten up our otherwise dusty home :D.Christmass village decoration So here is how you could make your own Christmas village display. All you need is a card (can be a brown cardboard from packaging, but I had some white thick cardboard instead). Use the template below (or make your own) to draw the houses a couple inches above the bottom edge.  Christmass village decoration christmas-village-deco-1 christmas-village-deco-template2The next job is to cut out the houses as well as their windows. I used a craft knife and tried a swivel knife as well. The basic craft knife worked perfectly while swivel knife was actually swiveling in a way i couldn’t predict which made me feel out of control. Has somebody had any luck with this type of knife? It supposed to be really good with curves! Anyhow, choose whichever tool suits you best. Although I do recommend using a metal ruler for long straight lines.Christmass village decoration To make the village houses stand apply a card support on the back. I made some card strips and applied it using double sided tape. Tip: lightly score the strip to help it fold easily. Christmass village decorationPlace your Christmas village on the fire place, shelf, or window sill at least 5 cm away from the wall (I used sellotape to secure it).Christmass village decoration Fill the backside of the Christmas village with fairy lights!Christmass village decorationNow it’s time to make the “trees” (I vandalised the local park again this year…oops). I cut the branches into small segments and attached some blu-tack so I could stick them behind my village display.Christmass village decoration Christmass village decoration Christmass village decoration Christmass village decoration Christmass village decoration Christmass village decorationHappy Christmas waiting :)

Rasa xoxo

0

Mirror mirror on the wall…

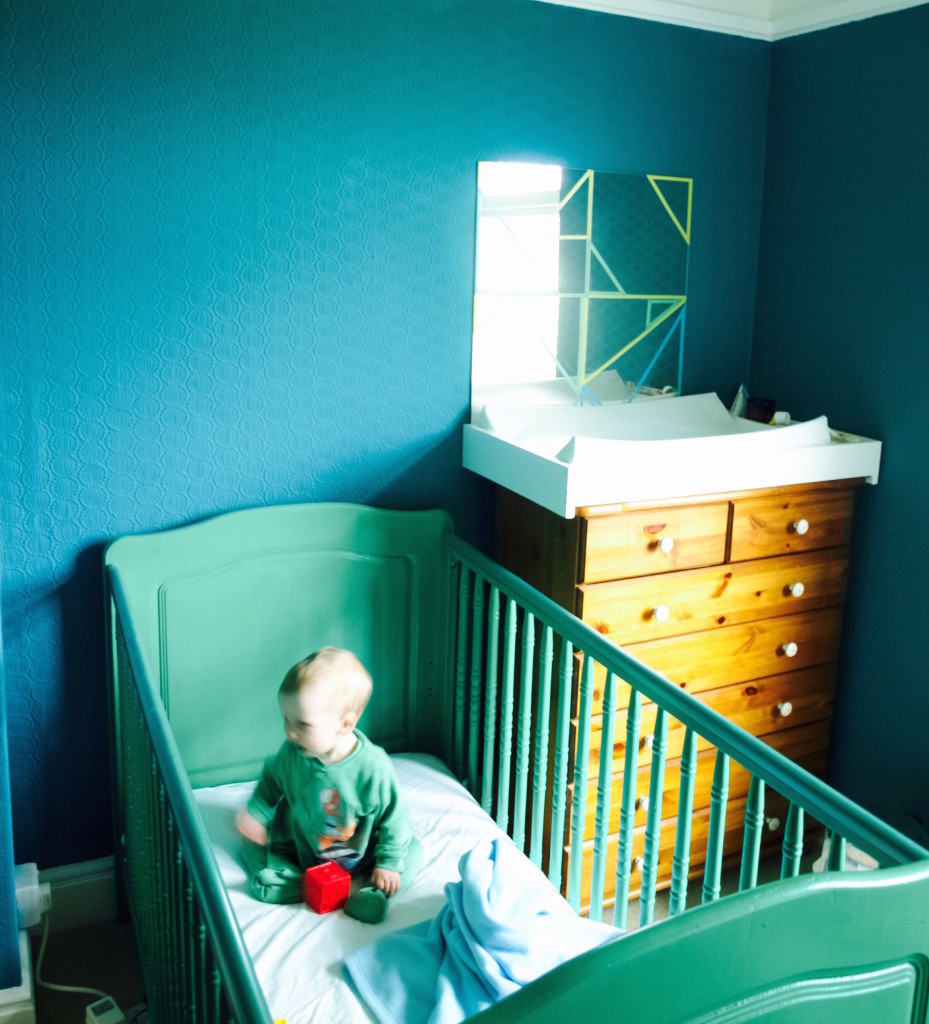
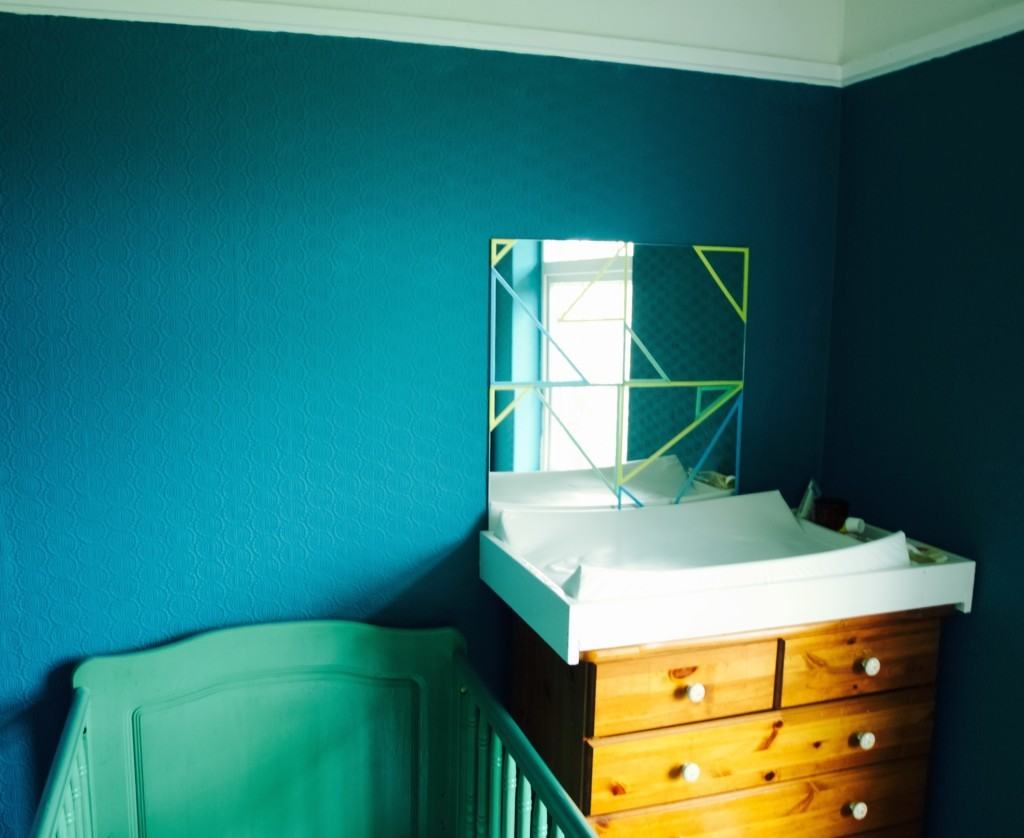
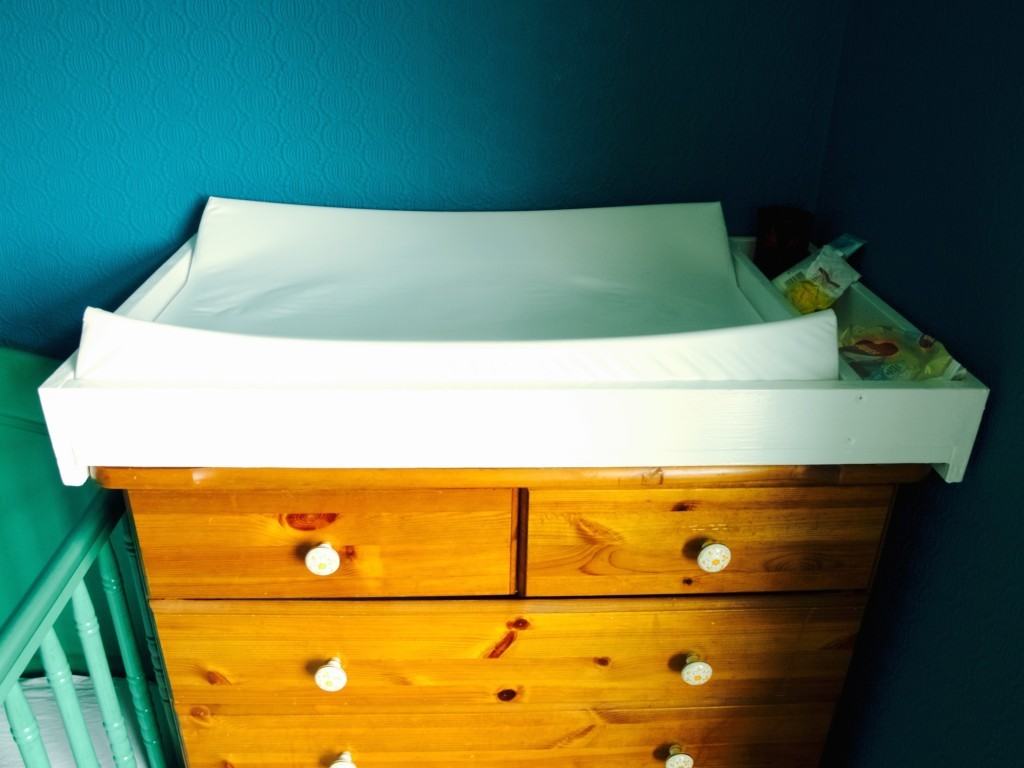
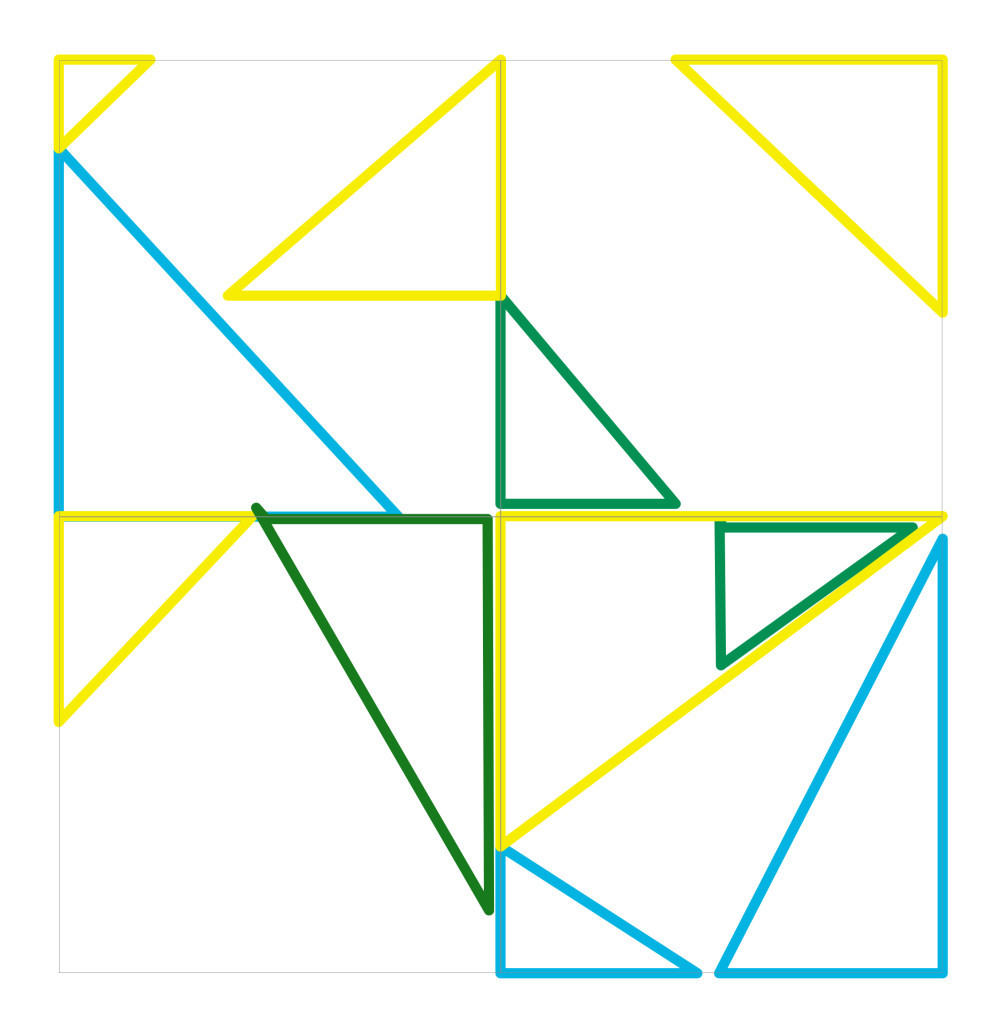
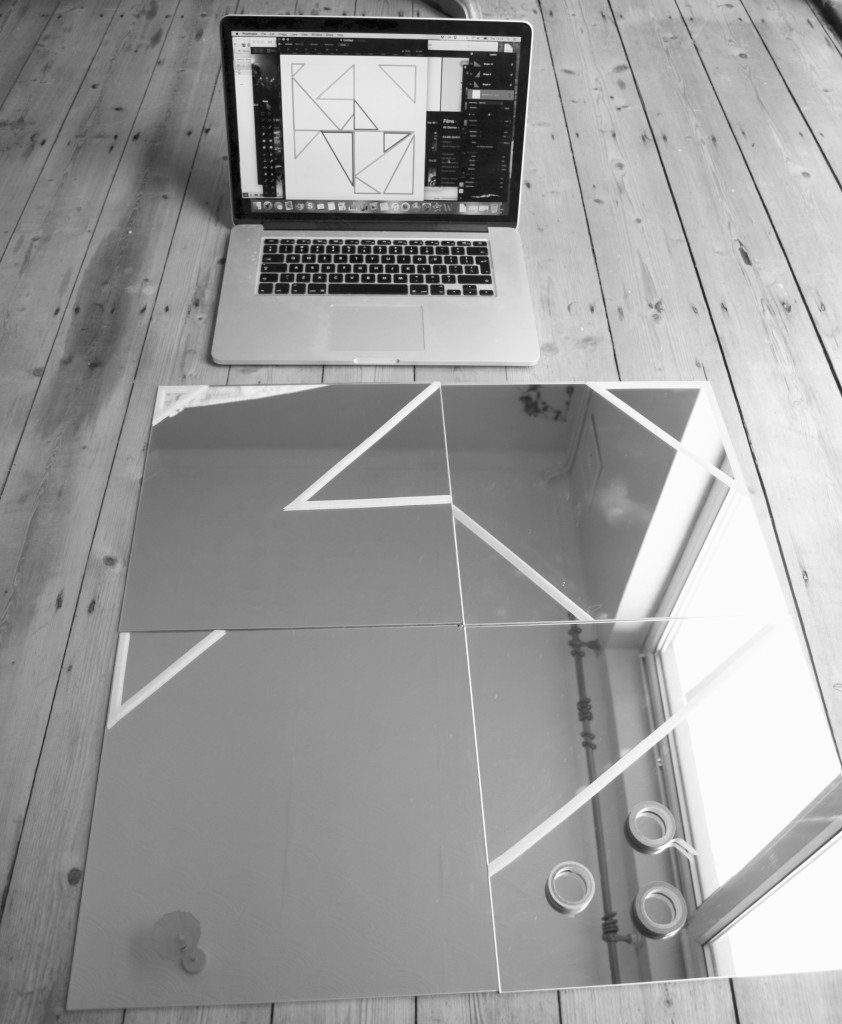
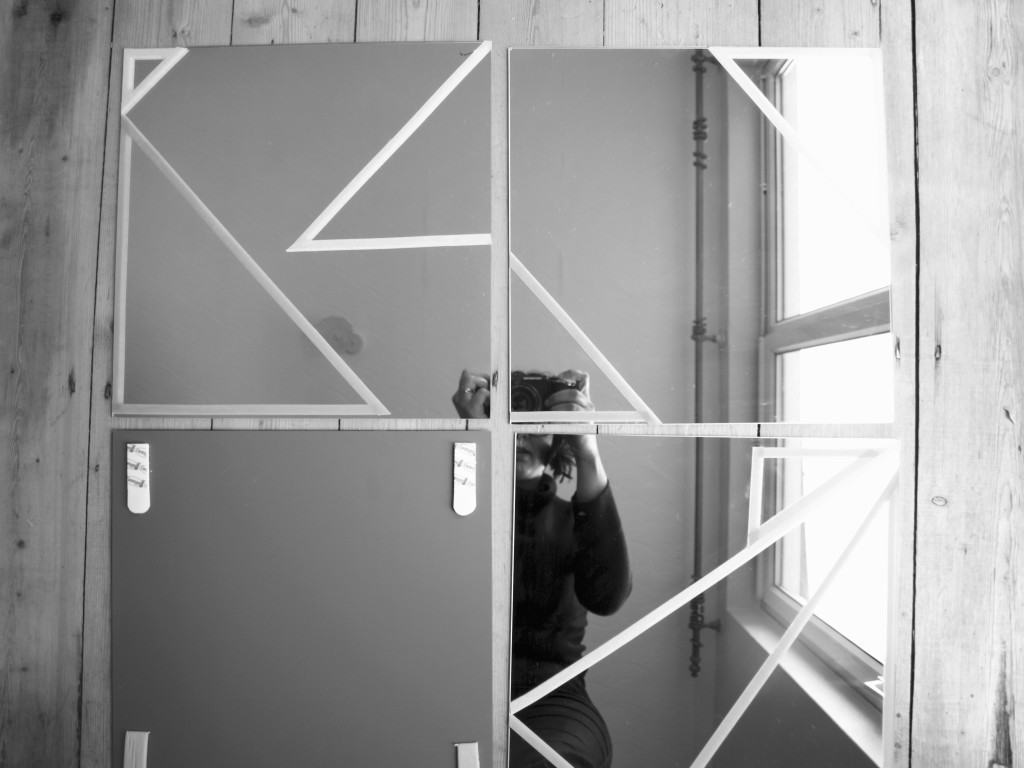
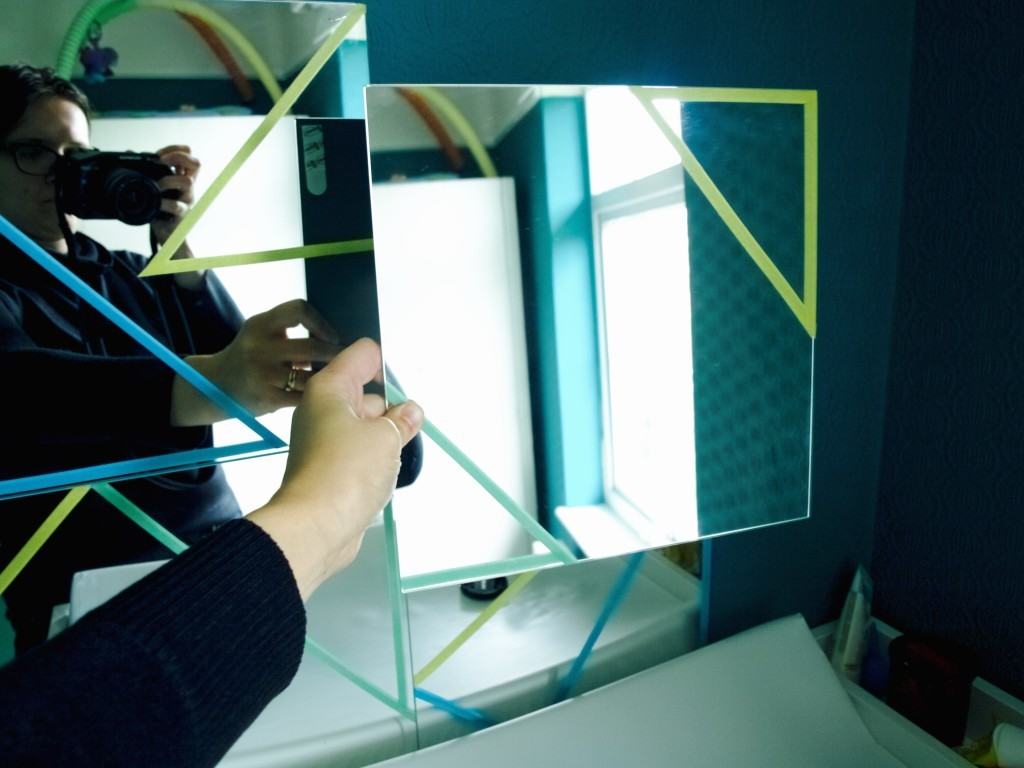
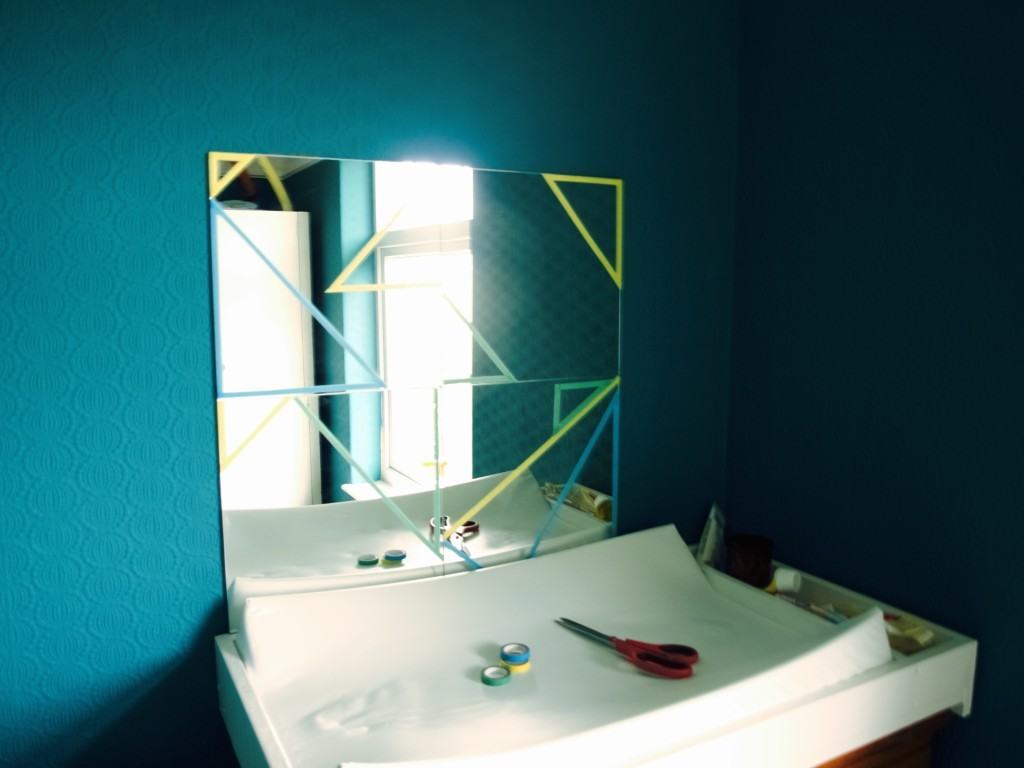
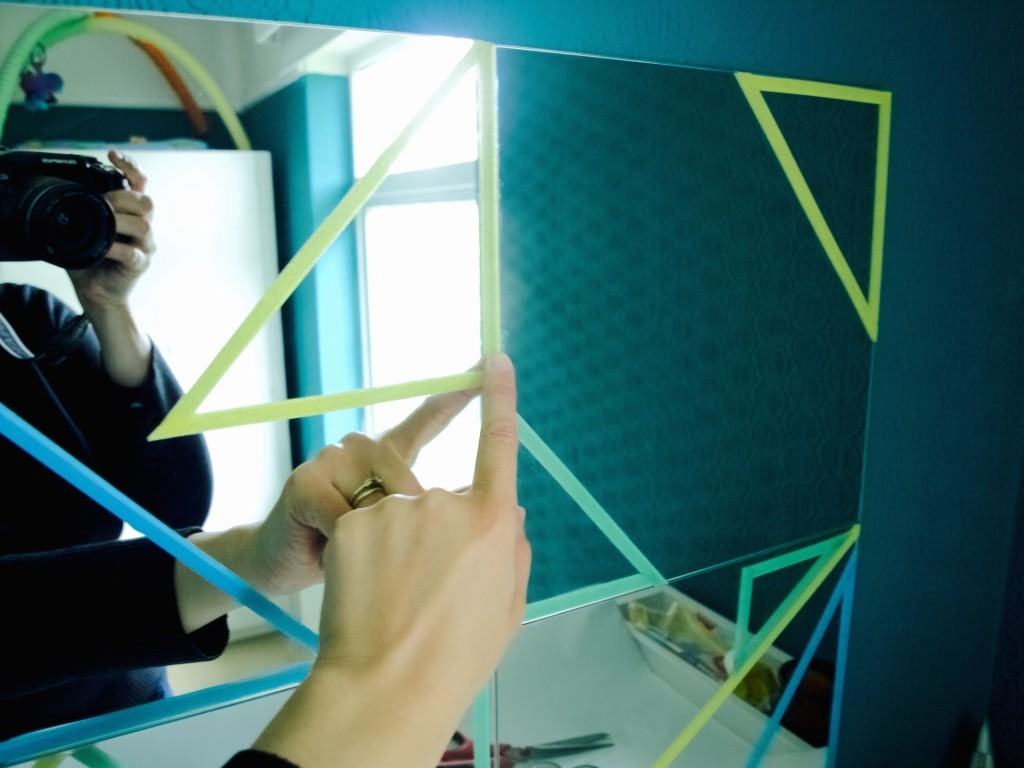
When Lukas learned to roll he never stopped moving. Changing his nappy became such a challenge! This is how the idea of  having mirror over changing unit came about. Since Lukas smiles at the image of himself (he certainly confident about his looks!) I thought having a mirror there would distract him. I of course did not want to spend much money for this so I decided to reuse the mirror I already had. The only issue was with it is that it consisted of squares and I did not like tiled mirror look. This is when I thought of disguising it with geometric design. I got this idea after seeing this mirror in Ikea few months ago.Geometric mirror DIY on the budgetFor this quick DIY I used four 30X30 square mirrors, Command strips (a bit pricey, but it does not damage the wall so win win!), slim washi tape.Geometric mirror DIY on the budgetAs usual I like to plan my design on paper, but it is possible to be spontaneous and create the look as you go. The choice is yours ;-)Geometric mirror DIY on the budget

First I made the initial lines that are not on the mirror joints. Geometric mirror DIY on the budgetThen I applied Command strips on the back ready to apply the mirror squares on the wall. Geometric mirror DIY on the budget Geometric mirror DIY on the budget Geometric mirror DIY on the budgetFinally, I applied finishing lines on the mirror where they meet so they all concealed. Geometric mirror DIY on the budgetI am very pleased with the outcome of this mirror. The only thing that I am not 100% happy is the colour of washi tape when is on the glass. I was expecting it would be bright and bold, but now it rather look pastel. On the other hand Lukas just don’t care while applying multiple fingerprints on it. I guess I will have to clean it often to maintain the look. Will let you know if this design lasts.Geometric mirror DIY on the budgetHope you feel inspired!

Rasa xoxo

0

Temporary Easter wall decorations

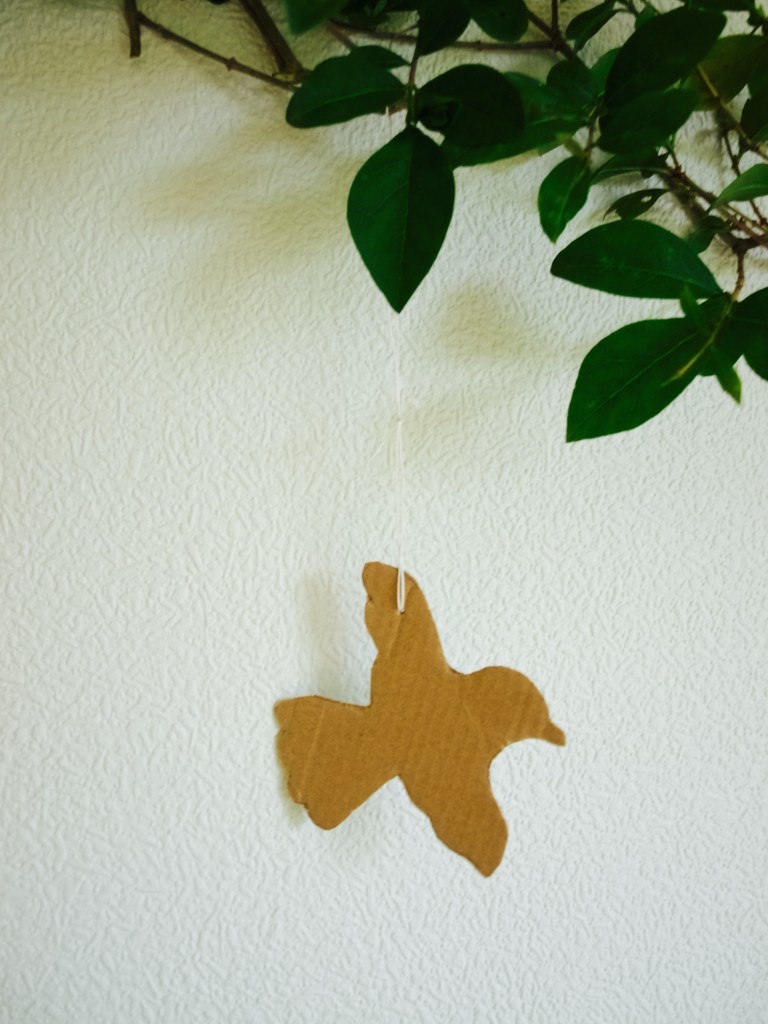
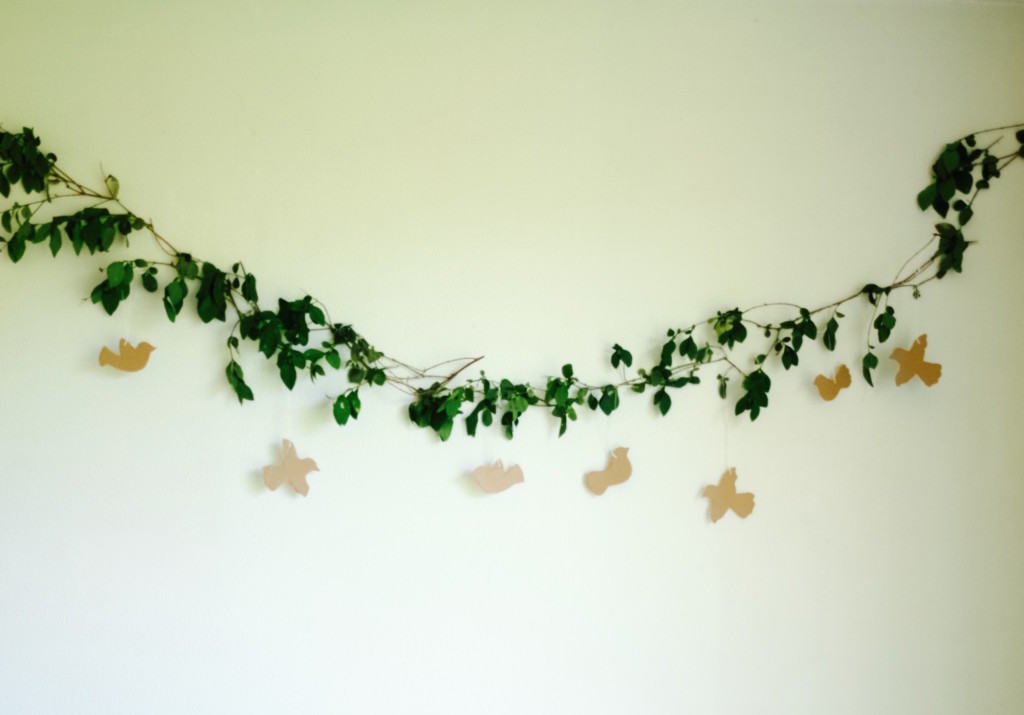
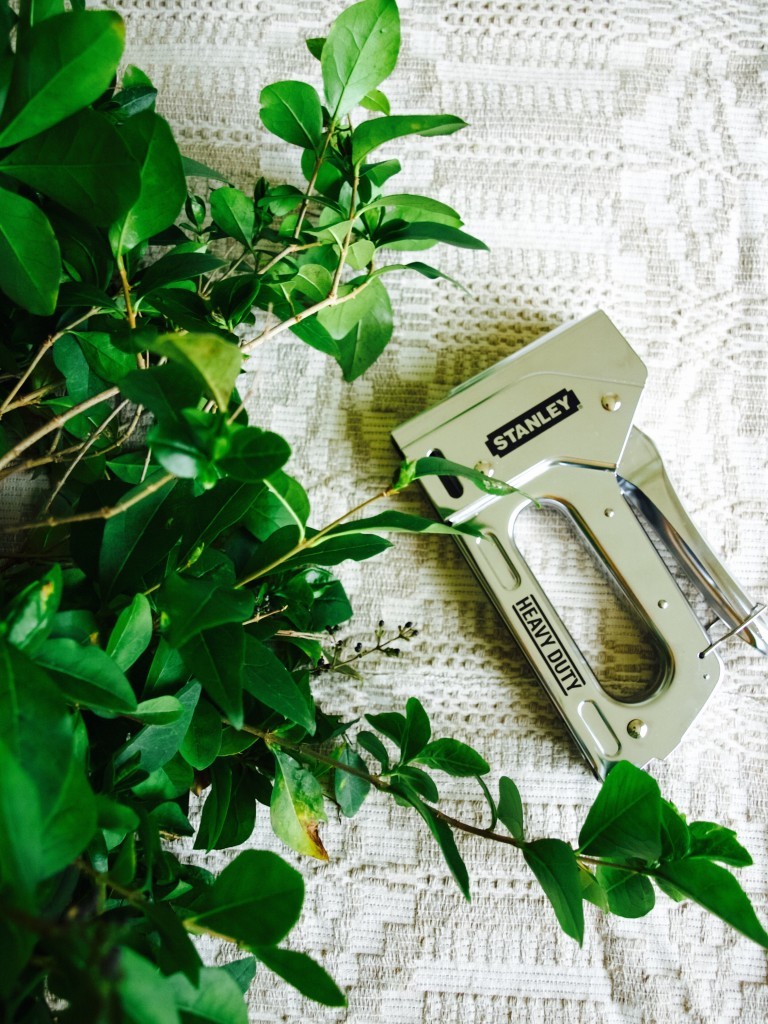
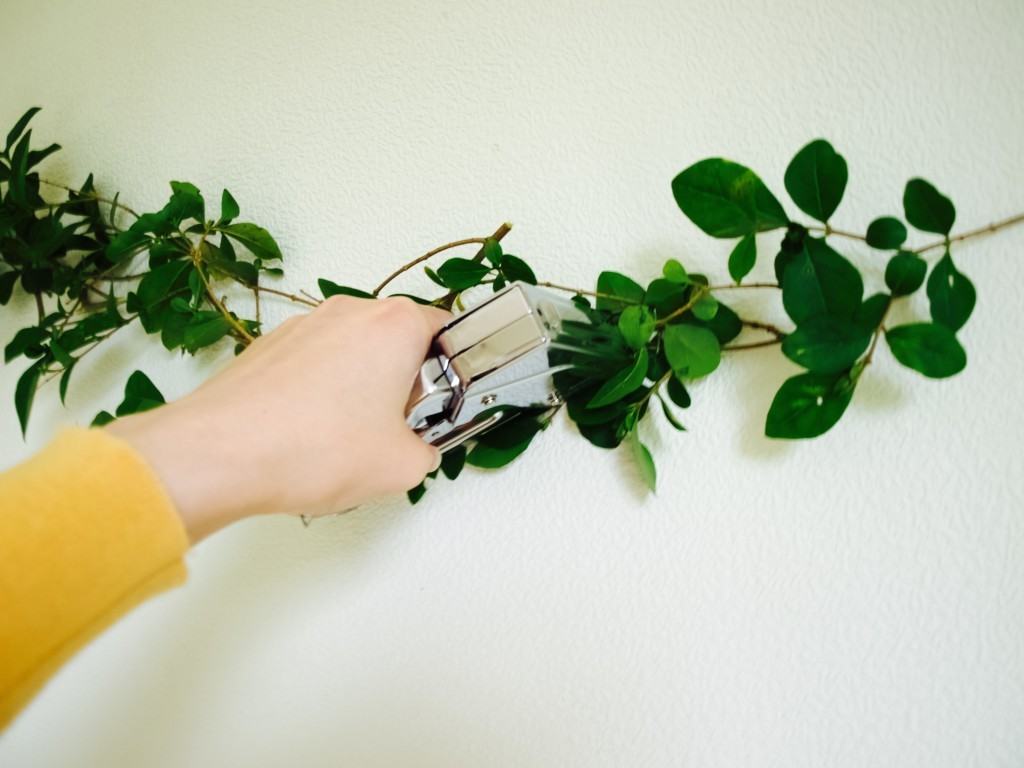
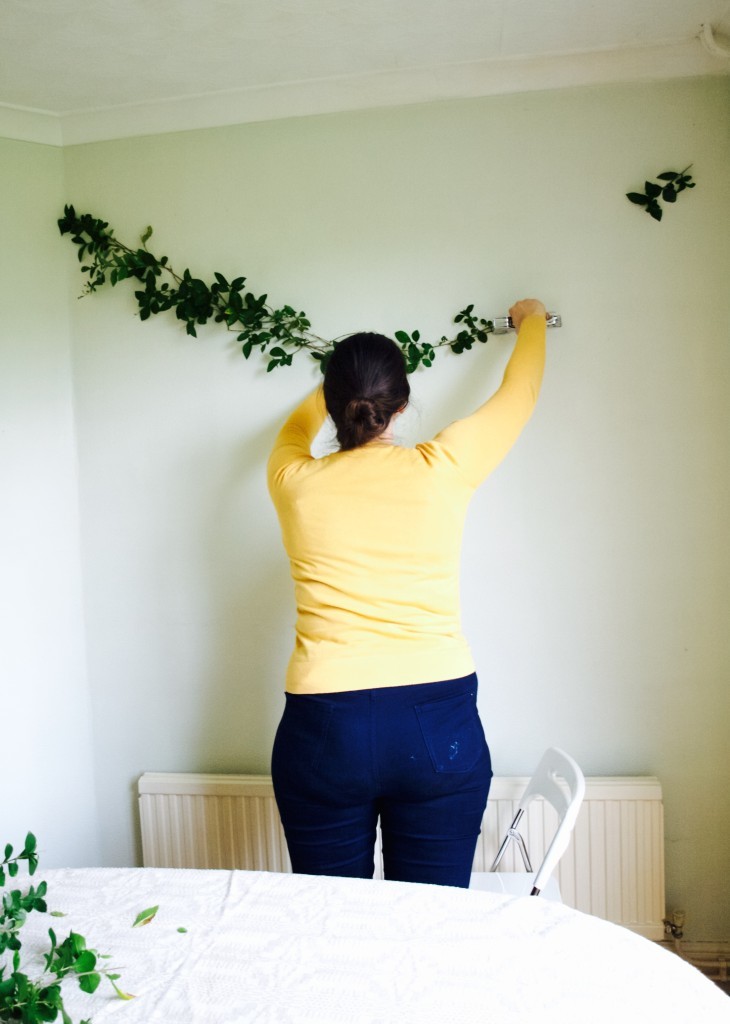
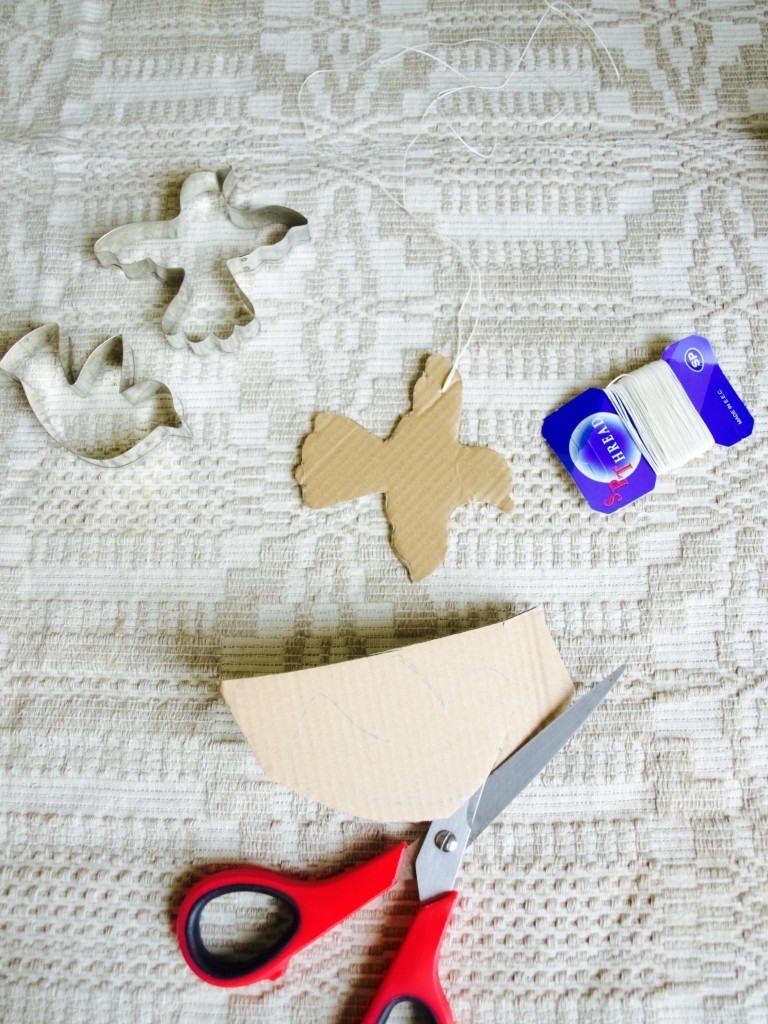
Temporary Easter wall decorationsTemporary Easter wall decorations Last weekend we hosted Lukas dedication in our house which was stressful to begin with but we all enjoyed it at the end. I decorated walls with bird/leaves “garland” which has been inspired by this one. I really liked the outcome and I thought this could be suitable for Easter as well! Except the fresh leaves have already dried up :-(. But if you hosting Easter at your place, I think this is a fab idea ;-). Just make sure you decorate it the day before or on the day, because it last around 3 days depending on the leaves you are using. I think what would look even more amazing is using branches with about to pop leaf buds, which should last even longer!Temporary Easter wall decorationsBecause majority of our walls in the house are not decorated the way we want yet, I used stapler to attach the leaves. In your case you probably would not want to damage your walls, so I suggest using a tape? Or attach all the leaves on the string and tie the ends of that string on something that sticks out (such as nails perhaps?). Let me know if you come up with something else ;-). Temporary Easter wall decorations Temporary Easter wall decorations Temporary Easter wall decorations Once the leaves are up it is super easy to tie the hanging birds on them. I made the birds almost the same way as these!Temporary Easter wall decorations Temporary Easter wall decorations Temporary Easter wall decorationsHappy Easter everyone!

Rasa xoxo

0

How to transfer laser printer image onto almost anything

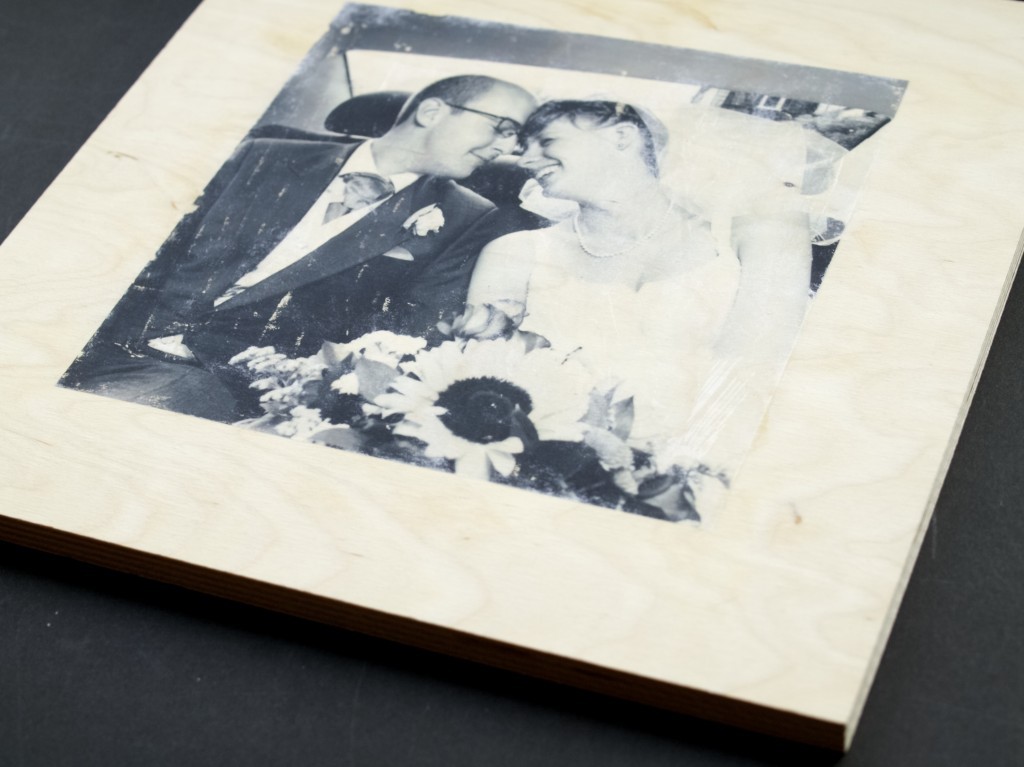
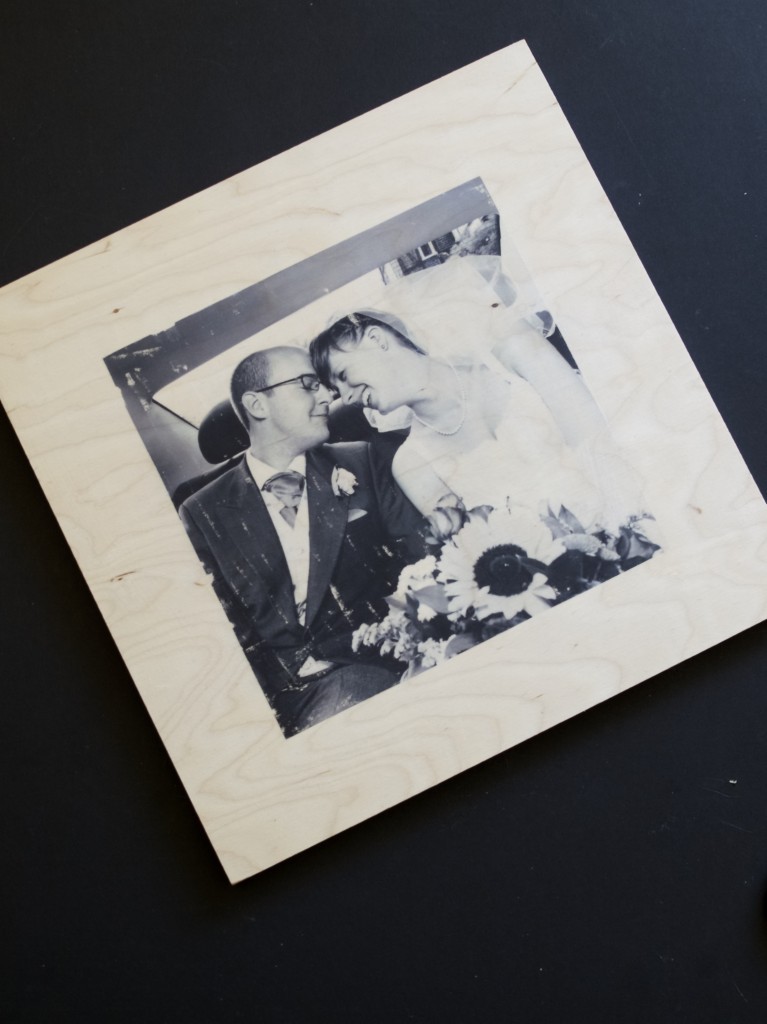
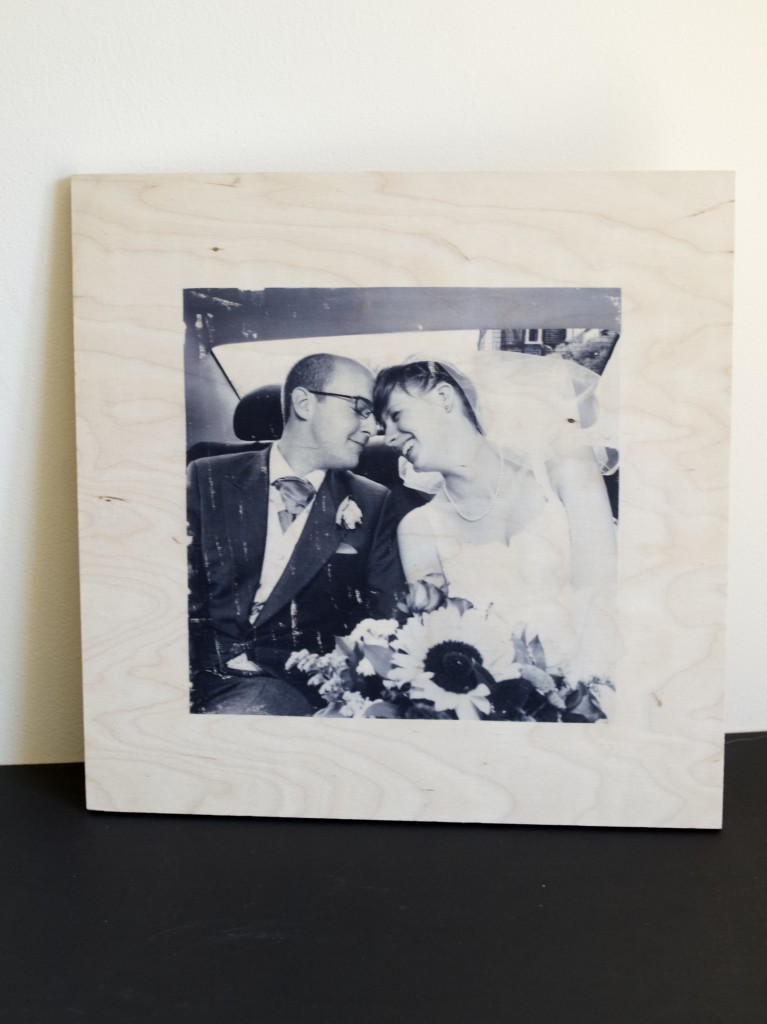
how to transfer laser printer image onto almost anythingWhen I have been asked for nicely printed wedding photo as a birthday gift I got really excited as I realised that I could try out different techniques on transfer printing. To begin with I thought I will transfer the wedding photo on canvas, but then realised printing on wood would be much more unique (well, kind off). I also got stuck with slight limitation. I have laser printer which means I could not use the ink from the printer like I would with ink jet printer. But there is always hope, even if that means buying extra products in the craft shop instead of using what is already available at home. So instead of extensive experiments I just did a bit of research on what products to use (only because I did not want to spend a massive amounts of money). Here is what products you can try when transfer printing:

PVA or Mod Podge. I heard that some people swear by it and apparently it works, especially with Mod Podge (which is I believe a fancy type of PVA). I went and bought Mod Podge only because it was available in matte finish unlike PVA basic glossy finish. However I ended up returning it after reading this helpful article.

Mod Podge image transfer (or any other brand image transfer). I have no idea where to get it, but here is the post where I have seen it used. The blogger there then used Matte Mod Podge as a finishing sealer.

Gel Medium. This is mainly used for mixing your acrylic paints with so larger areas can be painted more cost effectively. Unfortunately it often comes in huge pots, so if you only buying this for one off project it can be quite costly. They did not have gel medium in my local craft store which sort of worked out for the best! However gel medium can be used for finishing as well.

Acrylic Medium. Like gel medium it comes glossy or matte. It is also cheaper to compare to gel medium , but can’t be used for finishing the print.

Here is what I used to make my image print:

  • A block of plywood
  • A laser printed picture, flipped horizontally on Photoshop (or any other image editing program)
  • A paint brush
  • A Roller
  • Acrylic matte medium
  • Matte varnish
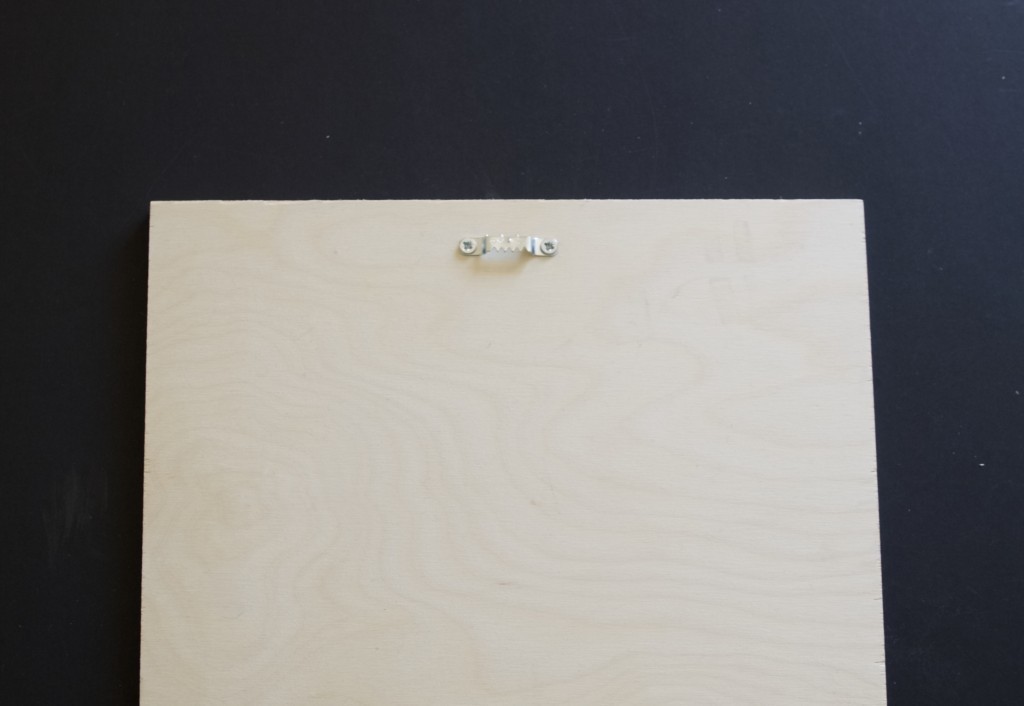
  • Saw tooth hangers (for picture hanging)
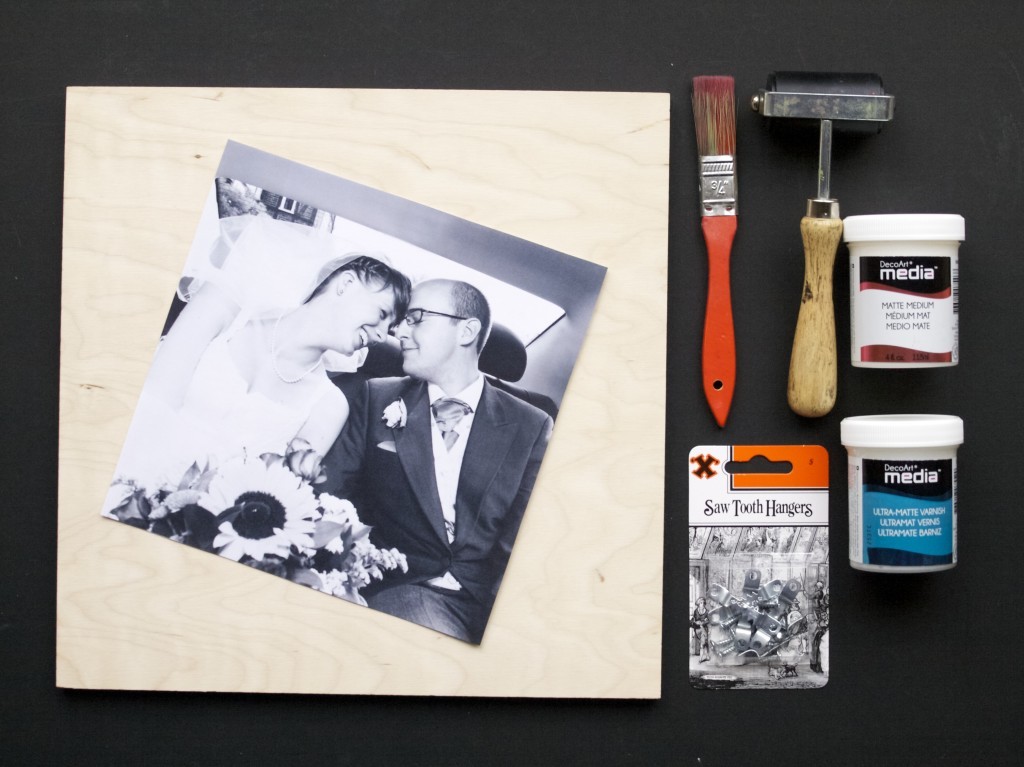
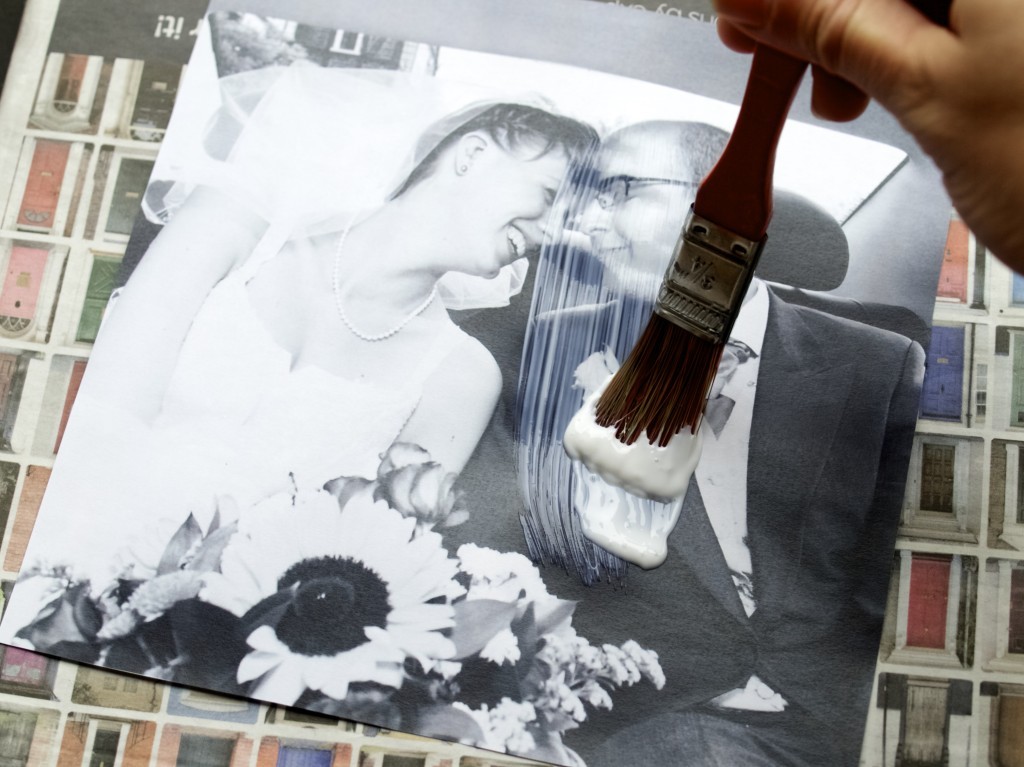
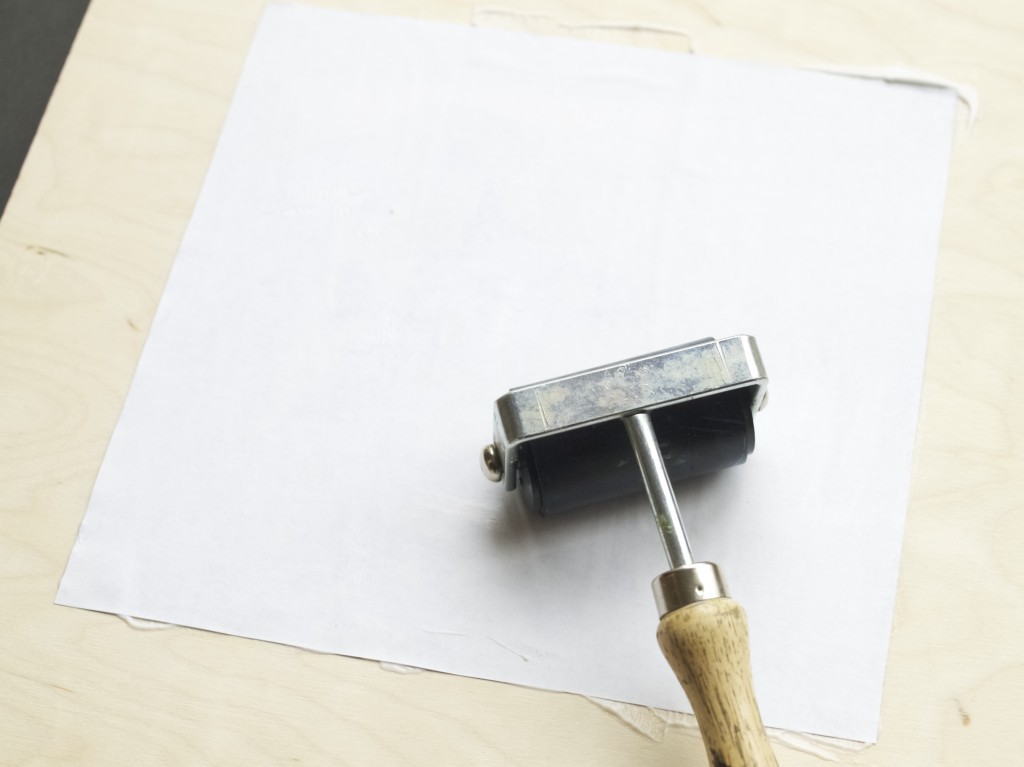
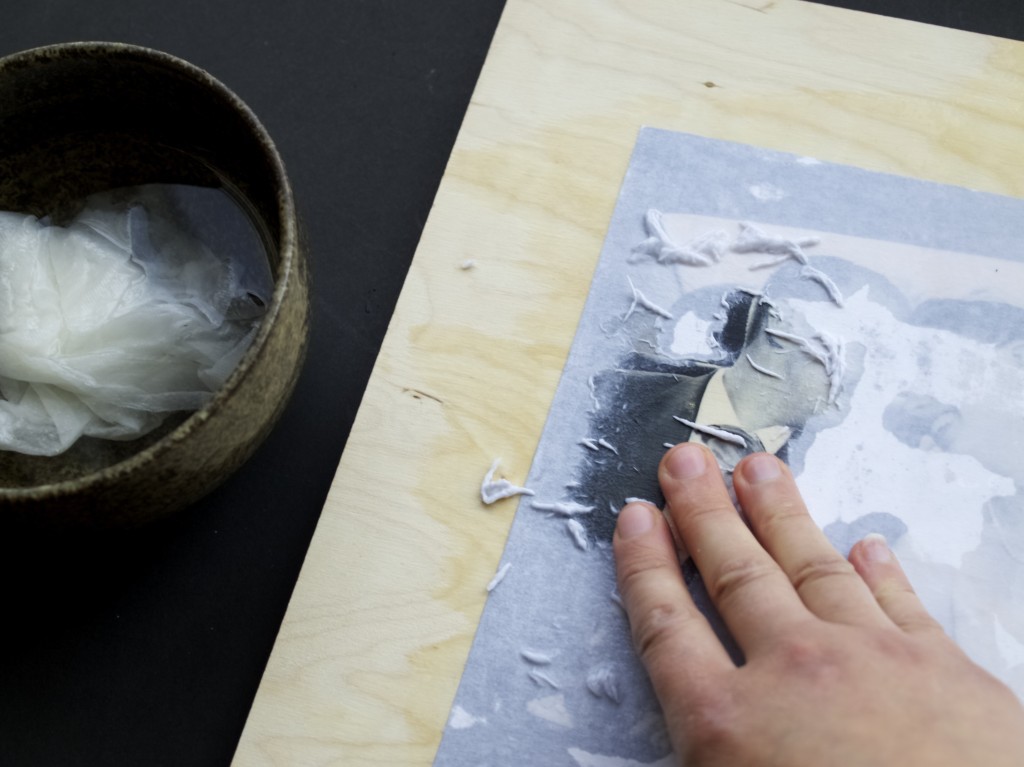
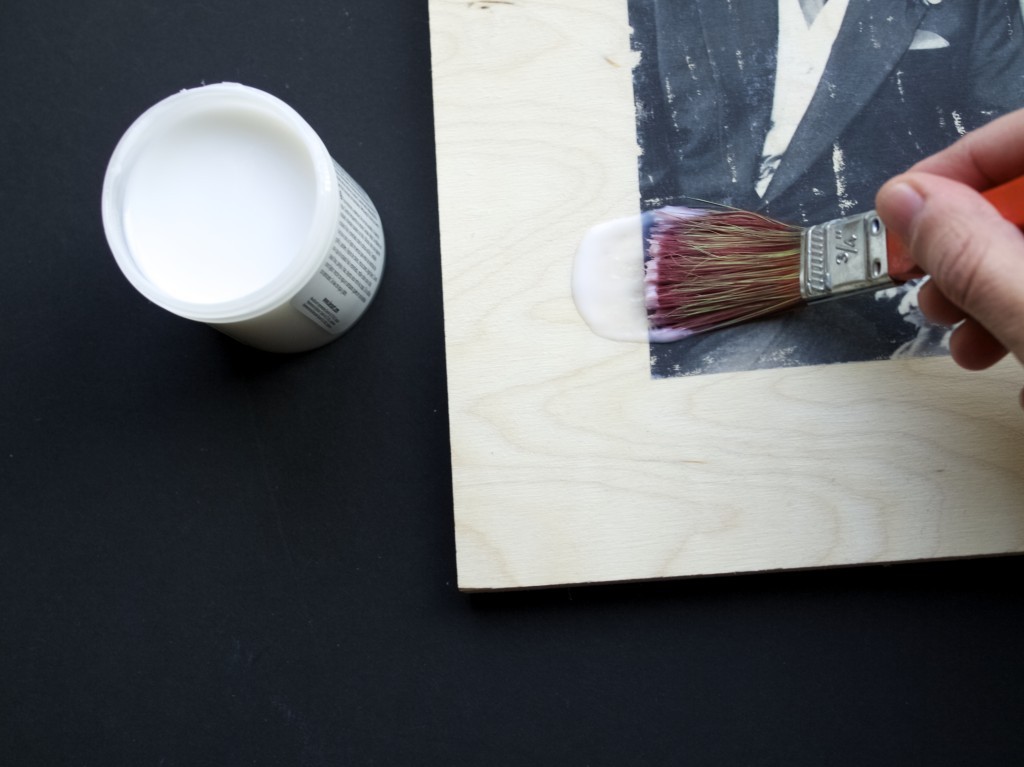
I applied acrylic medium on top of the photo.how to transfer laser printer image onto almost anythingI used a roller to press the picture onto the wood. Make sure the bubbles trapped underneath get pushed out.  how to transfer laser printer image onto almost anythingOnce completely dry (after 8 hours or so) dampen the image and start rubbing the white layer off. Make sure don’t rub too much as the image itself can be easily rubbed off at this stage.how to transfer laser printer image onto almost anythingLet it dry before the next stage…how to transfer laser printer image onto almost anythingI applied matte varnish (acrylic type) on top. This stage fixes the image onto the wood (or any other surface) and remove all the white layer imperfections as well.how to transfer laser printer image onto almost anythingApply the hanger onto the picture:
1. Measure and place the hanger in the centre. Use a pencil to mark the dots where the screws should go.

2. Make a hole with the nail (smaller then the screws) by hammering it in and then removing it with the other end of the hammer.

3. Screw the screws in to hold the hanger.how to transfer laser printer image onto almost anythingTa-da!how to transfer laser printer image onto almost anything how to transfer laser printer image onto almost anythingI hope you found this inspiring :)

Rasa

0

Hanging marbled egg decorations (not only for Easter!)

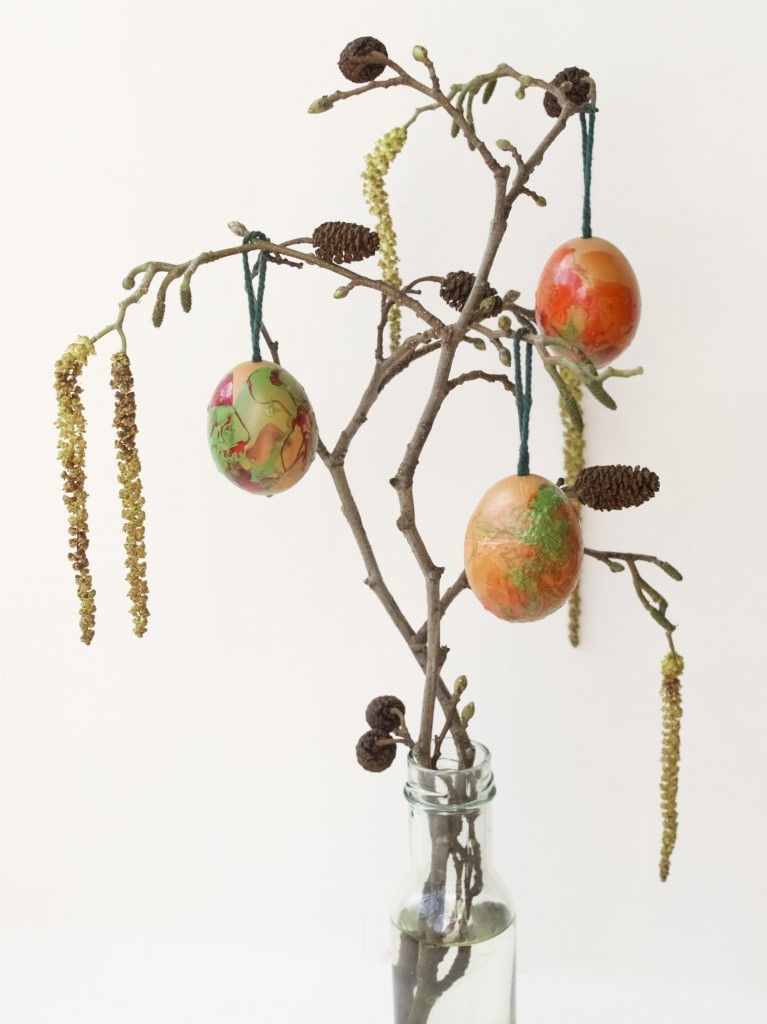
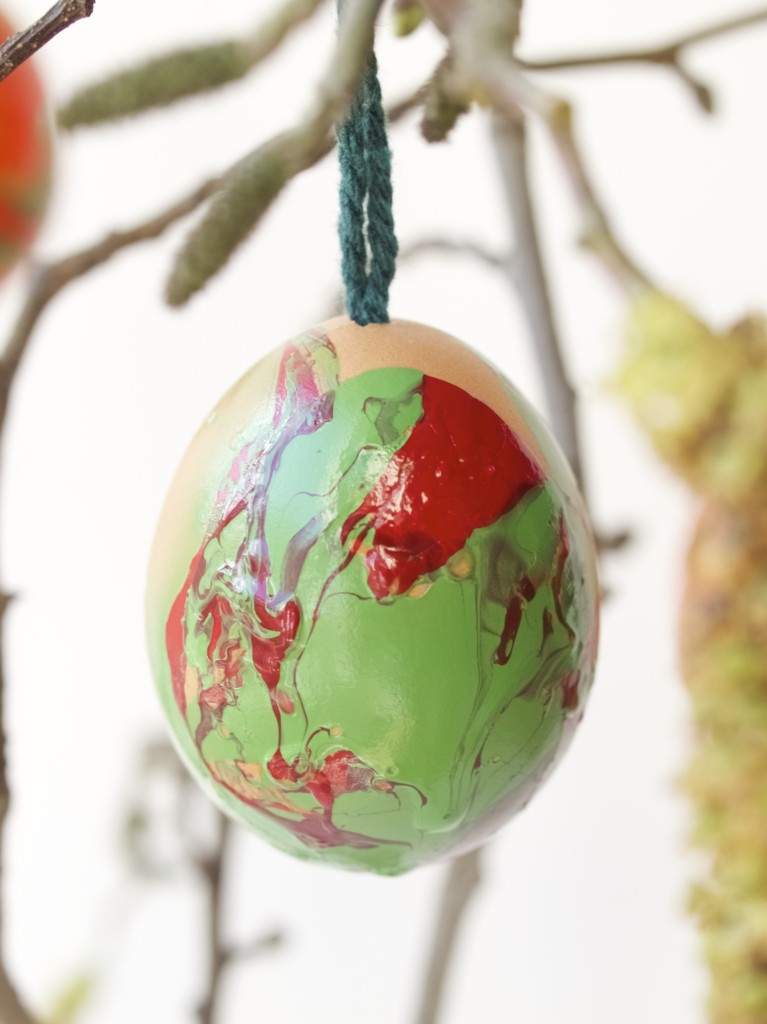
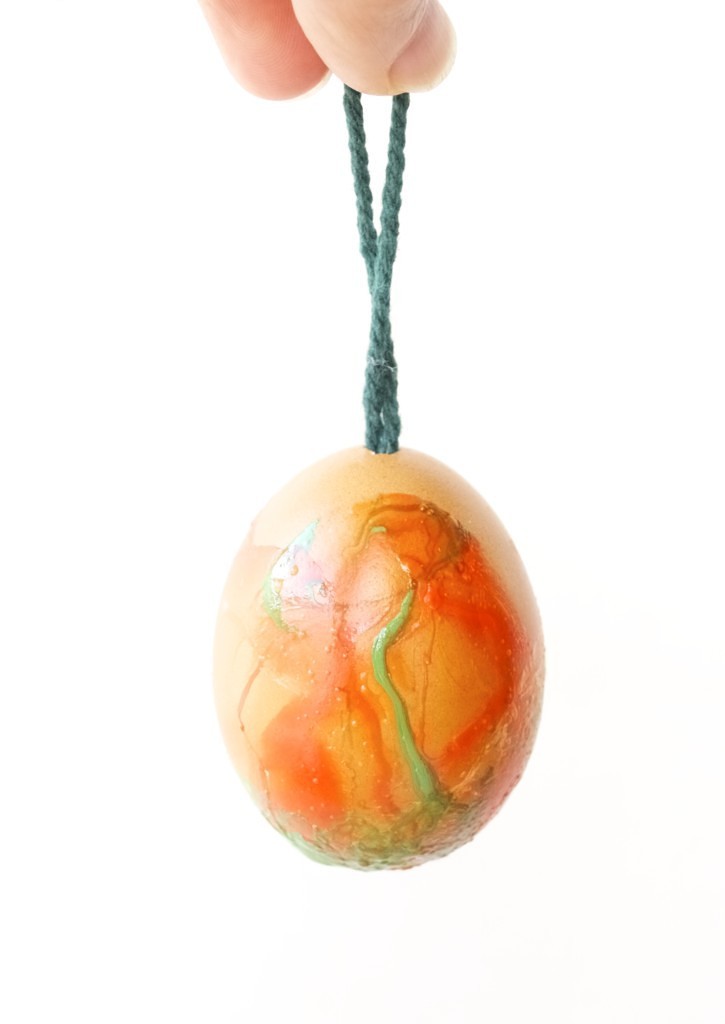
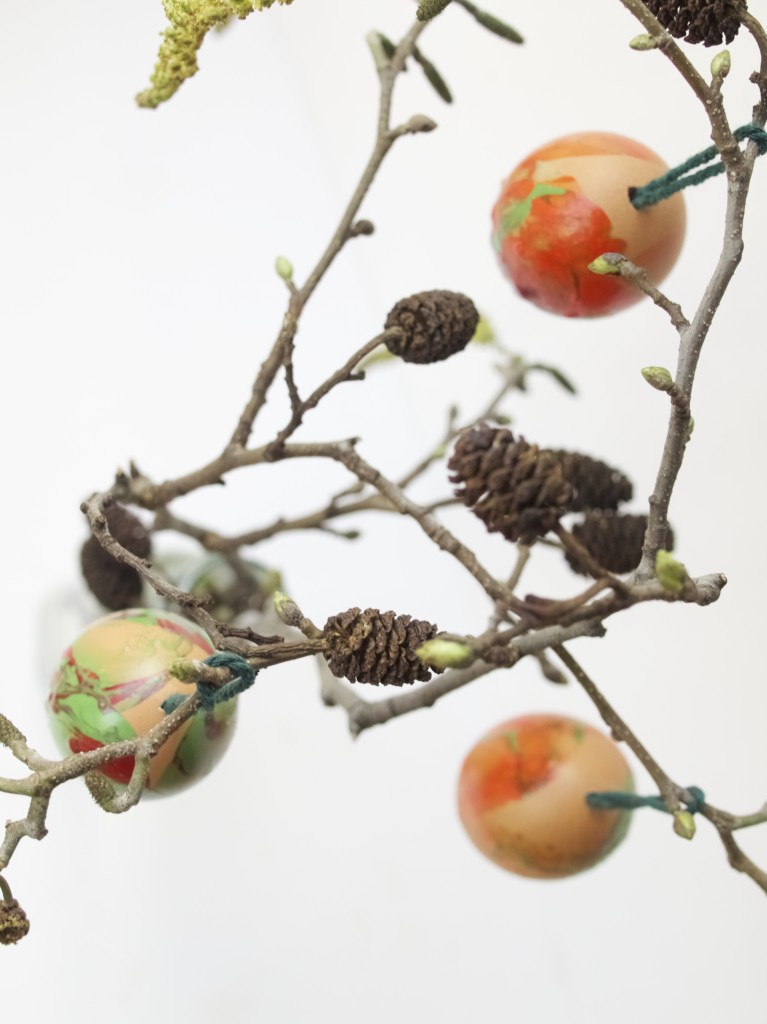
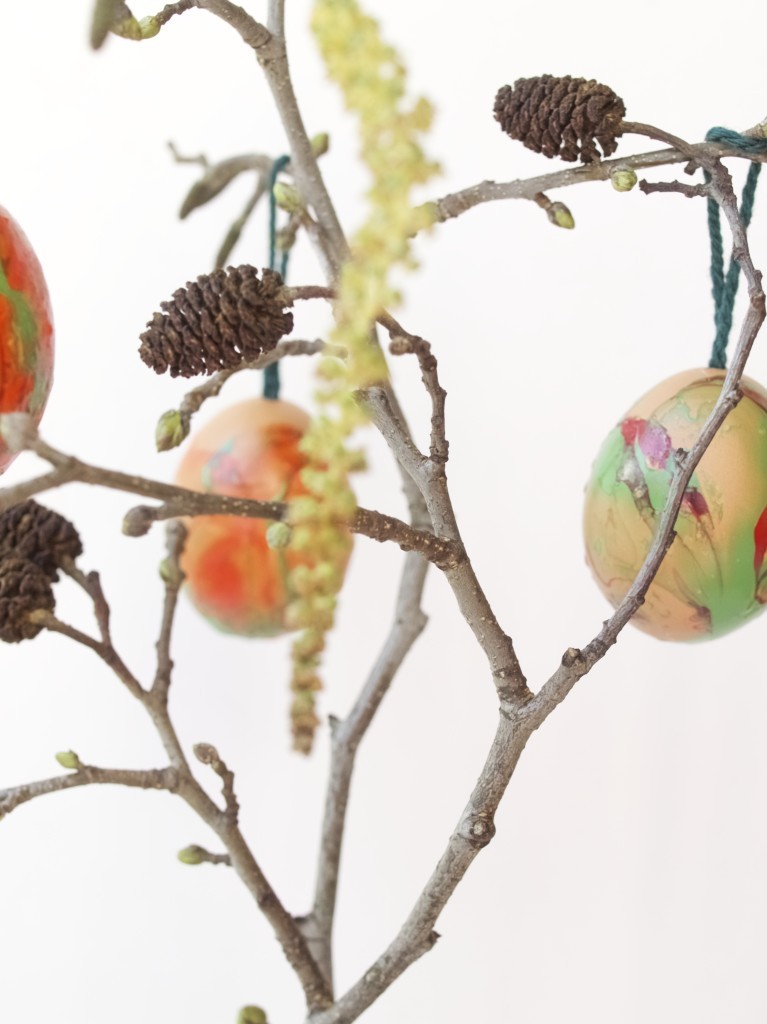
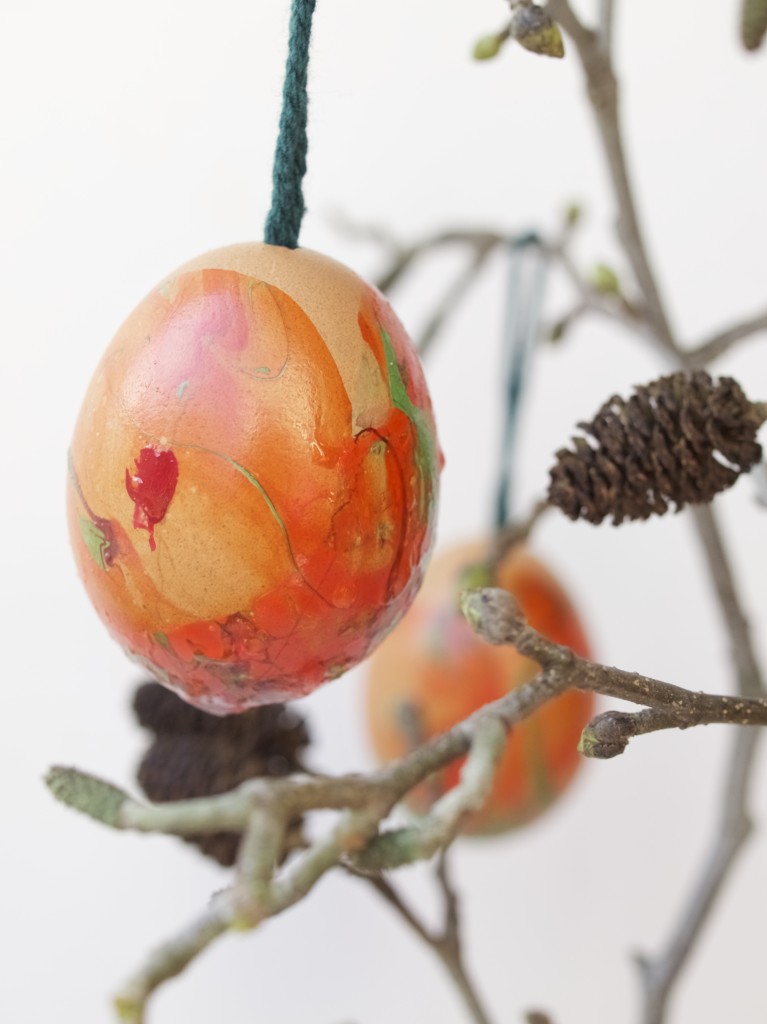
Hanging marbled egg decorationsSince Easter is coming up soon (so looking forward to it!), I thought I will make these hanging egg decorations. Last year I went au naturel with dying the Easter eggs, but this year I have decided to pain my eggs with the nail polish. I wasn’t sure how safe it is to eat the eggs that have been painted this way so I took extra precautions and made hanging decorations out of eggs instead. I have seen plenty of different marbling techniques on Pinterest (also had a chance to try this while in college), but nail polish technique seemed like the most suitable. Hanging marbled egg decorations Hanging marbled egg decorationsTo make the hanging egg decoration, first you need to remove the inside of and egg without breaking an actual egg shell. Why? Because in order to hang it you need to make the egg much lighter in weight (otherwise it would weigh out the branch you hanging that egg on!). I have done this “operation” quite many times in my childhood. I remember we used to make loads of hanging egg decorations not only for Easter!
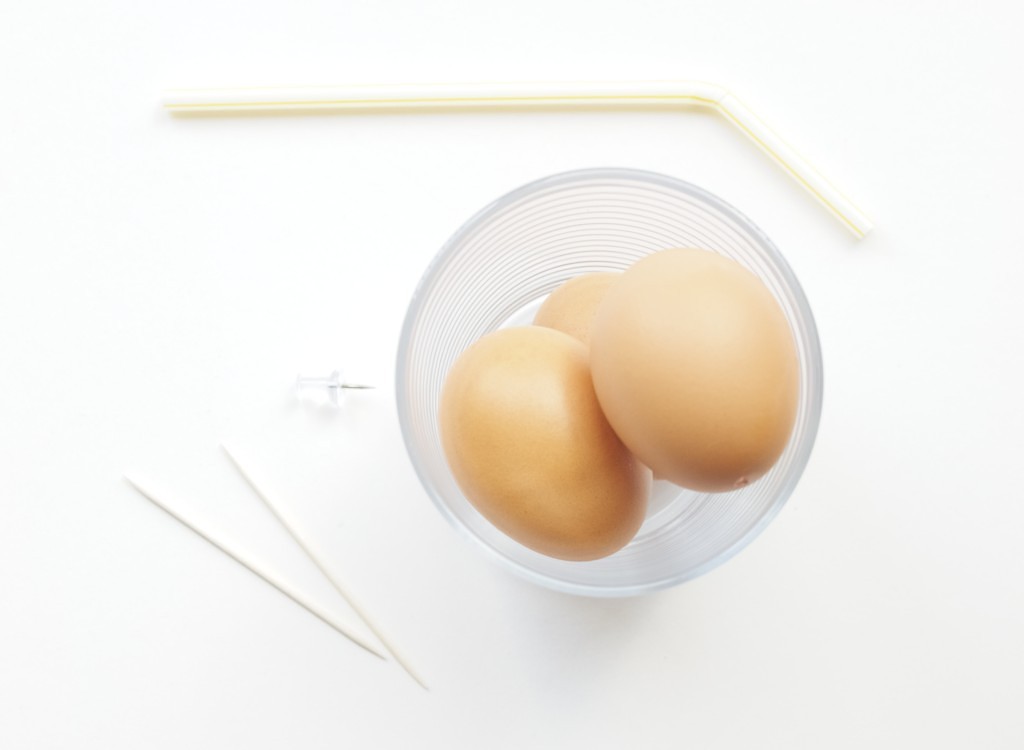
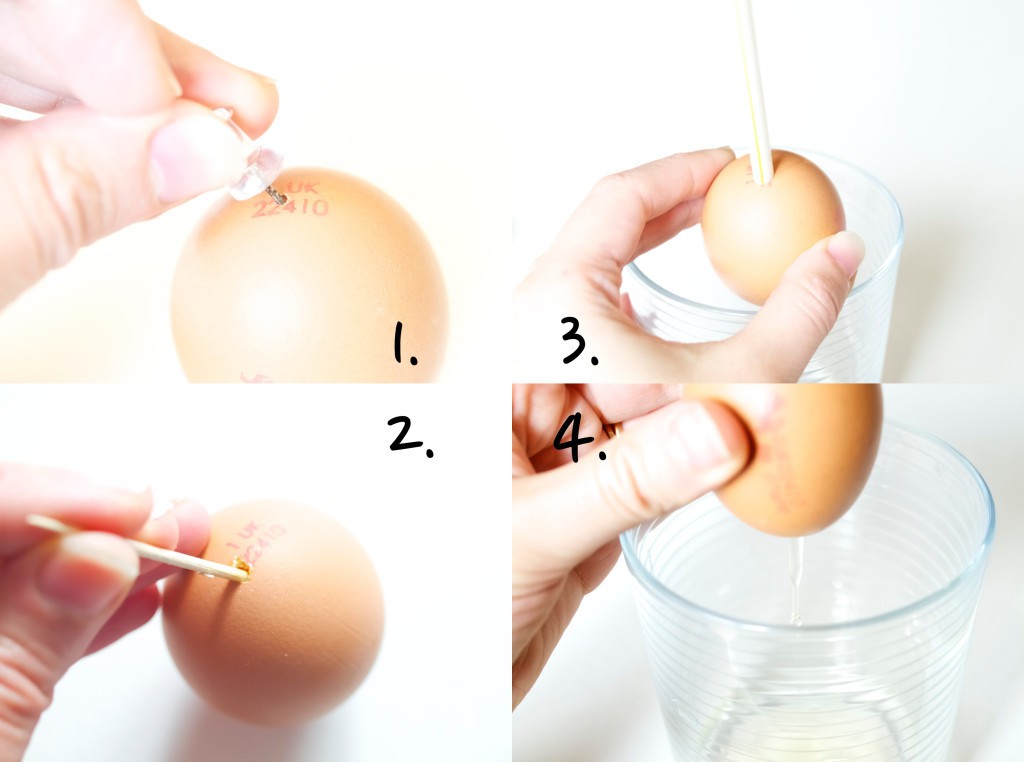
To remove the eggs from the shell safety you will need the eggs (of course!), a straw, push pin and some toothpicks. If you have a long thick needle it may be even better to use it instead of push pin and toothpicks. Hanging marbled egg decorations1. Make a hole by LIGHTLY twisting a push pin against the egg shell at the bottom or top of the egg (you will need two holes: one at the top and one at the bottom). Eventually you will get a small hole that needs to be widened. I usually make few holes around the main hole so I can break large enough hole the slightly larger than the toothpick.

2.  With the toothpick break the yolk by stabbing it through the hole.

3. Blow into the hole with the straw (this may take a while) until it becomes easy to blow.

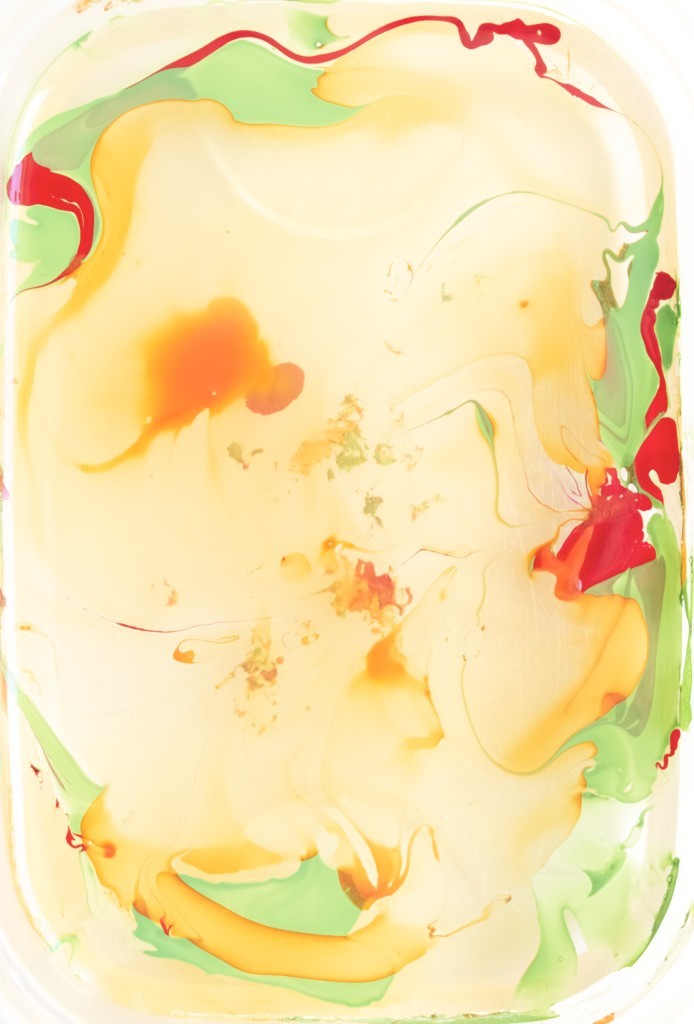
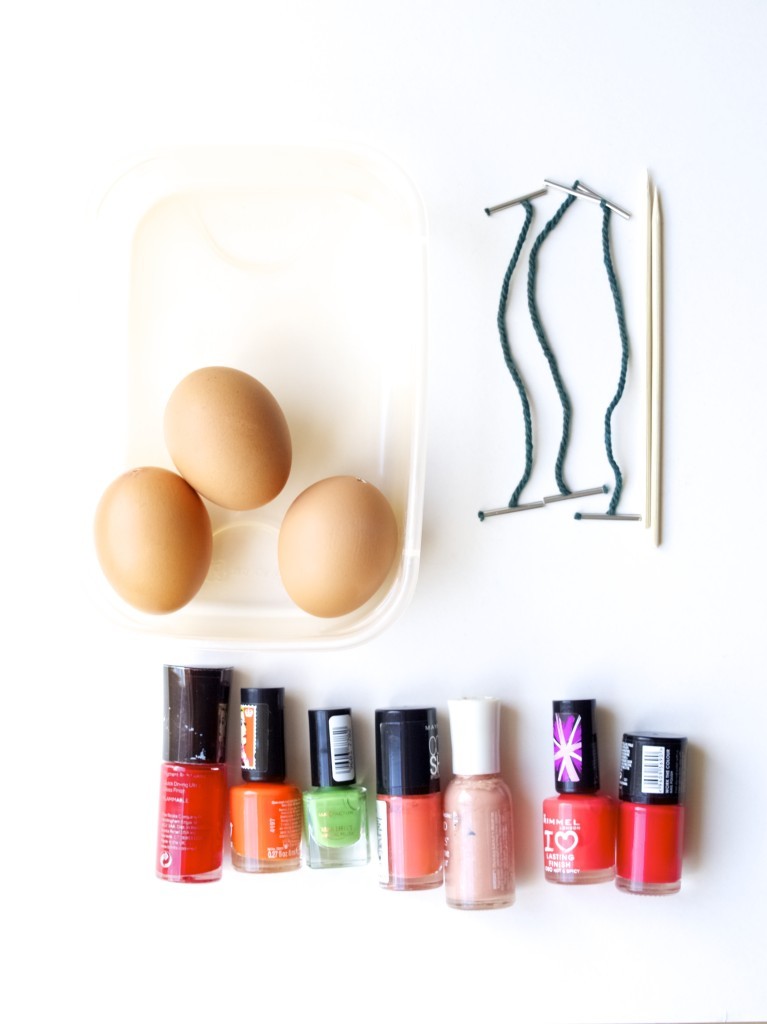
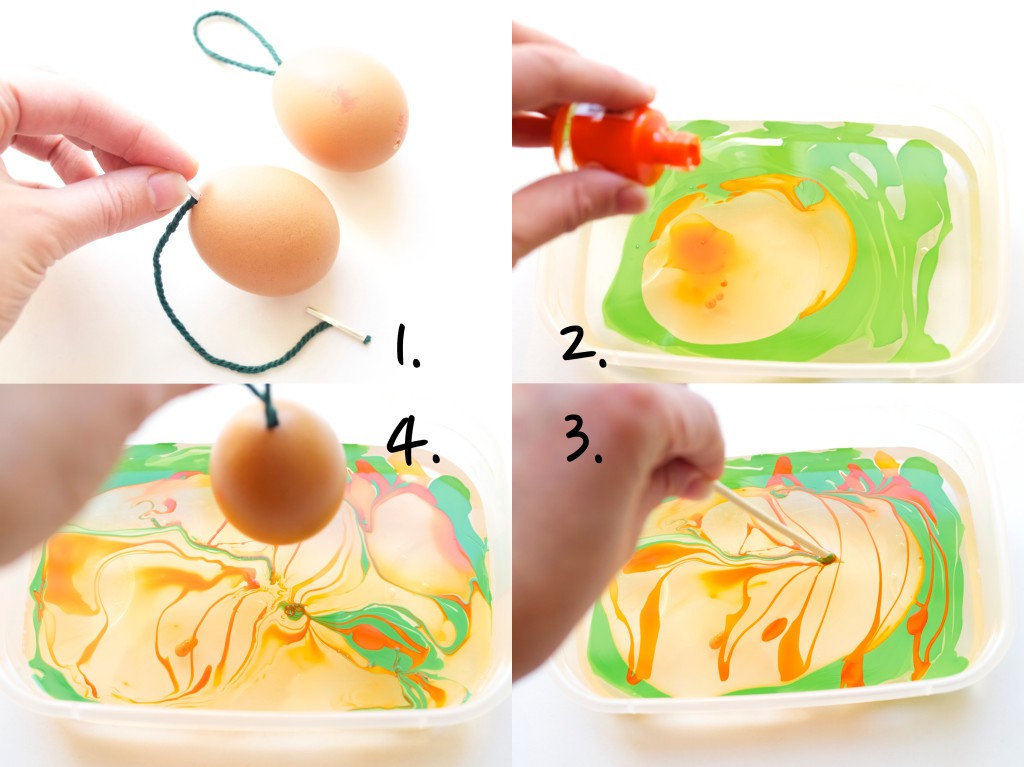
4. The egg liquid should come out through other side of the egg.Blow the egg out of the shellThe next stage is marbling! As mentioned above, I had a chance of trying out this wonderful “painting” effect while in the college. Although I remember it being messy as the paint took forever to dry, I still like the look that this effect makes. As soon as I realised that you can use nail varnish I was so eager to try it out, because I knew nail varnish do dries out and become solid.Nail polish marblingFor egg marbling session you will need the empty eggs (see previous stage to learn how to remove the inside of an egg), a shallow disposable container, treasury tags, a tool to swirl the colours (I used wooden skewers) and nail varnish.Hanging marbled egg decorations1. Insert both ends of treasury tag through the top egg hole to form a loop.
2. Prepare the marbling container by filling it with some water and dropping few nail polish colours inside it.

3. Use a tool (disposable preferably) to swirl the colours. This is completely optional and I found that the eggs that came out the nicest was marbled with the nail varnish that wasn’t swirled.

4. Dip the egg and roll it on the water surface as much as you can so it covers the whole surface.Egg shell marbeling with nail polish copy Hanging marbled egg decorationsHang the eggs to dry and once dry decorate the tree branch or anything else you want at home with it ;-).Hanging marbled egg decorations Hanging marbled egg decorations Hanging marbled egg decorationsI hope you found this inspiring :-)

Rasa xoxo

0