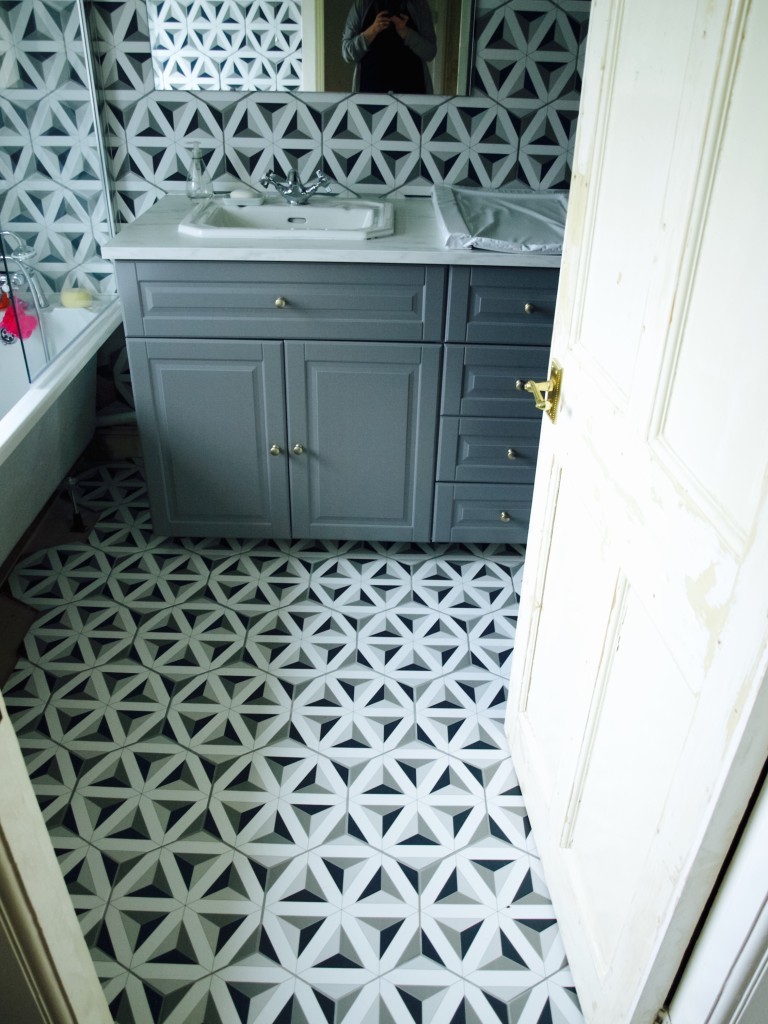
 So if you were following me on Instagram than you probably have seen these hexagon tiles pop up quite a few times. When I was choosing tiles for the bathroom I was not thinking how to make my tiling complicated, but my exact thought was “oh this has a very nice pattern and does not cost a fortune!”. But in return it was a very, very complicated job. It took us three whole months to complete the project even when working as a team!
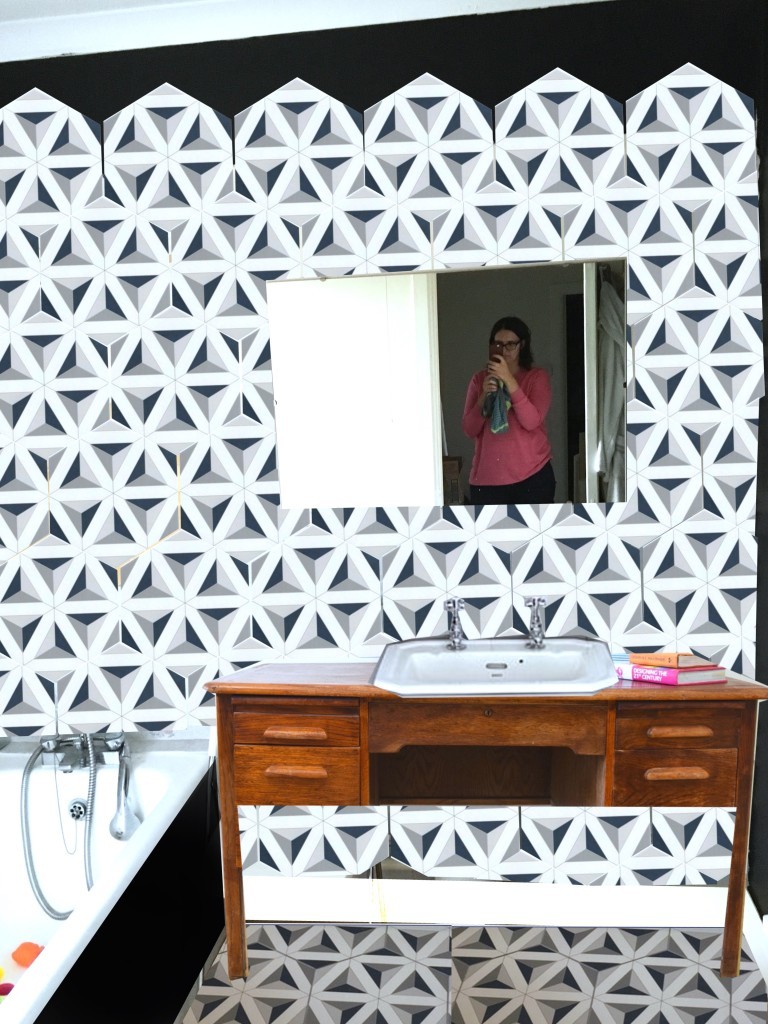
To give you some background neither Joni or I had done any tiling in the past. I felt slightly more experienced since I watched somebody doing the tiles and did some tile mending in my last house. But oh dear that was not enough expertise to prep you for hexagonal tiles! I would strongly advise not to start with this kind of shape if you are a beginner in tiling. Will tell you why more soon why, but if you are about to enter this kind of project I hope you find this post inspiring. 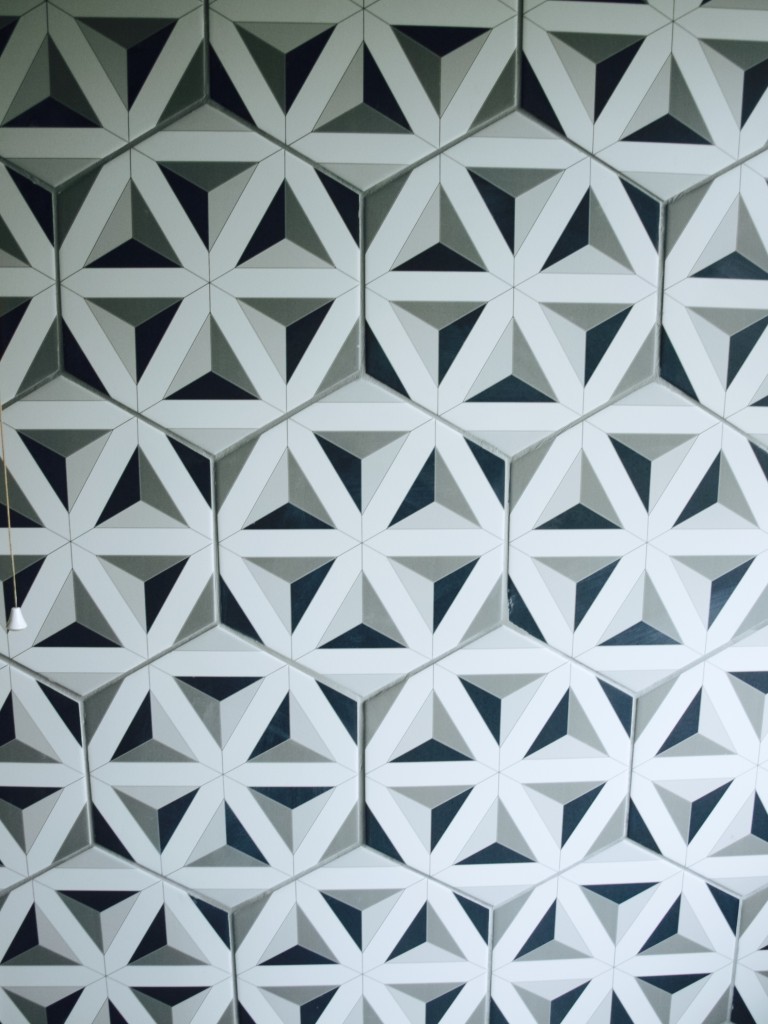 In the very beginning when I fell in love with this hexagon tile at the first site, I made a visionary picture of our bathroom. I used a editing program to roughly plant the tiles in the exciting bathroom pic, which as you can see may not be the most professional CAD out there. But it was enough for me to see if tiling both walls and floors would not overwhelm overall look of the new bathroom. Some details changed trough the process, but there were a lot of things that stayed. I am very pleased with end result and I must admit I may not have achieved it without this very primitive visionary board.
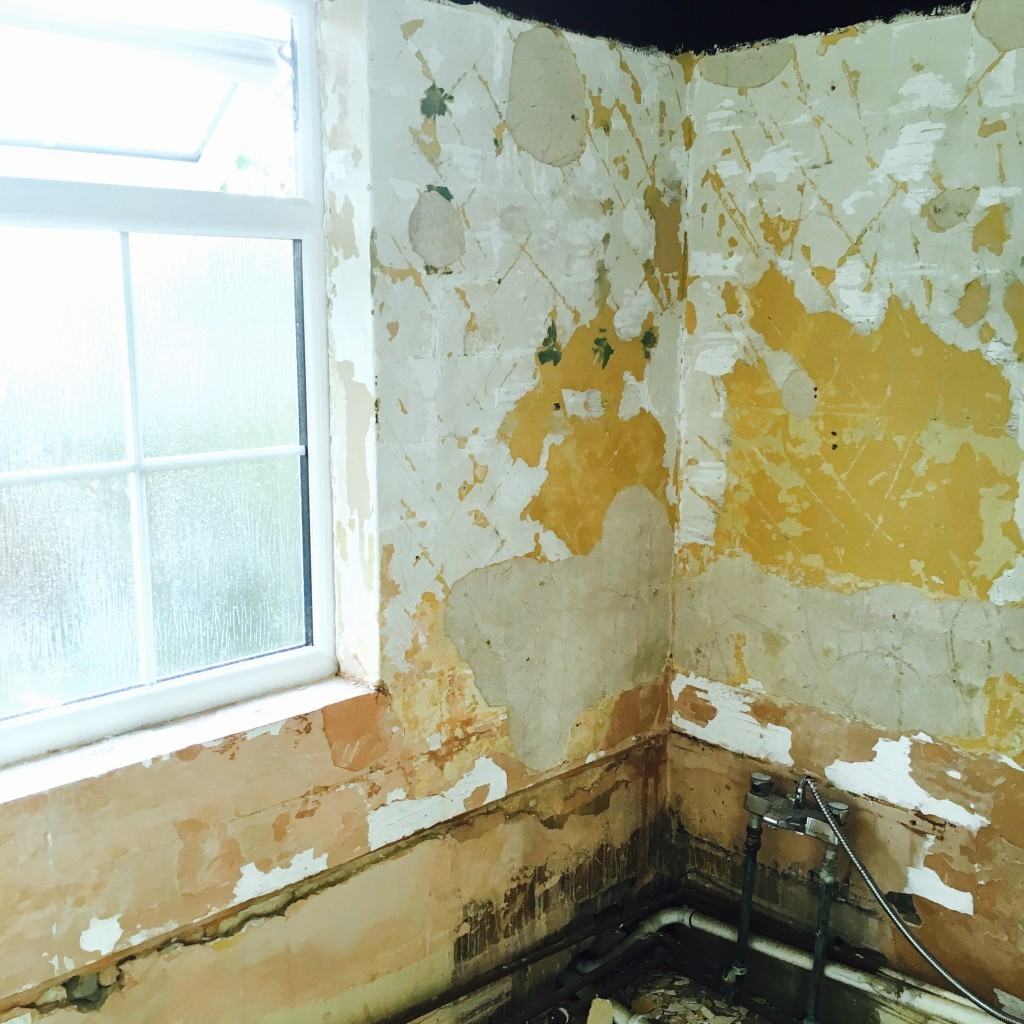
  So when we created a clear plan we started stripping the bathroom…. quite literally! Everything had to go, even the sink and bathroom. After that walls needed to be repaired and very firm floors installed (we used 22mm WBP plywood that was resistant to water). This took longer than we planned, which left us with only one sink in the whole house for few weeks (had to go to my friends for showers). Thank goodness this is a distant memory now!
  Once Joni installed the bath and fixed all the plumbing that took longer than we thought, I could then start to tile. Although it was not so straight forward! It took me a while to figure where to start and how to plan the tiling out exactly so it does not end anywhere awkwardly. This is when I realised that hexagon tiles are pain in the butt! We have been recommended to start tiling from the top but that did not make any sense since the tiles would slide when tiled on the wall. We watched plenty of YouTube videos on tiling, but that only gave us a rough idea how to start as they were all based on rectangular tiles. Seriously? No one produced a video for how to tile hexagon tiles? Eventually we used piece of wood that we screwed on the wall as a baton to stop all the tiles sliding down. We started round the middle of the wall, however I sometimes wonder what would have happened if we started from skirting board?! Would that make the tiling super uneven?
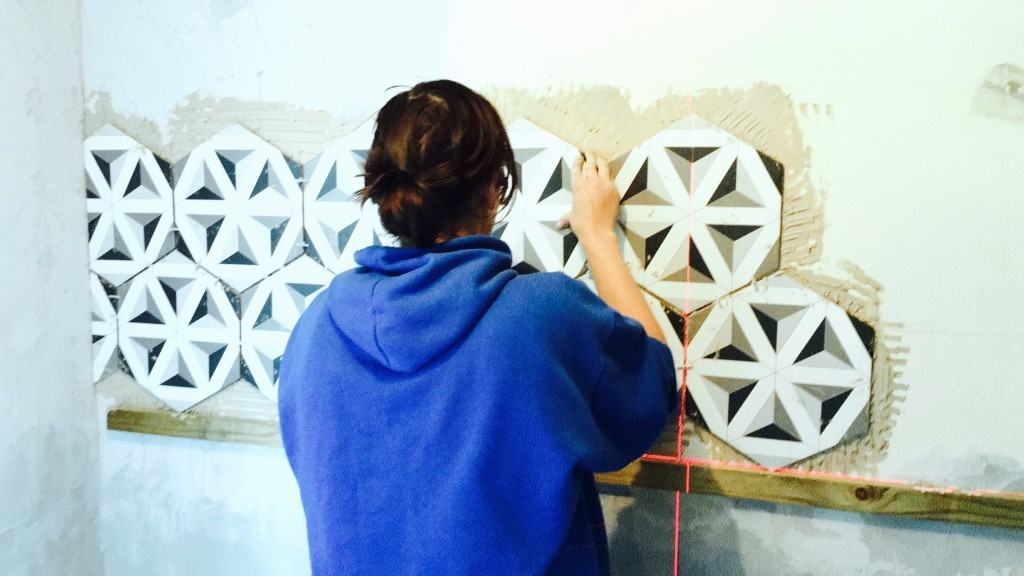 This is how much we roughly done in a day. Everything took sooo much longer than we expected! Unlike in the tiling YouTube videos somehow they manage to do the wall in 10min.
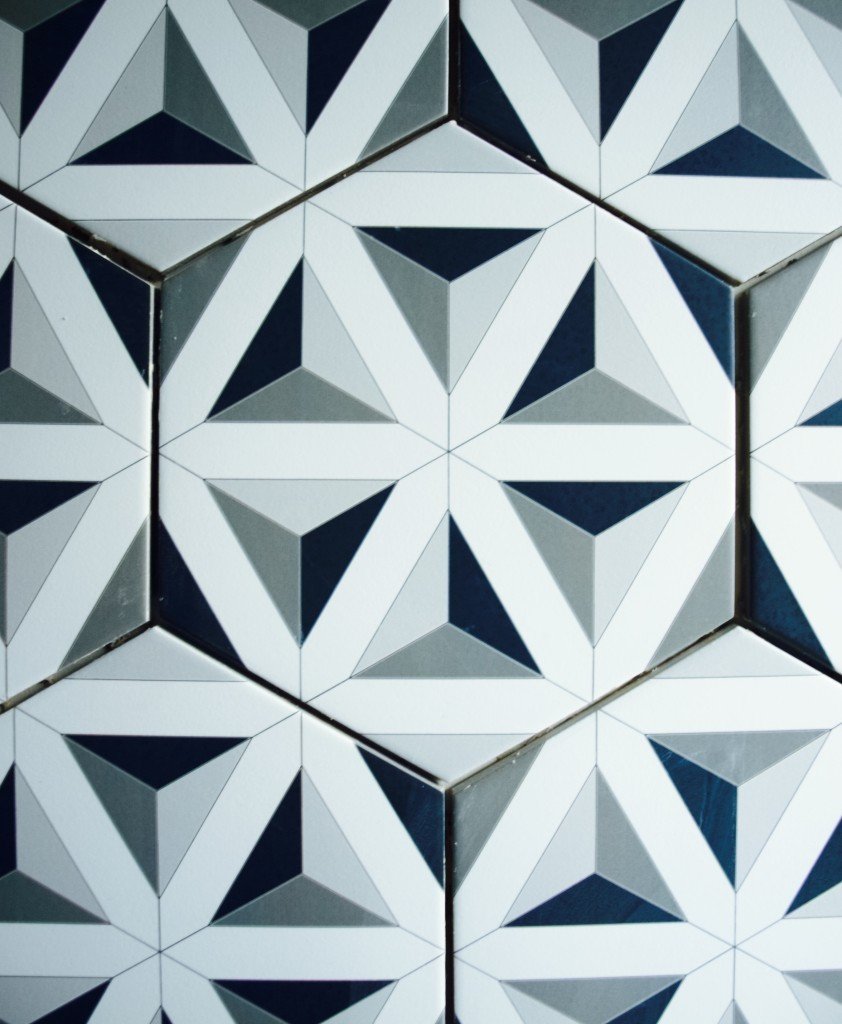
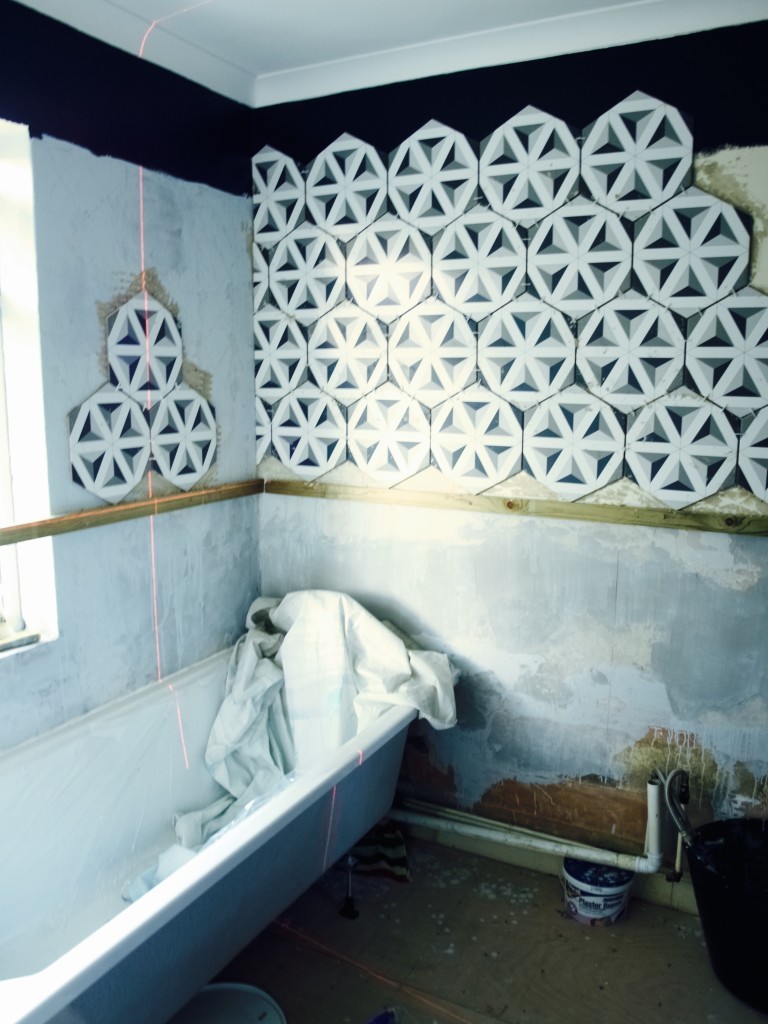 The other challenge I came across when tiling is the uneven gaps between the tiles. I can blame the awkward shape of hexagon here again! It was hard to keep the tiles straight considering they were resting on the baton just by one corner. Unlike rectangular tiles has the whole edge to itself! Luckily the grout have made it less visible so it’s all good!
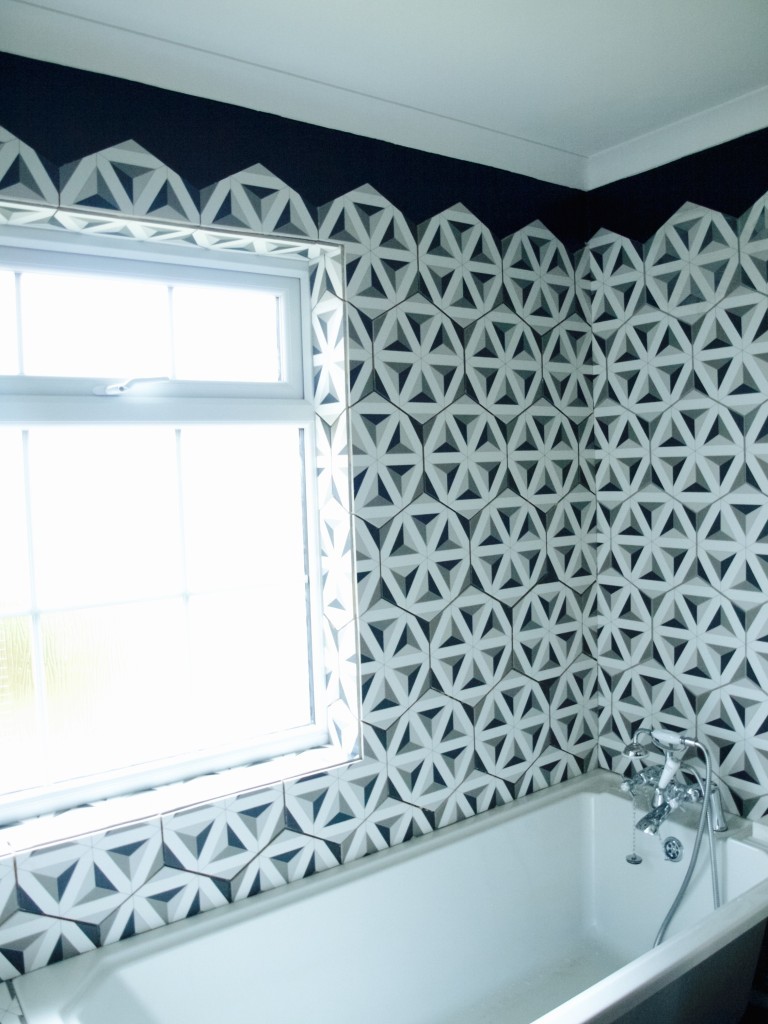 Tiling round the window was another difficulty. We were suppose to use edge tile trims to cover the tile edges, but I find them not very aesthetically pleasing. Somebody suggested we go without and instead leave the gap for the grout. However it ended up to be a very large gap which made me worry if the grout would be strong enough to stay there. Luckily it did! And I am very pleased we took the risk here :).
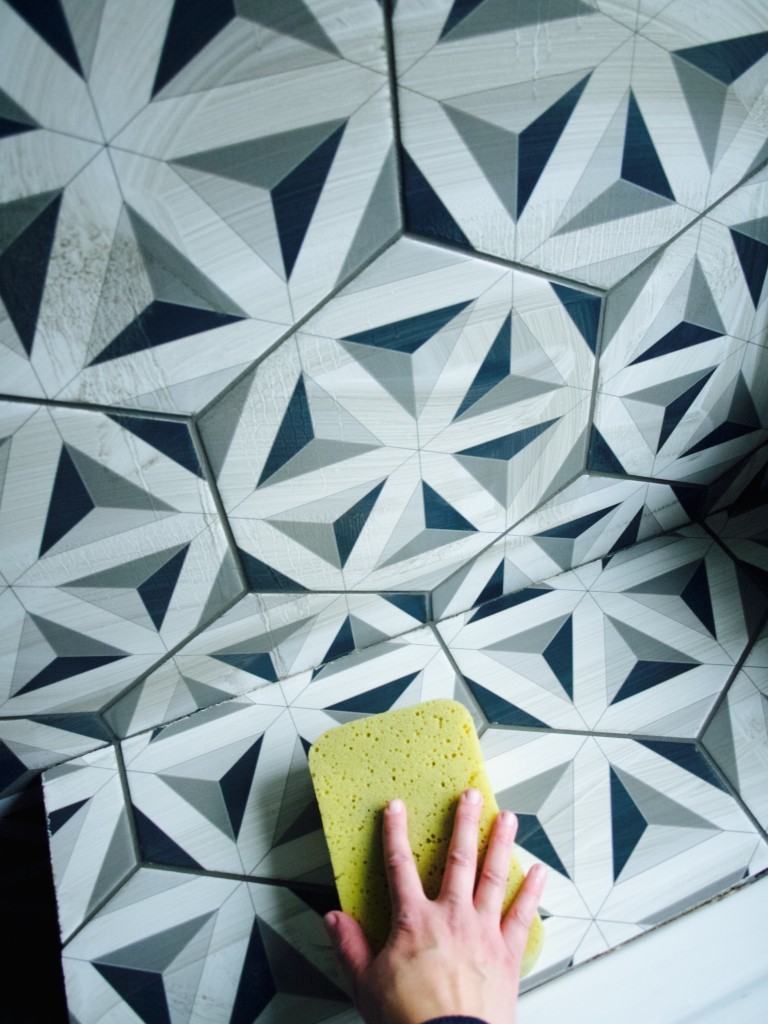
I applied the grout with the grout float which was much easer than tiling itself! I chose medium grey which I feel was a great choice for the tiles. I believe this is what hidden all the small mistakes I previously made in tiling. Yey!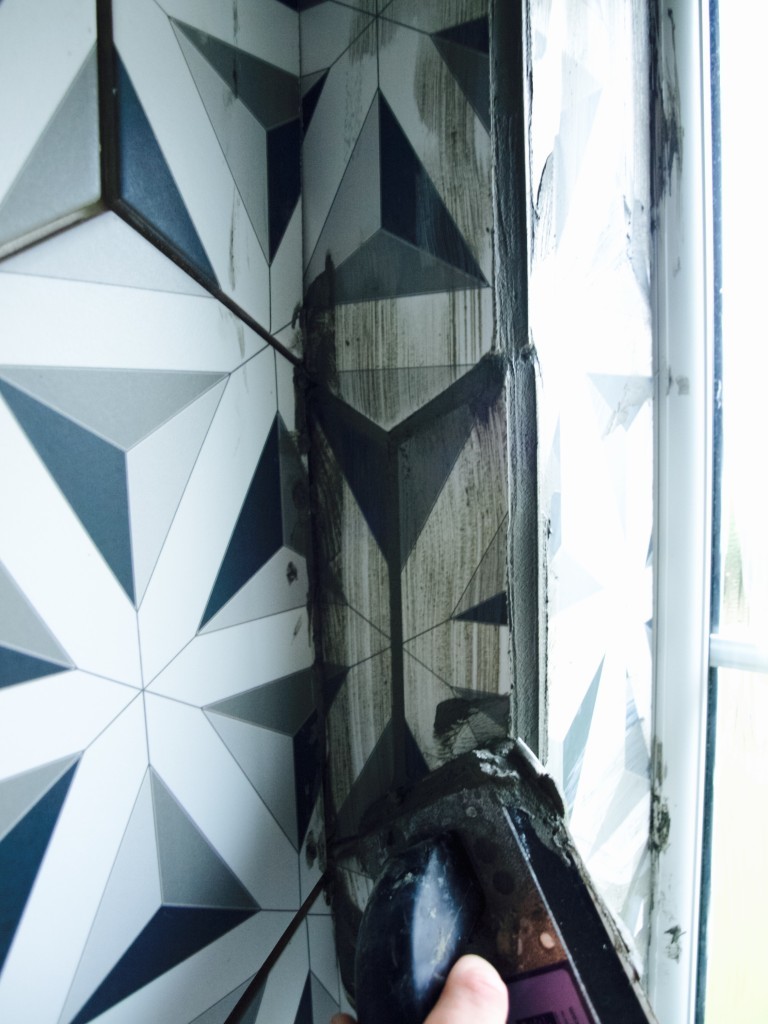 After grouting there were so much to clean that I only finished doing last week. Ooops!
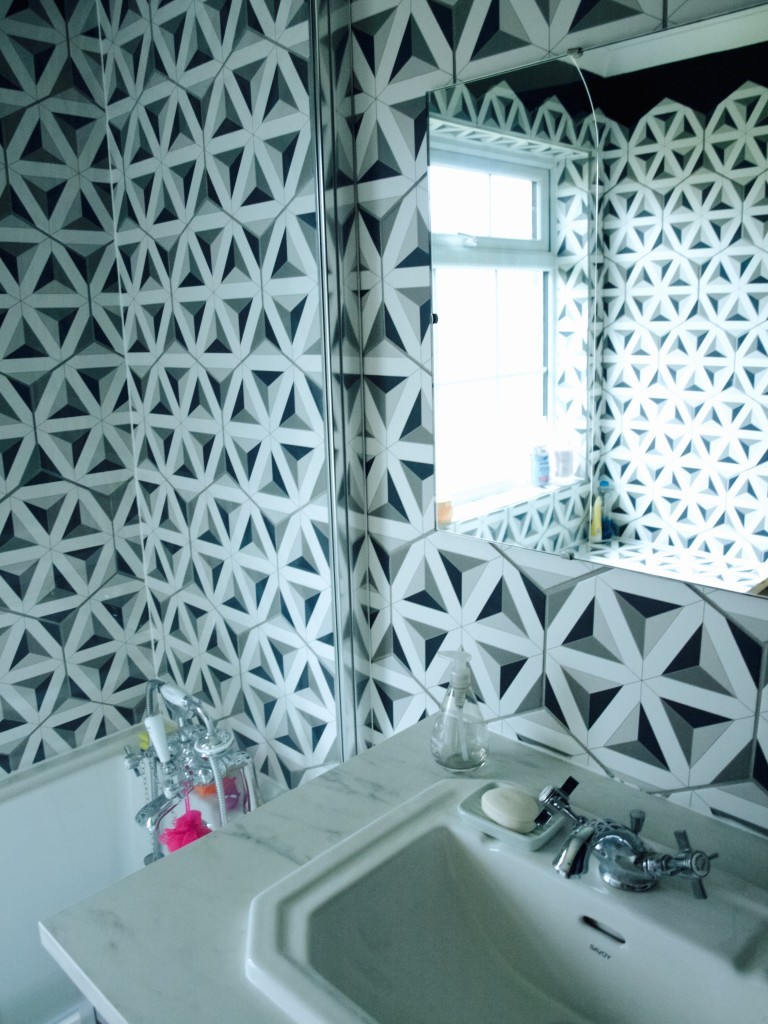
 Hope you found our journey in tiling useful, maybe you will be the first to create a tutorial how to tile hexagon?
Rasa xoxo


Hi, Your bathroom looks awesome, good job!
I am about to start tiling our ensuite floor with hexagonal tiles (similar size to yours but matt black) and also can’t find any videos to help!! So thank you for your blog post!
My question was how/where did you start with the floor? Any tips gratefully received ;)
Alice
Oh how great, would love to hear how it went!
We started at the edge, just marked straight lines on the floor at a right angle to the wall and this meant one of the 6 faces aligned either with the wall or the lines. The marks soon disappeared below the adhesive as we tiled but they did help show us where we were going off course. We found large tiles were much easer to fit to compared to smaller ones that we used later in a year.
How did you finish the top edge of the day that you left exposed?
Do you mean the top edge of the tile? To be honest the top edge has not been finished as it is quite high up and it’s not visible. But if it was visible then I would just apply some silicon on it ;-).
Hi where are the tiles from? Thanks
These hexagon tiles comes from Walls and Floors online shop ;-). They are pretty and quite reasonably priced!