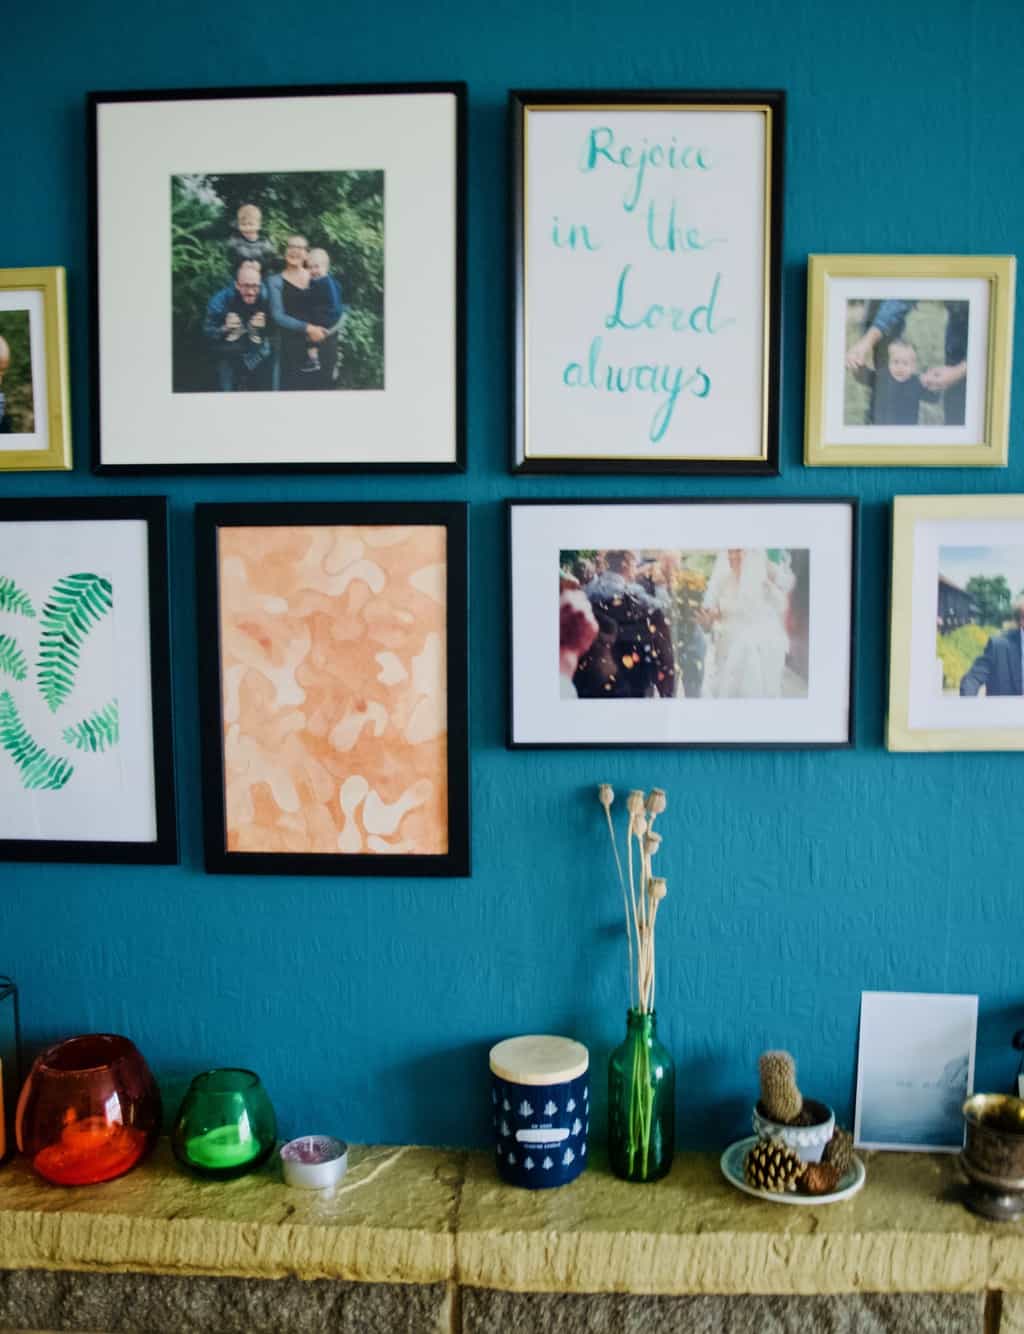
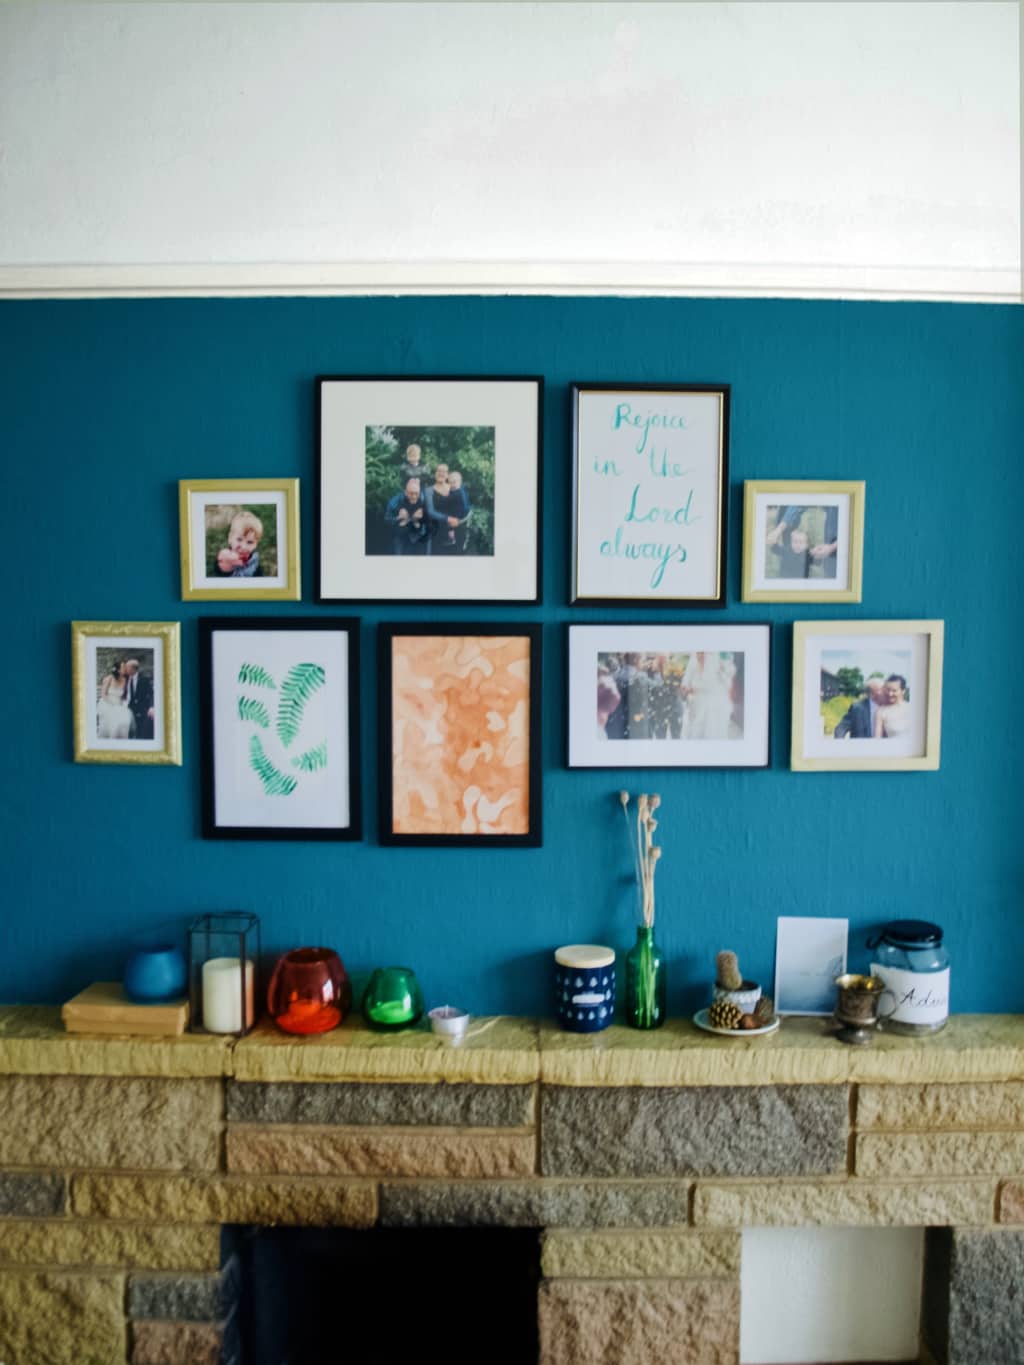
 One of my last years goal was to fill the walls with art, and thanks to my watercolour challenge I kinda did! Except the wall space above our fireplace stayed empty for a while. I planned a wall gallery here with family pics and I have been putting this task off for a while. Why? Because I must admit making a gallery wall is challenging to me too. It’s overwhelming, so many pics to add, how to decide on frames (there are so many available!), how to arrange them. I get you! I got the same feelings too!
After doing some research and remembering what I learned in the past when doing other wall galleries at my old house I came up with a step by step plan that made arranging the frames on the wall much much easer. Creating this gallery was such an easy job after all! Which is why I decided to share these 5 easy steps with you!
First thing I learned about creating a gallery wall is to deal with one component at the time. It soon get’s very overwhelming if you try to visualise everything in one go. My starting point is often choosing the frames maybe with one main photo installed in it. You can think what pictures to install in what frame later.
1. Create picture frame layout. When you remove one distraction is so much easer to focus on another aspect of creating gallery wall. Lay the frames you choose on the floor and keep rearranging and taking pictures of different layouts till you have at least 3 variations. Have fun!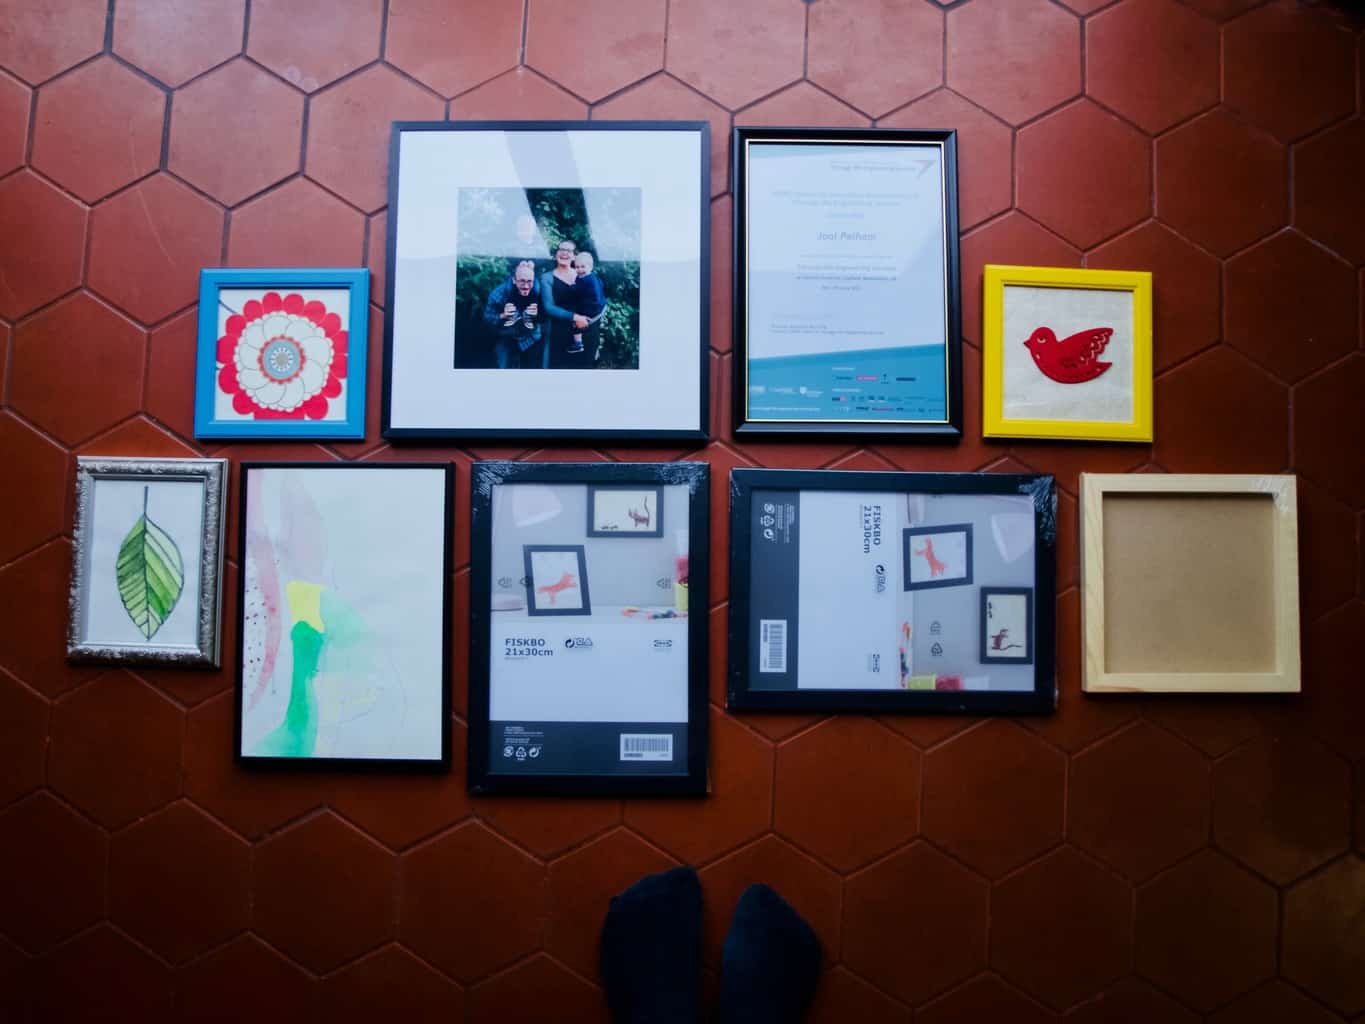 2. Arrange pictures/photos into the frames. After you have decided on the picture frame layout you can begin arranging pictures into it. I found using photoshop or other photo editing program to arrange the images into frame so much easer. That way you know what sizes to aim for when you do actually print it out. I used this technique when making our wedding album and that helped me to visualise the end result much better!
My Tip: Aim for balance between pictures and photos (or at least different type of photos). It looks a bit boring when all you have on the wall are pictures of people faces (as lovely as they are).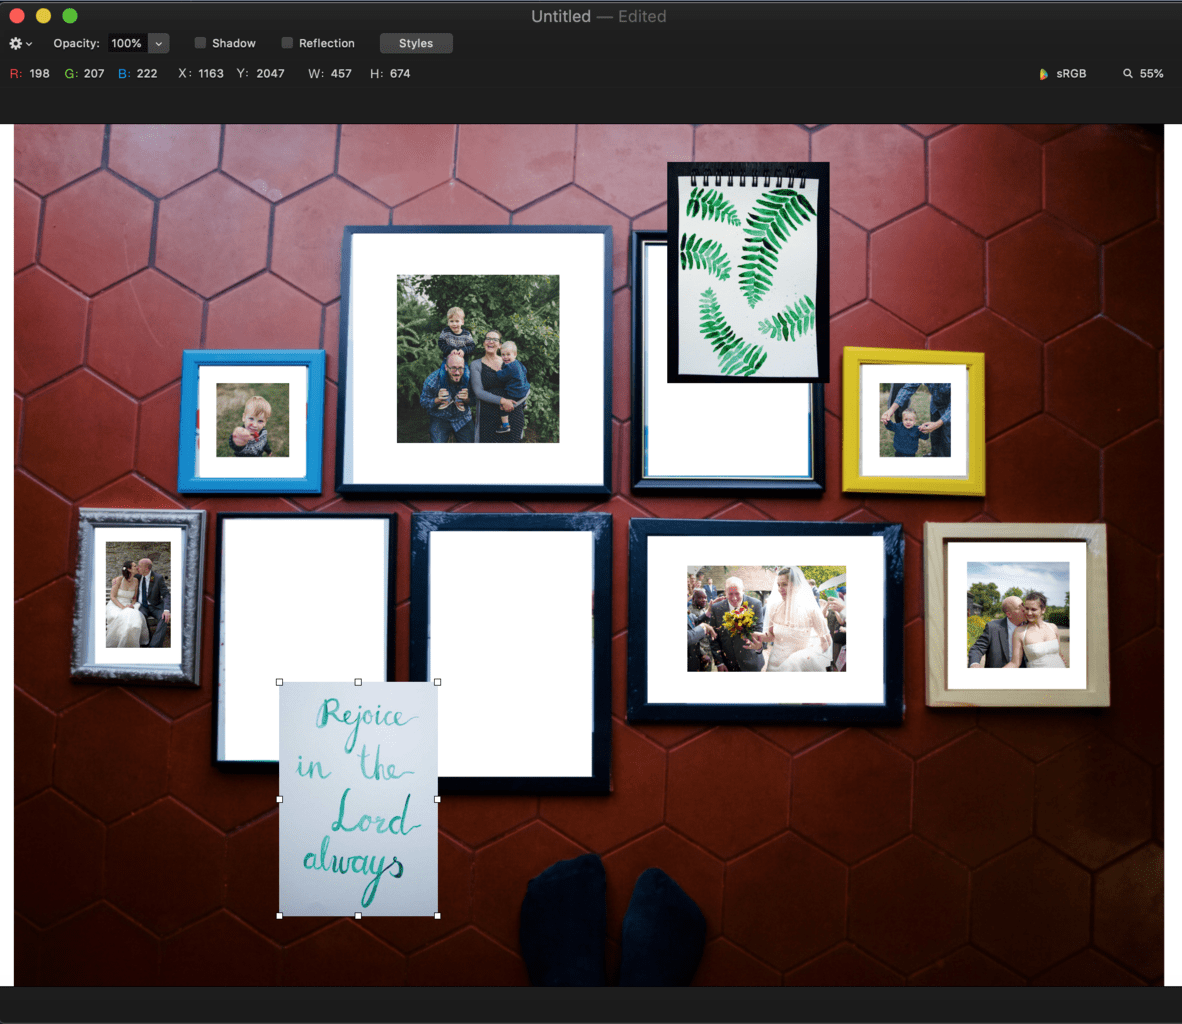 3. Print and and frame the pictures/photos. It is that simple once you have the layout designed! This is when you can decide how much of white area you want to have around the photo in the frame.
 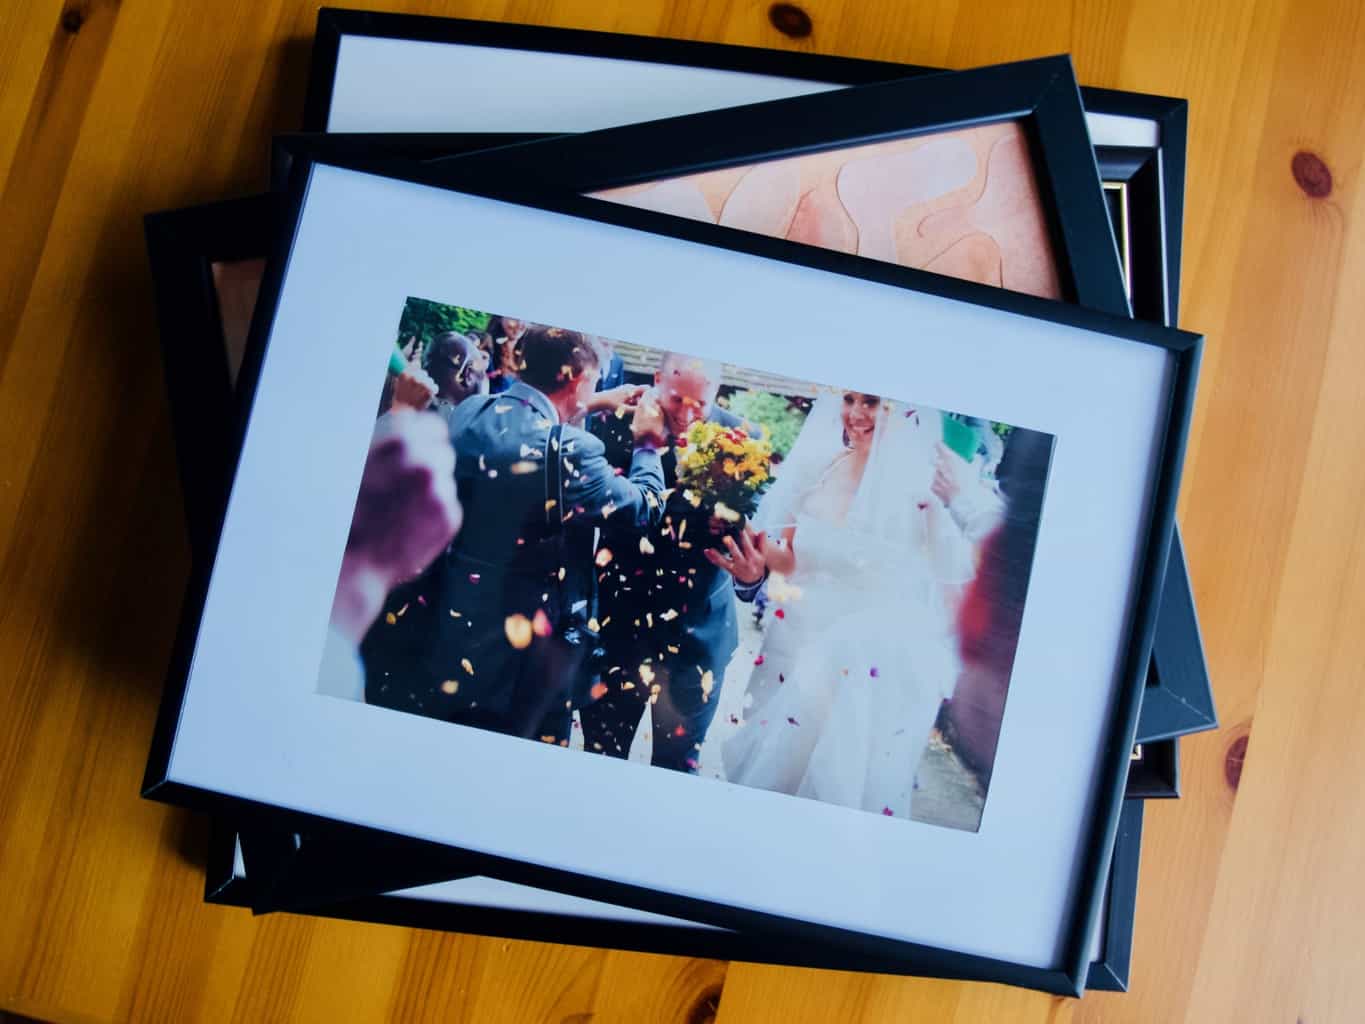 4. Transfer the layout onto the wall. Using cheap craft paper (in my case it was pattern cutting paper that I have loads of) trace around each frame and title each of them so you know what is what when you paste it on the wall. Cut the frame shapes out of the paper. Using sticky tape (not too strong as you don’t want to rip the wall paint off) arrange the cut-out frames onto the wall according to your original layout design.
Joni tip: Mark the centre on each cut-out frame so you know where to insert the nail/hook to hang the frame (usually in the centre). 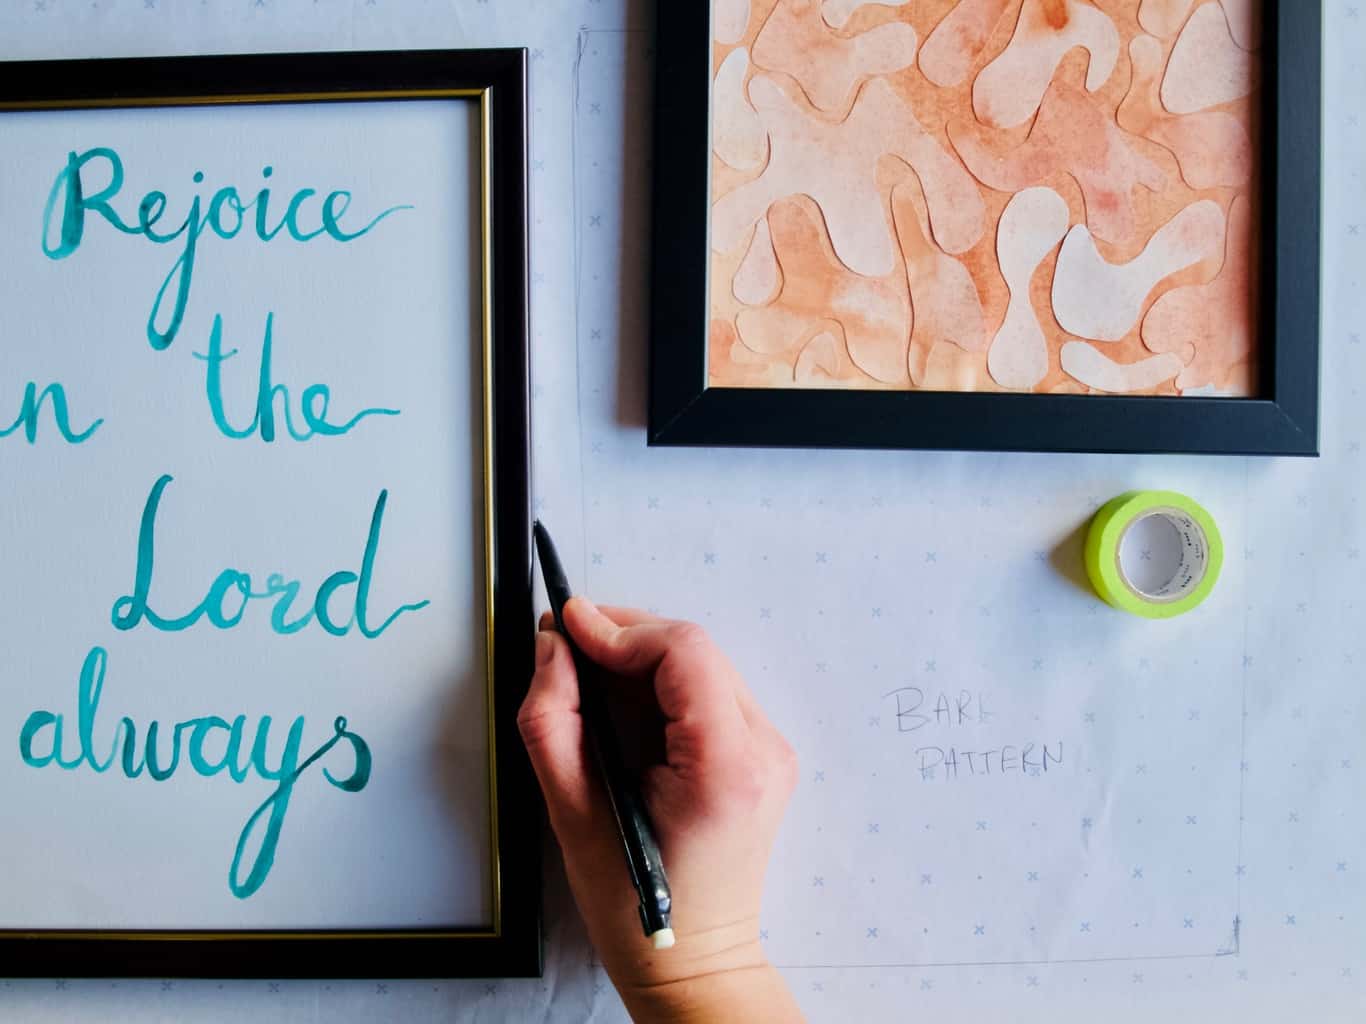
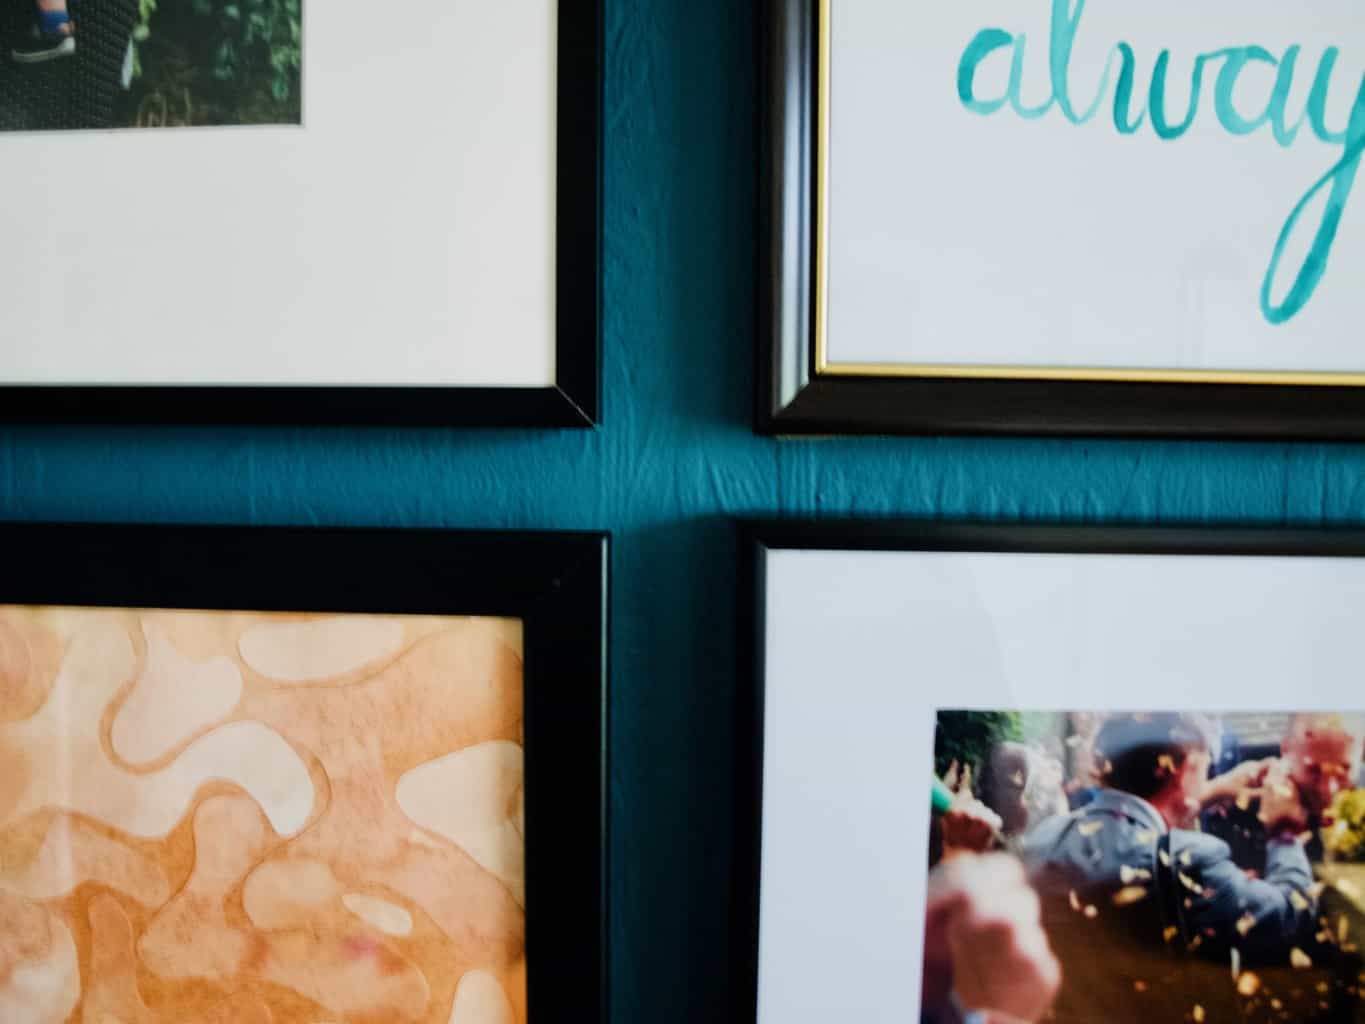
 5. Finally, hang the frames on the wall. And that is all! Don’t worry if the frames are slightly off the level. I think as long as it is pleasing to the eye then it’s ok.
 Hope you found this super useful!
Rasa xoxo


