

 You might be shocked to know that I have been planning this project for very very long time. It took me one whole year to choose the fabric and then three months to actually start the job after ordering the bits and bobs (including pretty pegs). The design changed millions of times (only joking), but thank goodness the choice of materials stayed the same. Interestingly, the project itself was quick and simple once I got it started.
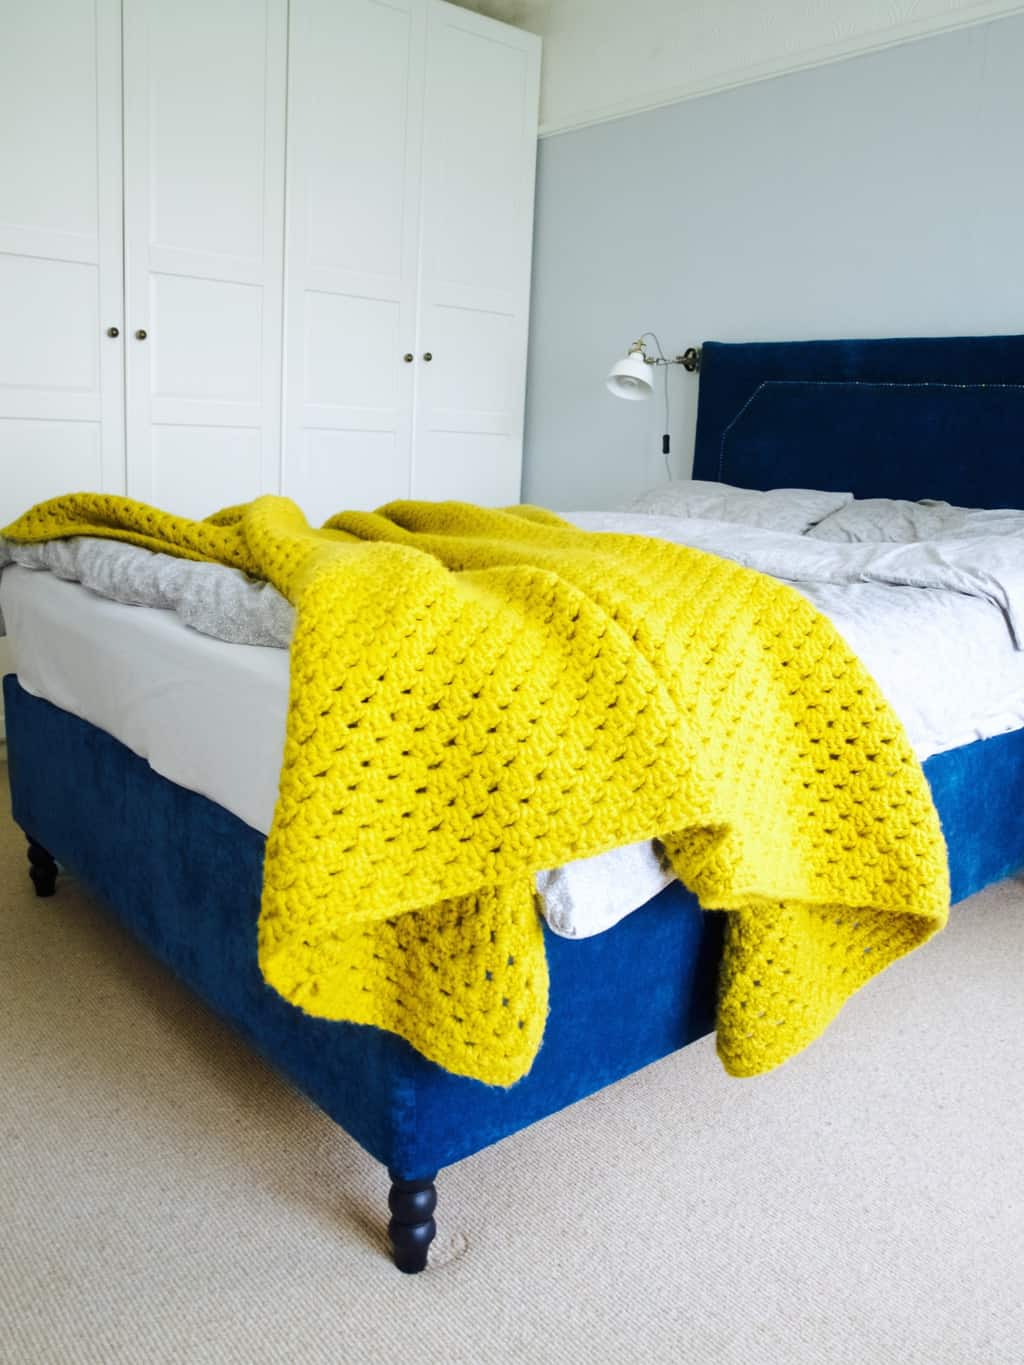 So here is where it all started. I had this double bed (because it is IKEA so slightly bigger than standard double) since I bought my first house. When we moved to our current house, the bed needed to change. As you can imagine new building interior style no longer matched this plain looking bed. The bed of my dreams was out of my budget, so I did the next best thing and upholstered the one we had.
 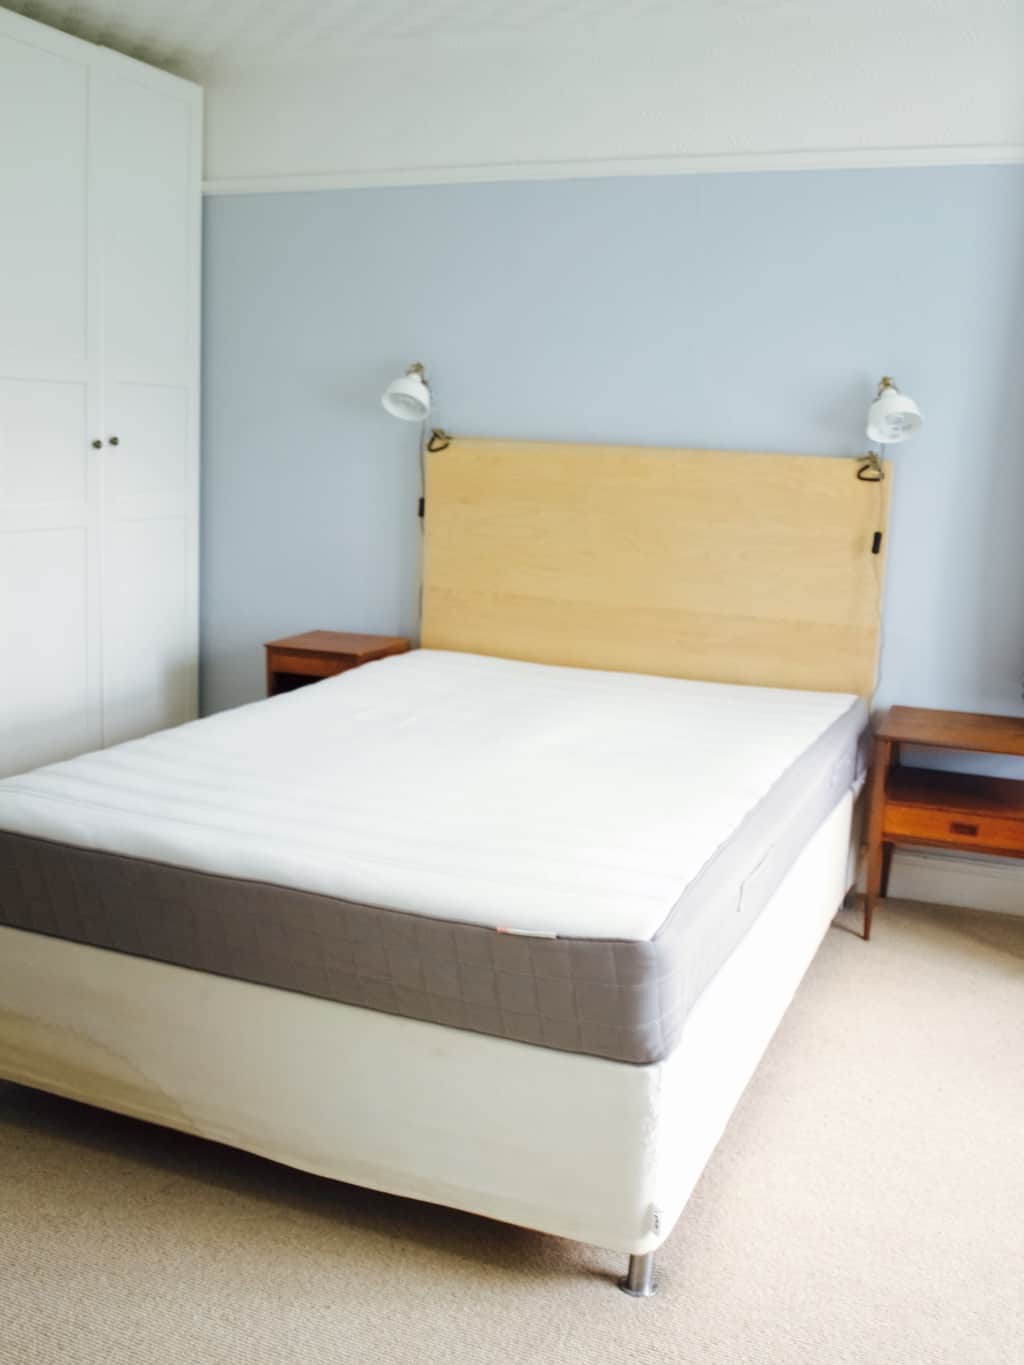 I am actually very glad we had to “renew” our bed. Look at all the corners, damaged by our cat :o.
 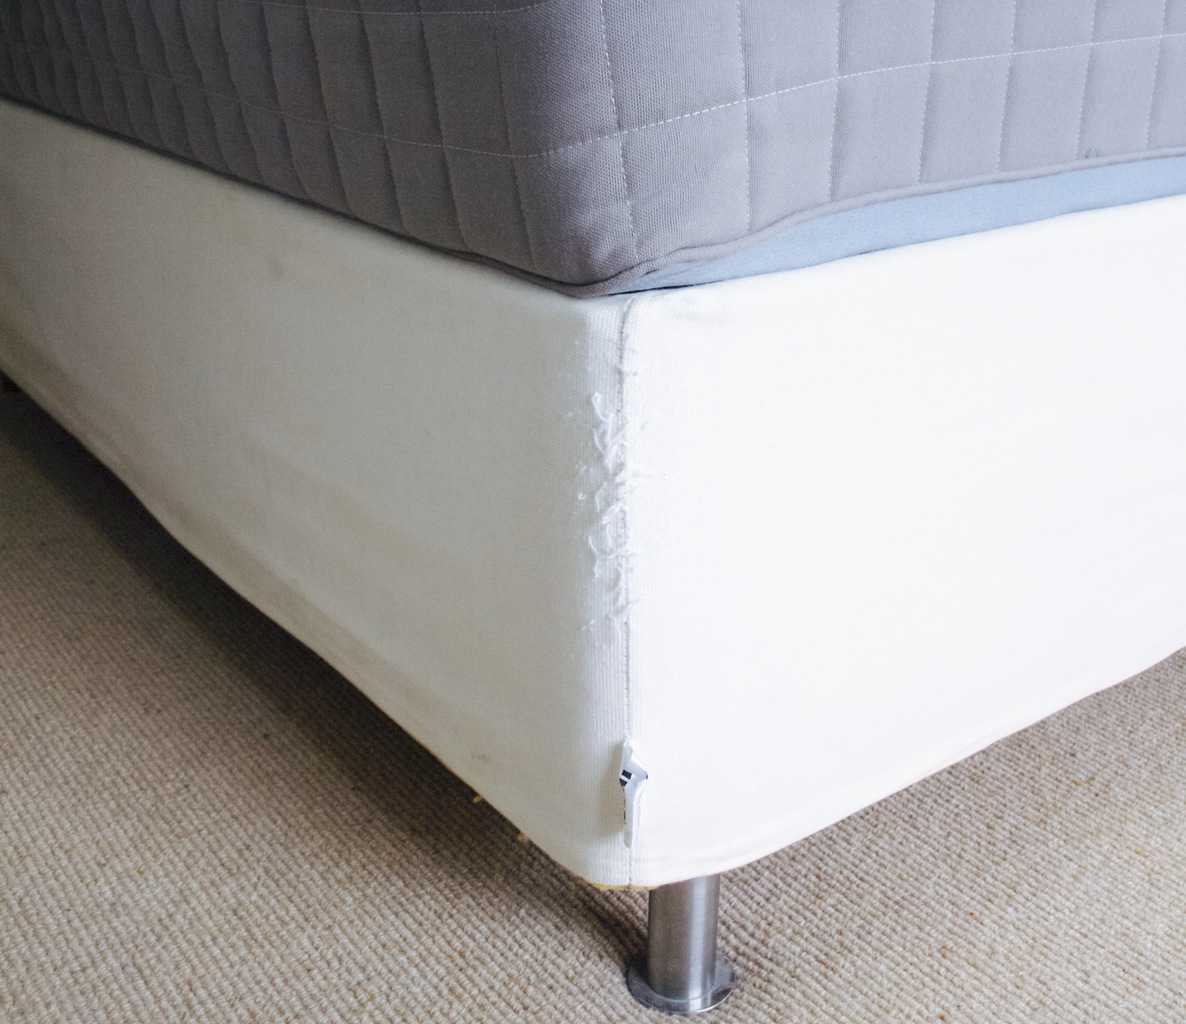 The upholstery started with the bed base. I measured bed depth, length and width and then cut out 4X40cm wide strips (2X202cm long for the length and 2X142cm long for the width). I stitched them all together to make one long strip of fabric.
 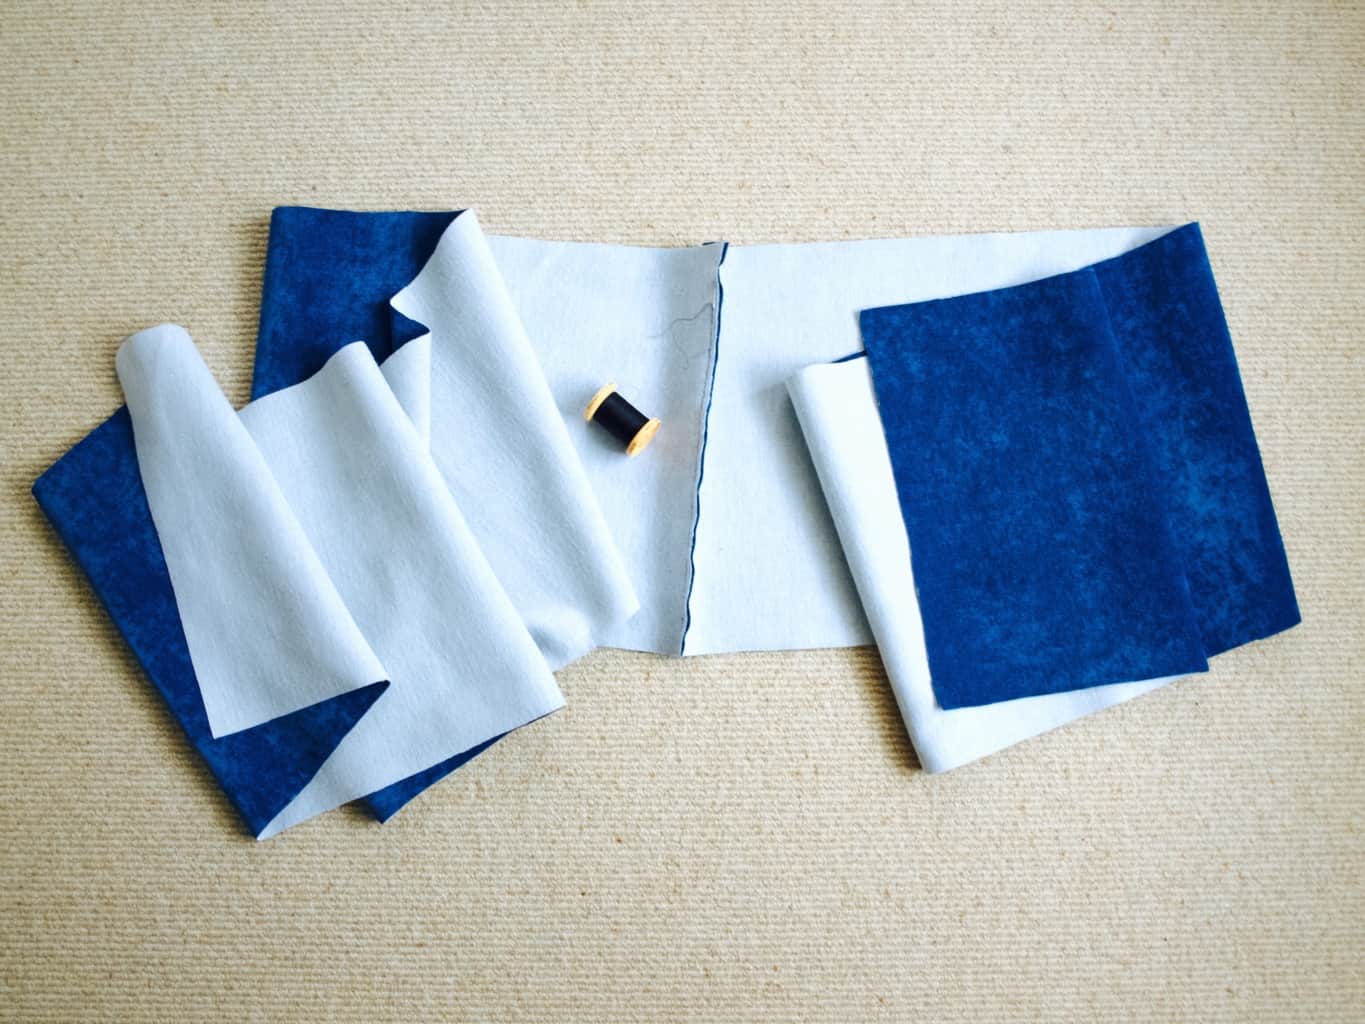 I applied this long strip of fabric all around the bed base.
 I loooove my staple gun. Serious upholstery professionals would probably judge me for using it so much, but all I care about the convenience and the end of result. Never mind it is not considered a proper tool to attach the fabric to the furniture. In this case I used staple gun to secure the fabric on the bed base from inside as you can see here in the picture bellow.
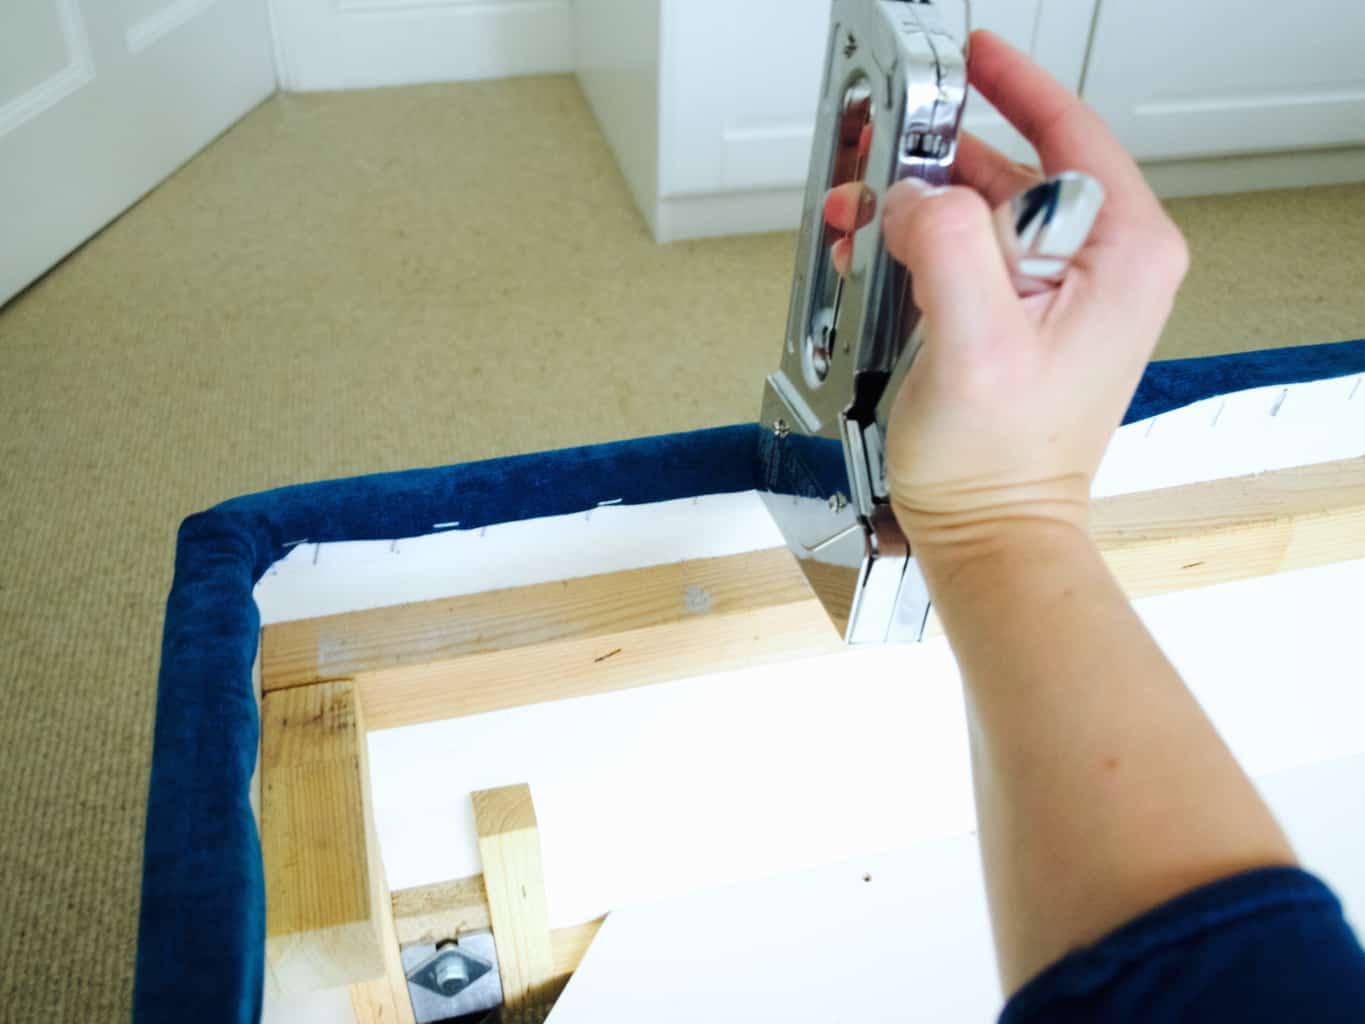
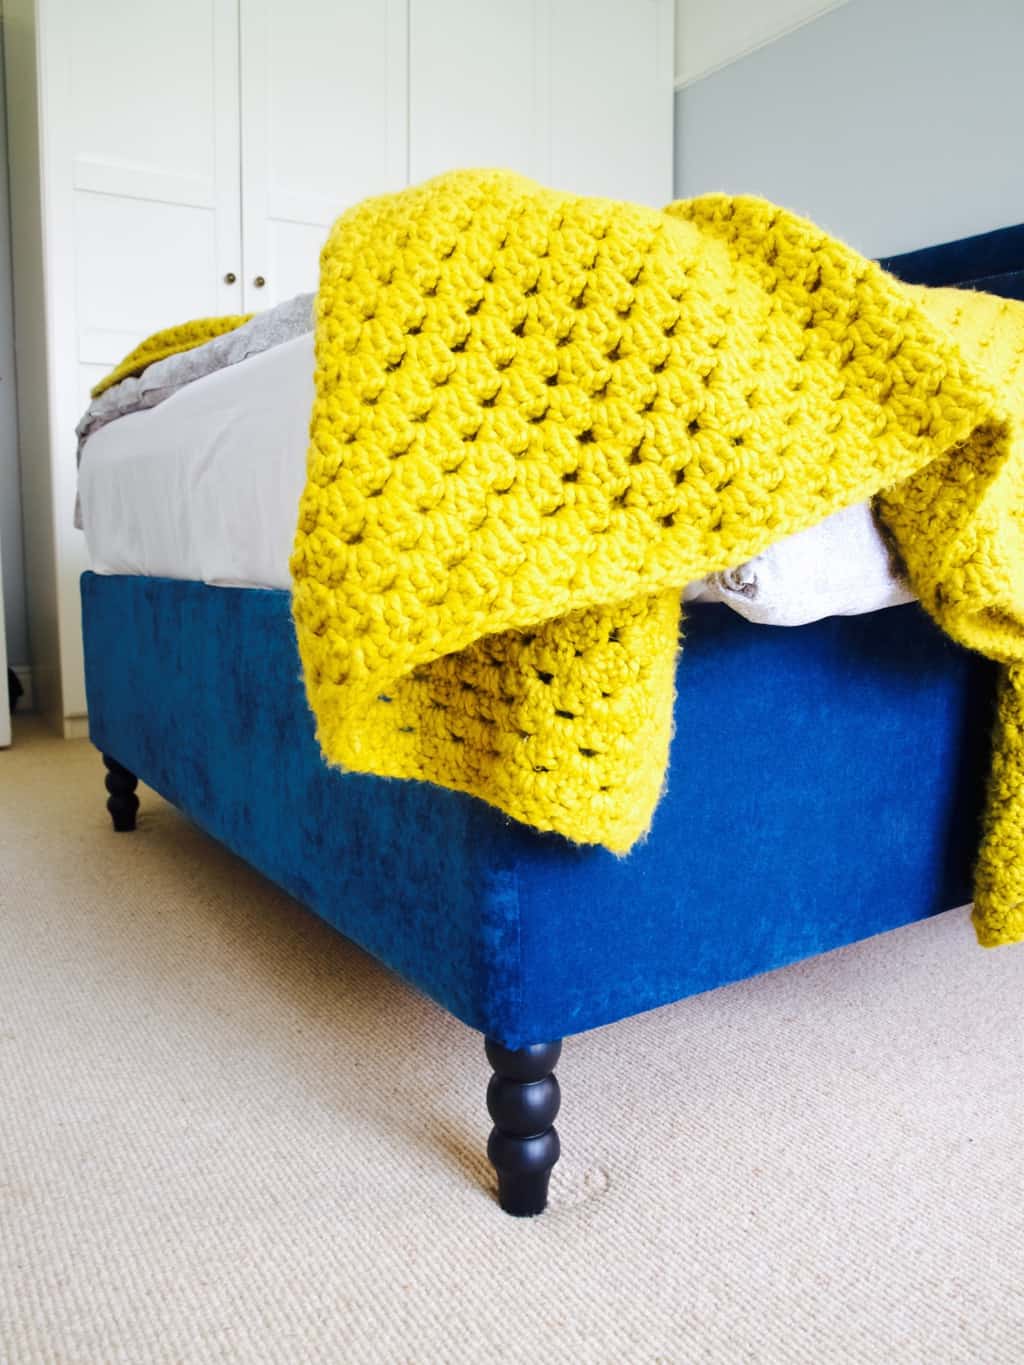
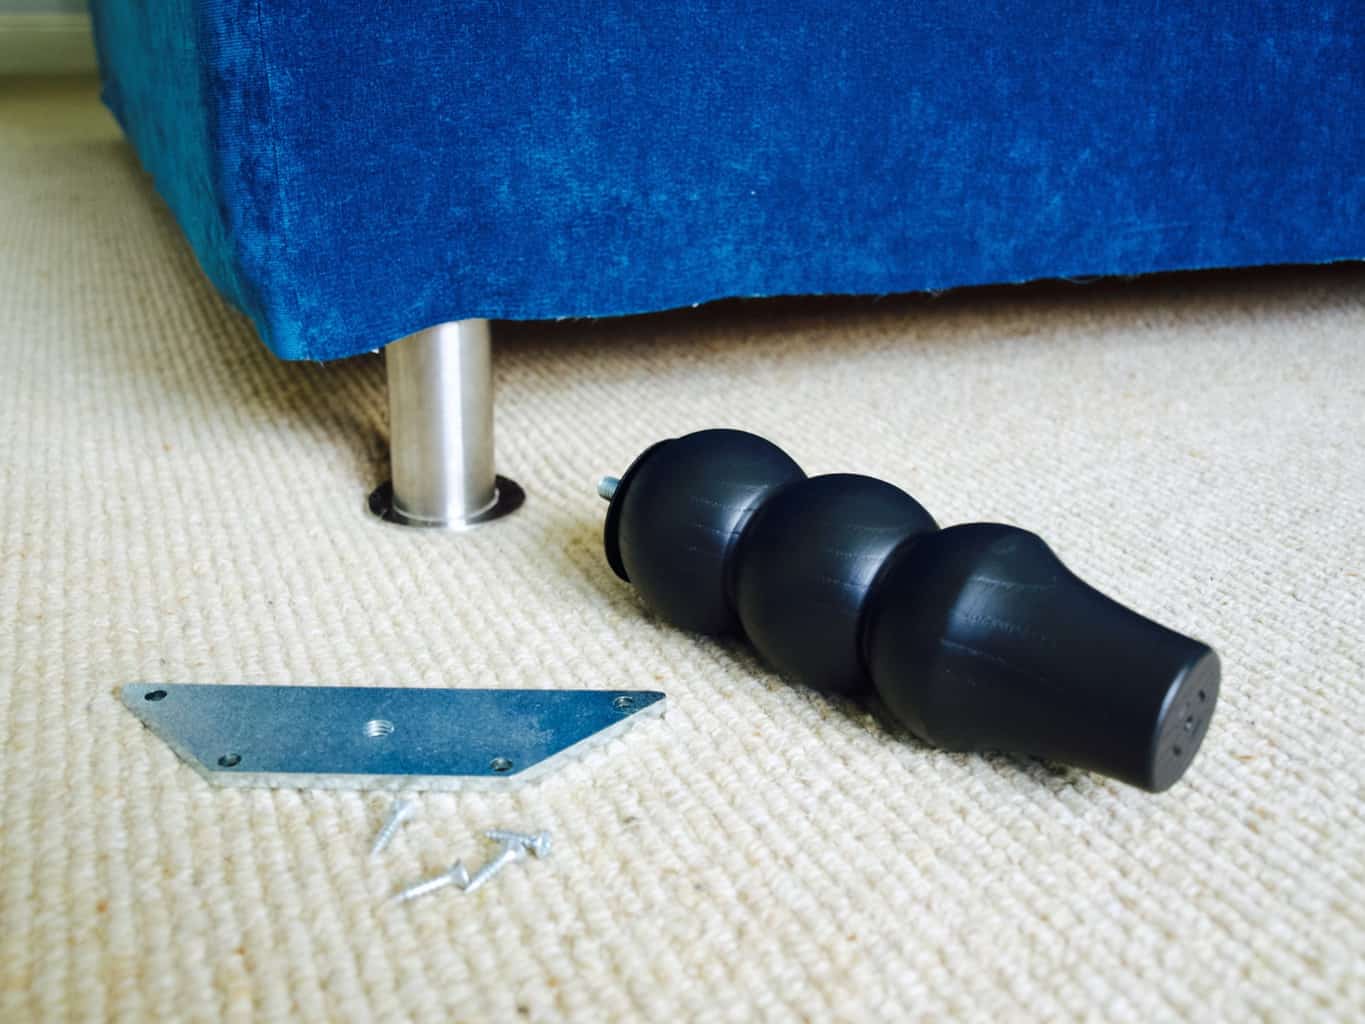 Next we turned the bed upside down so we could attach these pretty pegs. They were quite expensive, but it was worth it I think. Once the legs were on, I finished securing the base bed fabric at the bottom of the bed.
 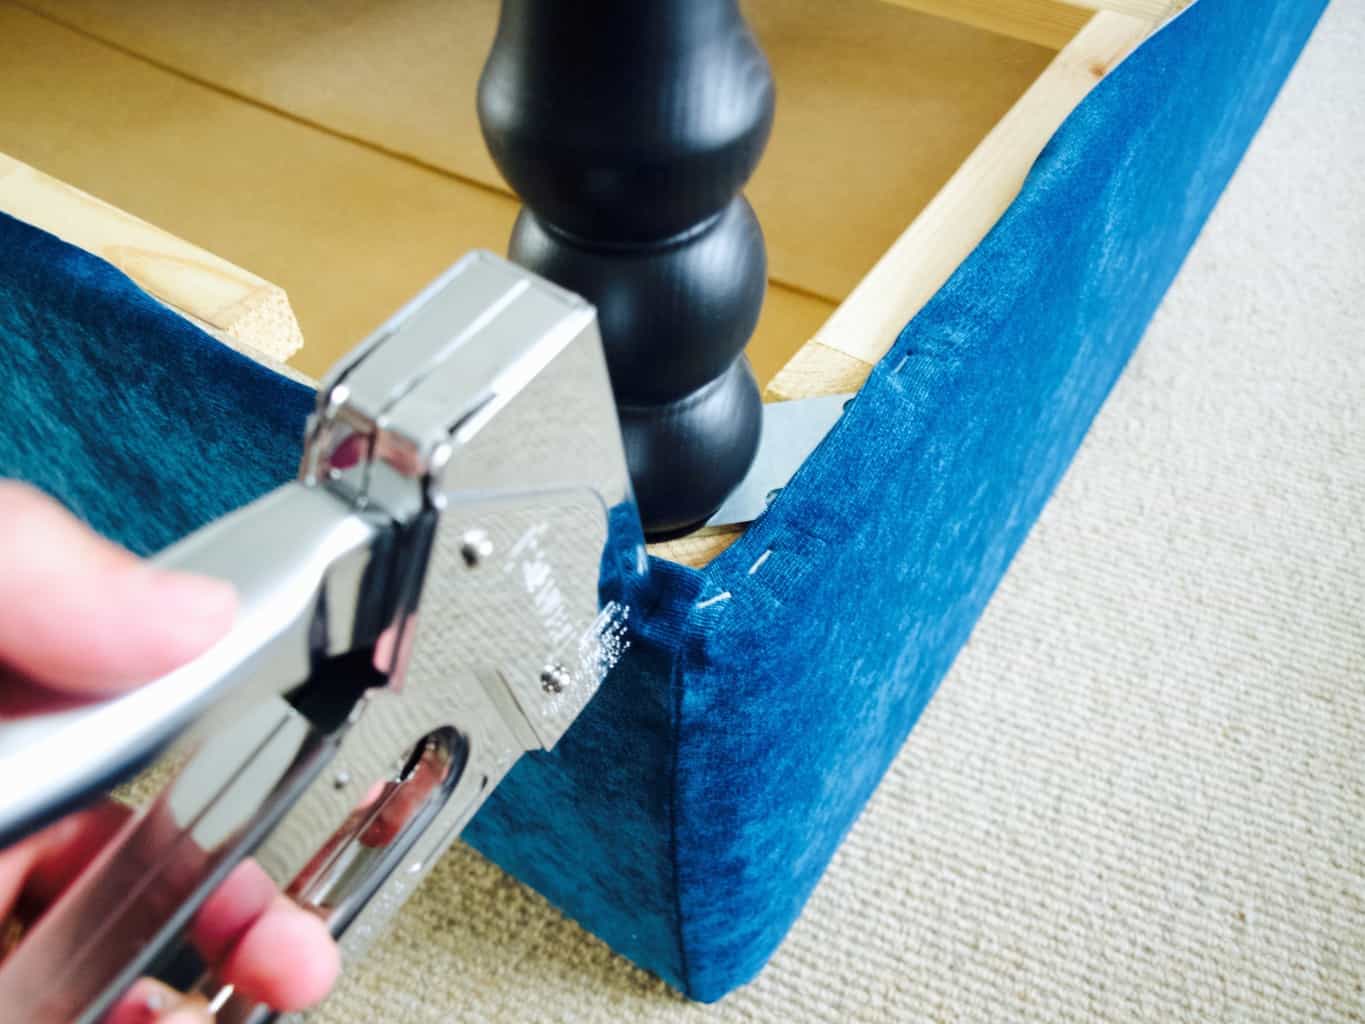 Next up is the headboard. I spend a lot of thought on how to upholster this! I liked all the curvy headboards and unfortunately I could not change the shape of it. Ikea headboards are made of honeycomb structure inside so it could not be cut in any way. The insides are hollow (well almost)! So I decided to add more interesting details by adding decorative nails (will speak about it more later).
So to begin with I used a spray glue to secure a piece of wadding onto the headboard where I wanted to be cushiony. 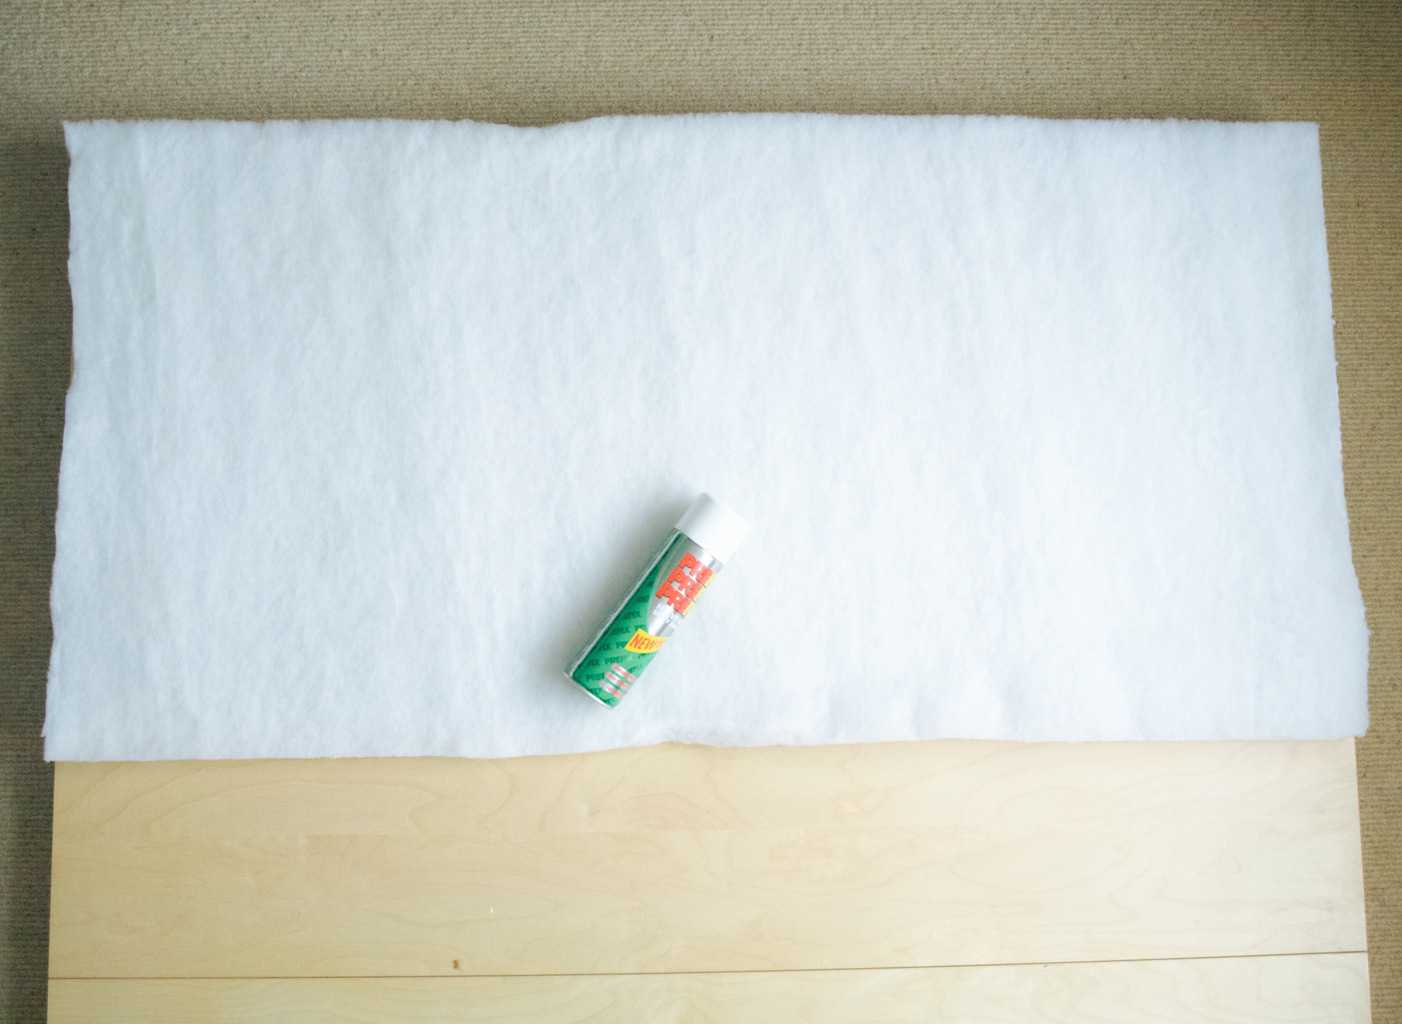 I added another layer of wadding and wrapped it around the headboard to make it look softer. I used the staple gun of course ;-).
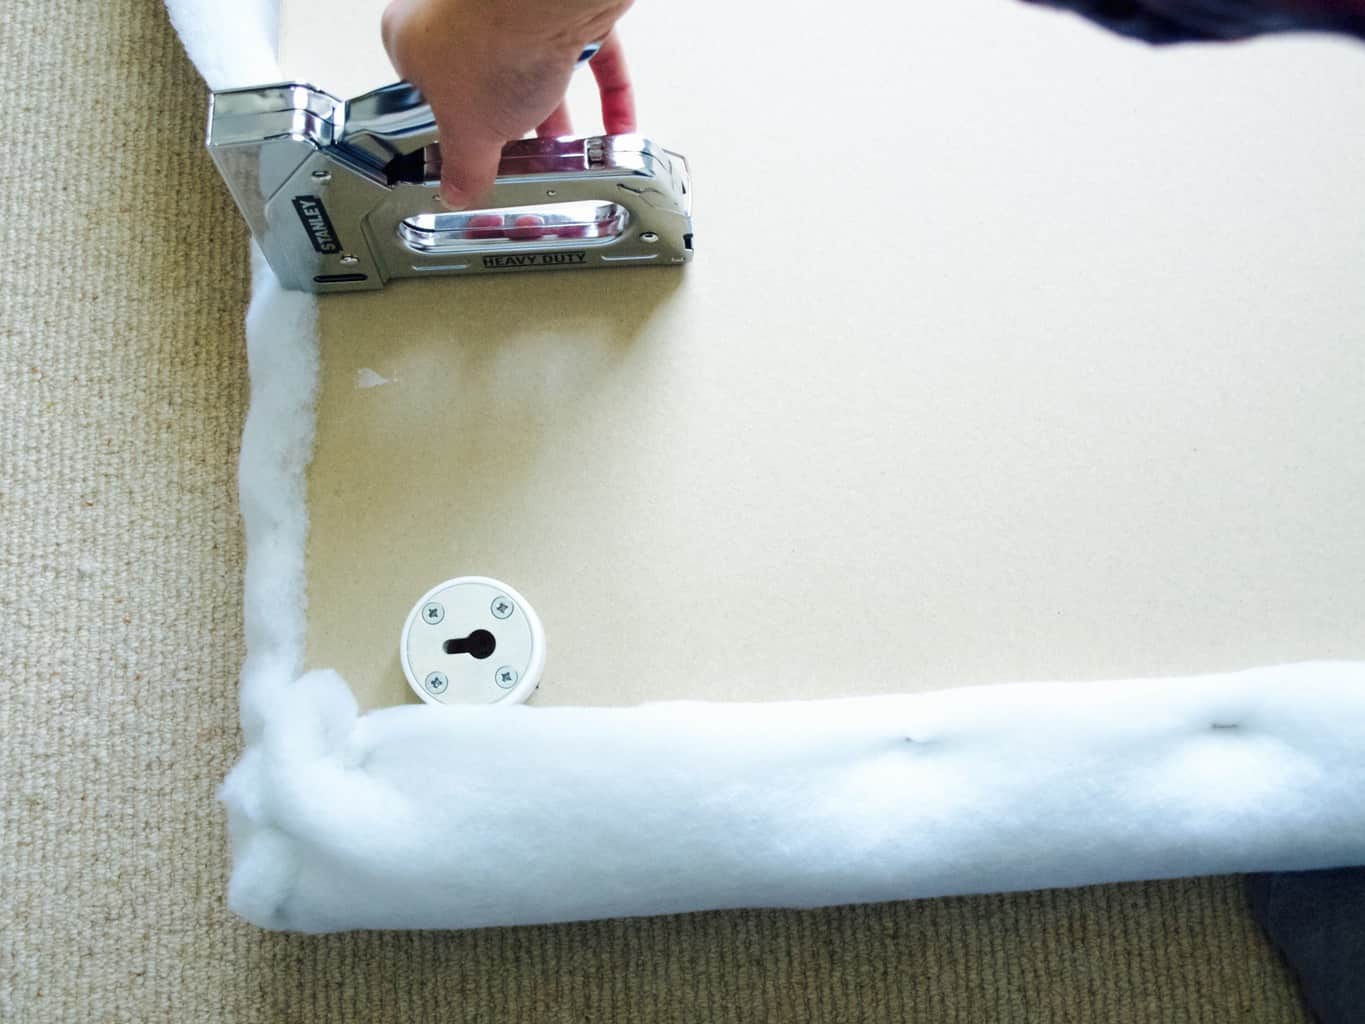 Finally I used the fabric to wrap around the headboard(almost like a gift). Again, I secured the fabric at the back with more staples.
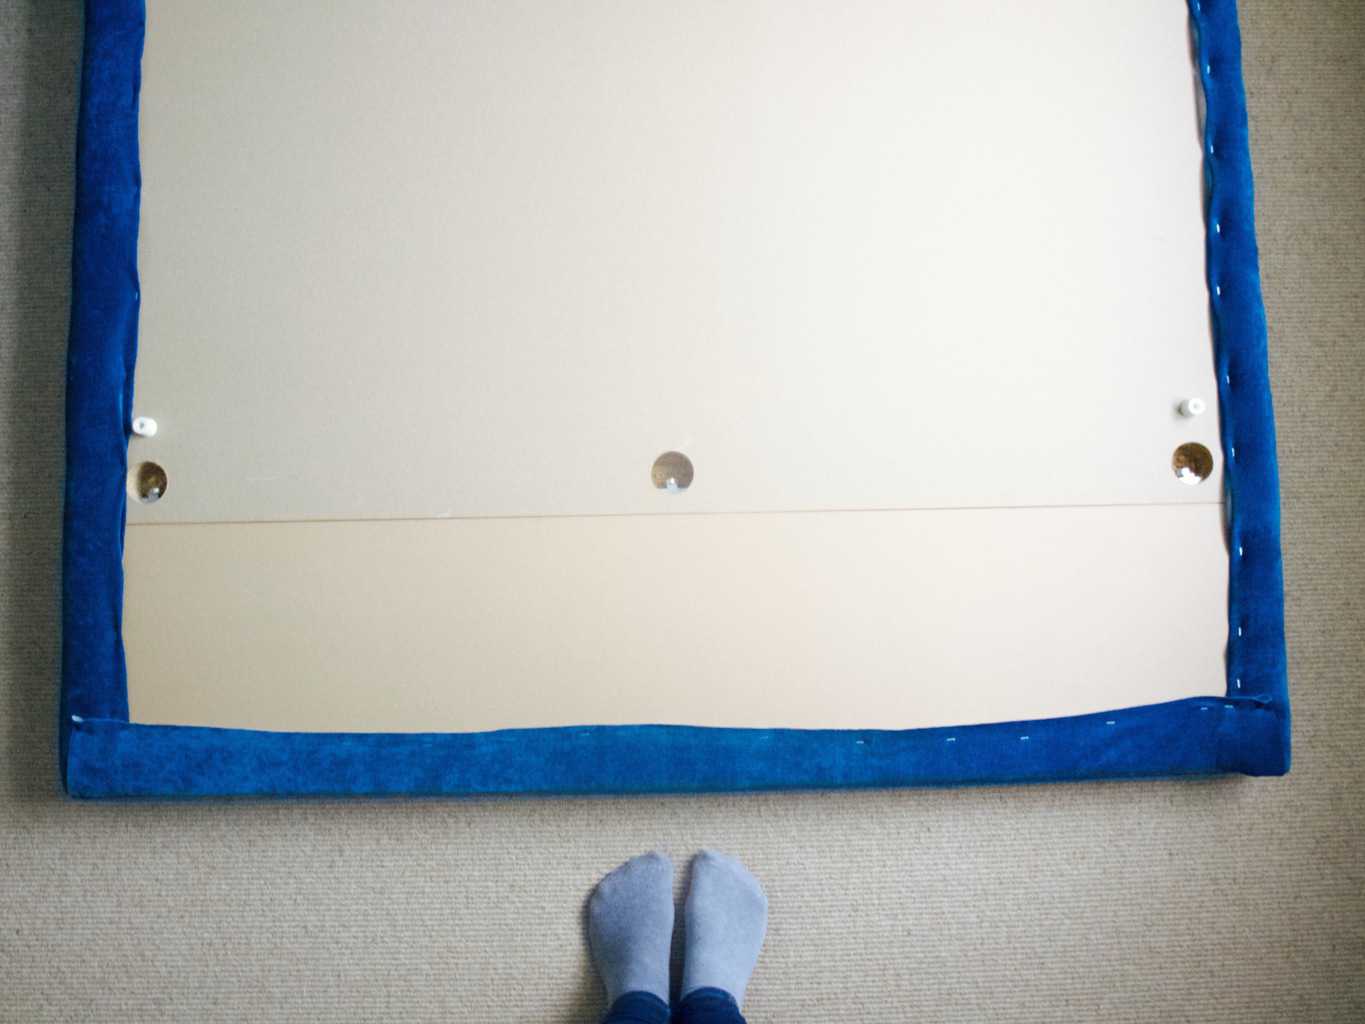
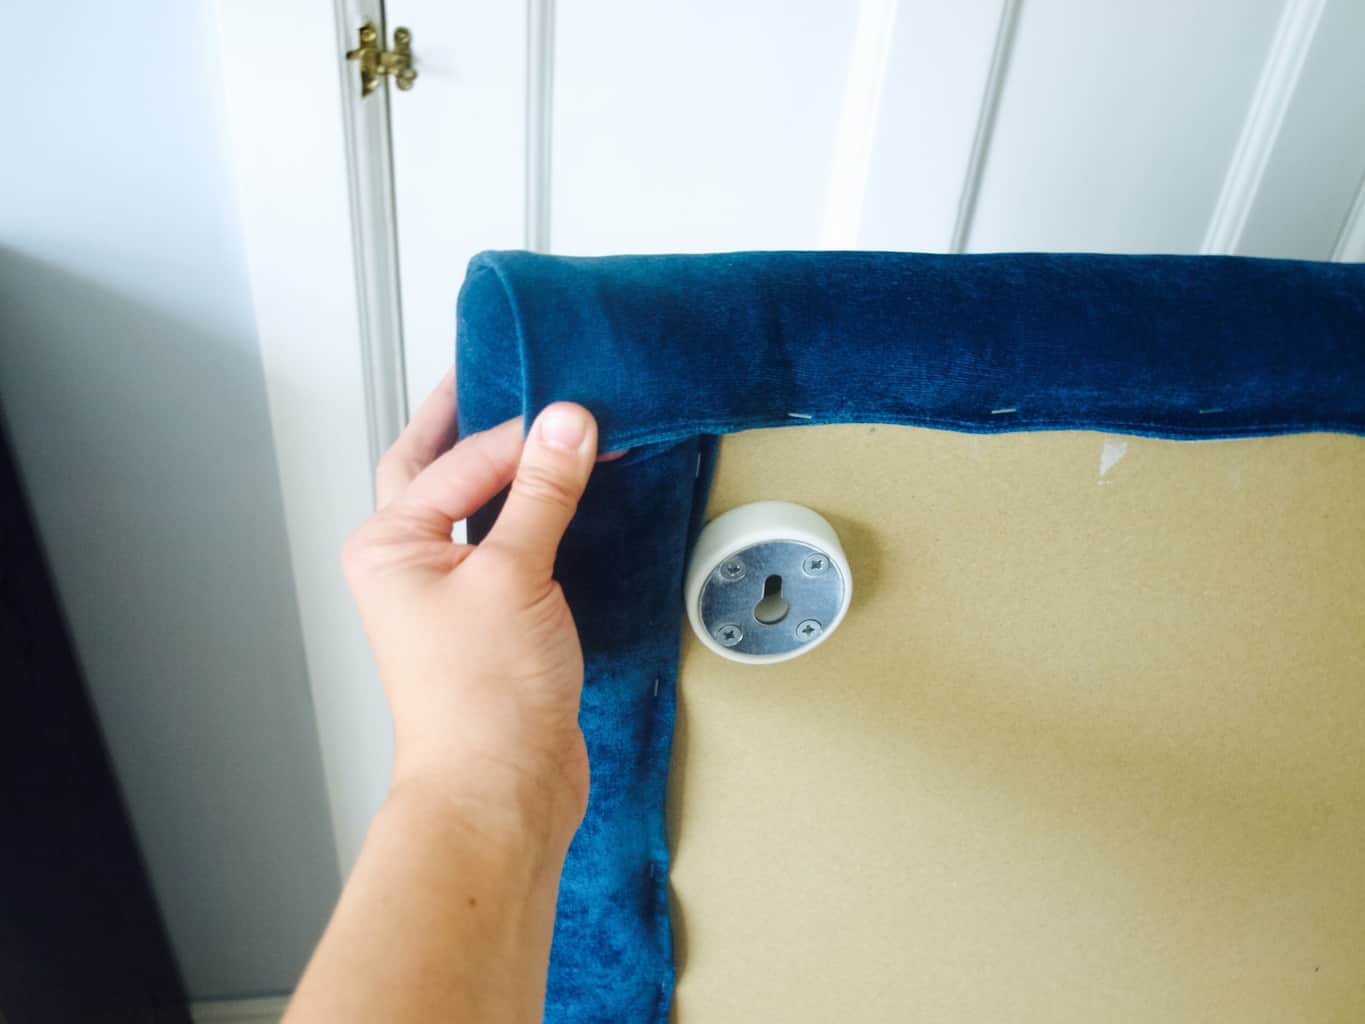
 As I mentioned before, I used these decorative nails to make the headboard pretty and “curvy”. I was risking here a bit, was not sure how the nails will hold as it is a hollow headboard (with honeycomb structure inside like I said). I ended up using staple gun to hold the fabric “dipped” where I liked and then applied strip of decorative nails on top. Why did I use a strip of nails rather than single nails? Because of the same issue (hollow headboard), did not want to hammer every single nail down in case it does not hold. Besides if one nail comes out at least the strip is going to be held by other nails. So far so good! Phew!
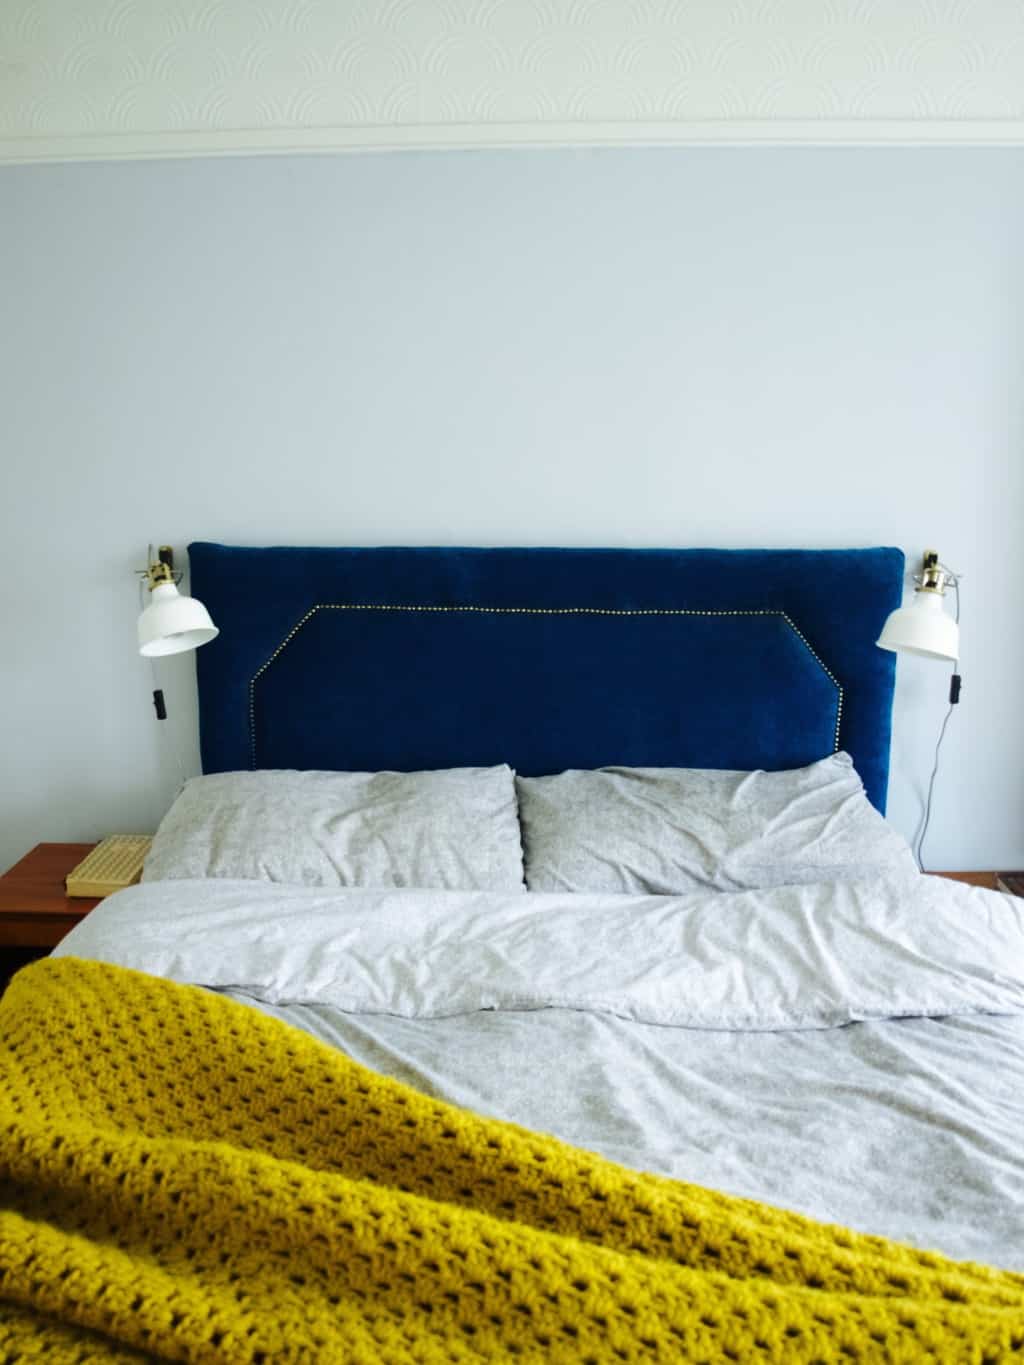
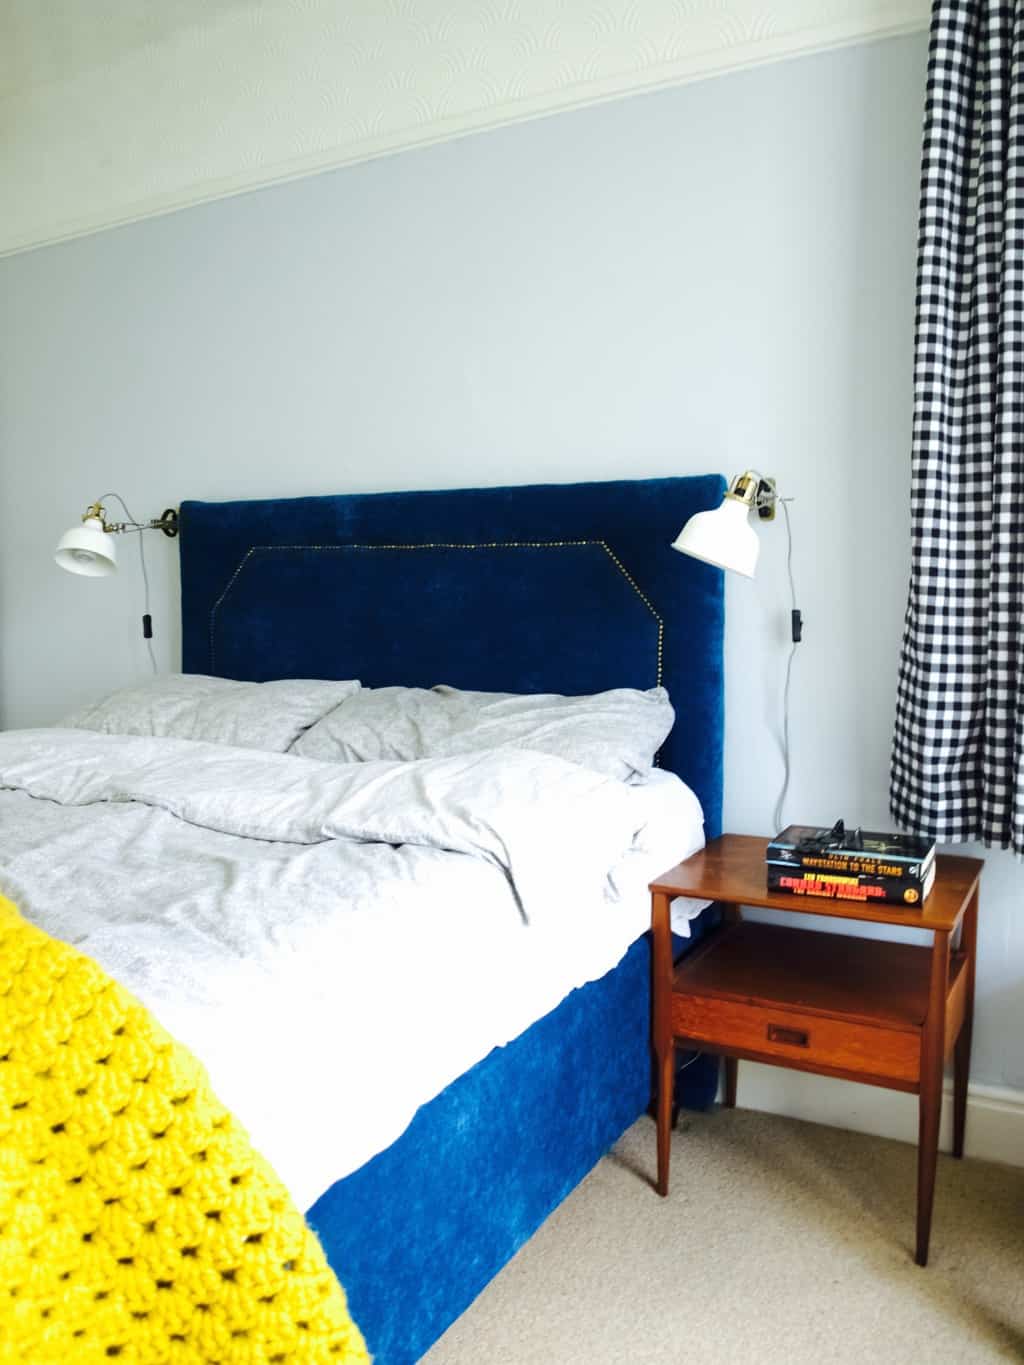
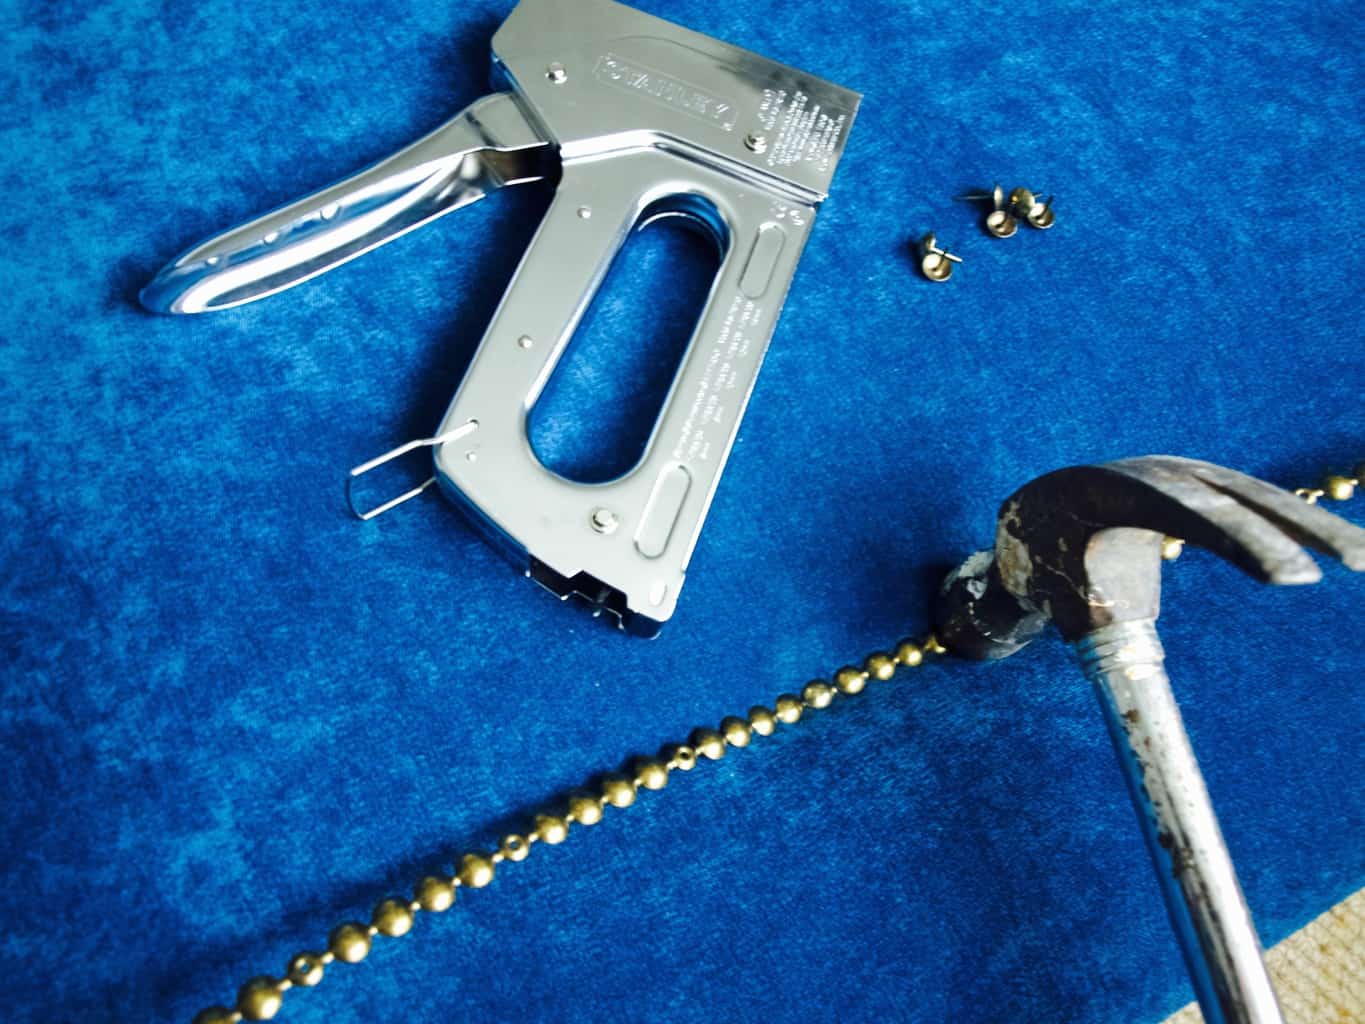 And here is the result, I am very very pleased :-).
 Hope you found my story inspirational ;-)
Rasa xoxo
[…] dramatic and definitely more geometric. When I was thinking what artwork I would like to put over our new refurbished headboard, I was imagining something round and thats when I thought of idea using an embroidery hook (and […]
[…] dramatic and definitely more geometric. When I was thinking what artwork I would like to put over our new refurbished headboard, I was imagining something round and thats when I thought of idea using an embroidery hook (and […]