

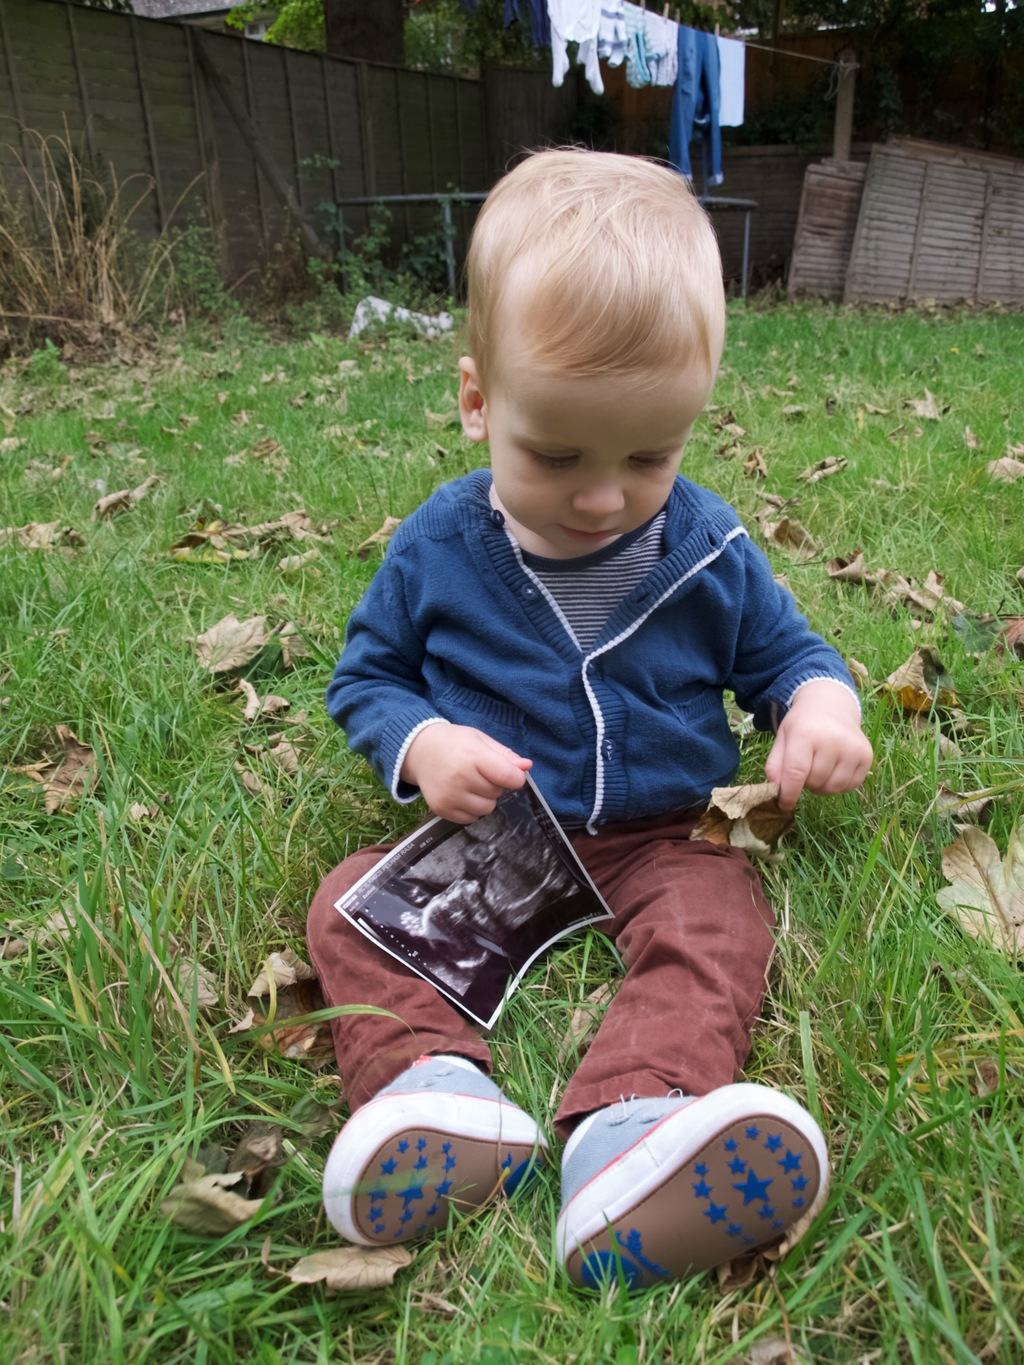
 I have been wanting to announce our news for quite a while now but we have had few challenging weeks which is why I did not find any good time to sit down and blog (and I must admit I am not the most creative on making such announcements anyways). So the announcement is….Lukas is going to have a brother!!!! :). Yey! And he is due in February, so kind of very very soon!
After our holiday in Center Parcs we were ill, started bathroom renovations, Lukas got sick while we were stuck with only one sink in the house and no bath tub. Thankfully things got better and I also found some time to perfect my photography skills! There was definitely a breakthrough when I learned about the white balance, because I had so many frustrations in the past when the camera just selects the temperature of the pic automatically. I spend hours (if not weeks if you put all the time together that I wasted) correcting the colouring of pics on Photoshop, when I could be taking perfect pictures on my camera!
So, what is this fuss about the white balance in photography? White balance is essentially a colour balance in the picture. You see, light has colour (or a temperature if you prefer) and anything to do with light transfers into pictures as well. Have you ever noticed some pictures come out blueish/greyish and some yellowish/reddish? You can often notice if the pic was taken in cloudy morning or sunny afternoon. Of course that can be corrected (thank goodness!!!) and often camera does in automatically. However it does not come out correctly all the time (you will see here). Sometimes its good to know you can change the settings.
I found my white balance settings are right there under one button (so that is quite convenient). You can select exact number for the temperature but I just decided to try out preset options. These include daylight, shade, cloudy, Tungsten light (good for indoor lighting) and different Fluorescent lights. I decided to try them all out on one sunny day in the shade.
The picture above and bellow have been taken with auto WB mode. Pretty good, right? I have not edited them or used any filter.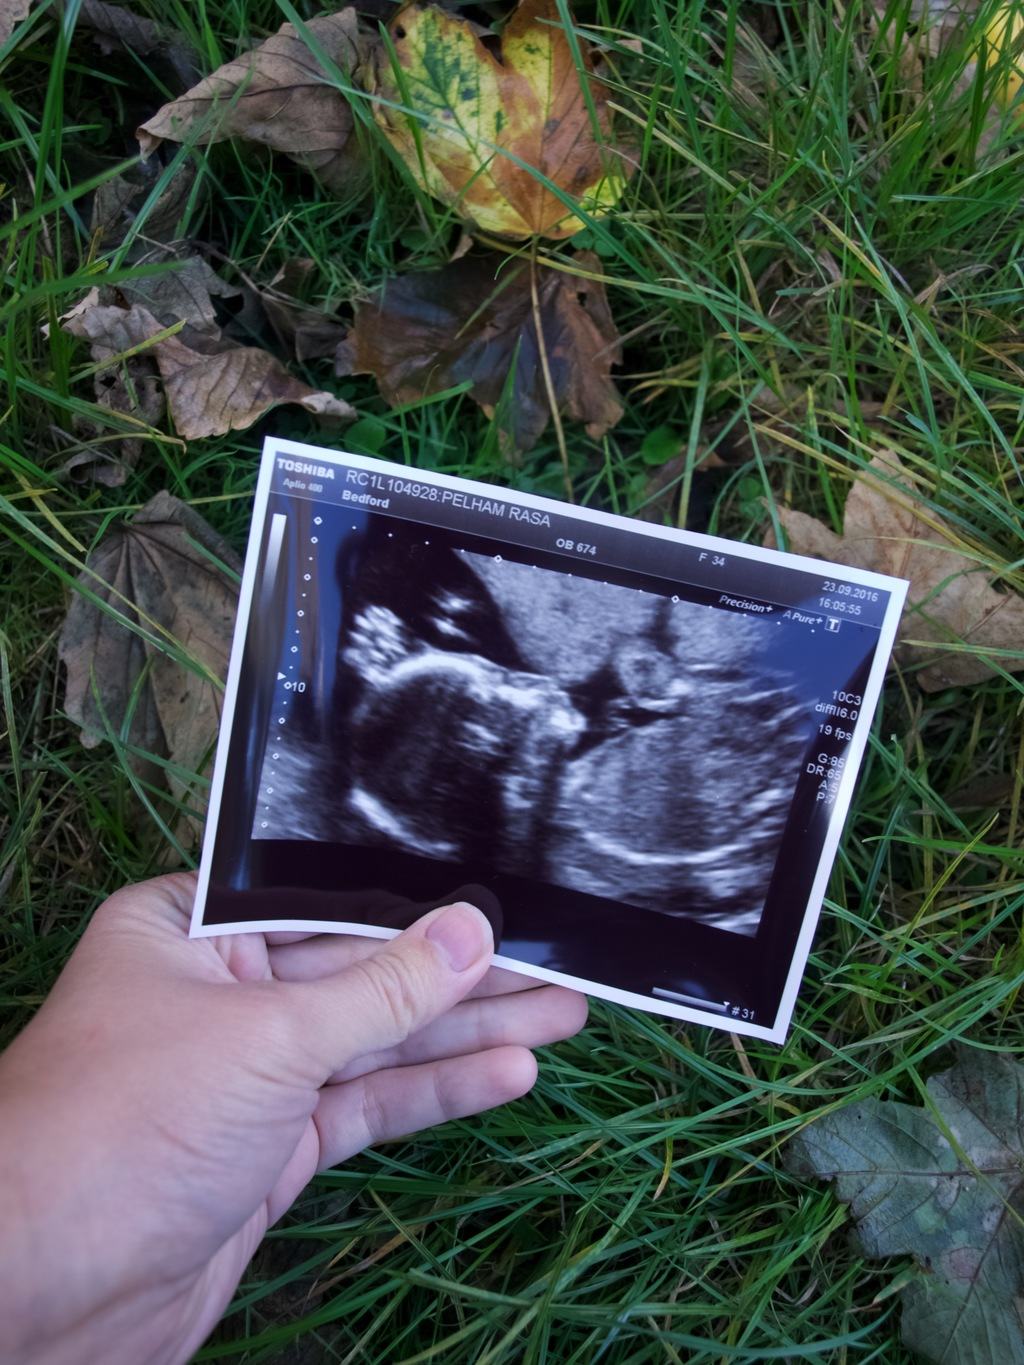 In the picture bellow I have used shade mode. It looks much warmer then the auto mode which I prefer.
 From all the pictures I have taken I think auto mode looked most similar to cloudy mode. Interesting!
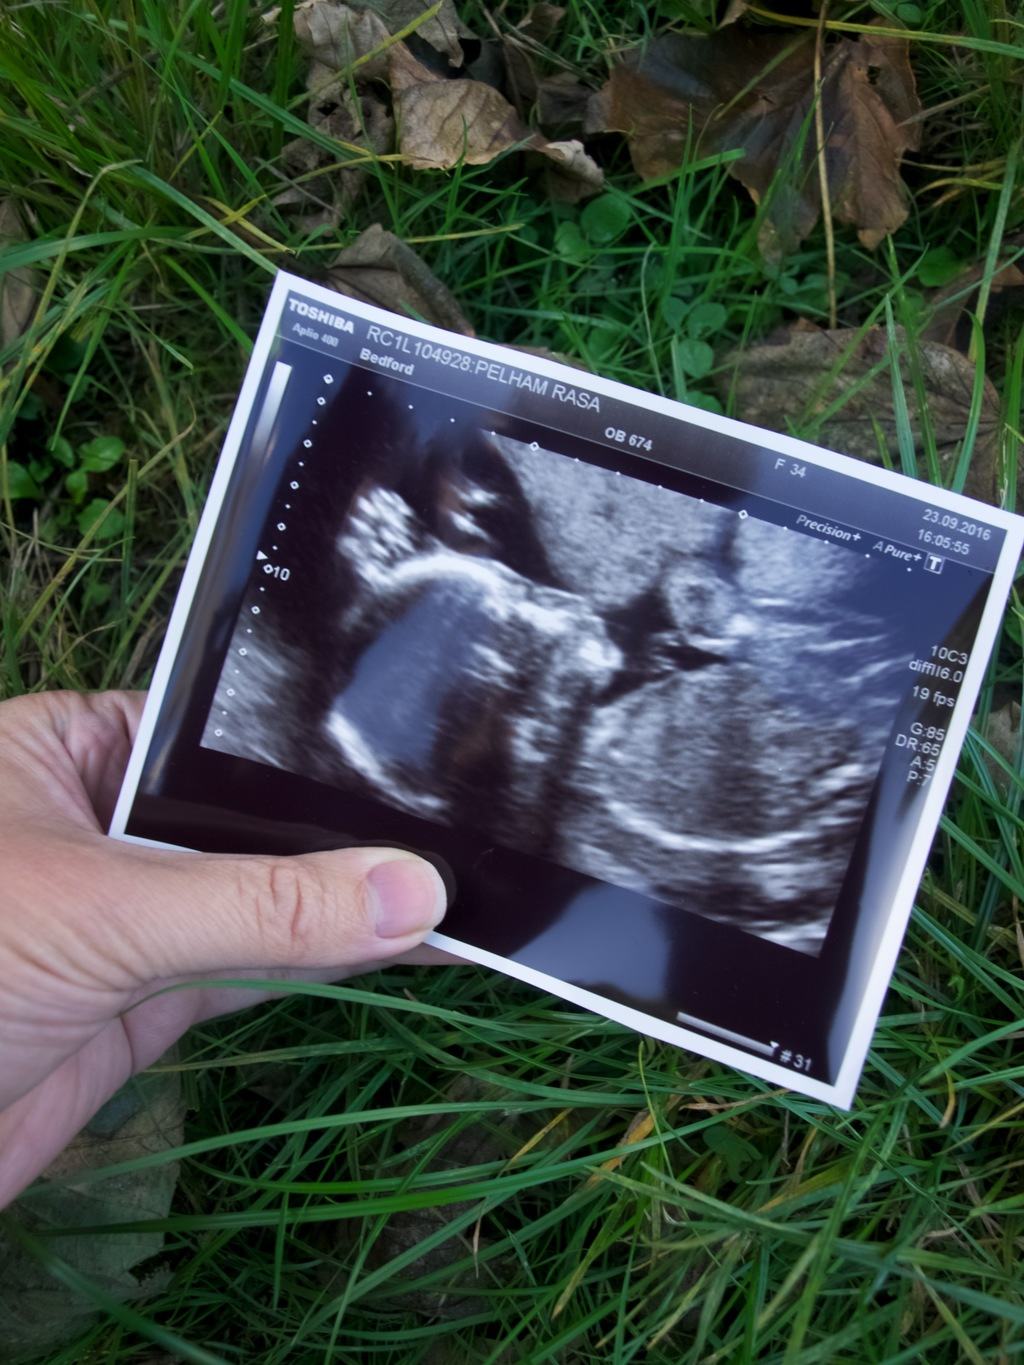 Here I tried different scenario, I was taking some pics of Lukas in auto mode.
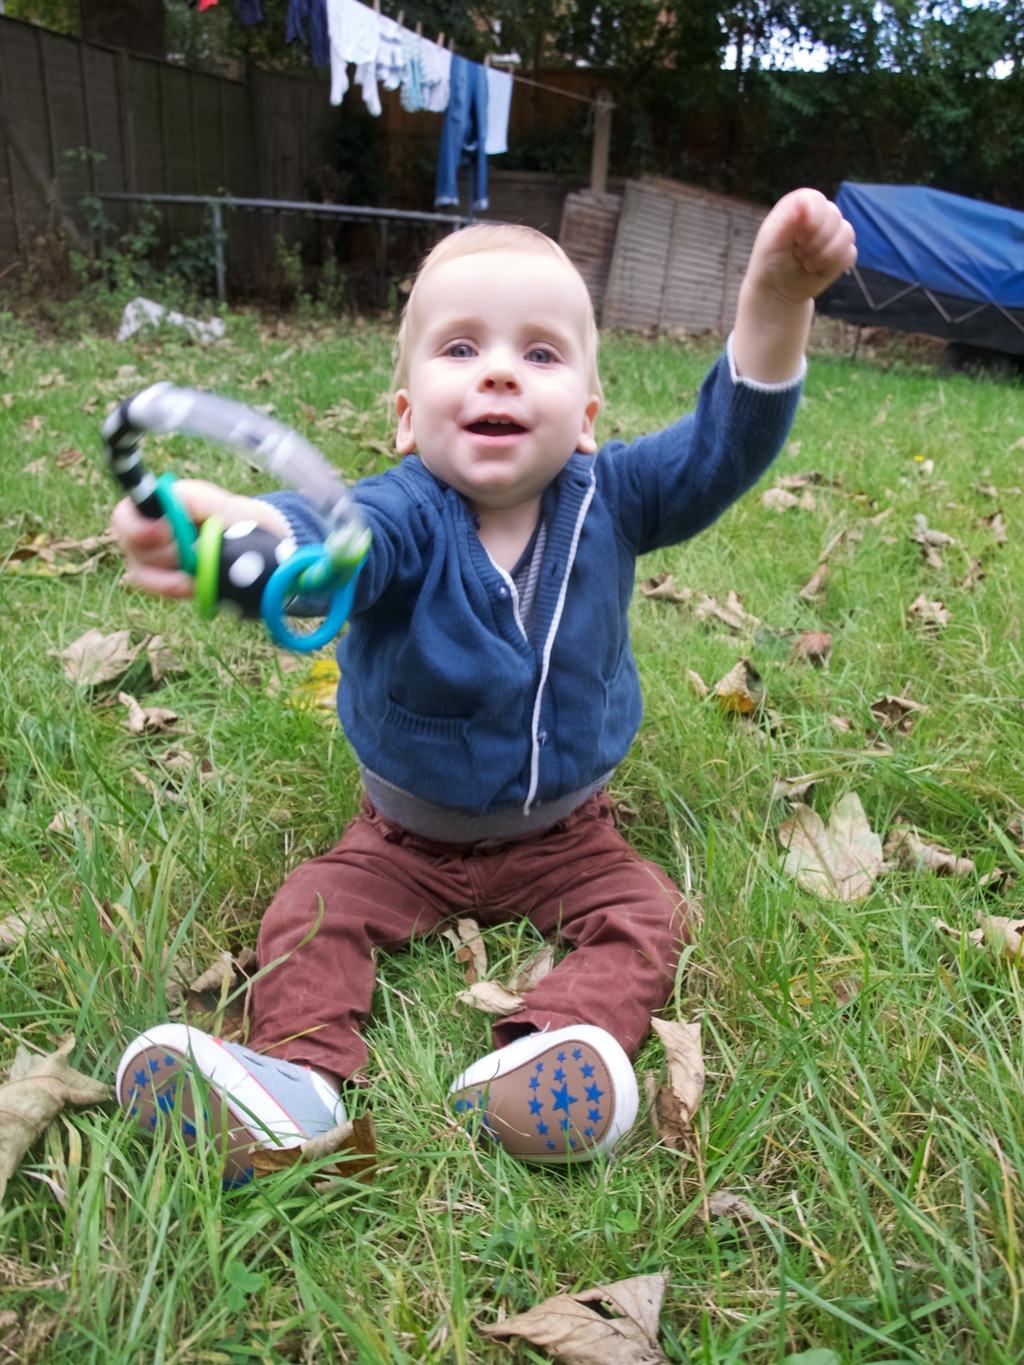 And here is in shade mode (pic bellow) that I thought is too yellow.
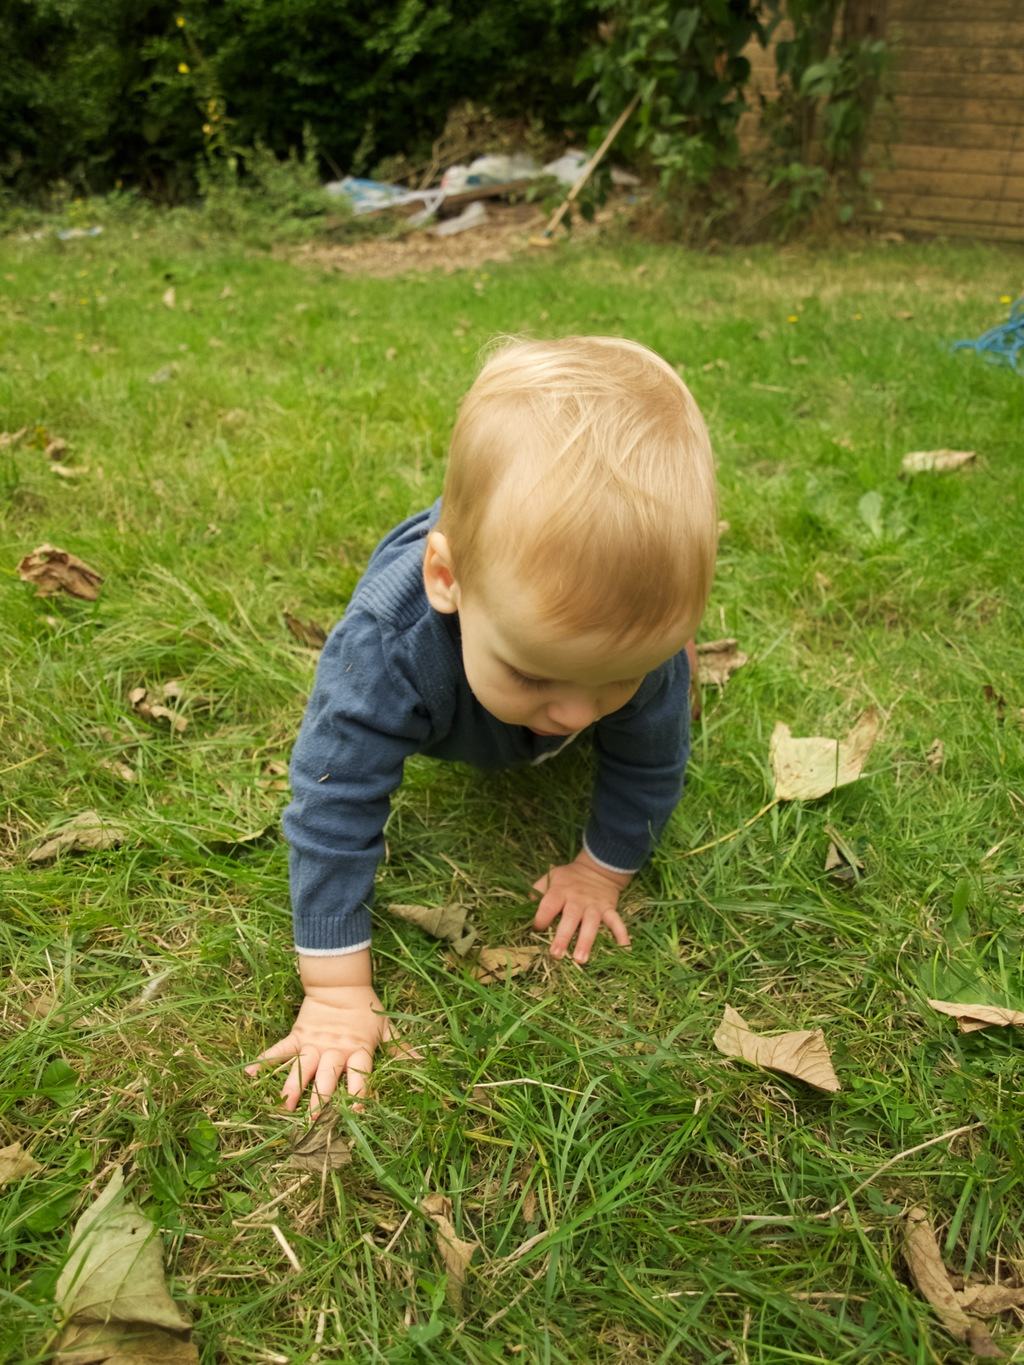 I think camera did a good job selecting the colour balance that is close to the pic bellow that have been taken in daylight mode.
 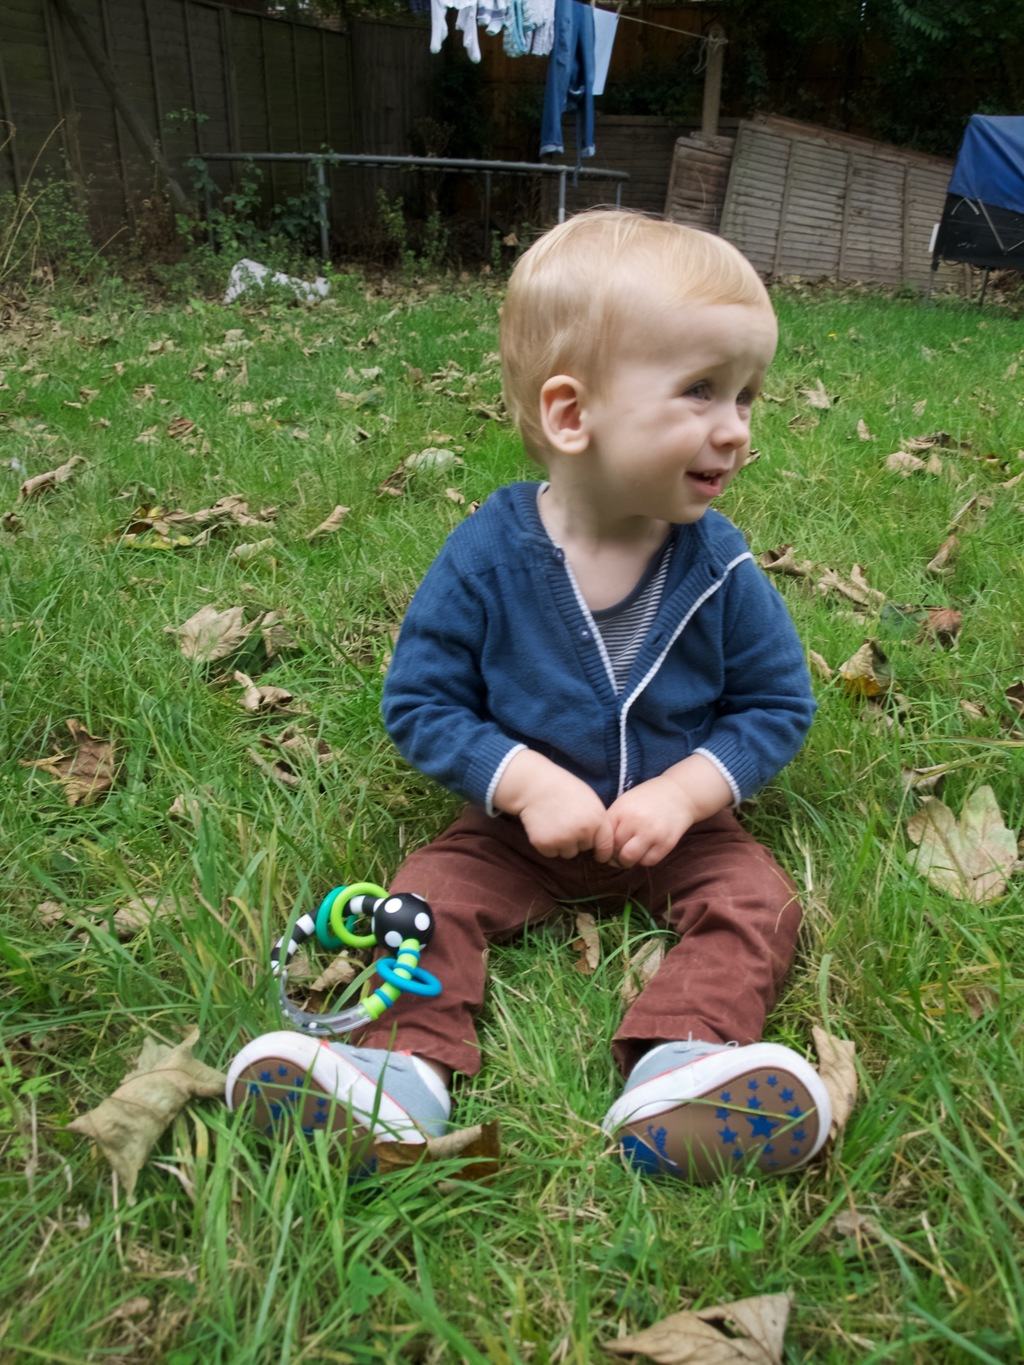 And here is for fun. I have taken a pic in Tungsten light mode. Its amazing how much blue you need to balance out an indoor lighting!
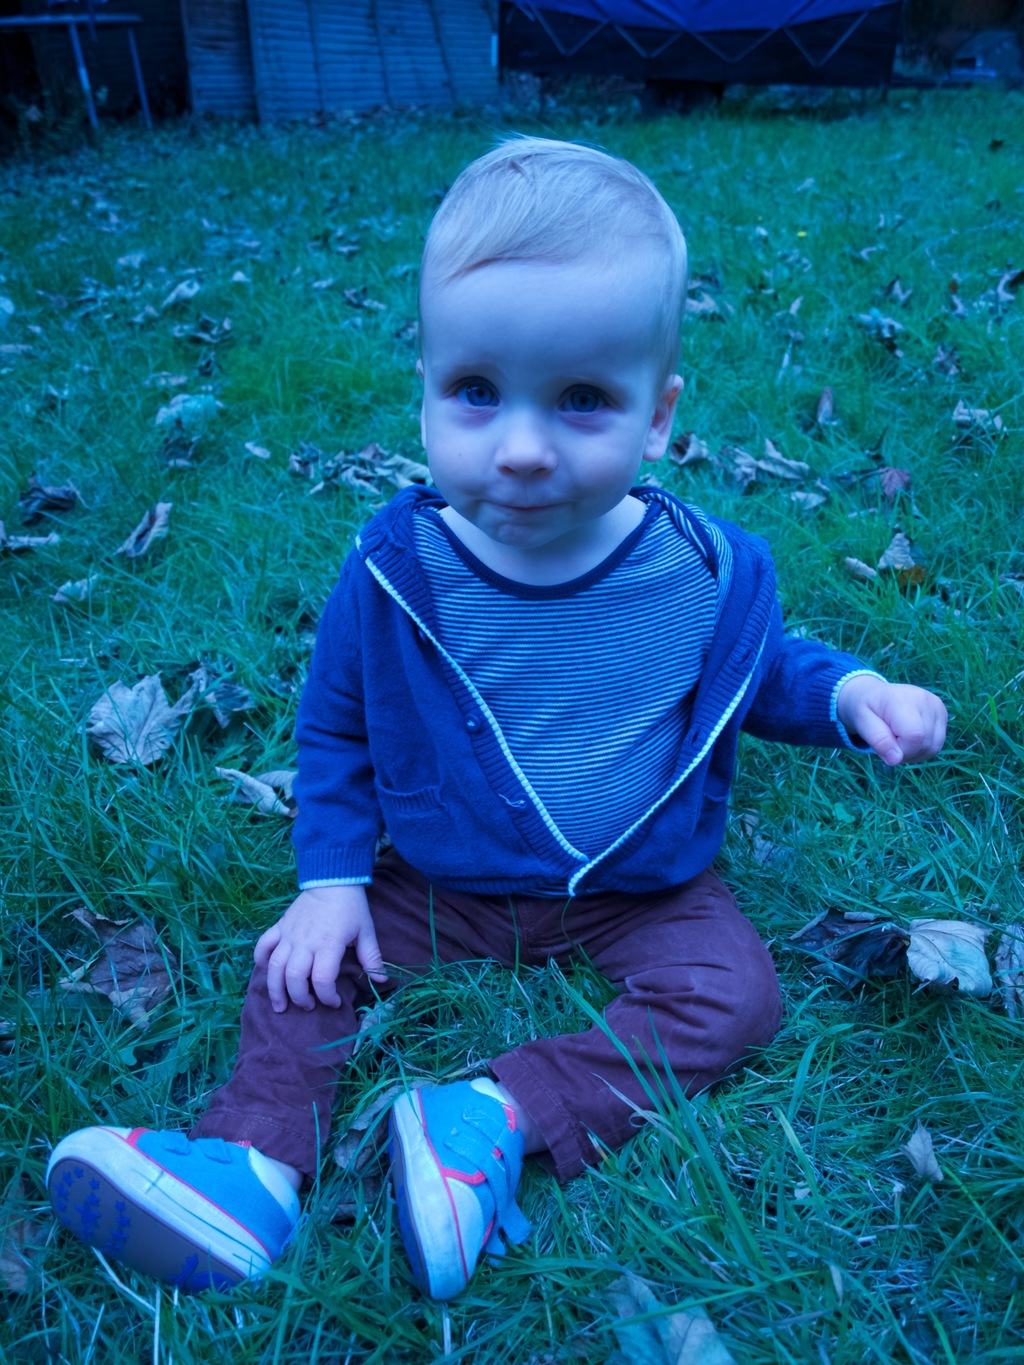 To check it out how would Tungsten light mode work I took few pics indoors in the evening with our room lighting. I usually avoid doing this because you get a very yellowy look. I took this first pic in auto mode.
 And here it is with Tungsten light mode. Not bad! Maybe I should start taking pictures in the evenings to save time (only joking!).
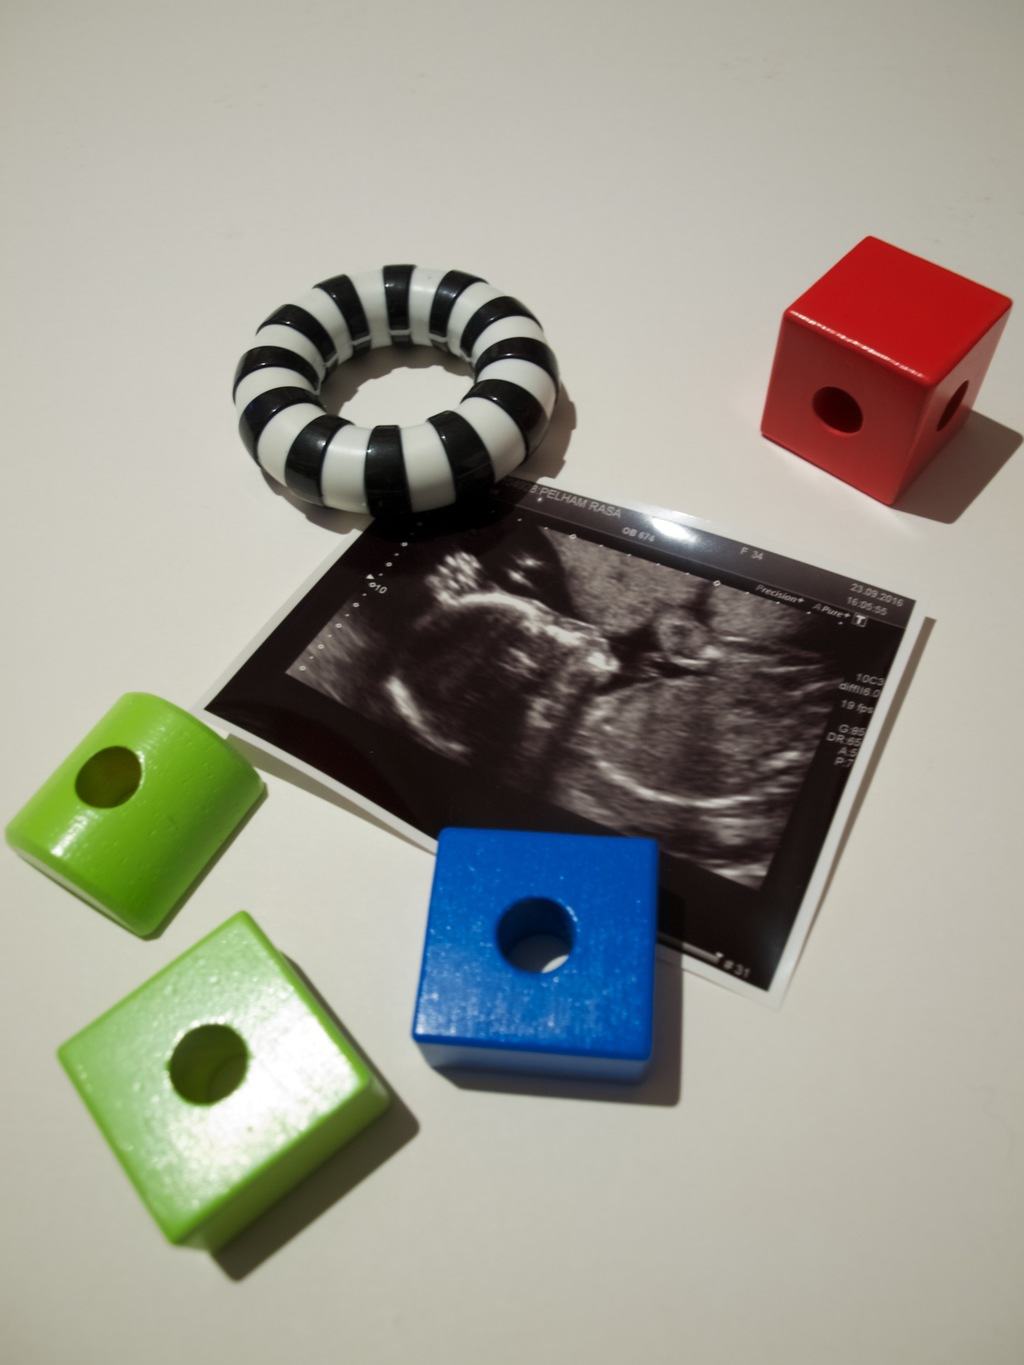 Hope you found this inspiring!
Rasa xx
No comments yet.