Top

Archive | Photography

Photography challenge: birthday cake “smash”

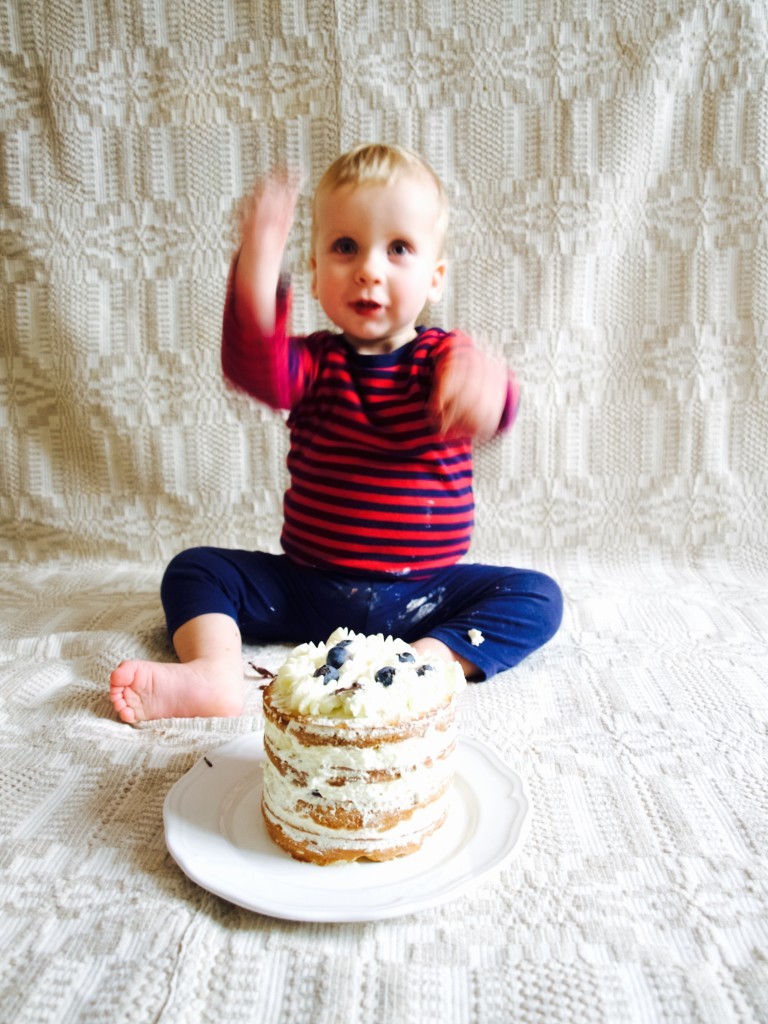
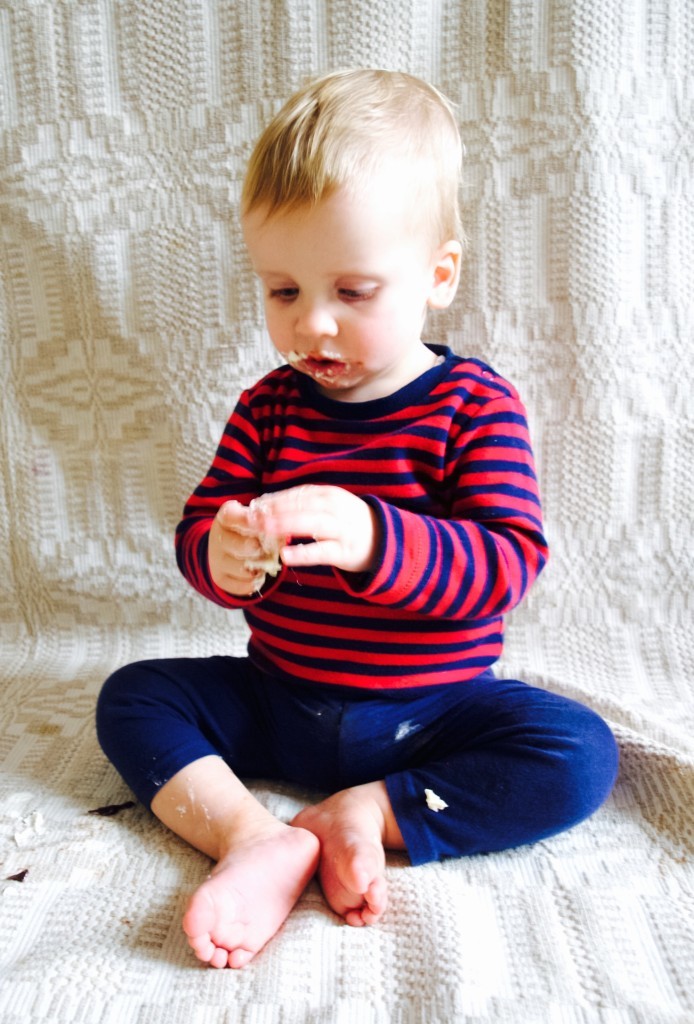
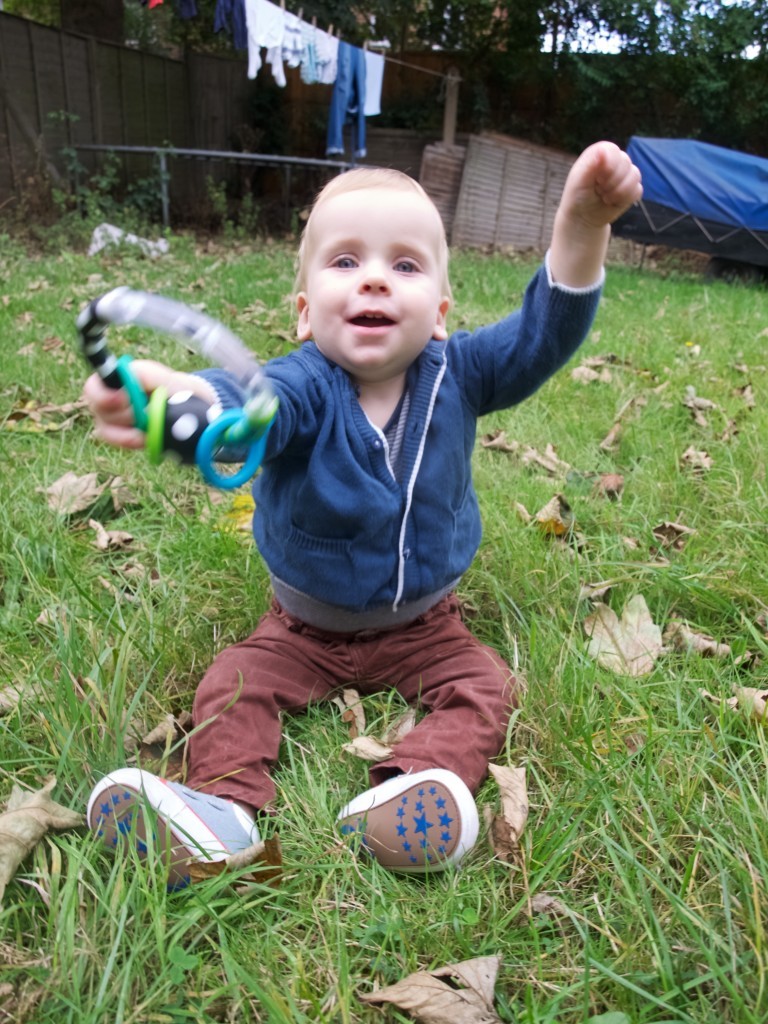
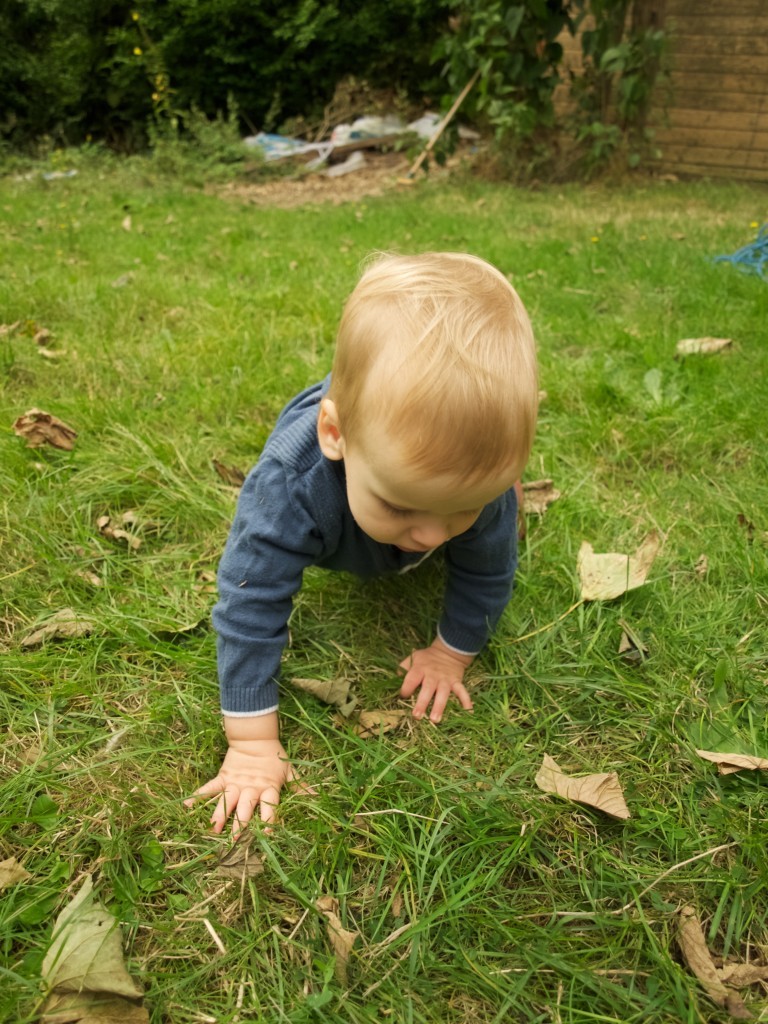
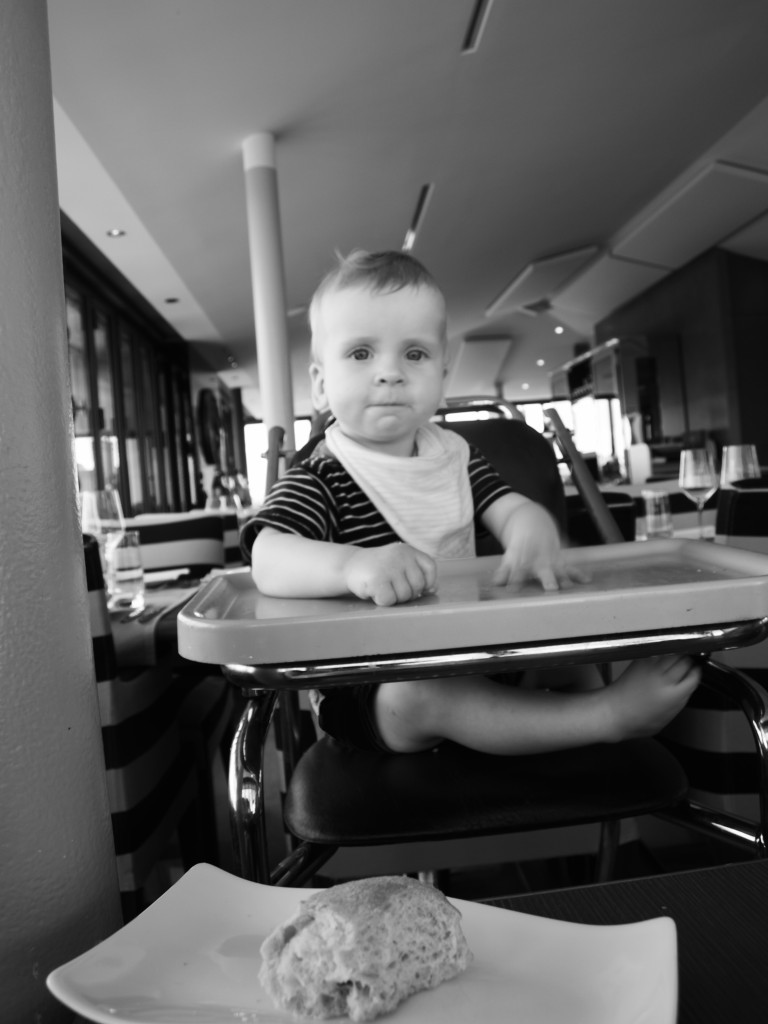
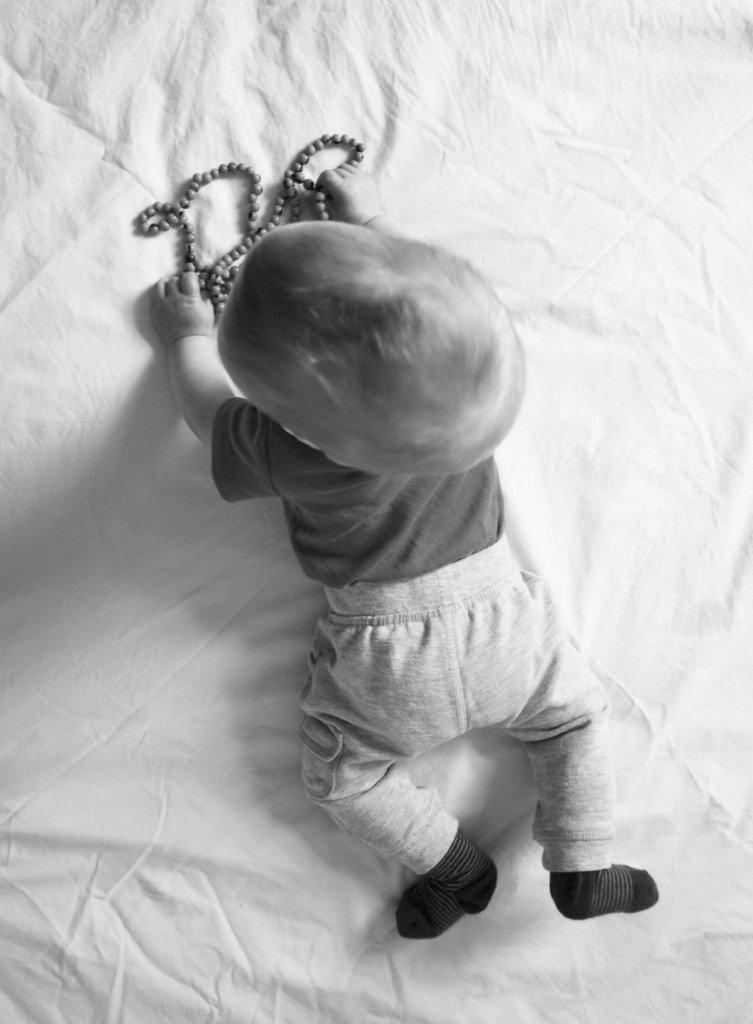
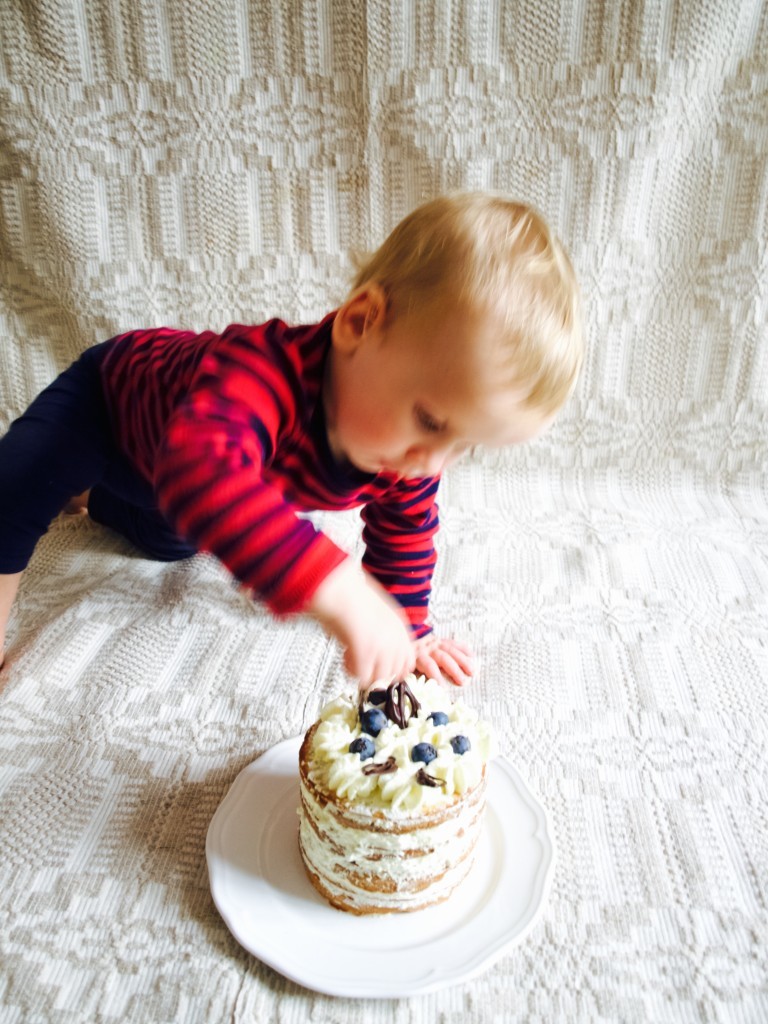
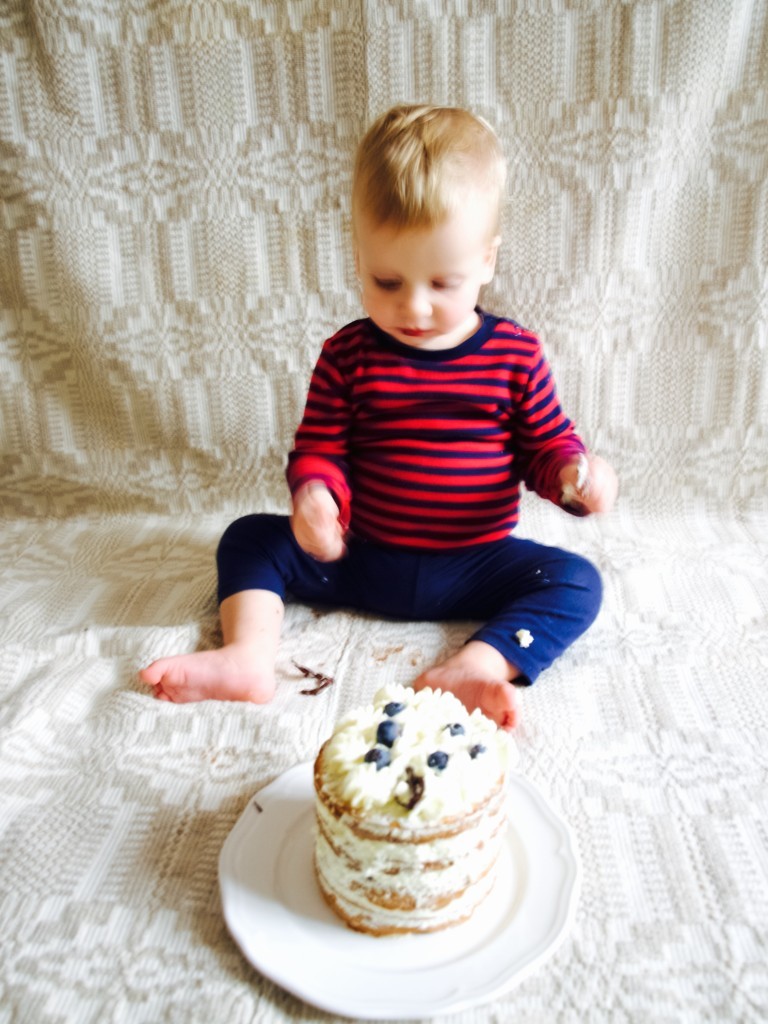
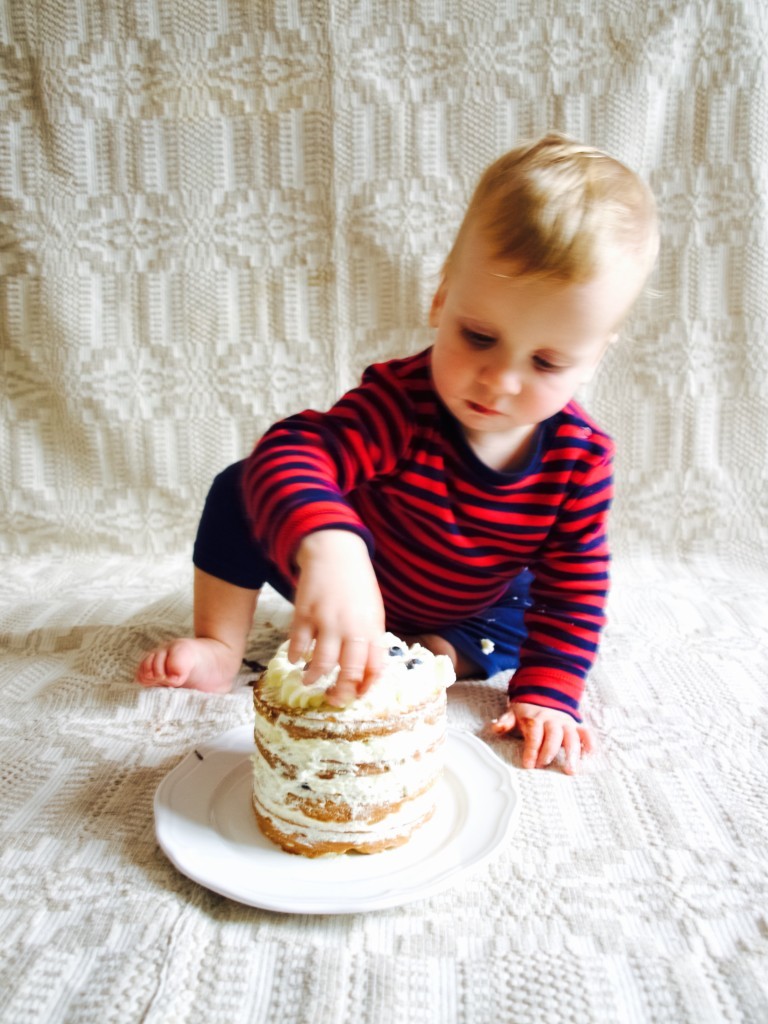
This is how I took photographs while baby "smashed" the cake I don’t know if you heard of a term “cake smash” (I am sure if you google it it would give you plenty of examples), but I wanted to try it on Lukas real bad! I thought it would be sooooo much fun for both of us, because I believe Lukas enjoys making mess :D.This is how I took photographs while baby "smashed" the cake So Lukas birthday comes up (I can’t believe he is now 1 year old!) and I finally come up with a plan of how its going to work. I found a few baby friendly recipes to combine (sugar free of course!) for the cake, which I was very pleased with in the end. I worked out where we were going to do this messy act (in the sitting room on the floor covered with the blanket). I chose an outfit (very important!), although I did not put too much thought in to that as it just had to be something simple. I also read a few tips on how to do such a photo shoot, they all suggested make it relaxing (not rushed) and make sure the baby is in good mood (fed and napped). This is how I took photographs while baby "smashed" the cake The result? Not quite what I expected! I failed on napping Lukas well that day, so I had to bake and decorate the cake while he was awake. I was rushed and definitely not relaxed. I finished the cake very late and was worried about the lighting (oh those early autumn evenings!). As I have mentioned in other photography post in the past, when there is poor light you need to compromise with a slower shutter speed which means I had to hold camera steady to avoid blur. But try telling a one year old to stay still, so I ended up with many blurry pics (which is ok I guess as it captures the movement). On top of everything Lukas did not destroy the cake, but picked out the decorations and sampled them. If you are interested, here is a video that Joni took during photoshoot.This is how I took photographs while baby "smashed" the cake This is how I took photographs while baby "smashed" the cake This is how I took photographs while baby "smashed" the cake This is how I took photographs while baby "smashed" the cakeSo my advice if you want to take cake smash photos is to first relax, and pick a day that is completely activity free. Pre-make the cake perhaps? Take picture after babies first nap or something. And most importantly, enjoy!
Rasa xoxo

0

Photography challenge: white balance in pregnancy announcement photos :)

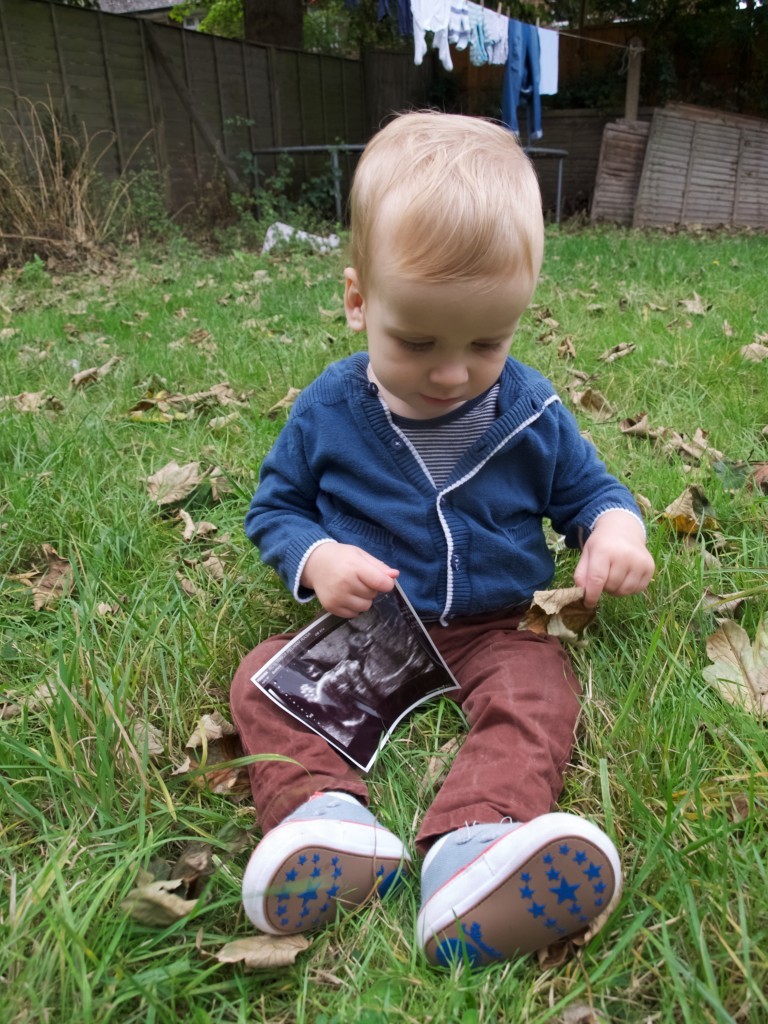
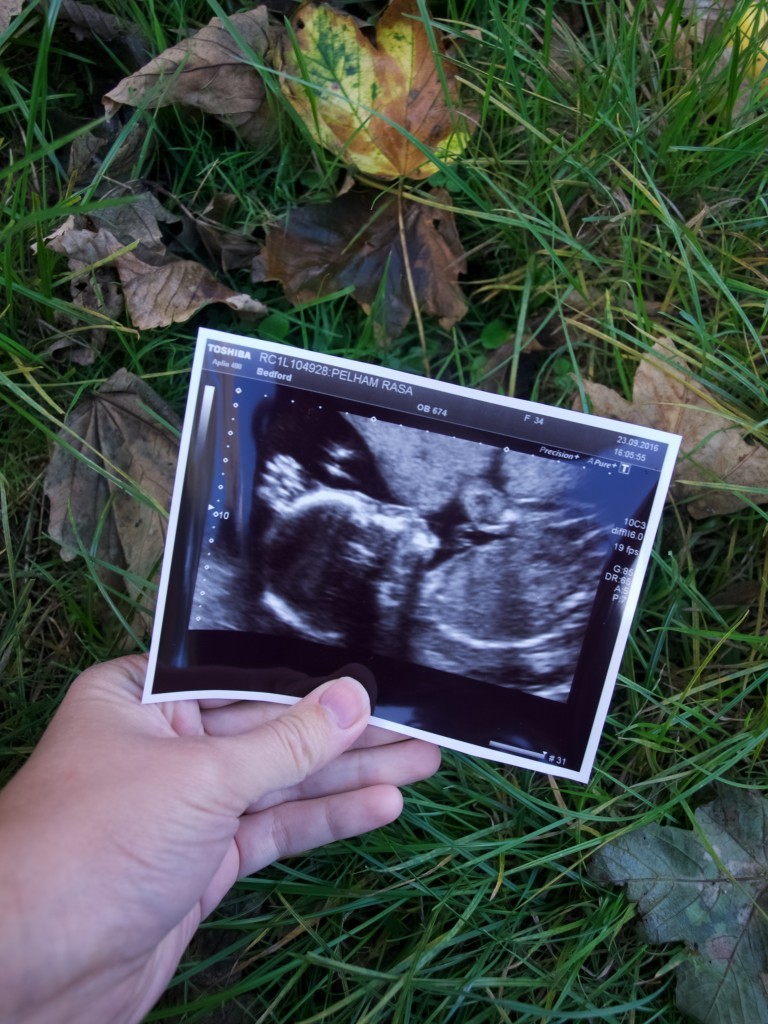
importance of white balance I have been wanting to announce our news for quite a while now but we have had few challenging weeks which is why I did not find any good time to sit down and blog (and I must admit I am not the most creative on making such announcements anyways). So the announcement is….Lukas is going to have a brother!!!! :). Yey! And he is due in February, so kind of very very soon!

After our holiday in Center Parcs we were ill, started bathroom renovations, Lukas got sick while we were stuck with only one sink in the house and no bath tub. Thankfully things got better and I also found some time to perfect my photography skills! There was definitely a breakthrough when I learned about the white balance, because I had so many frustrations in the past when the camera just selects the temperature of the pic automatically. I spend hours (if not weeks if you put all the time together that I wasted) correcting the colouring of pics on Photoshop, when I could be taking perfect pictures on my camera!

So, what is this fuss about the white balance in photography? White balance is essentially a colour balance in the picture. You see, light has colour (or a temperature if you prefer) and anything to do with light transfers into pictures as well. Have you ever noticed some pictures come out blueish/greyish and some yellowish/reddish? You can often notice if the pic was taken in cloudy morning or sunny afternoon. Of course that can be corrected (thank goodness!!!) and often camera does in automatically. However it does not come out correctly all the time (you will see here). Sometimes its good to know you can change the settings.

I found my white balance settings are right there under one button (so that is quite convenient). You can select exact number for the temperature but I just decided to try out preset options. These include daylight, shade, cloudy, Tungsten light (good for indoor lighting) and different Fluorescent lights. I decided to try them all out on one sunny day in the shade.

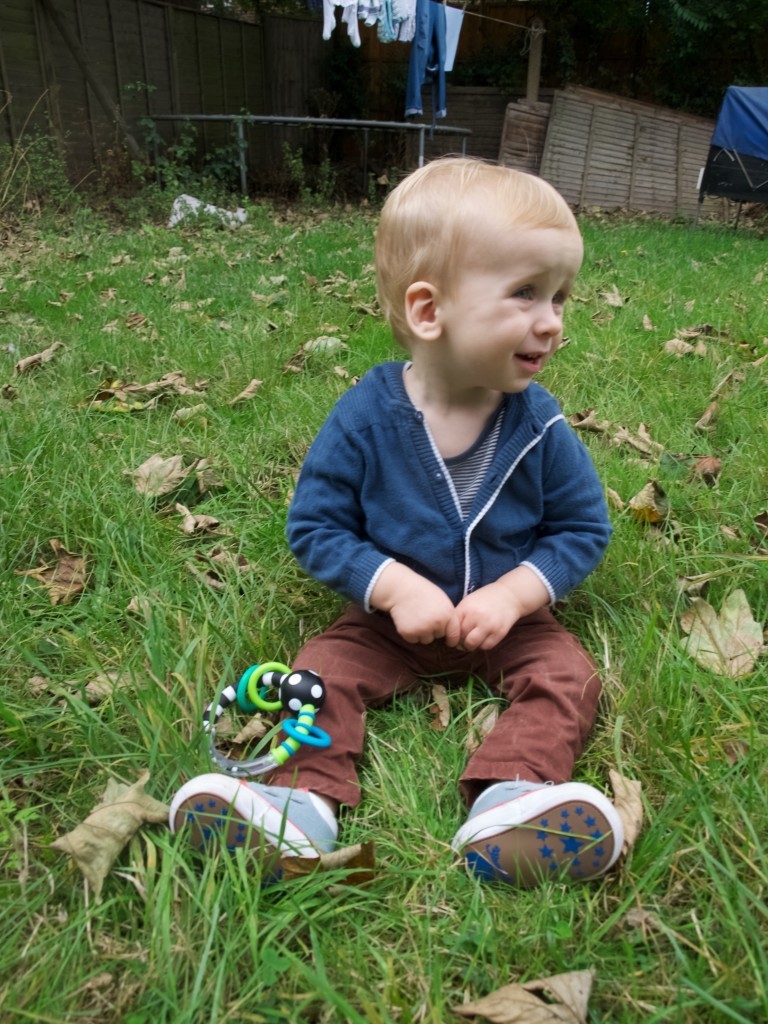
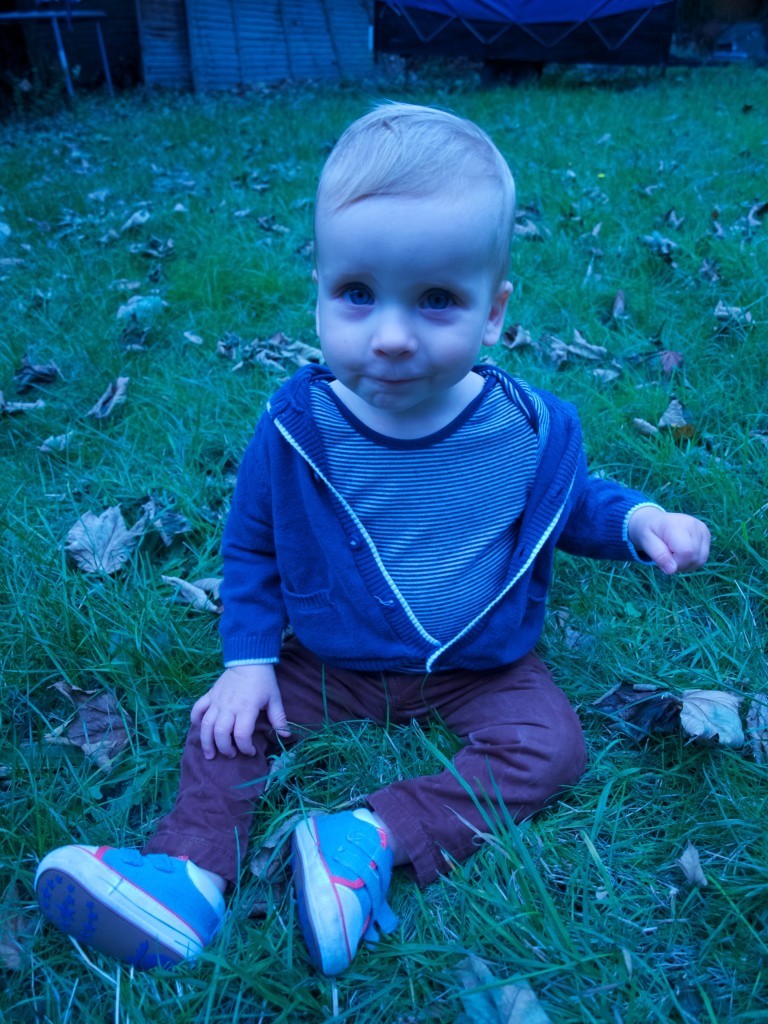
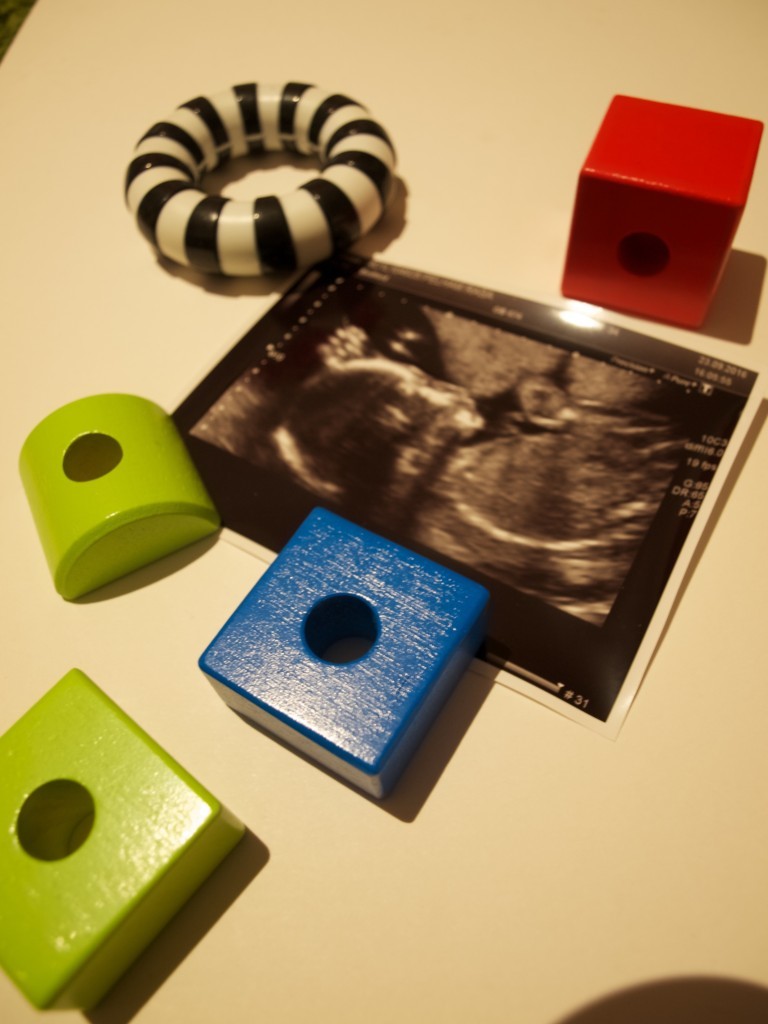
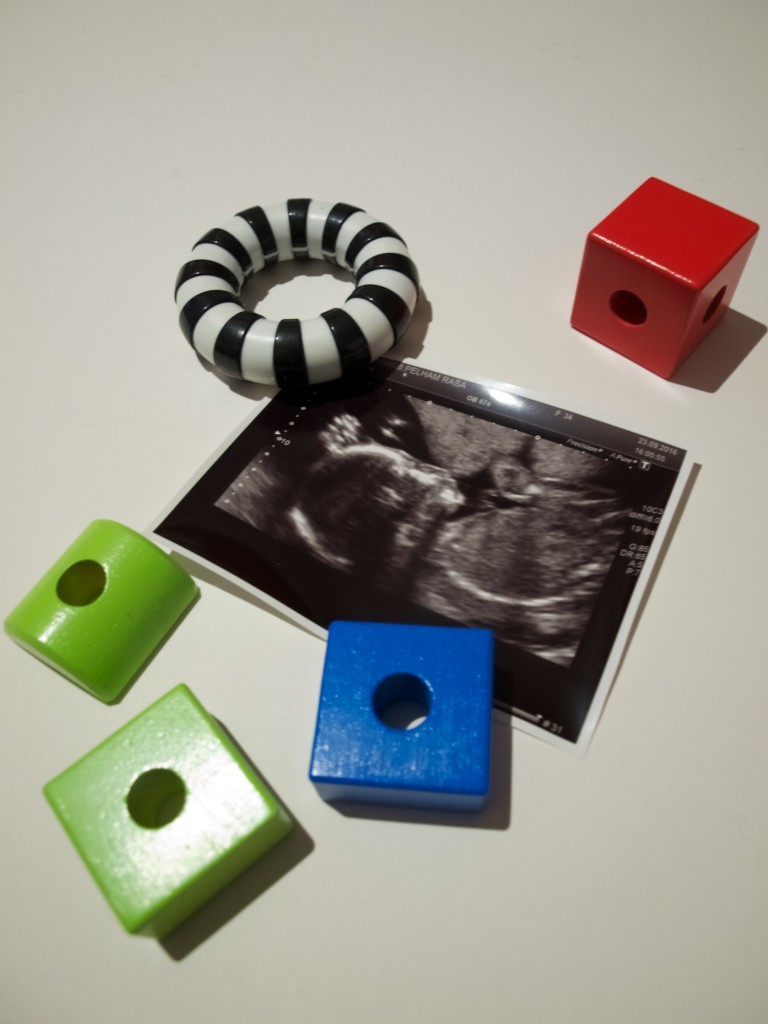
The picture above and bellow have been taken with auto WB mode. Pretty good, right? I have not edited them or used any filter.importance of white balanceIn the picture bellow I have used shade mode. It looks much warmer then the auto mode which I prefer.importance of white balanceFrom all the pictures I have taken I think auto mode looked most similar to cloudy mode. Interesting!importance of white balanceHere I tried different scenario, I was taking some pics of Lukas in auto mode.importance of white balance And here is in shade mode (pic bellow) that I thought is too yellow.importance of white balance I think camera did a good job selecting the colour balance that is close to the pic bellow that have been taken in daylight mode. importance of white balance And here is for fun. I have taken a pic in Tungsten light mode. Its amazing how much blue you need to balance out an indoor lighting!importance of white balance To check it out how would Tungsten light mode work I took few pics indoors in the evening with our room lighting. I usually avoid doing this because you get a very yellowy look. I took this first pic in auto mode.importance of white balance And here it is with Tungsten light mode. Not bad! Maybe I should start taking pictures in the evenings to save time (only joking!).importance of white balanceHope you found this inspiring!

Rasa xx

0

Photography challenge: learning new things on holiday in France

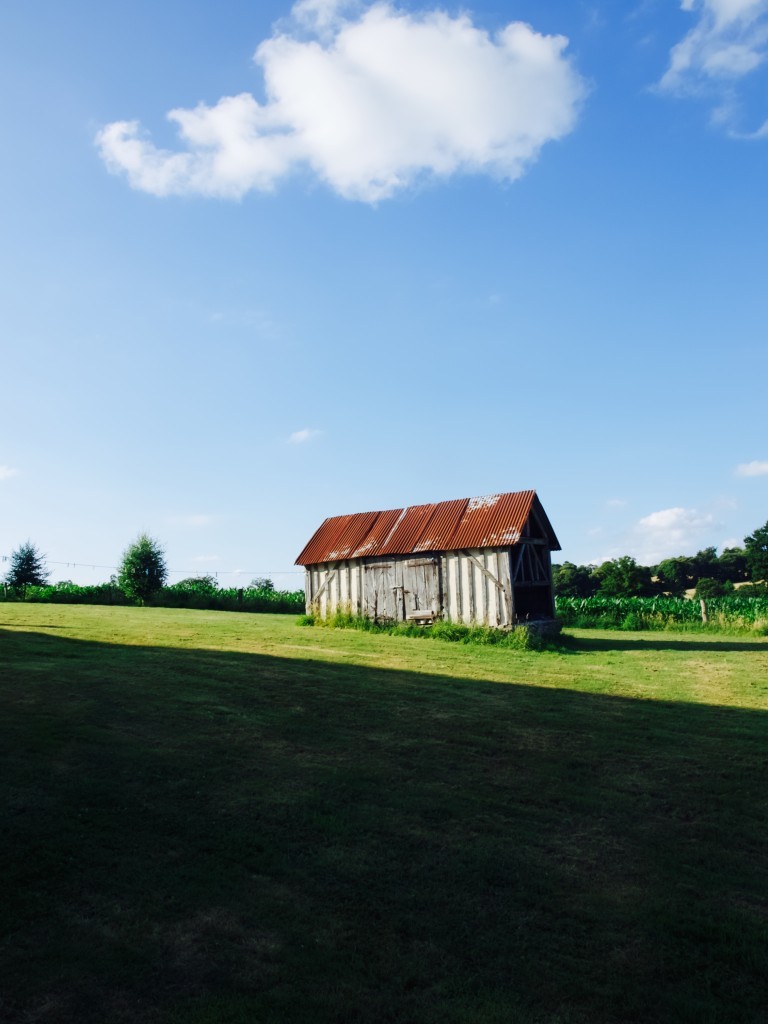
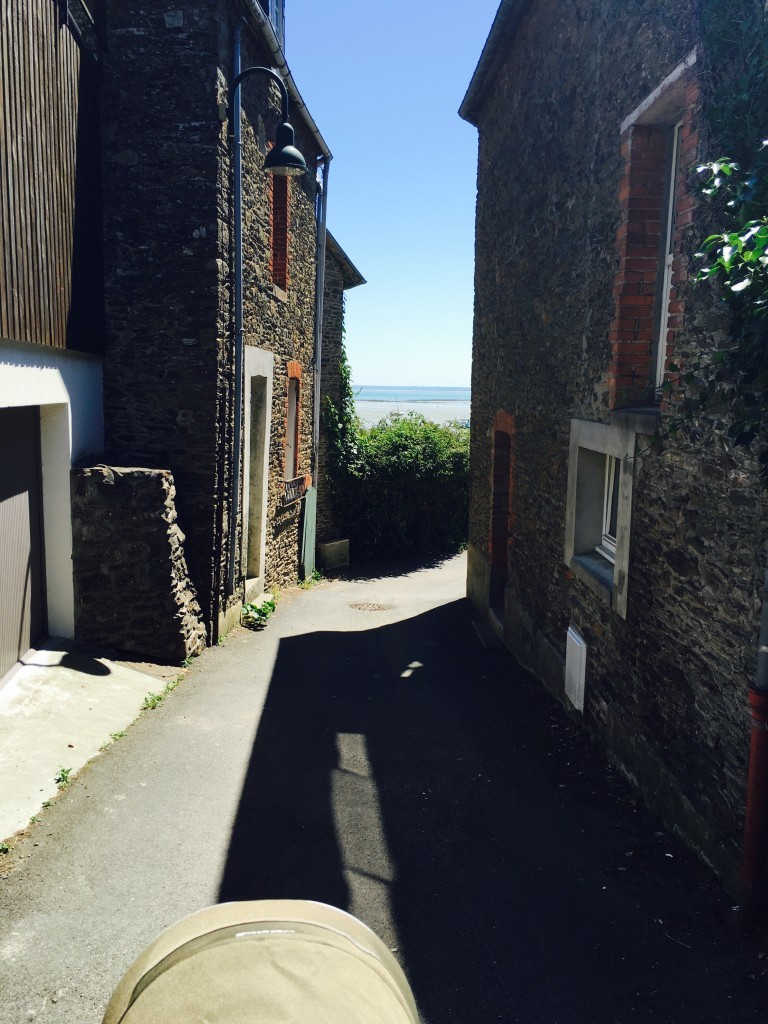
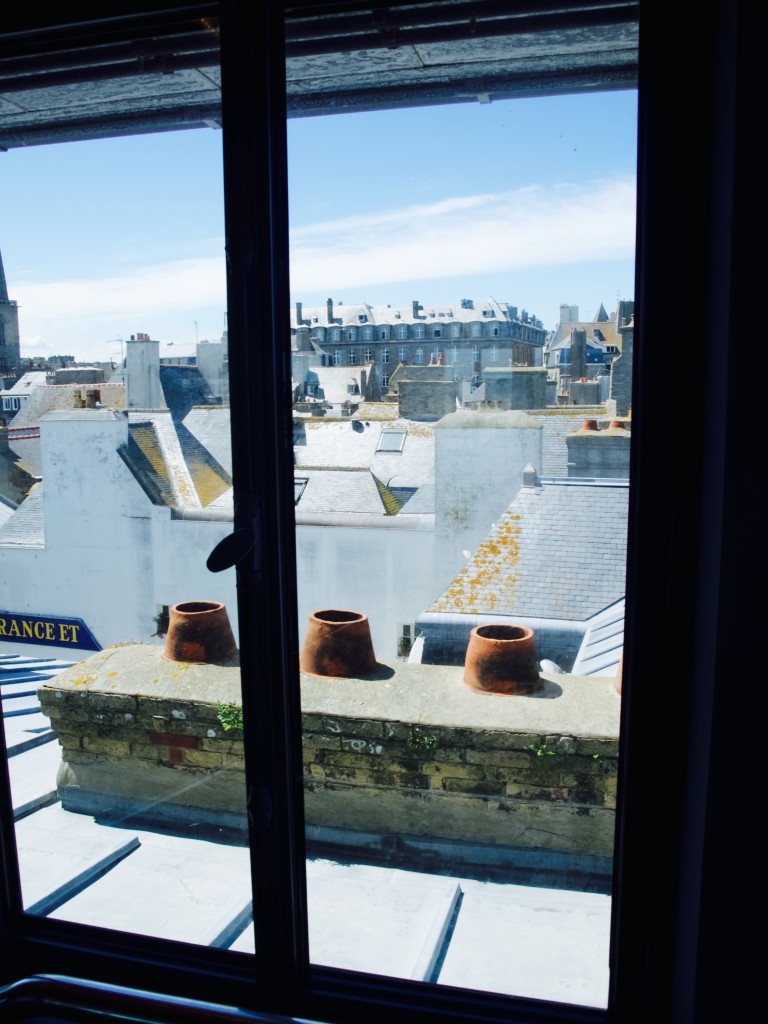
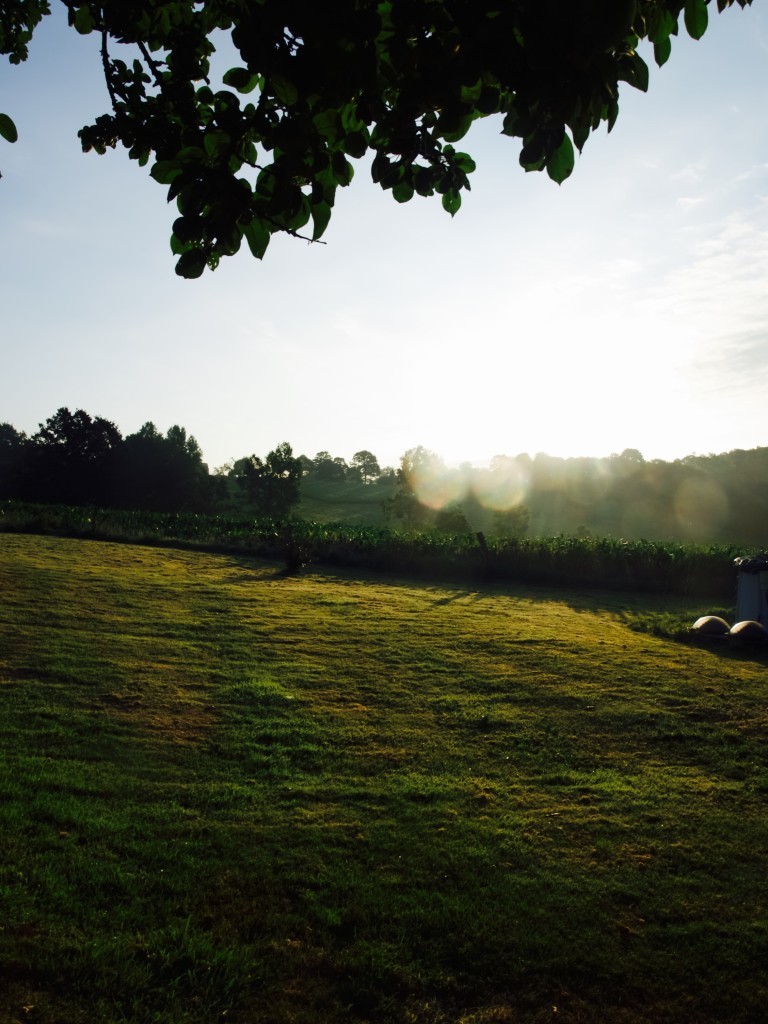
View from the lace where we stayed in BuaisLast week we went on our second holiday to France which was much more relaxing than the first one! While we were there I decided to take up another photography challenge. Except I could not think of what I should learn this time in specific, so I thought lets just go with the flow and see what happens. The result? I did learn something that will tell you later later (I am quite excited about it!). For now I would like to talk how I kept my photography challenge as relaxed as possible. We were on holiday after all!

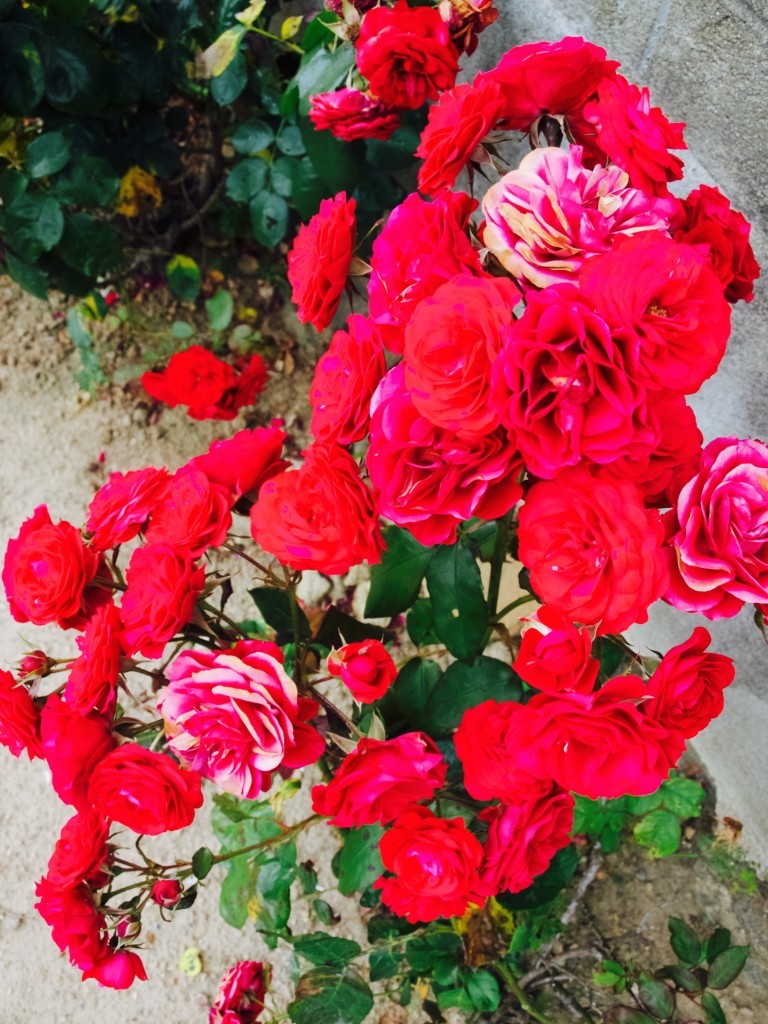
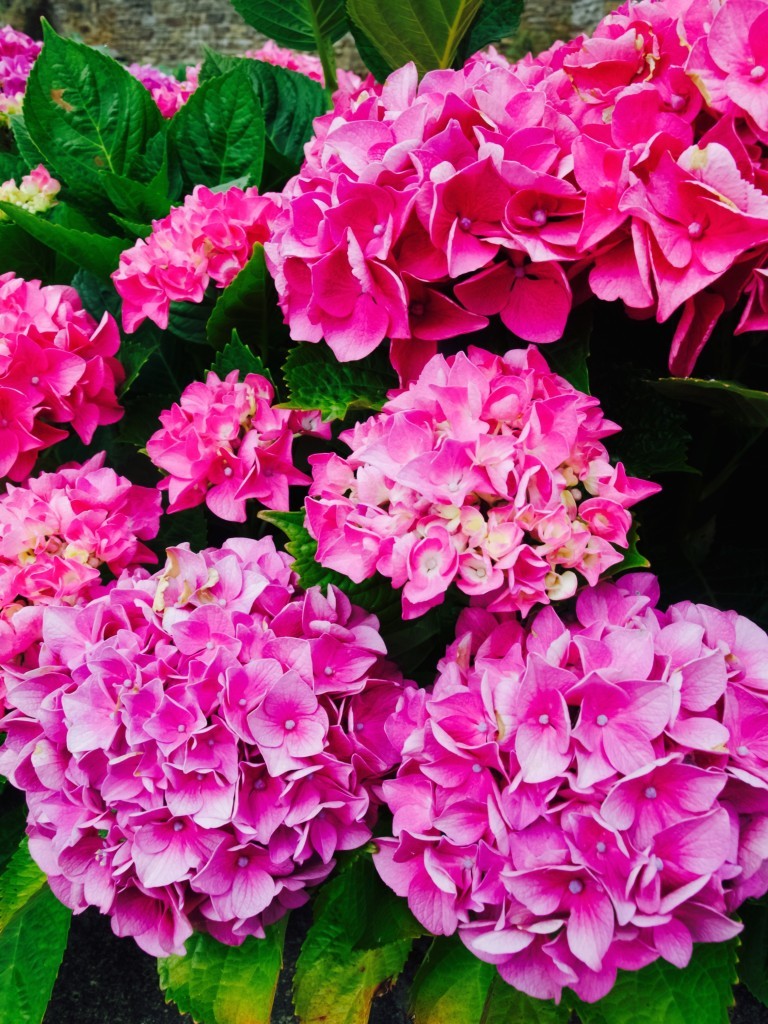
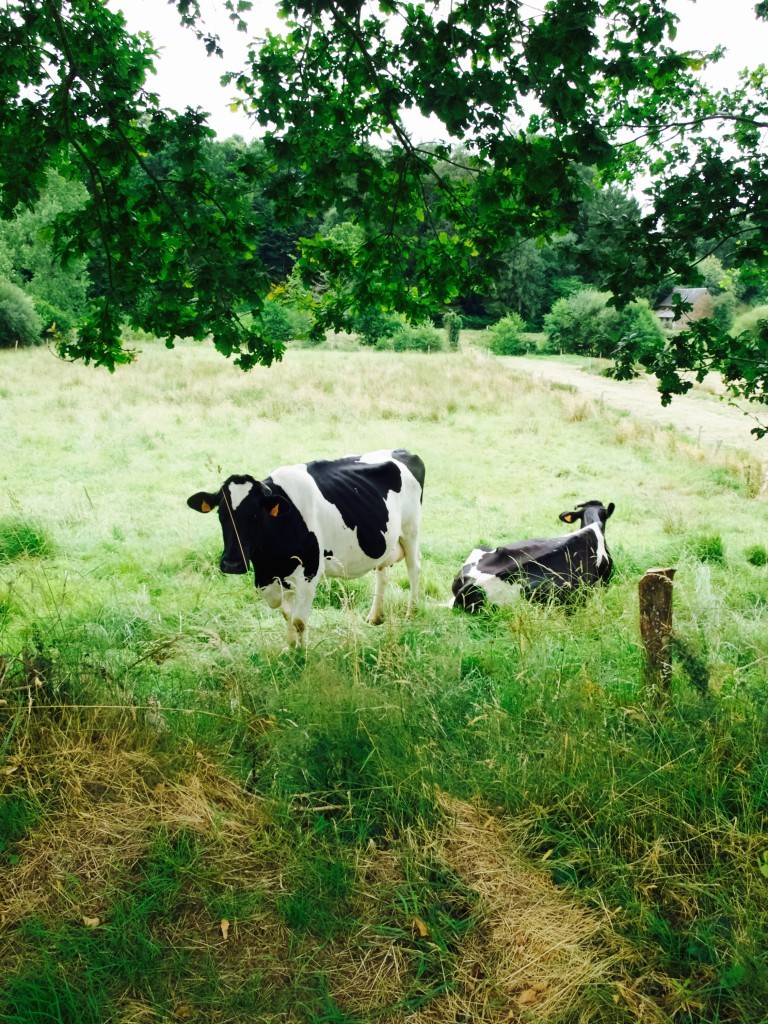
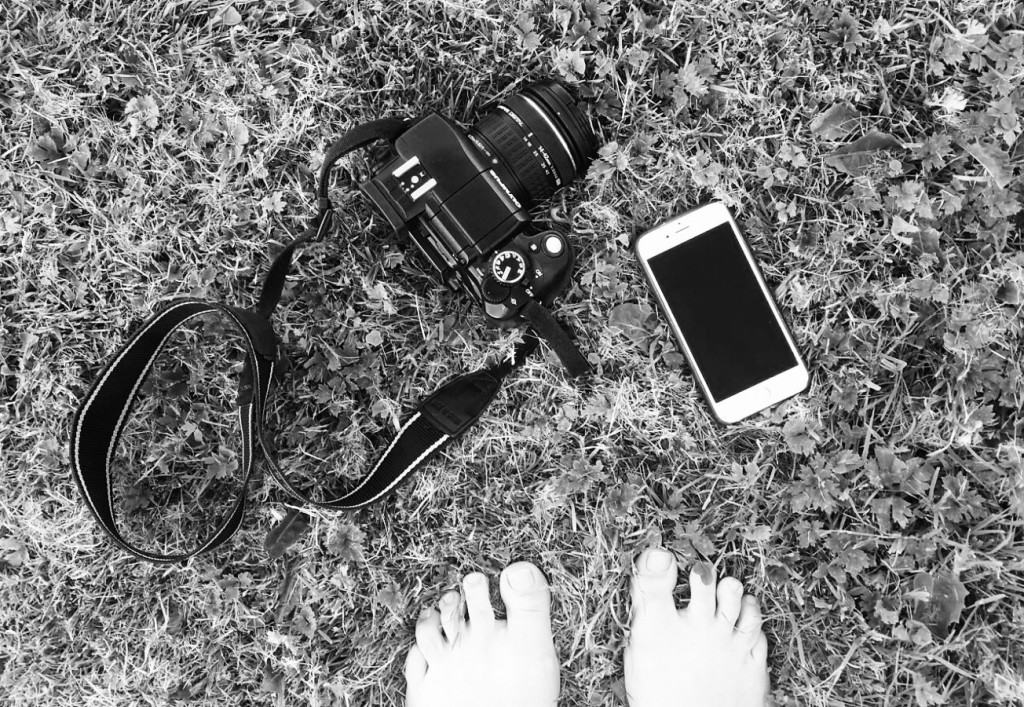
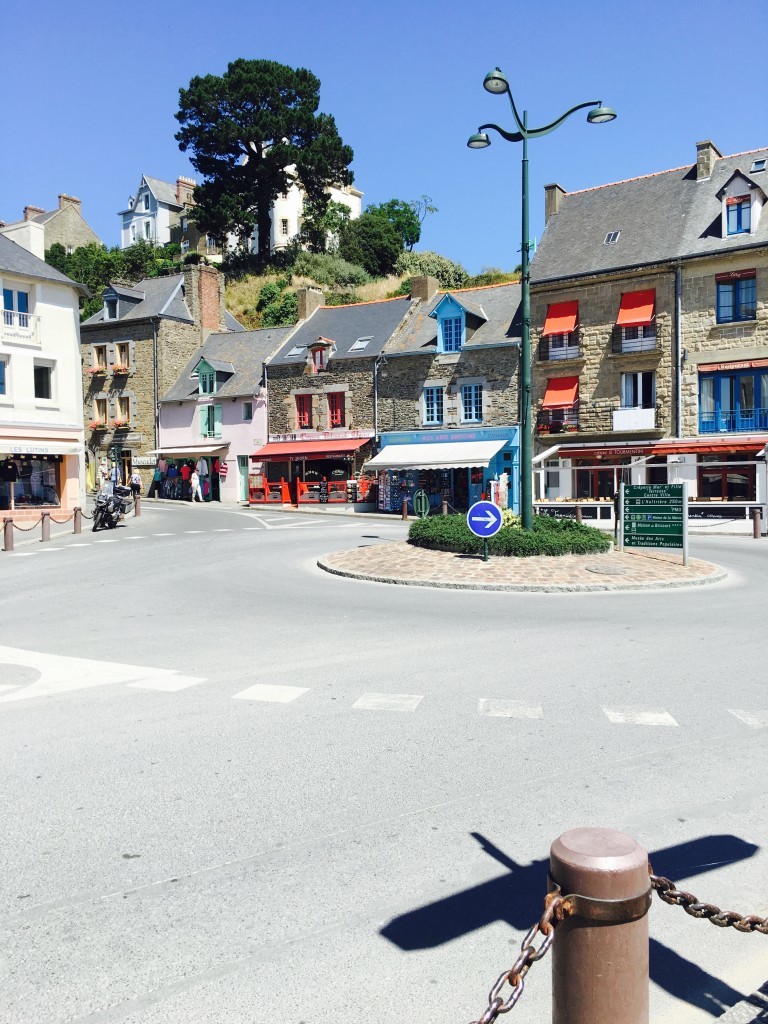
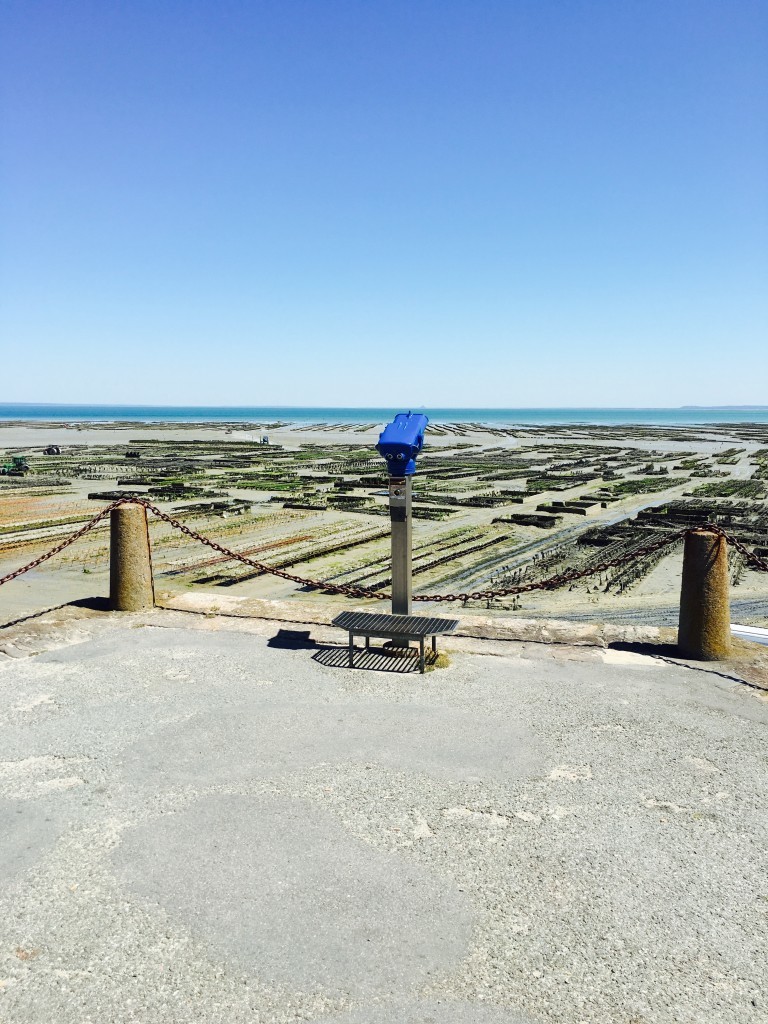
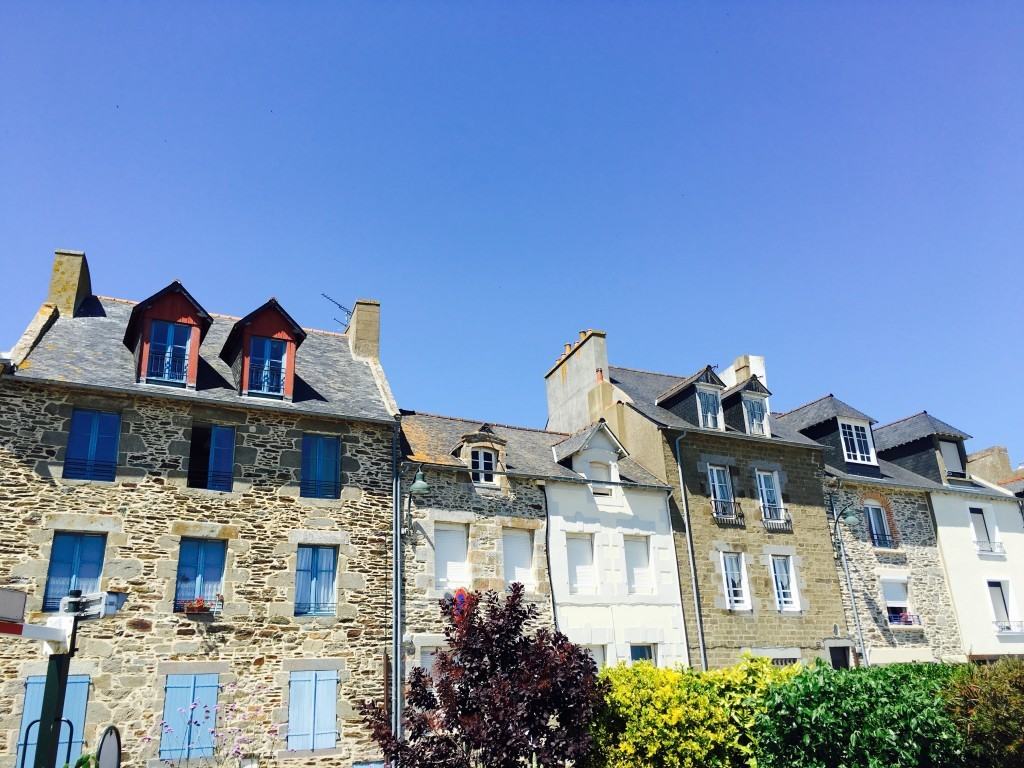
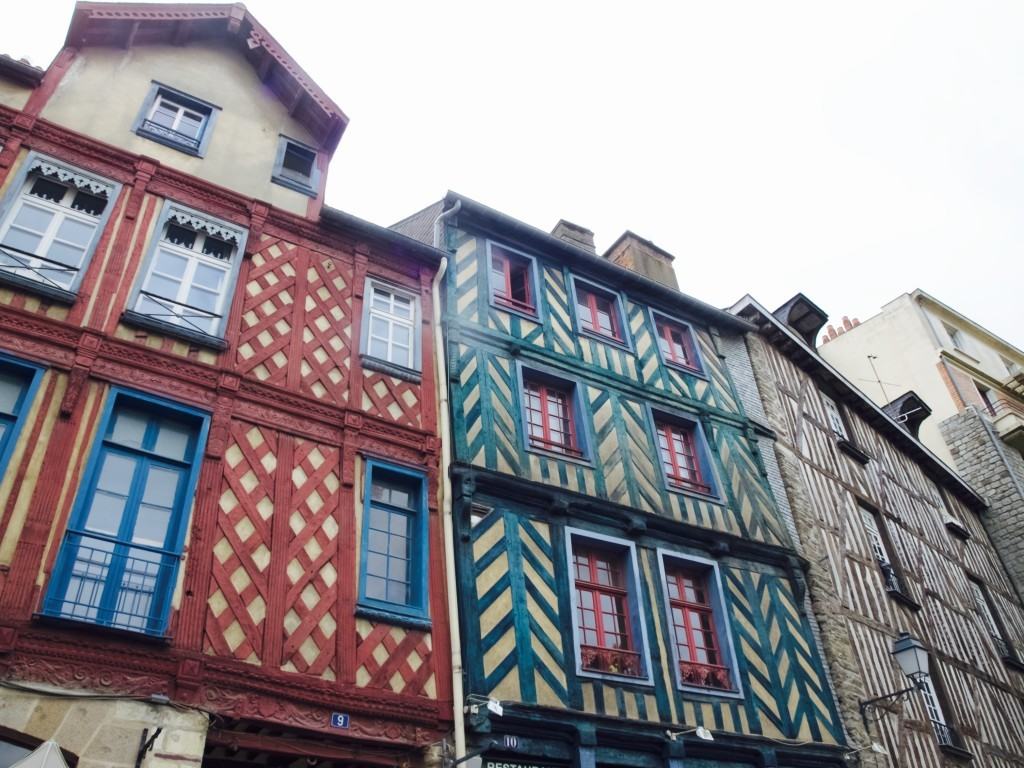
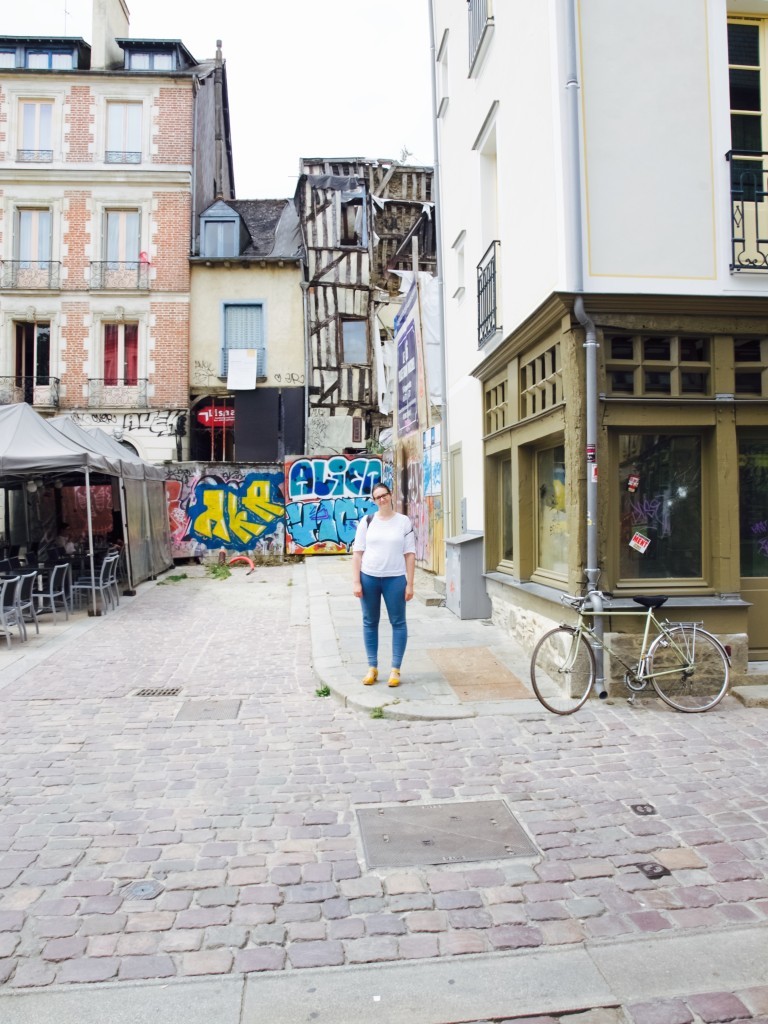
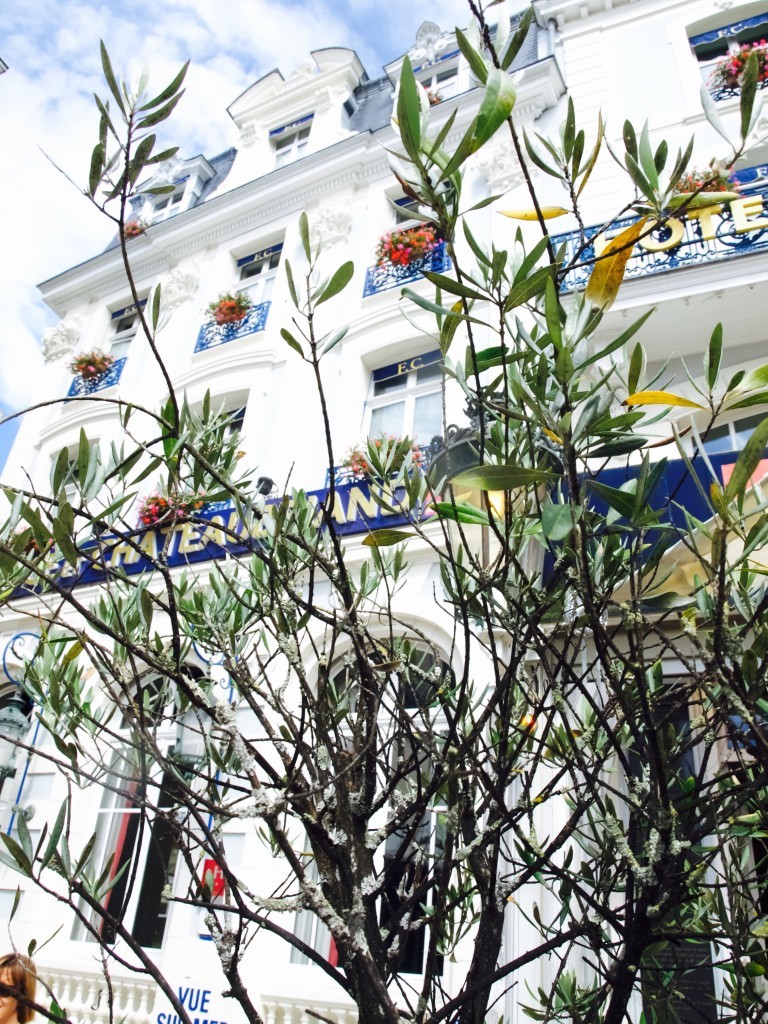
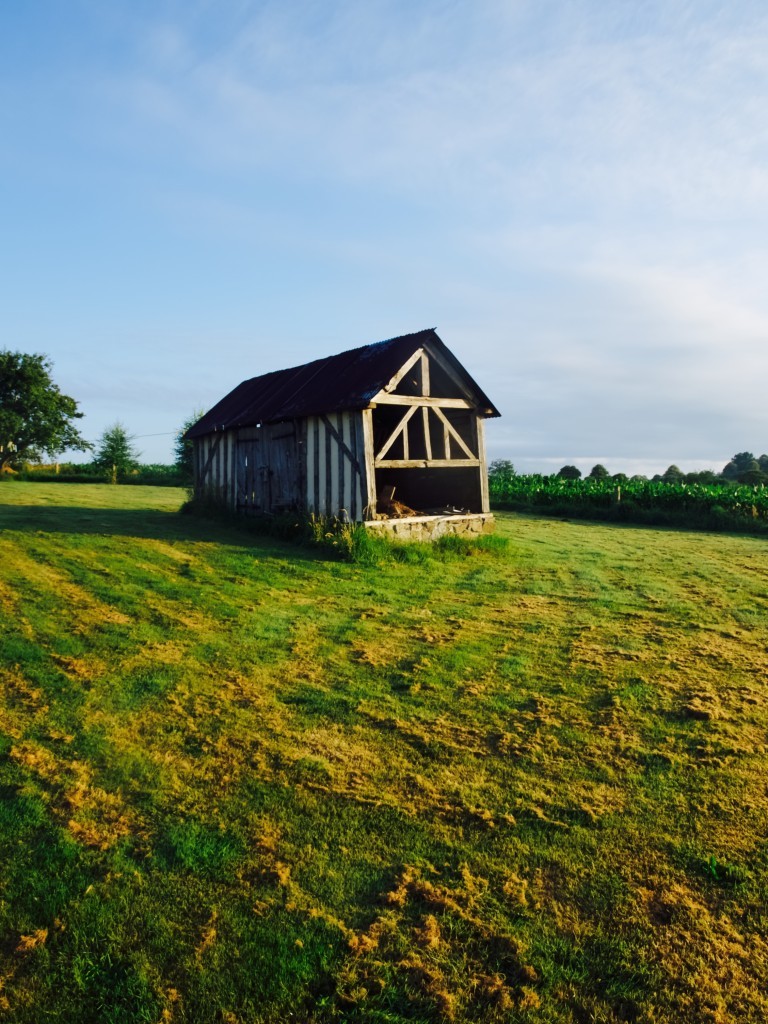
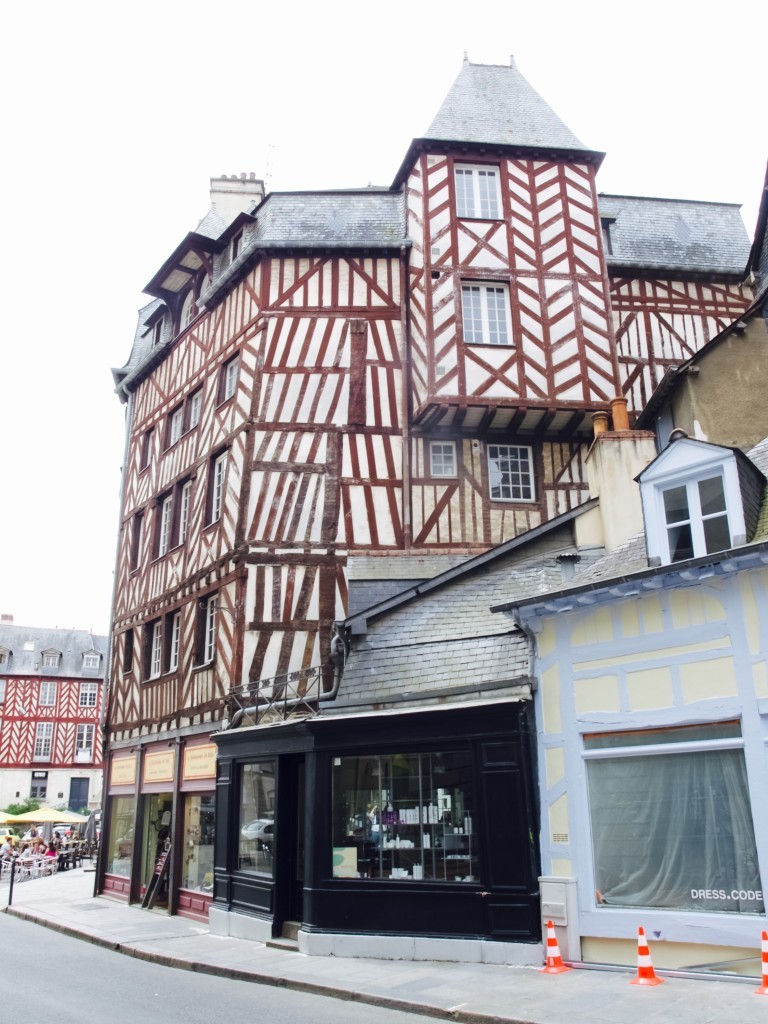
The pictures bellow have been taken around the place where we stayed close to Buais.View from the lace where we stayed in BuaisView from the lace where we stayed in BuaisView from the lace where we stayed in BuaisView from the lace where we stayed in BuaisMy toolsUse any photography tool available, whats wrong with taking pictures on the phone? On our first few trips in France I actually forgot to either charge my camera or left it in the house by accident. My phone was a saviour, I was still able to capture all the moments and the quality does not seem too bad to compare with my DSLR. Ok, you have more freedom with the photo camera but I did survive taking pictures with the my IPhone for quite few years before I got a “real”camera. Can you spot the pictures here that I took with the phone? View from the lace where we stayed in BuaisOur visit to Port de CancaleOn the first day we have visited Port de Cancale. Local caught mussels in wine and chips were fab (even Lukas loved it)! Our visit to Port de CancaleOur visit to Port de CancaleOur visit to Port de CancaleOur visit to Port de CancaleOur visit to Port de CancaleOur visit to Port de CancaleRennes was our next stop. Although we went there only for an attic clear out sale (similar to boot sale here in UK) I really loved the city and its architecture.Our visit to RennesOur visit to Rennes

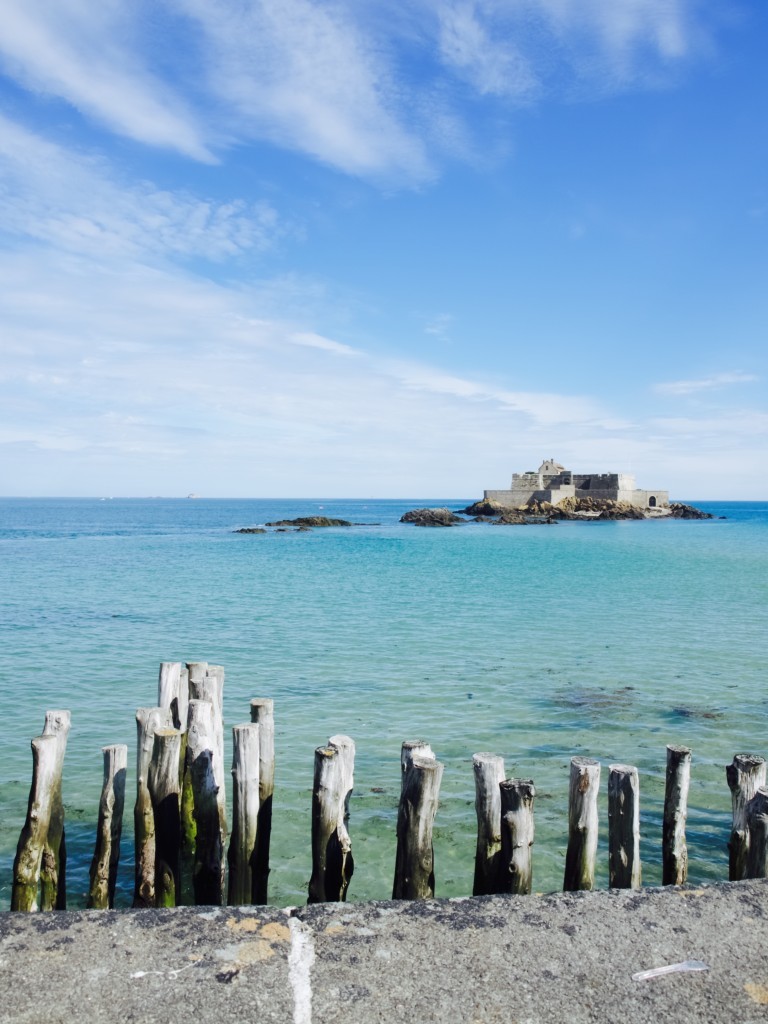
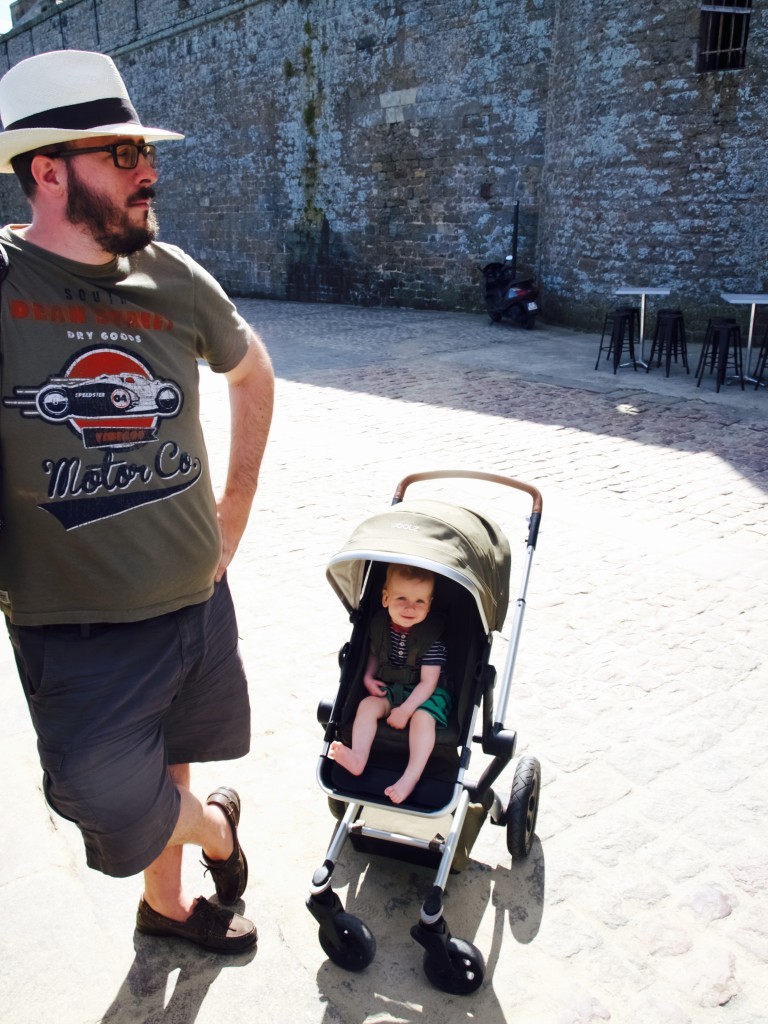
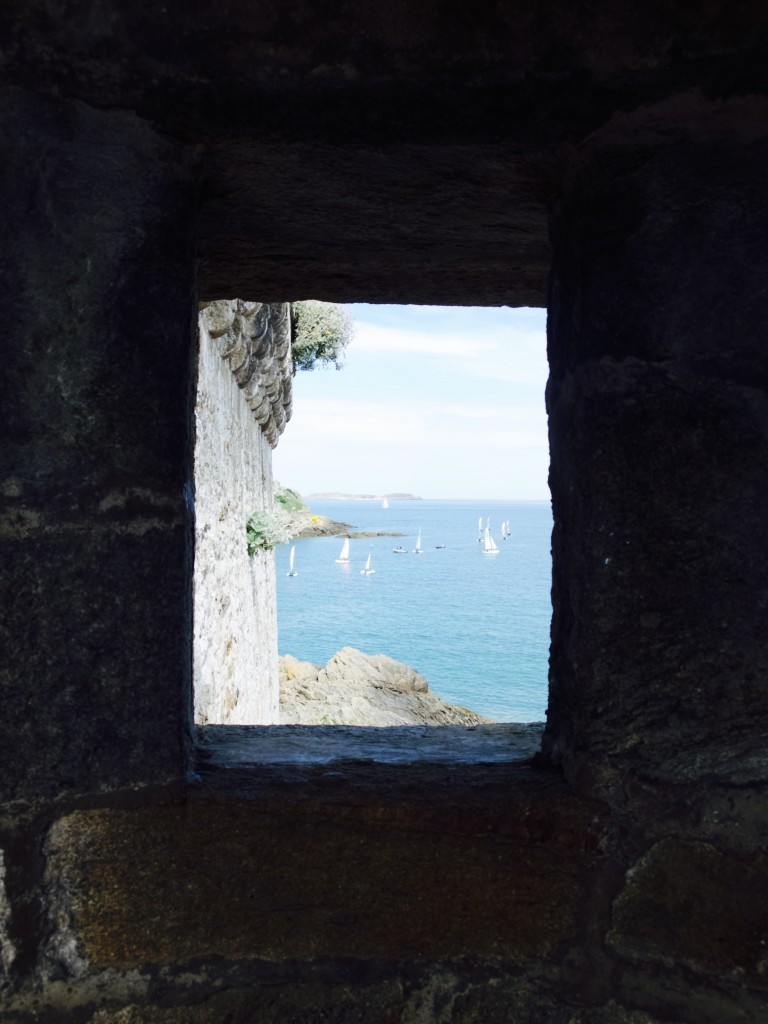
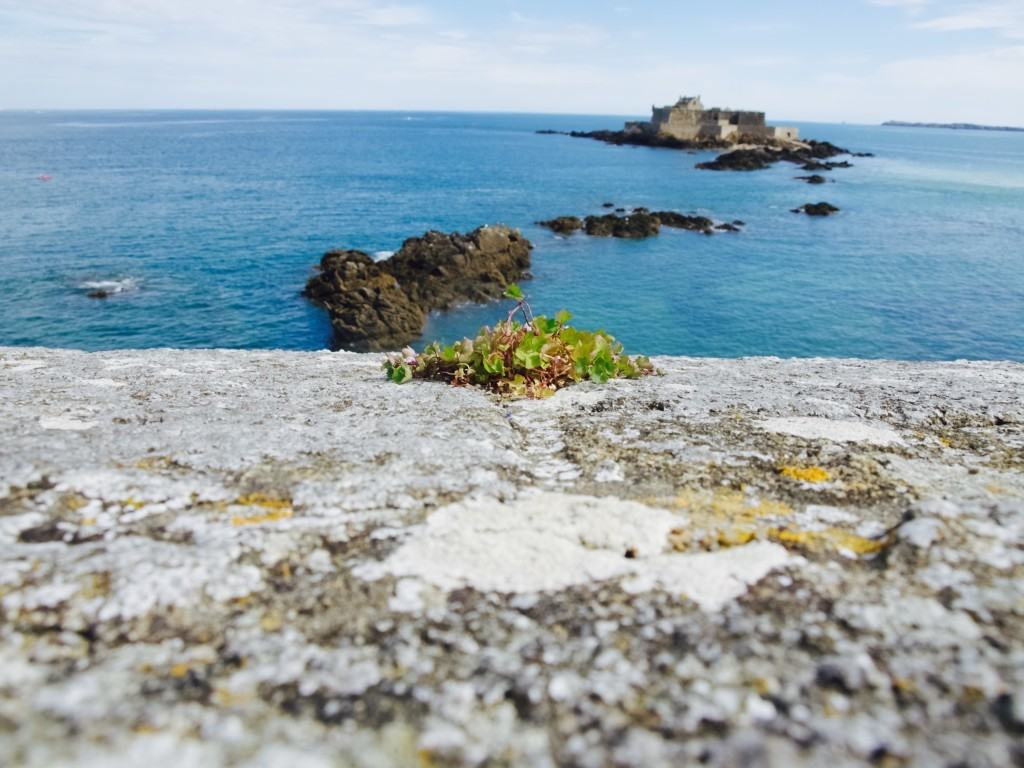
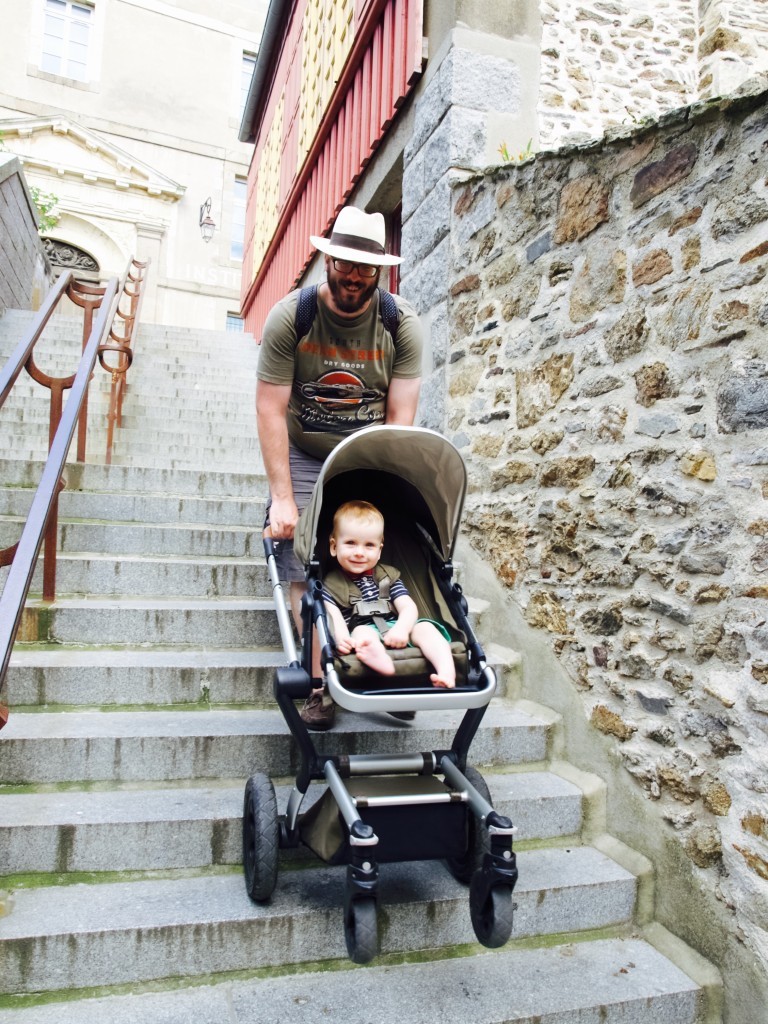
It’s ok to use an Auto mode! I have been using this setting for years and only now started looking at other settings. To be honest, its good to know the other tricks with lighting and focus, but when you taking pictures of quick moments I think there is not enough time to fiddle with the settings. After all often good pics happen with good composition!  Our visit to RennesOur visit to St MaloSt Milo was Joni’s place (maybe because of all the forts and castles).Our visit to St MaloOur visit to St MaloOur visit to St MaloOur visit to St MaloOur visit to St MaloOur visit to St MaloOur visit to St MaloFort National, accessed when the tide is low! Our visit to St MaloOur visit to St MaloOur visit to St MaloOur visit to St MaloOur visit to St MaloOur visit to St Malo

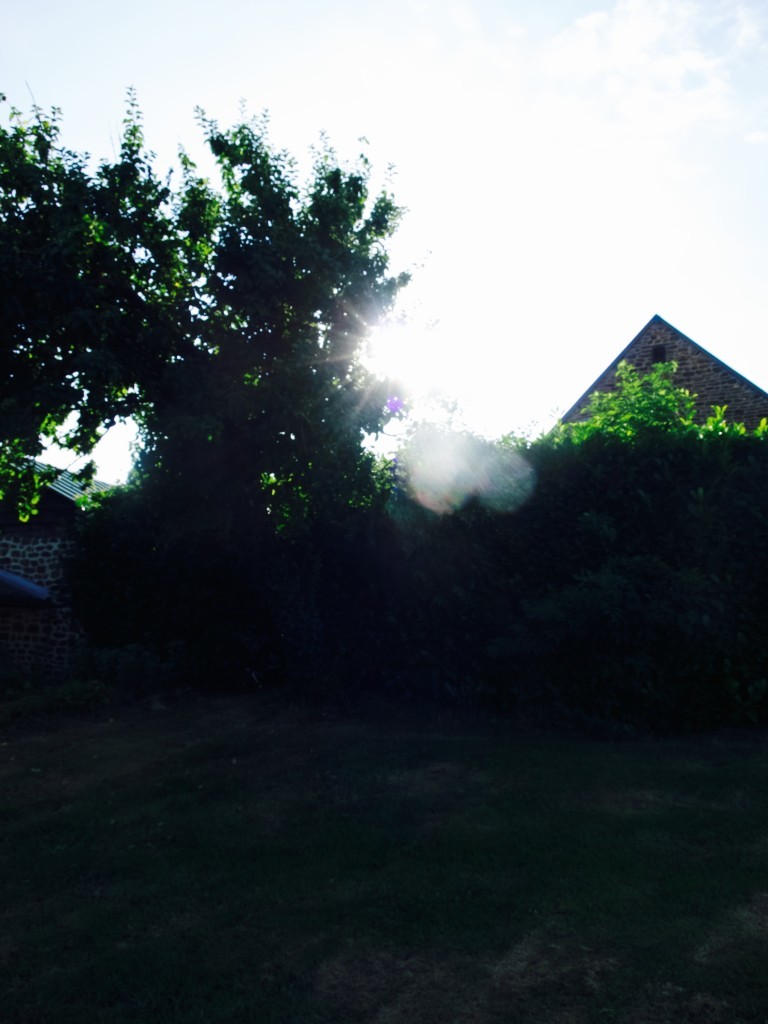
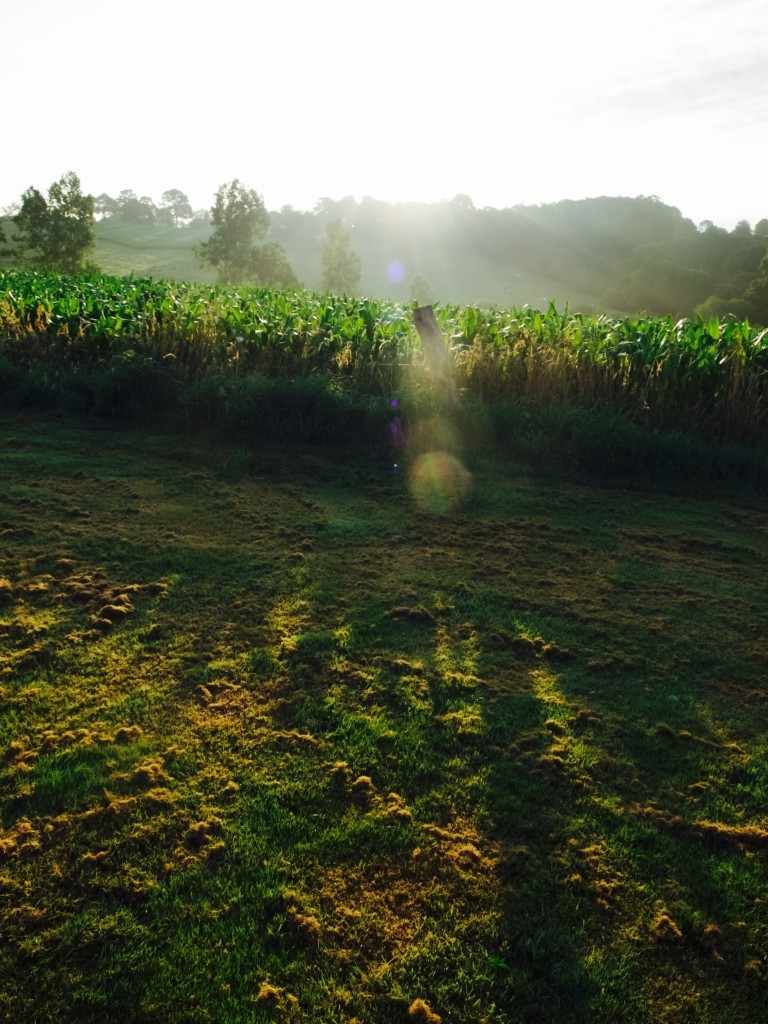
So what did I learn from my holiday challenge? Is how to take photos in Golden Hour! I read about it somewhere long time ago and it sunk into my brain I guess. So when I woke one morning very early and saw a golden glow of the sun everywhere I could not resist but take pics all around me. No wonder its also called magic hour! You just need to catch the right time either in the morning or evening (found good timeline here) and take the shots outside ;-). What I also liked is including sun glare in my composition, it made my photos extra magical!golden hour photographygolden hour photographygolden hour photographyHope you are inspired!

Rasa xoxo
0

Photography challenge: learning about ISO while in the greenhouse

I have been very busy past month (not only with holidays) but also with Lukas. I only get two hour break a day (I guess I am lucky I hear) so thats all I have mostly for tidying up, getting things organised and little bit for gardening and blogging. So this is why I decided to combine gardening with learning what my camera can do. It was tough two hours ;-).

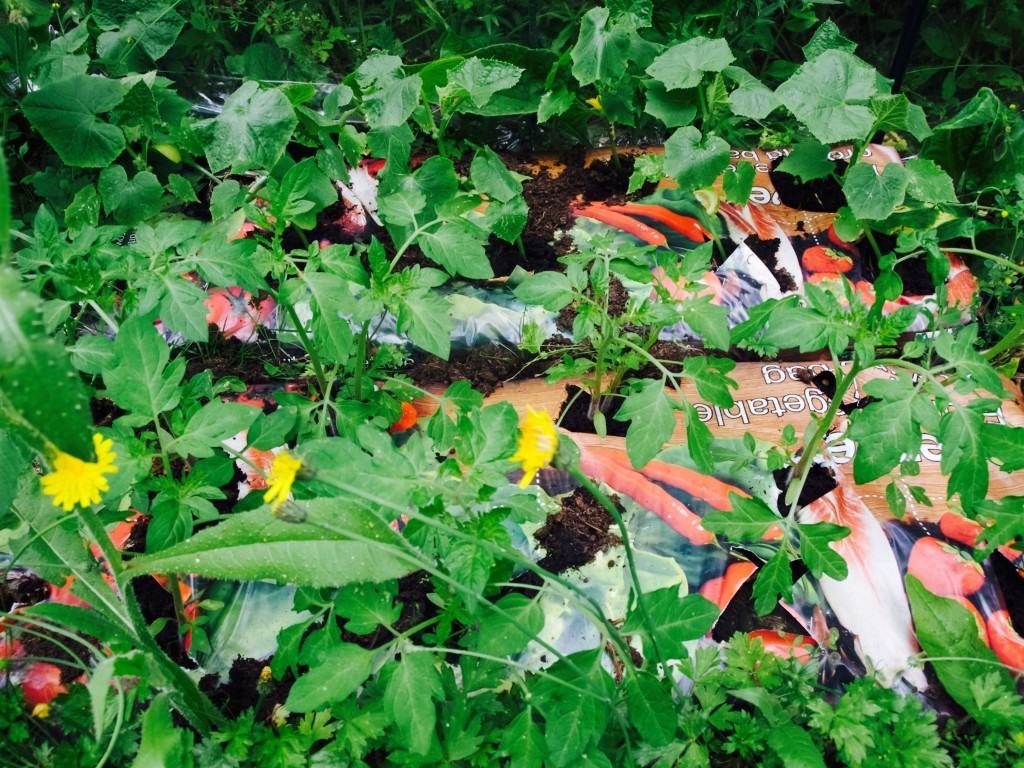
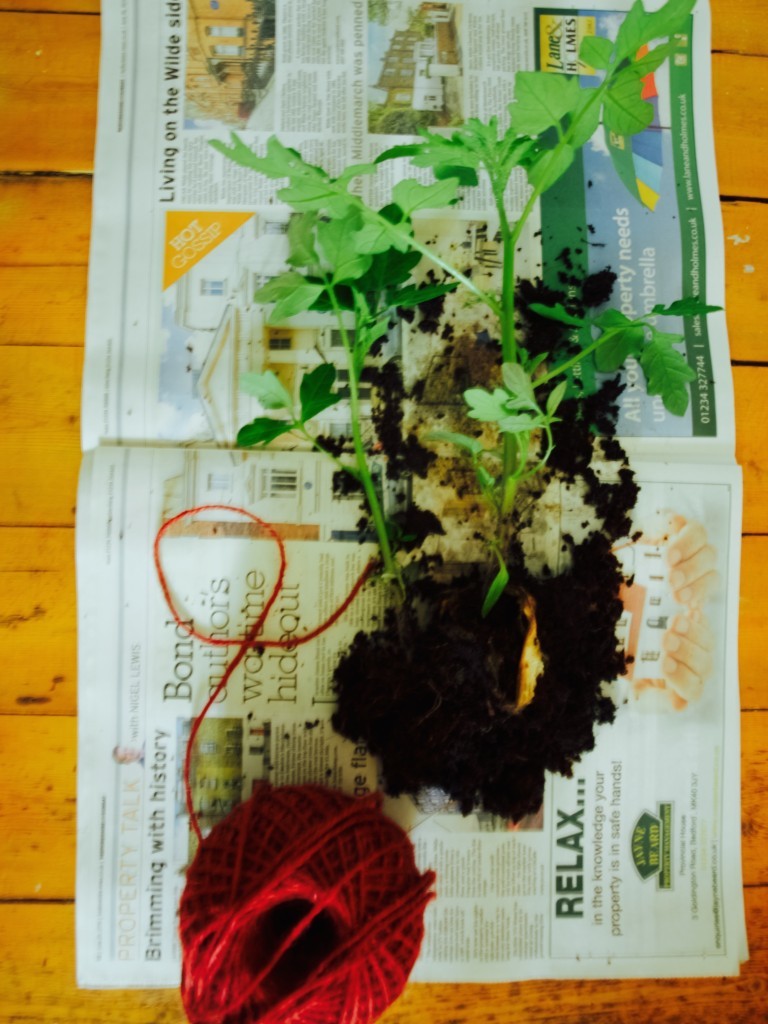
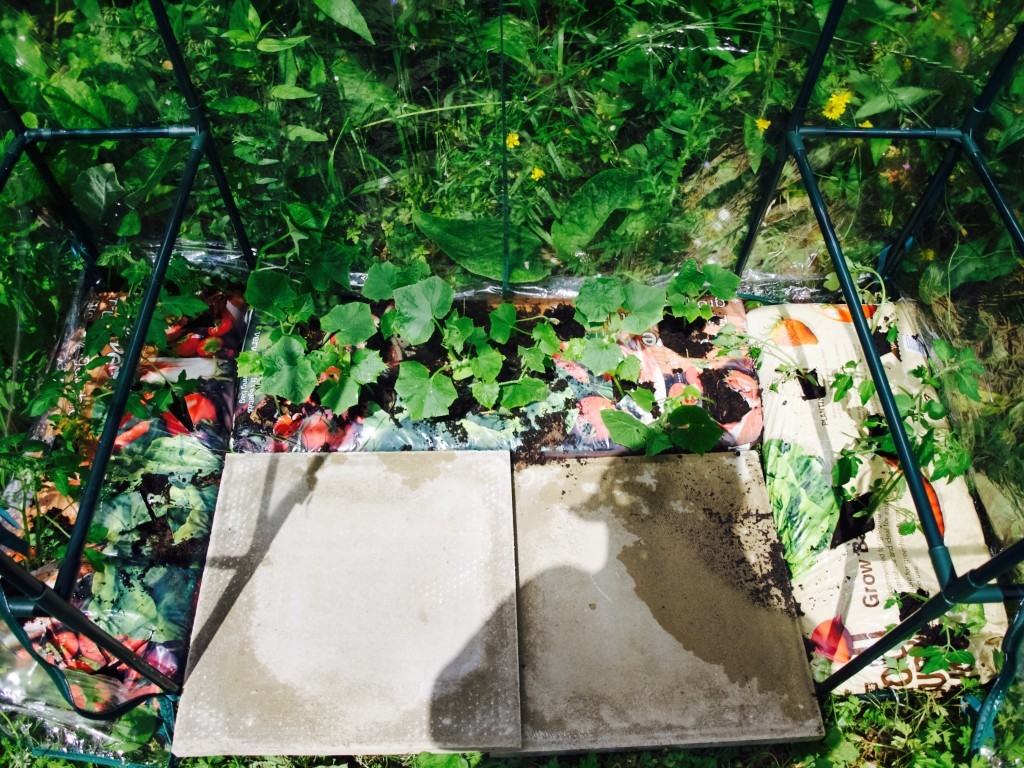
So we got little green house this year (very tiny, one of those plasticy temporary ones) and I am growing cucumbers and tomato plants in it. I must admit I broke every gardening rule there is, planting plants too close and very late in the season. But I hope I wont get penalised for it and still will get some sort of harvest. As you can see in the pic above it looks very messy and random. This is what my goal was to fix this problem during my two hour slot.

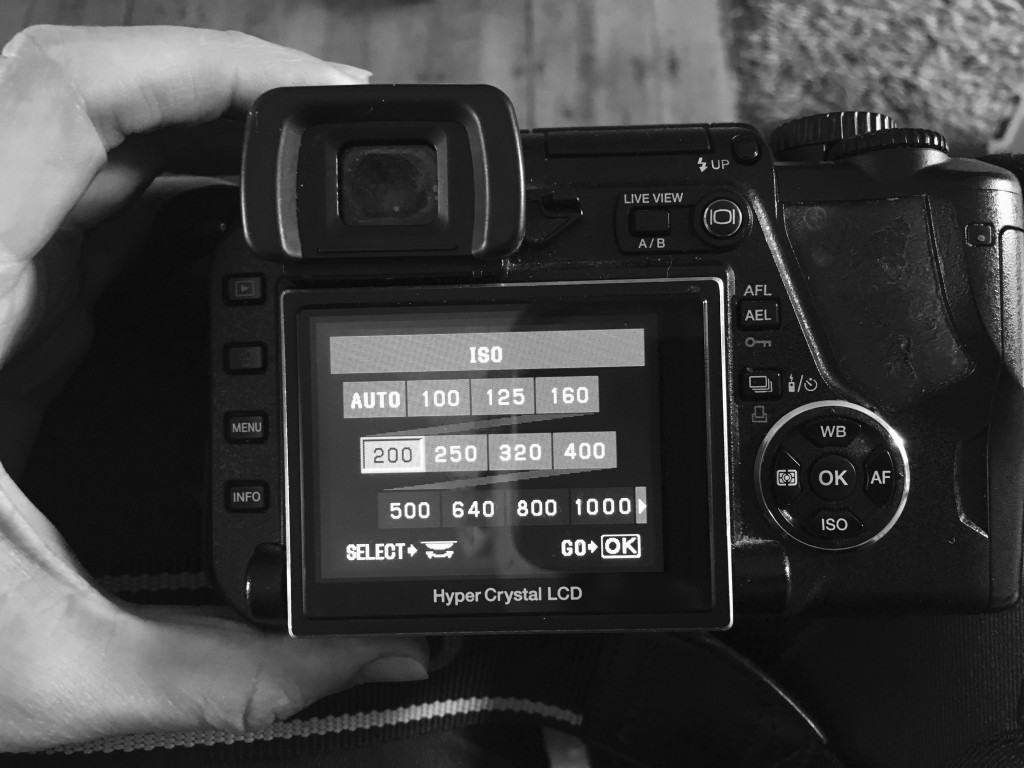
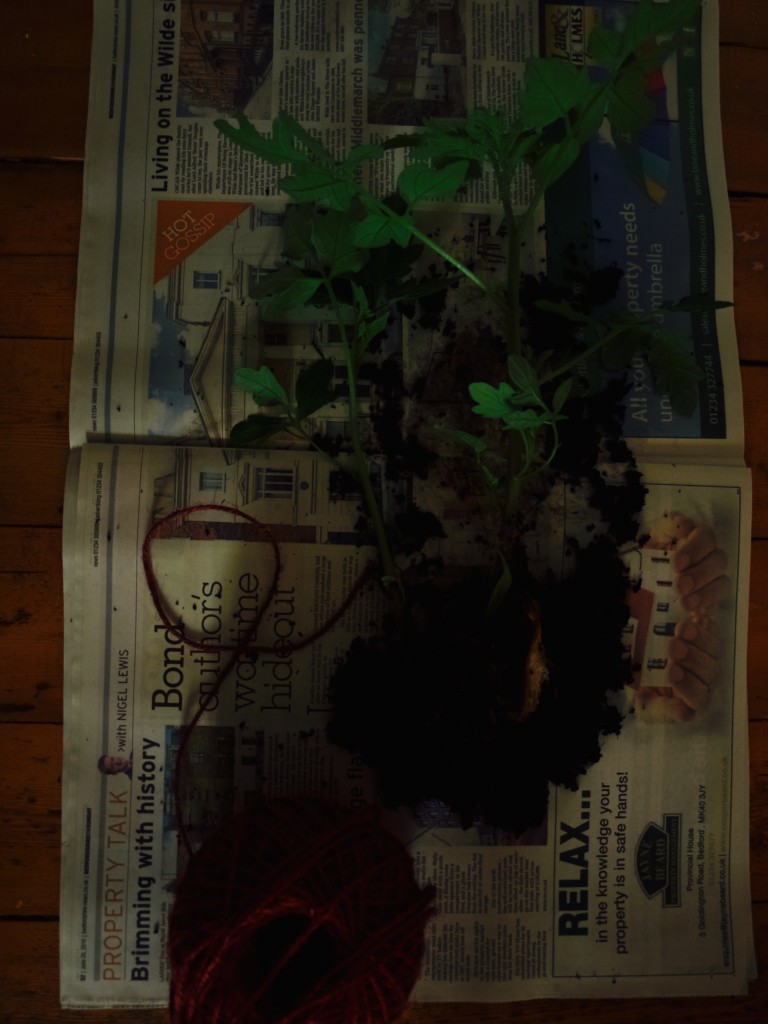
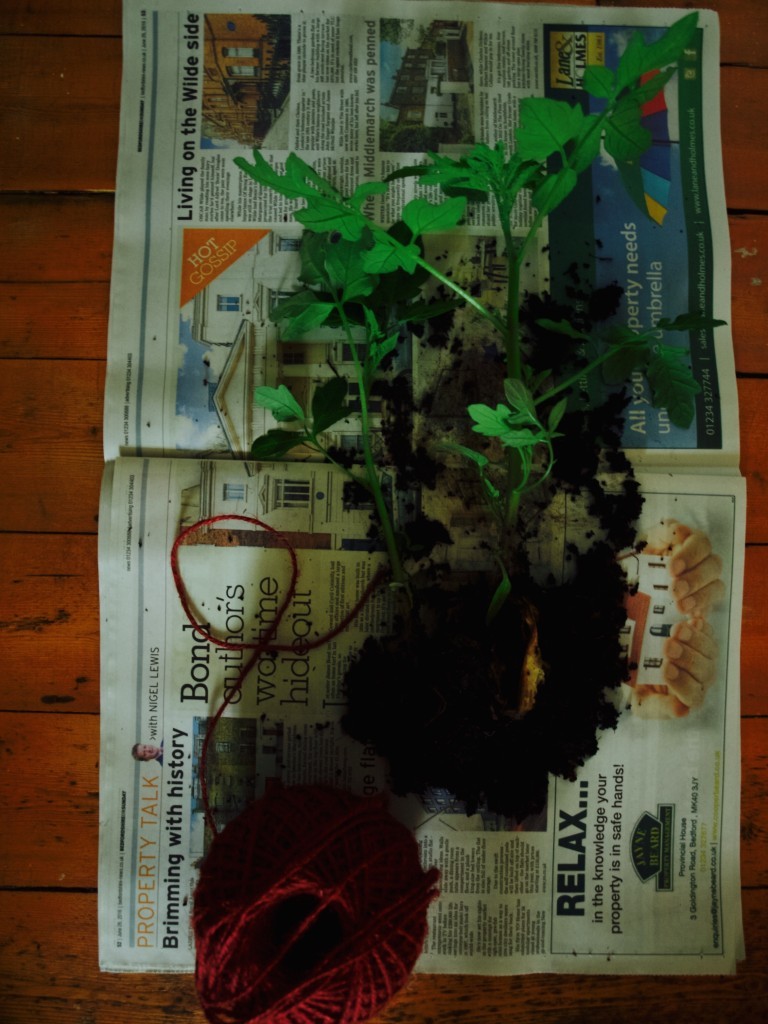
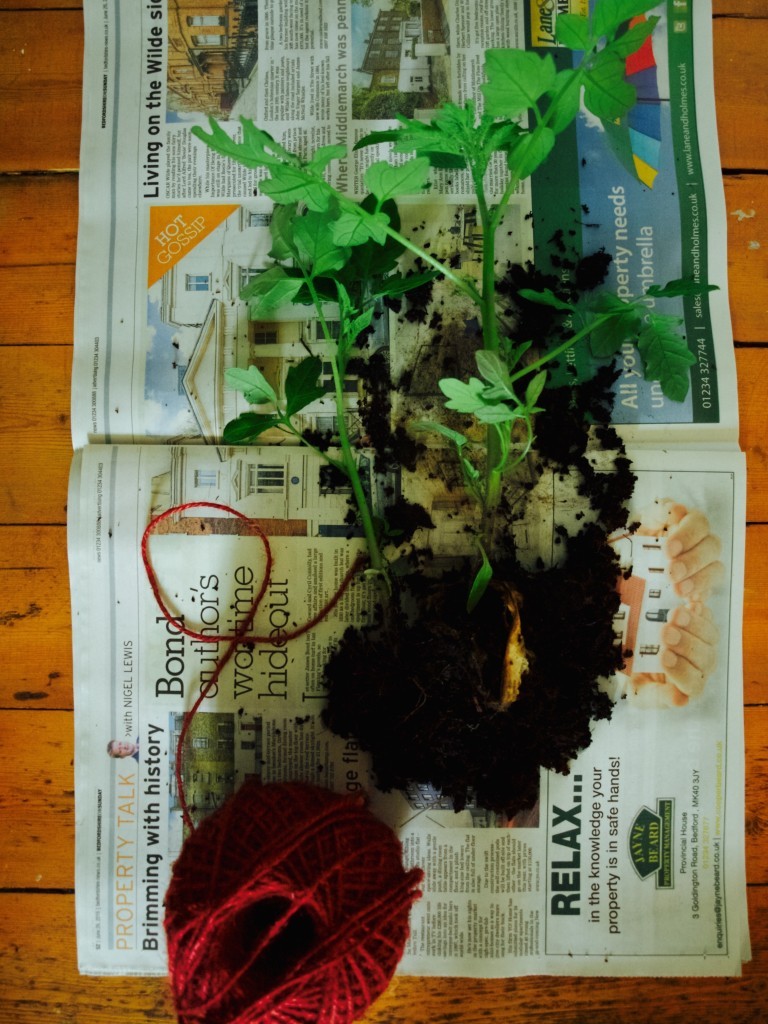
As I was repotting the tomatoes I decided to experiment ISO that sets a sensitivity for a light. The higher the number setting is the more sensitive the camera is to the light. I have learned the other settings that work with the light too like aperture (with f stops ha ha) and shutter speed. But this one is mostly used to set the light, the side effect of it is picture being grainy. I took couple of shots of the tomato plant with different ISO settings but had no luck. I realised that auto camera mode was interfering trying to compensate the light by changing shutter spend (hence blurry pic from my hand shaking)That wasn’t the only problem with this photography challenge. For some reason I could not set the camera to a high ISO. I could see it there (from 500 to 1000) but somehow could not select it. So I could only experiment with up to 400 ISO.I set the the shutter speed to 1/20 which allowed me to experiment with ISO and see the results of it. The picture bellow is taken with 200 ISO.This picture is slightly lighter as it has been taken with 320 ISO.The final picture has been taken with 400 ISO. Can you see how light can be edited just by using different ISO settings?By the end of my two hour break I remodelled the green house. Yes, its still not perfect, but I think it will do for now. I hope there will be some sort of fruit coming out soon ;-). I hope you found it useful :-)

Rasa xoxo
0

Photography challenge: flower pattern arrangements

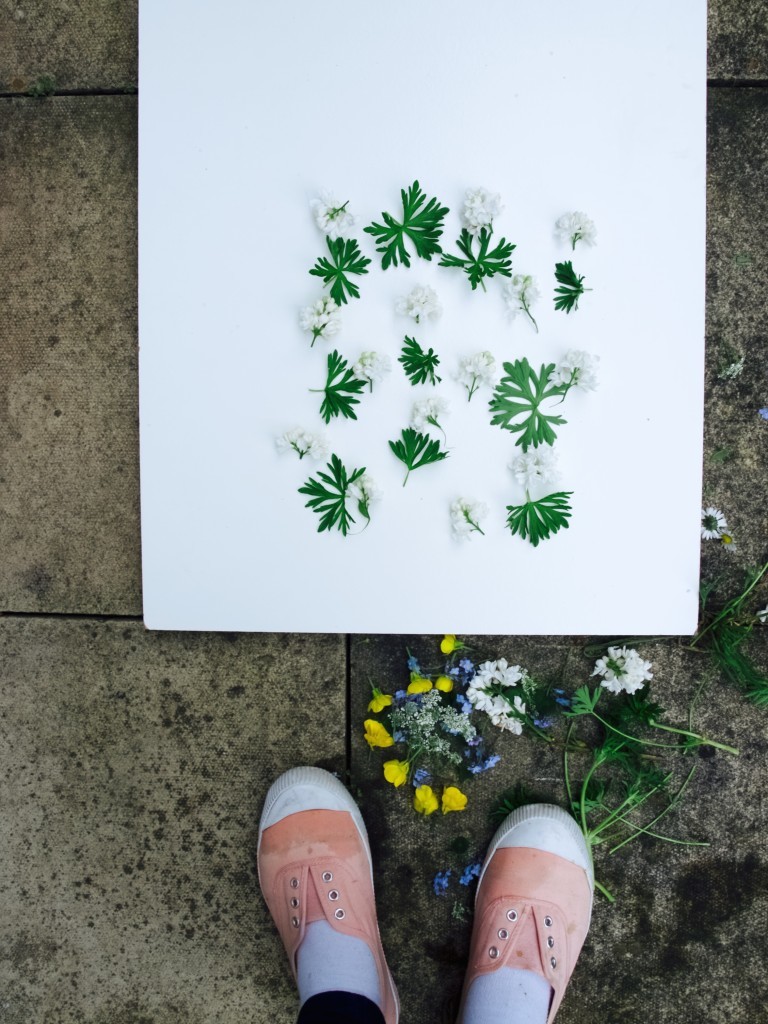
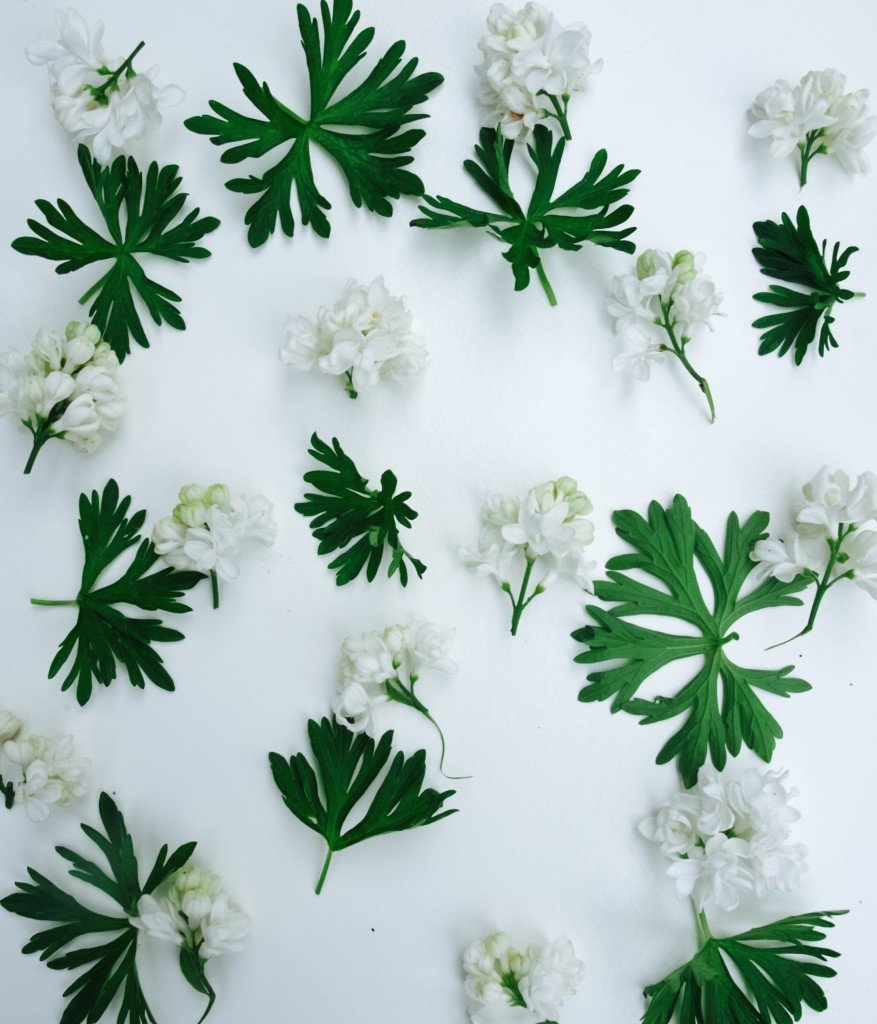
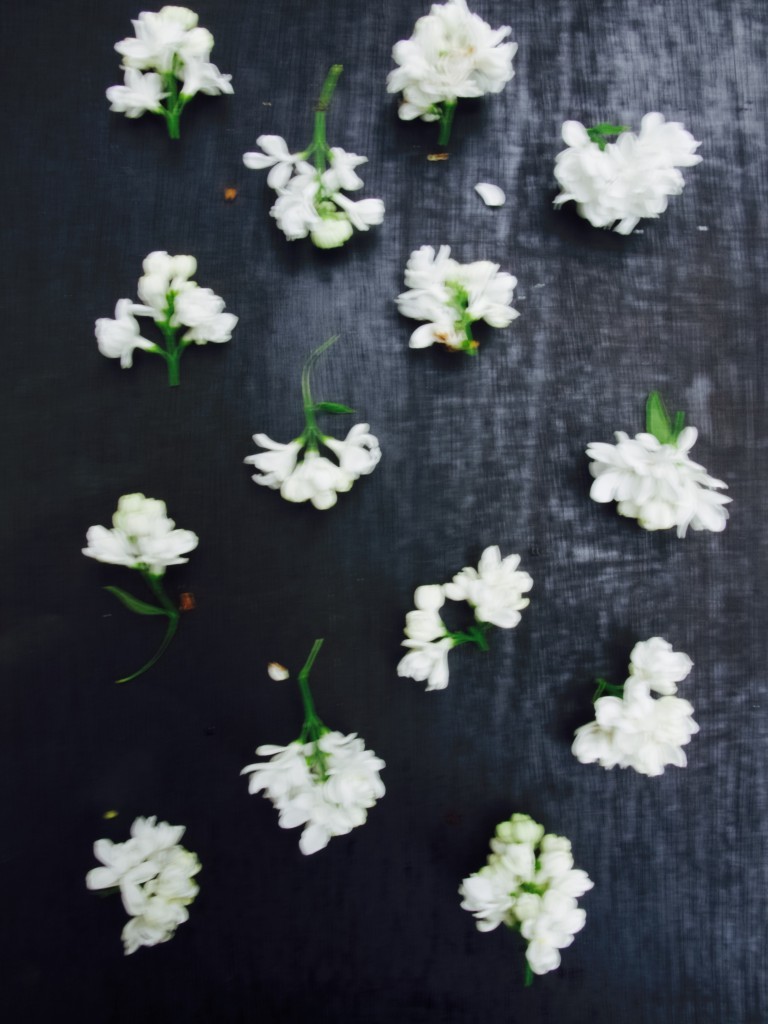
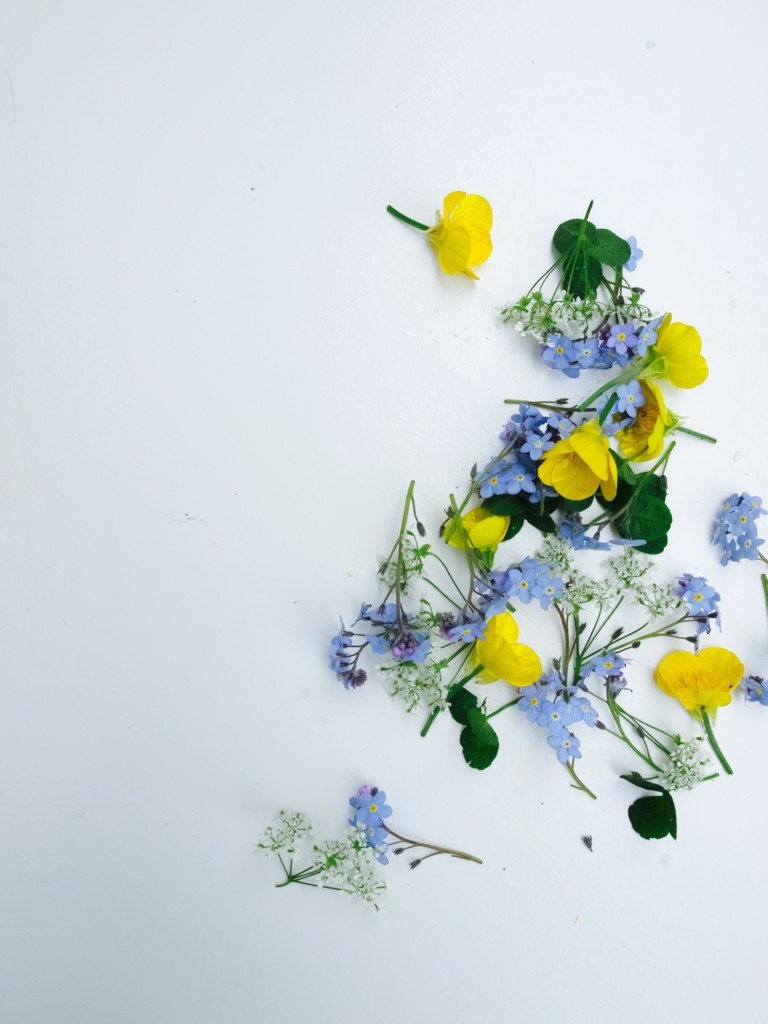
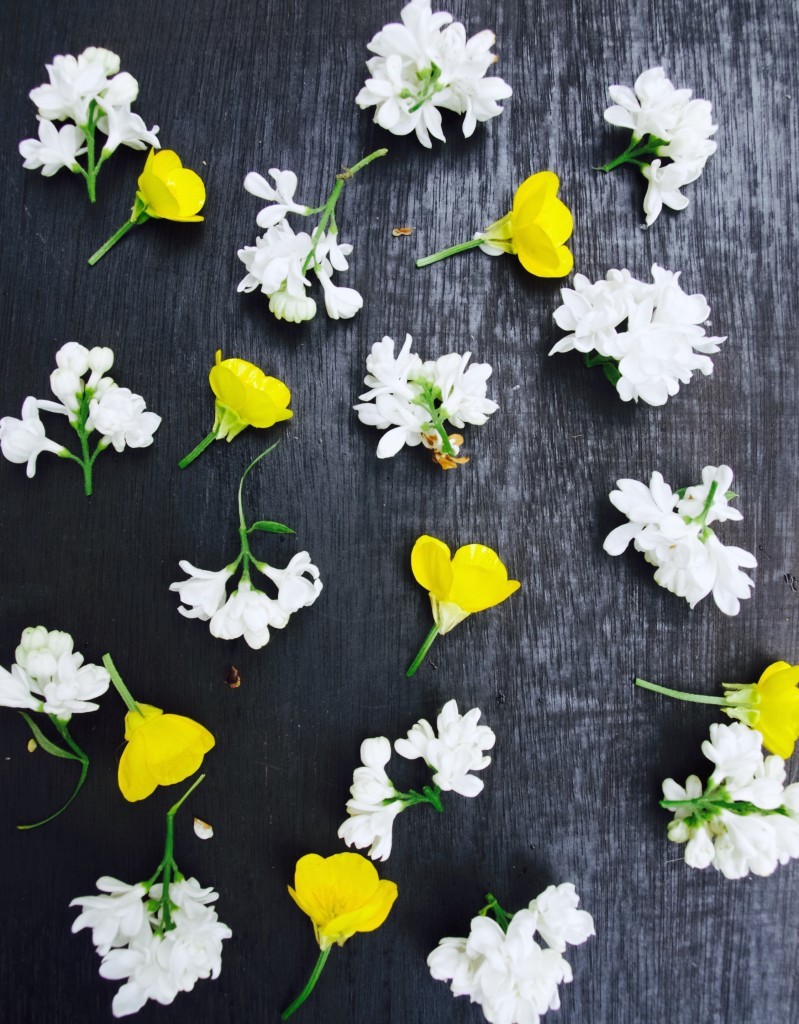
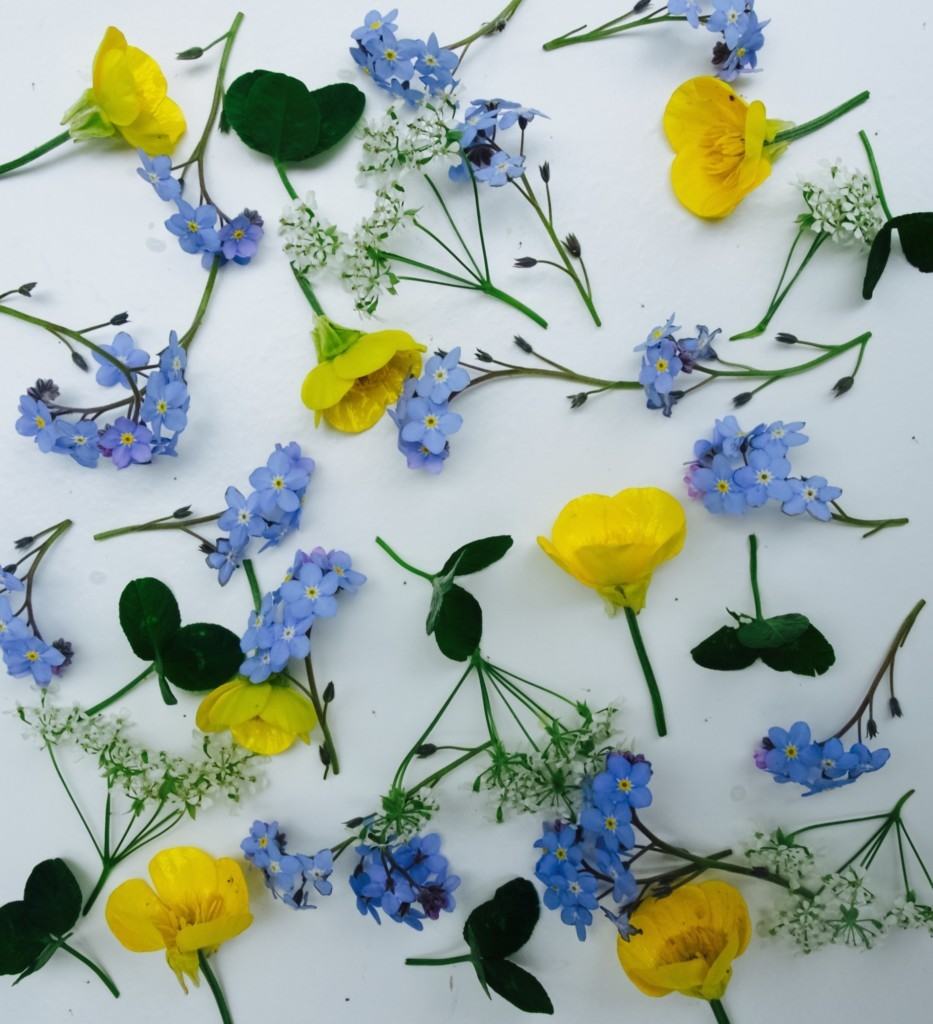
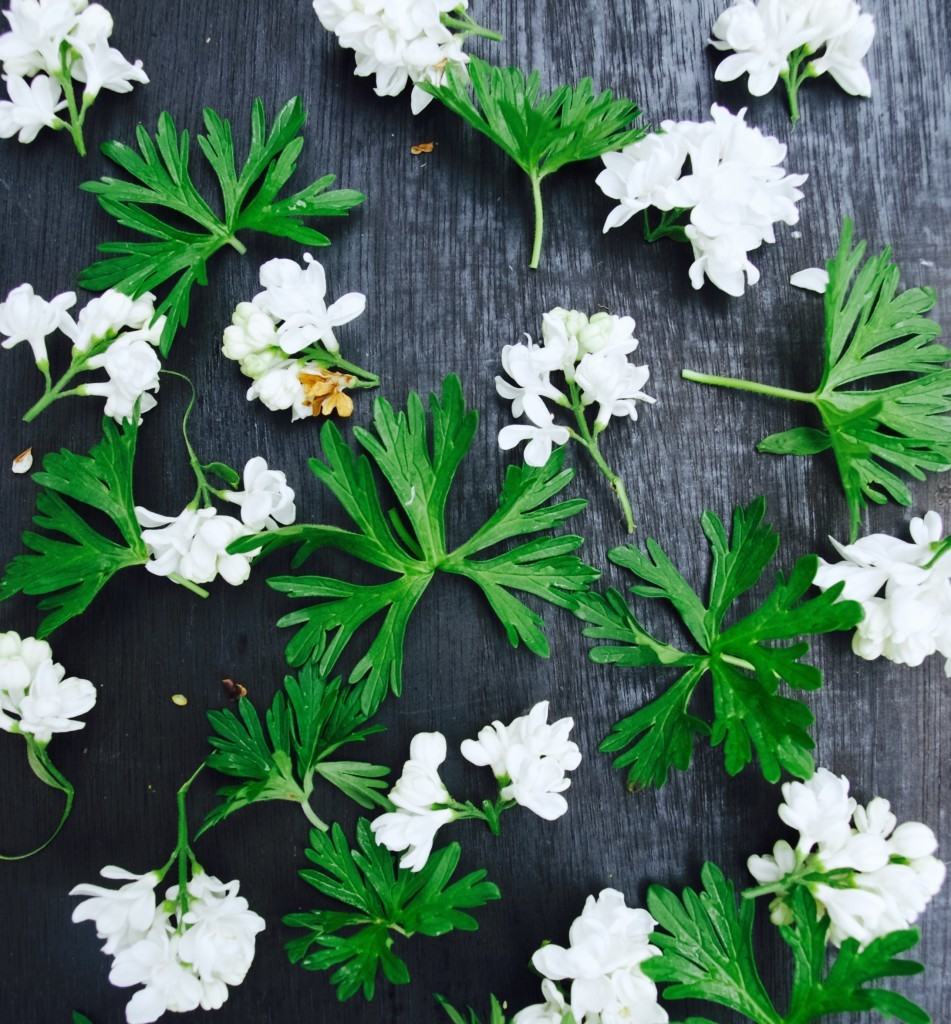
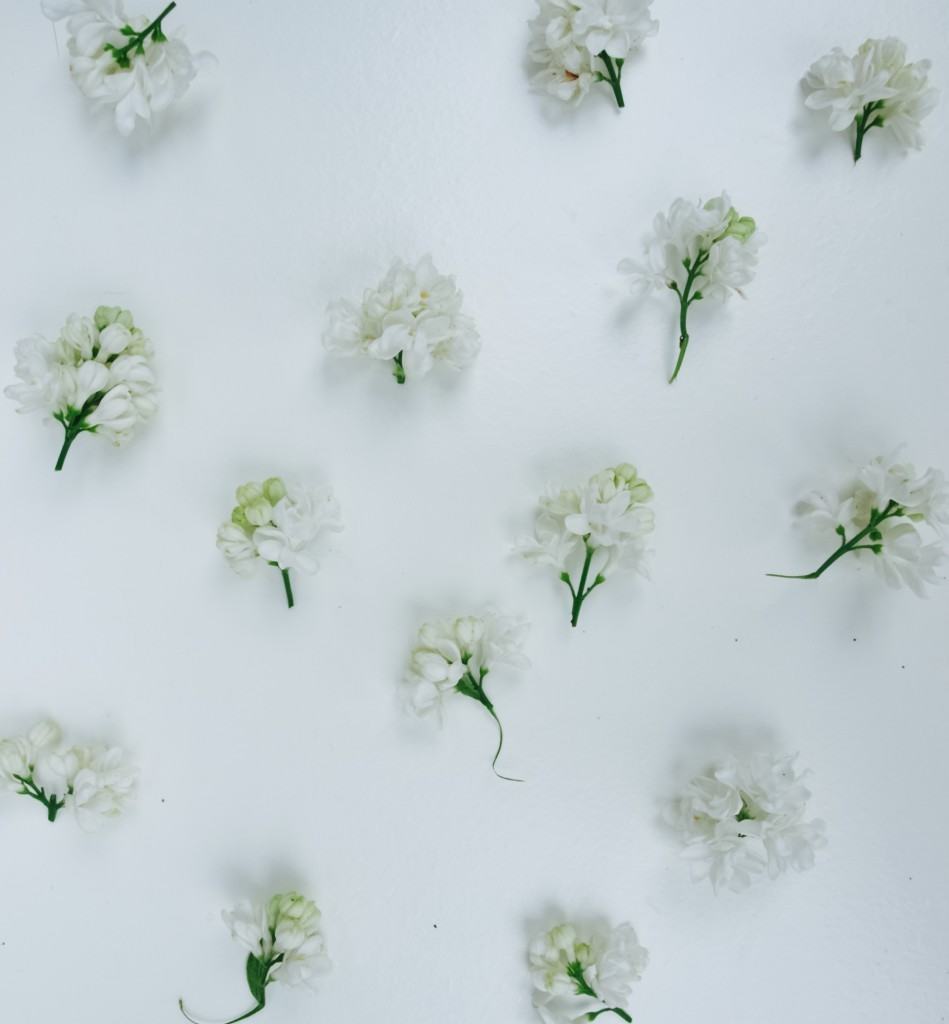
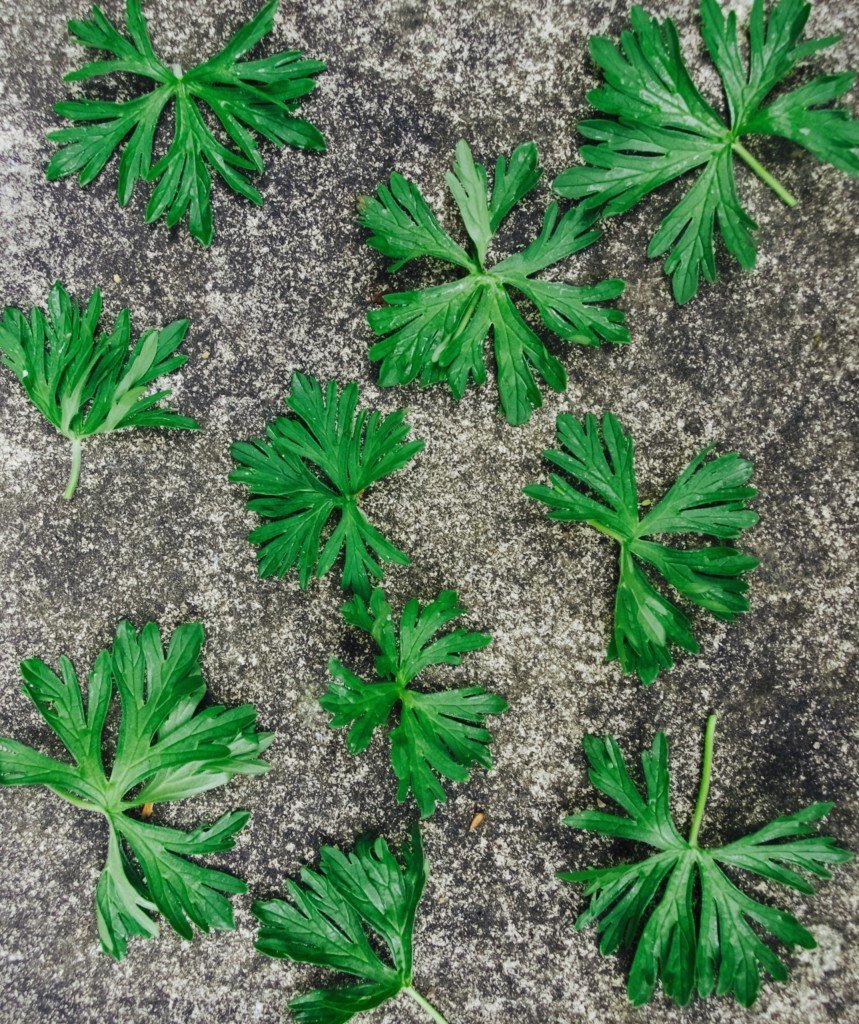
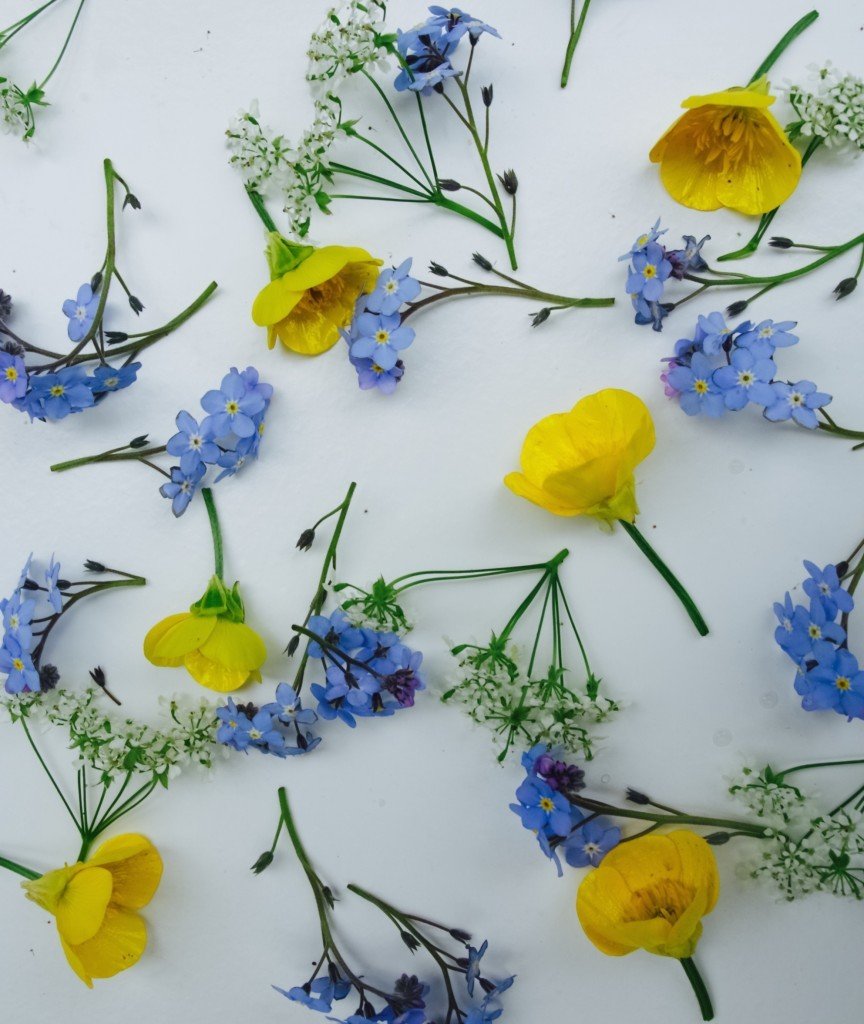
Photography challenge: flower pattern arrangements This month’s photography challenge have been the most enjoyable so far. It includes patterns and flowers, my two favourite things! Although I don’t feel like I learn anything other than what camera settings do not work and that I probably need to invest some money on lighting. Photography challenge: flower pattern arrangements Arranging patterns is something I enjoy and I believe it is what I am good at (heaving my big headed moment over here). However photographing it is quite a different story. When it came selecting camera settings I thought if I use highest f-stop (more about f-stop read here) I could select a large depth and therefore everything would look clear and focused. The outcome was not what I expected. The picture bellow looked blur with f22 which is why I ended up using the macro setting.Photography challenge: flower pattern arrangements The other thing I knew I needed to perfect is the lighting. Since the patterns need to be repetitive I thought even lighting would be the best. To do that I needed the light glowing from above, which why I decided to do my shoot outside. Because only outside the natural light is all around you unlike indoors it only comes from the windows. I chose the day that was cloudy rather than sunny as I certainly did not want any harsh light. The turnout again was not that great. I still had some shadowing on one side of the picture. I don’t know why…

The other problem I encountered when photographing is the wind. As you can see in the picture bellow it was hard to keep my arrangements stationary :-D.Photography challenge: flower pattern arrangements Photography challenge: flower pattern arrangements Photography challenge: flower pattern arrangements Photography challenge: flower pattern arrangements Photography challenge: flower pattern arrangements Photography challenge: flower pattern arrangements Photography challenge: flower pattern arrangements Although I did not have much success with this challenge, I really enjoyed picking all these flowers, all found in our garden :-).Photography challenge: flower pattern arrangementsHave a lovely weekend xx

Rasa

0

Photography challenge: shutter speed to capture motion

captured with sports auto setting (no blur in moving objects) When I was searching how to use speed shutter I came across many beautiful pictures like these on Pinterest, which inspired me to do photography focused on motion. Although shutter speed is meant to control the light that comes through the lens it seem that it is often used to capture the moment in very artistic way.

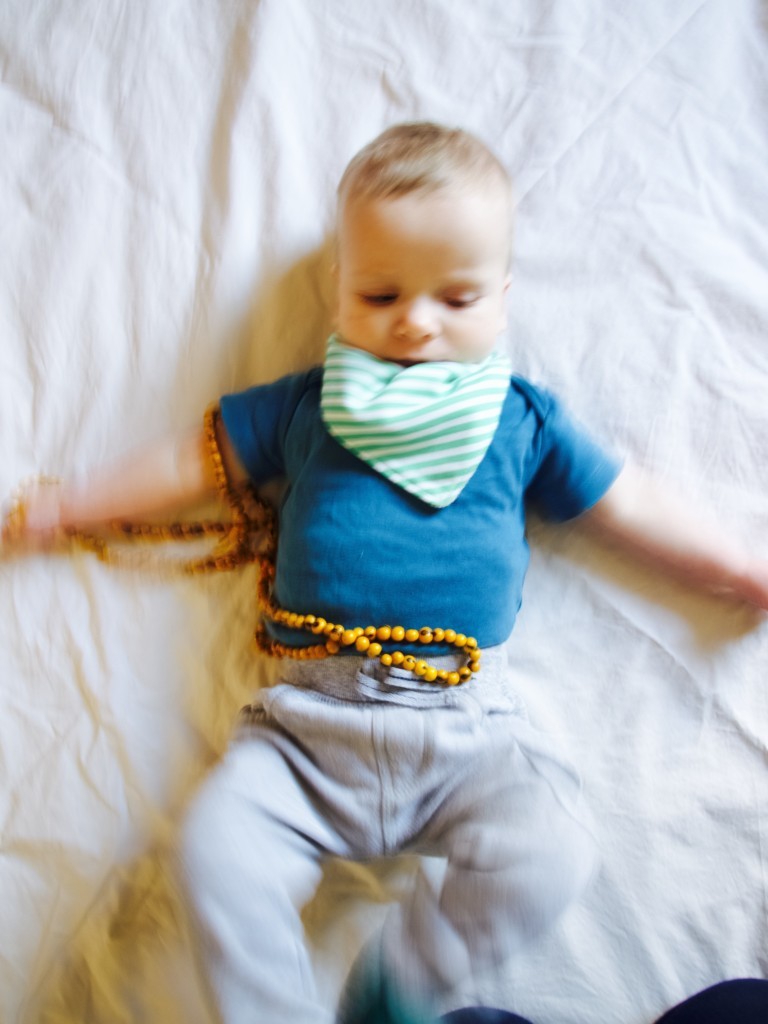
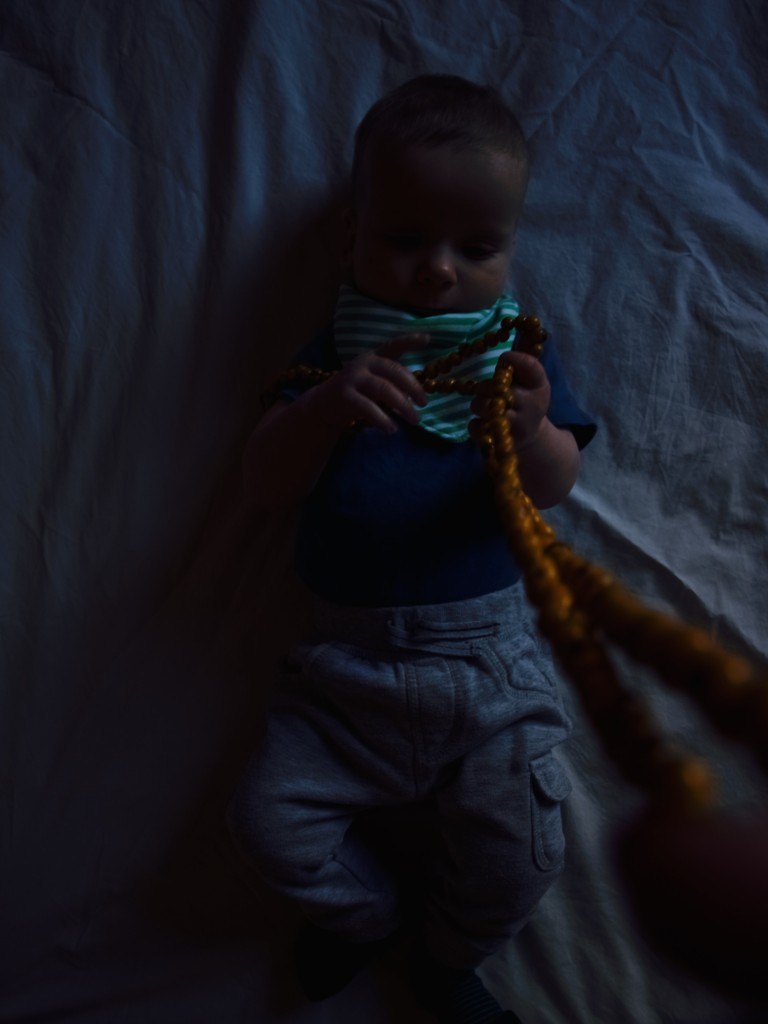
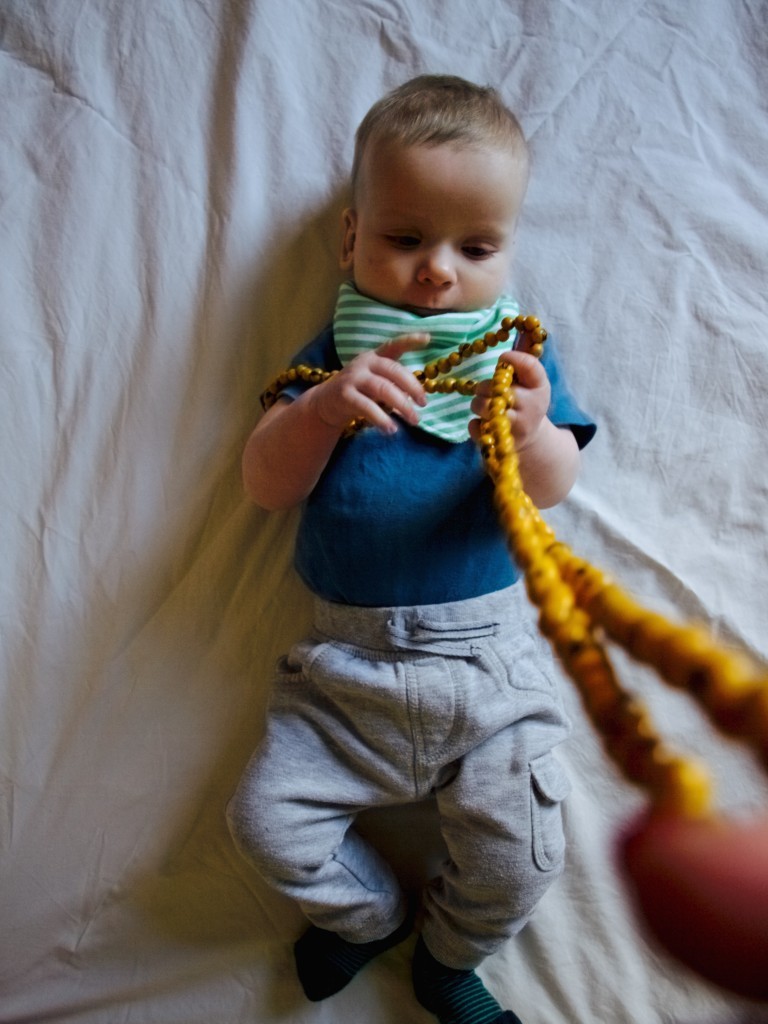
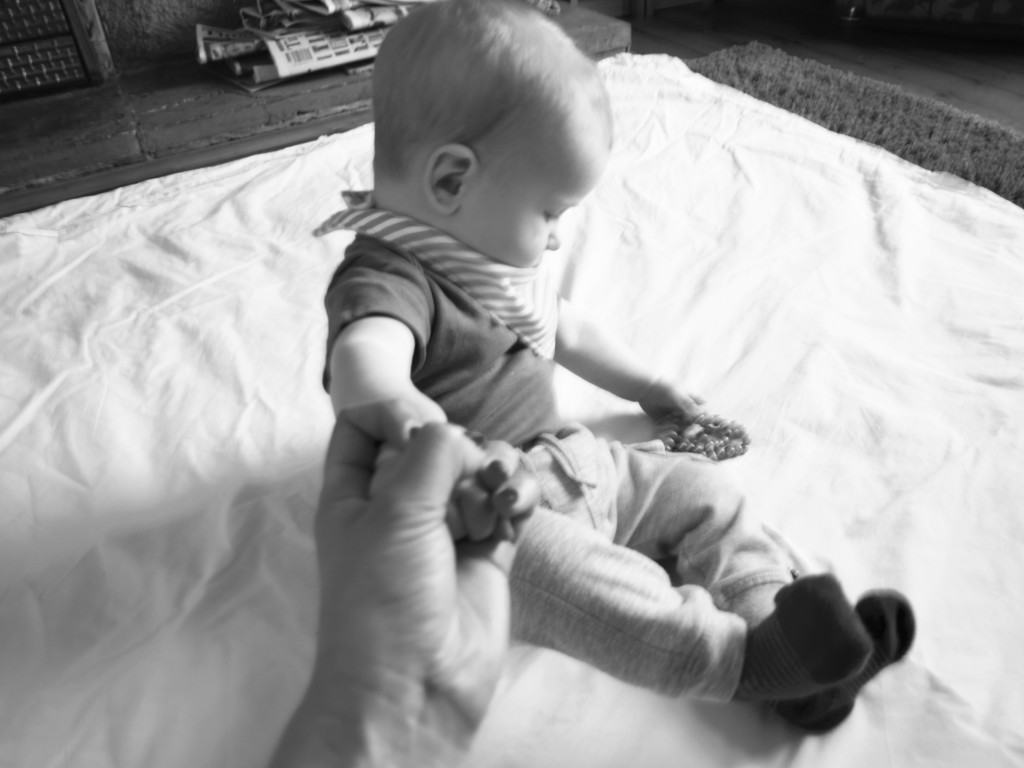
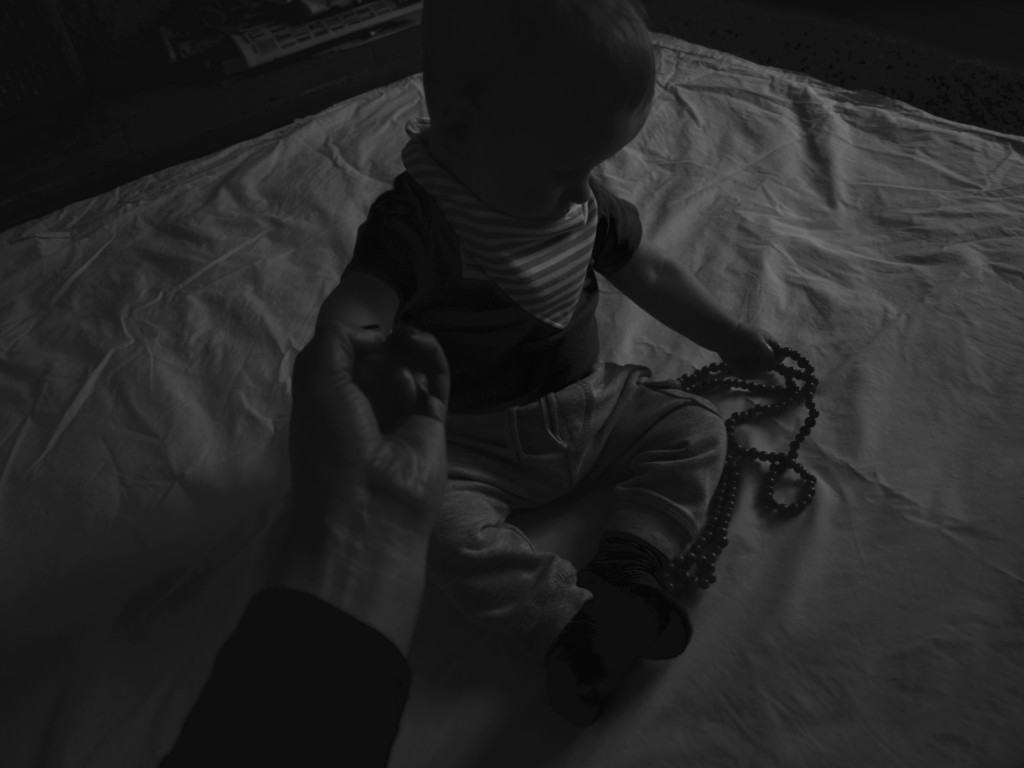
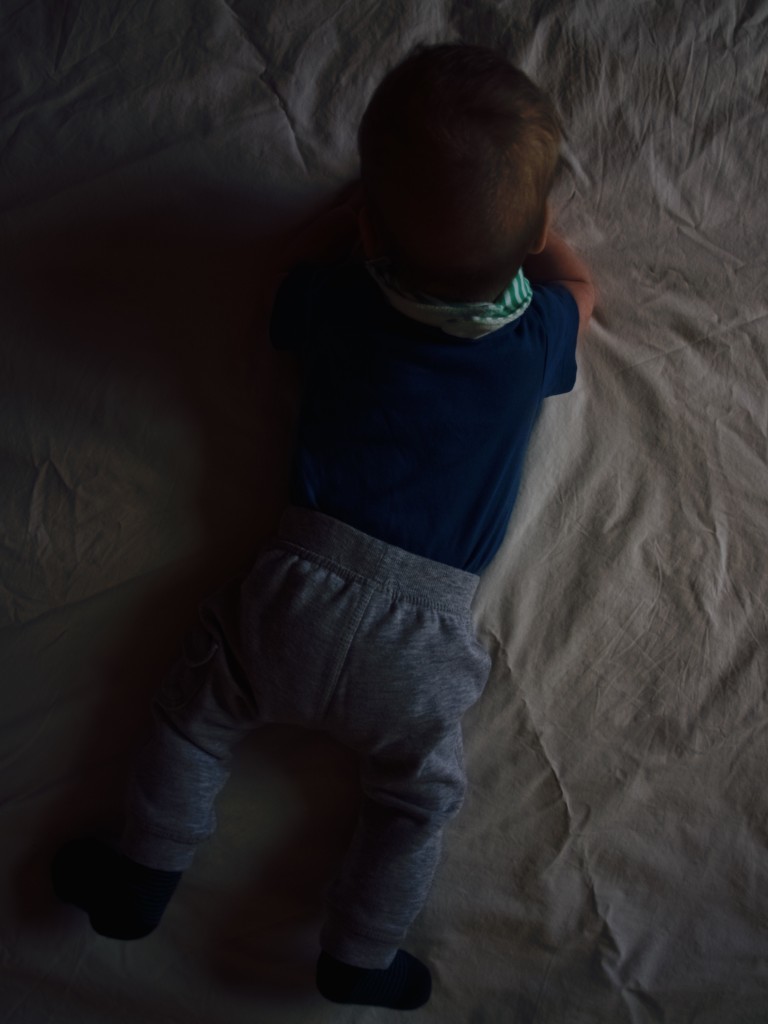
To experiment with shutter speed I chose Lukas as my model since he became a very active boy. I imagined I could achieve a very similar effect in my photography too. Little did I know there were few problems with this. First, I could not stay still with my camera making the whole image blurry. Second (not as crucial), Lukas turned out to be not active enough to create that dramatic shot. However the pic bellow is my favourite, because it shows that I am capable to take a photo of motion. As you may see the parts that are not moving (like the beads on his tummy) aren’t blurred, while his hands and legs in particular are blurry and feathery… aww!1/8 shutter speedSo what did I do to achieve this look? Well, I set the shutter to very slow, it being open for 1/8 of a second (I know! that sounds very fast in fact). But what happens if I set a faster shutter speed? The answer is that because the shutter is open for short time there is not a lot of light coming through, therefore it causes the picture being very dark like this one bellow (which been set for 1/60 of a second).1/60 shutter speed I edited the light of the dark picture to see how it came out. I think it looks very clear without any movement fuzz, although I can see some graininess in it. Thank goodness you can actually use other camera settings to make the picture lighter! I will certainly be exploring these options some time in the future. 1/60 shutter speed (edited)The shutter speed for the pic bellow have been set to 1/15 of a second. It all seem sightly blur to me because my hand been shaking as I was holding both Lukas hand and the camera.1/15 shutter speedAnd here is a similar picture with 1/80 shutter speed!1/80 shutter speedAnd same settings for the pictures bellow. Although this came out slightly better as it is little feathery on Lukas left leg.1/13 shutter speed 1/80 shutter speedI hope it all made sense to you ;-)

Rasa xoxo
1

Photography challenge: focusing on still life

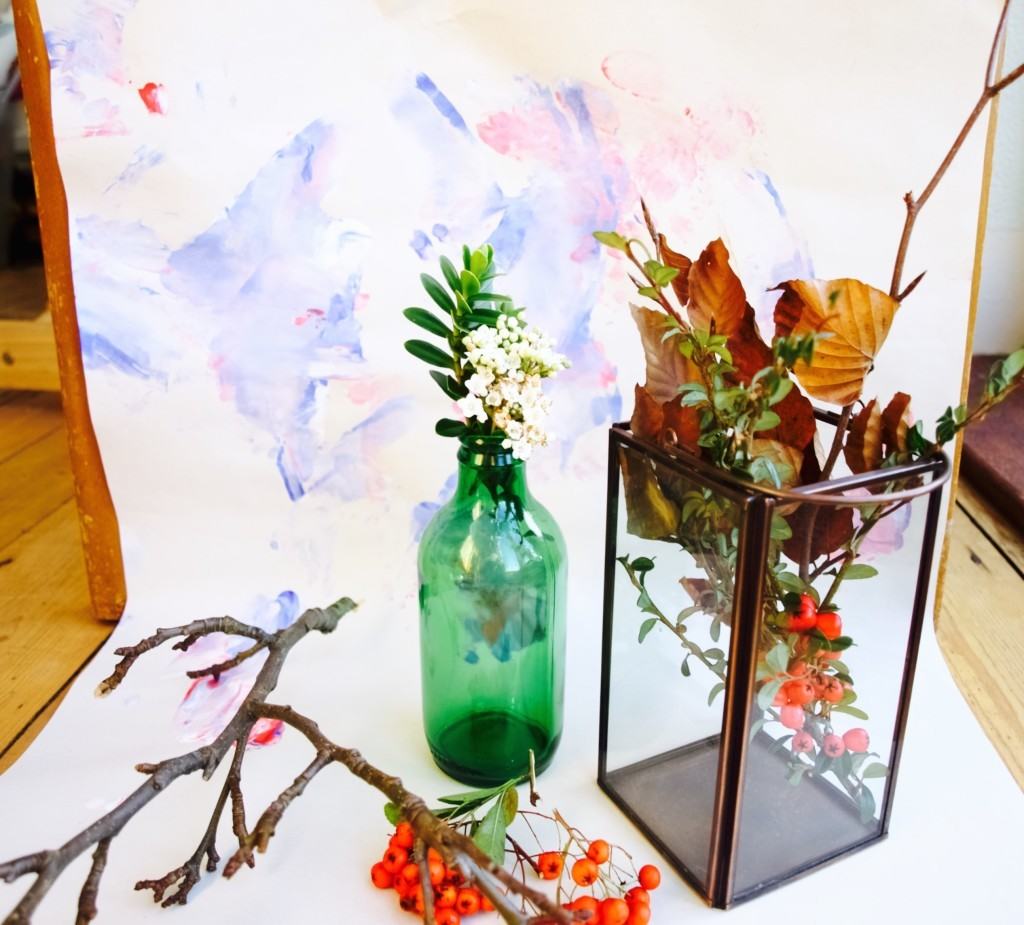
Still life photographyWhile last month I was playing around with DSLR to find out what it can do, this month I decided to focus more on focus …basically trying to achieve focus in my pictures where I want it and in what depth I want it (not letting camera to decide for me automatically). This is why I thought practicing on still life photography would be a great way to learn this!

Last month I mentioned that I did try to find out what are the f-stops on the camera setting. Well, now I know! Those numbers represent the depth of field in the camera! The larger the number the bigger the depth. Because I wanted to learn to focus on specific areas in the picture I decided to go with the lowest f-stop (3.5f on the camera I used).

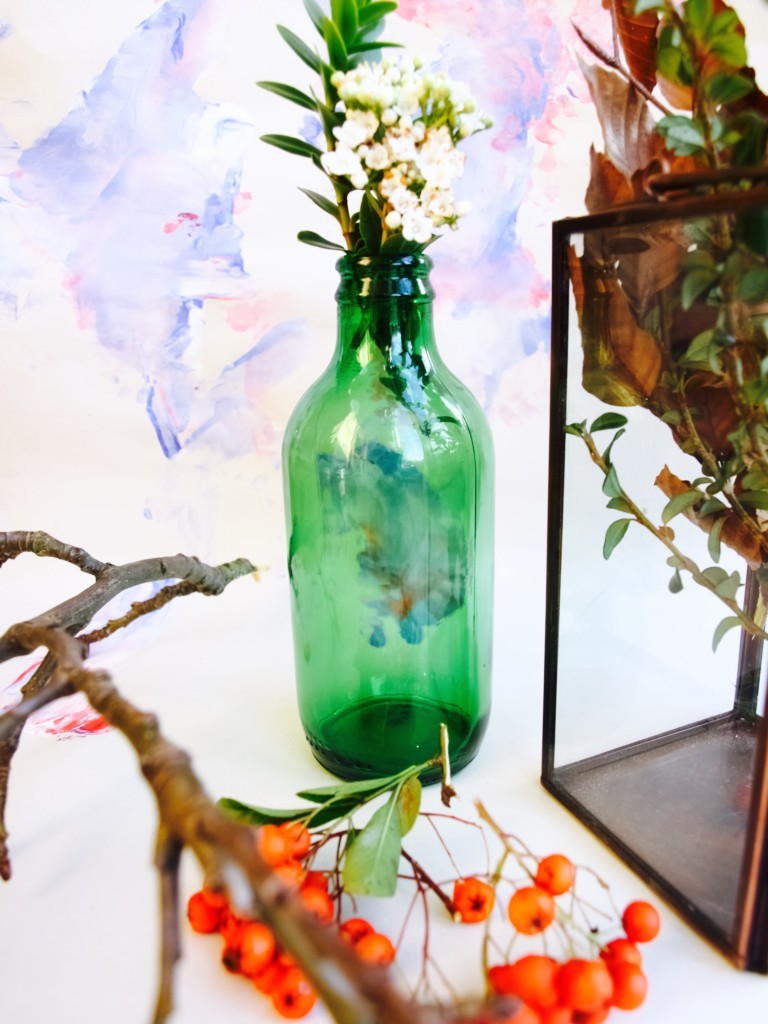
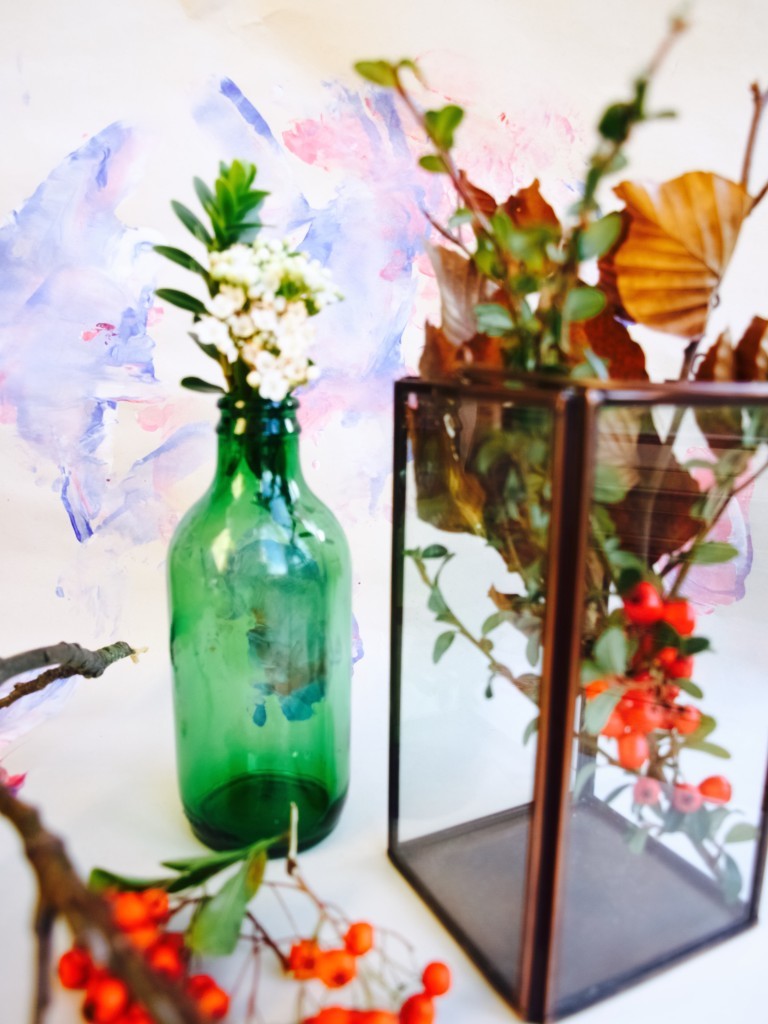
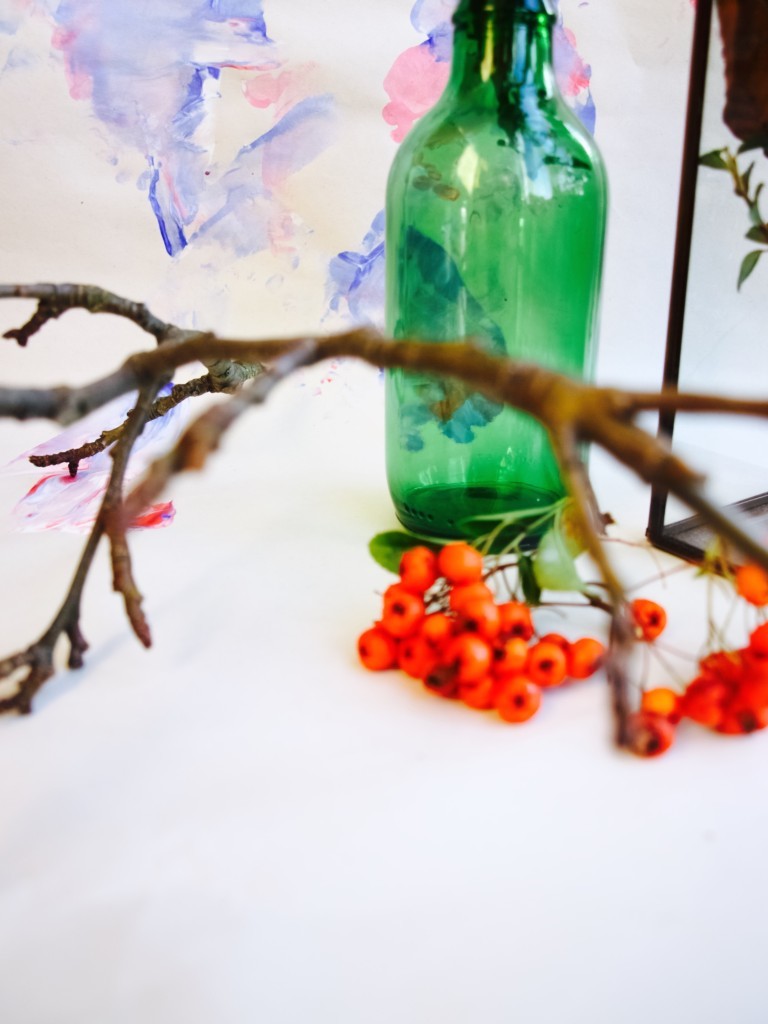
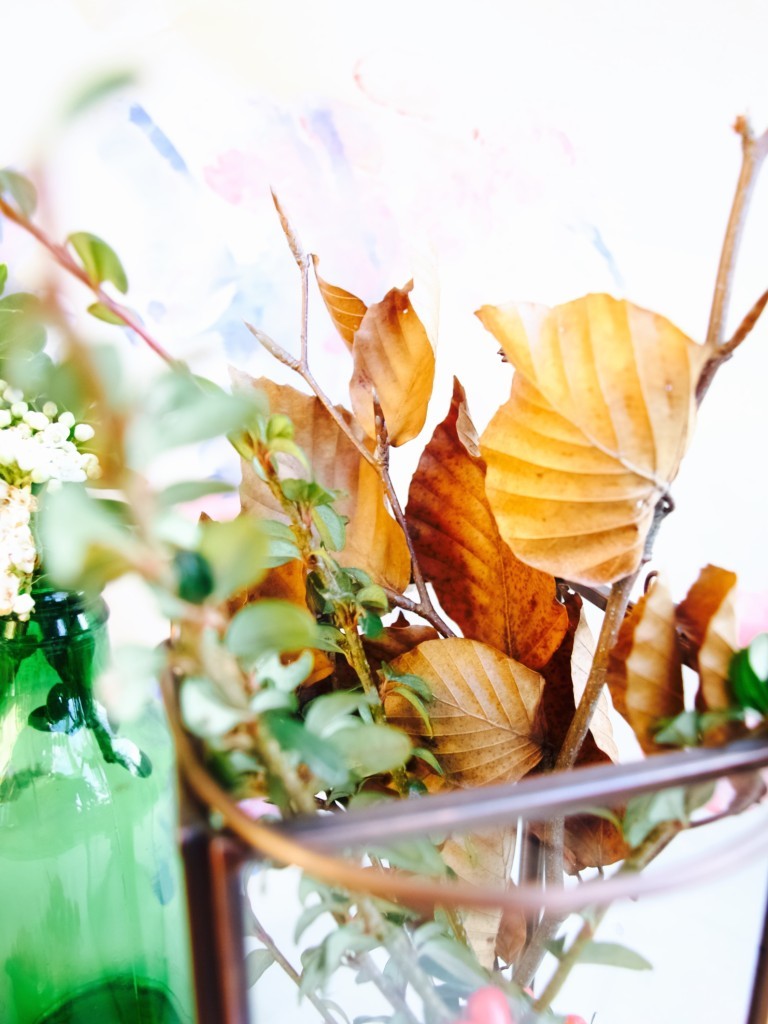
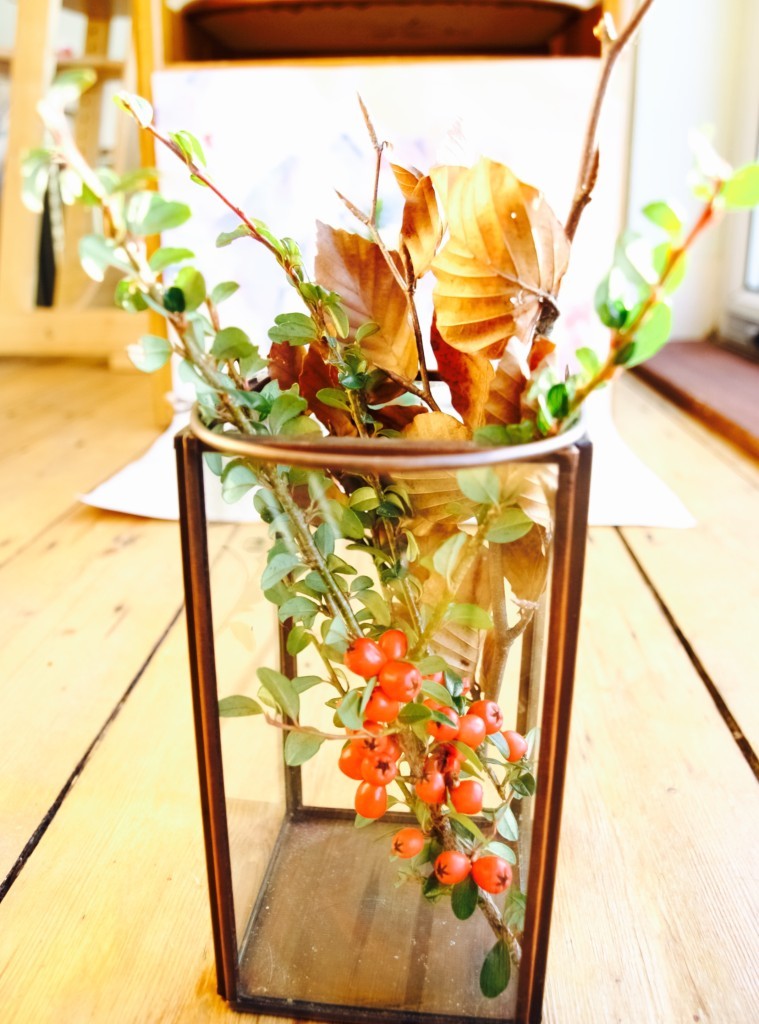
Now to focus on the specific object I learned that either you can point the camera lens centre at the object you want to (like the picture bellow) or…Still life photography: focus point in the centre on the green bottle…change the focus point on the camera settings (I am sure if you look at your camera manual you will find this term used somewhere). In the picture bellow I set the focus on the top of the frame. The camera instantly selected the background and you can see it is most focused dimension in this picture. Anything in front of the background is less focused!  Still life photography: focus point in the centre on the background Still life photography: focus point on the top of the picture, mostly covering the background I changed the focus point in my camera back to the centre and here you can see it focused on the brown leaves leaving anything behind (background) or in front in blur. Still life photography: focus on the brown leavesIn the picture bellow I used the same settings and focused on the same leaves, but because I placed the leaves arrangement further away from the background it made it (the background) even more blur. Still life photography: focus on the vase arrangementI hope you find this helpful ;-)

Rasa xoxo
2

Photography challenge: playing around with camera settings in Shortstown

Photography challenge: playing around camera settings in Shortstown After failing to achieve my goal to take better pictures last year, I decided to really push myself and achieve it this year. And what is better way to achieve your goals than setting yourself a challenge and actually planning how you are going to make it happened? So there we are, I started my photography challenge already this month (11 months to go).

First step in my mind was to read through my camera manual. But oh dear I almost pulled all my hair out because of my frustration of not being able to understand any of it.  I think I recognised few terms in it such as “Aperture” and “Shutter Speed” which I had a vague idea what they actually mean… Eventually I decided to start a course which would guide me through this madness.

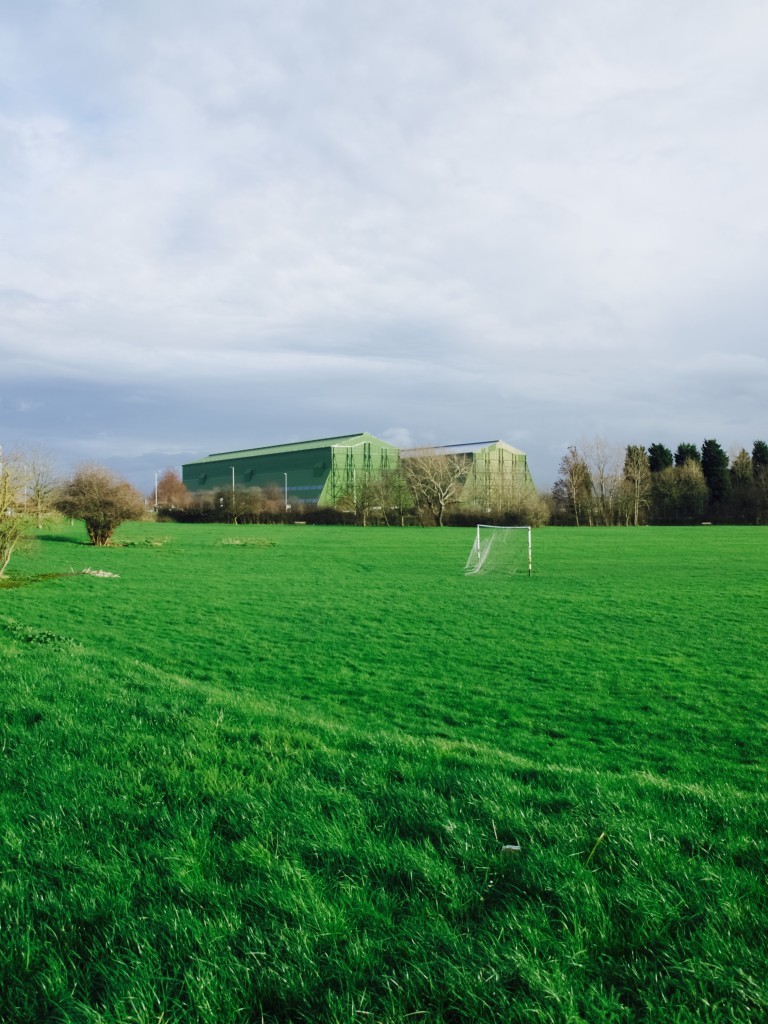
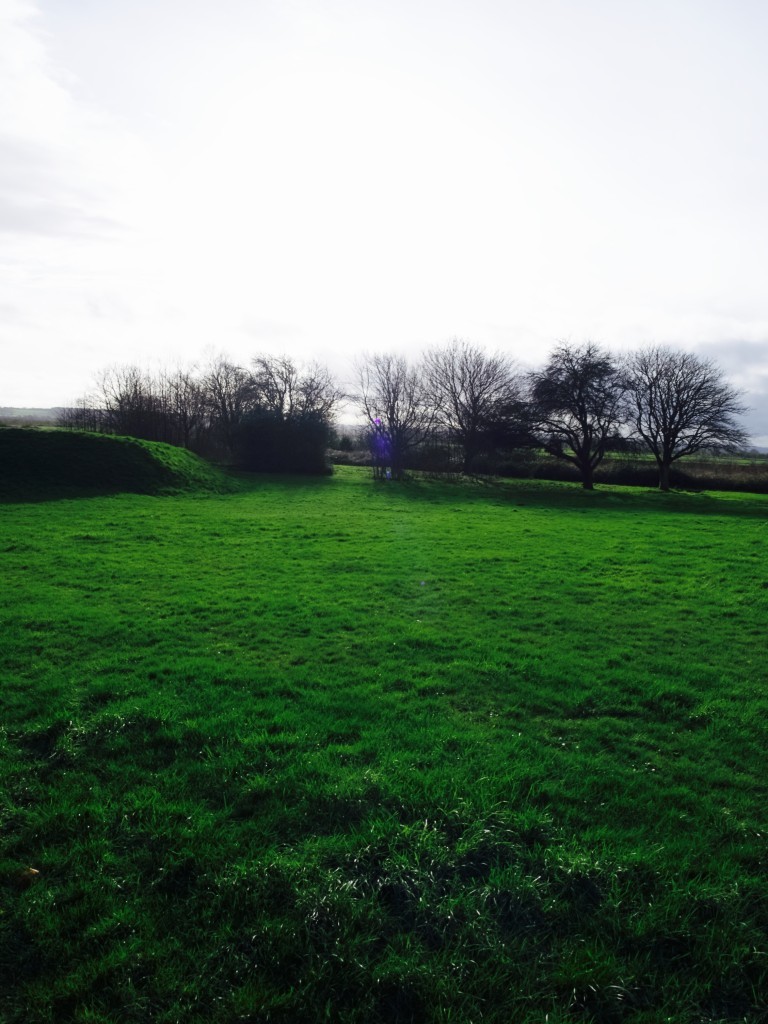
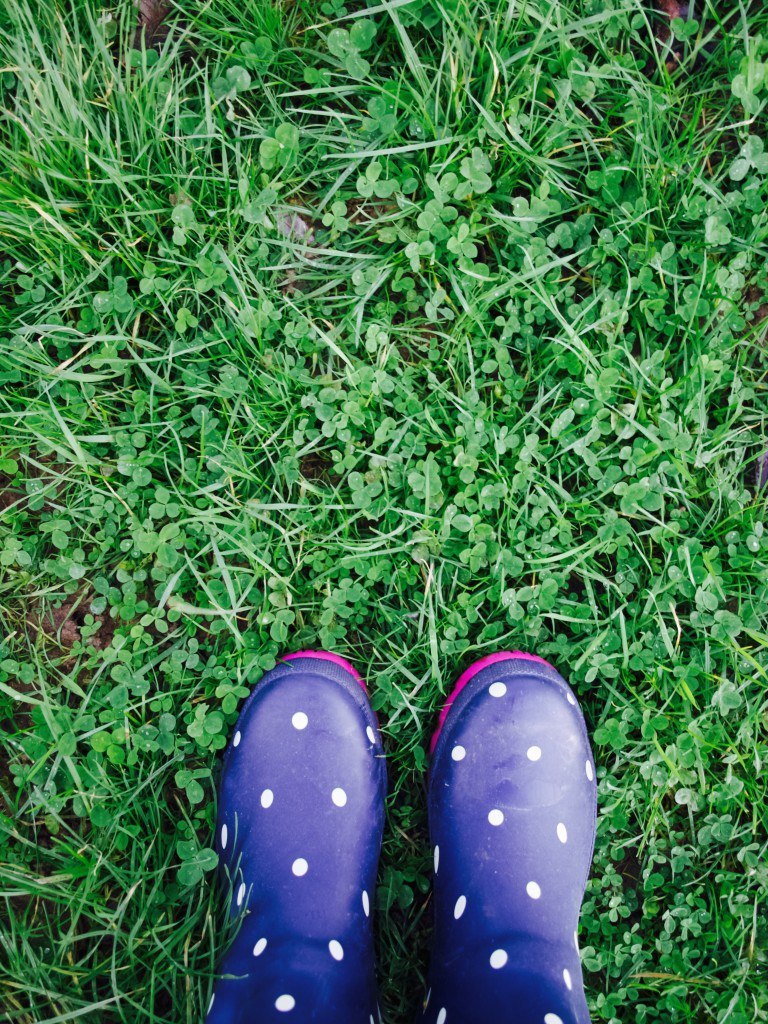
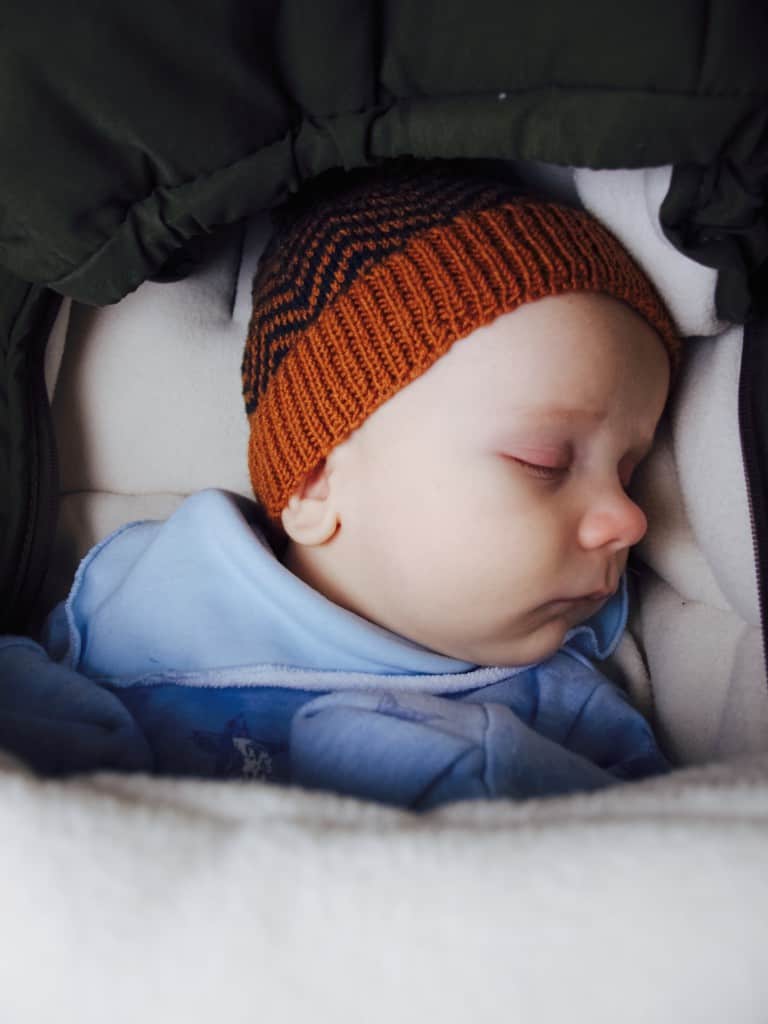
But for now I decided to play around with my camera settings and even see what the f stop means (ha ha… funny word!). At the same time I am also presenting you our town where we live now (while taking a walk with Lukas). Shortstown is a boring town with a lot of history and nothing much going on, let’s see what we can do to change it ;-). In the picture above here is Cardington twin sheds that are often used to film the movies (I know! Very glamorous!). I took this picture using a landscape setting (doh!). Next up in the picture bellow are some pretty hedge that I found on the foot path to my friends house. This was taken with a macro setting.Photography challenge: playing around camera settings in Shortstown This lovely greenery with the field beyond it is a good example of what it’s like to live in Shortstown. Lot’s of fields around where you are not allowed to walk. I set 9F for this shot.Photography challenge: playing around camera settings in ShortstownAnd here are my feet all looking fabulous in the Wellies that Joni got me. I used 3.5F to shoot this one (the lowest on my camera)Photography challenge: playing around camera settings in Shortstown And here is Lukas have fallen asleep from all this boredom. I think it’s time to go back home! It’s F3.5 stop again ;-).Photography challenge: playing around camera settings in ShortstownHope you feel inspired to take up a new challenge ;-)

Rasa xoxo

0