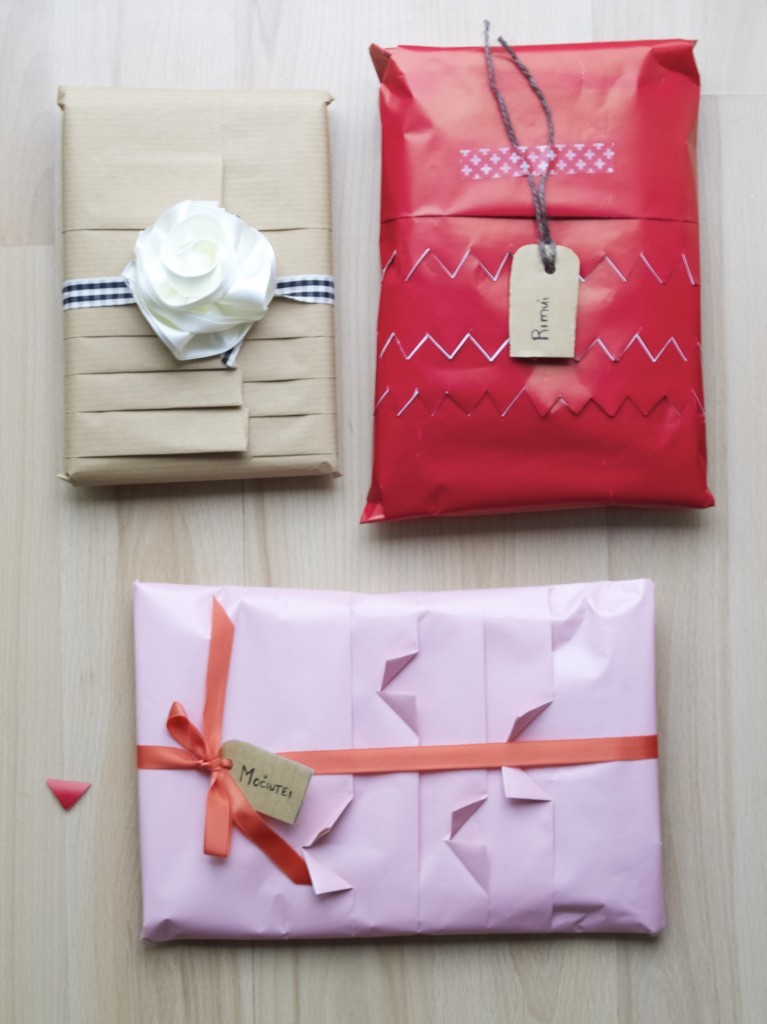
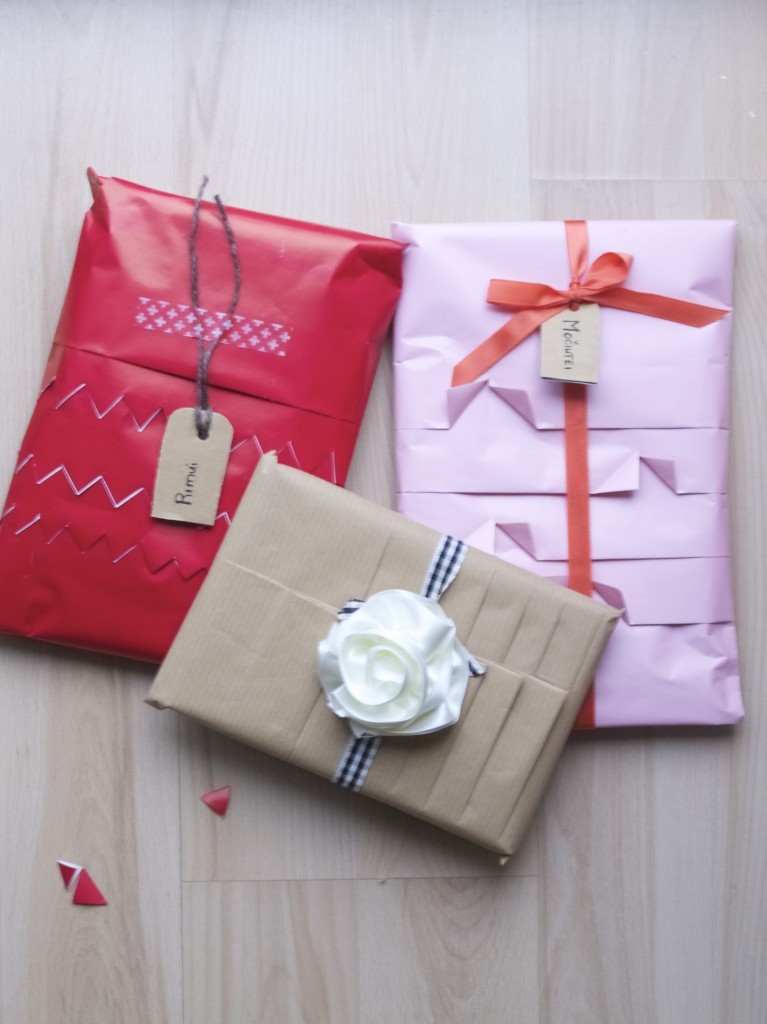
 Finally almost all gifts are wrapped! If you are still working on your gift wrapping load, then this is another gift packaging idea to get excited about. I love how pleated gift wrapping makes the gift look more interesting, however this technique does use up quite a lot of wrapping paper. So be warned!
  1. To begin, pleat the wrapping paper while still on the roll (you want to make sure you have enough of paper left for the whole gift and the pleats before cutting it off). If you don’t know how the pleats work, all you need to do is fold a straight line in and next one out. Repeat this as many times as you want until you find you have enough of pleats.
2. Place a gift upside down onto the pleated gift wrapping paper. Measure how much more of paper you will need for the gift and then cut it off from the roll.
3. Wrap the gift as you would normally do. Secure the ends by inserting double sided tape (this tape is great, because it’s hidden so no loose tape on the show!!)
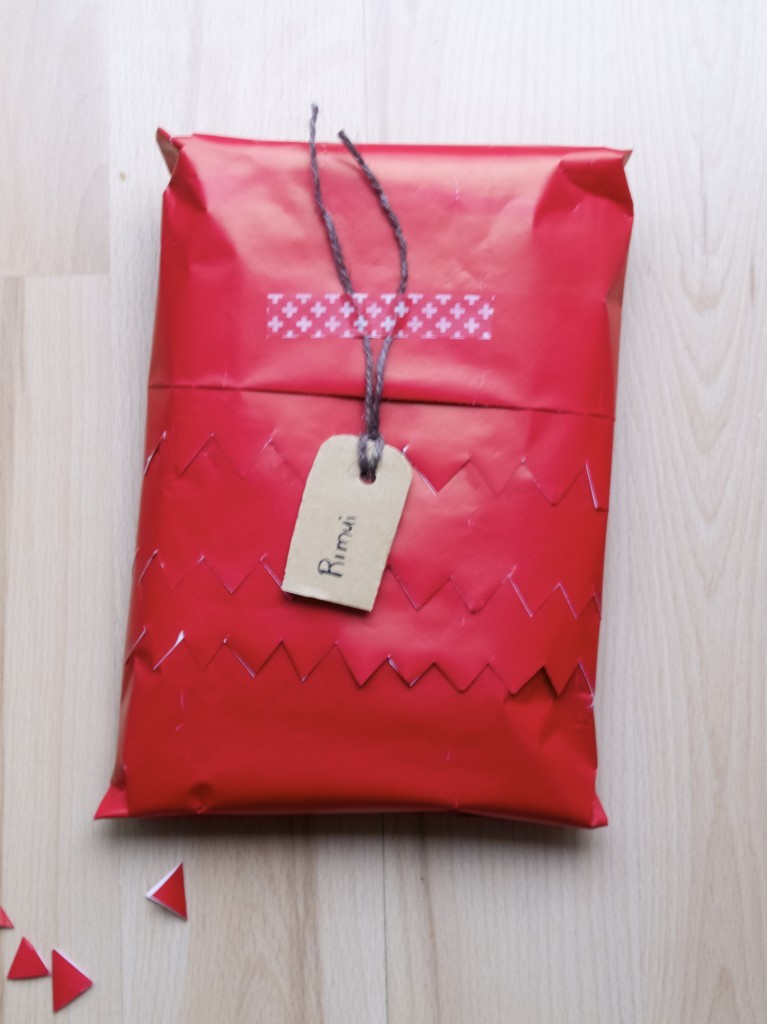
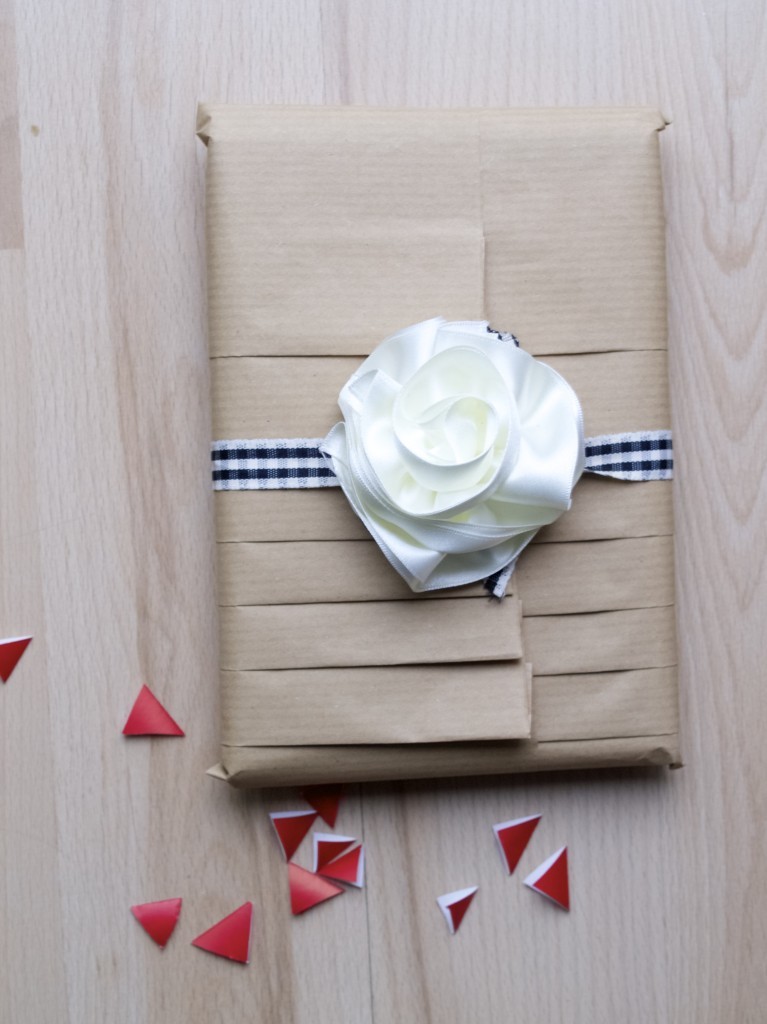
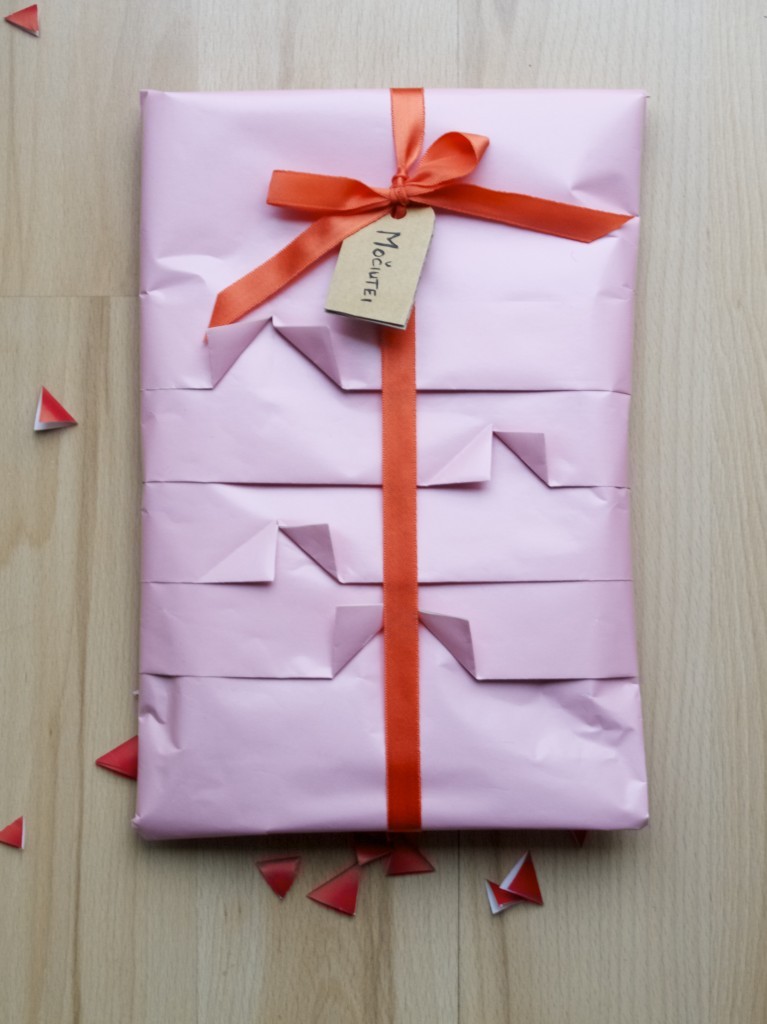
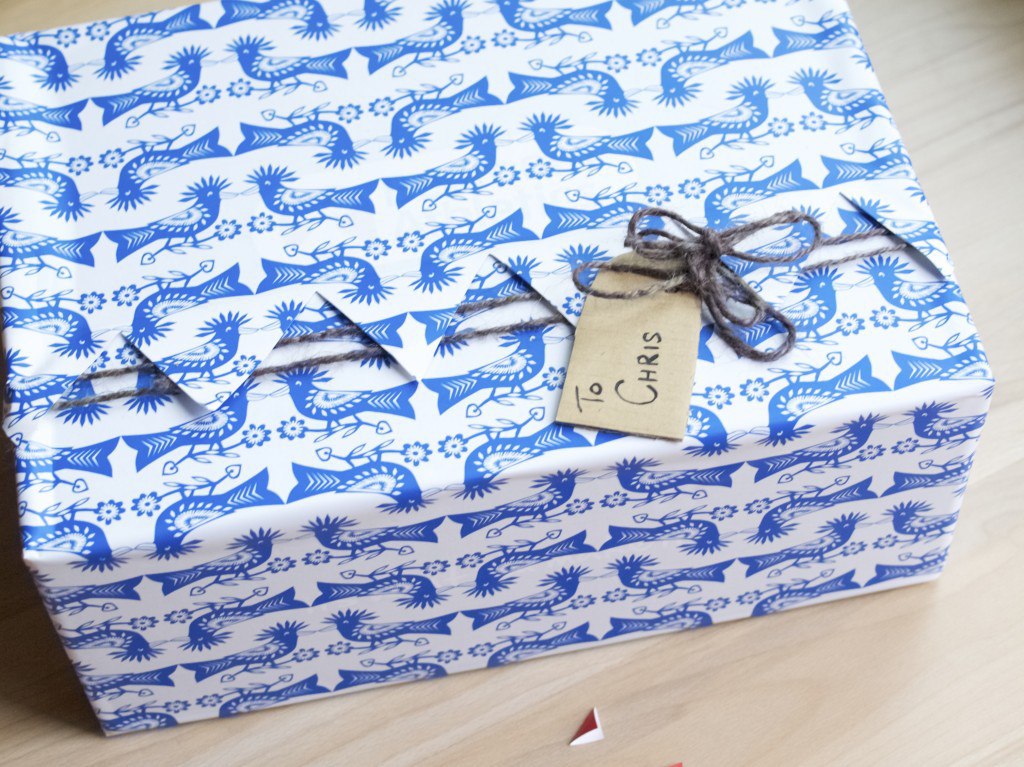
4. If you want you can cut into the pleats to create variety of “trims”. But this is completely optional, pleats are pretty by itself anyway! 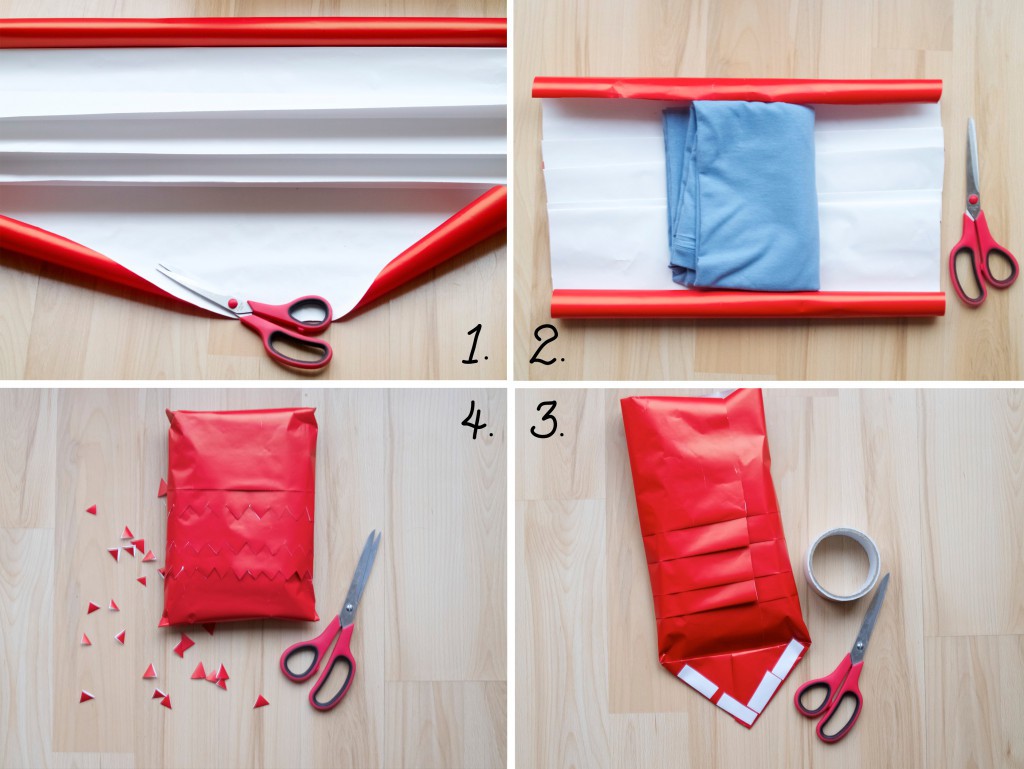 The gift then can be styled with the gift tag which can be attached with washi tape.
 Alternatively you can tie a ribbon or even attach a ribbon flower (click here to see how you can make one).
 Most importantly, have fun ;-)
Rasa xoxo


No comments yet.