Top

Archive | Gift Giving

Ways to use up your yarn scraps

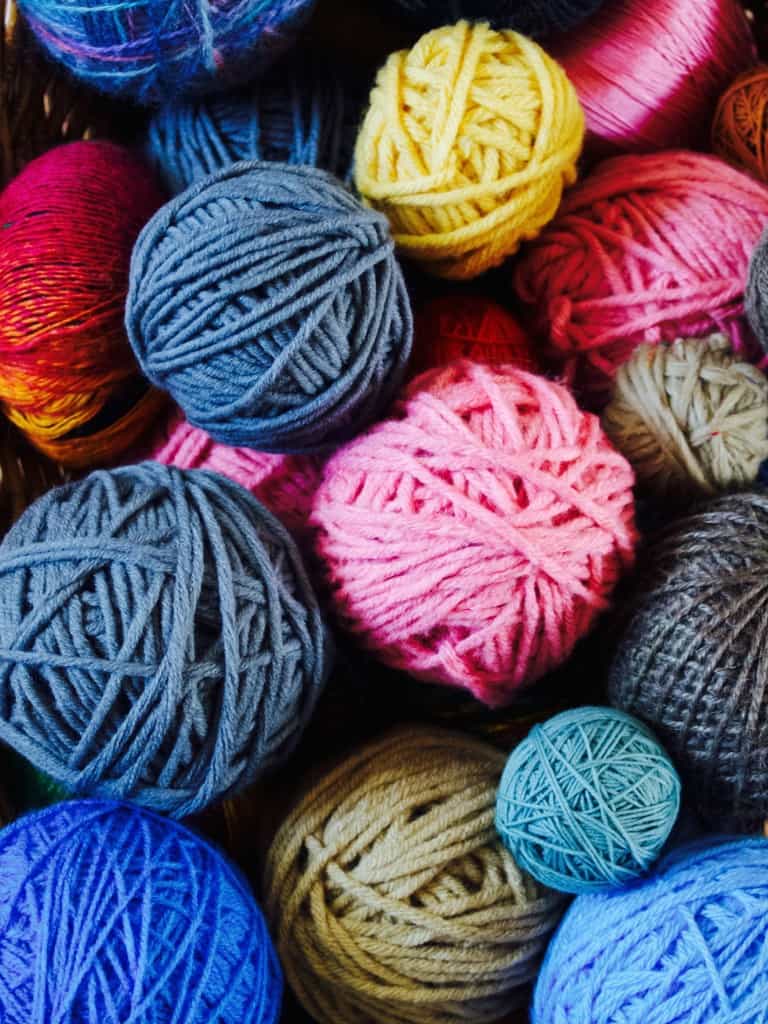
How to use up yarn scraps: projects and tips So the thing is that since I organised my yarn and saved it from moth infestation I realised I had lots and lots of scraps. If you been crafting for many years, than you will understand it’s never a good idea to let your small amounts of yarn just keep piling up. It takes up a lot of space and then you may worry about moths possibly attacking it again. No, thanks! So what do you do with all those little bits of yarn that are leftover after your knitting and crocheting projects? I thought of few ways…

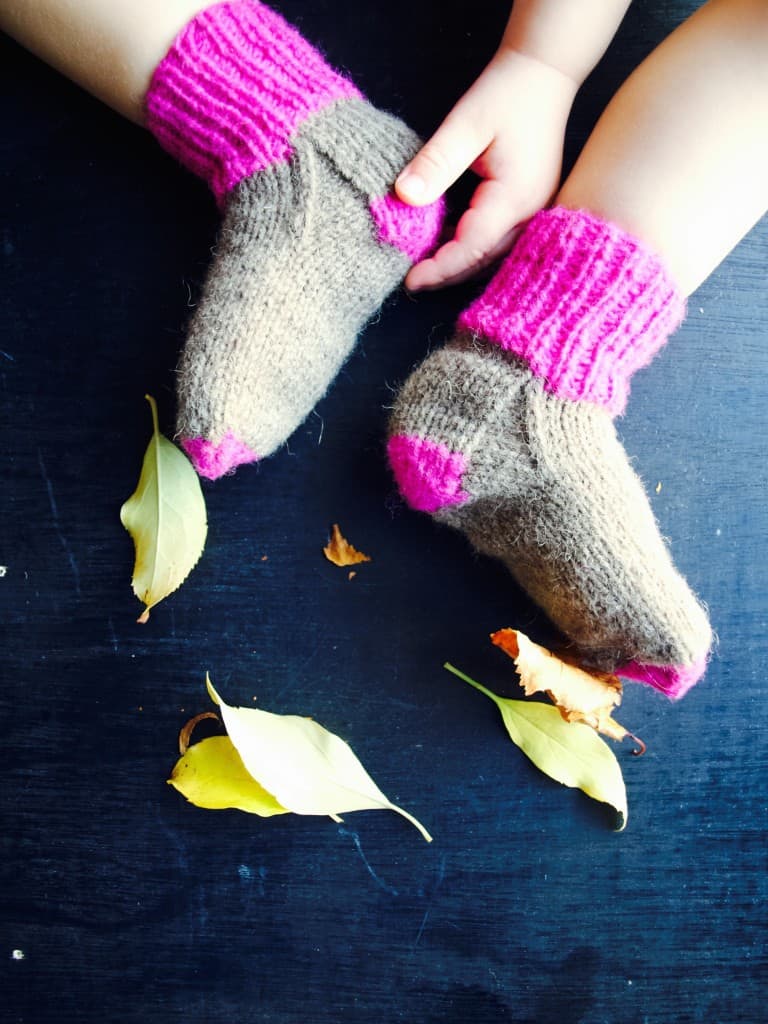
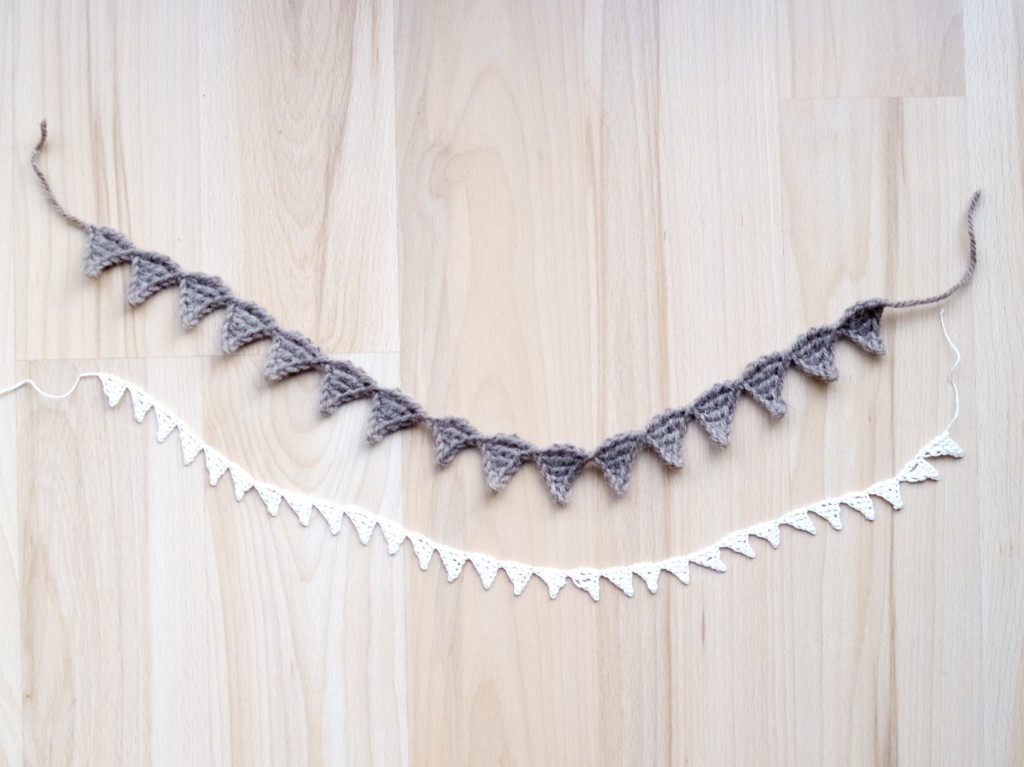
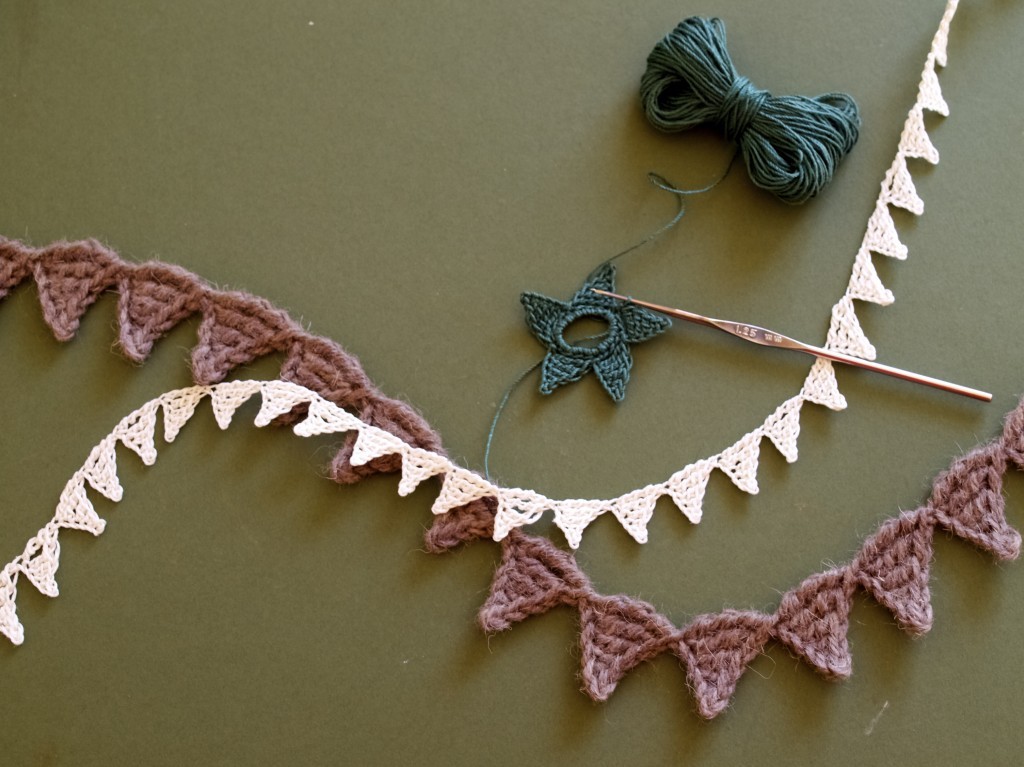
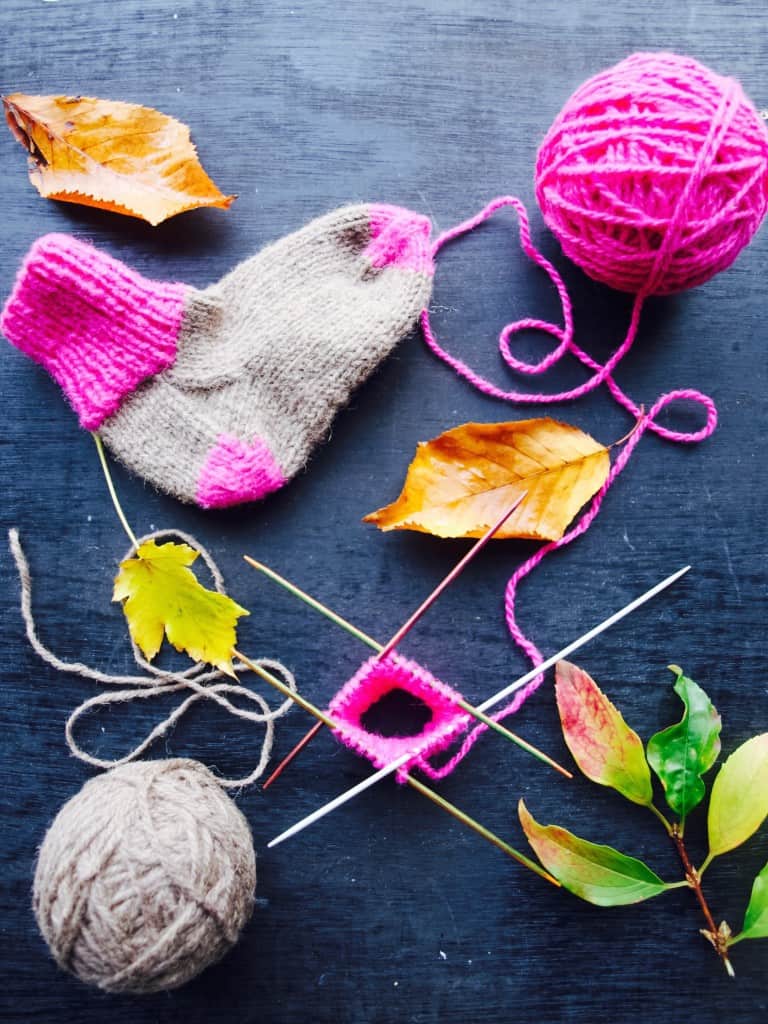
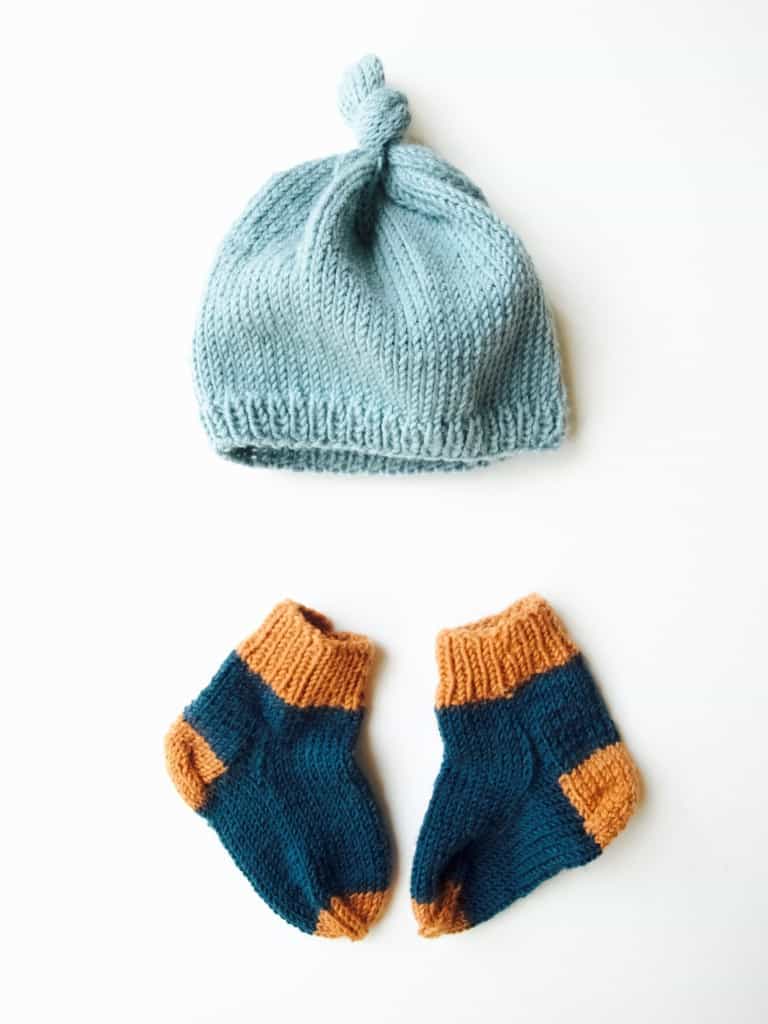
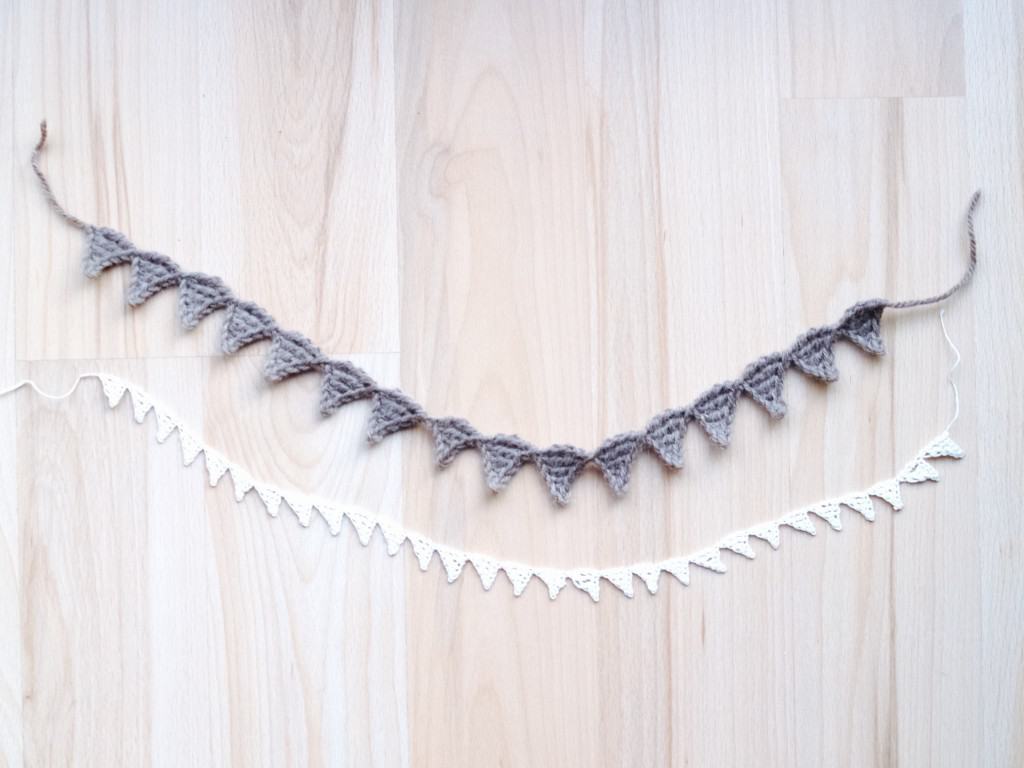
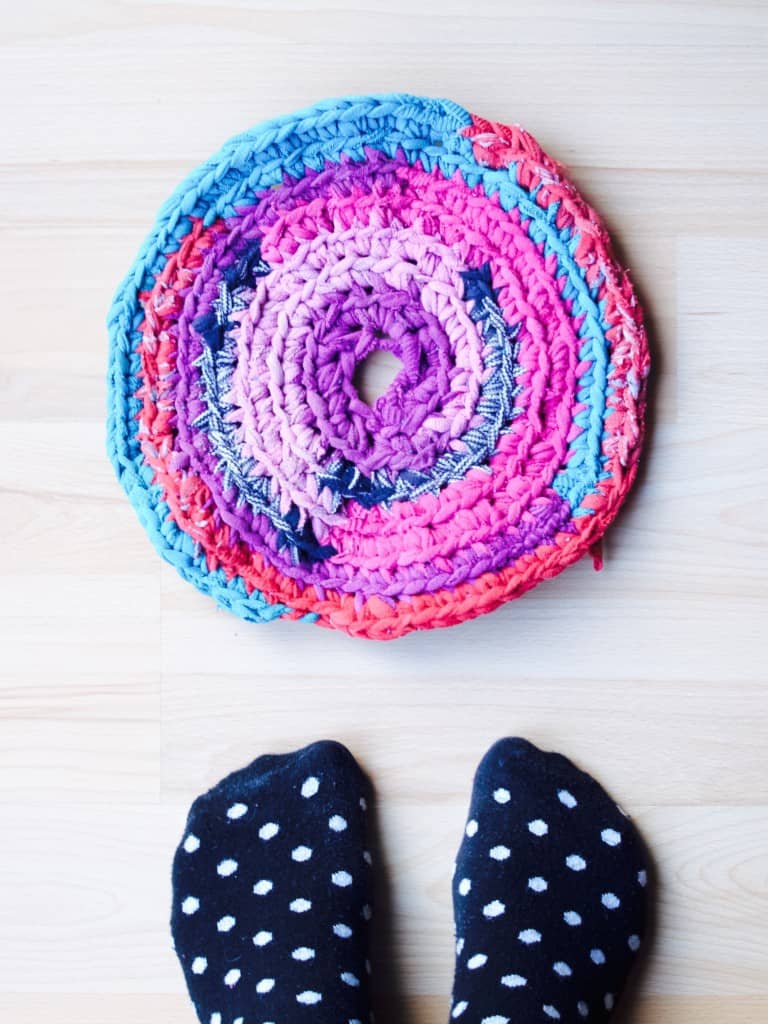
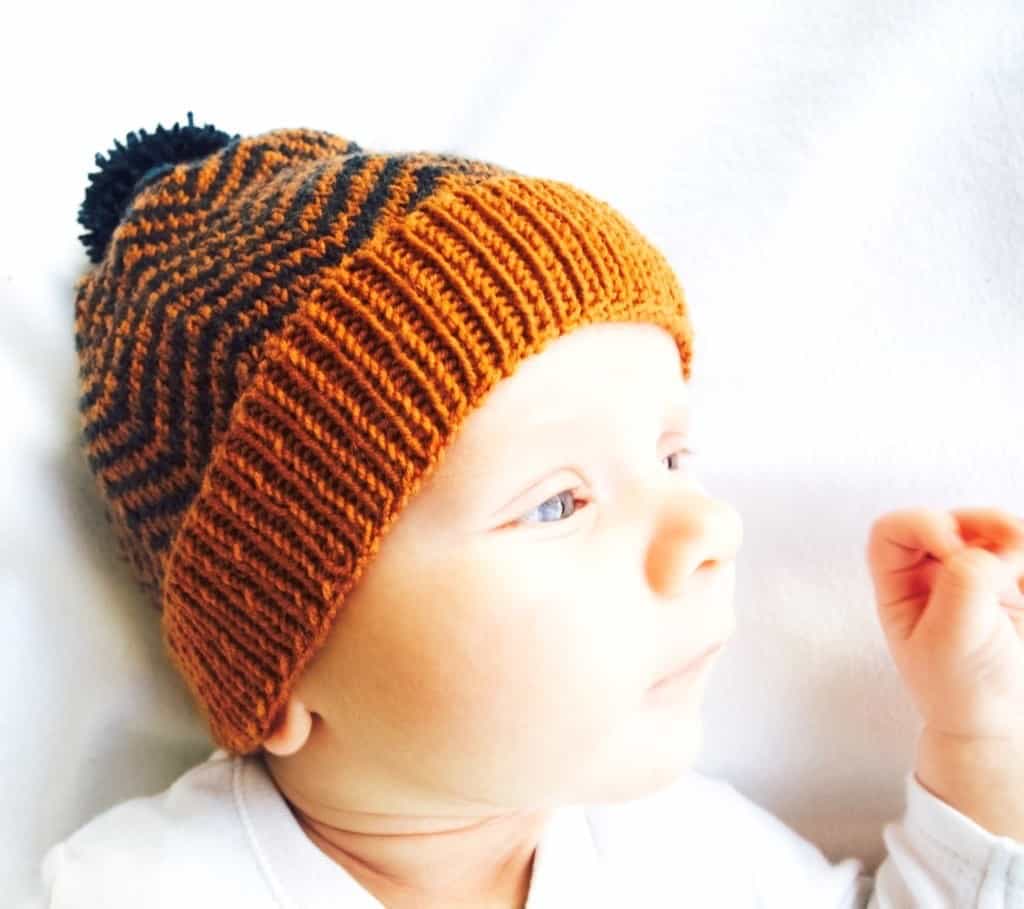
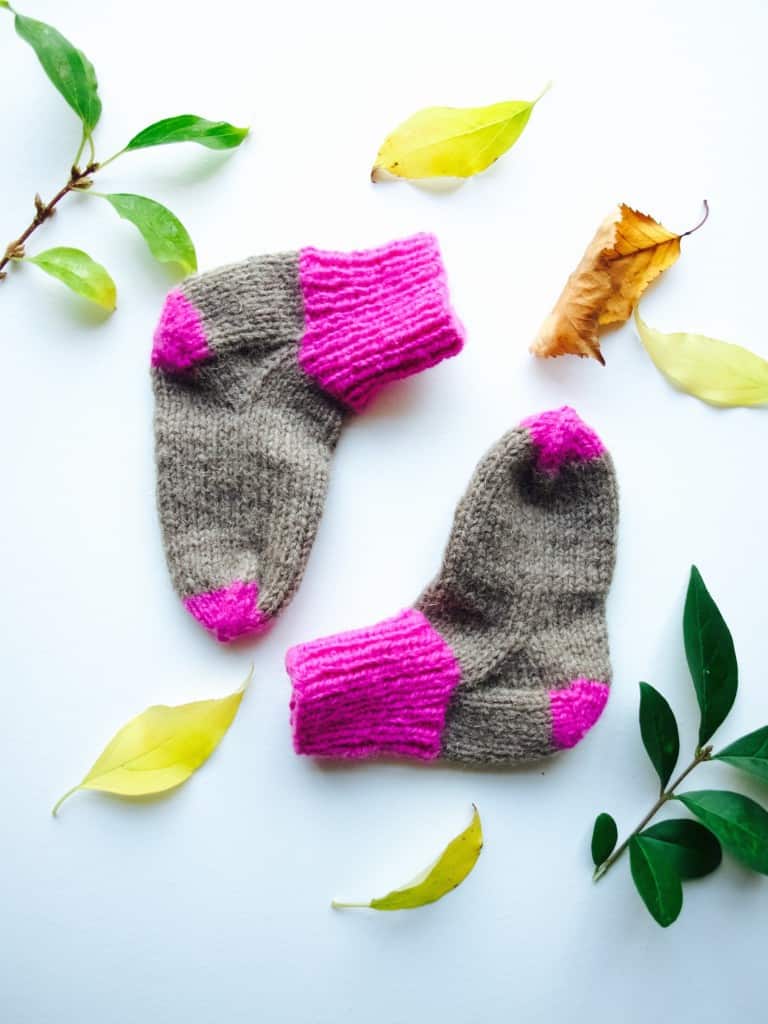
1. Small projects, first comes to my mind. With winter coming over I have been knitting socks and hoping to knit some gloves and maybe hats. These are fit to become Christmas gift too!How to use up yarn scraps: projects and tips While there are plenty of small projects out there I find knitting socks is my favourite item to knit (that magical heal turn gets me every time!).  If you feel the same then click here for basic kids socks. Or if you prefer to knit this pretty baby hat then the tutorial for it hides here :D.How to use up yarn scraps: projects and tipsIf you are after for a very teeny weeny project then you should check out this crochet triangle pattern tutorial. It makes a very cute garland for Christmas tree perhaps??!How to use up yarn scraps: projects and tips 2. Making big multicolour rugs or blankets is another good way to use up yarn scraps. Few years ago I started making this never ending, upcycled crochet rug that sadly did not continue (because it did not fit our new home style). But the point I am trying to make here, this is very good project to do to use up all those itsy bitsy bits of yarn. How to use up yarn scraps: projects and tipsOr this giant blanket, very popular way to use up all that scrap yarn. I know, I know, I made it in one plain colour, but trust me, it looks good in multi colours too!How to use up yarn scraps: projects and tips3. Using up scrap yarn can mean using it in patterns or trims. Here is one example, but there are plenty projects out there with pretty patterns ;-).
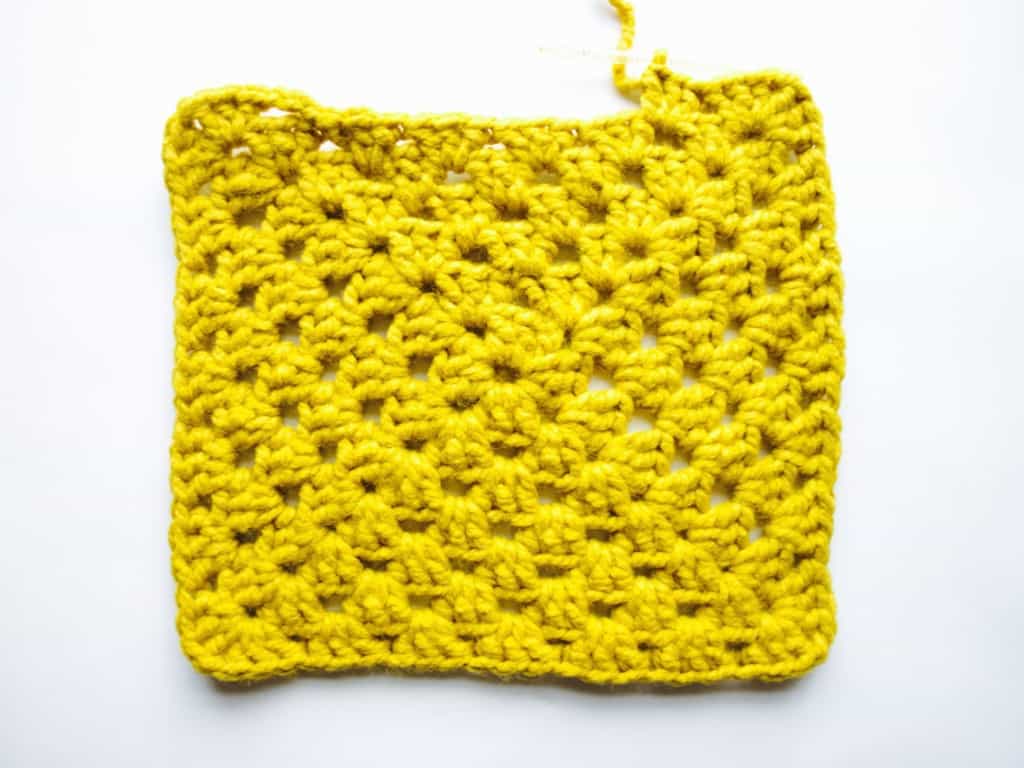
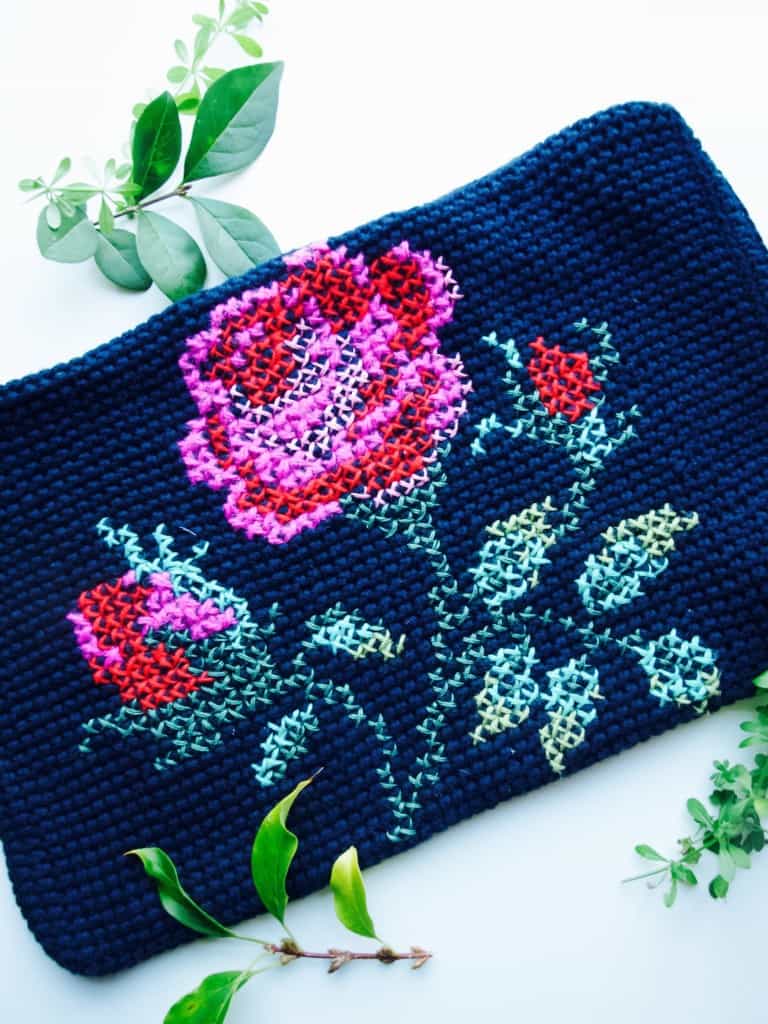
How to use up yarn scraps: projects and tips 4. Did you know that you can use leftover yarn for embroidery and cross stitch? Here is my laptop cover that I made few years ago. It is still one of my favourite items that I made :).How to use up yarn scraps: projects and tips Finally, here are the socks I recently made for Lukas. I could not be more proud :).How to use up yarn scraps: projects and tips How to use up yarn scraps: projects and tipsHope you got inspired ;-)
Rasa xx
0

Make your own personalised cosmetic bag

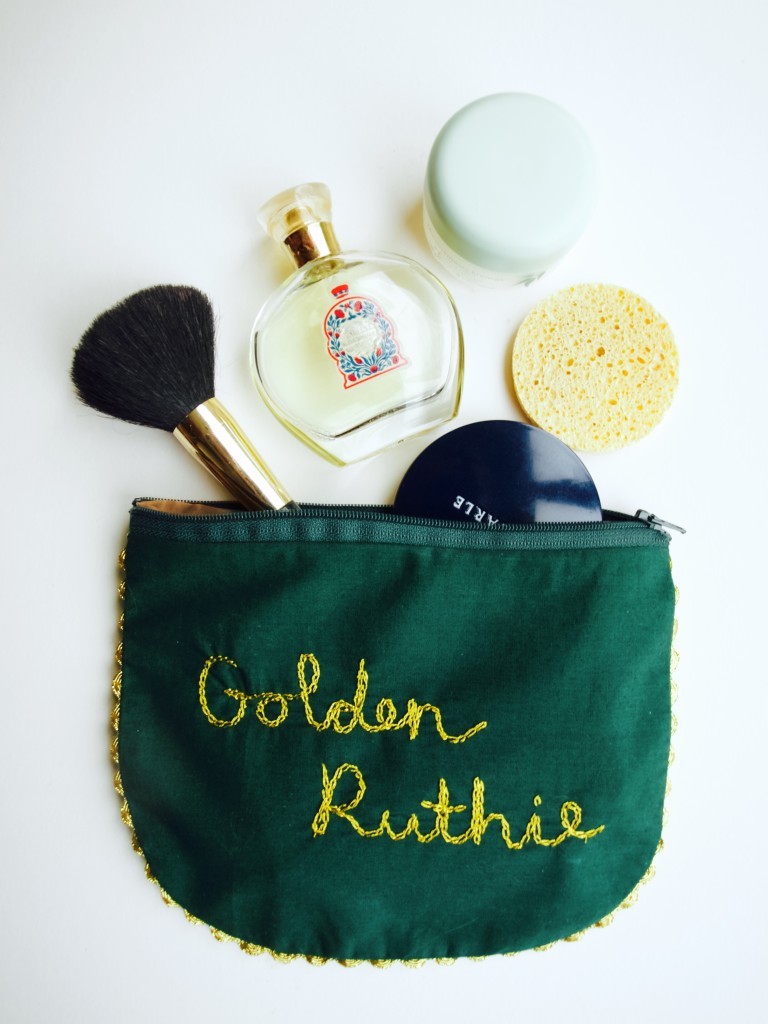
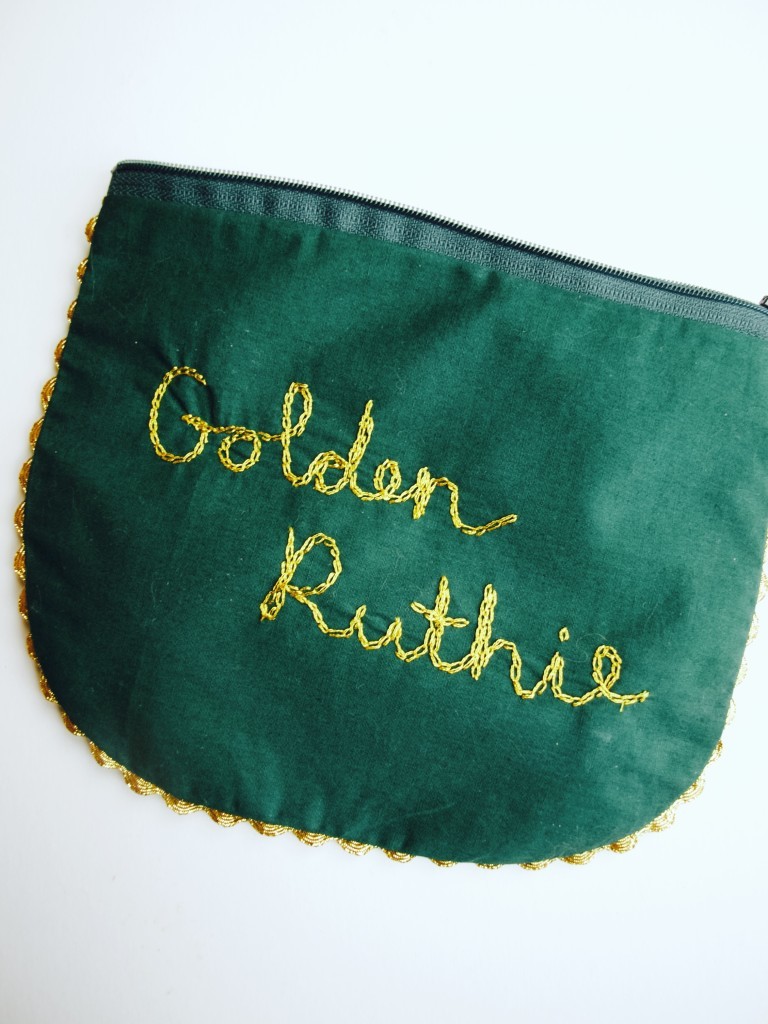
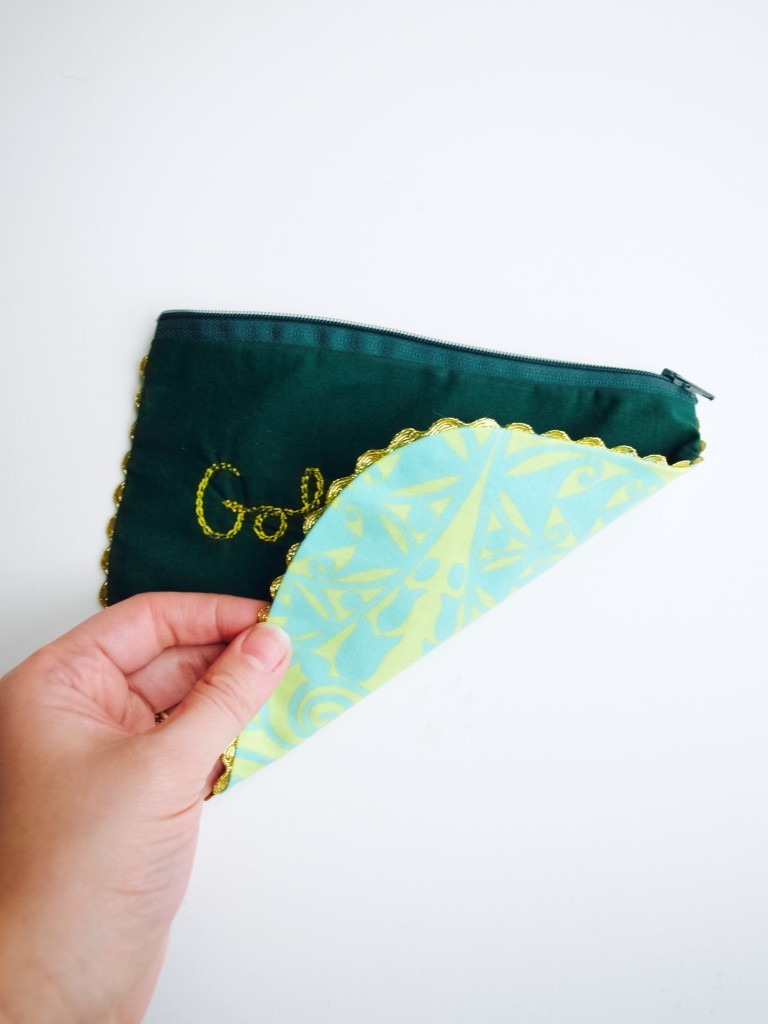
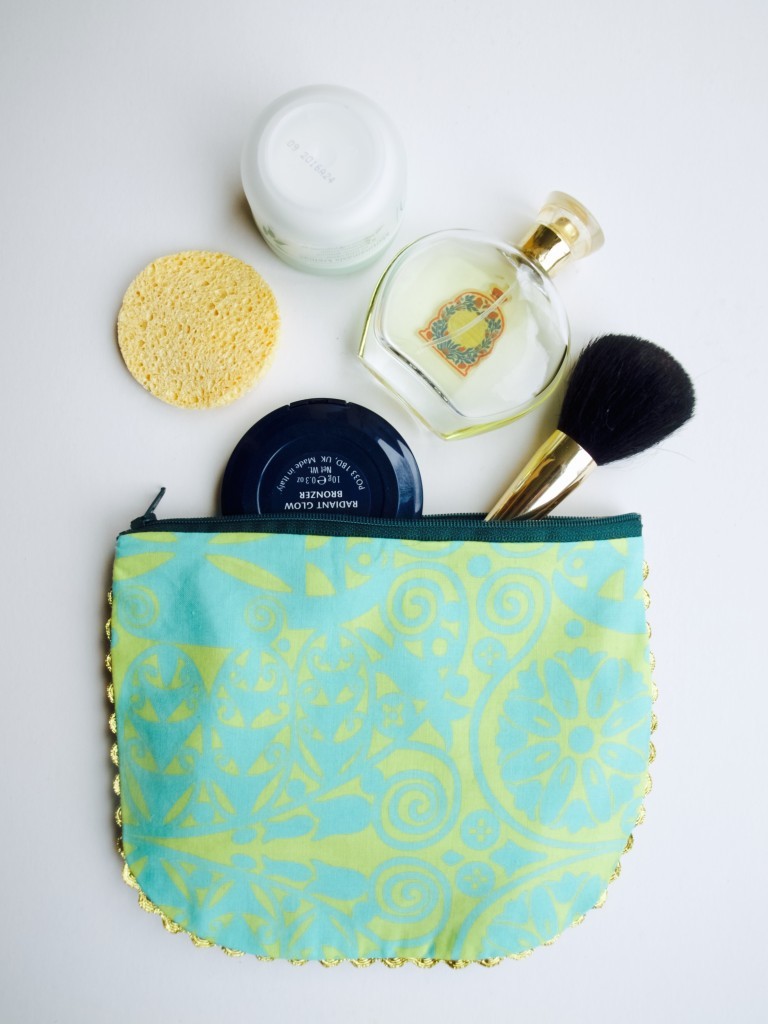
Personalised cosmetic bagI think there can never be enough cosmetic bags! I just love to keep everything organised, even if I don’t keep many actual cosmetics(if you know what I mean). Last week we celebrated my sister in law’s birthday and since I was giving her some cosmetics I thought why not make this simple customised pouch bag. What do you think?…Personalised Cosmetic Bag DIYPersonalised Cosmetic Bag DIYLike it? If you fancy making it than here is a link ;-).http://friendlynettle.com/portfolio-items/personalised-cosmetic-bag/Enjoy sewing it!

Rasa xoxo

0

Heart beet potion

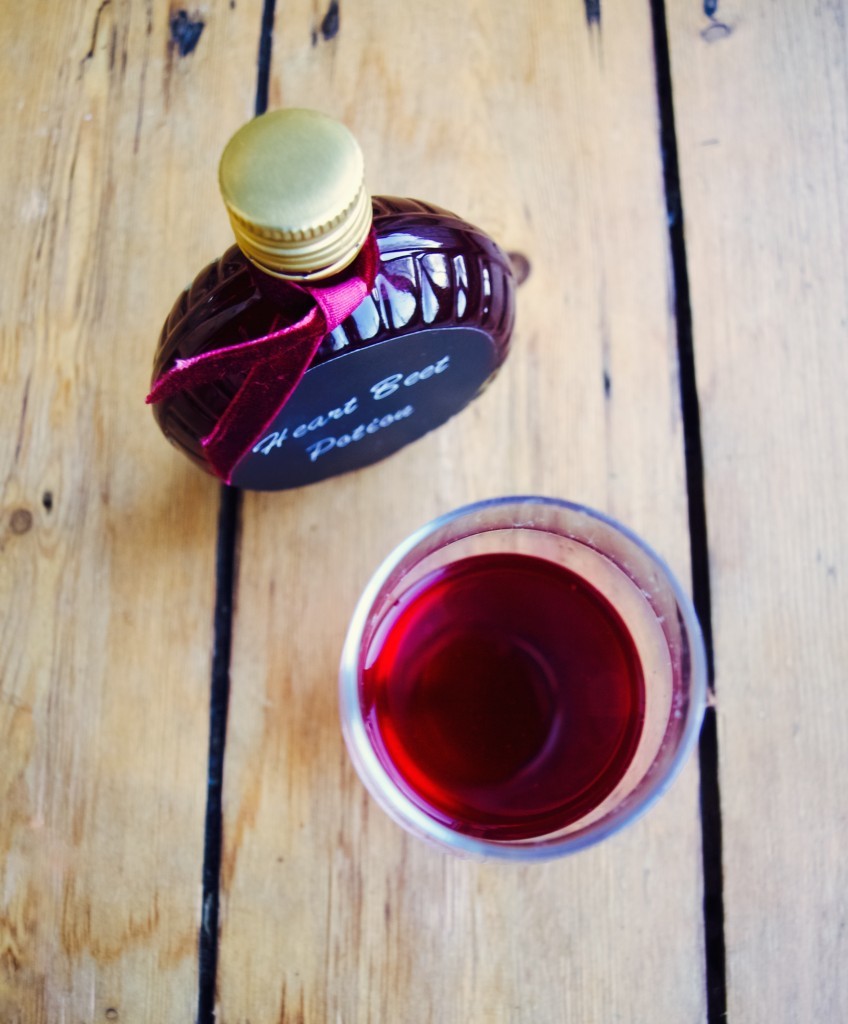
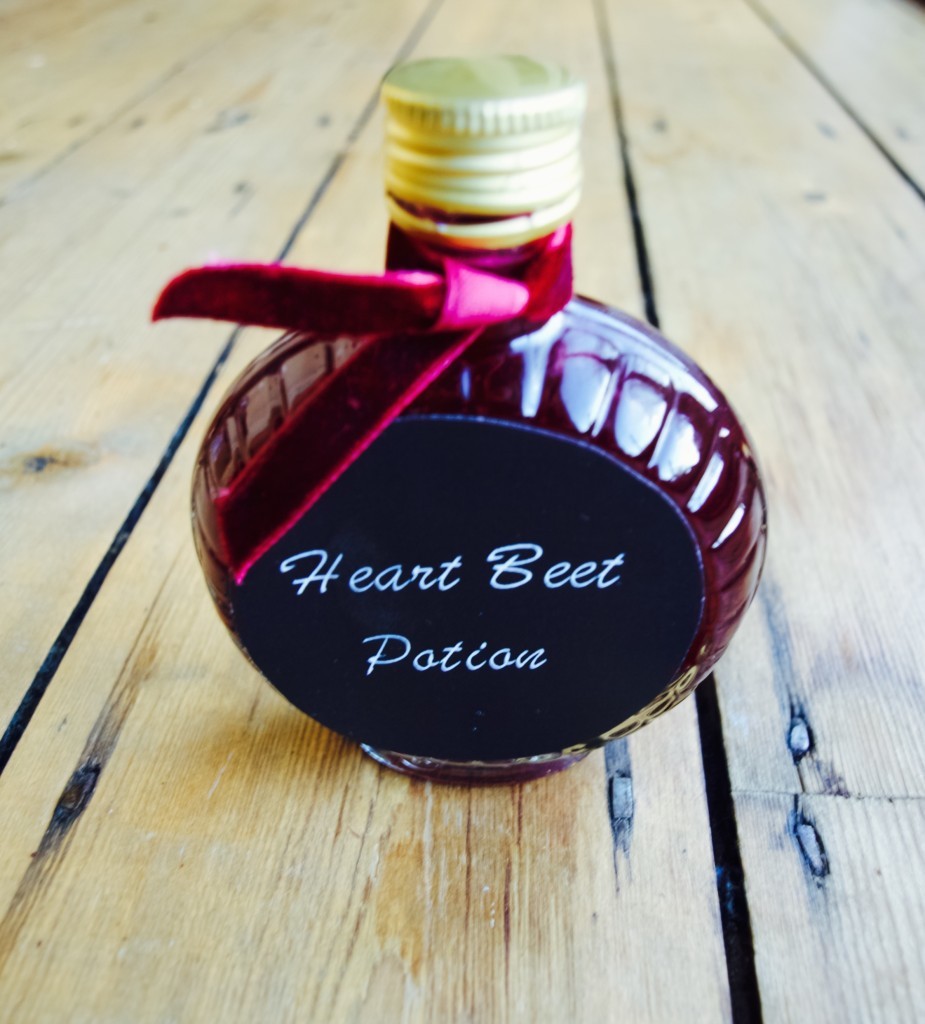
Heart Beet Potion recipeLately we have been ill (me and Lukas, but not Joni). I mean we were not terribly sick, but had a lingering cold that we could not quite get rid off. My mum suggested drinking iron (apparently that improves blood therefore bugs don’t stick that much to it). She actually gave me a recipe for this drink that is packed with iron which contains some beetroot and alcohol. It kind of taste like a sweet liquor with earthy tones in it. I must admit I look forward to a shot of it everyday ;-). This is why I think this would make a perfect Valentine’s gift, because apparently beetroot has some natural aphrodisiac (well…apparently).

HEART BEET POTION

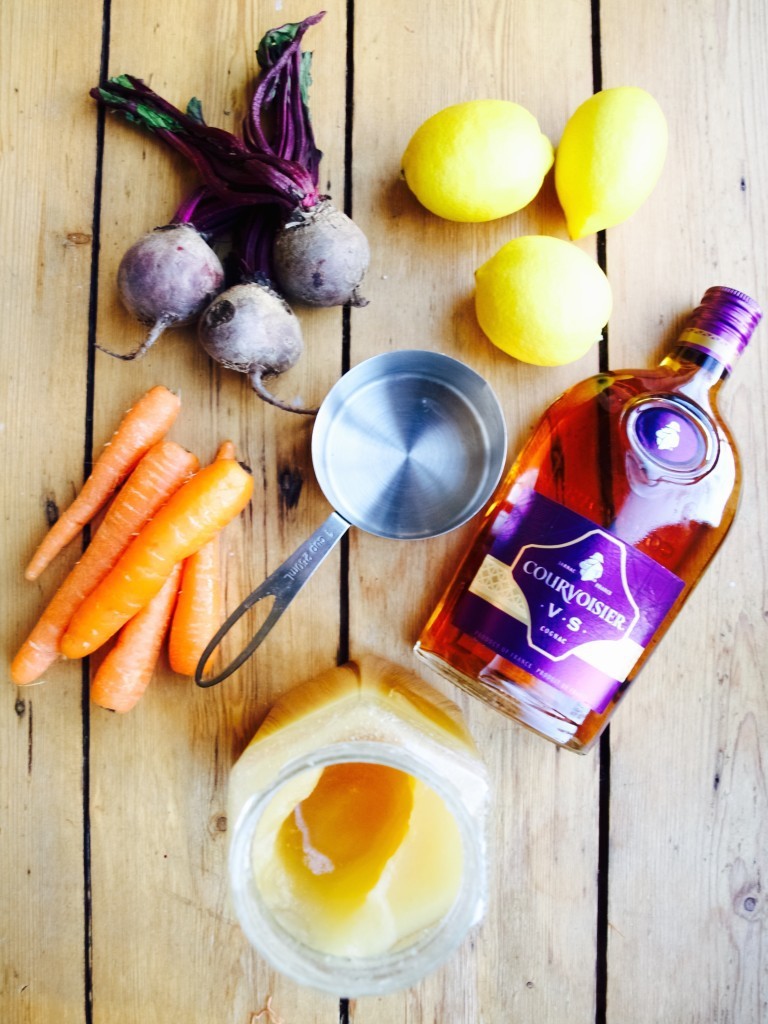
  • 1 cup grated raw beetroot
  • 1 cup grated raw carrot
  • 1 cup honey
  • 1 cup cognac
  • 1 cup lemon

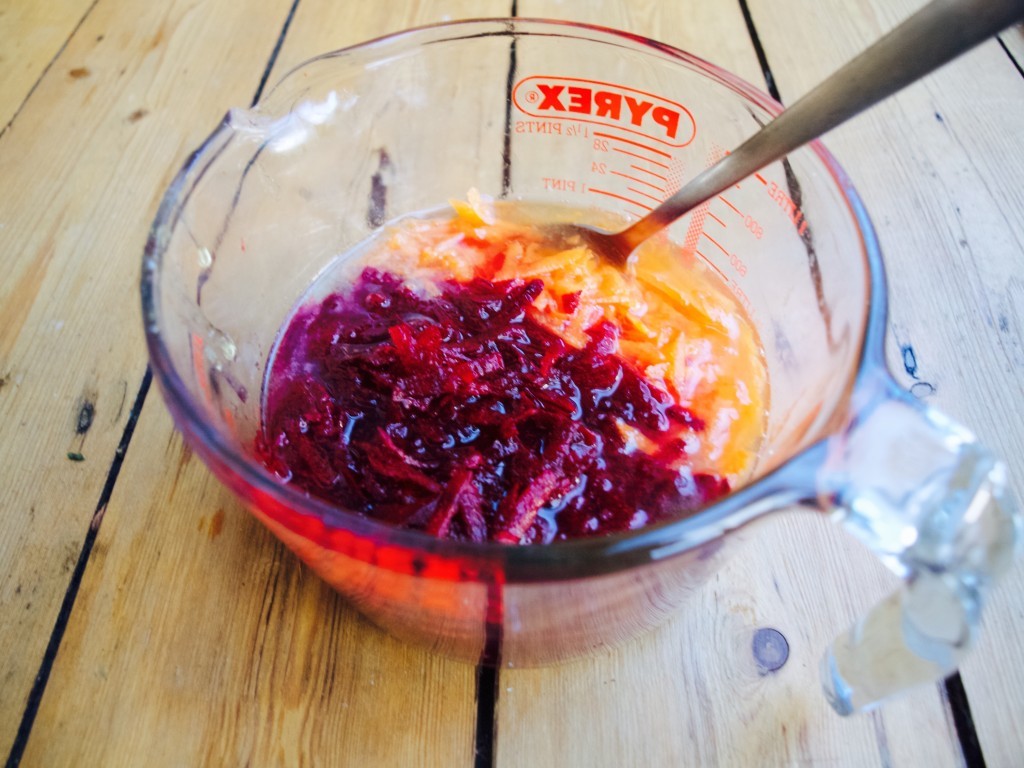
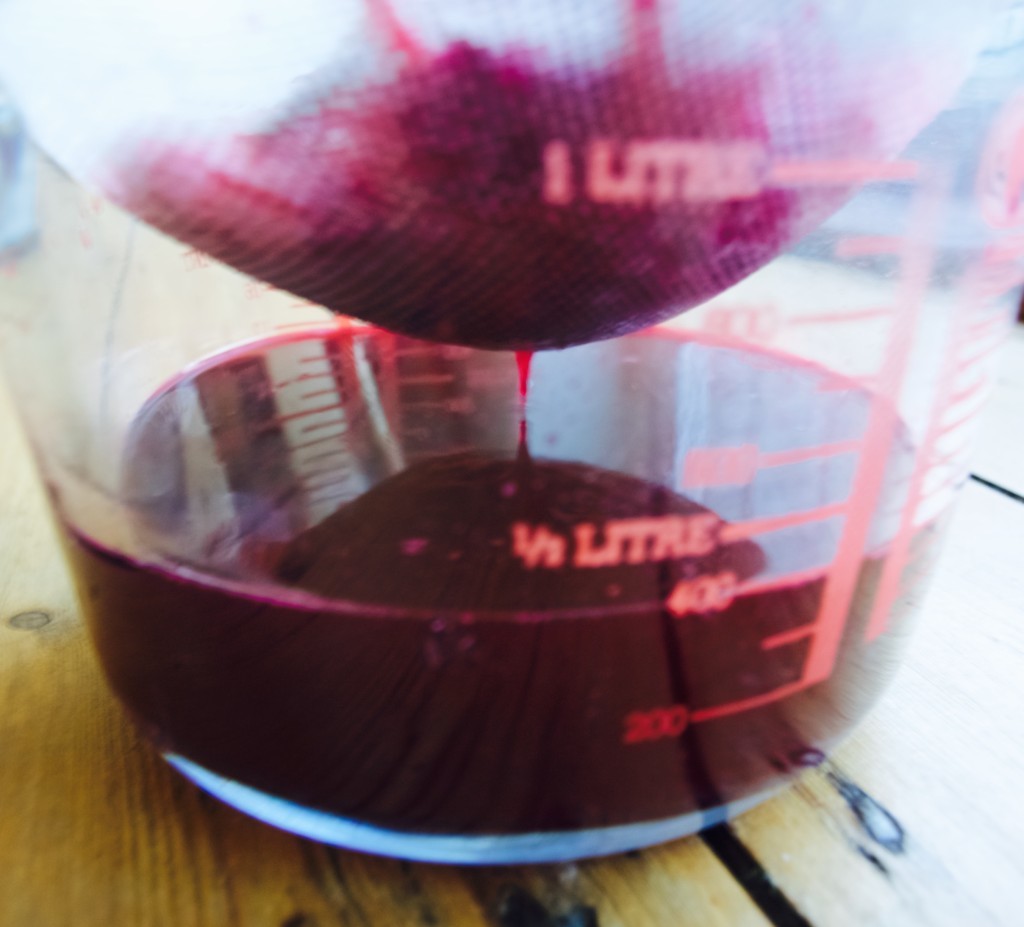
Heart Beet Potion recipe 1. Place all ingredients into the jug and mix well. My mum says that it is ready for consumption straight away, but I prefer drinking it when it is without bits. Therefore I placed the jug into the fridge overnight and then sieved it the next day.Heart Beet Potion recipe Heart Beet Potion recipe Heart Beet Potion labels2. I poured it into the bottles (spirit bottles are the prettiest) and labeled for presentation. You are of course welcome to use my label printouts ;-).Heart Beet Potion recipeHappy Valentines weekend!
Rasa xoxo

0

Make your own kids gardening kit

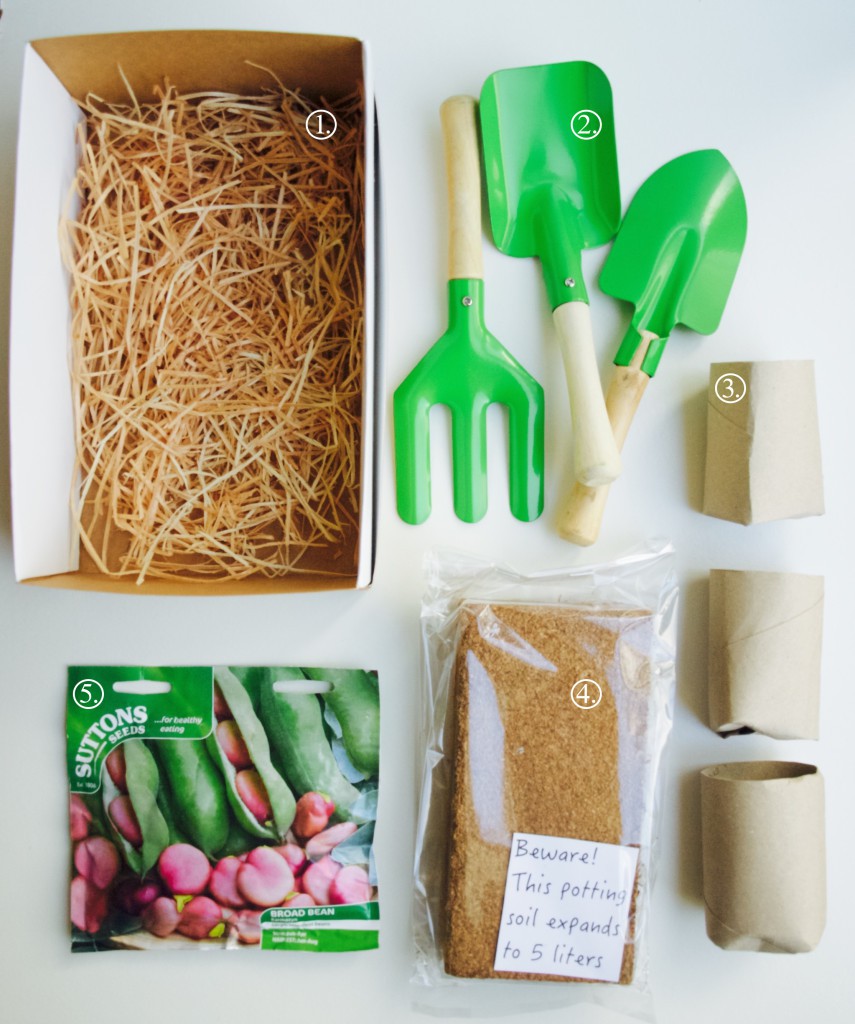
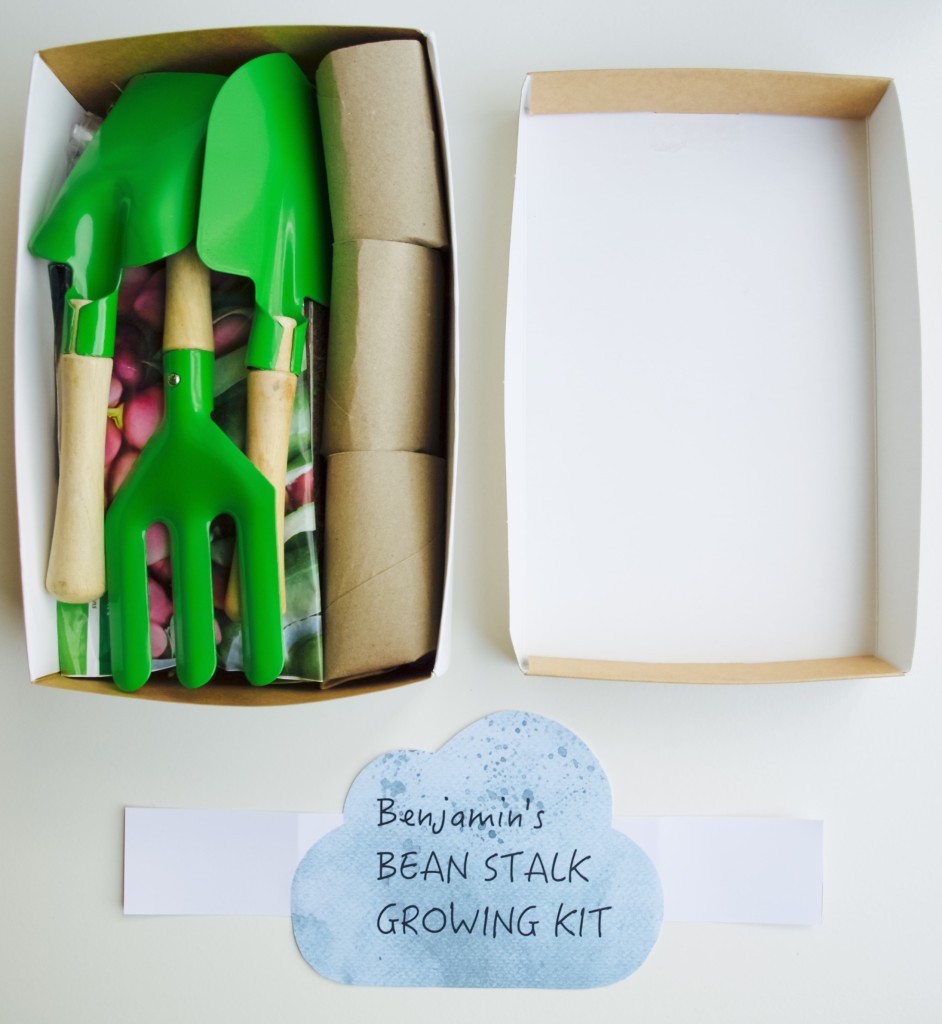
Make your own kids gardening kitAlthough we are in the middle of winter I already can’t wait till spring (I think I had enough of cold and rain). So making this seed growing kit for my nephew was quite uplifting :-). Hopefully he is now looking forward to spring as much as I do!

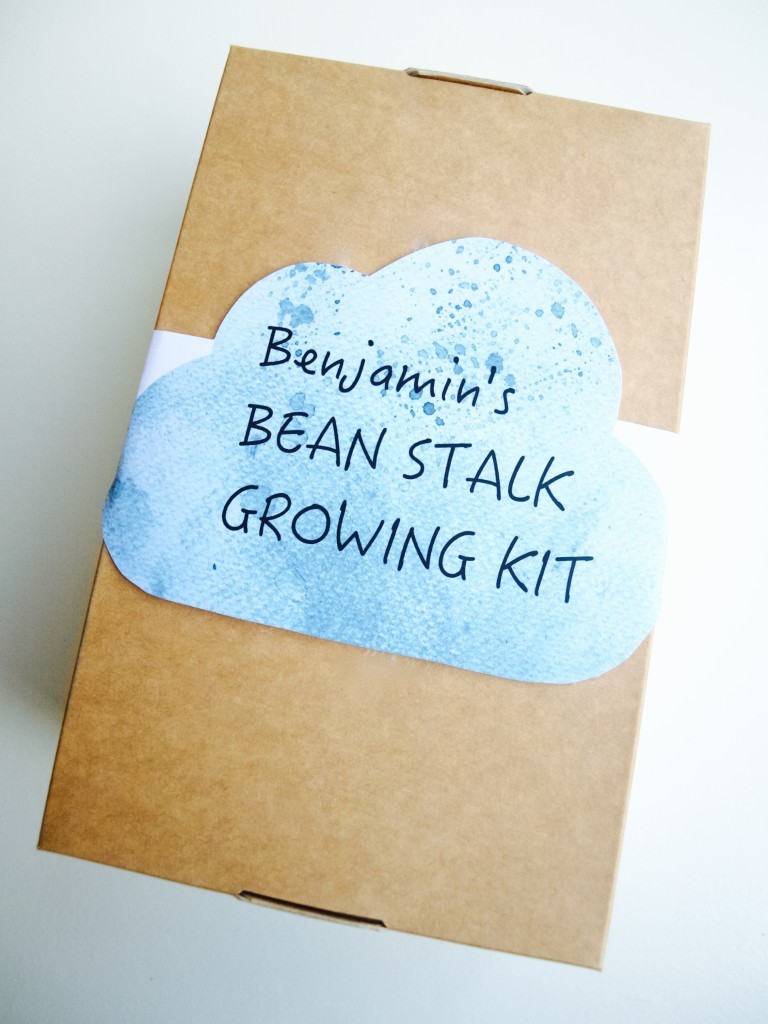
In the kit I included the beans for sowing (5.) and everything else that is needed to make it grow (minus the water). Some of the stuff I had to buy such as kiddy gardening tools (2.) and compressed soil (4.). However the other items were free, like these toilet roll pots (3.) and the box with the straw (1.) that I just upcycled!Bean stalk growing kit printableI decided to go with the beans because I thought it’s cool and it’s so easy to grow. It kind of goes along with Jack and The Beanstalk story! I thought it would make a very personal gift if I replaced Jack’s name to my nephew’s name.  Make your own kids gardening kit Make your own kids gardening kitI hope you found this simple gift idea inspiring

Rasa xoxo

2

How to transfer laser printer image onto almost anything

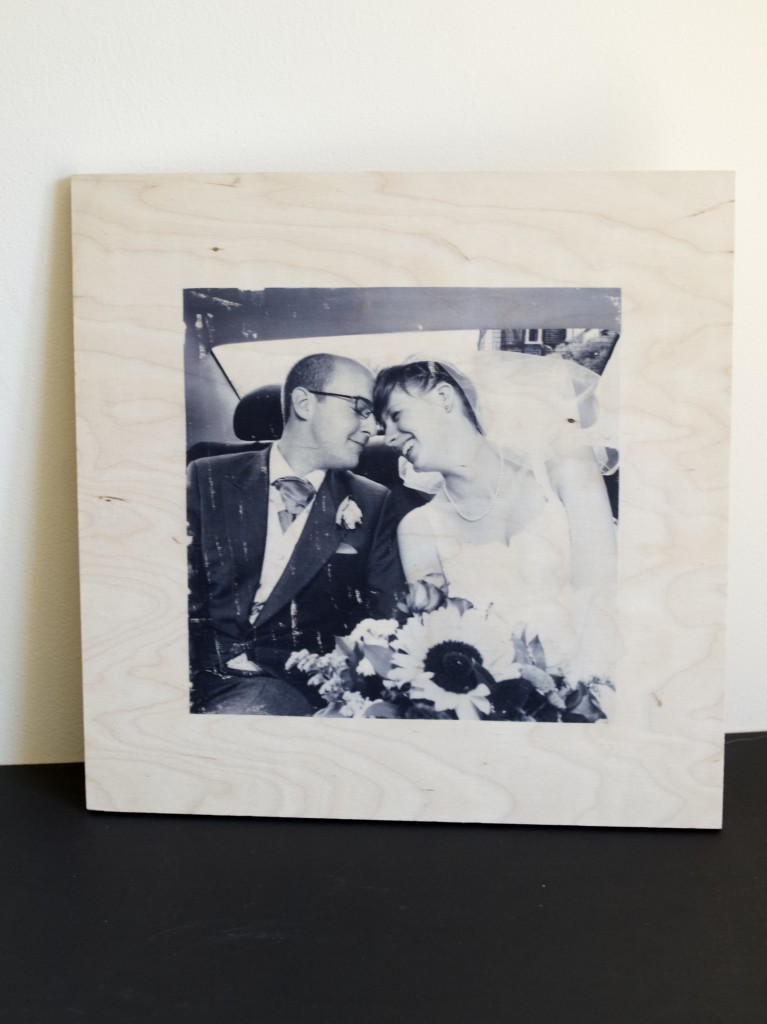
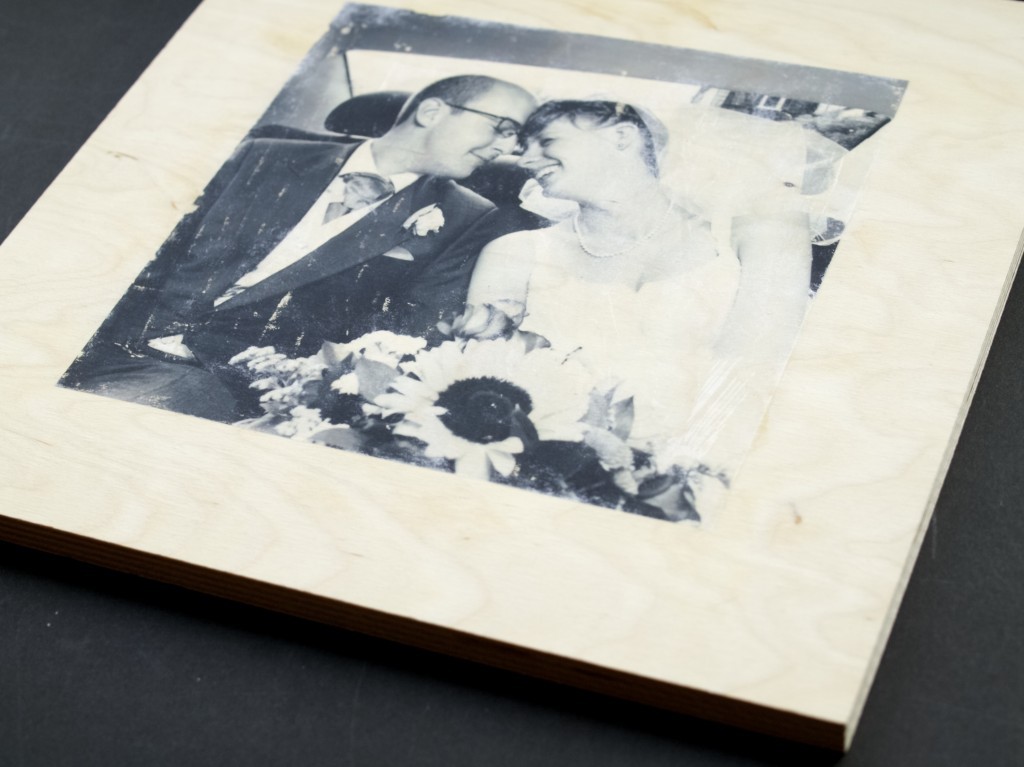
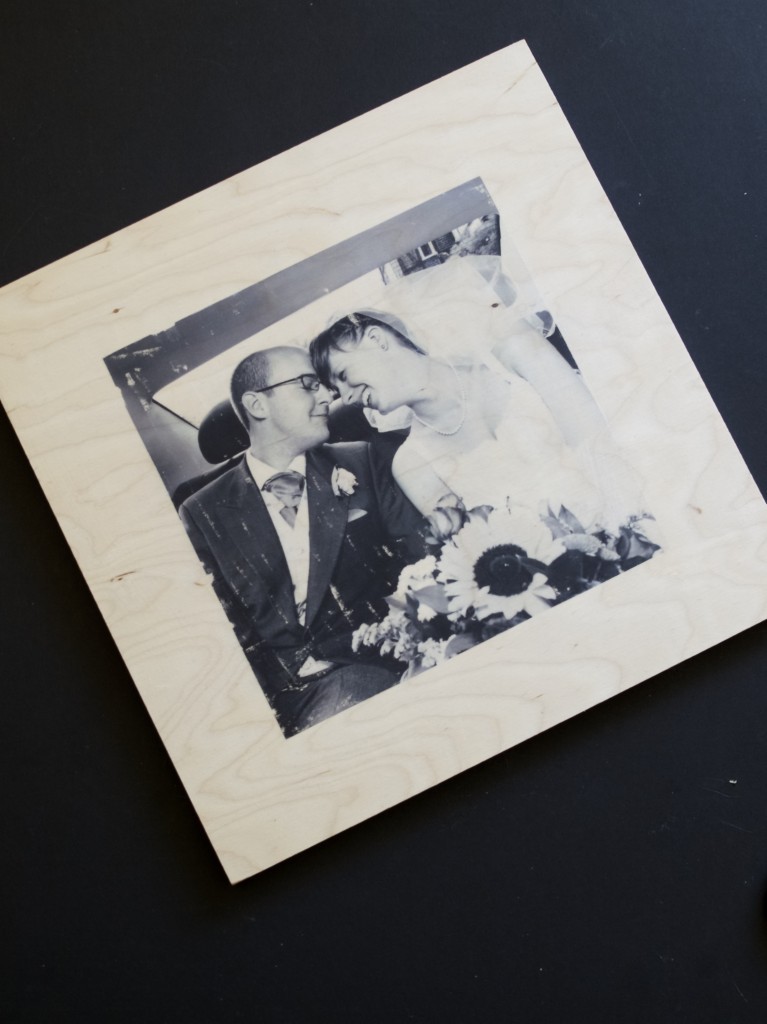
how to transfer laser printer image onto almost anythingWhen I have been asked for nicely printed wedding photo as a birthday gift I got really excited as I realised that I could try out different techniques on transfer printing. To begin with I thought I will transfer the wedding photo on canvas, but then realised printing on wood would be much more unique (well, kind off). I also got stuck with slight limitation. I have laser printer which means I could not use the ink from the printer like I would with ink jet printer. But there is always hope, even if that means buying extra products in the craft shop instead of using what is already available at home. So instead of extensive experiments I just did a bit of research on what products to use (only because I did not want to spend a massive amounts of money). Here is what products you can try when transfer printing:

PVA or Mod Podge. I heard that some people swear by it and apparently it works, especially with Mod Podge (which is I believe a fancy type of PVA). I went and bought Mod Podge only because it was available in matte finish unlike PVA basic glossy finish. However I ended up returning it after reading this helpful article.

Mod Podge image transfer (or any other brand image transfer). I have no idea where to get it, but here is the post where I have seen it used. The blogger there then used Matte Mod Podge as a finishing sealer.

Gel Medium. This is mainly used for mixing your acrylic paints with so larger areas can be painted more cost effectively. Unfortunately it often comes in huge pots, so if you only buying this for one off project it can be quite costly. They did not have gel medium in my local craft store which sort of worked out for the best! However gel medium can be used for finishing as well.

Acrylic Medium. Like gel medium it comes glossy or matte. It is also cheaper to compare to gel medium , but can’t be used for finishing the print.

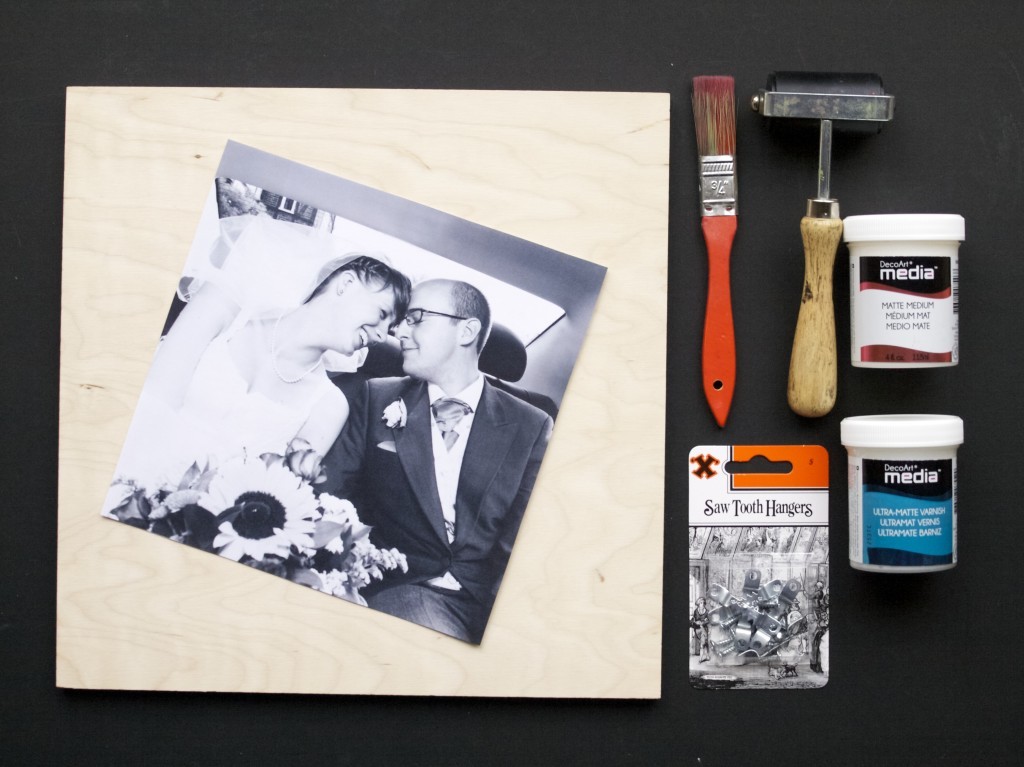
Here is what I used to make my image print:

  • A block of plywood
  • A laser printed picture, flipped horizontally on Photoshop (or any other image editing program)
  • A paint brush
  • A Roller
  • Acrylic matte medium
  • Matte varnish
  • Saw tooth hangers (for picture hanging)

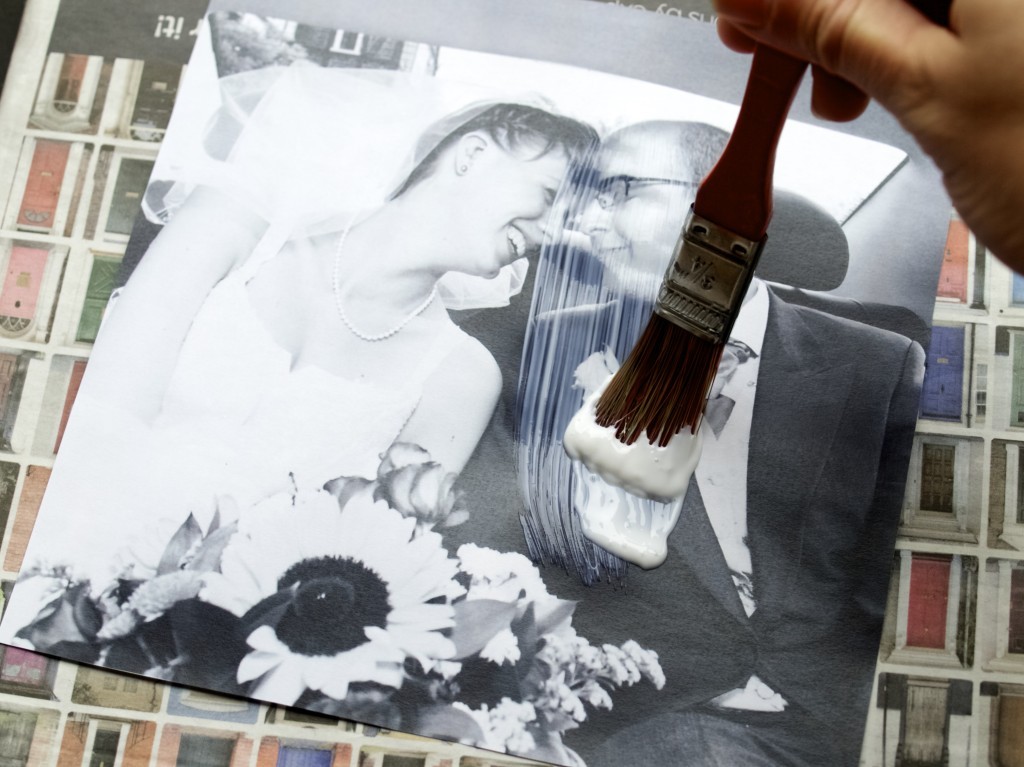
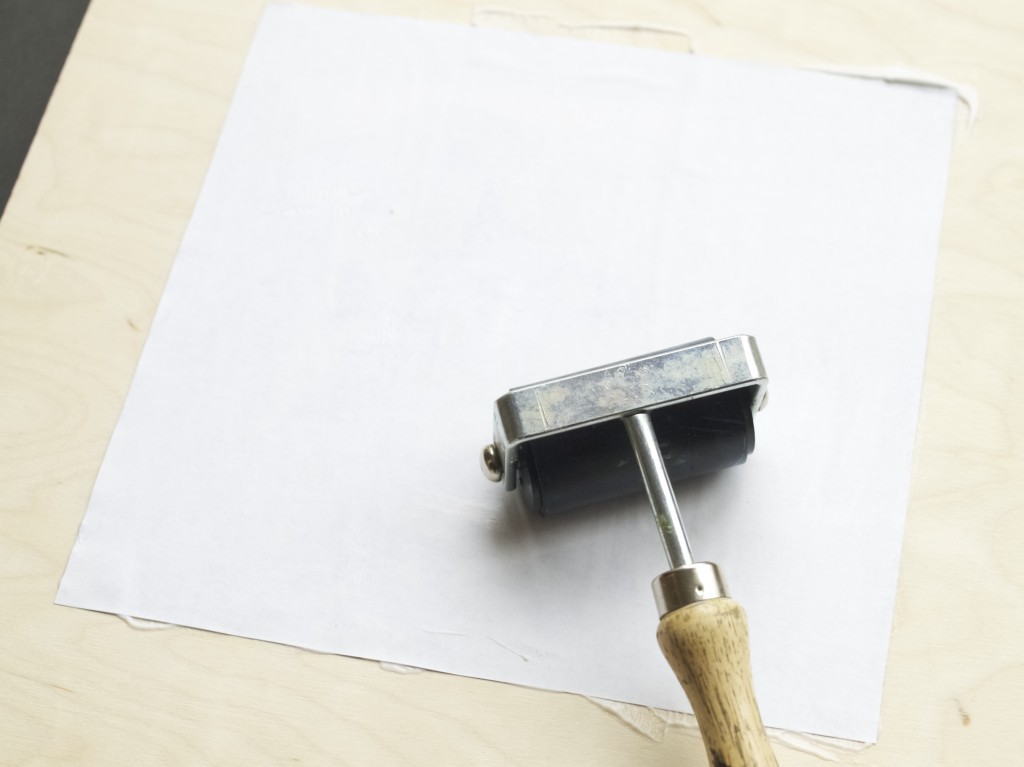
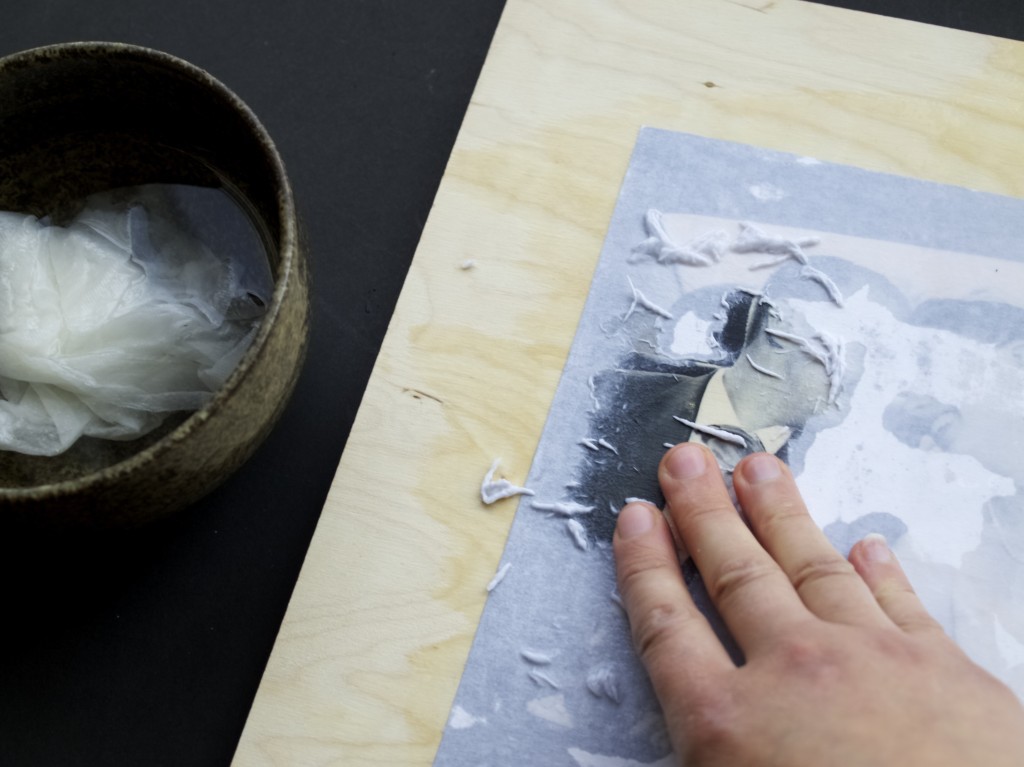
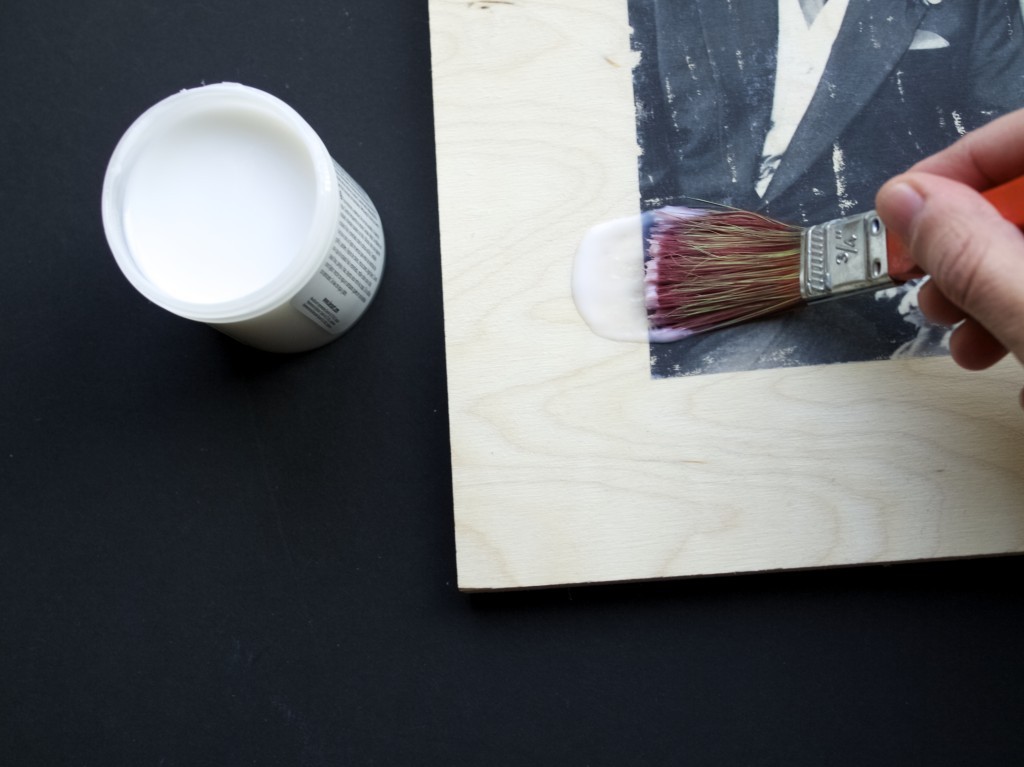
I applied acrylic medium on top of the photo.how to transfer laser printer image onto almost anythingI used a roller to press the picture onto the wood. Make sure the bubbles trapped underneath get pushed out.  how to transfer laser printer image onto almost anythingOnce completely dry (after 8 hours or so) dampen the image and start rubbing the white layer off. Make sure don’t rub too much as the image itself can be easily rubbed off at this stage.how to transfer laser printer image onto almost anythingLet it dry before the next stage…how to transfer laser printer image onto almost anythingI applied matte varnish (acrylic type) on top. This stage fixes the image onto the wood (or any other surface) and remove all the white layer imperfections as well.how to transfer laser printer image onto almost anythingApply the hanger onto the picture:

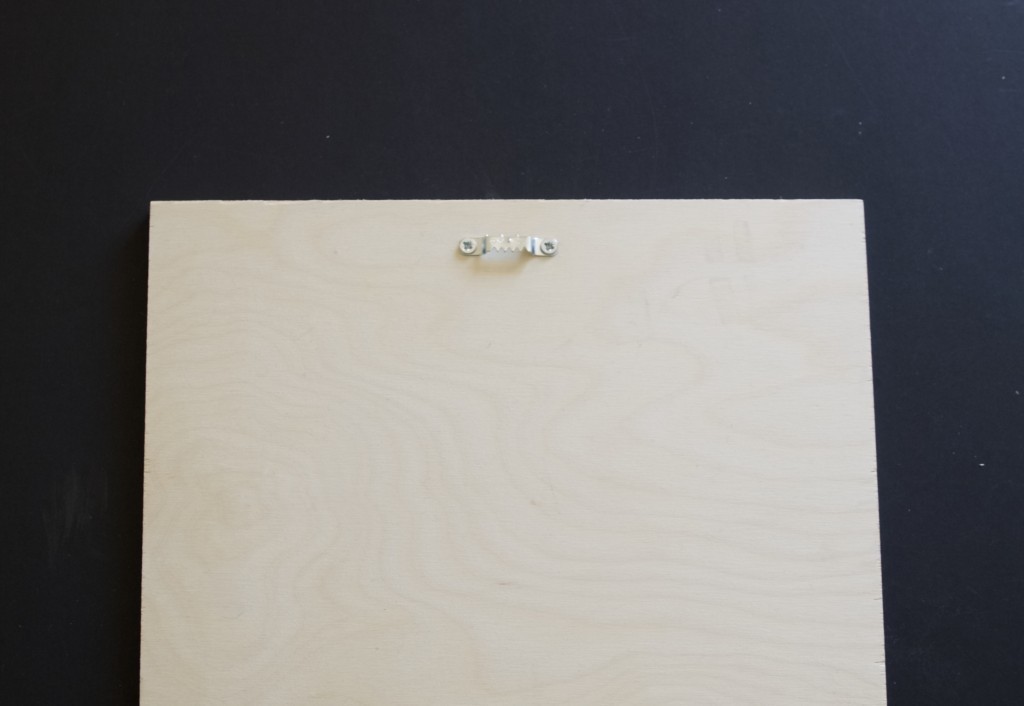
1. Measure and place the hanger in the centre. Use a pencil to mark the dots where the screws should go.

2. Make a hole with the nail (smaller then the screws) by hammering it in and then removing it with the other end of the hammer.

3. Screw the screws in to hold the hanger.how to transfer laser printer image onto almost anythingTa-da!how to transfer laser printer image onto almost anything how to transfer laser printer image onto almost anythingI hope you found this inspiring :)

Rasa

0

Creative ways to say “I love you”

Creative ways to say "I love you"It’s a last day of the month and you know whats happening in February?! Valentines day is going to be super special this year as this is going to be my first Valentines day after getting married. So I thought I will start getting ready early this year. I thought I would share some of my thoughts on potential thoughtful and creative gifts for your significant other. Hope you will like them!

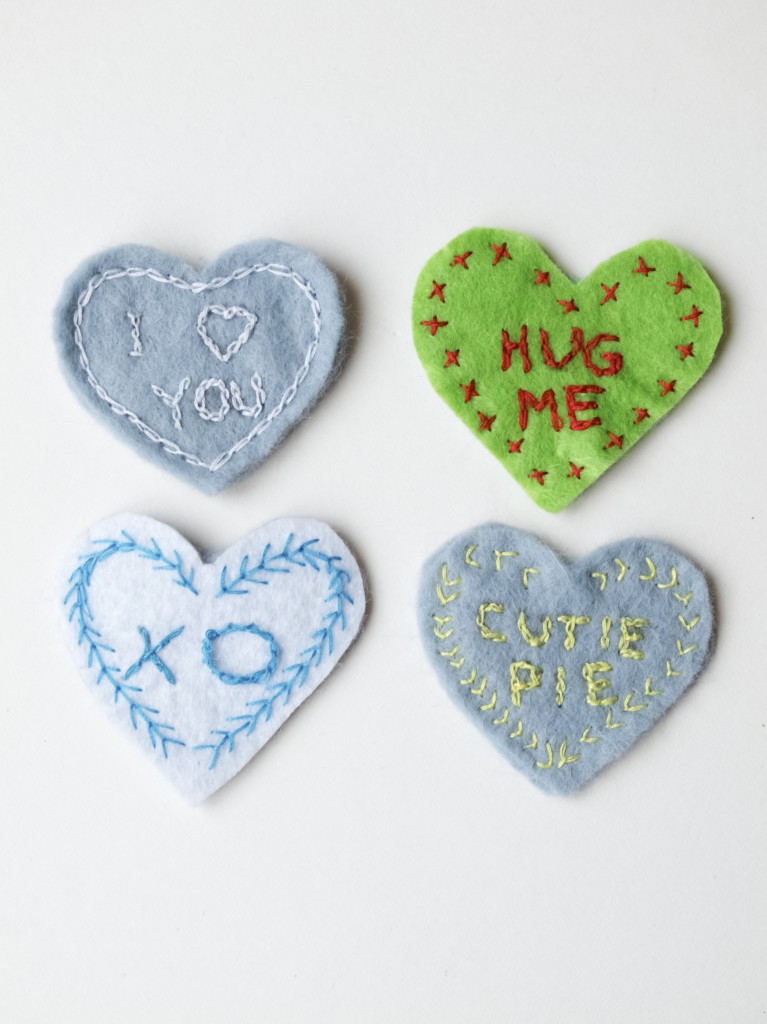
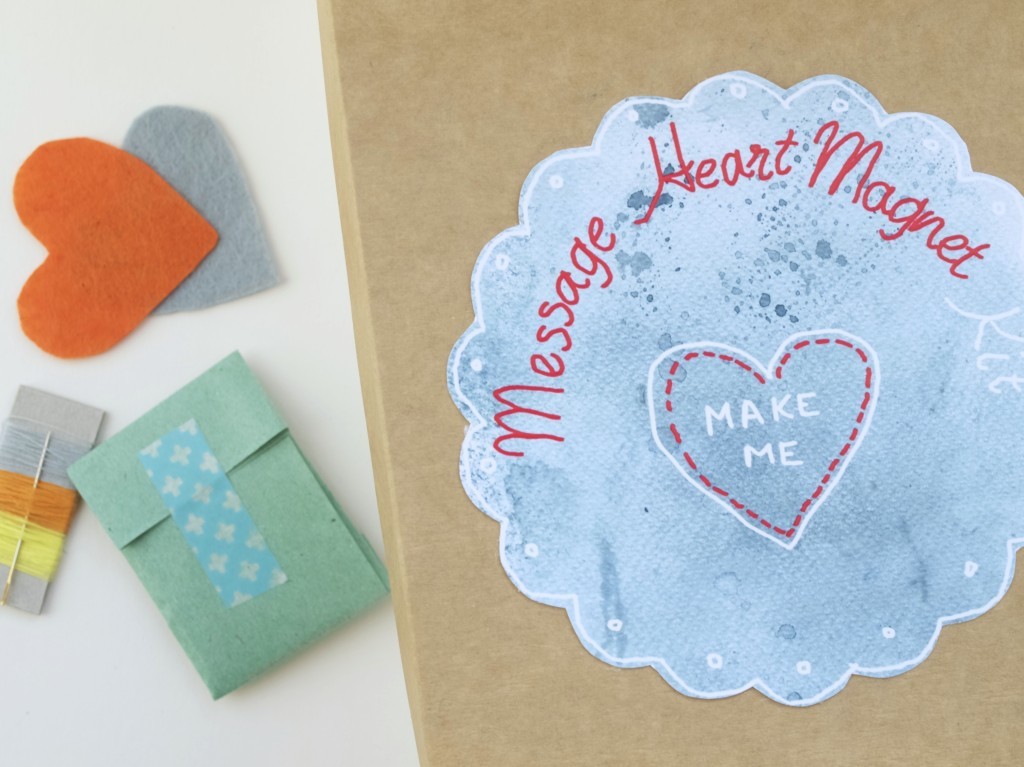
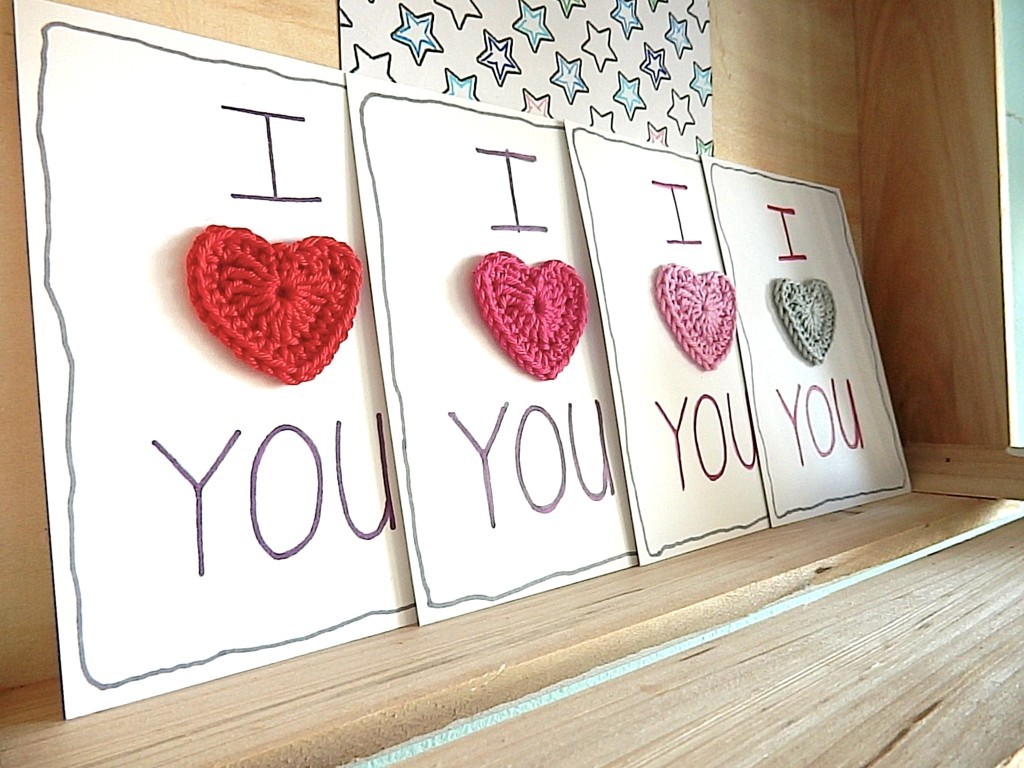
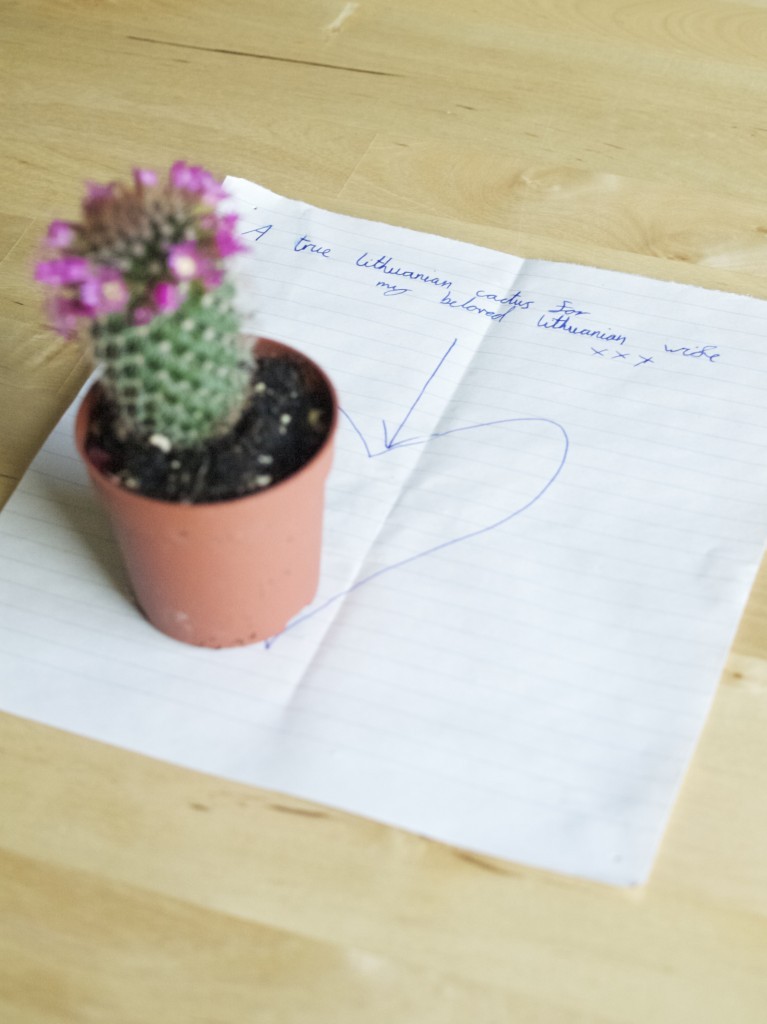
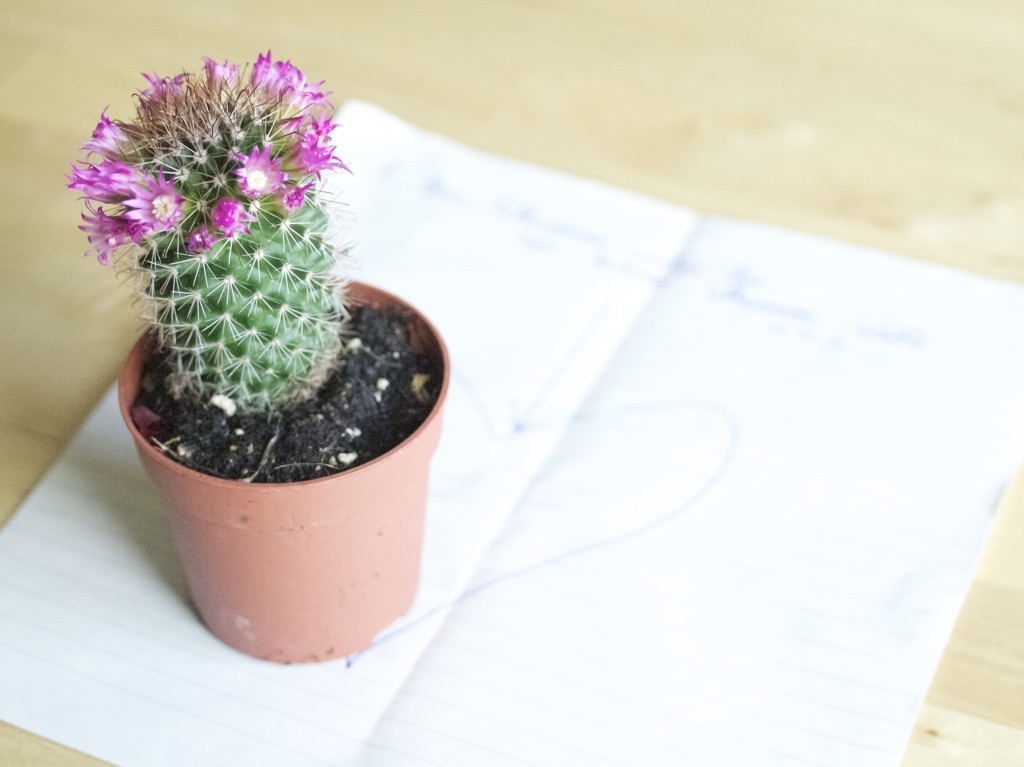
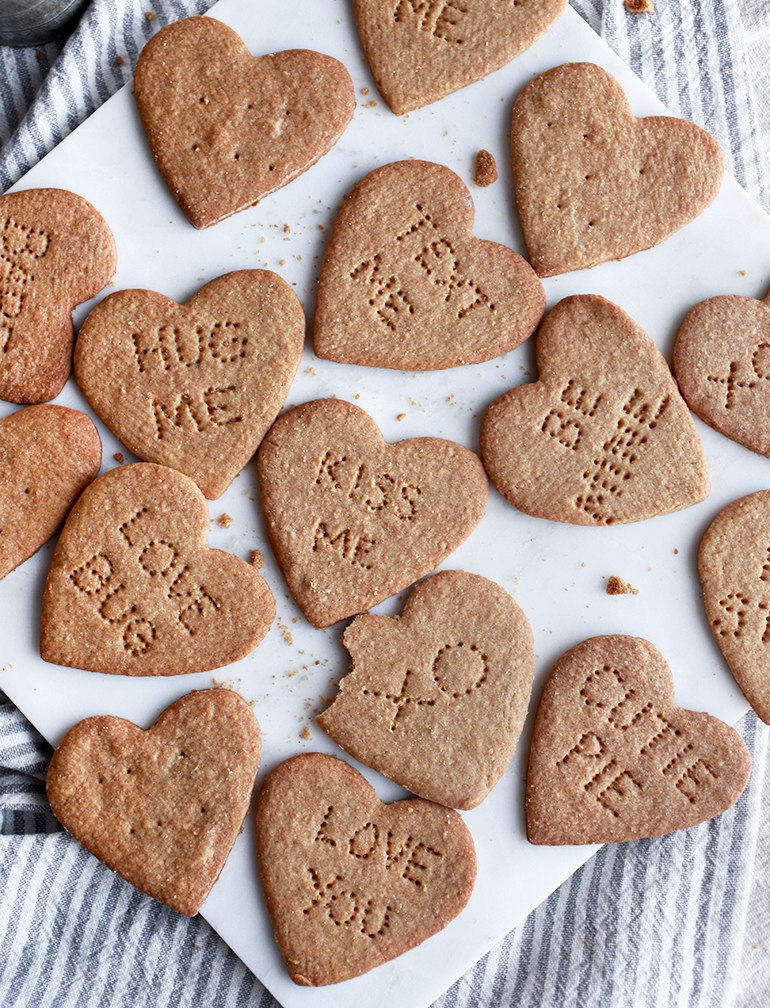
First I am very proud to announce that we have a new craft kit in our shop! With the contents of this box you can not only enjoy some biscuits but also make four custom message heart magnets to convey a special sentiment. It’s like love heart candies that can be stuck onto your fridge (please don’t try to eat them). Let us know what you think!If making hearts is not your thing, than you can always buy ready made hearts! My friend and fellow blogger Jacolien crochets really cute ones and sells them on their own or attached to a ready made card. Check out her Etsy shop!Creative ways to say "I love you"I also could not help but share about this gift that Joni left me a few weeks ago. It is one of those thoughtful/creative gifts when you know that person well. Joni knew that Lithuanians (in olden days not now) often wear these flower garlands on their heads. So here we are, he got me a cactus with a wreath of dainty pink flowers around it’s head! I was super impressed! Creative ways to say "I love you"And if baking is what you enjoy most then these Graham Cracker Conversation Hearts (we call them digestives over here) will steal your heart! The recepie can be found here. To be honest I fell in love with that blog in general!GrahamCrackerConversationHearts3Have a lovely weekend!

Rasa xoxo

0

Handmade gift idea for kids

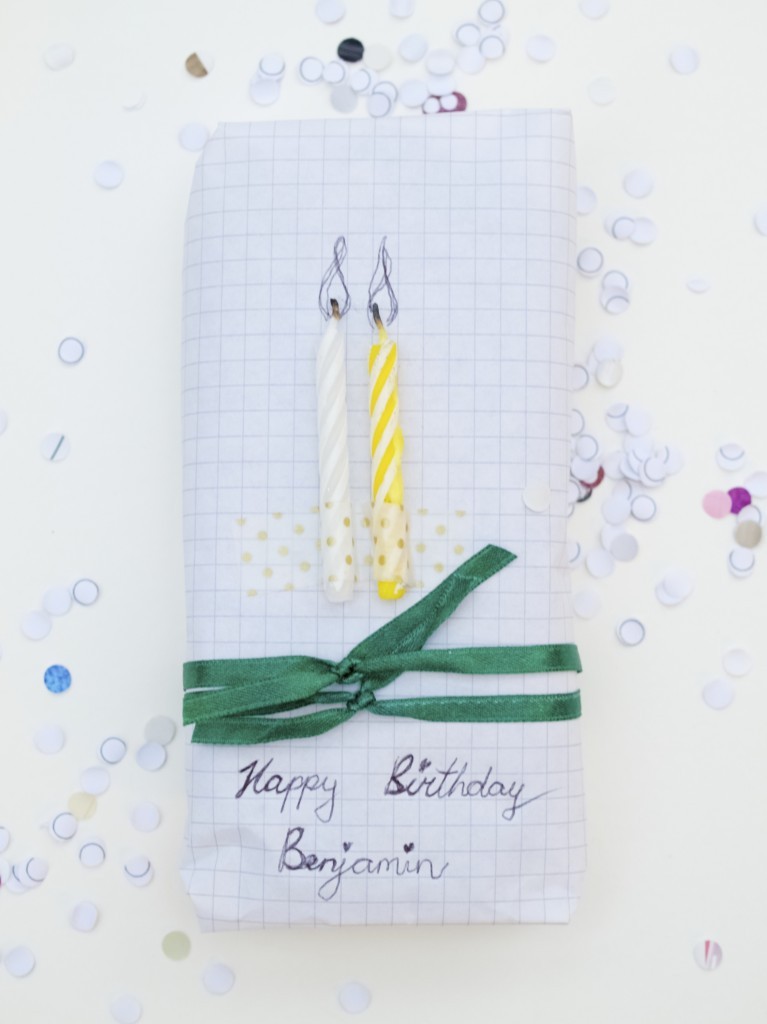
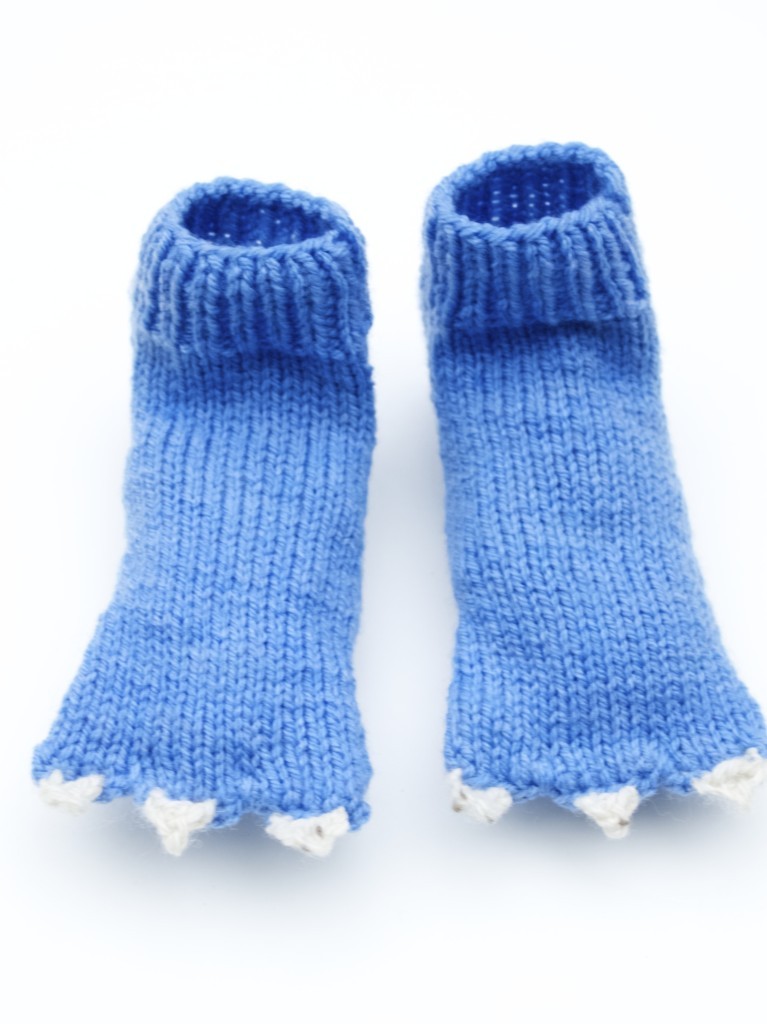
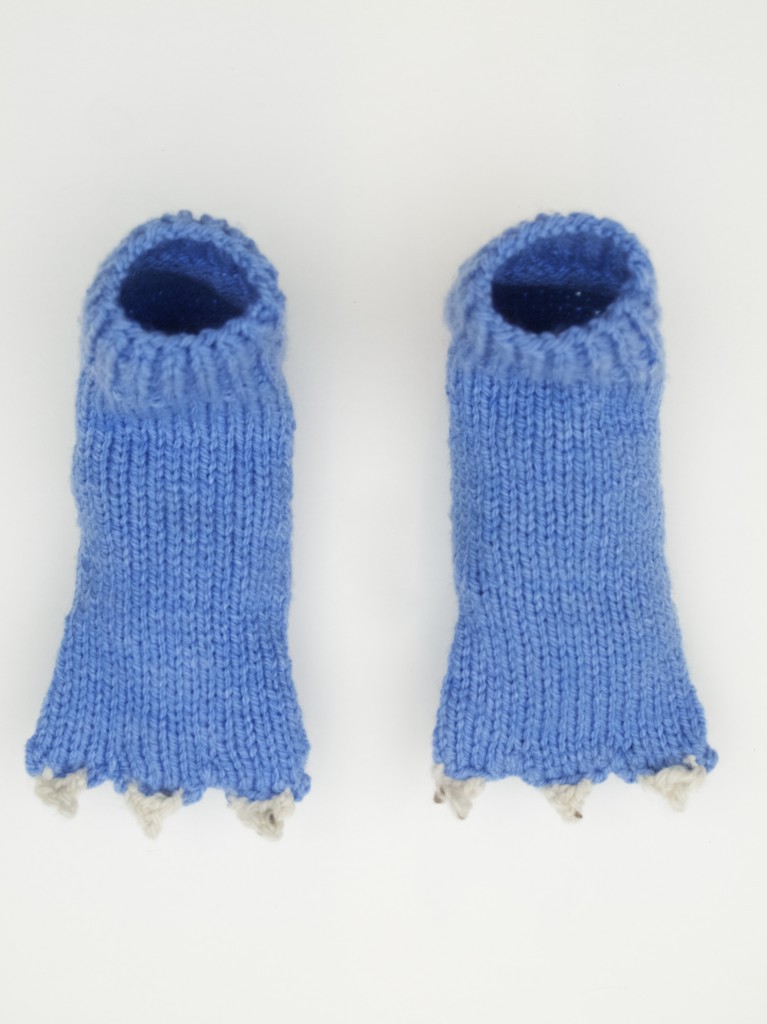
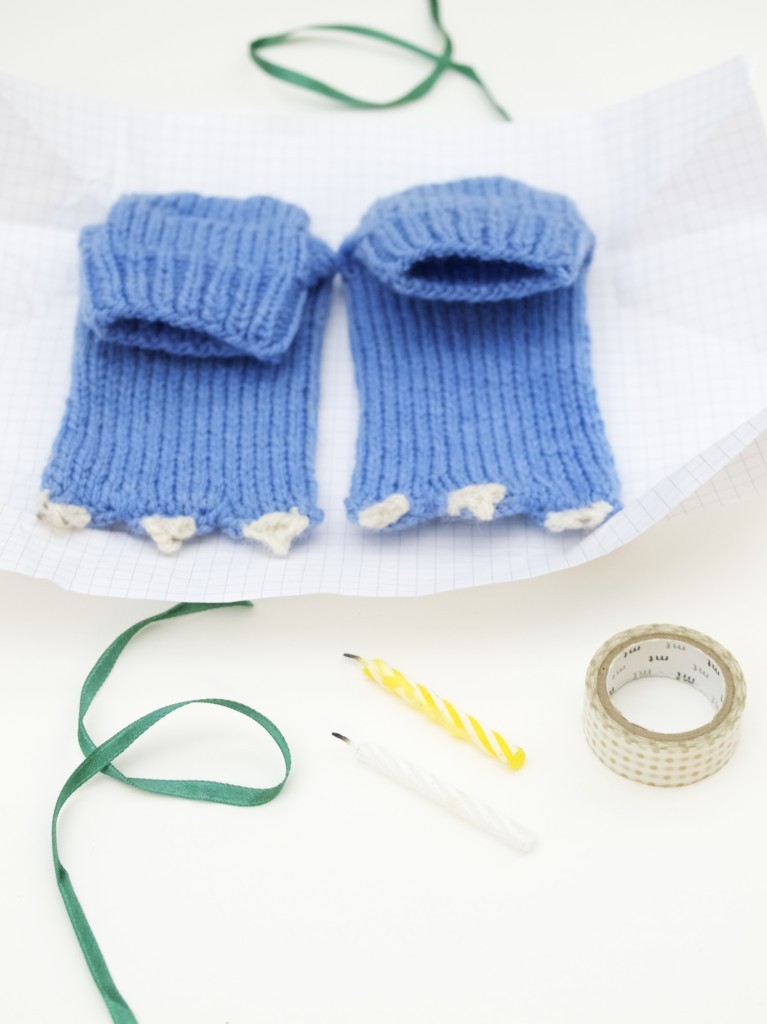
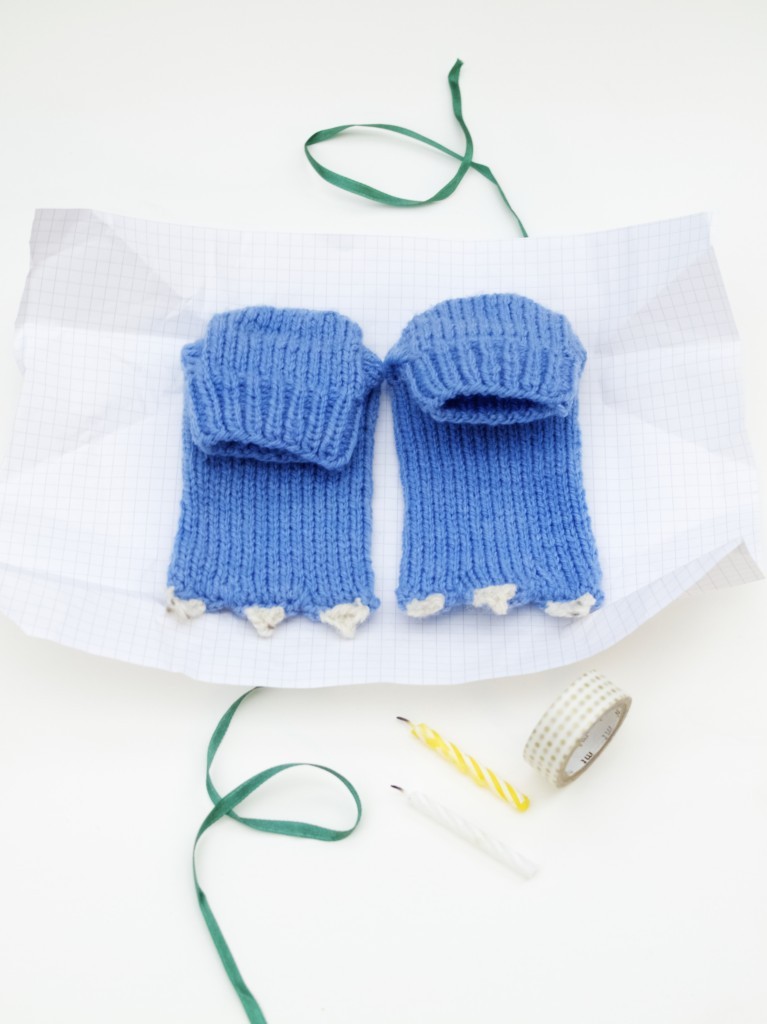
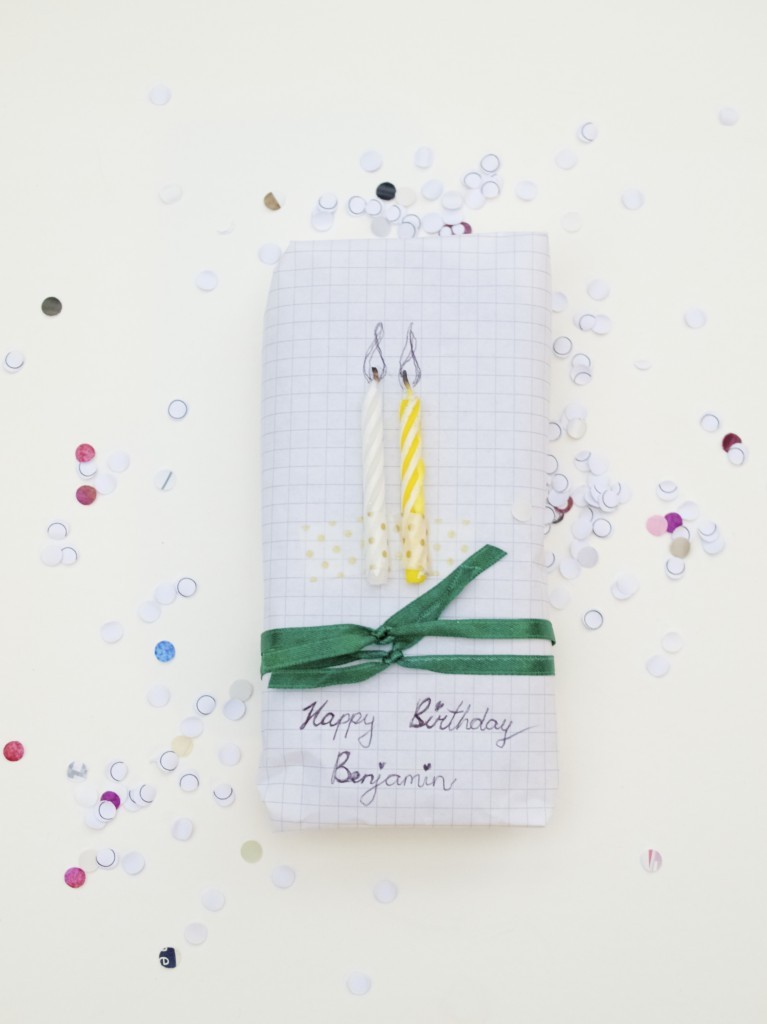
Birthday gift idea for a childGiving gifts to kids is so fun and easy (I mean the toddler age)! I remember when my little brothers were still little. They used to be so excited about any toy I got for them. Those days are unfortunately over as I find it tricky to please those teenagers. Luckily last year I got a nephew-in-low and only yesterday he turned two!Monster sock knitting patternI love knitting socks, or any other circular knitting! This is why I knew I will knit these monster socks. This way it’s fun for me and hopefully it looks cute to Benjamin’s parents. Do you find these cute? If so, here is how you could make yours! Click here for detailed step-by-step instructions.monster sock DIYGift idea for kids!As for wrapping I nicked this idea from Pinterest. I used materials I had: graph paper from my A4 notebook, washi tape, used cake candles and a spare ribbon. I wish I had better pen to write with though. Gift idea for kids Birthday gift idea for kids + wrappingEnjoy gift giving!

Rasa xoxo

0

Instructions for Christmas craft kits!

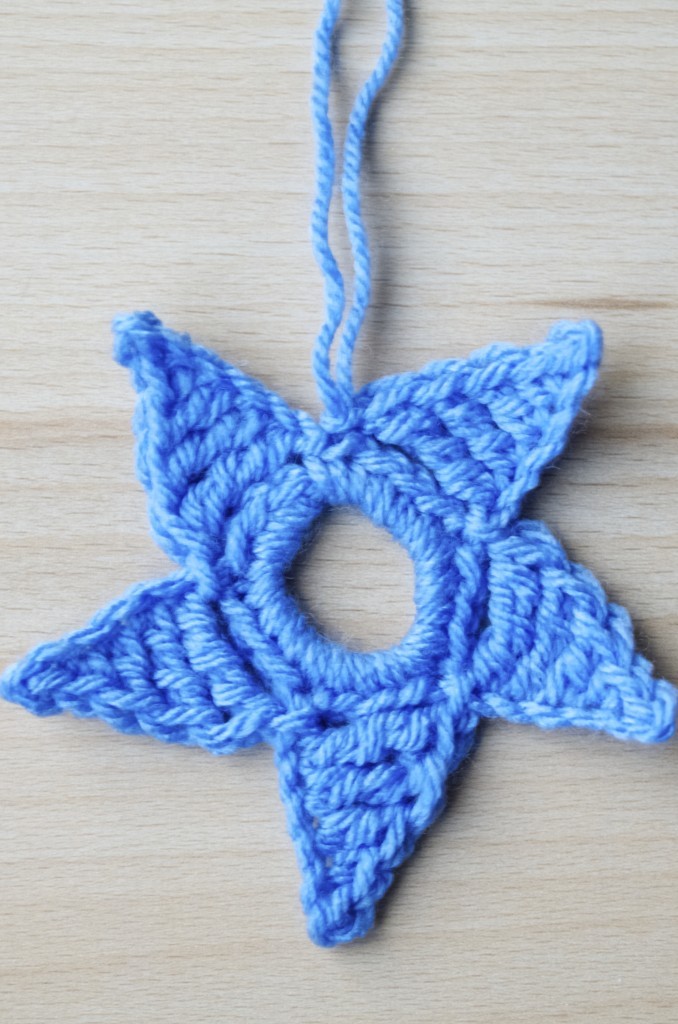
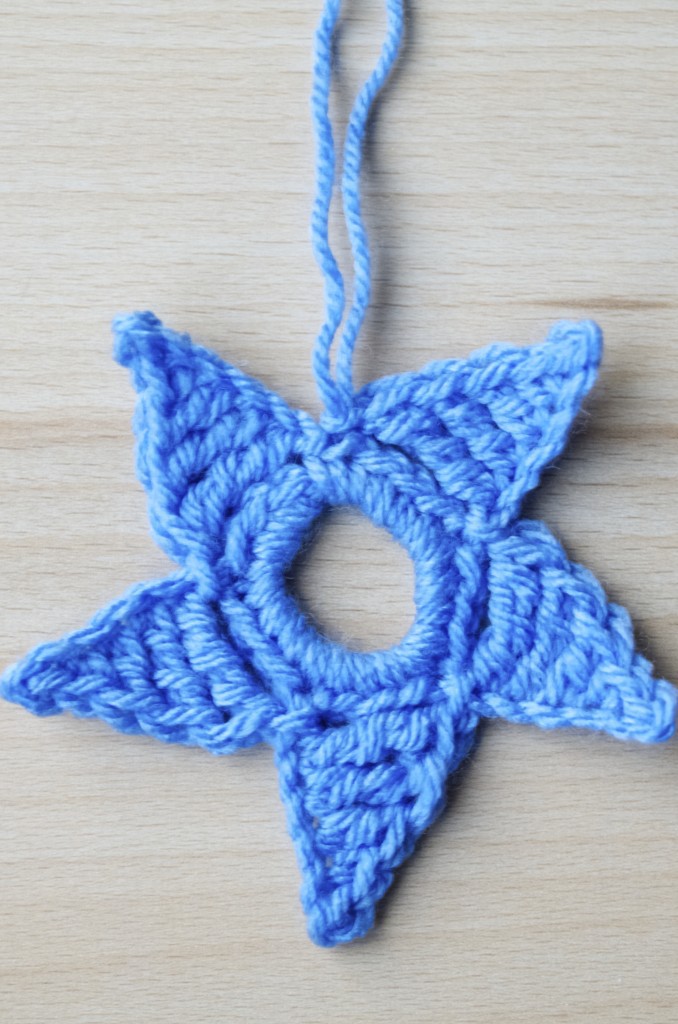
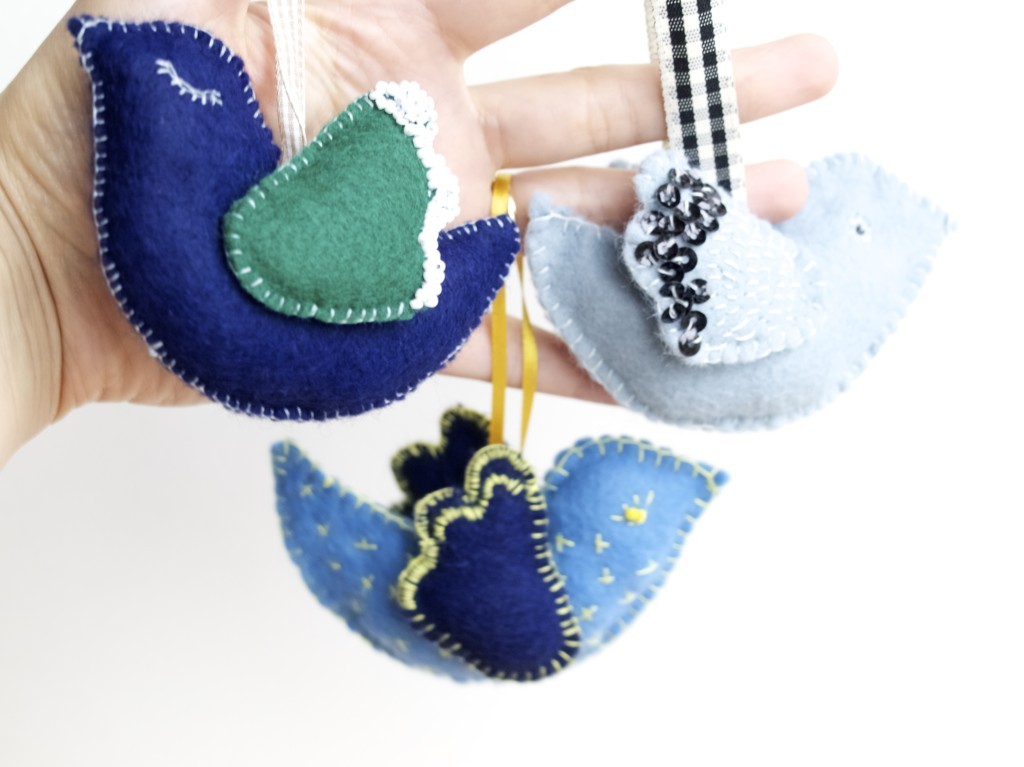
Make your own hanging birdie decorationMissed your chance to order Christmas craft kits? Well here is your chance to make your own hanging decorations with the materials you have. We have updated the original instructions and now they are exactly the same as you would have found in the Friendly Nettle craft kits. If you fancy making hanging birdie deco then click here or if you prefer to crochet then hanging star may be your thing ;-).make your own crochet star hanging decoAlternatively if you learn this triangle crochet pattern, you could make these super cute mini buntings!crochet your own mini buntingHappy Christmas waiting!

Rasa xoxo

0

Pleated gift wrapping

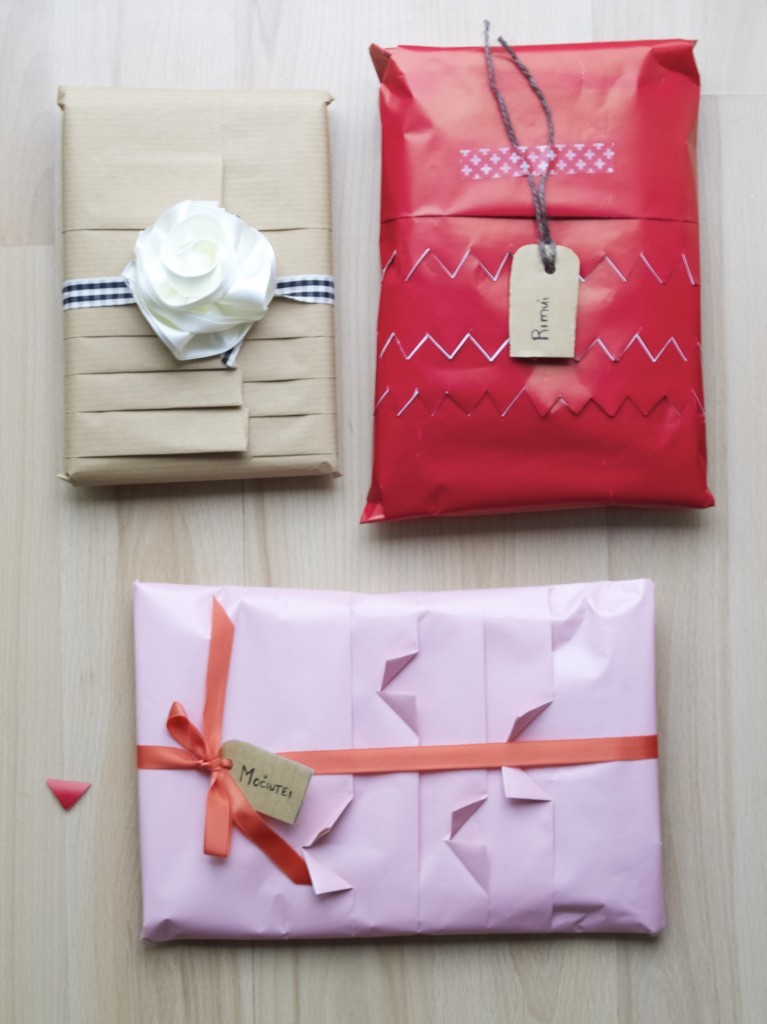
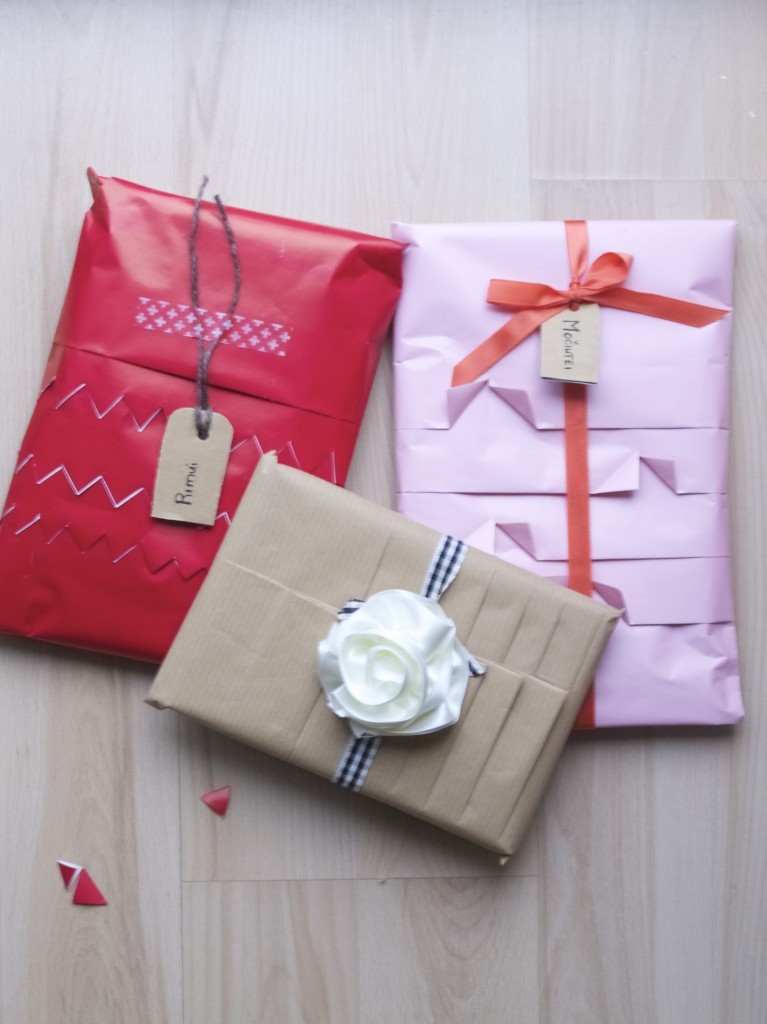
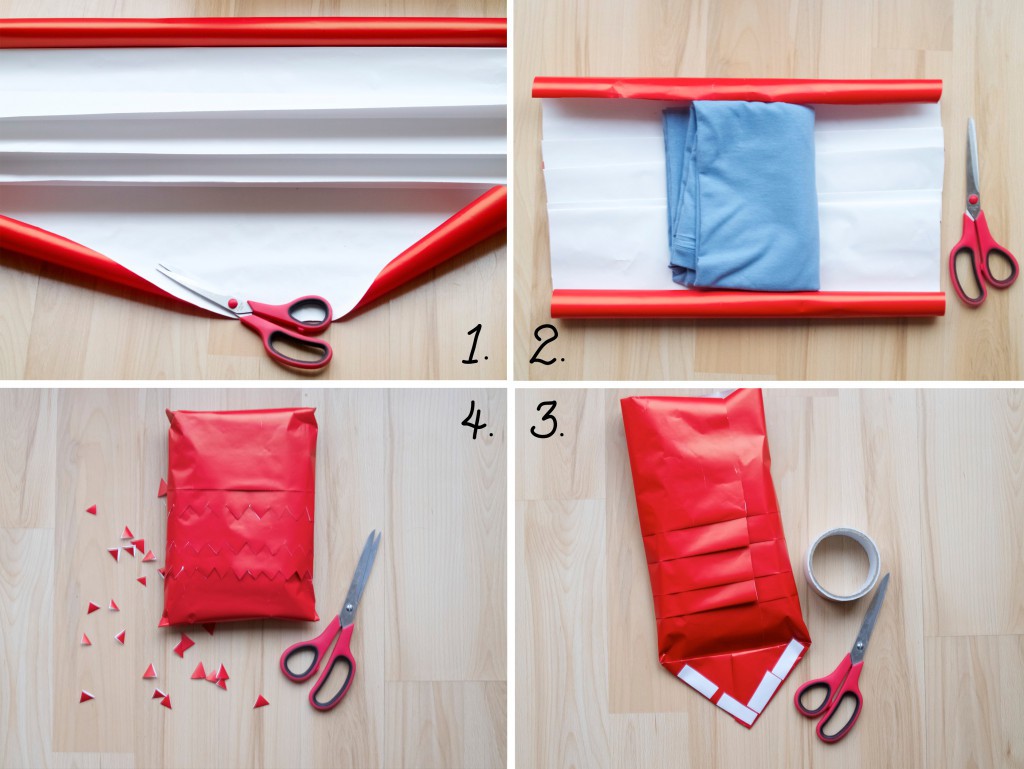
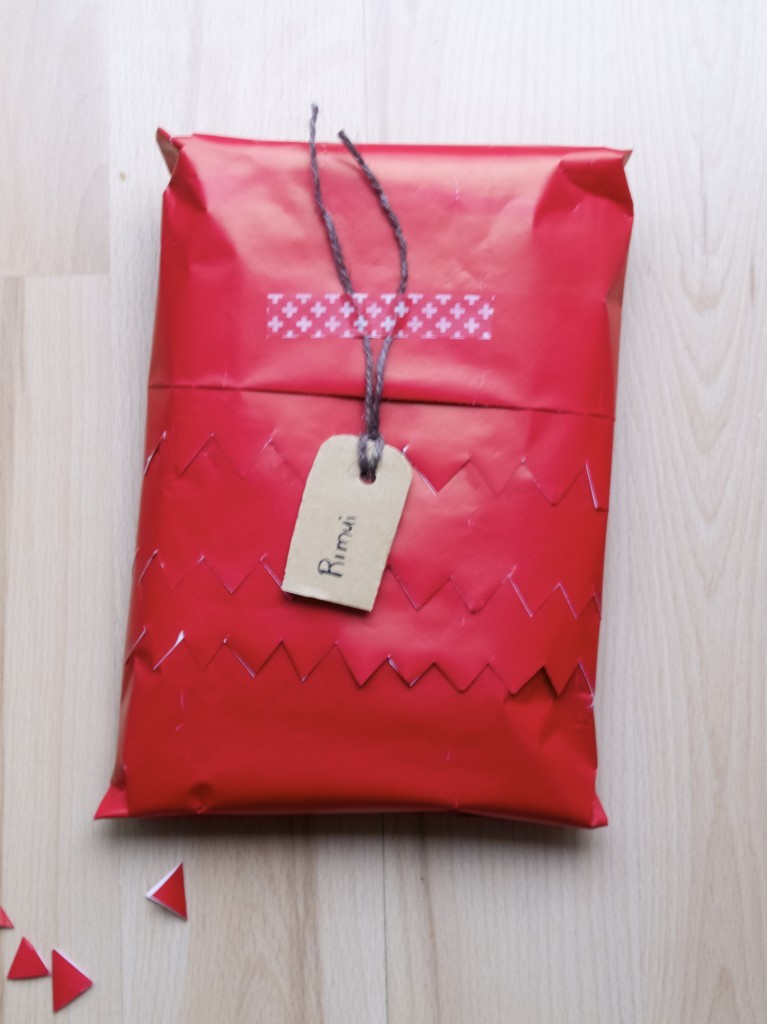
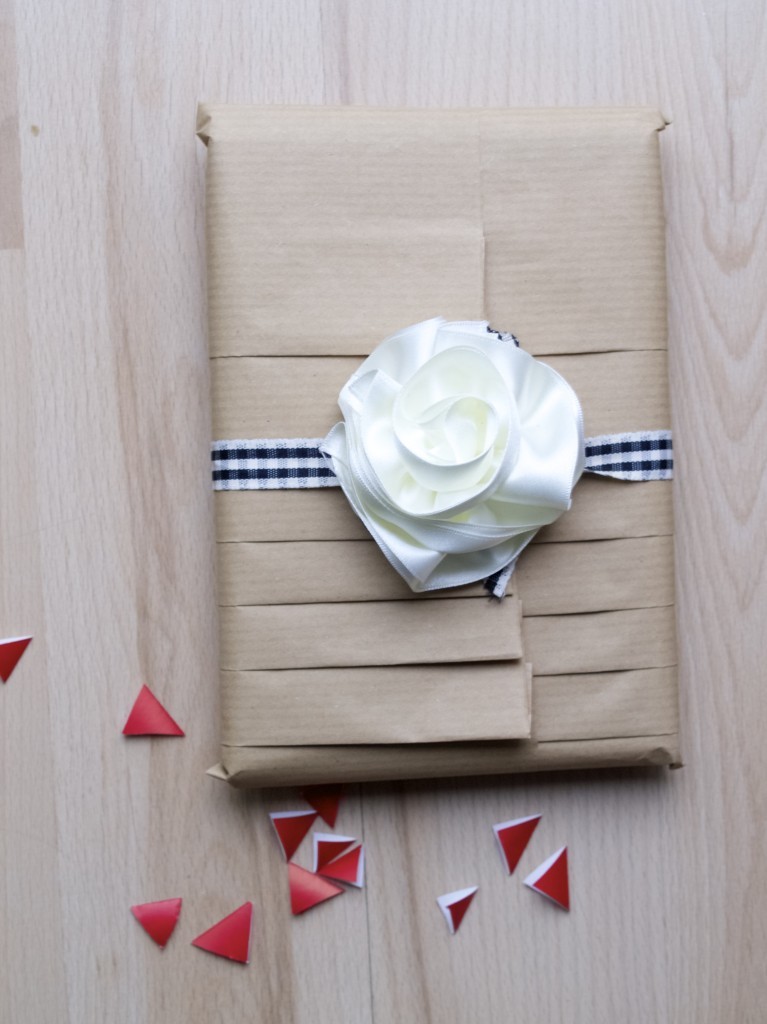
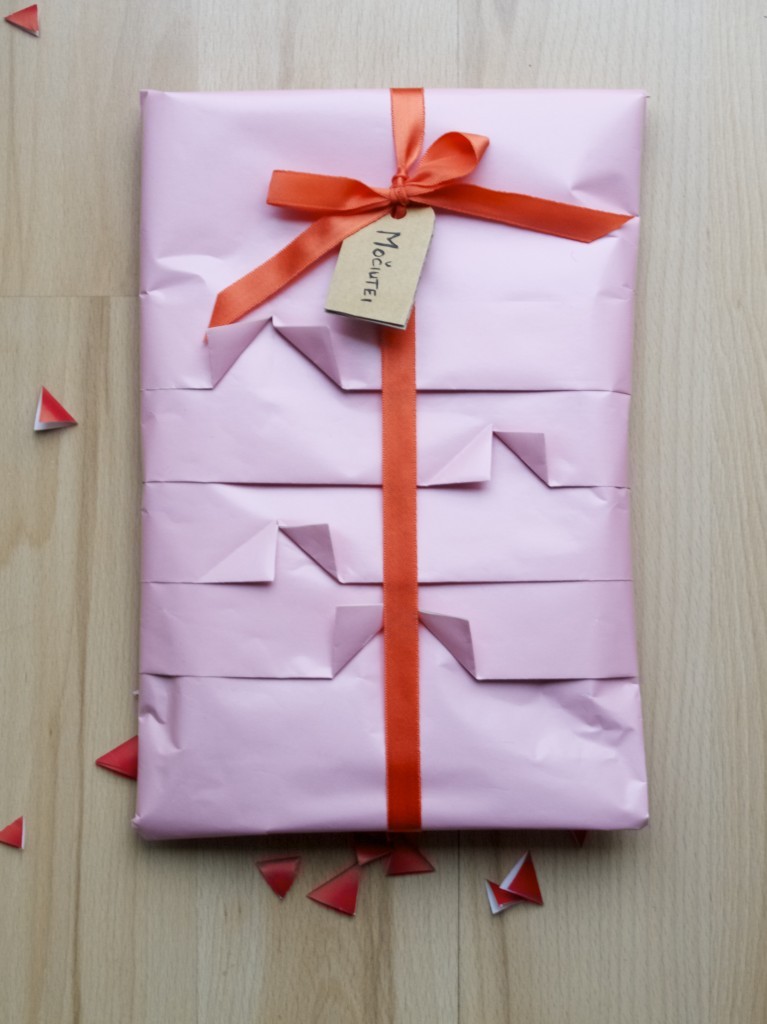
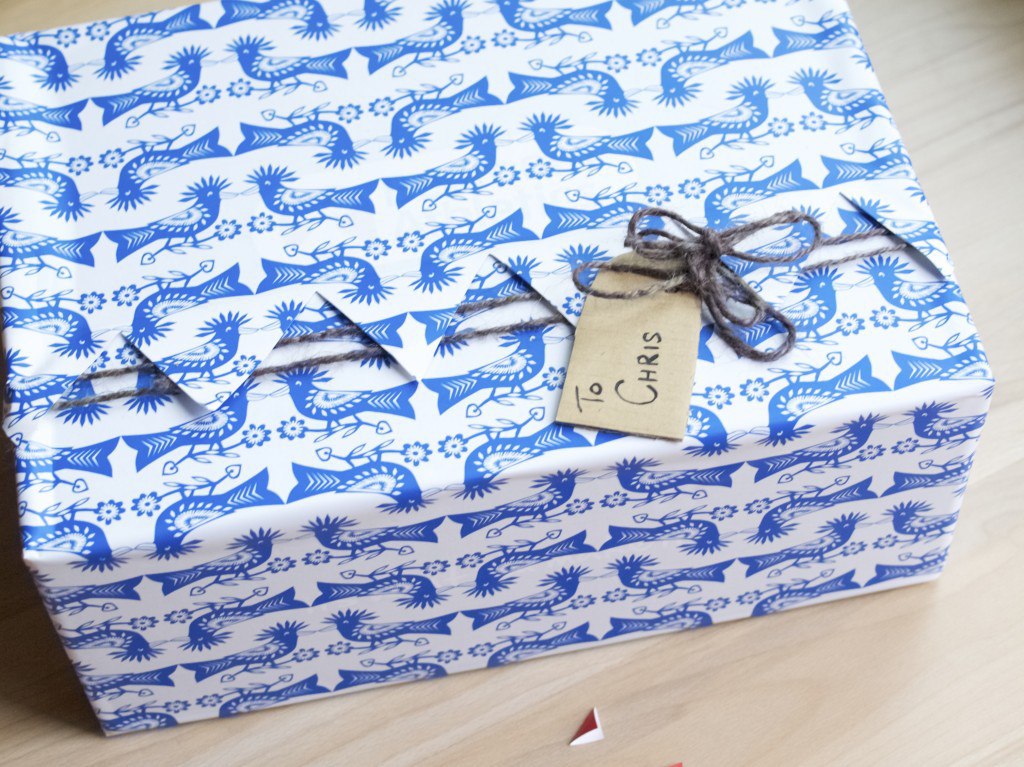
Pleated Gift Wrapping DIYFinally almost all gifts are wrapped! If you are still working on your gift wrapping load,  then this is another gift packaging idea to get excited about. I love how pleated gift wrapping makes the gift look more interesting, however this technique does use up quite a lot of wrapping paper. So be warned! Pleated Gift Wrapping DIY1. To begin, pleat the wrapping paper while still on the roll (you want to make sure you have enough of paper left for the whole gift and the pleats before cutting it off). If you don’t know how the pleats work, all you need to do is fold a straight line in and next one out. Repeat this as many times as you want until you find you have enough of pleats.

2. Place a gift upside down onto the pleated gift wrapping paper. Measure how much more of paper you will need for the gift and then cut it off from the roll.

3. Wrap the gift as you would normally do. Secure the ends by inserting double sided tape (this tape is great, because it’s hidden so no loose tape on the show!!)

4. If you want you can cut into the pleats to create variety of “trims”. But this is completely optional, pleats are pretty by itself anyway! Pleated Gift Wrapping DIYThe gift then can be styled with the gift tag which can be attached with washi tape.Pleated Gift Wrapping DIYAlternatively you can tie a ribbon or even attach a ribbon flower (click here to see how you can make one).Pleated Gift Wrapping DIYPleated Gift Wrapping DIYPleated Gift Wrapping DIYMost importantly, have fun ;-)

Rasa xoxo

0

Cut-out paper layered gift wrapping

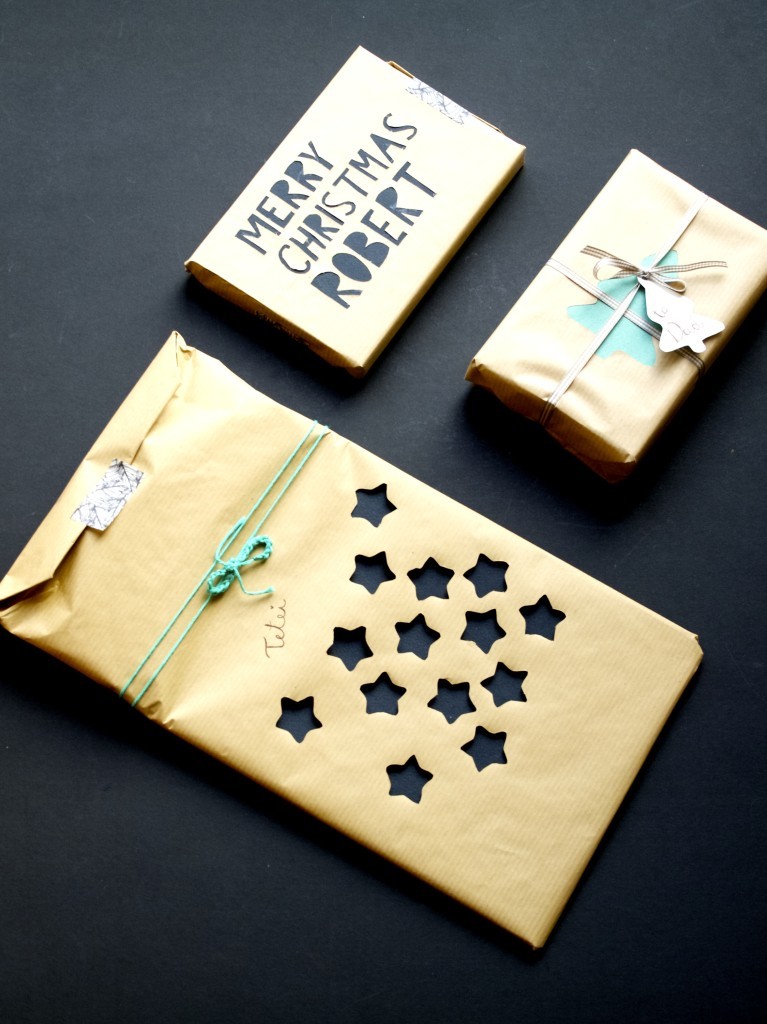
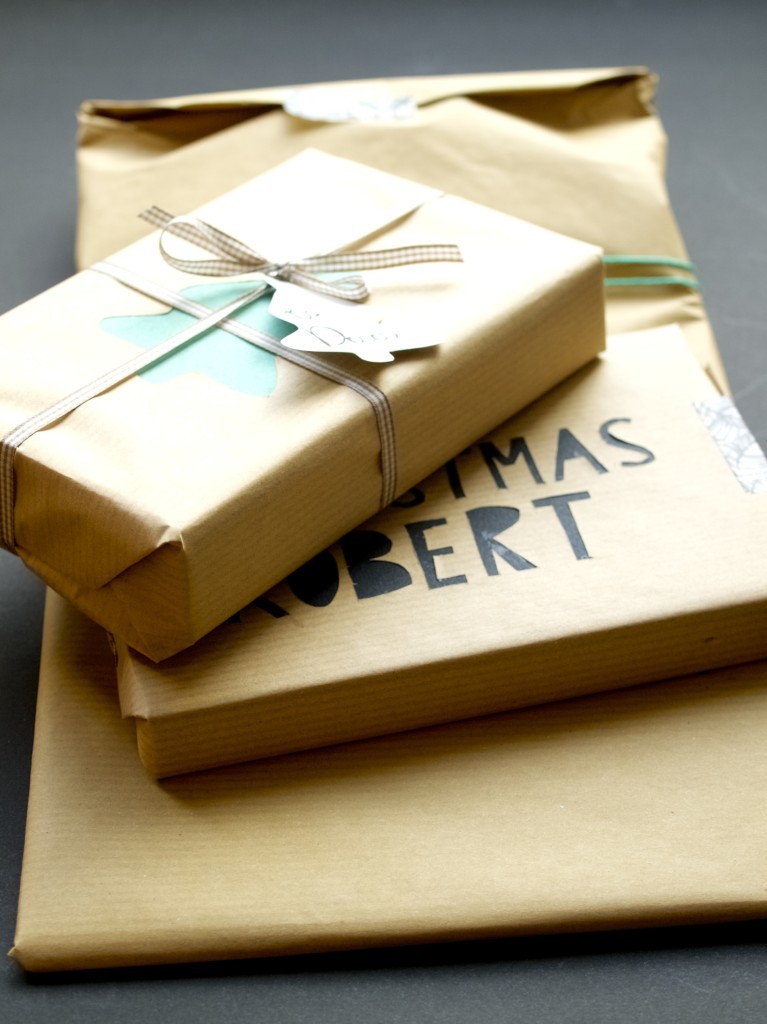
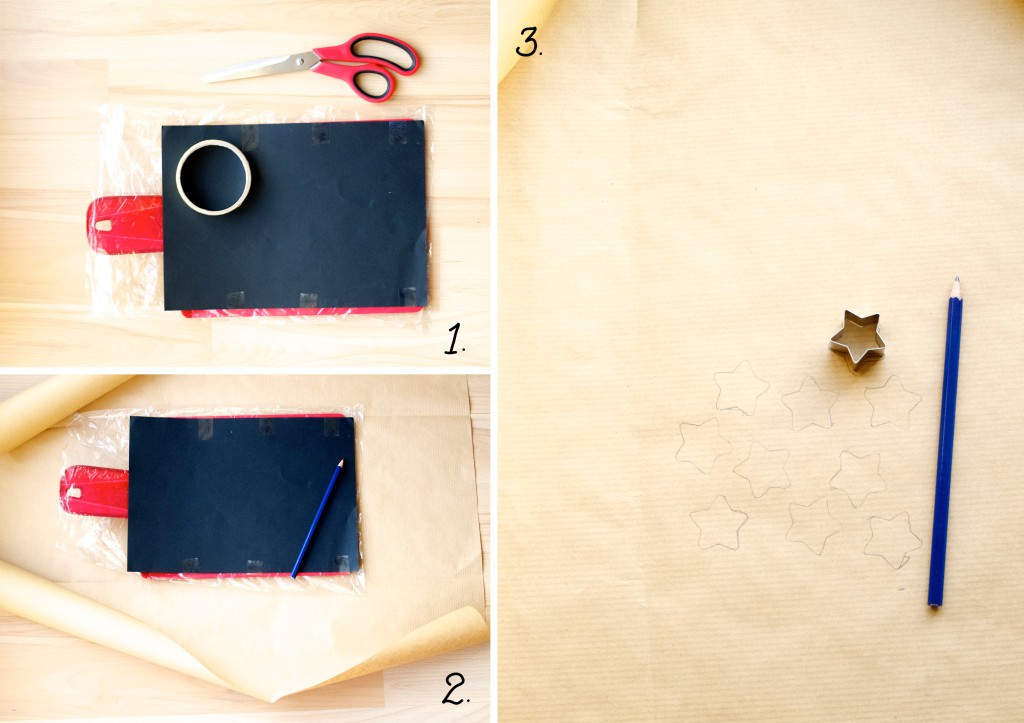
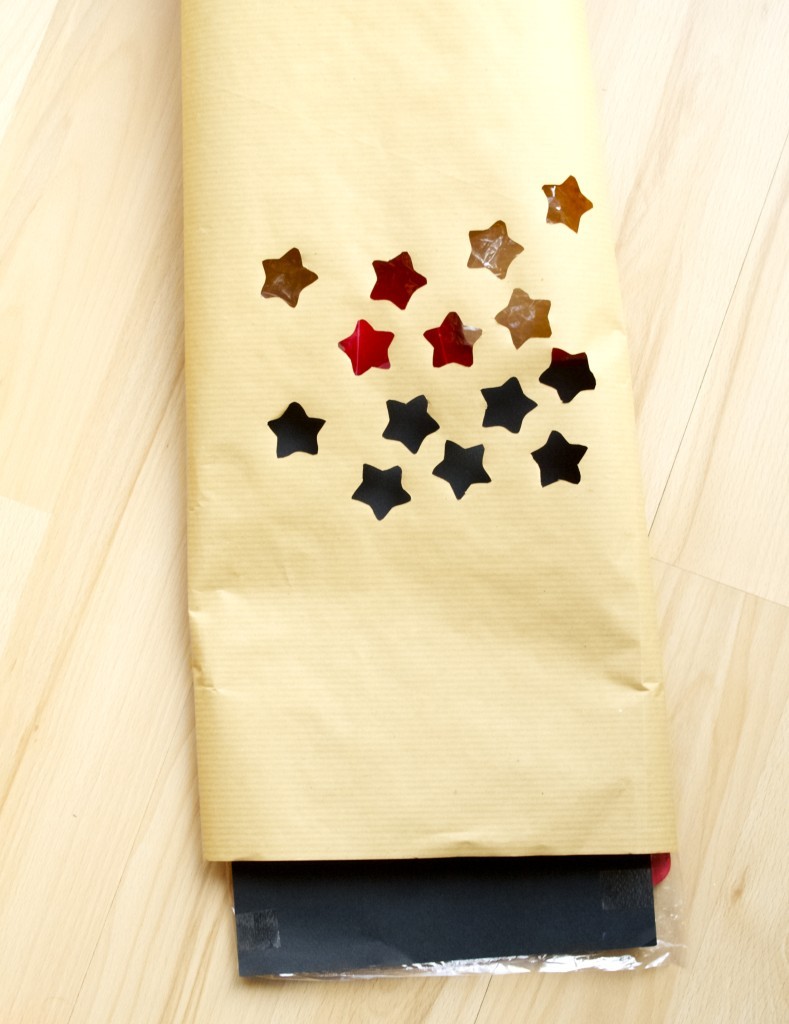
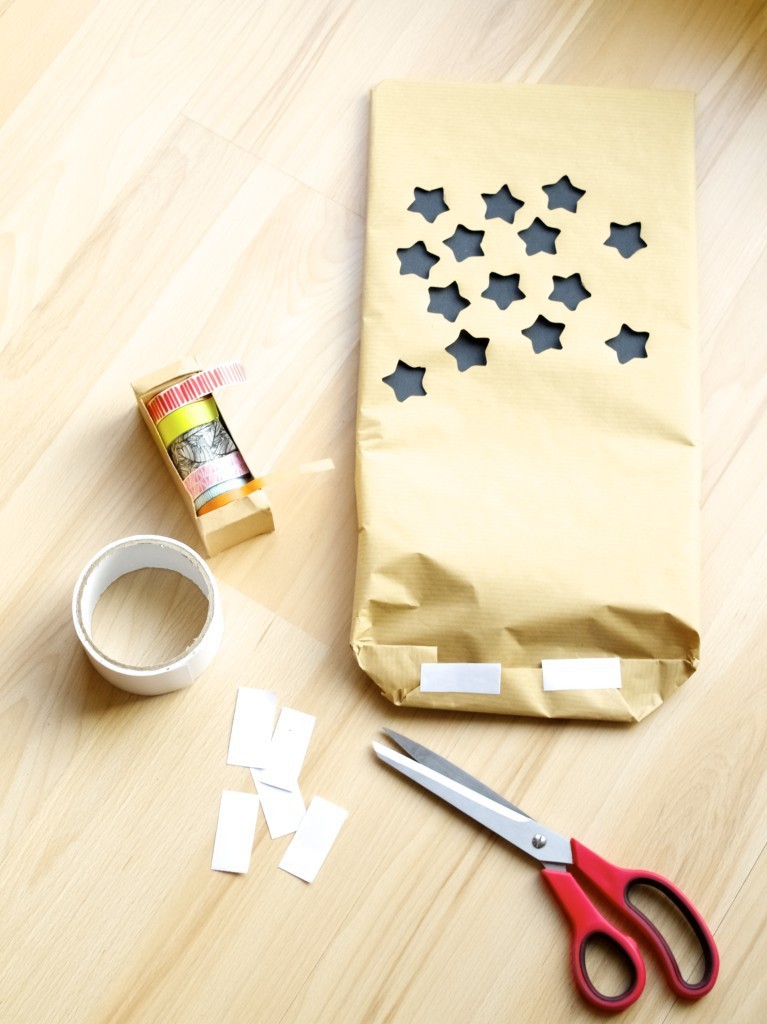
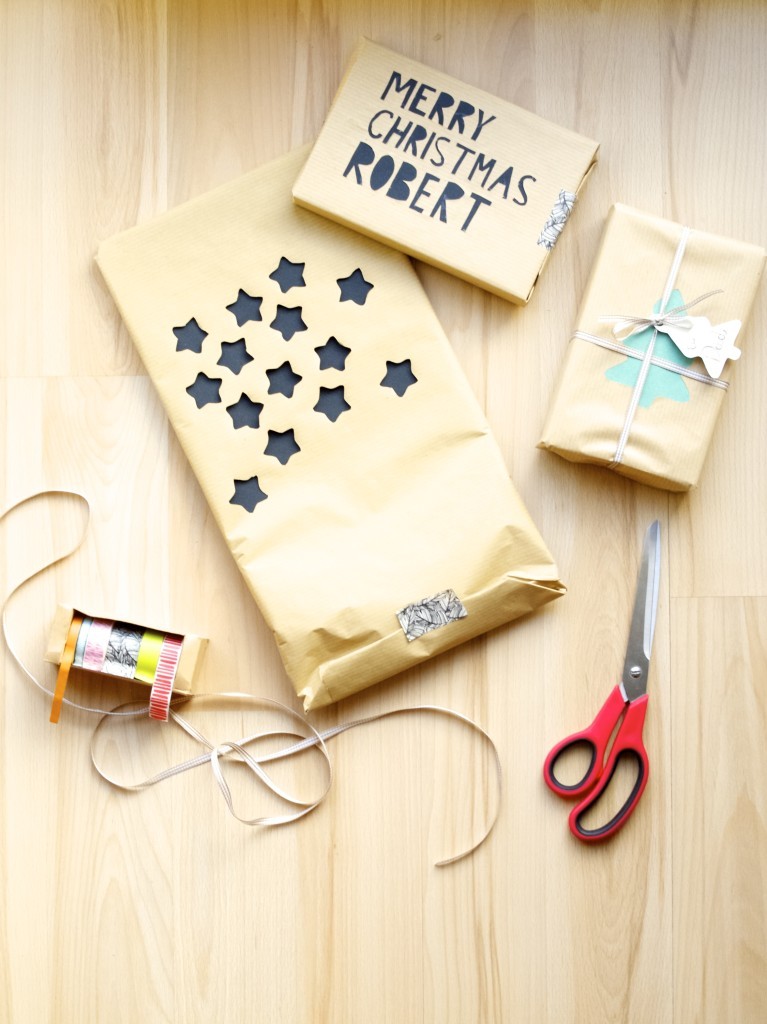
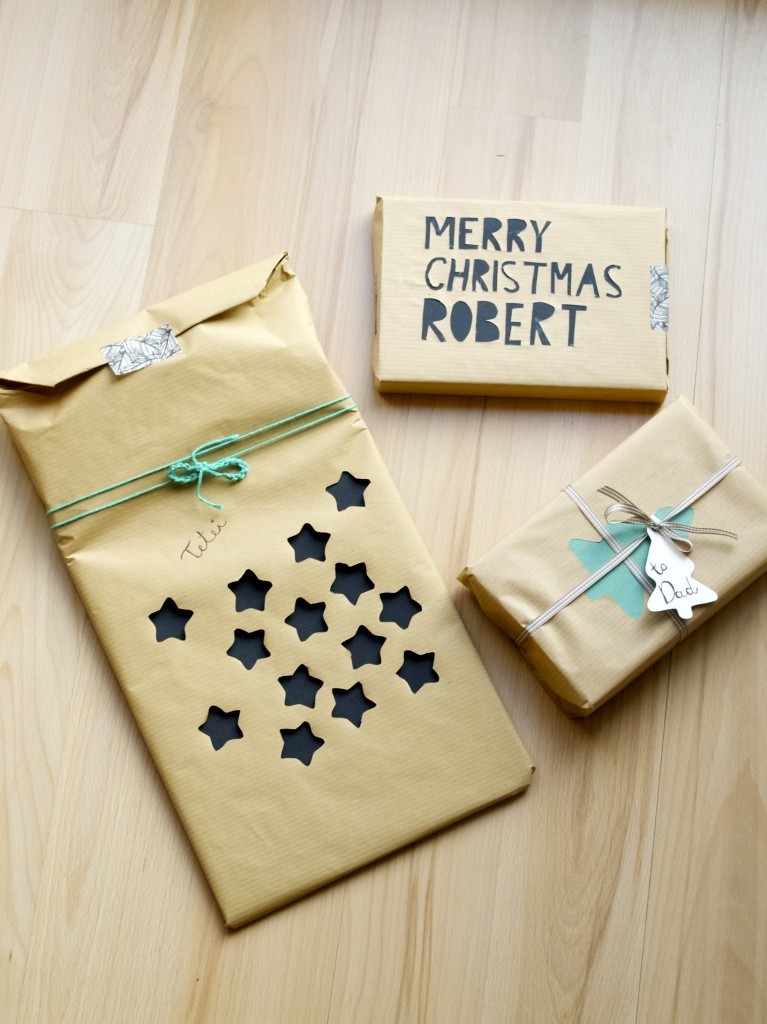
Cut-out paper layered gift packaging ideaMy Sunday has been spend on the gift wrapping. Which I love most when it comes to gift giving! Fortunately this year my family have expanded so I have even more gifts to give. So here is my another idea on gift wrapping. It includes layering like many others I have done in the past ;-). Cut-out paper layered gift packaging ideaTo begin you will need wrapping paper in two colours (one of them can be a sheet of colour paper), Sellotape, double-sided tape, scissors, pencil, scalpel and cutting mat.

1. Cover the gift with the piece of paper and secure it on with the Sellotape.

2. Measure enough of wrapping paper for the second layer (this one has to cover all around the gift). Mark the outskirts of the gift itself using the pencil.

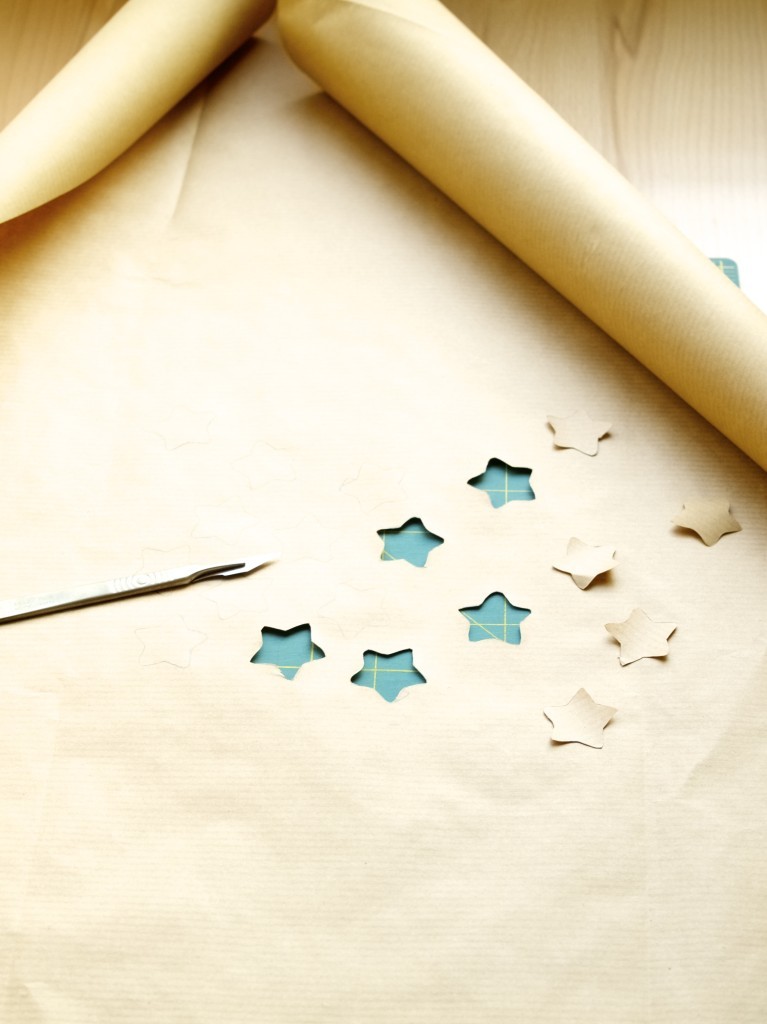
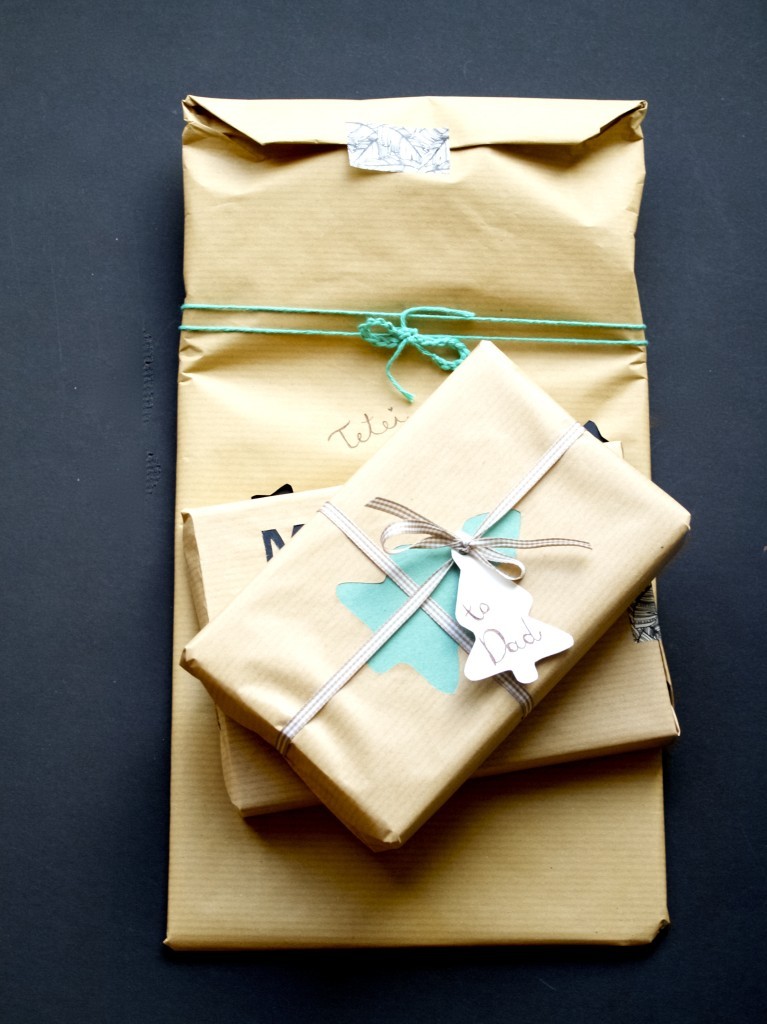
3. Inside the marked area draw what you would like to cut out. I used star cookie cutter to draw lots of stars! But you can also draw other shapes as well as the letters to complete the words and phrases ;-). Cut-out paper layered gift packaging idea4. Cut out what you have drawn!Cut-out paper layered gift packaging idea5. Wrap the cut out paper around the gift, making sure the cut-outs cover the other paper layer. Cut-out paper layered gift packaging ideaCut-out paper layered gift packaging ideaFinish off the gift with some washi tape, ribbon or a matching gift tag!Cut-out paper layered gift packaging idea Cut-out paper layered gift packaging idea Cut-out paper layered gift packaging ideaHappy gift packaging!

Rasa xoxo

0

Friendly Nettle shop is re-open! Yey!

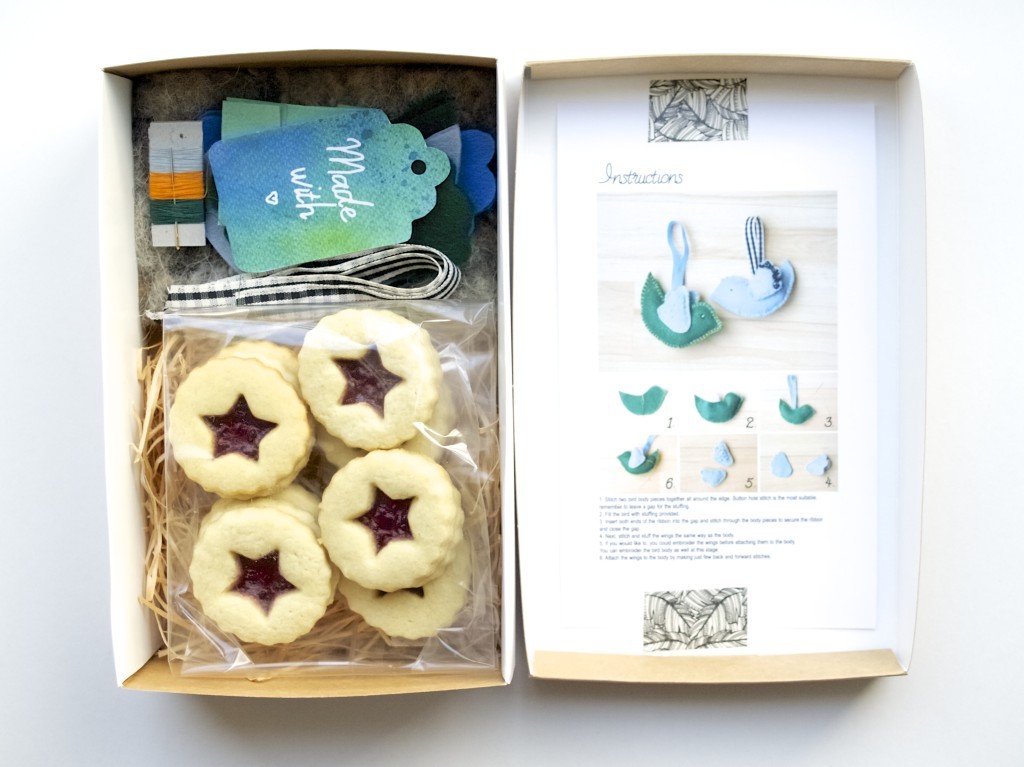
New in Friendly Nettle Shop: Crochet Star kitHey dear friends! I have a very good news. The Friendly Nettle shop is re-opened and updated as it should be! There is always room for improvement, but I am really happy with the progress!New in Friendly Nettle Shop: Hanging birdie kitWith this store relaunch we are happy to add craft kits to our range. These include everything you need to make a thoughtful gift for a friend or a loved ones as well as some biscuits to enjoy while you do.New in Friendly Nettle Shop: Crochet Star kit New in Friendly Nettle Shop: Hanging birdie kitIf you are not a maker type then you can gift this to someone who like crafting themselves. The kits come nicely packaged, so you don’t need to do a thing! Maybe just add a gift tag or a simple wrap and that’s done!New in Friendly Nettle Shop: Hanging birdie kitEnjoy Christmas shopping!

Rasa xoxo

0

Let’s make some gift tags

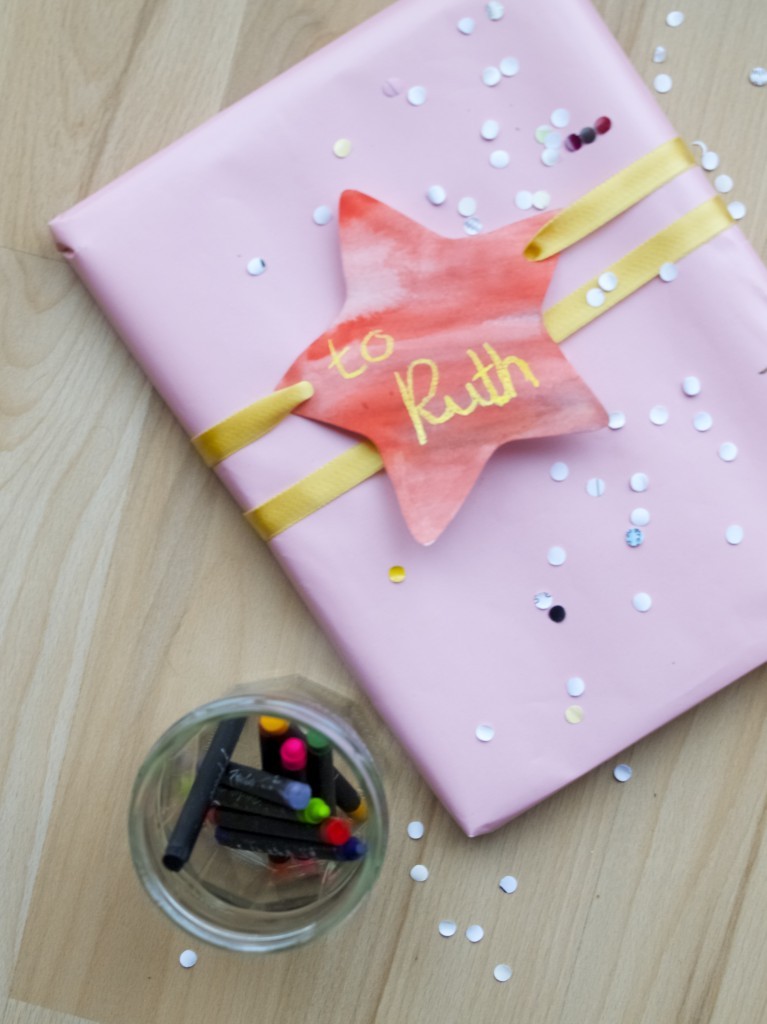
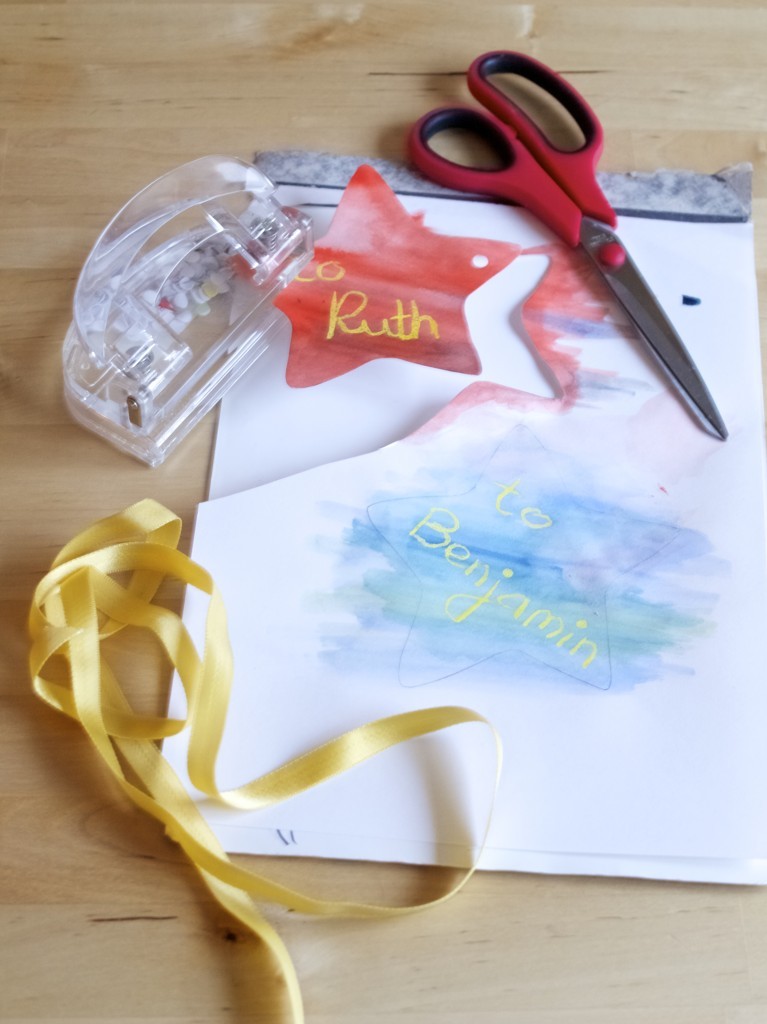
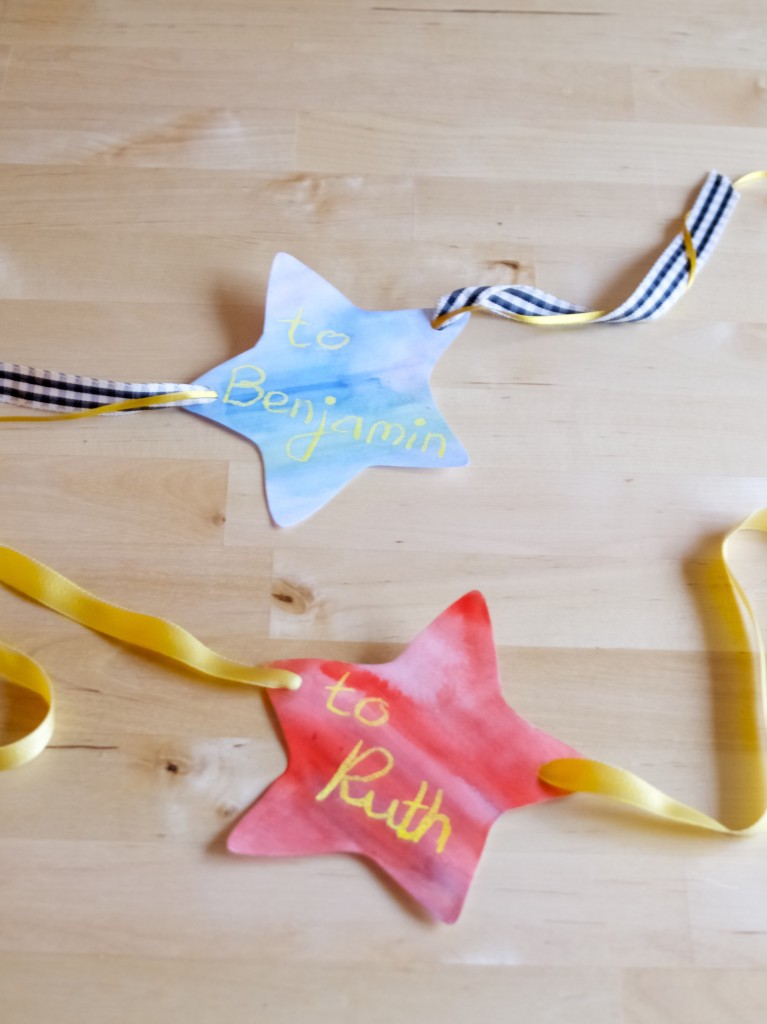
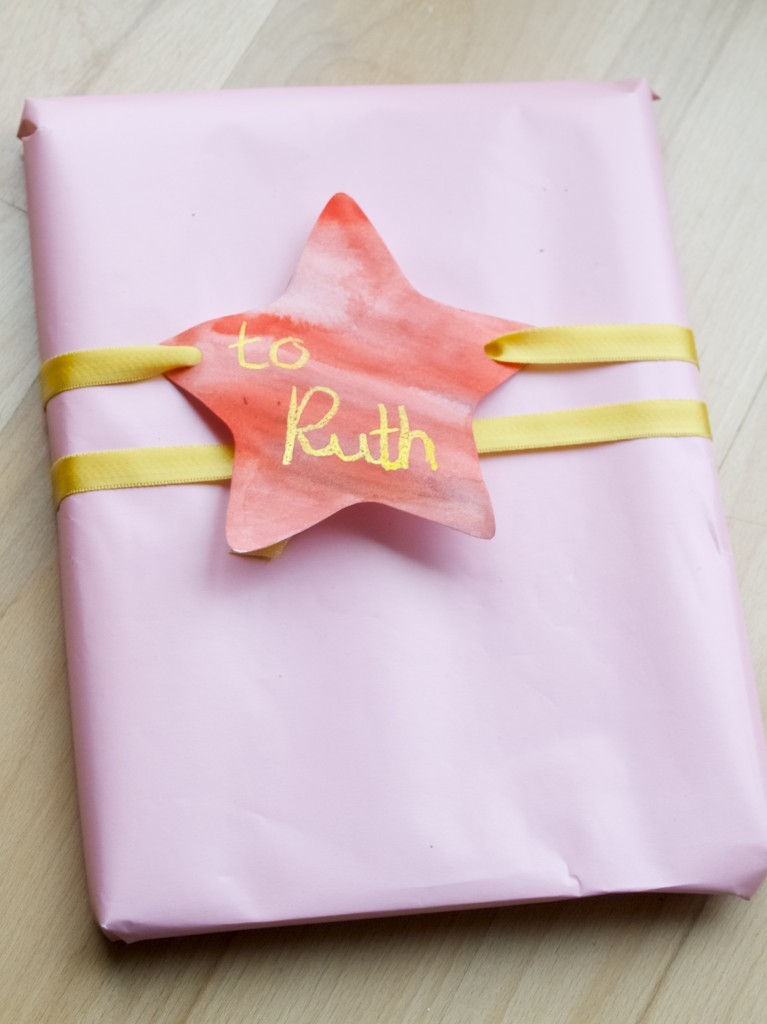
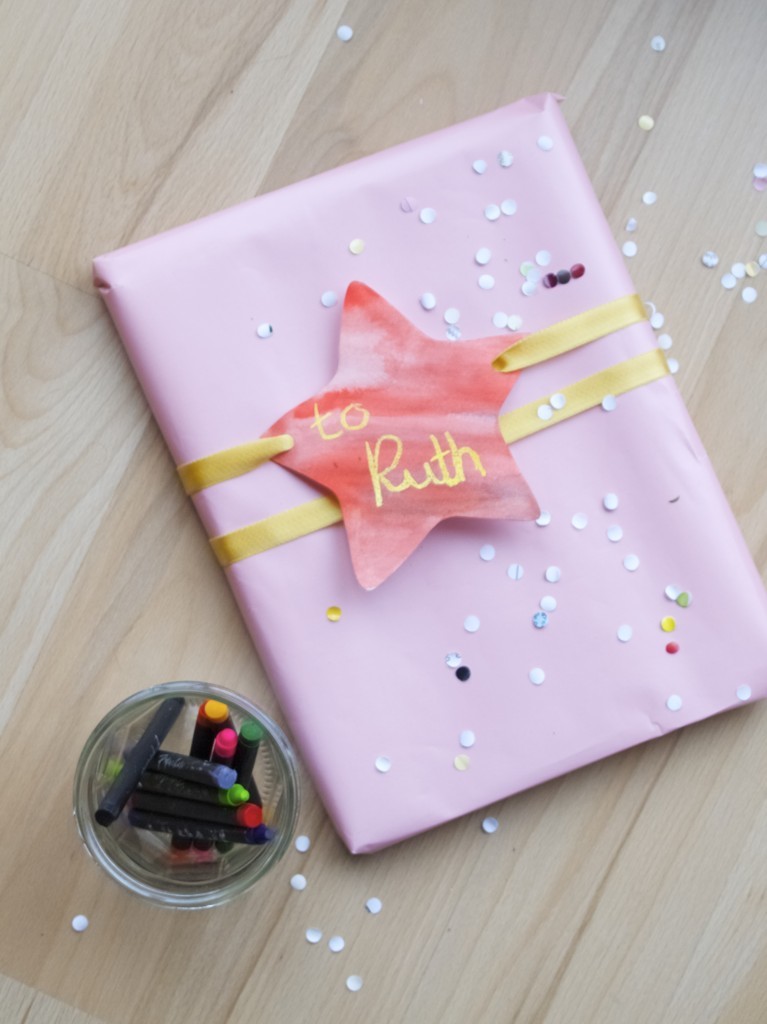
handmade gift tags DIYA week or so ago I shared an idea on how to package the gift. Today I am hoping to inspire you on how to make some gift tags! It’s easer than you think and it gives a personal touch to the present you are giving. I made these using watercolour technique over wax (over waxy crayon to be specific).

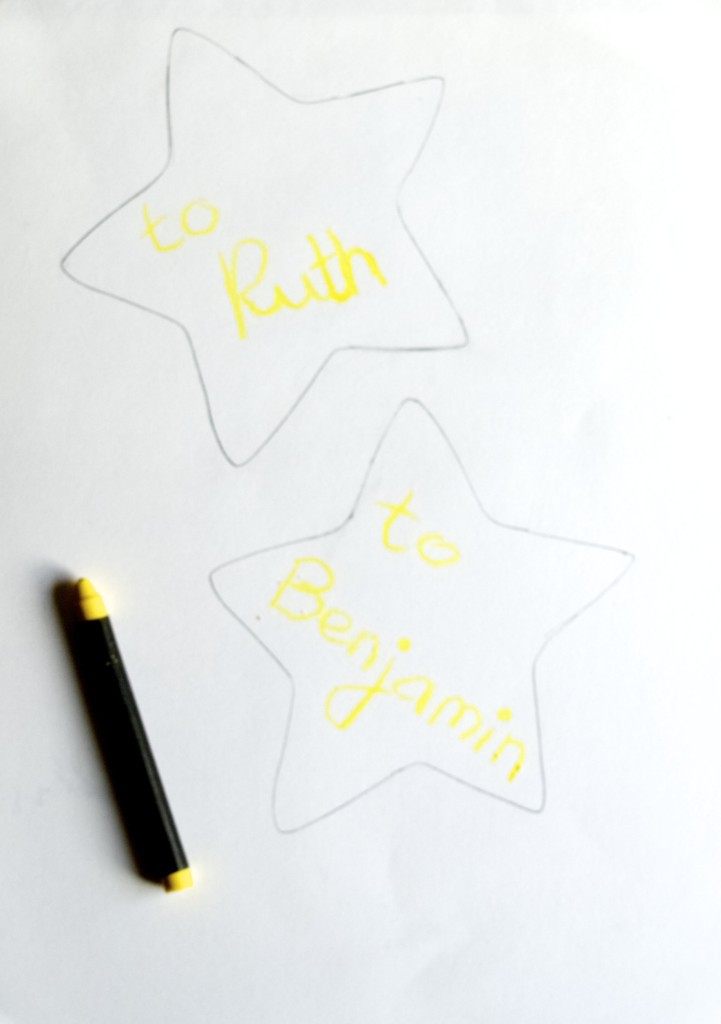
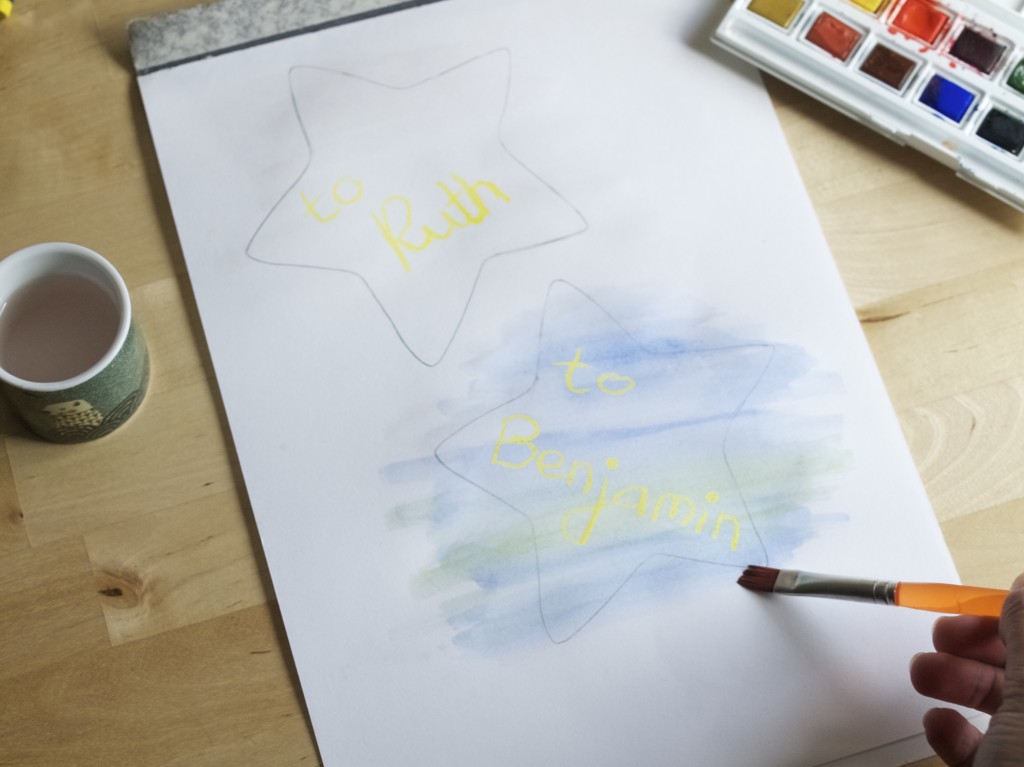
So i drew the star shaped tags on the paper (sketch or watercolour paper is well recommended!). If you are into stars like me right now, then click here for the template ;-). I used yellow crayon to write the names in, but you can use any colour you want. However the lighter colour you choose, the better the effect will be . So if you got a white crayon (sadly I did not have any), then this maybe your perfect choice!handmade gift tags DIYThe next step is to paint over with water colour. The water colour pigment won’t stick to the area where you drew with crayon, leaving it to stand out even more! For more dramatic look try wetting the paper with the brush before applying any water colour. handmade gift tags DIYOnce the paint is dry (and it dries quicker than you think) you can cut the star shapes out. Using a punch hole make some holes for the ribbon or a piece of string. handmade gift tags DIY handmade gift tags DIYWrap the ribbon around the gift. Ta-dah!!handmade gift tags DIY handmade gift tags DIYHappy gift wrapping and Christmas waiting! Got your Christmas tree out yet?

Only joking (not)!

Rasa xoxo

1

Confetti gift wrapping idea

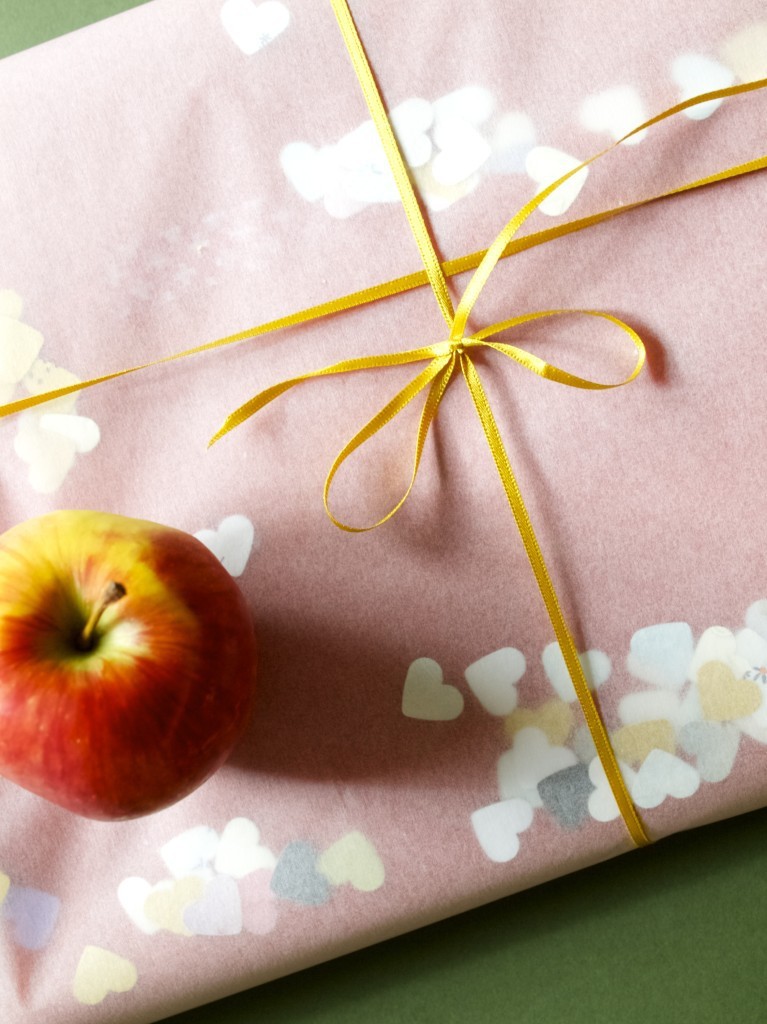
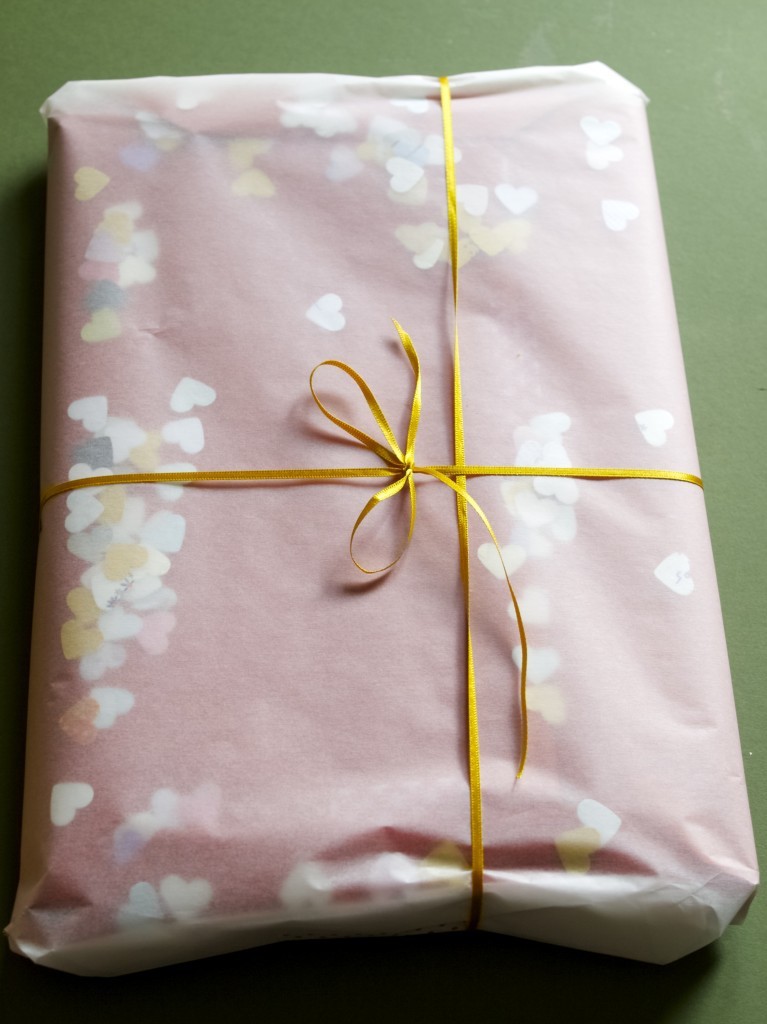
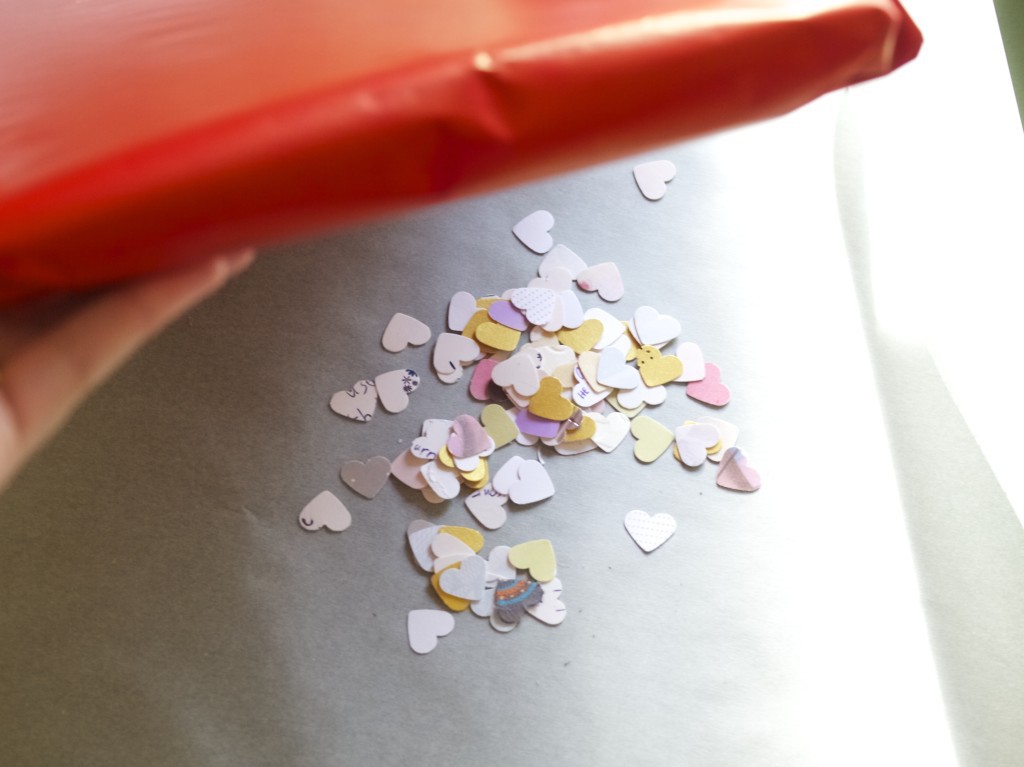
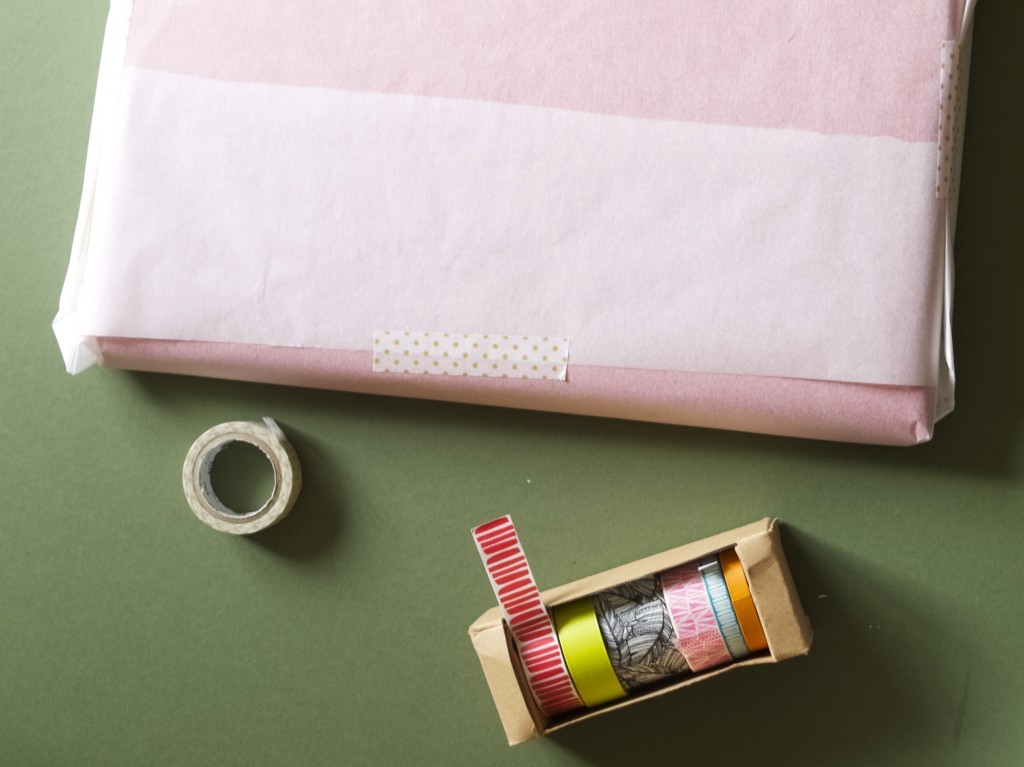
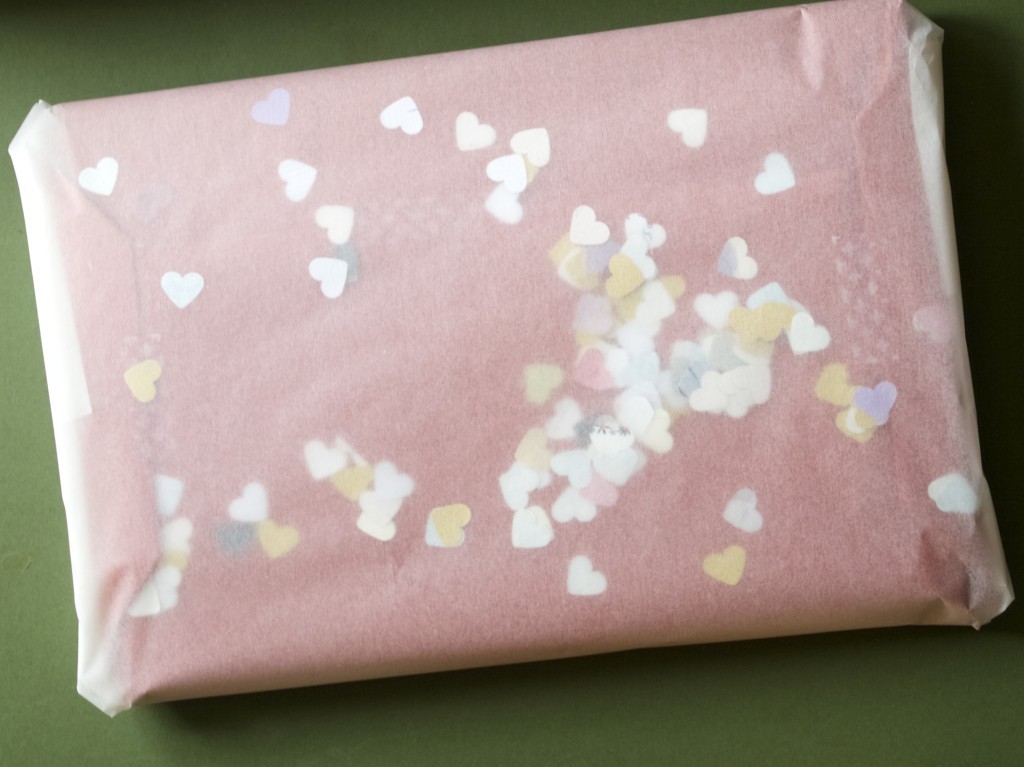
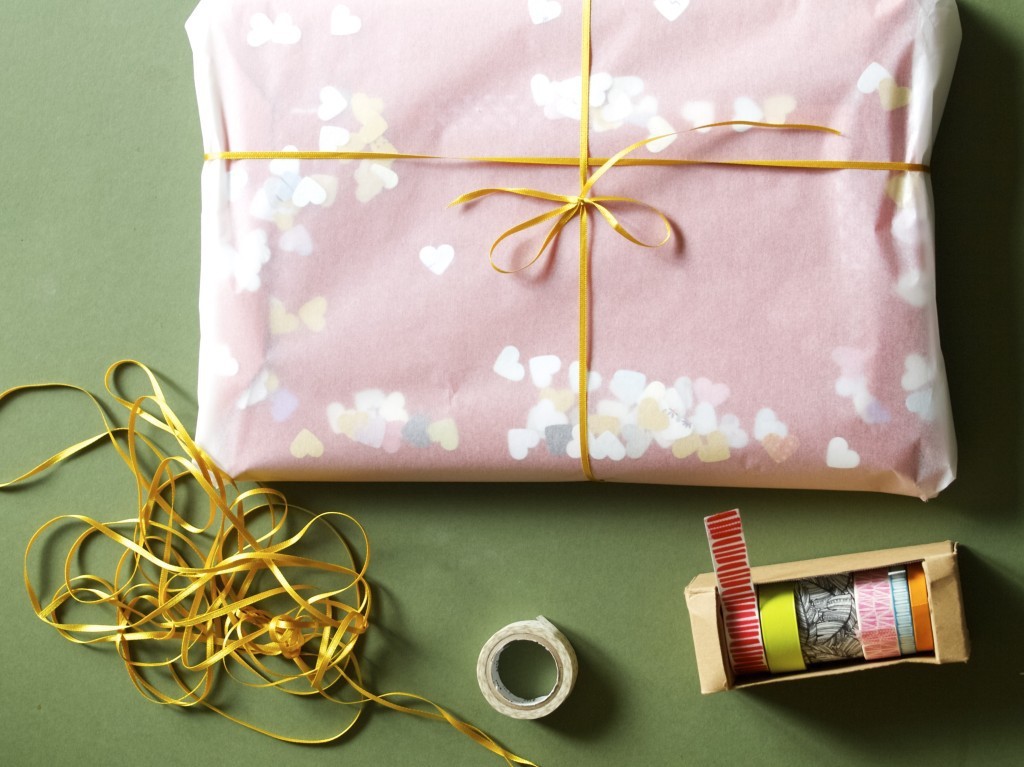
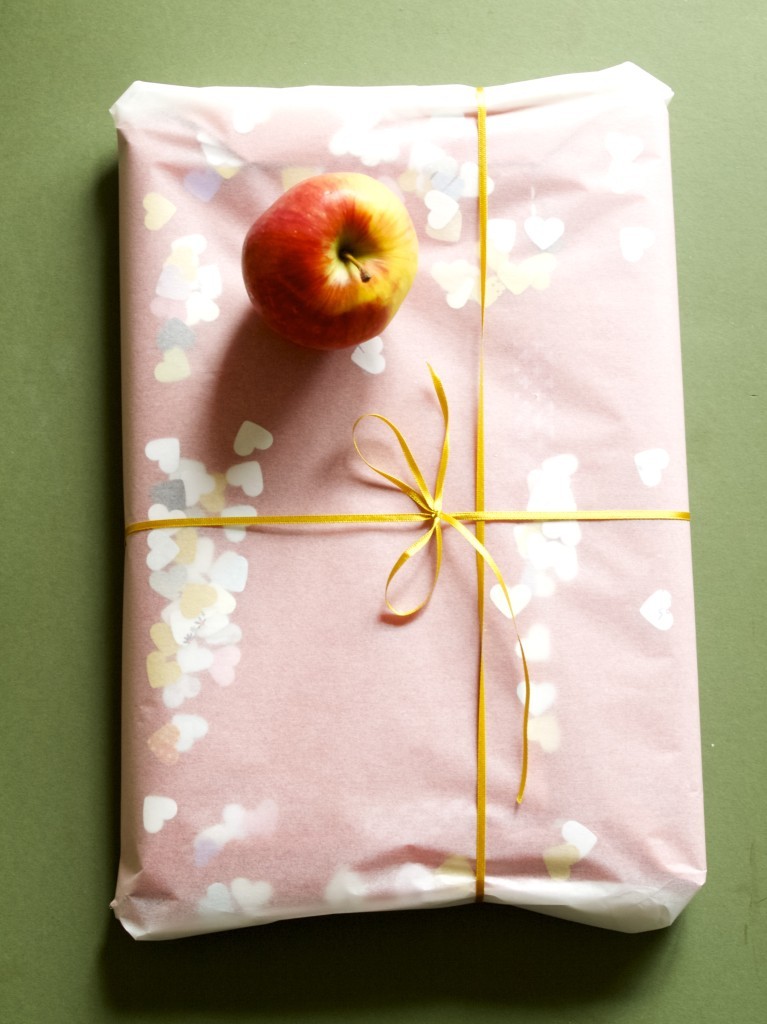
Confetti gift packaging ideaAs we come closer to Christmas we all need a bit of inspiration about how to wrap our gifts. I find packaging gifts to be very therapeutic! The gift wrapping is someones first impression and first impressions count. Right?

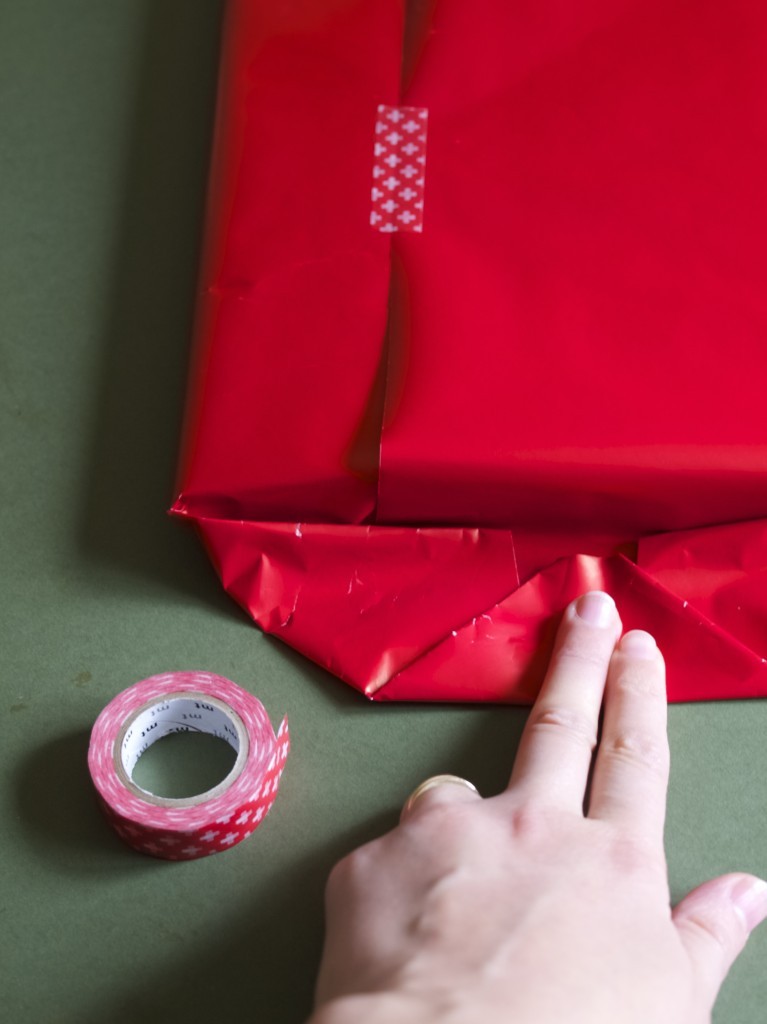
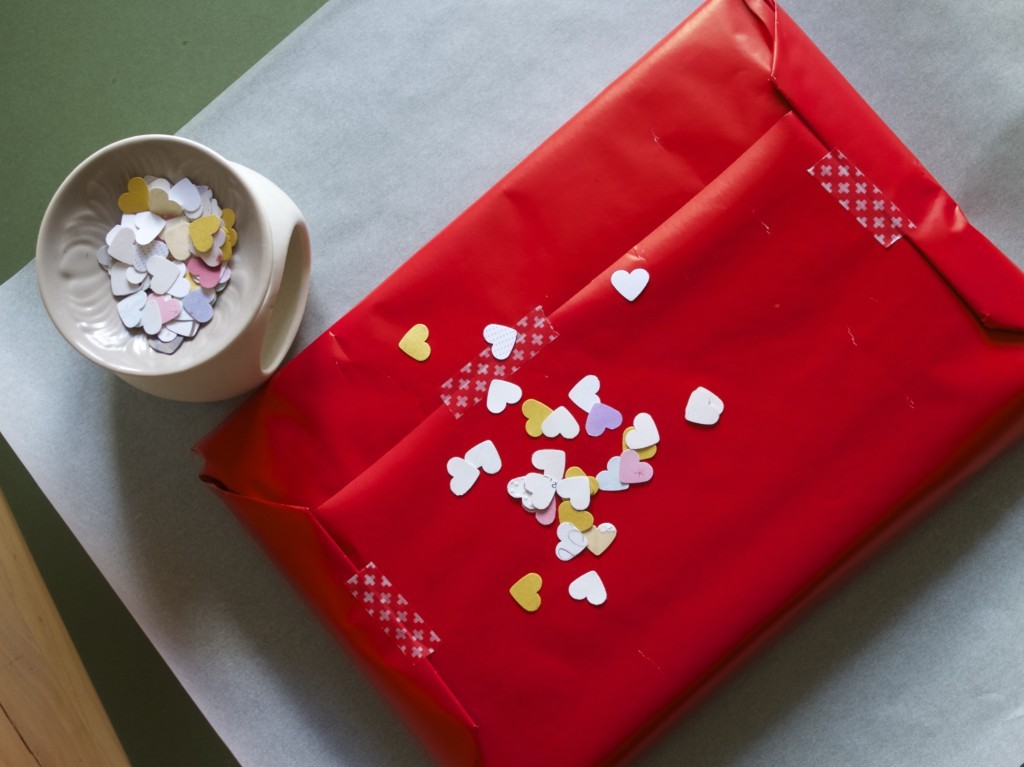
I made this confetti style packaging last week. The packaging technique is very similar to the one I used for my valentine’s gift packaging. All it needs is some confetti inserted in between the layers. See-through layer this time of course!Confetti gift packaging ideaAll you need to do is wrap the gift like you would usually do. Bright wrapping paper is highly recommended! Confetti gift packaging ideaThen throw some confetti in! I used some punched heart shapes here :-)Confetti gift packaging ideaIt’s easiest when you keep the confetti behind the gift while packaging as it won’t get in your way when sealing second layer of wrapping.Confetti gift packaging ideaI used baking paper for my second layer. Could you have guessed? Sometimes the most creative ideas come from the kitchen ;-).Confetti gift packaging ideaShake the gift so the confetti spreads evenly all over.Confetti gift packaging ideaTie the ribbon or whatever gift topper you want.Confetti gift packaging idea Confetti gift packaging ideaHappy gift giving

Rasa xoxo

1

Homemade play dough

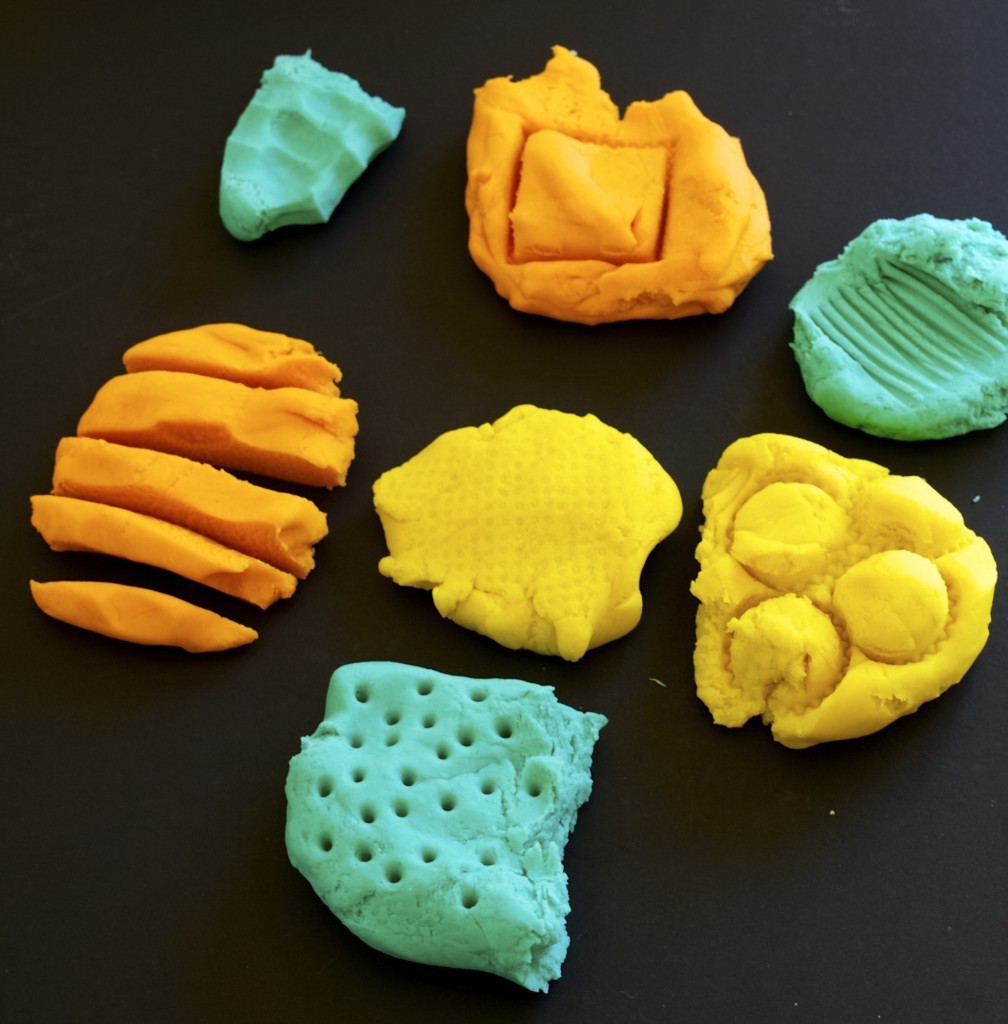
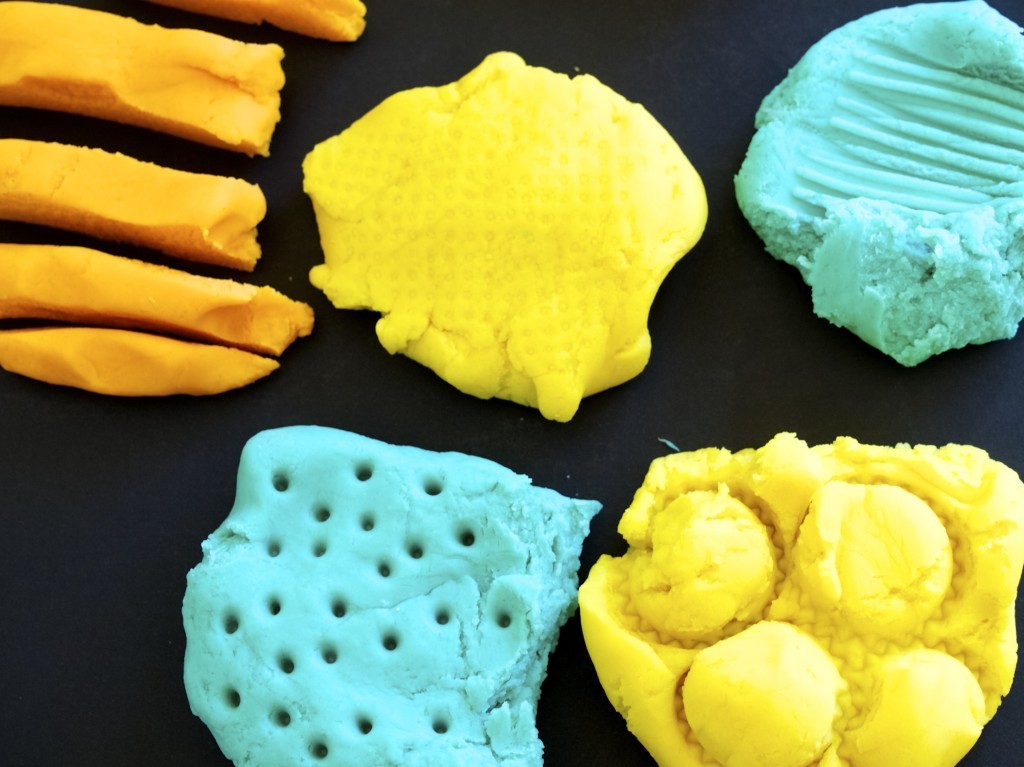
Make your own play dough that last up to 6 monthsAlthough I have no children of my own, I once had a chance to make some play dough for a kids group. My favourite Lithuanian cook book (yes, a cook book!) had a recipe for play dough and I was determined to try out ALL the recipes from the book. I sort of had a competition going with my mum, which of us will complete the book sooner. If you are wondering who won, it was of course ME!!! I take competitions very seriously, just in case you did not know ;-).

Anyway, making play dough was fun, although not everything came out right. This time round I decided to do more research rather than relying on one recipe. I was looking for a recipe that  is quick and easy to make, long lasting, and a very flexible texture. I came up with a semi-cooked version which basically does not need a hob, but “cooks” in boiling water you pour over it. Smart, isn’t it? And apparently it last 6 months!

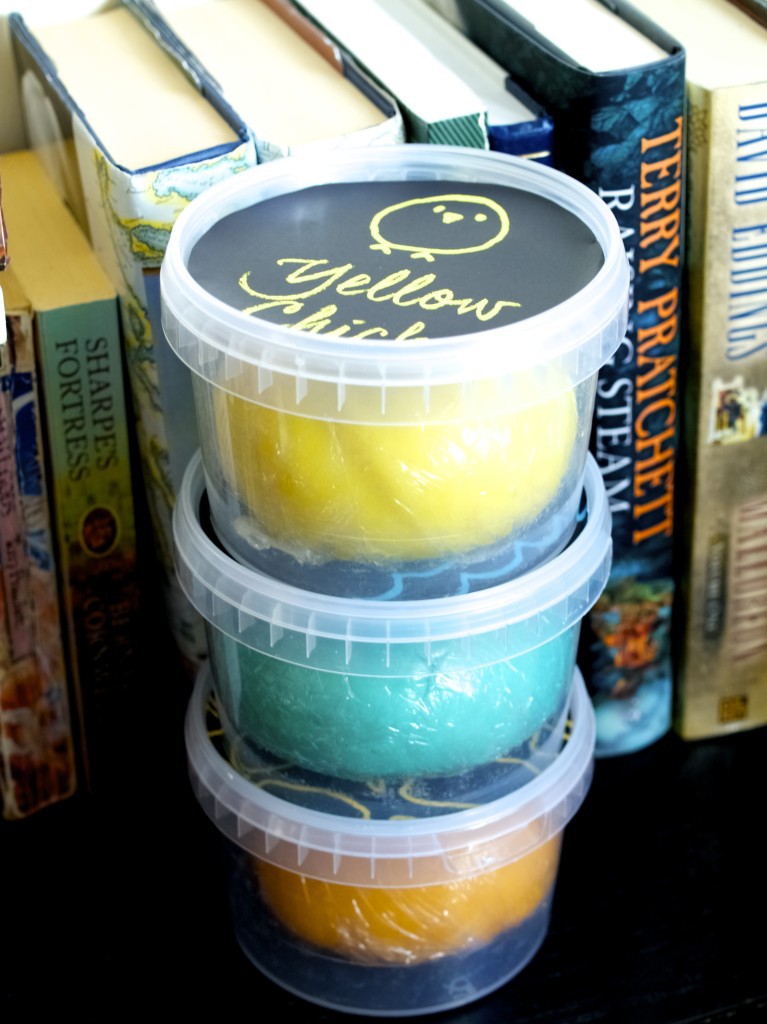
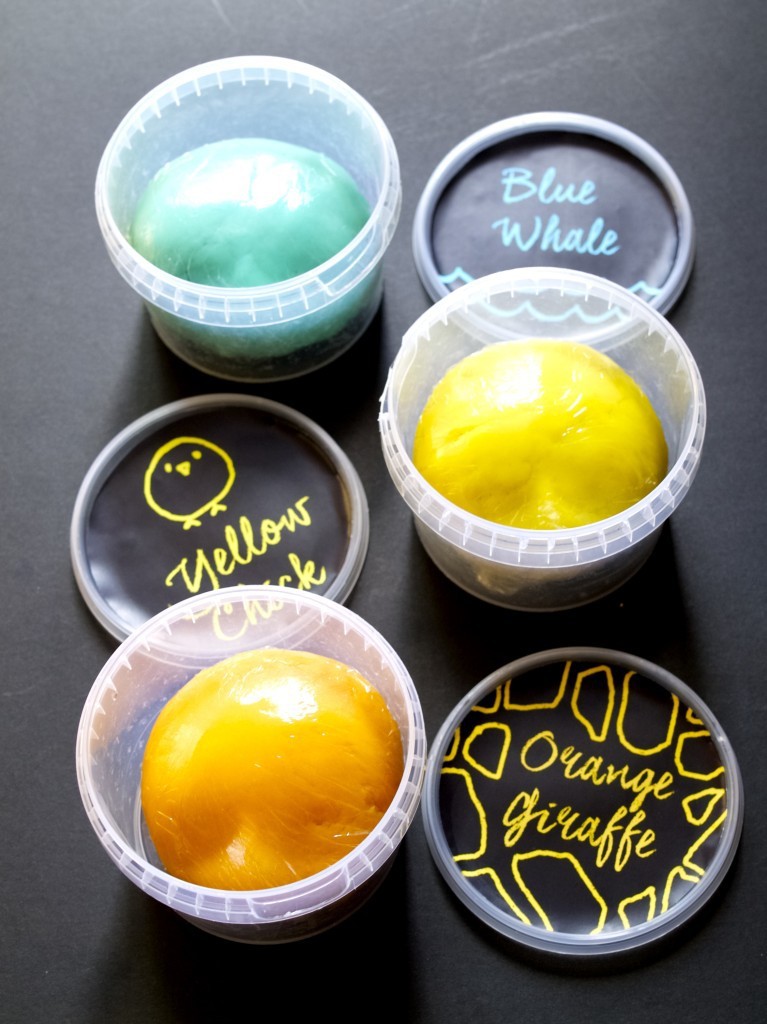
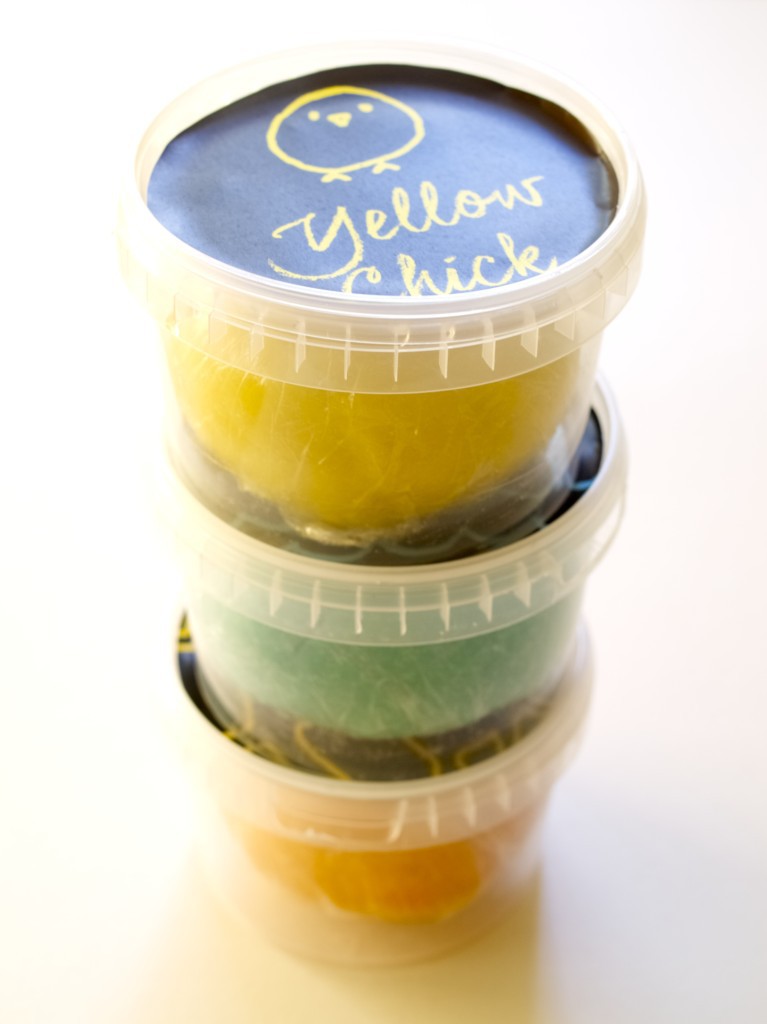
So, the reason for this post (in case you are wondering), is to make some play dough for gifts to friends/family who have children. These are perfect for that I thought. I even thought of custom packaging!Make your own play dough that last up to 6 monthsFor one lump of play dough the size of an orange you will need:

  • 1 cup flour
  • 1/4 cup salt
  • 1 tbsp citric acid or cream of tartar
  • 1 tbsp oil
  • food colouring (amount depends on the brand of colouring you are using)
  • 1tsp orange extract (totally optional, adds nice smell)
  • 3/4cup boiling water

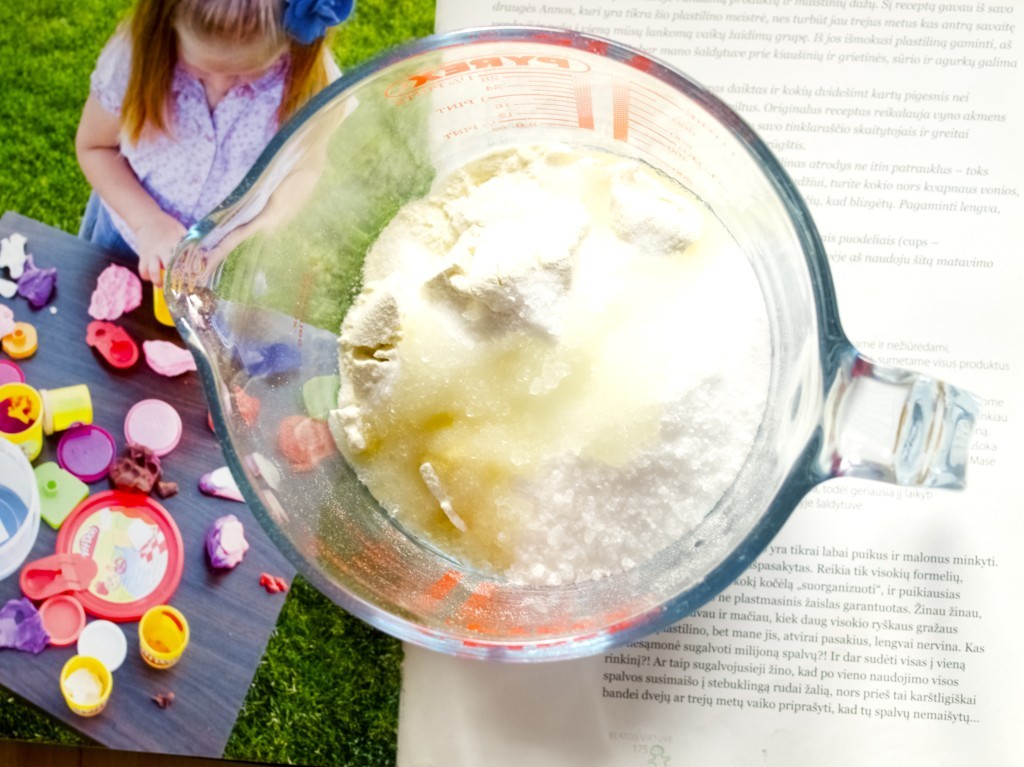
1. Combine flour, salt, citric acid, oil and orange extract (if using) in the large jug or bowl.Make your own play dough that last up to 6 months2. Mix food colouring with boiling water and pour it over the flour mixture. Mix it with the spoon until you get a clean dough ball. If it is too sticky, add some flour.

3. Remove the dough from the bowl and kneed it vigorously until it becomes really smooth. I love this part of the making as the dough is still warm and nice to touch!

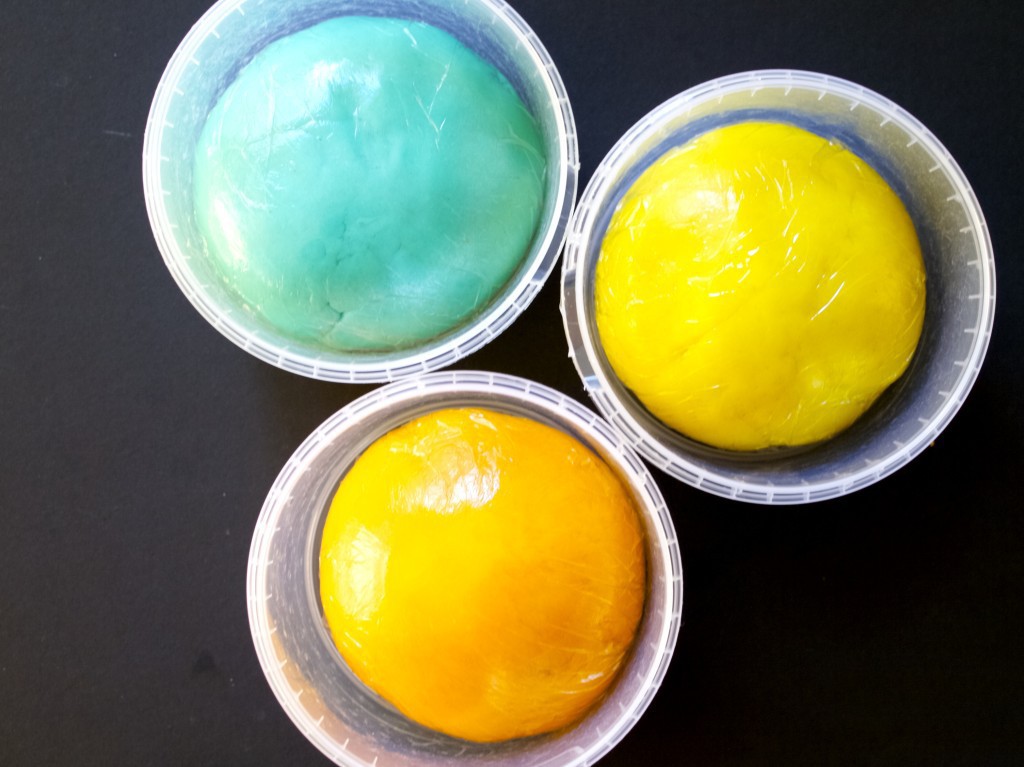
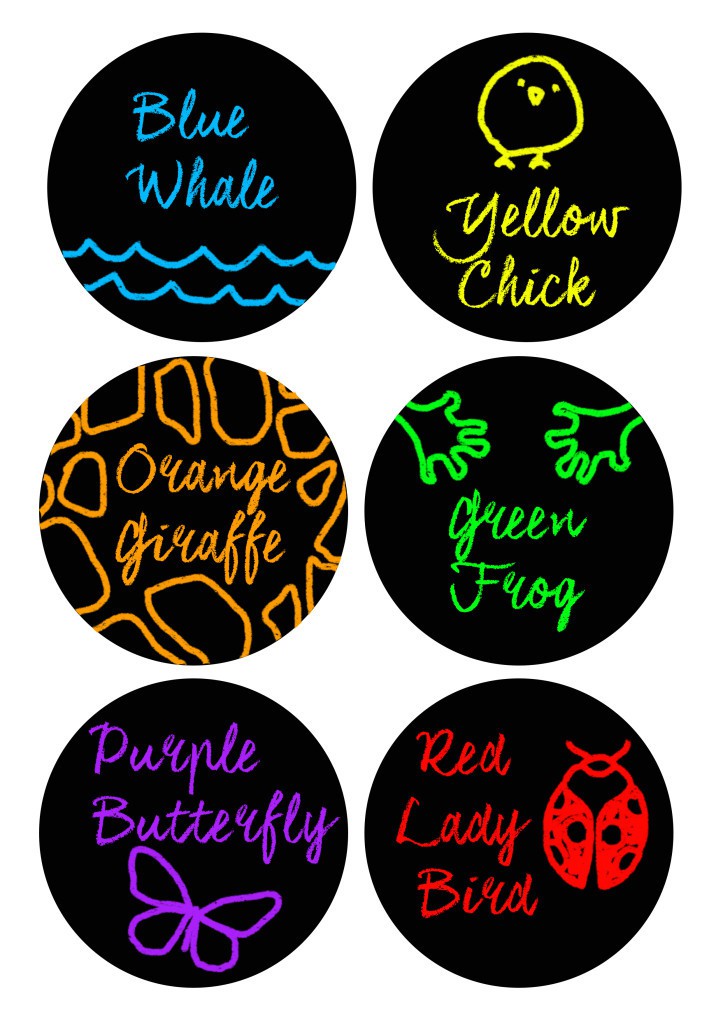
4. If you are giving this as a gift the best way to store is all wrapped in cling film or in the air tight container.Make your own play dough that last up to 6 monthsHere are the labels, free to print ;-).Playdough labels Make your own play dough that last up to 6 months Make your own play dough that last up to 6 months Make your own play dough that last up to 6 monthsI hope you will enjoy making this :)

Rasa xoxo

0