Top

Archive | Pinterest challenge

Pinterest challenge: Chinese dumplings

Pork & Shiitake mushroom dumplings
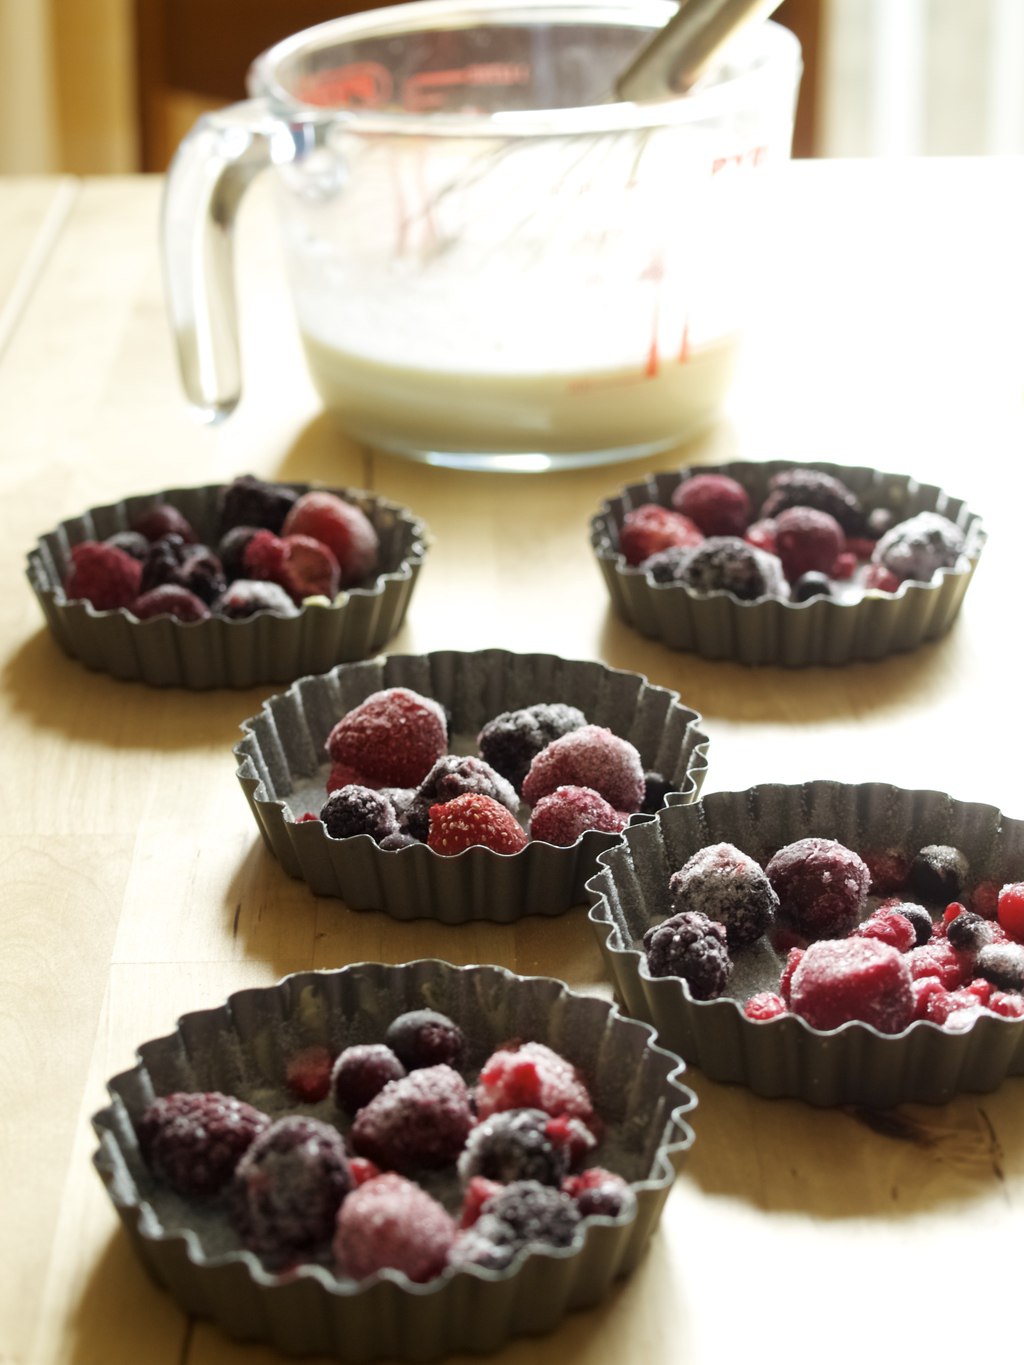
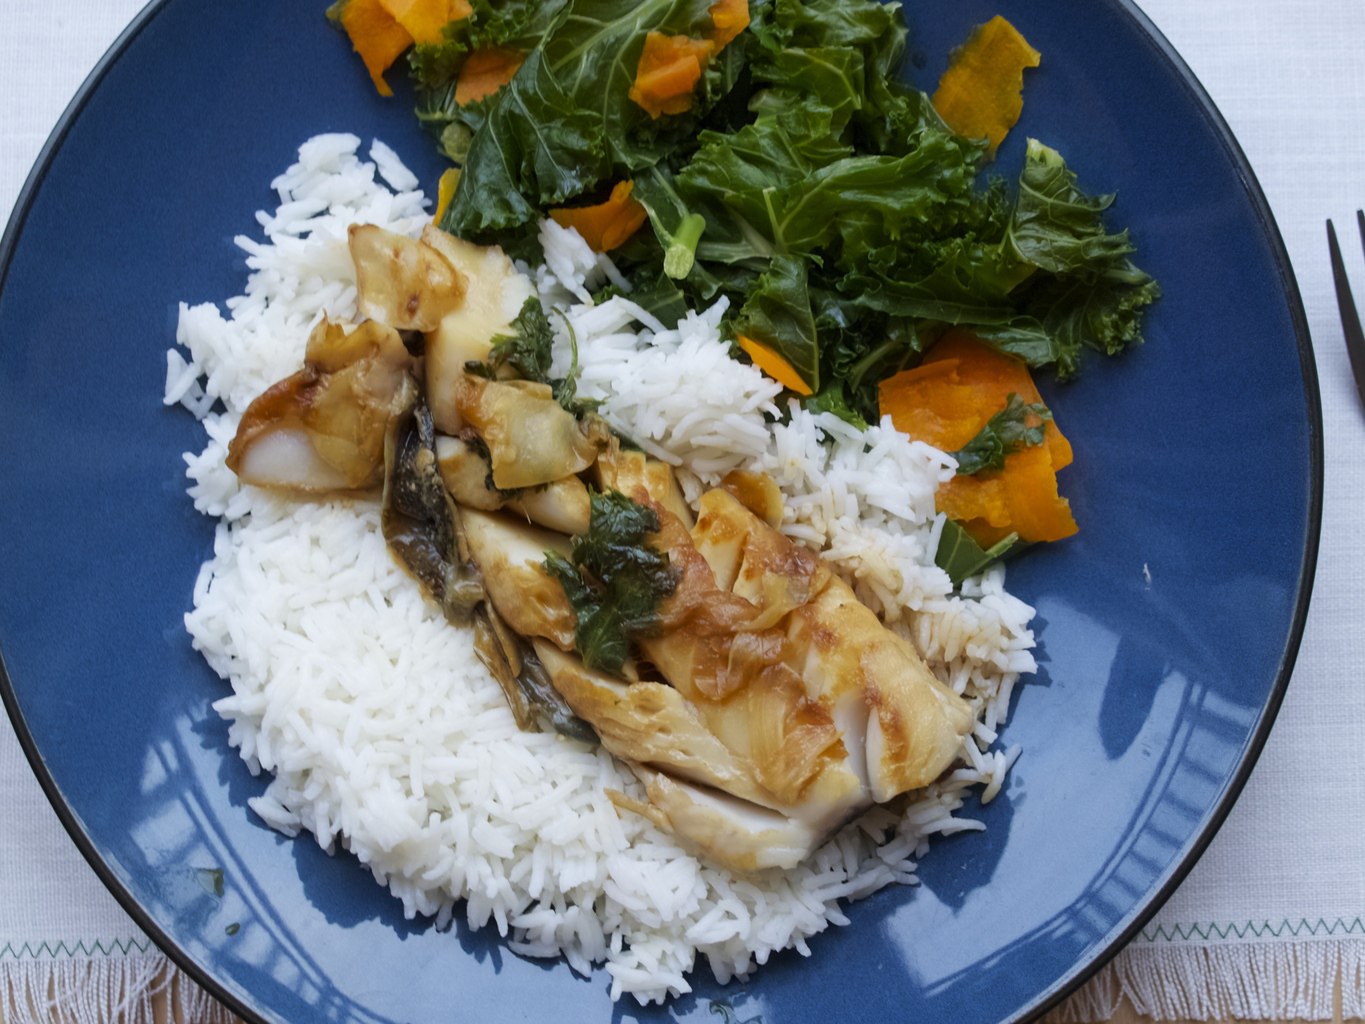
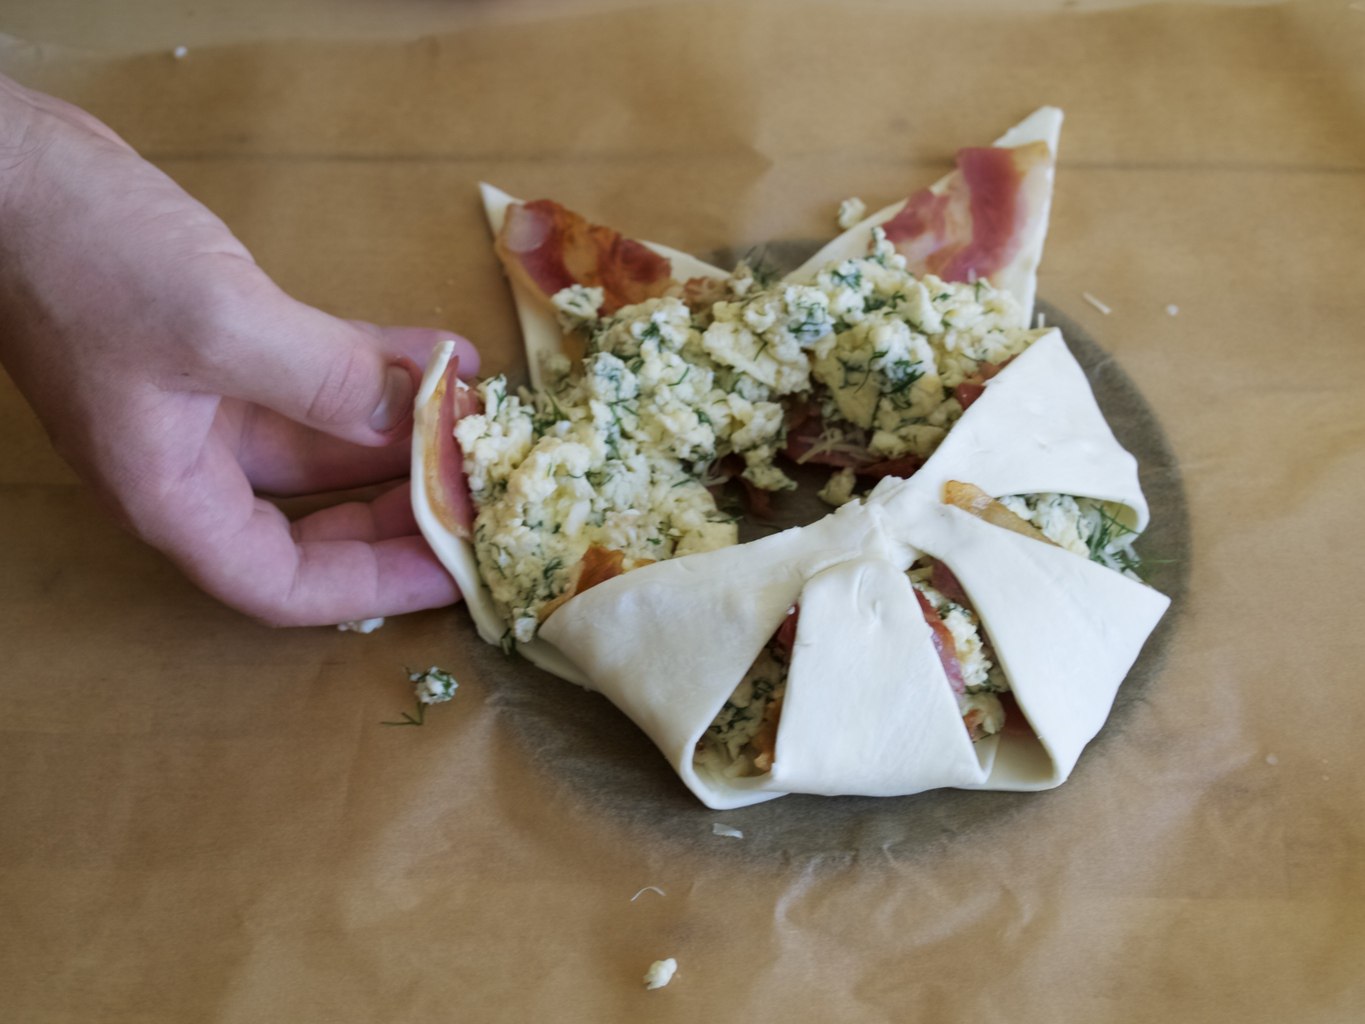
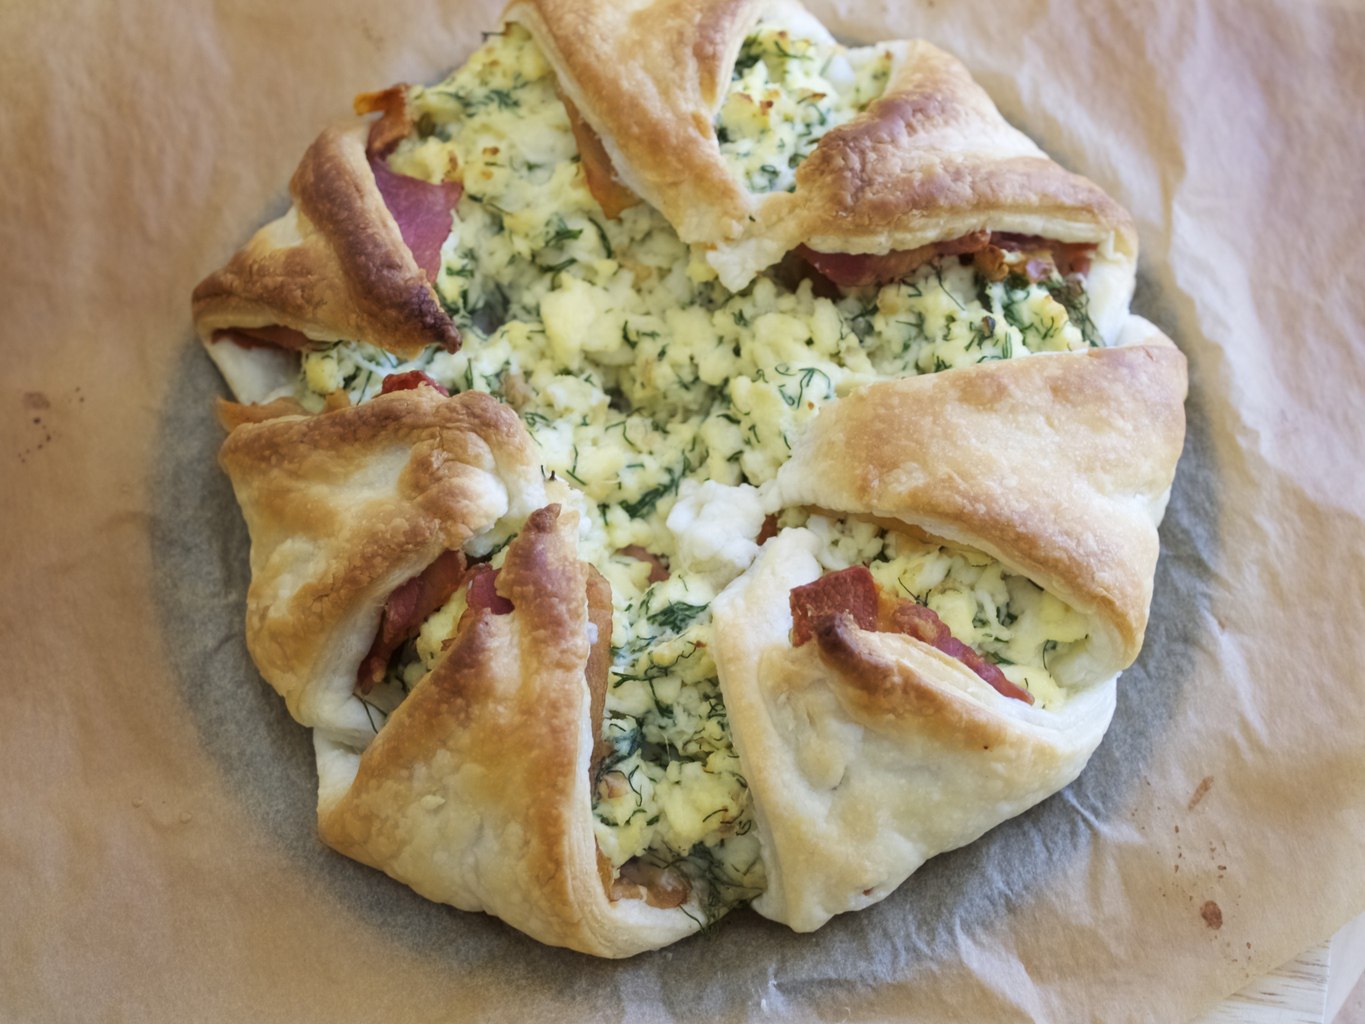
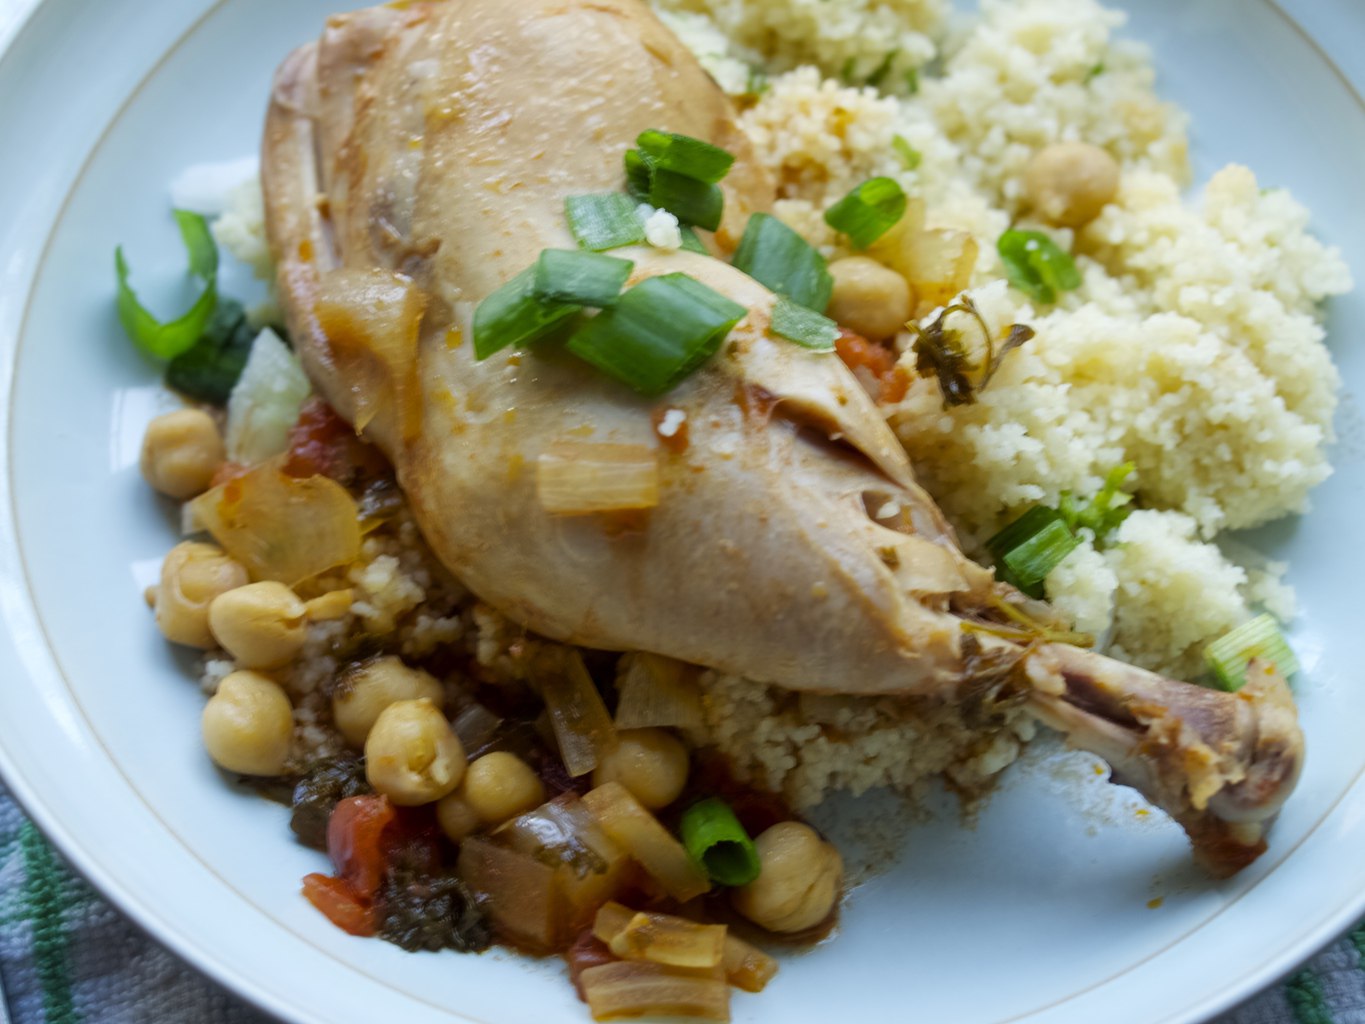
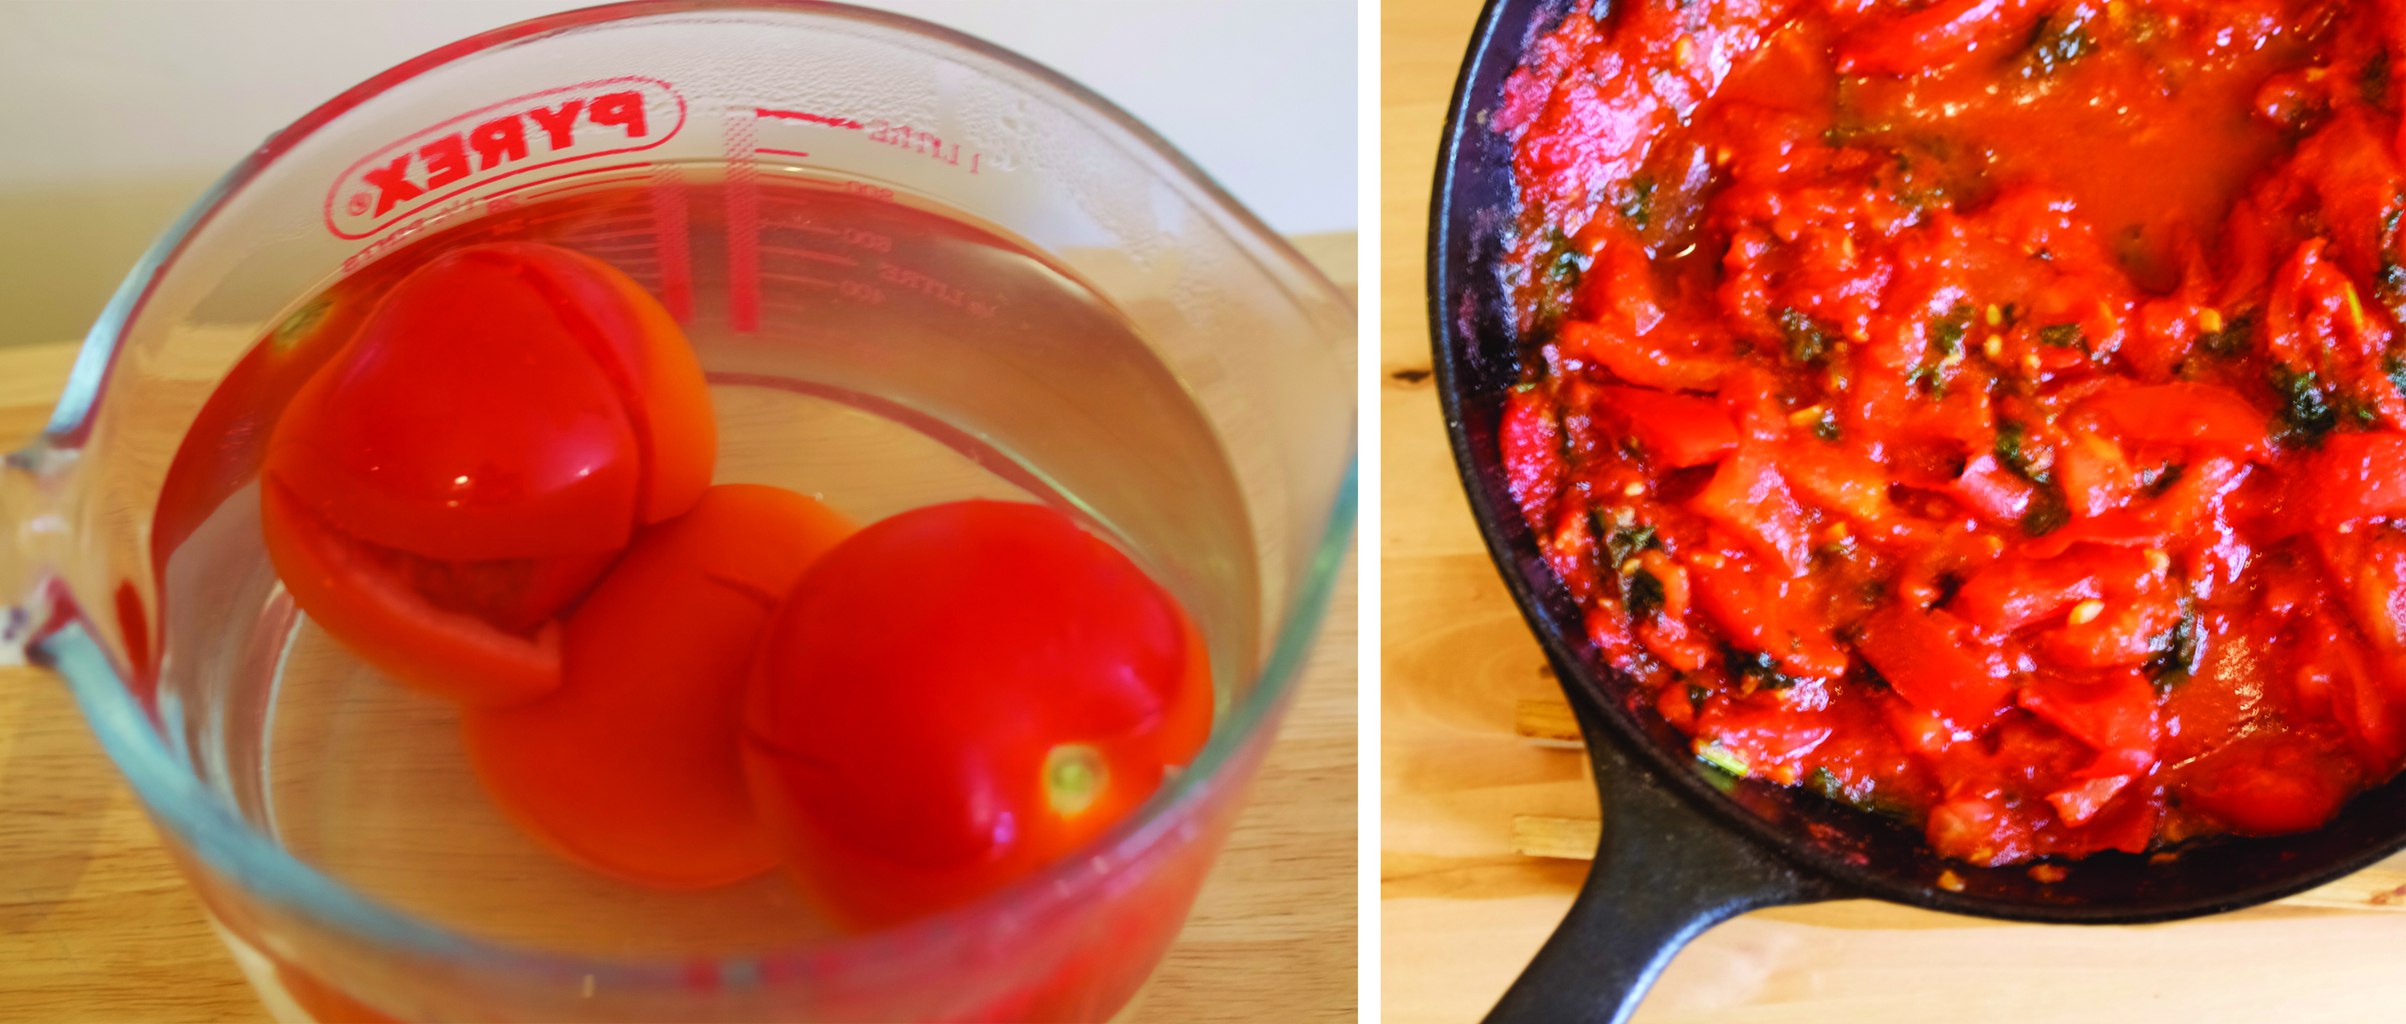
I have wanted to learn how to make Chinese dumplings for a while now. My father in law gave me a dumpling cube for my birthday (yey!) and that spurred me into my Pinterest challenge to make this type of dumplings. I was nervous to begin with as I had never made Chinese dumplings before and they looked quite tricky to shape. Luckily it turned out ok, although I almost used a few profane words along the process (oops!). Overall I would say this could be fun activity in relaxed setting (with a glass of wine in the hand) when not pressured to make it for dinner. So making these dumplings when hungry is not recommended!

PORK & SHIITAKE MUSHROOM DUMPLINGS adopted from Two Loves Studio

I made a lot of substitutions, so you are aware! Because I don’t see myself running a Chinese restaurant or cooking mostly Chinese. Basically I did not want to end up with lot’s of oriental ingredients that I am not going to use again. Some ingredients has been replaced just because they were difficult to find in shops.

(for dumpling wrappers)

  • 300g ’00’ flour
  • 150-250ml boiling hot water

(for pork & shiitake mushroom filling)

  • 200g pork mince
  • 0.5 cup shiitake mushrooms, finely chopped
  • 0.5 cup celery sticks, finely chopped
  • 0.5 cup spring onions, finely chopped
  • 2 tsp fresh ginger, minced
  • 2 tsp balsamic vinegar
  • 3 tsp soy sauce
  • 2 tsp chilli puree
  • 1 egg, lightly beaten

(for dipping)

  • 3 tbsp soy sauce
  • 2 tbsp toasted sesame oil
  • 1 tsp sesame seeds

1.First make the dough by mixing flour with very hot water. Do this gradually as you may not need the whole amount. Kneed the dough for 10-15min, wrap it and place it in the fridge for 1 hour to rest. I was really pleased with my dough, it came out silky smooth as described!Pork & Shiitake mushroom dumplings
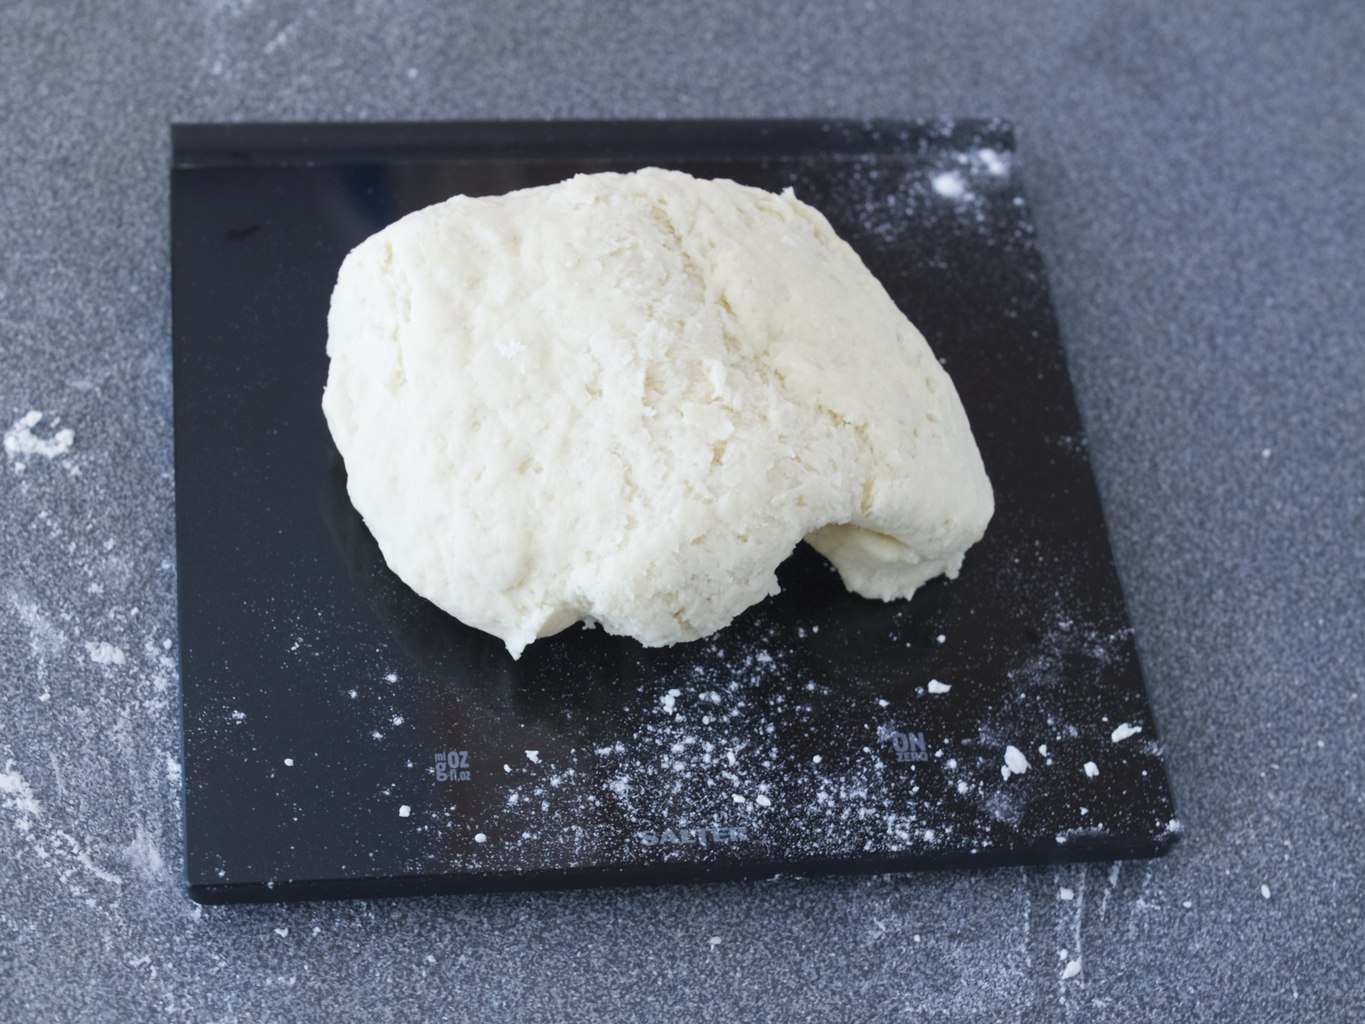
2. Second, make the filling (one day ahead if possible so flavours get a chance to marinate). Mix the minced meet with finely chopped mushrooms, celery and spring onions. Add ginger, vinegar, soy sauce, chilli puree. egg and combine everything well.Pork & Shiitake mushroom dumplings
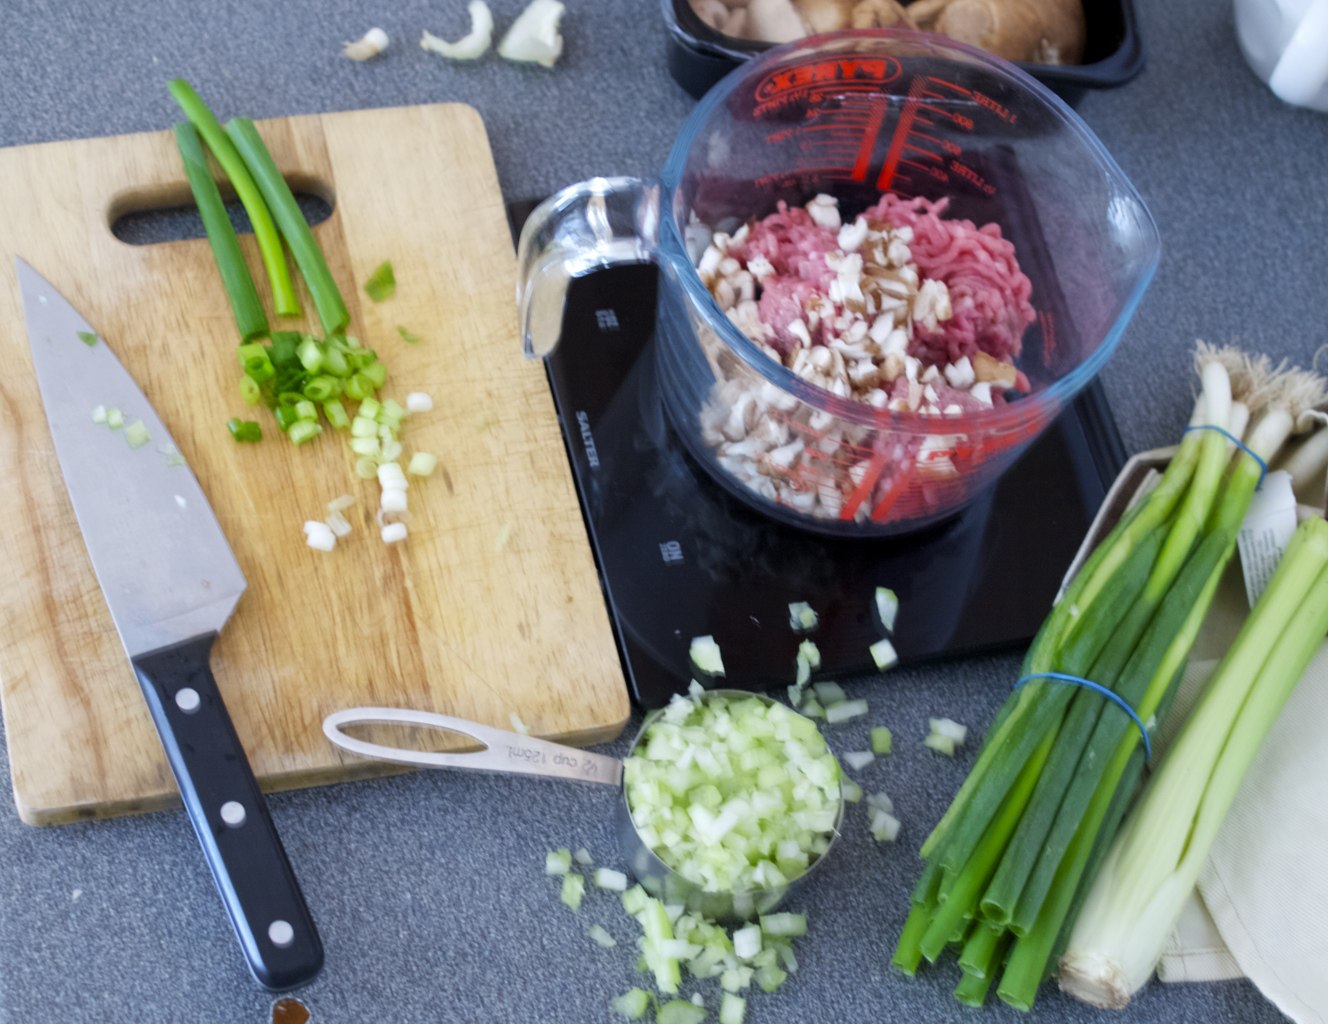
3. Split the dough in two and roll each piece into tube with a diameter of about 3cm (or 1inch). Cut the tubes into evenly sized pieces. Squish each disk with the palm of your hand with little flour and roll out the dumpling wrapper into the thin circle, working from the outside of the circle to the middle. Since I have been using a dumpling cube, I had to trim the circles into squares (luckily square cutter included in the kit) and place them onto the dumpling moulds. If you don’t have a dumpling maker then this video should be useful to you ;-). 
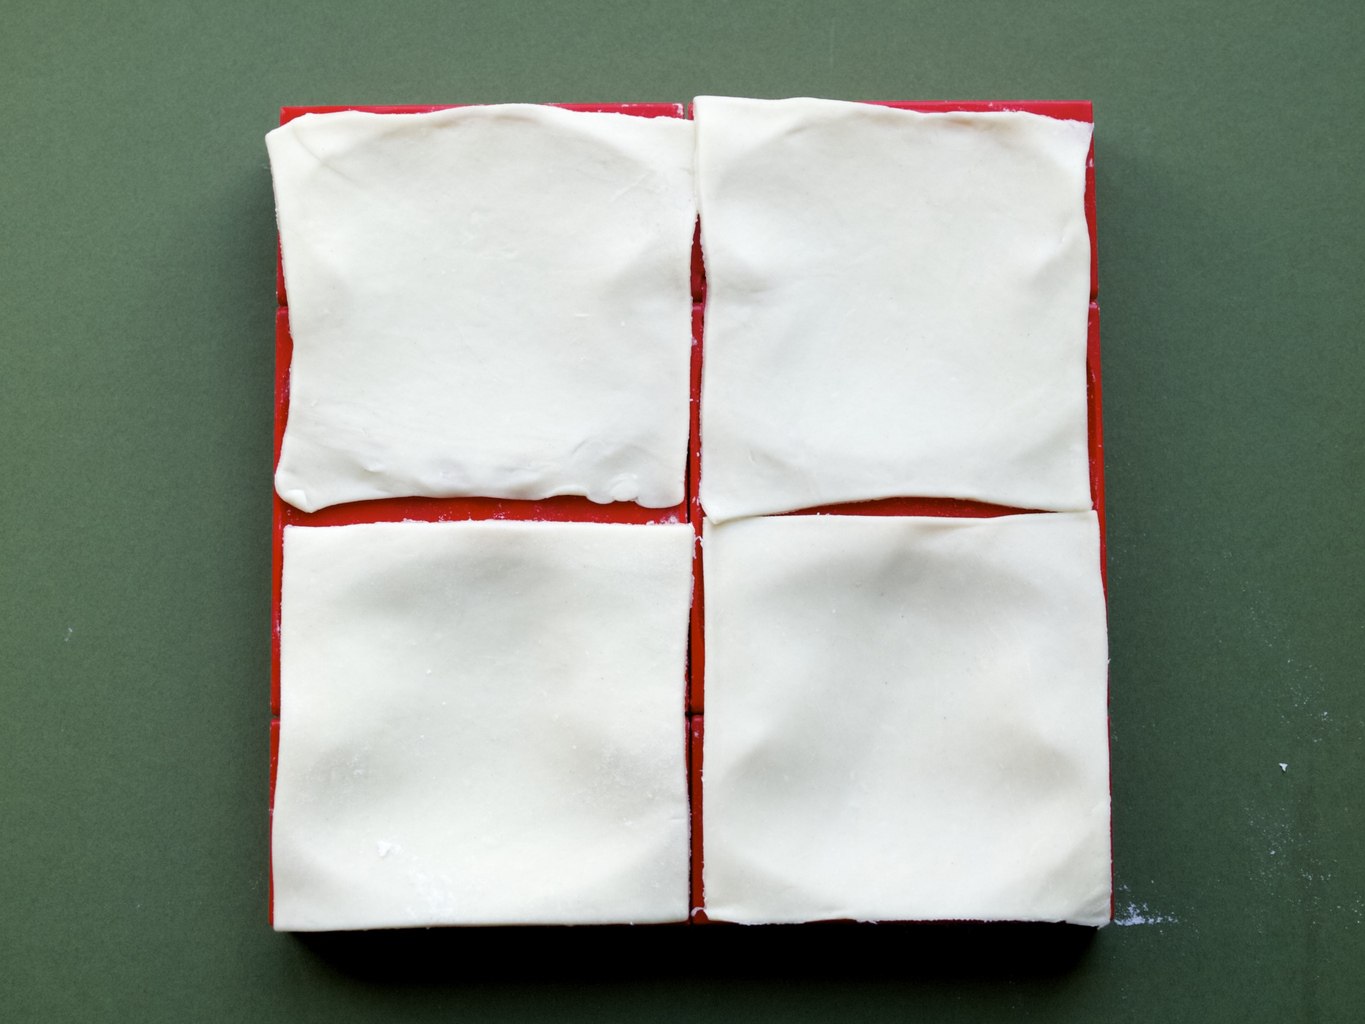
I spooned small amount of filling onto each dumpling wrapper square and folded the cube inwardsI stamped the cube couple of times to make sure it has pressed the dumpling edges securely. Pork & Shiitake mushroom dumplingsThe dumplings came out well, except some dough kept sticking into the cube hinges! Not a huge problem as I cleaned it all out at the end of the day.
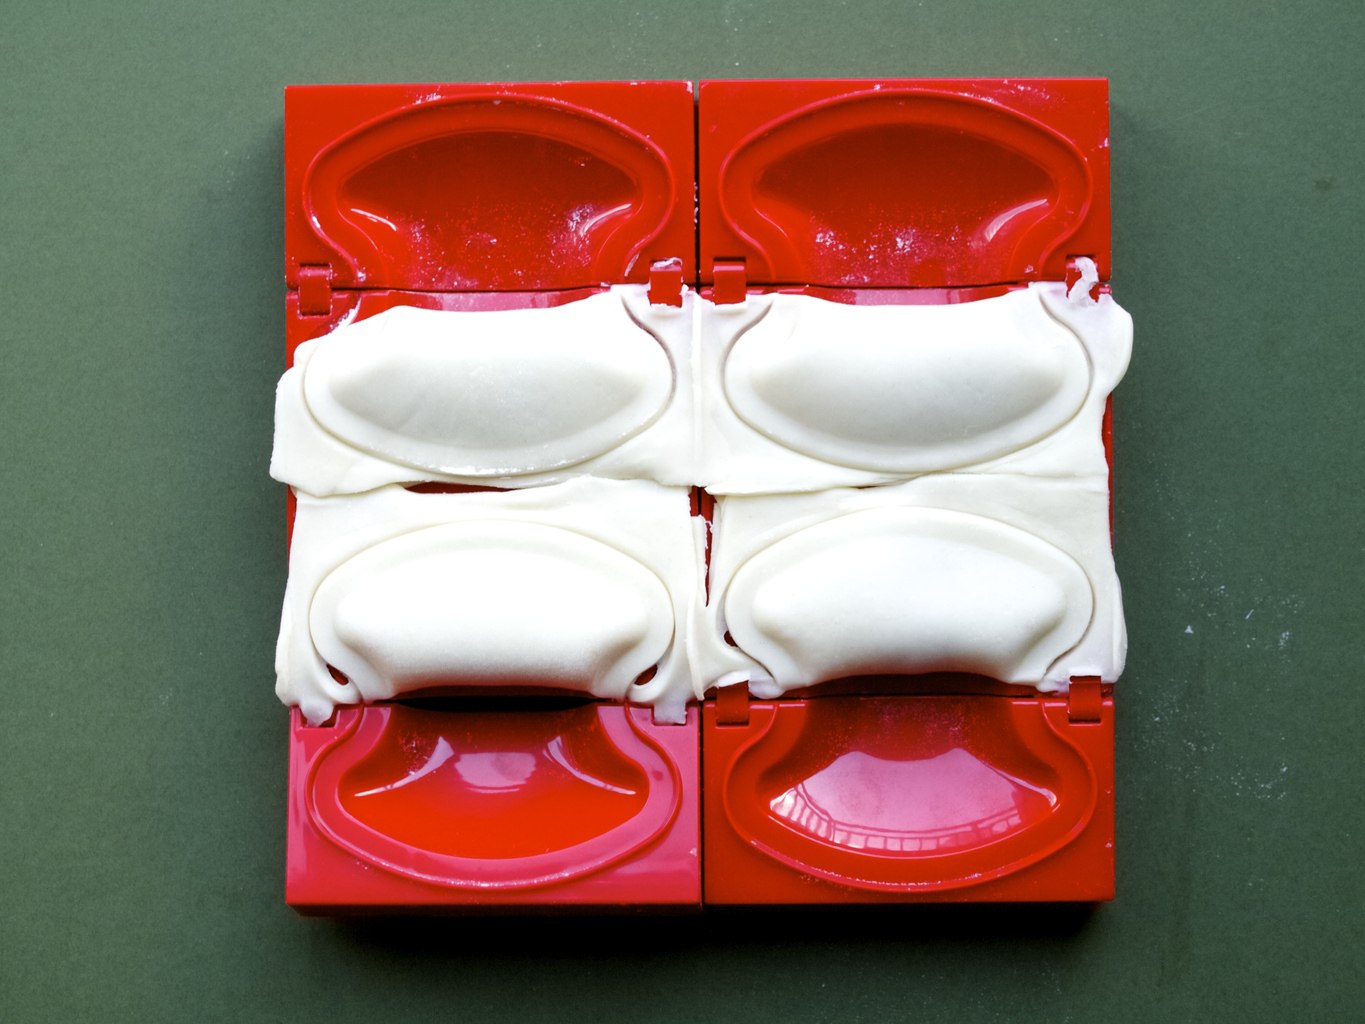
Made quite many dumplings, although I am not too sure if I made my life easer with this dumpling cube. I guess I will have to find out next time and try shaping them by hand. 
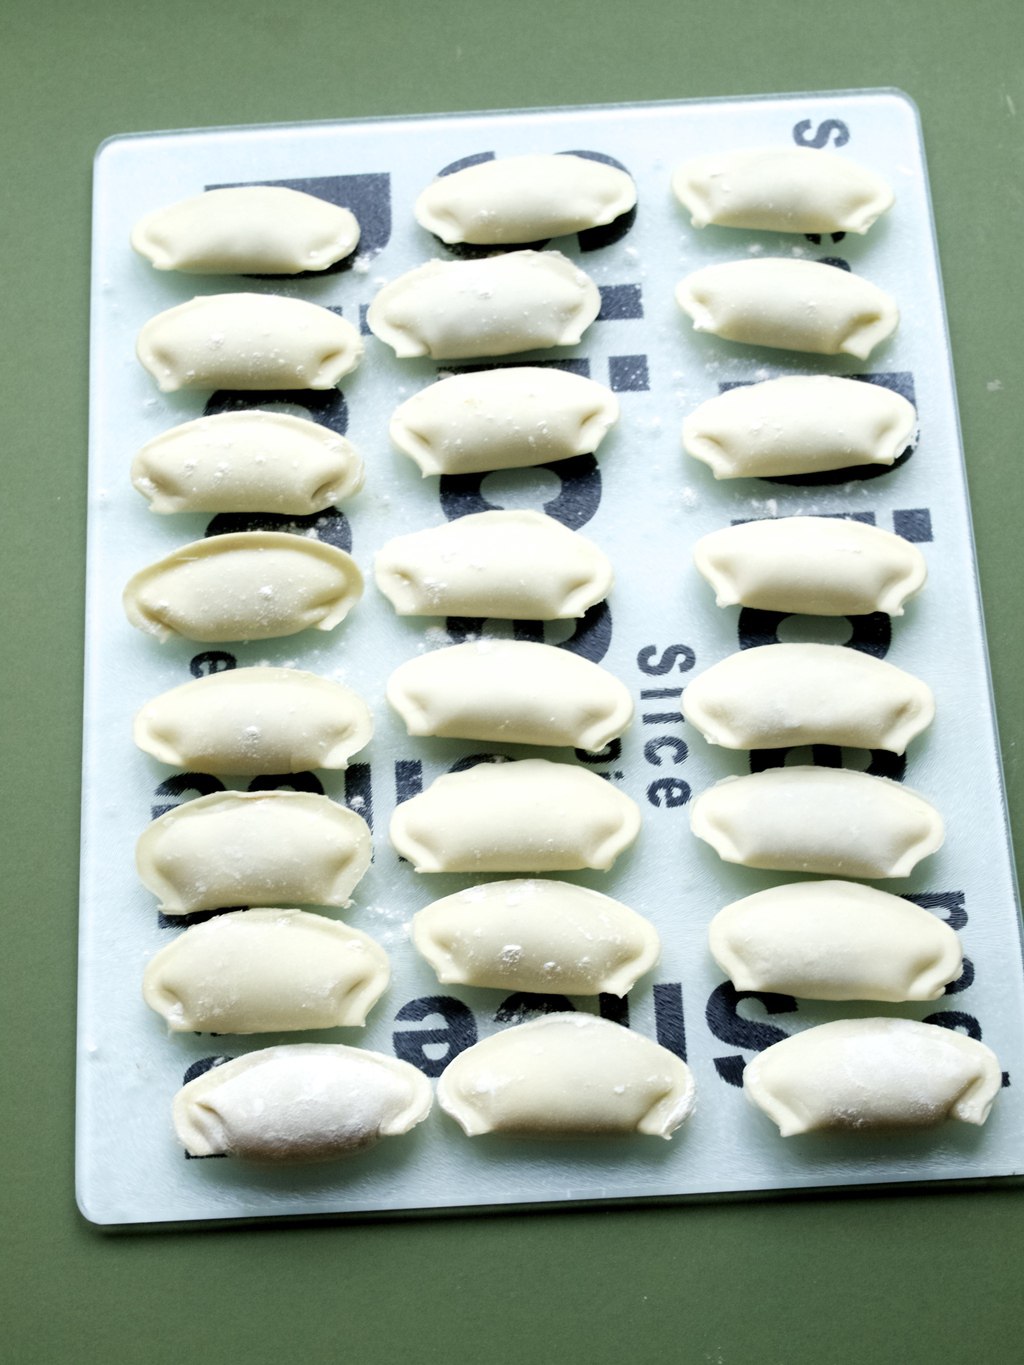
4. I wanted my dumplings steamed, so I lined my steamer with baking paper (did not have any bamboo steamer) and cooked the dumplings that way for about 10-15 min. However you can boil them or fry them as well (will try frying next time!). 
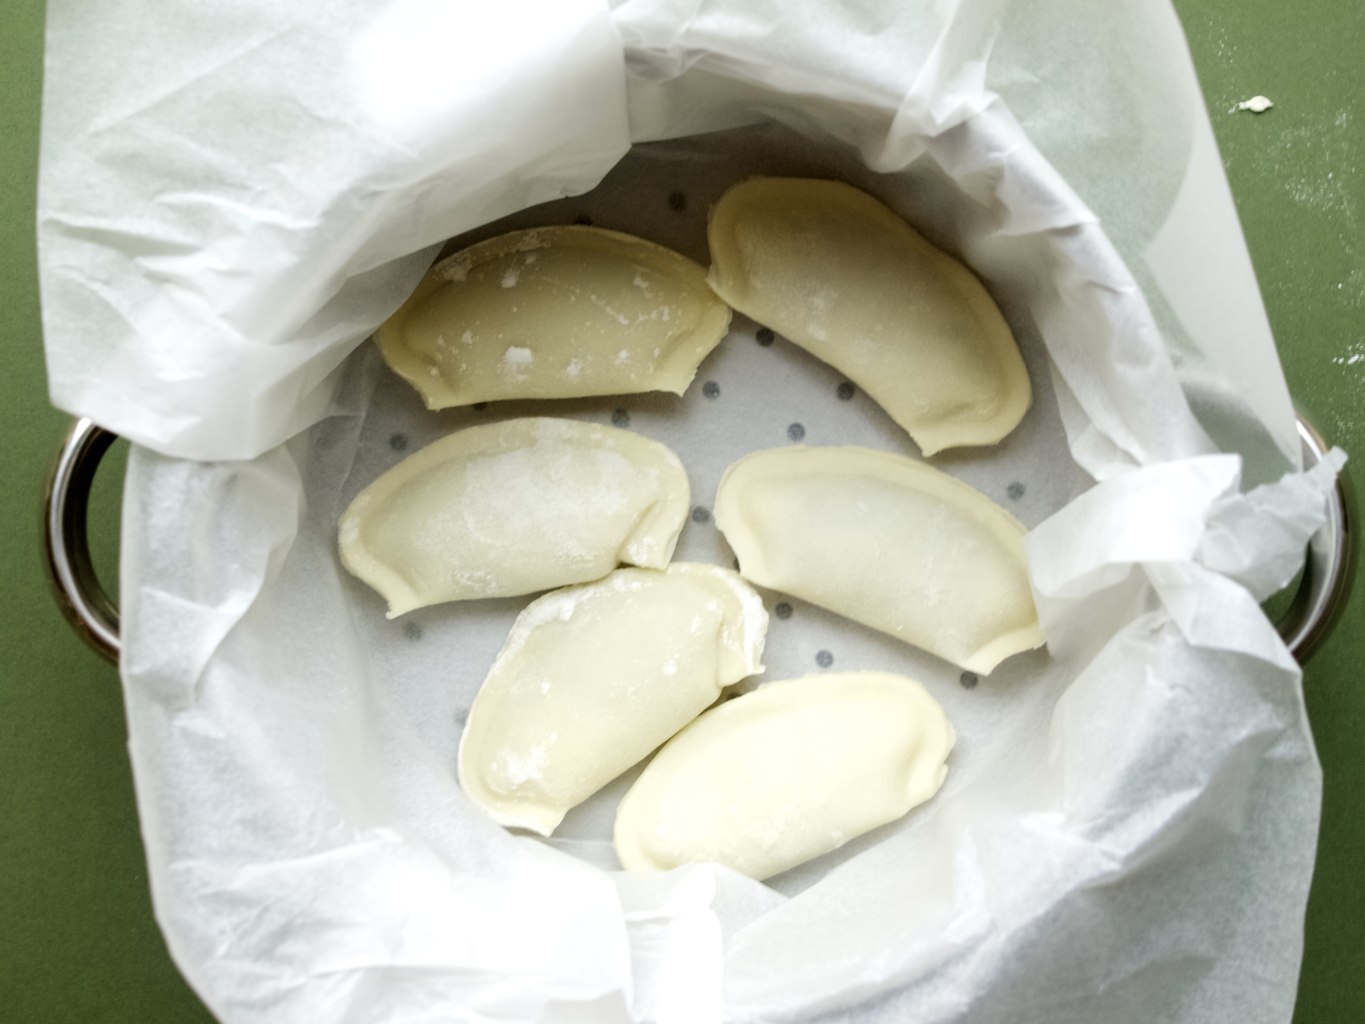
My dumping liquid have leaked out a little bit, but they still tasted really good. Will definitely try shaping them by hand next time to see if that makes any difference!
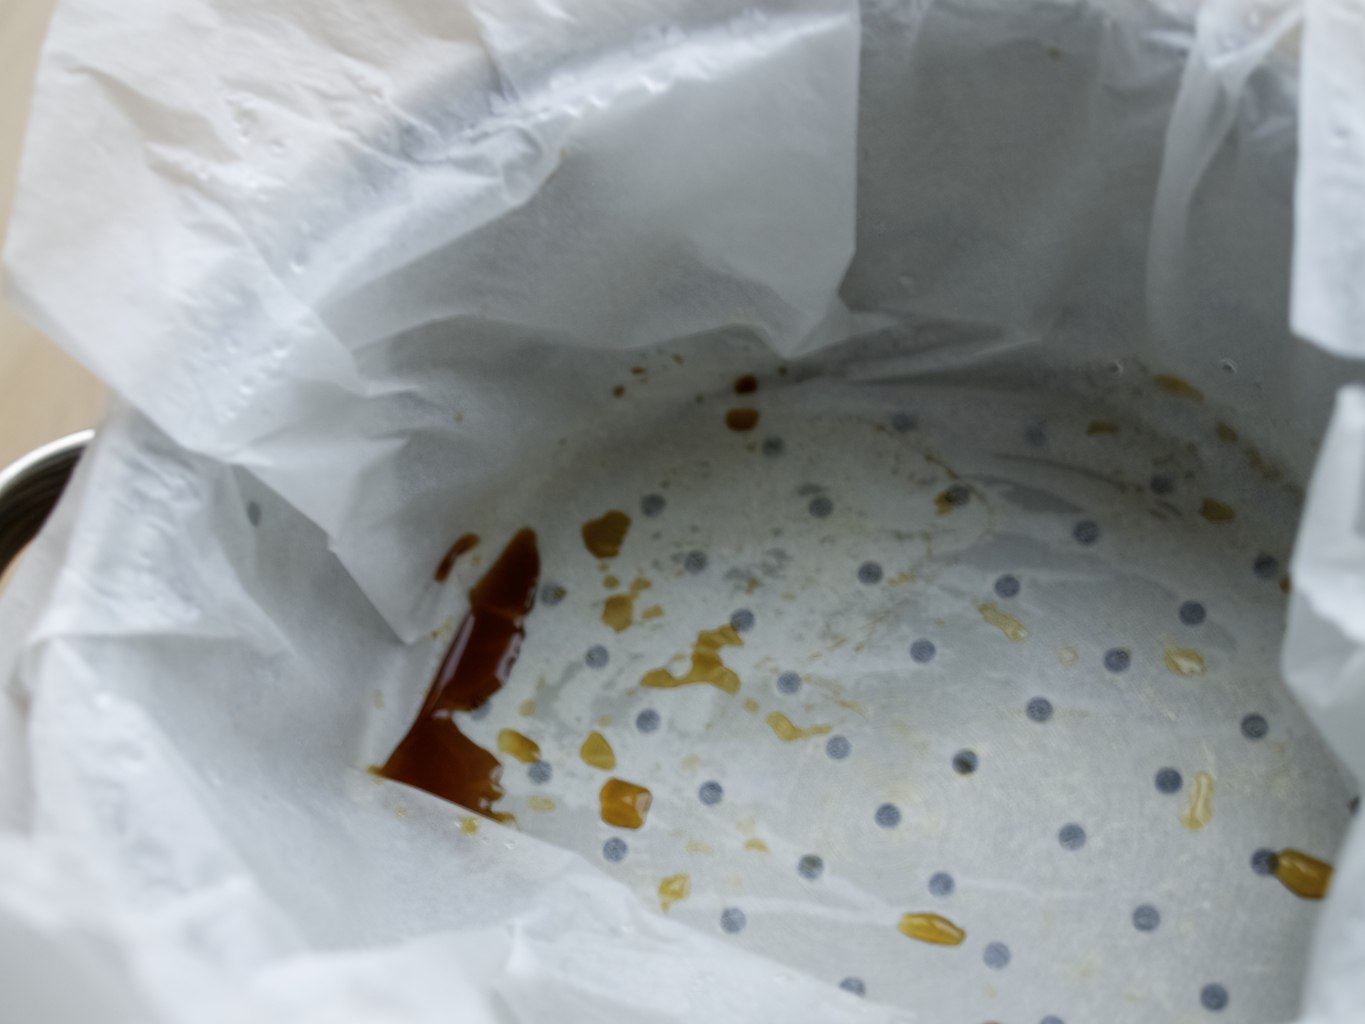
Pork & Shiitake mushroom dumplings Pork & Shiitake mushroom dumplingsHave a lovely week!

Rasa :-)

0

Pinterest challenge: mini berry clafoutis

Mini berry clafoutis I wanted to try this berry clafoutis recipe for a while now. After counting how many calories it would have (for my diet, you know) I realised it’s not so bad. Only 148.60 calories for one portion (one 10th of the whole bake)! I have decided to go ahead and bake half of the recipe in little tartlet baking tins. The only problem was that only one mini clafoutis survived. The other ones literally leaked out while baking. You see, my tartlet tins have loose bottoms for easy removal. However the clafoutis mix is so thin that it managed to leak out through the small gaps. I am glad I placed the tartlet tins in a baking dish, so my oven did not get messed up by this!!!Mini berry clafoutis MINI BERRY CLAFOUTIS adopted from Julia’s Album

(makes 5 mini clafoutis)

  • 2 small eggs
  • 150ml single cream
  • 1tsp vanilla extract
  • 25g flour
  • 0.25 tsp baking powder
  • 65g icing sugar
  • butter for greasing
  • caster sugar for dusting
  • 170g mixed berries (I used frozen ones)

1. whisk eggs with cream and vanilla extract until the mixture becomes light and fluffy. Julia says: “Make sure this step is done properly so that in the end your dessert does not come out smelling too much like eggs”. Very true! This desert have a tendency to become ‘eggy’ 

2. Sift flour, baking powder and icing sugar into the egg mixture and mix to combine well.Mini berry clafoutis The batter will be very liquid, ‘thin’ as I mentioned earlier. Mini berry clafoutis 3. Grease mini tartlets (or mini ramekins) with butter (or spray oil) and dust them with caster sugar. Don’t make my mistake here, loose bottom tins are not suitable to make this desert!Mini berry clafoutis 4. Divide the berries between 5 tins.Mini berry clafoutis 5. pour the batter into the tins. Bake the clafoutis in 180C oven for 30min.Mini berry clafoutis Oooops! My mistake… The batter leaked out!! :(Mini berry clafoutis At least one survived! :)Mini berry clafoutis I enjoyed every bit of it… hmmmMini berry clafoutis Hopefully you have learned from my mistakes ;-)

Rasa

0

Pinterest challenge: green chickpea & chicken coconut curry

Green chickpea & chicken coconut curryI picked this recipe from The Crepes Of Wrath because I was yearning for something warm last weekend (really chilli here in Bedford!!!). It did came out great! We loved every bit of it and had some for lunch as well! I used kale leaves to substitute the swiss chard (did not have any in store) and made it a little bit creamer by substituting coconut milk with creamed coconut. Read on for my version of this recipe.Green chickpea & chicken coconut curryGREEN CHICKPEA & CHICKEN COCONUT CURRY adopted from The Crapes Of Wrath

  • 2 tablespoons coconut oil
  • 6 chicken thighs, cut into bite-sized pieces
  • 1 onion, thinly sliced
  • 3 tbsp green curry paste
  • 1tbsp chilli paste (should be more, but ooops… I guess I chickened out!)
  • salt to taste
  • ½ teaspoon ground ginger
  • 100g creamed coconut, grated and dissolved in warm water to make up 400ml
  • 2 cups water
  • 1 400g can chickpeas, rinsed and drained
  • 1 small bunch kale leaves, cleaned, trimmed and thinly sliced

Green chickpea & chicken coconut curry1. Heat the coconut oil in a large, heavy bottomed pot. Add in the cubed chicken and cook over medium heat until almost fully cooked, about 6-7 minutes.

2. Add in chopped onion and continue to cook until softened, about another 5-6 minutes.

3. Add in the curry paste, chilli paste, kosher salt, ginger, creamed coconut, and 1 cup of water. Stir to combine, then bring to a boil.

4. Add in the additional cup of water. Bring back up to a boil, then add in the drained and rinsed chickpeas and simmer for 20 minutes.

5. After simmering, add in the trimmed and sliced kale leaves. Simmer for an additional 10-15 minutes. Taste and adjust seasonings as desired.

Green chickpea & chicken coconut curry

We had it with poppadoms, but we thought plain basmati rice would go absolutely great!

Enjoy!!!

Rasa ;-)


0

Pinterest challenge: ginger soy sessame fish in a pouch

ginger soy sesame fish in pouch by Table For TwoThese couple of months I have been desperate to start eating healthily. I have been tempted too many times by cakes and wine! My common excuse is to find something to celebrate. Every time I let myself eat pretty much everything I want I hear myself saying ‘Never mind, I will start new a diet next monday’. Why monday? Because I guess thats a start to a new week and there is likely to be less temptations to nibble on something naughty (you know, nothing is really happening on mondays).

Anyways, I came across this fish in a pouch recipe through Pinterest on Table for Two website and my first thought was ‘Great! A quick and healthy dinner idea!’. I have made fish in pouch before, but I liked the combination of ingredients in this recipe. The only thing I changed is that I sprinkled the fish with coriander instead of spring onion. Overall, good recipe, but don’t expect to indulge in this!

GINGER SOY SESSAME FISH IN A POUCH adopted from Table for Two

  • 2 fresh white fish filets (cod, halibut, your favourite)
  • 4 tsp. sesame oil, divided
  • 2 tbsp. soy sauce
  • 20 thin slices of ginger root
  • 1 tbsp chopped coriander
  • salt and pepper

1. Place each fish fillet on separate sheet of foil. Leave enough of space around it so it can be wrapped.

2. Drizzle 2 tsp. of sesame oil on top and gently rub it all over the fish with your fingertips then flip the filet over to coat the other side with the excess sesame oil that has dripped onto the foil. Drizzle 1 tbsp. of soy sauce on top then add 10 slices of ginger, half the chopped coriander and season with salt and pepper.ginger soy sesame fish in pouch by Table For Two3. Bring up the two long sides of the aluminum foil to a tent then together, roll them down while bringing the two other sides up so the liquid doesn’t drip out. You should get a nice little pouch/packet. Repeat with the other filet.

4. Place both foil packets on a baking sheet and bake fish in preheated 180C oven for 10-15 minutes or until fish is cooked through and flaky.

5. Carefully unwrap the fish from the package. There is HOT liquid that may come out from either side so be careful!ginger soy sesame fish in pouch by Table For Two6. Serve hot over a bed of rice, veggies, or a salad.ginger soy sesame fish in pouch by Table For TwoHappy, hopefully not so boring, Monday!

Rasa xoxo

1

Pinterest challenge: chocolate caramel and pecan turtle clusters

chocolate caramel and pecan turtle clustersI thought these mini sweat treats would be perfect for our house warming party, but never ended up making them. I eventually made them for a different reason, a serious need of chocolate fix! I found the recipe at Inspired Dreamer, but was quite disappointed with the missing instructions. It did not explain how to make the caramel! To be quite honest, I wanted a quick fix, so I was happy not to make any caramel, instead I used a shop bought. The only downside of that is that the shop bought caramel does not harden (unlike the homemade buttery caramel), therefore these clusters did not hold well (chocolate was holding everything). It was still very satisfying to eat, but if you made them with homemade caramel then they would be quite suitable to be wrapped like sweats or placed in the jar as a gift!chocolate caramel and pecan turtle clustersCHOCOLATE CARAMEL AND PECAN TURTLE CLUSTERS adopted from Inspired Dreamer 

  • 100g pecan nuts, toasted (whole)
  • 100g caramel
  • 200g milk chocolate, melted

chocolate caramel and pecan turtle clusters1. Simply arrange the pecans onto baking paper (although no baking needed here), spoon a small portion of caramel of each and cover it with melted milk chocolate. chocolate caramel and pecan turtle clusters2. Place the tray into the fridge (or freezer if you want a quick result) and it is ready in 15 min!chocolate caramel and pecan turtle clustersEat them quick, before it’s gone!chocolate caramel and pecan turtle clustersHave a nice week ;-)

Rasa xoxo

0

Pinterest challenge: chicken piccata

I chose this recipe the other day when Joni felt like chicken for dinner. It turned out really tasty, and creamy, and everything you want from dinner! This recipe from the clever carrot (love the title) is definitely going to my commonly cooked food list :).Chicken piccata/lemon chicken recipieCHICKEN PICCATA adopted from The Clever Carrot

  • 680g boneless, skinless chicken breasts
  • 1 cup flour
  • 1 tbsp. olive oil
  • 2 tbsp. butter, divided
  • ¼ cup shallots, diced
  • 1 garlic clove, finely minced or crushed with a garlic press
  • ¼ cup white wine
  • 1½ cup chicken stock
  • 2 lemons
  • ¼ cup brined capers, drained
  • salt + pepper
  • lemon slices
  • ¼ cup fresh flat-leaf parsley, roughly chopped
(for couscous)
  • 1½ cup couscous
  • 1½ cup chicken stock
  • 1 bag baby spinach

Chicken piccata/lemon chicken recipie1. Butterfly the chicken by slicing each breast in half horizontally. Place in between 2 sheets of parchment paper (or plastic wrap). Gently pound with a meat mallet to about 1cm thick.

2. Season the chicken with salt and pepper and dip it in the flour.

3. In a large skillet, warm the olive oil and 1 tablespoon of butter over medium heat. Add the chicken and brown on both sides, about 3-4 minutes per side. Work in batches if necessary. Remove the chicken to a plate and cover it with foil to keep warm.

4. Add the shallots to the pan; if it seems a bit dry, add a splash of olive oil. Sauté until soft, but not colored, about 2 minutes.

5. Add the garlic and cook until fragrant, about 30 seconds.

6. Add the wine and bring to a boil, scraping up any brown bits stuck to the bottom of the pan. Reduce the liquid by half.

7. Add the chicken stock and bring to a boil. To thicken the sauce, add a splash of stock to the leftover flour and whisk well to dissolve any lumps. Add the flour mixture to the pan, whisking constantly until the sauce is slightly thickened.

8. Reduce to a simmer and stir in the remaining 1 tablespoon of butter.

9. Add the juice of half a lemon and sprinkle in the capers.

10. Return the chicken and any accumulated juices to the pan. Taste the sauce; season with extra lemon juice, salt and pepper if desired. Garnish with lemon slices and fresh parsley.

11. To make couscous side pour boiling stock onto the dry couscous with spinach and cover for 3-5min. Serve it with chicken.
Chicken piccata/lemon chicken recipie
Enjoy (because it really ment to be enjoyed!!)
Rasa xoxo
0

Pinterest challenge: berry, chocolate and oat cookies

Berry, chocolate and oat cookies recipieI wanted to bake some cookies to be send to our aunt as a thank you gesture (I really hope she have received them already). This recipe from Lady and Pups  have been perfect. I used mixed berries instead of blueberries as I had them. I particularly loved the idea of browning butter for it. This was my first time doing it!! I think it gives a nice rich flavour to any cookie (almost any!). Berry, chocolate and oat cookies recipieBERRY AND CHOCOLATE OAT COOKIES adopted from Lady and Pups

  • 1/2 cup (1 stick/113 grams) of unsalted butter
  • 1/3 cup (71 grams) of granulated sugar
  • 1/3 cup (63 grams) of dark brown sugar
  • 1 egg
  • 1 tsp of vanilla extract
  • 3/4 cup (101 grams) of all-purpose flour
  • 1/2 tsp of salt
  • 1/2 tsp of ground cinnamon
  • 1/4 tsp of baking soda
  • 1 1/2 cup (136 grams) of quick-cooking oats
  • 1/2 heaping cup (85 grams) of chopped semi-sweet chocolate
  • 1 cup (125 grams) of frozen berries

1. Melt the unsalted butter in a small pot over medium heat, and continue to cook for approx 5 min until the butter has turned clear and the milk solids are browned.  Pour the browned butter into a large bowl and let cool slightly for 5 min

2. add the granulated sugar and dark brown sugar into the browned butter and whisk until smoothly combined.  Add the egg and vanilla extract, and whisk until thick and velvety.  Sift the all-purpose flour, salt, ground cinnamon and baking soda right into the bowl, then whisk again until smooth

3. Switch from the whisk to a spatula, then add the quick-cooking oats and chopped dark chocolate.  Fold the mixture until evenly incorporated.Berry, chocolate and oat cookies recipie Berry, chocolate and oat cookies recipie4. Add the frozen blueberries and fold again until even.  The cookie-dough will instantly firm-up as the frozen blueberries are mixed in.Berry, chocolate and oat cookies recipie5. Scoop about 1 1/2 tbsp of cookie-dough onto a parchment-lined baking-sheet, with about 1″ of space in between each.  The dough should be firm enough to shape with your hands.  Make round dough-ball for a taller/thicker cookie, or press it down into a disk for a thinner cookieBerry, chocolate and oat cookies recipie6. Bake in the preheated 180C oven for 12-13 min, until the edges are set and the centre is slightly soft. Let it cool for 10 min before transferring onto cooling rackBerry, chocolate and oat cookies recipie Berry, chocolate and oat cookies recipie Berry, chocolate and oat cookies recipieEnjoy!

Rasa xoxo

0

Pinterest challenge: bacon, egg and cheese pastry wrap


wrapped breakfast: bacon egg & cheese in pastryExtended weekend often means we can enjoy brunch! Wake up late and eat full on breakfast, what’s not to like? Me and Joni prefer breakfast that has egg and bacon with it! No wonder why I tried this bacon, egg & cheese pastry wrap from The Kitchen Life of a Navy Wife. I took this to a breakfast meeting with our friends the other day and it was gone fast!

After looking through The Kitchen Life of a Navy Wife I have realised that this recipe originated from crescent pastry breakfast ring (or wreath) and have been linked and linked back from another blogs. I guess I am linking it and blogging about it again! The only thing I changed is that I made it slightly smaller (no longer a ring) and I added some dill into it (because I am Lithuanian… Ha ha!). I hope you try it, like it and create your own version!wrapped breakfast: bacon egg & cheese in pastryBACON, EGG & CHEESE PASTRY WRAP adopted from The Kitchen Life of a Navy Wife

  • 1 puff pastry roll, cut into triangles
  • 7 bacon slices, cooked
  • 50g strong cheddar cheese, shredded
  • small bunch of dill, finely chopped
  • 4 eggs, scrambled (Joni does it best! although he scrambled 5, I would say 4-3 would work just as well)

wrapping breakfast in pastry1. Place the pastry triangles on the baking paper in the round, in the shape of a star.

2. Place the bacon slice on each triangle.

3. Sprinkle shredded cheese on top together with chopped dill.

4. Arrange scrambled egg on top in the shape of a ring.wrapped breakfast: bacon egg & cheese in pastry5. Fold over the triangles to the centre to form a parcel.wrapped breakfast: bacon egg & cheese in pastry6. Bake the wrap in 200C oven for 20 min or so. Cut into 7 peaces to serve.wrapped breakfast: bacon egg & cheese in pastryEnjoy!

Rasa xoxo


1

Pinterest challenge: slow cooker moroccan chicken

Slow cooker moroccan chicken I don’t know about you, but I love Pinterest! As mentioned many times before I got addicted to it two years ago and by now I have over 7000 pins (click here to see my pins) and over 1000 likes. Although I love pinning craft ideas, majority of my likes are related to food. But do I actually cook/bake from many of those recipes? Although I do try from time to time to bake or cook from my boards and likes, but sadly not often enough. I wish some of those foods would come alive in my kitchen! Can you relate? If so, than this challenge is for you! I have decided from this week forward I will try out one recipe from Pinterest once a week and will write my reviews here. Sounds like a plan? Great! Let’s go with that ;-).

My first recipe to try out is slow cooker moroccan chicken from ‘Will Cook for Smiles’ blog. I got attracted to it as we have recently received slow cooker as a gift and I love the convenience of it. So was kind of looking for more ideas for that type of cooking method. I had to change few things in this recipe however. First, I did not like the idea of using ready sauce from the packet so I made my own. I also used chicken legs instead of breast just because I prefer those parts and I used parsley instead of cilantro (american way to call coriander), because I wanted to use up parsley in my fridge. The chicken came out tender and really tasty! Will definitely make again ;-)Slow cooker moroccan chicken

SLOW COOKER MOROCCO CHICKEN adopted from Will Cook for Smiles

For the chicken

  • 1tbsp coconut oil
  • 2 garlic cloves, finely chopped
  • 1tsp salt
  • 1tsp paprica
  • 1tsp cumin
  • 1/2 tsp cayenne pepper or black pepper to taste
  • 1 tsp sugar
  • 1 tbsp chopped parsley
  • 2 tbsp tomato puree+2 tbsp water to dilute
  • 3-4 tomatoes
  • 3 chicken legs
  • 1 cup of chicken stock
  • 1 small onion, sliced
  • 1 can of chickpeas, drained

For the meal:

  • 1 cup of dry couscous
  • 1tbsp ground almonds
  • 2 tsp chopped parsley
  • 2 tbs chopped  spring onion

1. Fry garlic in the frying pan using coconut oil. Add all the seasonings, tomato puree with water and fry for another 2-3min.

Slow cooker moroccan chicken 2. Meanwhile peal and deseed the tomatoes. Slice the tomatoes in four and pour boiling water over them. The skin should fall off and seeds come out easer. Chop the tomatoes and add them into the frying pan together with garlic and seasoning.

how to peal, deseed and chop tomatoes3. Place the chicken breasts in the slow cooker and add the tomato sauce from the pan, chicken stock and onions. Mix well and set of 6-8 hours. Add the drained chickpeas about half way through.

4. Make couscous by pouring boiling water over it. Once it’s made, stir in the almonds parsley and salt to taste.

5. Serve chicken on top of couscous. Scoop juice and chickpeas over the chicken and add some spring onions on top!Slow cooker moroccan chicken Slow cooker moroccan chicken

Enjoy!

Rasa xoxo

0