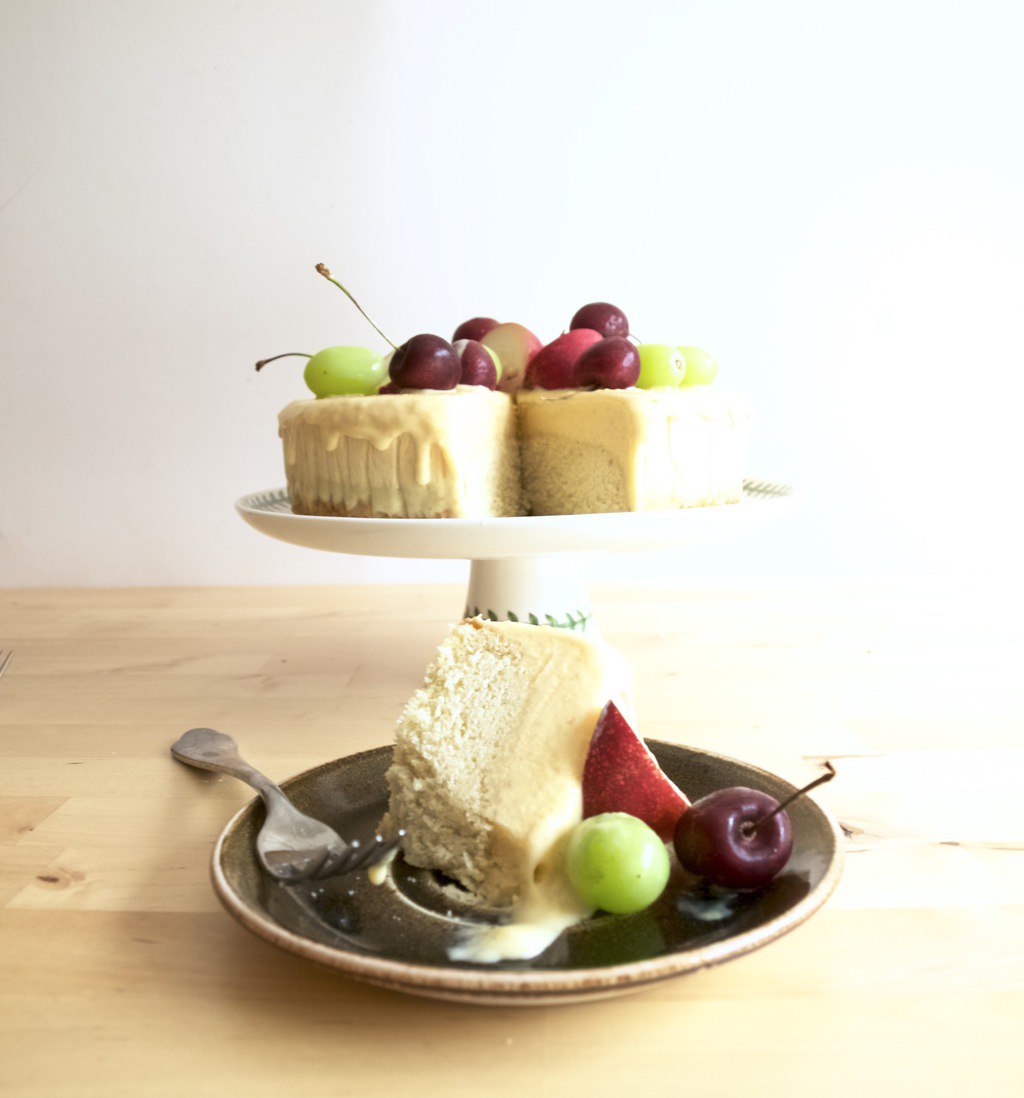
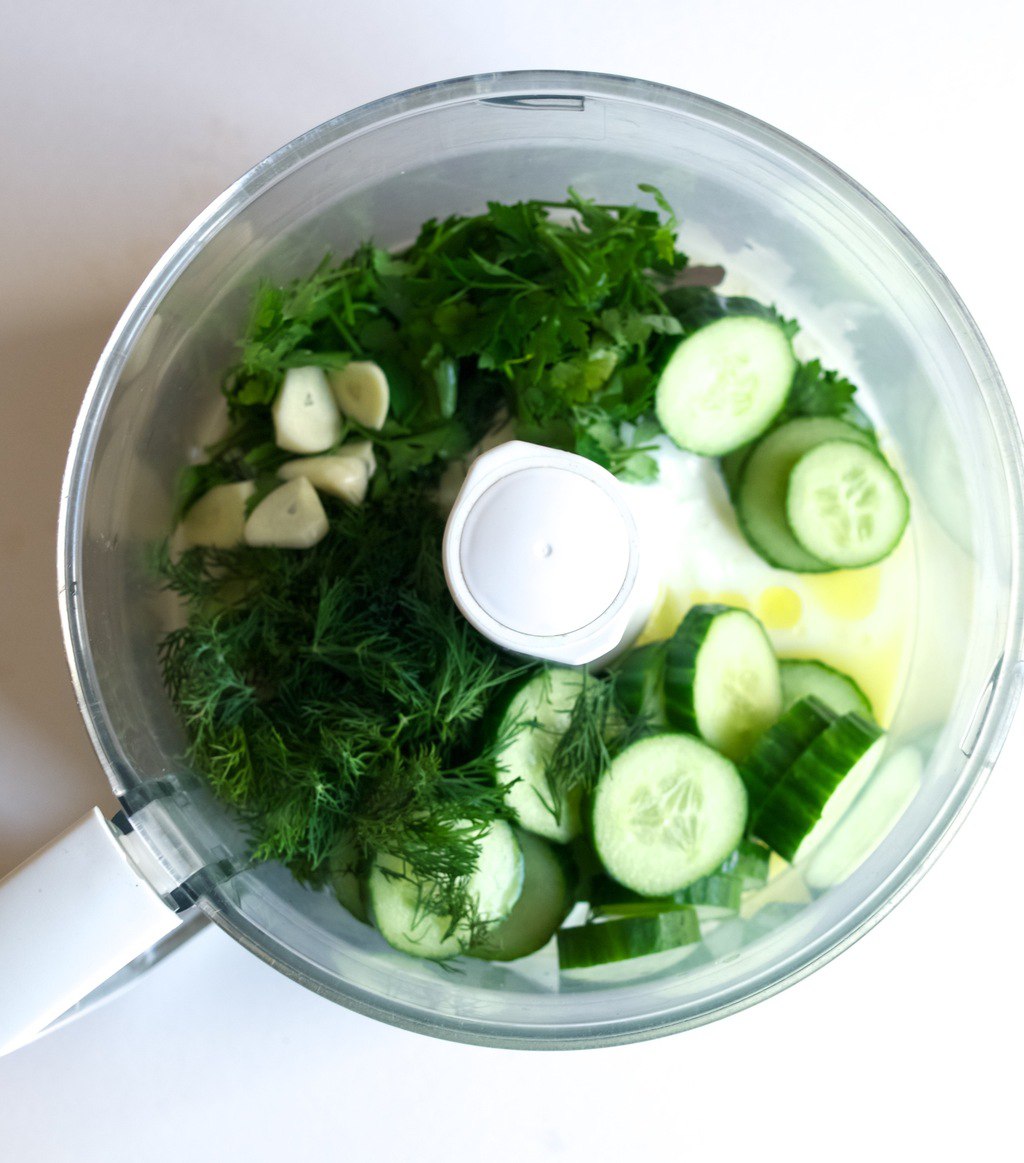
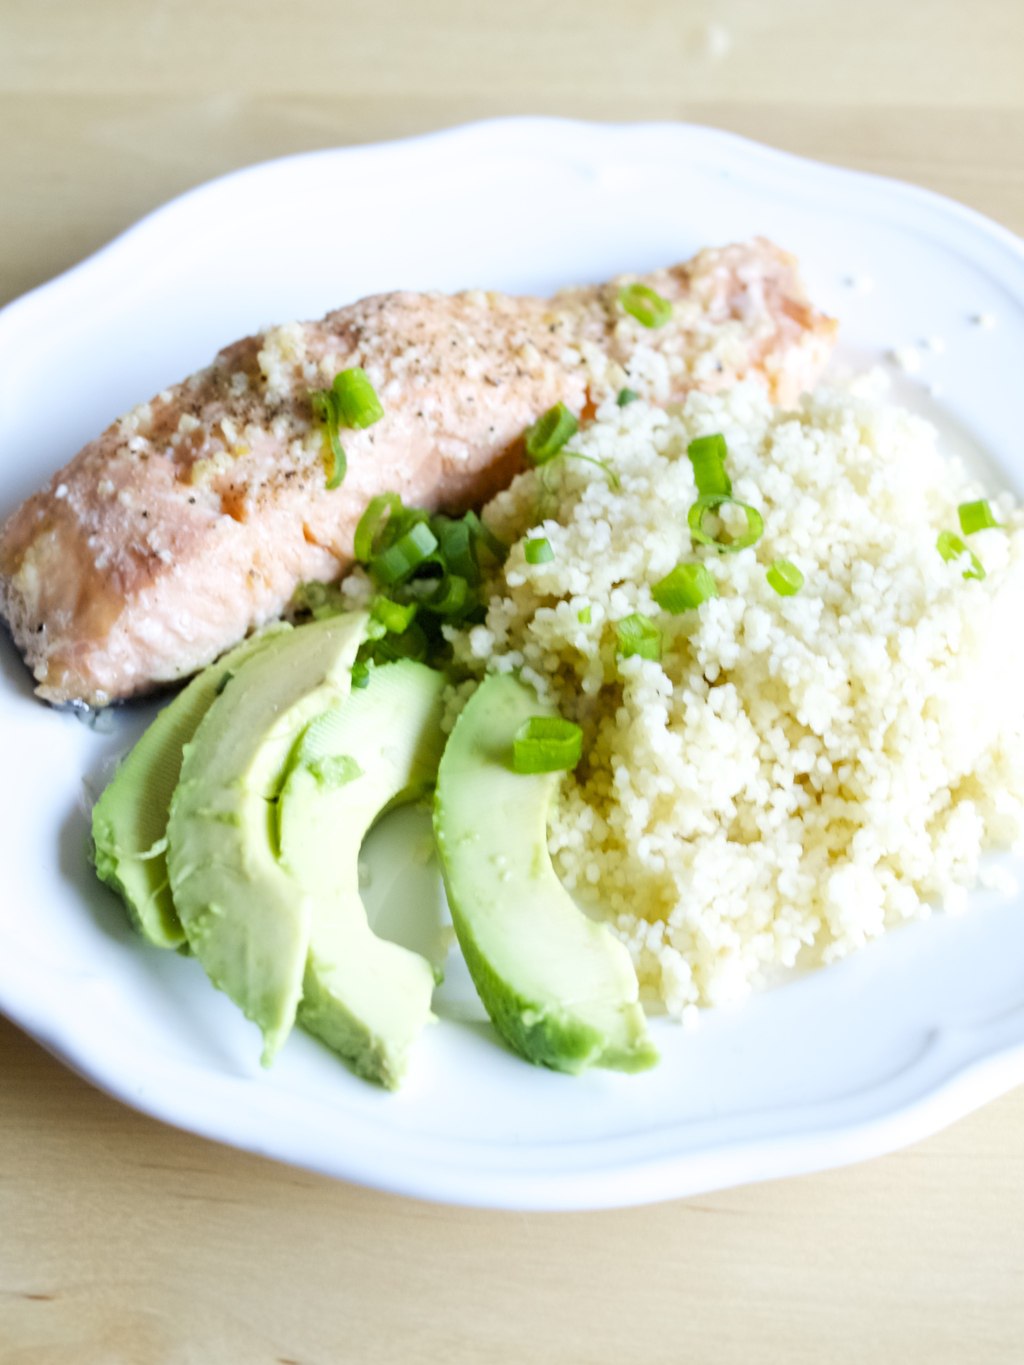
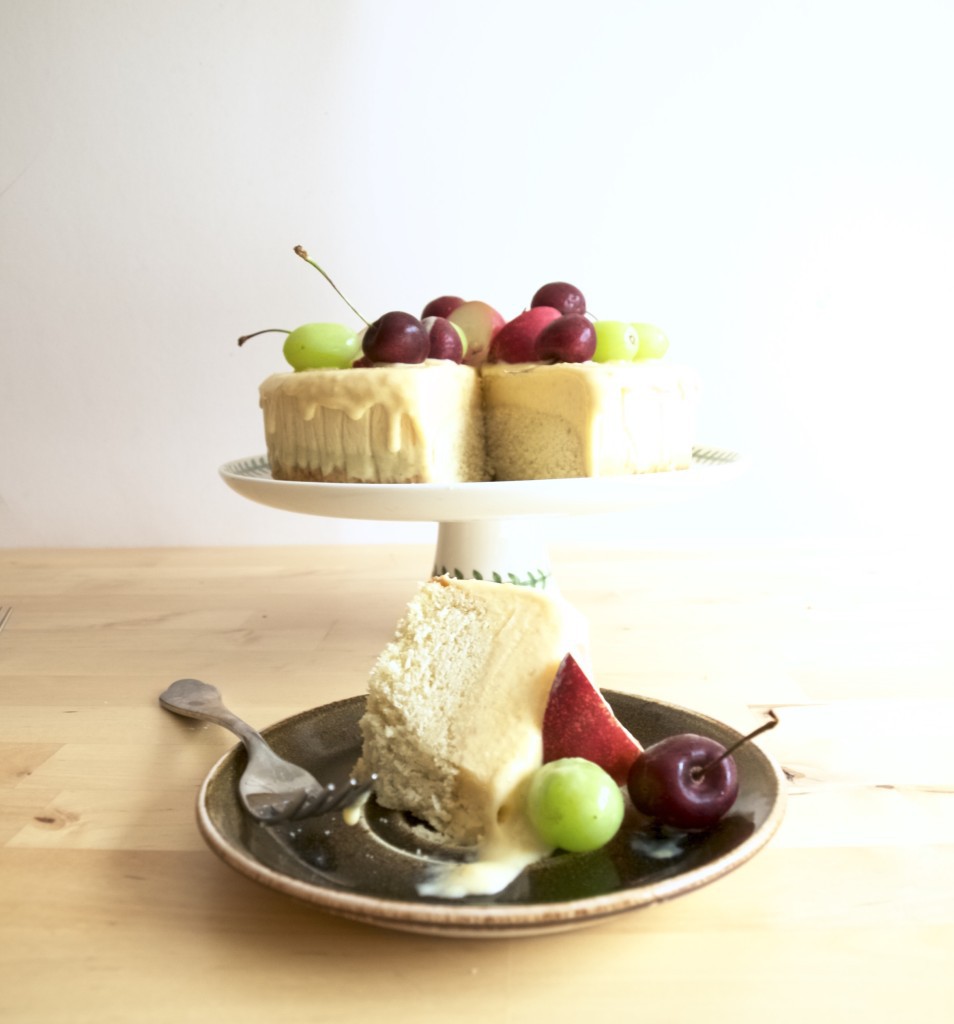
 I have not done Pinterest challenge for a while now and since I was experimenting with ice cream lately, I thought I will try to make another form of ice cream – cake. Last weekend we went to friend’s B&Q, so ice cream cake was quite appropriate! I came across this recipe and I was sure I wanted to make it straight away. Peaches (although I prefer Nectarines) is something that I am addicted to right now (it’s in season!). The cake turned out to be glorious! However the only thing I would change is make half less of the cake base and double amount of the ice cream. Yum!
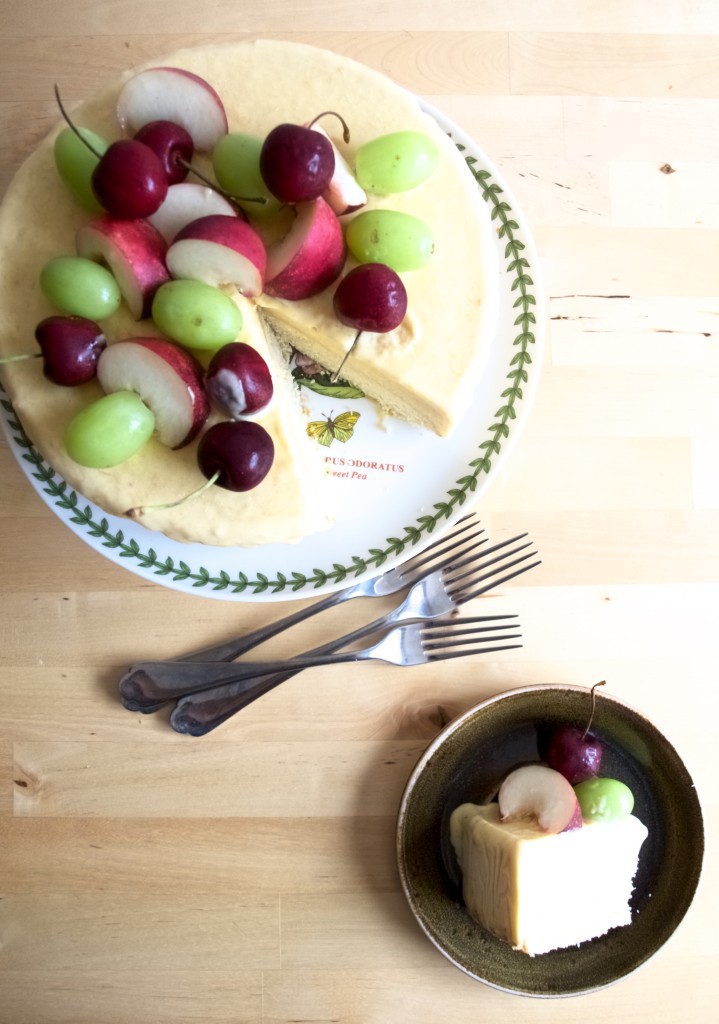 BROWN BUTTER PEACH ICE CREAM CAKE adopted from O&O Eats
(for the ice cream)
- 4 large ripe nectarines
- juice of 1/2 a lemon
- 150 g caster sugar (100g for nectarines and 50g for egg cream)
- 300 ml double cream
- 1/4 tsp salt
- 2 large egg yolks
(for the cake)
- 170 g unsalted butter
- 150 g caster sugar
- 3 large eggs
- 180 g plain flour
- 2 tsp baking powder
- 1/2 tsp salt
- 80 ml whole milk, room temperature
- hand full assorted stone fruits and berries for topping
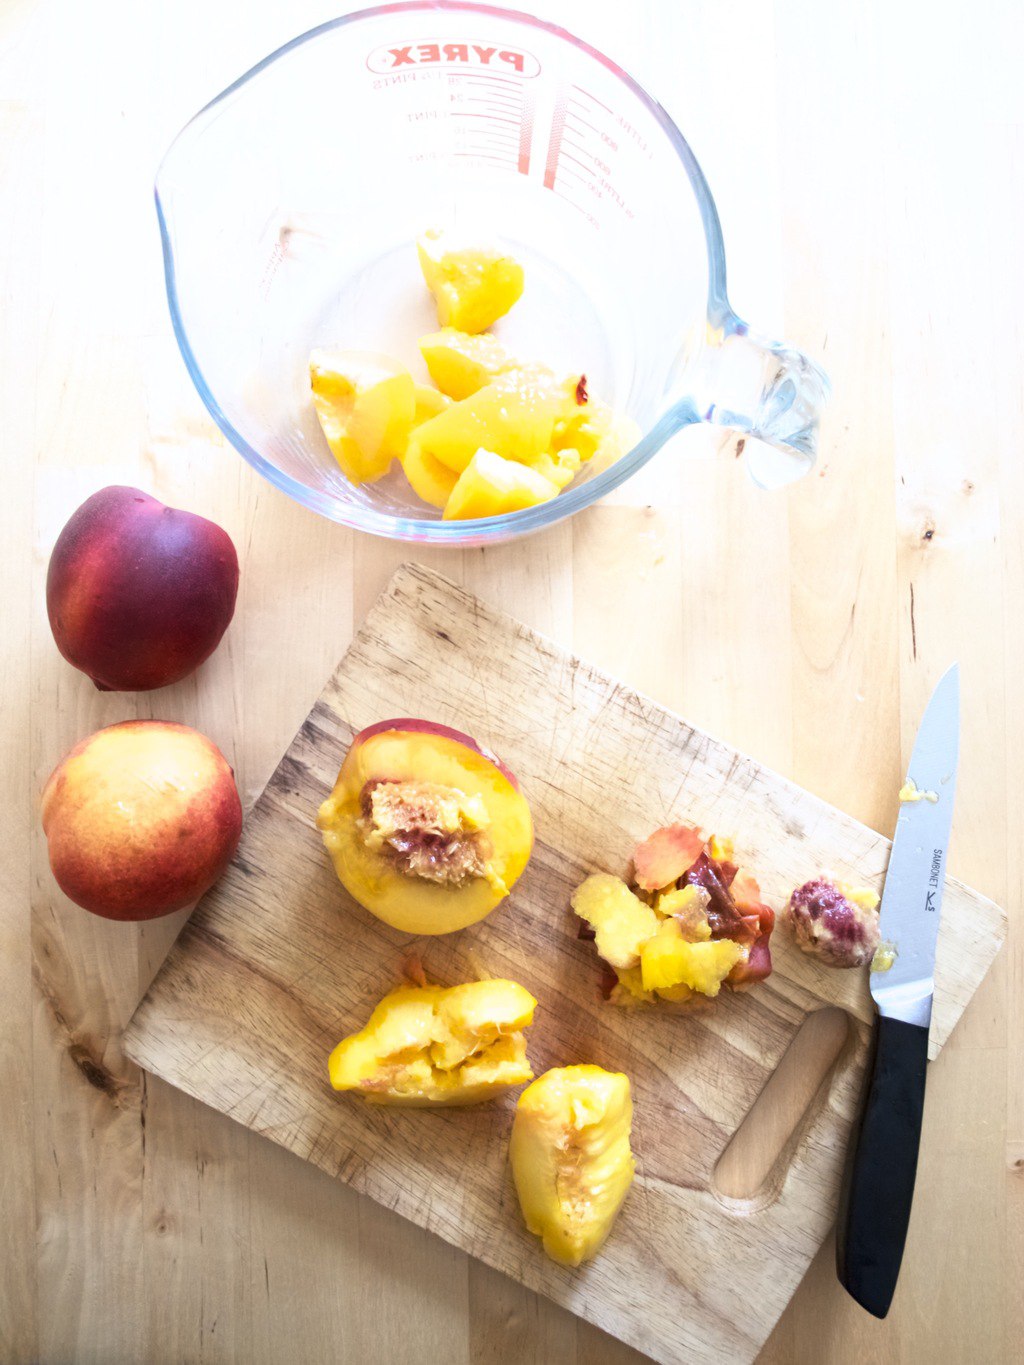
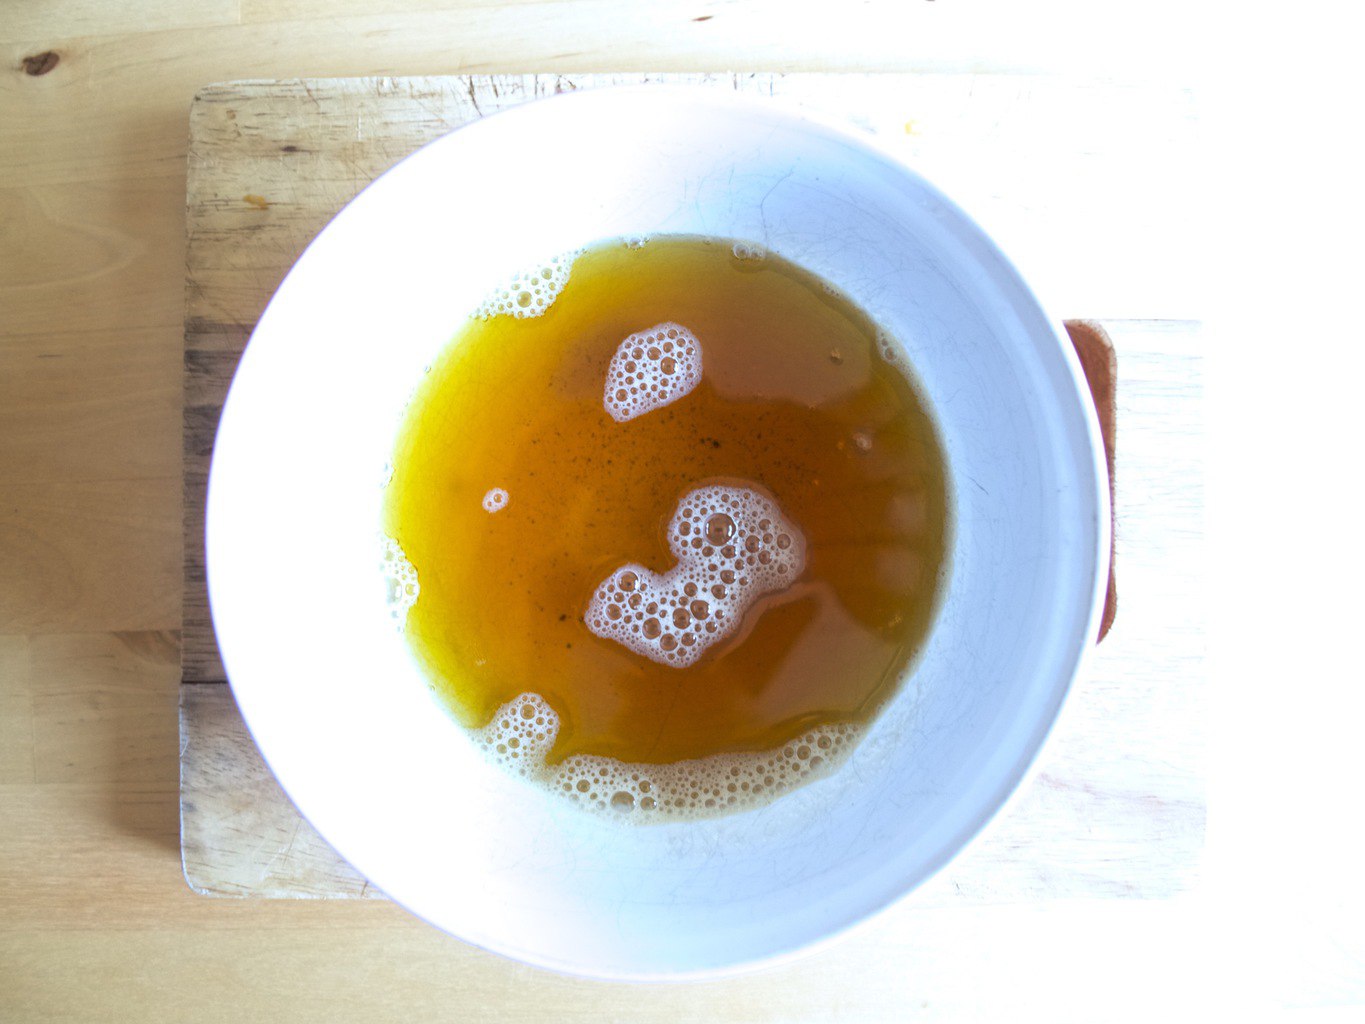
1. Peel and roughly chop nectarines, place in a medium bowl then add lemon juice and 100g sugar. Stir to combine, then cover and let sit for 20 to 30 minutes. Puree nectarines with hand blender or food processor. 2. Combine remaining 50g sugar, cream, and salt in a medium saucepan. Warm the mixture over medium low heat. Whisk egg yolks in a medium bowl. While continuously whisking, slowly ladle a half cup of the warmed cream to the eggs. Scrape the egg mixture back into the saucepan with the rest of the cream and stir with a wooden spoon or spatula. Continue stirring, until the mixture thickens enough to lightly coat the spoon (this will take about 10 min). Immediately take off heat and pour over the peach puree. Stir to combine and place in fridge until completely chilled.
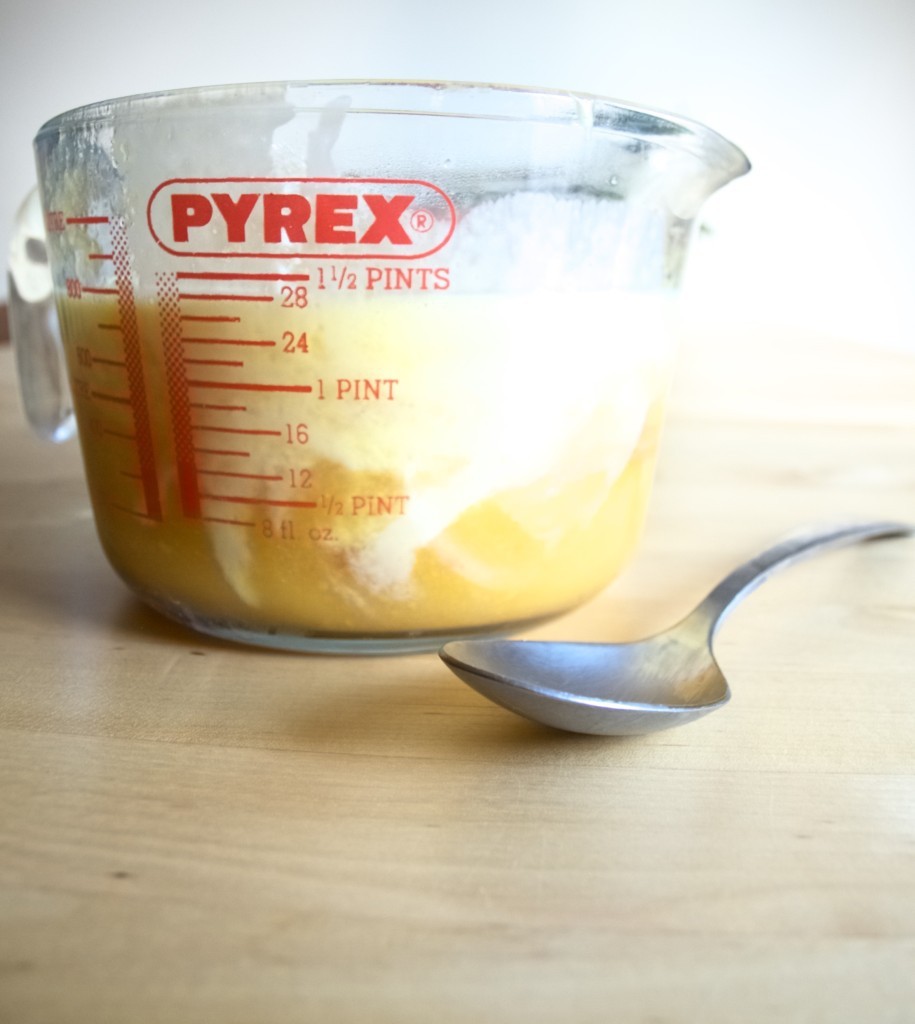 3. While the ice cream is chilling, make the cake. Place the butter in a stainless steel saucepan or skillet. Turn the heat to medium and melt the butter. While occasionally swirling the pan, continue cooking until it becomes foamy on top. Keep swirling until the solids at the bottom of the pan take on an amber colour and the butter smells nutty, this will happen quickly so keep a watchful eye. Immediately turn off heat and transfer to a heatproof bowl to cool at room temperature for 10 to 15 minutes. Transfer to fridge and chill until solid, about 1 hour. If you wish, you can make the brown butter a day in advance.
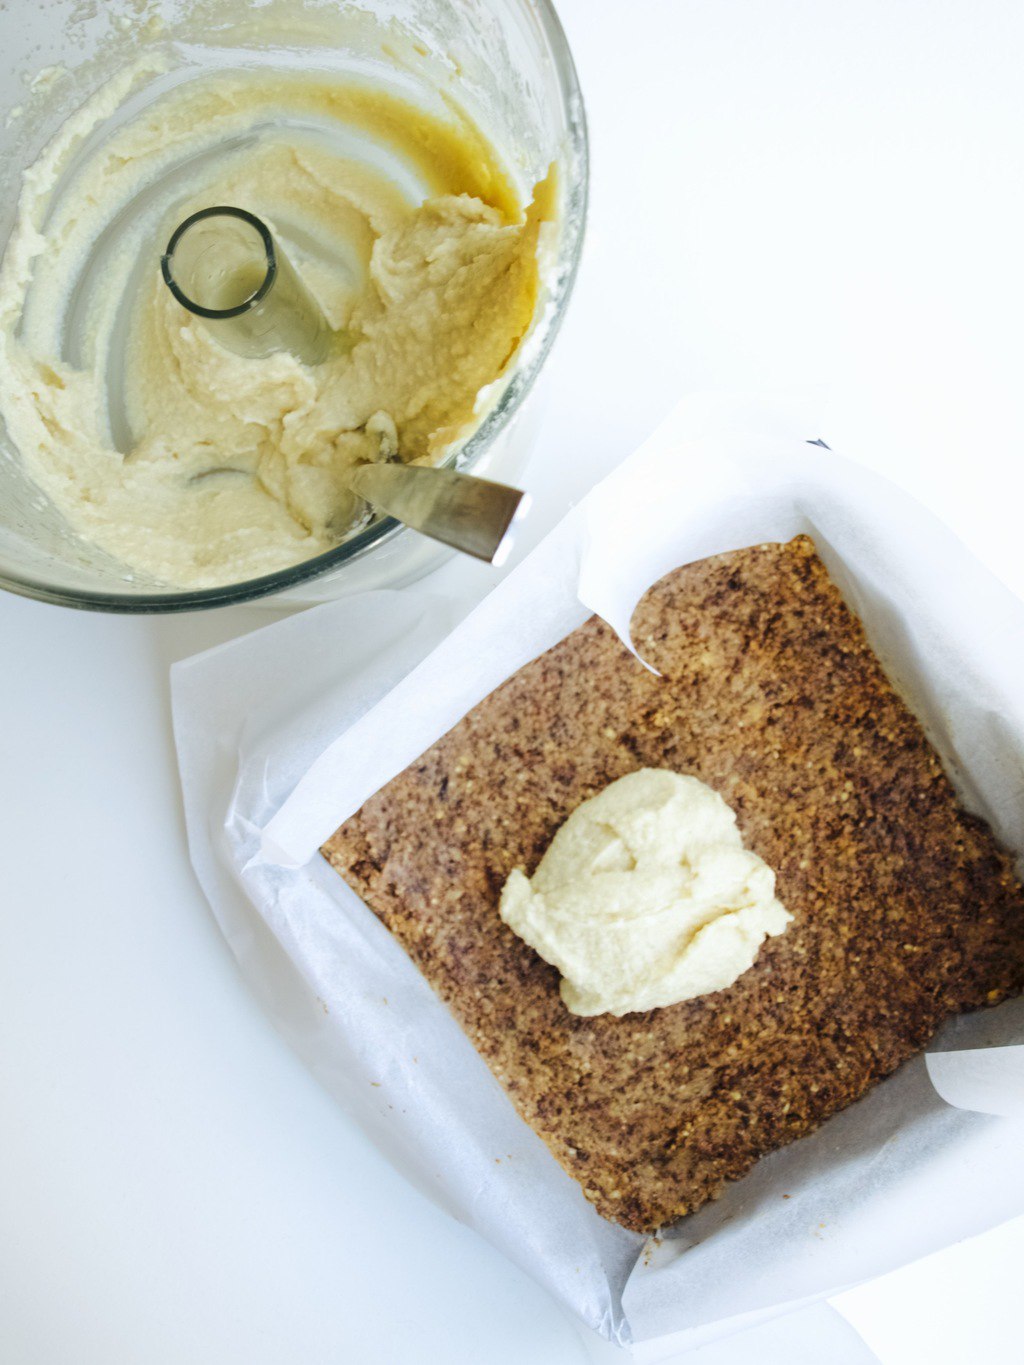
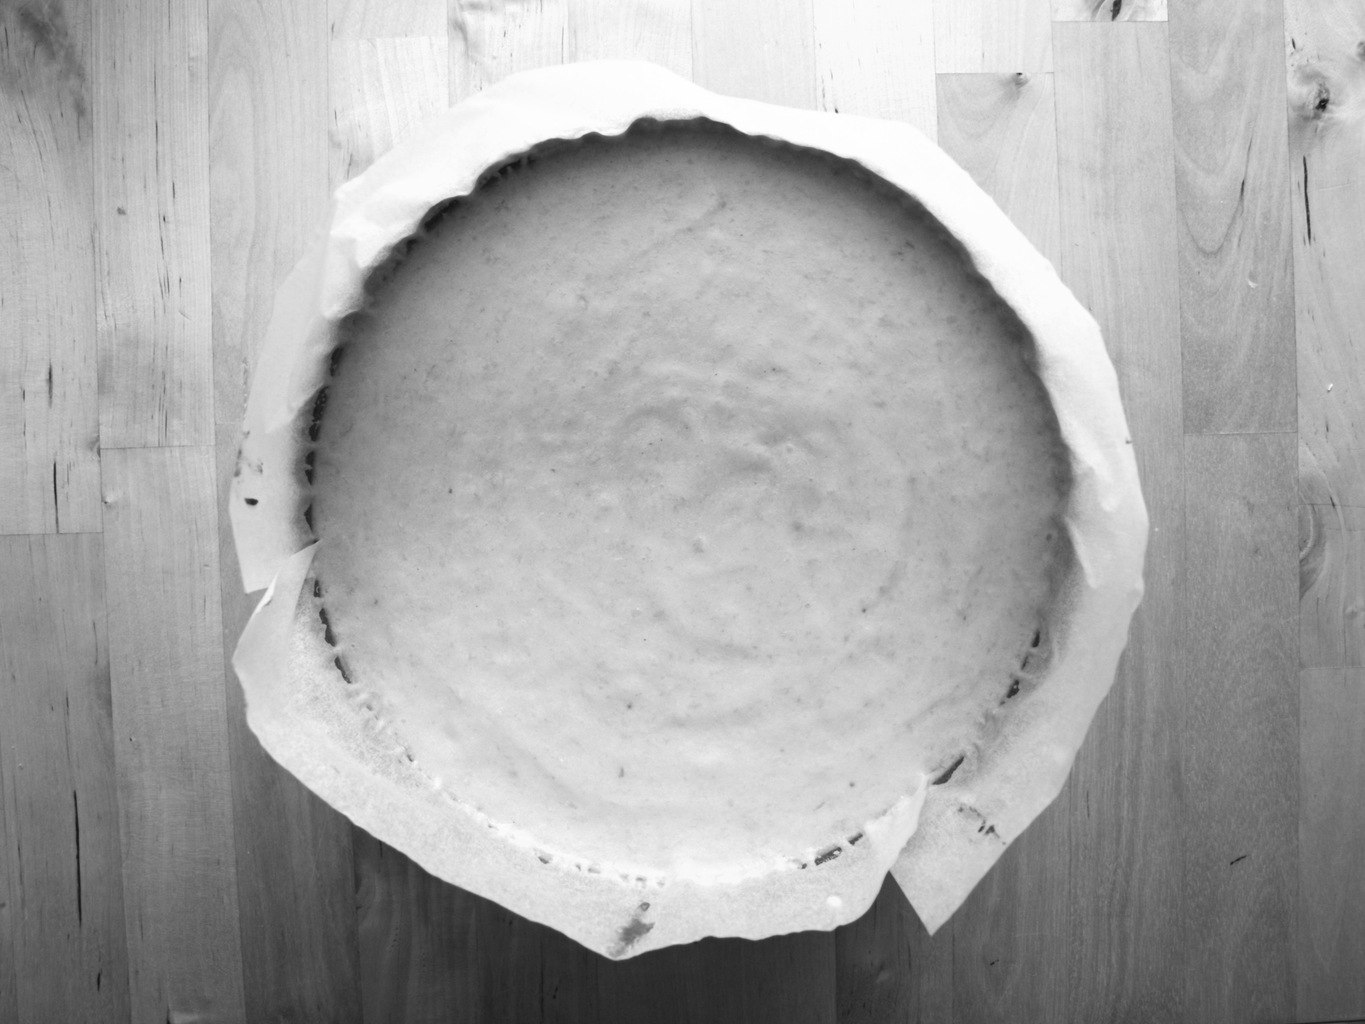
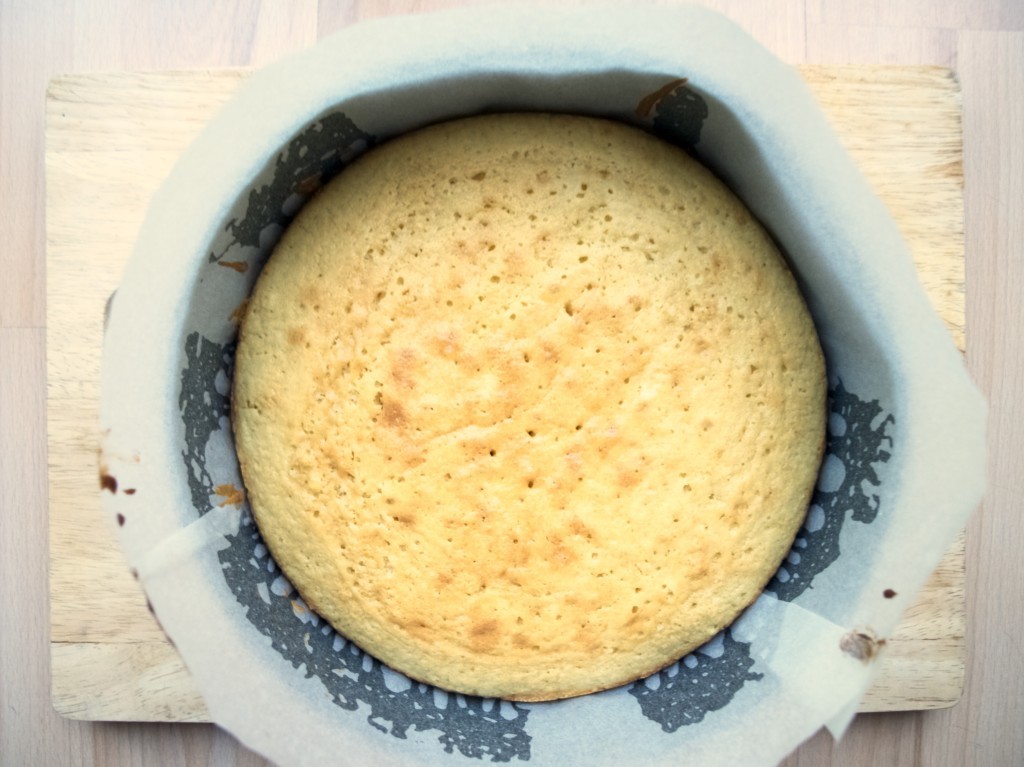
 4. Preheat oven to C180 degrees. Prep a springform pan by greasing it with butter and lining the bottom and the sides with baking paper. Remove the brown butter from the fridge and place it into the mixer. Add sugar and beat it for 2 to 3 minutes until smooth. Add eggs one at a time, scraping down the sides of the bowl each time, and mix until just incorporated. Add flour, baking powder, salt and mix to combine. Transfer batter to the springform pan, level it with your spatula, and bake for 25 to 30 minutes, until golden and a toothpick inserted in the middle comes out clean. Remove the cake from the oven and let it cool to room temperature.
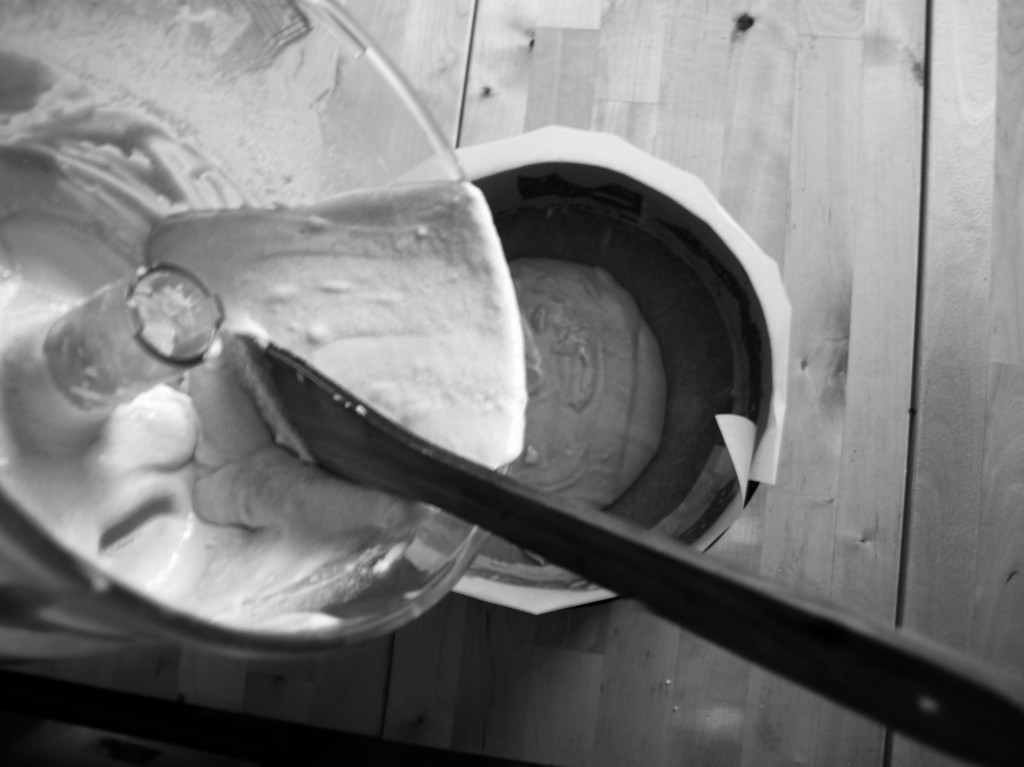
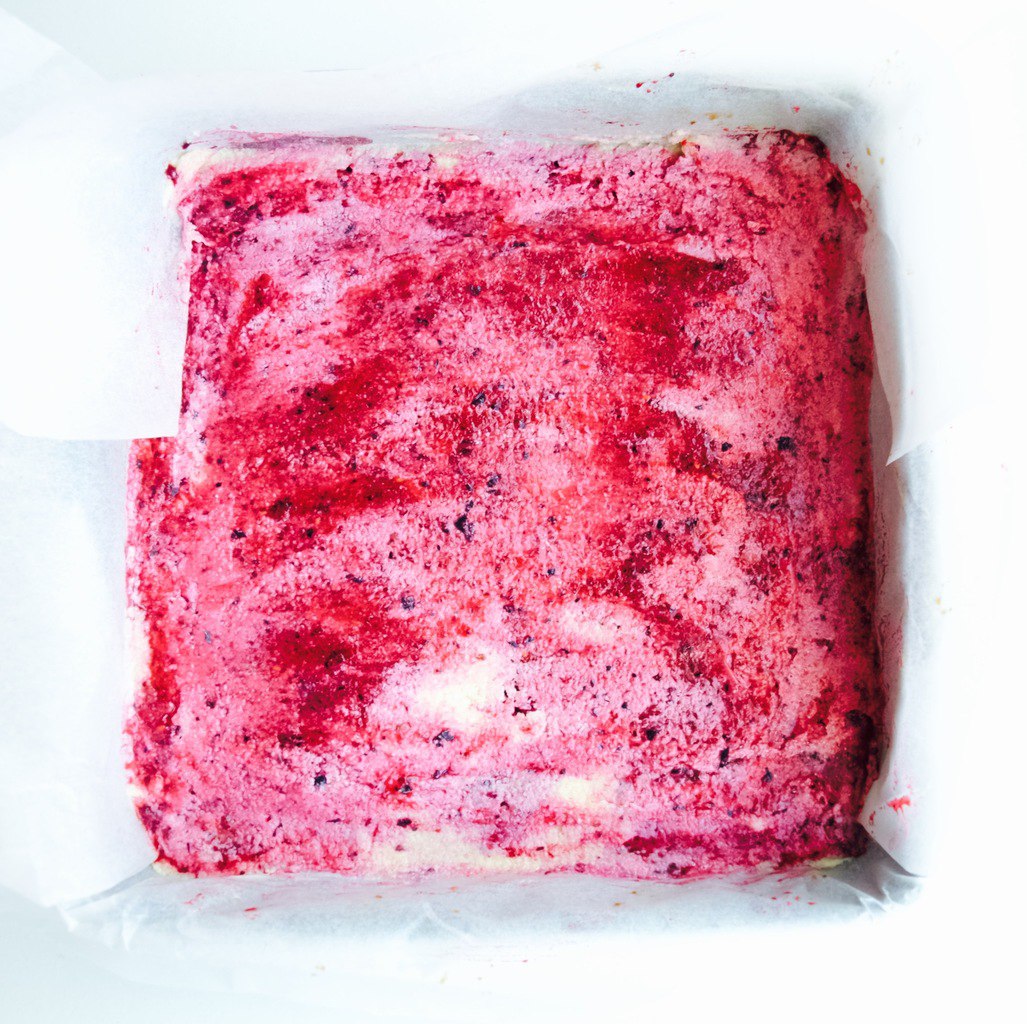
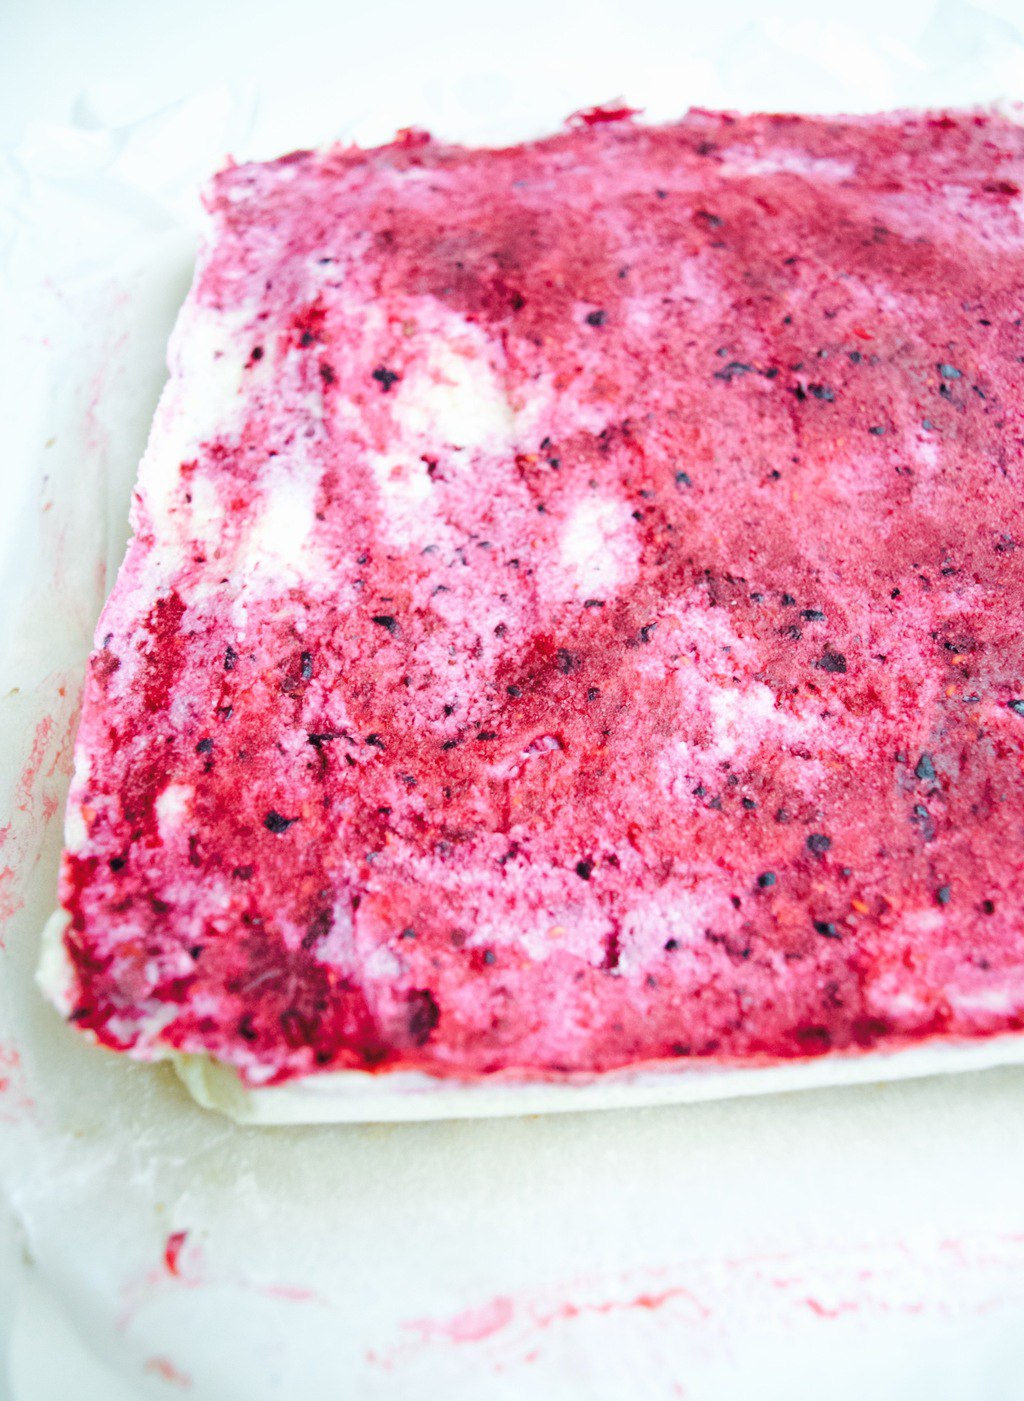
 5. Churn the peach ice cream base in your ice cream machine. Since I have no ice cream machine I placed nectarine cream mixture into baking tin and freezer and whisked it every 30 min till the ice cream has reached soft serve consistency. Spread the ice cream over the cake in one even layer and place it in freezer and let it harden for at least 4 hours.
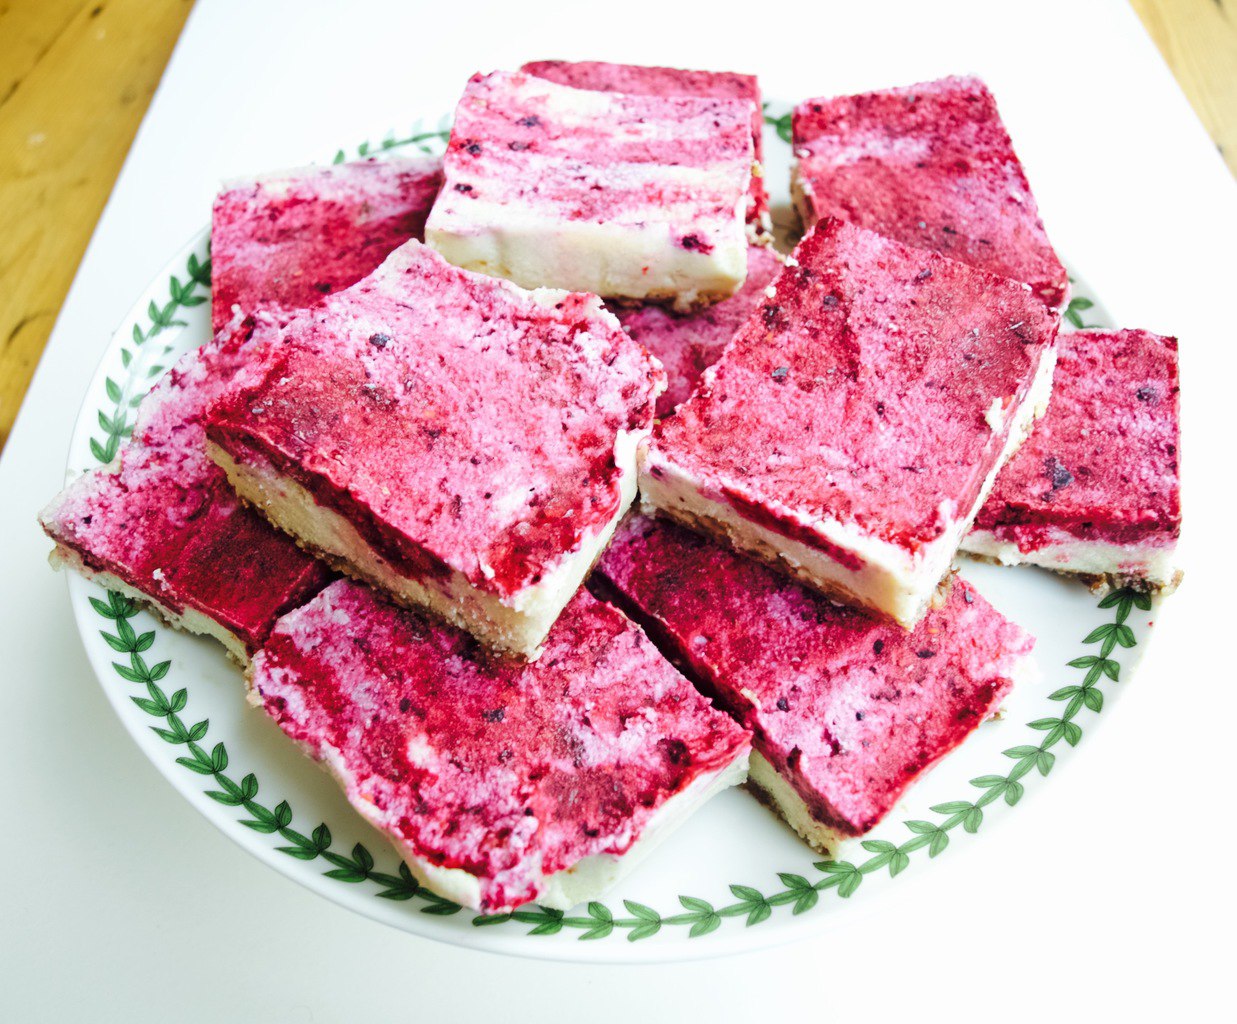
 6. Place any kind of stone fruits or berries your heart desires on top, slice, serve, and enjoy!
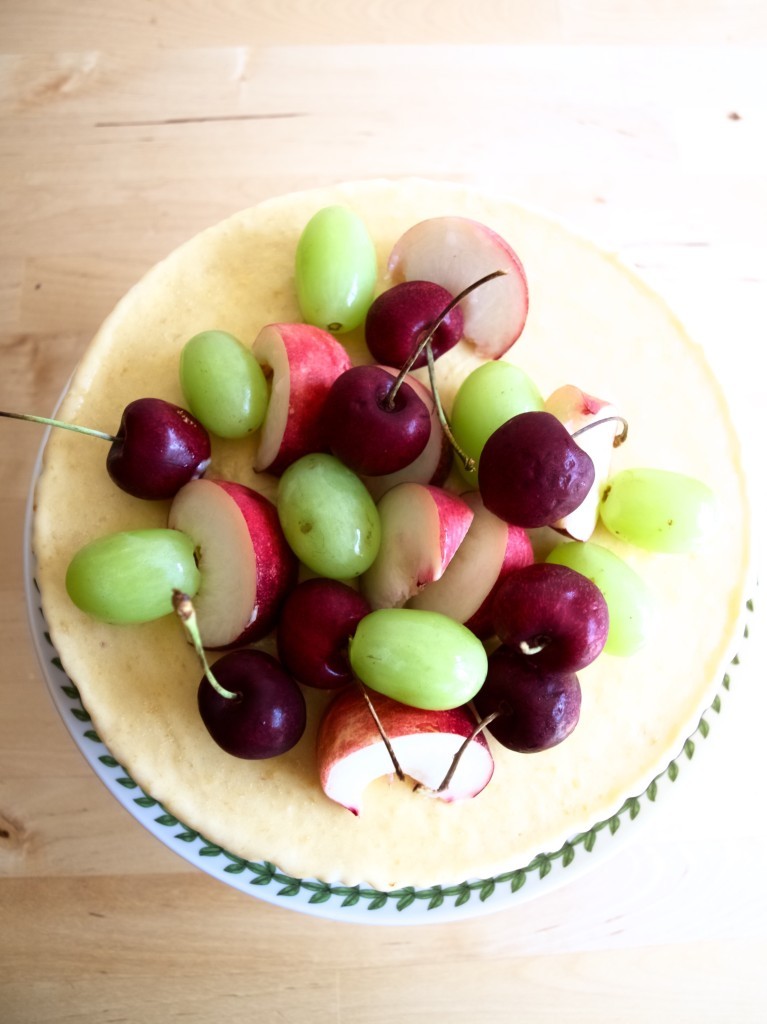 Rasa xoxo


 Lately we have been very tired. One moment I thought we were handling our lot as parents of two really well, the next day I feel like I am back at square one. Tomas is going through a bad sleep patch (hope thats temporary) and I for the first time ever have got a painful back.
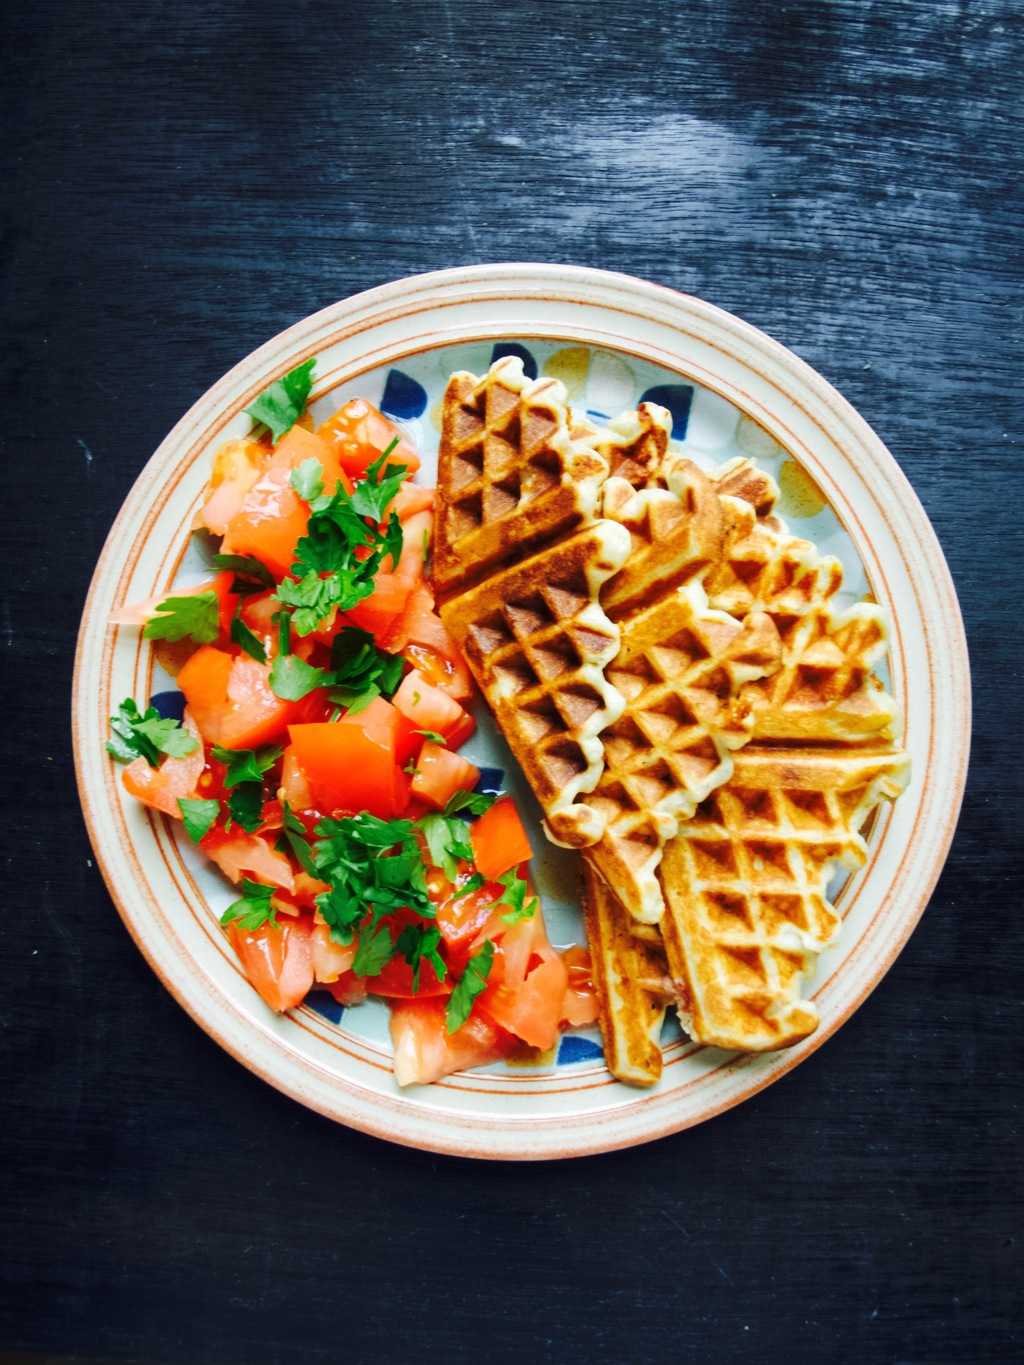
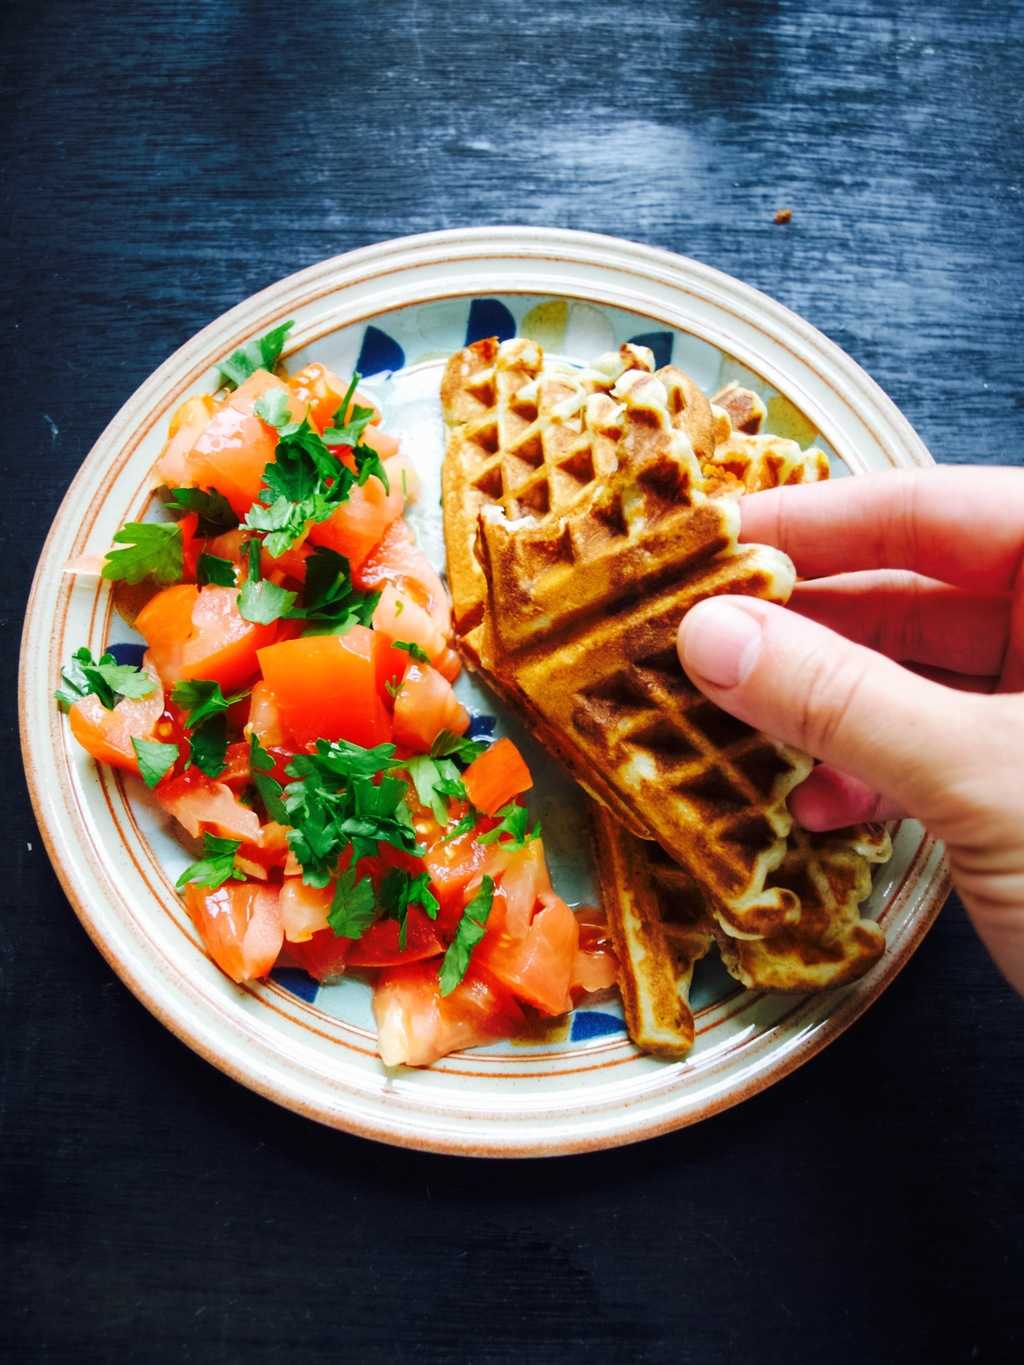
 SAVOURY WAFFLES WITH BLUE CHEESE AND BACON adopted from What Should I Eat for Breakfast Today
 2. Heat the waffle iron pan or the waffle maker, grease it liberally (I do it with butter) and pour the waffle mixture in ready to fry (1-2 spoons at the time). I use fork to detach the waffles from the pan but this probably would not work with the non stick pans, so be careful.
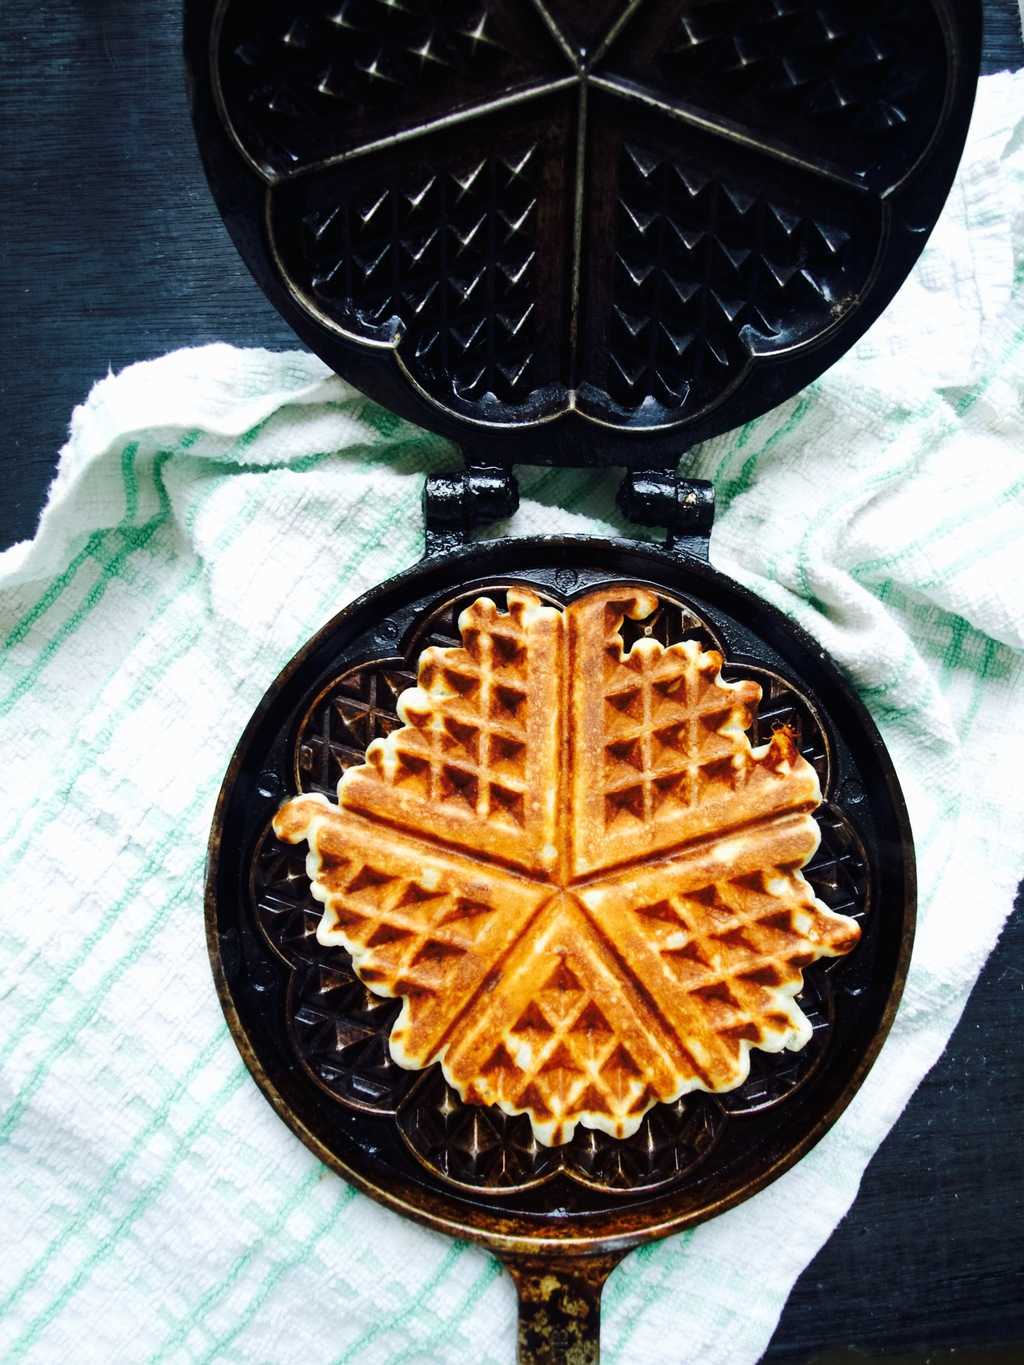
 Hope you all have a fab weekend!