

 As you may all know that we are working our bedroom to be while sleeping in our future office/craft room/guest room. Can’t wait till we move into our actual bedroom!
Today I would like to share about our lamp fittings that we installed recently. they only costed us few pennies (under £10 to be specific)! Yey! Thats because we reused some lampshades that we had in the corridor (I love to be able to use whats already in the house!). All I needed to do is buy the basic lamp fitting ;-). 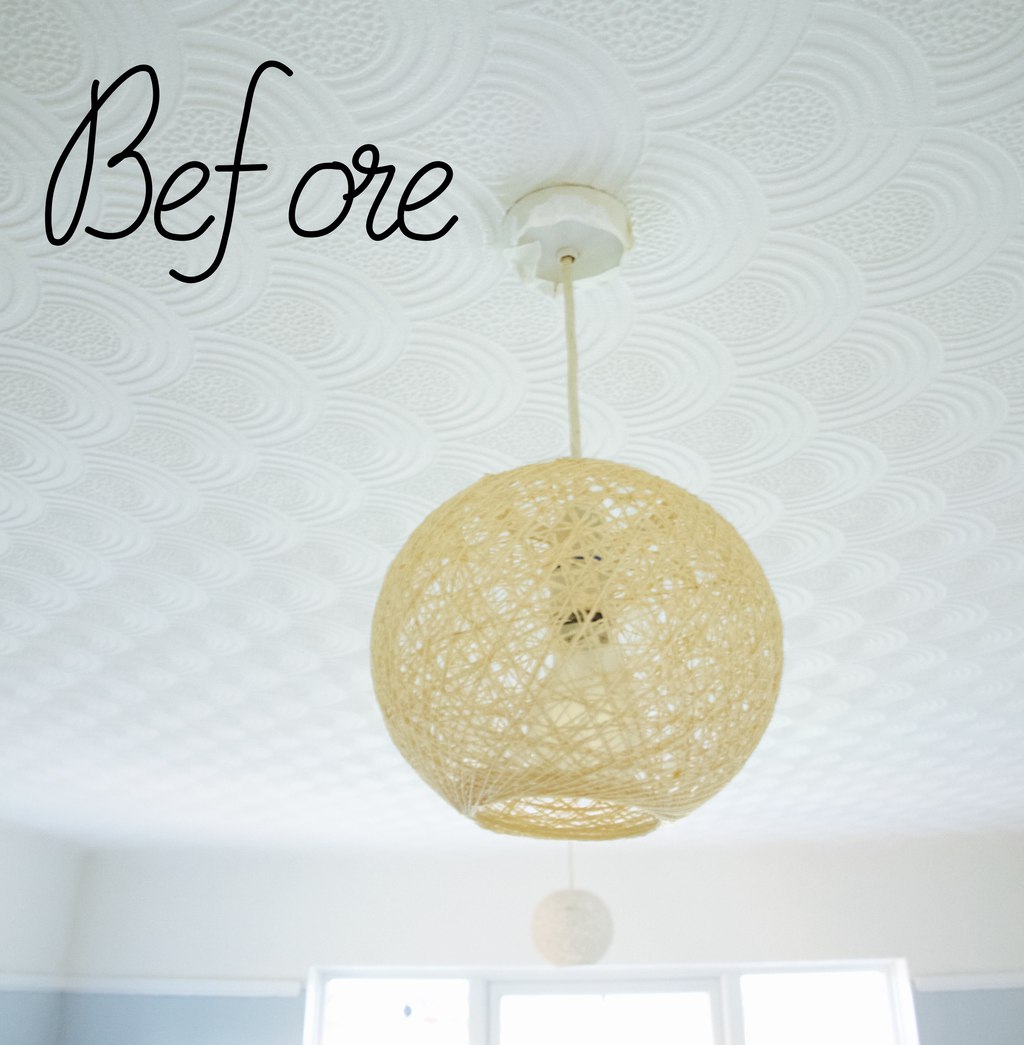 Neither of us are electricians so this is not a step by step guide how to wire the light fitting. Every house can have a different wiring so it would be pretty difficult to cover all here anyways. I fitted light fitting before which was pretty basic as it was a very similar one to the one I had to replace. I remember just removing old fitting wires and replacing with the new fitting wires in exact same way as it was. I guess I was lucky that time as that light fitting was not connected to any other light fitting in the house.
Before you begin it is very important!!
- to switch off the lights and the electricity on the distribution board (that box with the switches).
- start working (touching the wires) with the right hand, not both!
So to replace the light fitting in our new house we had to follow very a similar routine (even though the wiring is completely different and very very old). First we removed the cover and bit by bit unscrew the little screws on the connector that were holding all the wires. Eventually the light fitting base got freed! 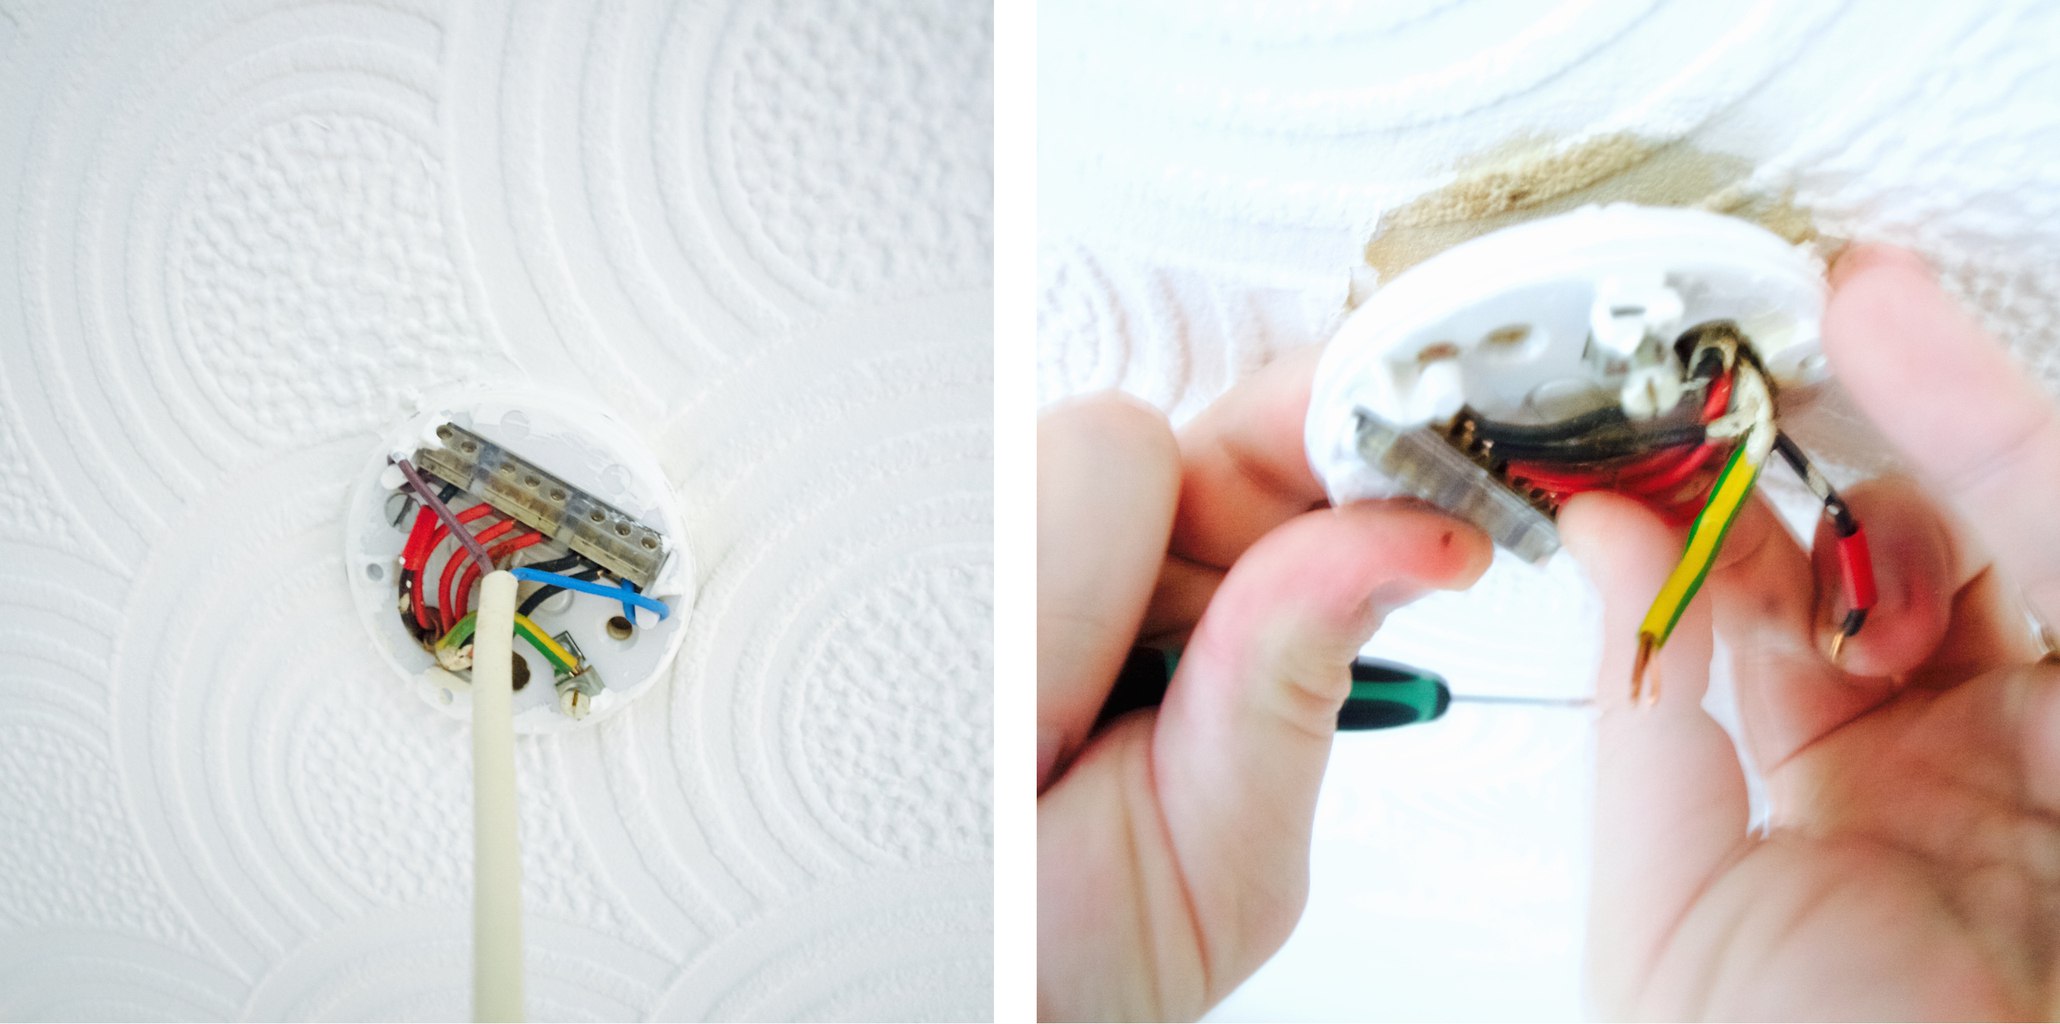 Then we connected the ceiling wires back to the new connector. Joni used this guide in order to connect old type of wires with new.
 When the wires on the ceiling were ready, we had to prepare the light fitting we bought for the fitting. Unfortunately it was a very long fitting perfect for high ceilings or landings, but not so good for our bedroom. Luckily Joni was able to adjust the length of it! He pulled the wire cord inwards, then cut it to required length and stripped the insulation leaving two wires open (neutral and live).
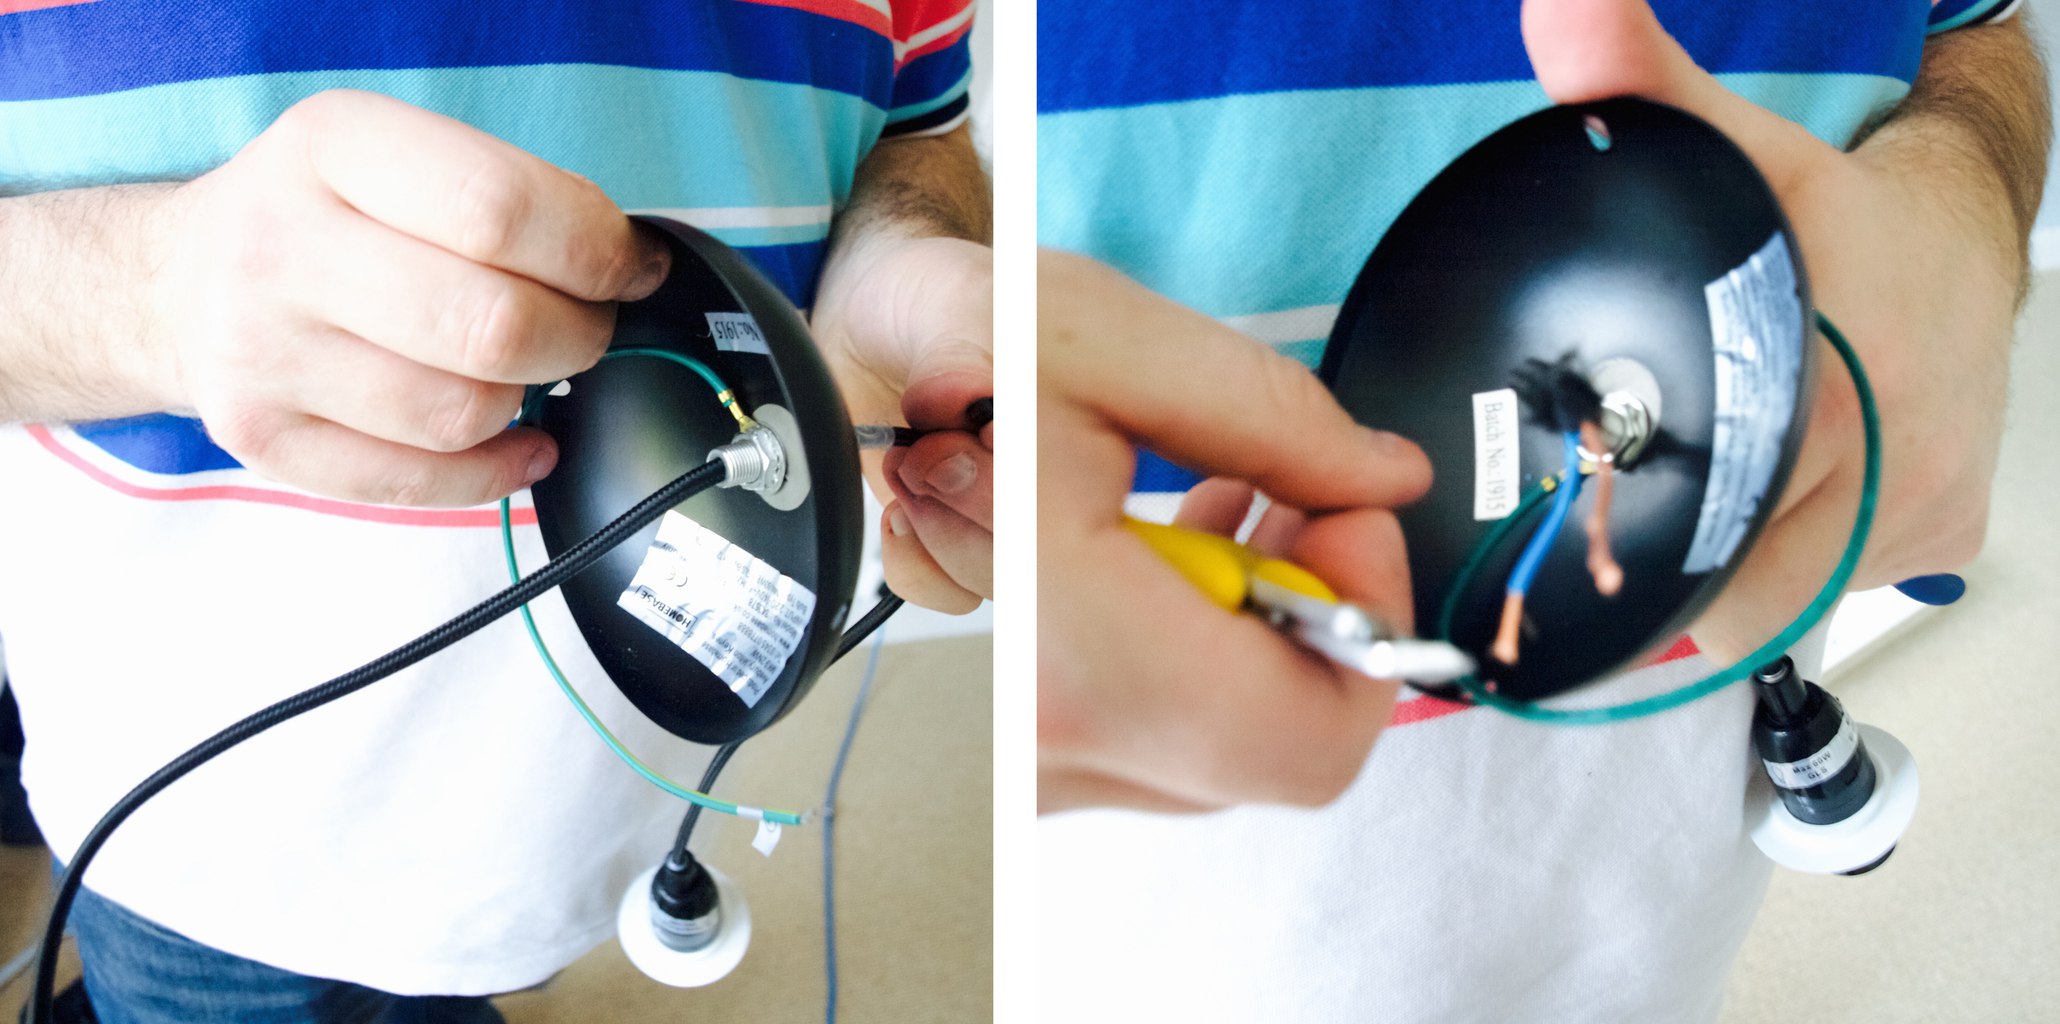 We then attached the light fitting bracket onto the ceiling that suppose to hold the fitting itself (don’t worry, this comes with the fitting you buy). After fitting wires have been connected to the connector on the ceiling we closed it off by attaching the light fitting itself onto the bracket.
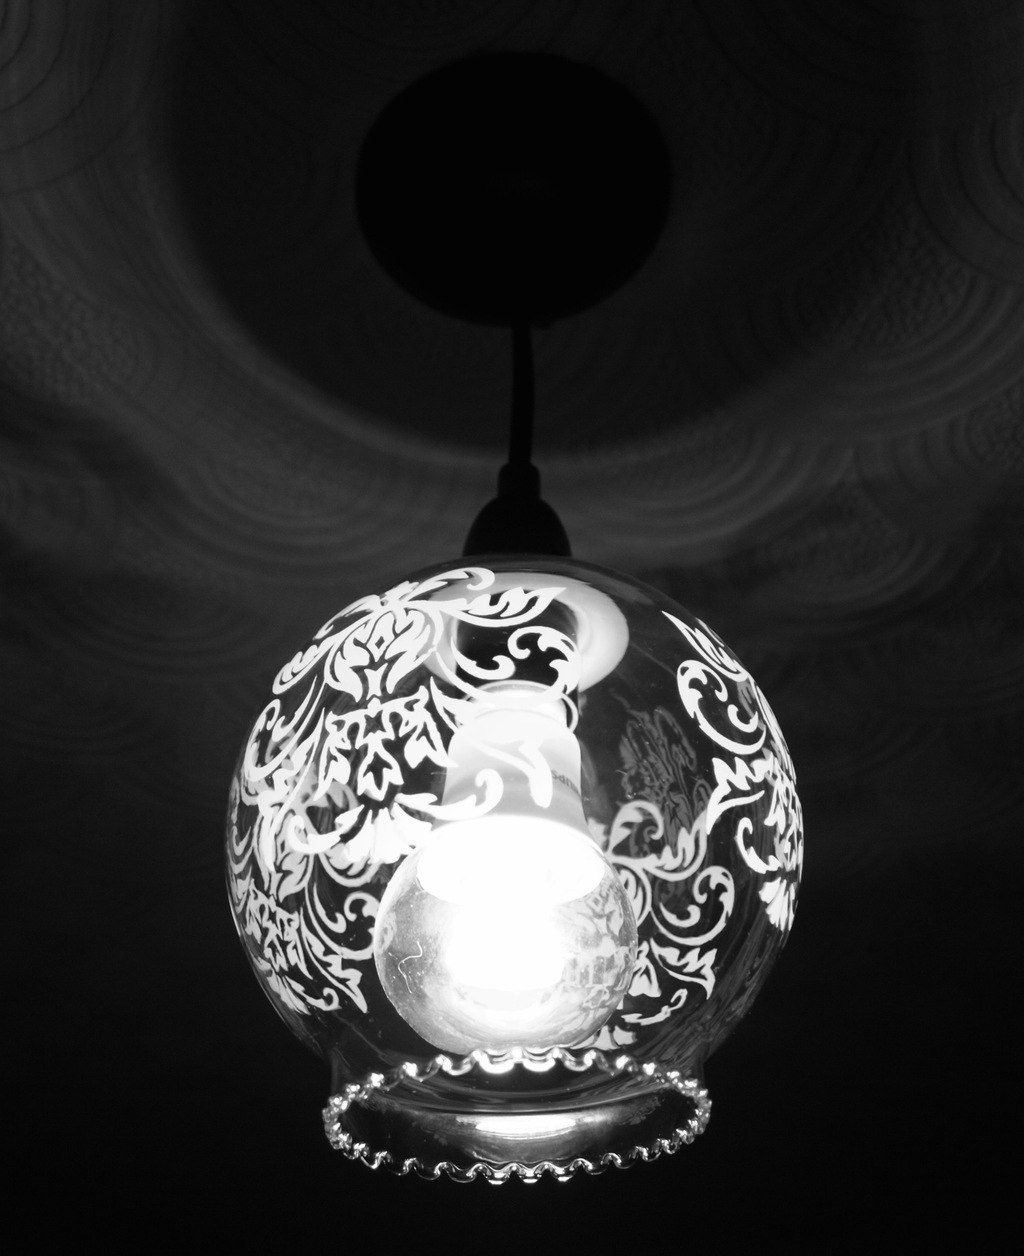
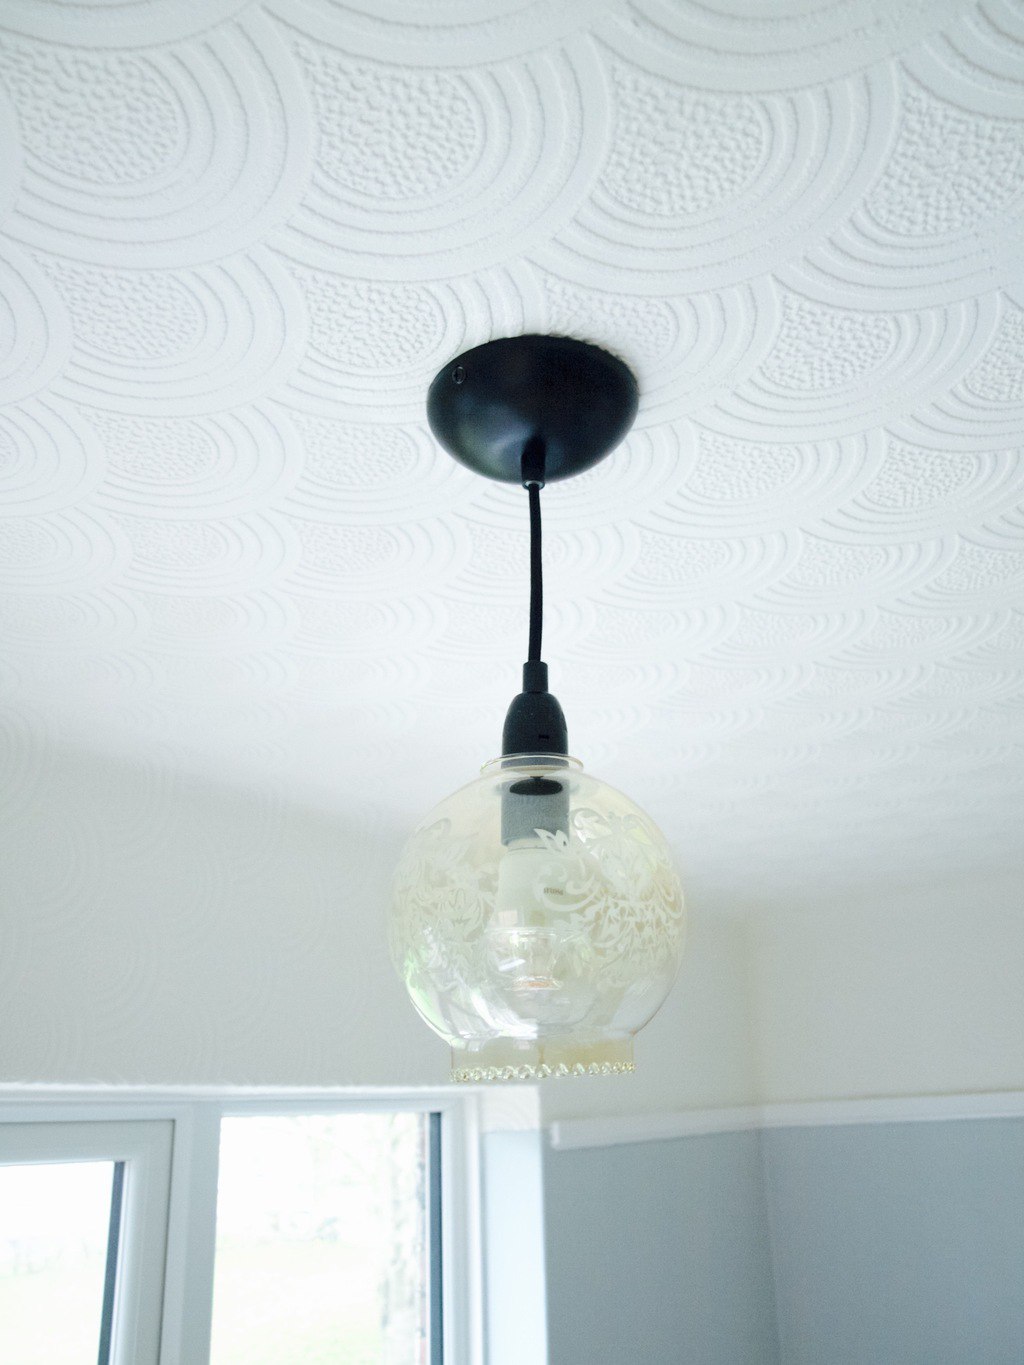
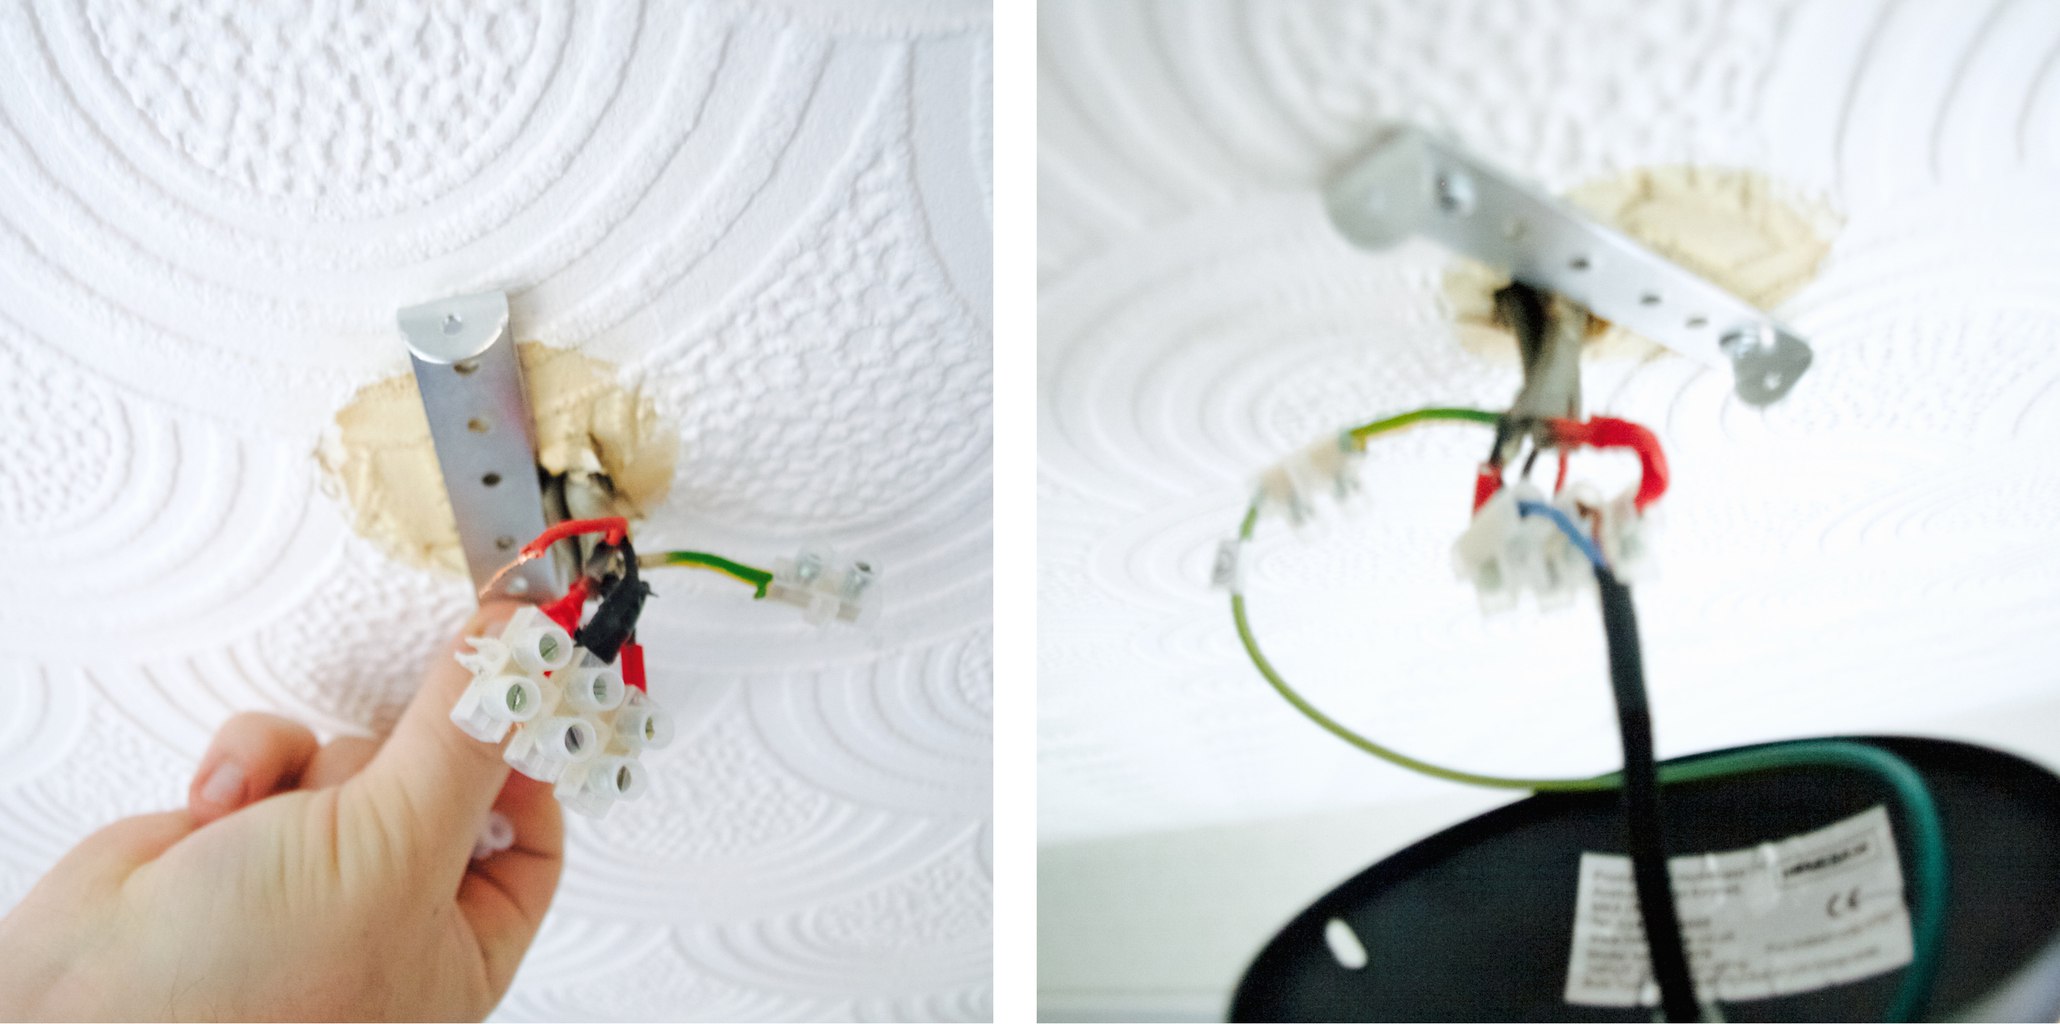 Finally we are ready to hang the lampshade on the light fitting. Our lampshade was a glass ones so to restore it all we needed to do is to clean it! I dipped the lampshades into the soapy water, wiped it with the soft sponge and carefully dried it with the clean tea towel.
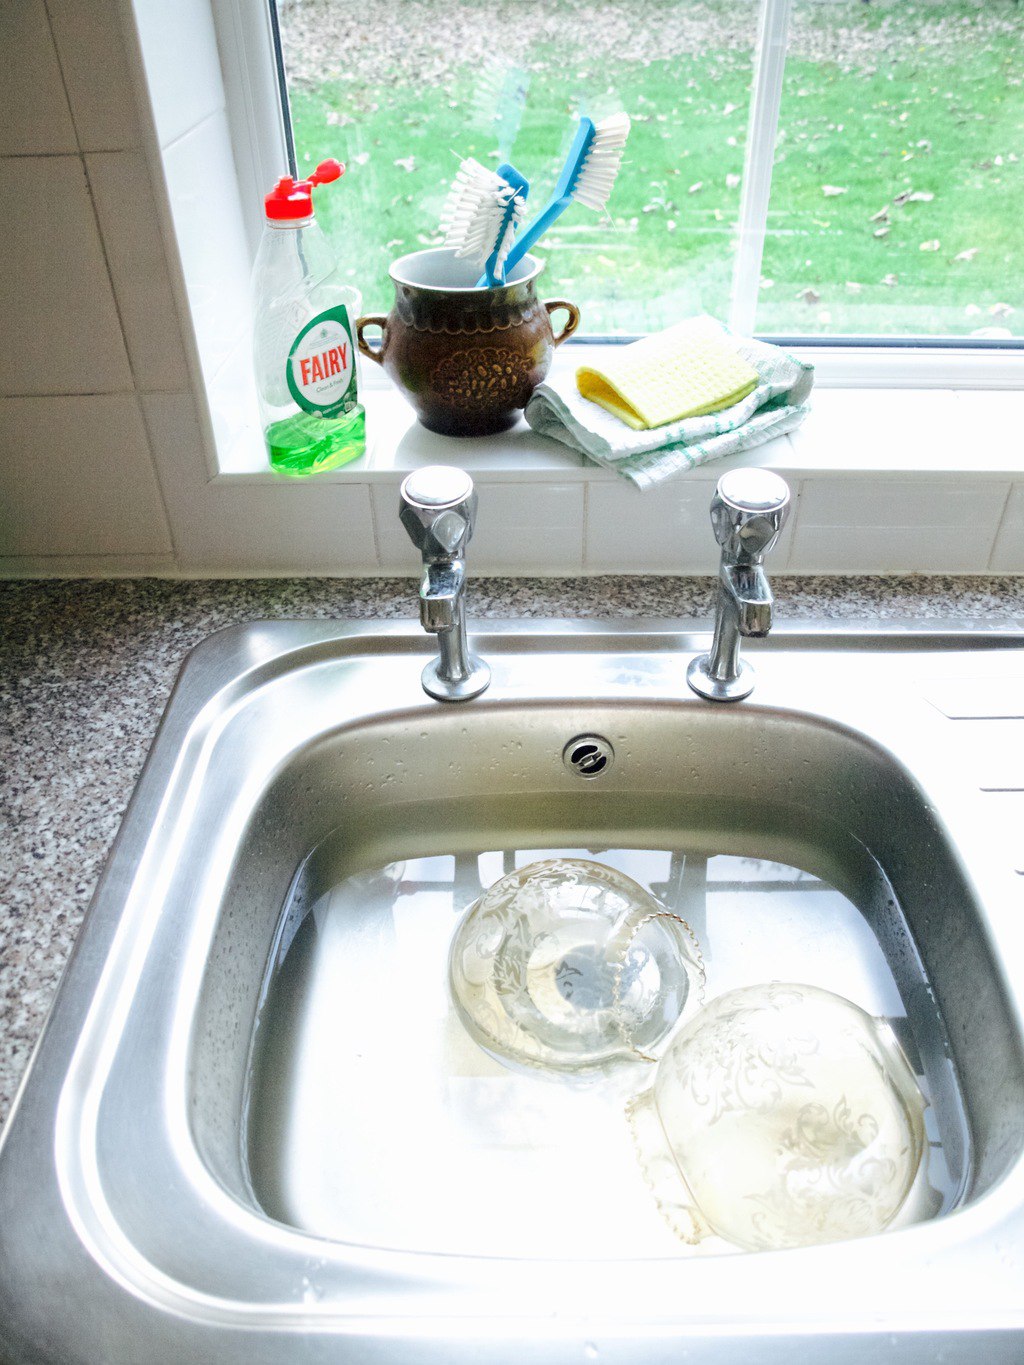 To hang the lampshade I used shade reducer. I unscrew the light fitting skirt, inserted the lampshade then the reducer and finally put the skirt back on.
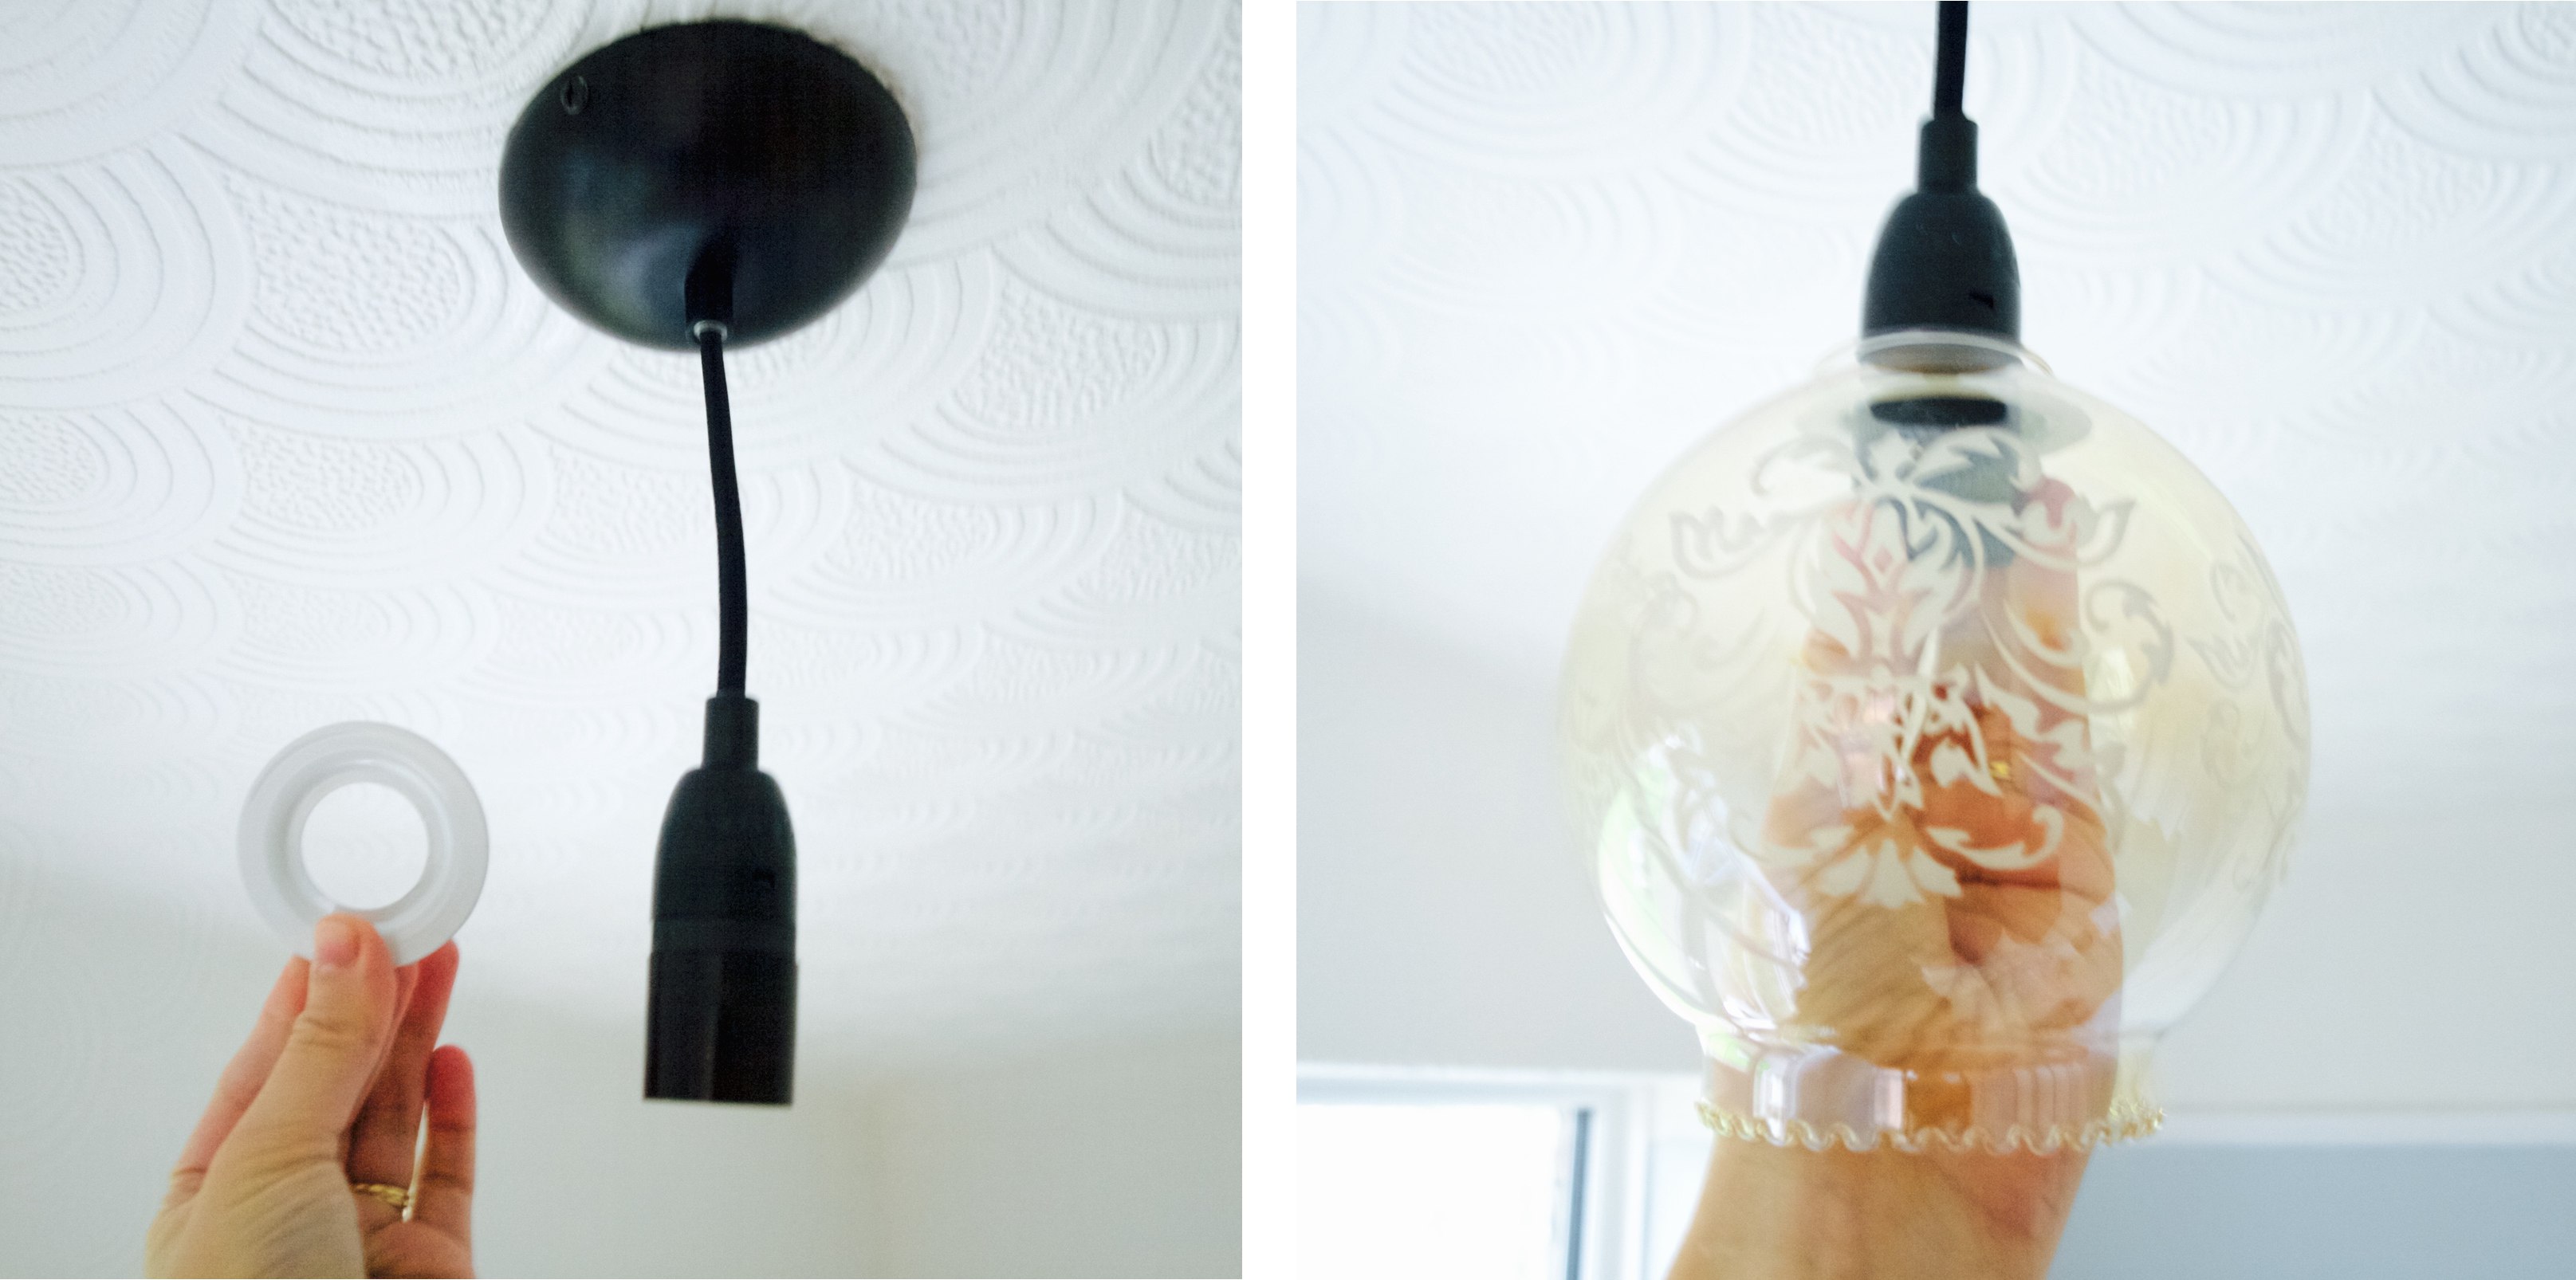
 I hope you found this useful!
Rasa xoxo
No comments yet.