Top

Archive | Upcycle

Kitchen organisation ideas: jars

Kitchen organisation ideas: jarsOur kitchen completion is so so close that I can almost taste it! It’s those small little details that takes forever to finish, I don’t know why is it often like that. In order for us to move into our new kitchen (we are lucky to have an old kitchen in other part of the house), we still need to fill some gaps, touch paint, silicone and fit the shelves.

I am so excited about the shelves though! I love the open display plan. I already started preparing storage solutions that looks good and is a decoration itself. You guessed it right, jars are going to be my focus!

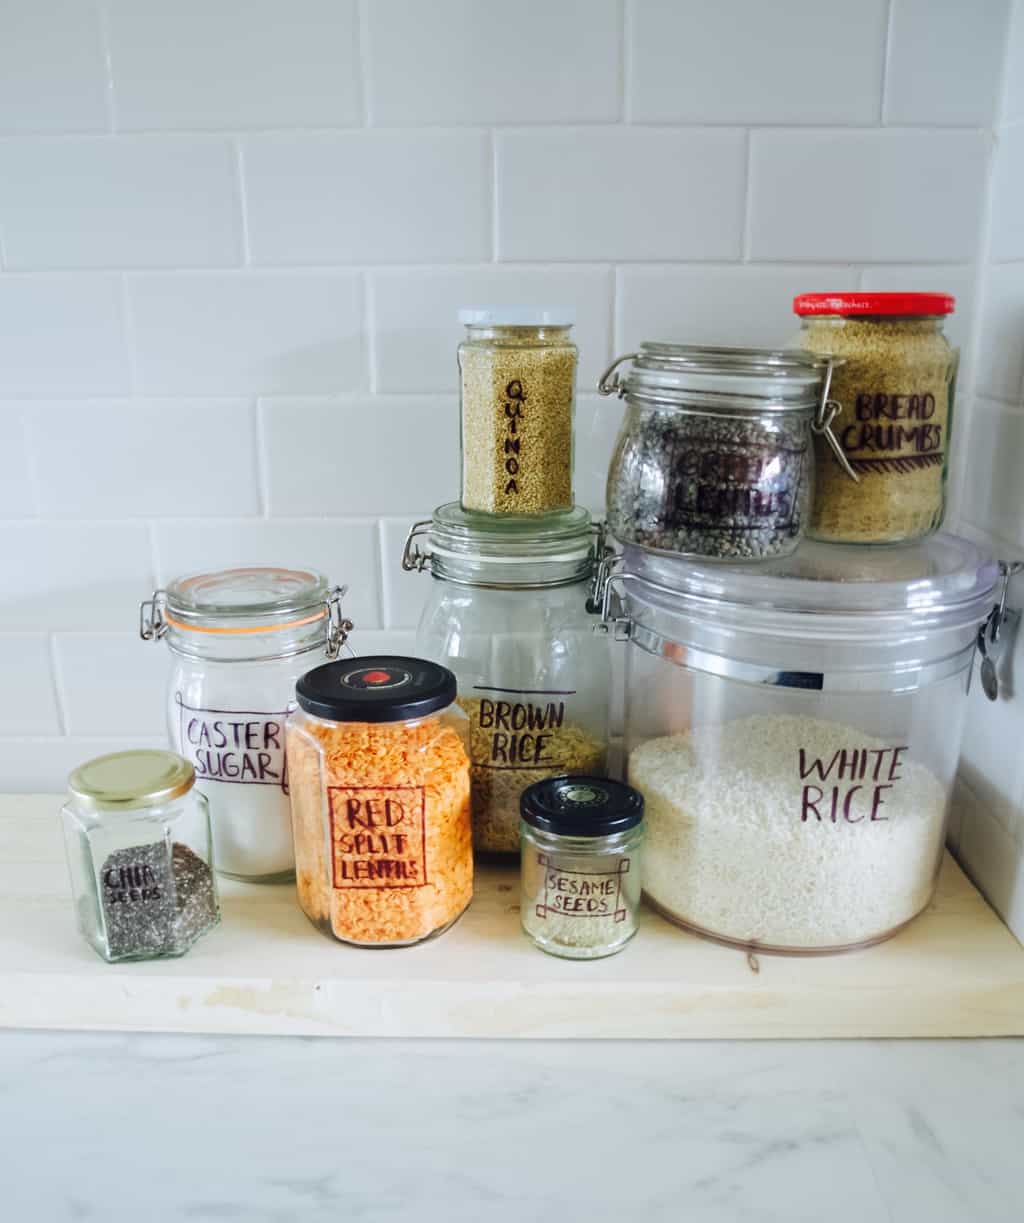
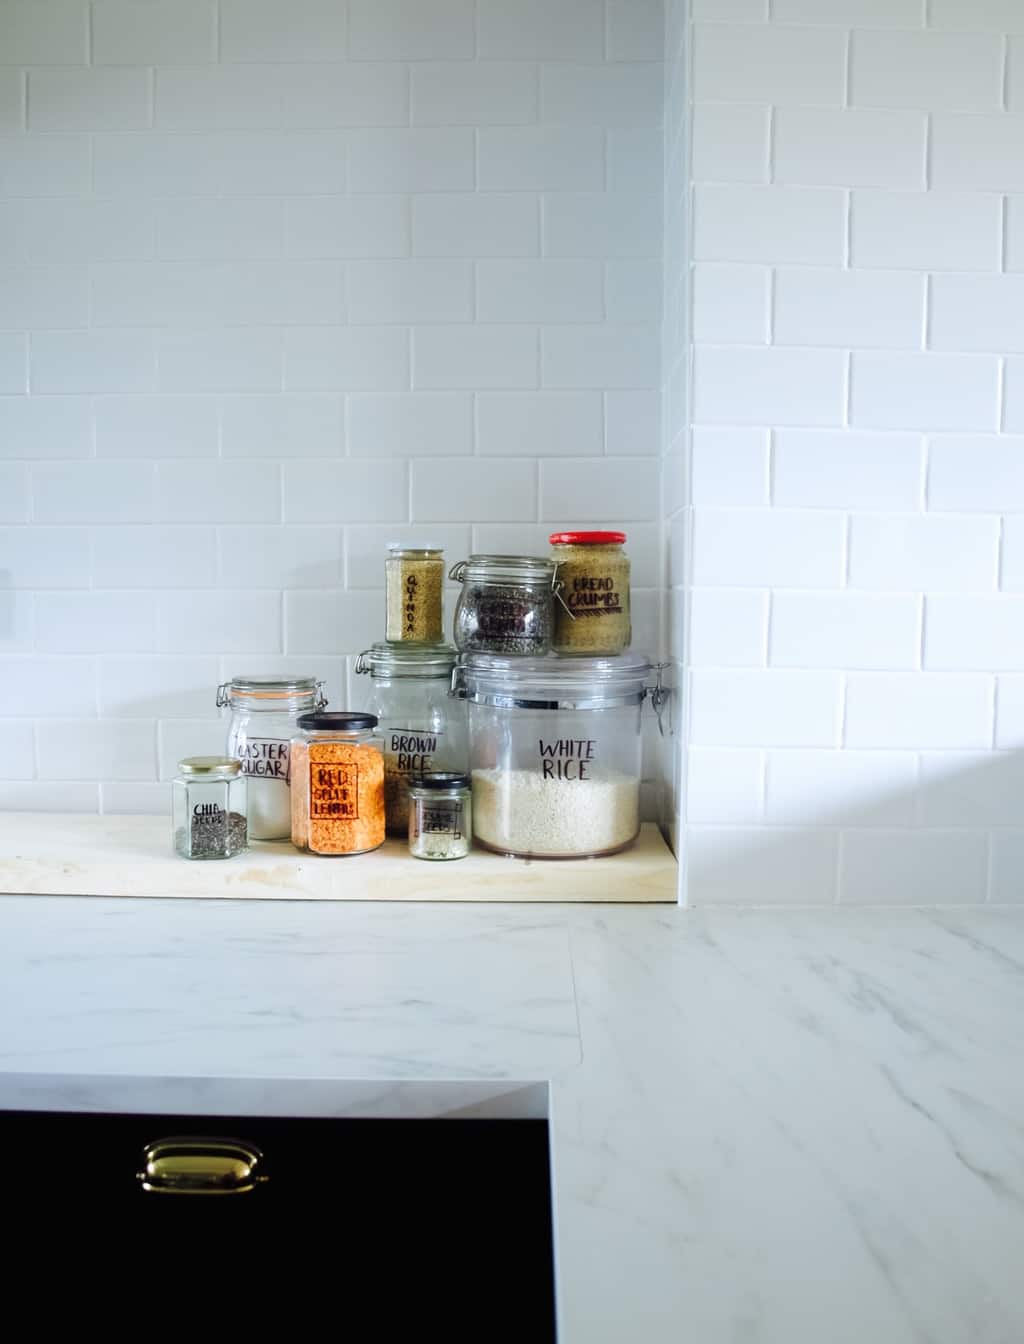
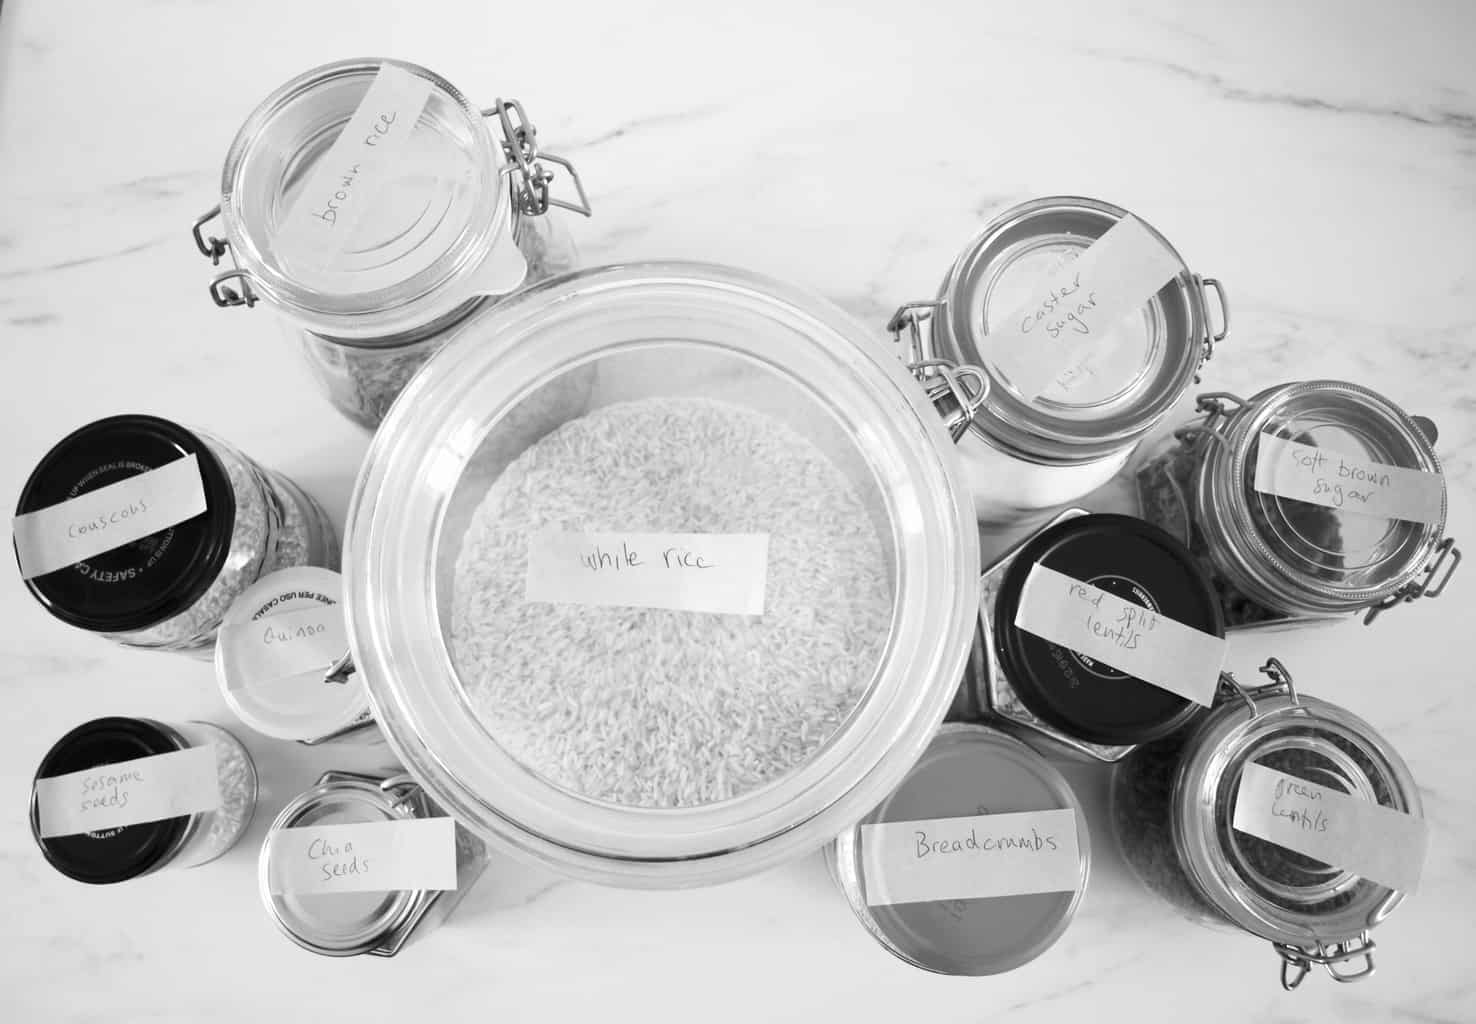
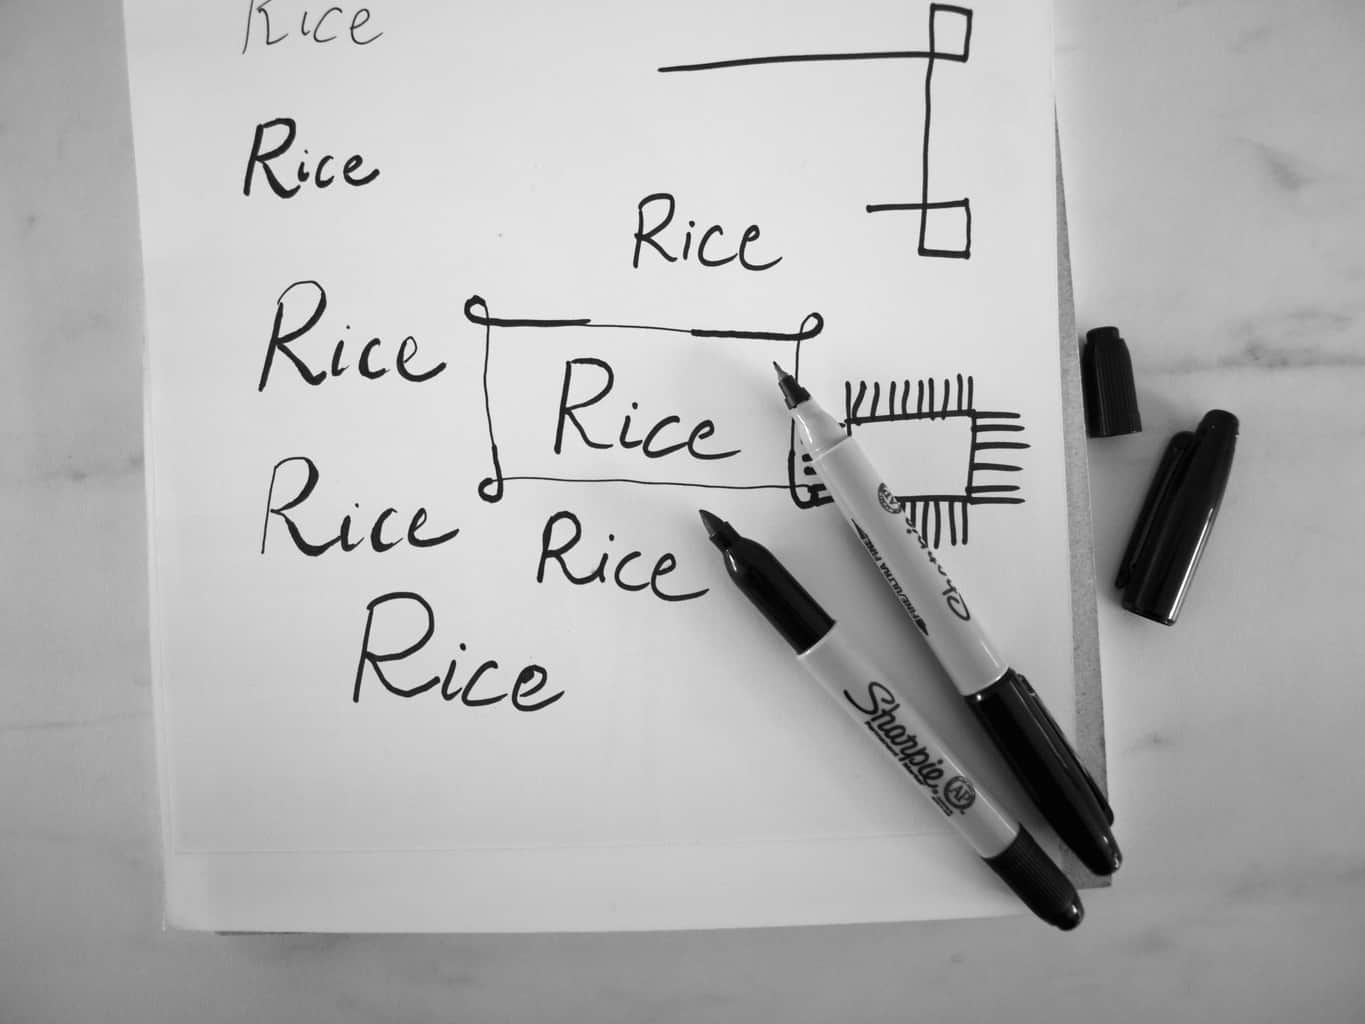
Jar storage solution is not a new invention, it’s just got really trendy in recent years. You can buy mason jars easily anywhere, however I don’t believe you need them to achieve the look. Although I do own few mason type of jars, majority of my jars comes from recycling. That’s right! I use a lot of jars that had were storing pickles in their past life. I think reusing these type of jars is so much better than recycling itself. It’s better for your pocket too!Kitchen organisation ideas: jarsTo begin with I started sorting out our grains, sugar, flour, seeds etc etc. I looked through lots of loose bags and I was little surprised to find some stuff that I did not even know I had (like quinoa). I stored these into right size jars according to the amounts, the use and the size I tend to buy them in the shop. For example, I hardly ever eat quinoa (don’t really like the taste of it) so it ended up in the tiniest jar the whole lot could fit. It’s different with the brown sugar and although I had a tiny amount of it left I stored it in a lager jar.Kitchen organisation ideas: jarsAs for labels I decided to go paperless. I got inspired by these and since my handwriting improved I thought I will give a go. I used basic black permanent pens instead of oil based paint pens. I experimented on the paper before going ahead and scribbling on the jar.Kitchen organisation ideas: jars Although the pens are permanent, it can be easily wiped out with some acetone or other type of solvent.Kitchen organisation ideas: jarsKitchen organisation ideas: jarsHope you like my jar organisation idea and get to adopt it at your home.

Rasa xoxo

1

How to make reusable food wraps (to replace cling film)

Reusable food wrap DIY (with wax and resin)The thing is that I always dreamed of living sustainably, even before it be became popular. Sometimes I succeeded and sometimes business just took over my life and I had to cut some corners. The bottom line is I passionately hate waste and I feel like my heart bleeds when I see stuff wasted when it could have had another life (hope I don’t sound like a hoarder, because I am definitely not!!).

When it comes to sustainable living I believe it comes to choosing the products that should also benefit us directly (not only the earth). You see I dislike wasting money too (or even seeing somebody else wasting theirs). Which is why I always look out for things I could make myself and save money that way. For instance, last week I made some reusable food cloths, because I thought it would be lovely not to use as much cling film. I know, I know, this is not our biggest household waste (nappies and baby wipes are), but you’ve got to begin somewhere! I researched quite a few recipes and methods, so trust me you are getting the best here! Although after making some wraps I had a few other ideas how to make it even easier and cheaper.

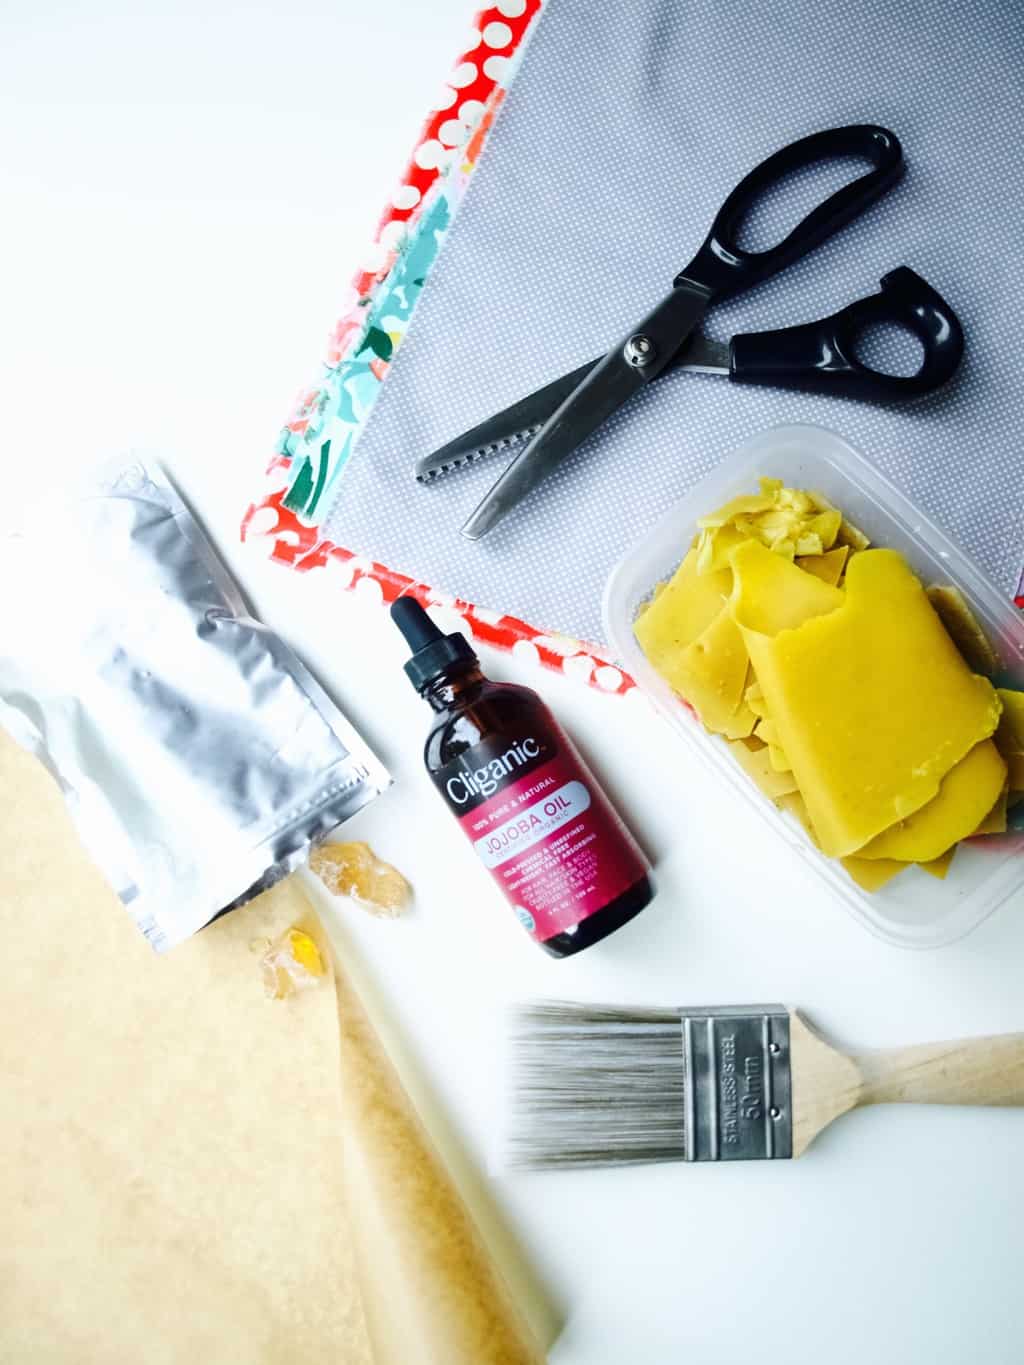
To make these reusable food wraps you will need:

  • 130g wax (I used some wax thats been given to me by my mother in law who keeps the bees)
  • 26g pine rosin (or any other tree resin)
  • 4tsp jojoba oil
  • about 5-7 squares of light, woven cotton
  • pinking shears
  • old pot
  • old paint brush (optional, you will only be using it just for this)
  • baking paper
  • iron with the ironing board

Reusable food wrap DIY (with wax and resin)First cut your fabric to size. I used pinking shears as this really helps to stop fabric from fraying

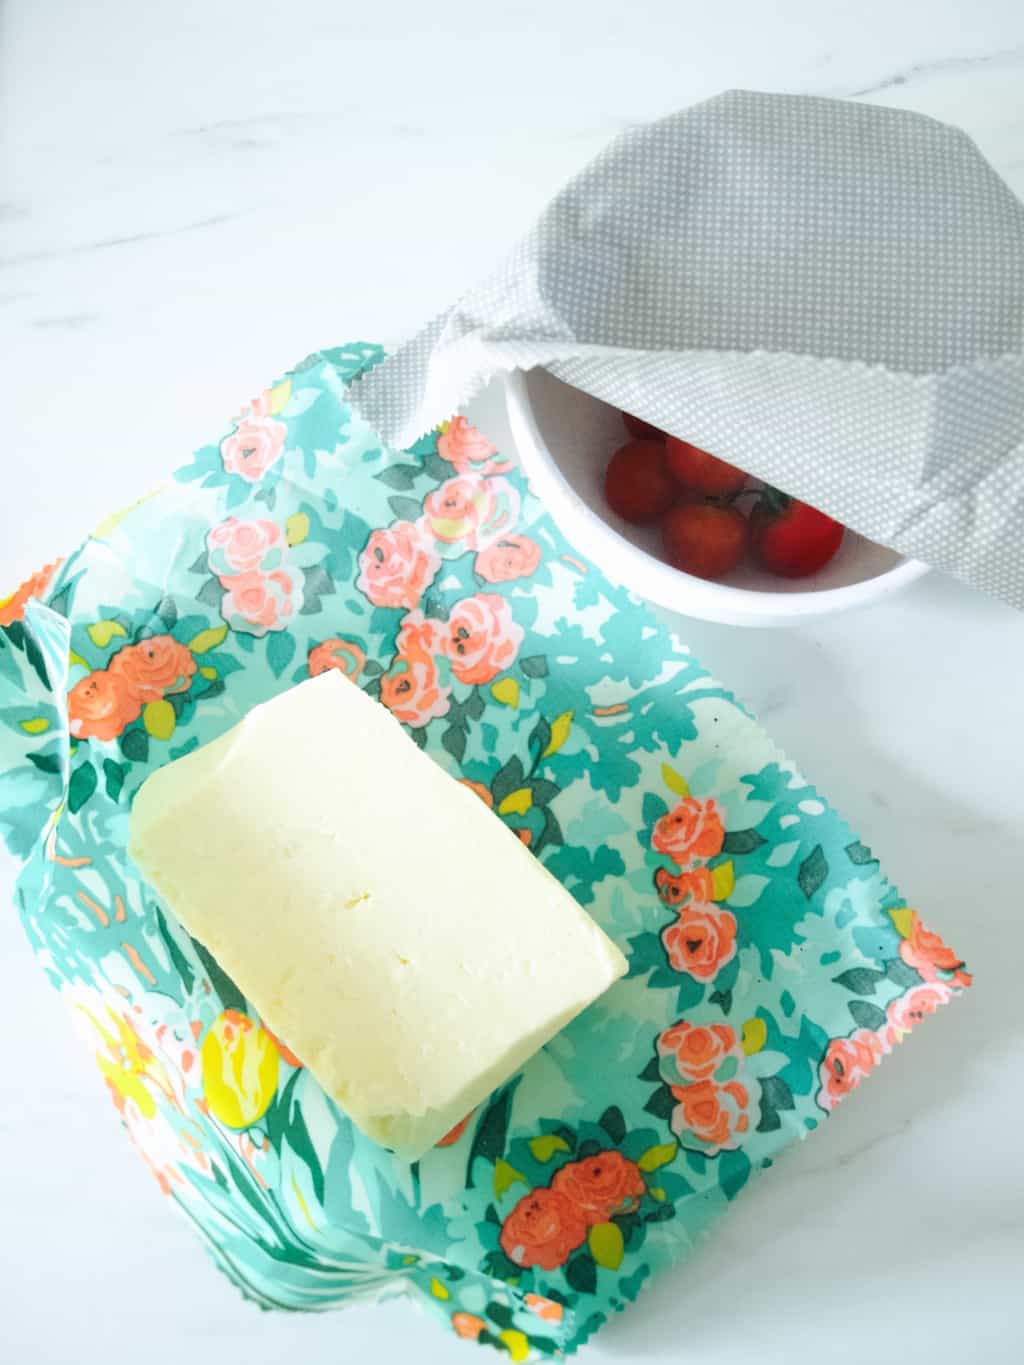
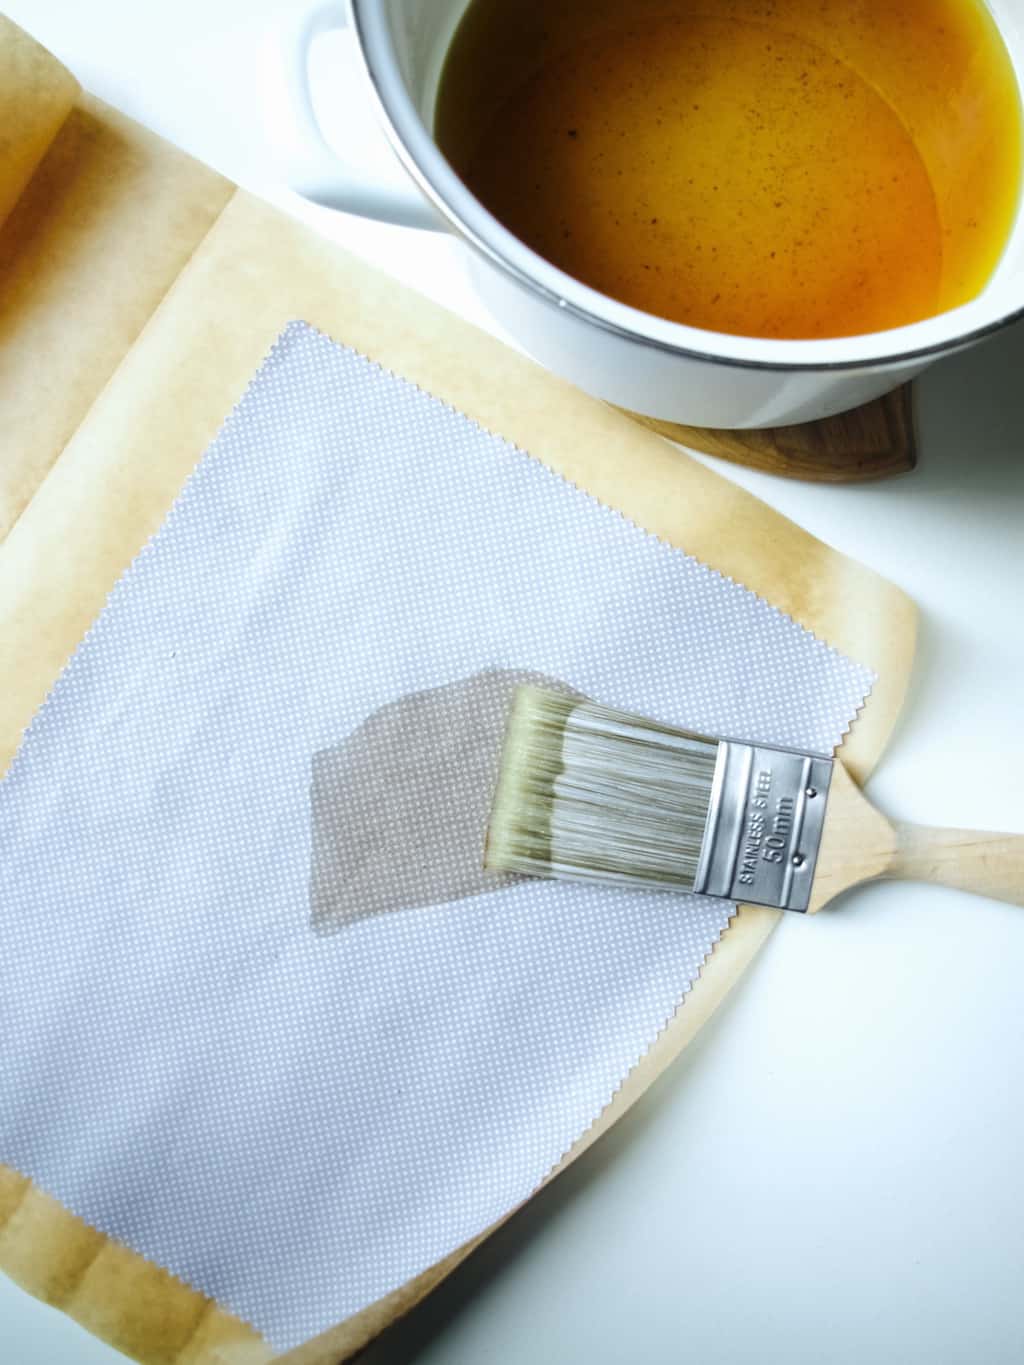
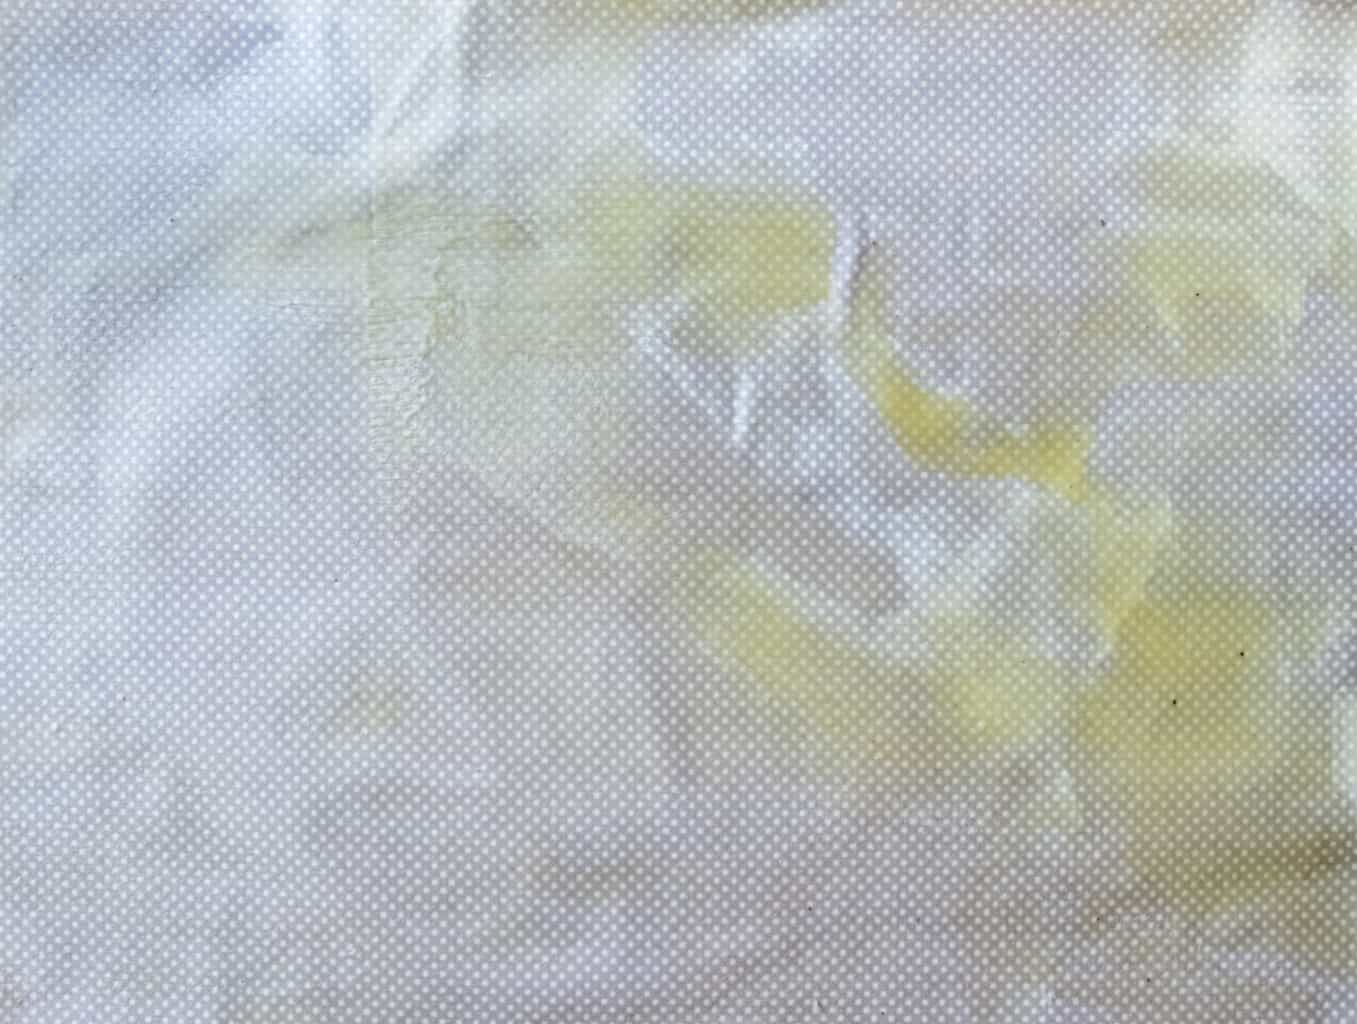
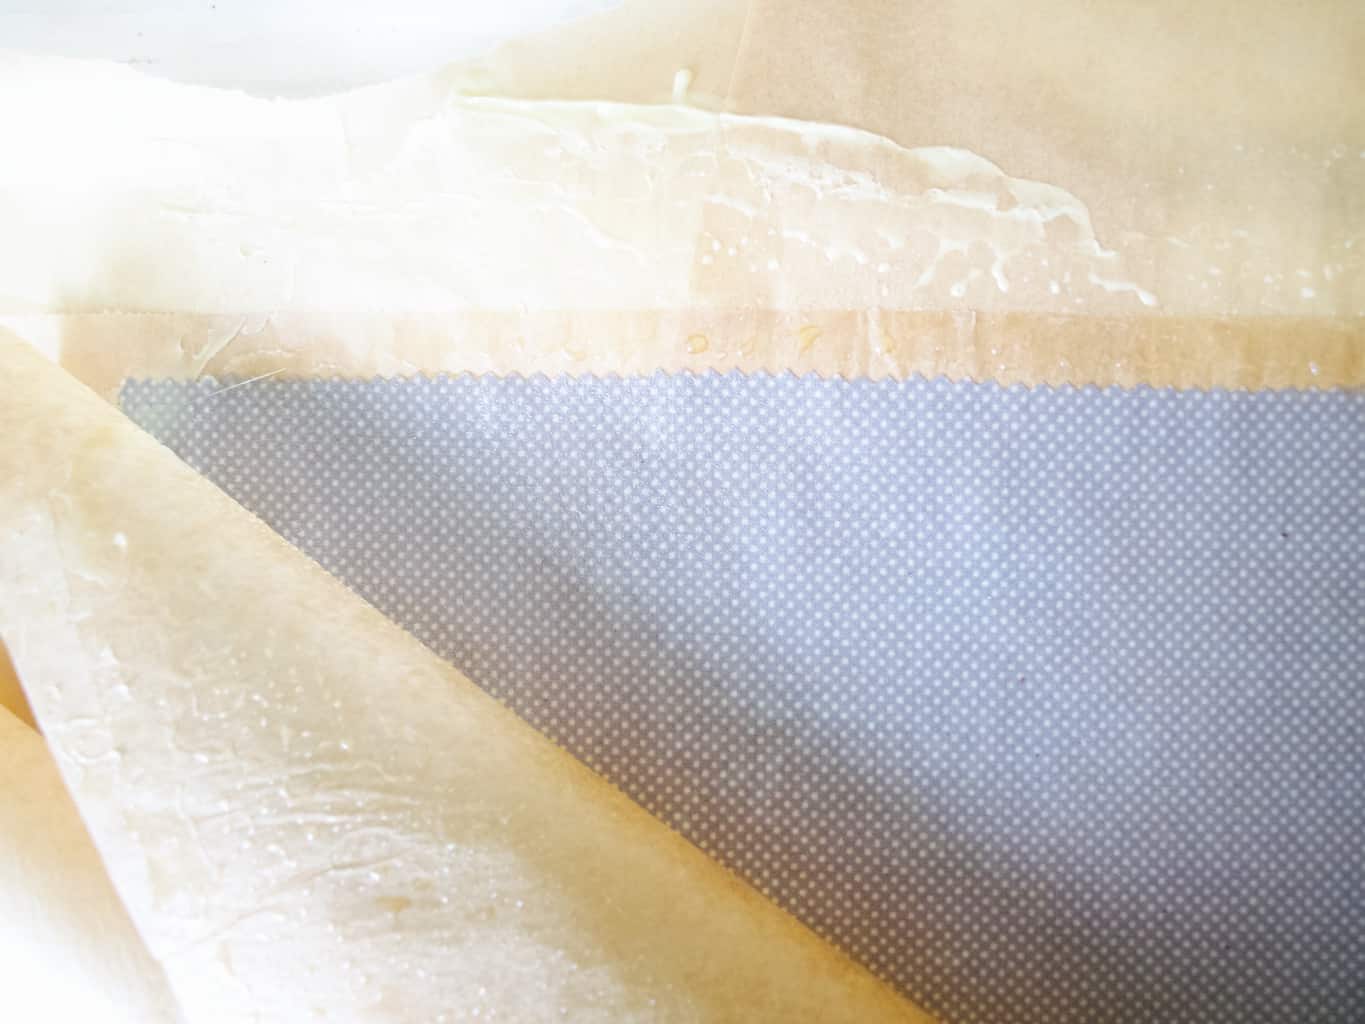
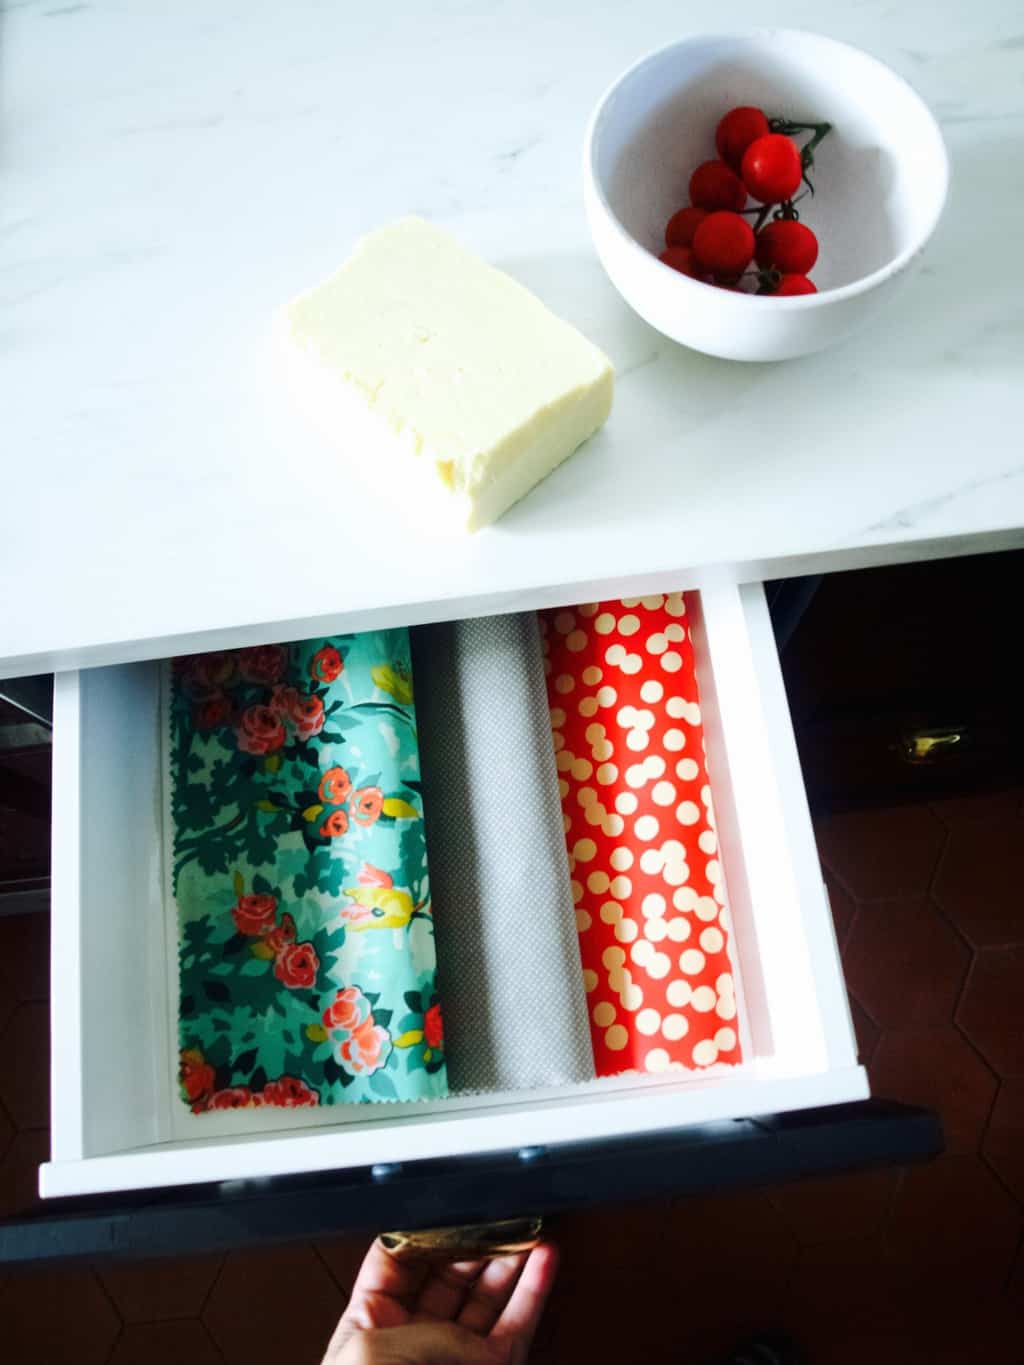
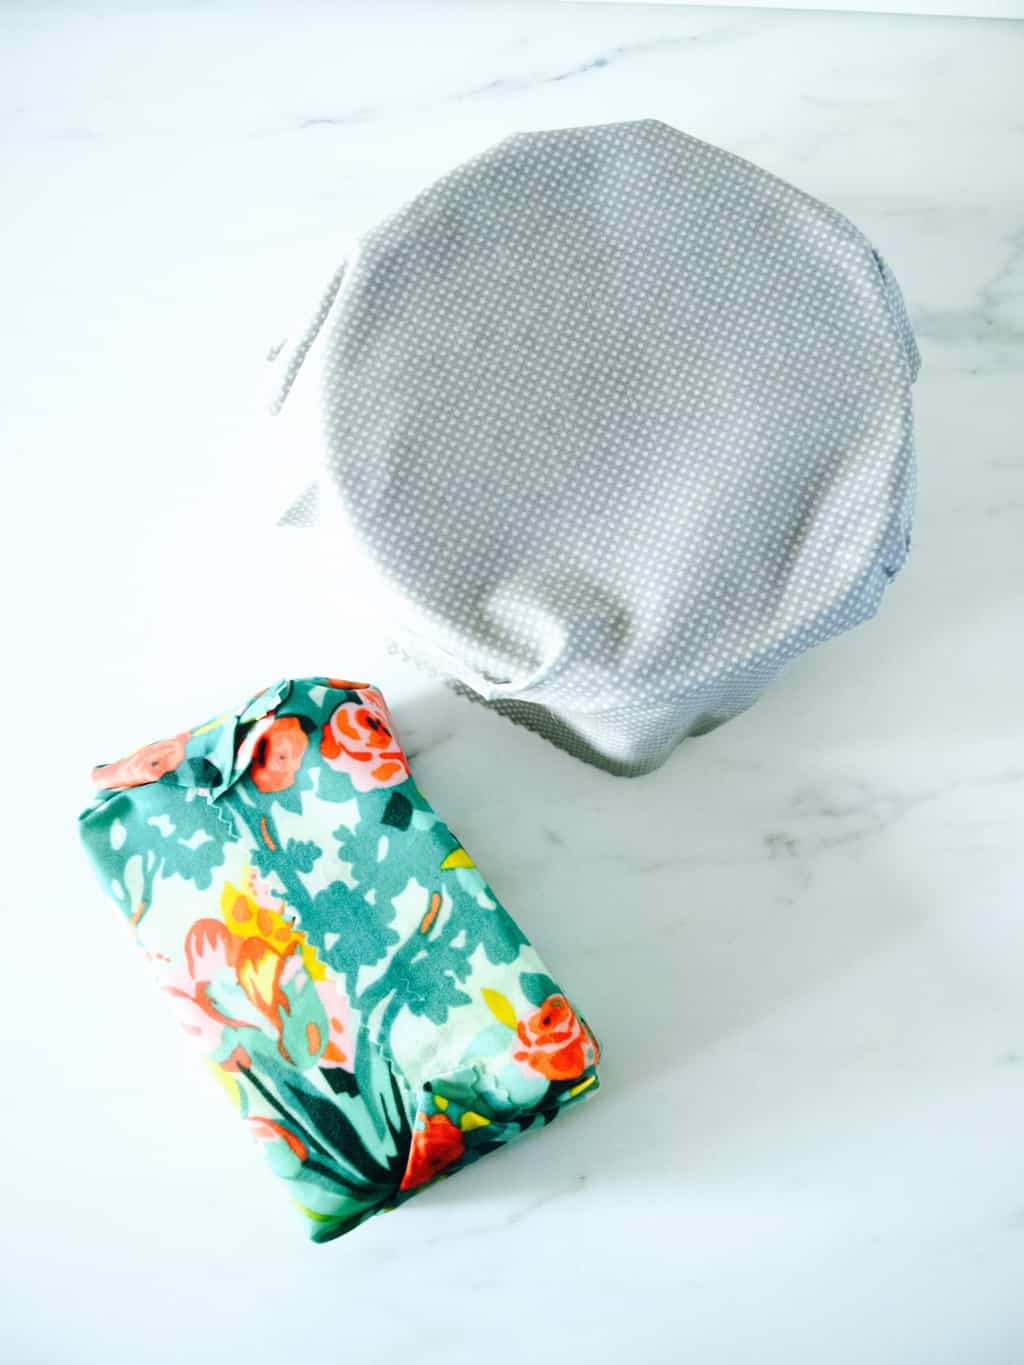
Put the wax, rosin, and oil into the pot and while stirring heat all the ingredients till melted. I think because I used not well filtered wax it had few black bits in it. It did not cause too many problems in the end result but it did leave a few black speckles on the cloth.Reusable food wrap DIY (with wax and resin)As you brush the wax mixture onto the fabric it hardens very very quickly. I think I was too generous with it (so be stingy). The excess wax created lots and lots of mess later. I felt like a brush is not necessary here as the wax hardened after few strokes. I think I will try just dipping the fabric straight into hot wax next time. I imagine that should give good coverage without the wax hardening onto the surface. But of course I could be wrong!Reusable food wrap DIY (with wax and resin)So here comes the mess I was talking about. In order to impregnate the fabric with the wax mixture completely, the fabric needs to be reheated. When I researched how to make reusable food wraps it seemed that one of the most popular methods to reheat the wax in the fabric is to stick it into the oven. That seemed a bit limited by oven size and I imagined it would be messy (plus the oven tray to clean up). I guess I failed to avoid the later! I used baking paper to sandwich the waxed cloth and heated the wax and the fabric once again by ironing it. In my case the excess wax spilled everywhere: the floor, another layer of baking sheets (I wasted whole roll!!), and the ironing board (thankfully not the iron itself). This wax mixture was very sticky to clean because of the resin (special ingredient to make the cloths clingy). Definitely NOT applying that much wax liquid on the fabric next time!!!Reusable food wrap DIY (with wax and resin) The cloth cools almost immediately and can be used a few minutes after making it.Reusable food wrap DIY (with wax and resin) As I mentioned before the resin mixed in with the wax makes the wrap slightly sticky against itself which is why you can use this exactly as you would use cling film.Reusable food wrap DIY (with wax and resin)Hope you found this very useful and you can learn from my mistakes.

Rasa ;-)

2

Christmas wreath chandelier

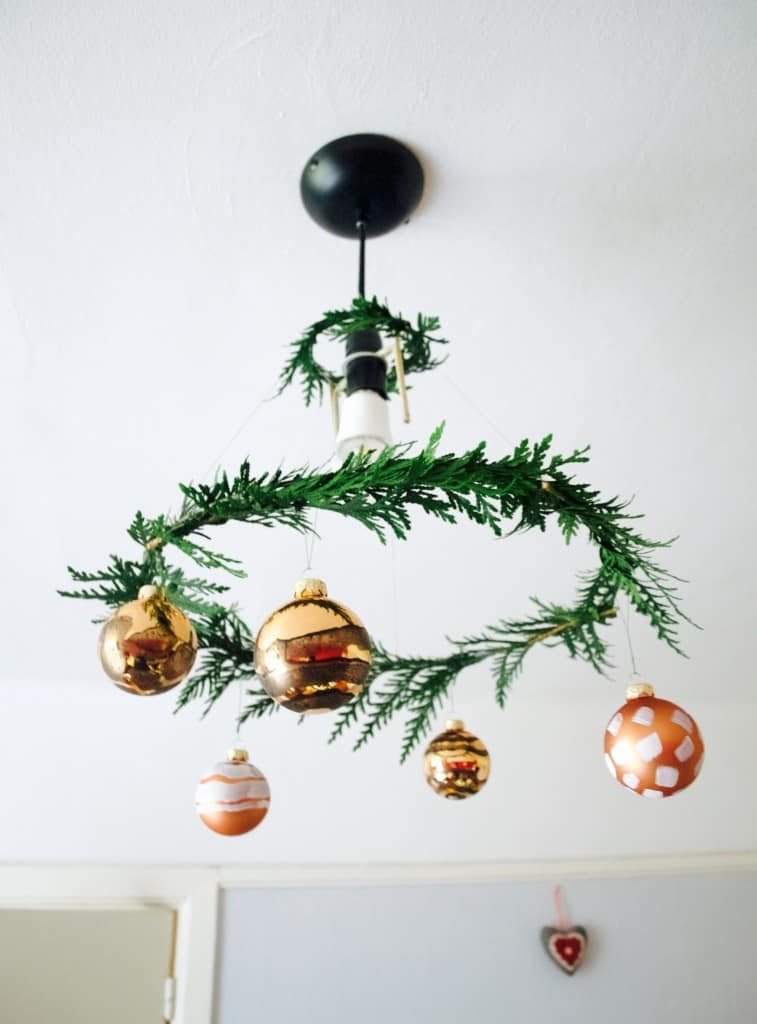
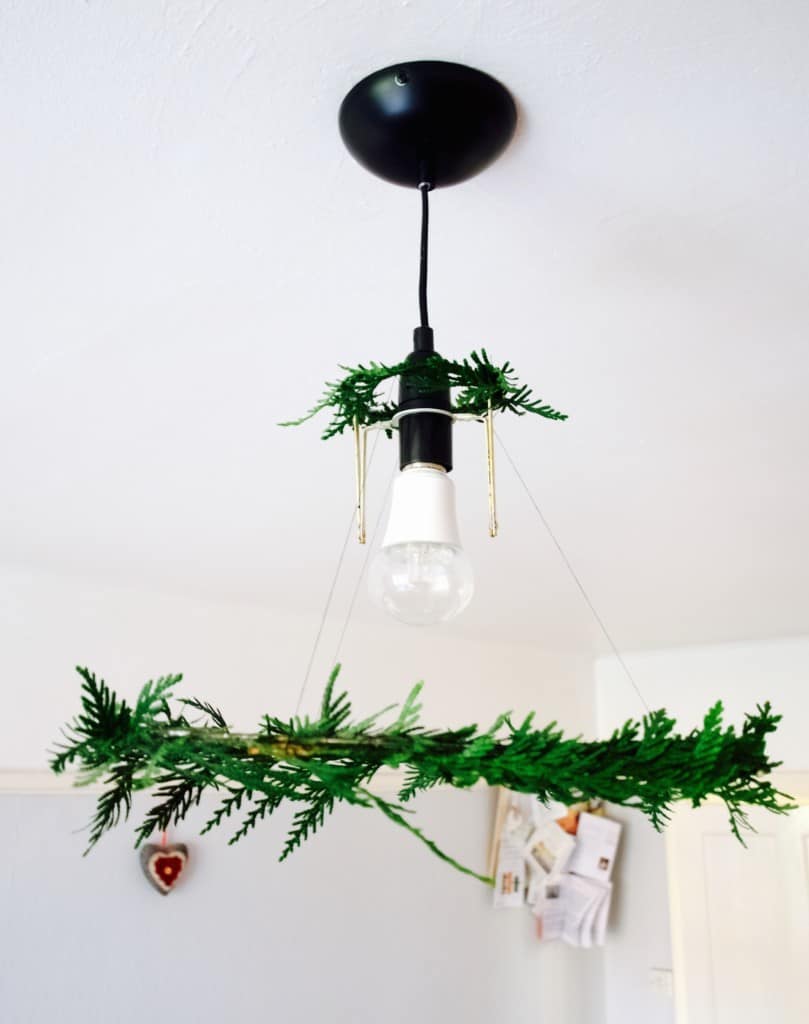
Christmas wreath chandelier DIY I don’t know how 2017 Christmas came round so quickly, but our house is still not there yet with all the DIY’s. Although I am glad with current progress on our new kitchen that might be functional this year (yey!), when it comes to Christmas decoration I realised we are still not ready for an actual Christmas tree. For starters, children would rip it apart in few seconds. So not worth the stress…

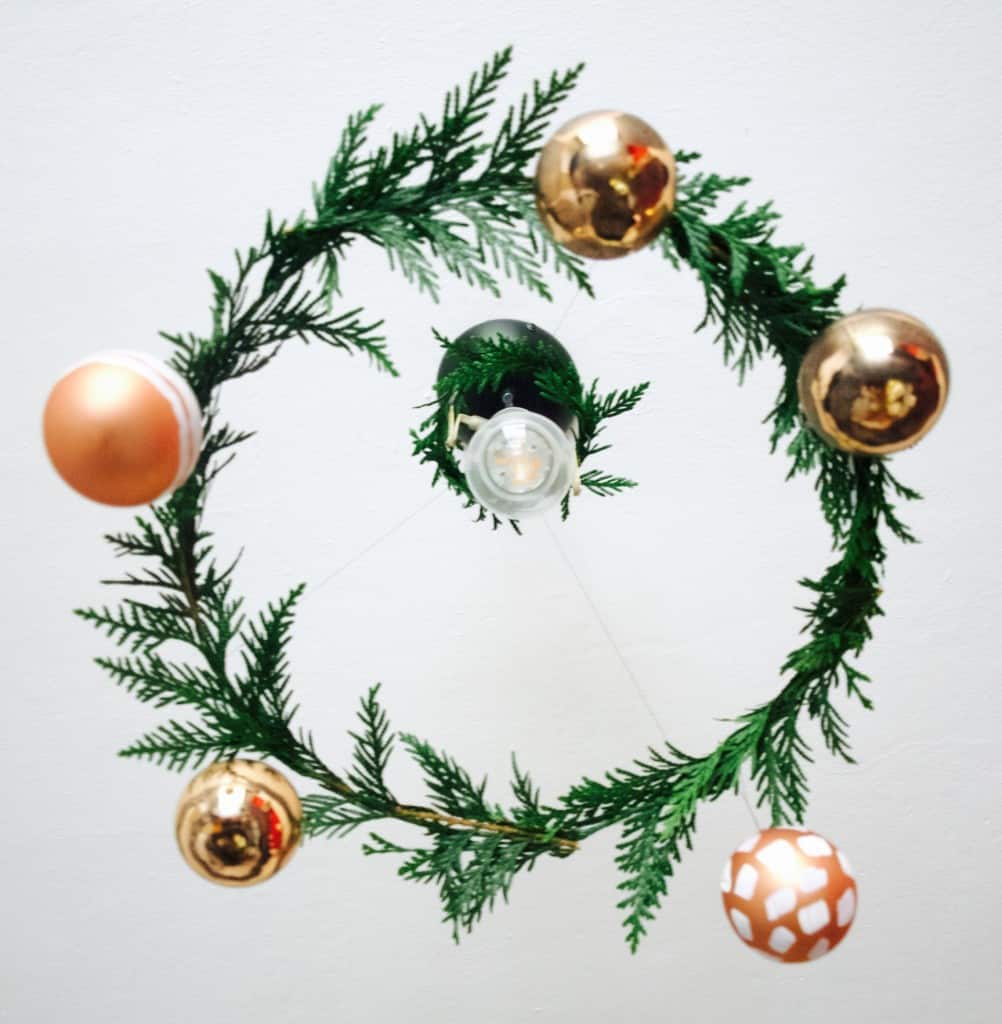
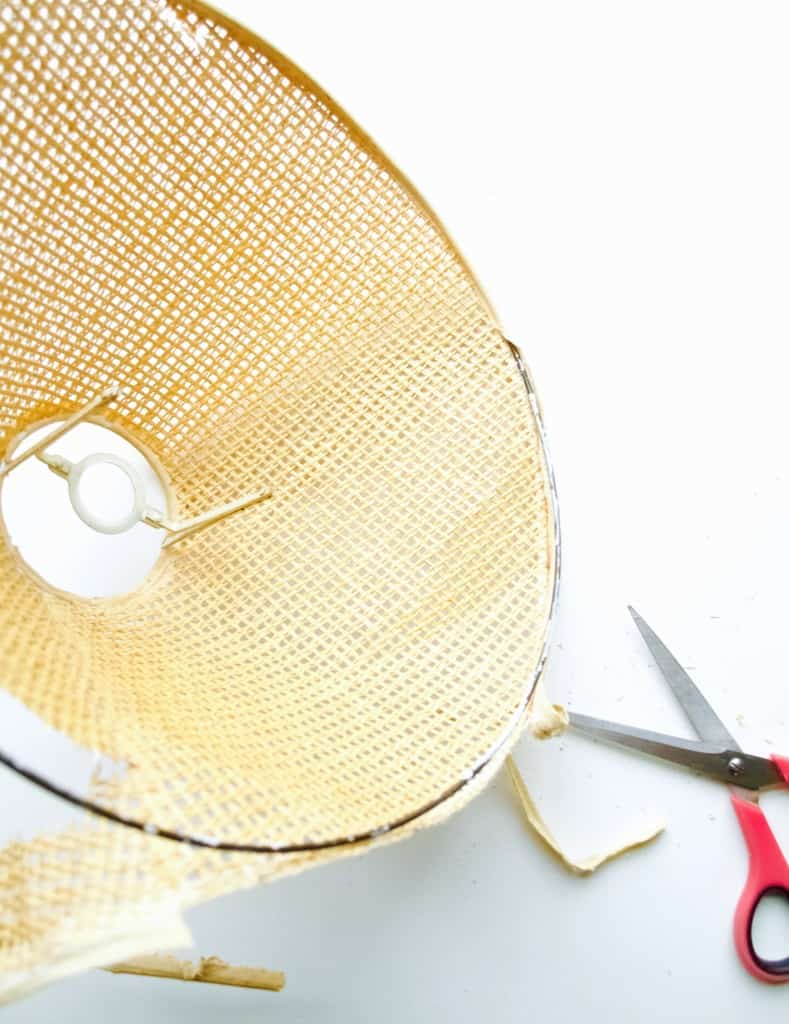
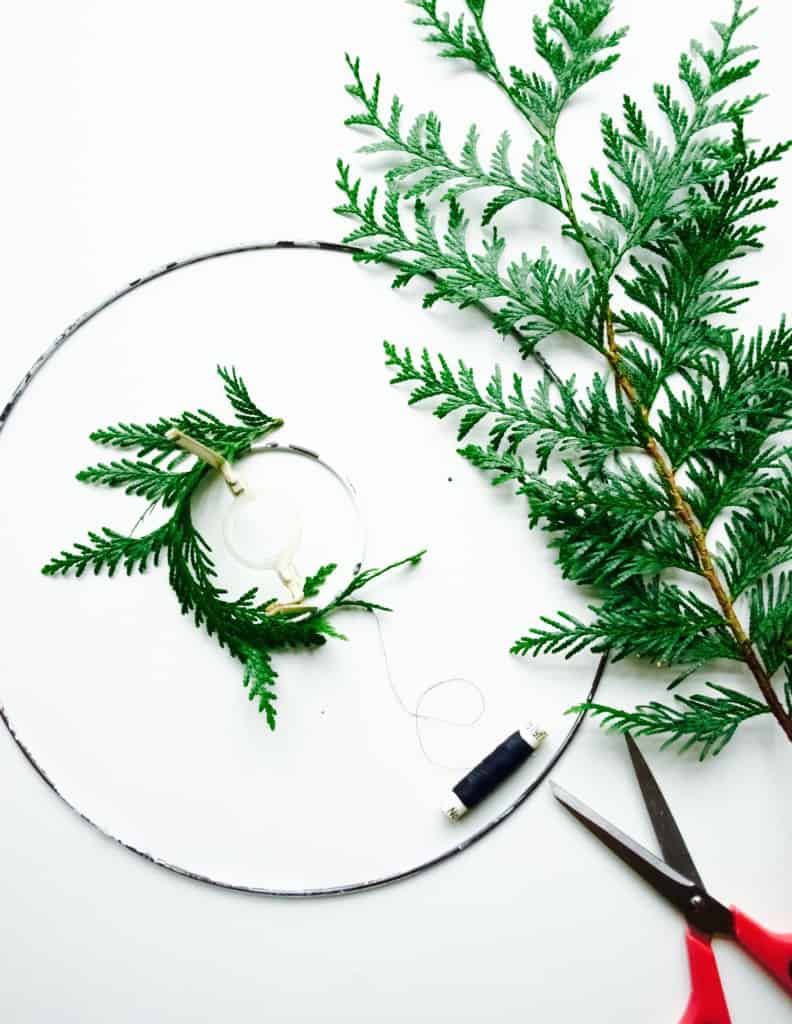
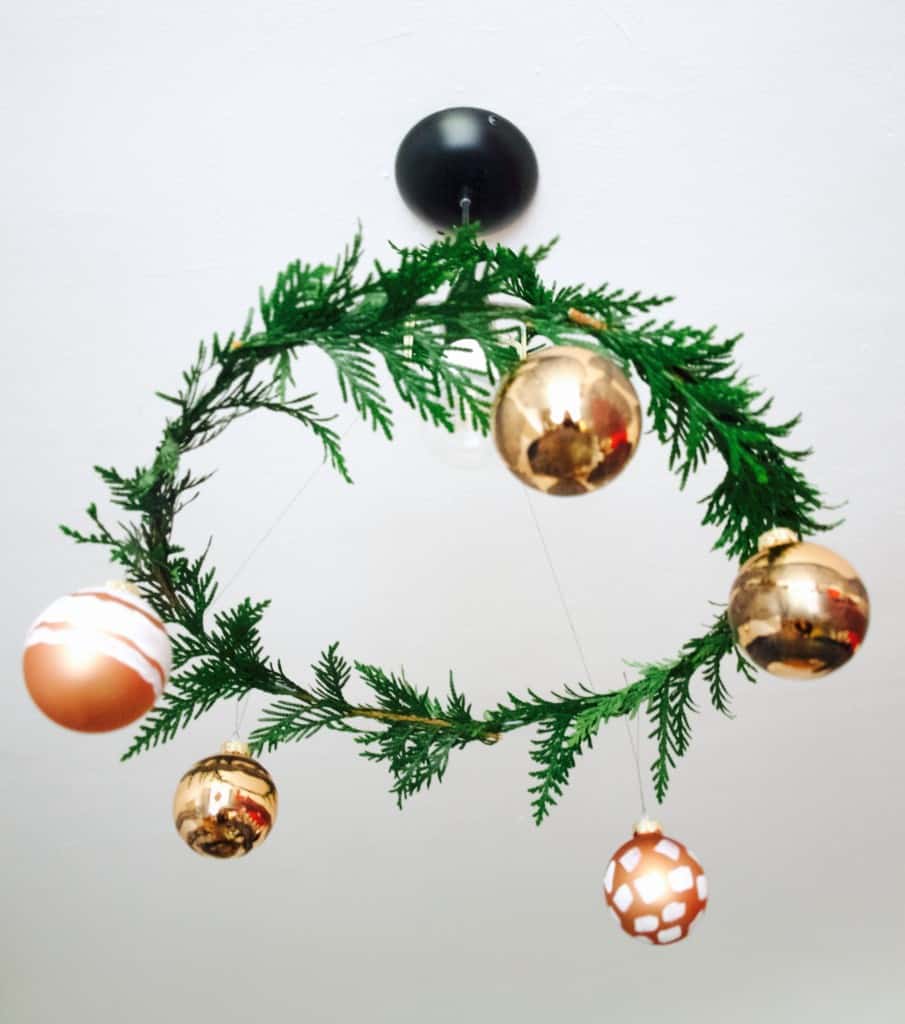
Unless I can hang it? And this is how Christmas chandelier idea came around :-).Make your own Christmas wreath chandelier To begin with I made the wreath. For this you will need some sort of hoop. I ripped our old lamp shade apart to get the hoop that turned out to be a bit rusted (never mind), but maybe you can use embroidery hoop instead (the inner part)?? Anyways, this is why I categorised this project as upcycled ;-).Make your own Christmas wreath chandelier Because I ripped our old lampshade I also got an attachment to connect the hoop to the lamp. I covered both (the attachment and the hoop) with some greenery (mostly parts of the tree in my friends garden). Make your own Christmas wreath chandelierI used three treads to connect the attachment with the hoop. Hope it’s visible in the picture bellow.Make your own Christmas wreath chandelier As for Christmas “tree” deco I chose baubles that I decided to customise myself. I thought to paint with the acrylic that I already have… very risky I know! But I have to be frugal sometimes. Turned out to be ok actually, not sure how long it would last. The black acrylic pain was a bit watery and run in places a bit, but created a nice sort of vintage look. Make your own Christmas wreath chandelierAfter hanging all there baubles on the wreath, there were few leftover. I mounted them above our mantelpiece so everything looks Christmas ready. If only we stayed at home for all the celebrations.Make your own Christmas wreath chandelierHope you feel inspired and ready ahead with Christmas decorating.

Rasa xoxo
0

How we fitted a light fitting (+upcycled an old glass lamp shade)

New lamp fitting As you may all know that we are working our bedroom to be while sleeping in our future office/craft room/guest room. Can’t wait till we move into our actual bedroom!

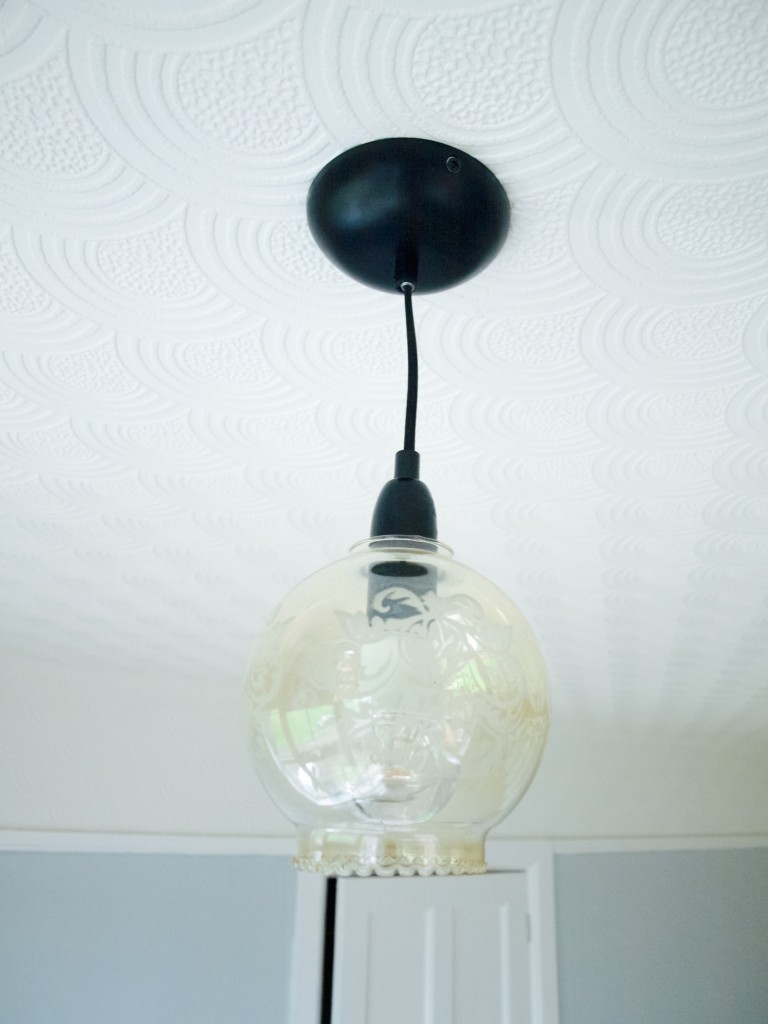
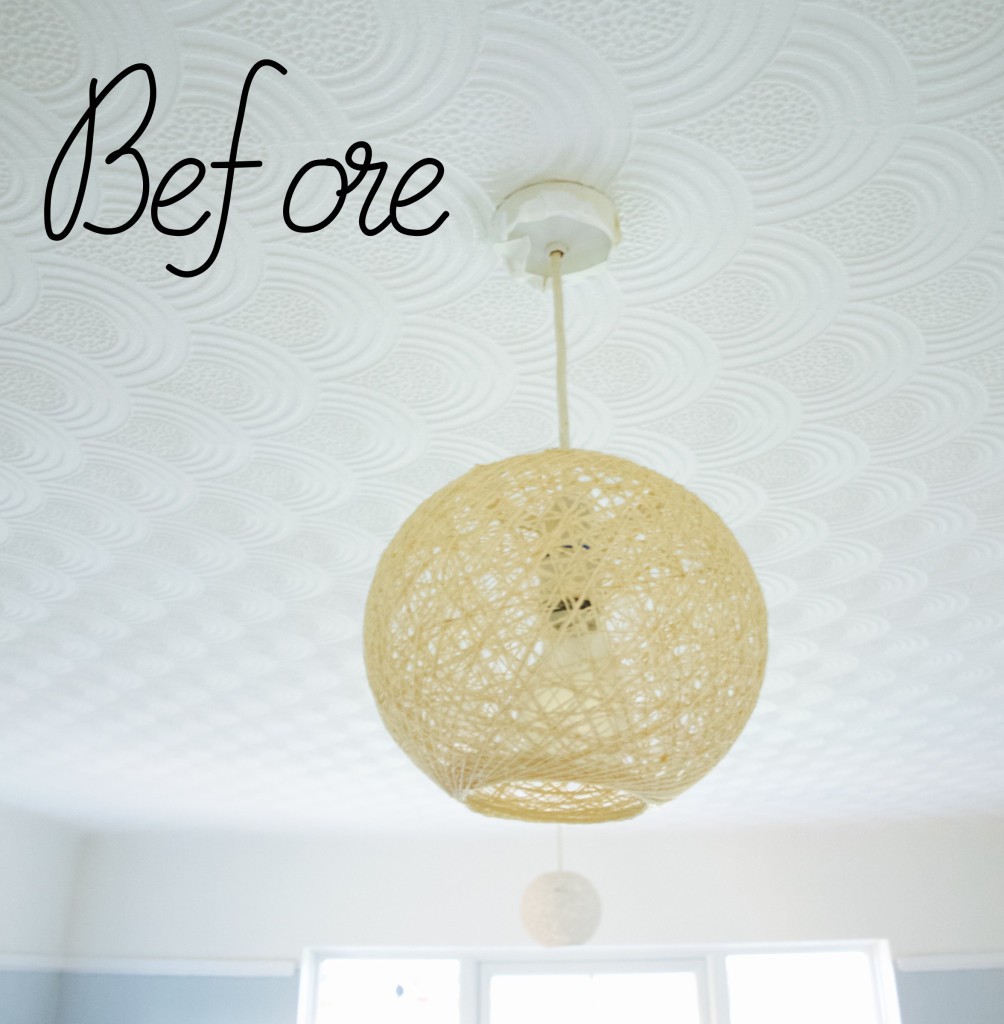
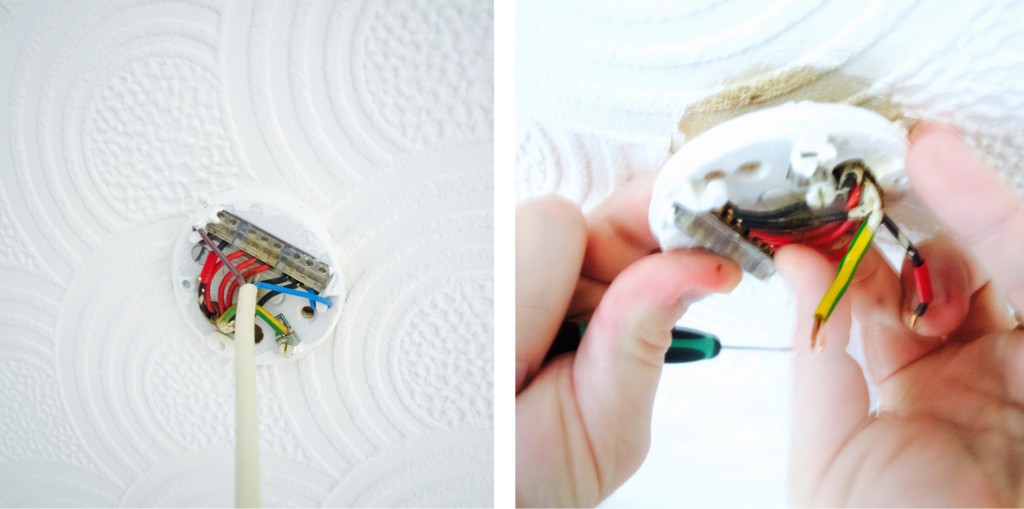
Today I would like to share about our lamp fittings that we installed recently. they only costed us few pennies (under £10 to be specific)! Yey! Thats because we reused some lampshades that we had in the corridor (I love to be able to use whats already in the house!). All I needed to do is buy the basic lamp fitting ;-). The lamp fitting beforeNeither of us are electricians so this is not a step by step guide how to wire the light fitting. Every house can have a different wiring so it would be pretty difficult to cover all here anyways. I fitted light fitting before which was pretty basic as it was a very similar one to the one I had to replace. I remember just removing old fitting wires and replacing with the new fitting wires in exact same way as it was. I guess I was lucky that time as that light fitting was not connected to any other light fitting in the house.

Before you begin it is very important!!

  • to switch off the lights and the electricity on the distribution board (that box with the switches).
  • start working (touching the wires) with the right hand, not both!

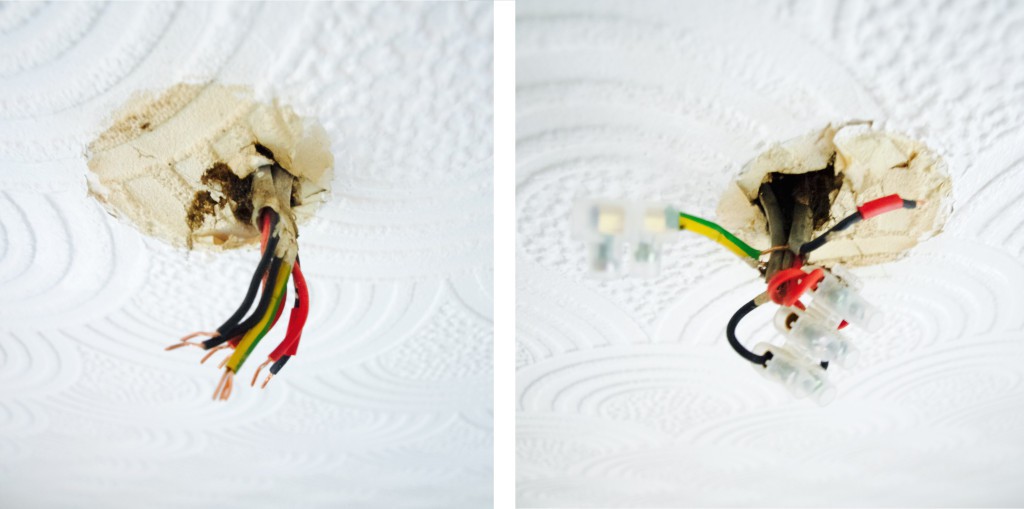
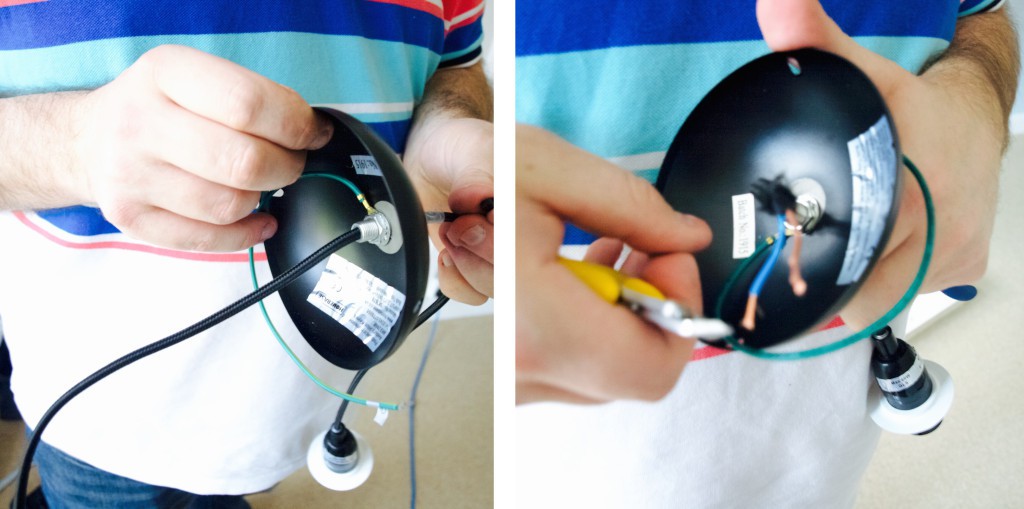
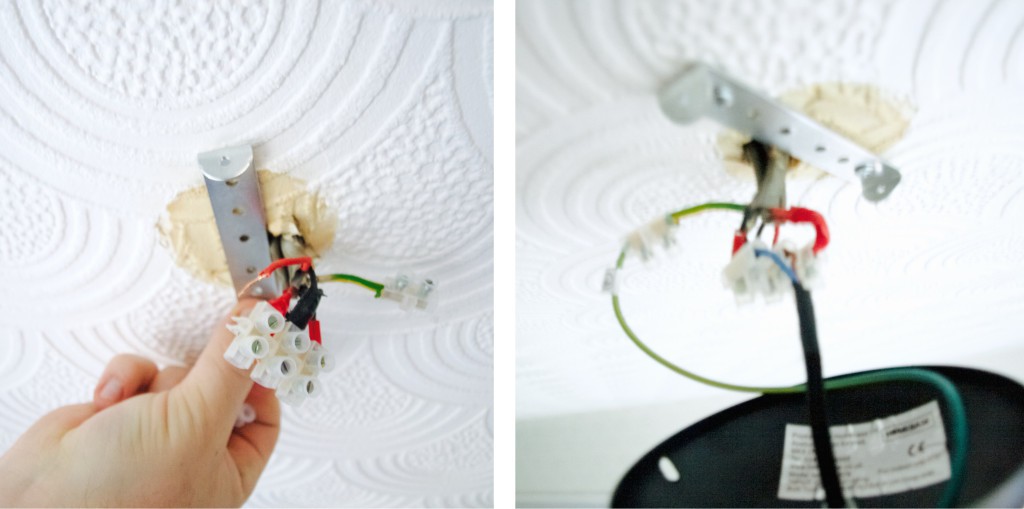
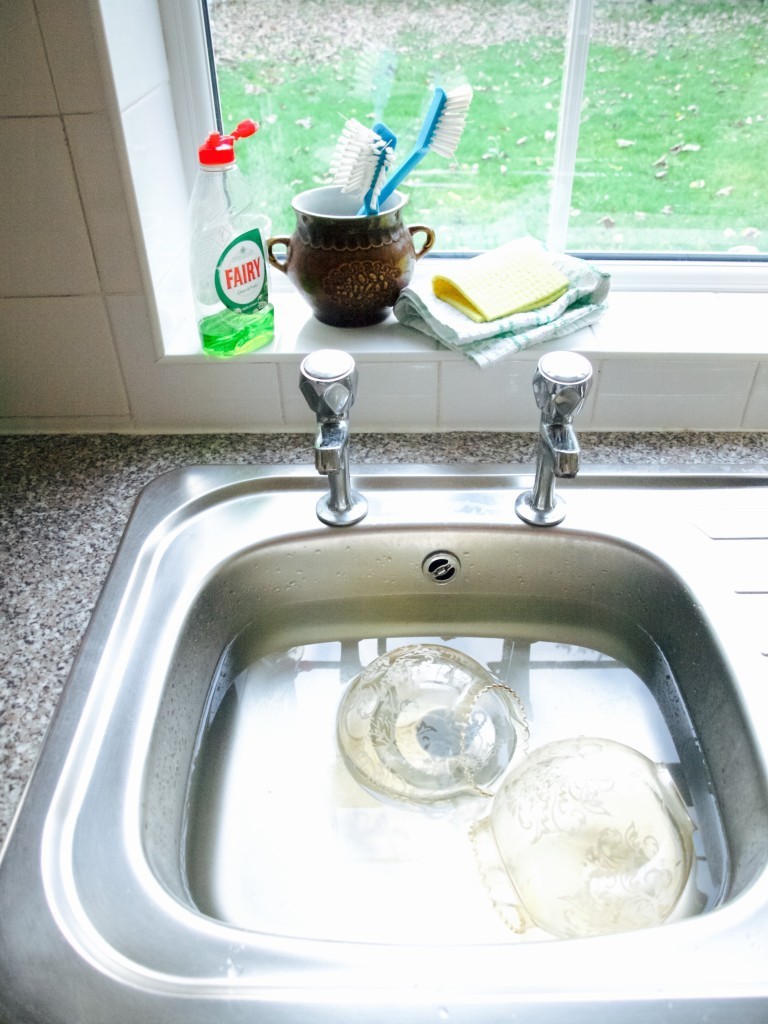
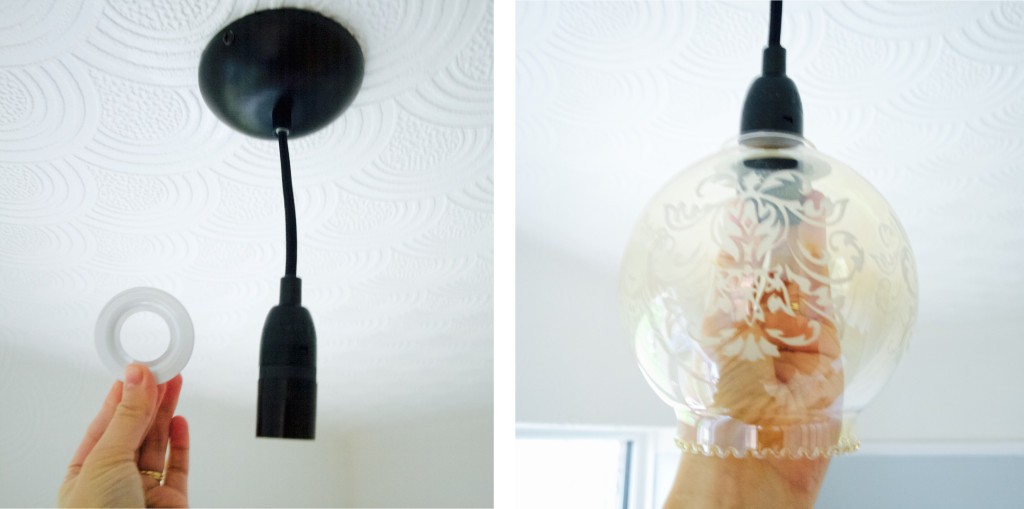
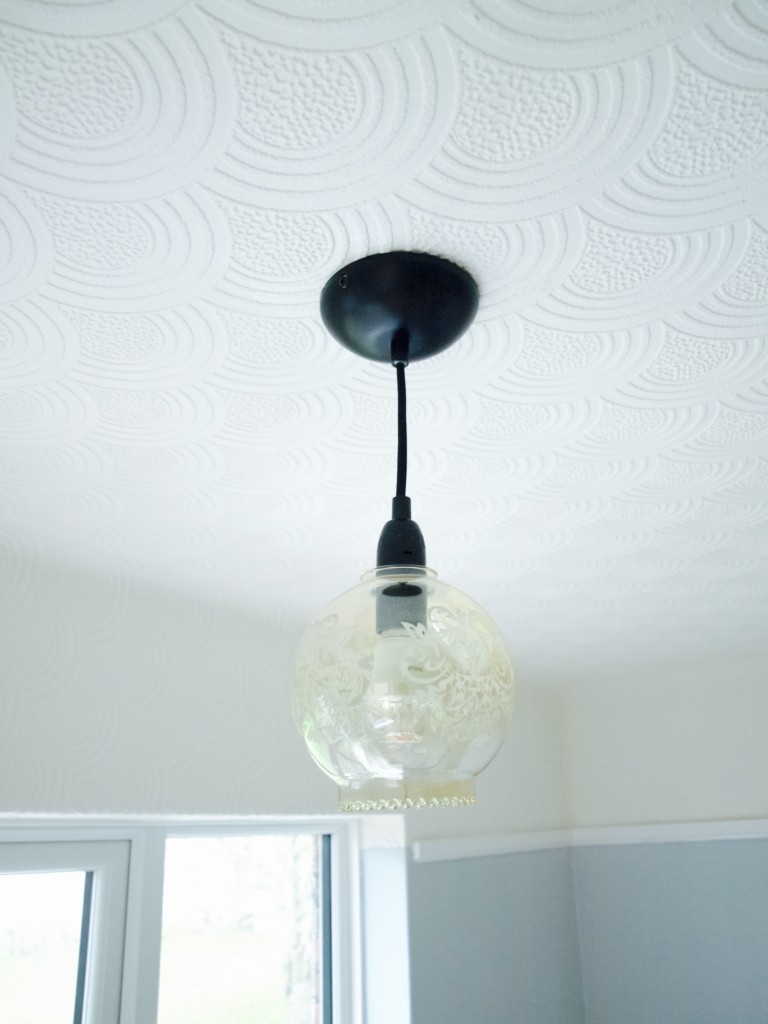
So to replace the light fitting in our new house we had to follow very a similar routine (even though the wiring is completely different and very very old). First we removed the cover and bit by bit unscrew the little screws on the connector that were holding all the wires. Eventually the light fitting base got freed! Removing light fittingThen we connected the ceiling wires back to the new connector. Joni used this guide in order to connect old type of wires with new.Connecting wires with the connectorWhen the wires on the ceiling were ready, we had to prepare the light fitting we bought for the fitting. Unfortunately it was a very long fitting perfect for high ceilings or landings, but not so good for our bedroom. Luckily Joni was able to adjust the length of it! He pulled the wire cord inwards, then cut it to required length and stripped the insulation leaving two wires open (neutral and live).Adjusting lamp fitting lenghtWe then attached the light fitting bracket onto the ceiling that suppose to hold the fitting itself (don’t worry, this comes with the fitting you buy). After fitting wires have been connected to the connector on the ceiling we closed it off by attaching the light fitting itself onto the bracket.Fitting in the lamp fittingFinally we are ready to hang the lampshade on the light fitting. Our lampshade was a glass ones so to restore it all we needed to do is to clean it! I dipped the lampshades into the soapy water, wiped it with the soft sponge and carefully dried it with the clean tea towel.To hang the lampshade I used shade reducer. I unscrew the light fitting skirt, inserted the lampshade then the reducer and finally put the skirt back on. Attaching lamshade onto the light fitting with adaptor:reducerHow we installed new light fittingHow we installed new light fittingI hope you found this useful!

Rasa xoxo
0

Never ending, upcycled crochet rug (made of socks!)

Upcycled crochet rug made of socks DIYHi there and here are my olds socks! You are probably wondering why I am showing my colourful collection of socks that I no longer wear. Well… I kept them for very very long for the day like this when I finally go ahead and do the upcycling project that I had thought of ages ago. To be honest what really prompted me to do it is finding out that my friend is also on the same idea and well ahead of me ( I am quite competitive and everything tend to be a race for me even if the other person have no idea that I am racing with them), I went ahead and did it.

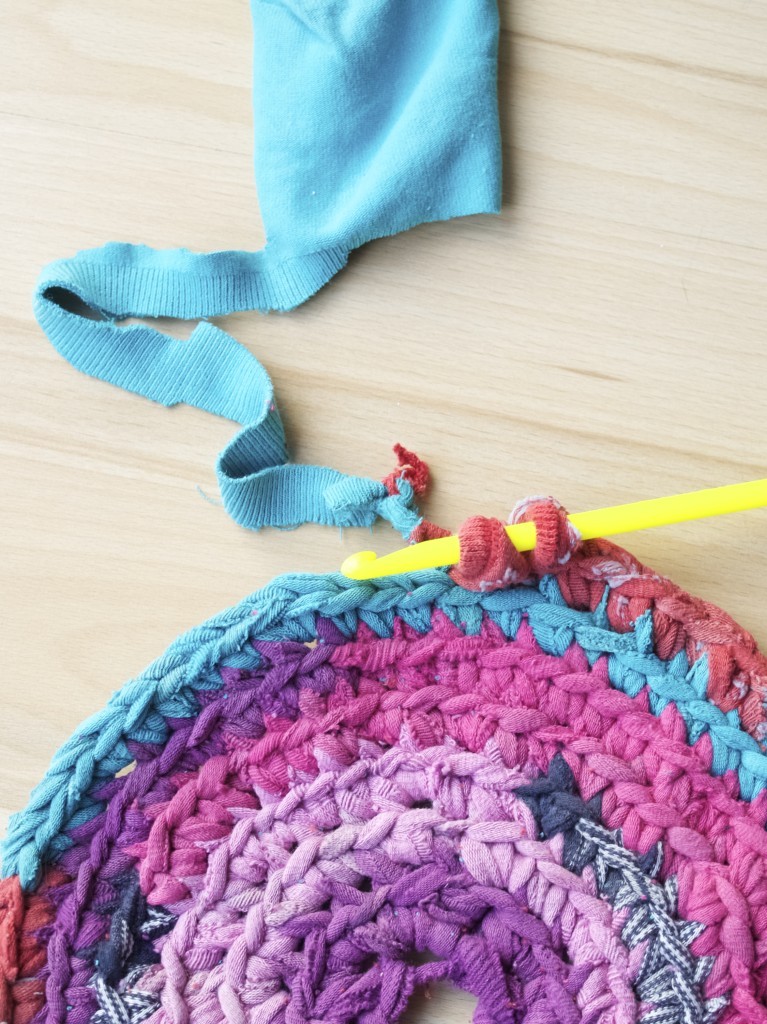
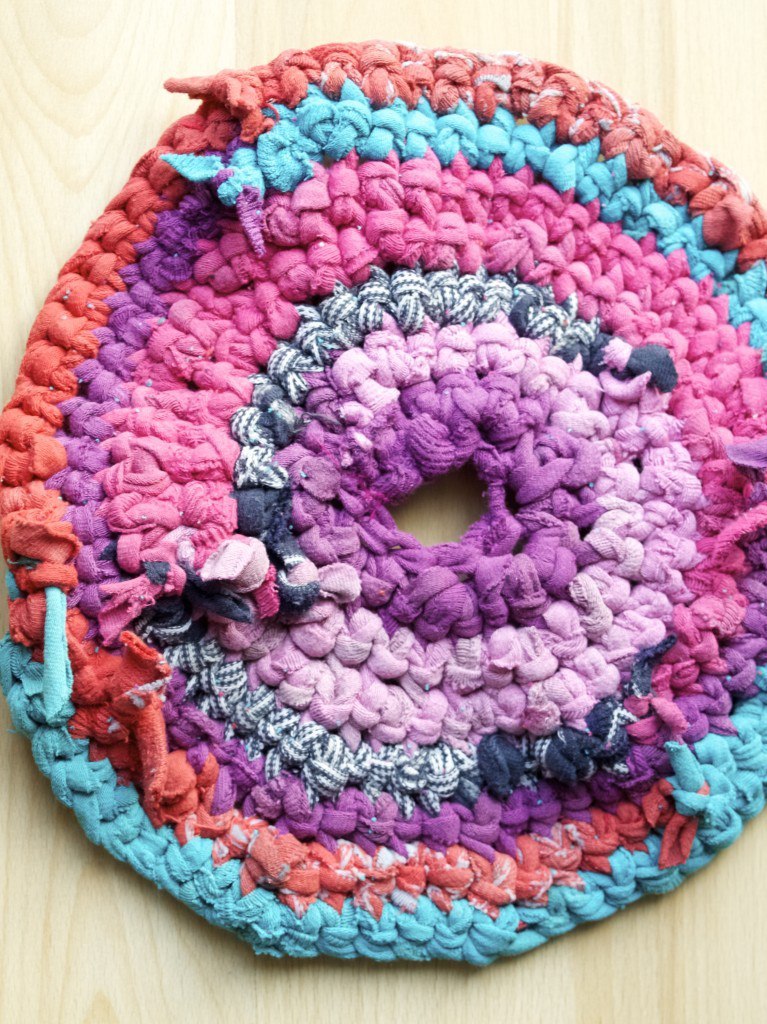
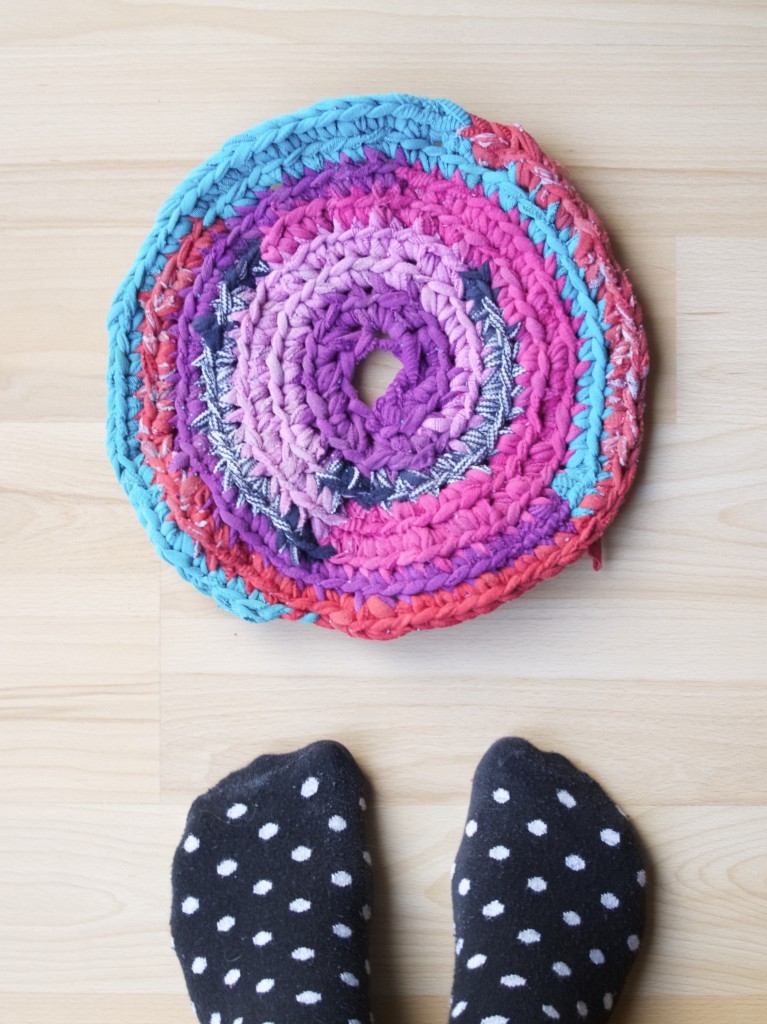
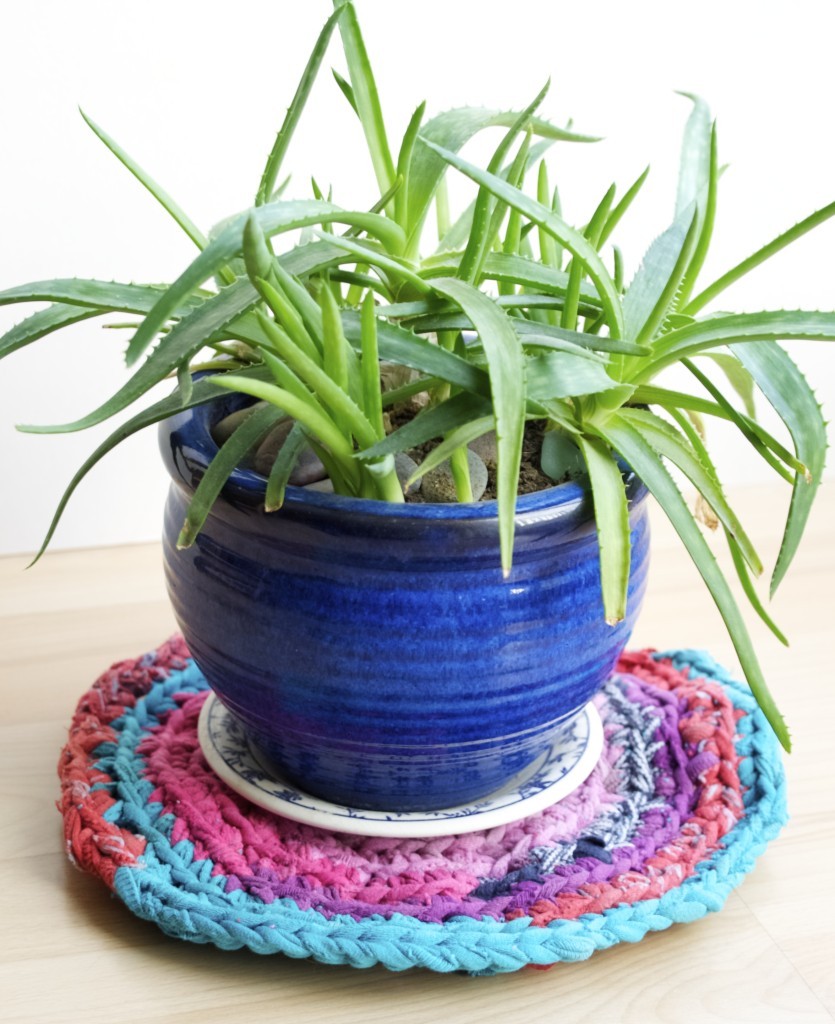
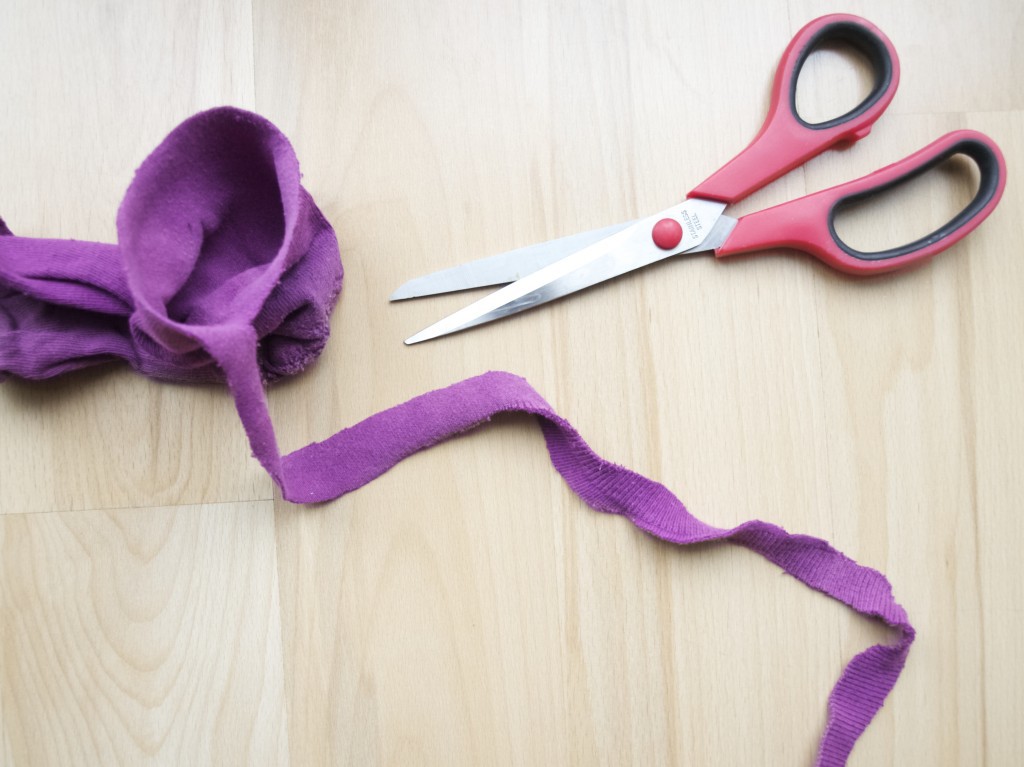
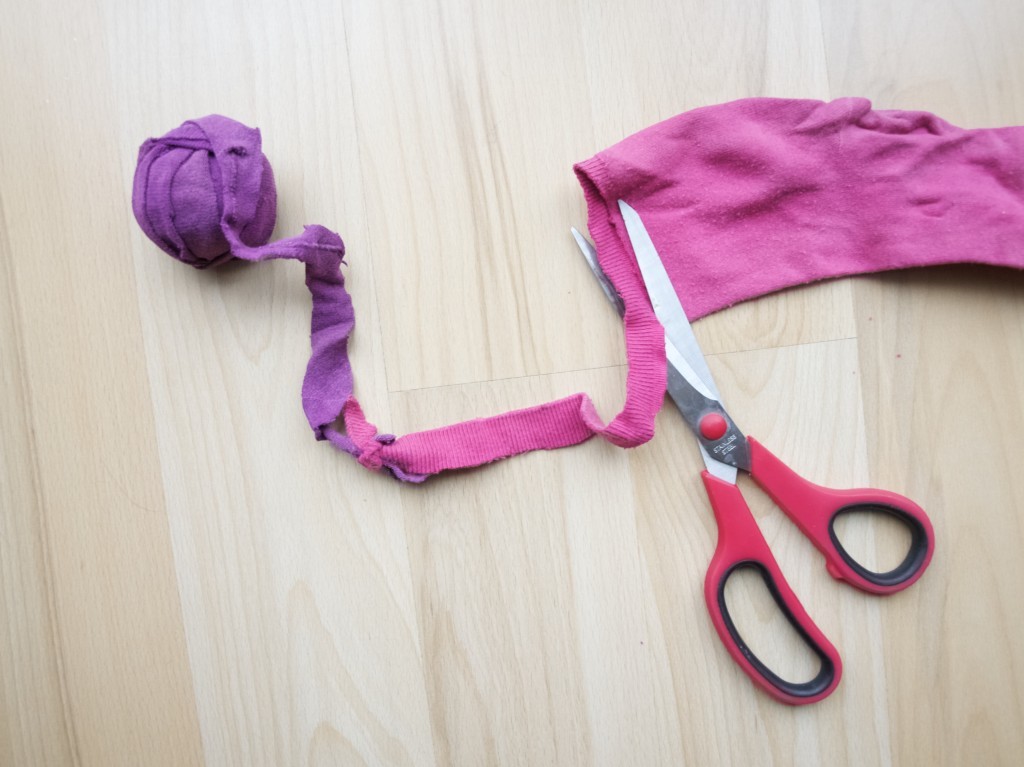
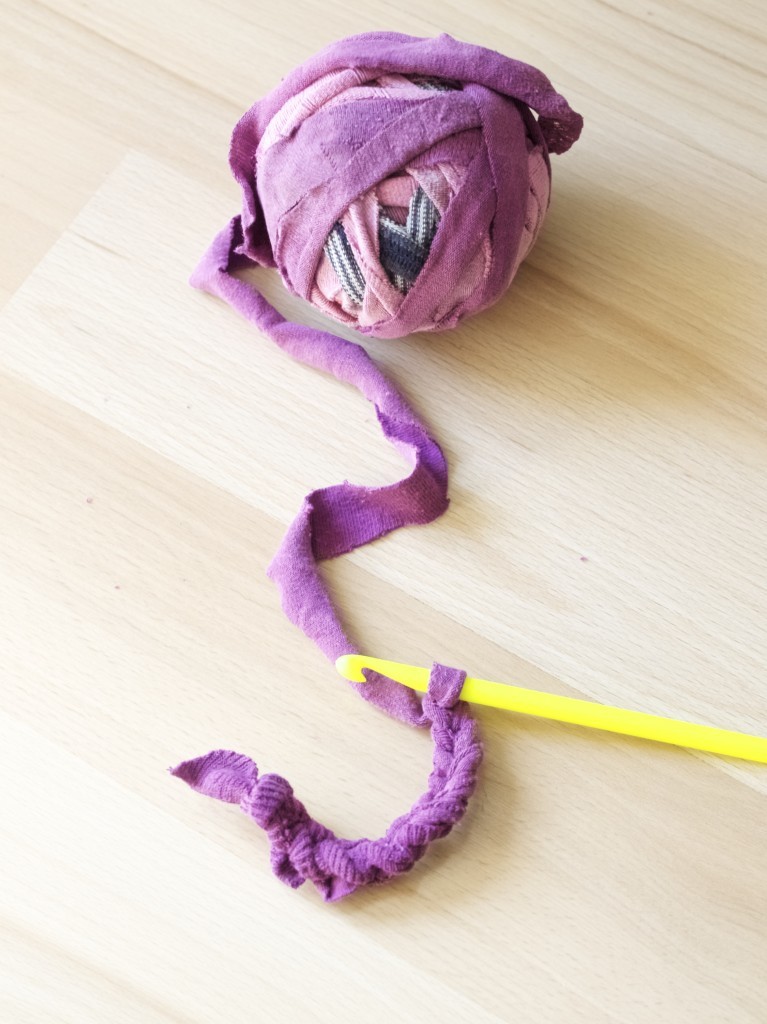
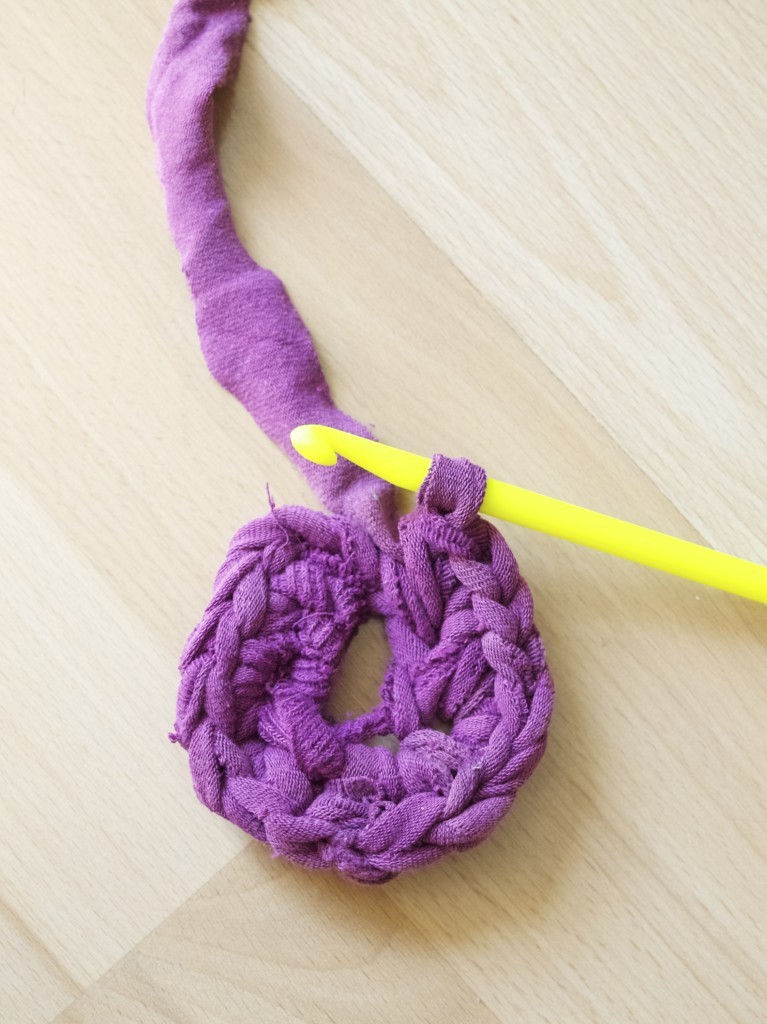
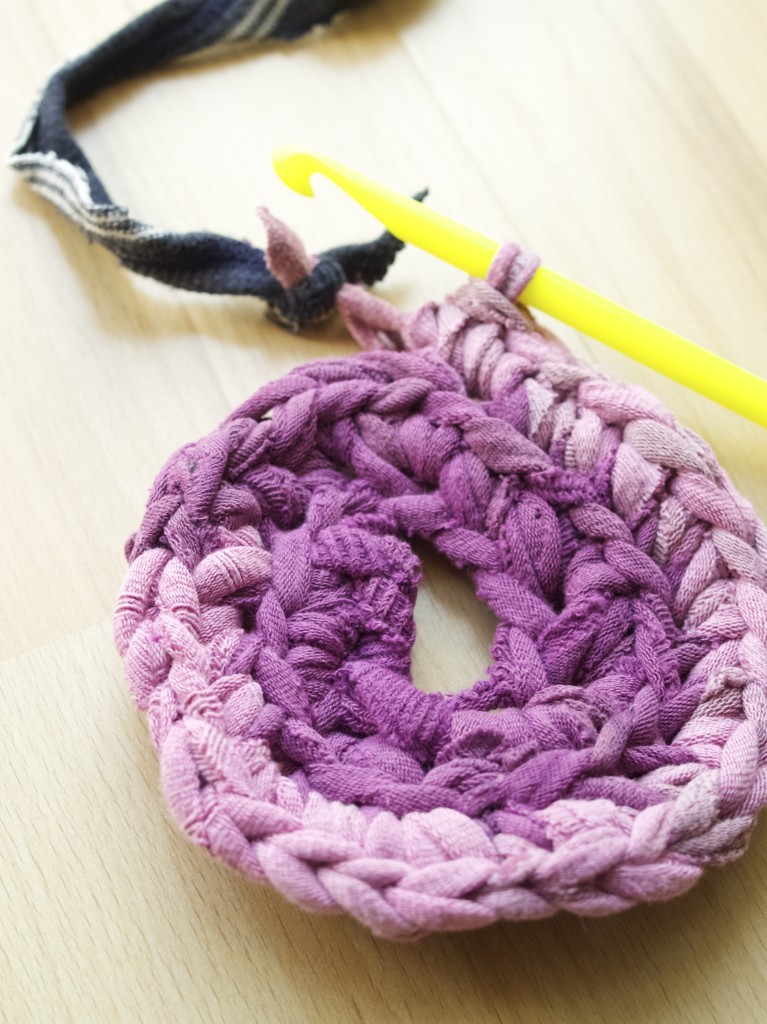
So today I will share how it all went. I essentially made a mini rug (still in process to get bigger and bigger) out of socks that are too worn to wear but too pretty to throw away. Upcycled crochet rug made of socks DIYTo make the ‘yarn’ I have cut the sock in spiral direction,Upcycled crochet rug made of socks DIYthen joined it with other socks by tying the knot.Upcycled crochet rug made of socks DIYI ended up with a ‘yarn’ ball that was big enough to start crochet. I started with the chain stitch!Upcycled crochet rug made of socks DIYThen formed a circle. For the tutorial video click here!Upcycled crochet rug made of socks DIY Upcycled crochet rug made of socks DIYWhen the ‘yarn’ ball is finished you can always attach another sock to it. It can be never ending, always expanding circle rug!Upcycled crochet rug made of socks DIYHide all the knots on the wrong side (that side that faces the floor, which is not visible).Upcycled crochet rug made of socks DIYMy rug is tiny at this moment, but don’t you worry it will soon expand when I add all Joni’s old socks in it :-D.Upcycled crochet rug made of socks DIY Upcycled crochet rug made of socks DIYI hope you found this inspiring!

Rasa xoxo
0

How to organise your knitting/crochet stuff (in little spaces)

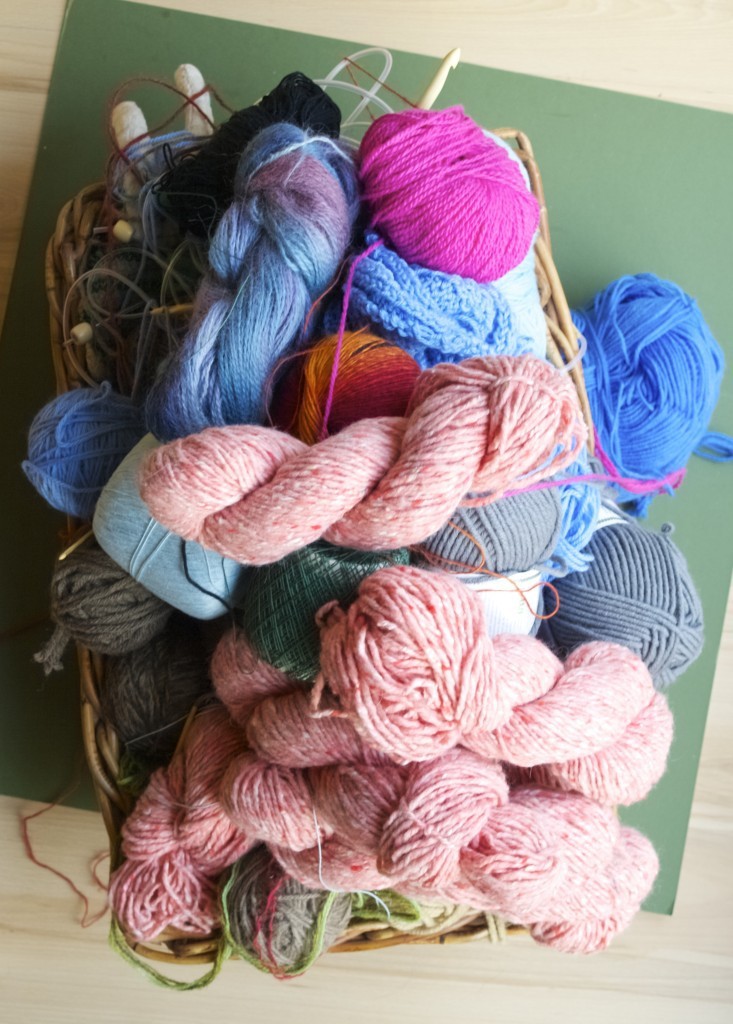
How to organise knitting/crochet stuffIn the beginning of this year someone have asked me “How to keep all your knitting gear organised, needles, thread etc etc etc?”. Ha ha, you got me there! The pic above is exactly how my yarn looked like yesterday before I tidied it up for this post. Although I am proud to say that my needles and crochet hooks are organised nicely (at least current method is working for me for now). 

The thing is when you live in a small rented flat it is difficult to keep your yarn and needles organised. Like every crafter I dream about one day when I do have an actual craft room or a study at least! But for know small space is the reality and here are my few tips to keep organised in situations like this.

1. Make it as part of your deco! I don’t know about you, but I don’t like a minimal looking home that looks clinically pristine (unless this represents your personality). So if you are someone who knits/crochets why hide it? Yarn and needles can compliment your home!

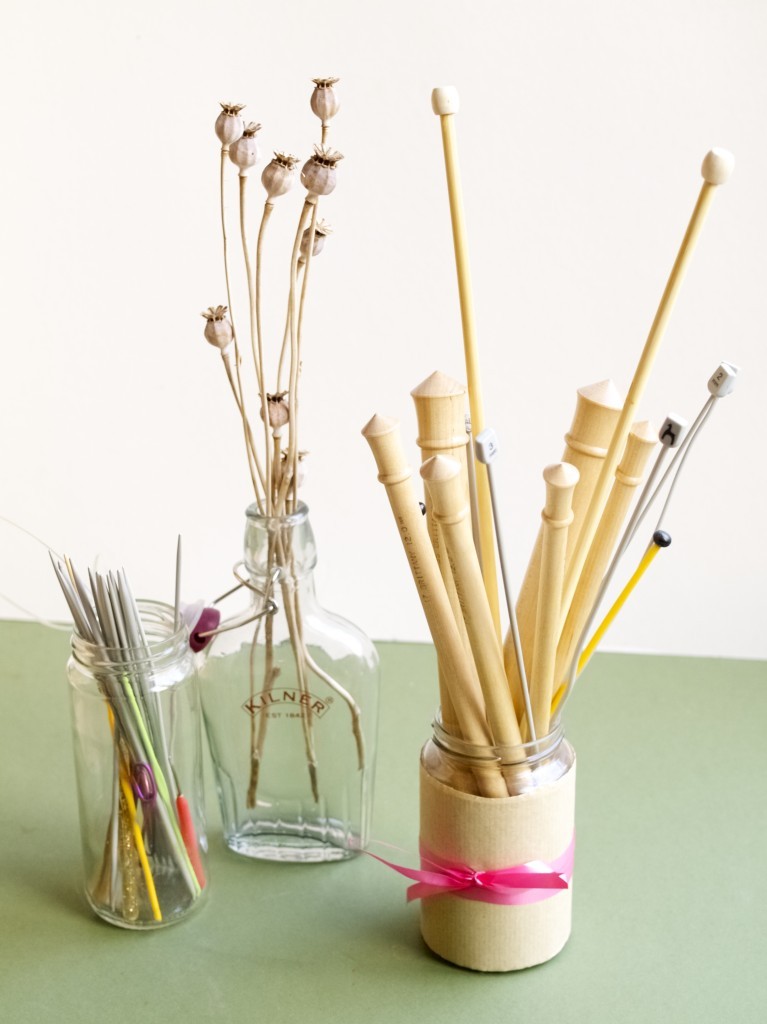
I store my needles and crochet hooks in upcycled jars that are placed on the shelves. These go well with other jars stuffed with dried branches and other pretty stuff I find outdoors. If you have a large selection of needles and stuff then you can split them into jars according to their types and sizes and label them. I don’t have a large selection of needles so I sometimes just wrap my jars with wrapping paper and some ribbon. But when I do have lots and lots of needles then probably I am going to crochet around those jars and label them like this! I have seen some people storing their needles in rolls or pouches. I guess if you are constantly crafting on the move then this is great. But for me that would not work. I like to take only one project at the time when traveling so I only need one size needle/hook and some yarn that I just stuff in my handbag.

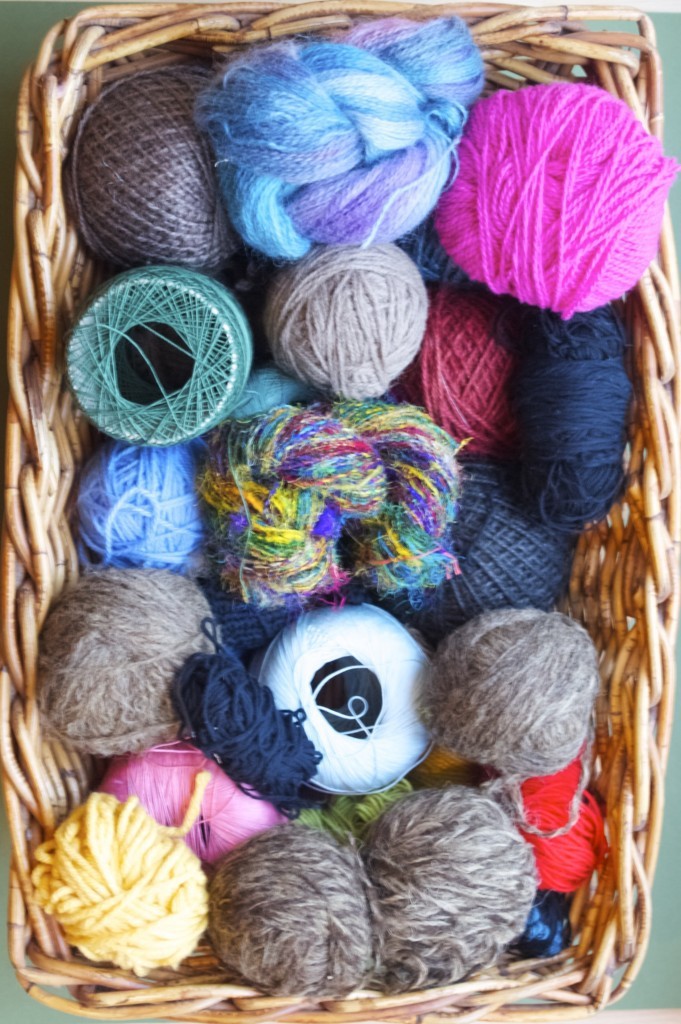
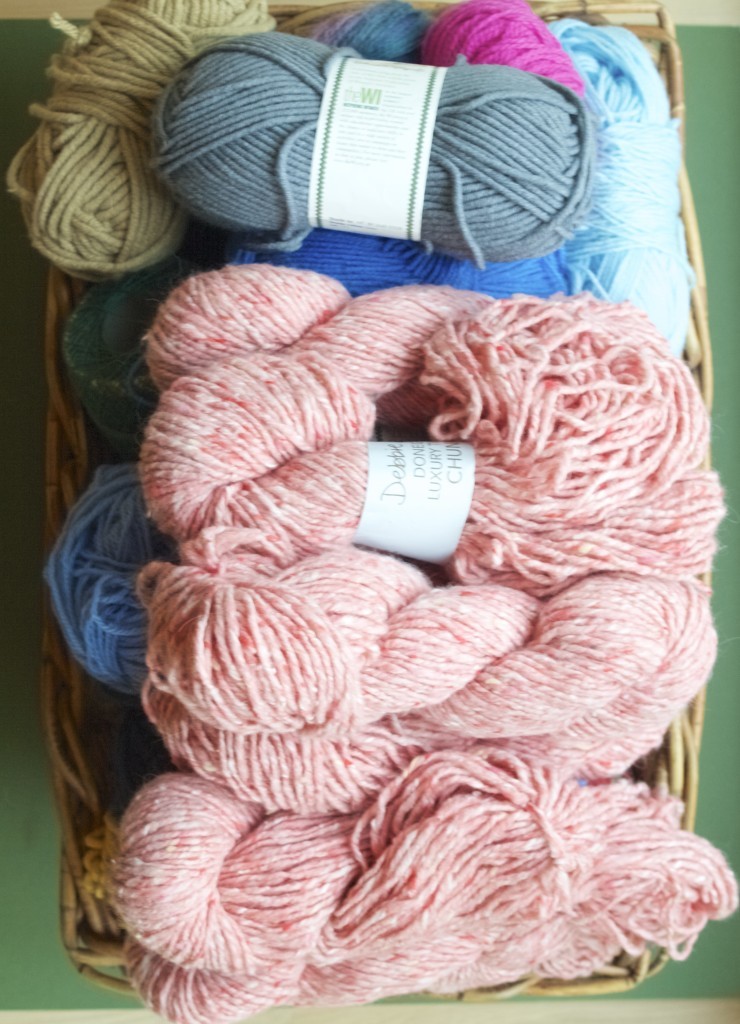
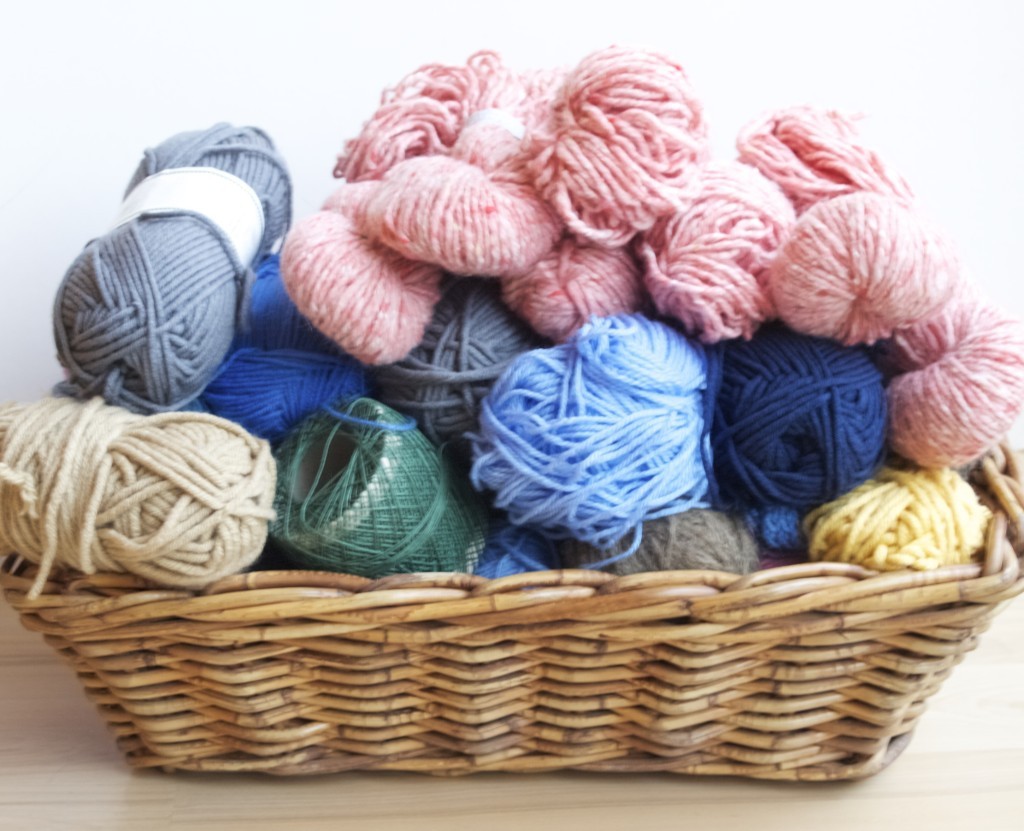
When it comes to yarn I keep it low (see the next tip). I only have one big basket that also sits there in the open (ok, not so open, because we have a very curious cat in the house). Because colourful yarn looks sooo pretty! I have a dream one day when I do actually open my dream cafe I will have a wall full of yarn! If you (unlike me) would like to keep your organised yarn stash in secret then here is a solution for you…You could sooo keep that in your secret closet!How to organise knitting/crochet stuff2. Keep it low, I mean your yarn stash! I never saw a point of keeping a large amount of yarn in the house. If I buy a yarn, I always try to think of what I am going to make with it. And even if I think of what to make I try to consider to giving unused yarn a chance!  3. Prioritise your yarn stash. Go through once in the while (it took me 15ming to reorganise my basket yesterday). See which yarns you are going to use one day (usually itsy-bitsy stuff) and separate that from the yarn you are working with now. Place those unused yarn balls at the bottom while leaving the “current” wool on top! 4. Keep records of your yarn stash! This is if you have lots of yarn and keeping them in many separate baskets, crates or boxes. In this case I would try recoding in a notebook or folder with little samples of yarn. I would record their name, colour, size, location (where it is stored) and how much of it you have left. If you prefer a more virtual organising system then you should definitely have a go with Ravelry! I did sign up but never used. But I heard good rumours that it lets you to take pics of your yarn and record it in same way as you would with the folder I mentioned here. I hope this has been useful!

Rasa xoxo
 

2

Renew your clothes: Insert lace into the neckline

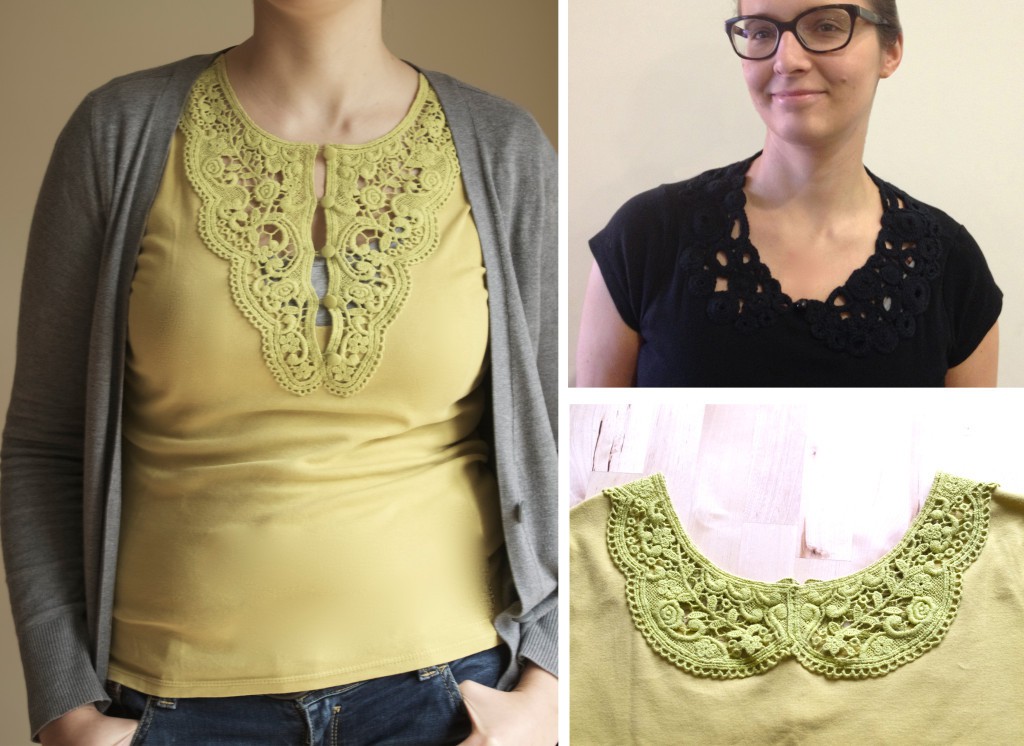
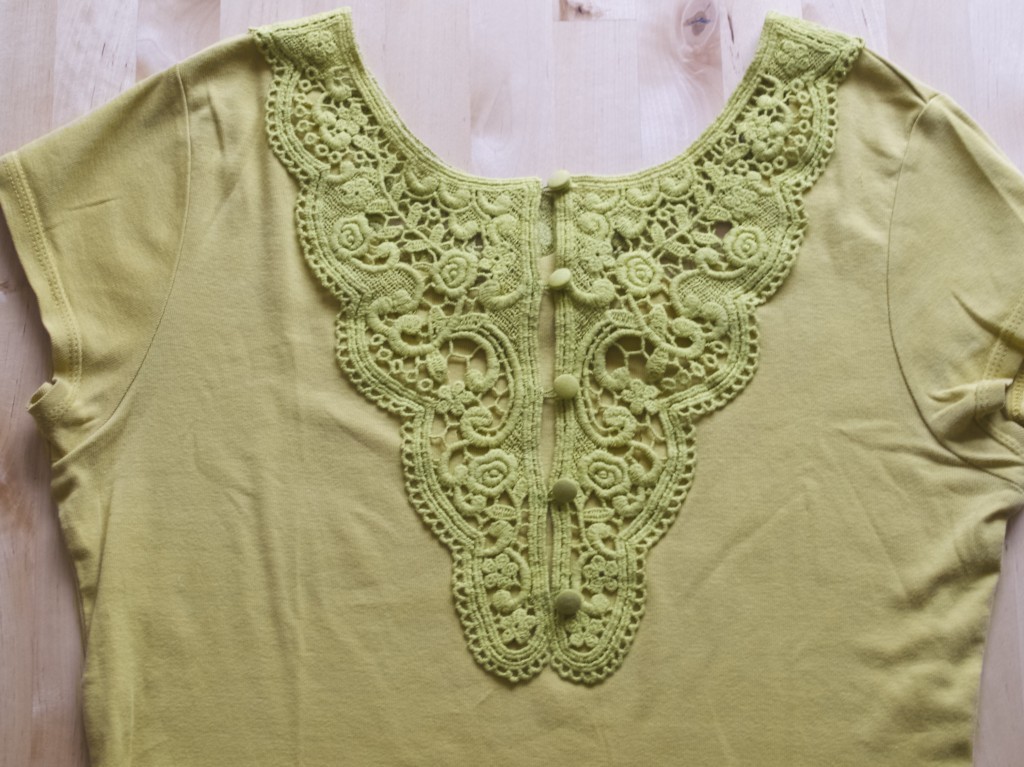
simple lace neckline inserts DIYMy challenge this month is to organise my wardrobe. It is too full and there are plenty of things I no longer wear. So my first step was to see if I could alter some of the garments to something I like. This week I picked some plain tops and matched them with lace inserts. I made a black crochet collar last year, but I never found anything to wear it with, so I thought I would use it as an insert for the top. I salvaged the lime lace insert from an old blouse which had ripped so many times that I could no longer repair it. At that time I thought I would at least save the lace as I planned to use it somewhere else (that was three years ago). So I finally did use it, and I am loving my new top!

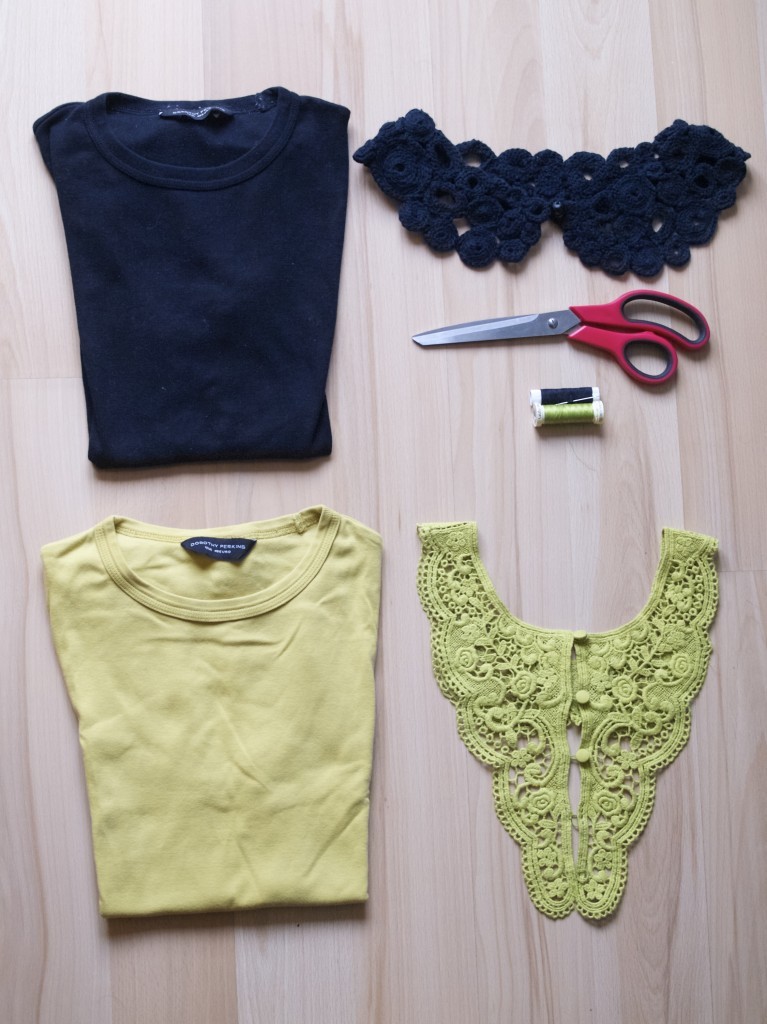
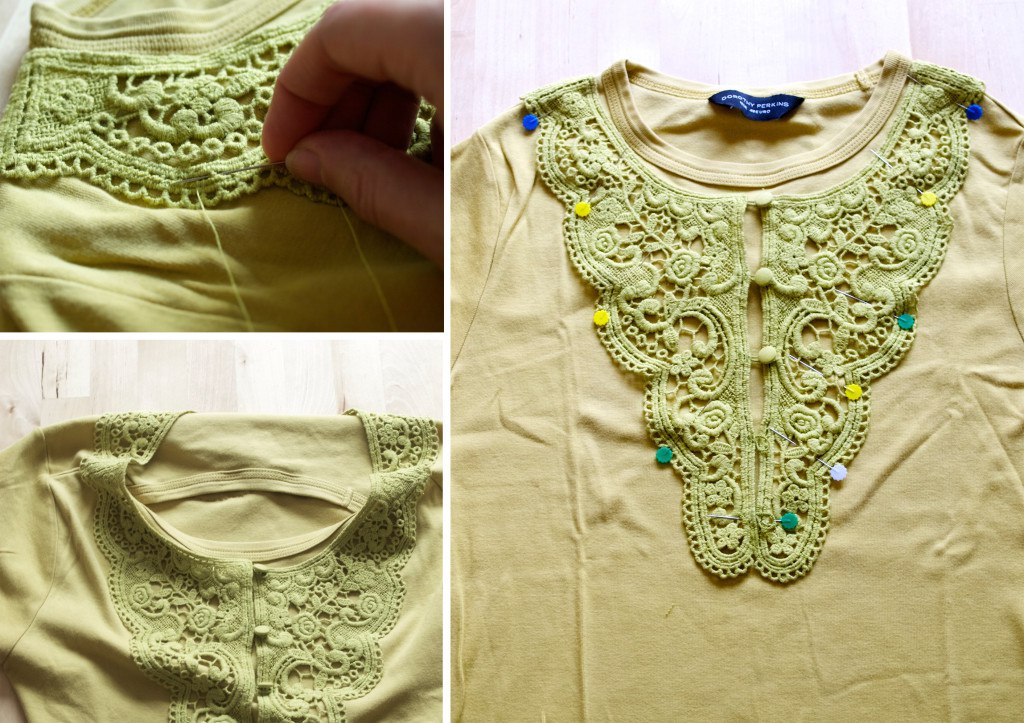
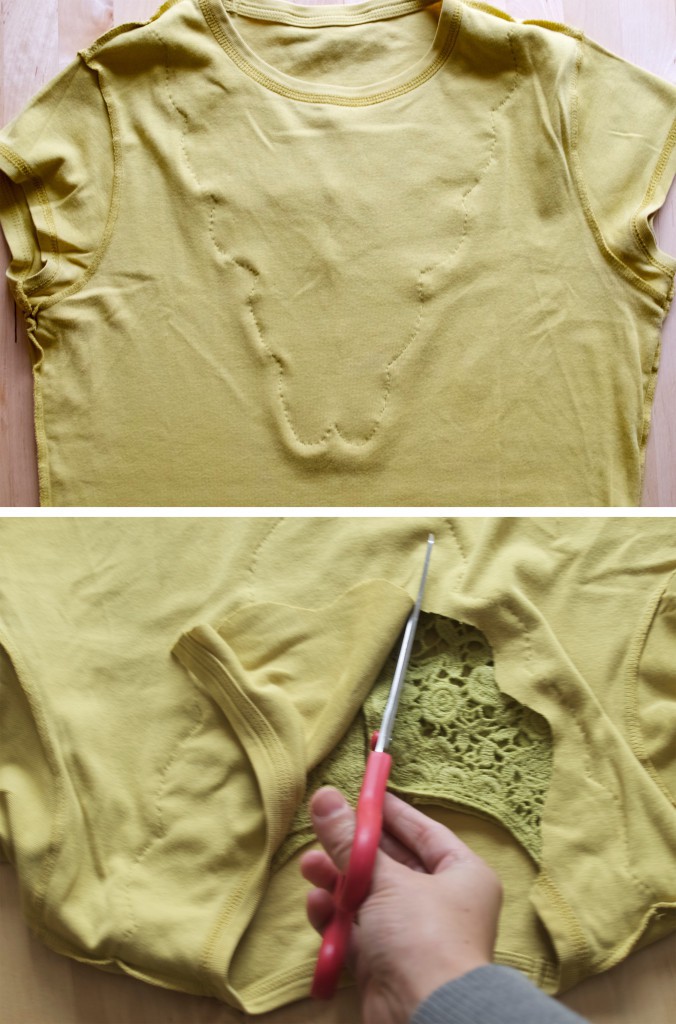
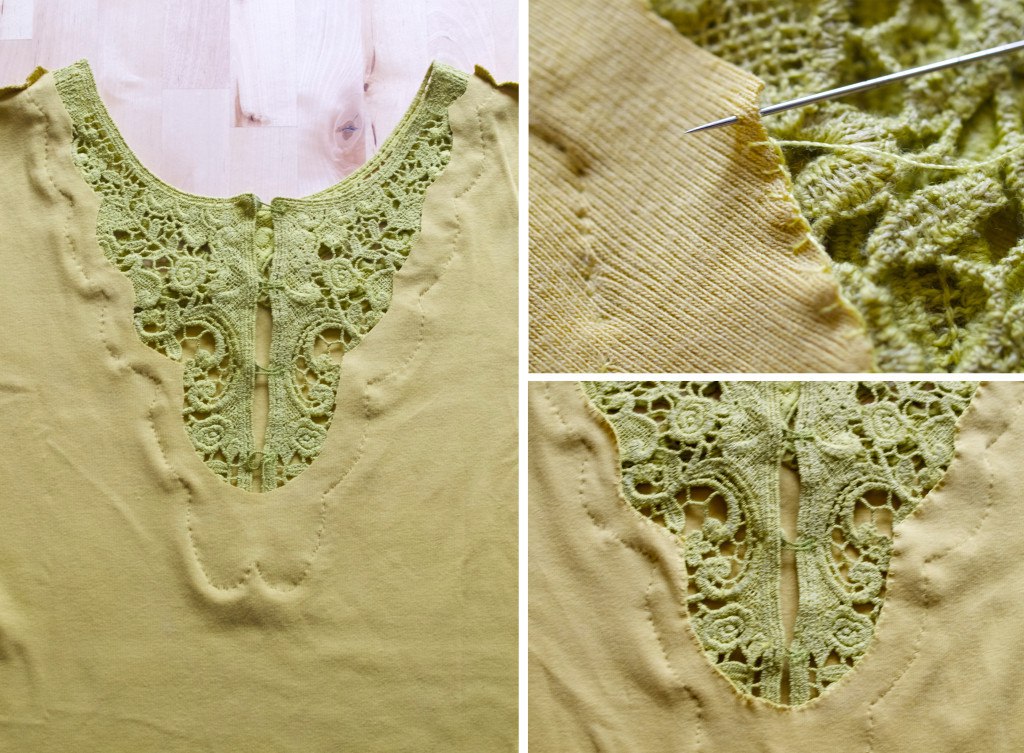
So here is how I did it. For this quick alteration you will need a plain top, a lace insert, scissors, matching thread and needle (or sewing machine if you don’t want to be hand stitching it).Things you will need to make a lace insert1. First you need to pin down the lace on to the garment where you want it (make sure you try it on to make sure it sits nicely). Stitch the lace insert on the outside edge (not inside edge). I hand stitched because I love doing it this was, but you are welcome to use sewing machine for this step!How to attach a lace insert2. Once the lace has been stitched on, you can cut away the neck leaving 1-2cm space from the stitched edge. Lace insert step by step instructions3. Finally finish off the edge. If you have been using sewing machine you could use a zigzag stitch (or overlocker if you have the overlocking machine). Since I have been hand stitching I have used button-hole stitch to finish off. How to install lace insert Lace insert in the garment DIYLace insert in the garment DIYI hope you found this simple alteration technique useful.

Have a lovely weekend!

Rasa :-)

1

Party decoration

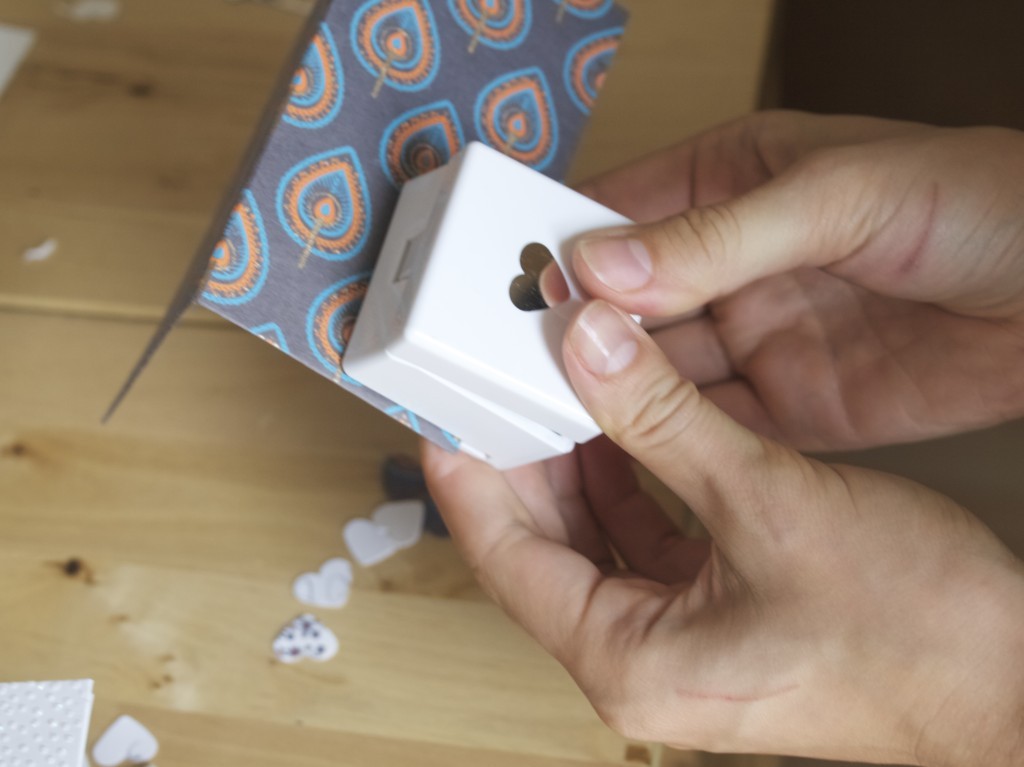
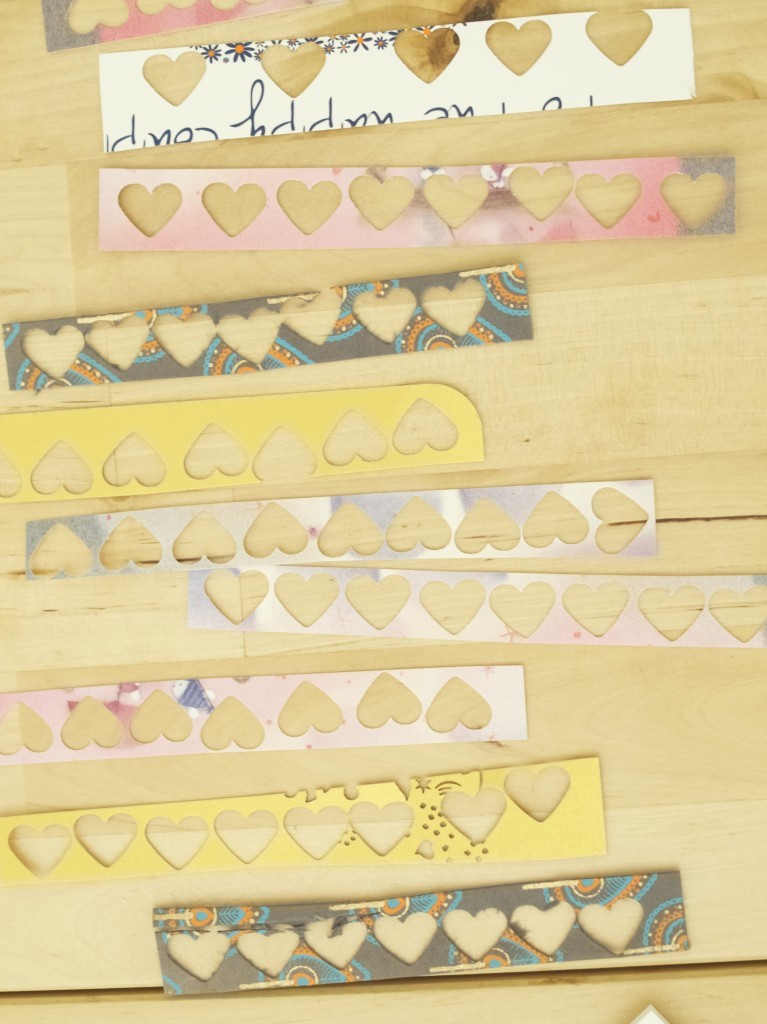
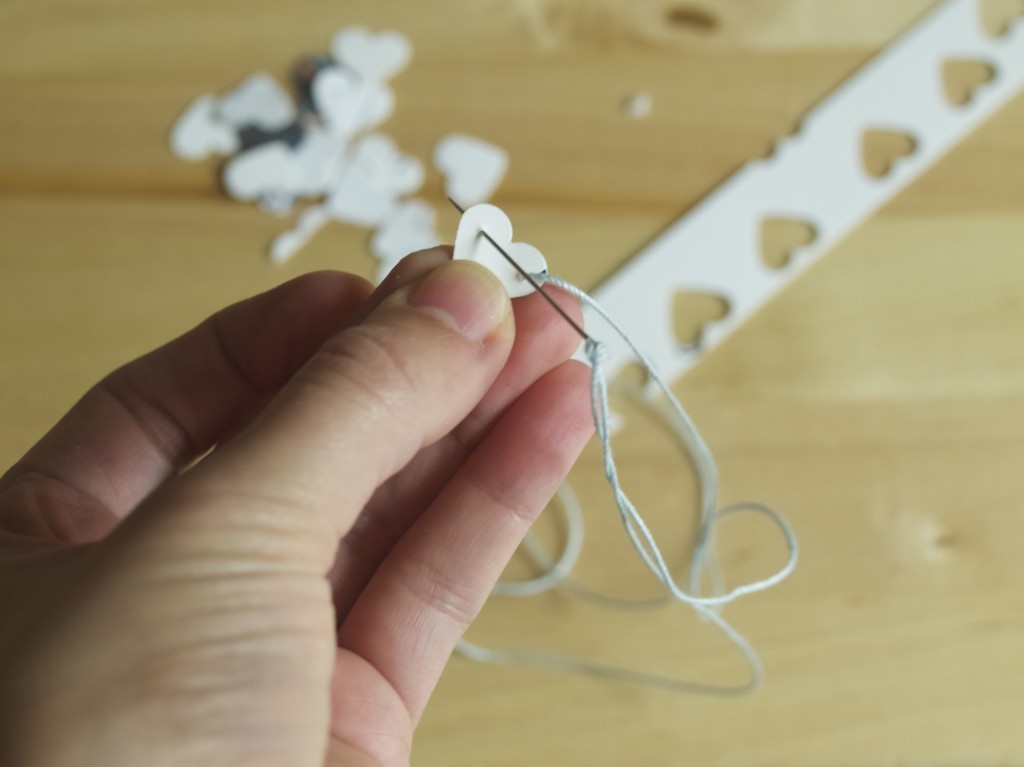
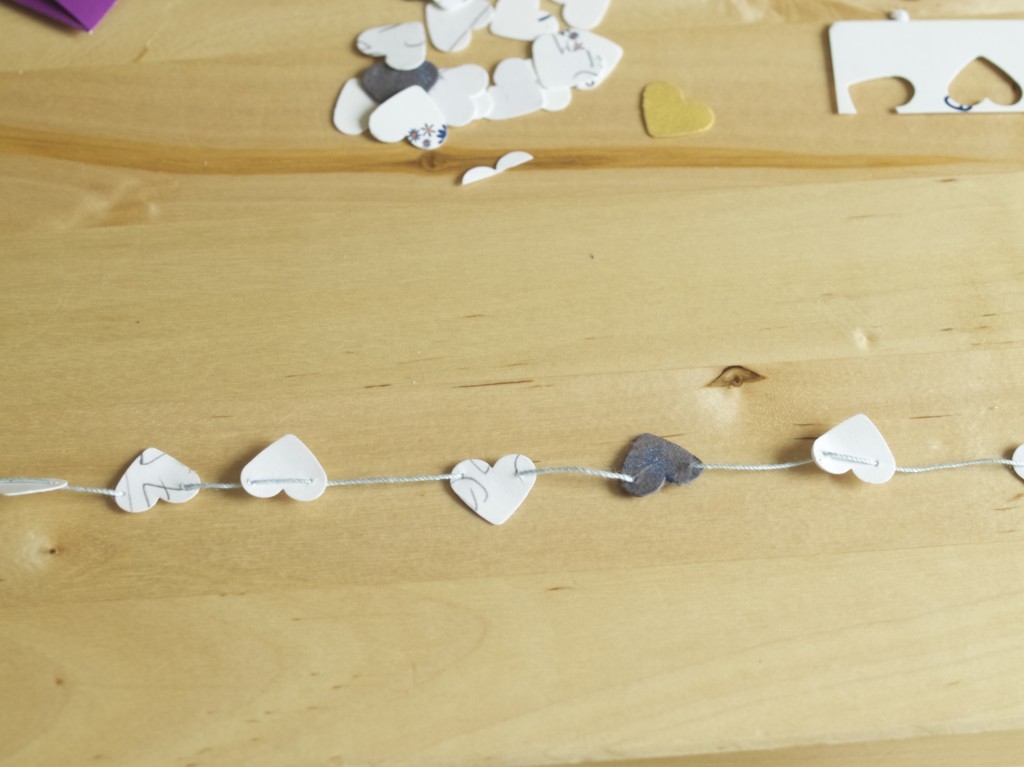
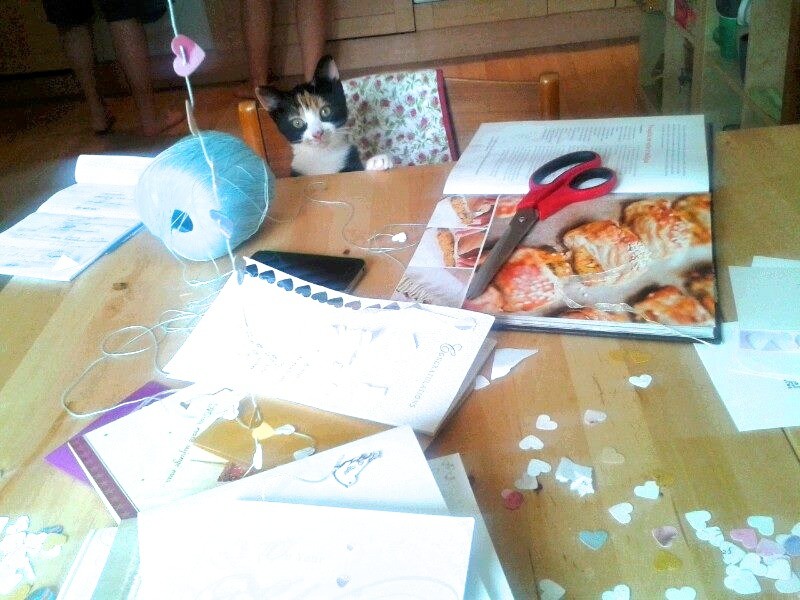
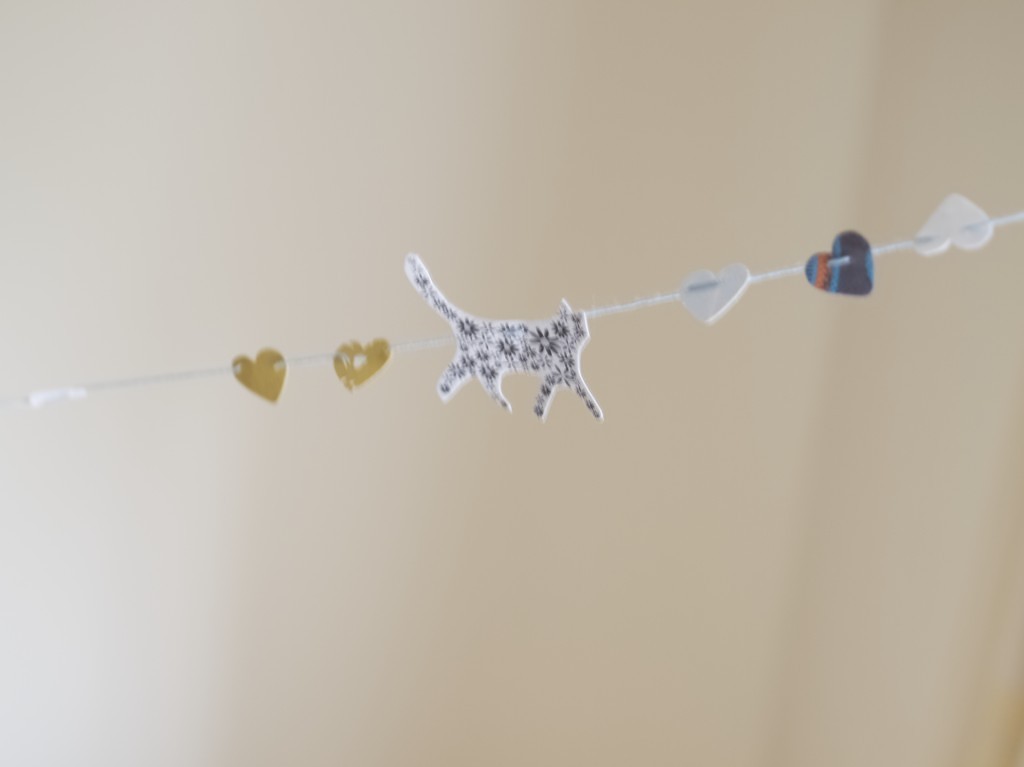
Making a garland out of greeting cardsLast weekend we had our house warming party! I got busy with the decoration straight away… well, at least with the planning. I generally love garlands, because they are fun to make and they give such a wow factor (if you make enough of them of course). I used all of those greetings cards that we have received for our engagement and wedding, because I would not like to throw them out (but I can’t keep them either). I absolutely love reusing something that I already have! Making a garland out of greeting cardsWe simply (me and Vicki) have made many heart shapes out of the greeting cards by using this heart hole punch. They are easy to find in many craft shops, I am sure one of the Tiger shops would have them ;-). Making a garland out of greeting cards Making a garland out of greeting cardsVicki even cut out some of the shapes that she found on the cards. Here you could find even more hearts, birds, flowers and even butterflies!!! Making a garland out of greeting cardsMeanwhile I started connecting all the card shapes with needle and thread. Making a garland out of greeting cards Making a garland out of greeting cardsLeia was really eager to help, mainly because she believed that we are making a new toy for her. Making a garland out of greeting cardsBut we did include a cat shaped card figure on the garland which we thought was super cute!!! :)Making a garland out of greeting cardsHope you feel inspired for your future parties to come ;-)

Rasa x

3

‘Let’s celebrate!’ crate

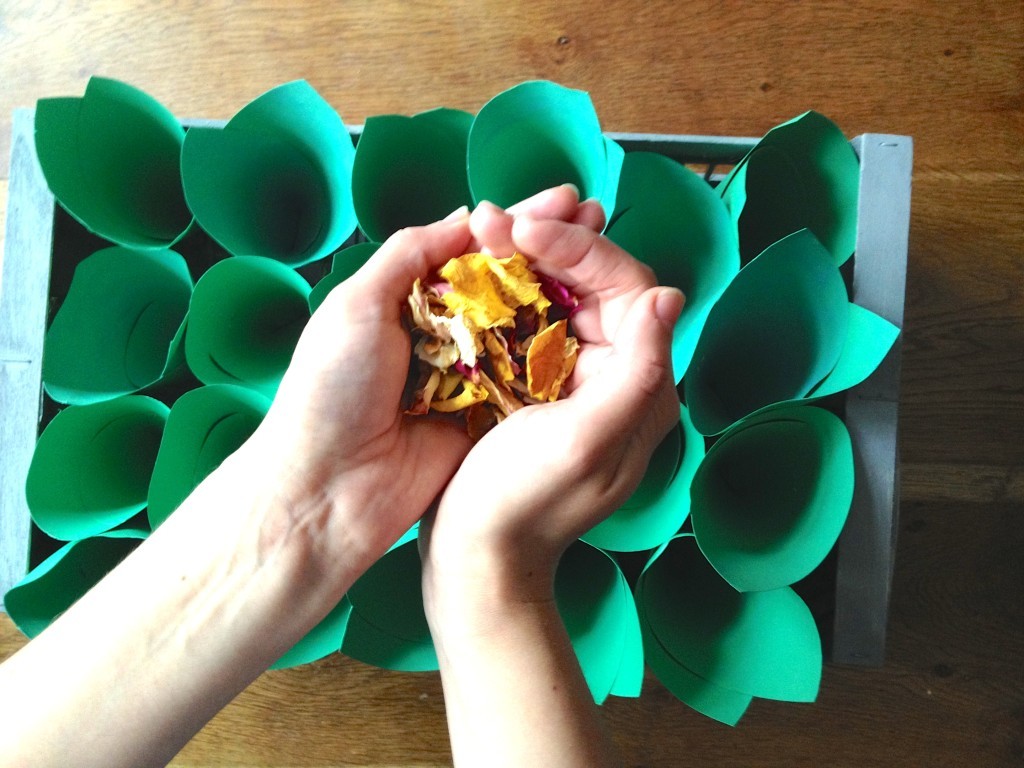
Let's celebrate confetti cones crate, DIY stepsHey! Aren’t you supper happy that the summer bank holiday is almost here? I know I am! Although I am nowhere near to Notting Hill Carnival, extra free time with my hubby is worth to celebrate! So I thought a project on how to make the confetti cones crate would be quite appropriate. I made this crate for our wedding, but I think it can be used on many occasions. I have upcycled this box from vegetable wooden crate, so it doesn’t require lots of money to do this project either. Just walk by a grocery shop or market and I am sure you will find a crate for grabs ;-). fill the cones with confetti Confetti cones used at our weddingFill the cones with confettiConfetti used in our wedding, DIY your own confetti cones crate!Enjoy your last days of summer ;-)

Rasa xoxo
0

Painting terracotta pots

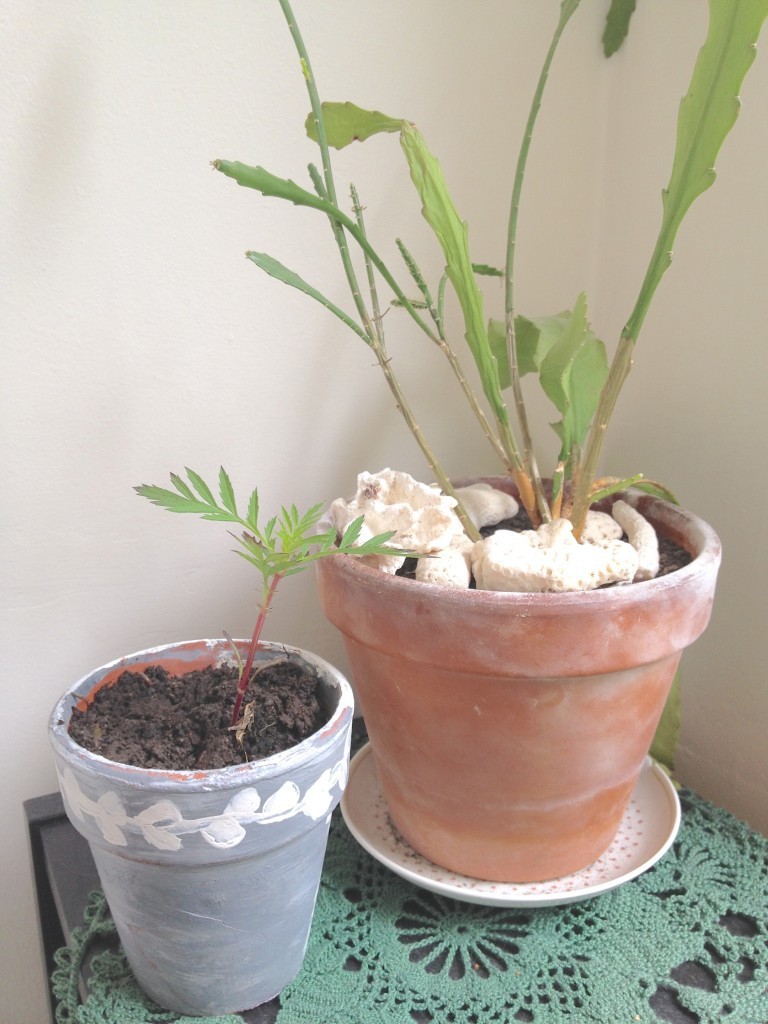
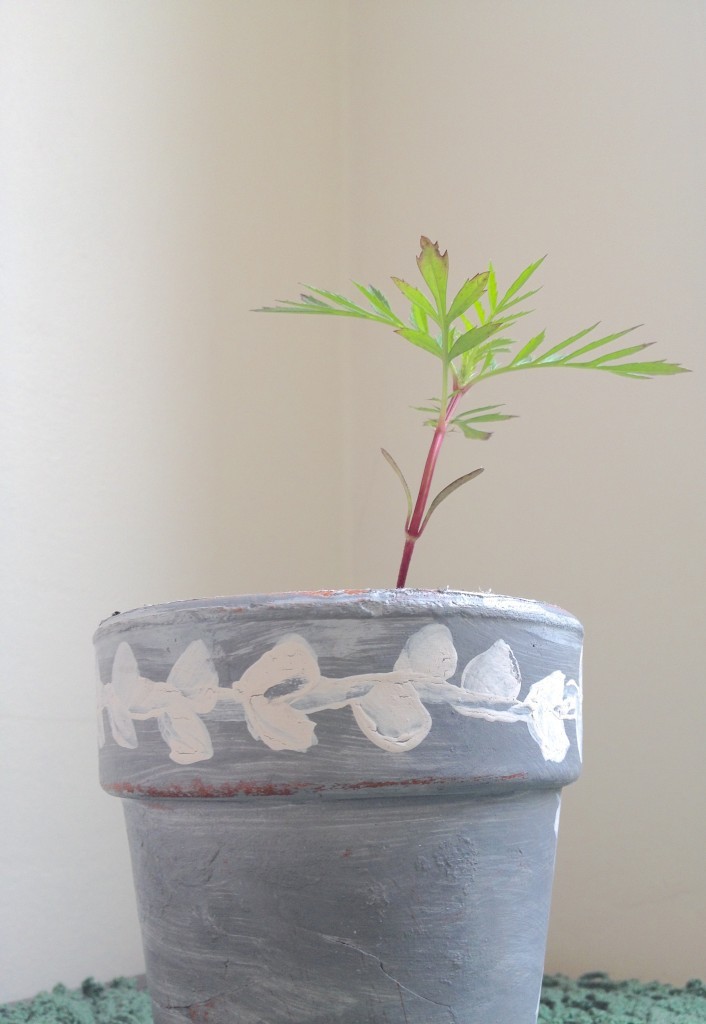
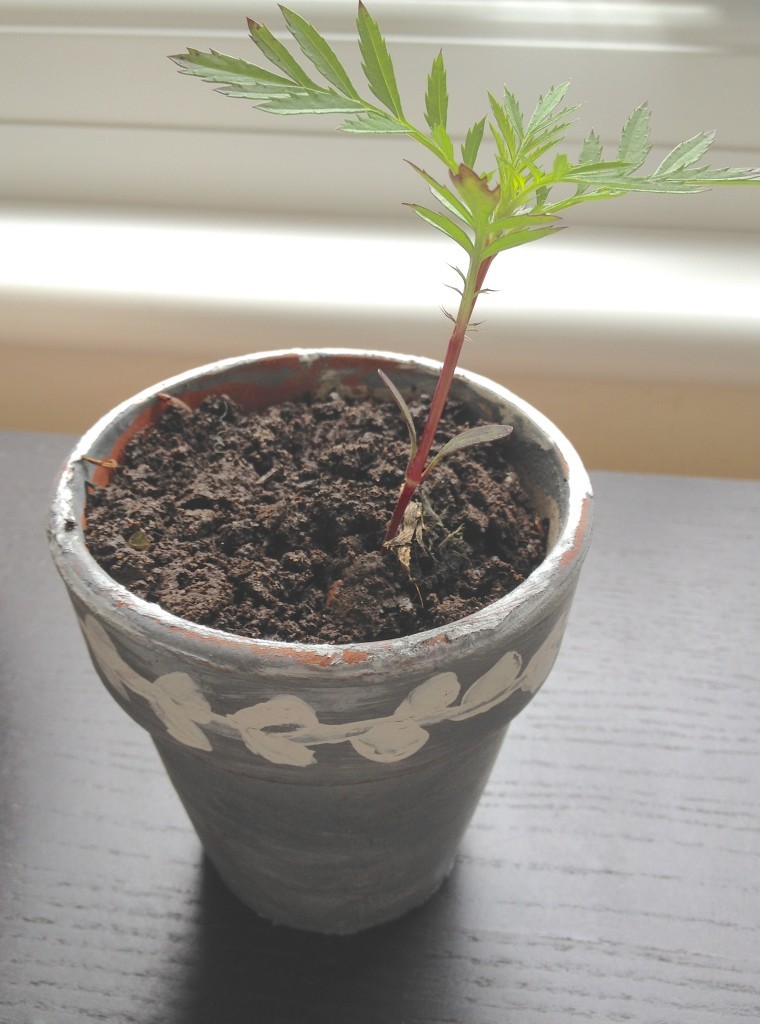
Painted terracotta pots DIYI don’t know about you, but I really like having variety when it comes to plant pots. I recently have found few terracotta pots in my front garden, so I thought I should paint them since I already had one naked terracotta pot ;-).
Painted Terracotta Pots DIY

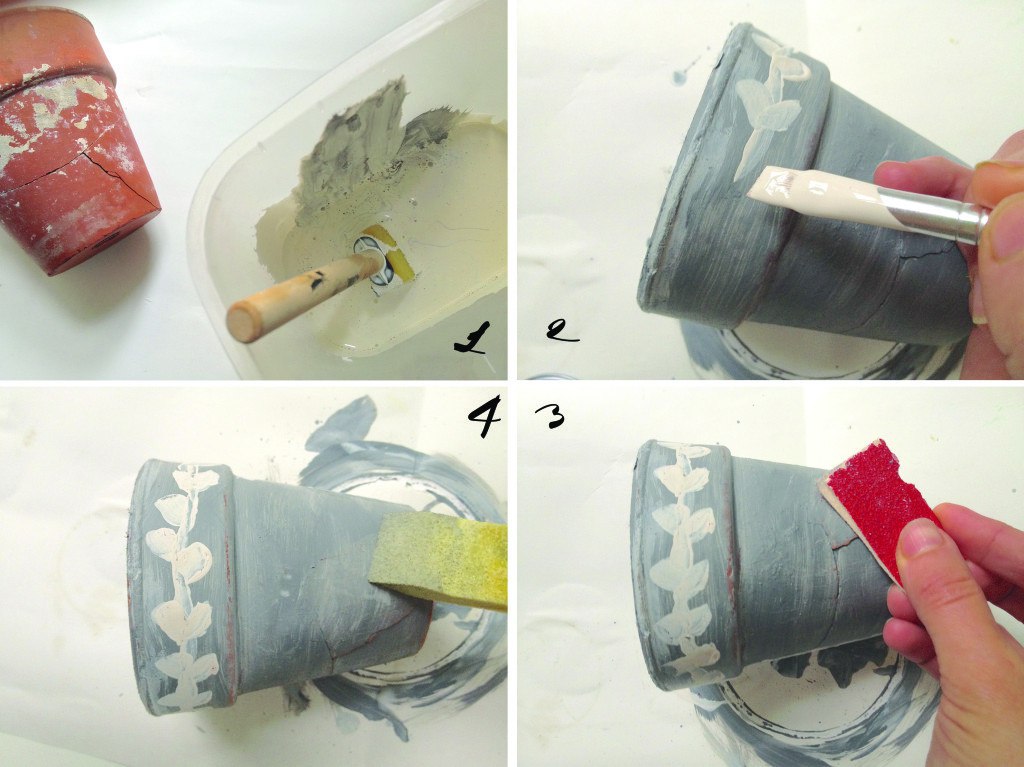
All I did was paint the pot with the interior paint (I mixed ivory colour with black to get this lovely grey). Let it dry between each colour (1-2). I lightly brushed the dry paint with sand paper to get the vintage effect (3). Finally, I have sealed the paint with PVA (4): that is 5 parts water and 1 part PVA.

Painted terracotta pots DIY Painted Terracotta pots DIY

I hope you enjoyed this little upcycling technique :-)

Rasa x

1