

 Today I have decided to finally share my experiences in upholstery. I know this may not be the simplest project to start with, but I have learned so much from it! Of course I did not do this alone, my mum-in-law and her friend Mariane helped me a lot with their knowledge. Now looking back, I can’t believe it is still the same chair!
I got this chair from a cafe that once I helped out at, it was about to go to the dumpster. Luckily I saved it and now it gain it’s second life as a nursery chair :-). 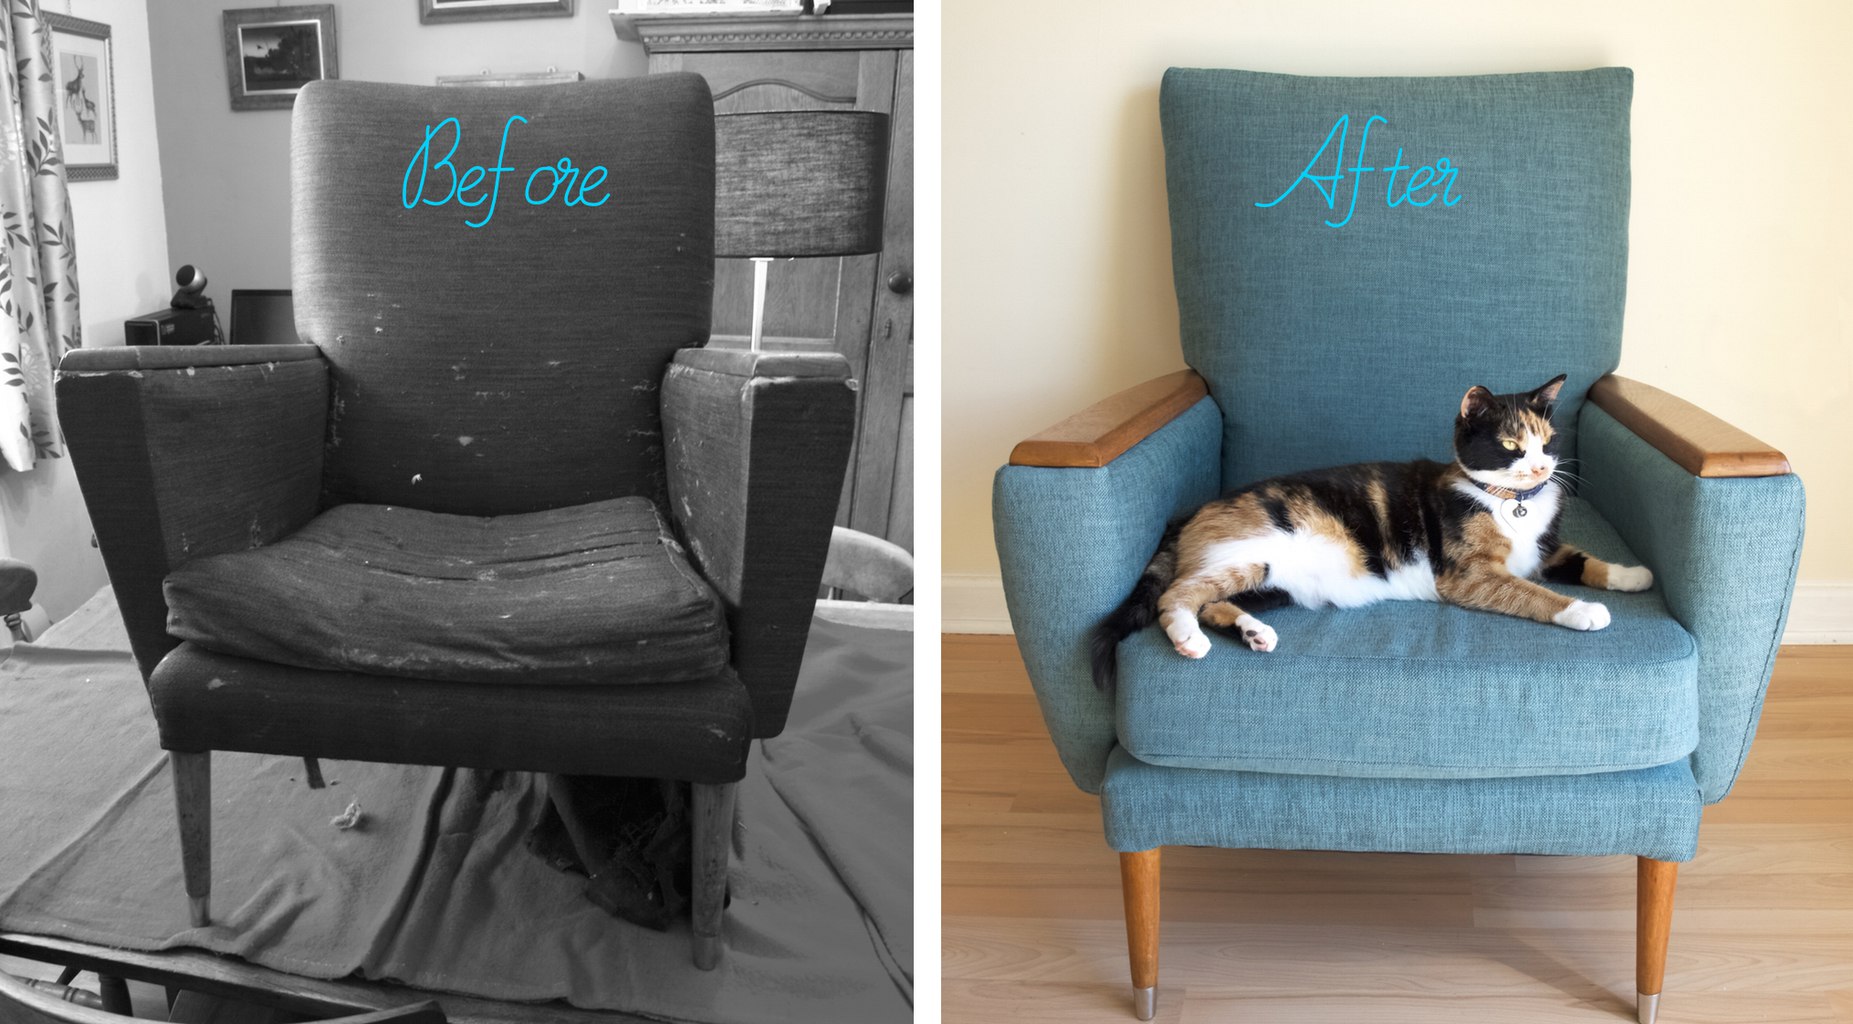 So we started the chair refurbishment with removal of old material such as top fabric, felt, foam, hessian and lots of dust (yuck!). Everything was tacked with little nails called tacks. We did stripping in this order: first we removed the bottom covering fabric, then from there we removed tacks to strip the fabric all around.
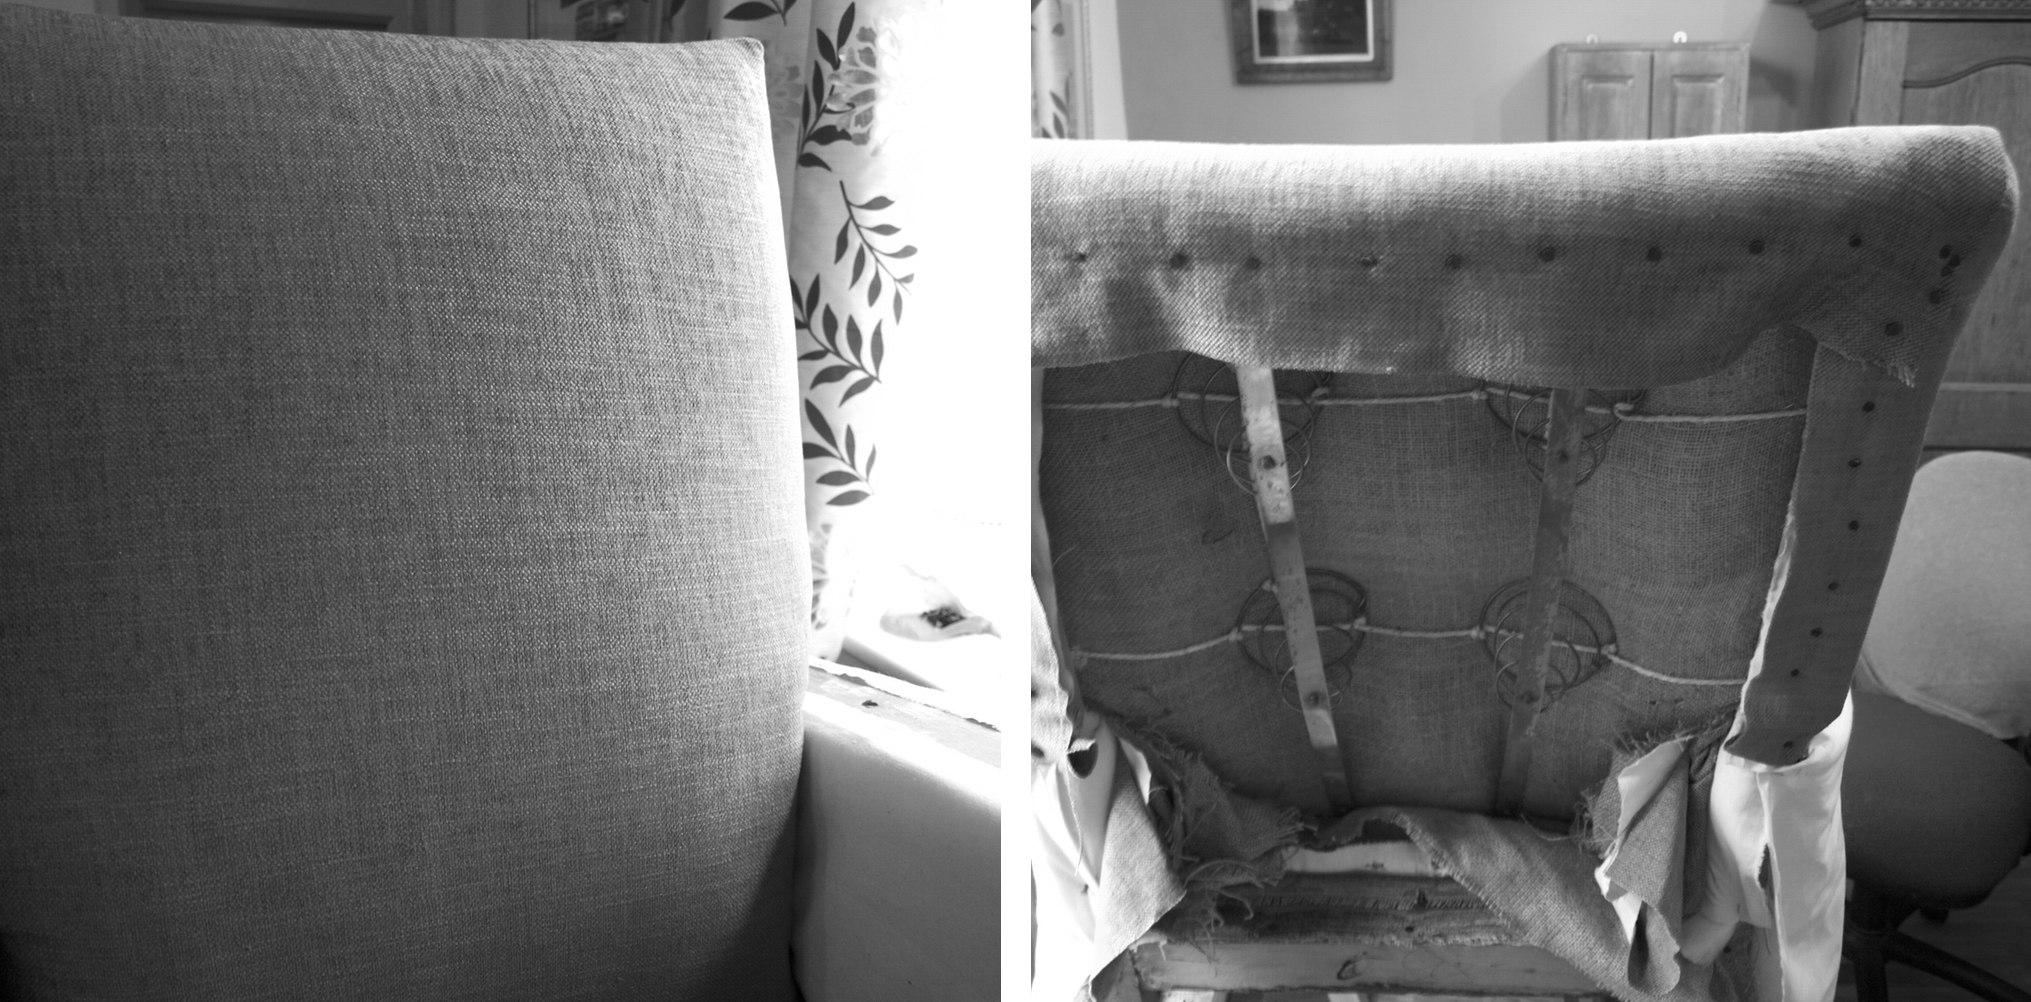
 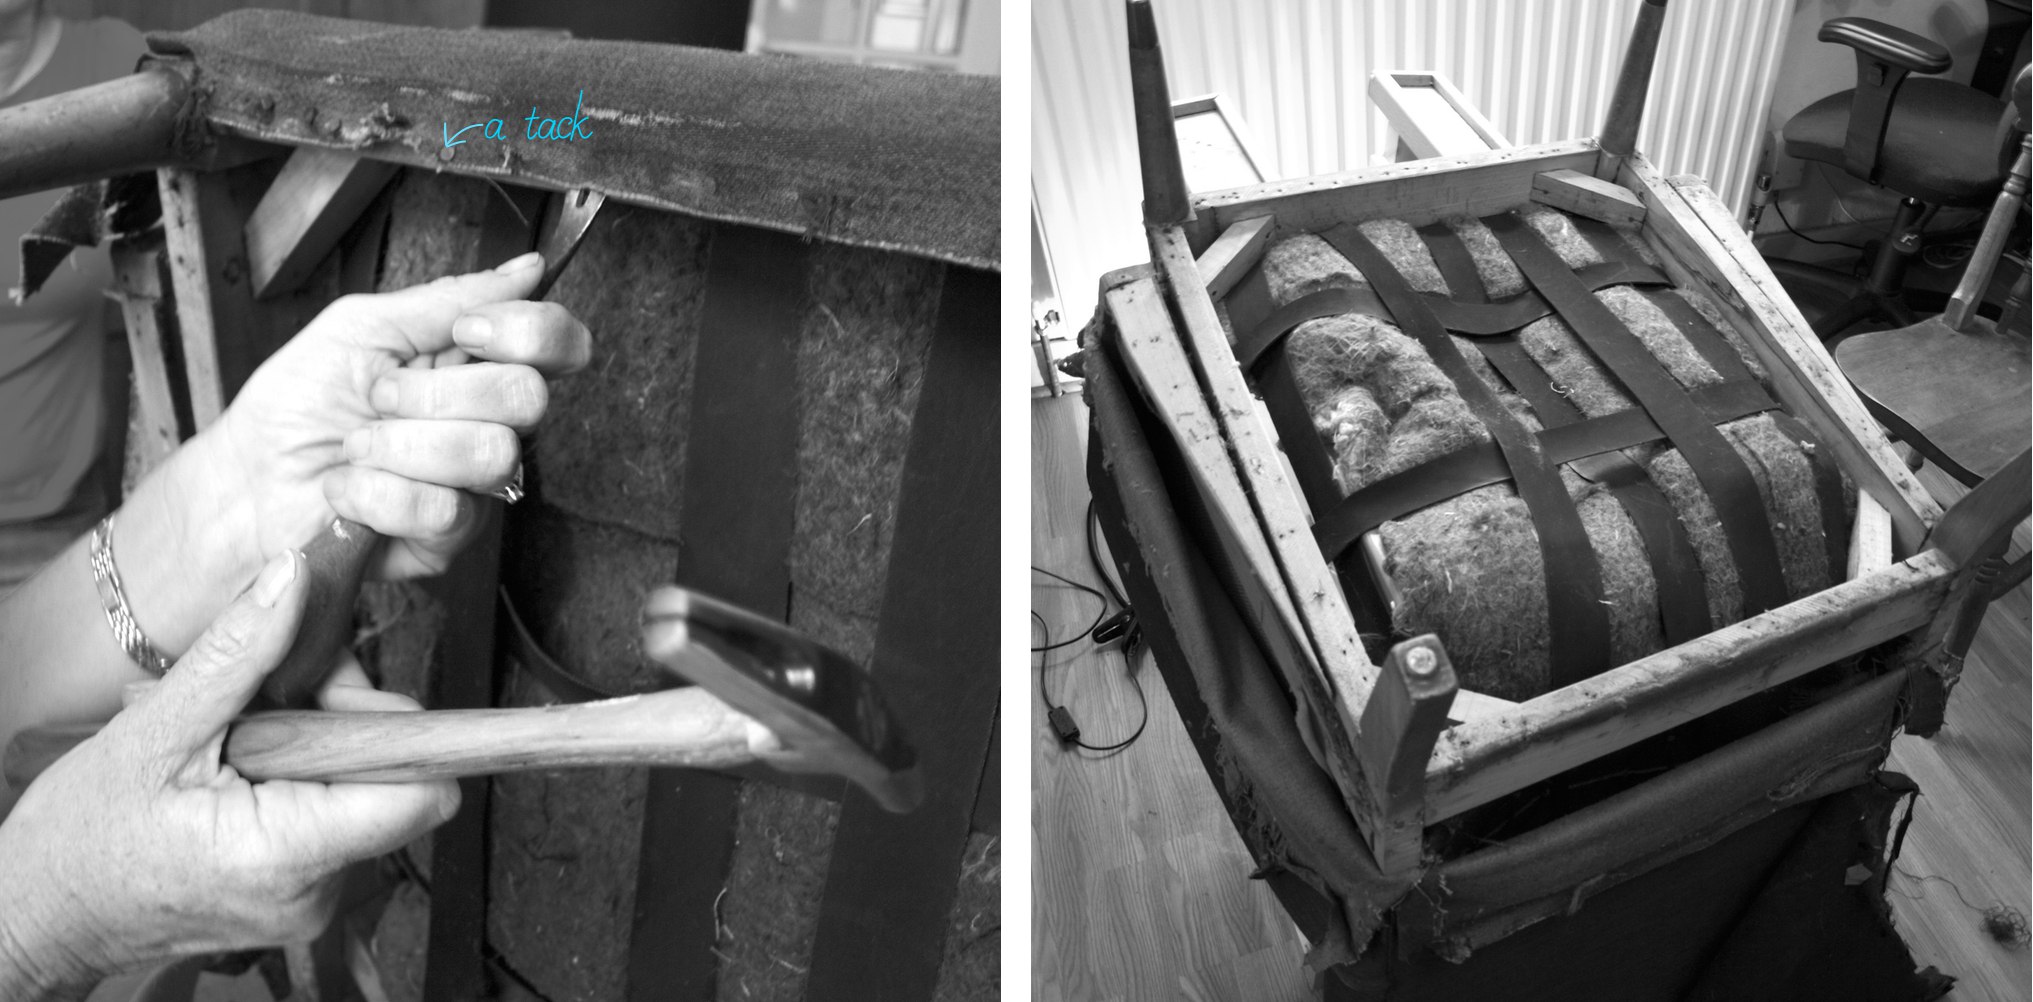 Then we removed back fabric where we could access even more tacks! This allowed to remove top fabric and felt from the front of the back. I was so pleased to find that original springs were in very good condition, so we left them as they were.
 Finally we stripped the chair arms and removed the rubber webbing that stretched out over the years. Other than original back springs we left hair material on the back and hessian on the inner arms. We removed top wooden arms to be sanded, re-stained and re-applied back once the arms are covered with the new top fabric.
 After the chair is stripped, I was told it is good idea to go shopping (Yey!). We made the list according to what we stripped and what needed to be added so the chair ends up all nicely padded. At the end of the project we realised that we bought too little of rubber webbing, but way too much of wadding.
  While we did our shopping Joni’s dad fixed the chair frame. Some parts were loose and the little holes that were made by old tacks needed to be filled.
  First thing we did after shopping is stretched out the webbing onto the seat of the chair. We tacked one end of the webbing on the back of the seat and then stretched it over to the other side with this very cool tool just made for that kind of job.
 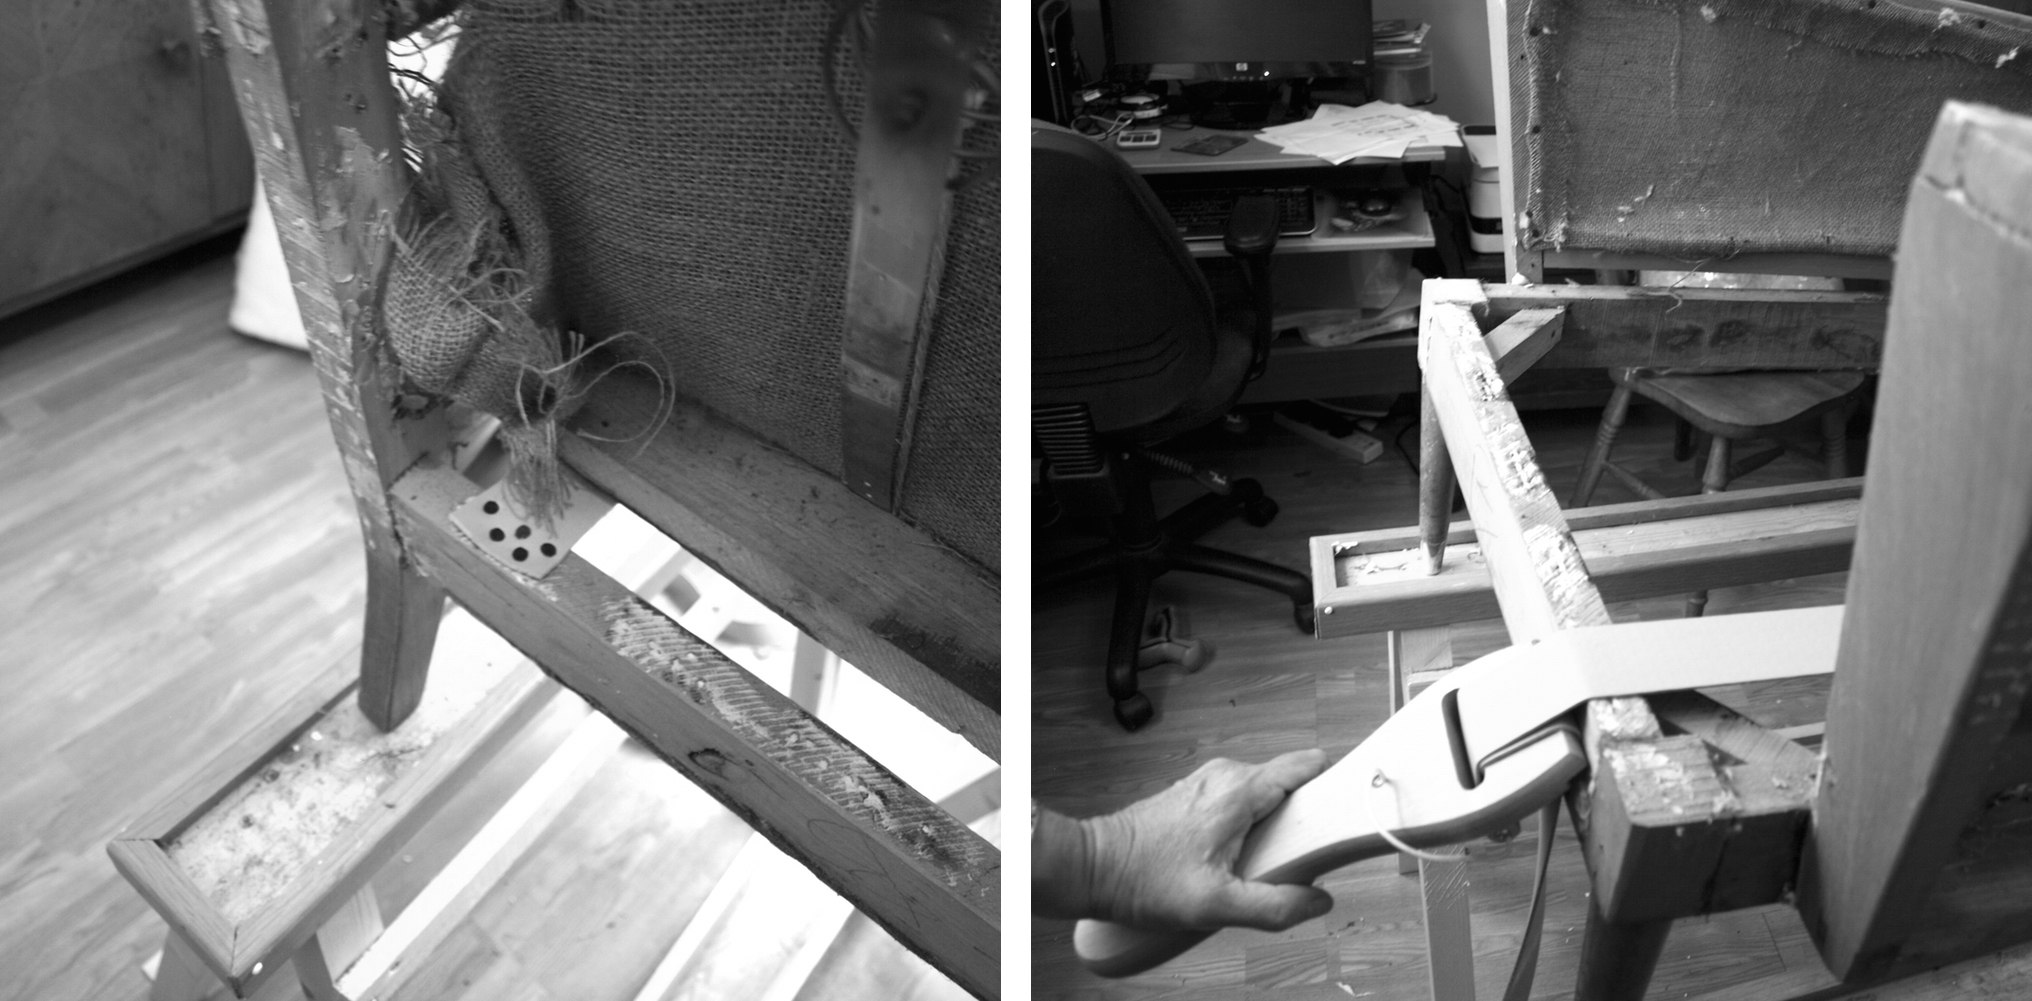 We repeated the same technique to apply webbing from left side to the right side.
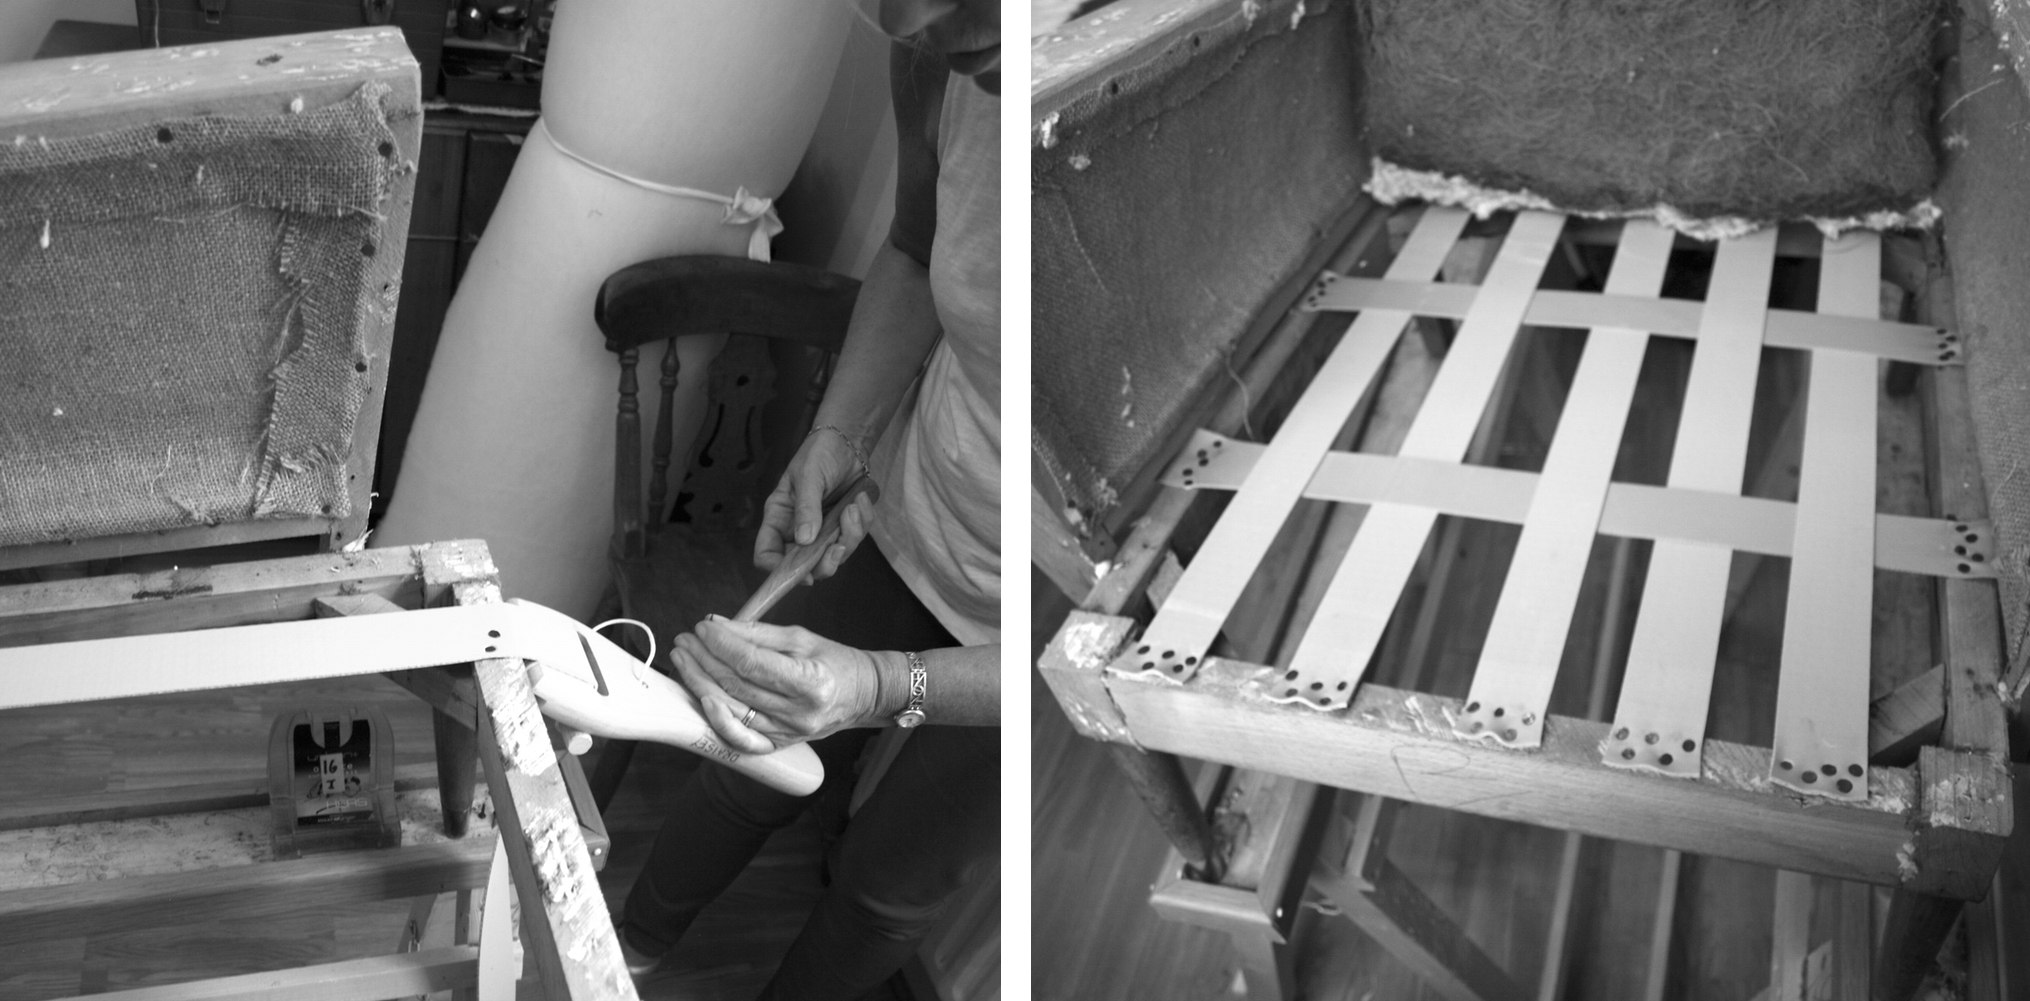 We started the chair upholstery with the seat. We applied hessian and calico with wadding layer in between.
 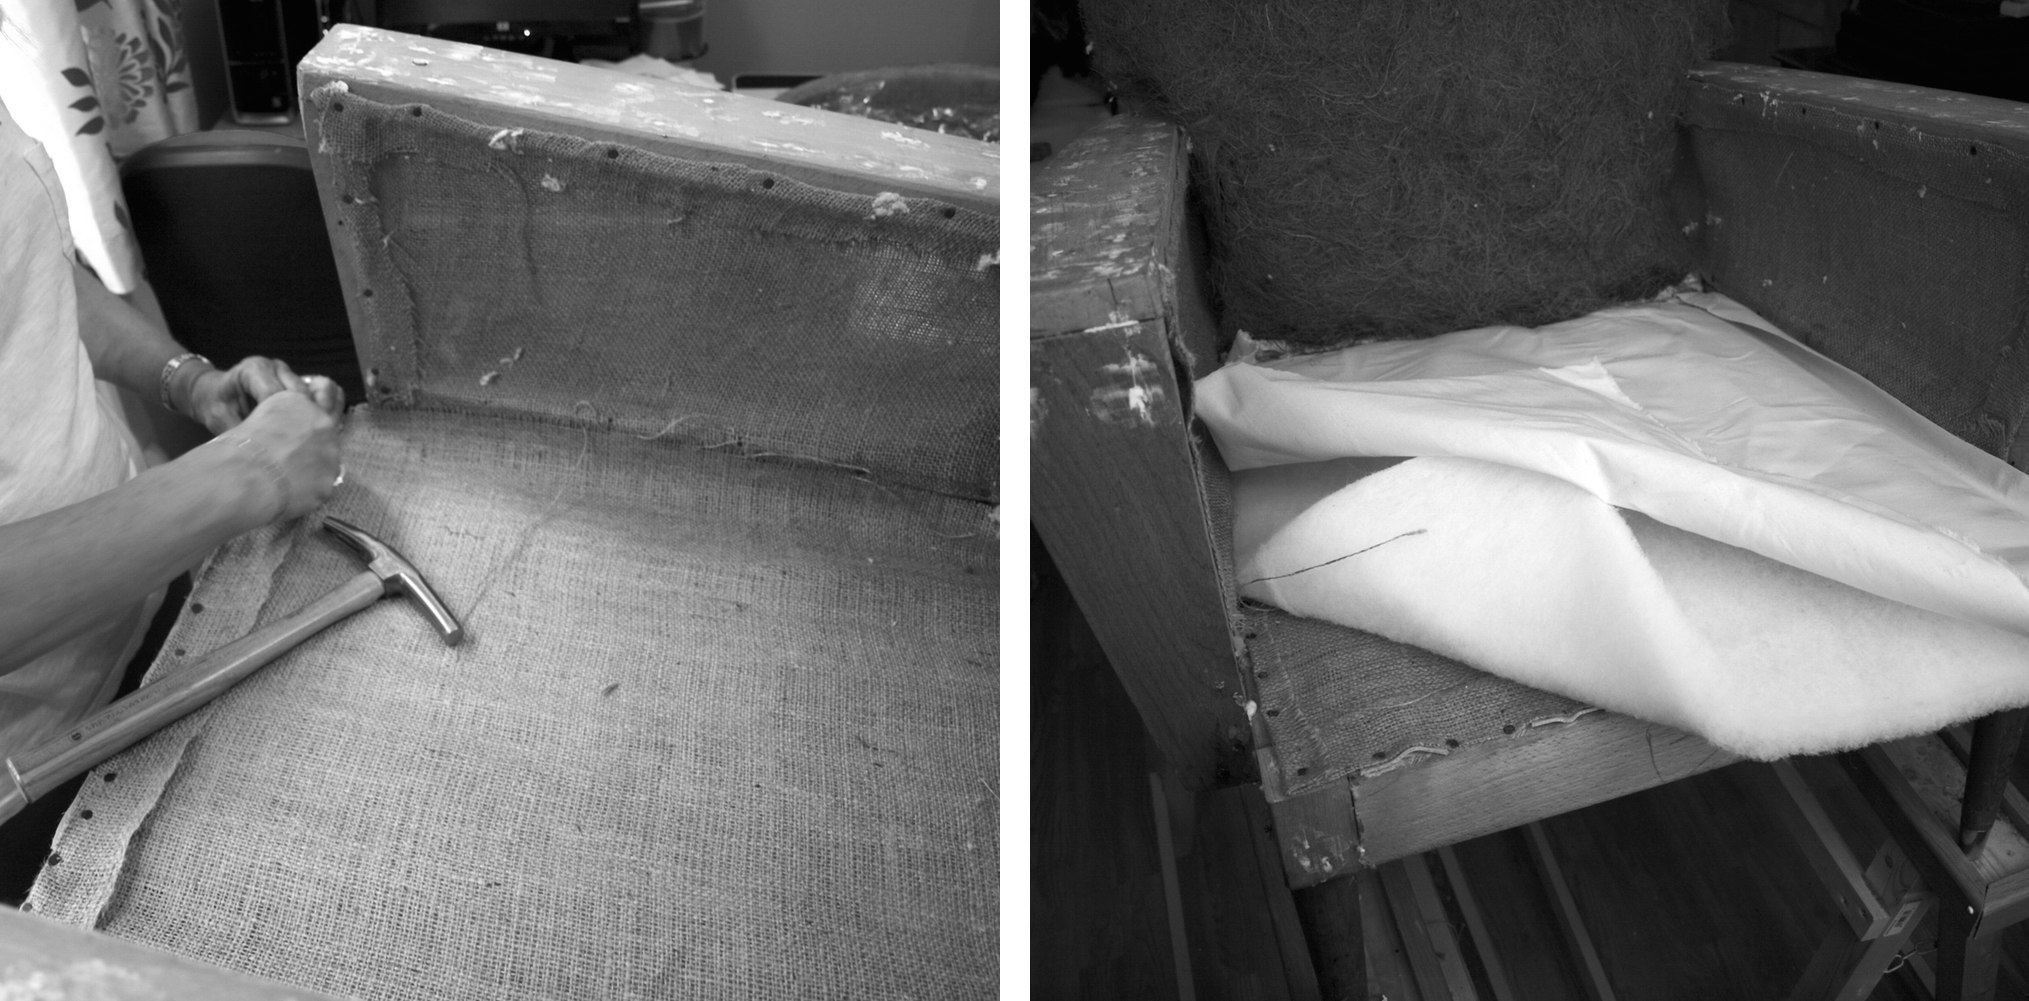 Secured everything with the tacks….
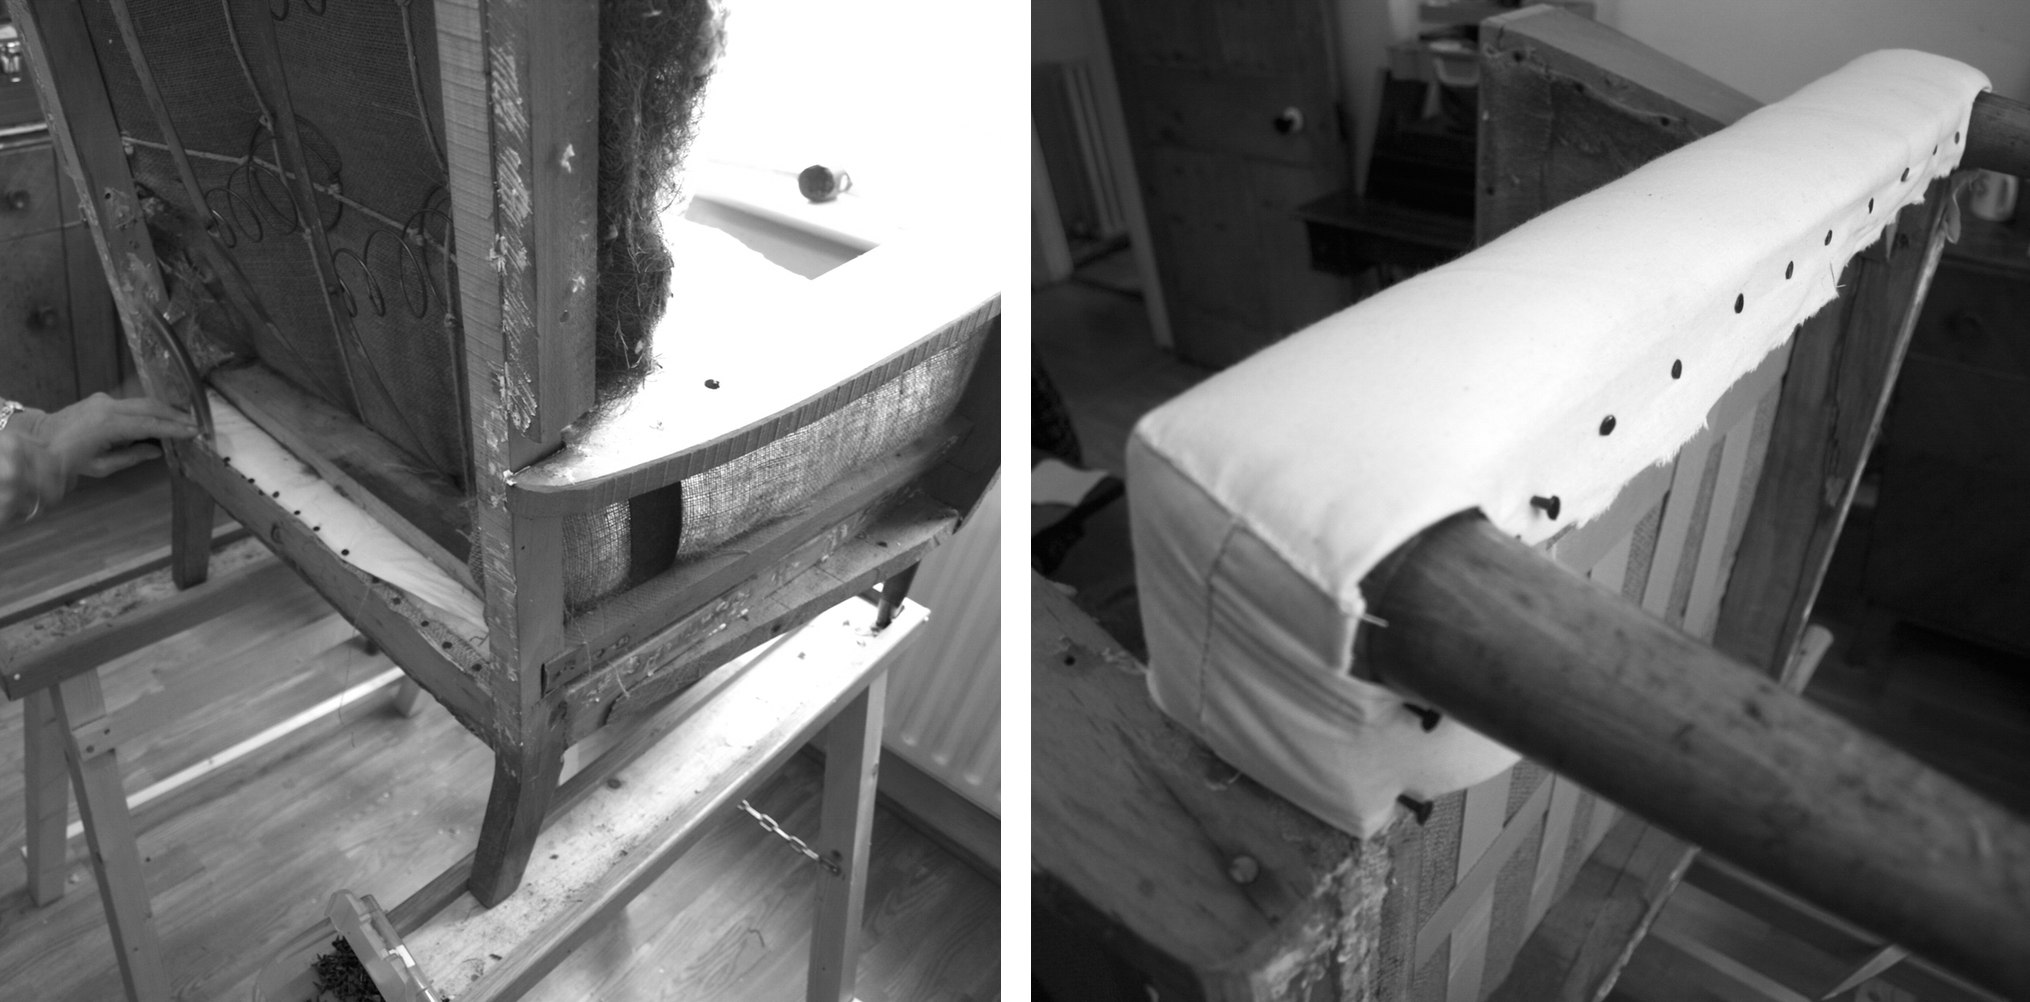 Then moved onto the front back and repeated practically the same. Except this time we used upholstery felt for extra cushioning.
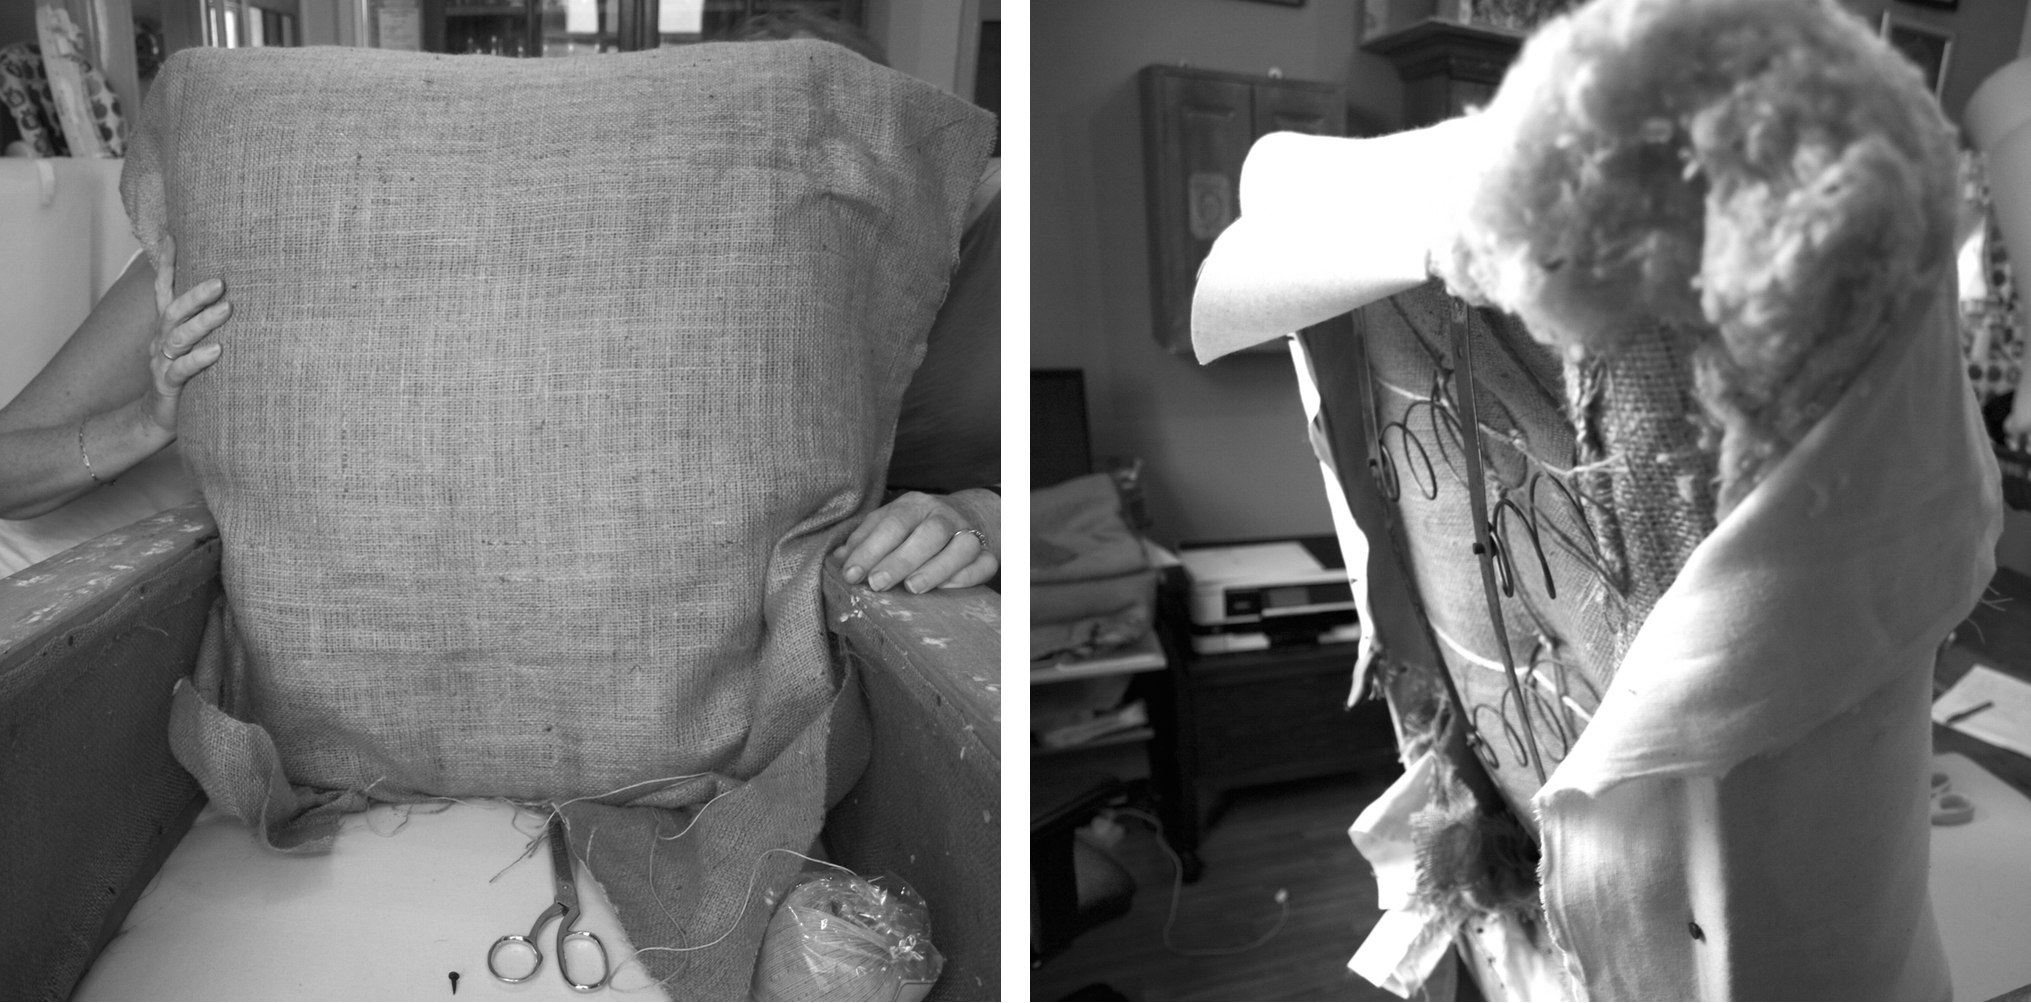 And same with the arms as with the seat.
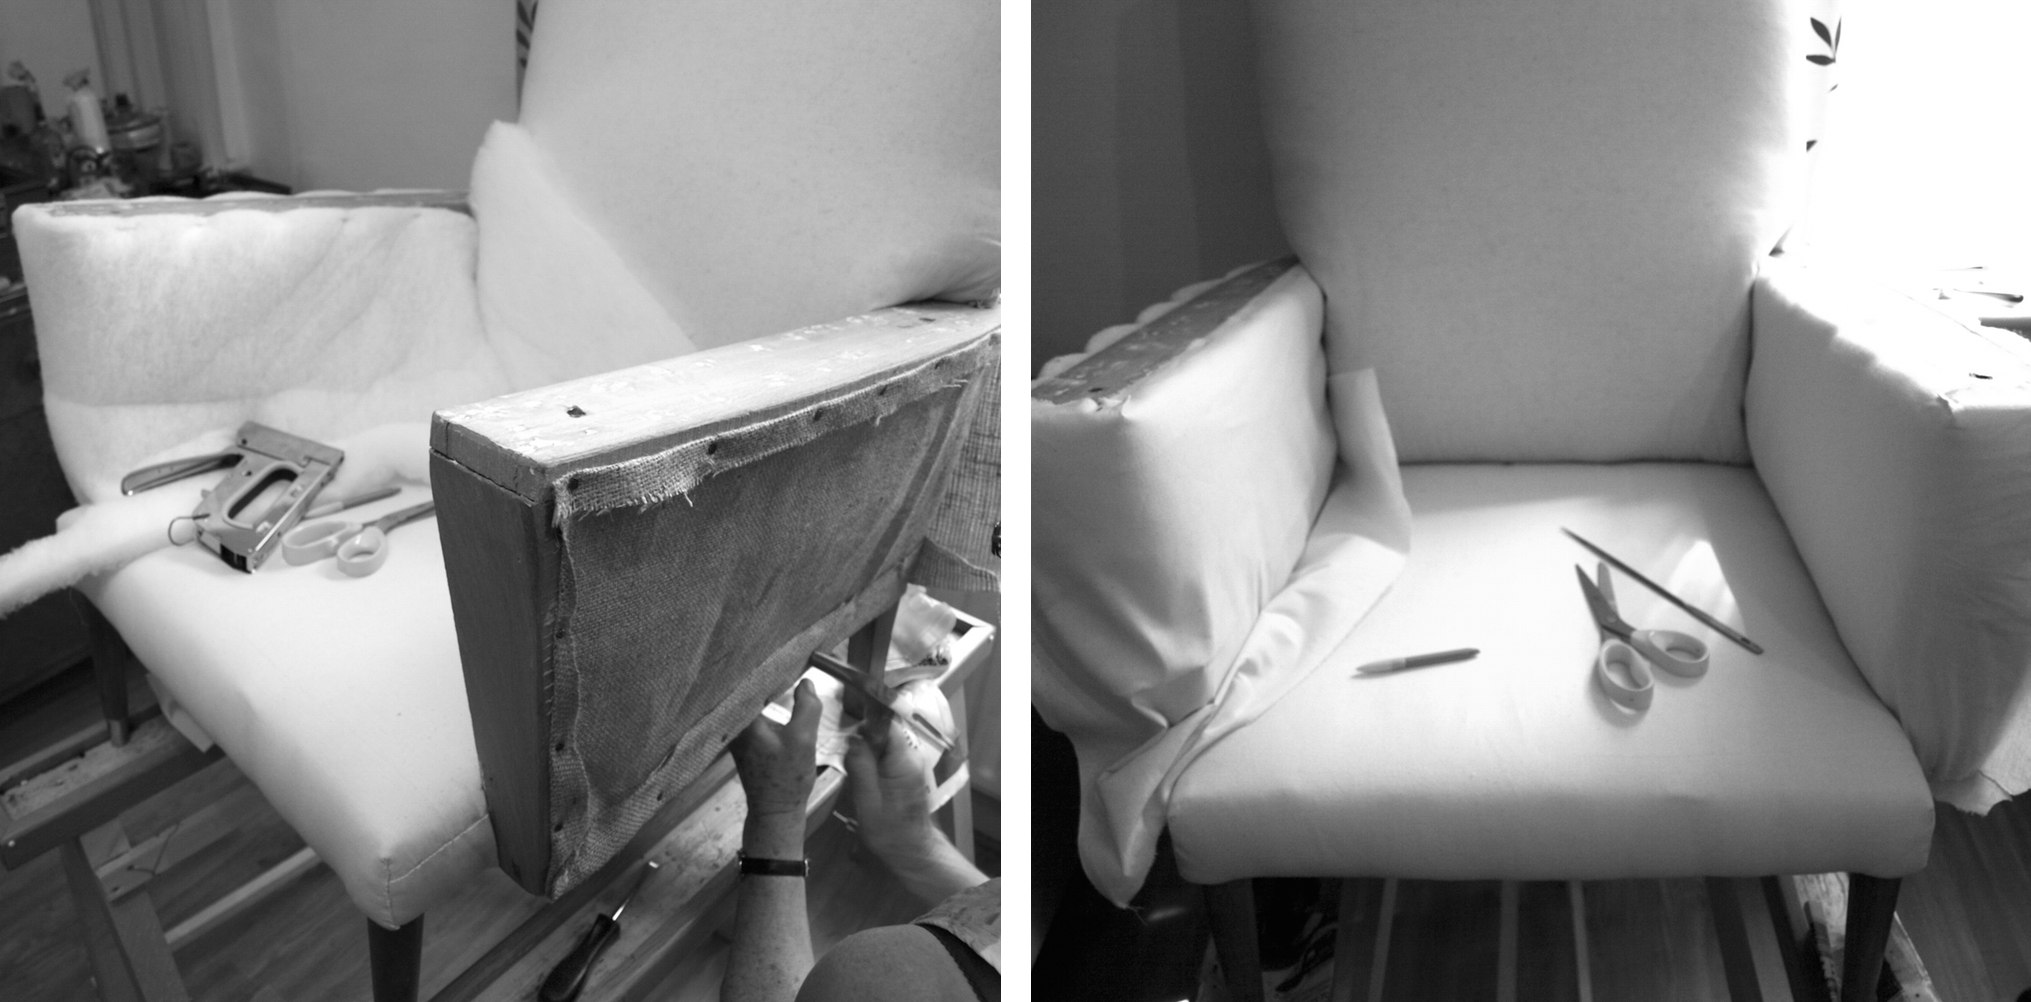 Finally the day have came when we could apply top fabric! To choose top fabric was a hardest bit for me. Eventually I narrowed down to three pictured bellow. The blue one seemed like the most obvious choice as the check fabric is difficult to work with and the dark green fabric reminded me of those tacky furnitures at the skiing resort (you know, those green carpets matched with pine wood?). Anyway, I am really happy with my final choice as this fabric not only turned out to be versatile, but also really forgiving and easy to work with!
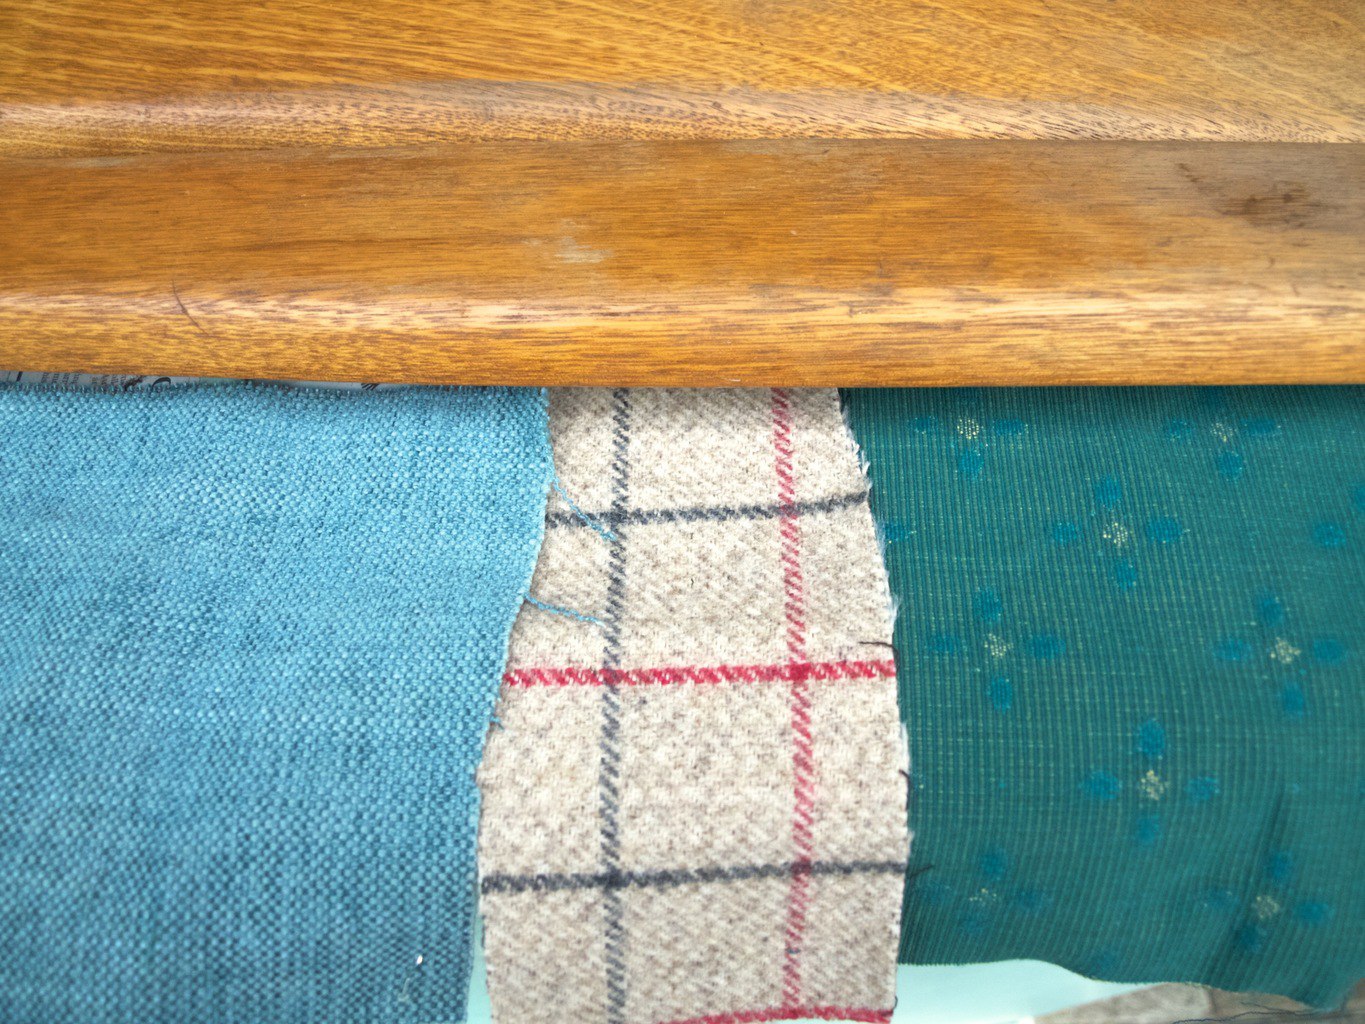 Applying top fabric is almost like applying calico. With calico, I felt like practicing to upholster, therefore when it came to applying the real thing, I wasn’t that nervous!
 Whilst doing upholstery Joni’s mum made sure that all dents from the arms went away. She used ironing technique, where she applied wet cloth and ironed it on the wood. Eventually Joni’s dad sanded it down to perfection as well as chair legs. I used antique pine stain that really suits overall chair style I was aiming for.
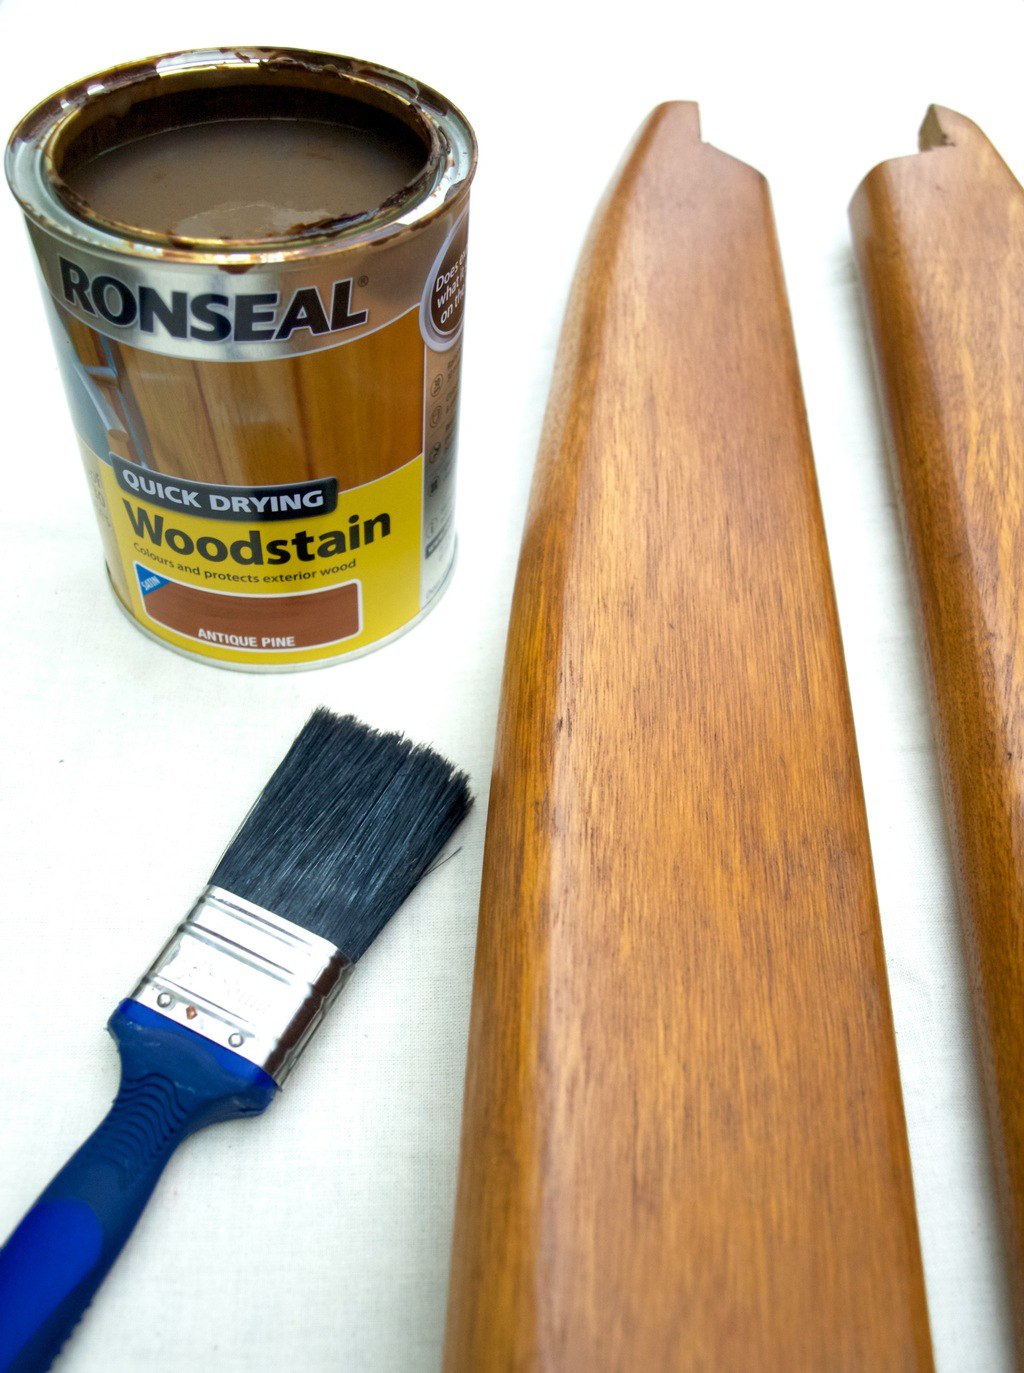
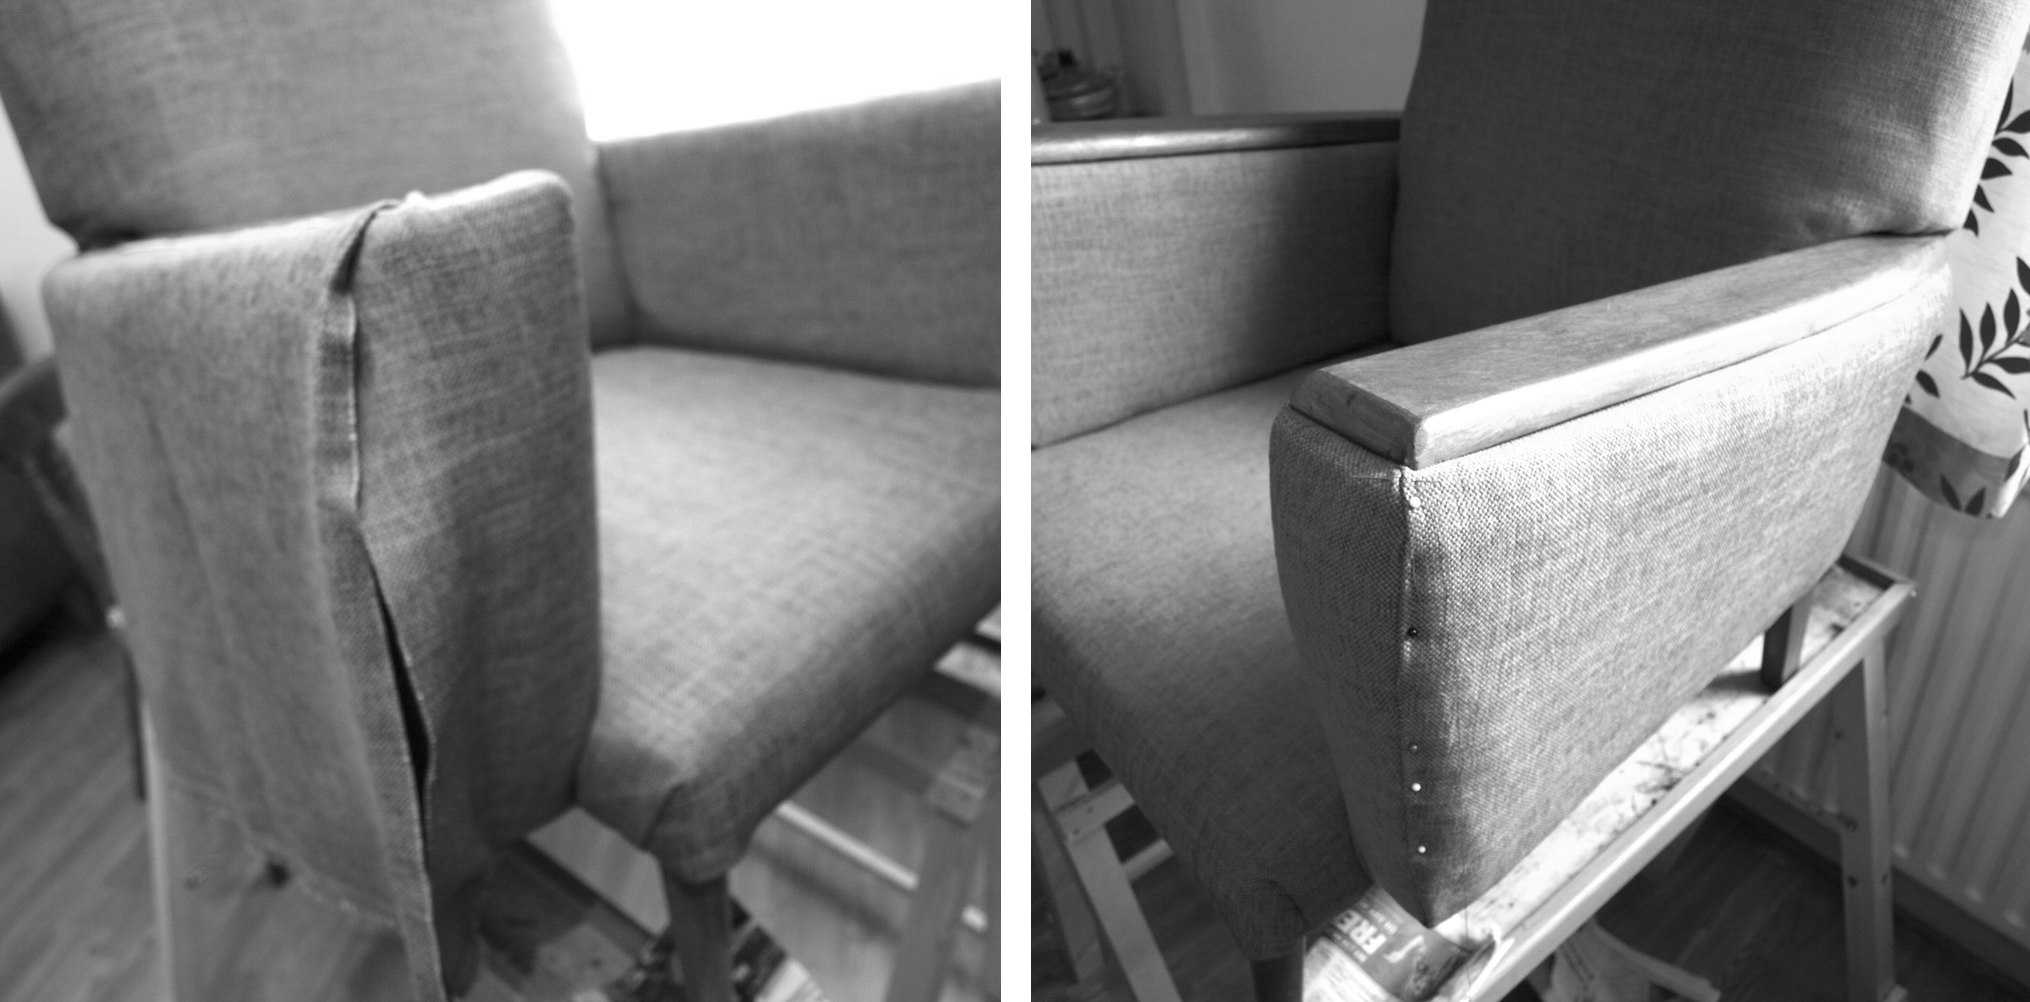 After we finished upholstering the chair I closed the back with the hessian (for support) and top fabric. I used invisible stitch to sew the sides (I did the same to join inner and outer arm top fabric pieces).
 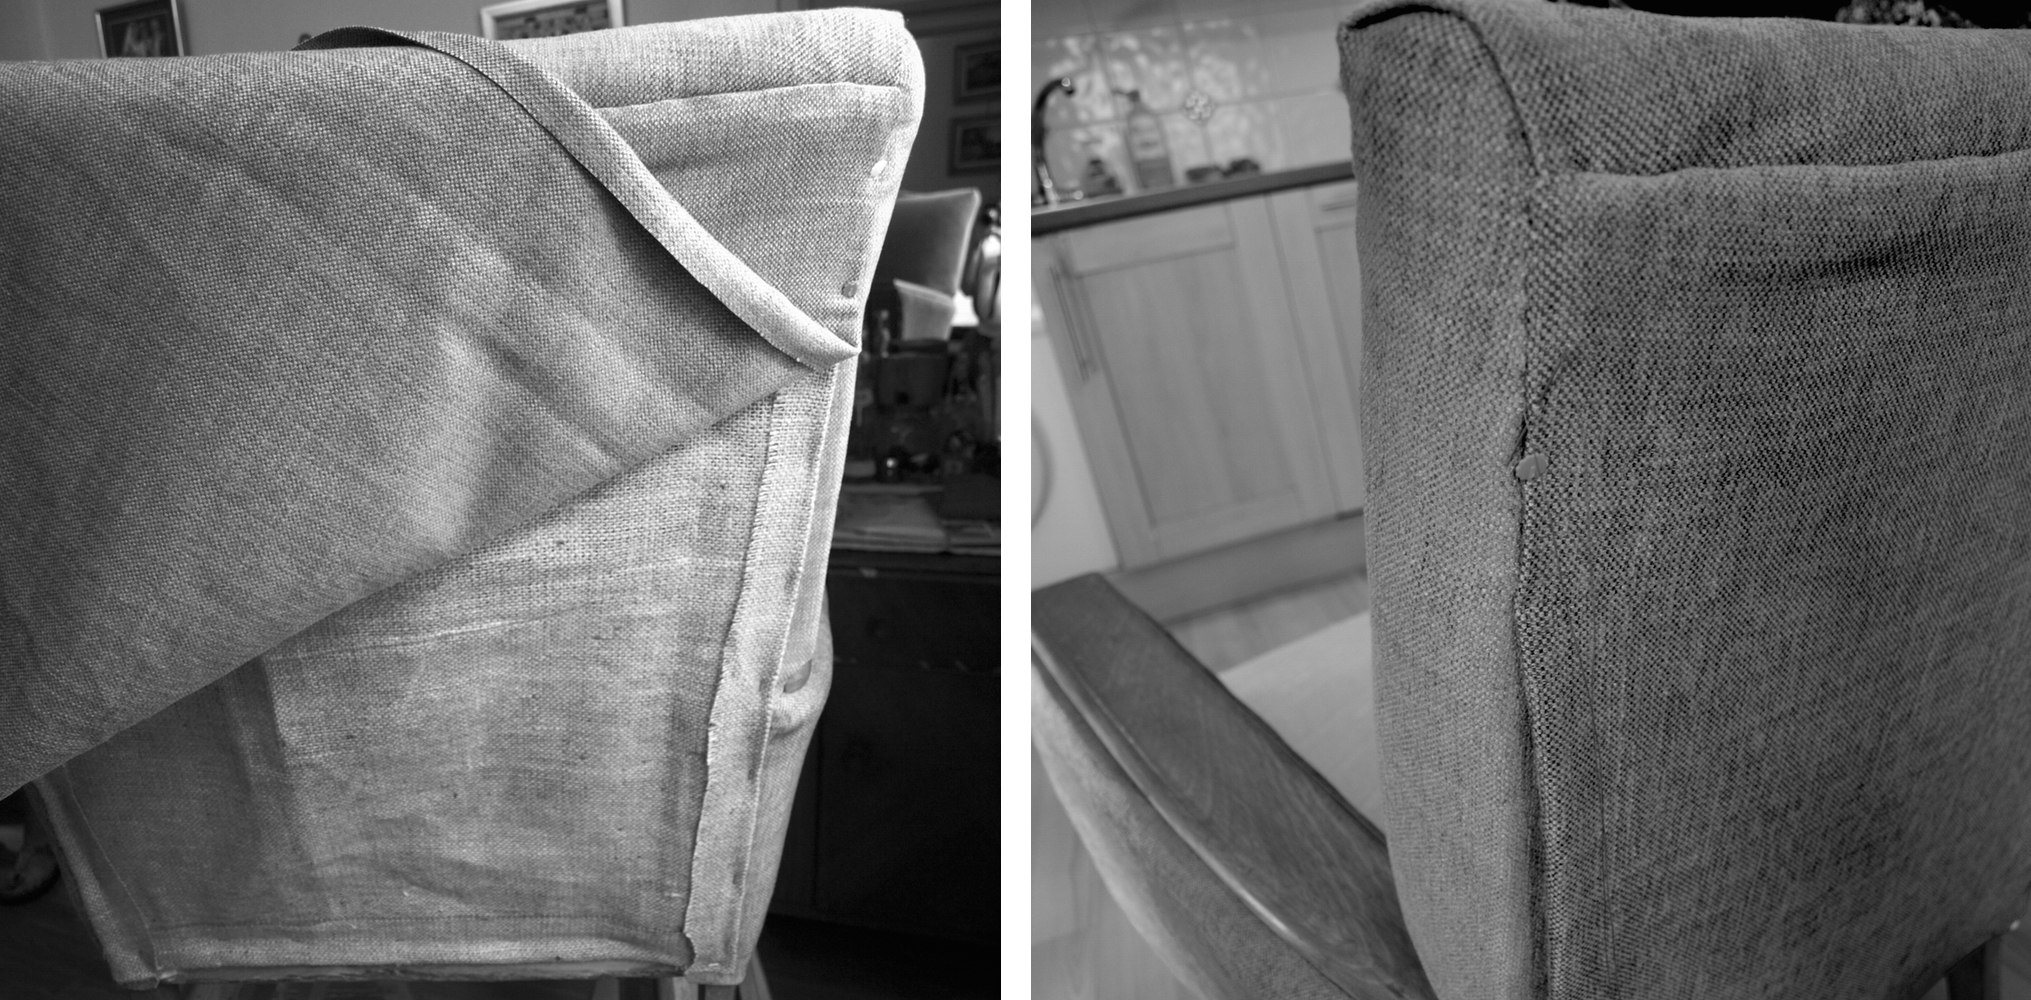 We got the cushion foam specially cut for the size, slightly thicker than original cushion because I wanted to sit slightly higher when nursing. It came covered in stockinet that helps to insert into the cushion case and also protects it from wear. To begin with I have traced the foam shape onto the fabric as tightly as I could and then rounded the edges for extra fit. I cut two pieces out with 1cm seam allowance.
 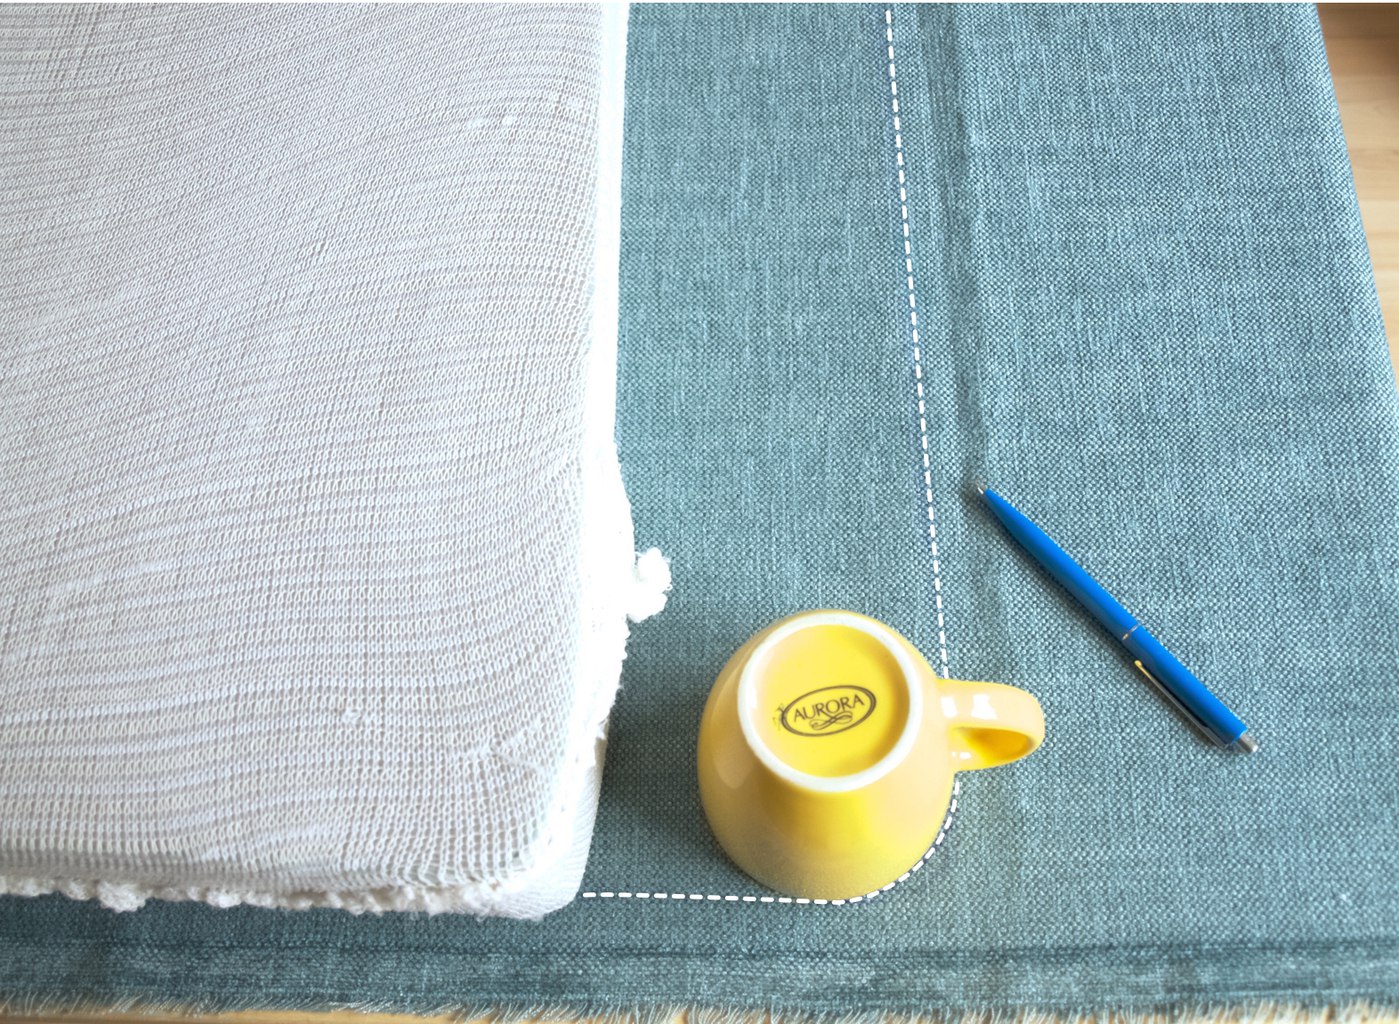 The foam measured 10cm thick, therefore I cut out long 12cm wide strip (1cm seam allowance on each side). I wrapped the strip tightly around the foam and stitched it according to the fitting. I applied one piece I cut out earlier on to of the cushion and pinned it down onto the strip. I stitched it according to where I placed the pins.
 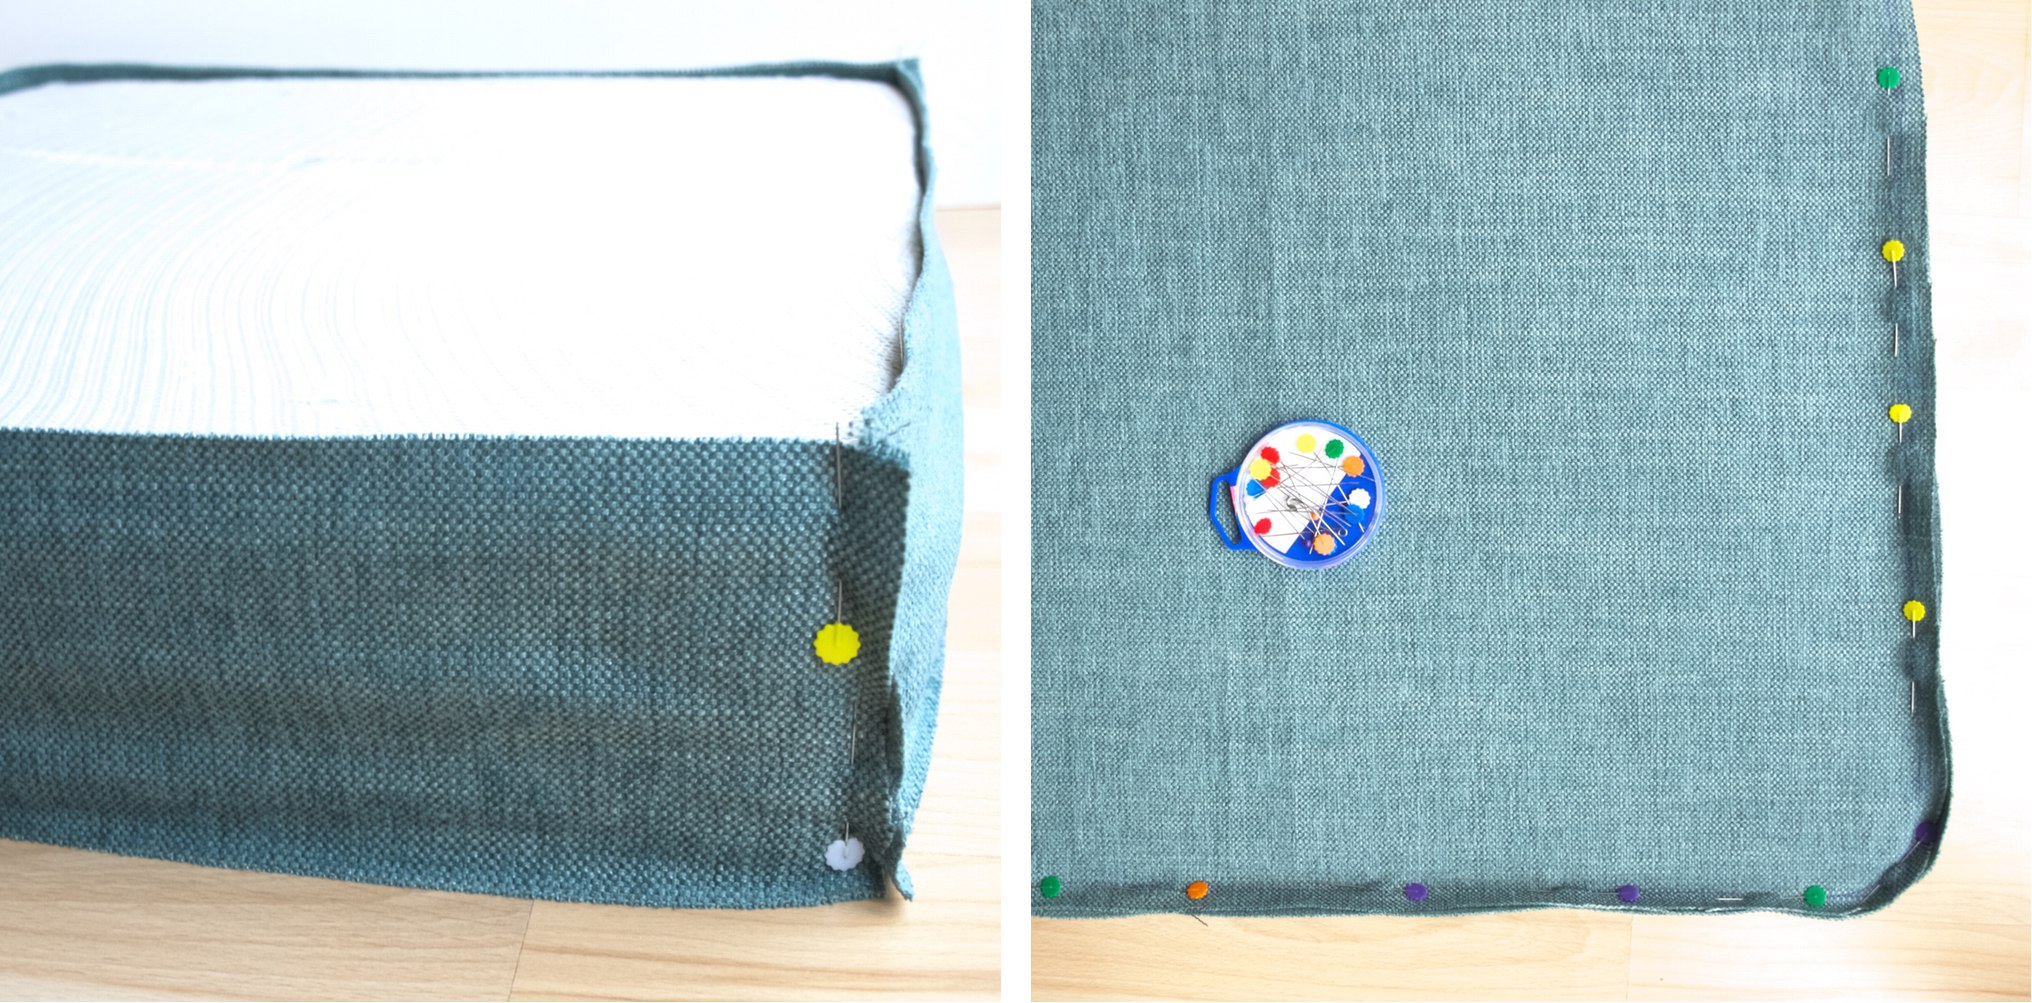 Next I turned the cushion up side down and repeated the same with the second piece as I did with the first piece. This time I left a gap so I would be able to turn the cushion cover inside out. Once the cover is finished I re-inserted the cushion and by using invisible stitch I closed the gap completely.
  My final step was to close the bottom of the chair. I used a very basic black fabric for that. I measured roughly the size and cut out the square according to that measurement. Then I stretched the fabric onto the bottom making sure the edges of the fabric are folded in.
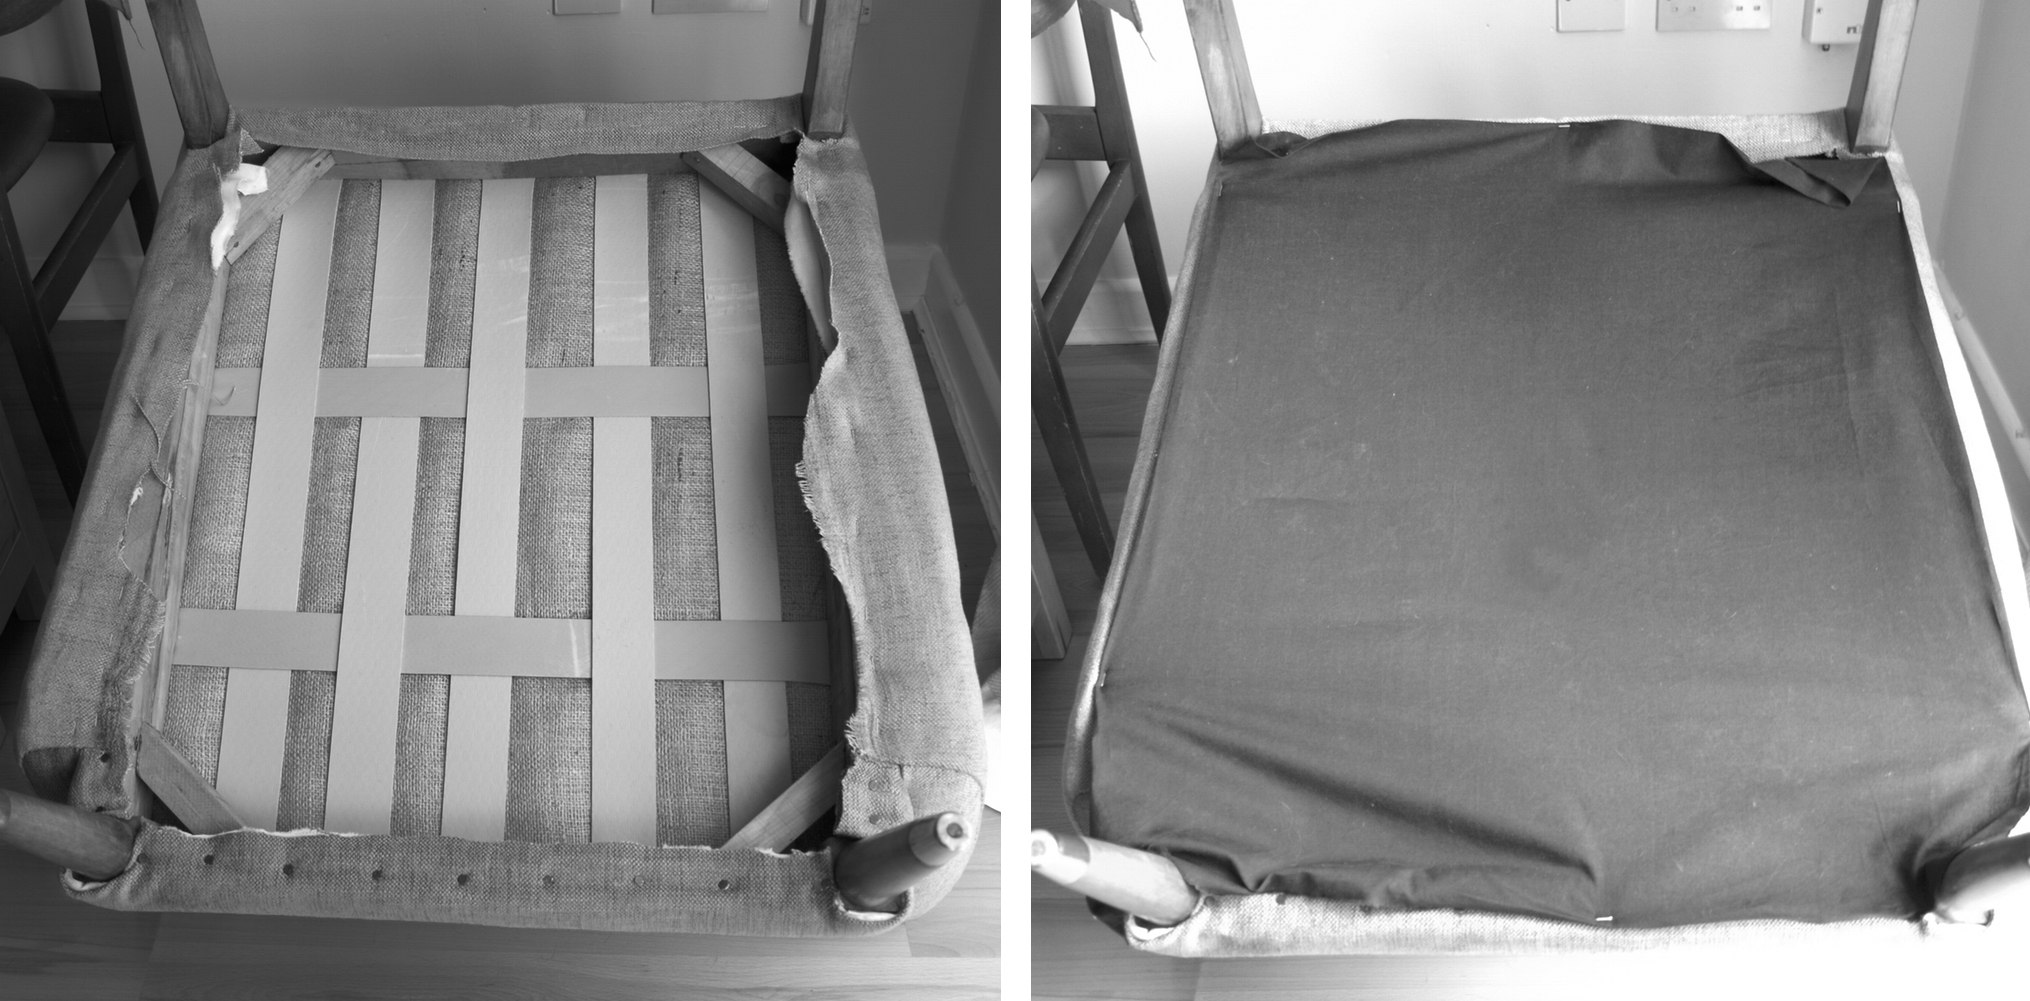 I secured the fabric by neatly stapling all over the edges.
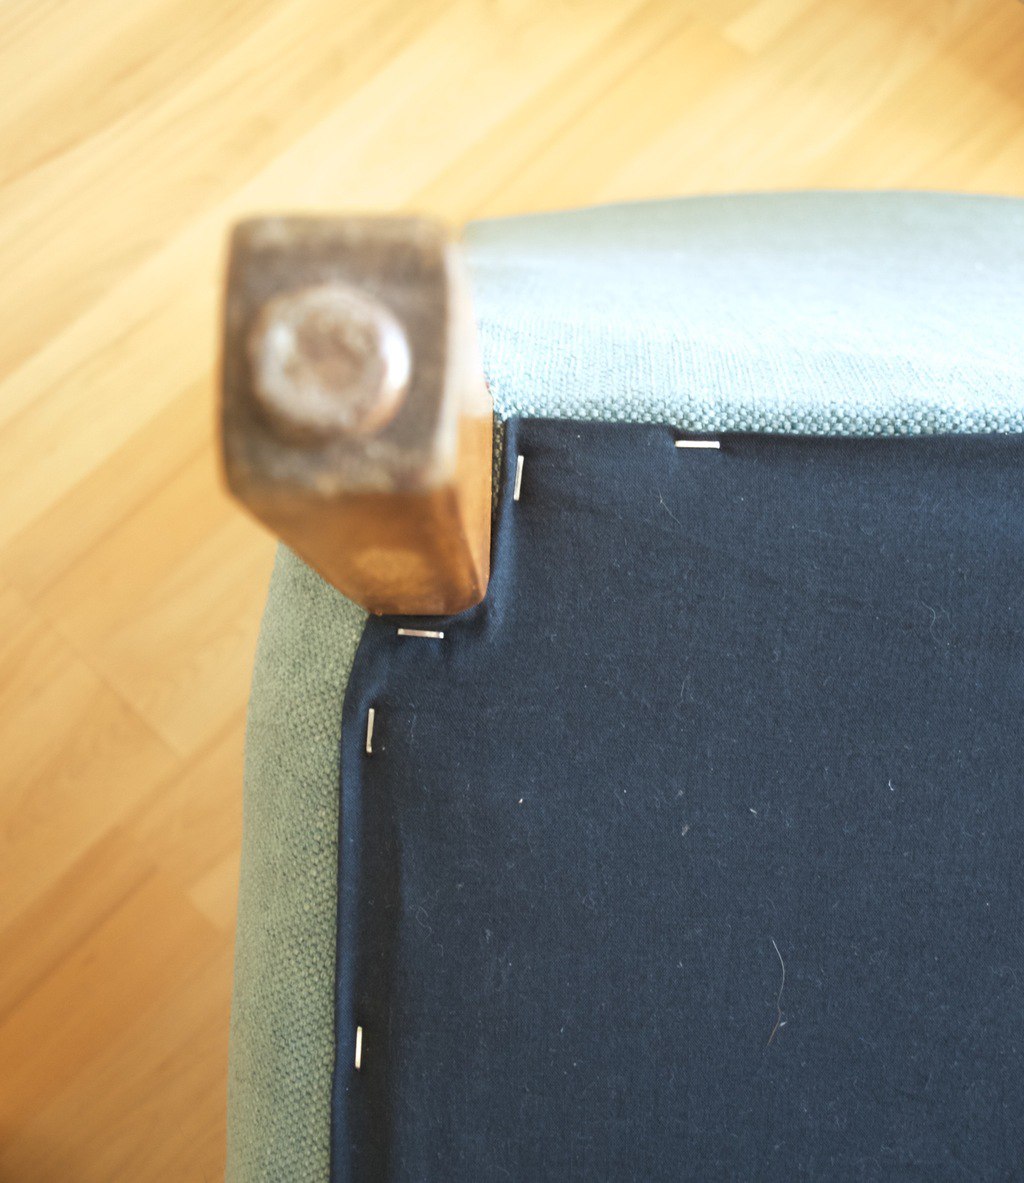 The end!
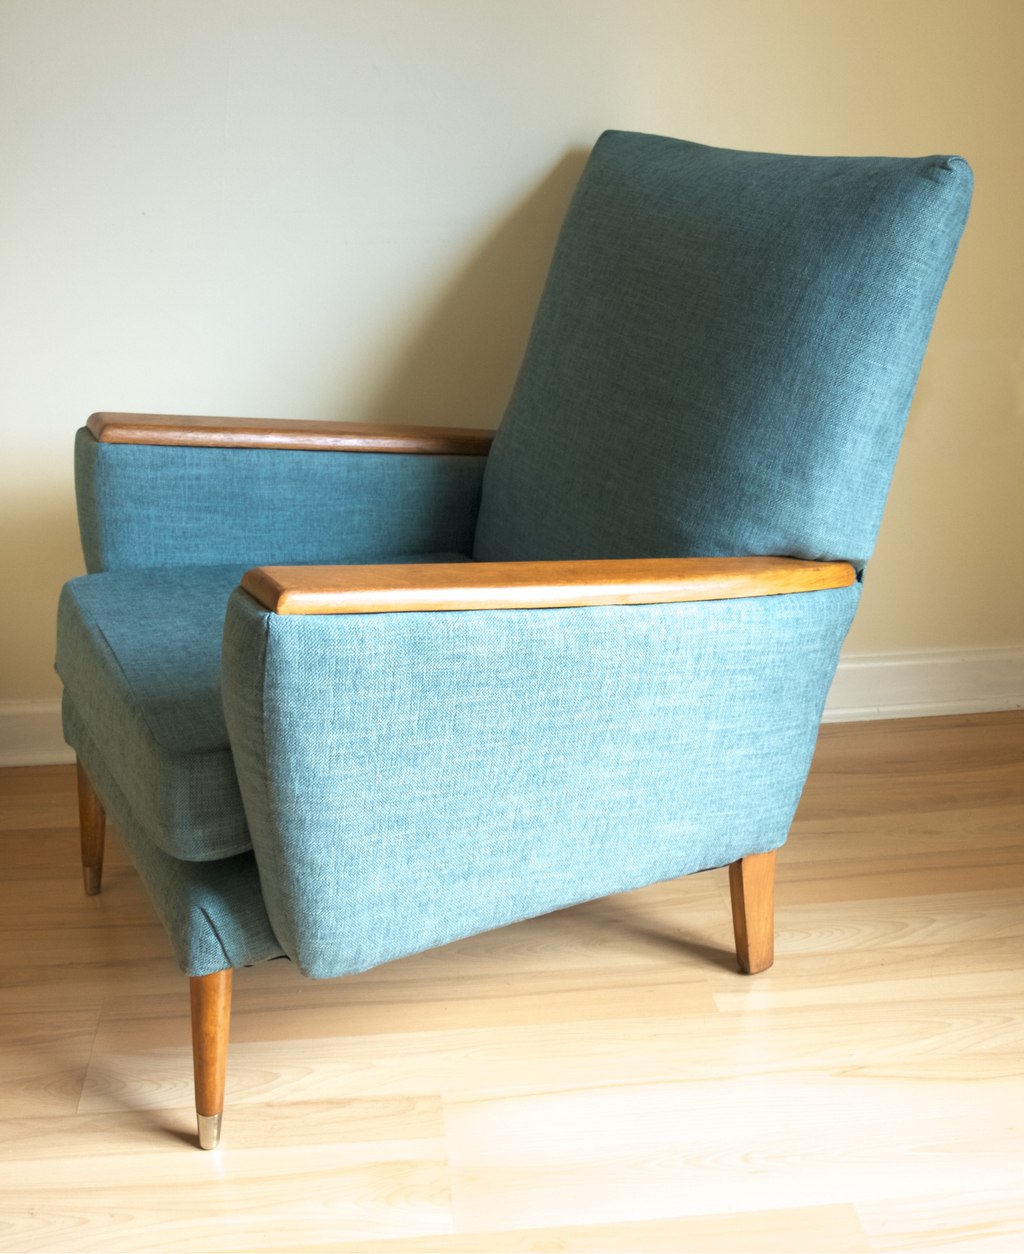 Leia is loving new chair!
 I hope you found this inspiring!
Rasa xoxo
No comments yet.