

 I will admit, this is my first time making a photo album. So I guess you are thinking why on earth am I sharing my tips on this! The thing is, when I was at Uni (studied Fashion) I did my fair share of presentations in booklet form (I don’t even remember what they were called, that was such a long time ago). They were kind of similar to a photo album. At least the planning process is the same. And this is what I am going to share here about. The way I create a layout that is eye pleasing, not just how to cut and paste.
I am using our wedding album as an example as I have been putting them together over the last few weeks.
1. Select the photos that you would like in the album. Go over couple of times to see if there are any photos that look very similar. Make sure you have a good selection of pics to tell a ‘story’ including some close ups as well as the main photos. I don’t personally like a row of pics with everyone posing in the groups, unless this is the style you are aiming for of course. Basically, aim for variation!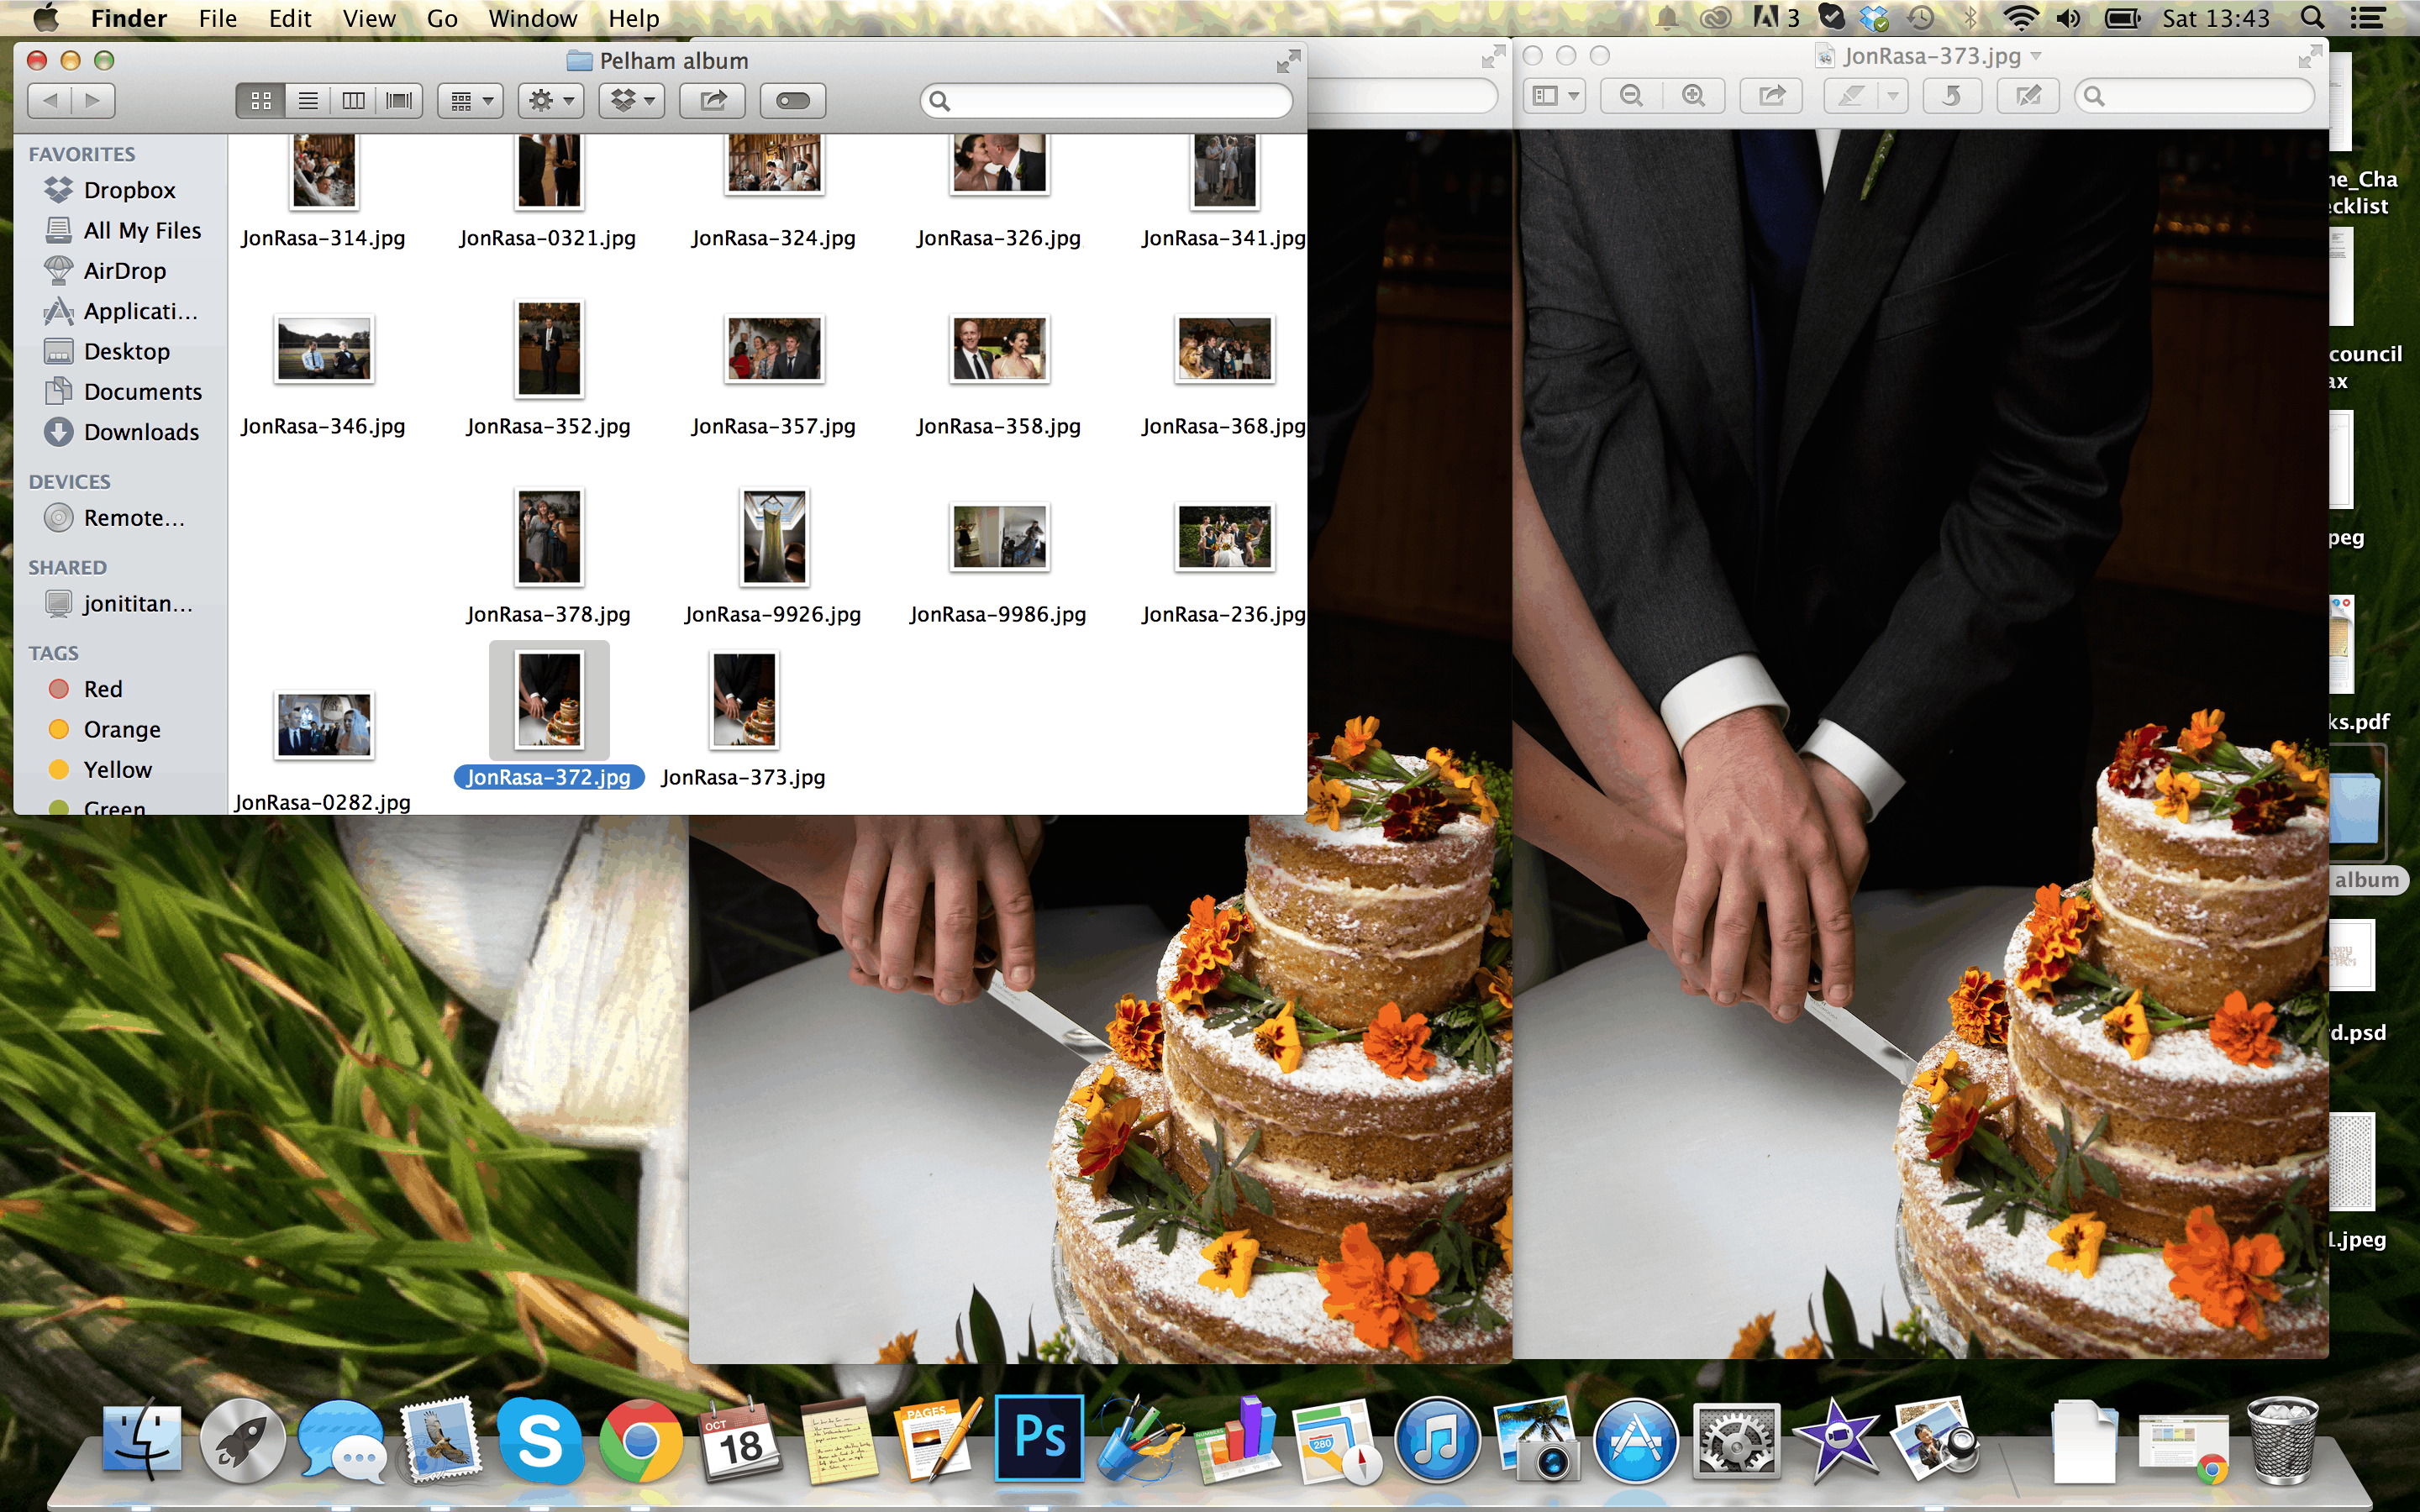 2. Organise your photos into subfolders. If you have a large number of photos (which you should as it is an album that you are making) then this is a must. Sorting your pics into chronological or some other order helps to spot even more photos that you don’t need. Having to deal with a big volume of photos can be quite overwhelming. So cutting them into smaller bites is always a good idea. Here are a few subfolders I made for our wedding album: preparation, church, bride and groom exit, church group pics and so on. I of course mixed a few pics in between the folders to make it look good, but organising photos this way helps to see a bigger picture.
 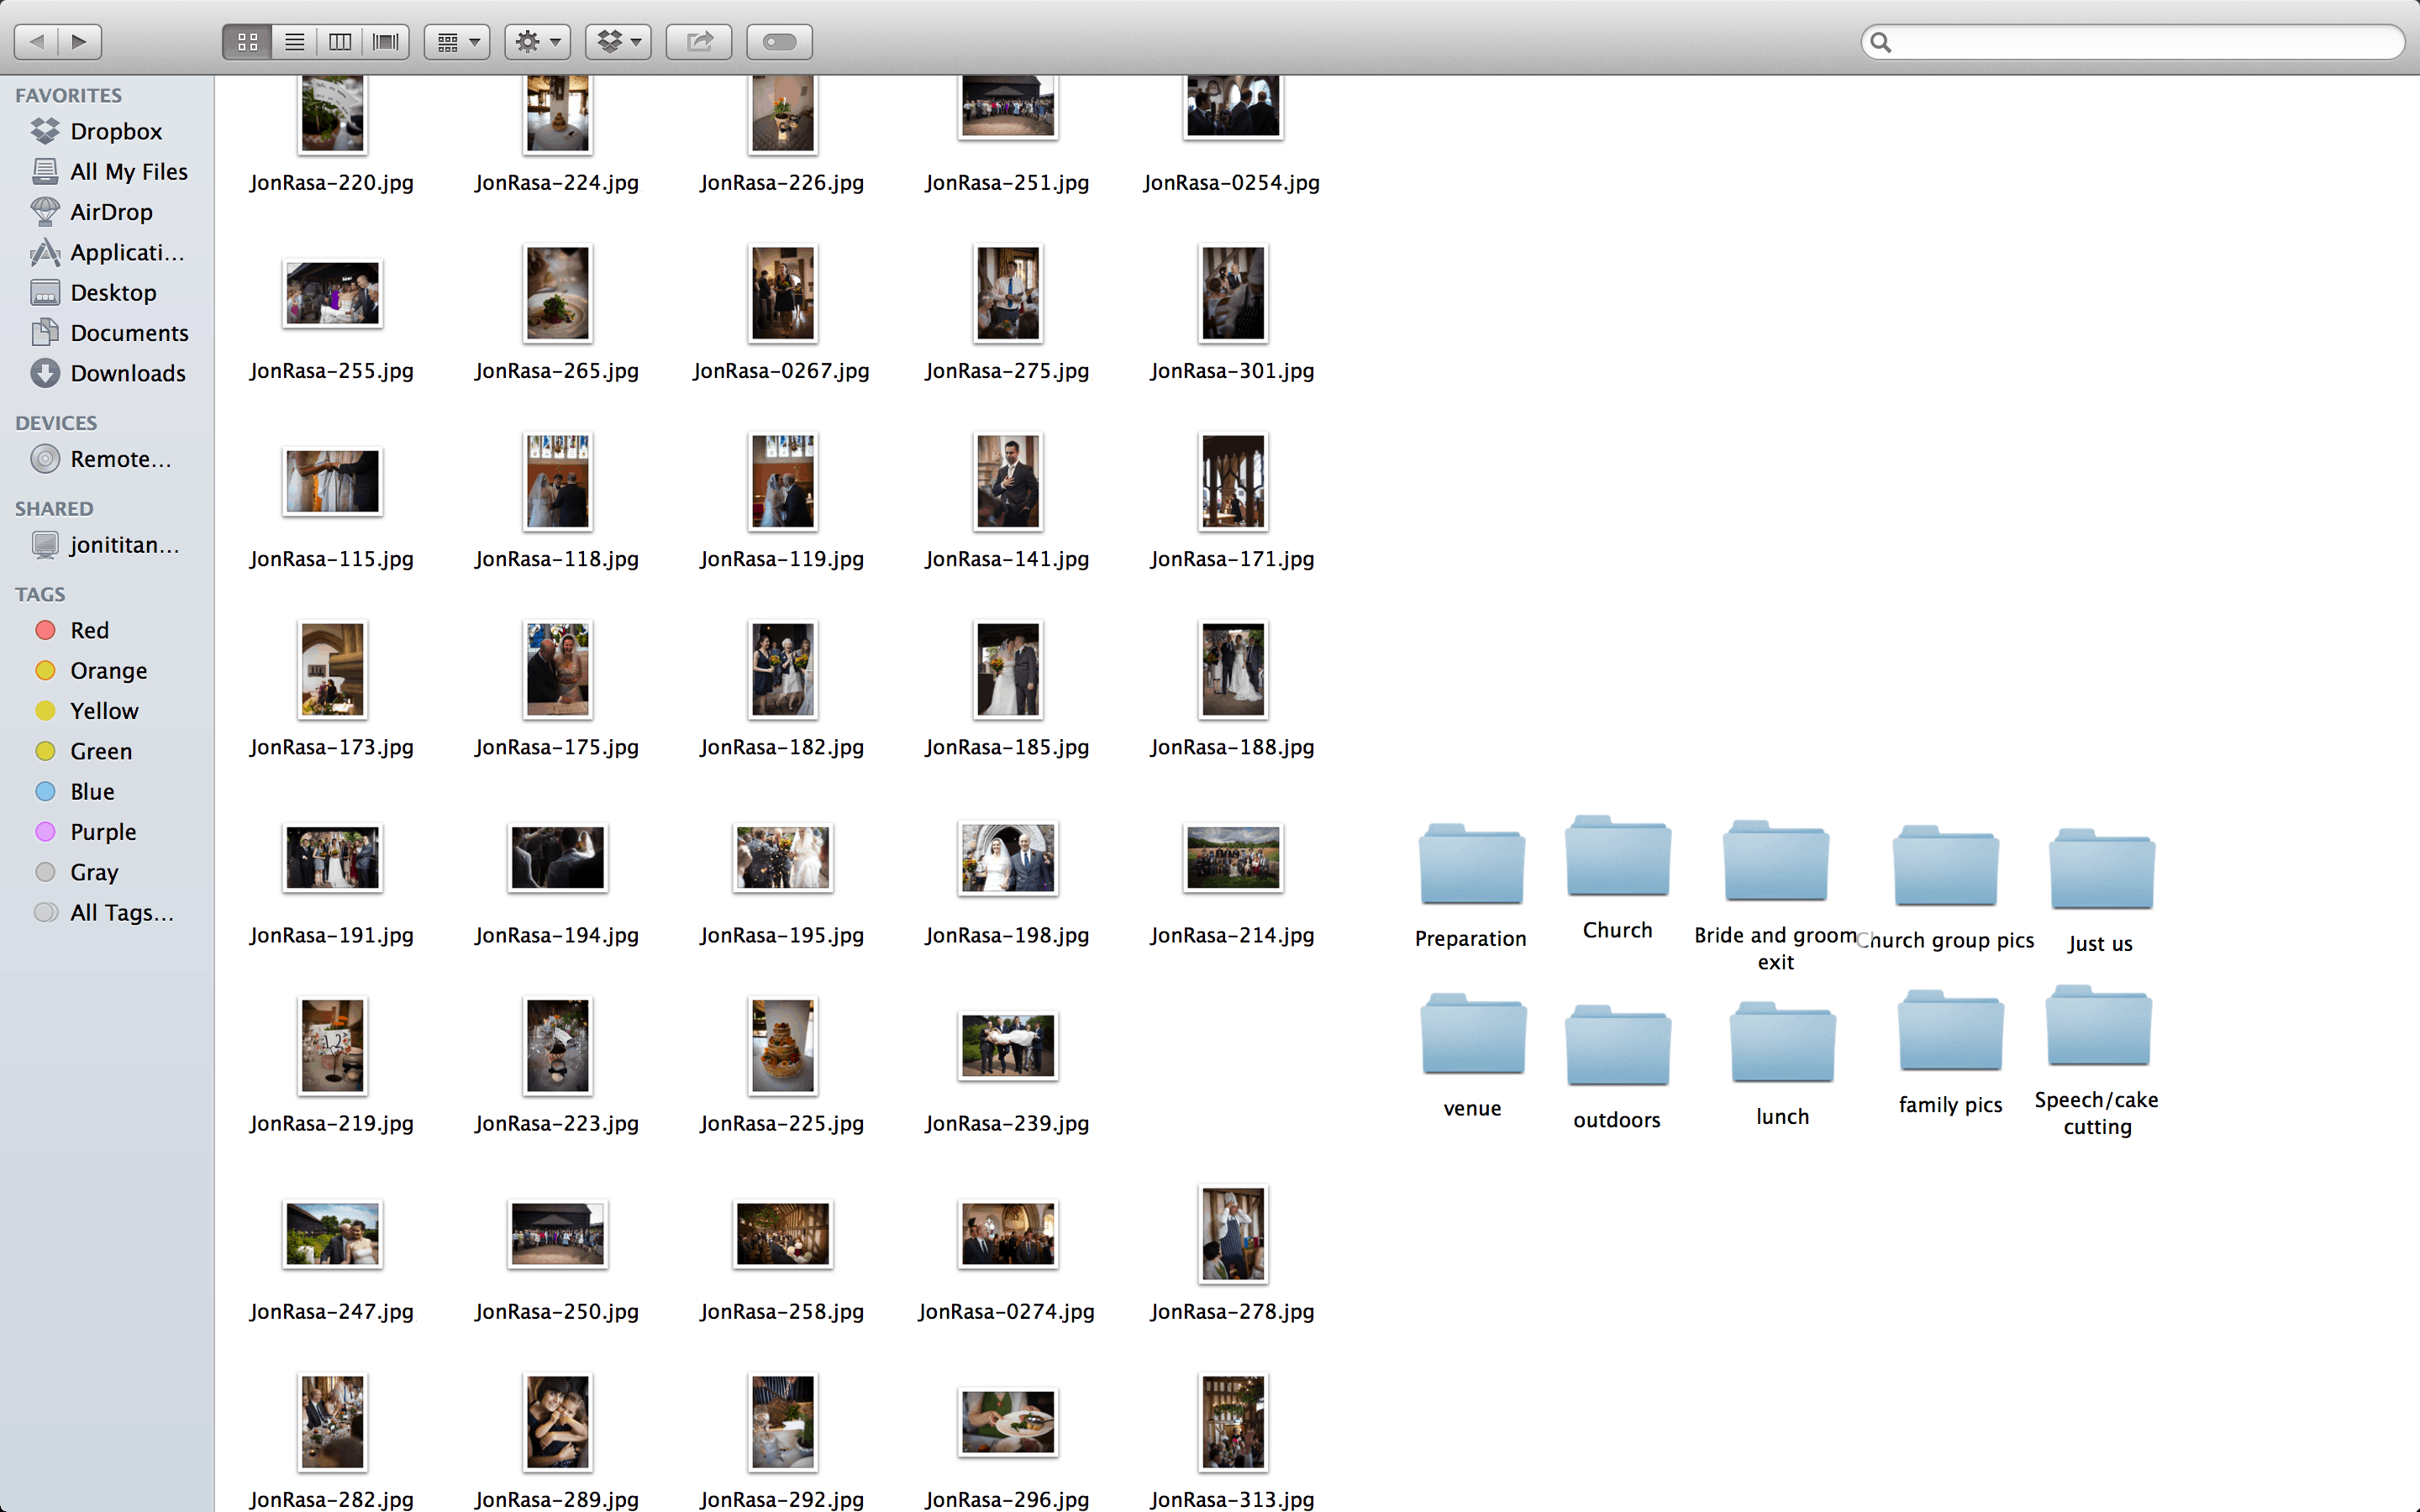 3. Create a mock up photo album on PowerPoint (or similar program). This helps you to play around with photo layouts before it is stuck in the actual album . At this stage you can also decide on the album theme and style. You can pick the font, picture frames, layout style or even small embellishments. It’s important not to overdo it and pick only a few theme details that will reappear throughout the album. Reappearing features (let it be one font type or frame style etc) connect an album as a whole from start to finish. Try to do the same with the photos, look out for similar colours and shapes and have a good variation (some close ups next to wider angle shots). The last thing I want to say is have fun with it. This is your photo album at the end of the day ;-).
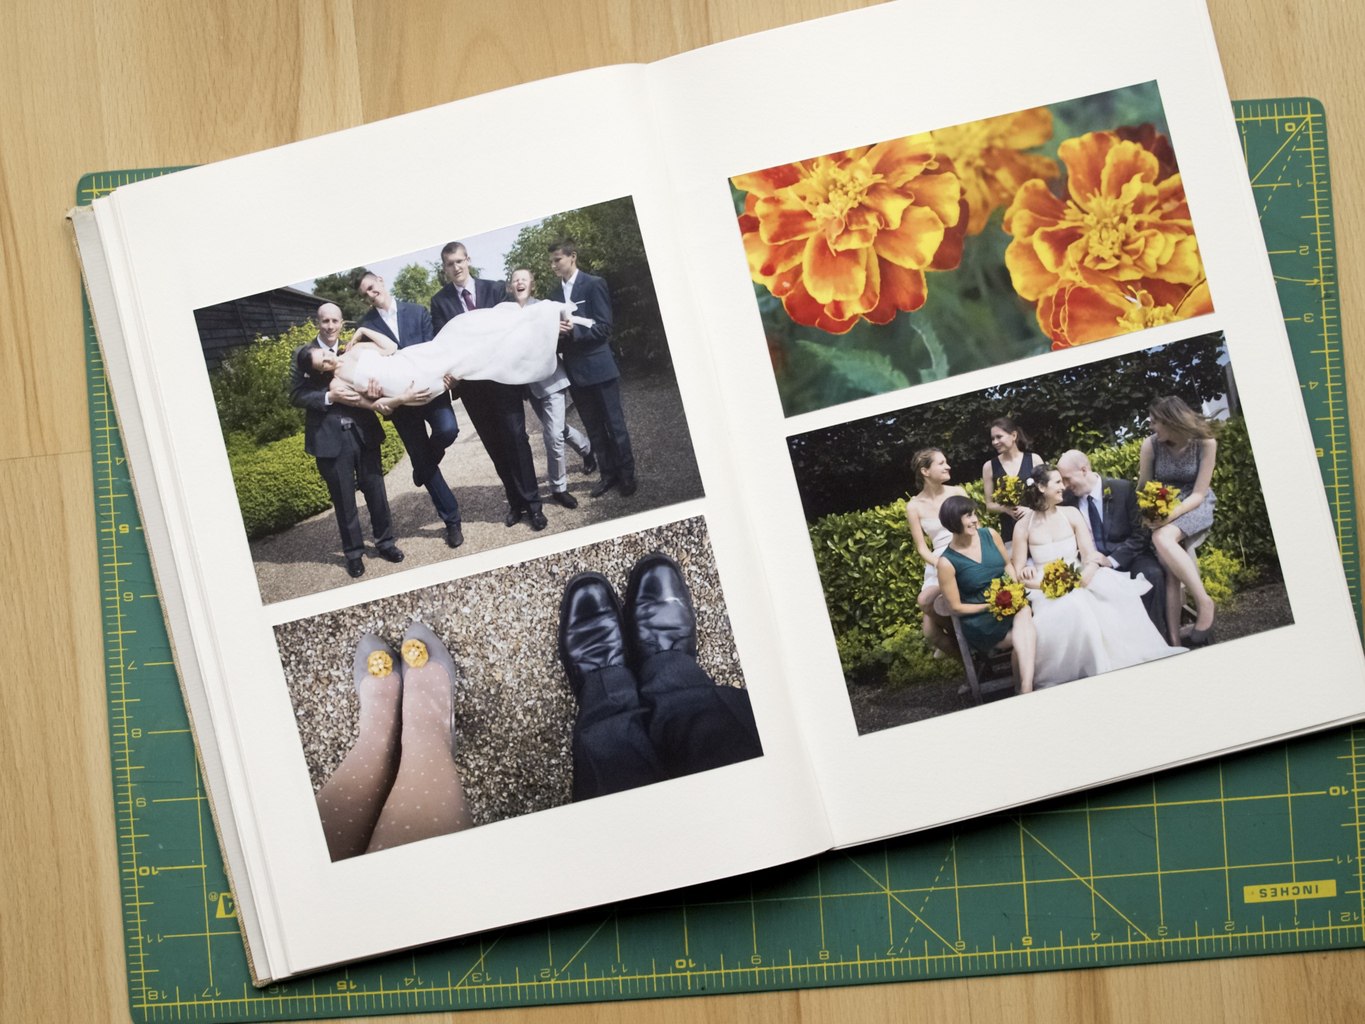
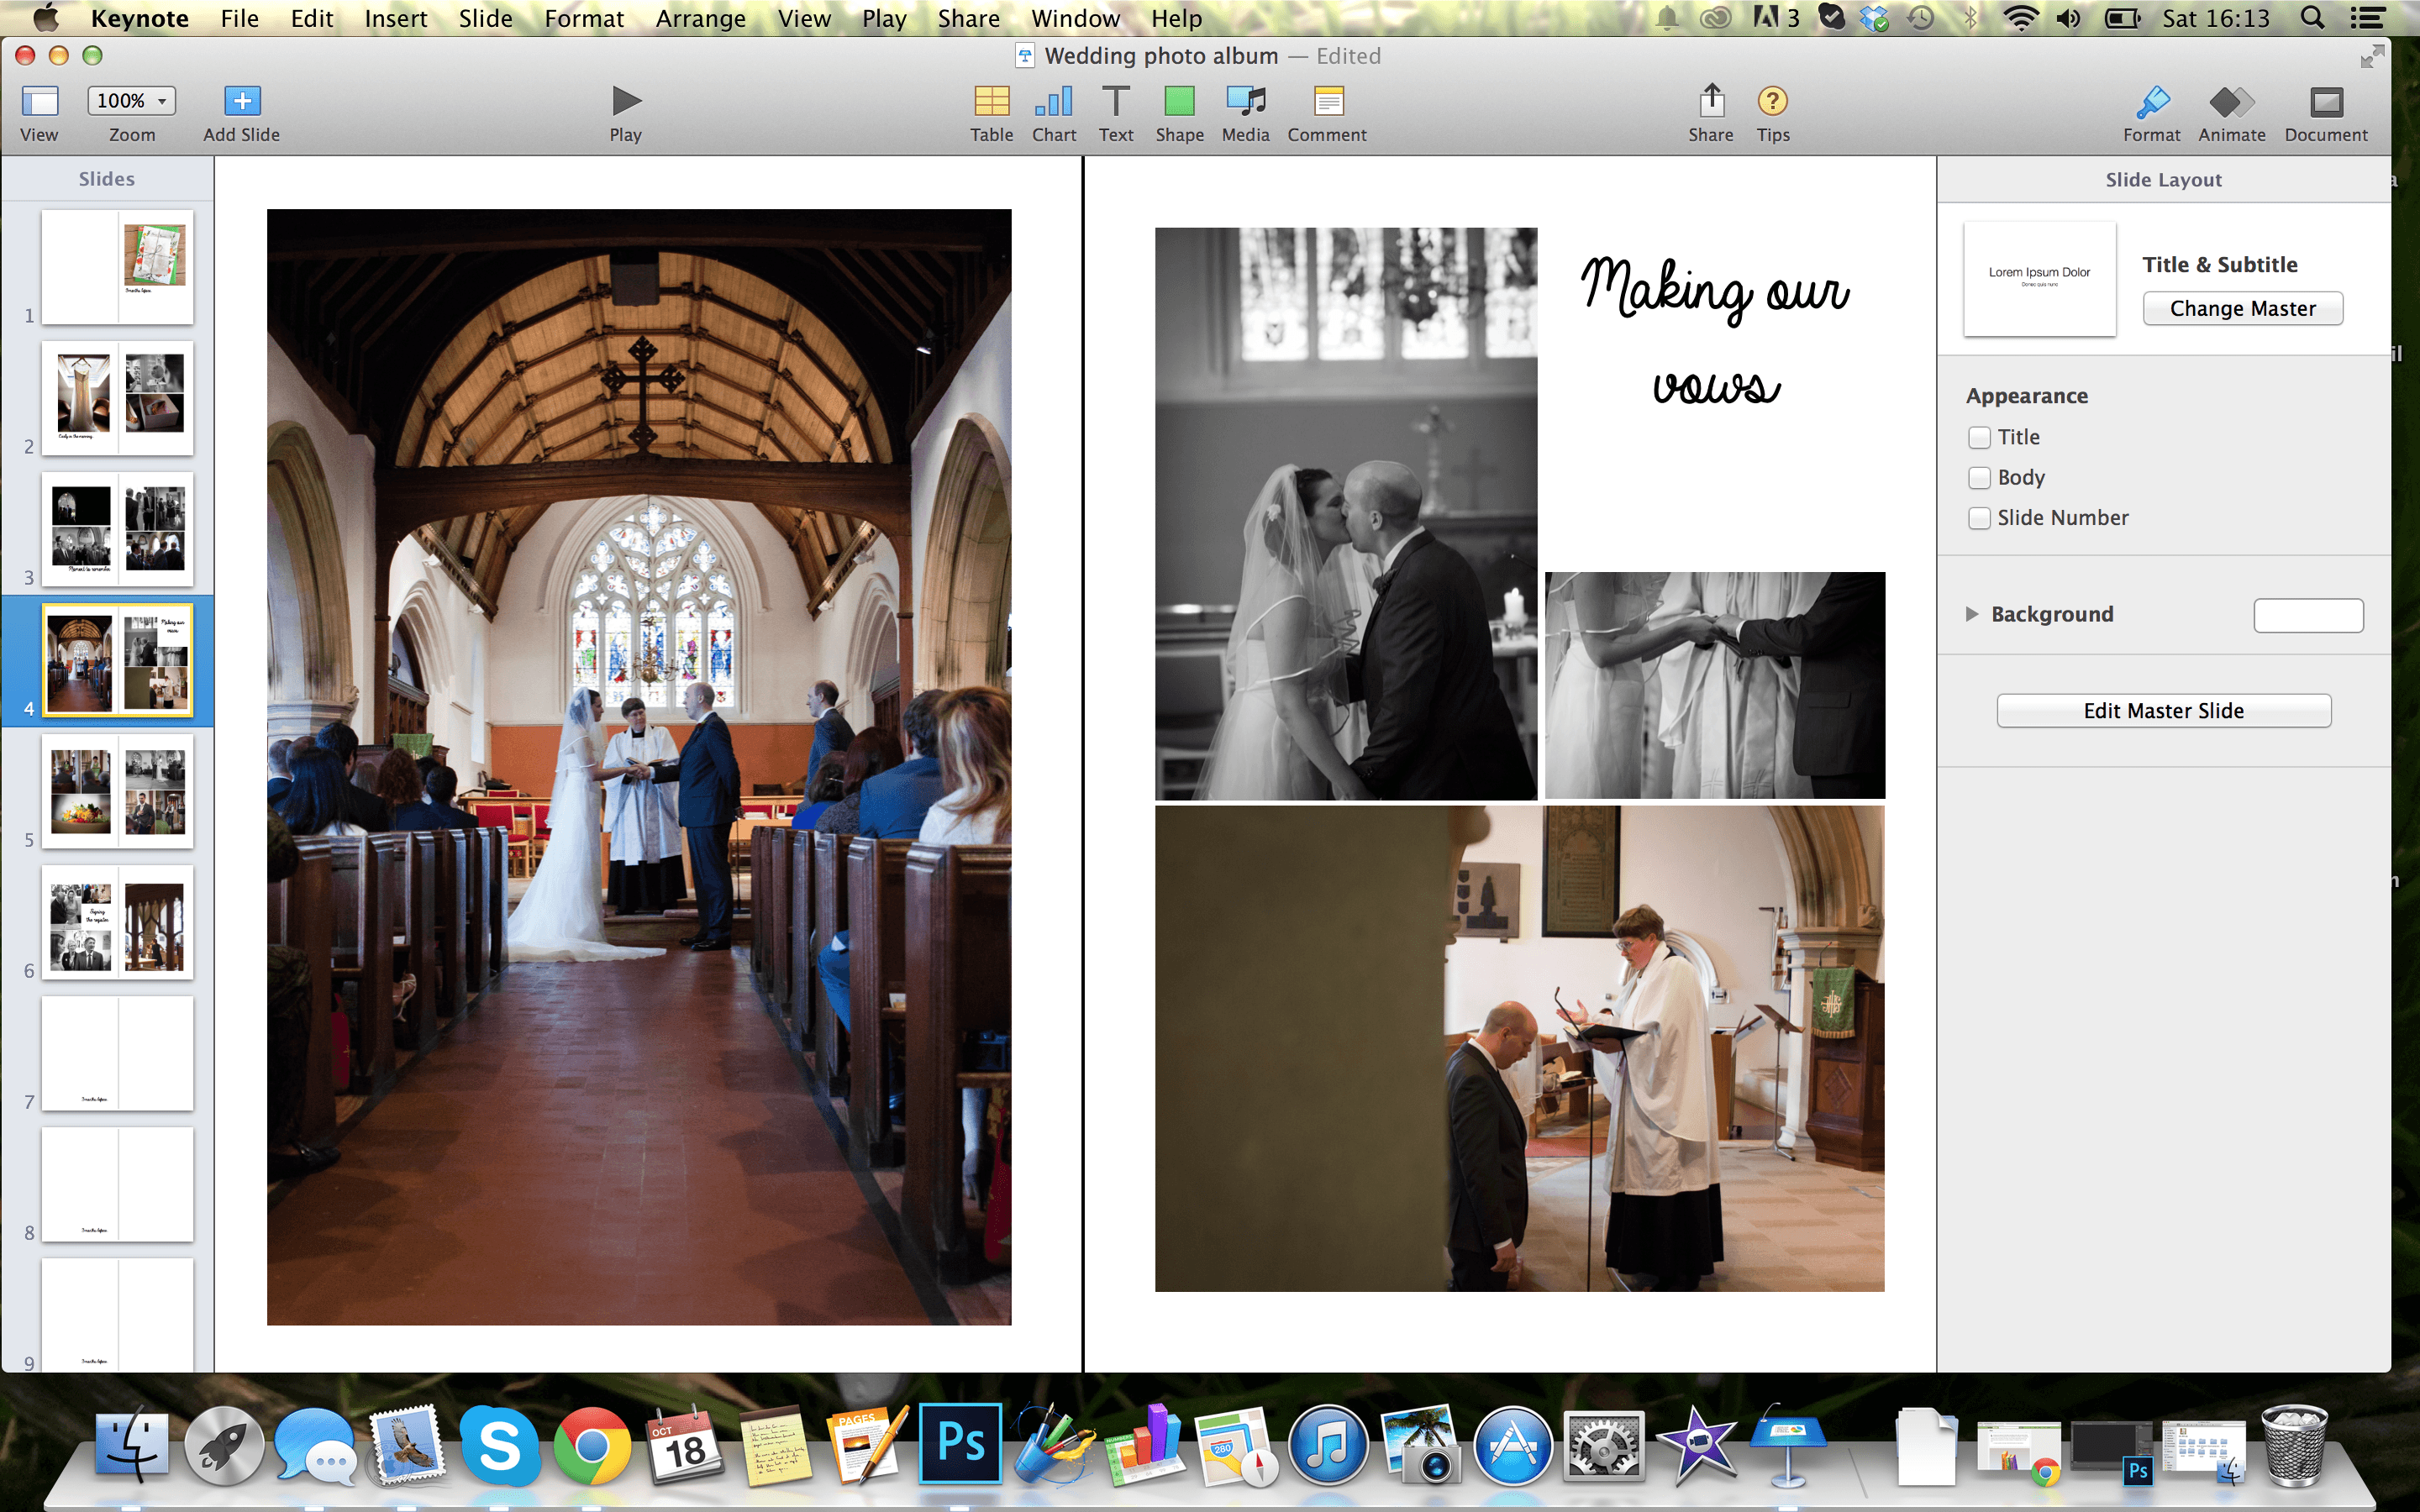 4. Cut and paste the photos in pre-planned order. This should be quite straight forward. One thing you should remember is that the layout might not look exactly how you planned, but it will be pretty close.
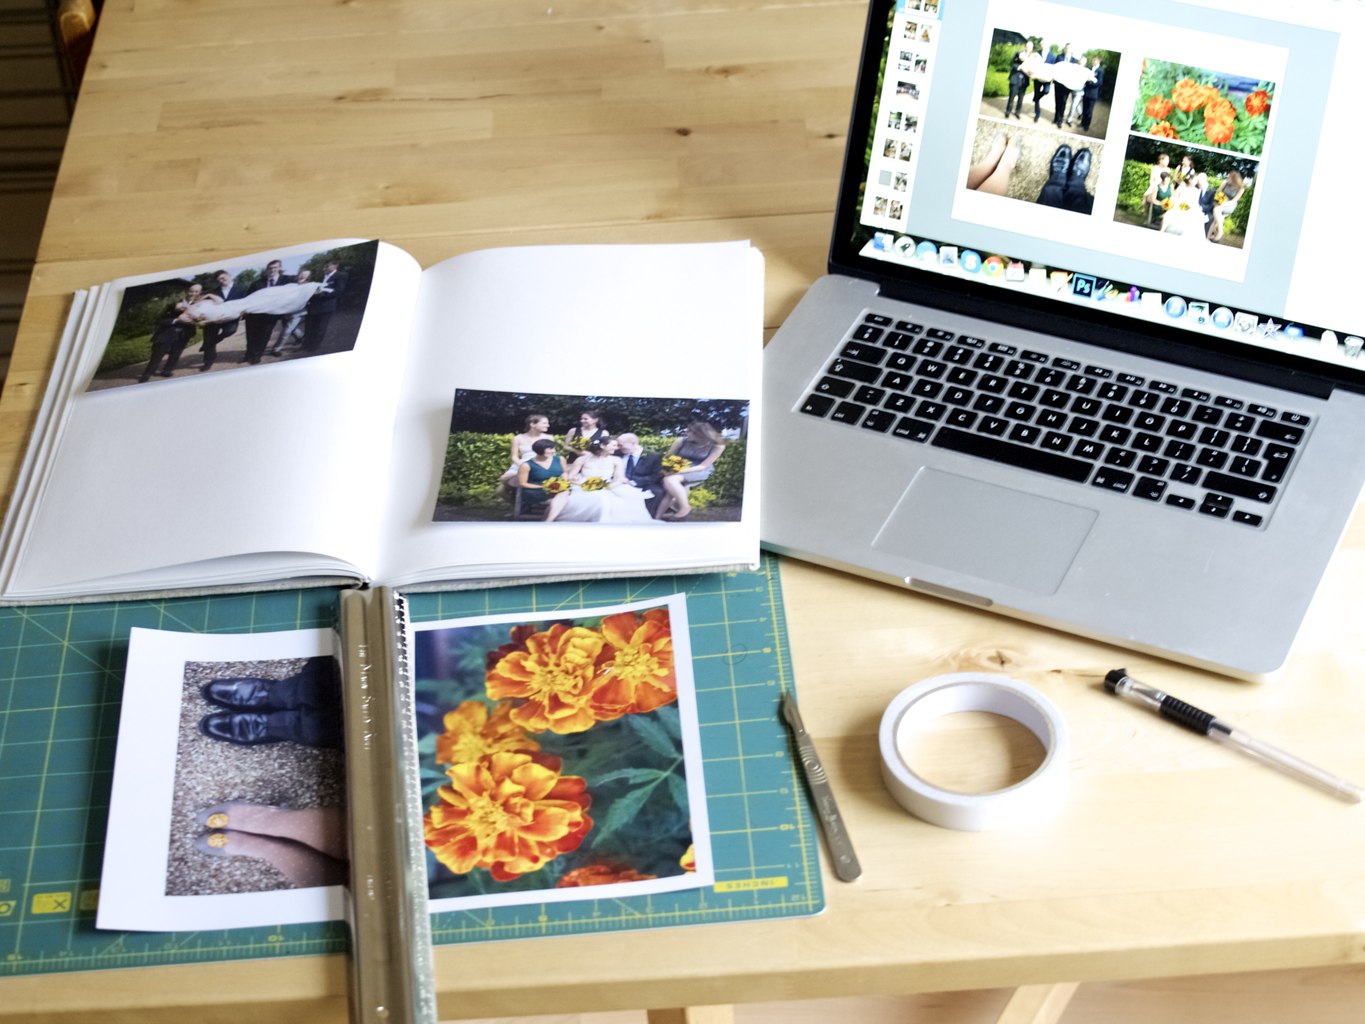
 5. Fix the unexpected issues. When you plan ahead it can help you to avoid mistakes. However mistakes do still happen. If there are any issues sometimes you have to think outside the box to creatively fix them. Sometimes the fixed mistake ends up better than the original plan. When making our album I made a mistake about the number of pages. I did not want to leave the extra pages blank as it would look unfinished. I put “to be continued…” to give a sense that the story being told in the album is still ongoing.
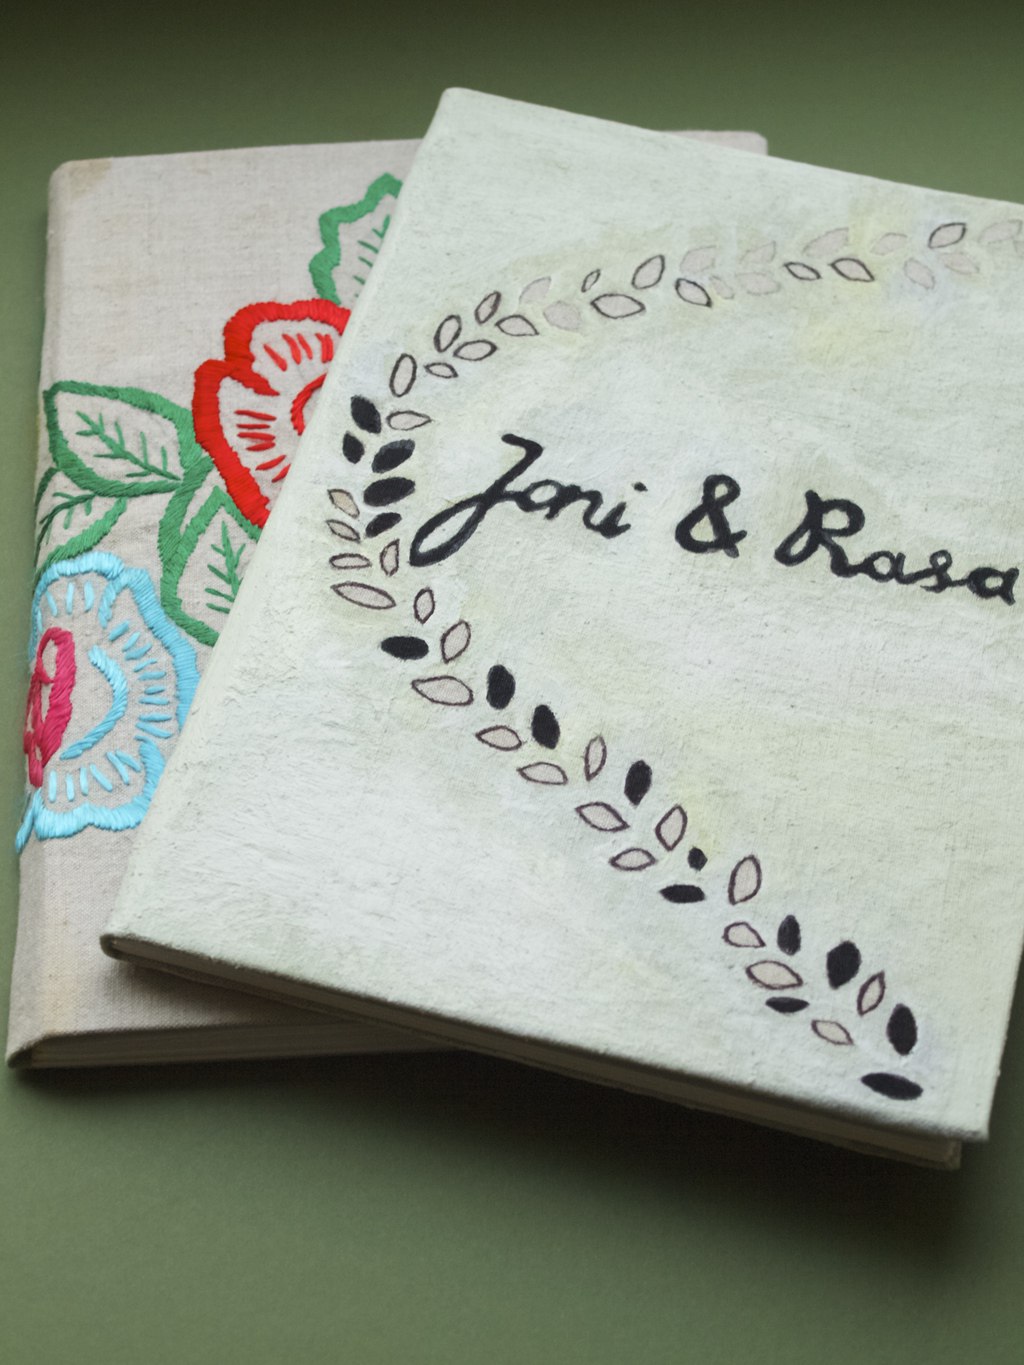
 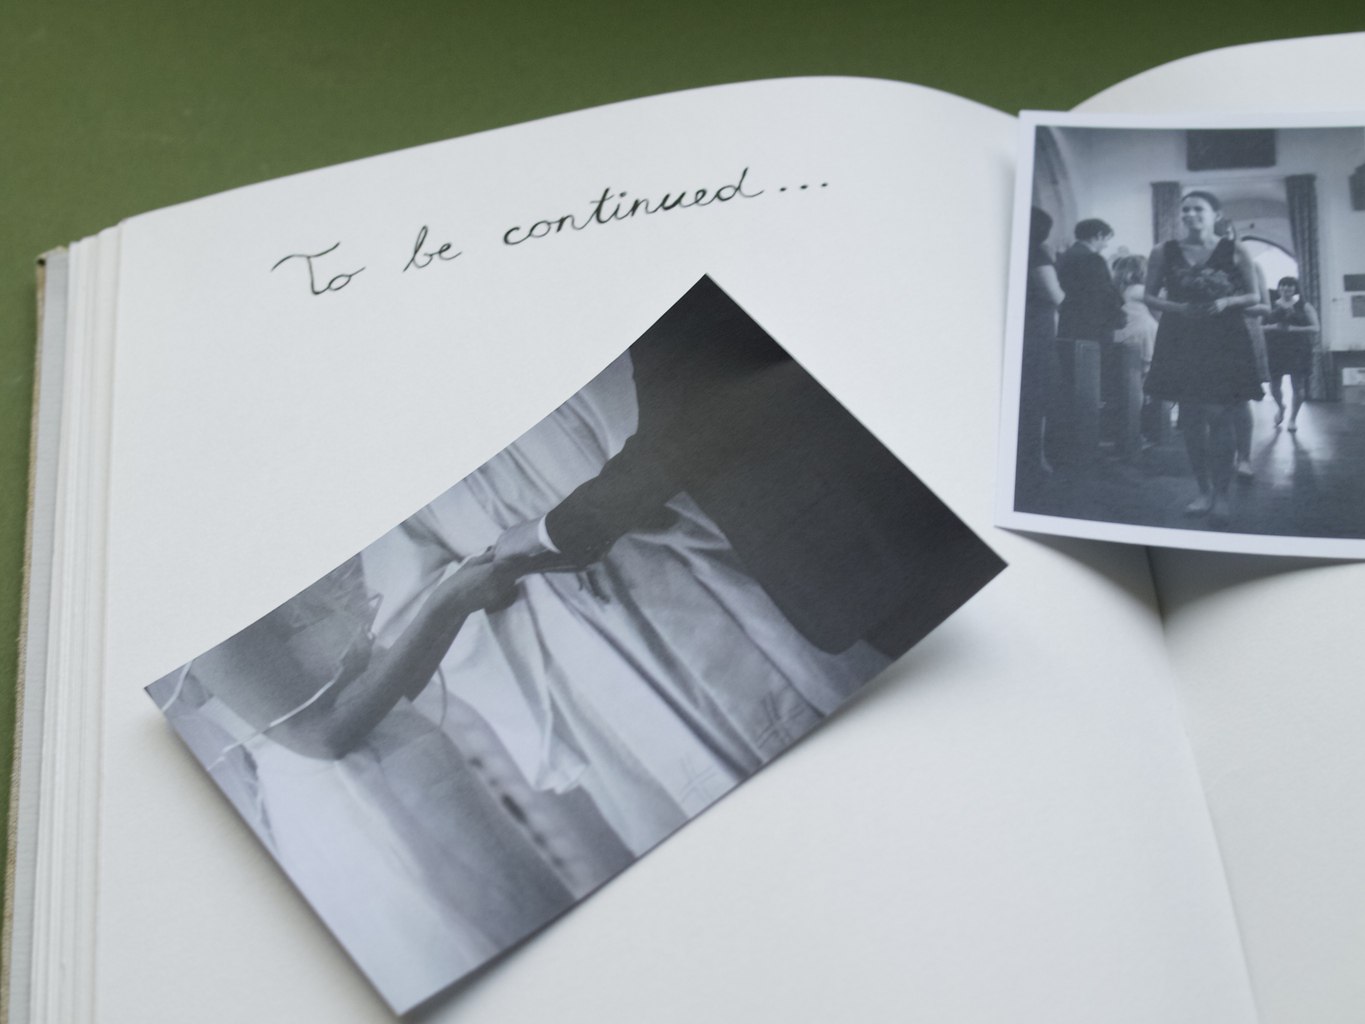 I created our wedding album in one of the hand bound books I made last week. That was great as I had complete control on how many pages to insert and what type. I could even choose the most suitable cover for our wedding theme!
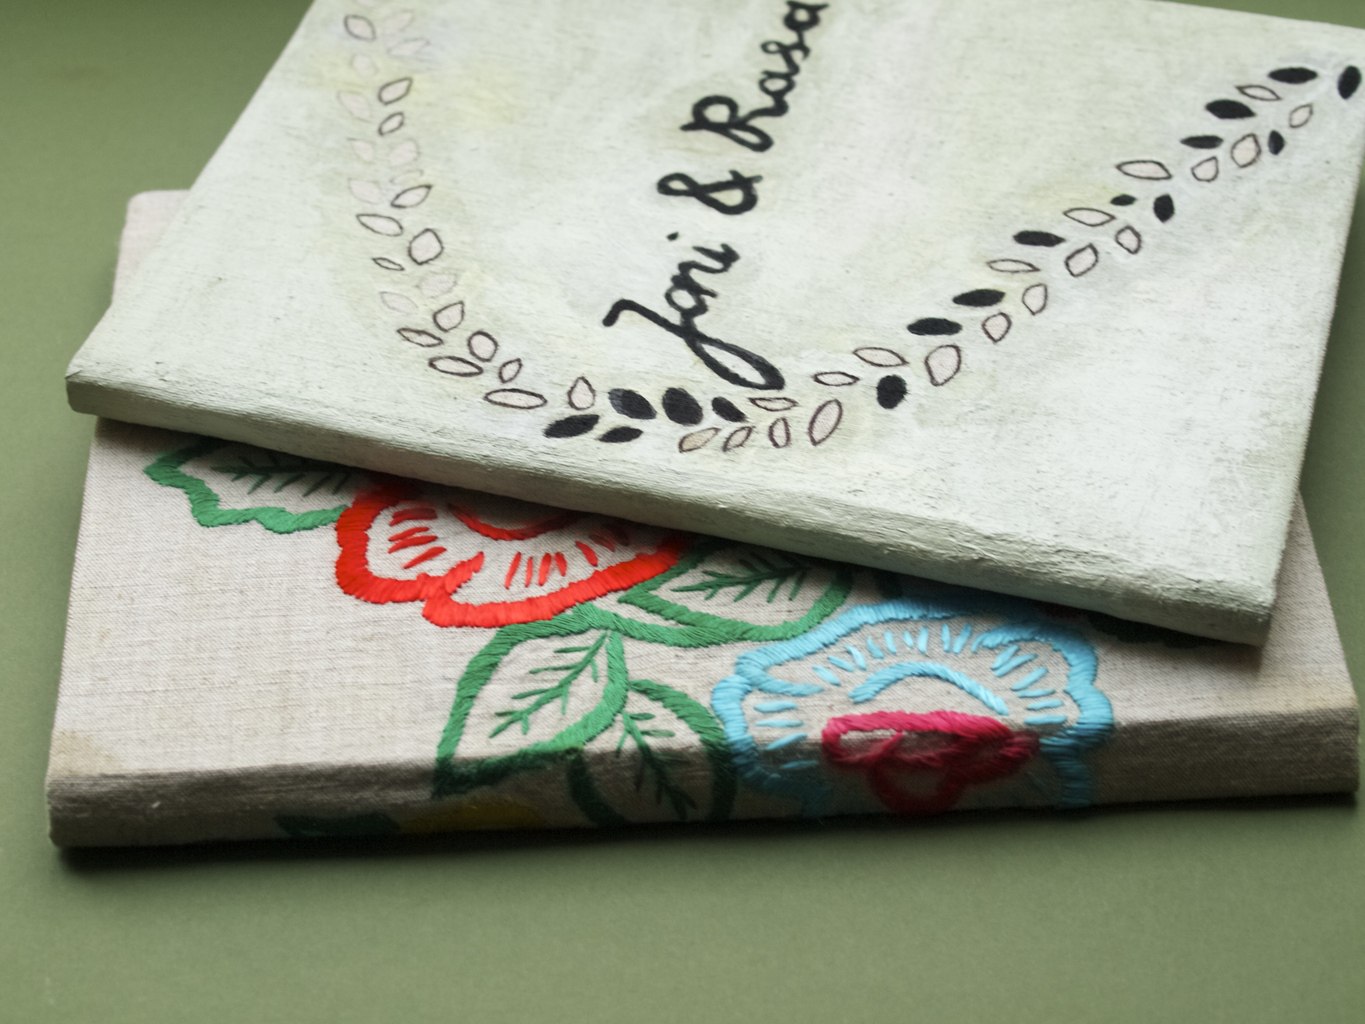 I hope this inspired you to make your own photo album!
Rasa xoxo
[…] know what sizes to aim for when you do actually print it out. I used this technique when making our wedding album and that helped me to visualise the end result much […]