Top

Archive | Blog

Winter flowers

Tissue paper flower DIY

I don’t know about you, but I have been missing flowers this Winter. I really can’t wait until the Spring comes so I can begin bringing random blossoms indoors. I made these tissue paper flowers last year for Mothers Day. Something to make while waiting for flowering season? Click here to find out how to make these colourful paper flowers :).

Happy Spring waiting :-)

Rasa

0

Popcorn for snack

Cherry and Poppyseed PopcornDon’t you just love sometimes to stay in at home, relax, play board games and watch lots of movies. My weekend was just that ;-). I often make a lot of snacks to go along with this type of indoor entreatment. Popcorn is often the most popular one as it is so quick and easy to make. Cherry and poppyseed popcorn is my favourite, simply because it is sweet and on the healthy side (if you exclude all the sugar).

Cherry and Poppyseed Popcorn

CHERRY AND POPPY SEED POPCORN                                                                                                           (serves 2 people)

  • 2 tbsp popping corn
  • 1 tbsp oil
  • 2 tbsp golden syrup
  • 2 tbsp golden sugar
  • 2 tbsp poppy seeds
  • 2 tbsp dried cherries

1. Pop the popcorn. Just drizzle some oil into the sauce pan, drop the popping corn in, cover it, heat the pan and wait :-).

Popping Popcorn :-)

2. Add the rest of the ingredients into the popcorn pot. If the pot is really full (like in the pic above) than place everything into the bigger bowl. Combine everything well.

Have a lovely week

Rasa x

0

Starting tomato seeds 101

Tomatoes 101Visiting Eden Project has inspired me to think about gardening a little bit early this year. Tomatoes came first to my mind. Although I have grown them for few consecutive years I have managed to make many mistakes along the way. One of the mistakes I have often made is that I started the seeds quite late. growing tomato plants indoors under less than optimum conditions (less light and lower temperatures), you can expect each growing stage to progress somewhat more slowly than normal. I of course did replant ready tomato plants outside, but they often struggled to produce fruit (not veg) before the autumn. So I decided to follow my grandma’s example this year, who starts the tomato seeds right in January. I know I know, the tomato seed packaging disagrees with this, but I think it’s worth a shot!

Since I did not find any degradable seeding pots to buy in the shop at this early season, I have made them myself (really proud!). I used empty toilet paper rolls for this. I folded in on one side (pics.2-5) and flatten it from the inside (pic. 6).
Making degradable potsI have placed ready pots into the plastic container ready to be filled with compost :-).
tomatoes 101

Next step is to fill the pots with the compost and sprinkle the seeds on top. I often have little faith in the seeds thinking that many of them won’t sprout. In many of those cases I am wrong as many of them come out and I end up pulling the access sprout out.

tomatoes 101

Finally cover the seeds with the little compost (1cm layer maximum) and place the pots on the windowsill.

Enjoy this mini session of gardening ;-)

Rasa xoxo

3

Eden Project

Eden Project

Visiting Eden Project in winter is great (especially when my boyfriend organised it)! When you feeling chilly and summer holidays seems so far away this is a perfect place to hang out :-). To visit Eden Project has been my dream for so many years! I was quite amazed by the structure of Biomes. Although it is warm enough in the Rain Forest Biome, we are hoping to visit it in summer when the plants outside are in full bloom. Hopefully you will enjoy this quick Eden Project tour and the pics will speak for themselves :-).

Eden Project Eden Project, Rain Forest Eden Project, Rain Forest Eden Project Eden Project Eden Project Eden Project Eden Project Eden Project Eden Project

Happy Wednesday!

Rasa xoxo

1

2014 goals made simple

2014 goals made simple

I don’t know about you, but it became my tradition to write New Year’s resolutions on New Years eve. Although the goals I have written down in the past for the new years never lasted (such as eating healthier), I always liked the idea of giving a chance to new habits while getting rid of the old ones. Can you relate to this? This year somehow is different, I struggled quite a lot to think of any goals mostly because there were many exciting changes last year. Meeting someone really amazing is one of them!

So I came up with these simple goals! Simple goals sometimes are the most effective they say ;-).

Happy New Year!

Rasa :)

1

Wishing you an organised New Year!

fabric covered diary DIY

I love being organised! That’s why buying new diary just before New Year Eve is my tradition. This year is slightly different however… I could not find a diary that I liked, so I have covered a basic one myself. Really pleased with the outcome :). Go here for DIY instructions!

fabric covered diary DIYHappy New Year!!

Rasa xoxo


1

Christmas spirit

Glitter Bird Decoration

Last week I have made these glitter bird decorations which did look super cute with the rest of the decorations :-). I suppose everyone is sorted with their decorations so I don’t suggest changing everything completely! But if you do want extra christmas spirit and would love to make those then click here!

glitter bird decoration

glitter bird decoration

Merry Christmass!

Rasa :)

1

Cranberry snowballs

Cranberry snowballs as a gift

Today I would like to share about my favourite childhood sweet, the cranberry snowballs. I just remembered how I used to be able to eat the whole box in one go!  Really missing them as I have not seen them in shops for a while. Turns out that they are very simple and really easy to make so I just made a batch today :).

cranberry snowballs as a gift

CRANBERRY SNOWBALLS

  • 150g fresh cranberries
  • 1 egg white
  • 1 cup icing sugar

1. Wash the cranberries and dry them with paper towel.

2. Meanwhile, lightly whisk the egg white in one bowl and sift icing sugar into another bowl.

3. Dip the cranberries in egg white and then roll them one by one into the icing sugar.

making cranberry snowballs

Place coated cranberries on baking sheet and bake them in 80C oven for 20 min. Leave it to rest for few hours before packaging them.

making cranberry snowballs

Enjoy

Rasa :)

0

Christmas waiting starts now!

Advent Calendar houses

Hey! Its officially winter as we enter into December :). I have been making advent calendar today as it’s also a first day when we start counting days until Christmas :). Yey!

To make yours just cut out a house template here, customise it by using colourful markers, add a day number and fold it on the dashed lines.

making paper house envelope

Stick double sided tape on the back and join both sides to form an envelope.

making paper house envelope

Insert a biscuit or a little treat for each day :).

making paper house envelope

Staple a string on top as well as sealing the envelope. Now it is ready to hang!

making paper house envelope

If you enjoy cookies then you should defiantly check out our bakery site. Sale on biscuits will start tomorrow ;).

Friendly Nettle Bakery

Happy Christmas waiting!

Rasa

0

Gift idea for teens

gift idea for teens

To be honest, I struggle every year on what gift to get for my teenage brothers. I am sure this is a struggle for everybody! I guess their wishes are often expensive and they certainly are not as excited about handmade gift as you are. So this year I have decided to give my brothers something funny, small and most importantly low in budget. I have bought many little gifts from Tiger including neon sticks and fake dog shit :D. If this is the way you want to go this year, than I also suggest visiting good old Poundland.

gift idea for teens

To package your gifts is easy. Here are the DIY instructions for mini gift boxes.

I hope you are inspired ;)

Rasa

1

Blueberry mulled wine

Blueberry mulled wine

During weekend we visited Winter Wonderland in London Hyde Park, which was really fun evening out. I even had my first mulled wine there! One thing I noticed that there are many flavours of mulled wine, well beyond the original spiced warm wine drink. Here is my new version with blueberries.

blueberry mulled wine

BLUEBERRY MULLED WINE

  • 1 bottle of red wine (I used Merlot)
  • 500ml apple juice (not from concentrate and good quality)
  • 60g caster sugar
  • 1 cinnamon stick
  • 2 star anise
  • 1 vanilla bean (already used)
  • 1 tsp fresh grated ginger
  • 1 orange
  • 2 handfuls blueberries (can be frozen)
  • 2 shots of vanilla rum (optional)

1. Pour the wine and apple juice into a large saucepan and add the sugar, cinnamon stick, star anise, vanilla bean and grated ginger. Heat gently, stirring time to time, until the sugar has dissolved.

2. Just before serving, throw in sliced orange, blueberries and vanilla rum.

Enjoy your week!

Rasa

0

Real christmas tree is here!

Christmas tree to be decorated

Hey all! I have bought my christmas tree as I dreamed this year. Do you think that’s too early? I am really excited and can’t wait until I start decorating it! Decoration ideas will follow soon ;).

Christmas tree to be decorated

Happy weekend!

Rasa :)

0

Friendly Nettle bakery is open!

Friendly Nettle Bakery

We have been baking for local cafes for half a year now and we really wanted to start baking for you personally…. Well, we are almost there! Check out our new bakery website ;)

Although we are not quite ready to accept payments, that should be sorted really soon! So if you have a get together with the girls or a bigger event or whatever a reason, gives us a shout and we will deliver :).

Friendly Nettle Bakery

Rasa xoxo

0

Upcycled crochet stars

Upcycled star garlandI always have lots of yarn stash to knit with. This project is perfect to use up small amounts that are hiding in your basket. To crochet these stars I have used a string that I have been collecting from Abel&Cole veg boxes. So that makes them upcycled too! Click here for a full DIY instructions.

Rasa xoxo

0

Bread baking

Potato bread

For those who don’t know I have learned bread baking two years ago. My first bread loaf I have tried baking from scratch (not with the help of machine) was a potato bread! After few courses and lots and lots and lots of  practice I finally developed a good technique that works with a lot of bread recipes. That of course allowed me to customise my bread as much as I want by adding different flavours and ingredients. Exciting!

Do you have your favourite bread type, flavour or even recipe. Please share here with us. Would love to see!

For those who are complete beginners in baking bread than I defiantly recommend Craftsy online baking course. It’s so useful to know all the stages of bread baking, just think of possibilities! In fact there is a great offer going on right now, you can get Craftsy 25% Off Food Classes during November. And if you are feeling lucky then you should defiantly give a try and participate in Craftsy contest for a chance to win a free Food Class by sharing you own favourite recipe (not only bread) on Craftsy Recipe Sharing Submission Page. Good luck!

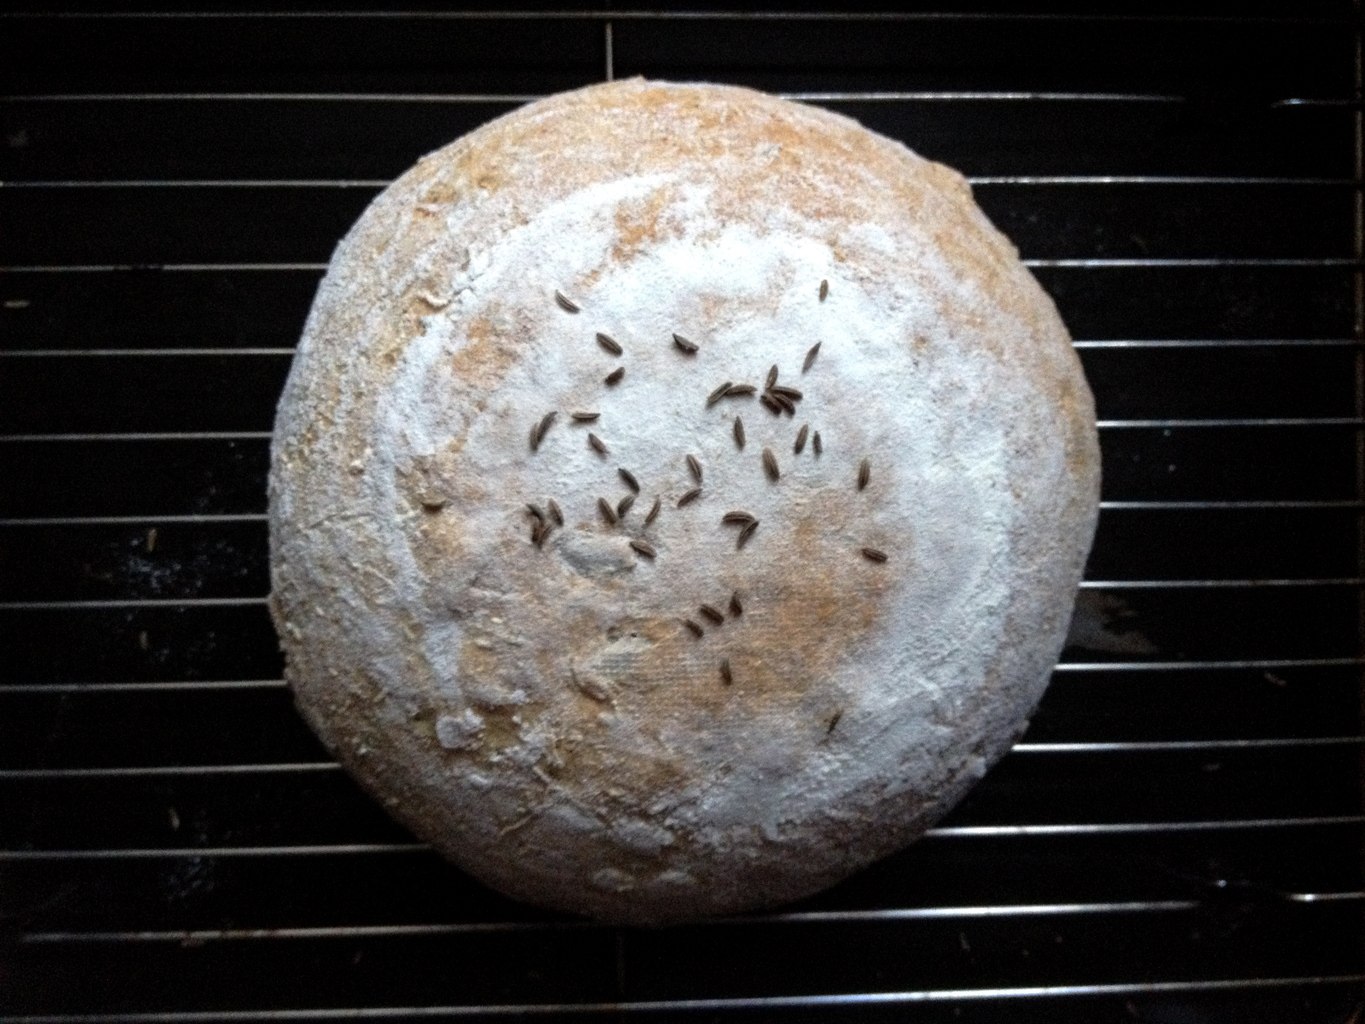
POTATO RYE BREAD WITH SEADS

  • 1 potato (about 200g)
  • 300g bread flour
  • 100g rye flour
  • 7g fast action yeast
  • 1.5 tsp salt
  • 200ml lukewarm water
  • 1 tbsp pumpkin seeds
  • 1 tbsp sunflower seeds
  • 1 tsp caraway seeds

1. Mix all the dry ingredients except the seeds in the large bowl and make a well in the middle.

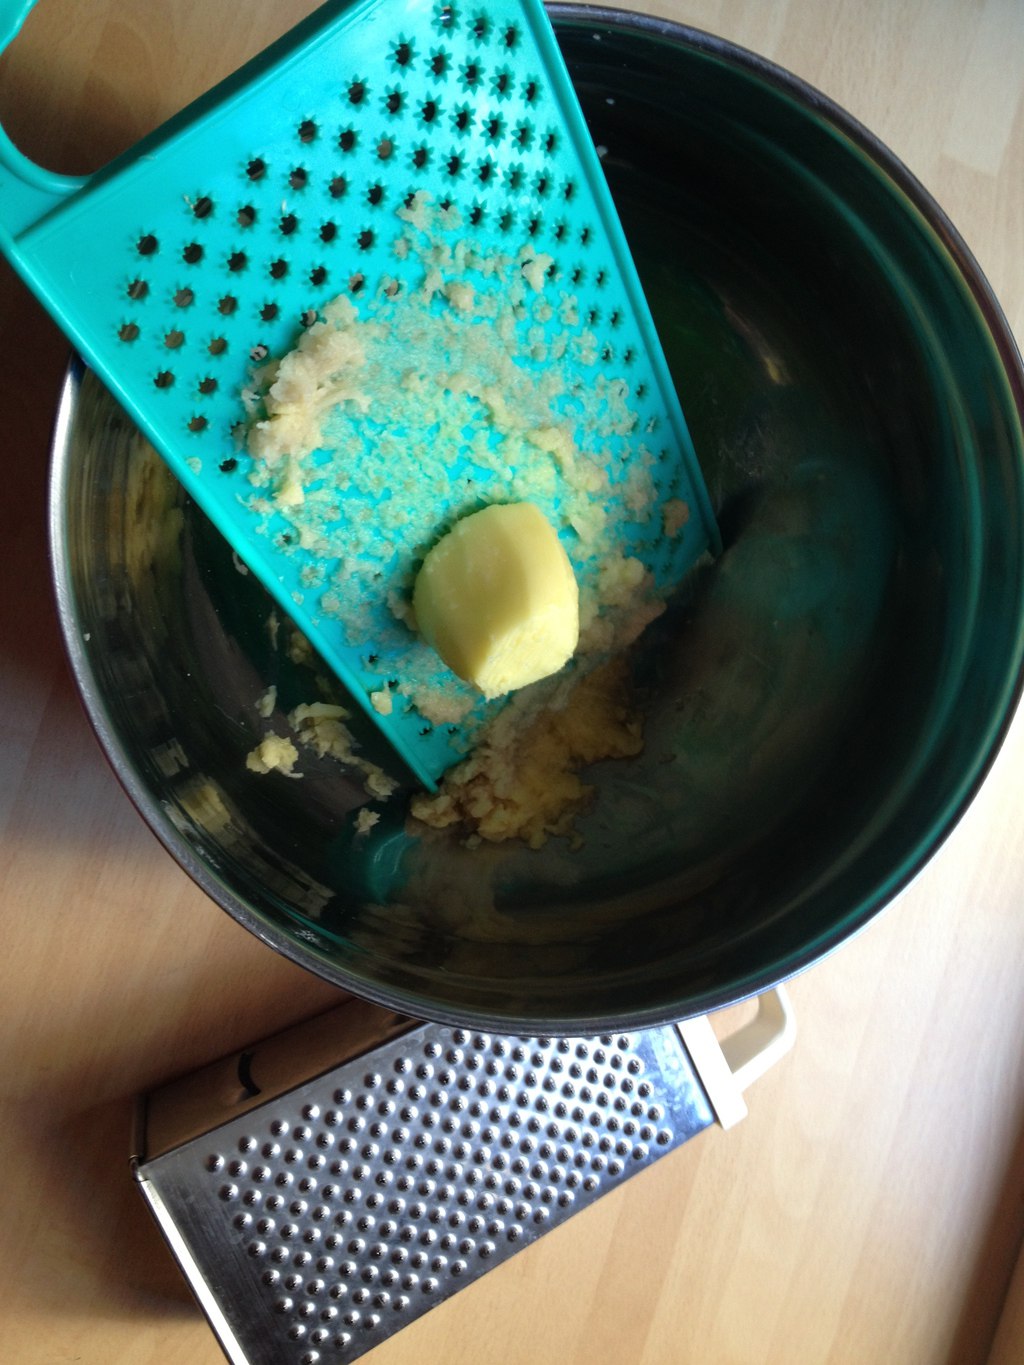
2. Grate pealed potato by using “pucker” stile hole grater that is common in most multi hole side graters. I prefer using plastic one as that prevents grated potato go grey.

plastic potato grater

3. Pour water and add grated potato into the flour well. Mix everything together into solid mass by folding the flour in from the sides. Mix the seeds into the mixture.

4. Kneed the dough continuously for 10-15 minutes until it becomes less sticky. Do not be tempted to add more flour during this process.

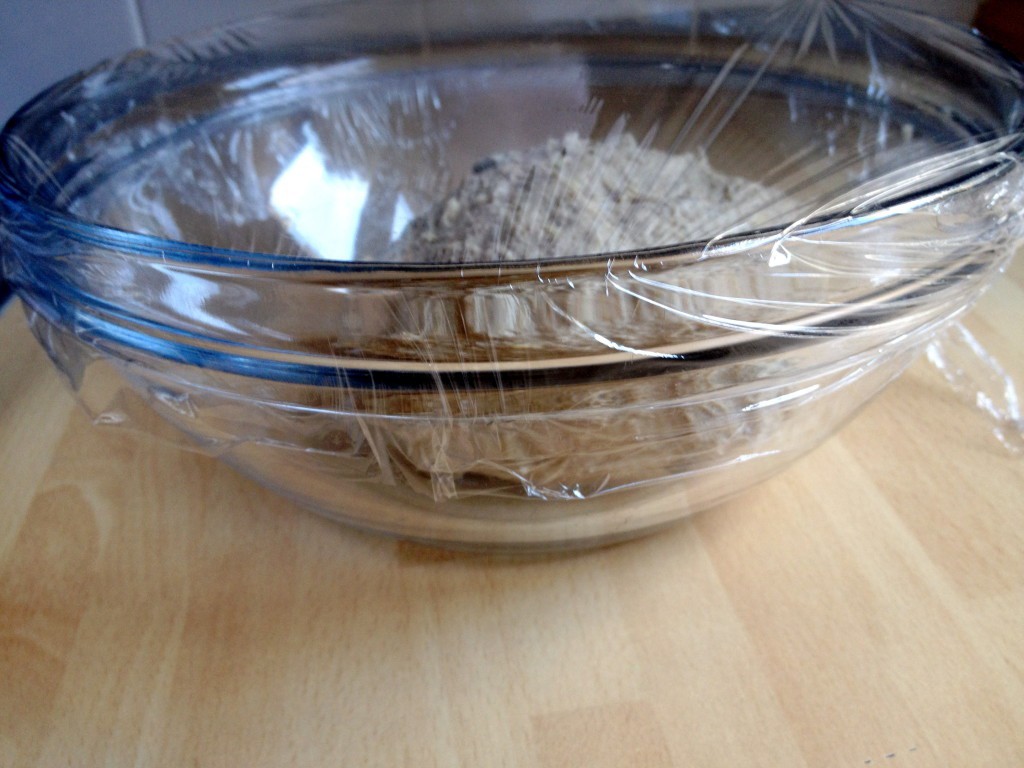
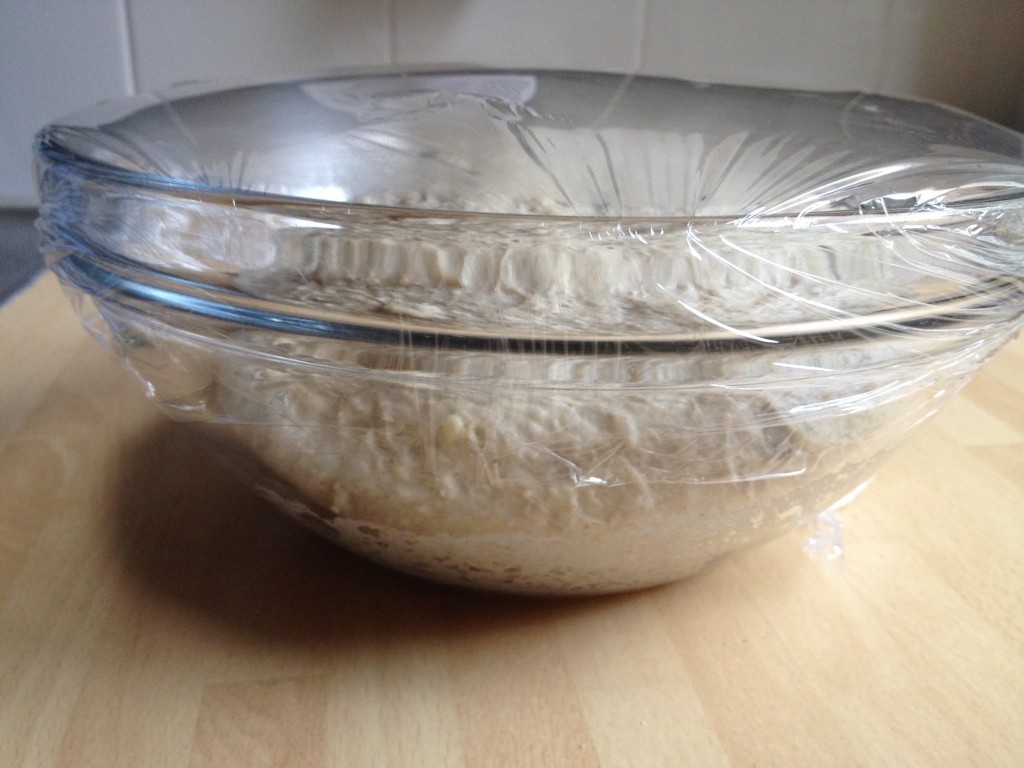
5. Cover the dough in the clean bowl and let it rise for 1hour until it doubles in size.

bread dough rising bread dough rising

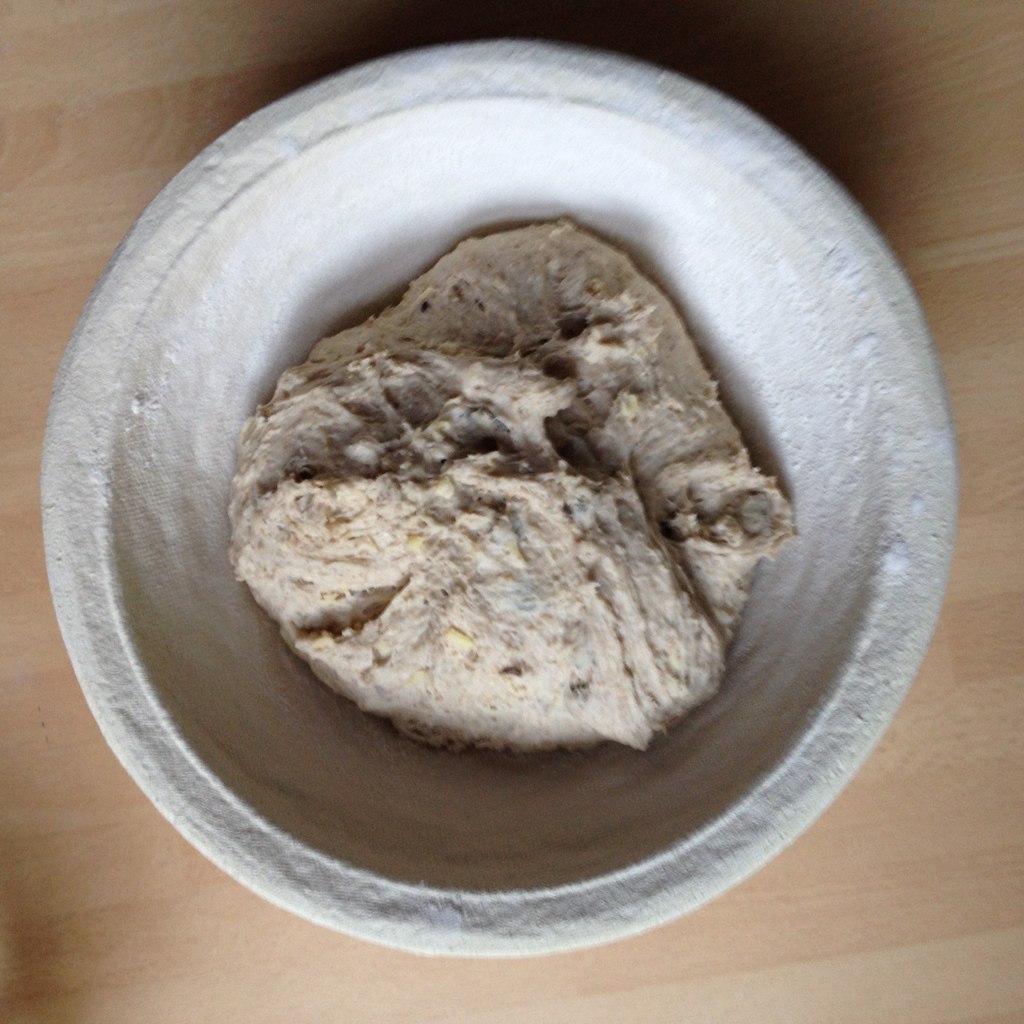
6. “deflate” the dough and form it into the loaf. I use a proving basket so it makes nicer looking bread loaf. Cover the loaf and let it rise one more time for 30 min.

Potato bread dough in prooving basket

7. Once the bread dough had its final rise, bake in preheated 200C oven for 30 min.

potato bread with seeds and rye

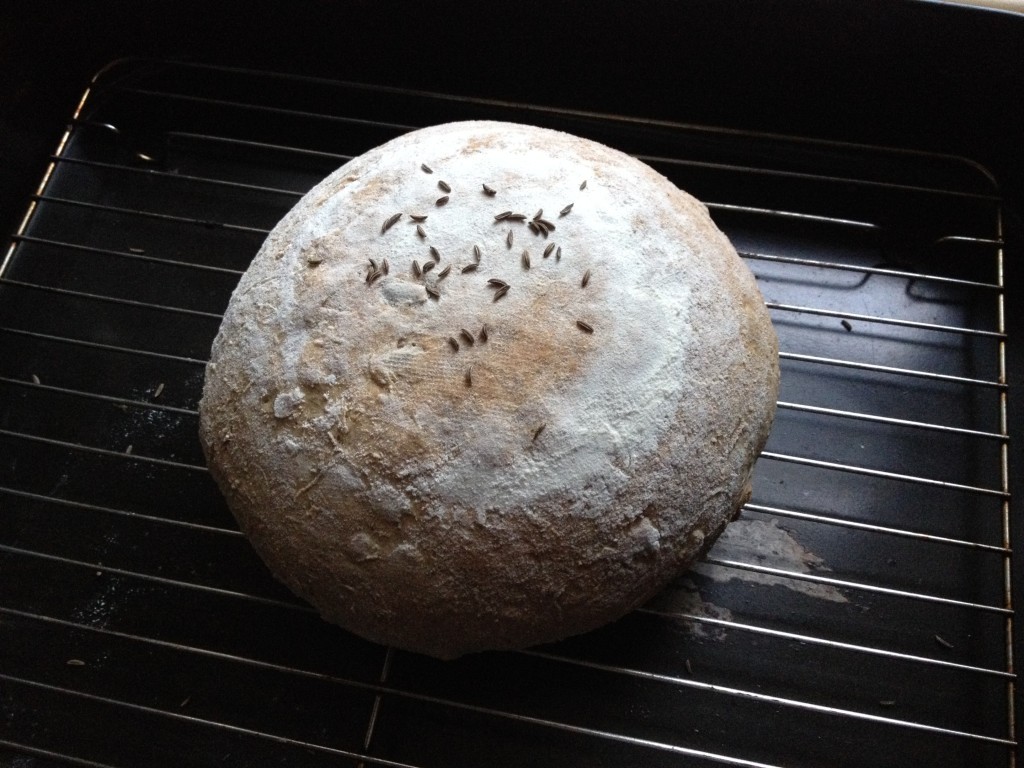
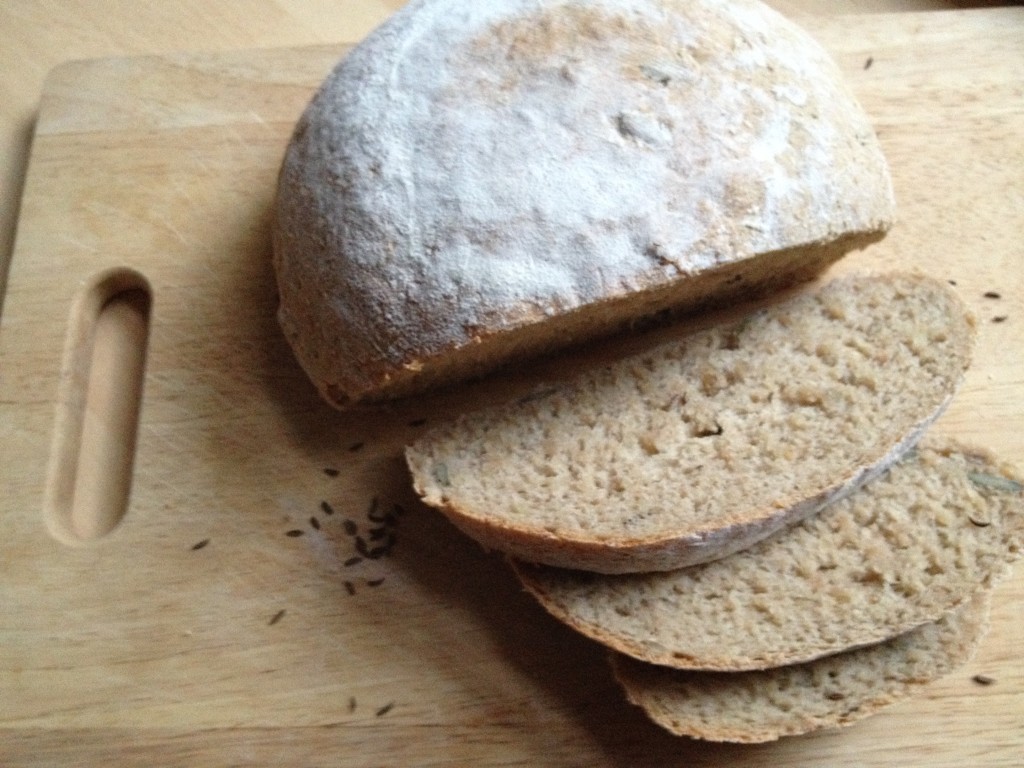
Let the bread cool completely before slicing.

potato bread with seeds and rye

Happy bread baking!

Rasa

2