Top

Archive | My Daily Bread

Gluten free pizza topped with fresh ingredients (two ways)

Gluten free pizza topped with fresh ingredients
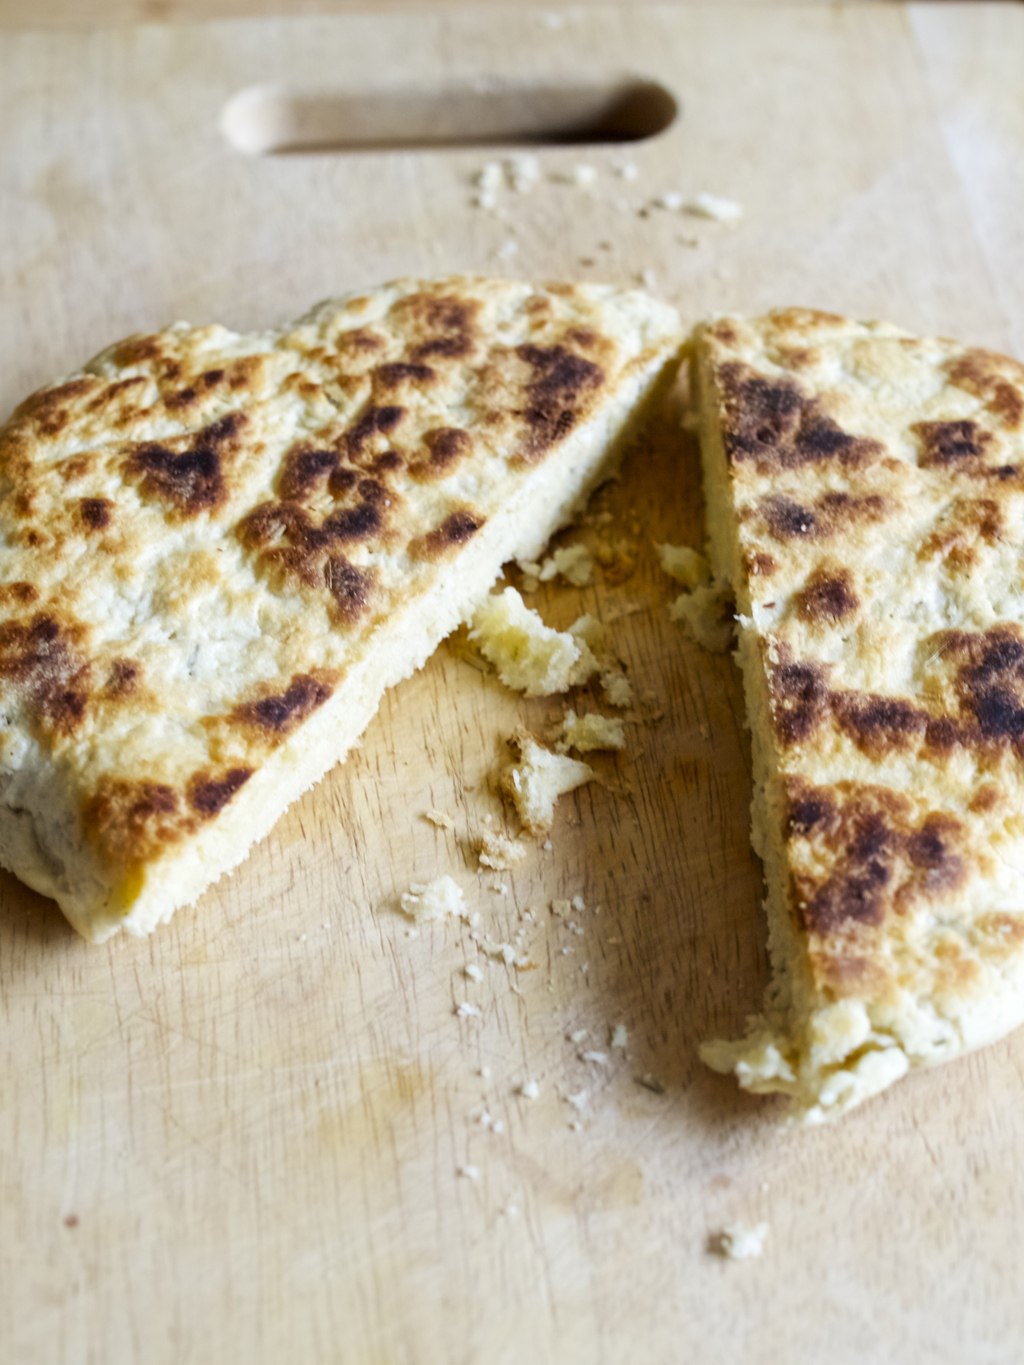
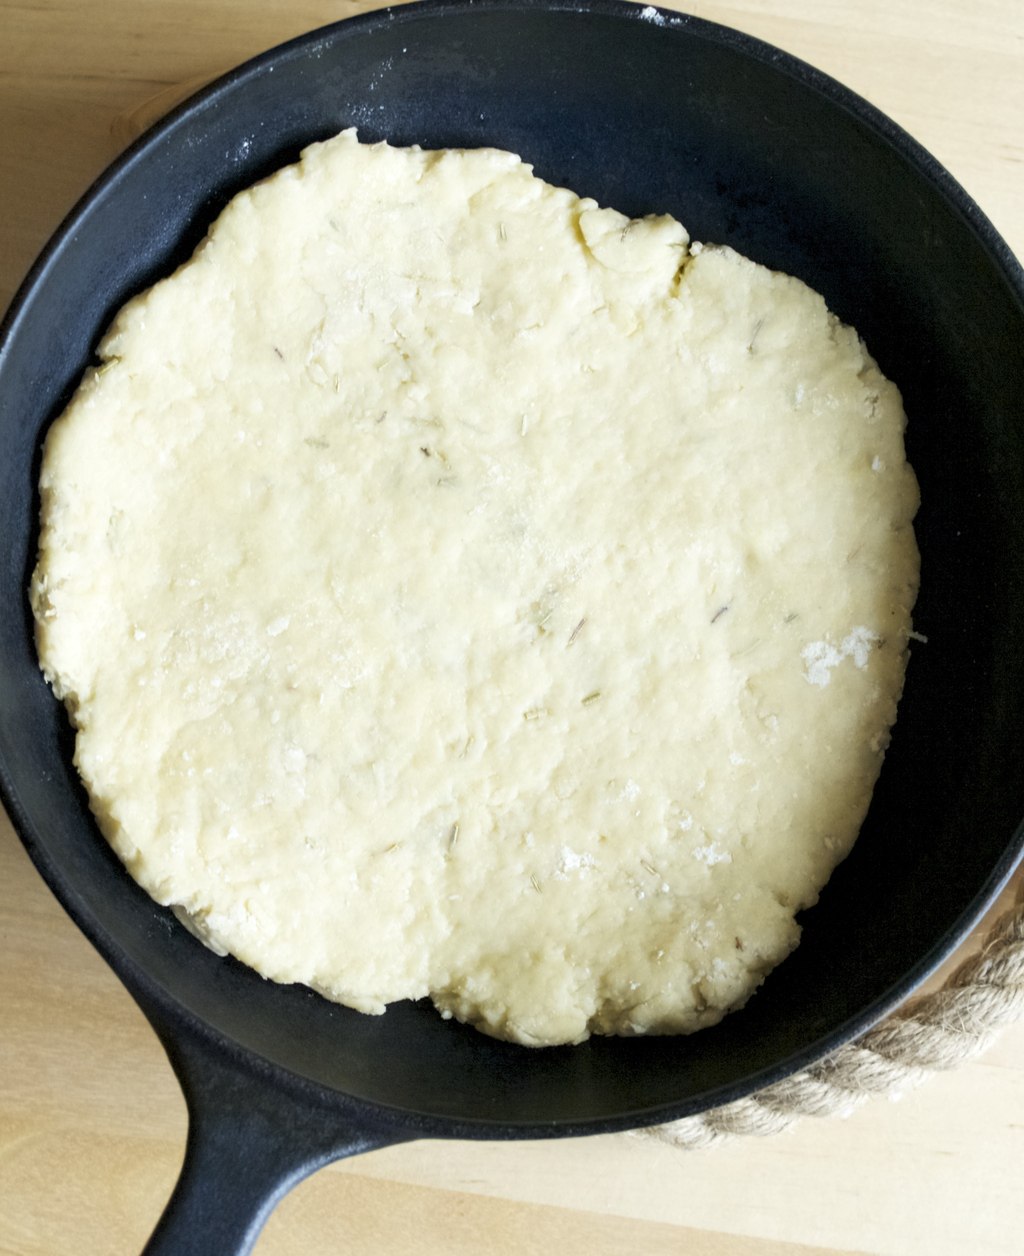
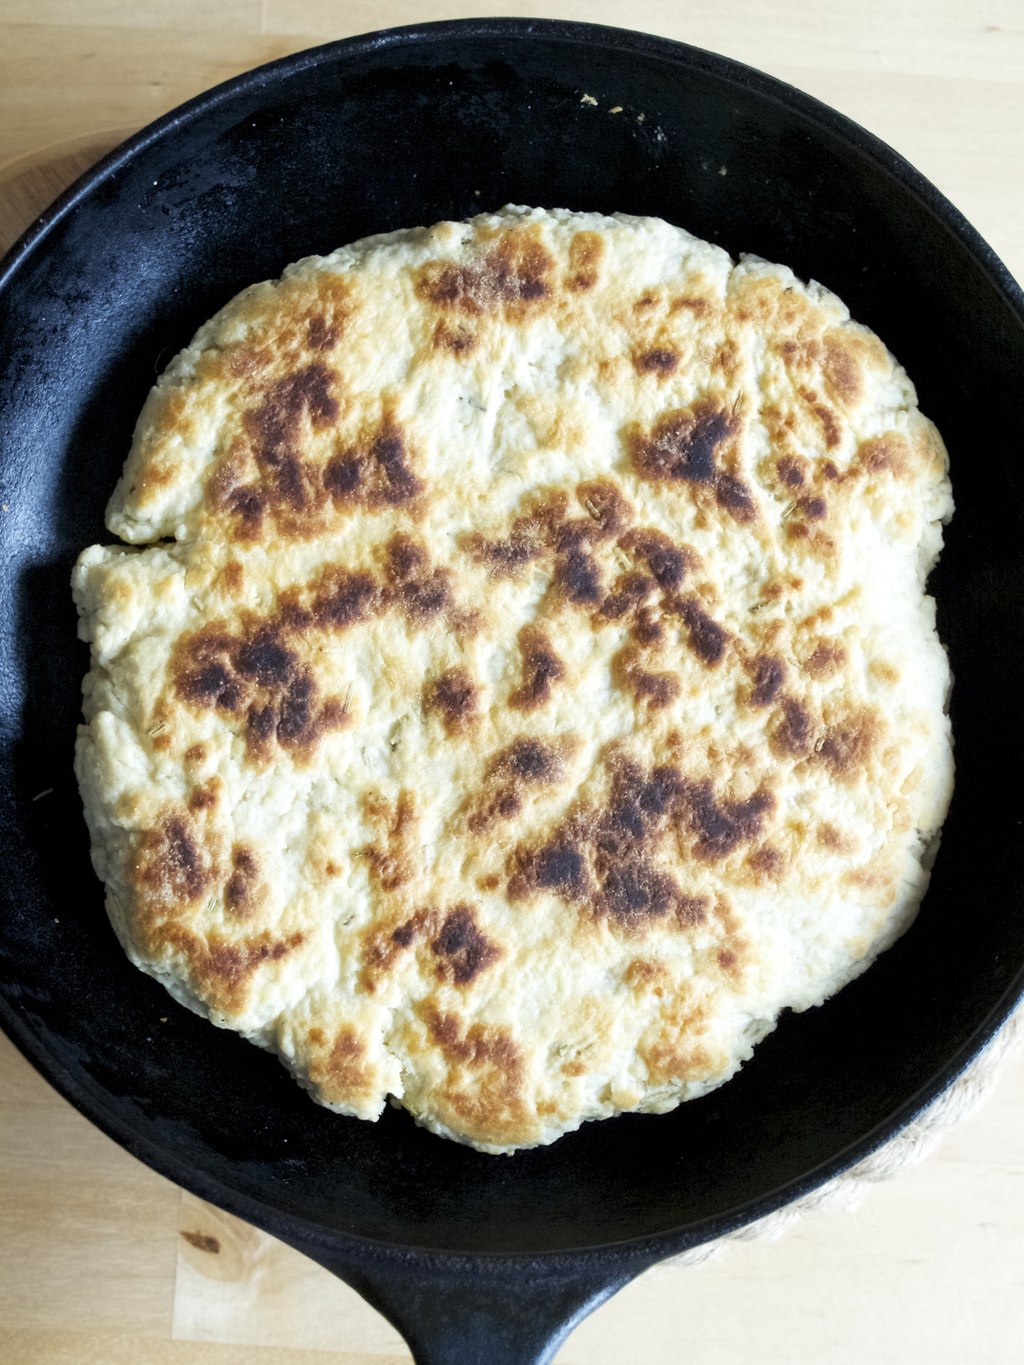
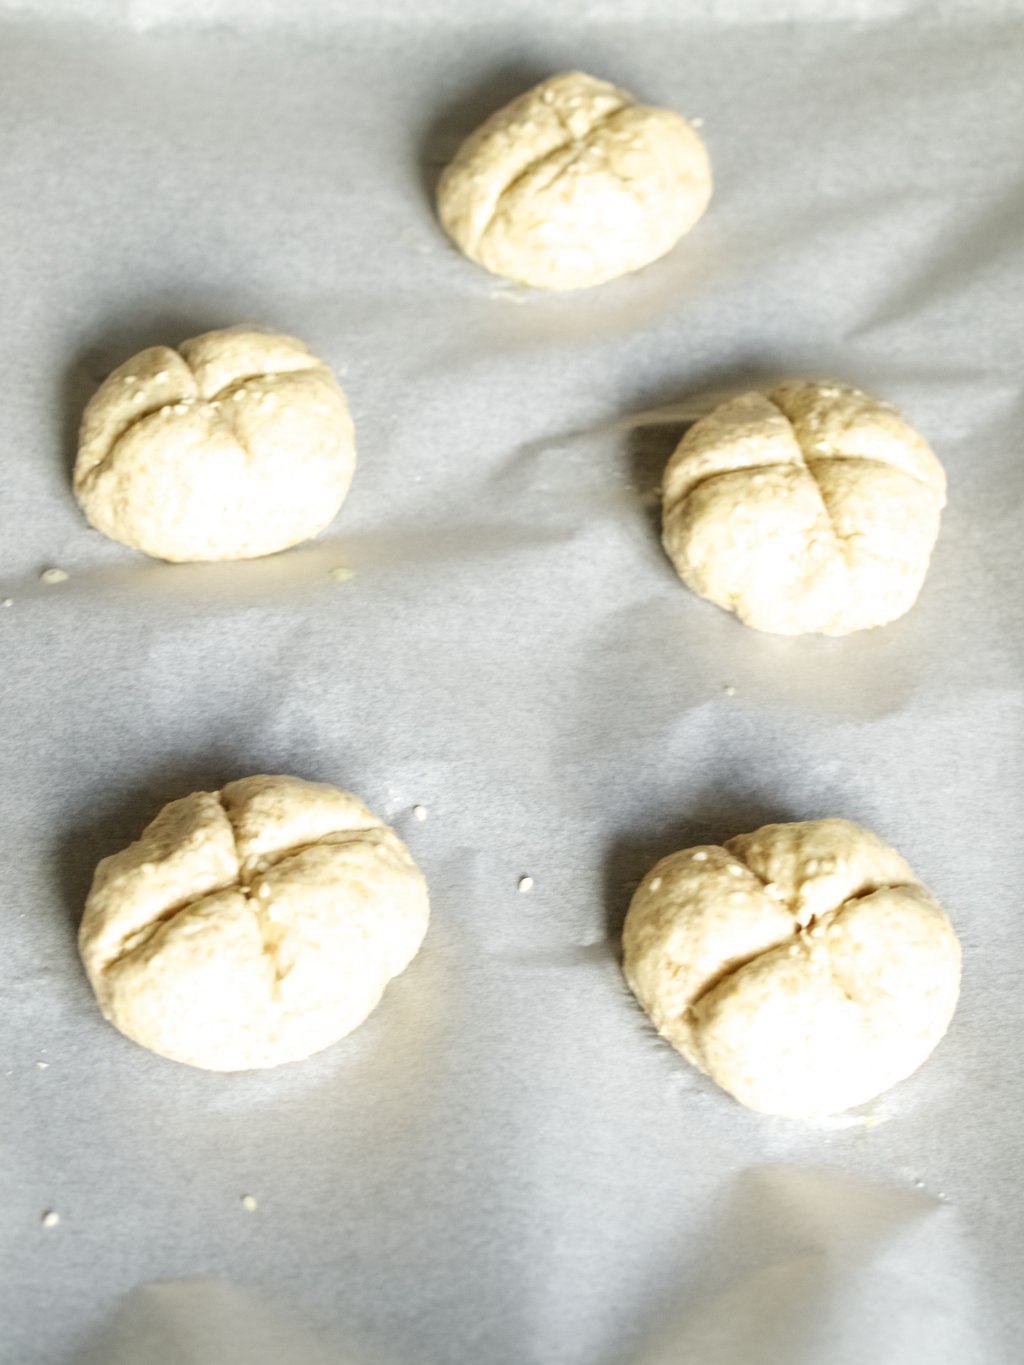
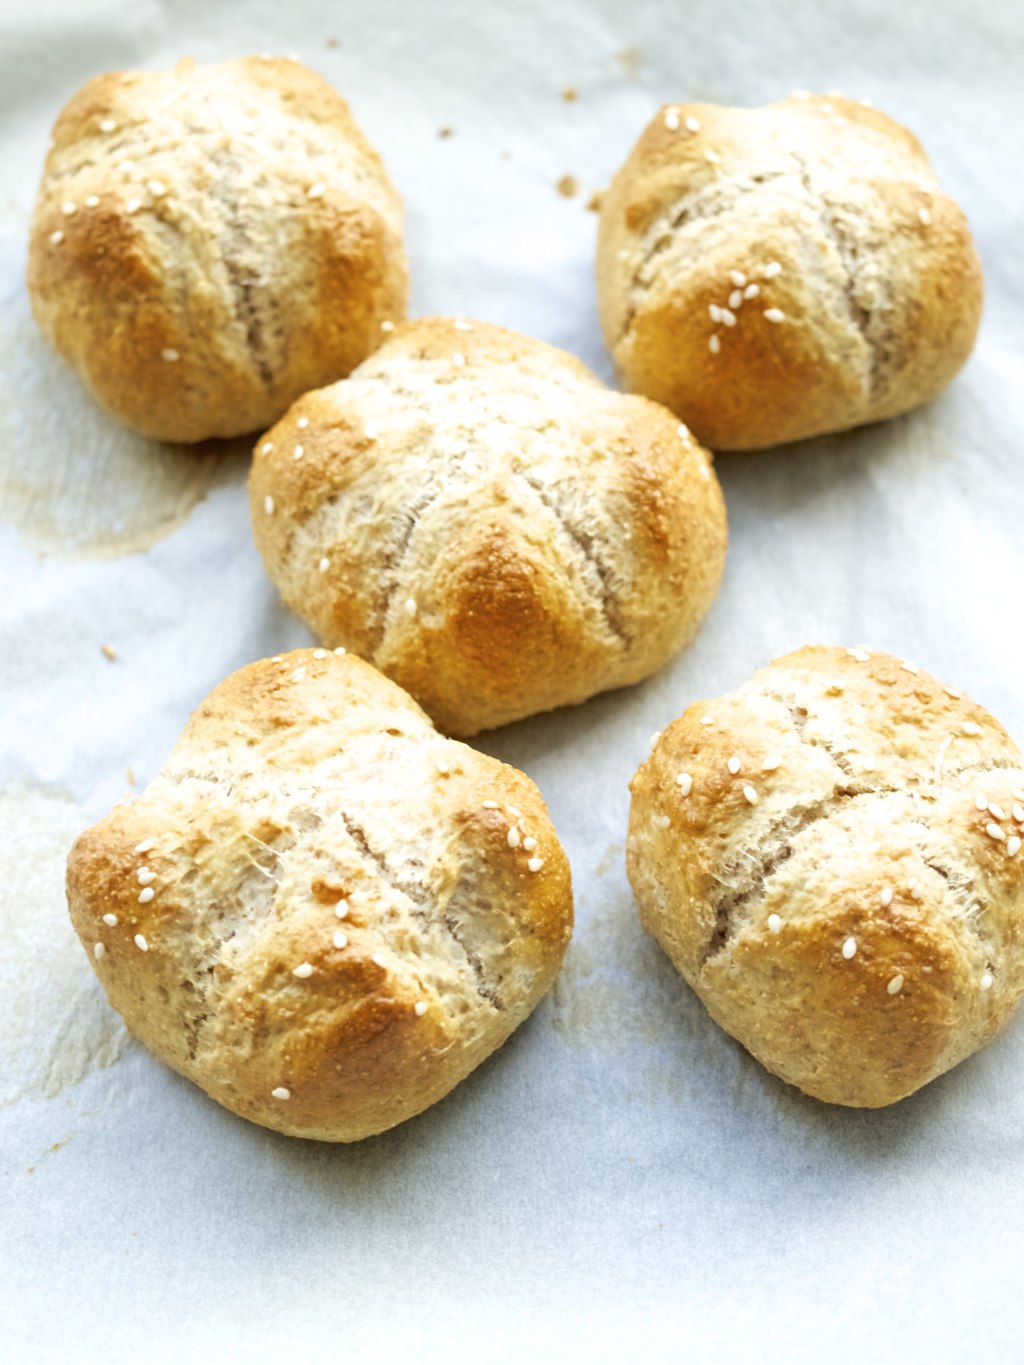
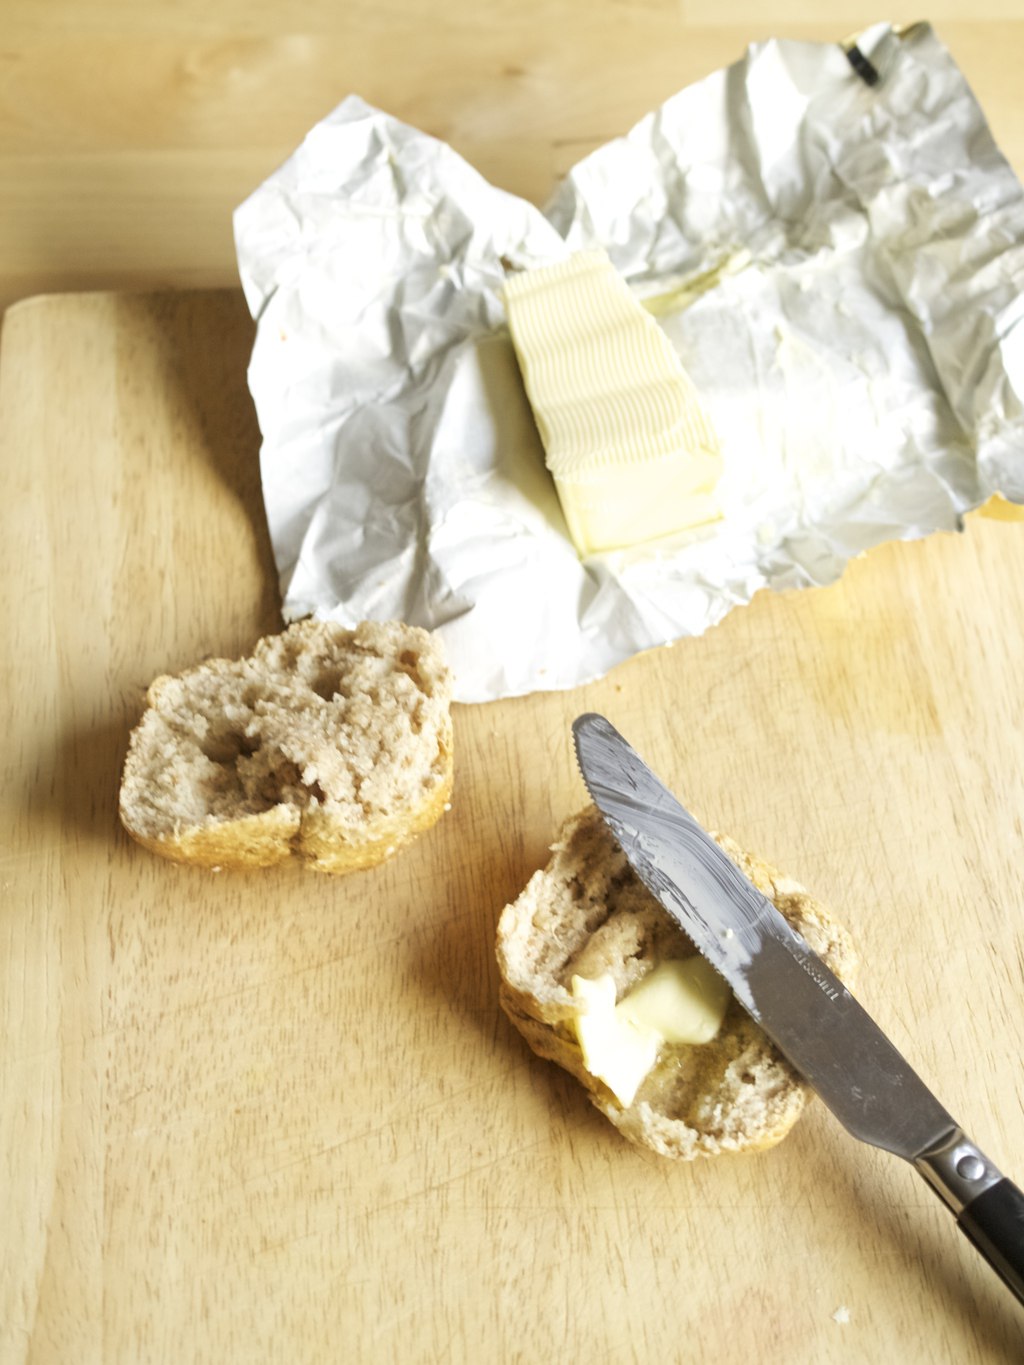
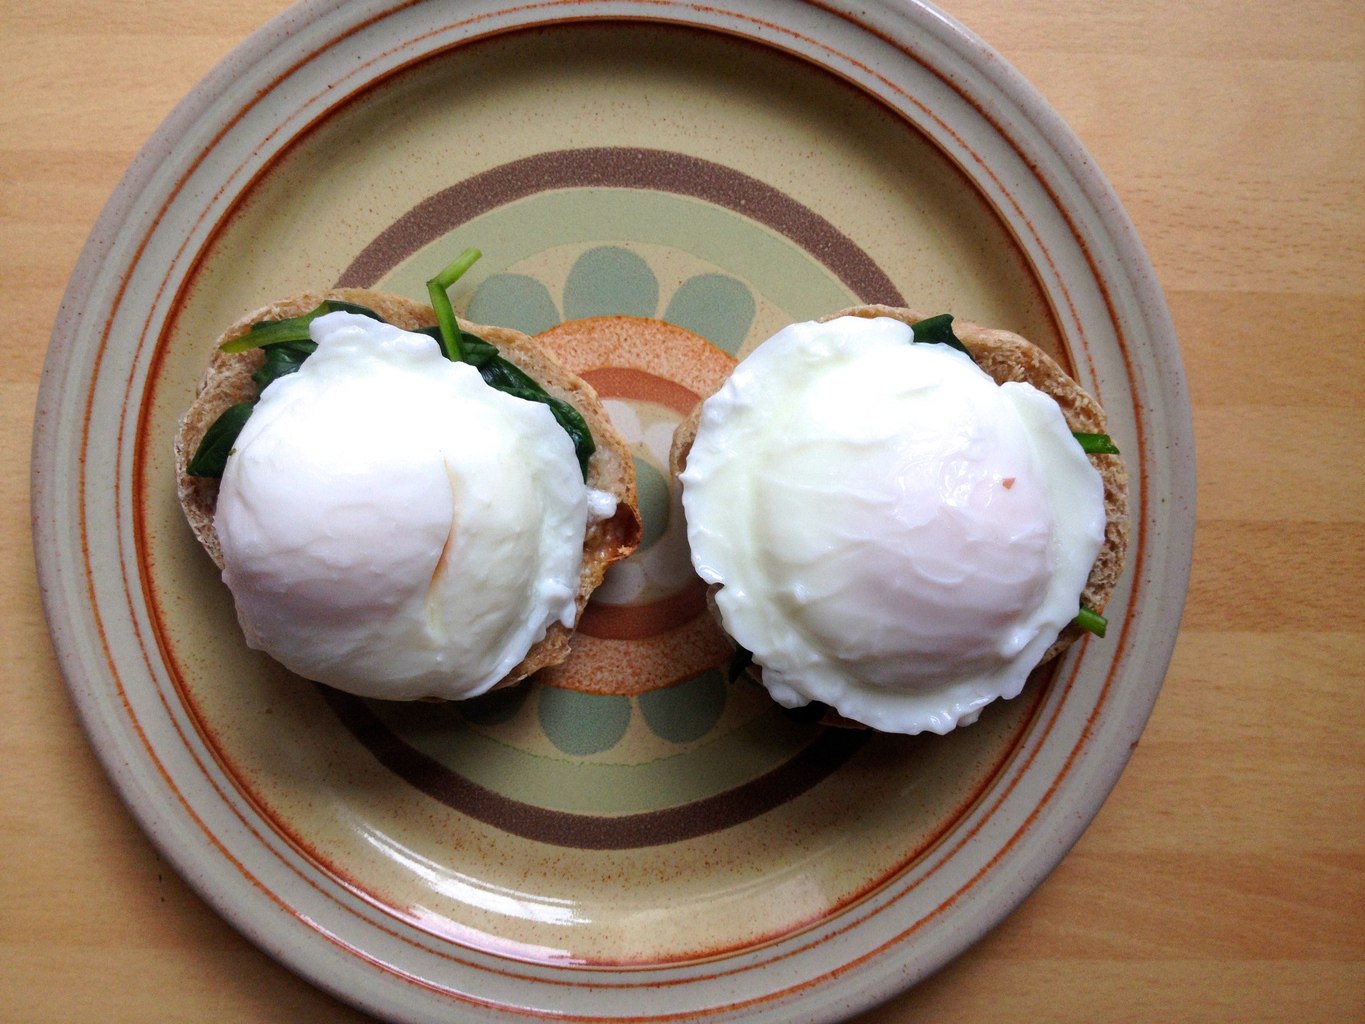
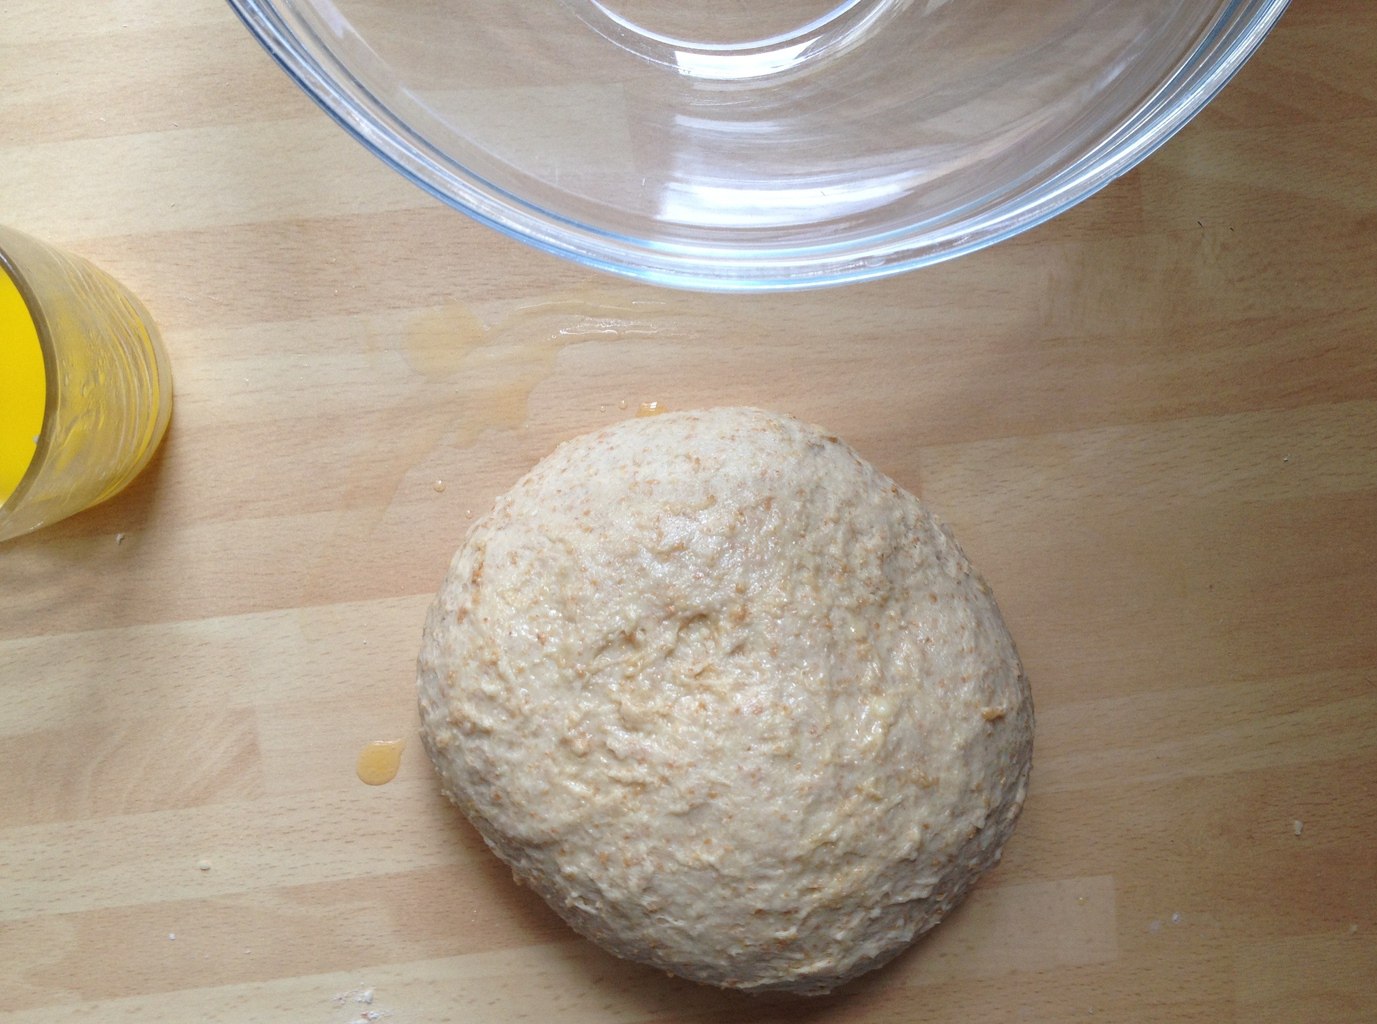
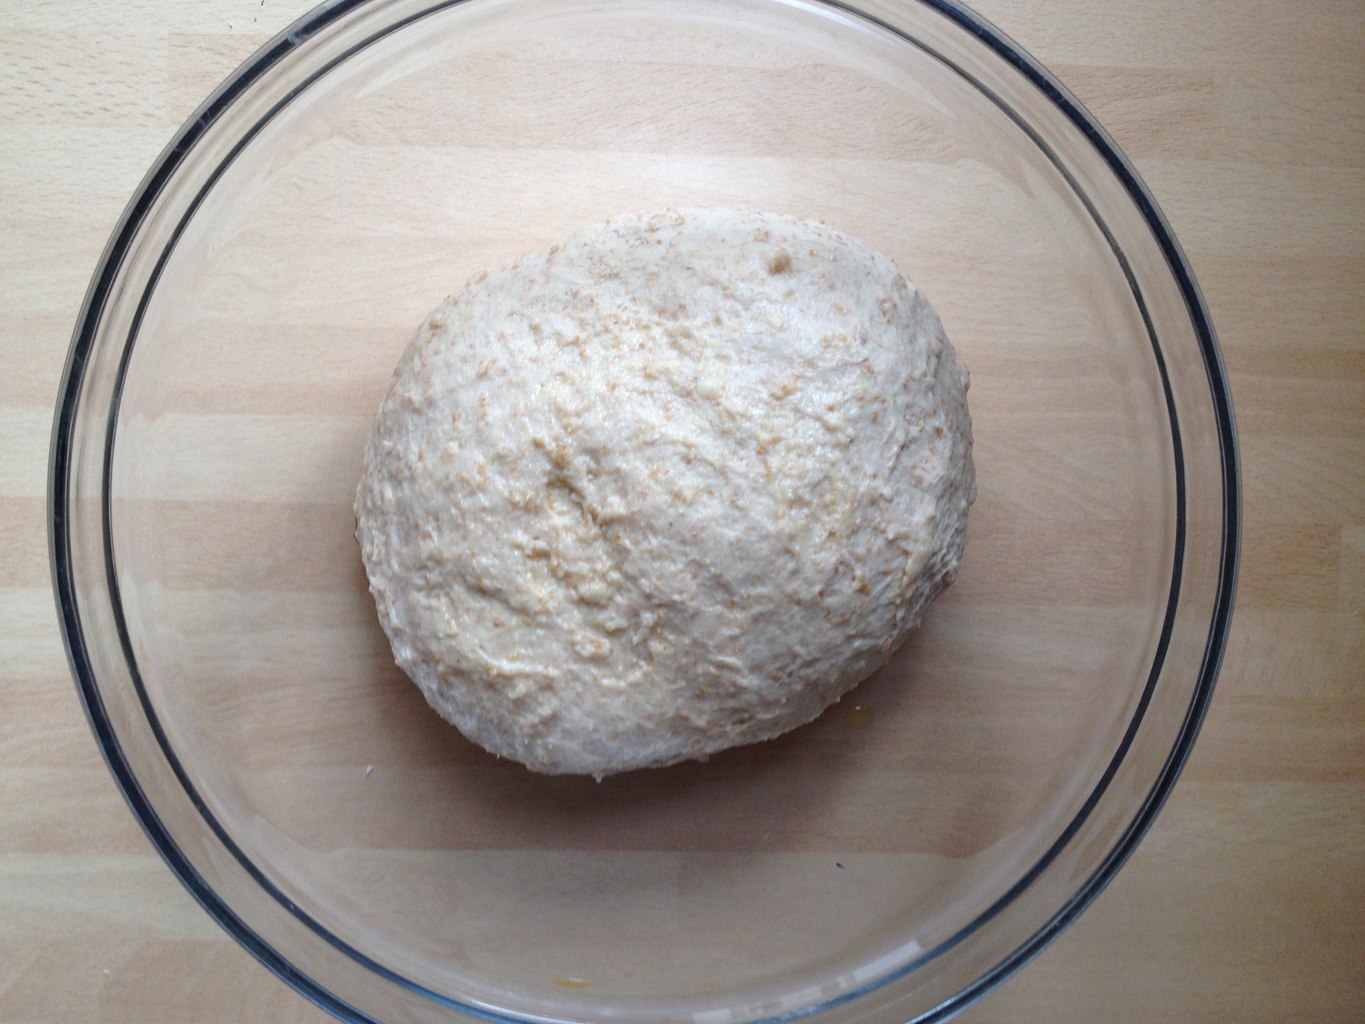
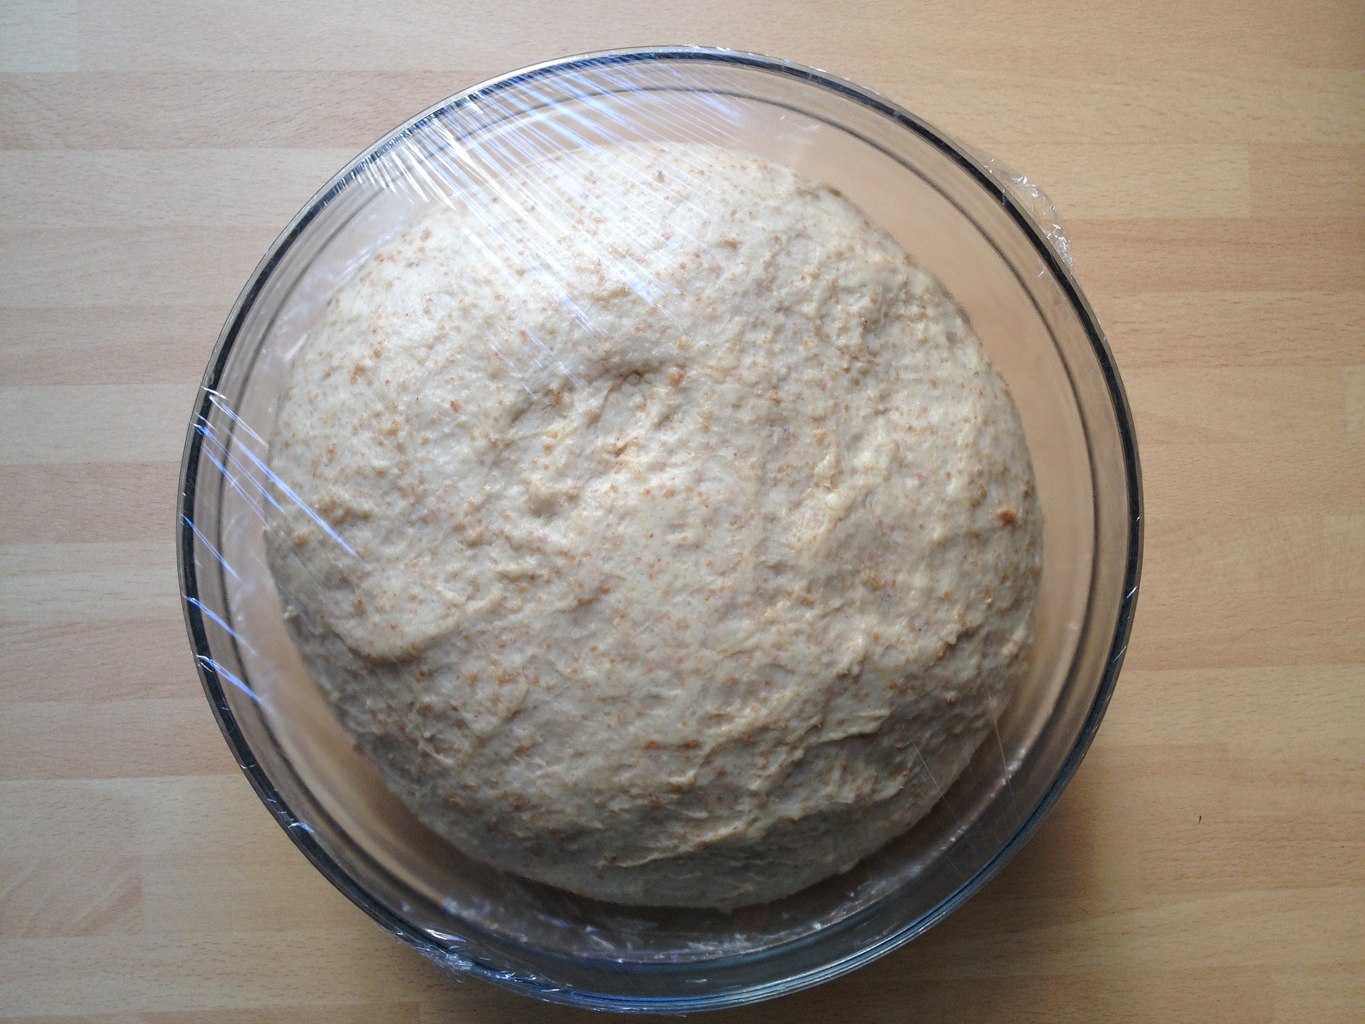
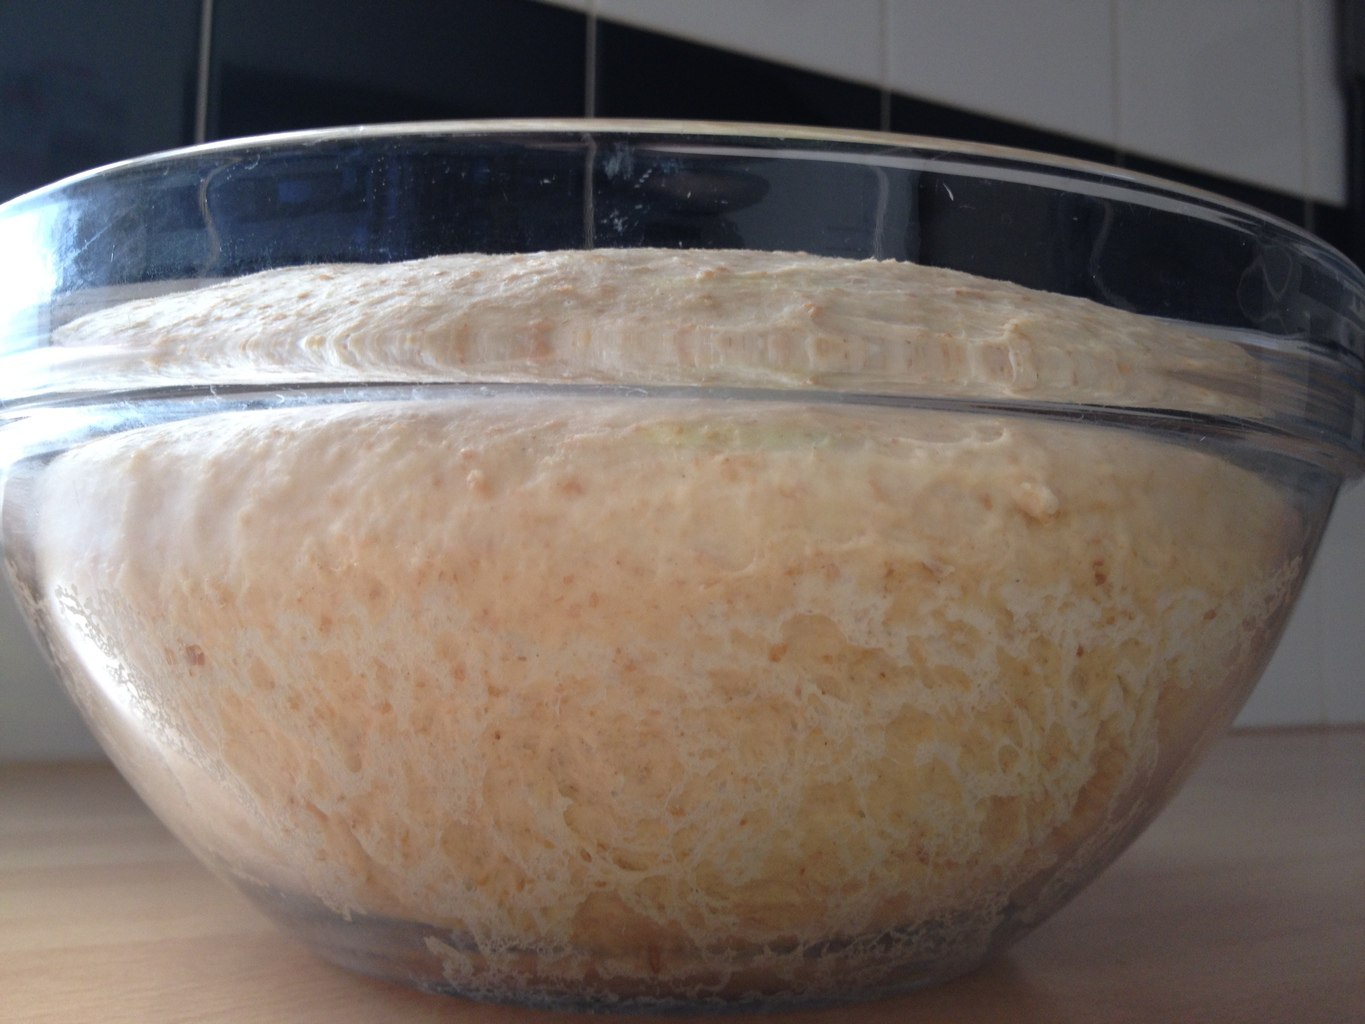
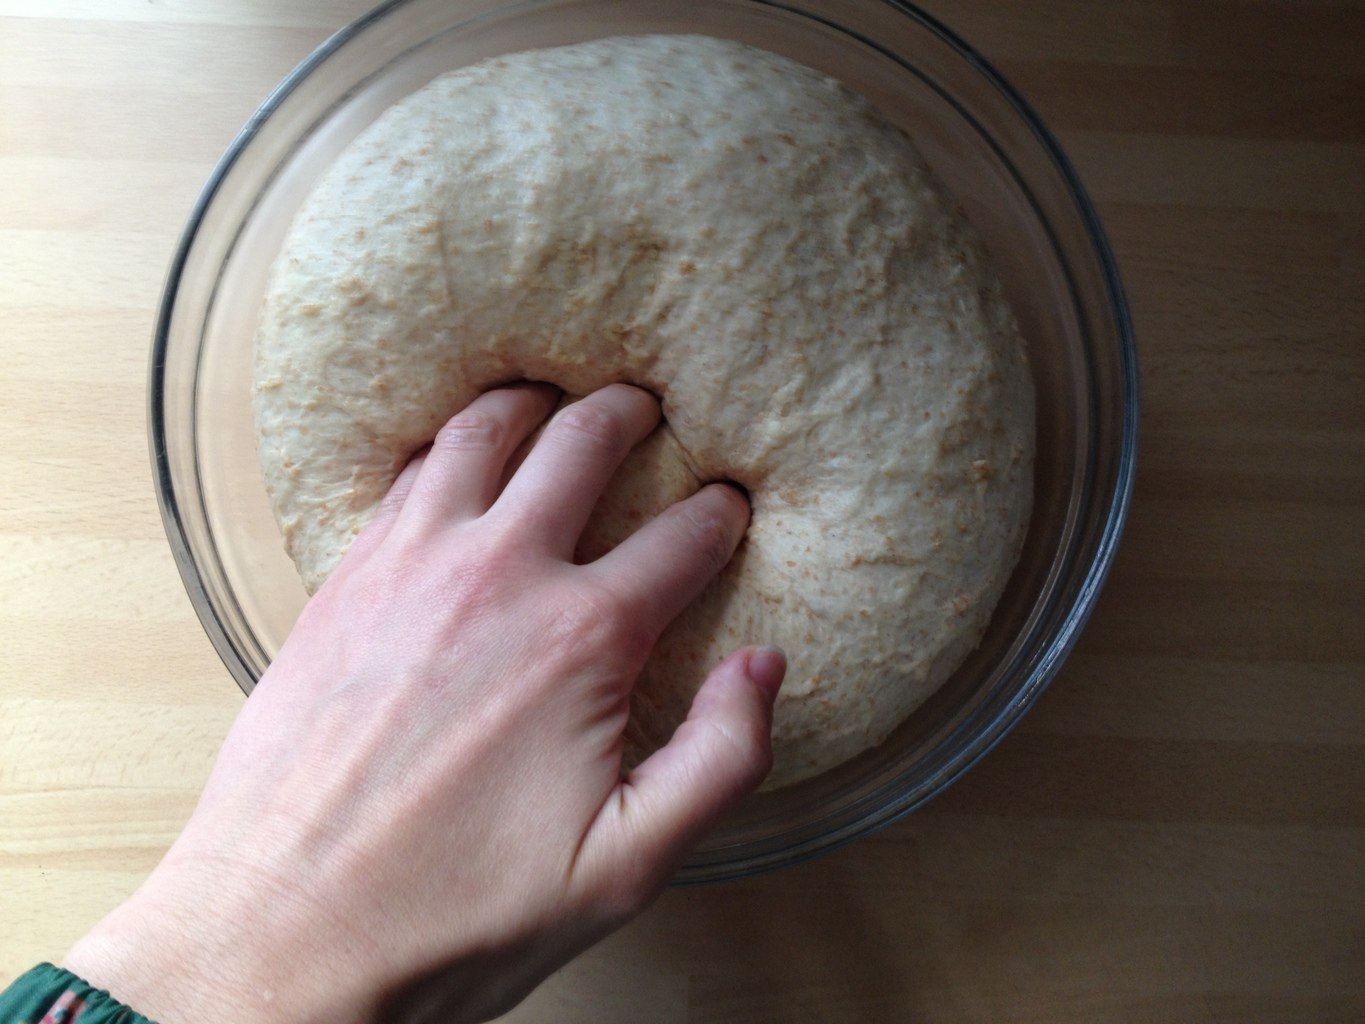
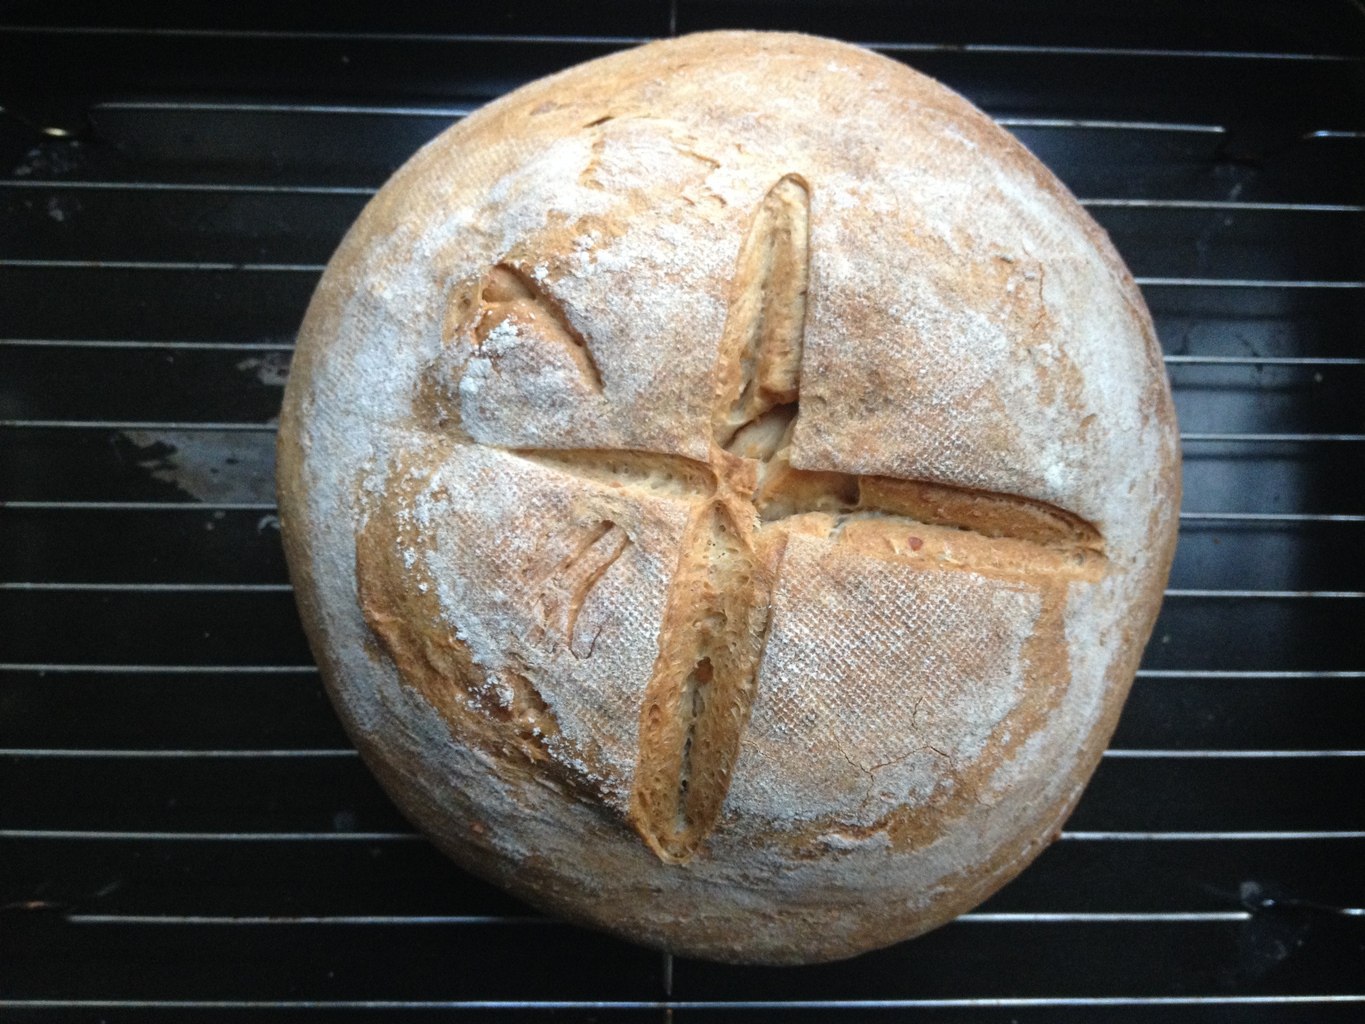
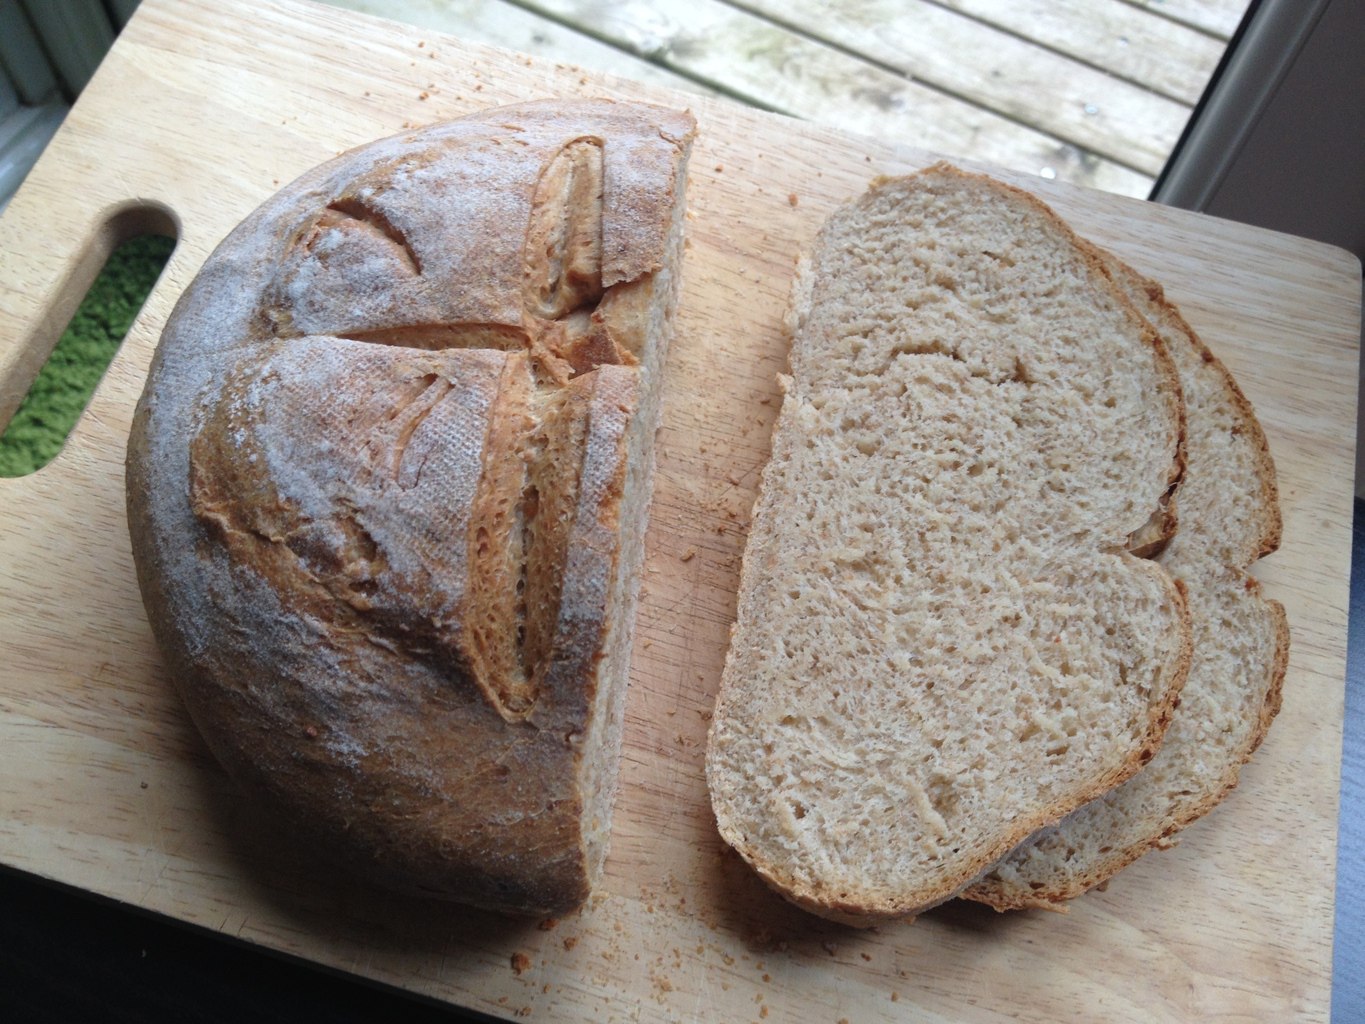
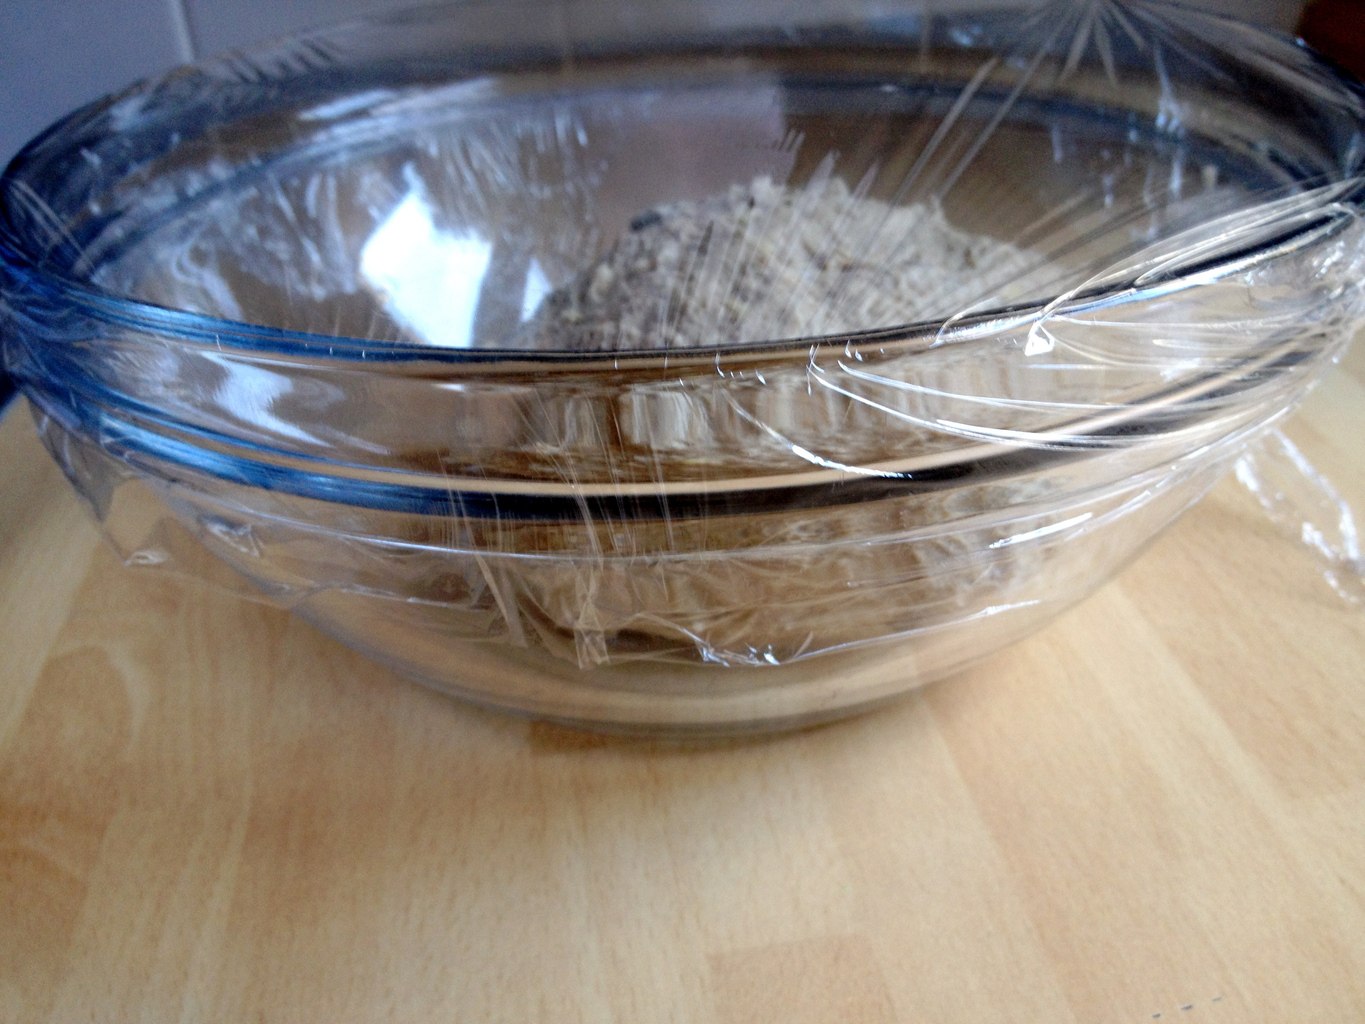
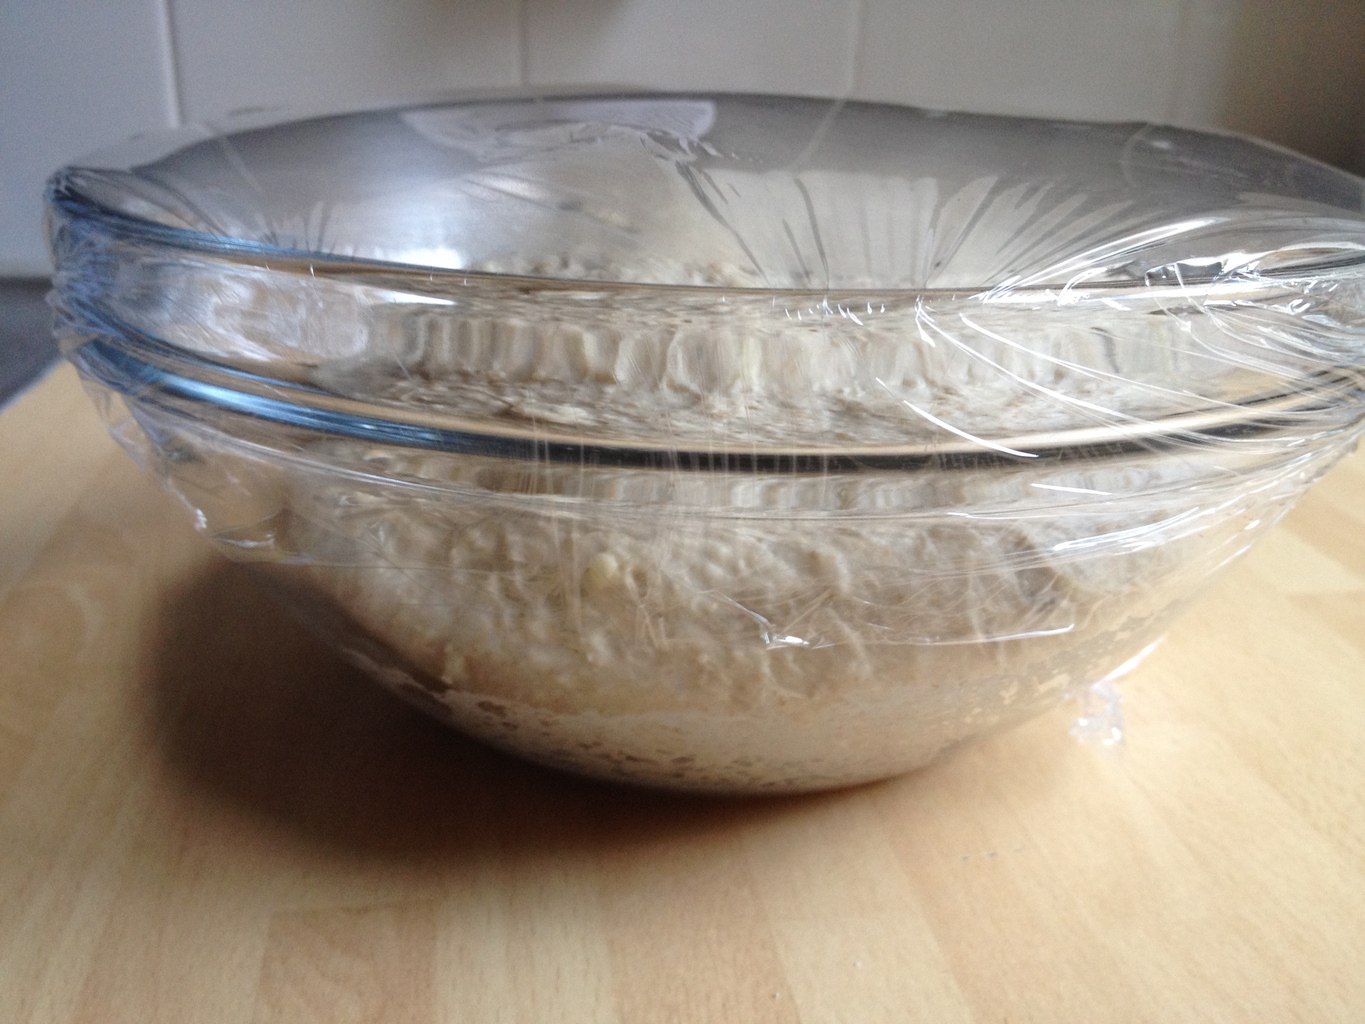
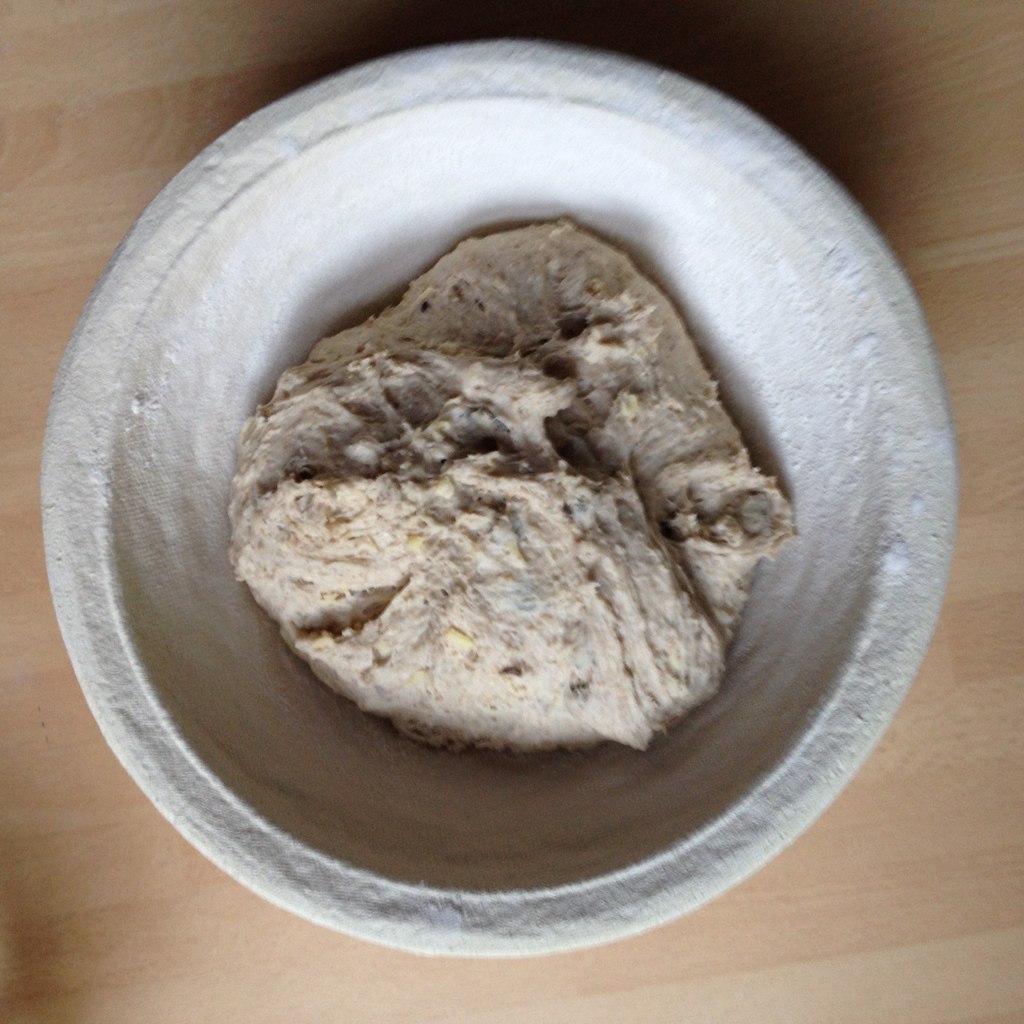
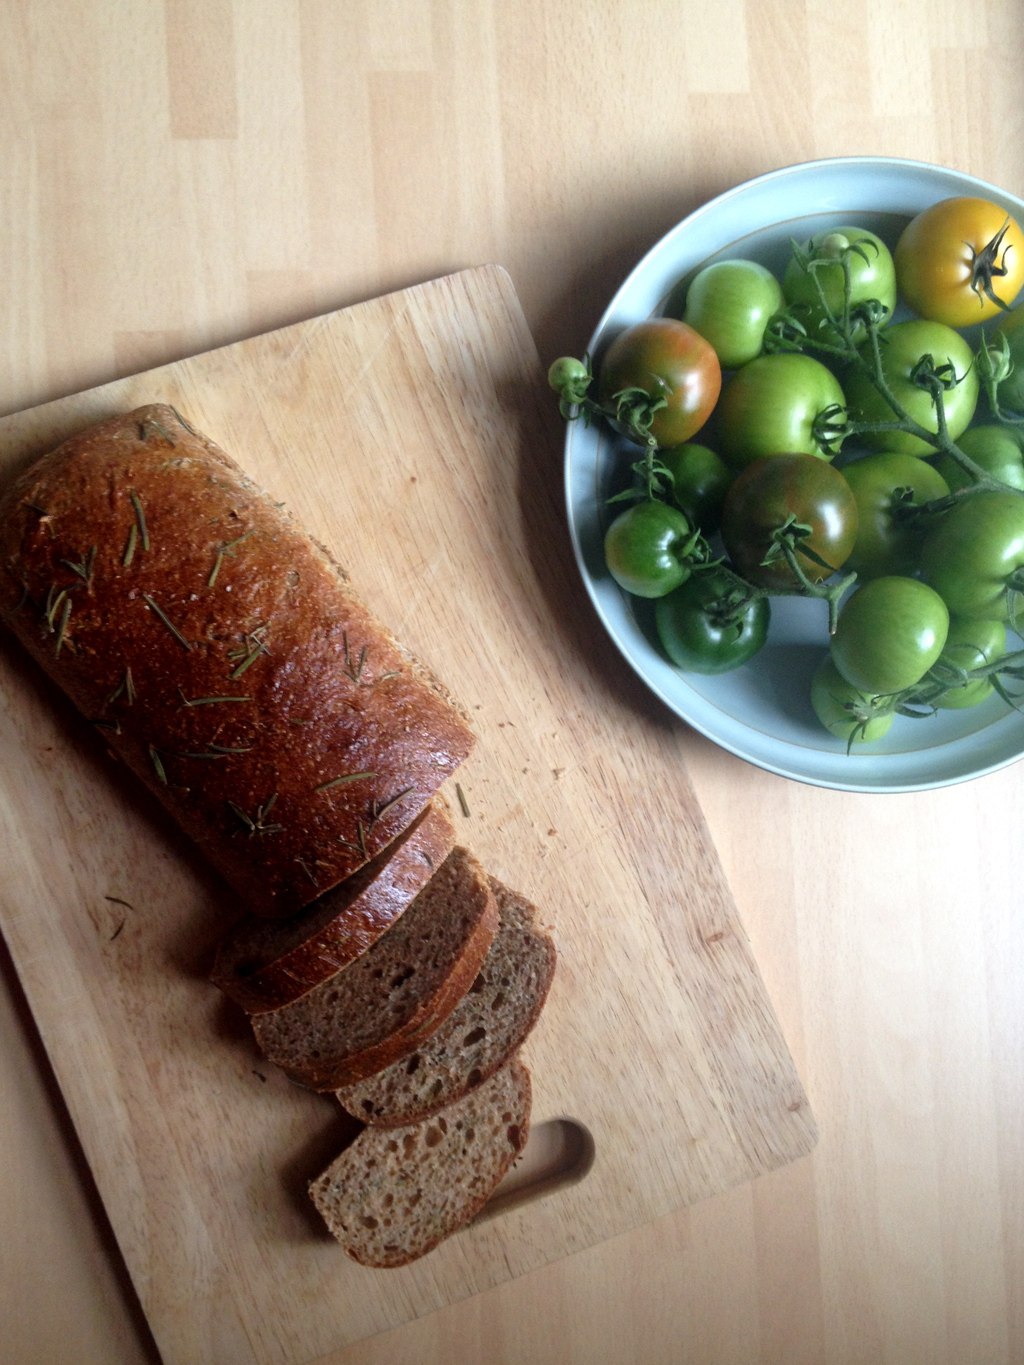
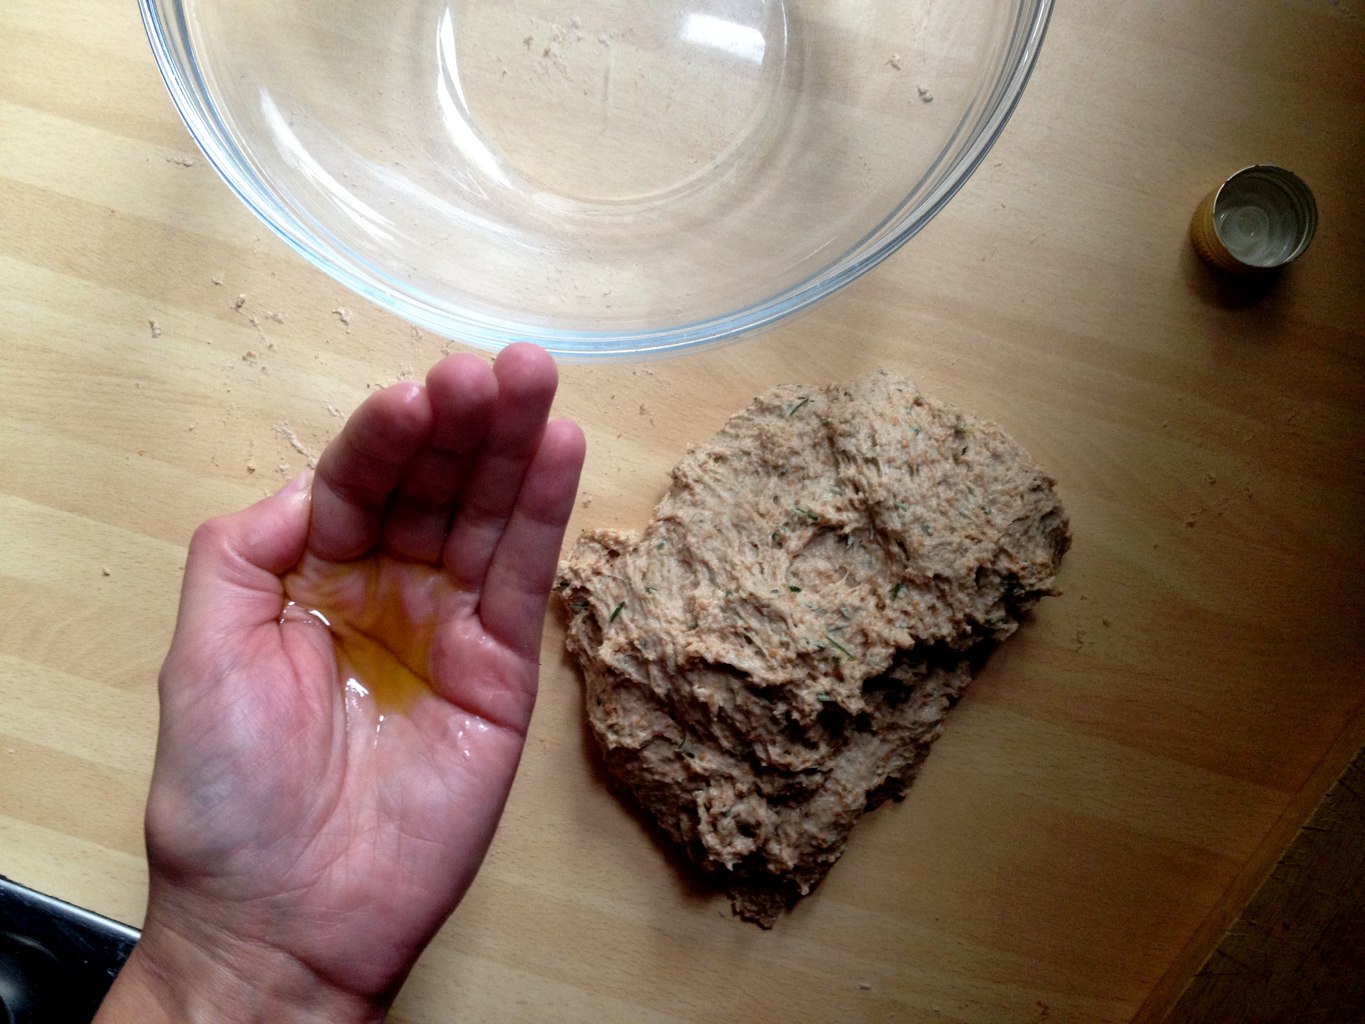
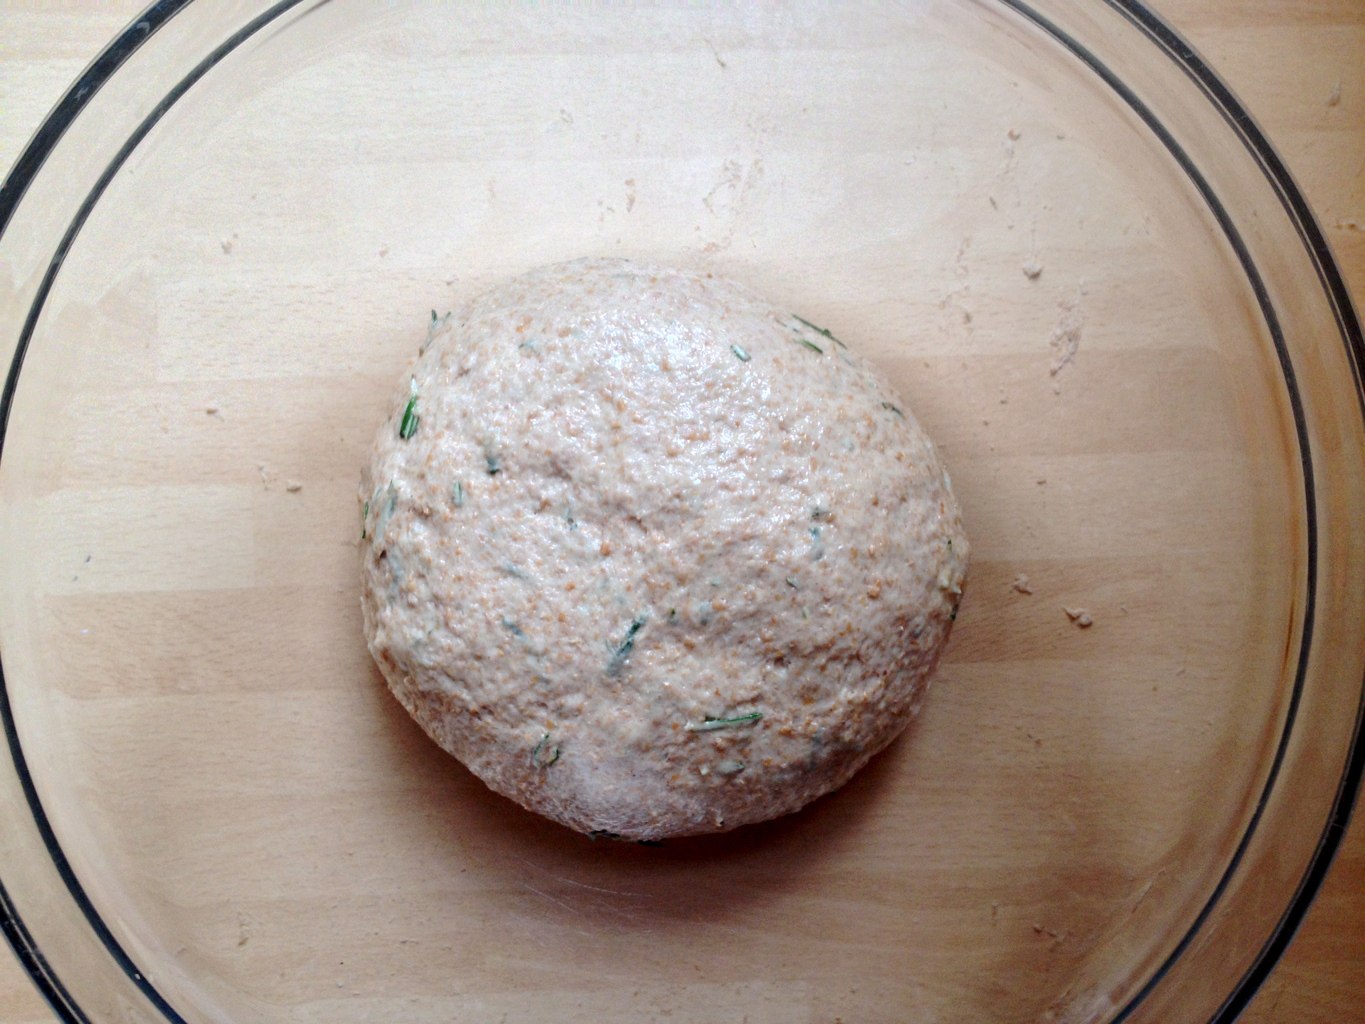
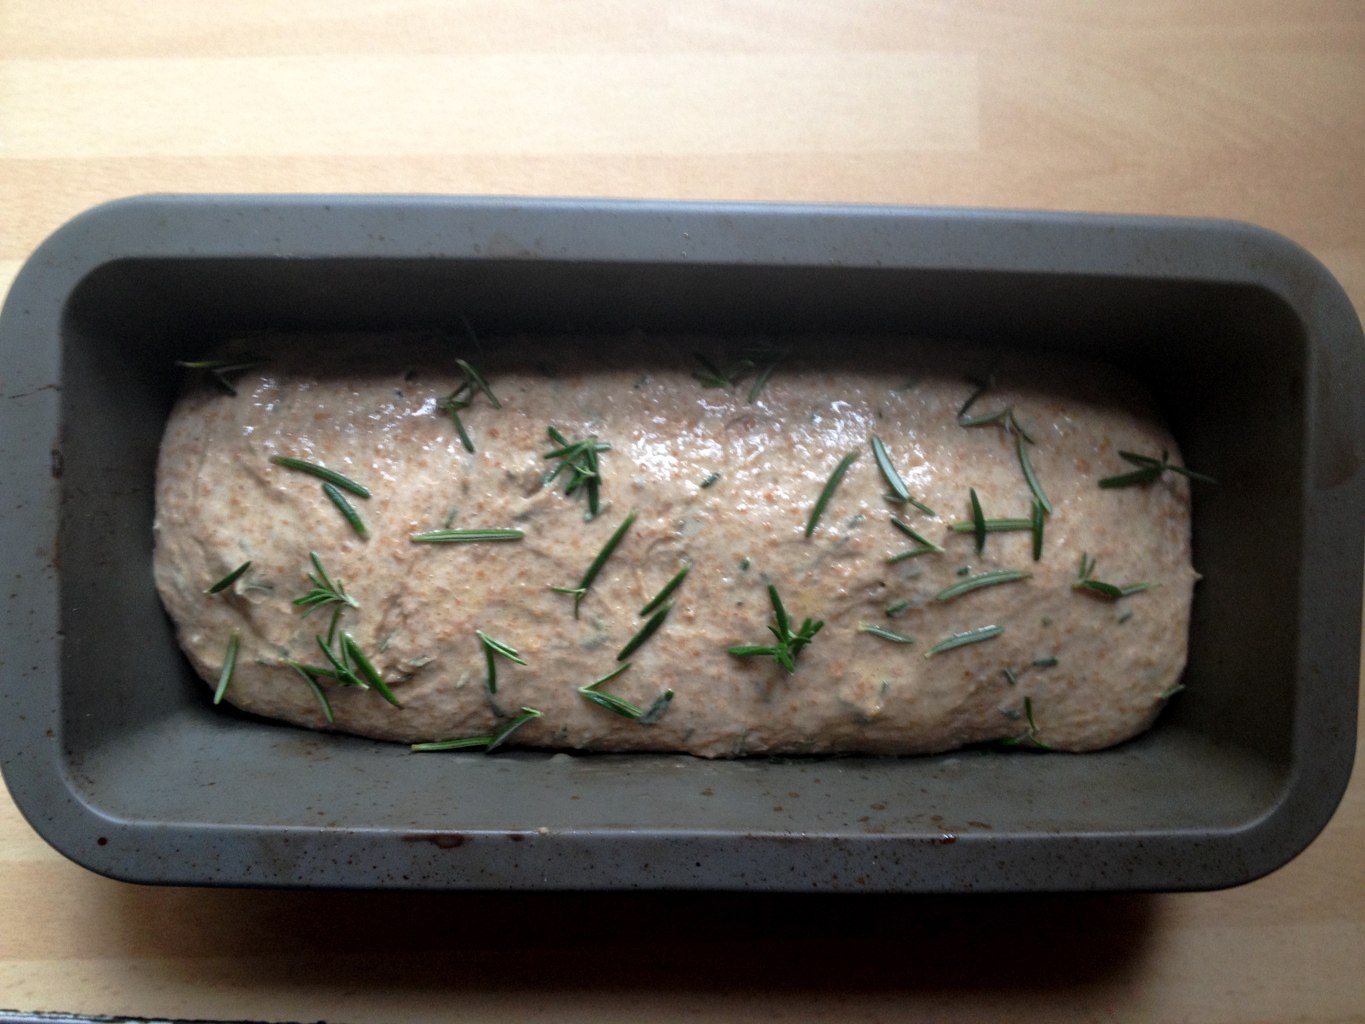
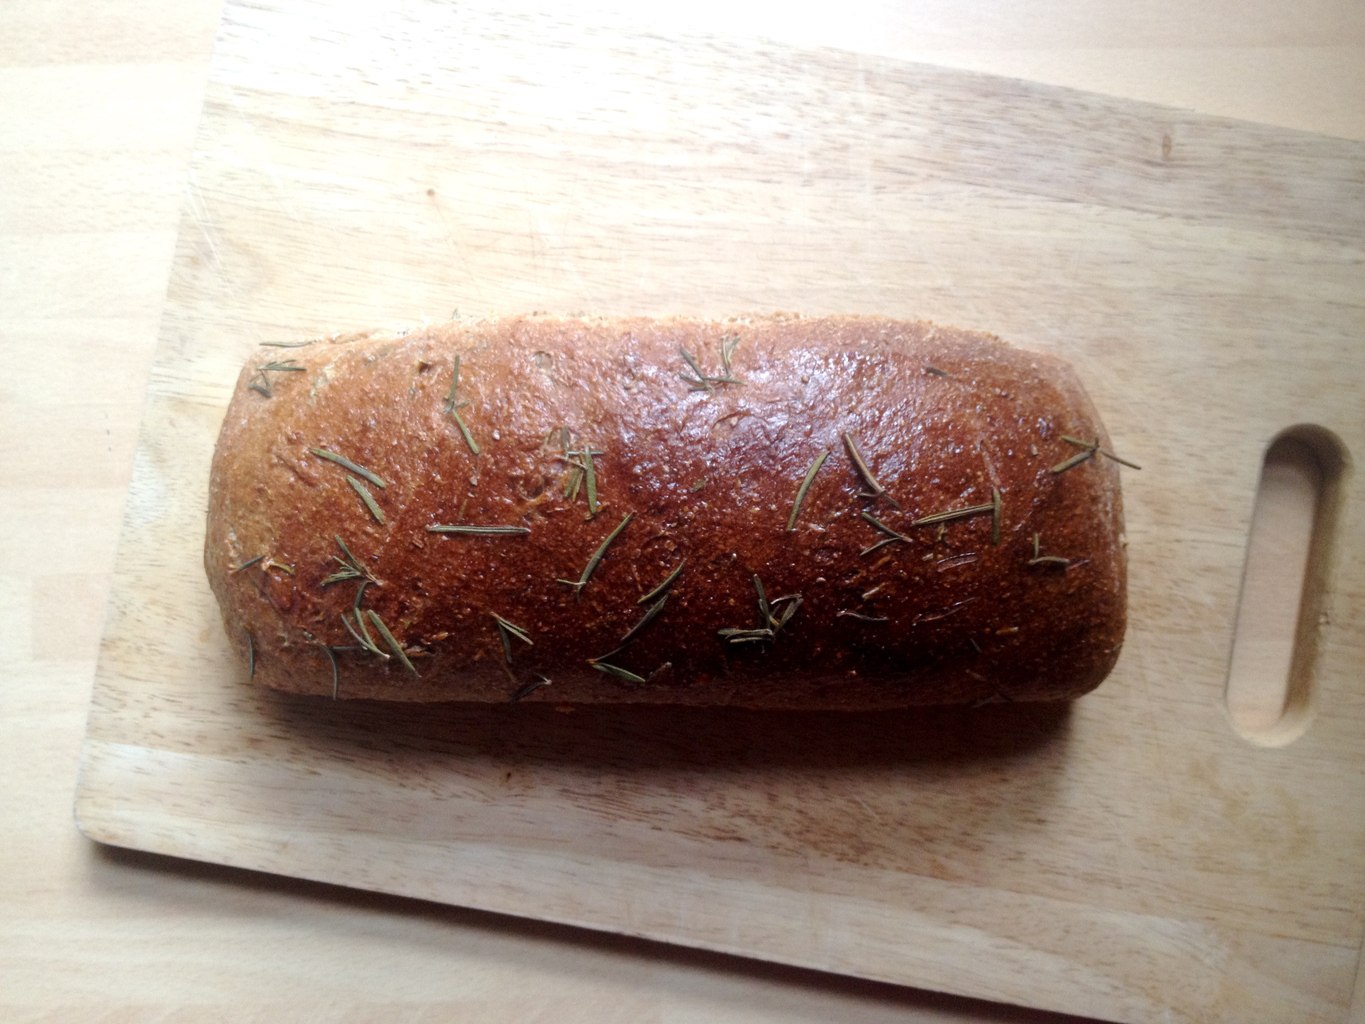
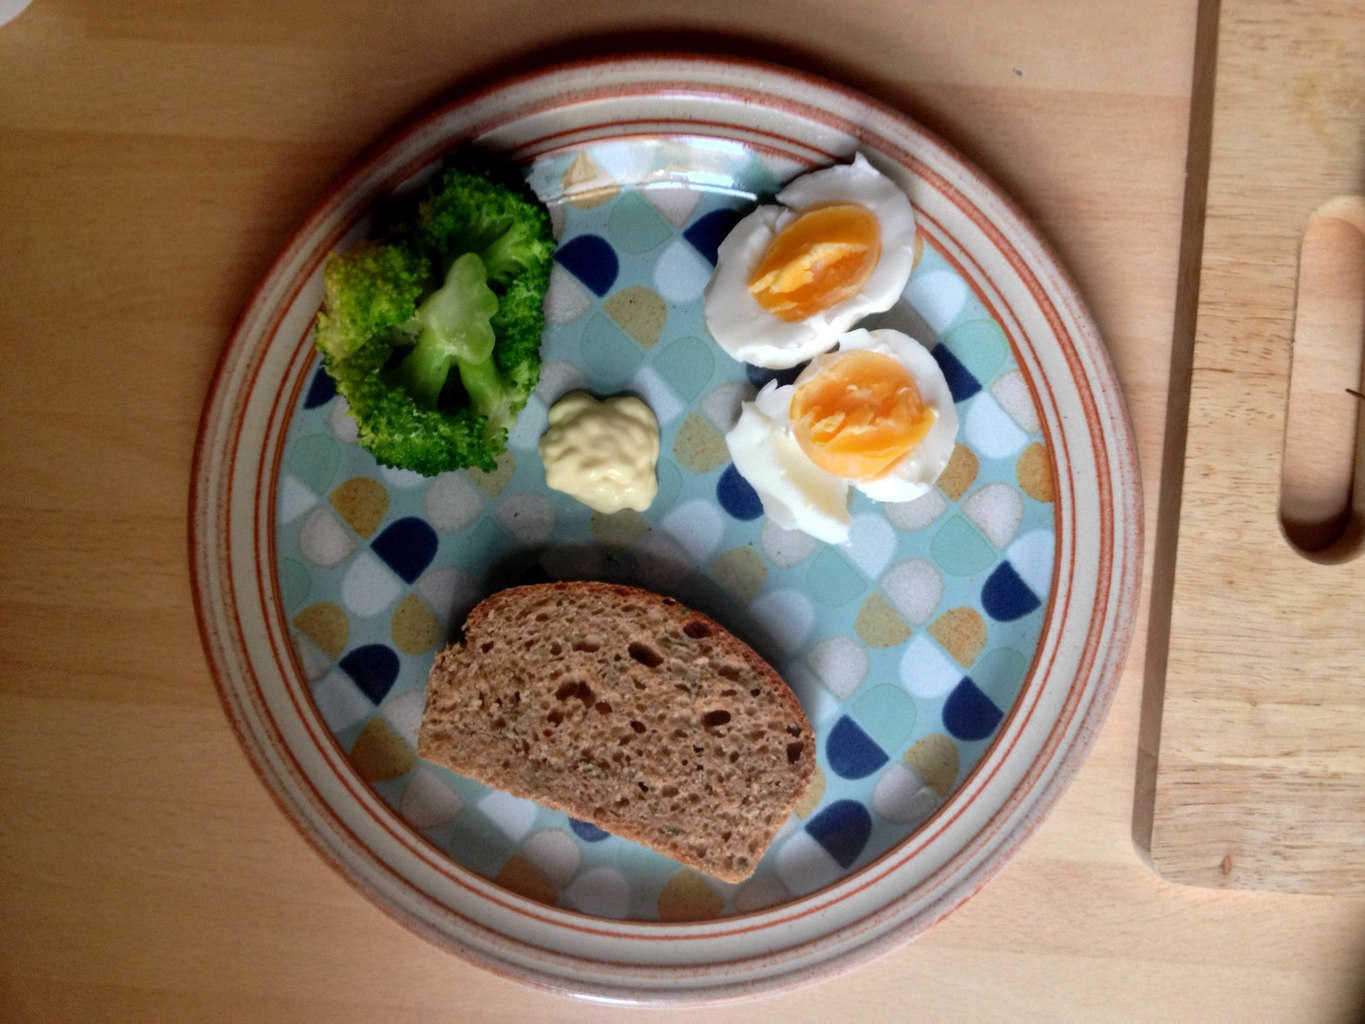
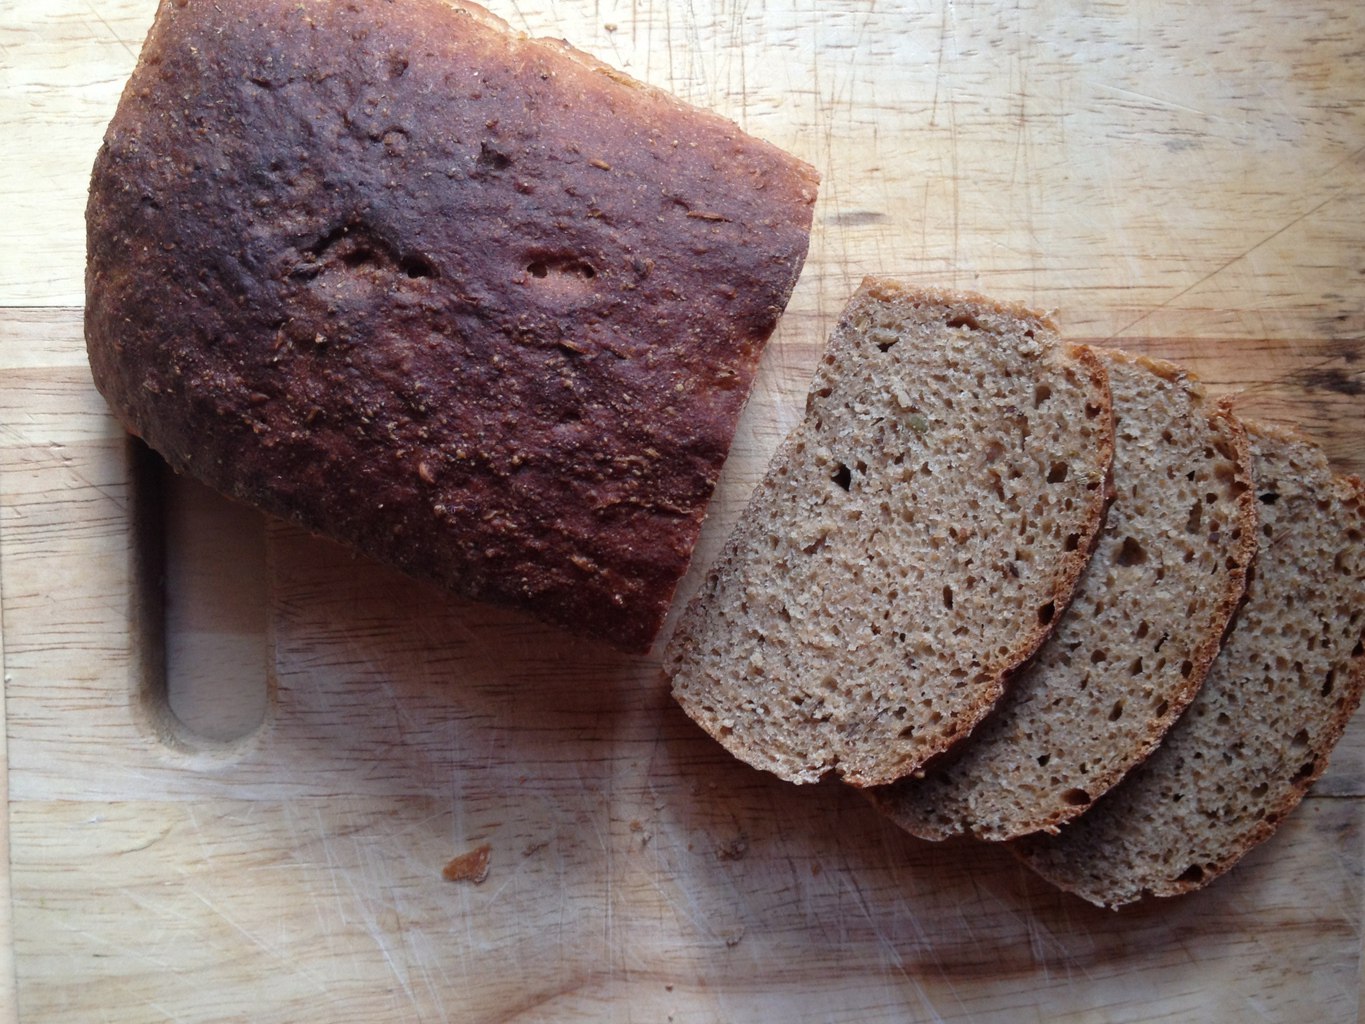
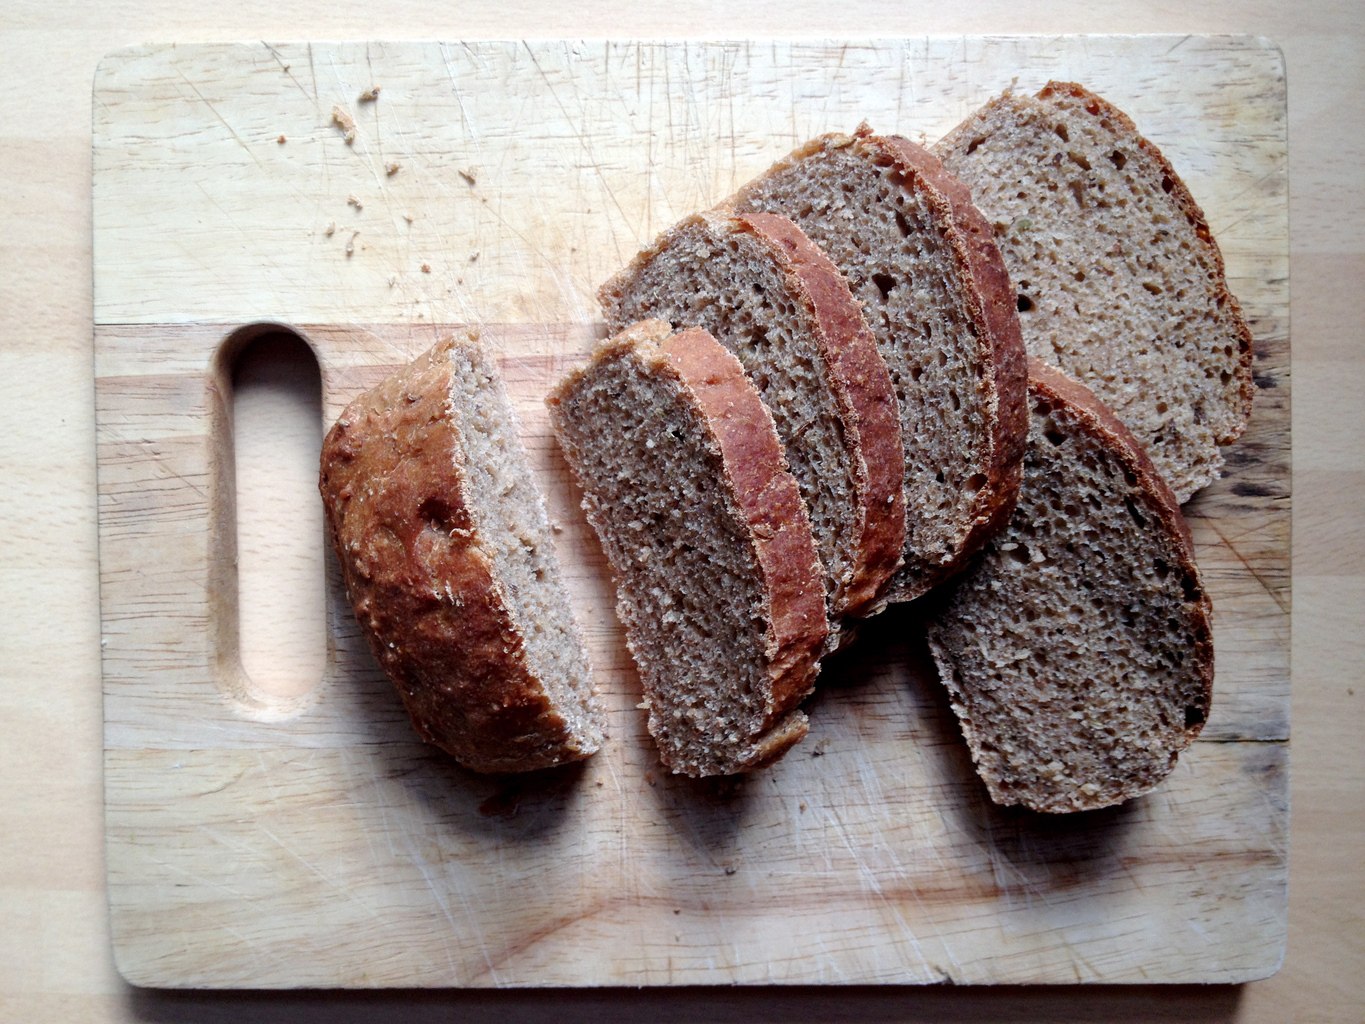
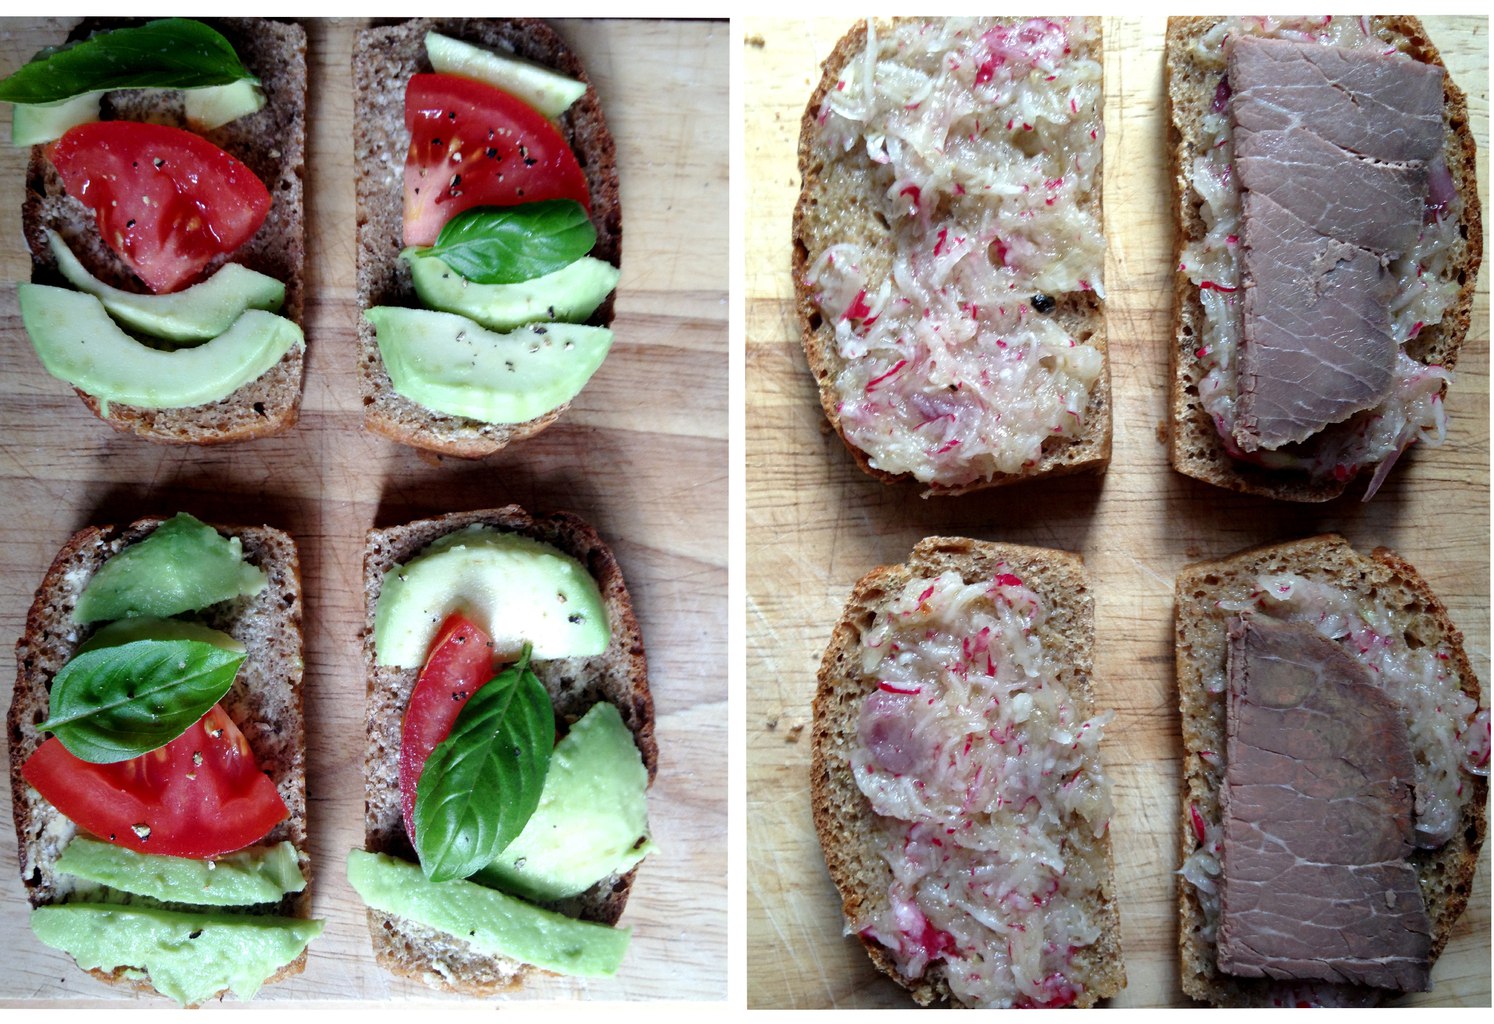
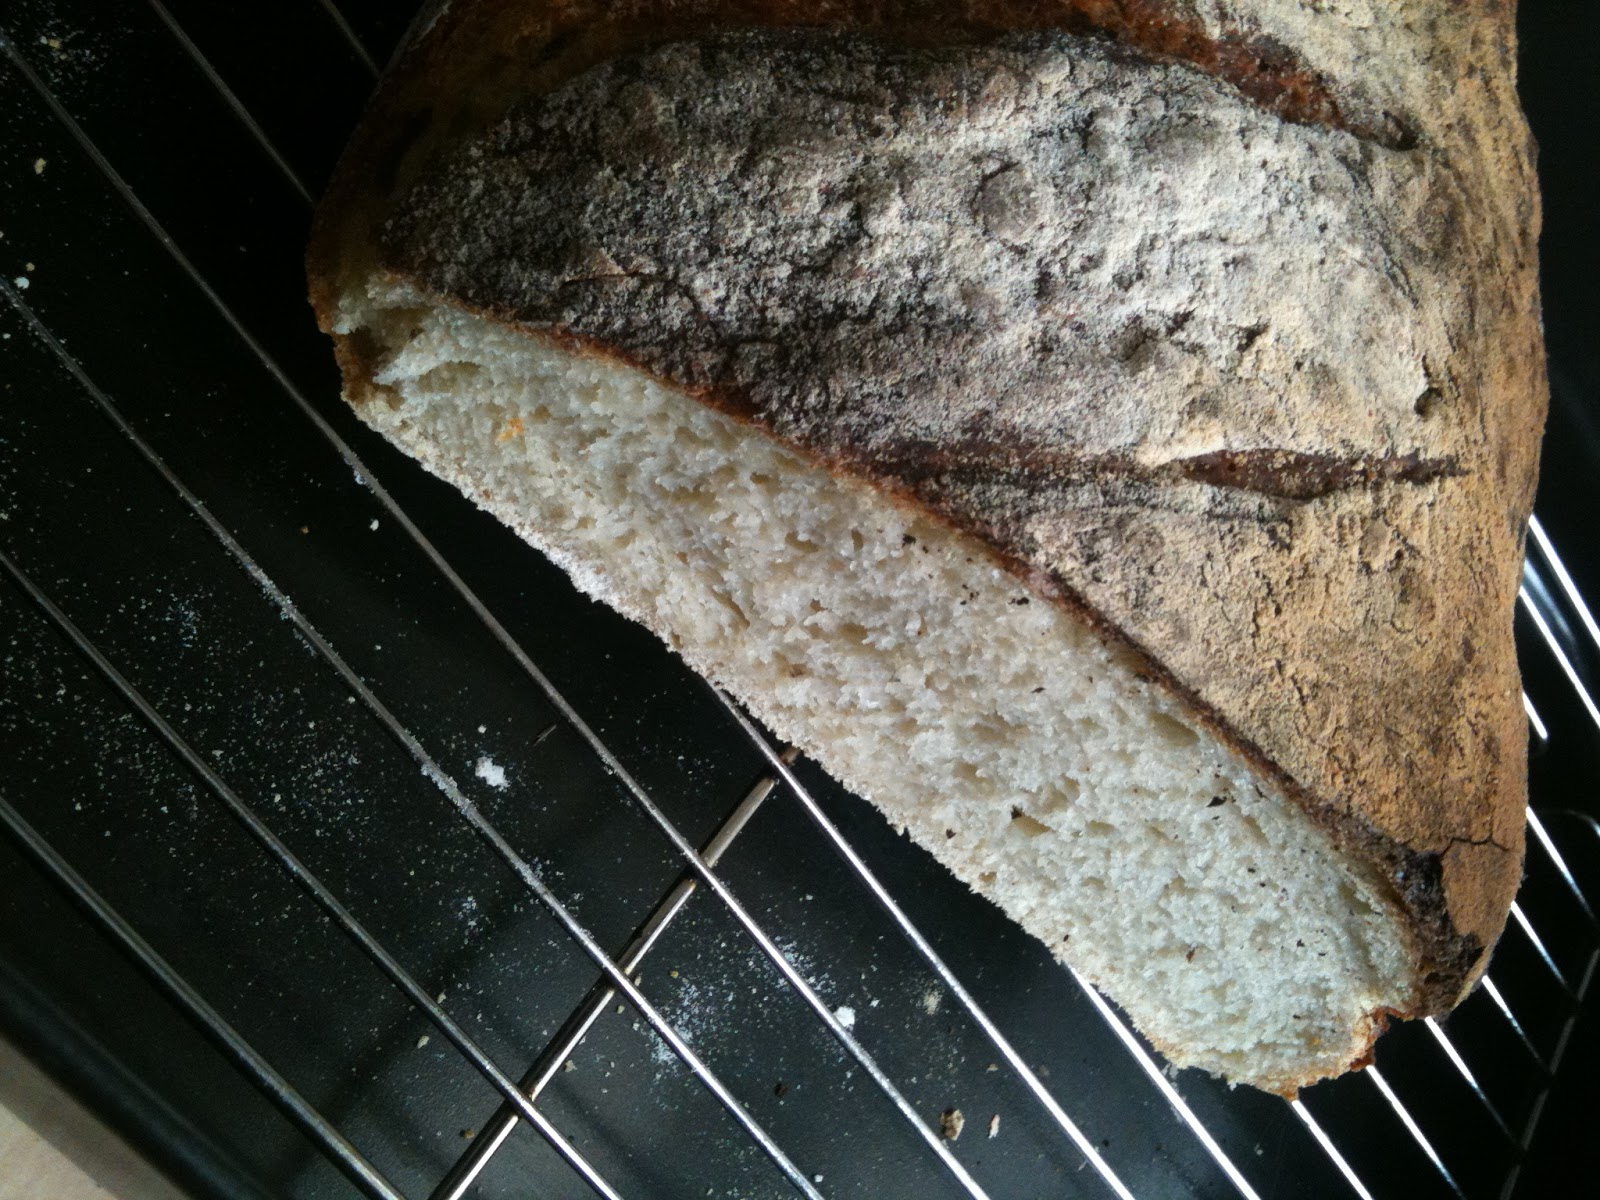
So we started a new diet for Tomas this month. We (which is really me) decided that his eczema may be caused by gluten intolerance. Like with any other diets we tried this includes a long 6 weeks trial where we change our menu to avoid the ingredient in question. I found gluten is not that difficult to avoid. Unlike dairy gluten mostly can be found in carbs. So essentially I thought I need to start baking my own bread, but then I was putting that off as bread baking involves quite a lengthy process…. however without gluten it is not so lengthy. The trouble with gluten free bread is that is difficult to bake a nice bread, but it does not take that much time to make it since we don’t need to kneed the dough to get the gluten to stretch. So all and all no gluten means hello quick bread!

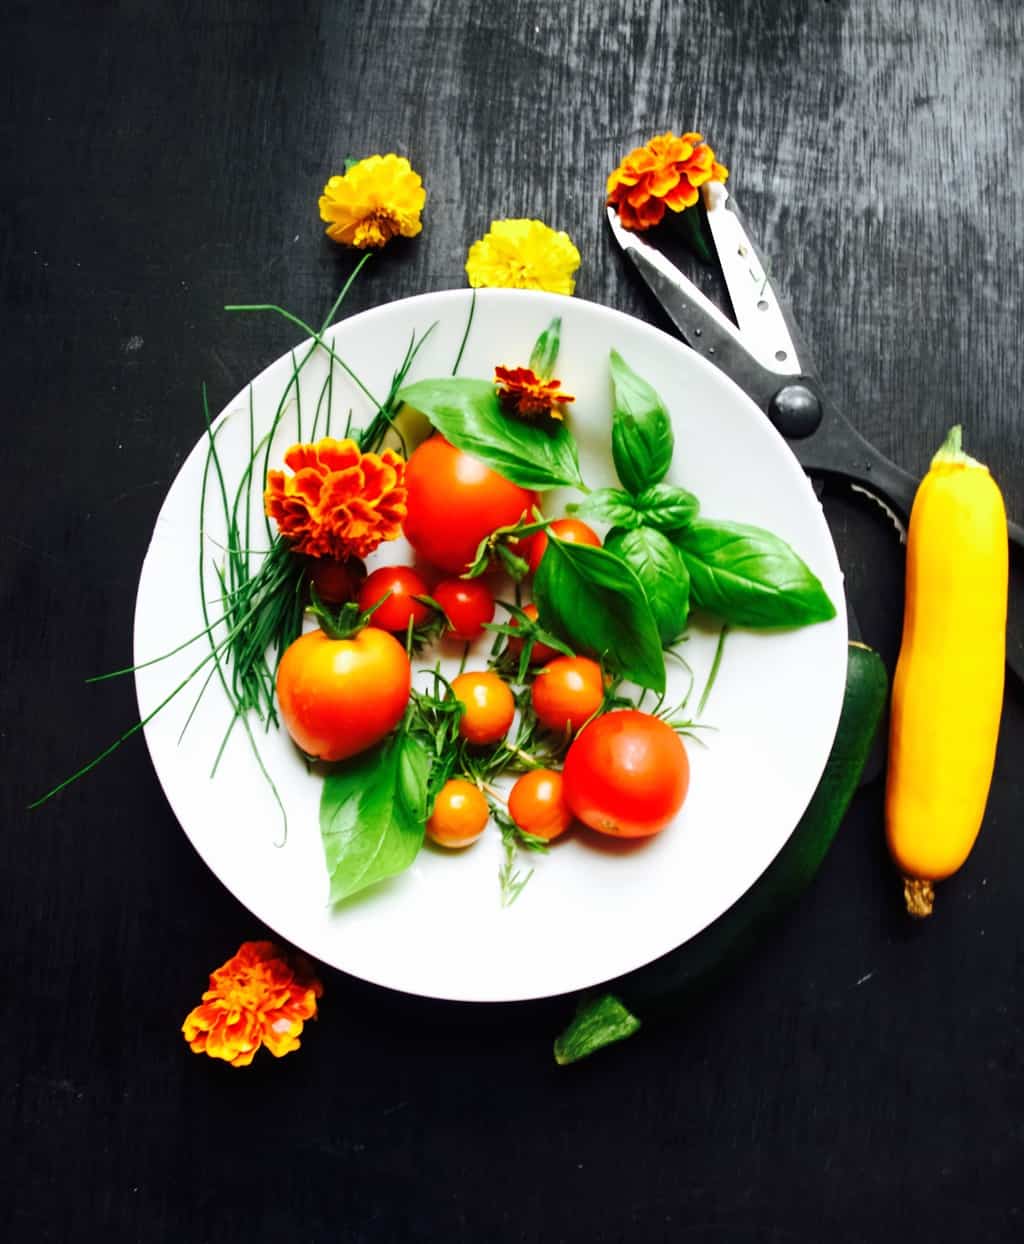
I have been recently inspired by fresh tomato toast recipes from Half Baked Harvest blog. Fresh tomatoes in summer are just amazing! I don’t have such a big harvest of tomatoes (yet) this year, but I thought it would be lovely to make fresh tomato pizza anyways. I made pizza with cucumber as well (I have started getting them in my green house too!!).Gluten free pizza topped with fresh ingredients
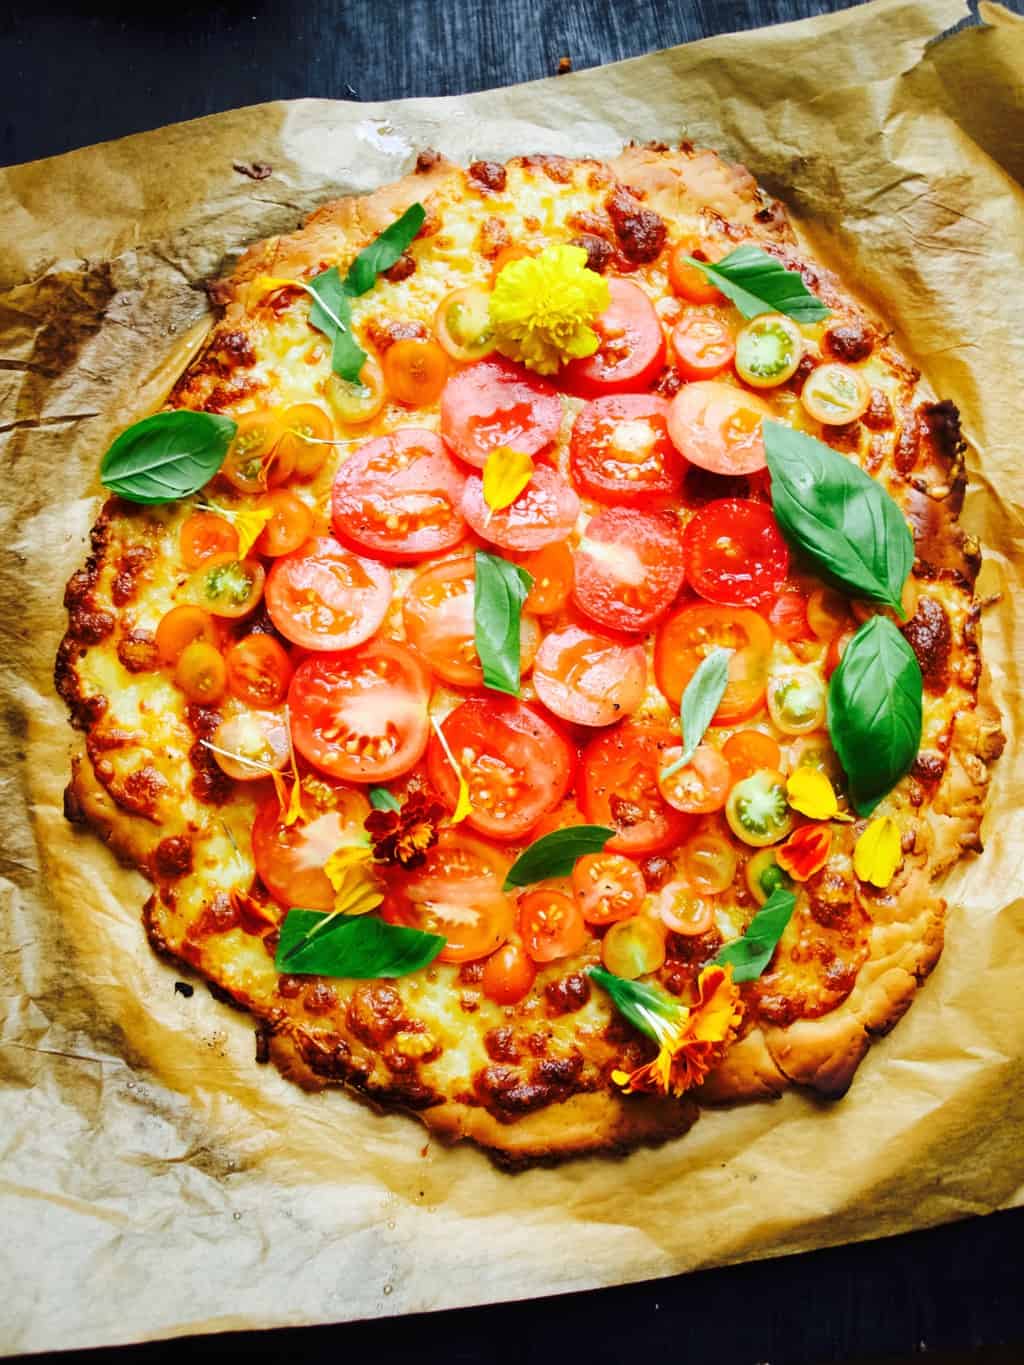
GLUTEN FREE PIZZA TOPPED WITH FRESH INGREDIENTS

Makes two pizzas

(for the base)

  • 600g gluten free flour mix (mine consisted of rice, tapioca and potato starch)
  • 25g xanthan gum
  • 1 tsp garlic salt
  • 2tsp brown sugar
  • 3 tsp baking powder
  • 10g quick acting dry yeast
  • 350ml warm water

(for the fresh tomato pizza)

  • 125g mozzarella cheese, torn into pieces
  • 100g cheddar cheese, grated
  • 1 clove garlic, smashed
  • ground pepper
  • 1 tbsp olive oil
  • 3-5 tomatoes, sliced
  • basil

(for the potato and cucumber pizza)

  • 125g mozzarella cheese, torn into pieces
  • 1 potato, pealed and thinly sliced (I used a grater)
  • salt and pepper to taste
  • 1tbsp olive oil
  • chives, finelly chopped
  • 1-3 cucumbers, sliced

1. Mix together the flour, xanthan gum, garlic salt, sugar, baking powder and yeast in a large bowl. Make a well in the middle. Pour the water into the well and mix everything to form two balls. Roll out the dough onto the baking sheet until it is 5mm thick.Gluten free pizza topped with fresh ingredients 
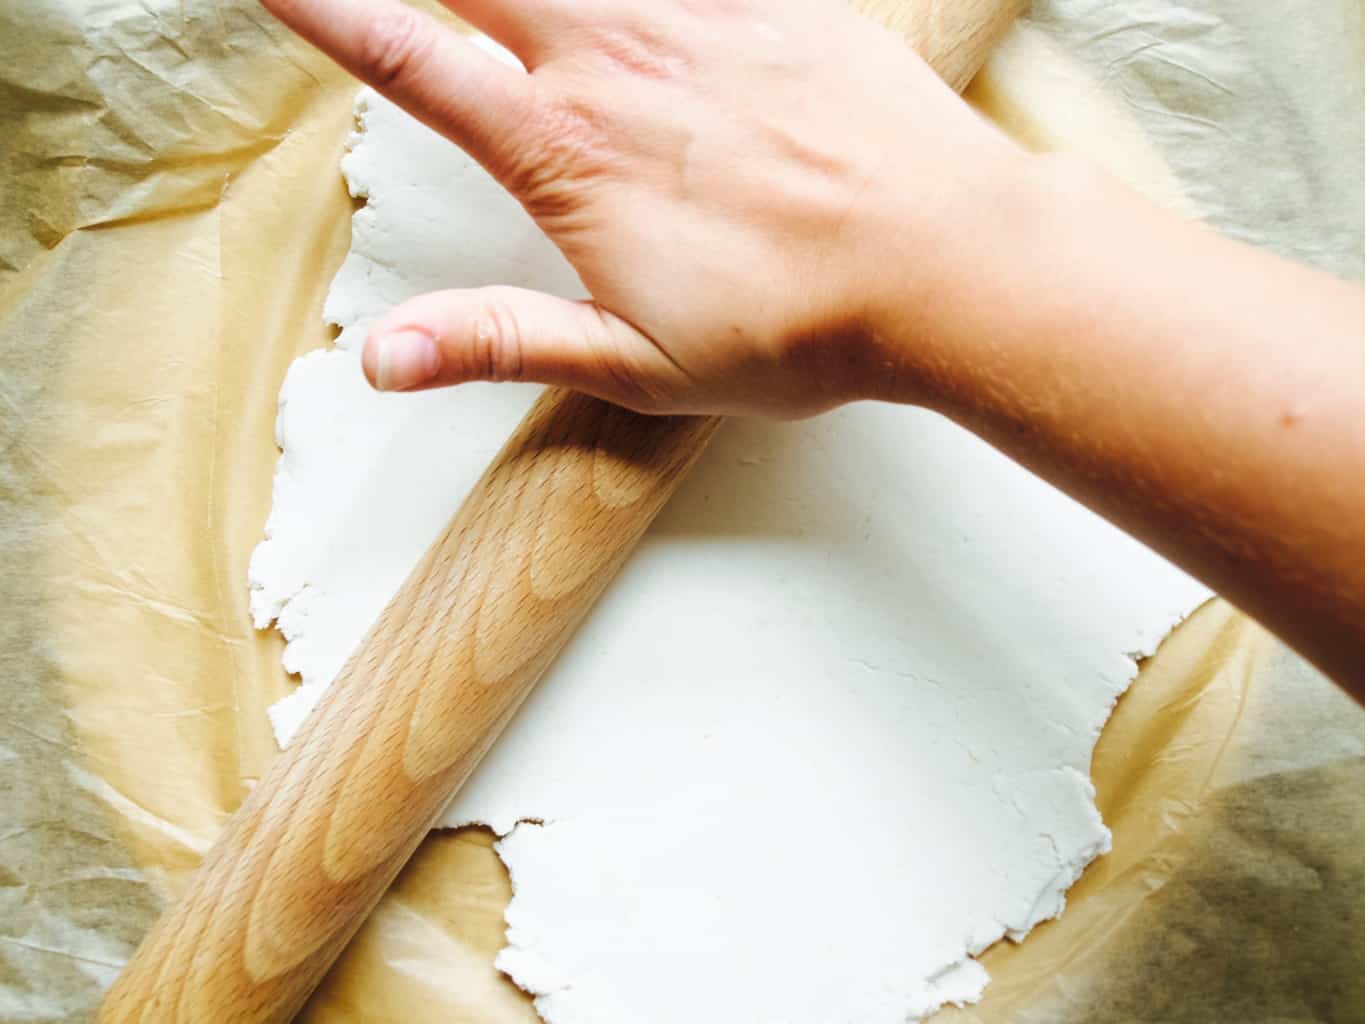
2. To make the cheese and fresh tomato pizza sprinkle the garlic, mozzarella and cheddar cheese over the base. Season it and drizzle some olive oil on top. Bake the pizza in the preheated 200C oven for 20-30min. Once baked top the pizza with sliced tomato and fresh basil.Gluten free pizza topped with fresh ingredients 
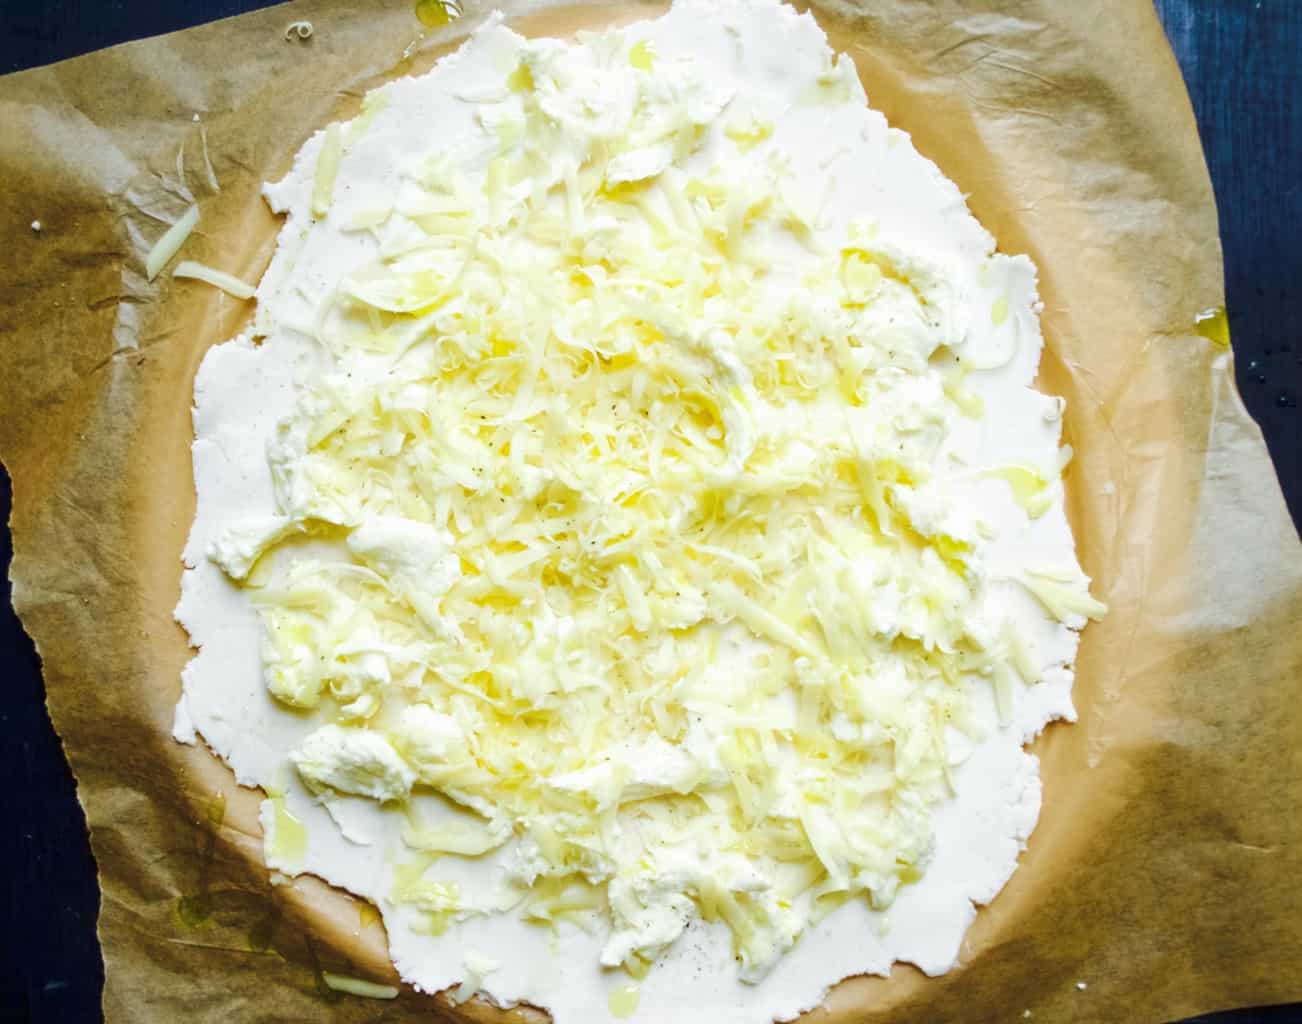
3. For the potato and cucumber pizza sprinkle the base with mozzarella, potato and chives. Heavily season it (potato requires more salt) and drizzle some olive oil on top. Bake the pizza in the preheated 200C oven for 20-30min. Gluten free pizza topped with fresh ingredients 
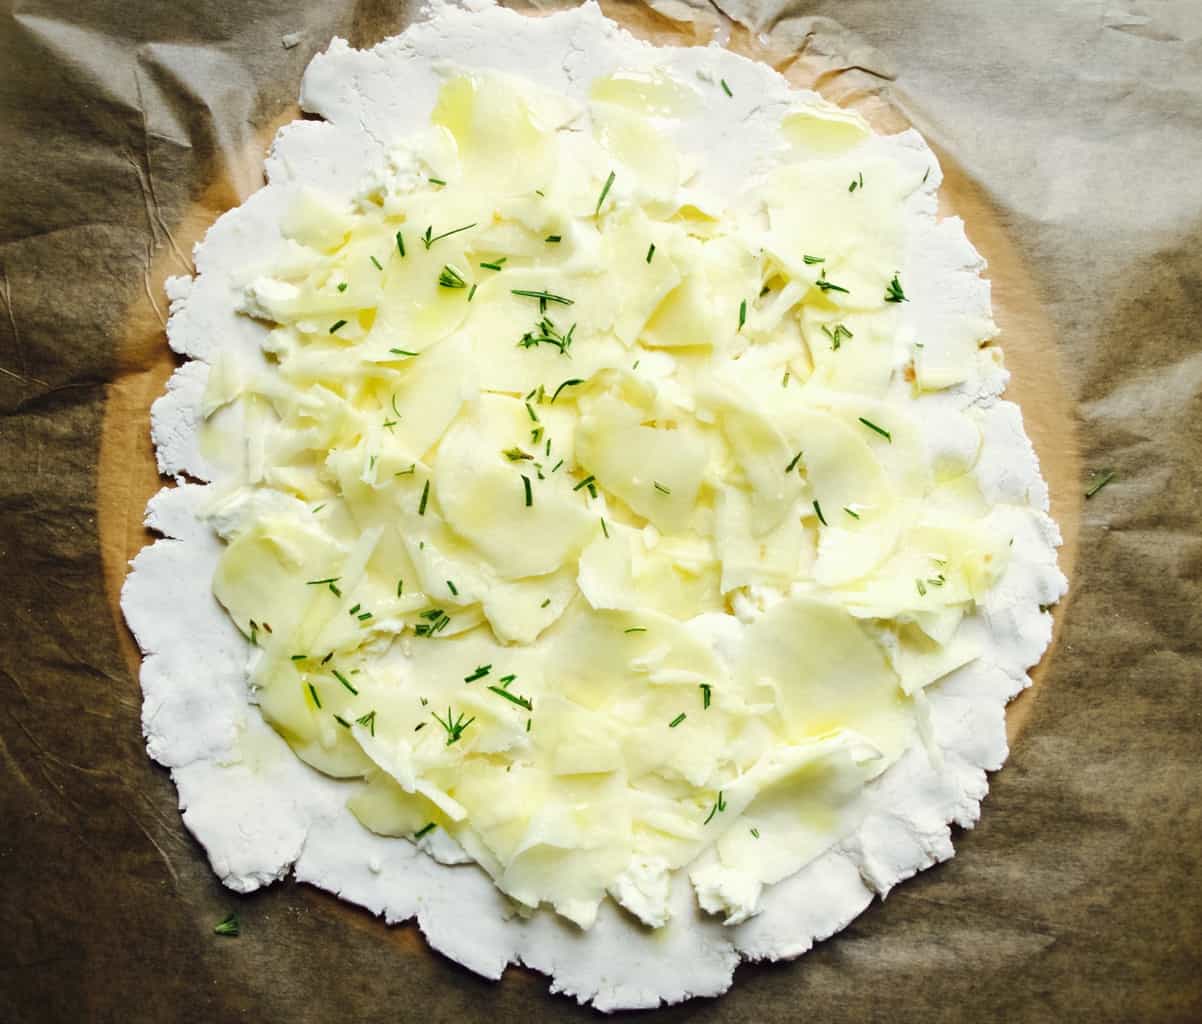
4. Once baked, top the pizza with cucumber and more chives (and maybe salt if needed).
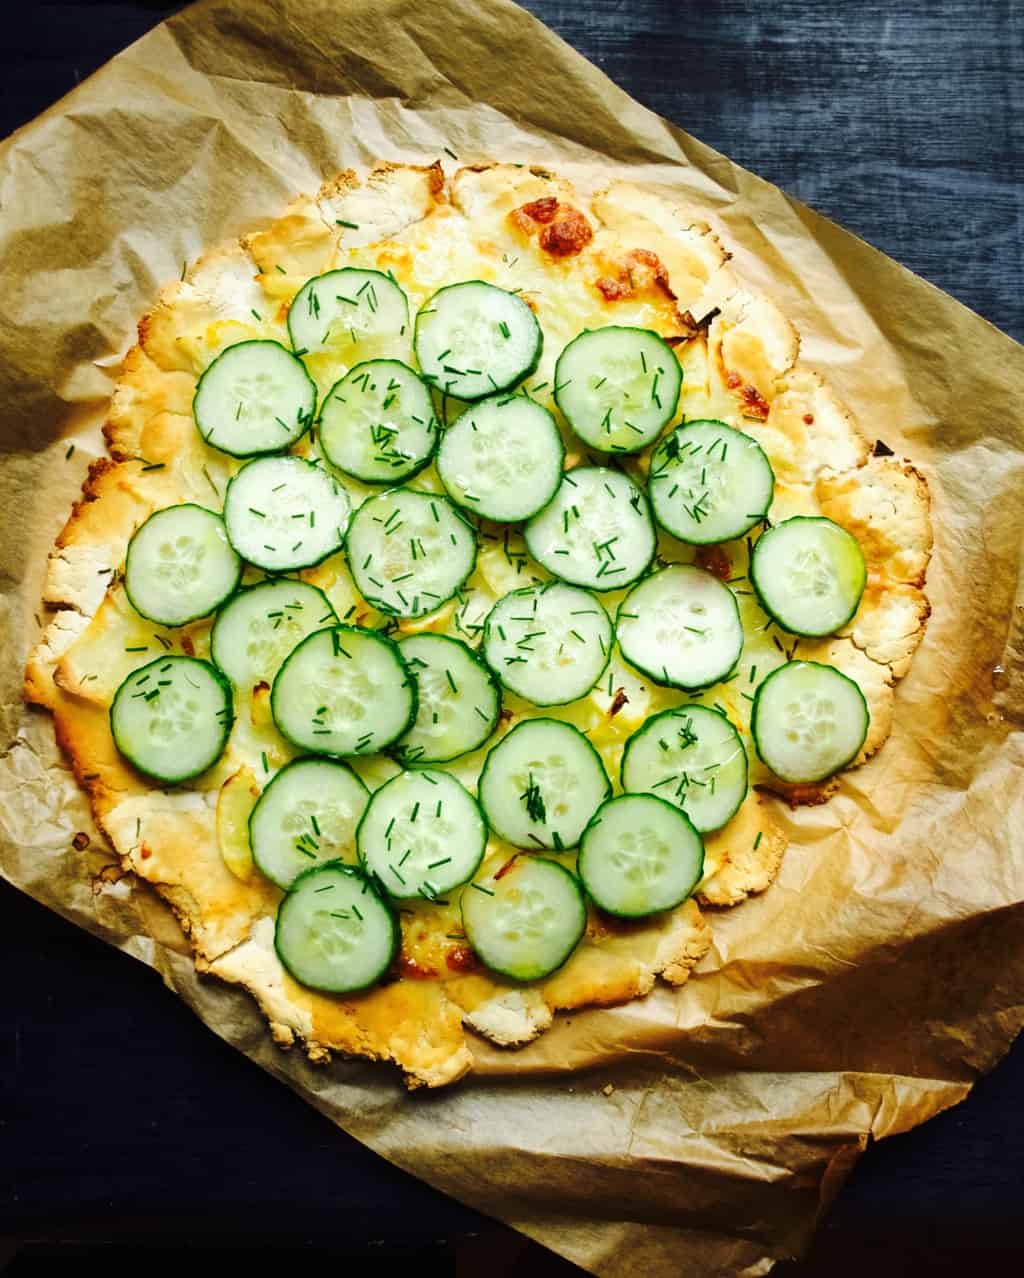
 Gluten free pizza topped with fresh ingredientsEnjoy!

Rasa xoxo

0

Skillet scones

skillet scones recipeLast month I have baked really basic scones so this time round I decided to experiment. However I experimented not with ingredients but with the method. Basically I tried “frying” scones in the skillet instead of baking them in the oven. I thought what if  your oven breaks and you don’t have any bread anywhere found (because I find scones are great replacement for bread, even if they are crumbly)? This method worked for me well once for breakfast when I could bother with oven and I used the same skillet to fry bacon as well (easy peasy!).

ROSEMARY SKILLET SCONES makes ones small skillet scone

  • 150g plain flour
  • 1 tsp dried rosemary
  • 1 tsp baking powder
  • 50g butter, soften
  • 30 ml milk
  • 1 egg

1. Mix all the ingredients together (mix flour and baking powder separately first) until everything combines well and shapes non-stick dough.

2. Roll the dough 1 cm thick (try to roll into the round) and place it into the skillet.skillet scones recipe3. “Fry” the scone while turning over so it cooks on both sides. skillet scones recipeWe had it with bacon, hard-boiled eggs, mayo, avocado tomato and sliced apples (on the side). But I would recommend buttering it generously or serving it with lots of sauce, because it can be dry as it’s very crumbly.skillet scones recipeEnjoy!

Rasa xoxo

0

Soda bread baking

Soda Bread with Spelt recipeI always try to bake my own bread, but to be completely honest here I don’t get to do that very often. Who has the time to wait for at least 3 hours? I guess I could be more organised and think in advance when bread is need for dinner. But that is not always possible either. Thanks to the Irish, there is a quicker solution for home bread baking. Soda bread as the title suggest uses baking soda instead of yeast, therefore the rising process is faster. So no waiting time! Great! Over a week ago I baked these little soda bread buns for dinner (we had burgers) that had spelt. You see, I really wanted to try Leatheringsett Watermill spelt flourSoda Bread with Spelt recipeWHOLESOME SODA BUNS makes 8-10 buns

  • 250g spelt flour
  • 250g strong white flour
  • 10g salt
  • 4tsp baking powder
  • 150ml milk
  • 150ml yogurt
  • 1 egg, whisked
  • seeds of your choice (optional, I used sesame seeds)

1. Combine all the ingredients in the bowl (except egg and seeds) and kneed briefly to make a dough. Soda Bread with Spelt recipe2. Divide the dough into 8 or 10 balls. Place them on a baking tray and cut a cross in the top f each bun. Brush some whisked egg on top and sprinkle with seeds.Soda Bread with Spelt recipe3. Bake these buns in preheated 200C oven for about 20 min until they sound hollow when tapped on the base. Soda Bread with Spelt recipe4. Let the buns cool for few minutes before enjoying them ;-) .Soda Bread with Spelt recipeHave a lovely week!

Rasa xoxo

0

Wholemeal English muffins + low-fat hollandaise sauce

wholemeal english muffins recipie

English muffins are great for breakfast, especially when making Eggs Benedict! And it’s easy to bake them too… well, actually you almost fry them in the pan. So basically you don’t even need an oven!

Today I have decided to make a healthier version of Eggs Florentine (its like Eggs Benedict but with spinach). Therefore I experimented and made English muffins wholemeal. I am pretty pleased with the results! Made little batch just because I wasn’t sure how it will turn out. do double or triple the amounts, because the recipe bellow only makes 3 English muffins.

WHOLEMEAL ENGLISH MUFFINS

  • 100g wholemeal flour
  • 70g plain flour
  • 3g fast acting dry yeast
  • 4g salt
  • 110ml warm water
  • drizzle of sunflower oil

1. Mix all the ingredients together in a bowl to form a sticky dough.

2.Turn the dough out on to a clean work surface. Kneed for 10min until smooth.

3. Shape the dough into the round , coat with a little extra oil and place in the clean bowl to rise for about an hour.

4. Deflate the dough by pressing it all over and divide it into three rounds.

Wholemeal English muffins recipie

5. Let the dough rise for another half and hour.

wholemeal english muffins recipie

6. Preheat heavy pan (cast iron one would be perfect) and lay the muffins inside.

7. “Fry” the muffins dry and turn them over gently time to time. This process takes about 10 min. Initially the muffins might be sticking together, but that should be more hand-able ones the muffins gain the crust.

wholemeal english muffins recipie

The muffins then can be toasted, buttered and served with the eggs. In my case scenario I toped it with weltered spinach (remember? low-fat Eggs Florentine?).

low-fat egg florentine on wholemeal english muffin

Pouched eggs of course…

low-fat egg florentine on wholemeal english muffin

and Hollandaise sauce. Although that is rich in fats I hear you say. Luckily I have recently discovered no butter Hollandaise sauce which taste as nice!

Low-fat eggs florentine recipe on wholemeal english muffin

HOLLANDAISE SAUCE

  • 1 egg
  • juice of half lemon
  • 1/2 tsp mustard powder (e.g such as Colman’s Mustard)
  • salt and pepper to taste
  • 2 tbsp water

1. Put all the ingredients in heatproof bowl over a pan of simmering water.

2. Whisk for 5 min or until the sauce thickens to mayonnaise consistency. Remove from the heat as soon as it is done.

Low-fat eggs florentine recipe on wholemeal english muffin

Enjoy!

Rasa xoxo

0

Ale and cheese bread

Ale and cheese bread recipie

Having previously made steak and ale pies, I had some ale left. I have decided to make bread with that leftover! The cool thing is when you know bread baking basic, you can customise your recipe as much as you want. I added some cheese together with that ale leftover to mine! The outcome? Strong flavour bread, tasting like “Marmite”! You either love it or hate it ;-).

ALE AND CHEESE BREAD

  • 150g wholemeal flour
  • 350g white bread flour
  • 7g fast acting dry yeast
  • 10g fine salt
  • 300ml ale (warmed in the bath of hot water)
  • 50g (or more) cheddar cheese, grated
  • 1 tbsp melted butter (1 tbsp extra for handling the dough)

1. Measure all the dry ingredients in the bowl and pour the ale over it. It should be bubbly as in the picture bellow :-).

Ale and cheese bread recipe

2. Add cheese + butter and mix everything well. Give good 10min kneading, this works well as a workout!

3. Shape the dough into the round. I rub my hands into the fat (butter in this case) so the dough does not stick to my fingers while handling it.

Ale and cheese bread recipe

4. Place the dough round back into the clean bowl. Cover it with cling film and let it rise in warmth for 1-1.5 hours. The dough should double (if not triple) in size.

Ale and cheese bread recipe Ale and cheese bread recipe Ale and cheese bread recipe

5. Deflate the dough and let it rise again for another 30min or so. I use proving basket at this stage.

Ale and cheese bread recipe Ale and cheese bread recipe Ale and cheese bread recipe

6. Cross slash the top of the bread. This is my first time doing it too! This really helped to produce more civilised looking bread as it did not crack wherever it wanted when rising in oven :-D. Bake in preheated 200C oven for 45min.

Ale and cheese bread recipe

Ale and cheese bread recipe Ale and cheese bread recipe Ale and cheese bread with raspberry jam

Now, I will tell you little secret. I know this might sound odd, but I did enjoy this bread best as a toast with some raspberry jam… can’t get enough of it!

Rasa xoxo

0

Bread baking

Potato bread

For those who don’t know I have learned bread baking two years ago. My first bread loaf I have tried baking from scratch (not with the help of machine) was a potato bread! After few courses and lots and lots and lots of  practice I finally developed a good technique that works with a lot of bread recipes. That of course allowed me to customise my bread as much as I want by adding different flavours and ingredients. Exciting!

Do you have your favourite bread type, flavour or even recipe. Please share here with us. Would love to see!

For those who are complete beginners in baking bread than I defiantly recommend Craftsy online baking course. It’s so useful to know all the stages of bread baking, just think of possibilities! In fact there is a great offer going on right now, you can get Craftsy 25% Off Food Classes during November. And if you are feeling lucky then you should defiantly give a try and participate in Craftsy contest for a chance to win a free Food Class by sharing you own favourite recipe (not only bread) on Craftsy Recipe Sharing Submission Page. Good luck!

POTATO RYE BREAD WITH SEADS

  • 1 potato (about 200g)
  • 300g bread flour
  • 100g rye flour
  • 7g fast action yeast
  • 1.5 tsp salt
  • 200ml lukewarm water
  • 1 tbsp pumpkin seeds
  • 1 tbsp sunflower seeds
  • 1 tsp caraway seeds

1. Mix all the dry ingredients except the seeds in the large bowl and make a well in the middle.

2. Grate pealed potato by using “pucker” stile hole grater that is common in most multi hole side graters. I prefer using plastic one as that prevents grated potato go grey.

plastic potato grater

3. Pour water and add grated potato into the flour well. Mix everything together into solid mass by folding the flour in from the sides. Mix the seeds into the mixture.

4. Kneed the dough continuously for 10-15 minutes until it becomes less sticky. Do not be tempted to add more flour during this process.

5. Cover the dough in the clean bowl and let it rise for 1hour until it doubles in size.

bread dough rising bread dough rising

6. “deflate” the dough and form it into the loaf. I use a proving basket so it makes nicer looking bread loaf. Cover the loaf and let it rise one more time for 30 min.

Potato bread dough in prooving basket

7. Once the bread dough had its final rise, bake in preheated 200C oven for 30 min.

potato bread with seeds and rye

Let the bread cool completely before slicing.

potato bread with seeds and rye

Happy bread baking!

Rasa

2

Rosemary Bread

sliced bread

I love rosemary so I thought I will share my other favourite recipe with it. Rosemary bread is one of the breads that I bake quite often. I hope this bread will also become your daily bread ;).

ROSEMARY BREAD

rosemary

  • 230g whole wheat flour
  • 80g strong bread flour
  • 2 tbsp olive oil + extra for kneading
  • 1 small handful fresh rosemary, chopped (or 2tsp. dried)
  • 8g salt
  • 7g active dry yeast (1 pack)
  • 1 tbsp sugar
  • 240ml warm water
  • 1 egg yolk for egg wash

1. Put all the ingredients together (except the egg yolk) in the bowl reserving a pinch of rosemary for later.

ingrediants

2. Mix the ingredients in the bowl together until well incorporated.

sticky dough

3. Place the dough on the slightly floured surface and start kneading it. Don’t be tempted to add more flour as it won’t help to solve the dough stickiness anyway. Just keep kneading the dough for 10min regardless how much of the dough sticks to your hands.

kneeding

4. After kneading is done, scrape off as much dough as you can from your fingers and wash your hands. Take some oil in your hand and rub the dough with it. Oil will help to handle a sticky dough and therefore shaping a dough ball should be really easy!

olive oil

5. Place shaped dough ball into the clean bowl and cover it with cling film. Keep the bowl in warm place, but not in the oven.

before prooving

6. After 1 hour come back to the dough and see if it has risen. If it doubled in size then go to the next step. If not, then give another 30min.

risen dough

7. Punch down the dough and form it into a loaf.

punch the dough

8. Dust the baking tin with flour and place the dough inside. Cover it with cling film again and let it rise for another 45min.

final rise

9. Once the dough is risen, gently brush the top with egg wash and sprinkle with the rosemary.

ready to bake

10. Bake in preheated 250C (or what ever the highest temperature available) oven for 20-25min until the top is golden brown and sounds hollow when tapped.

bread loaf

11. Let the bread cool before slicing.

lunch!

This bread is great for quick lunches as it livens up any boring food!

Enjoy!

Rasa :)

0

Rye Bread

IMG_3867

So as I promised on the Bicycle trip to Richmond post, here I will share my recipe for a yummy rye bread.  I think it is the closest match to the bread we buy in Lithuania and surprisingly there is no sourdough starter needed.

IMG_3866

RYE BREAD

  • 145g rye flour
  • 100g white strong flour
  • 20g dark brown sugar
  • 1.5 tsp crushed fennel seeds
  • 1 tsp caraway seeds
  • 6g salt
  • 4g active dry yeast
  • 200g water
  1. mix dry ingredients with luke warm water until it is incorporated.
  2. Cover the dough with plastic and let rest for 15min. After 15min mix again for a minute or two and repeat the same process one more time.
  3. Cover the bowl with the plastic again and let it sit at room temperature for 2-3 hours.
  4. After 2-3 hour proof, stretch and fold the dough and shape into the loaf. There is a strange trick I use for this: I dip my fingers in the oil so that the dough doesn’t stick to my hands while I am shaping it
  5. Cover again with plastic and proof in the room temperature for another 45min-1hour.
  6. Preheat your oven to 200C half an hour before baking
  7. bake the bread for 30-45min

IMG_38718. Baked bread goes with many toppings like radish butter & roast beef or just butter, avocado, tomato & basil combination (my family’s favourite).

Enjoy

Rasa xox

0

My bumpy ride on learning how to bake the perfect bread…..

As I my plans to open a Cafe becoming more and more real I have started thinking about the menu. So I thought to myself: “what Cafe is without sandwiches and what sandwiches are without nice bread?”. At that time I have decided to learn how to bake the bread. Yes, I can bake cakes, but to bake bread is the whole new game. The only bread baking I have done in the past is by bread making machine. Should this count? I actually don’t like machine bread anymore as it always comes out square shaped and taste like any other bread. I like the rustic look and that’s what I want to achieve with my sandwiches as well.  So firstly I checked out few courses and I did find them super expensive (this is probably why I have no formal training on cooking or baking). However I came across this blog where the blogger (Maria) offers courses at her own house and that’s definitely cheaper! Anyhow I have bought loads of book for bread baking as I could not wait for my next lesson. As I really got bored with basic bread (probably because of the baking machine I have) I went for this Hungarian potato bread recipe (picture above). Sounds amazing, but sooo messy. You see, the dough was so sticky that I kept adding flour which did not help much. Also, I started in the evening and I did not realize that this would take me 4 hours! I thought I would leave it to rise (from yeast) overnight, but then the book warned that it may over-rise if I leave it for more than two hours so I got stuck with it for a night (I kept alarm clock so I could wake up to do another step for the bread cycle). I also got really sick as I have this really bad habit to taste everything I cook or bake so I did the same with the bread dough (I know, I know really bad, but I have done it with the cake dough and I was fine). And they say that it is unhealthy to eat warm bread, but this must have been worst! Eventually I got the result, which was not too bad, only that the crust was super thick and a little bit burned. Never mind I will get it improved! It is only my first time and nobody can judge me for the bumpy start! Therefore I am not giving away the recipe until I am super confident about it. For now I will give a recipe for the sandwich that I made with that bread. I must say I have enjoyed and was proudly eating during the lunch time. It was so good that I forgot to eat my soup that I usually eat with the sandwich!

PARMA HAM, FIG & MOZZARELLA SANDWICH
Ingredients: small bunch rocket salad
                    3 ripe figs (cut in quarters)
                    175g mozzarella cheese (thorn into pieces)

3 slices Parma ham (thorn into smaller pieces)
1tbsp honey
1tbsp lemon juice
fresh ground black pepper
butter for spreading
4-6 bread slices (or more, it all depends on how much of sandwich filler you put on one slice)

1. combine all the ingredients except the bread and butter
2. Butter the bread slices (very important as butter stops sandwich from becoming soggy)
3. Apply Sandwich filler!

The end ;)

Rasa

1