Top

Archive | Gardening

Green tomato ketchup

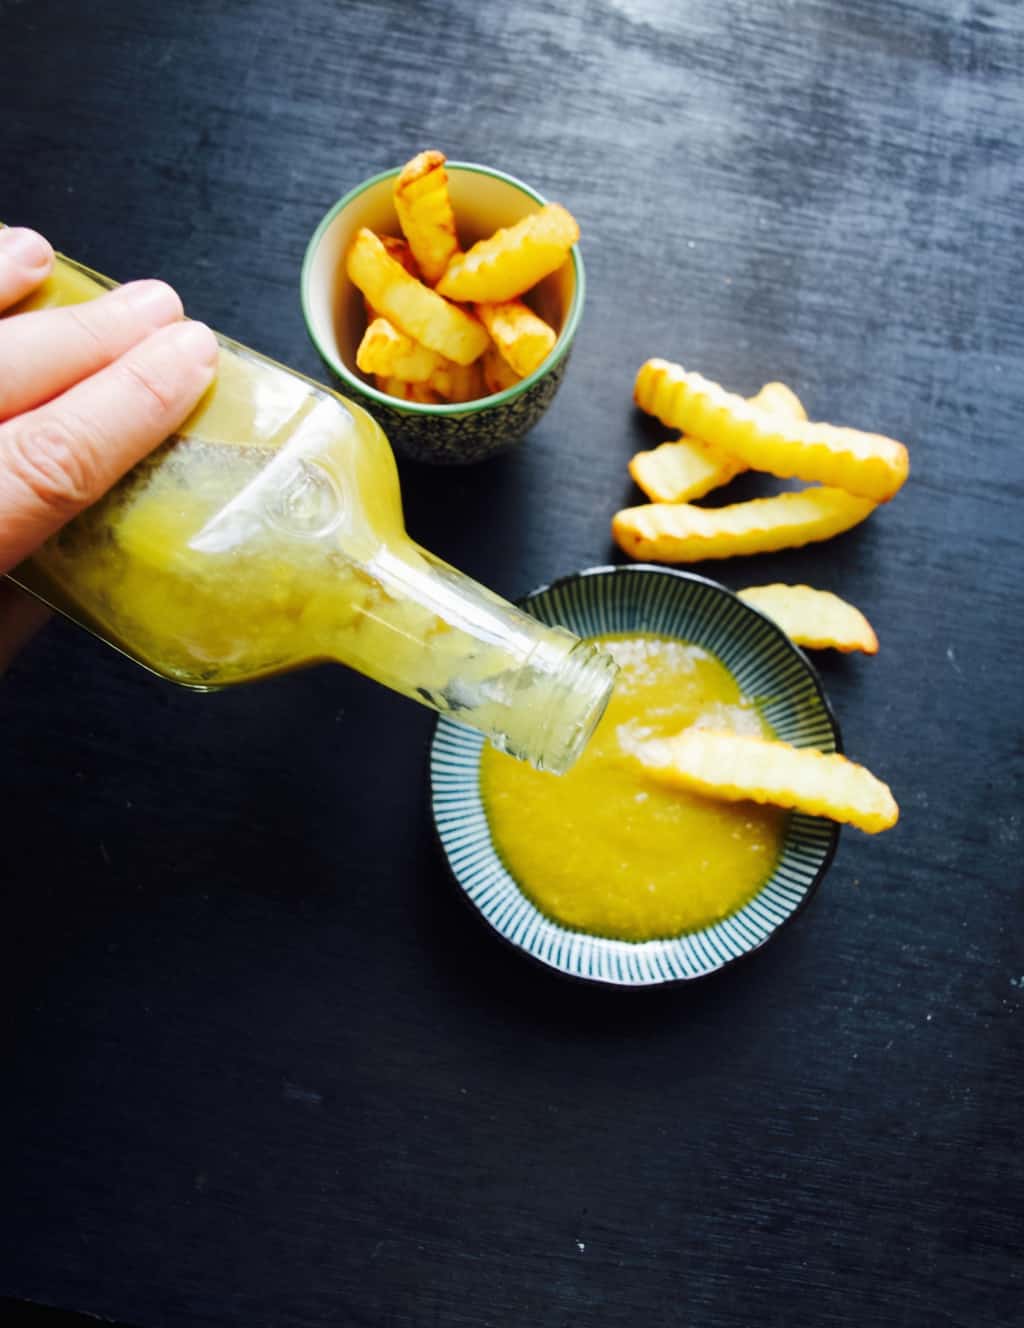
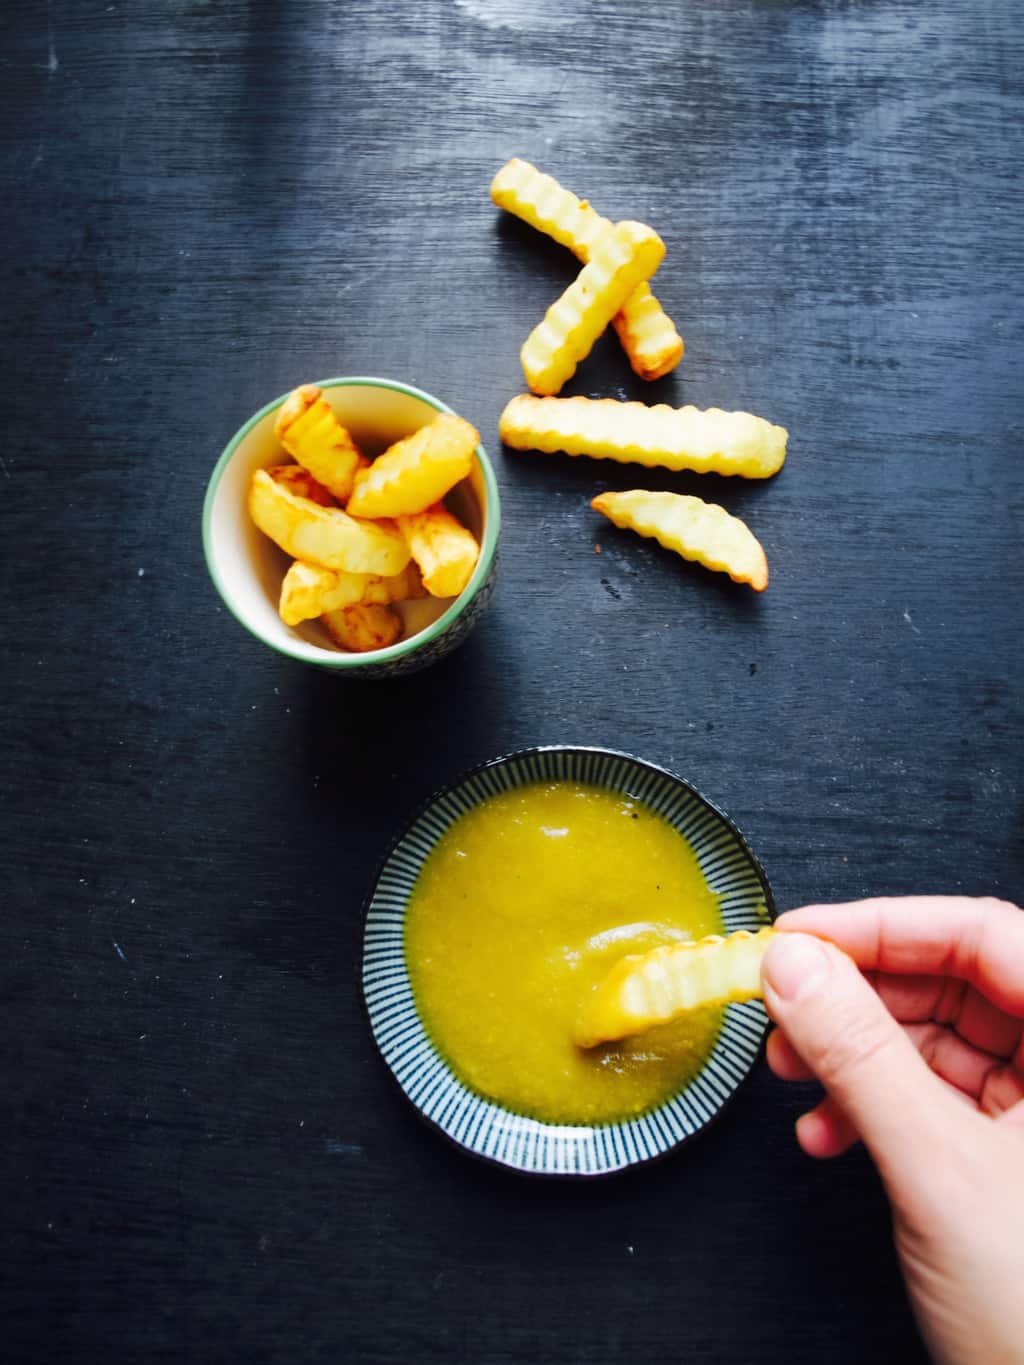
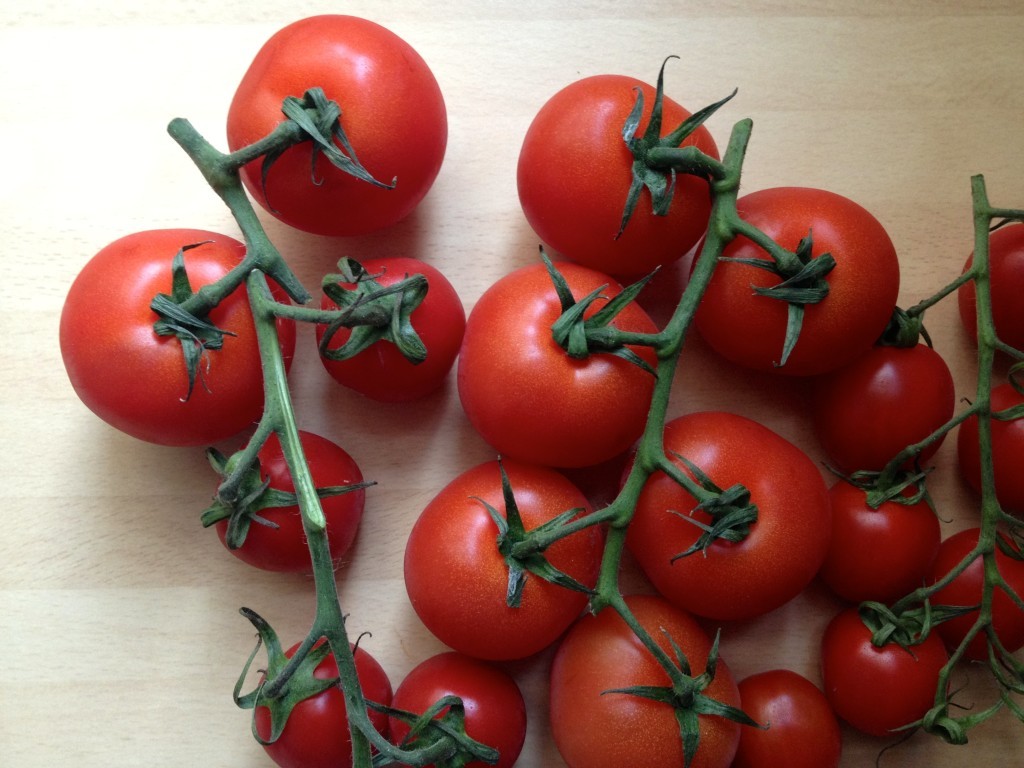
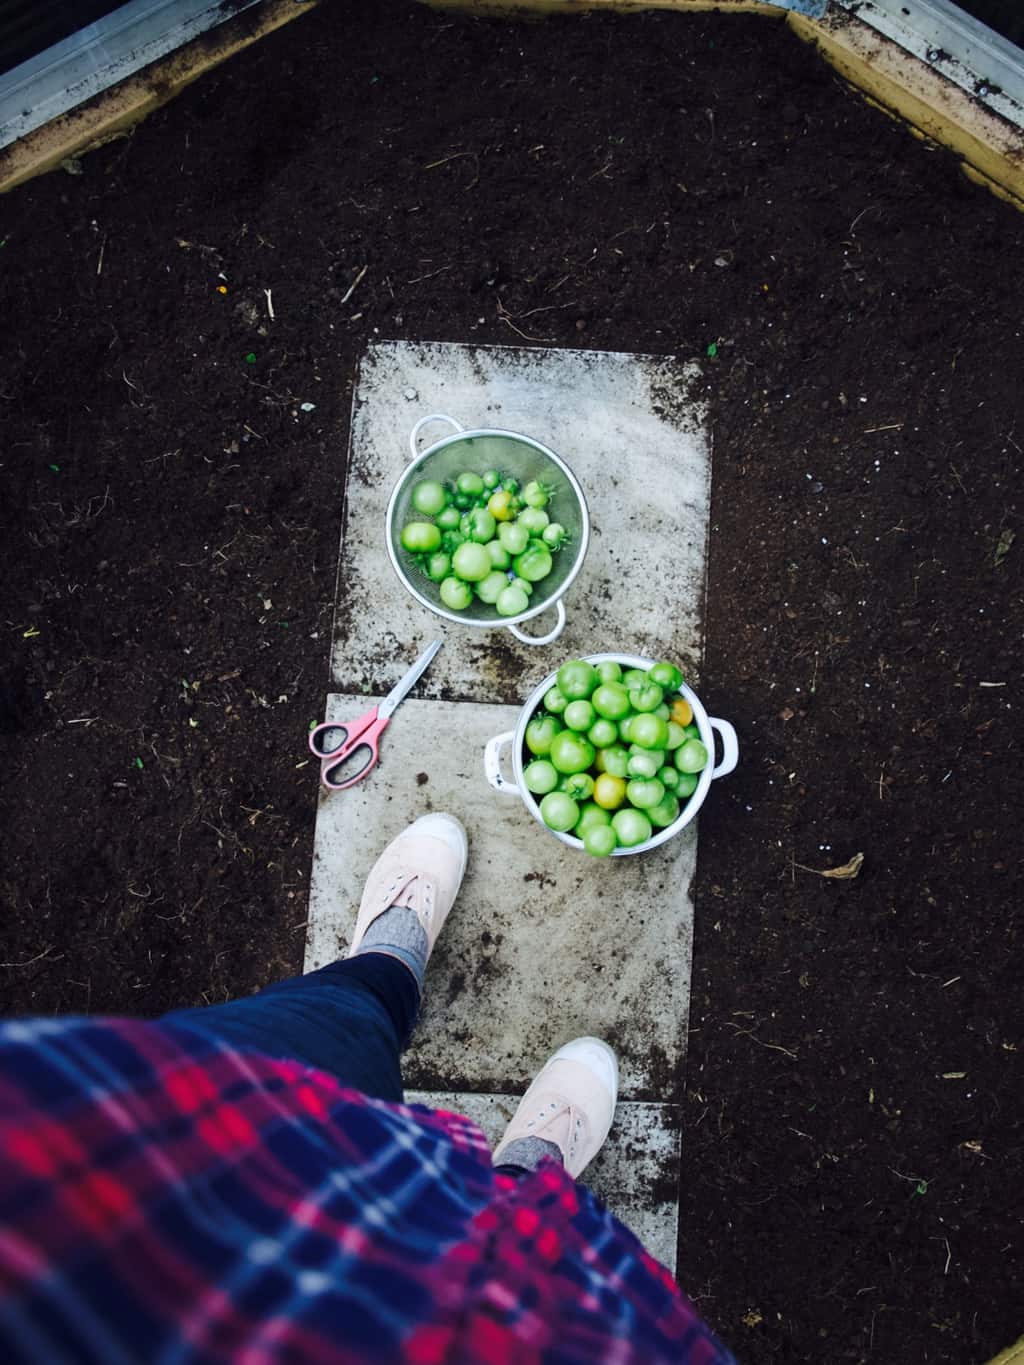
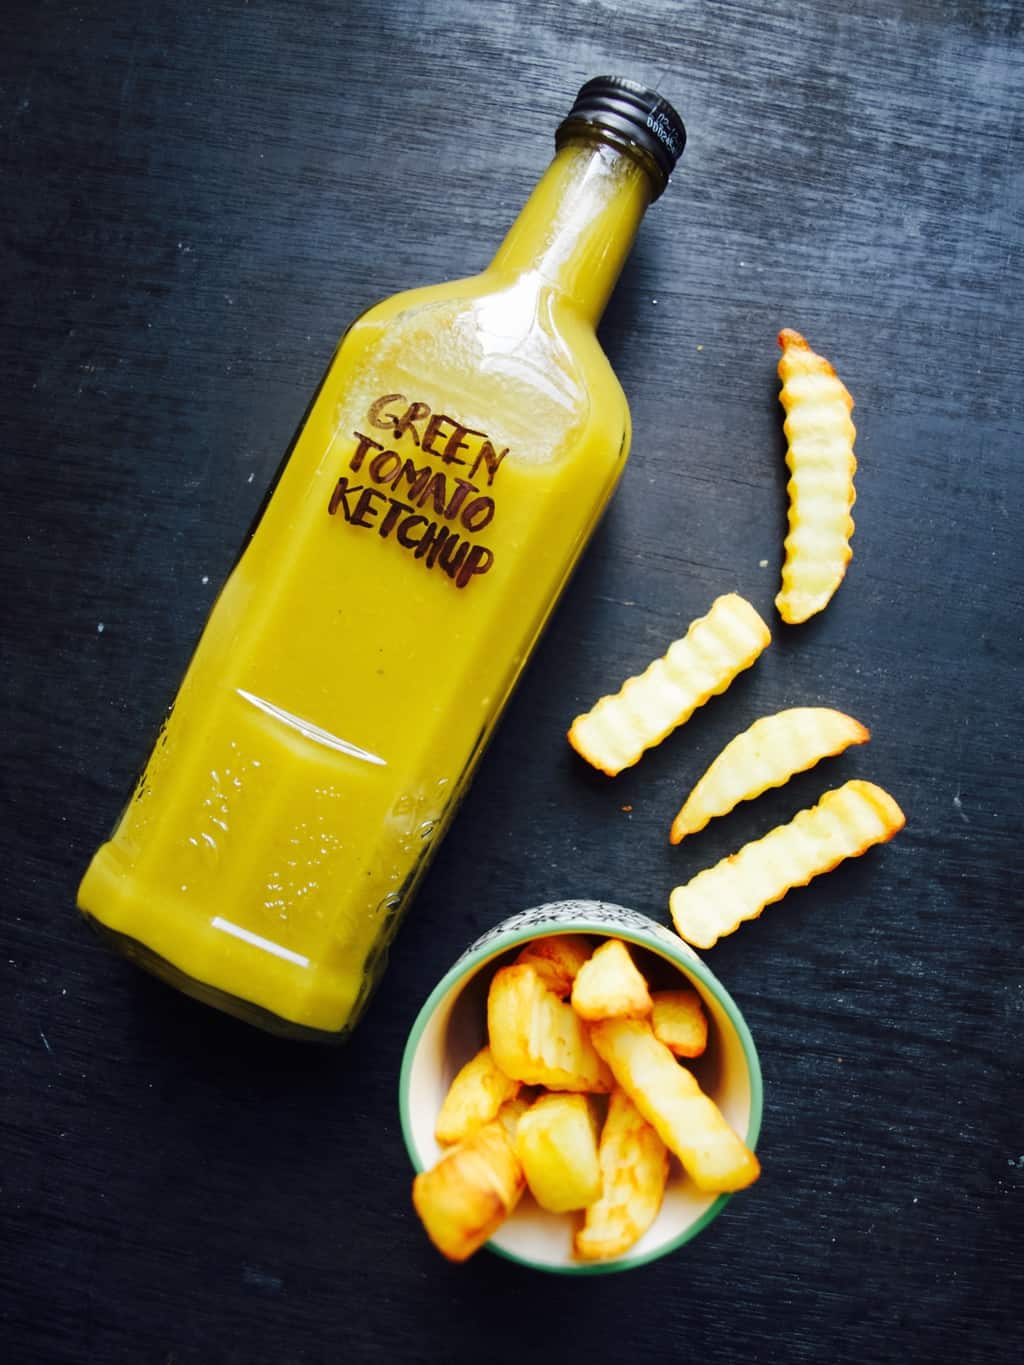
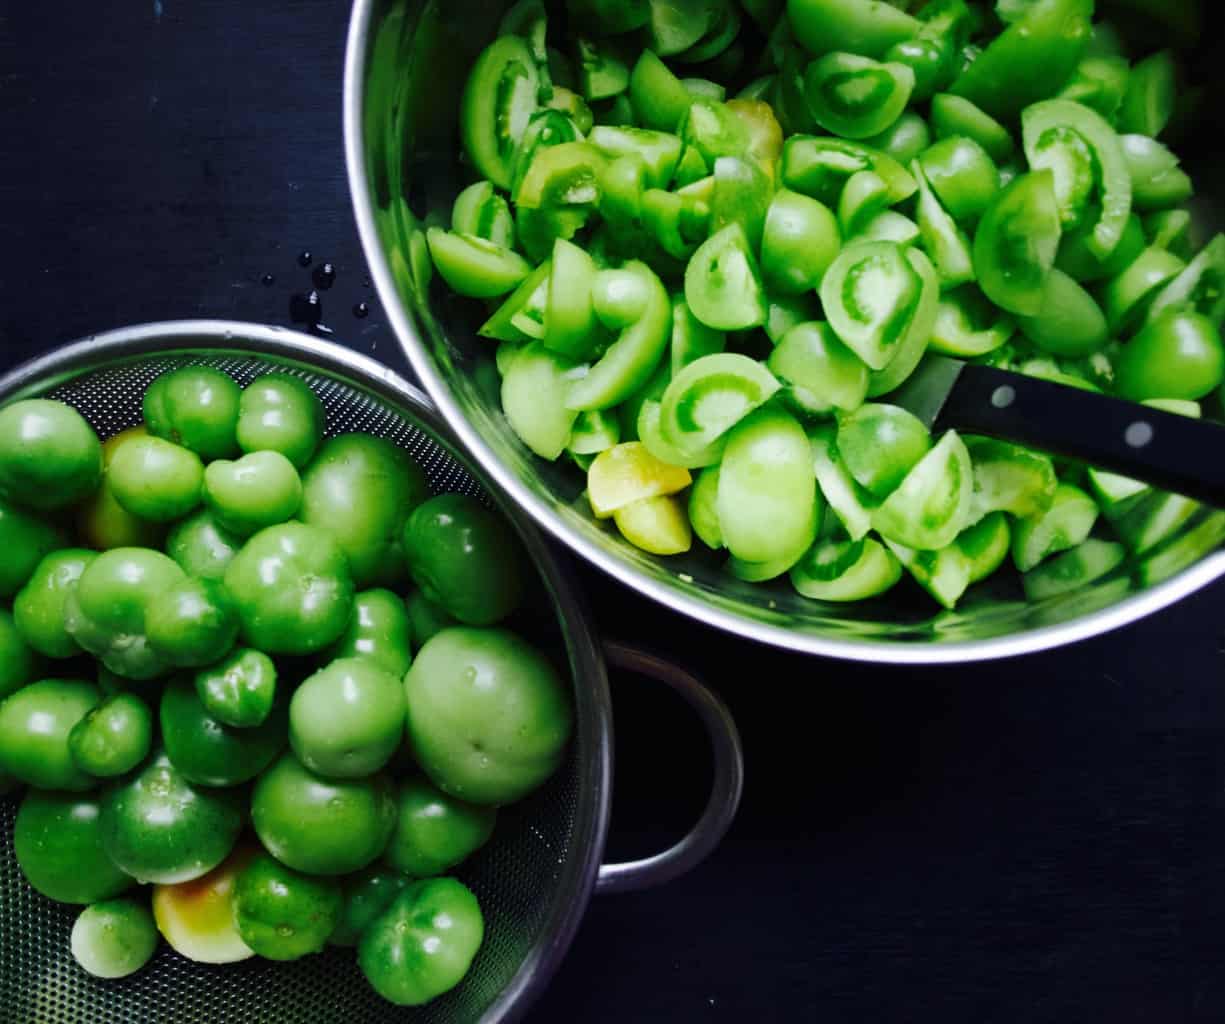
Green tomato ketchup recipeLast week we said goodbye to our green house. It was quite emotional for me as I really fell in love with it! Although the journey of building it and general gardening jobs delayed our house renovation (kitchen in particular) I feel having green house has given us irreplaceable experience. I loved getting fresh tomatoes everyday for my toast and salads, even if it was for only few months. I have learned a lot too! I will be applying my new learned knowledge next year when I grow tomatoes again :).Green tomato ketchup recipeBut what to do with all those green tomato that missed their chance to catch some sun? Few years ago we made some green tomato chutney. This year however I decided to go with green tomato ketchup only because we use ketchup more often (I bet you do too!). Green tomato ketchup taste a little fresher to compare to regular ketchup but is equally delicious with chips!Green tomato ketchup recipe Green tomato ketchup recipe This recipe can be halved or doubled depending on your green tomato harvest. So weigh your tomatoes before deciding how much ketchup to make.
GREEN TOMATO KETCHUP

  • 2 kg tomatoes
  • olive oil
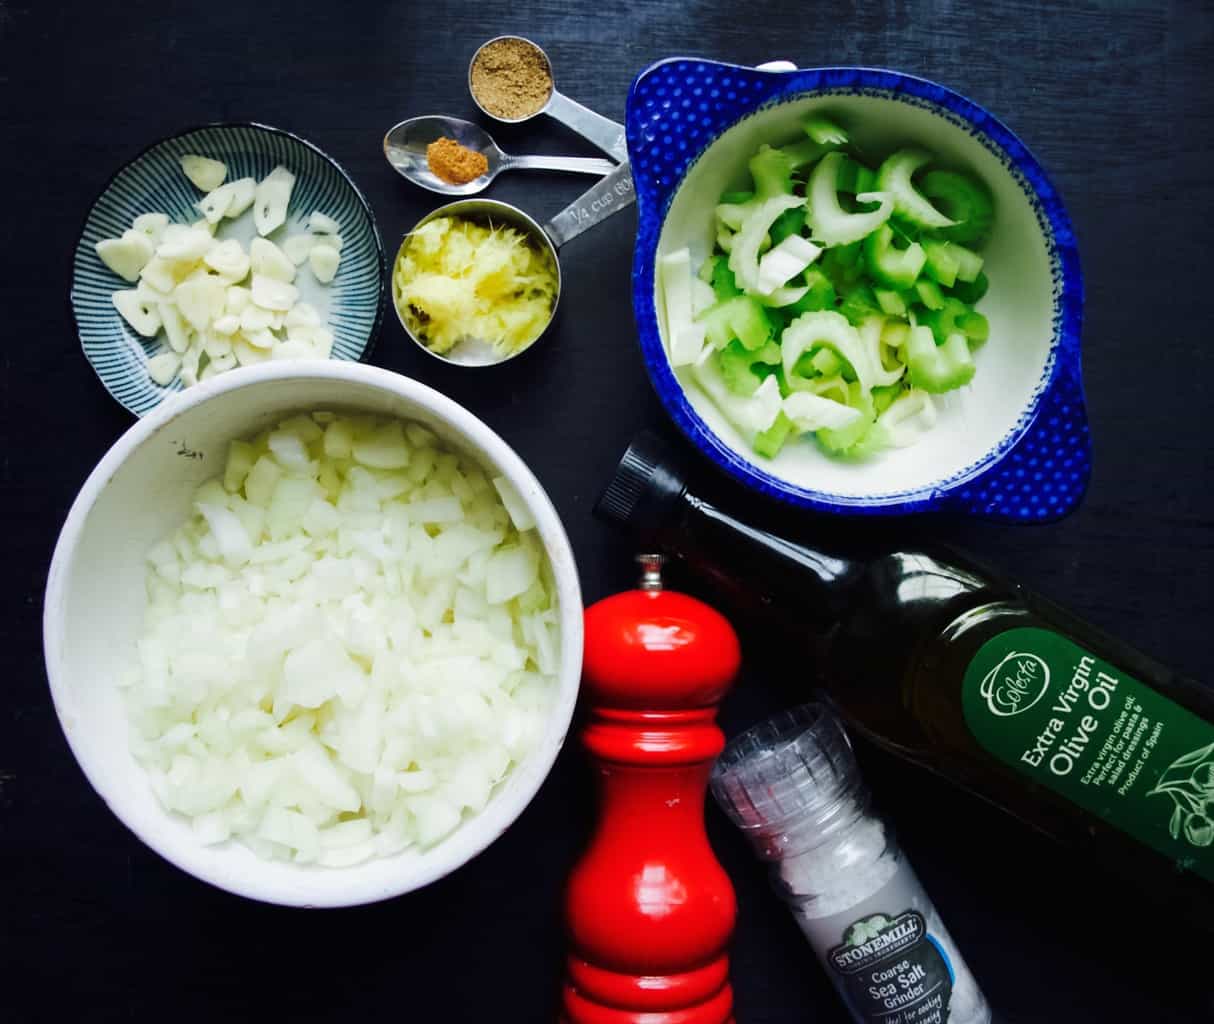
  • 3 onions, chopped
  • 2 celery sticks, sliced
  • 2 thumb fresh ginger, grated
  • 4 garlic cloves, sliced
  • 1 tsp ground coriander
  • 1/2 tsp ground mixed spice
  • salt and pepper
  • 700ml water
  • 2 tsp tabasco sauce (more if you like spicy)
  • 150ml apple cider vinegar
  • 200g brown sugar (I used dark brown which made the ketchup look darker)

1. wash, weigh, chop the tomatoes and set aside.Green tomato ketchup recipe2. Place onions and celery  in a large saucepan with a generous amount of olive oil, ginger, garlic, ground coriander and mixed spice. Season with the pepper and a pinch of salt. Cook gently till softened.Green tomato ketchup recipe 3. Add the tomatoes, water and bring to the boil and simmer gently until the sauce reduces by half (around 3 h for 2kg tomatoes).
4. Whiz the sauce in a food processor or with a hand blender. Add the vinegar and the sugar. Place the sauce on the heat and simmer until it reduces and thickens to the consistency of tomato ketchup. At this point, adjust the seasoning to taste.

5. Spoon the jam into the ready sterilised jars or glass bottles.Green tomato ketchup recipe Green tomato ketchup recipeShould at least try making it for those chips ;-)

Rasa xoxo

0

Photography challenge: learning about ISO while in the greenhouse

I have been very busy past month (not only with holidays) but also with Lukas. I only get two hour break a day (I guess I am lucky I hear) so thats all I have mostly for tidying up, getting things organised and little bit for gardening and blogging. So this is why I decided to combine gardening with learning what my camera can do. It was tough two hours ;-).

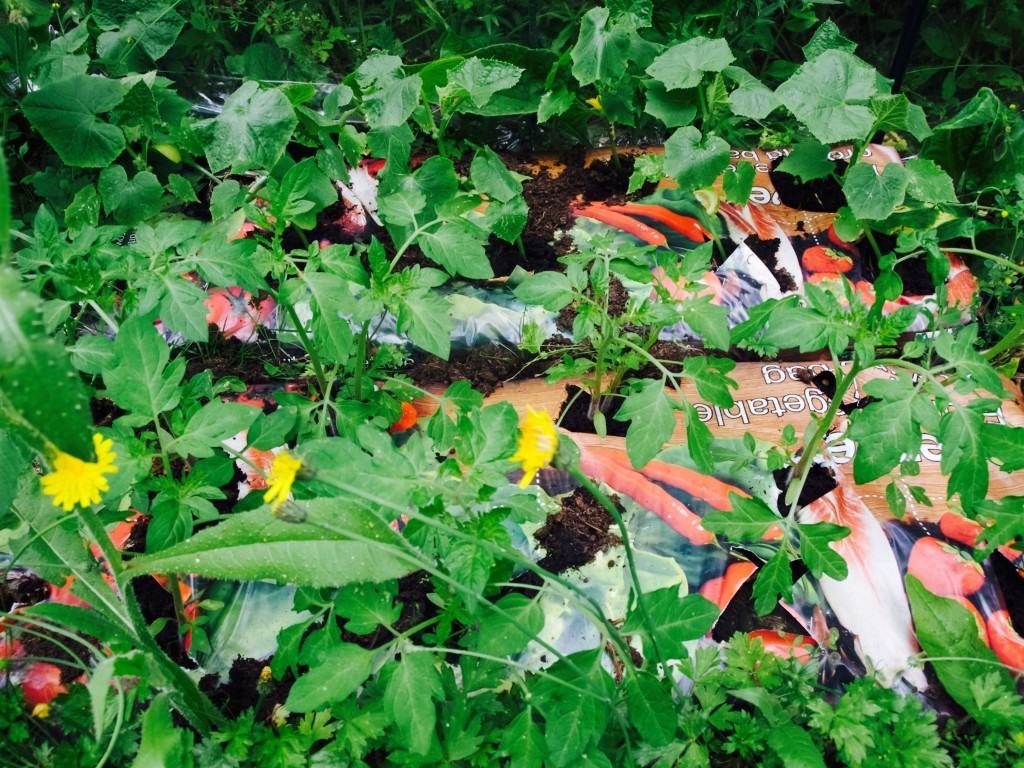
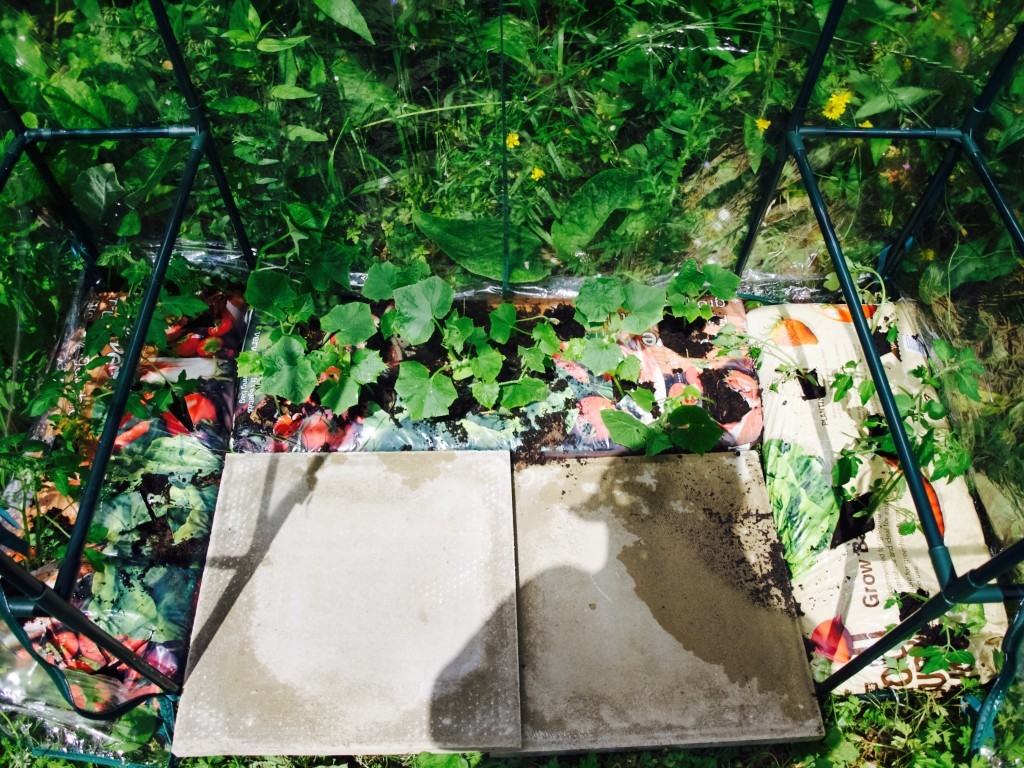
So we got little green house this year (very tiny, one of those plasticy temporary ones) and I am growing cucumbers and tomato plants in it. I must admit I broke every gardening rule there is, planting plants too close and very late in the season. But I hope I wont get penalised for it and still will get some sort of harvest. As you can see in the pic above it looks very messy and random. This is what my goal was to fix this problem during my two hour slot.

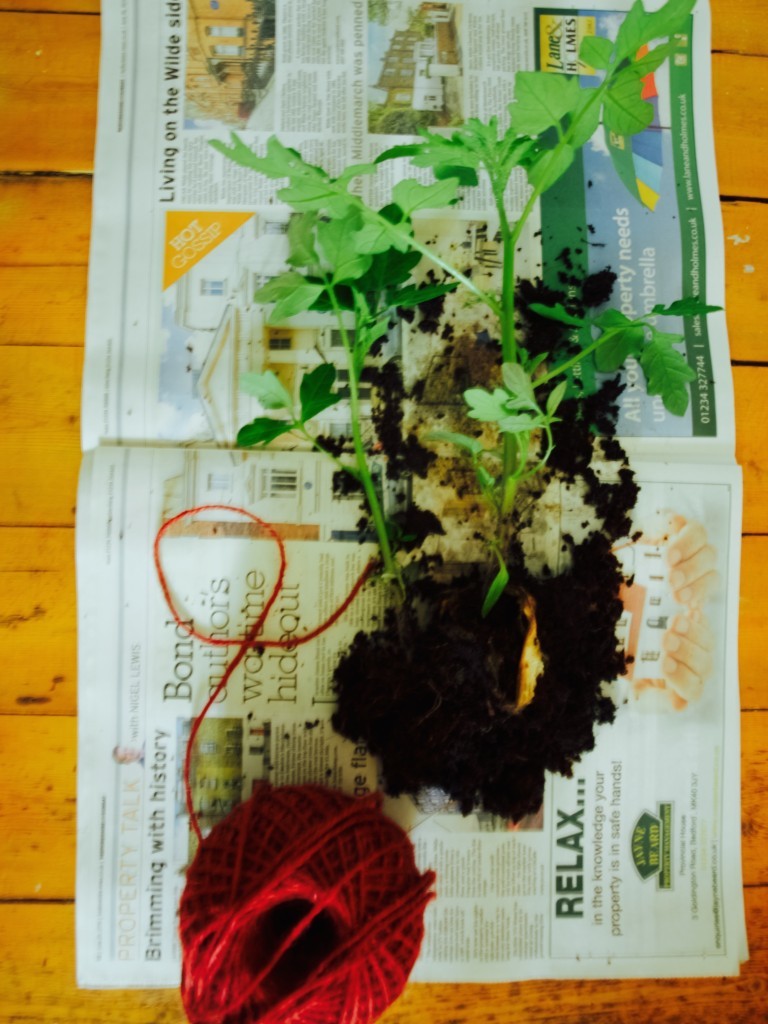
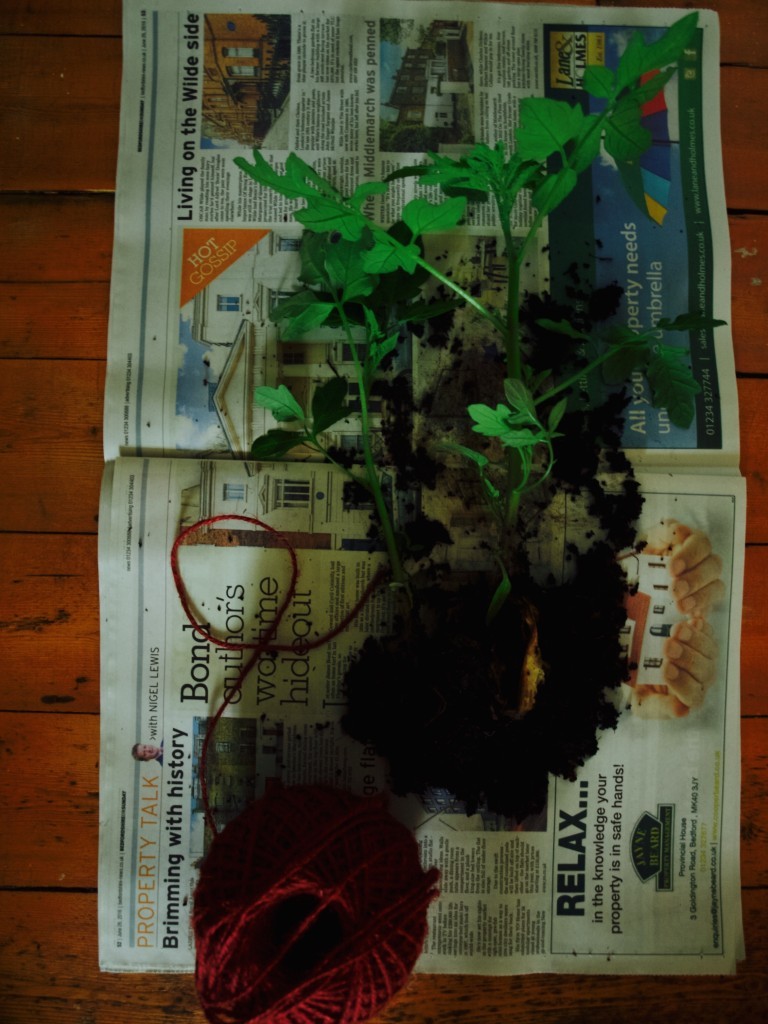
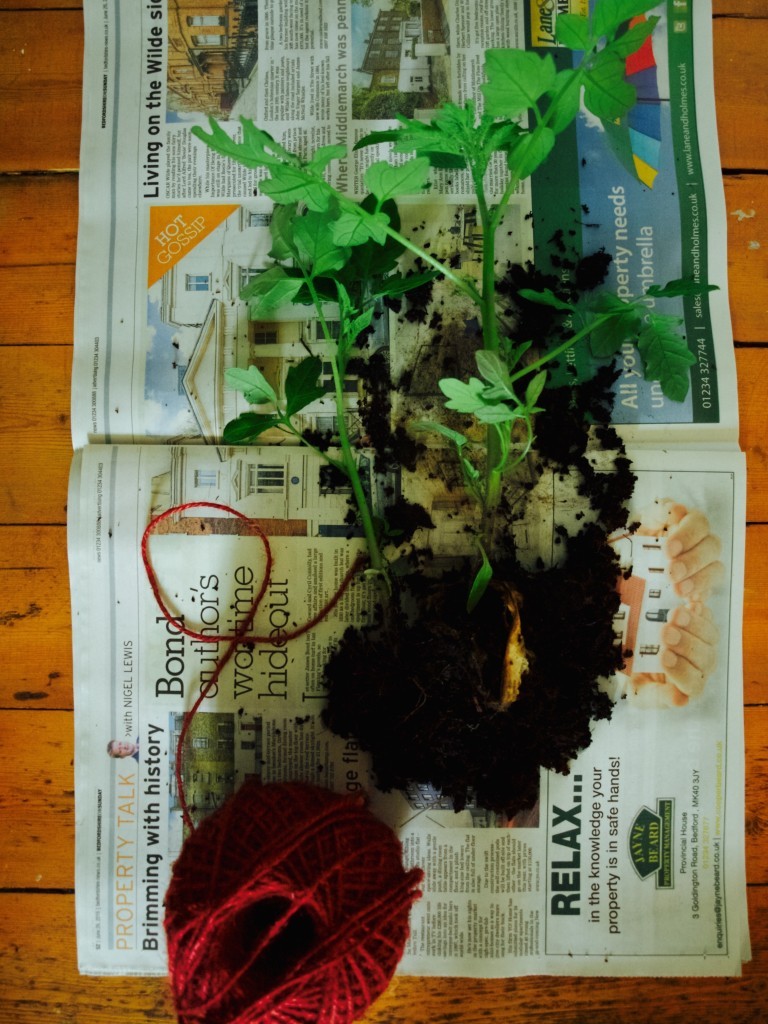
As I was repotting the tomatoes I decided to experiment ISO that sets a sensitivity for a light. The higher the number setting is the more sensitive the camera is to the light. I have learned the other settings that work with the light too like aperture (with f stops ha ha) and shutter speed. But this one is mostly used to set the light, the side effect of it is picture being grainy. I took couple of shots of the tomato plant with different ISO settings but had no luck. I realised that auto camera mode was interfering trying to compensate the light by changing shutter spend (hence blurry pic from my hand shaking)That wasn’t the only problem with this photography challenge. For some reason I could not set the camera to a high ISO. I could see it there (from 500 to 1000) but somehow could not select it. So I could only experiment with up to 400 ISO.I set the the shutter speed to 1/20 which allowed me to experiment with ISO and see the results of it. The picture bellow is taken with 200 ISO.This picture is slightly lighter as it has been taken with 320 ISO.The final picture has been taken with 400 ISO. Can you see how light can be edited just by using different ISO settings?By the end of my two hour break I remodelled the green house. Yes, its still not perfect, but I think it will do for now. I hope there will be some sort of fruit coming out soon ;-). I hope you found it useful :-)

Rasa xoxo

0

Make your own kids gardening kit

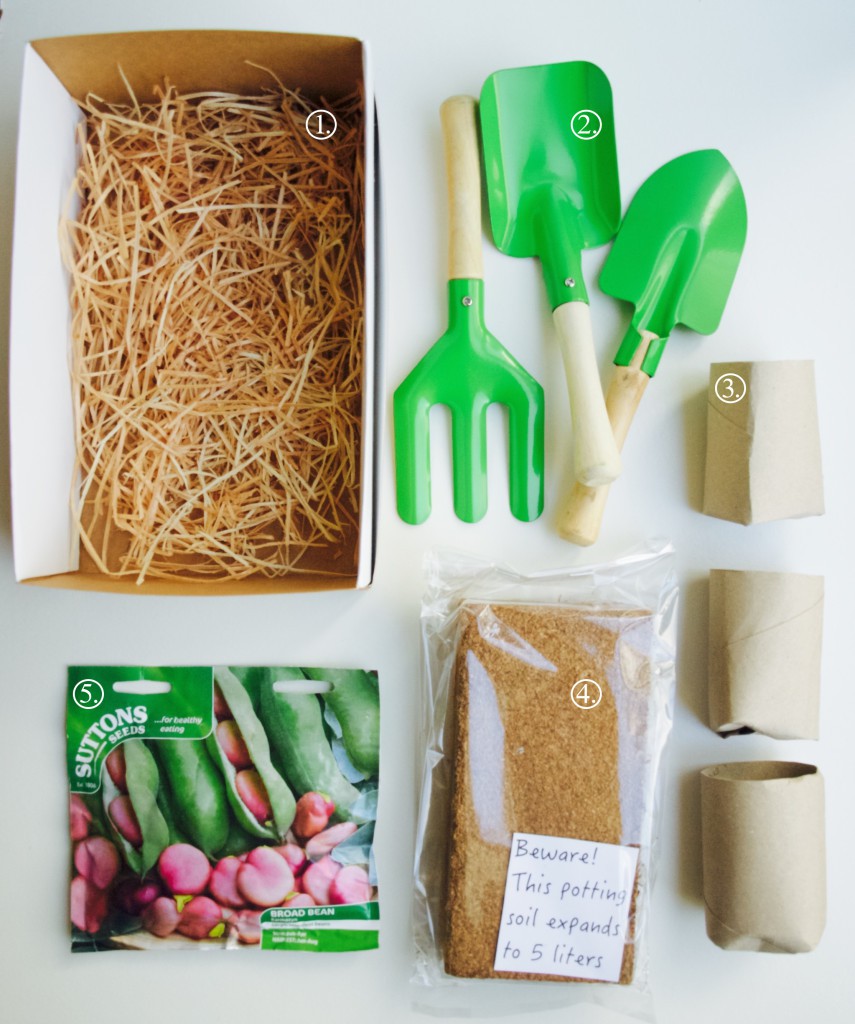
Make your own kids gardening kitAlthough we are in the middle of winter I already can’t wait till spring (I think I had enough of cold and rain). So making this seed growing kit for my nephew was quite uplifting :-). Hopefully he is now looking forward to spring as much as I do!

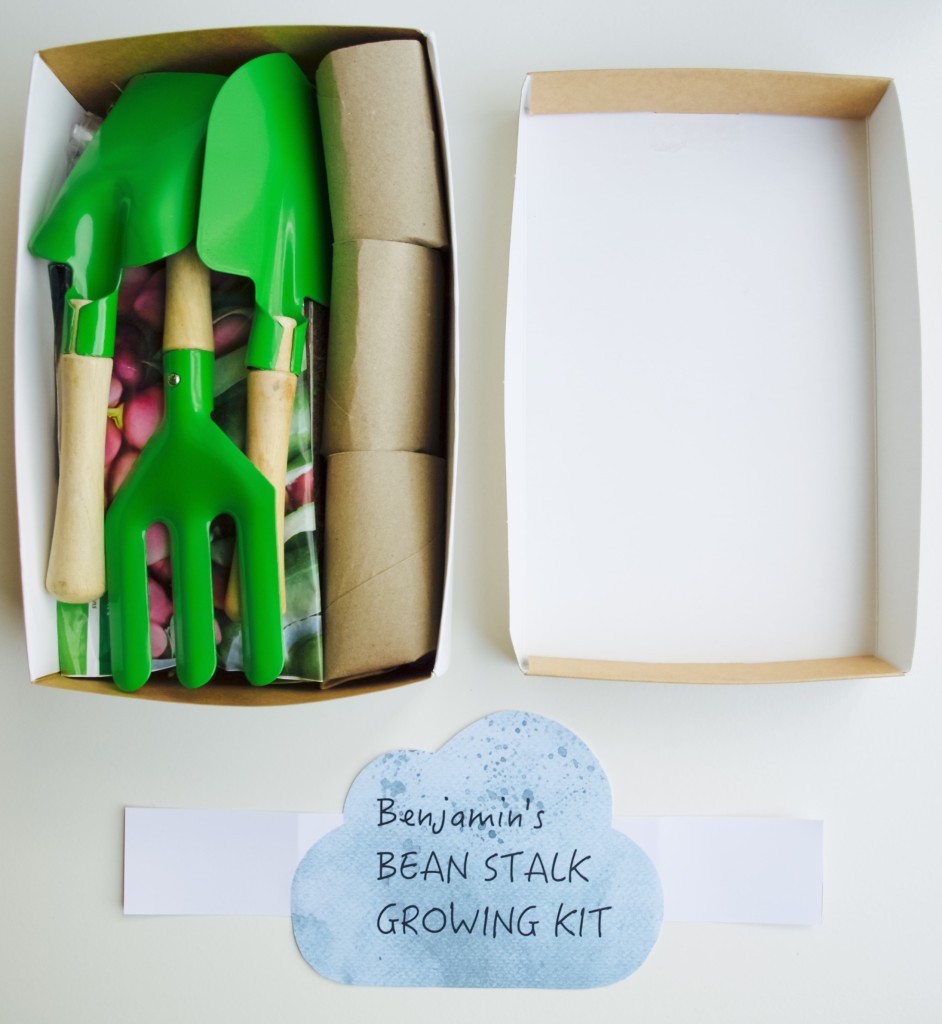
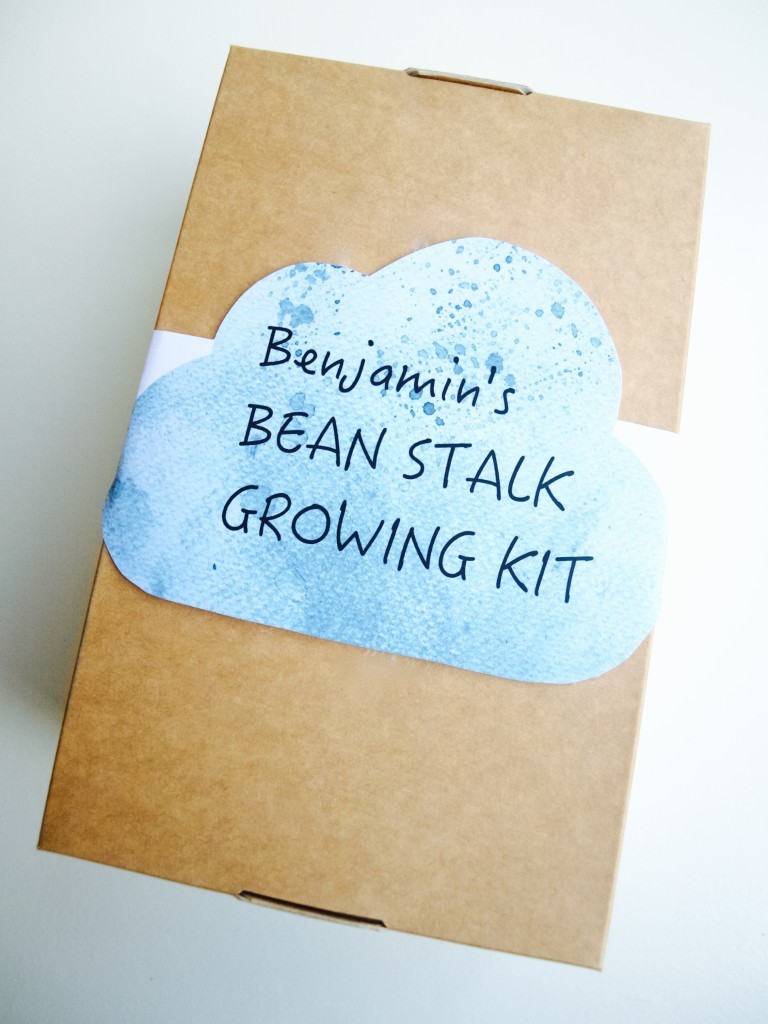
In the kit I included the beans for sowing (5.) and everything else that is needed to make it grow (minus the water). Some of the stuff I had to buy such as kiddy gardening tools (2.) and compressed soil (4.). However the other items were free, like these toilet roll pots (3.) and the box with the straw (1.) that I just upcycled!Bean stalk growing kit printableI decided to go with the beans because I thought it’s cool and it’s so easy to grow. It kind of goes along with Jack and The Beanstalk story! I thought it would make a very personal gift if I replaced Jack’s name to my nephew’s name.  Make your own kids gardening kit Make your own kids gardening kitI hope you found this simple gift idea inspiring

Rasa xoxo

2

Life in UK

London in dimmed lightLove the pic above taken by my friend Jacolien from Stuff to Love! It reminds me of what a great multicultural city I used to live. This is where I lived most of my time while in UK!

Yesterday I passed my life in UK test!!!!! I just thought that I might as well become a british citizen after living here for 14 years and after getting married to my most wonderful english husband. Here are few fundamentals I learned while living in UK.

1. BEEING PART OF COMMUNITY, and this what we are trying to create at Friendly Nettle, a craft community that inspires you to craft :).

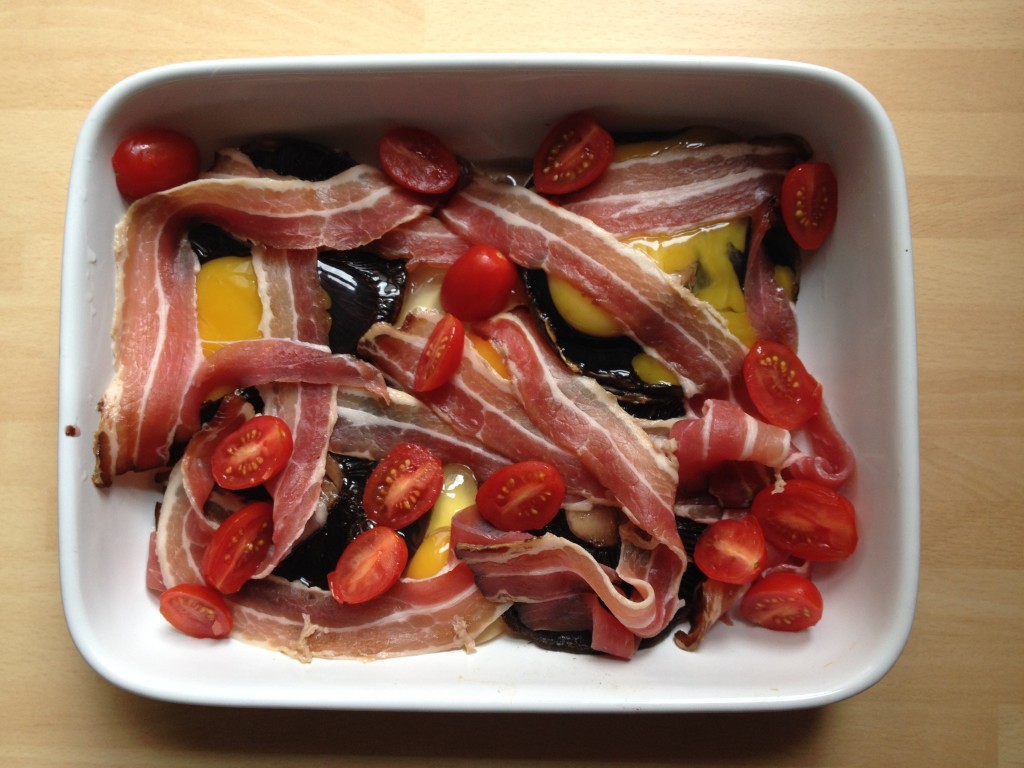
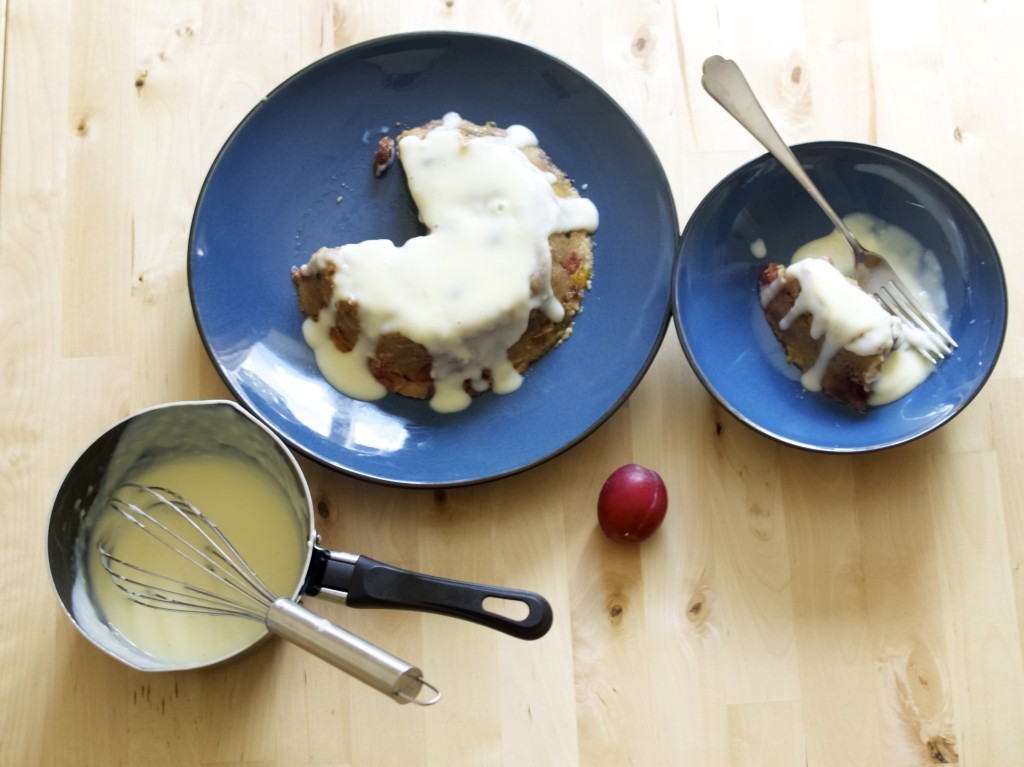
Online Cafe Community2. COOKING. Now, I know Britain is not famous for it’s cuisine, but you would be surprised there are many english dishes you can enjoy! Here are few I have tried: Steak and Ale PiesSteak and ale piesEnglish BreakfastBaked English Breakfastand Plum Steam Puddinga healthier plum steamed pudding3. GARDENING. I know that not many of us can enjoy this, but there are plenty of allotments available to rent! Here is how I grew tomatoes this yeartomatoes 101Enjoy your weekend!

Rasa xoxo

0

✿The Edible Garden Show✿

The edible garden show in London

Today I had a chance to pop in to The Edible Garden Show! Luckily it is just round the corner :-). Sometimes it’s so convenient to live in London. This event has really inspired me, not to mentioned that I have accidentally bumped into His Majesty Prince Charles!

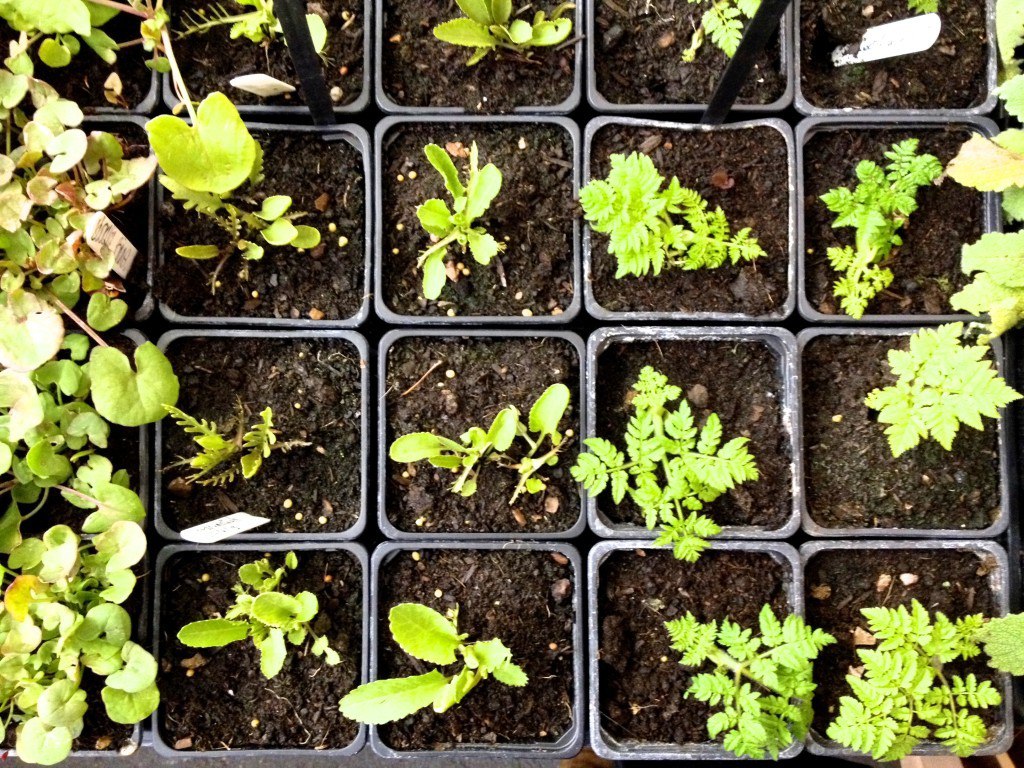
So, I have been inspired to start seedings now (bought plenty of seed packs while there) or I will have to buy ready plants very soon. I also got inspired to help bees by creating this bee hotel!

Help for bees

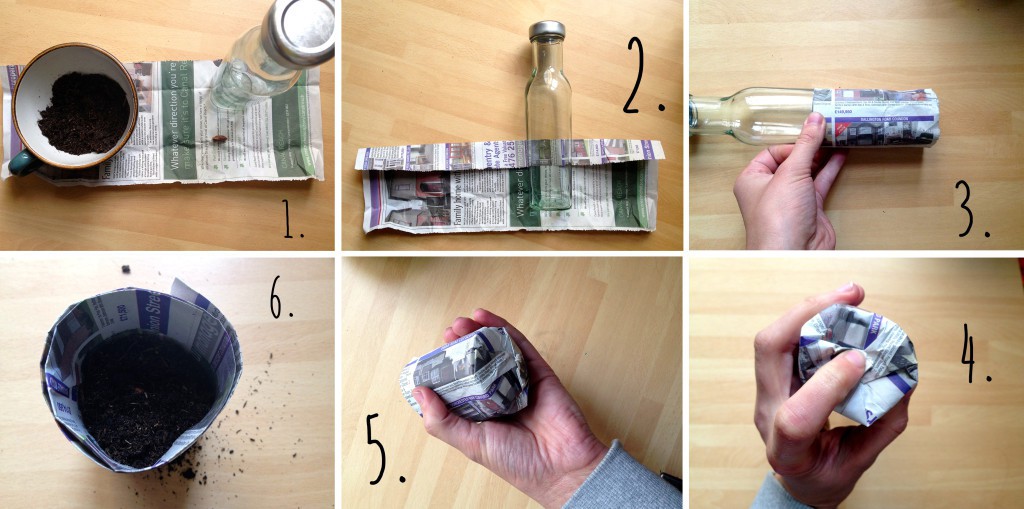
I also participated in degradable pot making DIY organised by Garden Organic charity. I have posted a tutorial on how to make degradable pots using empty toilet paper rolls earlier this year. Using newspaper instead is an alternative.

Make a newspaper pot planting pot

Just follow there simple steps: 1. have compost, seed, newspaper and small bottle ready. 2. Fold the newspaper piece 1inch in and place the bottle on top. 3. wrap the newspaper piece around the bottle. 4. Fold in the bottom and press it against the flat surface such as table. 5. remove the bottle and your pot is ready! 6. pour the compost into the pot, then place the seed and then cover with a little bit more compost.

plants

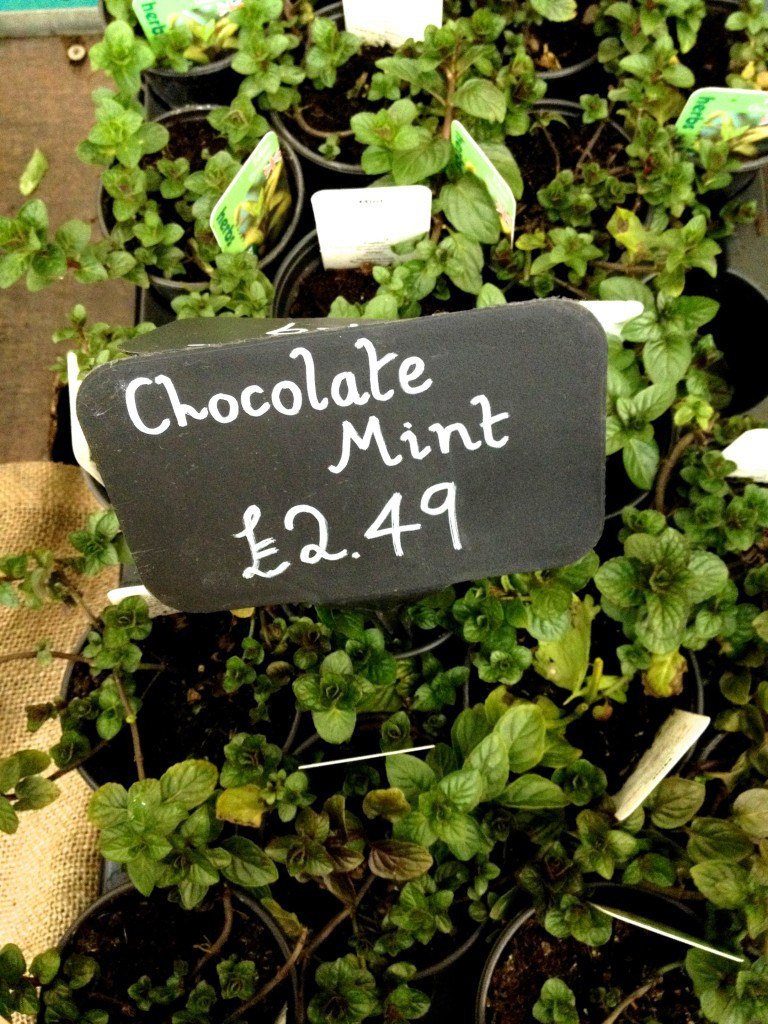
From now on urban herbs is my favourite herb supplier! They even had chocolate mint plant… whats not to like about that?

Chocolate Mint plant http://www.urban-herbs.co.uk/

Feniton Foods has inspired me to grow edible flowers in my garden! Huge potential here, don’t you think?

Flowery bakes :-)

Although marigolds are not suitable for baking (perfect for salads however), I went completely crazy about them when I was buying the seeds. The good place to go is the edible flower shop ;-).

Marigolds are edible flowers

If you would like to visit The Edible Garden Show, you are not too late as it ends by the end of this weekend. Go here for details.

Rasa xoxo

0

Starting tomato seeds 101

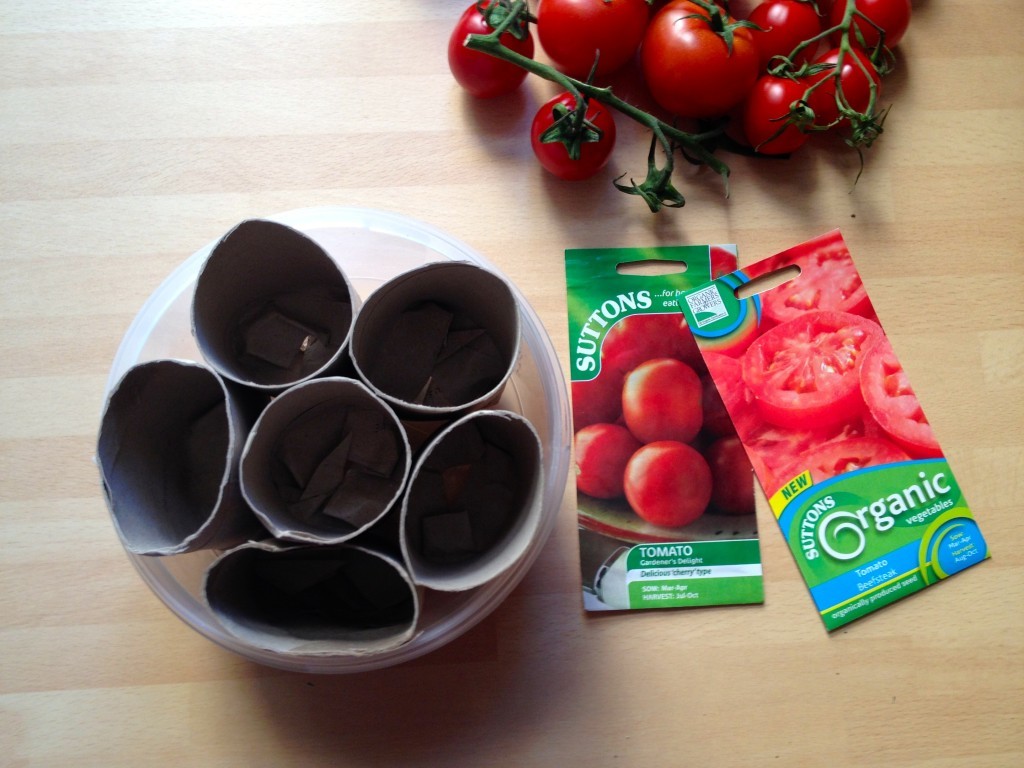
Tomatoes 101Visiting Eden Project has inspired me to think about gardening a little bit early this year. Tomatoes came first to my mind. Although I have grown them for few consecutive years I have managed to make many mistakes along the way. One of the mistakes I have often made is that I started the seeds quite late. growing tomato plants indoors under less than optimum conditions (less light and lower temperatures), you can expect each growing stage to progress somewhat more slowly than normal. I of course did replant ready tomato plants outside, but they often struggled to produce fruit (not veg) before the autumn. So I decided to follow my grandma’s example this year, who starts the tomato seeds right in January. I know I know, the tomato seed packaging disagrees with this, but I think it’s worth a shot!

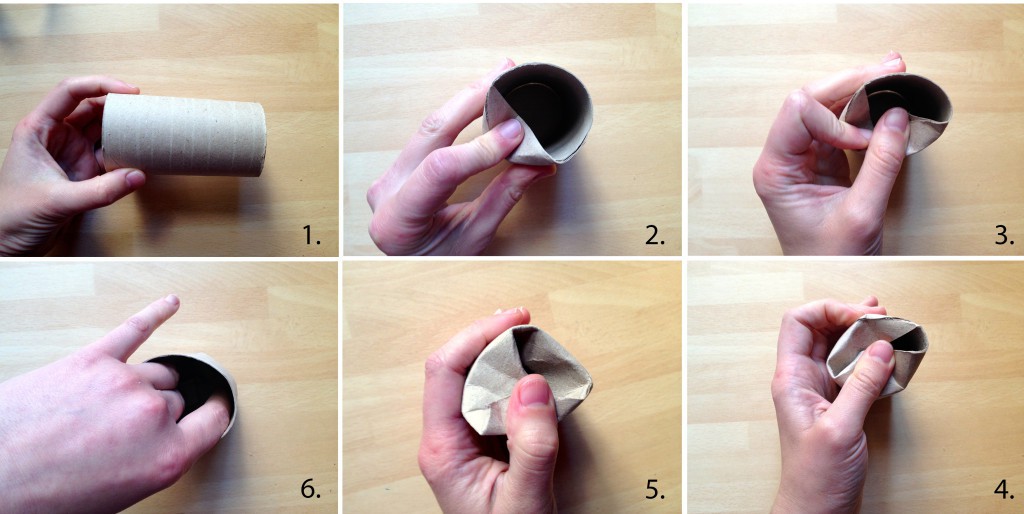
Since I did not find any degradable seeding pots to buy in the shop at this early season, I have made them myself (really proud!). I used empty toilet paper rolls for this. I folded in on one side (pics.2-5) and flatten it from the inside (pic. 6).
Making degradable potsI have placed ready pots into the plastic container ready to be filled with compost :-).
tomatoes 101

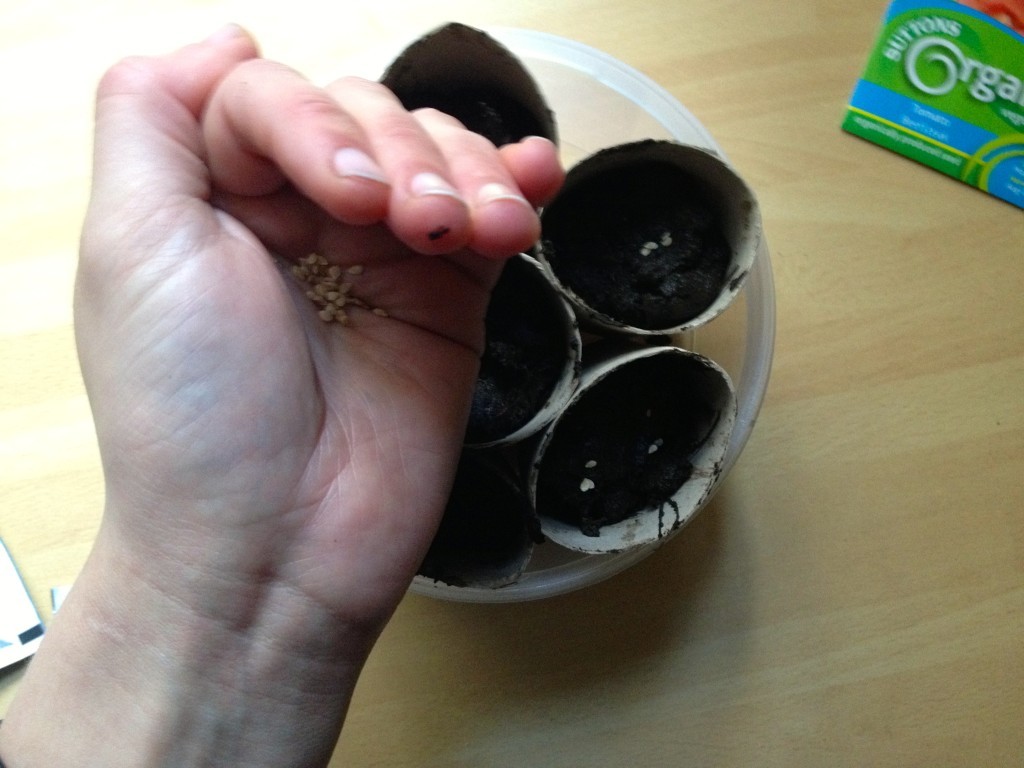
Next step is to fill the pots with the compost and sprinkle the seeds on top. I often have little faith in the seeds thinking that many of them won’t sprout. In many of those cases I am wrong as many of them come out and I end up pulling the access sprout out.

tomatoes 101

Finally cover the seeds with the little compost (1cm layer maximum) and place the pots on the windowsill.

Enjoy this mini session of gardening ;-)

Rasa xoxo

3