Top

Archive | Blog

Cafe Inspirations: our weekend away in Paris

Cafe inspirations: our weekend away in Paris
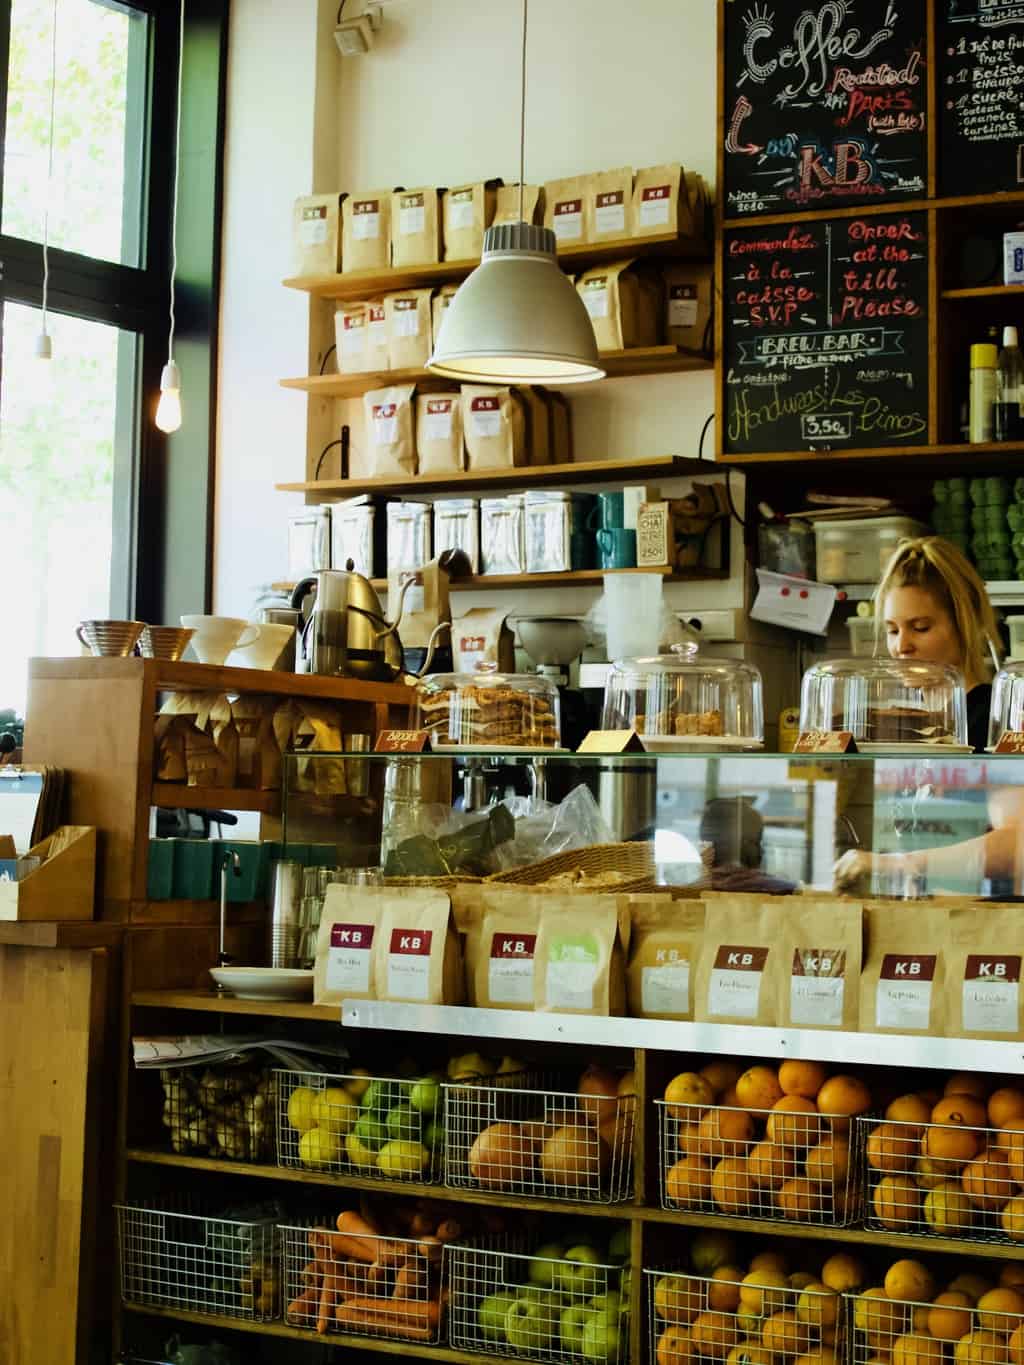
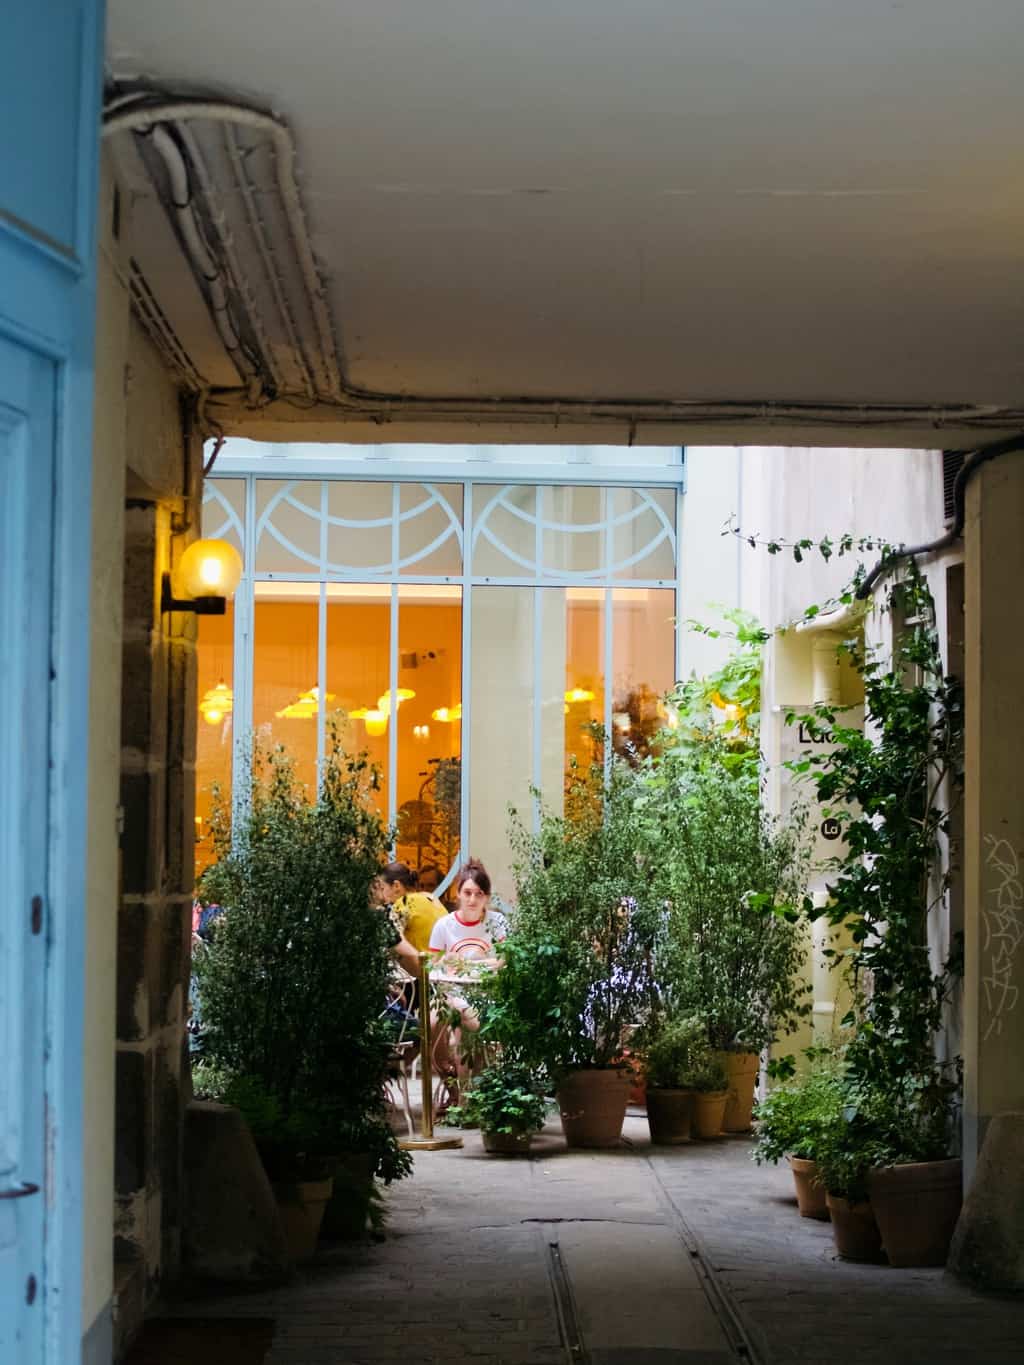
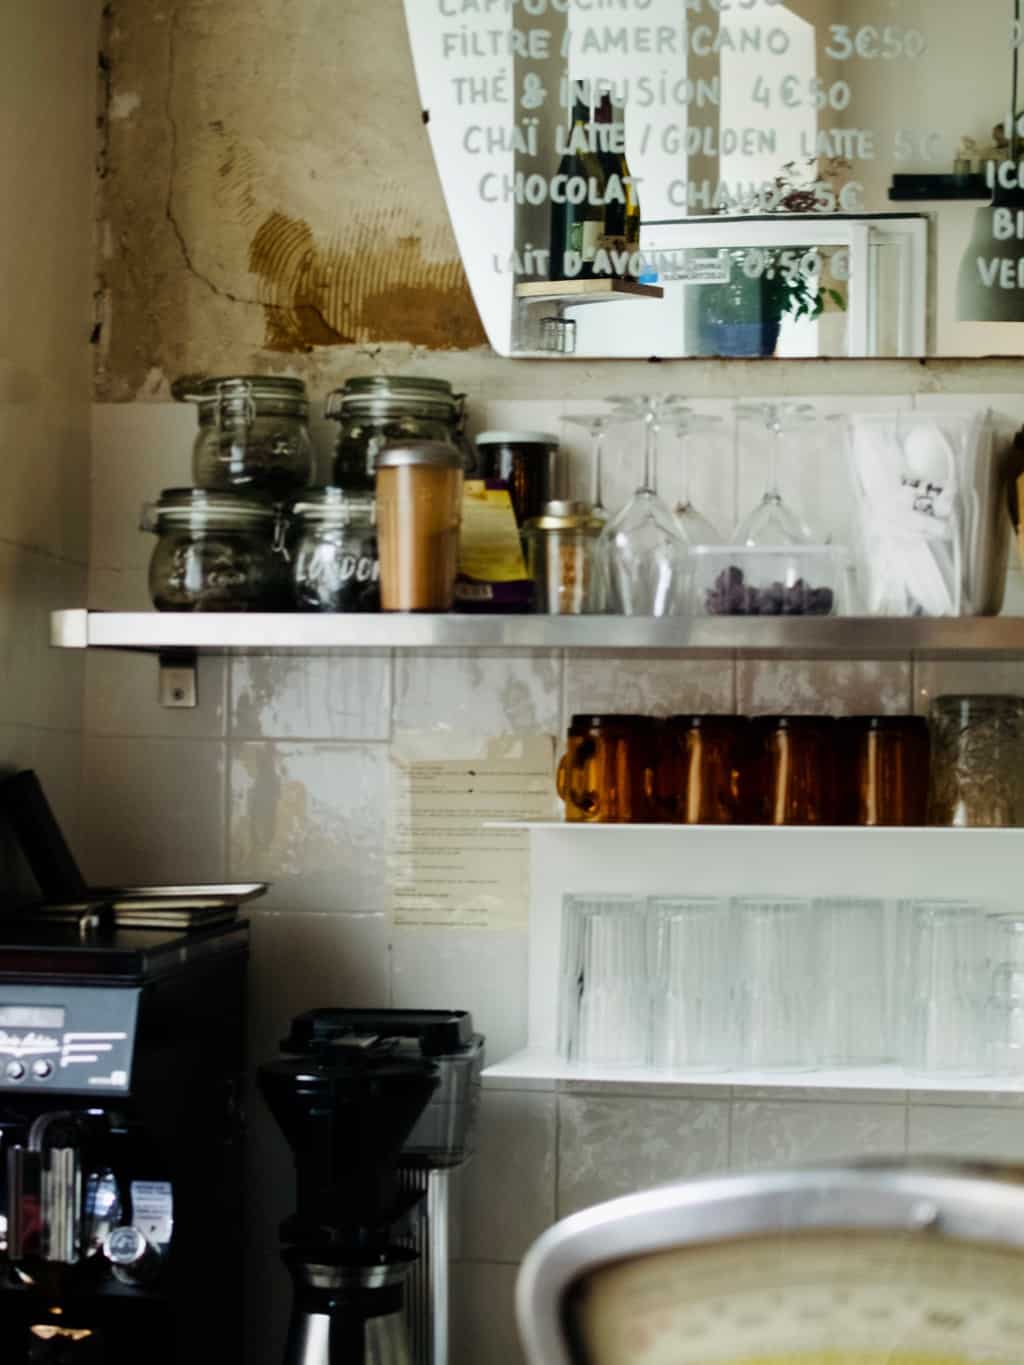
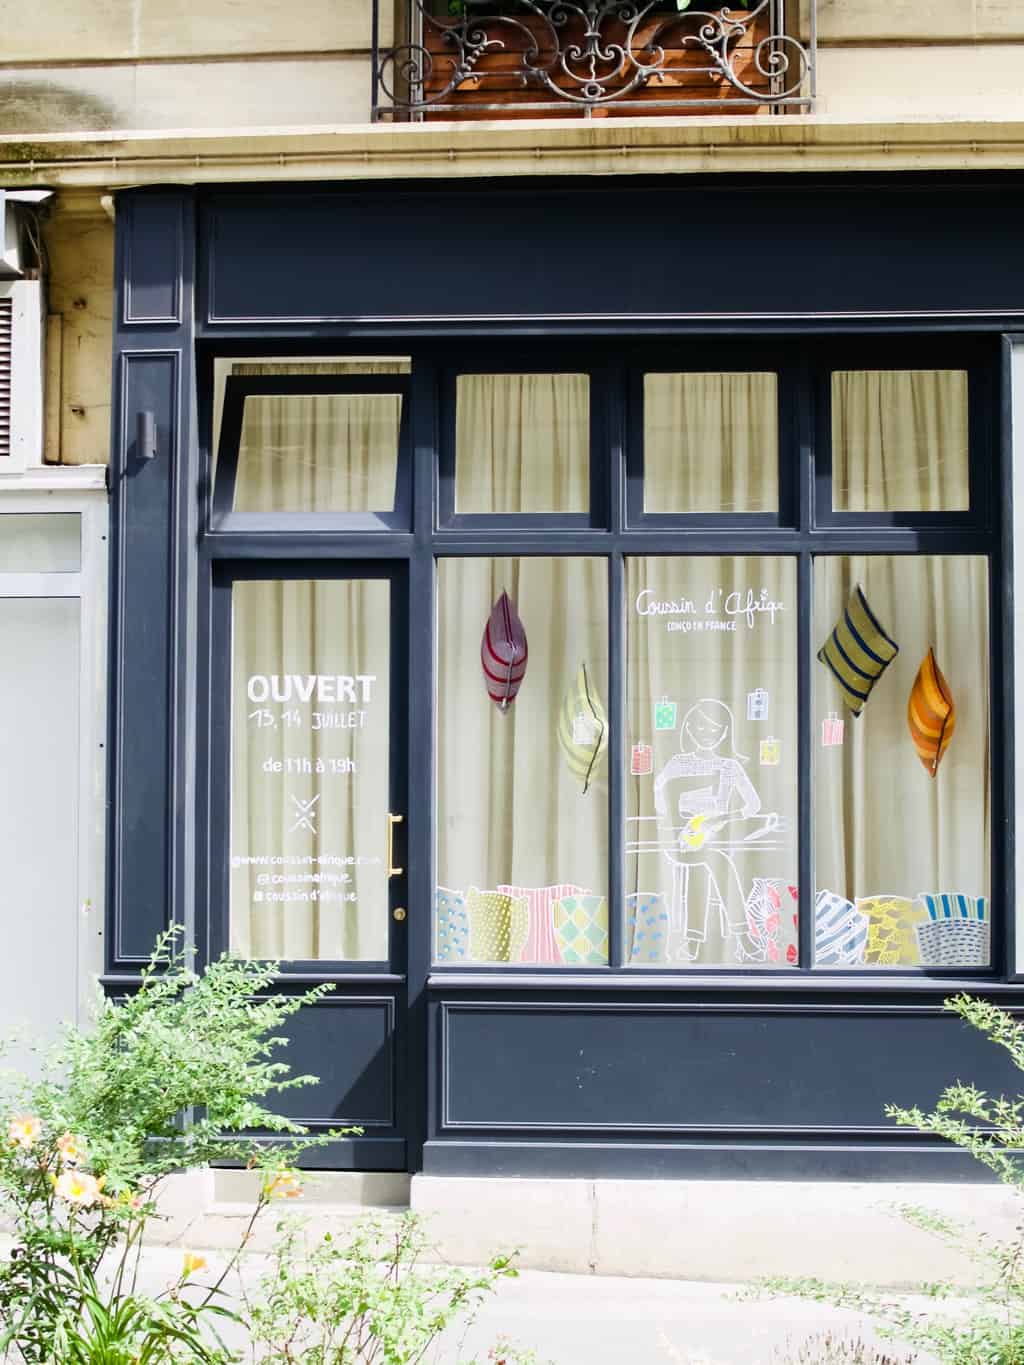
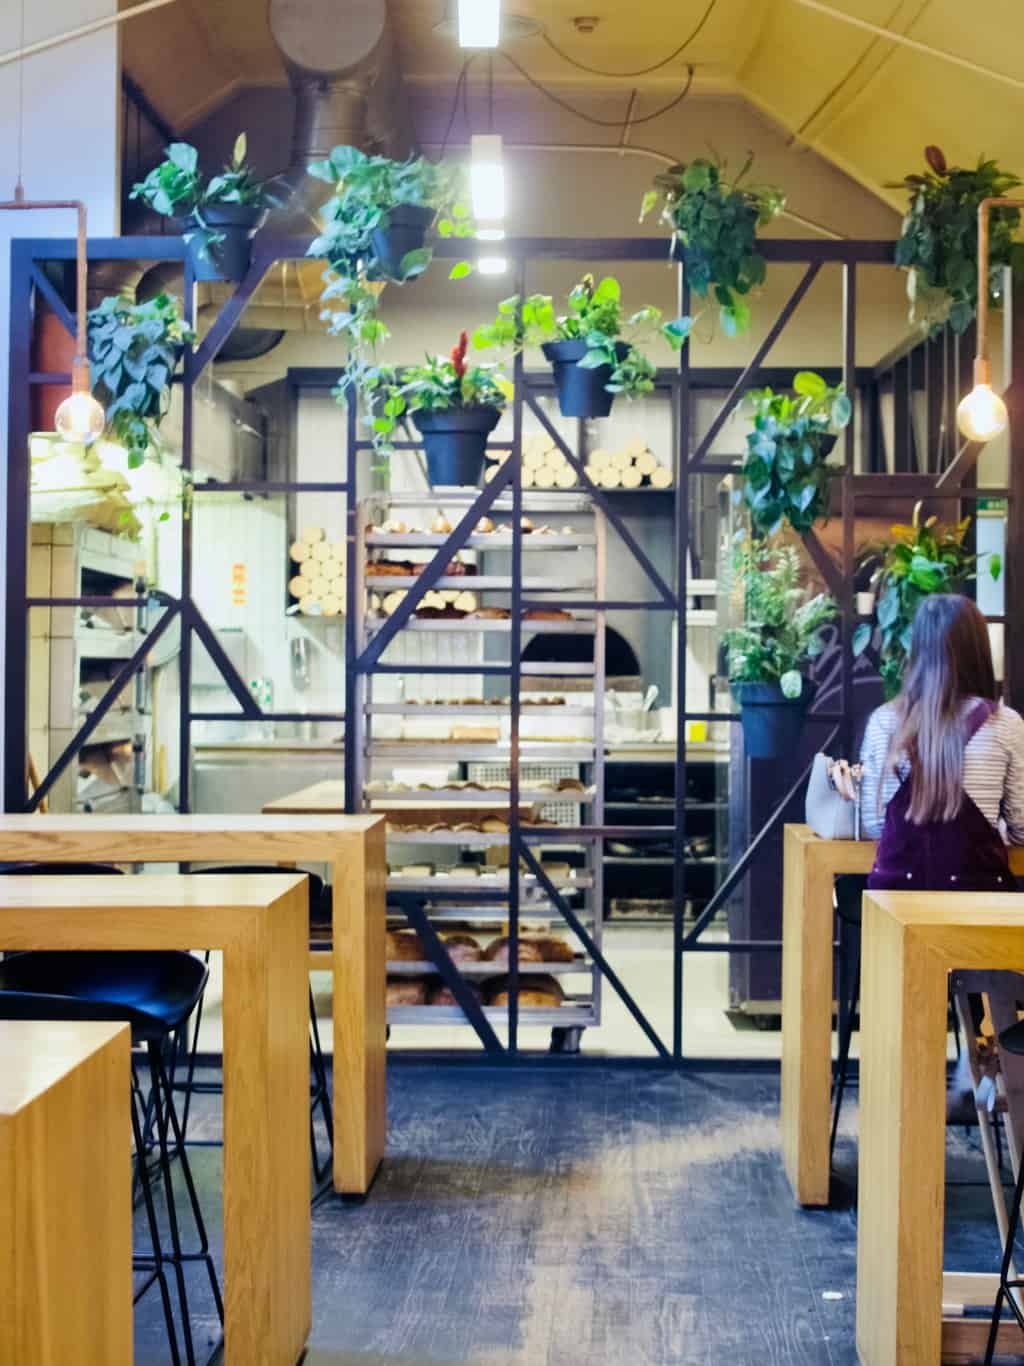
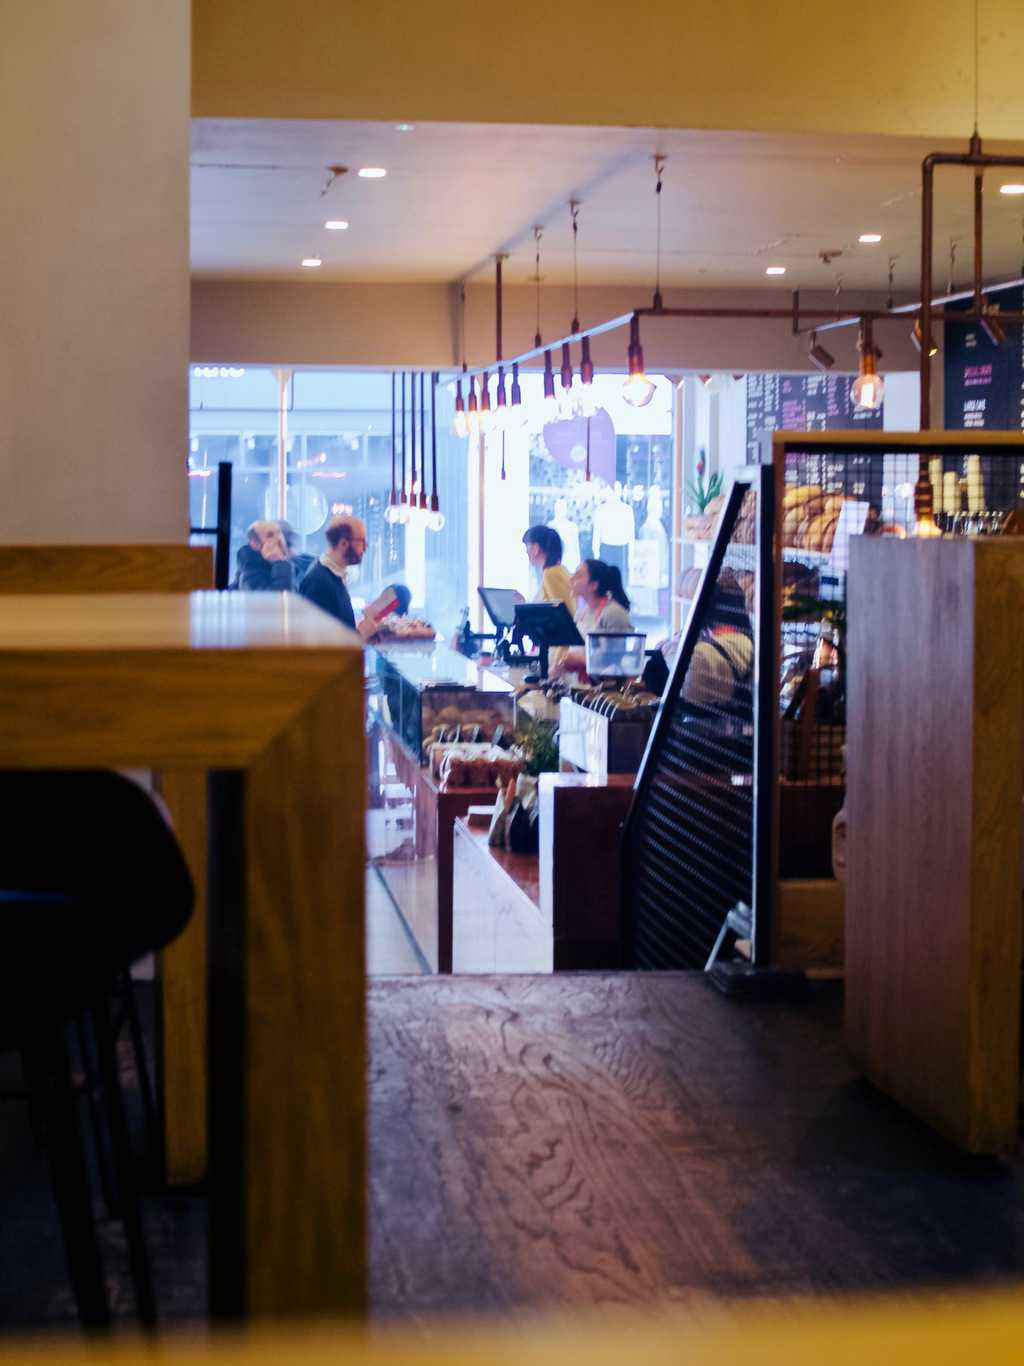
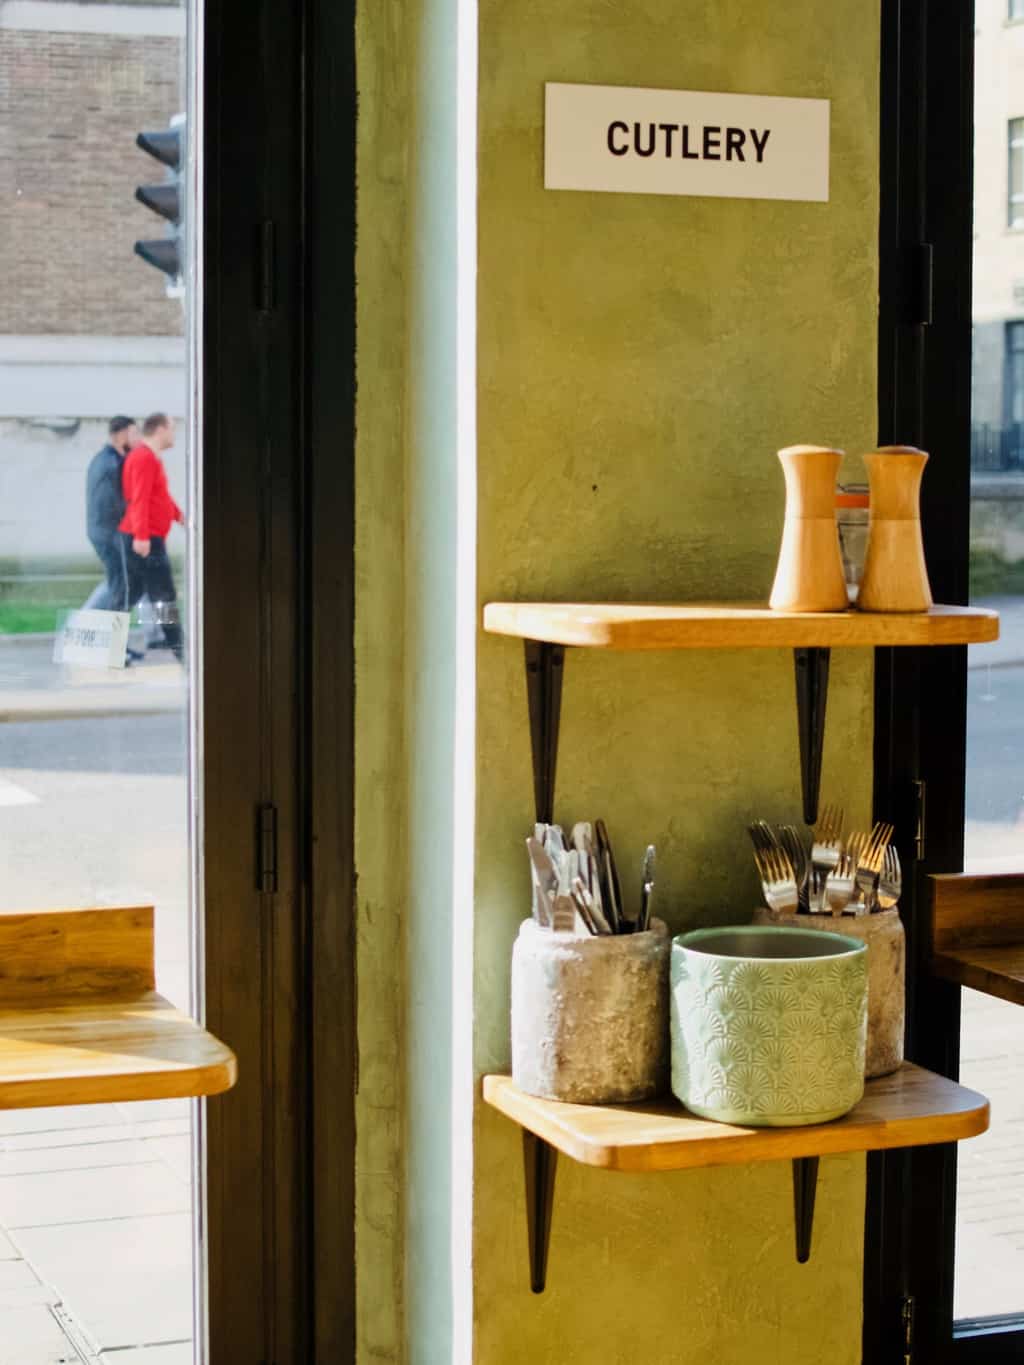
Now when we announced our big news last week, you have wondered what this cafe is going to look/feel like?! Let me share a glimpse of it through the french cafes and patisseries we visited on our weekend away in Paris. It was quite an inspiration!

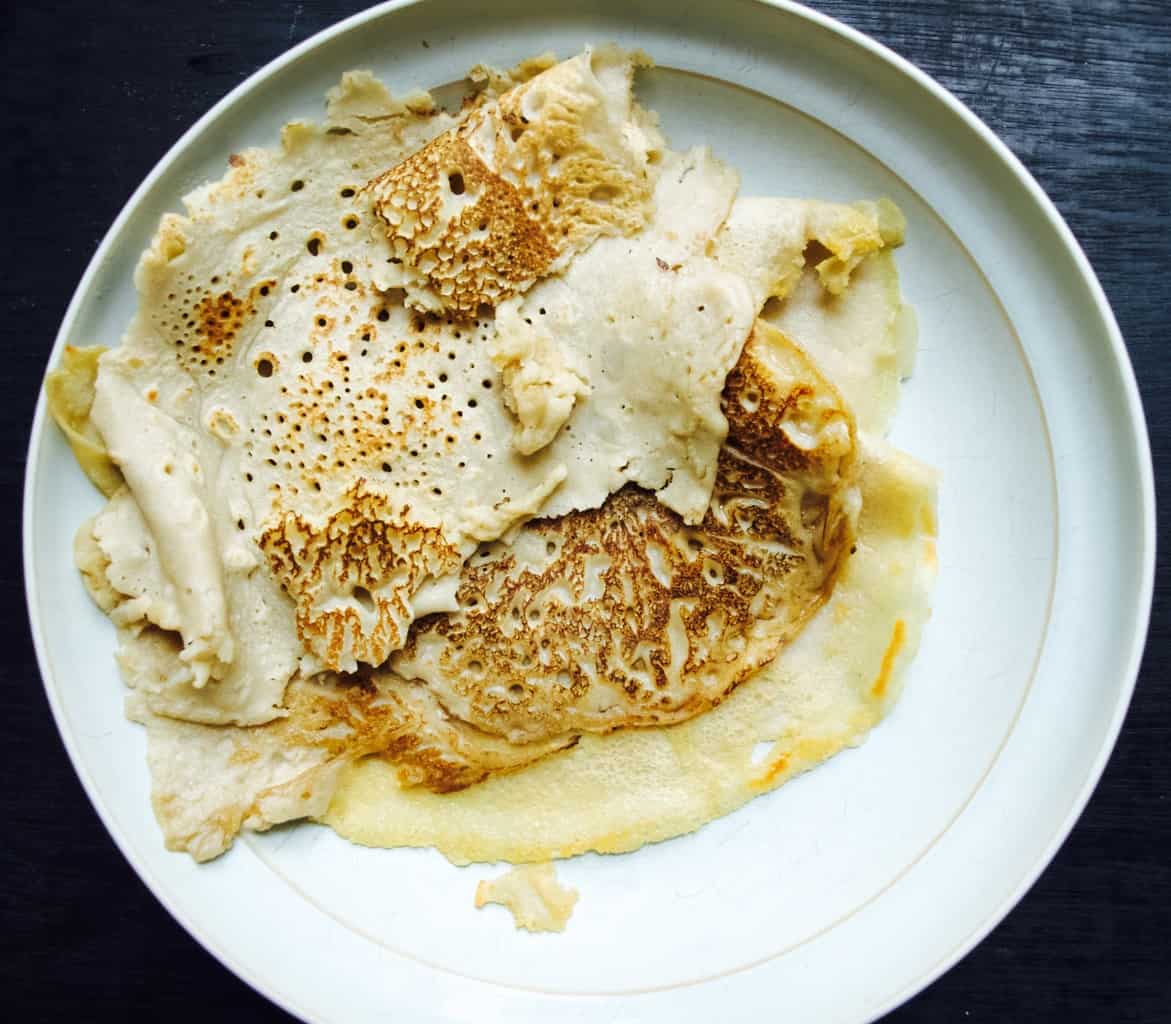
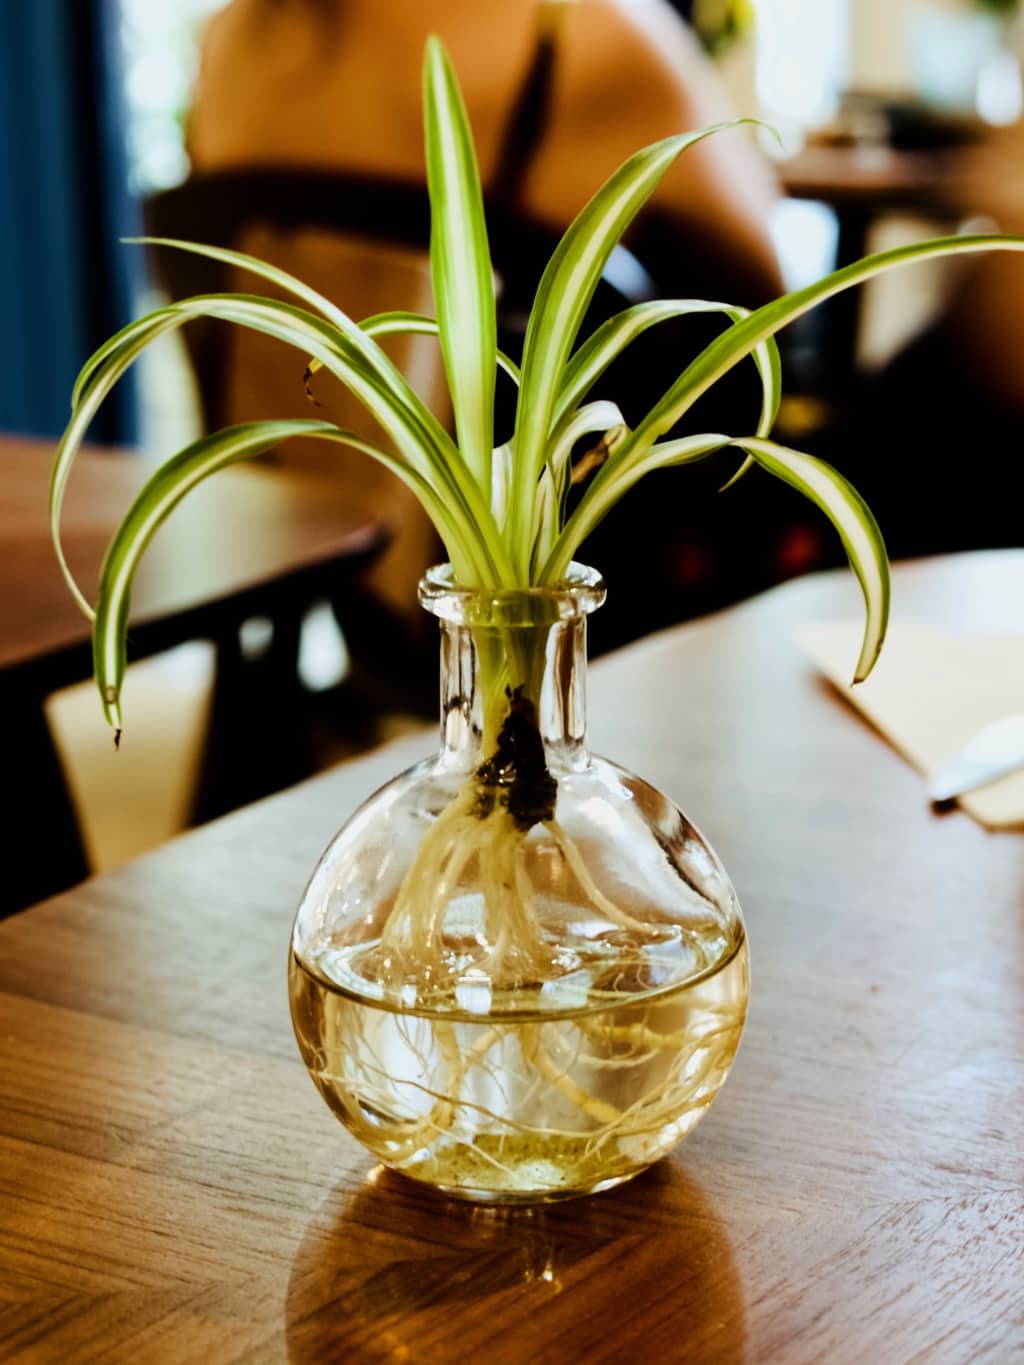
Those who have been following us here for a while may know I love anything French (or specifically Parisian). Except the smell of urine in summer of course (those who visited Paris in summer will understand what I am talking about)! But seriously how good is french pastry, it is always worth visiting Paris any day! In the past I took french pastry baking classes, I read books on how to parent the french way and went through the “Little Paris Kitchen” book in a year. So yes, Parisian lifestyle is not all about the pastry, but also the culture and their relationship with food. Food is not only for nourishment and enjoyment but also for relationship building and this is what we hope to achieve here in our cafe 🙂.

Cafe inspirations: our weekend away in Paris Cafe inspirations: our weekend away in Paris Cafe inspirations: our weekend away in Paris Cafe inspirations: our weekend away in Paris
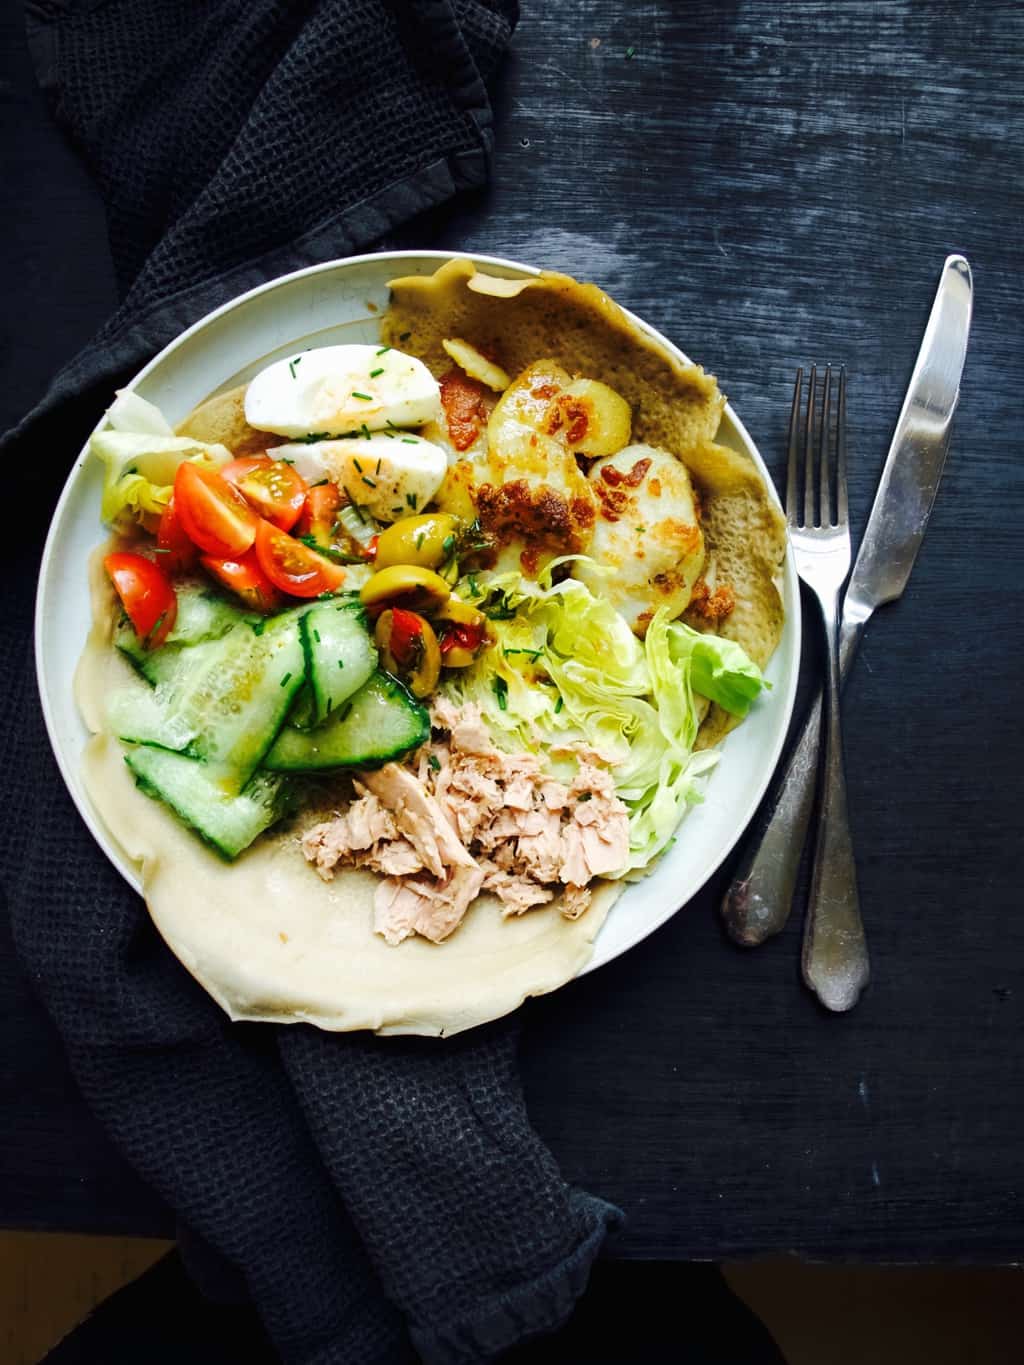
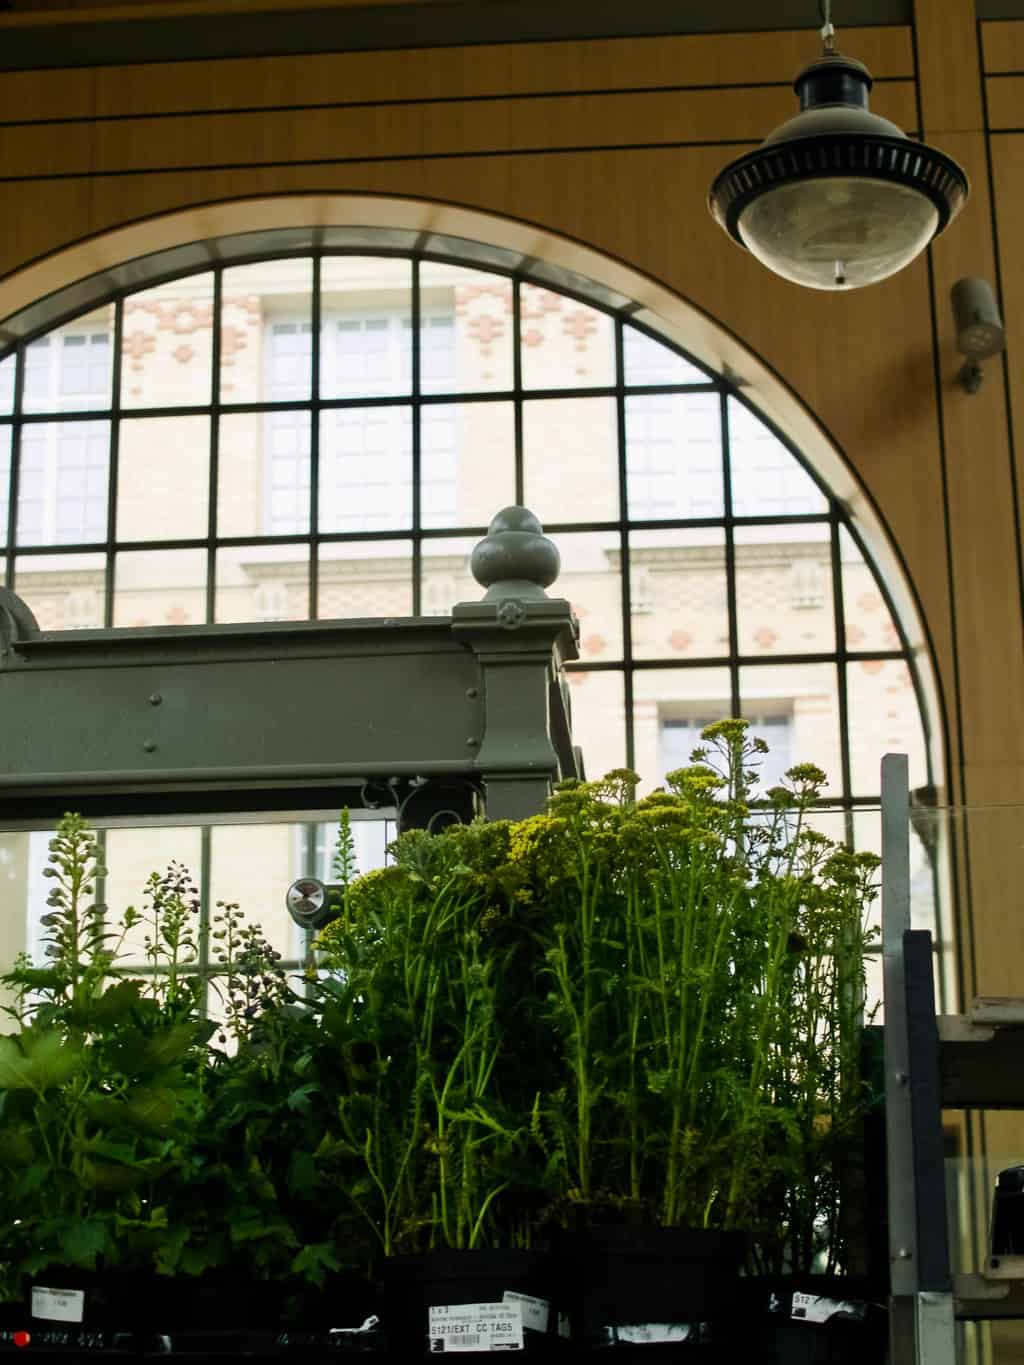
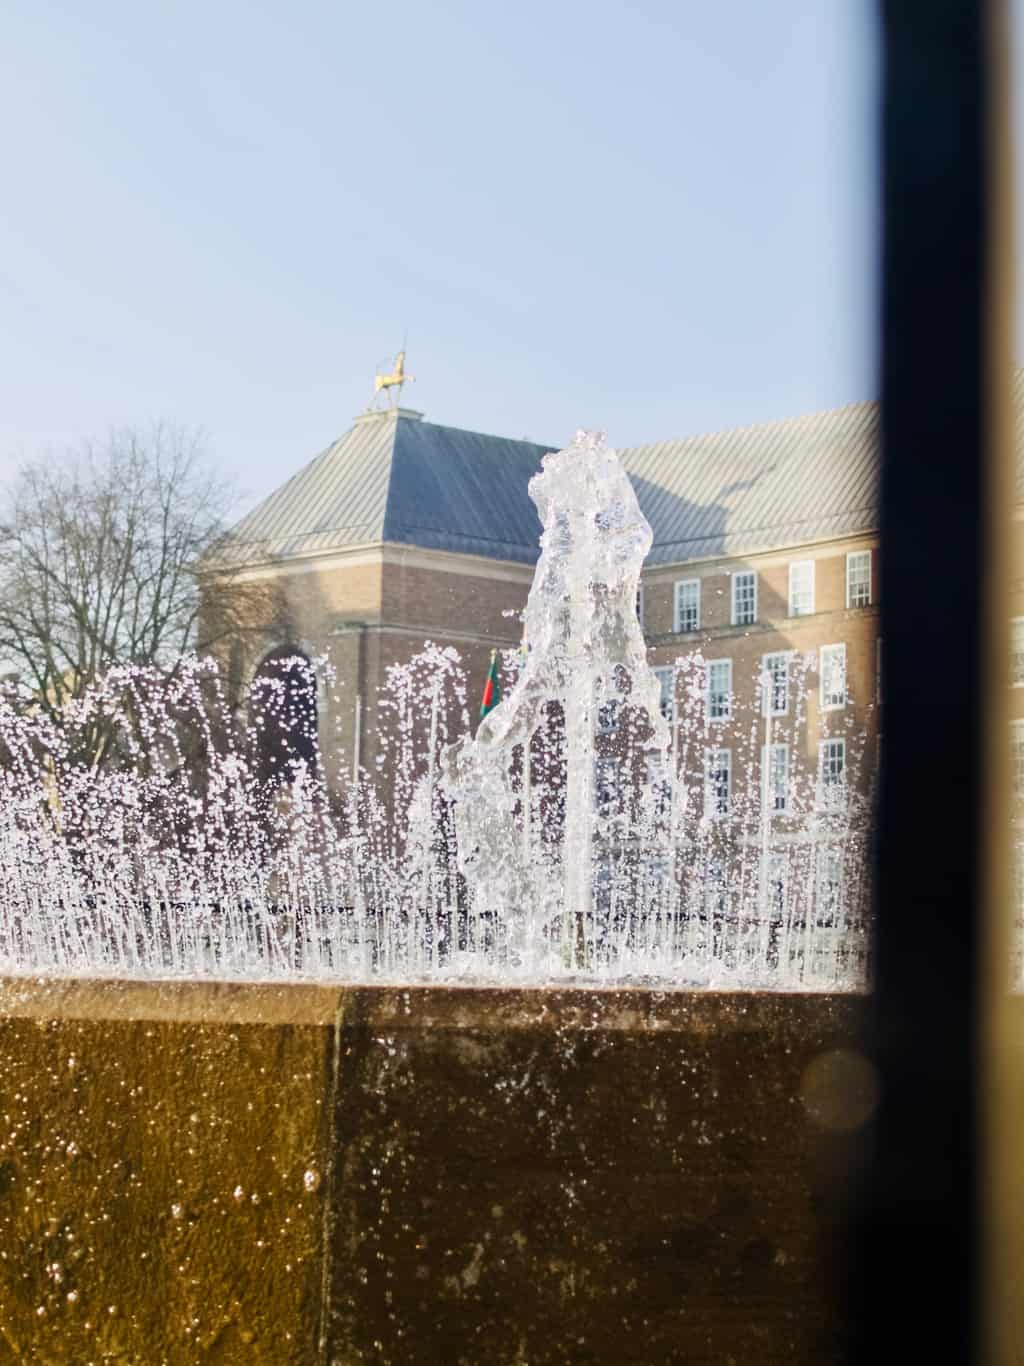
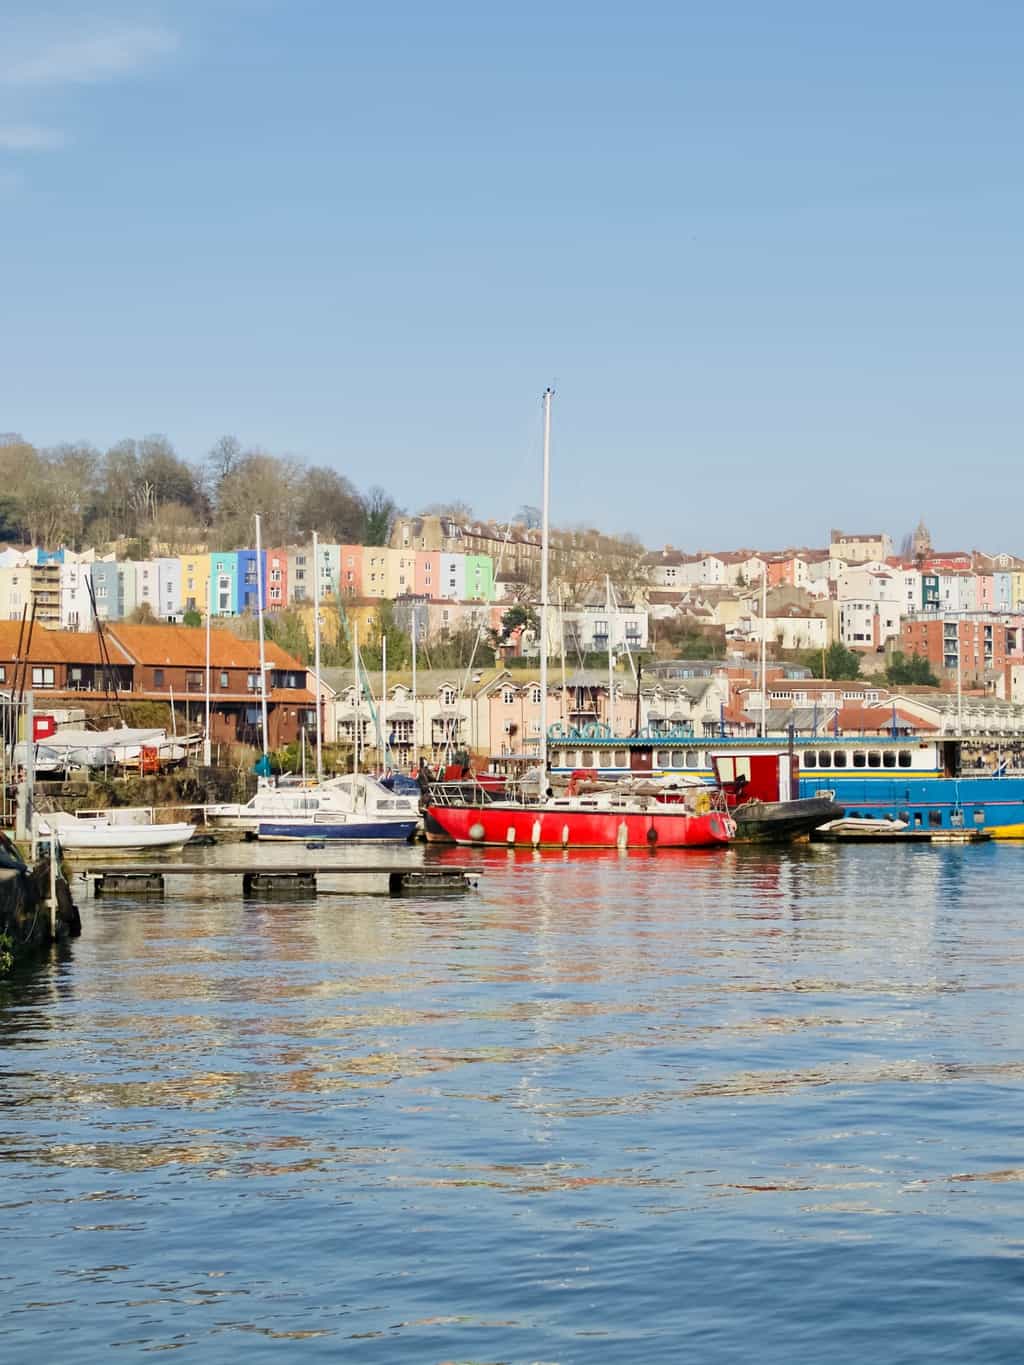
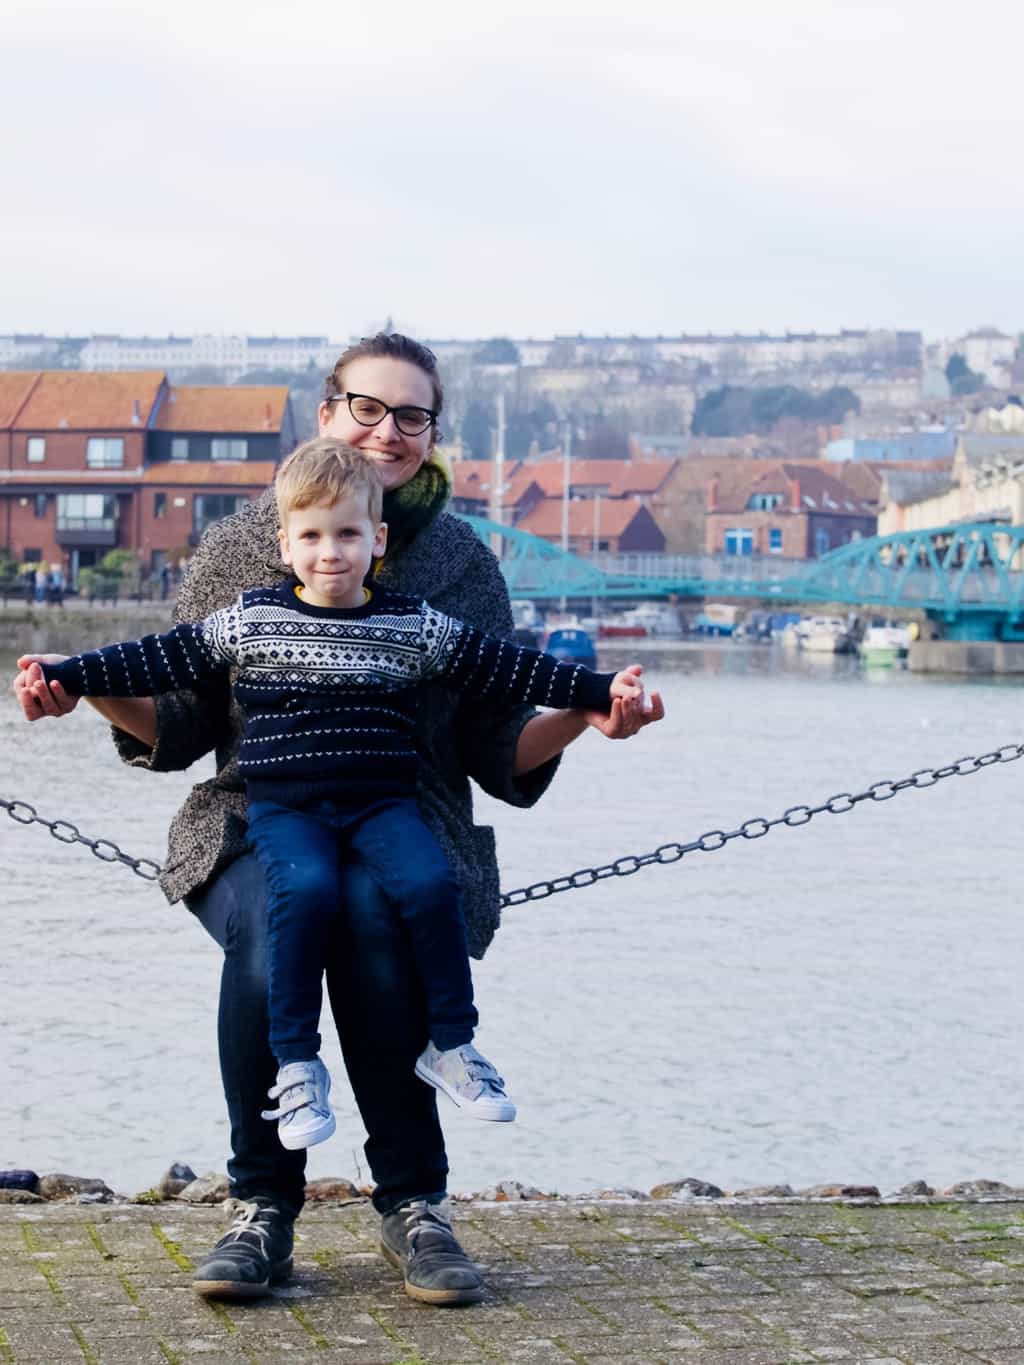
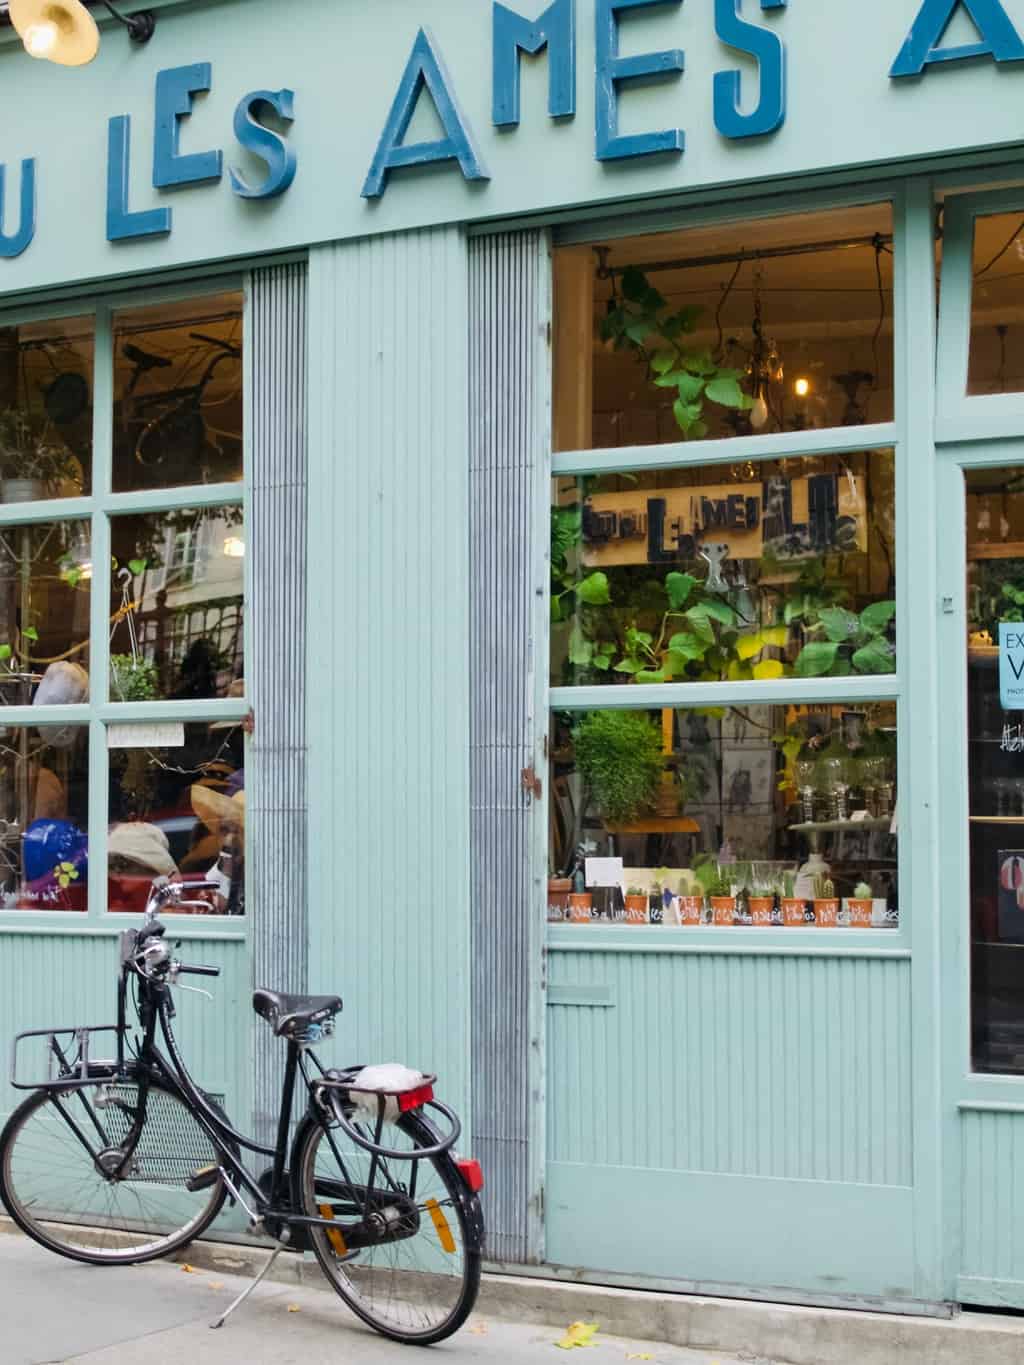
While in Paris, we purposely avoided the touristy places. We stayed by Canal Saint-Martin, walked around in 3rd and 11th districts, went on bike rides, visited Musée des arts et métiers, and ate in as many cafe’s as we could.Cafe inspirations: our weekend away in ParisCafe inspirations: our weekend away in Paris Cafe inspirations: our weekend away in Paris
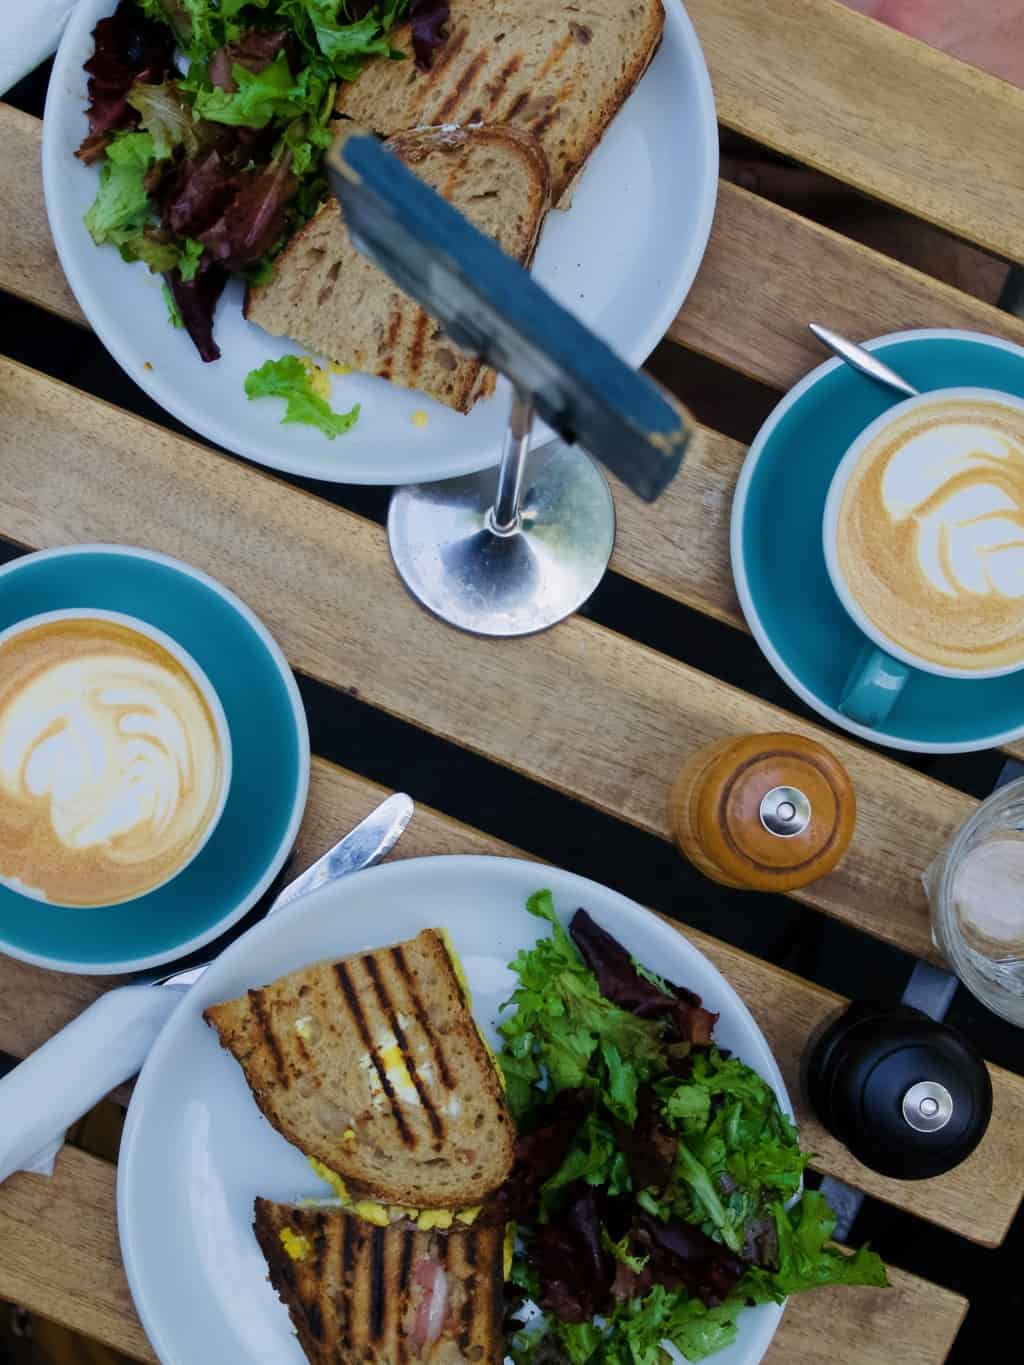
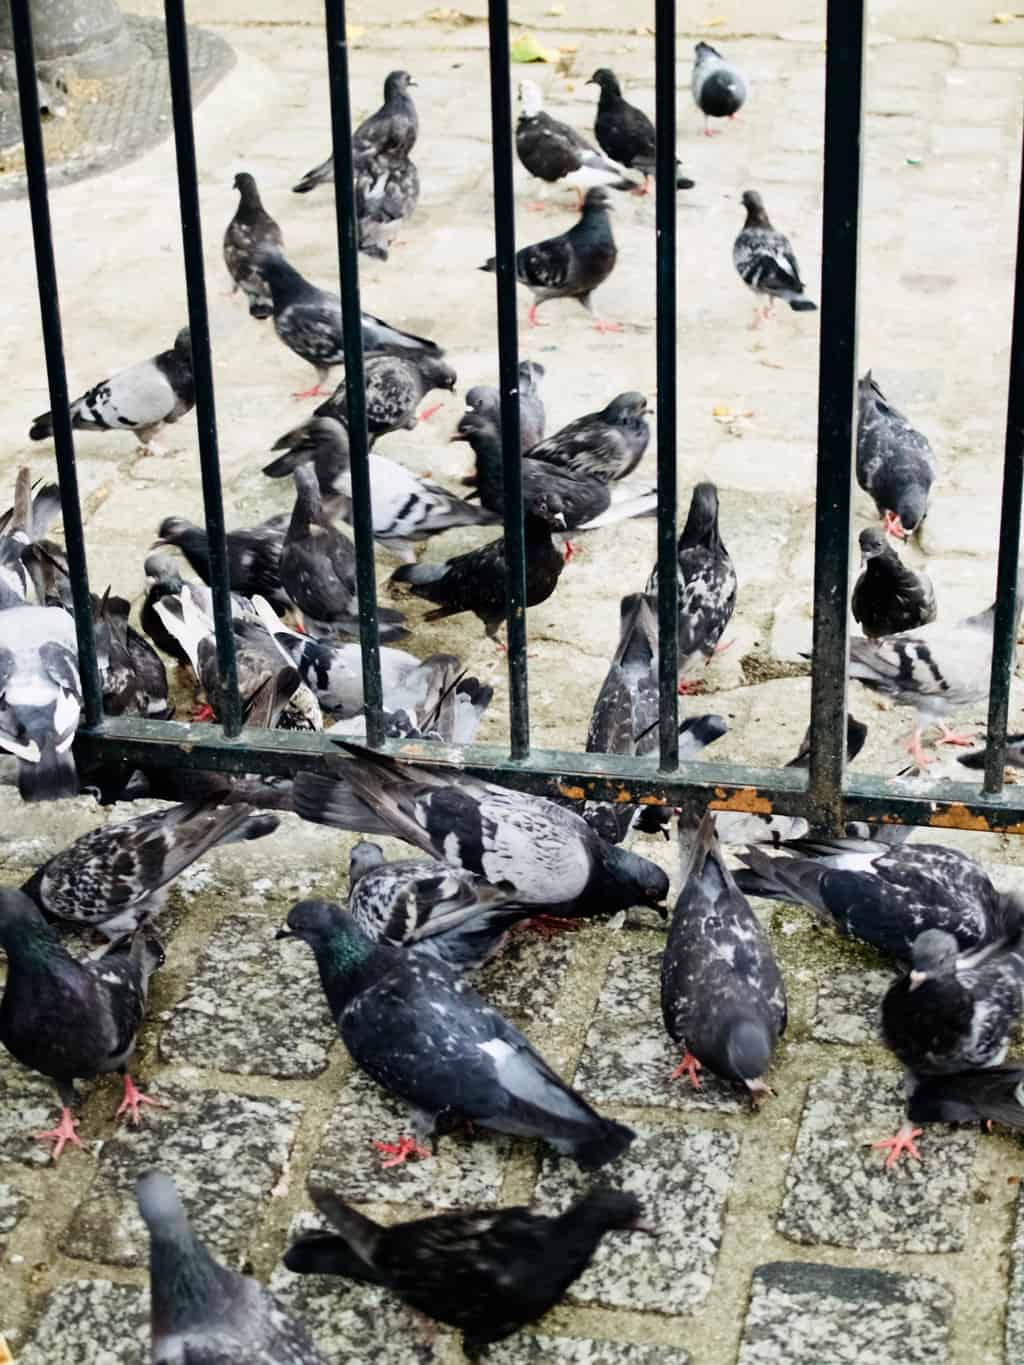
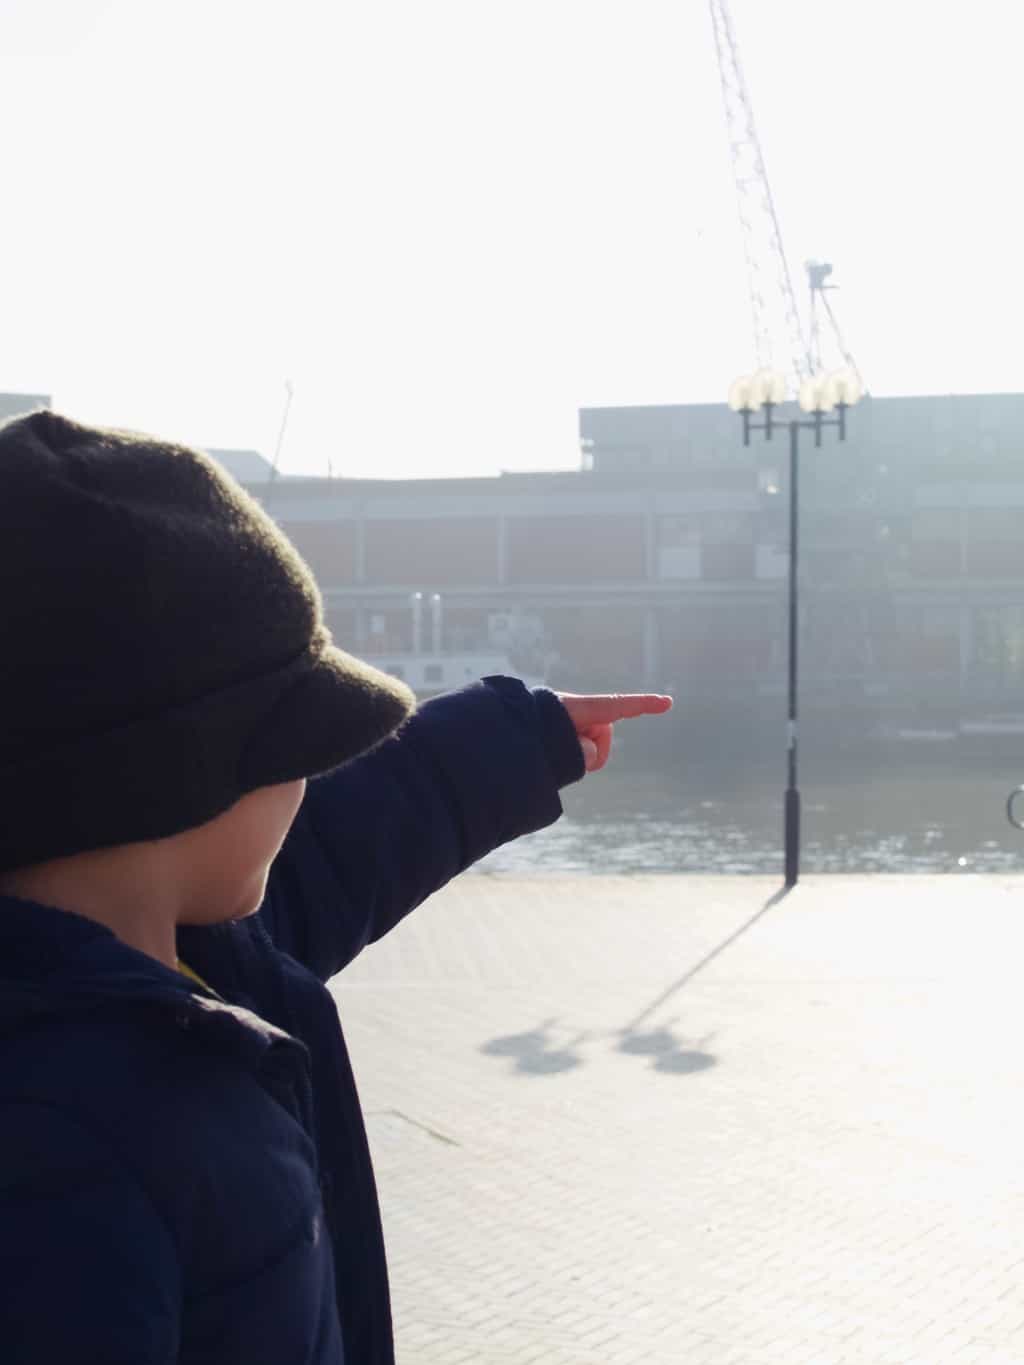
We also had to experience going for a picnic. We bought some coffees and pastries and took it to this Park (Square du Temple – Elie Wiesel) and watched people dancing tango on the bandstand ;-).Cafe inspirations: our weekend away in Paris Cafe inspirations: our weekend away in Paris Cafe inspirations: our weekend away in Paris Cafe inspirations: our weekend away in Paris Cafe inspirations: our weekend away in Paris Cafe inspirations: our weekend away in Paris Cafe inspirations: our weekend away in Paris 
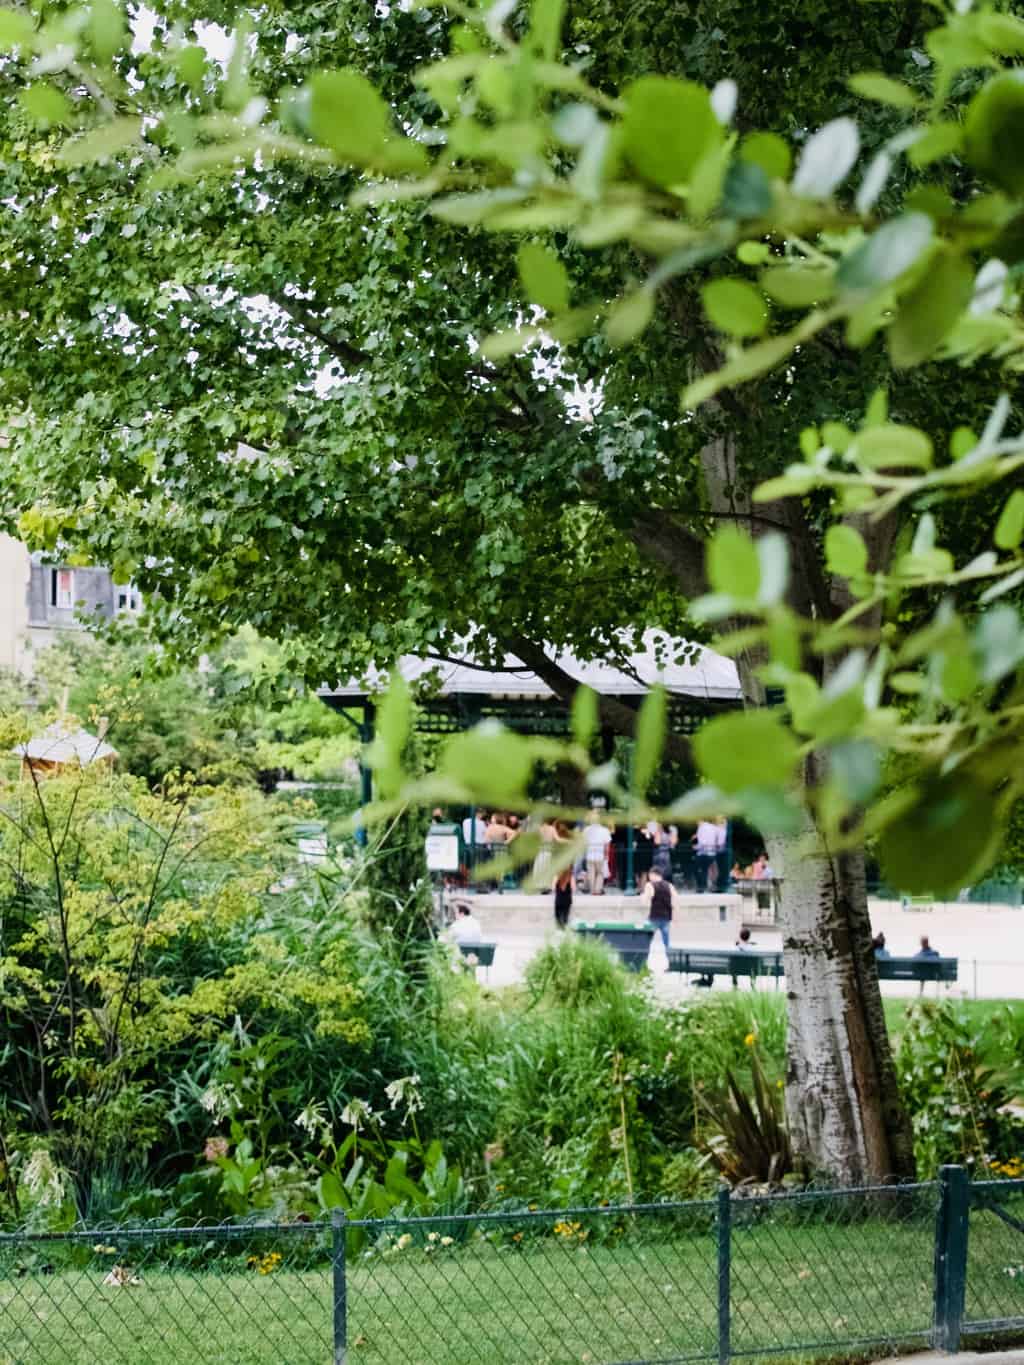
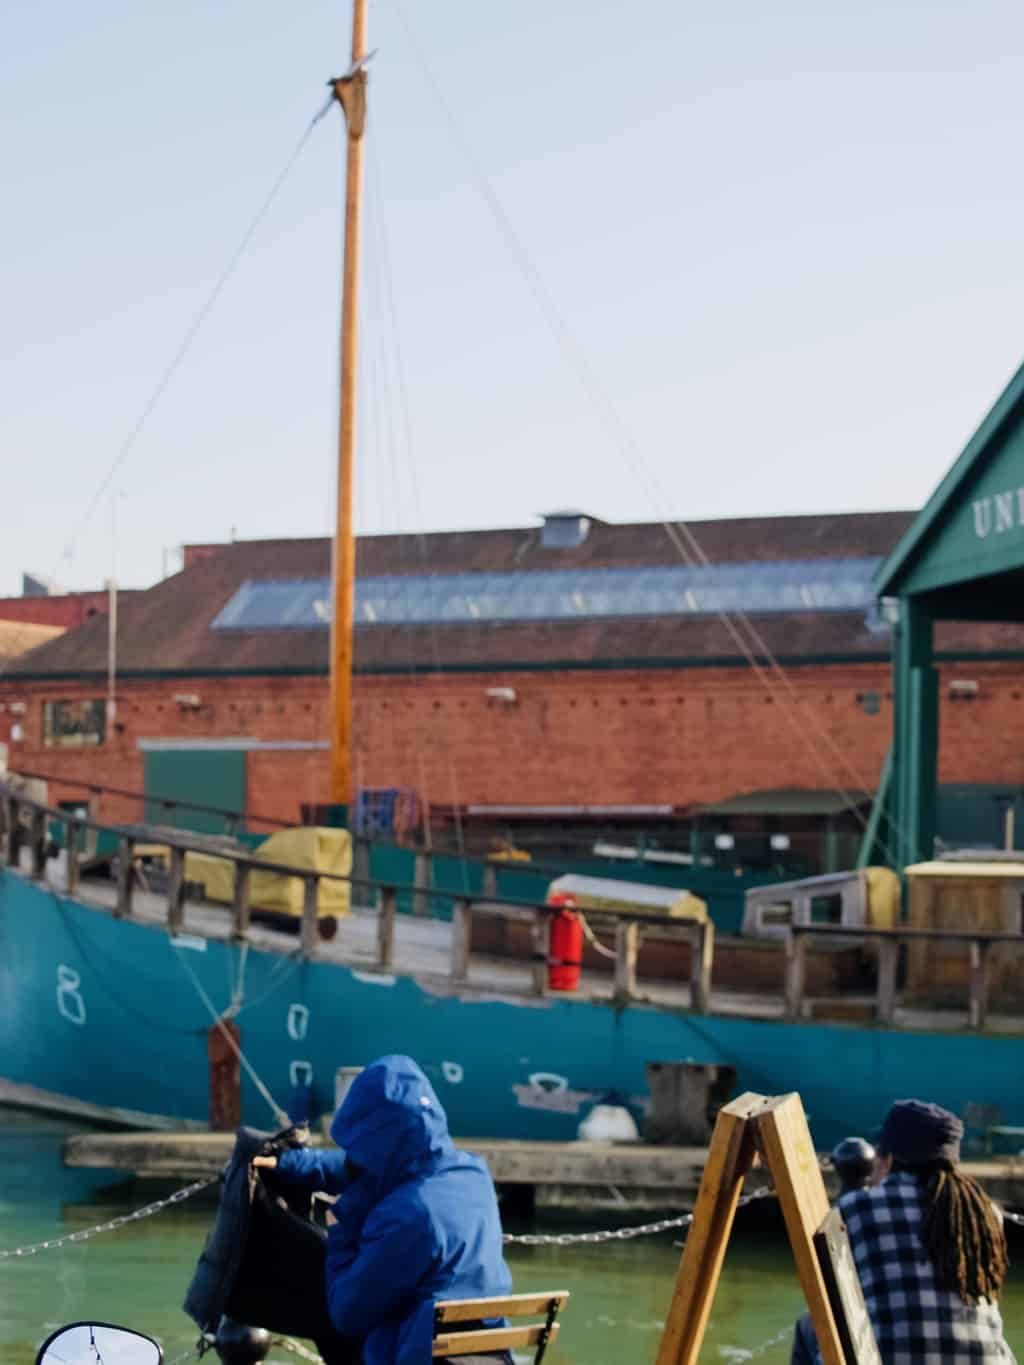
And I had to include this pic, which depicts a very realistic instagram culture in Paris. This guy have spend good 15 min taking picture of this cupcake over the Canal Saint-Martin without feeling any awkwardness or public fear (or t least he did not look bothered). This really inspired me to take my sweet time when taking pictures in public. I tend to be quite nervous otherwise and want to end my photoshoot in public as soon as I got at least one ok pic. Cafe inspirations: our weekend away in Paris Cafe inspirations: our weekend away in Paris
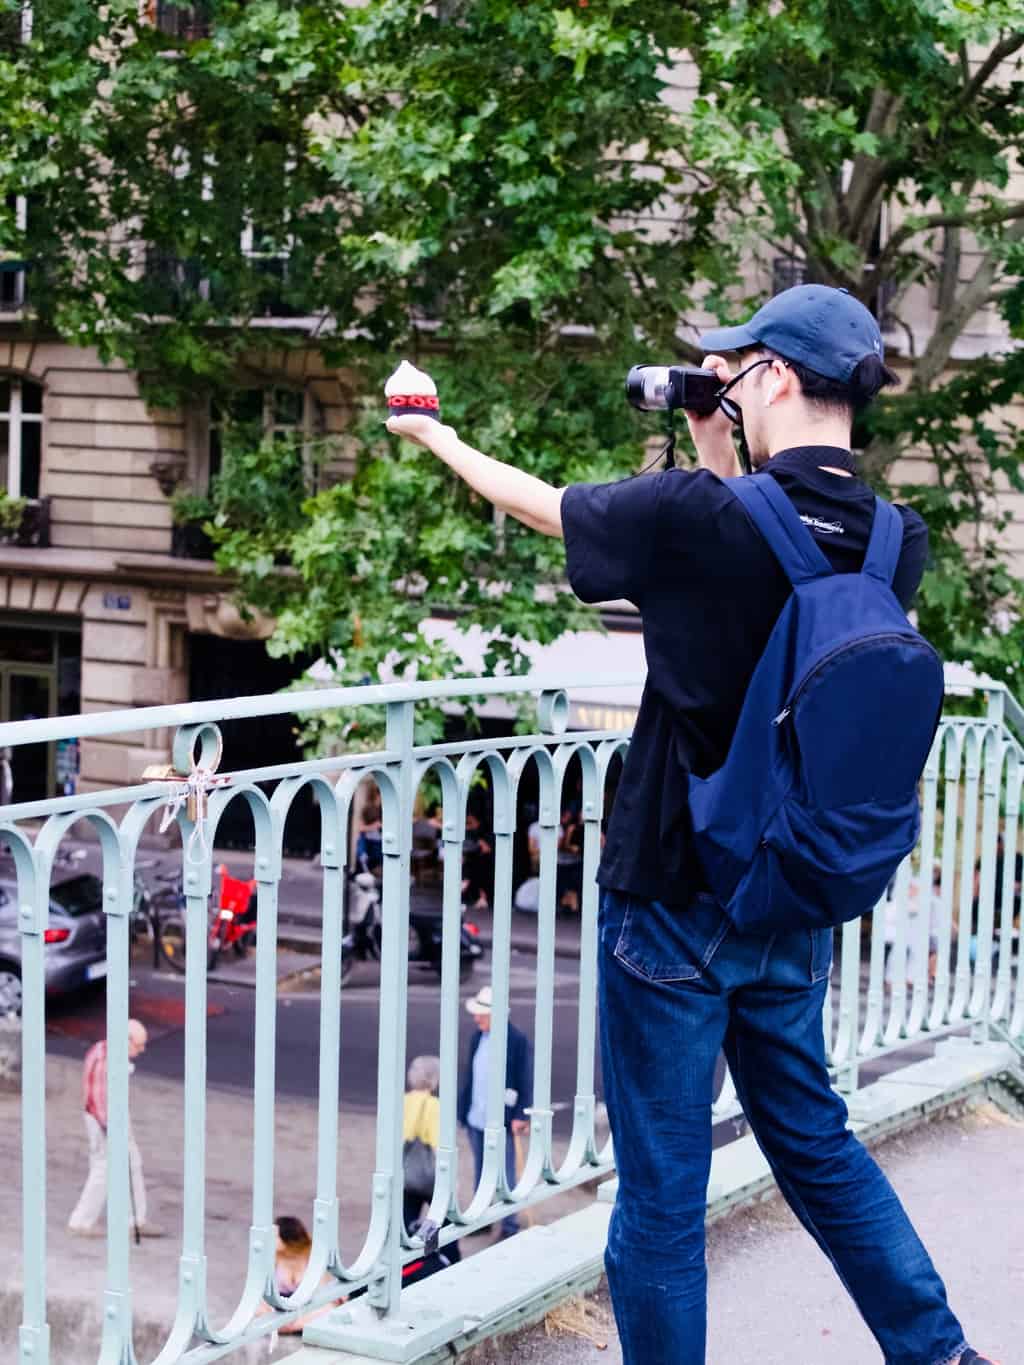
Have a lovely weekend, we are off to the wedding. Hope you a lovely last day of summer!

Rasa xoxo

0

Our city break in Bristol

Our city break in Bristol with kidsLast month when I was planning what to do for Tomas birthday I have decided we need to visit Bristol and so we did few weeks ago! I must admit this trip was little selfish of me as I wanted to check this city for myself. I was following few bloggers on IG who live in Bristol and so it got me inspired to visit at the first place. Fear not! I also included some kiddie activities in our itinerary. After all it was Tomas birthday! I planned to visit Aquarium, but we have visited We The Curious exhibition centre instead, which I recommend to everyone with kids.  Our city break in Bristol with kidsWe mostly stayed around the wharf area, but went for lunch and breakfast to the city centre. I think you would need at least a week to explore the whole of Bristol!Our city break in Bristol with kidsFirst stop was breakfast at Pinkmans after not so great night in Airbnb (don’t you always get really bad first night when traveling with kids and then it gets better??!!). Anyhow, heard lots of good things about this bakery and I was not disappointed with food. A little pricey and not very kids friendly, although they did have few high chairs. I loved the plants that were populating most of the place, I guess the indoor lighting is enough?! There was the whole stair covered in plants which looked like a little jungle. Quite inspiring for when I will open my own cafe one day ;-).Our city break in Bristol with kids Our city break in Bristol with kids Our city break in Bristol with kids We walked a lot! I mean we walked all around the Canon’s Marsh. Luckily the weather was very summery, although it did not feel right to be in t-shirt just yet. Our city break in Bristol with kids Our city break in Bristol with kids Our city break in Bristol with kids Our city break in Bristol with kids Our city break in Bristol with kids Our city break in Bristol with kidsOne of the things I really loved about Bristol are the mural art displays. Unfortunately I did not take that many photos of them.Our city break in Bristol with kidsFor lunch we went to Pizzarova where we stuffed our faces with the artisan type pizzas. Ours had a béchamel sauce which was lovely… hmmm. I also liked the deco! Another inspiration for my cafe one day ;-). Our city break in Bristol with kids Our city break in Bristol with kids Our city break in Bristol with kids Our city break in Bristol with kidsNow more about our Airbnb, it was our first time to do it with kids. And I think I would do it again! So much more flexible than staying in a small hotel room. The only thing I would have done differently next time is not be afraid to rearrange the rooms to fit our needs. You can always put everything back when leaving. On the first night kids were sleeping in a large bedroom while me and Joni were crammed in a small one because it had more plant pots that could be knocked down by kids. On the second night we decided not to suffer and move all the plants to the bigger bedroom. We all slept so much better that night!Airbnb in BristolI generally love staying in Airbnb’s (I used to host on Airbnb), not only flexibility. I like seeing different ideas on how to decorate my own house as well as wondering about the host personality (if they live in the property themselves). This time round It was a lovely host who likes to travel and I am guessing he rents the whole place when he is on holiday. What a great way travel!Airbnb in BristolOn our way home we saw this Clifton Suspension Bridge, which was grand!!Our city break in Bristol with kidsHope you got inspired to travel ;-)

Rasa xoxo

0

Basic potato pancakes

Basic potato pancake recipeYey! The pancake day is here! I thought I will share one of my savoury pancake recipe for this occasion ;-). It’s a potato pancake but not how you imagine. It’s not an Eastern European type of pancake that taste a little like a hash brown (although they are very tasty too) and it’s not a vegan type of pancake either. However it is a very versatile pancake that is tasty on it’s own or with the filling. I adapted this recipe from this waffle recipe. I loved it too much, but now in the pancake form I think I can enjoy it more frequently. Yum! Basic potato pancake recipeBASIC POTATO PANCAKES

  • 2 medium sized potatoes, cut into small uniform pieces
  • 2-4 garlic cloves
  • 1 onion
  • 1 tbsp fresh rosemary leaves (optional)
  • 60ml olive oil
  • 160ml milk
  • 2 eggs, whisked
  • 125g plain flour
  • salt and pepper to taste

1. Put potatoes and garlic in a large pot with cold water to cover. Add a pinch of salt and bring to a boil. Then lower heat and cook until potatoes can be pierced easily with a fork drain, reserving about 60ml of potato/garlic water.Basic potato pancake recipe 2. While potatoes cook, puree onions with rosemary leaves if using. Heat olive oil and fry onion in a frying pan over low heat just until onion softens a bit.Basic potato pancake recipe3. Transfer the potatoes and garlic into the bowl or large mixing jug. Mash it and mix it together with onions.

4. Gradually add garlic/potato water, oil, milk and eggs while constantly mixing so it all combines well. Eventually add flour and seasoning and give a last mix. Basic potato pancake recipe 5. Fry pancakes in well heated pan with little oil. Pour one spoonful to the pan and immediately start swirling round the pan to get nice even layer. Lift the pancake to flip and cook the other side as well. Basic potato pancake recipe Serve it either with a dollop of creme fraiche  and parsley. Basic potato pancake recipeOr if you like you can use these pancakes as a wrap. There are quite many fillings to experiment with. We had chicken roast the other day so that went really well with it!Basic potato pancake recipe Basic potato pancake recipeEnjoy!

Rasa xoxo

0

Spring-inspired celebration cake

Spring-inspired celebration cake (with sweet peas) recipeI always wanted to try and bake a cake using sweet peas, but I never had an opportunity. Sweet peas is such as spring vegetable and no one in our family have a birthday in a spring. Eventually I decided to just go for it for Tomas birthday. It almost feels like a spring now! Spring-inspired celebration cake (with sweet peas) recipe SWEET PEA CAKE WITH BEETROOT FROSTING adopted from Veggie Desserts

(for the cake)

  • 180g sweet peas, steamed or boiled
  • 130g butter, softened
  • 100g caster sugar
  • 2 eggs
  • 1tsp vanilla extract
  • 1 tsp lemon zest and a drizzle of juice
  • 165g flour
  • 2tsp baking powder
  • pinch salt

(for the frosting)

  • 250g soft cheese
  • 70g icing sugar (plus some more for later stage)
  • 1-2 tsp beetroot powder
  • 1tsp other type of natural frosting such as turmeric, matcha etc (optional)

1. Puree the sweet peas in the food processor and set aside

2. Cream the butter with sugar either in the large bowl with the wooden spoon or in the mixer.Spring-inspired celebration cake (with sweet peas) recipe 3. Add the rest of the ingredients (including sweet pea puree) into the butter cream and mix again to combine. Spring-inspired celebration cake (with sweet peas) recipe 4. Bake the cakes in the 15cm (6inch) tins in 180C preheated oven for about 20 min. Alternatively you can bake these in the sheet tray and use a large cookie cutter to cut out the rounds. I ended up cutting off the crust as I wanted bright green colour to show through the frosting.Spring-inspired celebration cake (with sweet peas) recipe5. Meanwhile make the frosting. Using the whisk, mix the soft-cheese with sifted icing sugar.

6. To assemble spread a little of the frosting between the layers of the completely cooled cakes and sandwich together. Cover the cake with some more frosting reserving a little for later. Using palette knife gently scrape of the icing creating that naked cake look.Spring-inspired celebration cake (with sweet peas) recipe 7. Split the remaining frosting into 2 or more bowls, unless you only want to dye it in one colour. I personally would have had only one colour (pink) now when I tried the multicolour. Add the beetroot powder (or other natural colour) and more icing sugar till the frosting reaches the right consistency. It needs to be stiff in order to keep its shape.Spring-inspired celebration cake (with sweet peas) recipe 8. Pipe the frosting on the cake using a piping bag and large round nozzle.Spring-inspired celebration cake (with sweet peas) recipe 9. Decorate the cake with wild flowers and herbs. It is amazing what you can find in the garden or in the park. These daisies are actually edible and were growing on my lawn.Spring-inspired celebration cake (with sweet peas) recipe Spring-inspired celebration cake (with sweet peas) recipeHappy spring waiting everyone!

Rasa xoxo

0

Pinterest challenge: parsley cheese crackers

Parsley cheese crackers recipeFirst of all I would like to inform you that I won’t be doing any “Pinterest challenge” posts anymore (Booo! I know!). I feel like I have been doing this for ages (4 and half years to be more specific) and I felt these lack of creativity on my part. Yes, I have learned a lot, I have made my own alterations on some of the recipes, I tried many recipes that just have been sitting there on my boards and I use some of these recipes again and again… BUT I feel it’s time to move on! I realised I need to start creating more of my own recipes as well (which I have been doing already).

Now coming back to my final “Pinterest challenge” post. I have been doing a lot of cupboard clearing lately. This included me going through my cupboards and using up all these leftover flours and grains etc. Although these crackers does not call for any special flour, I baked them anyways as these make good lunch box fillers (Lukas calls them lunch box stars) and they make as a tasty snack on the go too! I tweaked the recipe a little bit to add some parsley. I feel better when this adds some green into the kids lunch boxes, even though I am not too sure how many nutrients from the parsley survive the process. Either way at least the parsley give some work out for the taste buds ;-). Parsley cheese crackers recipe PARSLEY CHEESE CRACKERS adopted from Winter Monroe

  • 200g flour
  • 1/2 tsp garlic powder
  • 85g butter
  • 200g cheese, finely grated
  • 1 egg
  • handful parsley + 2tbsp water, whizzed to a paste

1. Add the garlic powder into the flour and mix to combine. Rub the butter into the flour mix with your fingertips until the mixture looks like moist breadcrumbs.

2. Add the rest of the ingredients and mix well to combine.Parsley cheese crackers recipe3. Roll the pastry out, 7mm thick. Using a cookie cutter cut out the shapes and place them on ready lined baking tin or tray. This part is fun to do with kids!Parsley cheese crackers recipe 4. Bake the crackers in 180C preheated oven for 10-15min.Parsley cheese crackers recipe Parsley cheese crackers recipeEnjoy!

Rasa xoxo

0

It’s not too late to knit a hat!

kids bear hat knitting instructionsFirst of all, Happy New Year everyone!

Secondary, just because it’s winter, that does not mean it’s over very soon. I hope I am not sounding too negative for some (I know some of you are really looking forward to Summer already), but we only had one winter month and there are two left to go. My point is that we should enjoy this weather and make the most of it!

I personally love love January (I learned to love every season), because it’s time for refocusing, spring cleaning (would like to call it winter cleaning but it sounds weird), detoxing (If you are into it) and knitting of course. I love January because it is a beginning of the year and the plans are not strictly set therefore it is often not a busy month.kids bear hat knitting instructionsOver holidays I have started knitting because we have gone away and I was free from doing all the house tasks. I find knitting (or any other crafting) is something I can do while chatting or watching a movie. I find it very relaxing! I knitted this hat for my nephew that Tomas is modelling here, hence blurry pics because he can’t stay still. If you fancy knitting this hat then you can access the project here!kids bear hat knitting instructionsHave an enjoyable January!

Rasa xoxo

0

Salted chocolate apples

Salted chocolate applesNormally I only share a recipe after a lot of testing and tasting and often with a bit of modification to improve it.  This time however I made these apples for Hallowe’en and it was such a hit that I did not even get a chance to taste them! I am sure they tasted lovely though. So here we go; apples that are good for any autumnal celebration (did someone mention Bonfire night?)

Now let me share more about my feeling re Hallowe’en. I still dislike it even though I was more involved this year. I think I mentioned before I dislike this celebration mostly due to tacky decorations and creepy dress ups (It does not seem so bad in USA, but here in the UK kids dress up in grotesque costumes). I even wrote a post in the past on how to survive halloween! But beside all these reasons my real real reason for disliking halloween is the fact that it celebrates fear and a spiritual realm that does exist. I am not going further with this and try to argue. Instead I want to explain why I am involved more this year. My prime reason is to get to know my neighbours and to experience Hallowe’en a bit from a broader perspective so decide what if anything I should do with my kids next year.Salted chocolate apples SALTED CHOCOLATE APPLES

  • 12-17 small eating apples
  • 200g dark chocolate
  • 200g milk chocolate
  • 200g white chocolate (optional)
  • sea salt
  • descanted coconut (if using white chocolate)
  • sticks (can be reused ice lolly sticks, tree branch bits or even skewers perhaps?)

Salted chocolate apples 1. First arrange apples on the baking paper. Insert sticks so you are able to hold onto them when applying chocolate.Salted chocolate apples2. Melt the chocolate either carefully heating it in the microwave or over a pot of hot water.

3. Swirl the apple into chocolate so it gets evenly coated. Drizzle some more chocolate of different type on the sides for a pretty look. Don’t forget to salt it ;-).

4. Let the apples set in the fridge.Salted chocolate applesI found that white chocolate does not go back to solid state very quickly. Once applied, white chocolate would just slide off the apple. I think it is important to either wait till the chocolate starts thickening or roll the apple (with chocolate on it) in some descanted coconut so it holds everything together. The apples decorated this ways look as pretty as other apples I think :-).Salted chocolate applesHope you feel inspired

Rasa xoxo

2

Aeroplane themed birthday cake

Aeroplane themed birthday cakeSo here it is, my vision became a reality. This year I made Lukas birthday cake aeroplane themed which he really enjoyed. I have been dreaming about this cake for ages (not really I practically copied the idea from here). The only thing I wanted to do differently is to try and dye the frosting with natural dyes….

But as you may know the colour blue is hard to find in nature! I know i know, the sky is blue, but you can’t exactly put that in the icing. With a bit of research and friends recommendation I went with butterfly pea tea that is sort of blue. You see I had fun with experimenting and realised that butterfly pea tea changes colour according to the ph of the liquid you mix it into. With a bit of lemon it turns to a burgundy violet and with milk it turns into bluish sky blue. Although this might sound easy, the blue that I get from mixing the tea with milk is not concentrated enough for what is needed when you try to dye large amounts of frosting. I ended up using it in soft cheese frosting and it turned out a little more lilac then sky blue. Shall we imagine that the planes are flying over a sunset sky?Aeroplane themed birthday cake BLUEBERRY YOGURT CAKE WITH BUTTERFLY PEA FROSTING

(for the cake)

  • 3 eggs
  • 350g caster sugar
  • 450g greek yogurt
  • 180g rapeseed or olive oil
  • 300g ground almond
  • 250g plain flour
  • 1 tsp vanilla extract
  • 3tsp baking powder
  • 2 handful blueberries

(for the meringue)

  • 3 egg whites, room temperature
  • 100g icing sugar, sifted
  • few drops of lemon
  • pinch of salt

(for the frosting)

  • 600g soft cheese
  • icing sugar to taste, sifted
  • butterfly pea tea, brewed in little water

(for the “aeroplanes”)

  • cocktail sticks
  • wafers in the finger form

1. To make the cake beat the eggs with sugar. Add the rest of the ingredients and mix again to combine. Pour equal amount of cake mixture into two lined baking tins. Bake in 180C oven for 40-45min.Aeroplane themed birthday cake 2. Meanwhile prepare the meringues for baking. Baking these will take few hours on the low heat once the cake is baked presuming you don’t have two ovens. Mix the egg whites with drop of lemon, salt and half of icing sugar. Start whisking the mixture while gradually adding the rest of icing sugar. In the past I struggled to make meringues and later I realised that all it needs a little patience. It takes really long time to achieve stiffly whisked egg whites, so bear with it till you can see the results. Don’t worry you can’t over mix it ;-)! Pipe the meringues on the baking sheet into cloud shapes using large round nozzle or no nozzle at all. Bake in C60 preheated oven for 3-4h. I find the longer the baking the whiter the meringues!Aeroplane themed birthday cake with merengue clouds  3. To make the frosting whisk soft cheese with icing sugar (I like it less sweet so I don’t add much). Gradually mix in the butterfly pea tea till you like the shade. Aeroplane themed birthday cake 4. For the plane, cut the wafer finger into aeroplane body shape and small triangle for the fin. Glue the plane using icing sugar and water mixture. Use the cocktail sicks to hold the plane together.Aeroplane themed birthday cake Aeroplane themed birthday cake5. To assemble the cake apply the frosting starting from the top and working your way to the bottom. Arrange the “the clouds” and “the planes” as closer to serving as you can. Sadly, the meringue have a tendency to go soggy.Aeroplane themed birthday cake Aeroplane themed birthday cake Aeroplane themed birthday cake I especially liked the cake. Although it was difficult to apply the frosting due to it being crumbly and moist, I feel it was worth it!Aeroplane themed birthday cakeHope you enjoy it!

Rasa xoxo

0

Green tomato ketchup

Green tomato ketchup recipeLast week we said goodbye to our green house. It was quite emotional for me as I really fell in love with it! Although the journey of building it and general gardening jobs delayed our house renovation (kitchen in particular) I feel having green house has given us irreplaceable experience. I loved getting fresh tomatoes everyday for my toast and salads, even if it was for only few months. I have learned a lot too! I will be applying my new learned knowledge next year when I grow tomatoes again :).Green tomato ketchup recipeBut what to do with all those green tomato that missed their chance to catch some sun? Few years ago we made some green tomato chutney. This year however I decided to go with green tomato ketchup only because we use ketchup more often (I bet you do too!). Green tomato ketchup taste a little fresher to compare to regular ketchup but is equally delicious with chips!Green tomato ketchup recipe Green tomato ketchup recipe This recipe can be halved or doubled depending on your green tomato harvest. So weigh your tomatoes before deciding how much ketchup to make.

GREEN TOMATO KETCHUP

  • 2 kg tomatoes
  • olive oil
  • 3 onions, chopped
  • 2 celery sticks, sliced
  • 2 thumb fresh ginger, grated
  • 4 garlic cloves, sliced
  • 1 tsp ground coriander
  • 1/2 tsp ground mixed spice
  • salt and pepper
  • 700ml water
  • 2 tsp tabasco sauce (more if you like spicy)
  • 150ml apple cider vinegar
  • 200g brown sugar (I used dark brown which made the ketchup look darker)

1. wash, weigh, chop the tomatoes and set aside.Green tomato ketchup recipe2. Place onions and celery  in a large saucepan with a generous amount of olive oil, ginger, garlic, ground coriander and mixed spice. Season with the pepper and a pinch of salt. Cook gently till softened.Green tomato ketchup recipe 3. Add the tomatoes, water and bring to the boil and simmer gently until the sauce reduces by half (around 3 h for 2kg tomatoes).

4. Whiz the sauce in a food processor or with a hand blender. Add the vinegar and the sugar. Place the sauce on the heat and simmer until it reduces and thickens to the consistency of tomato ketchup. At this point, adjust the seasoning to taste.

5. Spoon the jam into the ready sterilised jars or glass bottles.Green tomato ketchup recipe Green tomato ketchup recipeShould at least try making it for those chips ;-)

Rasa xoxo

0

End-of-season tomato jam

End-of-season tomato jam recipeTurns out our tomato harvest was little late when I thought it was barely there at all. When all of the sudden tomatoes started turning red and yellow in one go I actually panicked as I could not keep up with it even when I was eating them everyday (this is certainly a good problem to have). However their season is coming to the end and I will be soon harvesting green tomatoes to make something special for winter.

So far I have been freezing red, cherry and sunrise tomatoes into the 400g bags for next time I need chopped tomatoes in the recipe. I also reserved some for tomato jam that I wanted to try out making for a while. I love something sweet in my savoury dishes! If you feel the same then here it is, carry on reading for the recipe.End-of-season tomato jam recipe End-of-season tomato jam recipeEND-OF SEASON TOMATO JAM adapted from Healthy Delicious

  • 1kg ripe tomatoes, roughly chopped
  • 280g soft brown sugar
  • 1 lemon zest and juice
  • pinch ground ginger

End-of-season tomato jam recipe 1. Whizz tomatoes in the blender till smooth like a pure.End-of-season tomato jam recipe2. Transfer the tomato puree together with the rest of the ingredients into the medium sized pot.End-of-season tomato jam recipe 3. Cook, stirring frequently, until the mixture is thick and jammy – this will take about an hour.End-of-season tomato jam recipe4. Spoon the jam into the ready sterilised jars.End-of-season tomato jam recipeEnd-of-season tomato jam recipe End-of-season tomato jam recipeEnjoy it anywhere you like. I am sure you will find many uses for this jam! I love mine in the cheese toasty ;-).

Rasa xx

0

Herb infused jams

Herb infused jams + rosemary infused blackberry jam recipeI know I know you might think that I am obsessed with blackberries (which is true). But how can you resist when these berries are so plump and lush right now? We just loooove picking them as we go for a walk!

Last year when I was cooking through Little Paris Kitchen book I found this recipe for the cherry compote. Not just any cherry compote, it was infused with basil and tasted amaaaaazing! This is why when I was thinking to make blackberry jam I decided to take similar approach and matched it with rosemary. It was as flavoursome as that compote I made last year ;-).

So if you are jamming this autumn, I really recommend trying out and adding herbs to your preserves. Sugar really bring out the flavour of it I think. Here are few suggestions if you like:

  • cherry and basil
  • blueberry and mint
  • raspberry and cardamom
  • apricots and lavender
  • strawberry and lemon thyme

These are just few examples, but you can experiment with any herbs. Here is blackberry and rosemary for starters ;-).Herb infused jams + rosemary infused blackberry jam recipe BLACKBERRY AND ROSEMARY JAM

makes 2 jars

  • 1kg blackberries
  • 300g sugar (we used icing sugar as it dissolves quicker, but any other sugar will do)
  • bunch of rosemary

Herb infused jams + rosemary infused blackberry jam recipe 1. Place all the ingredients in a pot and simmer uncovered for 30 min or so.Herb infused jams + rosemary infused blackberry jam recipe 2. Stir occasionally while cooking to help dissolve the sugar.Herb infused jams + rosemary infused blackberry jam recipe 3. Remove the rosemary stalks (as much as you can) before spooning it into ready sterilised jars.Herb infused jams + rosemary infused blackberry jam recipeI enjoy it mostly with toast but there are plenty of other uses as well.

Rasa xoxo

0

Bake-with-kids yogurt cake

Bake-with-kids yogurt cake recipeEver since reading Bringing up bebe and French kids eat everything I got the notion that the kids and I could bake things one day. Maybe even experiment with different flavours and help them grow to love food. This sounded like a fairy tale when we were going through terrible-twos and all Lukas would eat was pasta or toast. Thankfully this was just a phase! Things are changing dramatically as we speak. So hang in there if you are struggling with the toddler fussiness, it will all pass ;-).

I mean Lukas still don’t eat salad, but he will occasionally ask me if he could taste something from my plate (such as beetroot or even smoked salmon). And you know I like my food colourful and flavoursome. I really hope that one day this passion will pass onto him.

So when we went blackberry picking last week I thought why not introduce him to baking. Lukas, like any other kids likes cakes and baking goes nicely with blackberry. I suddenly thought I could try the yogurt cake that I read french kids like to make. Blackberries on top does make it lovely!Bake-with-kids yogurt cake recipe This recipe uses yogurt containers (150ml) as a measuring device. A bit simpler to understand for little helpers.

BAKE-WITH-KIDS YOGURT CAKE

  • 2 x containers (300g) natural yogurt (full fat preferably)
  • 2 x eggs
  • 2 x containers sugar (270g) (although I preferred adding just one)
  • 4.5 x containers  plain flour (360g) (we used almond flour for gluten free version)
  • 1 x container (120g) vegetable or olive oil
  • 1 tsp vanilla extract
  • 2 tsp baking powder
  • berries or chocolate chips for the filling (optional but nice!)
  • extra yogurt or creme fraiche for serving (optional)

Bake-with-kids yogurt cake recipe 1. Measure all ingredients into the bowl. It is very important to clean and dry the containers after emptying them as I find that other ingredients stick to any lingering yogurt and therefore don’t come out fully when measuring. The first time we baked this cake it came out too gooey due to not enough of flour as you could imagine. When making it a second time I realised it was due to wrong amounts.

2. Mix mix mix! Lukas favourite part ;-).Bake-with-kids yogurt cake recipe3. Spoon out the cake mixture into the baking tin. I like using silicone type as it needs no greasing.Bake-with-kids yogurt cake recipe4. Arrange berries or chocolate chips on top. Press them in so they sink a bit.Bake-with-kids yogurt cake recipe 5. Bake for 35-40min in 180C preheated oven. Check with toothpick if it is baked thoroughly before removing the cake out of the oven.Bake-with-kids yogurt cake recipeEnjoy baking ;-)

Rasa xoxo

0

Gluten free pizza topped with fresh ingredients (two ways)

Gluten free pizza topped with fresh ingredientsSo we started a new diet for Tomas this month. We (which is really me) decided that his eczema may be caused by gluten intolerance. Like with any other diets we tried this includes a long 6 weeks trial where we change our menu to avoid the ingredient in question. I found gluten is not that difficult to avoid. Unlike dairy gluten mostly can be found in carbs. So essentially I thought I need to start baking my own bread, but then I was putting that off as bread baking involves quite a lengthy process…. however without gluten it is not so lengthy. The trouble with gluten free bread is that is difficult to bake a nice bread, but it does not take that much time to make it since we don’t need to kneed the dough to get the gluten to stretch. So all and all no gluten means hello quick bread!

I have been recently inspired by fresh tomato toast recipes from Half Baked Harvest blog. Fresh tomatoes in summer are just amazing! I don’t have such a big harvest of tomatoes (yet) this year, but I thought it would be lovely to make fresh tomato pizza anyways. I made pizza with cucumber as well (I have started getting them in my green house too!!).Gluten free pizza topped with fresh ingredientsGLUTEN FREE PIZZA TOPPED WITH FRESH INGREDIENTS

Makes two pizzas

(for the base)

  • 600g gluten free flour mix (mine consisted of rice, tapioca and potato starch)
  • 25g xanthan gum
  • 1 tsp garlic salt
  • 2tsp brown sugar
  • 3 tsp baking powder
  • 10g quick acting dry yeast
  • 350ml warm water

(for the fresh tomato pizza)

  • 125g mozzarella cheese, torn into pieces
  • 100g cheddar cheese, grated
  • 1 clove garlic, smashed
  • ground pepper
  • 1 tbsp olive oil
  • 3-5 tomatoes, sliced
  • basil

(for the potato and cucumber pizza)

  • 125g mozzarella cheese, torn into pieces
  • 1 potato, pealed and thinly sliced (I used a grater)
  • salt and pepper to taste
  • 1tbsp olive oil
  • chives, finelly chopped
  • 1-3 cucumbers, sliced

1. Mix together the flour, xanthan gum, garlic salt, sugar, baking powder and yeast in a large bowl. Make a well in the middle. Pour the water into the well and mix everything to form two balls. Roll out the dough onto the baking sheet until it is 5mm thick.Gluten free pizza topped with fresh ingredients 2. To make the cheese and fresh tomato pizza sprinkle the garlic, mozzarella and cheddar cheese over the base. Season it and drizzle some olive oil on top. Bake the pizza in the preheated 200C oven for 20-30min. Once baked top the pizza with sliced tomato and fresh basil.Gluten free pizza topped with fresh ingredients 3. For the potato and cucumber pizza sprinkle the base with mozzarella, potato and chives. Heavily season it (potato requires more salt) and drizzle some olive oil on top. Bake the pizza in the preheated 200C oven for 20-30min. Gluten free pizza topped with fresh ingredients 4. Once baked, top the pizza with cucumber and more chives (and maybe salt if needed). Gluten free pizza topped with fresh ingredientsEnjoy!

Rasa xoxo

0

Watercolour challenge: underwater

Watercolour challenge: underwater paintings inspired my mural walls in FranceLast month while exploring Carhaix-Plougue in France I was surprised to see so many creative wall murals around. These were mostly underwater creatures and seaweed that were appearing not only on the walls. There were few similar artworks displayed on the windows too. Watercolour challenge: underwater paintings inspired my mural walls in France Watercolour challenge: underwater paintings inspired my mural walls in France Watercolour challenge: underwater paintings inspired my mural walls in FranceSo inspired by all this art I decided to paint similar art for my watercolour challenge. It has been refreshing to paint something in one colour and discover different tones in it. I chose bluish grey which was perfect for sea world paintings.Watercolour challenge: underwater paintings inspired my mural walls in France Watercolour challenge: underwater paintings inspired my mural walls in FranceLater I realised that the wall murals in France were actually just the paintings on white paper and then stuck onto the wall. I wonder if they were having an open-air art gallery out there in Carhaix-Plougue…. hmmWatercolour challenge: underwater paintings inspired my mural walls in France Watercolour challenge: underwater paintings inspired my mural walls in FranceWe found this jelly fish at the beach which is soo pretty and obviously made its way to my pages on my notebook. I think sometimes the best inspiration comes from nature itself ;-).Watercolour challenge: underwater paintings inspired my mural walls in France Watercolour challenge: underwater paintings inspired my mural walls in FranceThanks for letting me share!

Rasa xoxo

0

Salad in a crepe

Nicoice salad in a crepe recipeMy love for crepes have reached the next level while in France. I knew crepes can be savoury and sweet but it never crossed my mind that crepes can be served with salad inside it. Woaaaah!!! Sunny times like these require a lot of salad eating I think! I also decided to brave up this time and make crepes 100% buckwheat (we all know pancakes without gluten are just too complicated). But after many failures you eventually get it, buckwheat pancakes need a lot of practice and patience. If you are not up for challenge, regular crepes/pancakes taste just fine ;-).Nicoice salad in a crepe recipeNICOISE SALAD IN A CREPE

(for the crepe)

  • 200g buckwheat flour
  • pinch of salt
  • about 500ml water
  • knob of butter for frying

(for the salad)

  • 3-4 potatoes, pealed and thinly sliced
  • sunflower oil
  • 200g canned tuna in brine
  • 20 green olives, halved
  • 1 cucumber, thinly sliced
  • 1 handful of lettuce, chopped
  • 1 handful cherry tomatoes, quartered
  • 3 eggs, quatered
  • 1 tbsp balsamic vinegar
  • 4 tbsp extra virgin olive oil
  • 1 tsp dijon mustard (we did not use it here, but I think it would taste good)
  • 1 clove of garlic, crushed to paste
  • juice of 1/2 lemon
  • 1 tbsp brown sugar
  • salt and pepper
  • chives, finelly chopped

1. First prep the crepe batter by combining all the ingredients. Start with dry ingredients and then gradually add water into it till the batter reach double cream consistently (be careful not to overmix). Refrigerate for an hour or overnight.

2. Boil the eggs.

3. Fry the potatoes in the frying pan with the generous amount of oil.Nicoice salad in a crepe recipe4. Make the salad. Arrange prepped ingredients ready for serving. Sprinkle with chives and seasoning.Nicoice salad in a crepe recipe5. To make vinaigrette combine vinegar, olive oil, dijon mustard, garlic paste, lemon juice and sugar in the jug. Add salt and pepper to taste. Nicoice salad in a crepe recipe6. Melt the butter in well heated frying pan. Pour one spoonful of crepe batter and immediately start swirling round the pan to get nice even layer. Loosen around the edge with a spatula once the top “dries up”, then turn the crepe and cook for further 1 minute. As you can see its not easy as with lack of gluten these crepes are flaky and therefore easily collapse when flipping. However I am sure lovely crepes can be achieved once you have a bit of practice.Nicoice salad in a crepe recipe7. To serve arrange Nicoise salad on the crepe and scatter more chives on the top.Nicoice salad in a crepe recipeBon Apetitte

Rasa xoxo

0