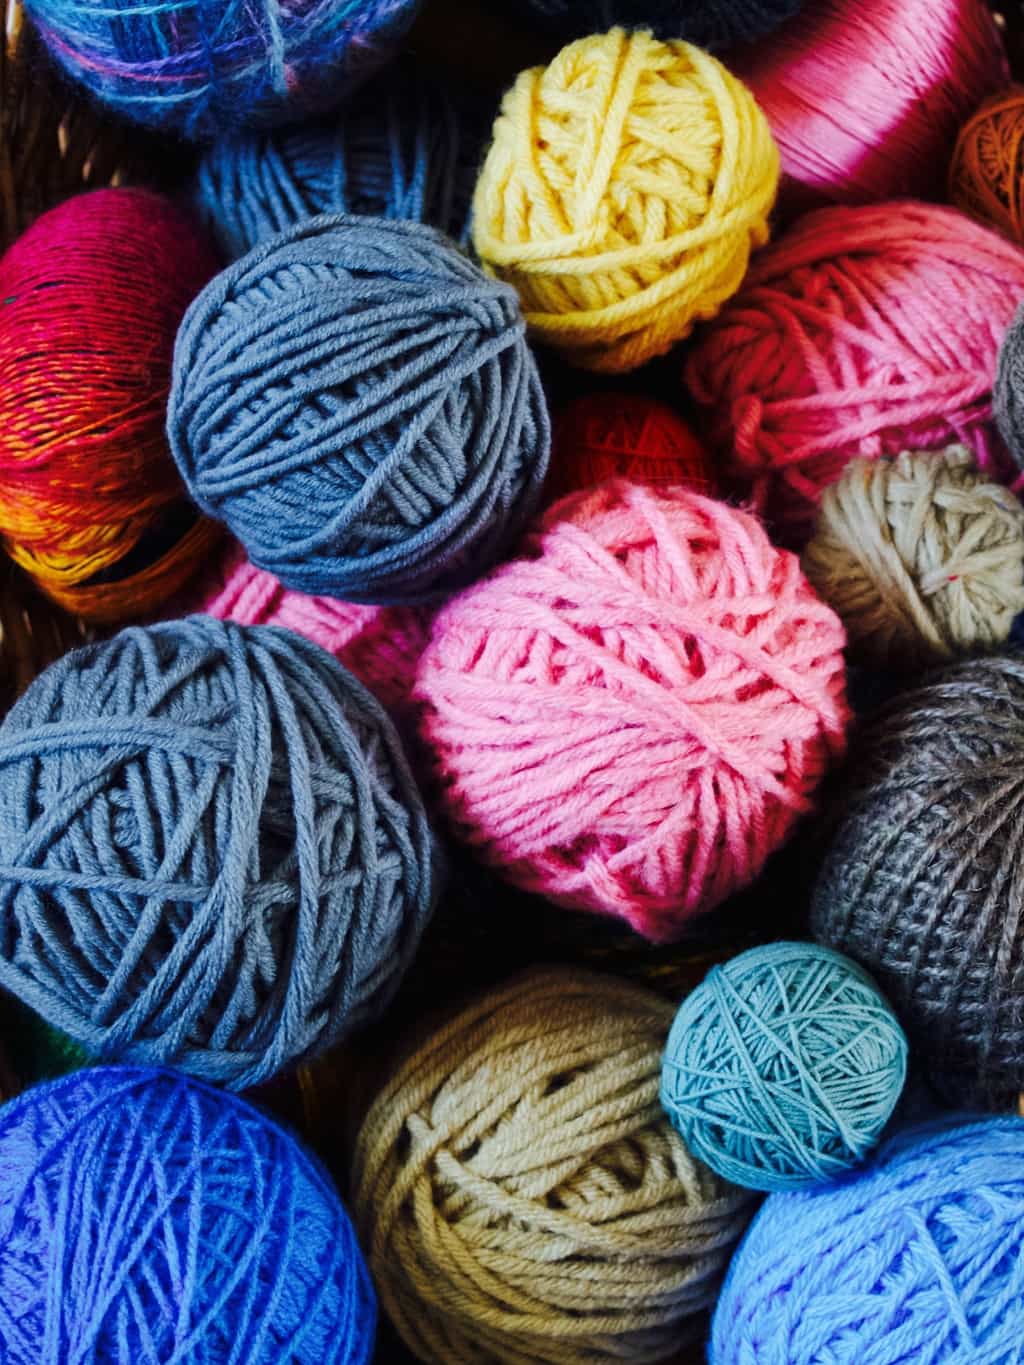
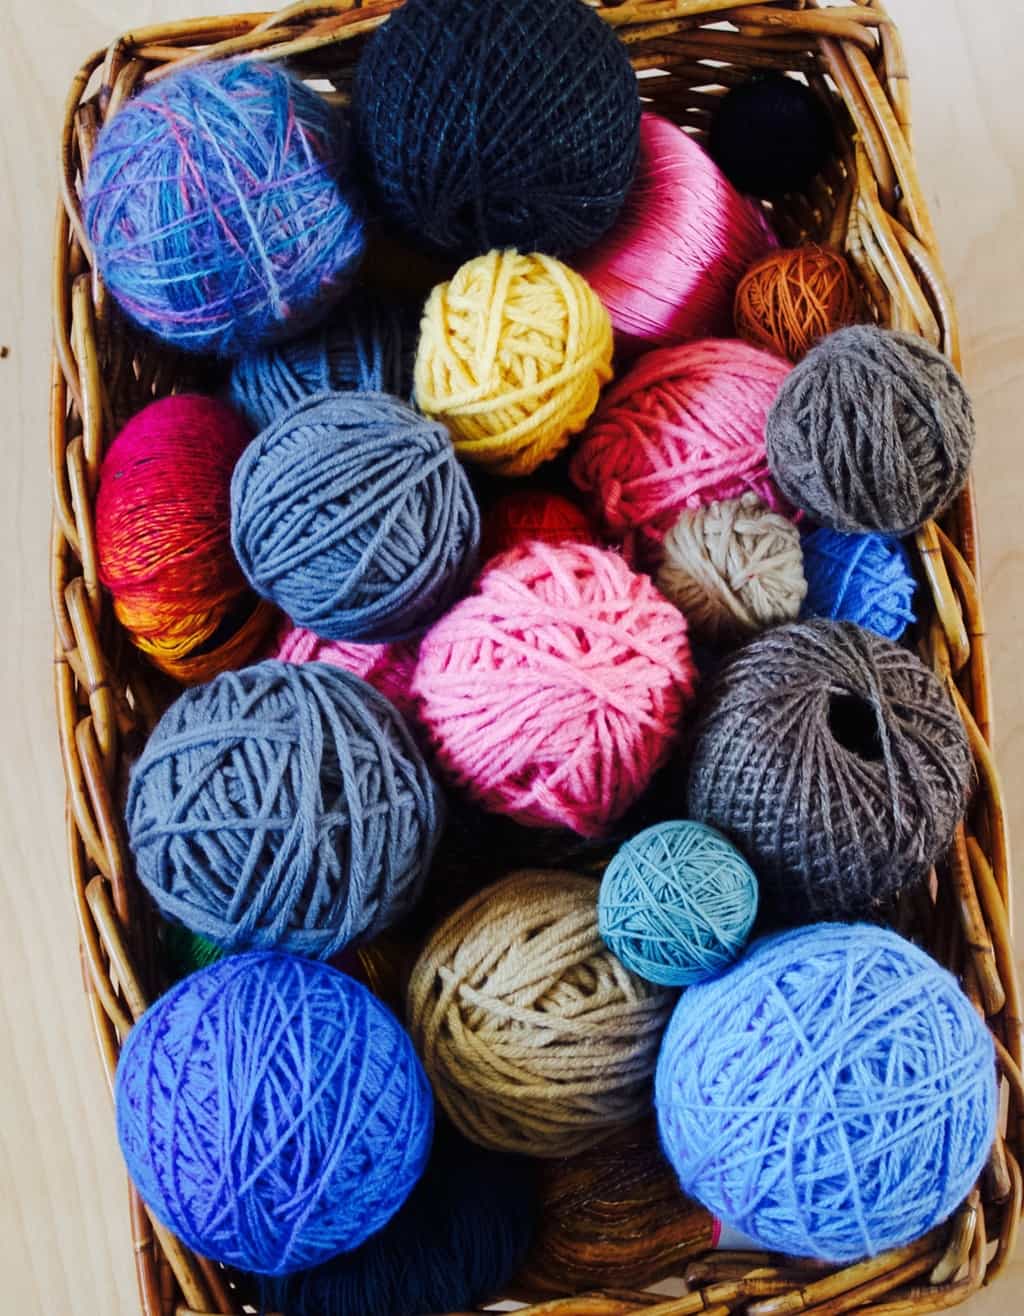
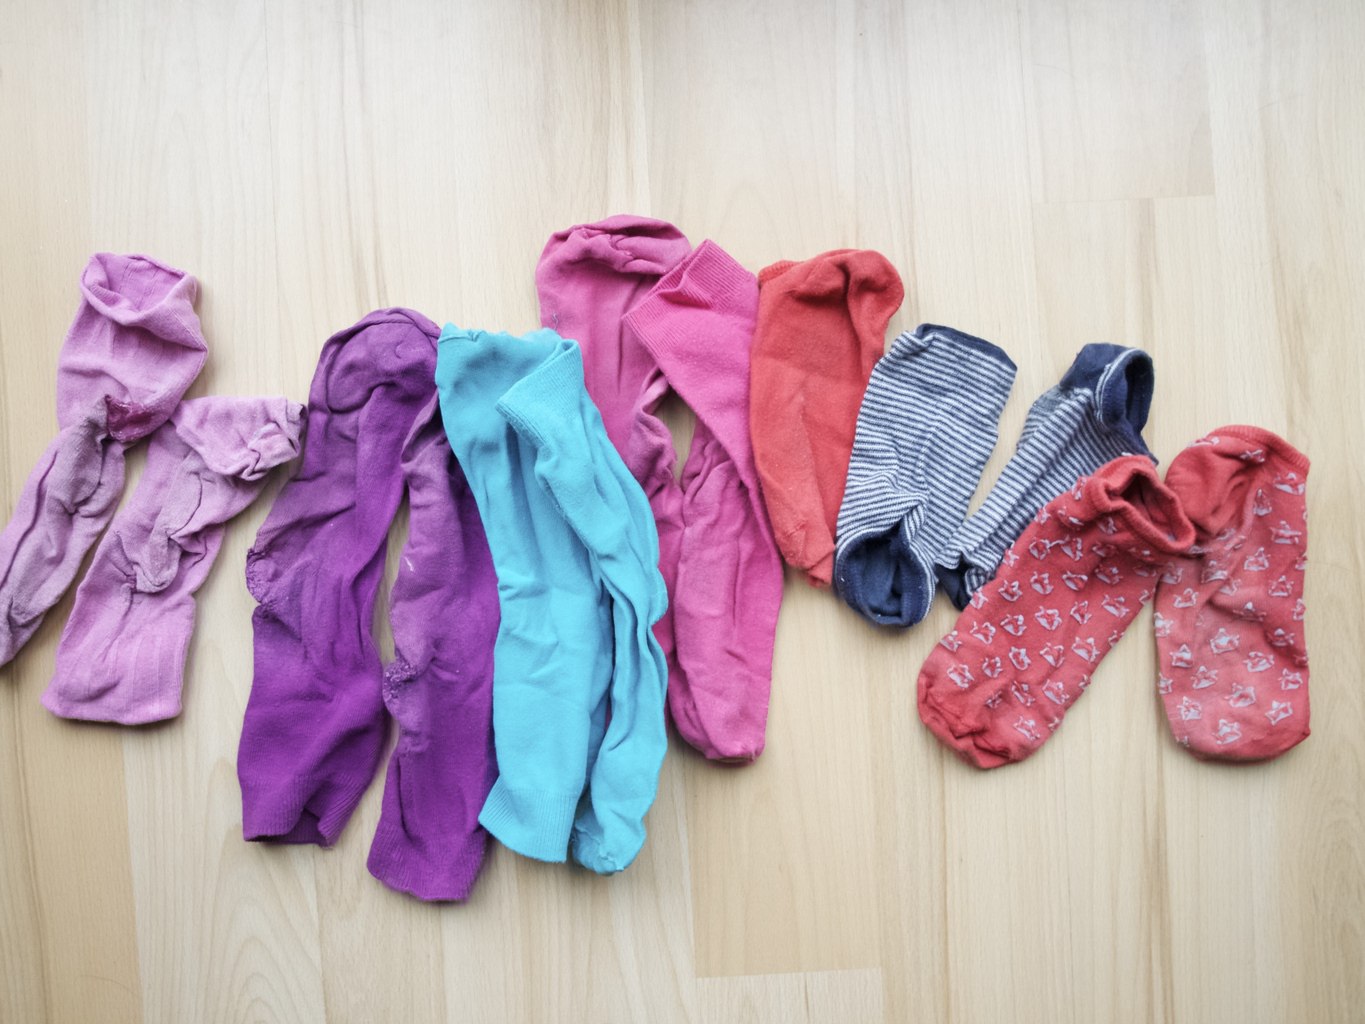
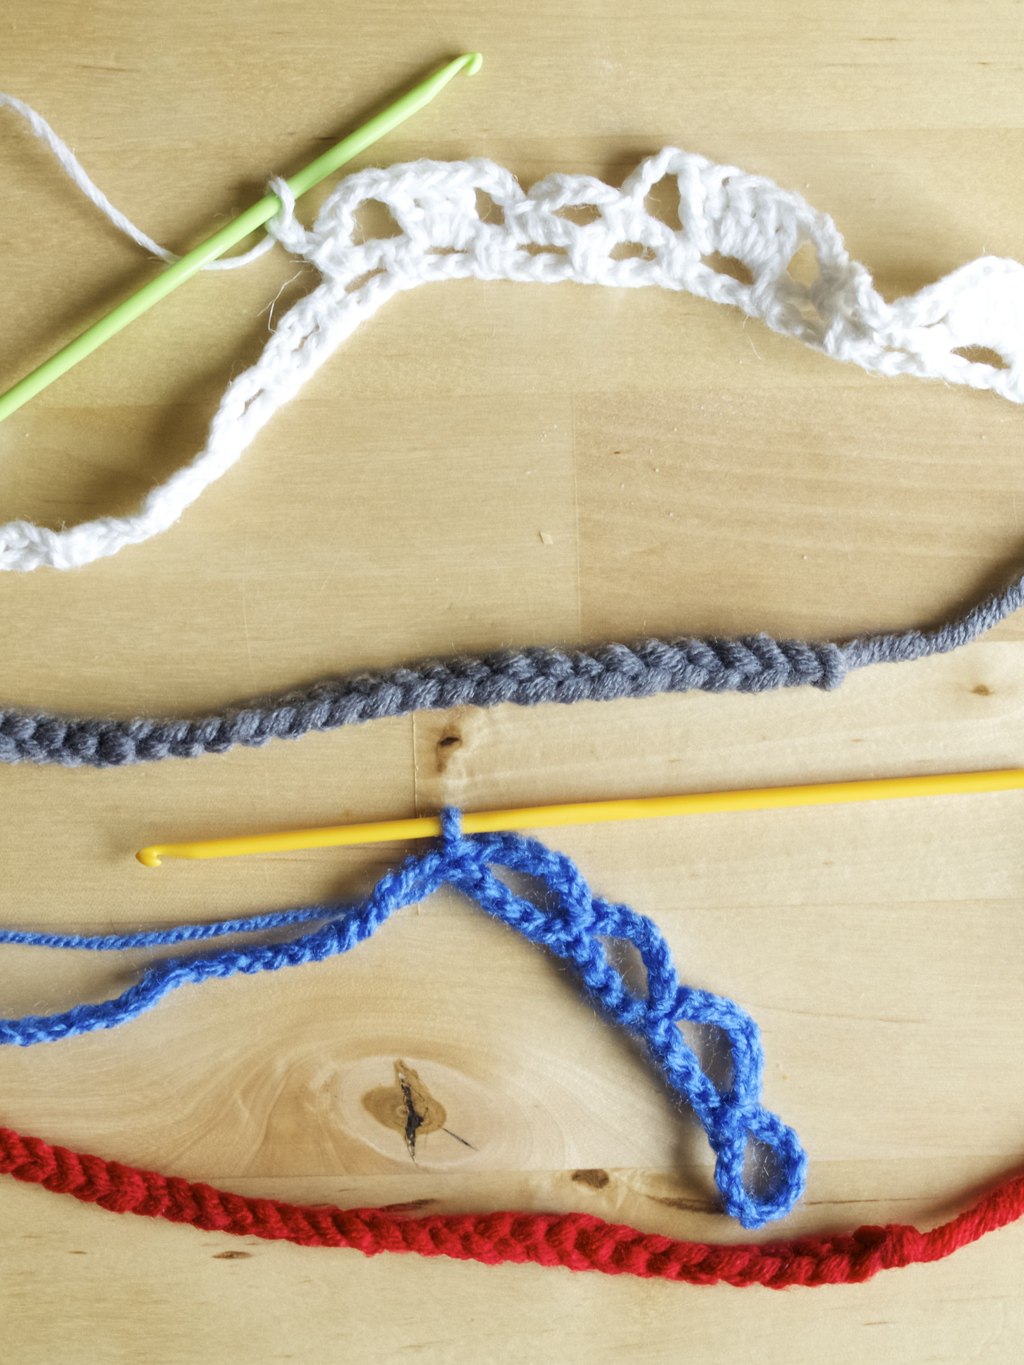
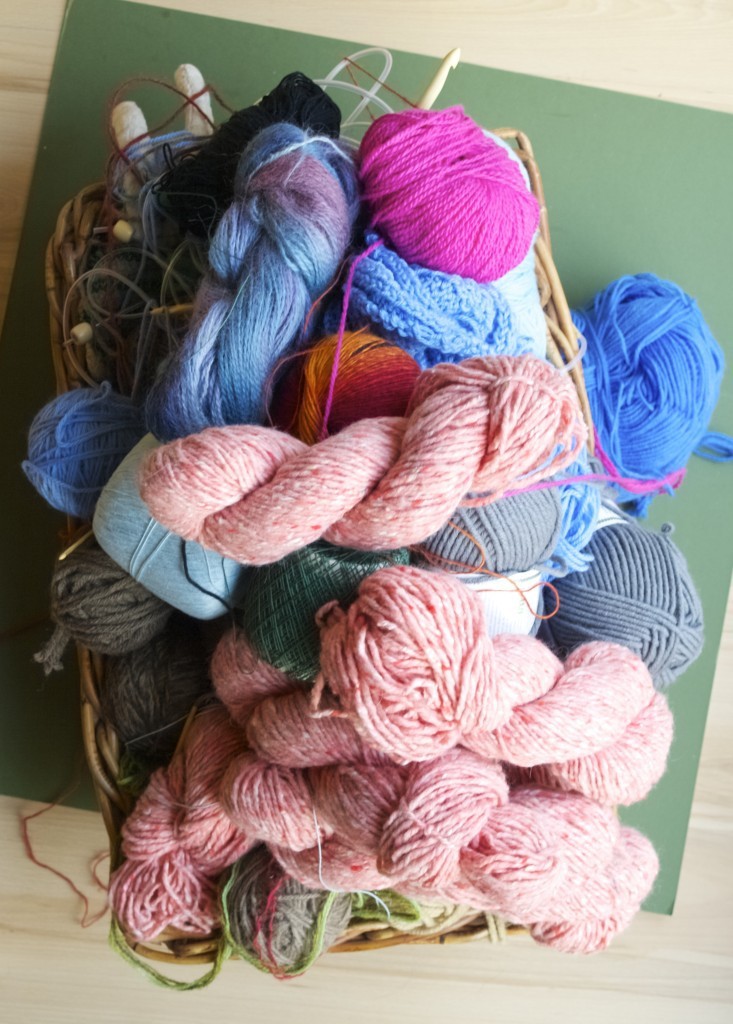
 In the beginning of this year someone have asked me “How to keep all your knitting gear organised, needles, thread etc etc etc?”. Ha ha, you got me there! The pic above is exactly how my yarn looked like yesterday before I tidied it up for this post. Although I am proud to say that my needles and crochet hooks are organised nicely (at least current method is working for me for now).
The thing is when you live in a small rented flat it is difficult to keep your yarn and needles organised. Like every crafter I dream about one day when I do have an actual craft room or a study at least! But for know small space is the reality and here are my few tips to keep organised in situations like this.
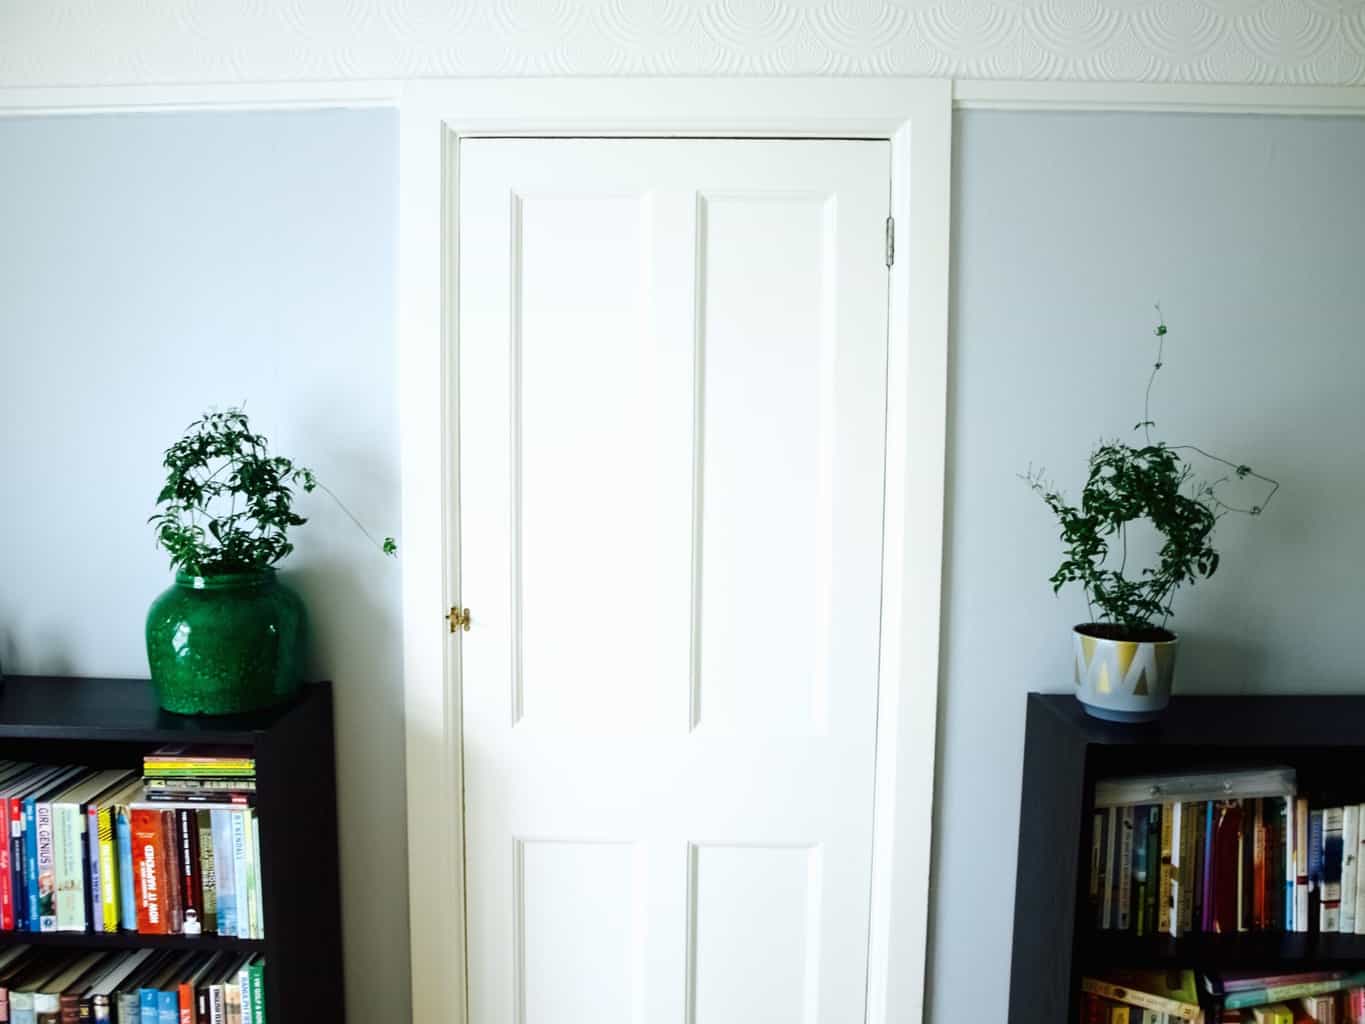
1. Make it as part of your deco! I don’t know about you, but I don’t like a minimal looking home that looks clinically pristine (unless this represents your personality). So if you are someone who knits/crochets why hide it? Yarn and needles can compliment your home!
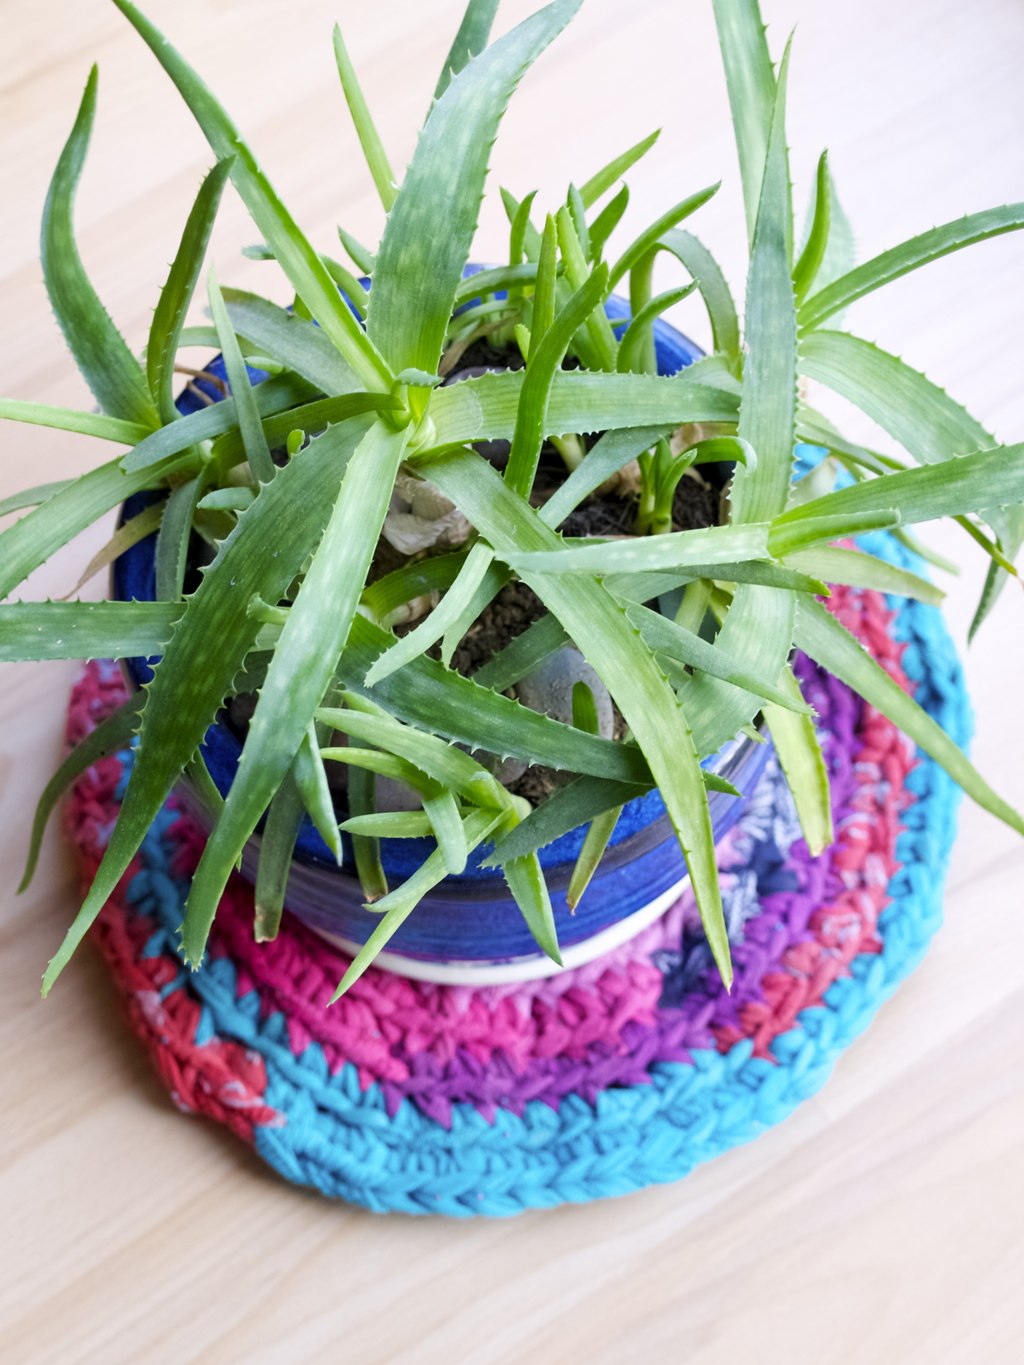
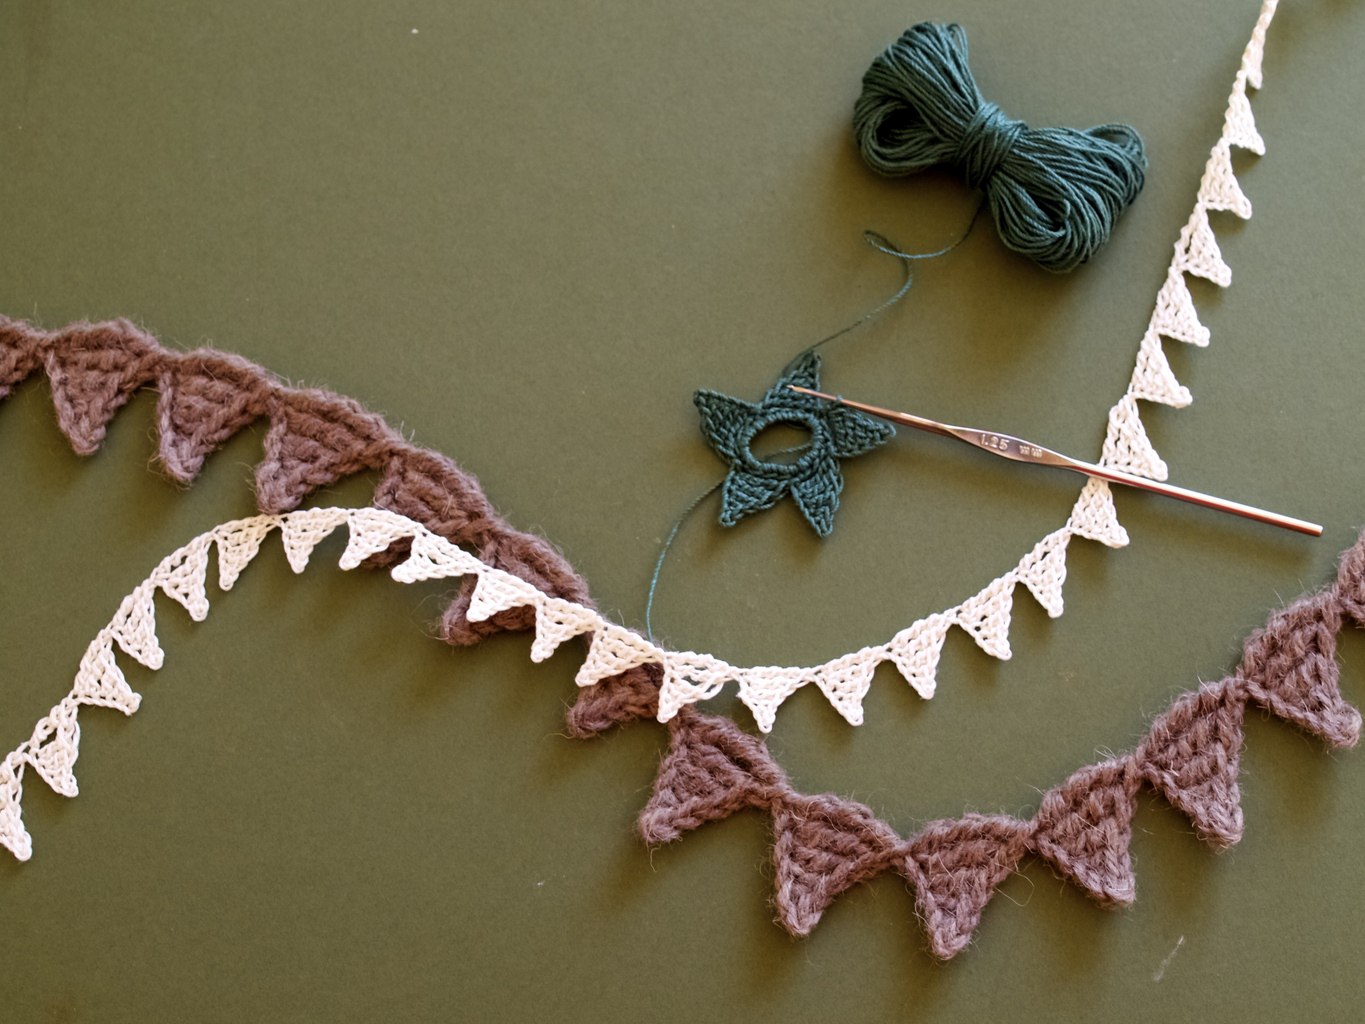
I store my needles and crochet hooks in upcycled jars that are placed on the shelves. These go well with other jars stuffed with dried branches and other pretty stuff I find outdoors. If you have a large selection of needles and stuff then you can split them into jars according to their types and sizes and label them. I don’t have a large selection of needles so I sometimes just wrap my jars with wrapping paper and some ribbon. But when I do have lots and lots of needles then probably I am going to crochet around those jars and label them like this! I have seen some people storing their needles in rolls or pouches. I guess if you are constantly crafting on the move then this is great. But for me that would not work. I like to take only one project at the time when traveling so I only need one size needle/hook and some yarn that I just stuff in my handbag.
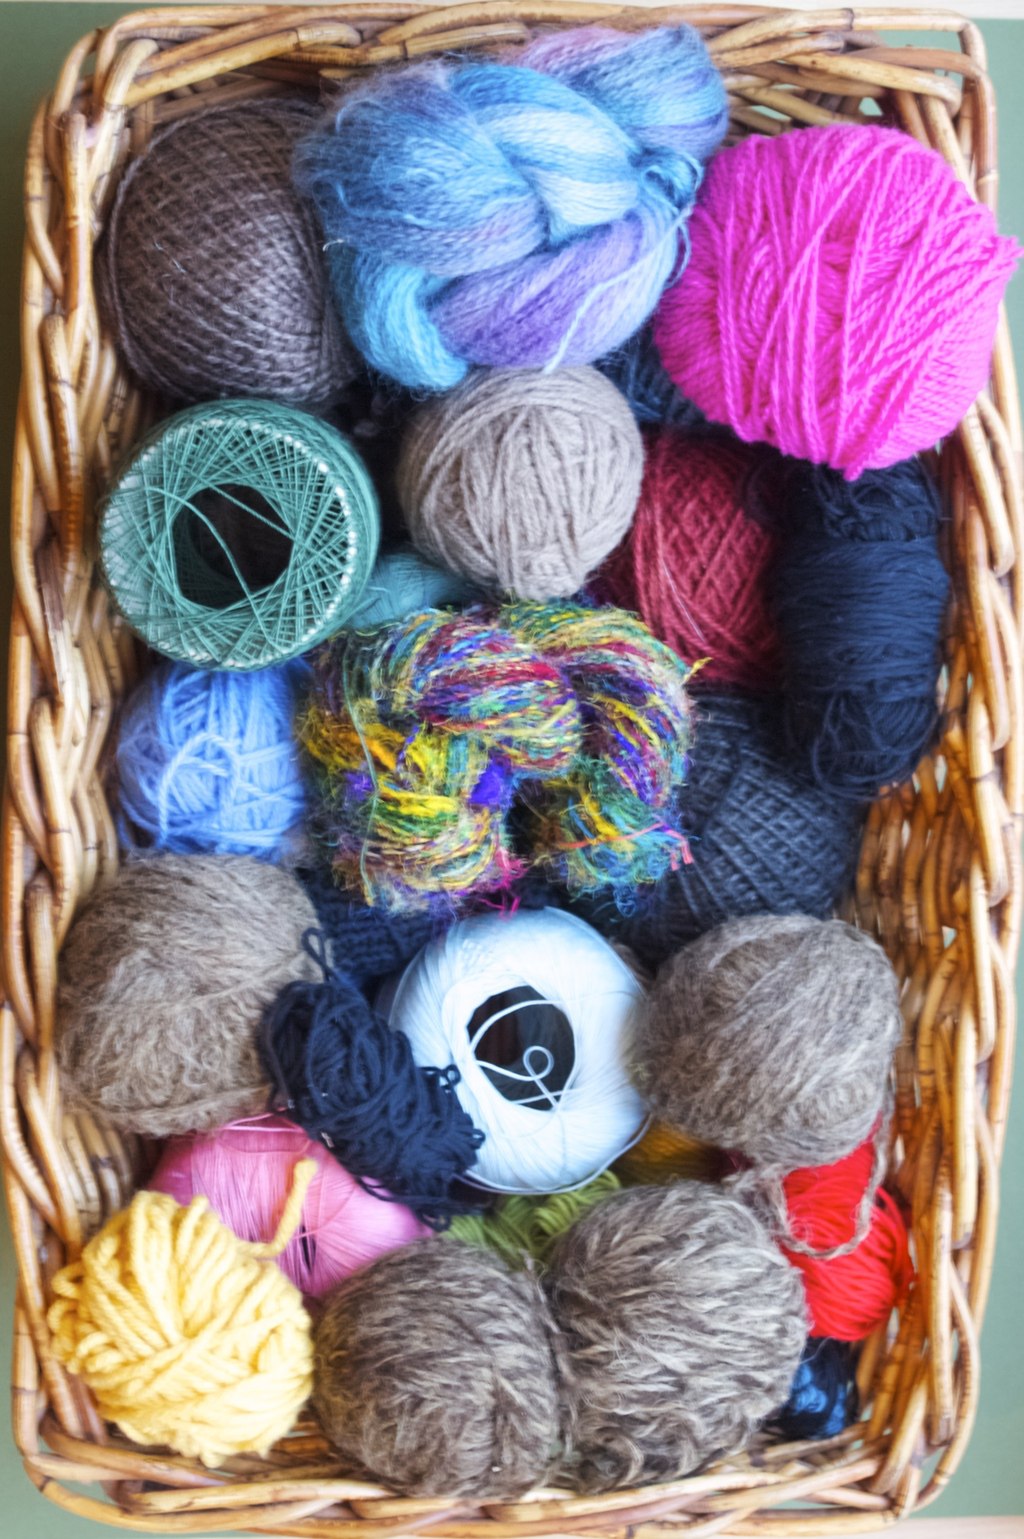
When it comes to yarn I keep it low (see the next tip). I only have one big basket that also sits there in the open (ok, not so open, because we have a very curious cat in the house). Because colourful yarn looks sooo pretty! I have a dream one day when I do actually open my dream cafe I will have a wall full of yarn! If you (unlike me) would like to keep your organised yarn stash in secret then here is a solution for you…You could sooo keep that in your secret closet!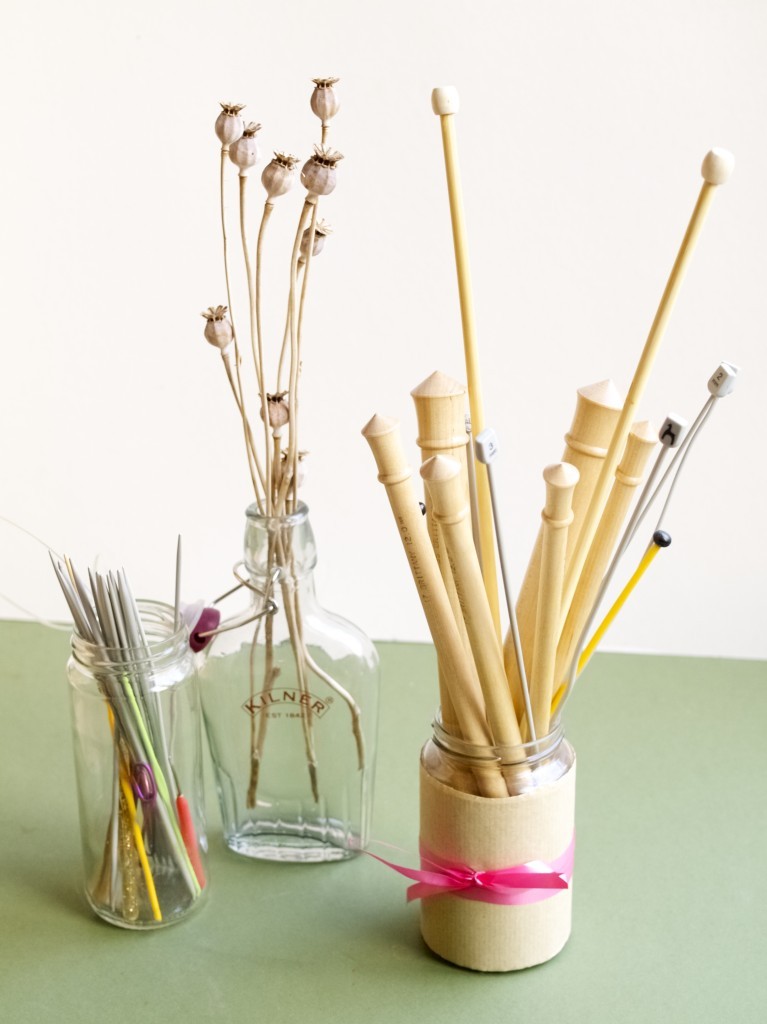 2. Keep it low, I mean your yarn stash! I never saw a point of keeping a large amount of yarn in the house. If I buy a yarn, I always try to think of what I am going to make with it. And even if I think of what to make I try to consider to giving unused yarn a chance!
  3. Prioritise your yarn stash. Go through once in the while (it took me 15ming to reorganise my basket yesterday). See which yarns you are going to use one day (usually itsy-bitsy stuff) and separate that from the yarn you are working with now. Place those unused yarn balls at the bottom while leaving the “current” wool on top!
 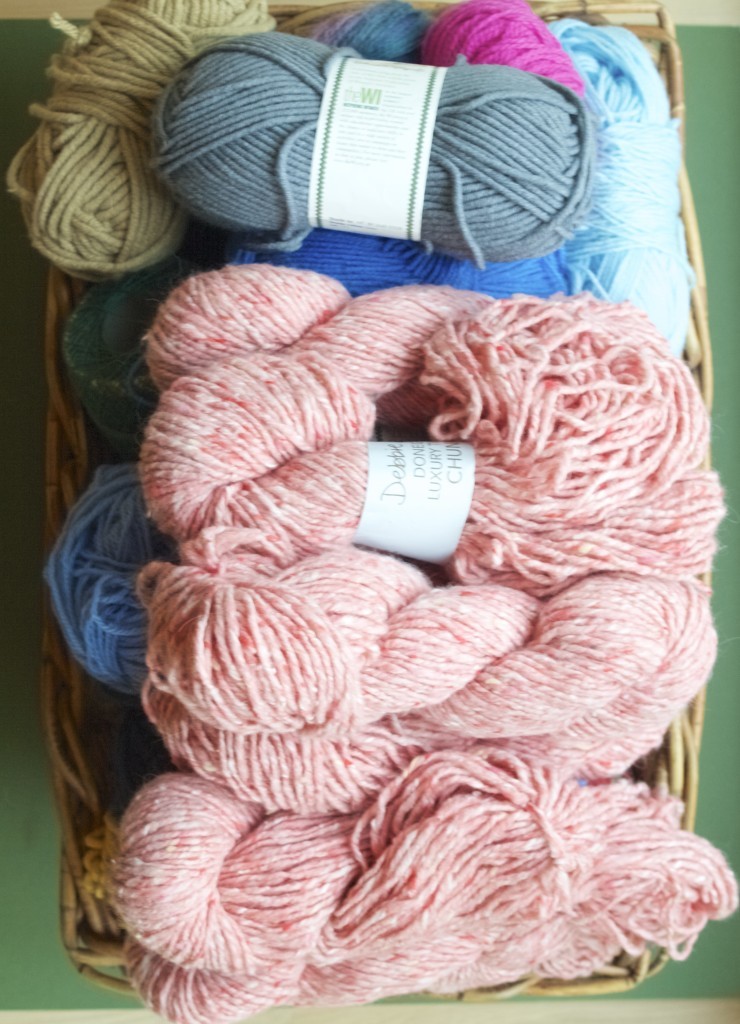 4. Keep records of your yarn stash! This is if you have lots of yarn and keeping them in many separate baskets, crates or boxes. In this case I would try recoding in a notebook or folder with little samples of yarn. I would record their name, colour, size, location (where it is stored) and how much of it you have left. If you prefer a more virtual organising system then you should definitely have a go with Ravelry! I did sign up but never used. But I heard good rumours that it lets you to take pics of your yarn and record it in same way as you would with the folder I mentioned here.
 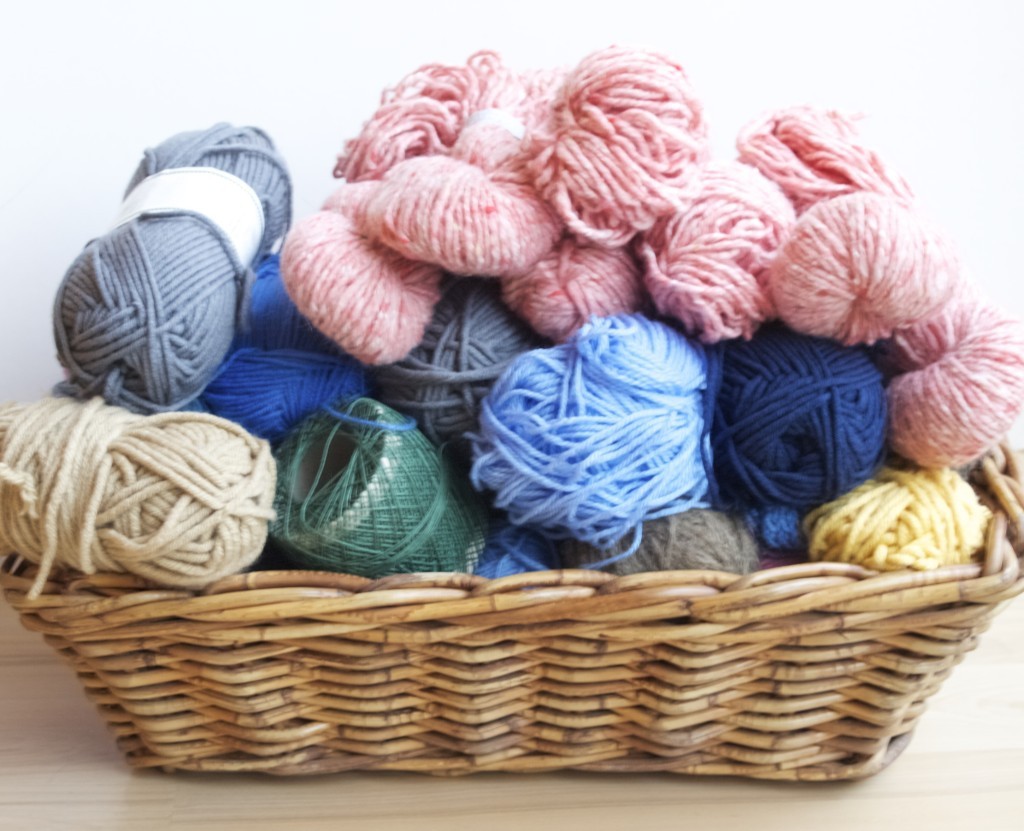 I hope this has been useful!
Rasa xoxo


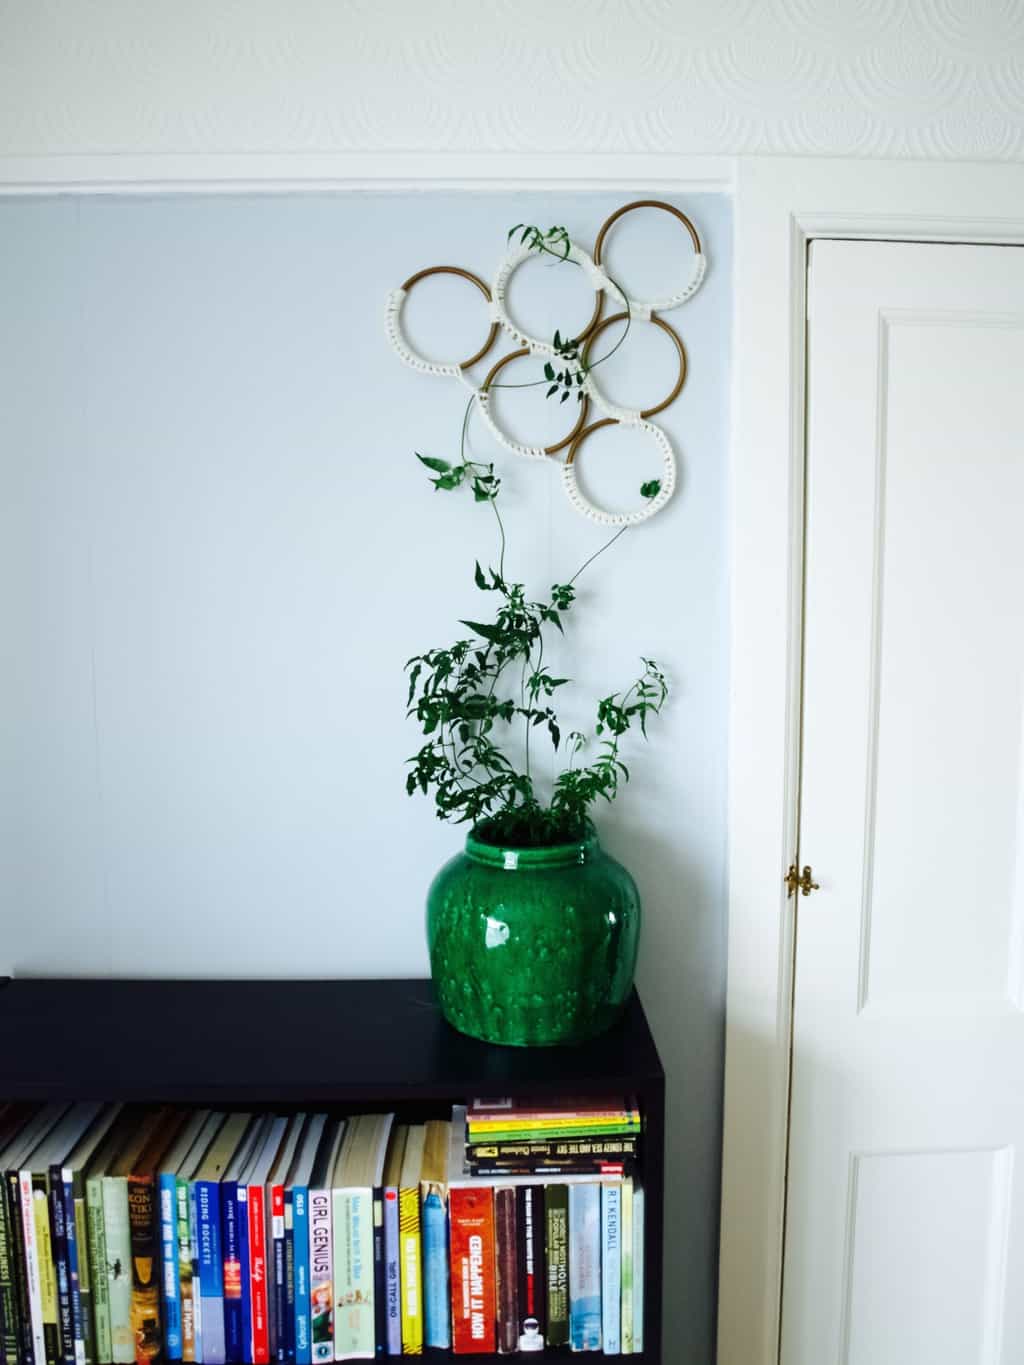
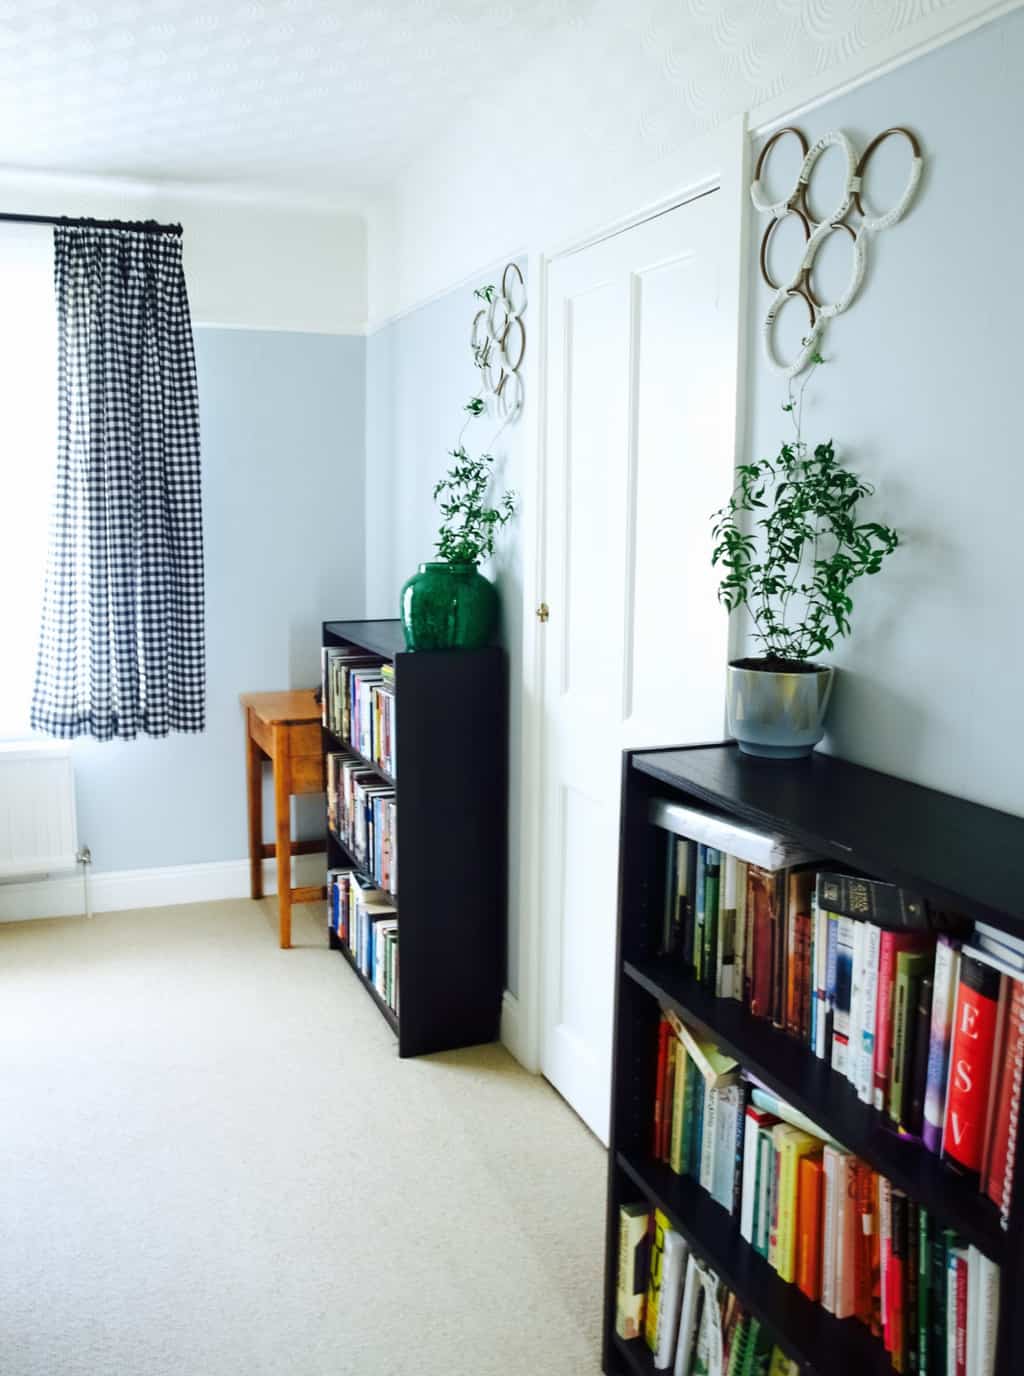
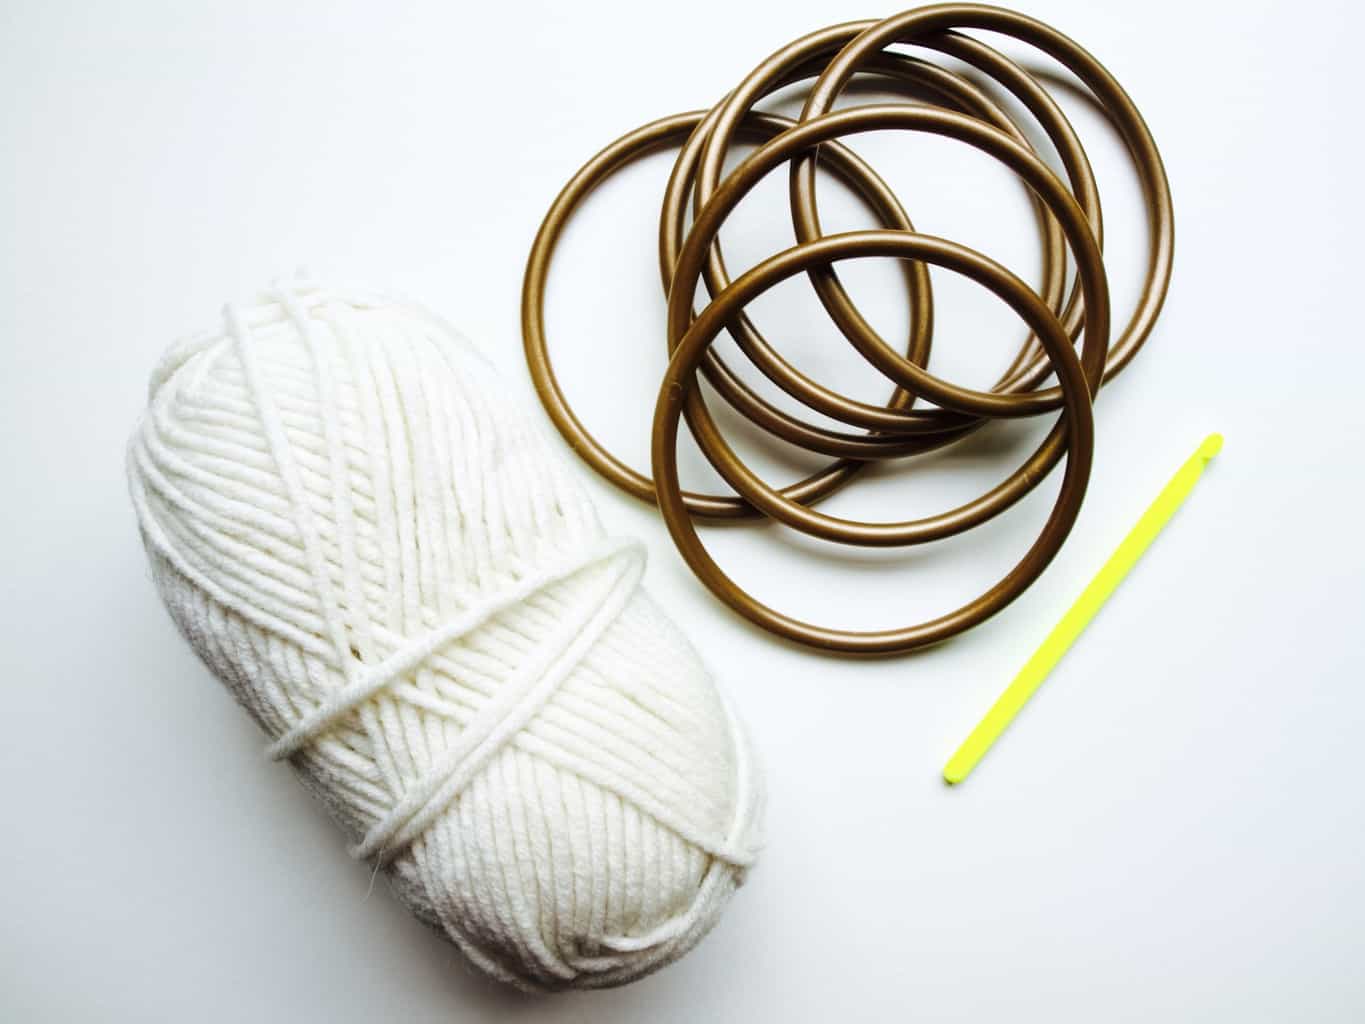
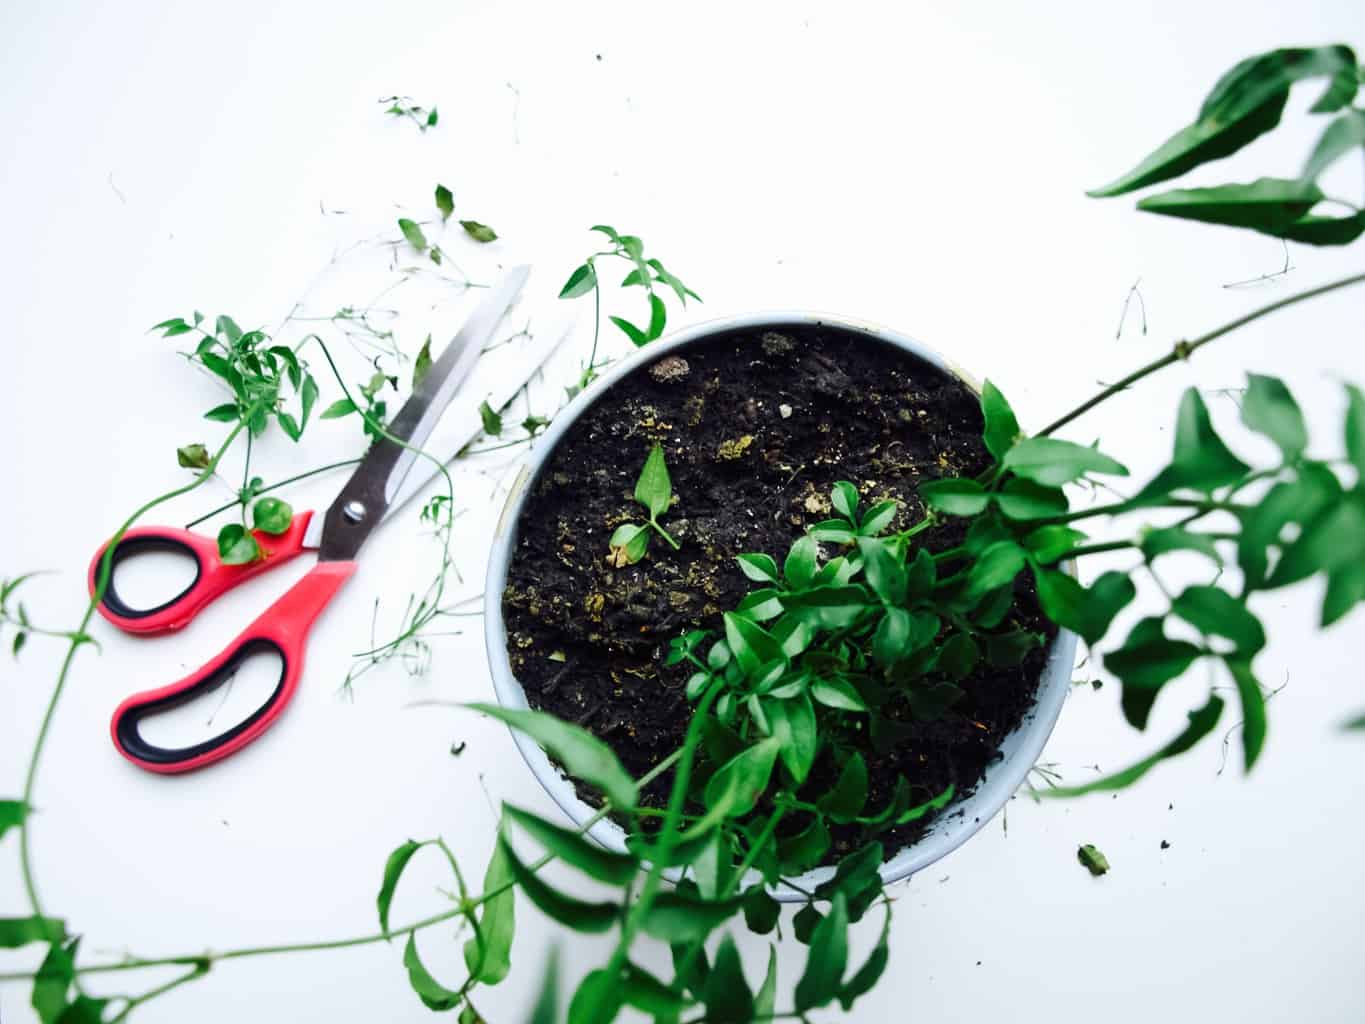
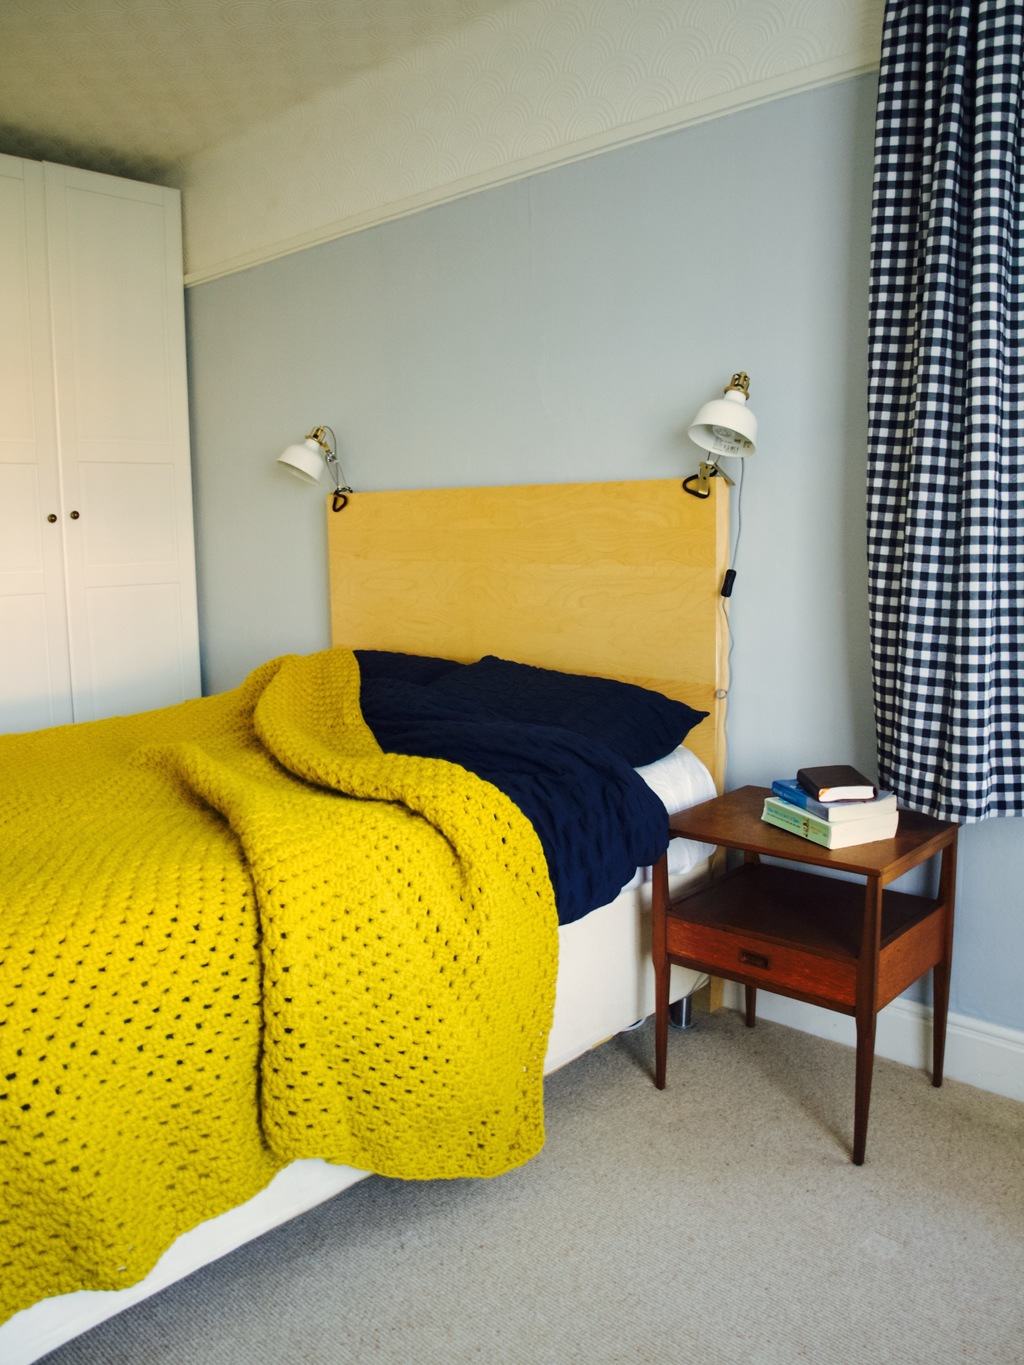
 Do you remember when I made watercolour and embroidery wall art? I did say I was not 100% sure if it went with our bedroom interior and I think I was right (although there is no right and wrong when it comes to deco they say). This artwork never grew on me and it was time to replace it to something else completely different.
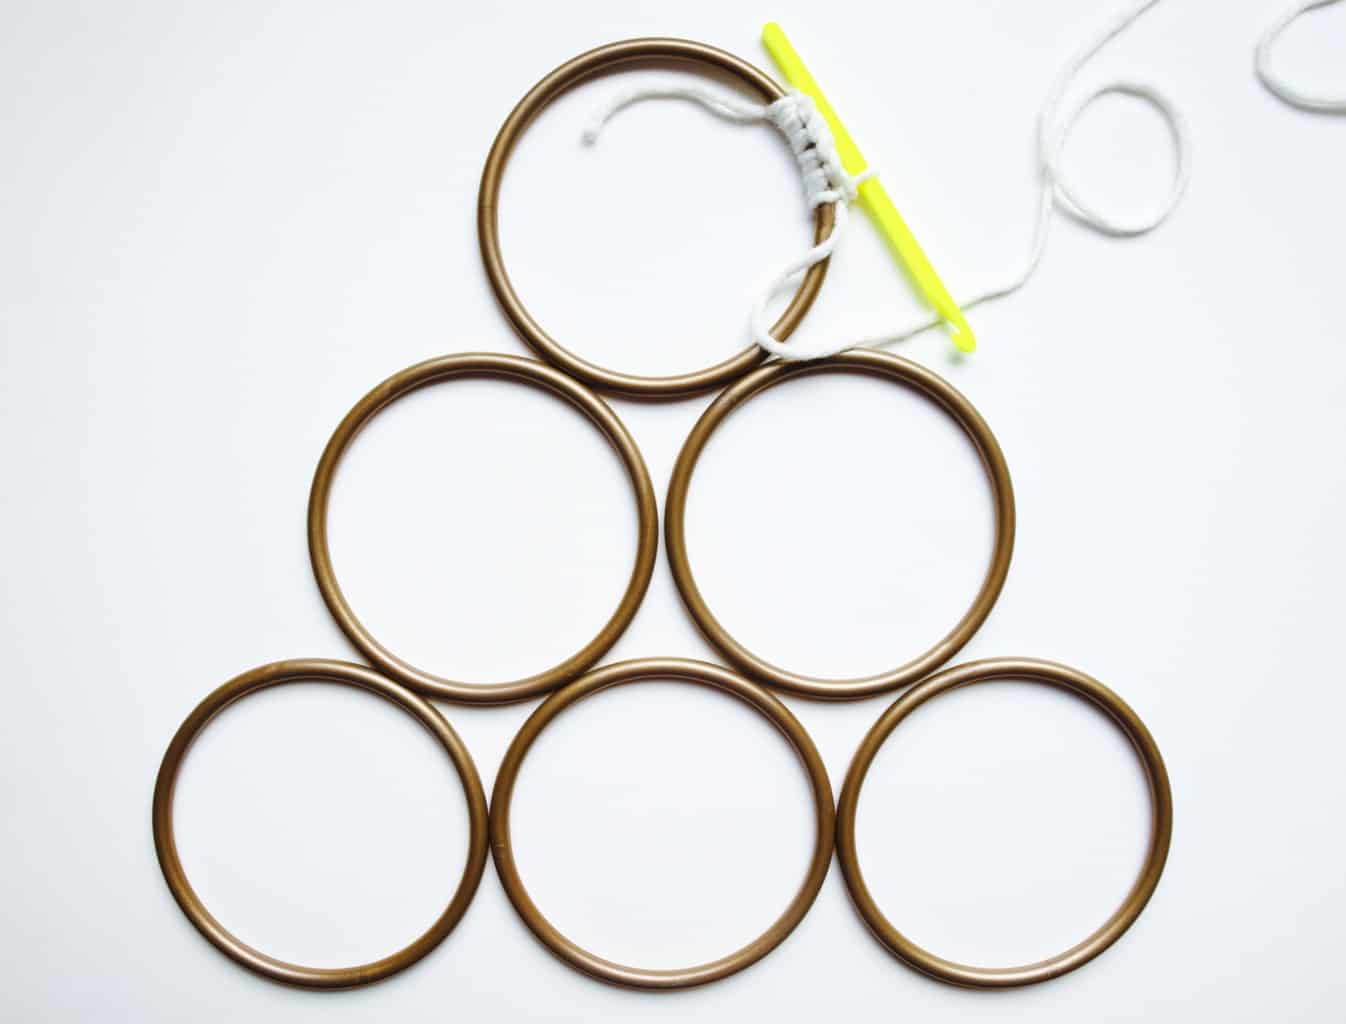
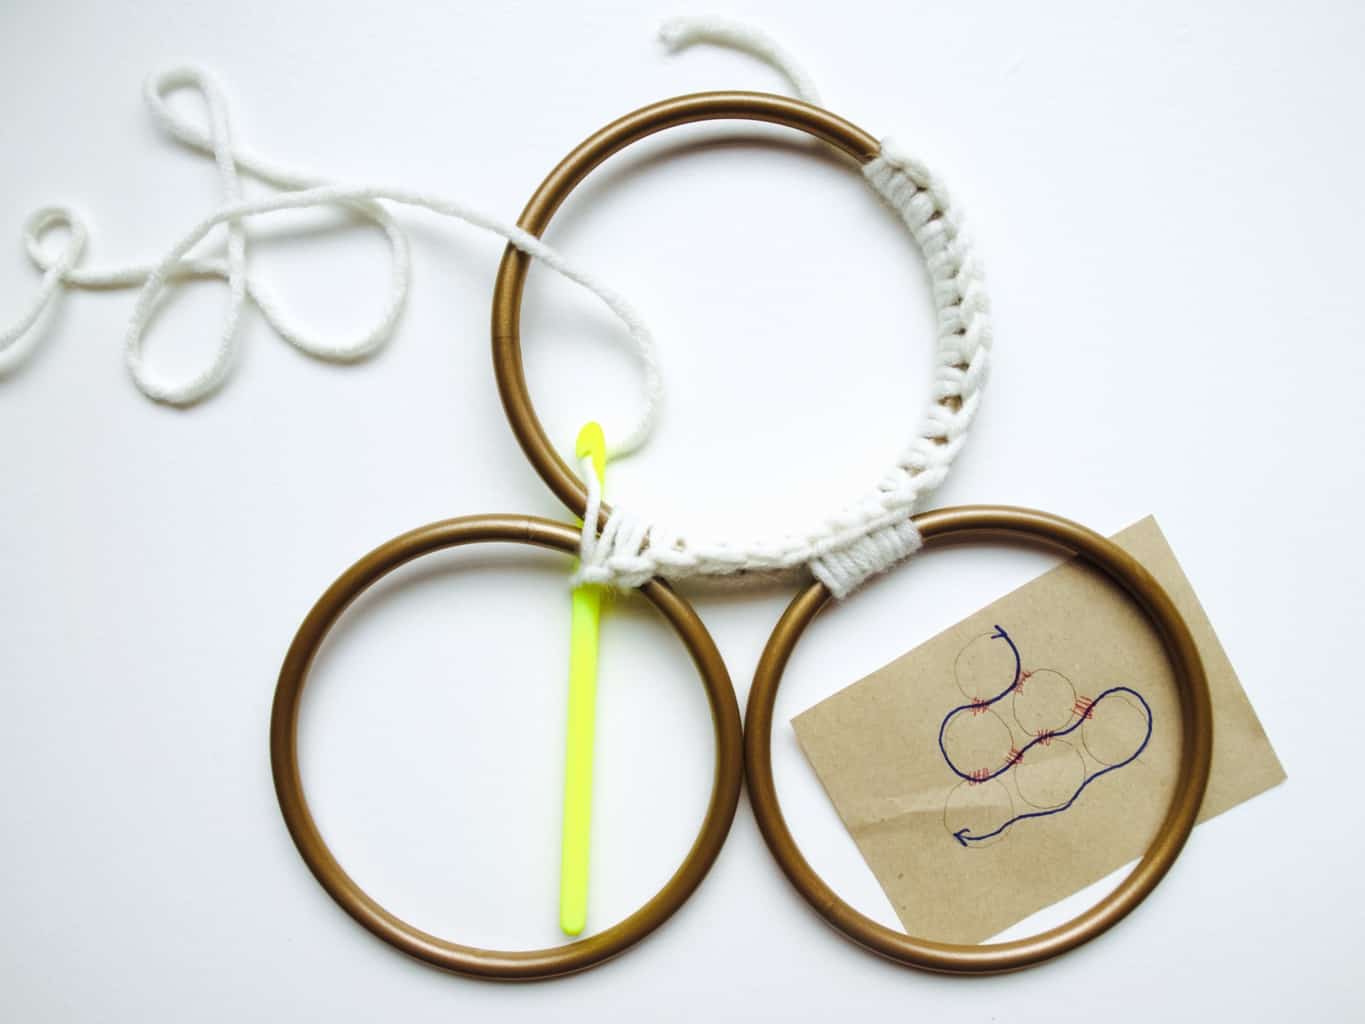
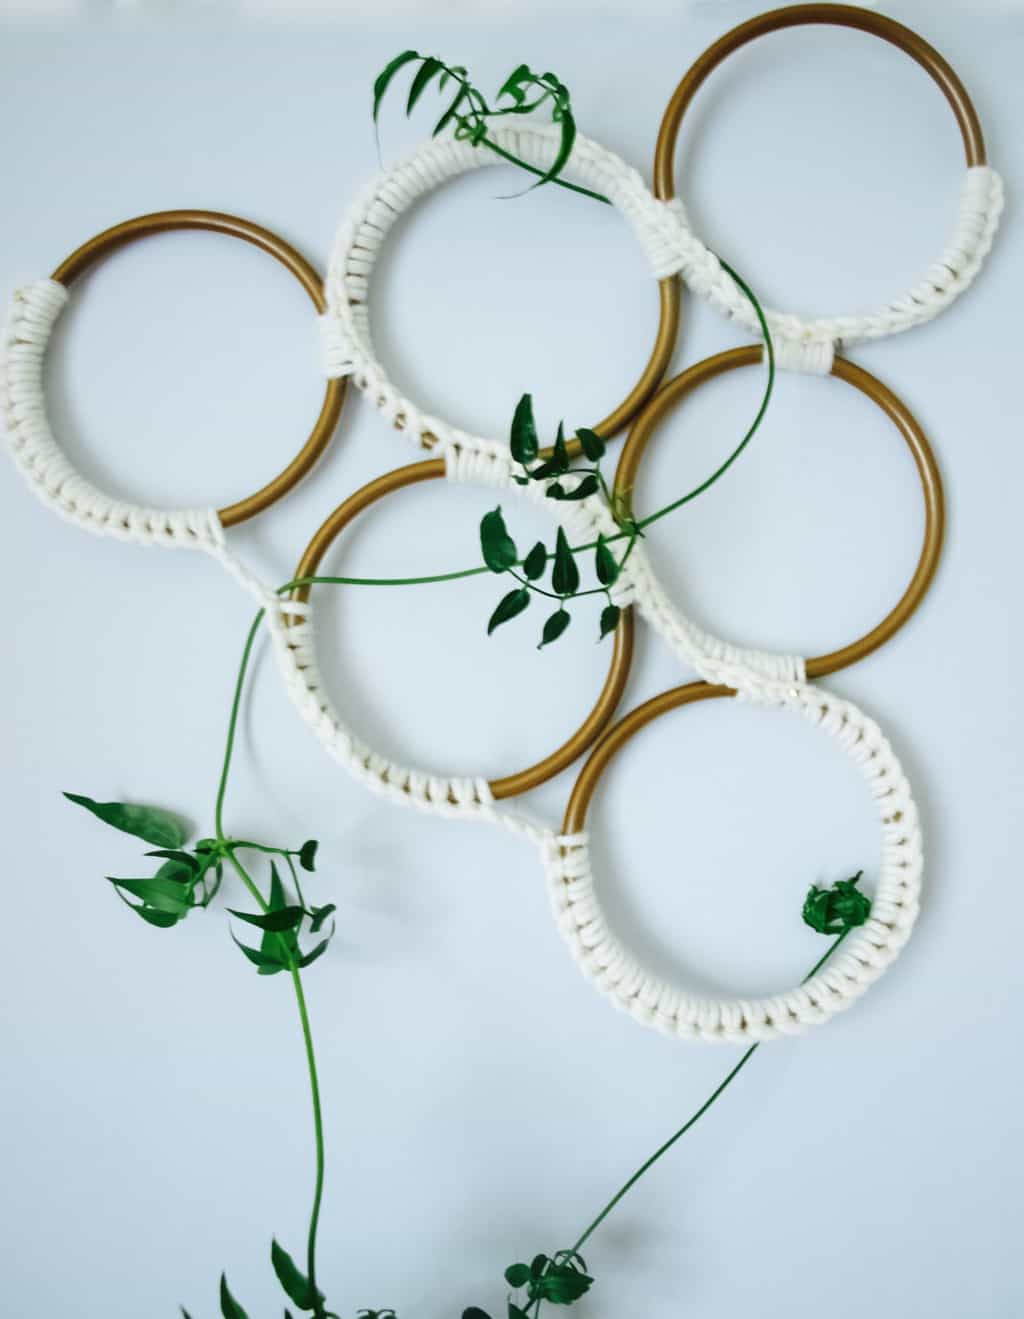
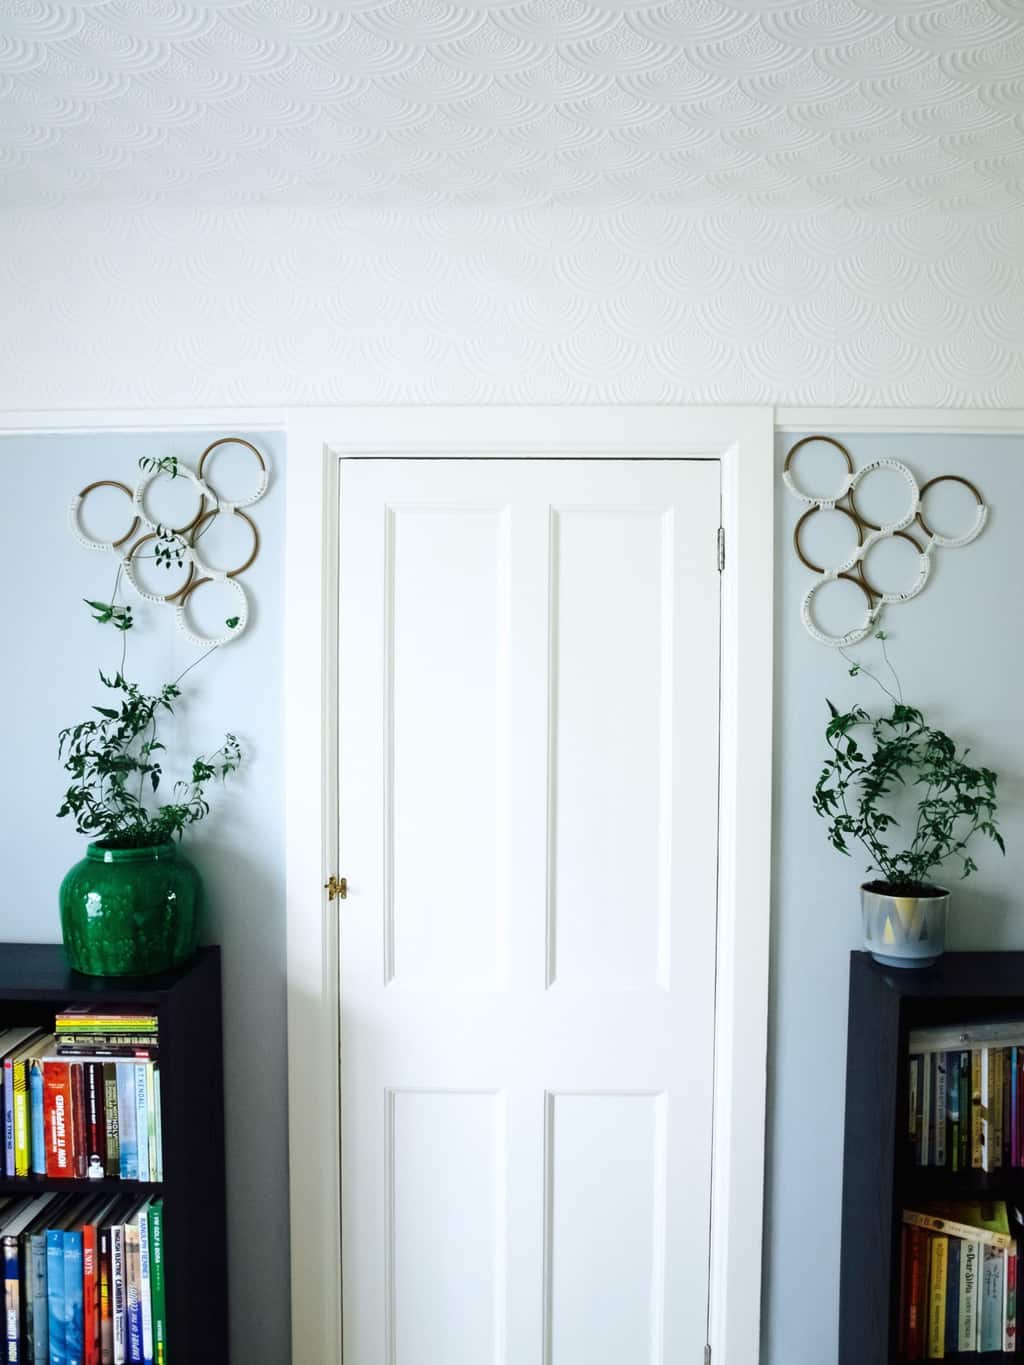
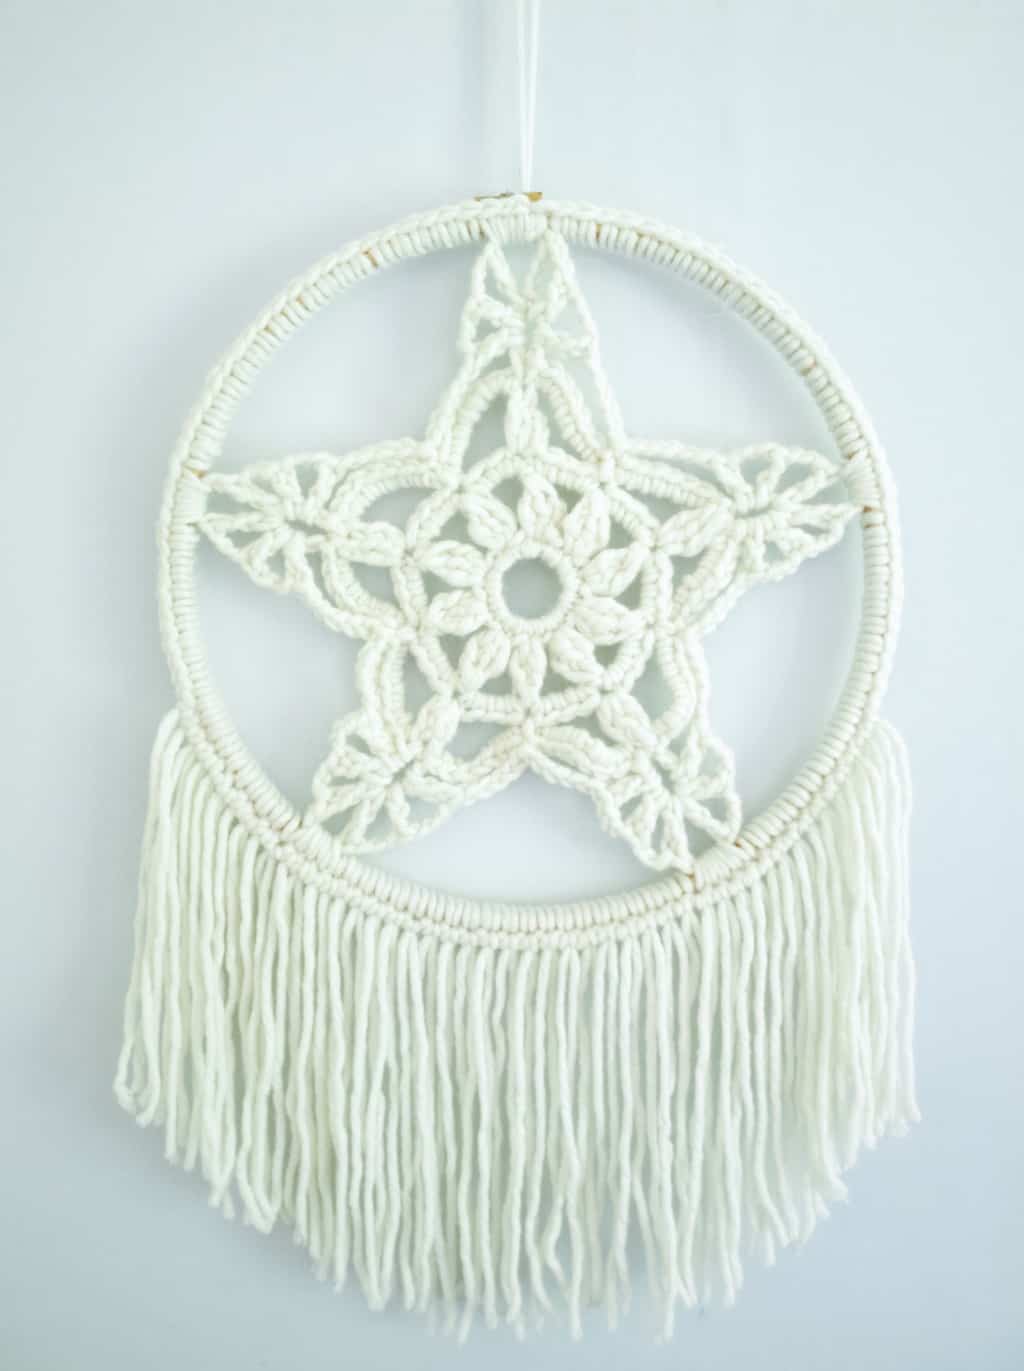 If you are loving this as much as I do then you can access the project here.
 Thanks for letting me share my macrame love ;-)