Top

Archive | Sweet Treats

♥ ♥ ♥ Love is in the air ♥ ♥ ♥

Hey! it’s February already (doesn’t the time flies??) and I thought it is time to gear up for Valentines day. So first things first, I started to get the bakery ready with new bake lines. So pop-in when you are in need for something sweet :-).

Friendly Nettle Bakery

I am still in love with the hot beverages (still very cold outside).  If you are the same, then check out this spiked cinnamon malted drink. I am sure you will love it ;-)

spiked cinnamon malted drink

If sweet is not your thing, then it can be savoury. Check out this steak and ale pies… super yum!

Steak and ale pies

I am thinking to make more soap. I thought these citrusy heart shaped soap bars are great as gifts.

citronella, lemon and orange soap DIY

And finally, if you are planning to bake your own cake then you should defiantly try to make these cake toppers that I have recently created :-).

Heart cake toppers DIY... using washi tape!

Have fun with Valentine’s day preparation!

Rasa xoxo

0

Cherry nut cake

Cherry nut cake recipie

I am currently obsessed with cherries. No, I am not baking or making anything with them. I just like having cherries as a snack with my tea (or hot chocolate). In fact, I can actually go through the whole box in one go!

So today it was my first time when I actually baked a cake with the cherries (first time this year as I baked cherry related cakes before). My favourite part was pitting the stones out. It was exciting to try out this cherry pitter that I have just bought!

Cherry nut cake recipie

The other part (not as fun) that was quite an important part is to grind the hazelnuts. Unfortunately there are no ready ground hazelnut available in shops, so this is the only option. You can of course replace the hazelnuts with the ready ground almonds. But be warned, you will be missing out on this amazing hazelnut flavour. Your choice ;-).

CHERRY NUT CAKE

  • 180g butter, softened
  • 250g sugar
  • 3 eggs
  • 100g plain flour
  • 2tsp baking powder
  • 100g hazelnut, ground
  • 150g ready ground almond
  • 450g cherries, pitted
  • white chocolate for drizzle (optional)
  • icing sugar for dusting (optional)

1. Cream the butter with sugar until pale in colour

2. Gradually add eggs and mix everything together to combine.

3. Add the flour, baking powder and the ground nuts and mix the mixture well.

4. Spoon out the mixture into ready lined baking tin and push the cherries on top.

Cherry nut cake recipie

5. Bake the cake in preheated 180C oven for 50min.

Cherry nut cake recipie

6. Cool the cake down before drizzling melted white chocolate or dusting icing sugar on top.

Cherry nut cake recipie Cherry nut cake recipie

Enjoy!

Rasa xoxo

0

Popcorn for snack

Cherry and Poppyseed PopcornDon’t you just love sometimes to stay in at home, relax, play board games and watch lots of movies. My weekend was just that ;-). I often make a lot of snacks to go along with this type of indoor entreatment. Popcorn is often the most popular one as it is so quick and easy to make. Cherry and poppyseed popcorn is my favourite, simply because it is sweet and on the healthy side (if you exclude all the sugar).

Cherry and Poppyseed Popcorn

CHERRY AND POPPY SEED POPCORN                                                                                                           (serves 2 people)

  • 2 tbsp popping corn
  • 1 tbsp oil
  • 2 tbsp golden syrup
  • 2 tbsp golden sugar
  • 2 tbsp poppy seeds
  • 2 tbsp dried cherries

1. Pop the popcorn. Just drizzle some oil into the sauce pan, drop the popping corn in, cover it, heat the pan and wait :-).

Popping Popcorn :-)

2. Add the rest of the ingredients into the popcorn pot. If the pot is really full (like in the pic above) than place everything into the bigger bowl. Combine everything well.

Have a lovely week

Rasa x

0

Cranberry snowballs

Cranberry snowballs as a gift

Today I would like to share about my favourite childhood sweet, the cranberry snowballs. I just remembered how I used to be able to eat the whole box in one go!  Really missing them as I have not seen them in shops for a while. Turns out that they are very simple and really easy to make so I just made a batch today :).

cranberry snowballs as a gift

CRANBERRY SNOWBALLS

  • 150g fresh cranberries
  • 1 egg white
  • 1 cup icing sugar

1. Wash the cranberries and dry them with paper towel.

2. Meanwhile, lightly whisk the egg white in one bowl and sift icing sugar into another bowl.

3. Dip the cranberries in egg white and then roll them one by one into the icing sugar.

making cranberry snowballs

Place coated cranberries on baking sheet and bake them in 80C oven for 20 min. Leave it to rest for few hours before packaging them.

making cranberry snowballs

Enjoy

Rasa :)

0

Friendly Nettle bakery is open!

Friendly Nettle Bakery

We have been baking for local cafes for half a year now and we really wanted to start baking for you personally…. Well, we are almost there! Check out our new bakery website ;)

Although we are not quite ready to accept payments, that should be sorted really soon! So if you have a get together with the girls or a bigger event or whatever a reason, gives us a shout and we will deliver :).

Friendly Nettle Bakery

Rasa xoxo

0

Friendly Nettle Giveaway! (CLOSED)

crocheting kit with cookies

Have you started a prep for winter? If not, this giveaway competition is for you! One lucky reader will win this crochet a scarf kit box that not only contains everything you need to get started (enough yarn, crochet hook, DIY instructions) but also a selection of freshly baked cookies to get you going ;).

crocheted infinity scarf

To enter for a chance to win, REGISTER and activate (e-mail will be sent after registration) to join our community. One entry per reader please. Giveaway will be open until 1st November, winner will be chosen at random and announced in this article shortly after.

Good luck!

Rasa xox

8

Chilly evenings need cookies with tea!

When it comes to chilly evenings I love dipping cookies into the hot tea and eating them like that. I also like the idea of stocking up on homemade sweet treats so I have it whenever I have a sweet tooth. And cookies are perfect for that! So this is exactly what I did today: baked cookies while experimenting with different flavours. I experimented with pumpkin spice, white chocolate, orange, almond and even matcha. However my favourite combination is peanut butter with jam :b.

PEANUT BUTTER & JAM COOKIES

  • 200g softened butter
  • 160g peanut butter
  • 100g icing sugar
  • 2 eggs
  • 240g plain flour
  • strawberry jelly (for filling)

1. Gradually add all ingredients into the mixing bowl (except the jelly) and mix until everything is combined well.

2. Add the cookie mixture into the piping bag with the wide round nozzle tip. Then pipe small circles on the tray lined with the baking sheet leaving big enough gaps to expand in between.

3. Bake at preheated oven 180C for about 13min.

4. Cool on wire rack then spread some jam on the flat side and join two cookies together.

Enjoy!

Rasa xox

0

A candy day!

Candy

Today I have been making candy as I heard that today is a “Sweetest Day” (not in London, but in some parts of America)… Aww! Although I prefer a biscuit or a cake before eating any sweets, I still love it when it is made with the interesting flavours. This is why making a candy is soo much fun. My favourite one I came up with is vanilla and peppercorn candy. Love the sweet with the bite and this is perfect for halloween trick or treat!

vanilla and peppercorn candy

VANILLA AND PEPPERCORN CANDY

vanilla and peppercorn candy

  • 60ml water
  • 200g sugar
  • 40g golden syrup
  • 1tsp vanilla essence
  • a drop of black food colouring
  • 1 tsp ground black pepper

1. Prepare for everything! line a baking tray with baking paper and spray oil on it. Have the thermometer and lollypop sticks ready (I cut down some wooden skewers for this). Fill frying pan with some cold water and set aside.

2. In small saucepan combine all ingredients except black pepper and place it on the medium heat.

3.  Bring it to boil and insert the thermometer in the pan. Stir occasionally until the sugar reaches 143C temperature.

4. Remove the pan from the heat and immediately dip the bottom of it into the pan filled with cold water, removing quickly before the mixture gets too cold. Stir in black pepper into the candy mixture.

5. Using a table spoon, immediately spoon out pools of syrup on prepared baking sheet. Lay one end of the lollypop stick in each pool of syrup while still soft and push gently to secure in place.Let cool at room temperature until completely set, about 2 hours.

Have a sweet day!

Rasa xox

2

Butternut squash cupcakes

Butternut squash cupcakes with cinnamon icing

Ok, I have a story! Do you remember I was baking autumn themed cupcakes sometime last year at “Canvas” event? And if you were there than you should remember pumpkin cupcakes that were everyone’s favourites!? Well… they were not a pumpkin cupcakes, they were actually butternut squash cupcakes. You see in the America it seems that pumpkin is much loved for the sweet puddings, but here in UK pumpkin is so hard to find in stores (except Halloween season of course). So I used butternut squash as a substitute! I think it worked well and in fact I grew one in my garden this year (in picture bellow together with my Halloween decorations).

butternut squash in halloween

BUTTERNUT SQUASH CUPCAKES

Makes 12 cupcakes

(for the base)

  • 225g brown caster sugar
  • 115g butter (softened)
  • 2 eggs
  • 215g butternut squash (cored, pealed, cooked and pureed)
  • 125g flour
  • 2 tsp baking powder
  • pinch of salt
  • 1tsp ground cinnamon
  • 1tsp ground ginger
  • 1tsp ground nutmeg

(for the frosting)

  • 200g soft cheese
  • 50g butter (softened)
  • 400g icing sugar
  • 2tsp ground cinnamon

butternut squash

1. Cream sugar with butter and gradually combine it with the rest of the ingredients.

2. Spoon the mixture into prepared muffin pan.

butternut squash cupcakes

3. Bake in preheated 180C oven for 20-25min.

butternut squash cupcakes

4. Meanwhile make a frosting by mixing all ingredients into one (butter and cream cheese first).

5. When the cupcakes are baked and cooled, pipe out the frosting in the swirl motion so they look like roses… aww

butternut squash cupcakes with cinnamon cing

Enjoy autumn!

Rasa :)

1

Ghost meringue cake

halloween cake topper

As Halloween is fast approaching I thought I will bake Beetroot chocolate meringue cake for today’s knitting group meet up. I made the meringues on the cake look like little ghost! The base recipe is adopted from “A Tiny Bit Marvellous” by Dawn French (surprisingly not a recipe book, but a novel).

beetroots

BEETROOT CHOCOLATE MERINGUE CAKE

(for the base)

  • 180g caster sugar
  • 3 eggs
  • 180g plain flour
  • 180g ground almonds
  • 50g cocoa powder
  • 1 tsp baking powder
  • pinch of salt
  • 200ml yogurt
  • 1tsp vanilla extract
  • 200g raw, peeled and finely grated beetroot

(for the meringue)

  • 100g egg whites (about 3)
  • pinch of citric acid, tartar or 1tsp of lemon juice
  • 125g icing sugar
  • 6g dark chocolate

1. Whisk sugar with eggs until light and slightly fluffy.

2. Mix the egg mixture with the rest of the ingredients and combine well.

beetroot chocolate meringue cake

3. Pour the mixture into the prepared baking tin and bake it for 30min in the preheated 180C oven.

beetroot chocolate cake mix

4. Meanwhile whisk the egg whites with a pinch of citric acid until it forms soft peeks. Slowly add sugar and combine it carefully.

5. Using  a piping bag pipe out the meringues onto the half baked cake. Continue baking for another 30 min.

beetroot chocolate meringue cake

6. Once the cake is cooled, melt some chocolate and carefully “paint” the eyes onto the meringues with the toothpick.

ghost meringues on cake

Enjoy!

Rasa ;)

1

Passionfruit and coconut tart

passionfruit & Coconut tart

Recently I have baked passionfruit cheesecake for one of the cafes I supply to and I had too many passion-fruits left. As I really hate food waste I kept thinking what else I can do with passion-fruits until I remembered this passionfruit and coconut cake that I tasted few years ago (baked by my secret competitors… ghhr). I could not get over the taste of it so it wasn’t too difficult to recreate the recipe. It is soo easy to make and you don’t have to have it as a tart: bake the filling on it’s own!

passionfruit and coconut tart slice

PASSIONFRUIT AND COCONUT TART

For the sweet pastry:

  • 85g unsalted butter
  • 50g caster sugar
  • 1 egg
  • 200g flour

For the filling:

  • 4 eggs
  • 165g caster sugar
  • 330ml rich and creamy coconut milk (dunn’ river is good)
  • 125 double cream
  • 80g desiccated coconut
  • 75g plain flour
  • 50g almond flakes
  • 125ml passionfruit pulp (7-9 small passion fruits)
  • 1tbsp lemon juice
  1. Place the butter and sugar in mixing bowl and beat them together until they are light and fluffy. Add the egg to the butter mixture and mix it until combined. Then add the flour gradually and mix until it looks like smooth dough.
  2. Place the pastry in the refrigerator for 30-60 minutes to rest. (or into freezer if you want it to be used another time)
  3. Meanwhile make the filling. Place the eggs and sugar together in a mixing bowl and beat them lightly. Combine the egg mixture with the rest of the ingredients, except icing sugar. Set the mixture aside until ready to use.
  4. Remove the pastry from the fridge. Roll it out on a well floured surface until it is around .5-.75mm thick. Lightly grease 30cm tart tin (or line it with baking paper). Line the tart tin with the pastry. Place the lined tin in the freezer for 15 minutes or in the fridge for 30 minutes to rest.
  5. Preheat the oven to 180°C.
  6. Pour the filling into the pastry and place it in the preheated oven and cook it for 45-55 minutes. The filling will be golden brown, risen and firm when the tart is ready.
  7. Remove the tart from the oven and allow it to cool for 10 minutes. Remove the tart carefully from the tin.

passionfruit & coconut tart slice

Enjoy!

Rasa :)

2

Cake decorating

IMG_4530

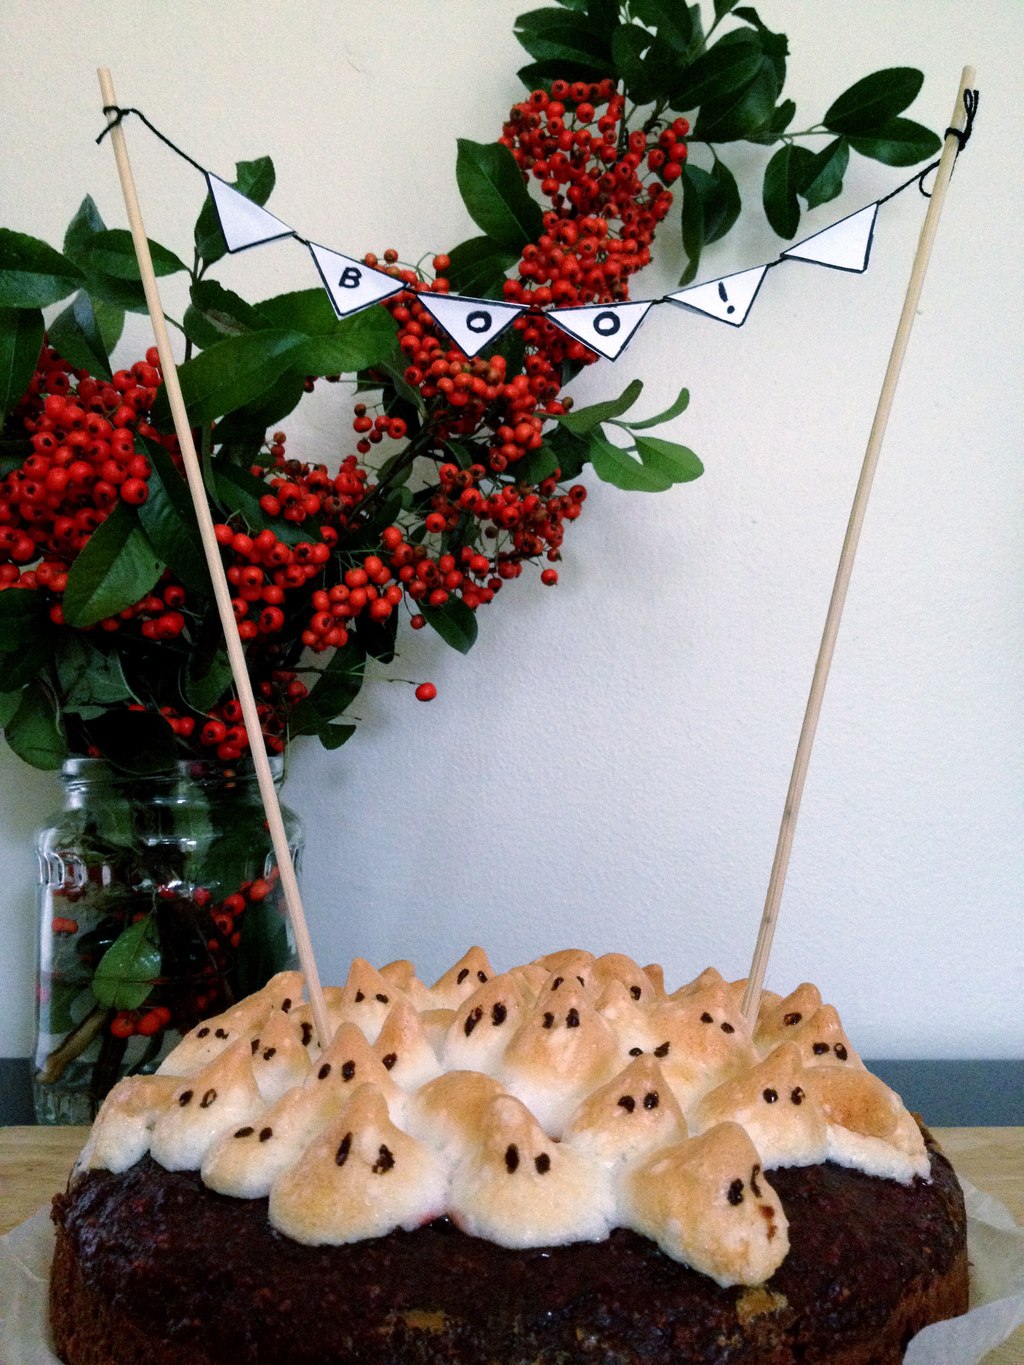
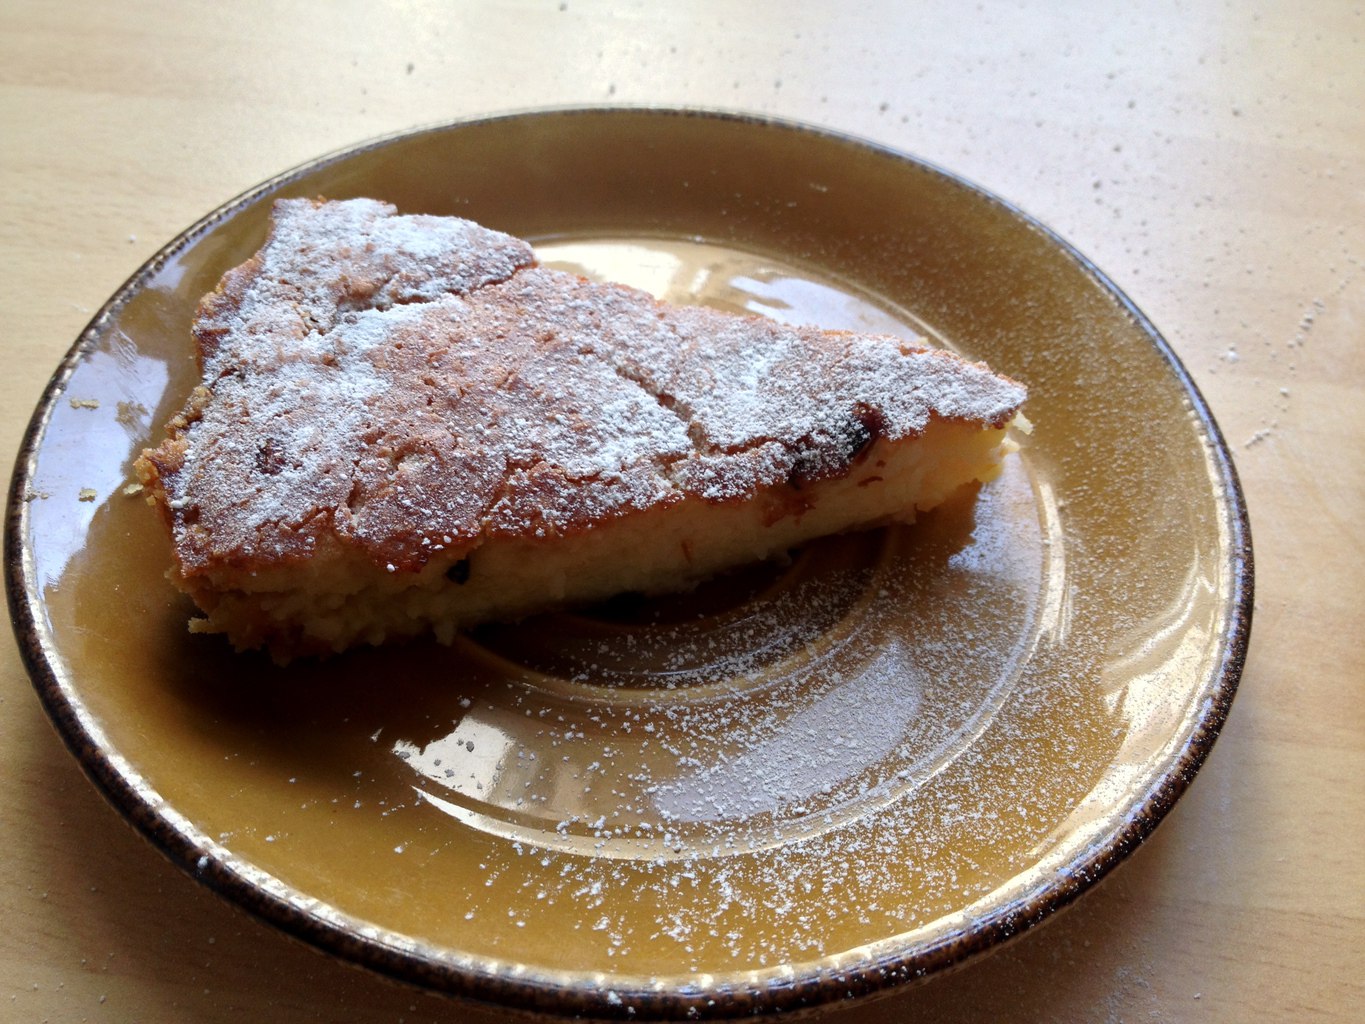
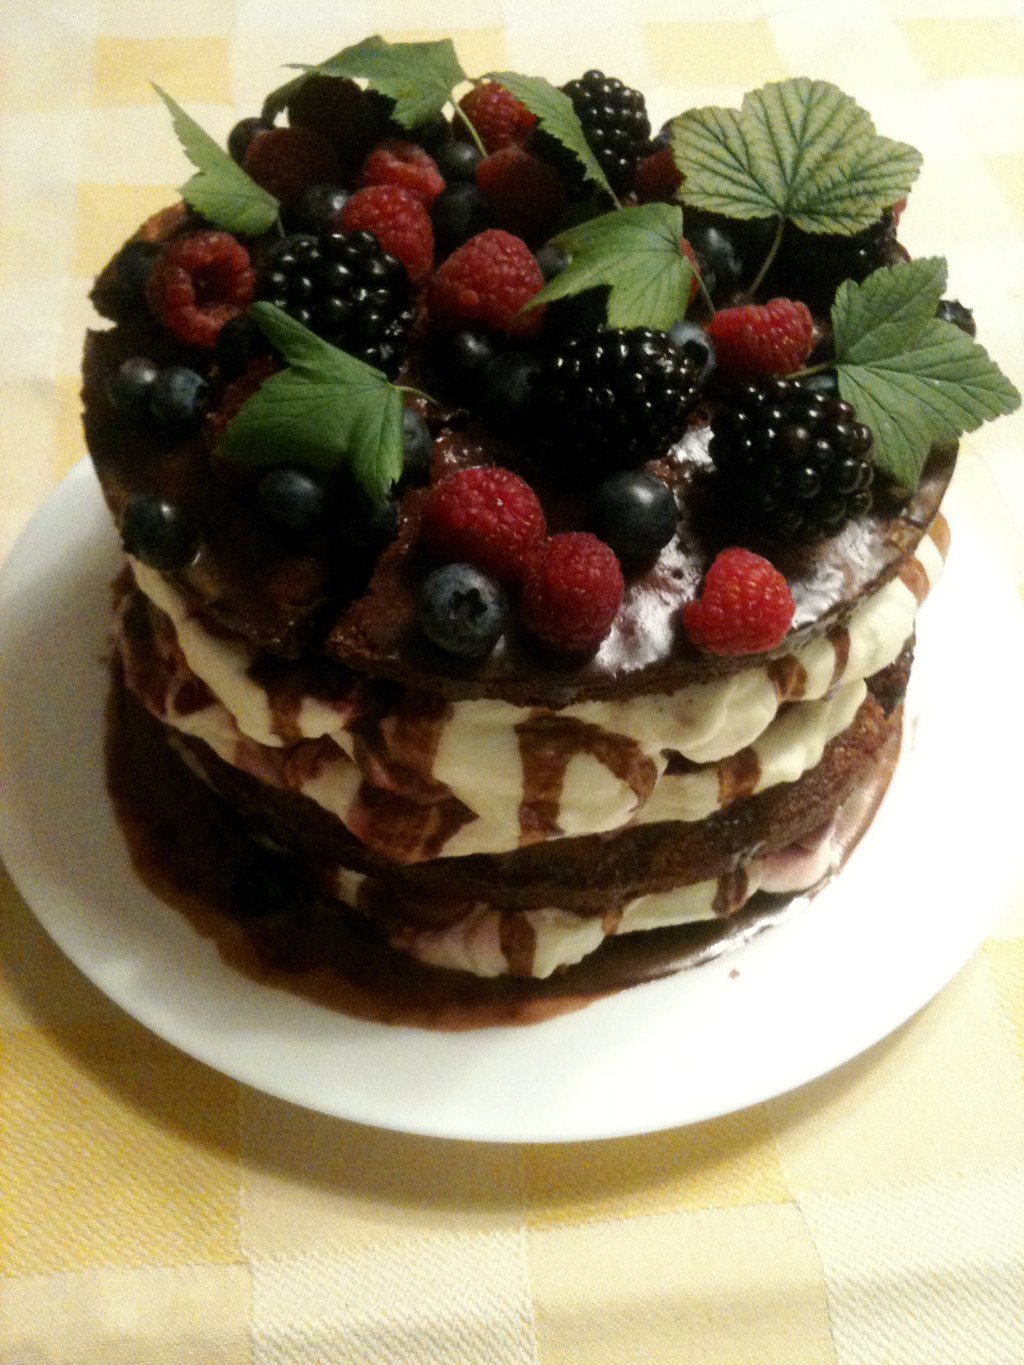
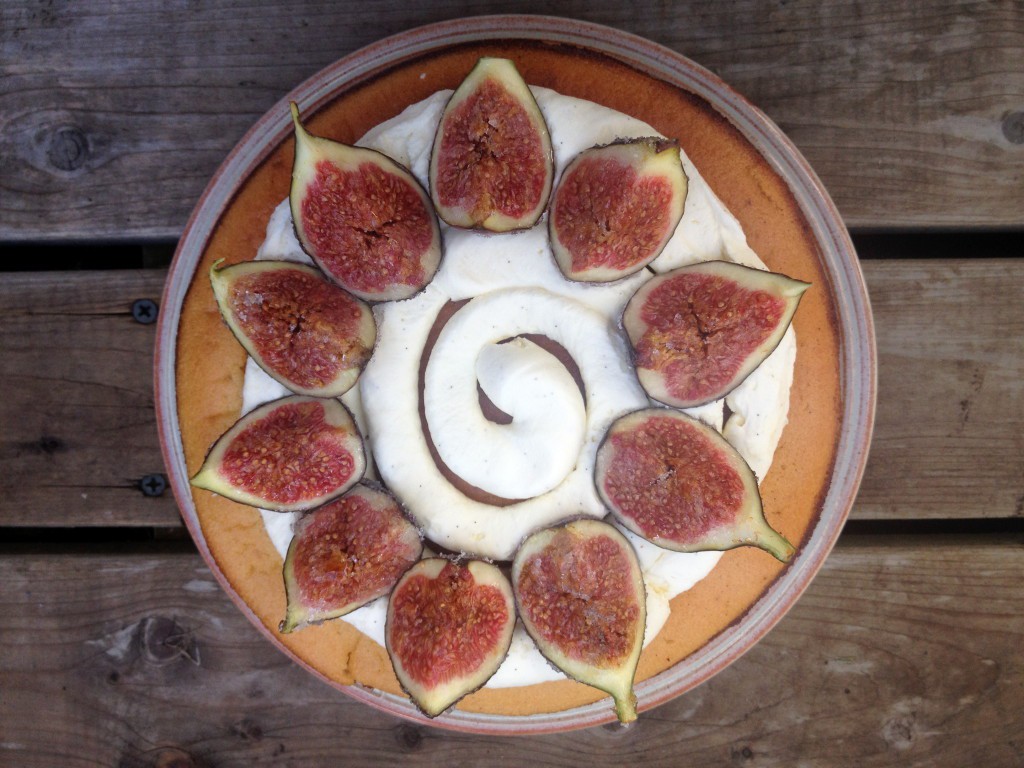
I have celebrated my birthday today so I have had a good opportunity to bake a fancy cake. I generally don’t like overly decorated cake as then it can look like a statue, not a treat ;). I love cakes decorated with fruits and berries (sometimes flowers) that gives a rustic appeal. I baked honey cake this time decorated with sugared figs. Yum!

IMG_4528

HONEY MASCARPONE CAKE

  • 170g honey
  • 115g butter
  • 80g yogurt
  • 160ml milk
  • 2 eggs
  • 220g flour
  • 0.5 tsp salt
  • 3 tsp baking powder
  • 1 tbsp vanilla extract

(For the frosting)

  • 500g mascarpone cheese
  • 250ml double cream
  • 55g sugar
  • 1tbsp vanilla extract
  • 1 vanilla bean seeds

(For the decoration)

  • 2-3 ripe figs, cut in quarters
  • granulated sugar

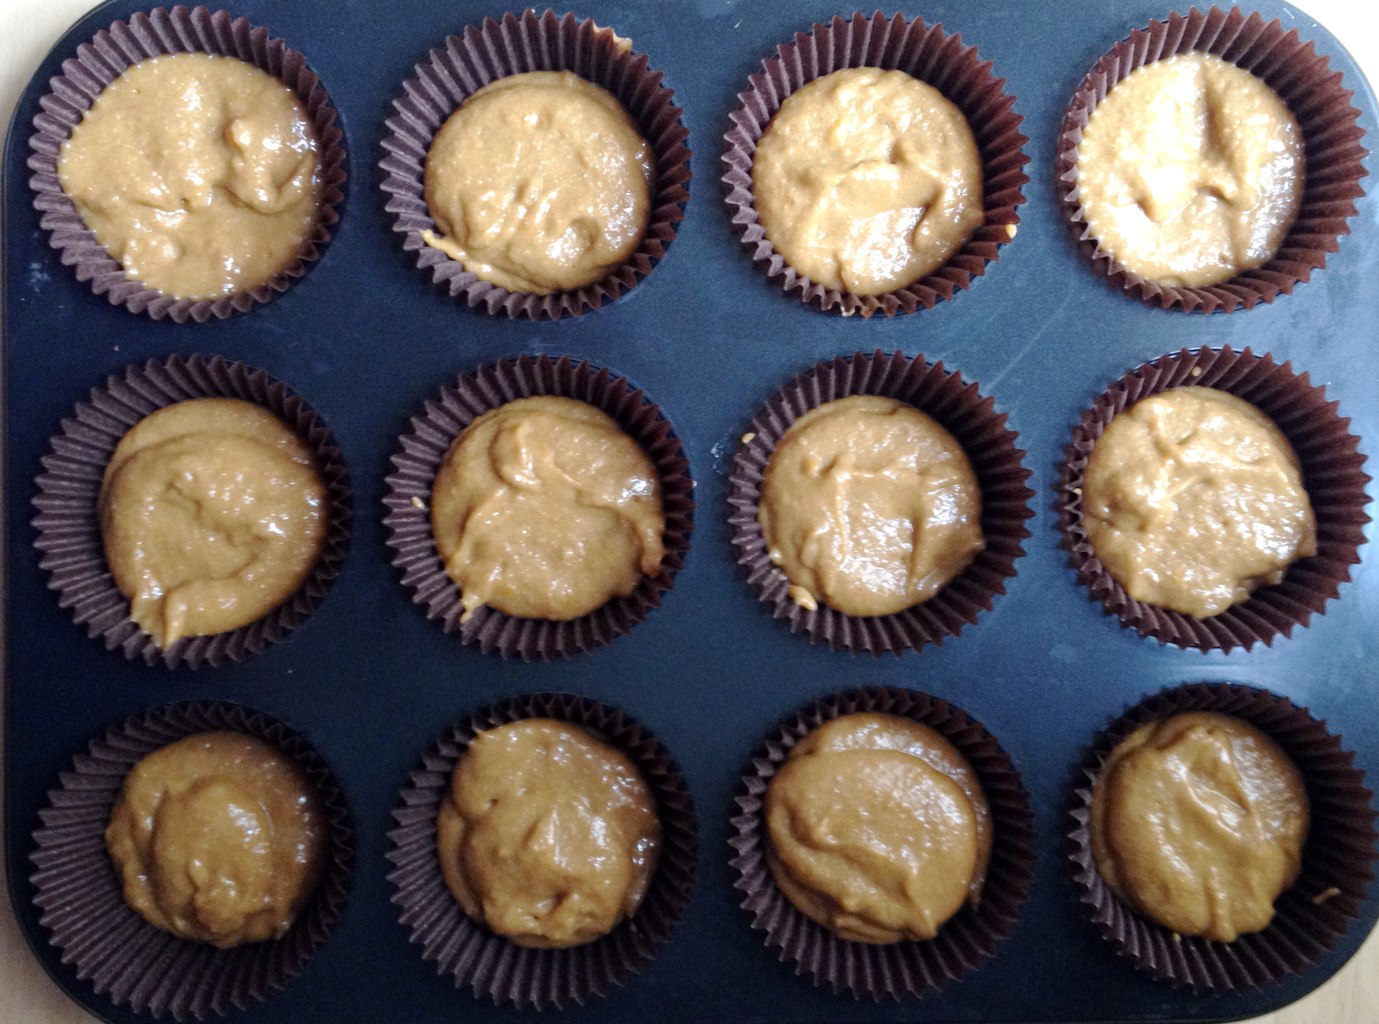
1. Preheat the oven to 350 degrees. Line two same size baking tins and set aside.

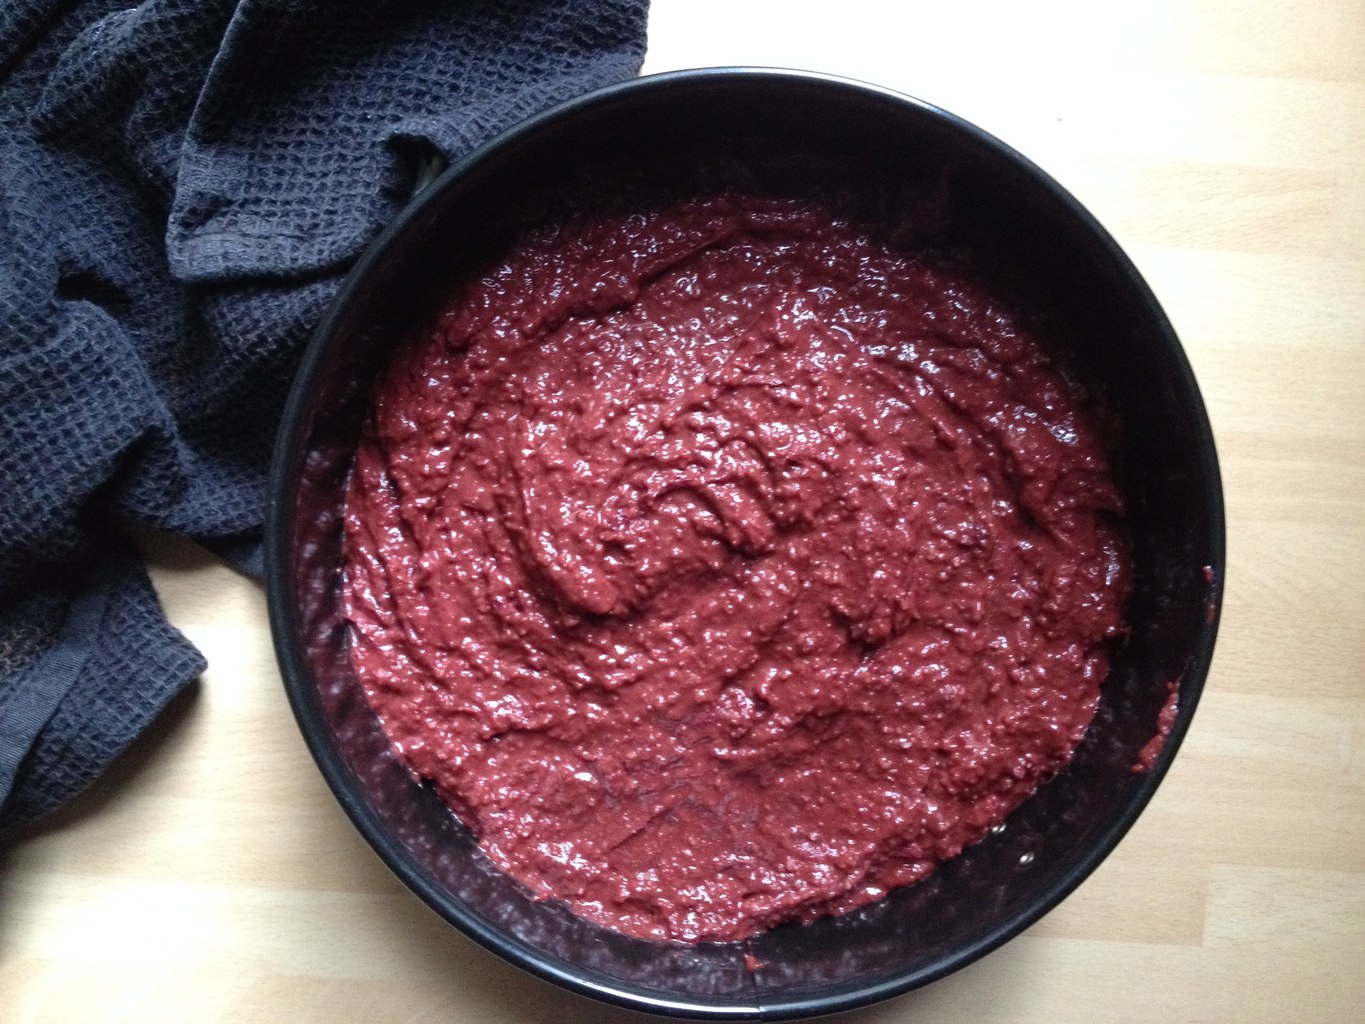
2. Cream butter with honey. Add yogurt, milk, eggs, flour, salt, baking powder and vanilla extract and mix to combine.

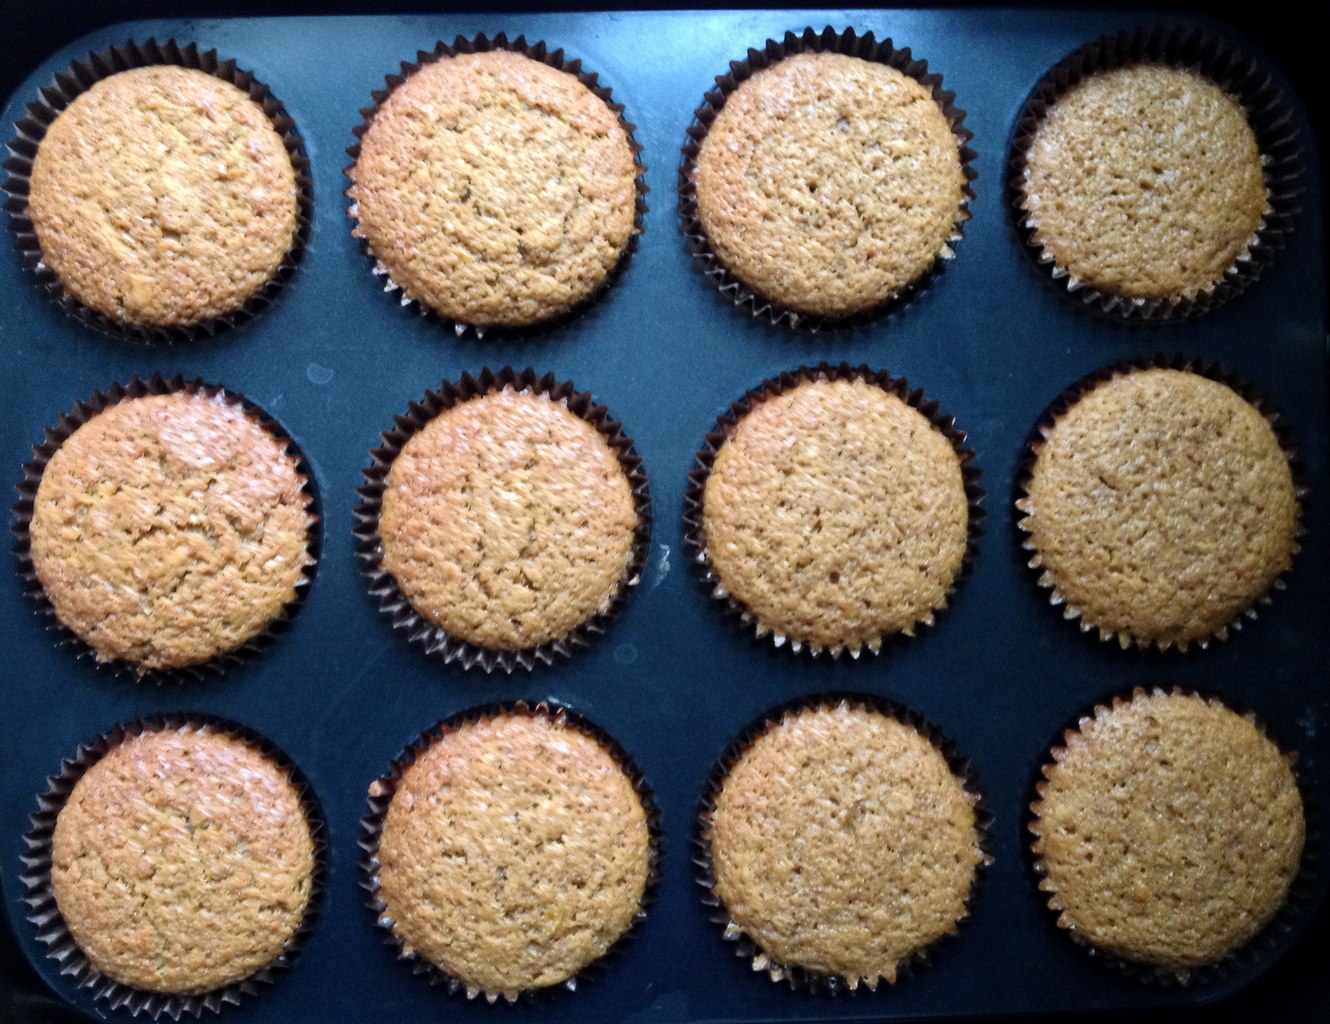
3. Divide the mixture into the prepared tins and bake for 20min each, or until a cake tester inserted into the centre comes out clean.

4. Cool the baked cakes on the wire rack

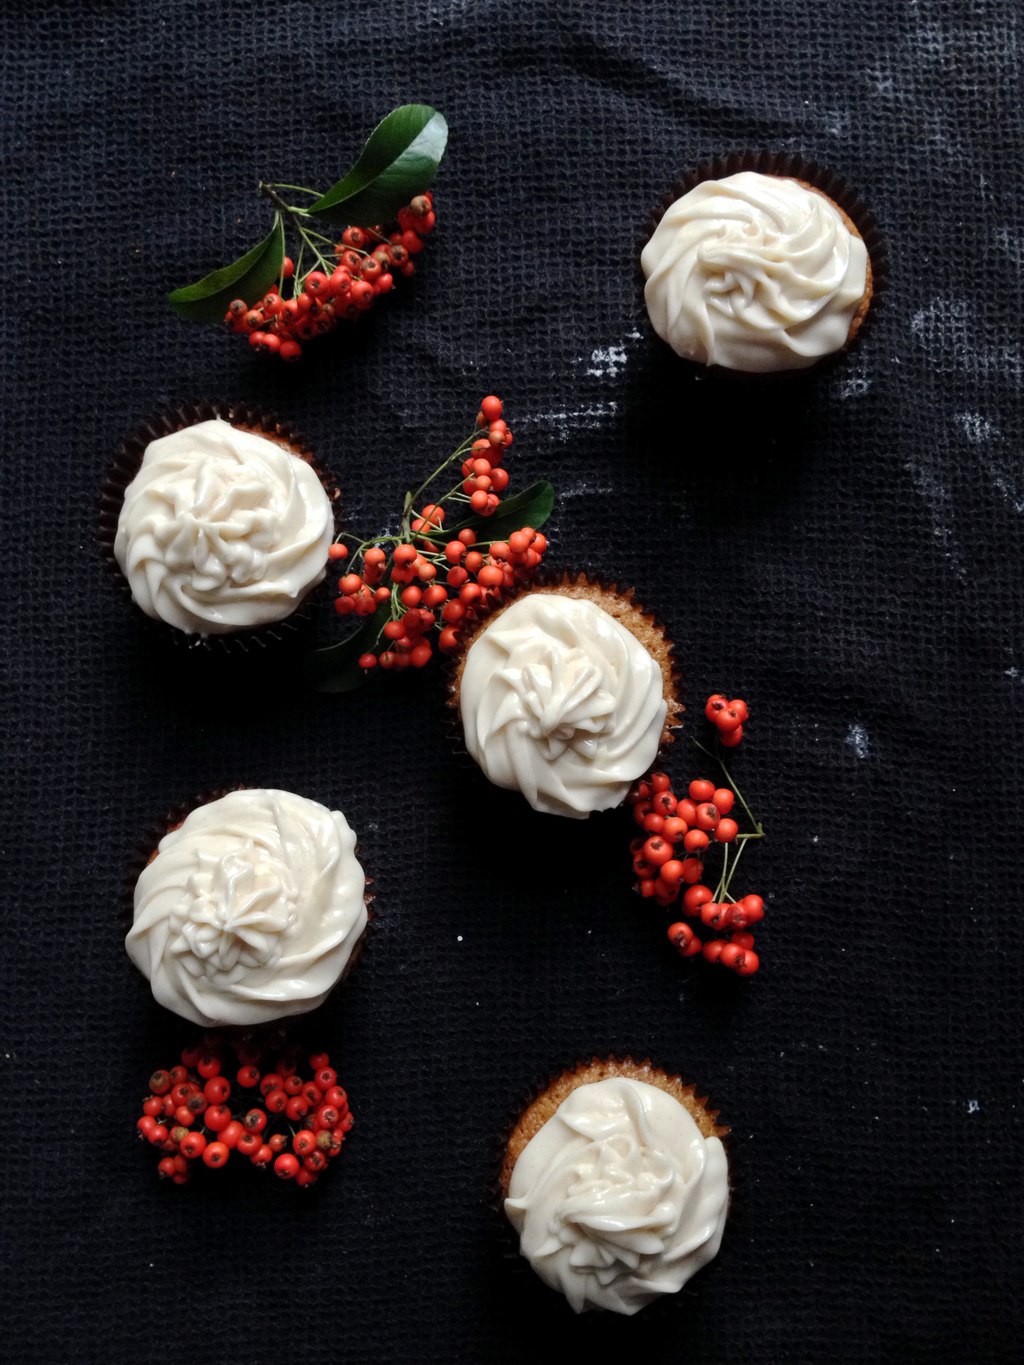
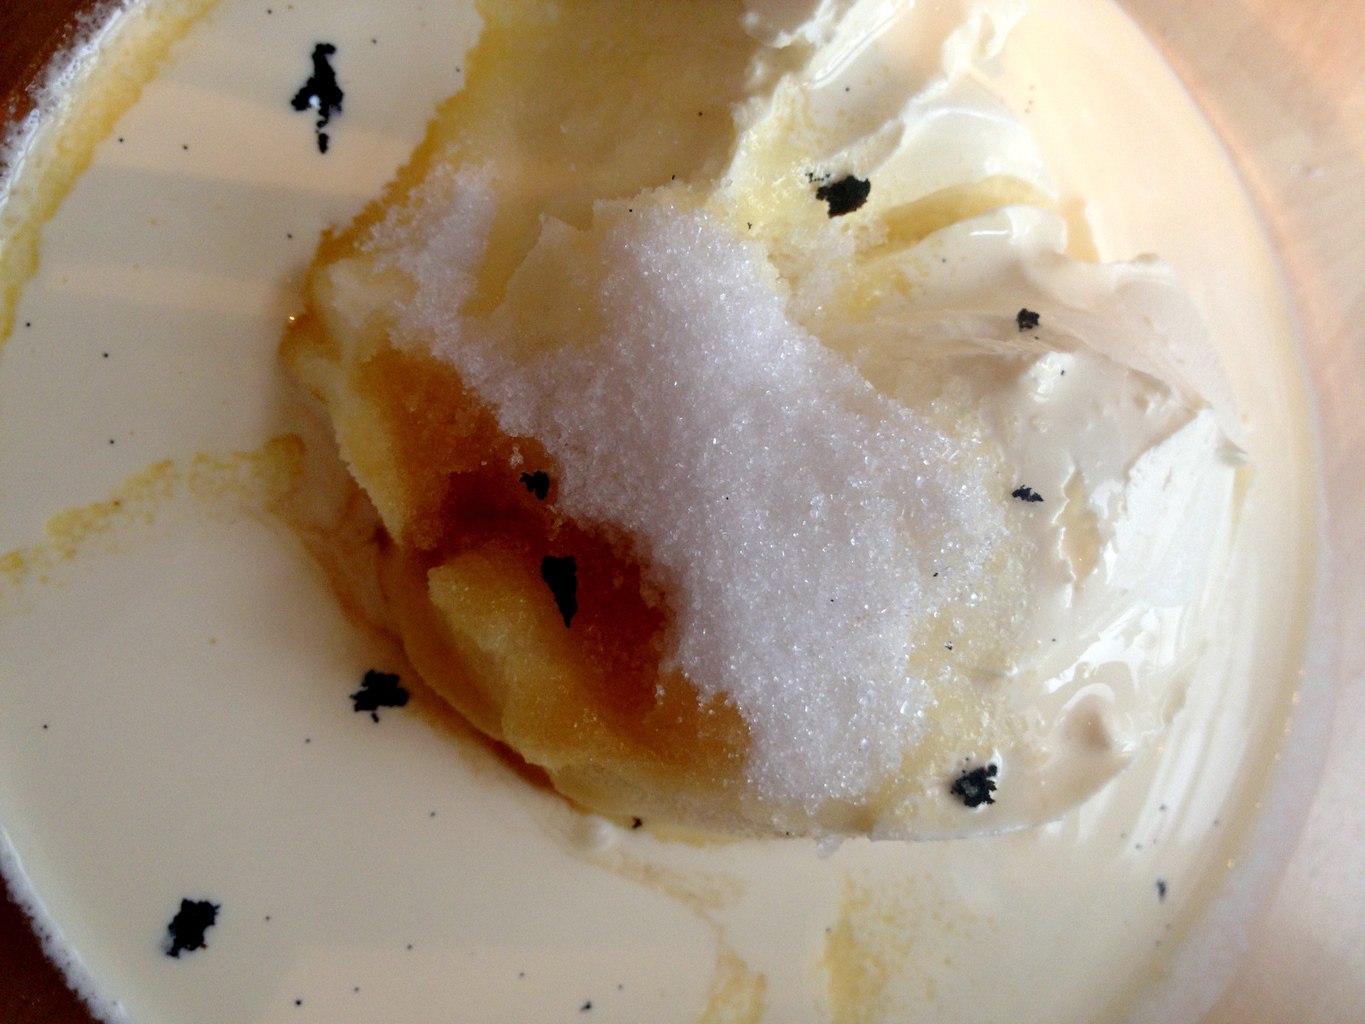
5. Meanwhile make a mascarpone frosting by whisking mascarpone cheese together with double cream, sugar and vanilla.

IMG_4524

6. When the frosting becomes thick enough, spread the half of it on one cake.

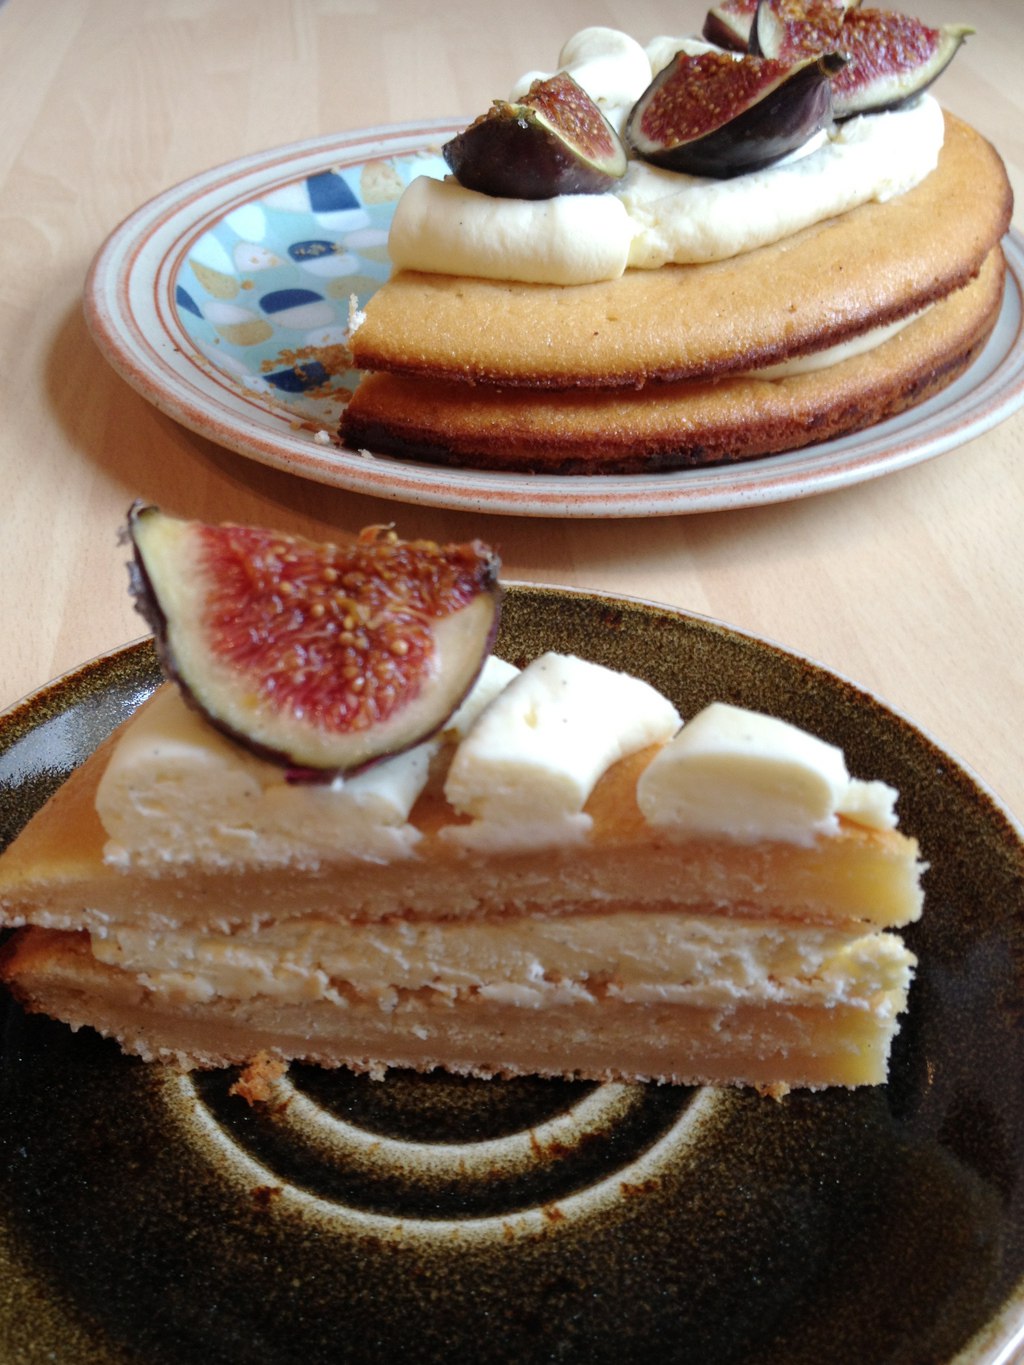
7. Line two cakes on top of each other (plain cake goes on top of the frosted one).

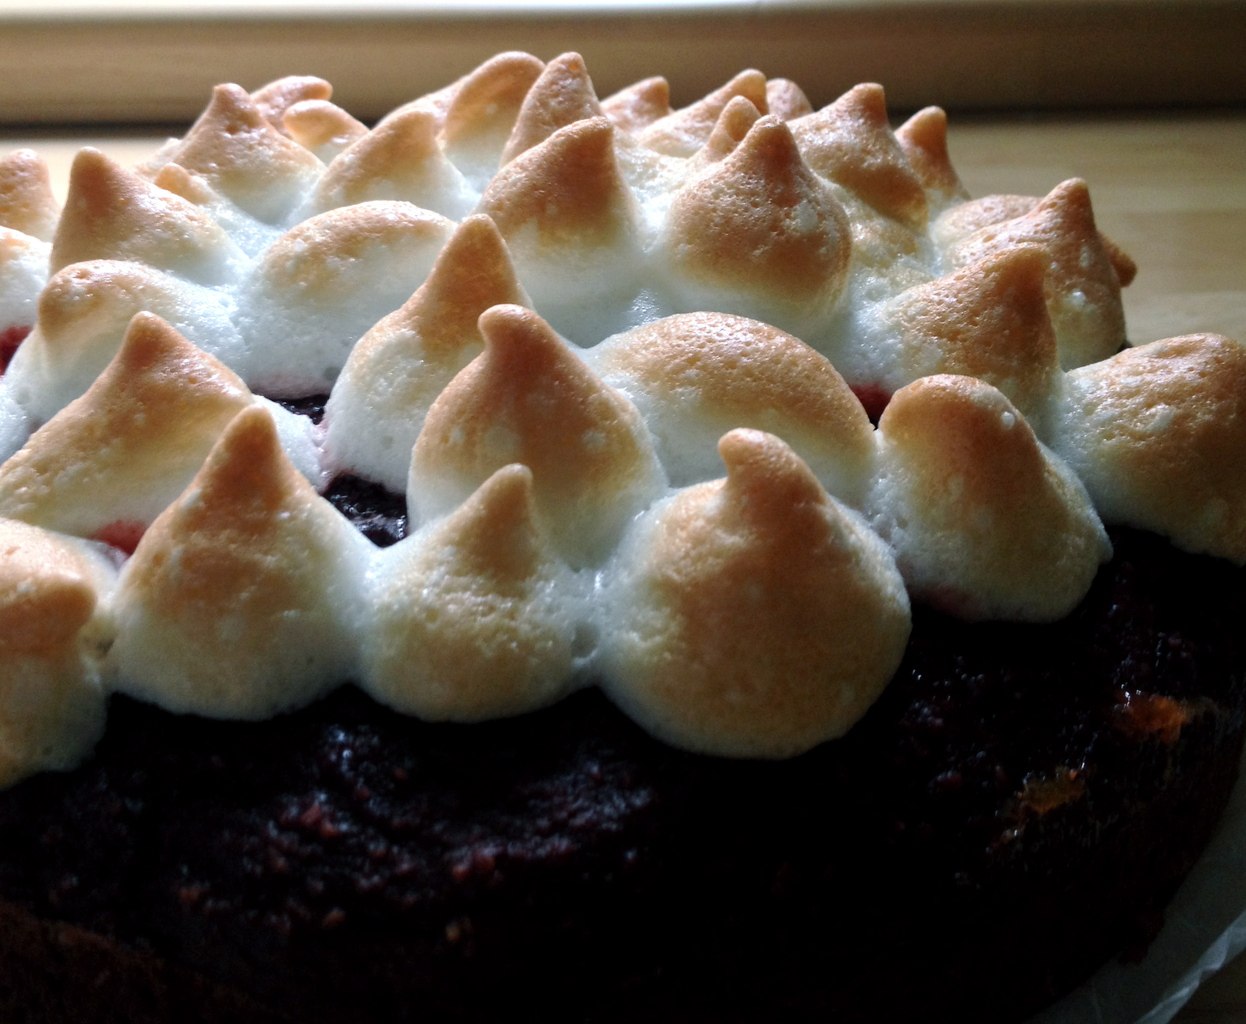
8. Pipe the rest of the frosting on the top.

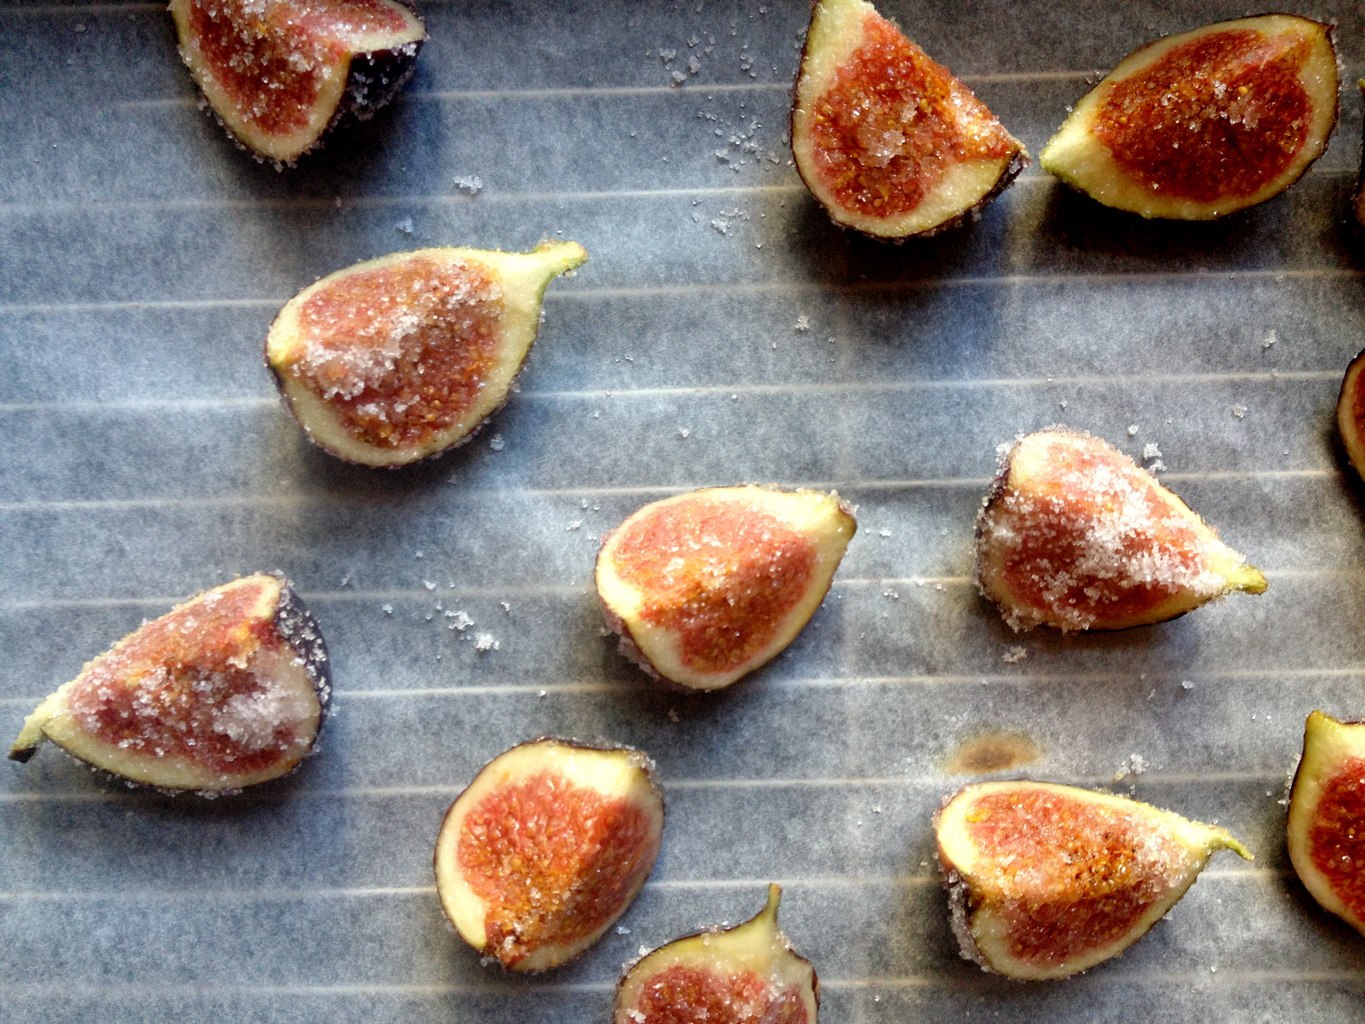
9. Dip the figs into the sugar and place them on a baking sheet lined with aluminium foil (I used just a baking sheet, but that burns quite easily so I don’t recommend using that). Using a kitchen torch, caramelise each fig.

IMG_4522

10. Use these figs to decorate the cake.
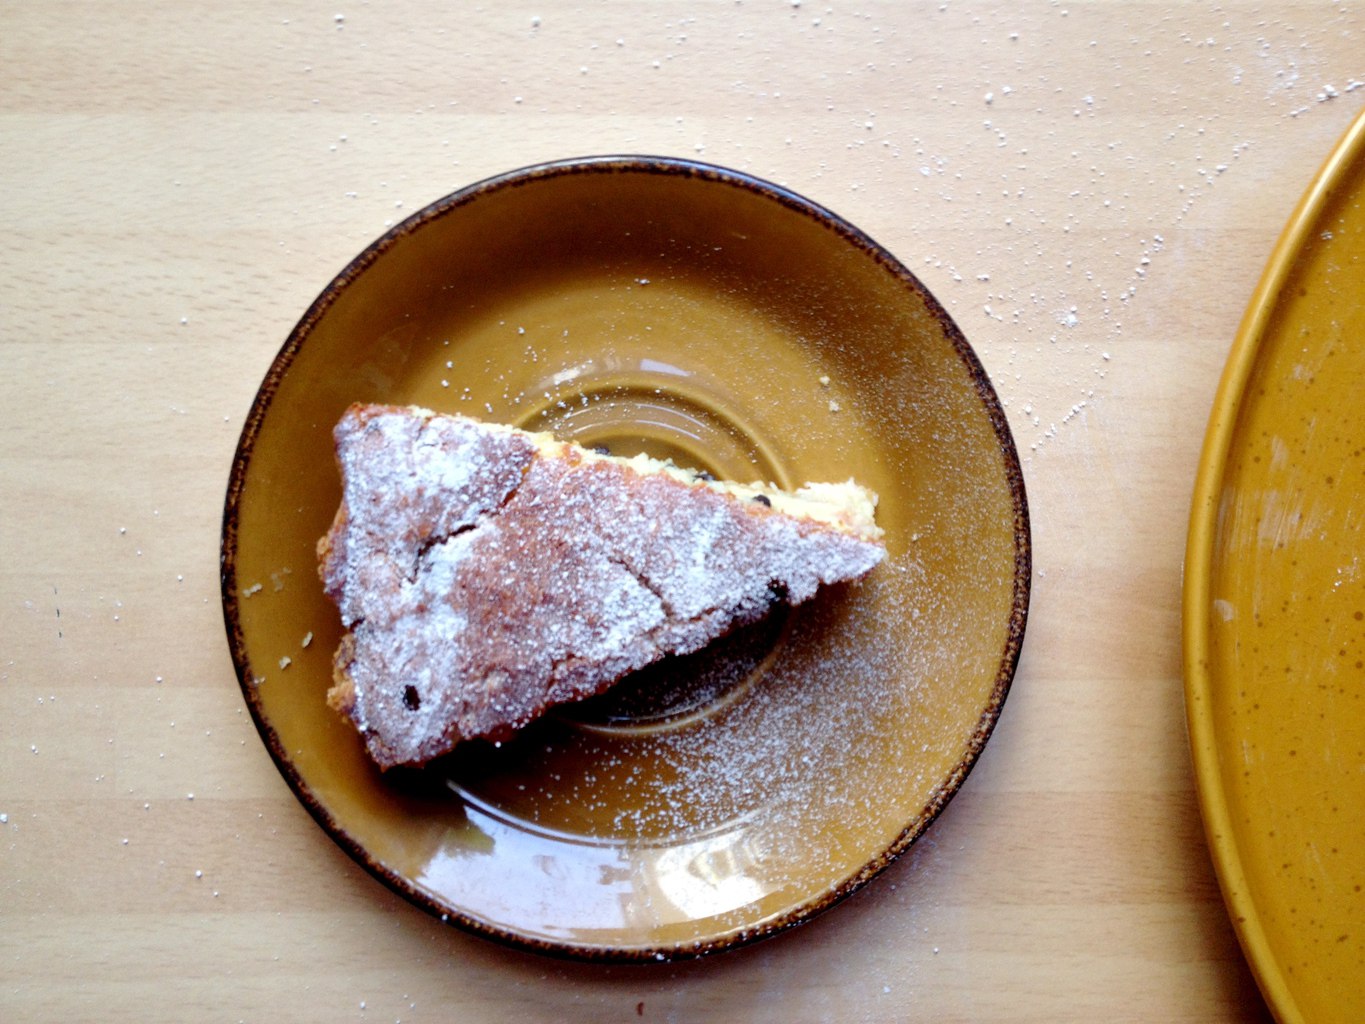
IMG_4550

Enjoy!

Rasa ;-)

2

International Chocolate Day! Yay!

So as it turns out, today is a International Chocolate day! For this lovely occasion I thought I will share my 10 favourites…

IMG_0028

Chocolate brownie (with peanut butter and caramel)

261257_10150222974071564_596226563_7400588_533487_n

Vicki’s favourite chocolate mousse

IMG_0472

Royal truffles

IMG_0798

Cup-cheesecakes

IMG_0812

Coconut and mixed berries mousse

IMG_1221

Black forest gateau 

IMG_0468

Chocolate flan cake

IMG_2383

“Rolo” peanut butter cupcakes

IMG_3468

Wine chocolate cupcakes

IMG_4369

Chocolate Amaretto cake

Happy chocolate eating!

Rasa xox

0

Chocolate amaretto cake

IMG_4355

What a lovely weekend we had! My mum was visiting me all the way from Lithuania and we were invited to a one amazing Lola’s and David’s wedding…. Aww! But once the weekend is over I always think of the ways to prolong it. I baked this chocolate amaretto cake (who does’t like chocolate?), which defiantly deserves some attention ;). Try it out for yourself!

IMG_4369

CHOCOLATE AMARETTO CAKE

  • 115g unsalted butter (softened)
  • 115g caster sugar
  • 3 eggs (separated)
  • 100g ground almonds
  • 40g flour
  • 150g dark chocolate (melted)
  • 2tbsp amaretto (almond liqueur)

(For the chocolate glaze)

  • 90ml double cream
  • 100g dark chocolate (chopped)
  • 10g butter
  • 1tbs amaretto (almond liqueur)
  1. Preheat the oven to 180C.
  2. In the bowl  or food processor cream butter with sugar.
  3. Add egg yolks, almonds, flour, chocolate and amaretto to a creamed butter and mix well to combine.
  4. In separate bowl whisk the egg whites until soft peaks form.Carefully fold the egg whites into the mixture.
  5. Spoon the mixture into the prepared tin and spread evenly. Bake for 30-35min, until the edges are puffed but the centre is still soft.
  6. Cool the cake on the wire rack before glazing.
  7. To make the chocolate glaze, bring the cream to the boil in a saucepan. Remove the cream from the heat and add the chocolate, butter and amaretto. Whisk everything until smooth.
  8. Pour the glaze over the cake to cover it completely. Decorate with the bits of fruit or serve it with ice-cream while still warm.

IMG_4362

Happy Monday!

Rasa :-D

0

Blackberry Liqueur

IMG_3842

I have been hearing that so many people have been picking blackberries at the park! They are surprisingly sweet this year and it would be a waste not to make anything out of it. I have been baking so far (berry cake) and now I have just finished “brewing” Blackberry Liqueur! I am so happy to share a recipe with you ♥.

IMG_3840

BLACKBERRY LIQUEUR

  • 250ml water
  • 750ml vodka (40% or above)
  • 700g sugar
  • 250g blackberries
  1. Mix all the ingredients together taking care not to crush blackberries
  2. Leave to infuse for about two weeks until the berries have lost most of their colour
  3. Sieve the mixture trough mesh
  4. Pour into the bottles (you might need many!)

Have a nice Thursday evening!

Rasa ;)

0