Top

Archive | Spring

Spring-inspired celebration cake

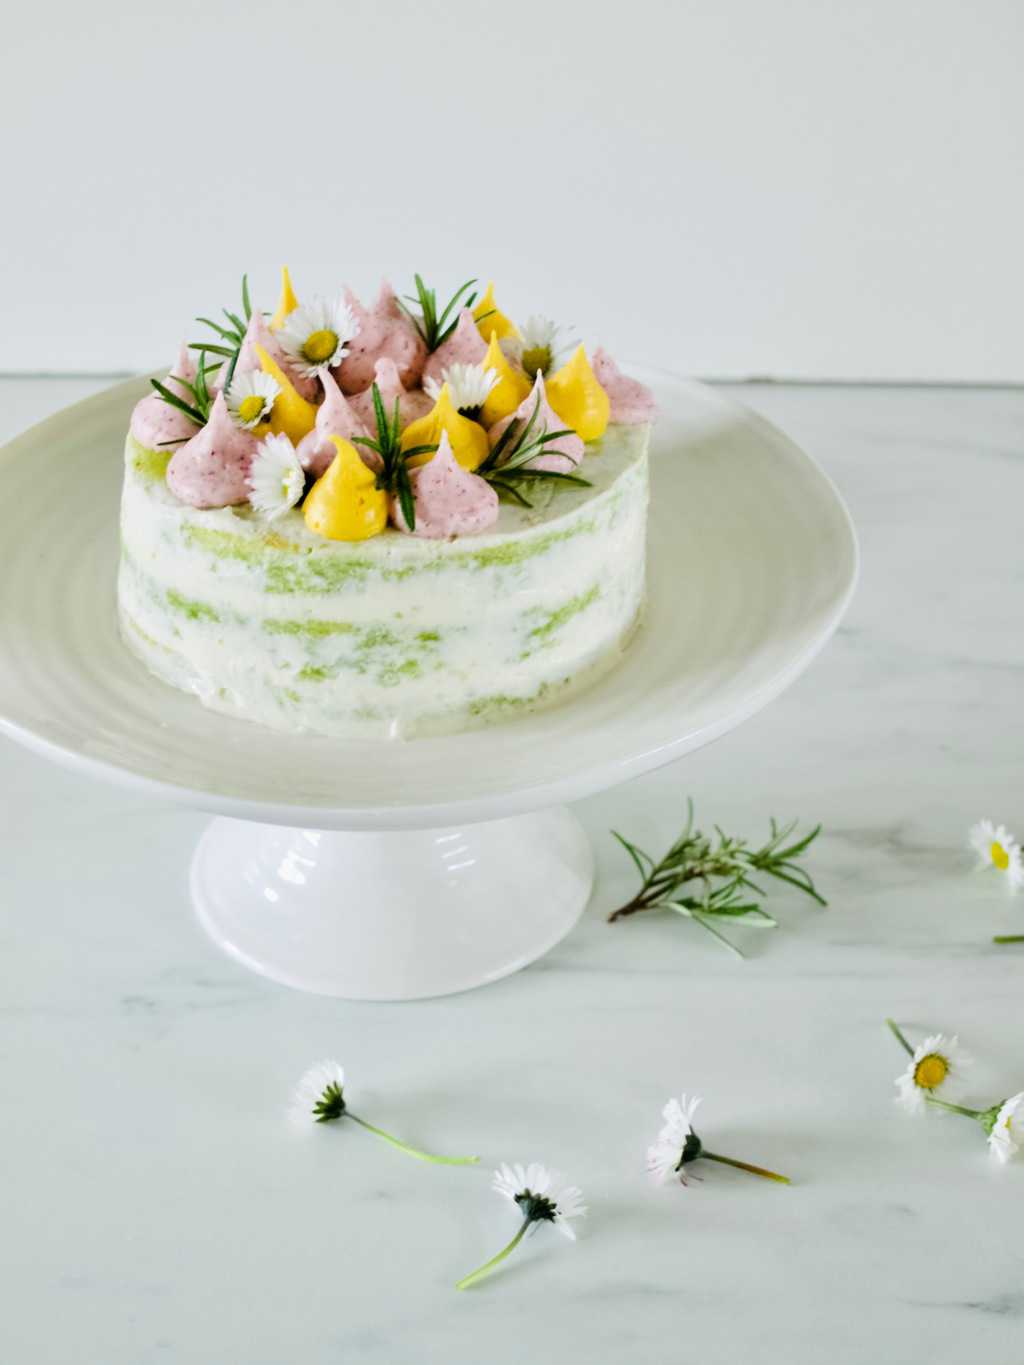
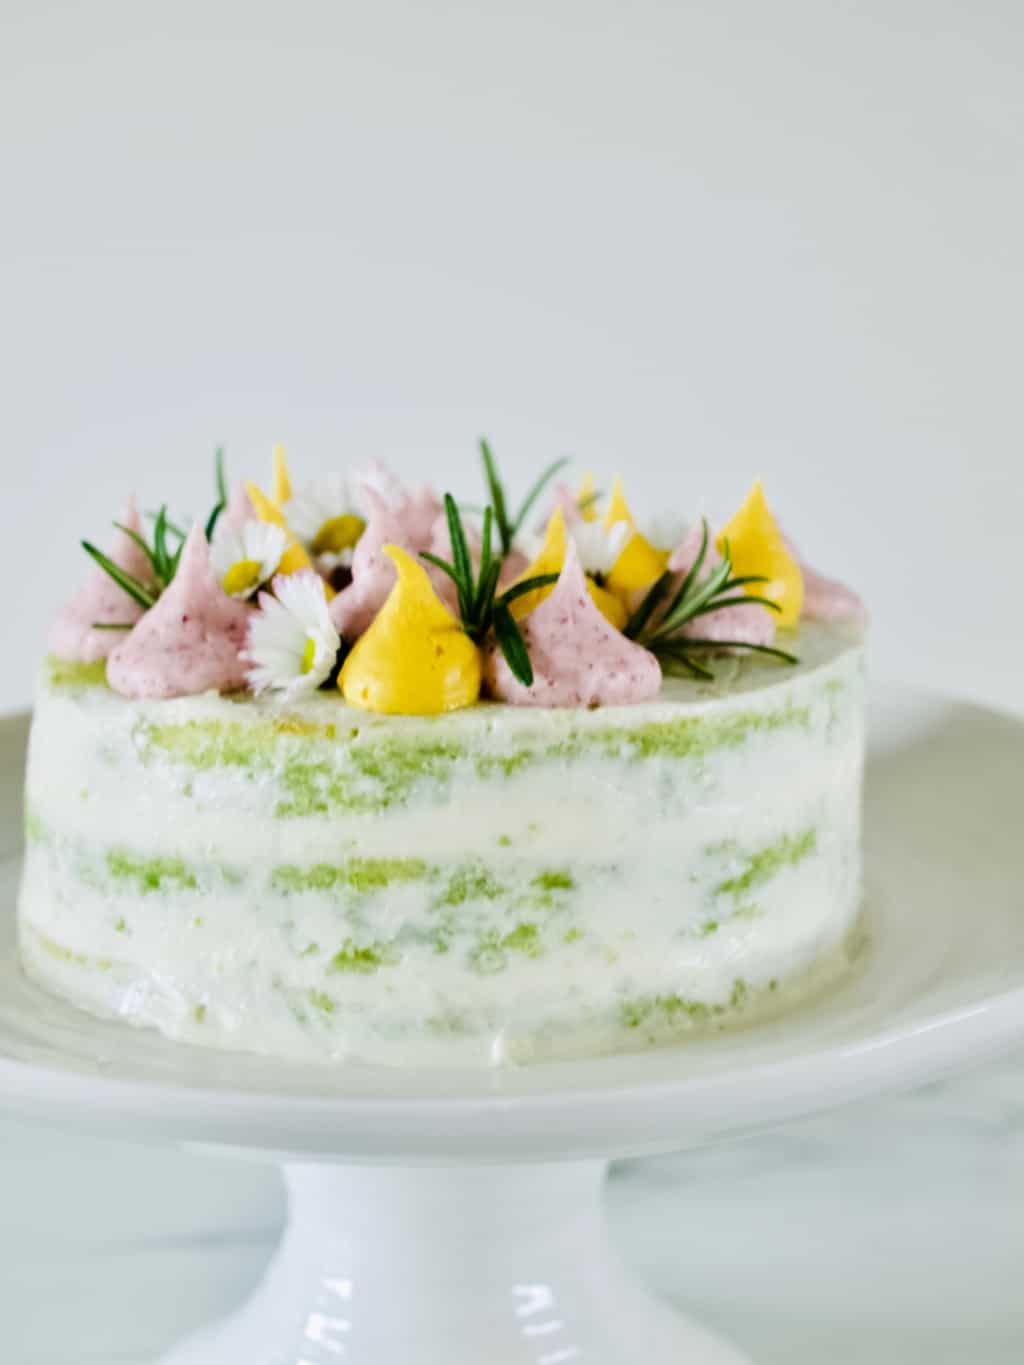
Spring-inspired celebration cake (with sweet peas) recipeI always wanted to try and bake a cake using sweet peas, but I never had an opportunity. Sweet peas is such as spring vegetable and no one in our family have a birthday in a spring. Eventually I decided to just go for it for Tomas birthday. It almost feels like a spring now! Spring-inspired celebration cake (with sweet peas) recipe SWEET PEA CAKE WITH BEETROOT FROSTING adopted from Veggie Desserts
(for the cake)

  • 180g sweet peas, steamed or boiled
  • 130g butter, softened
  • 100g caster sugar
  • 2 eggs
  • 1tsp vanilla extract
  • 1 tsp lemon zest and a drizzle of juice
  • 165g flour
  • 2tsp baking powder
  • pinch salt

(for the frosting)

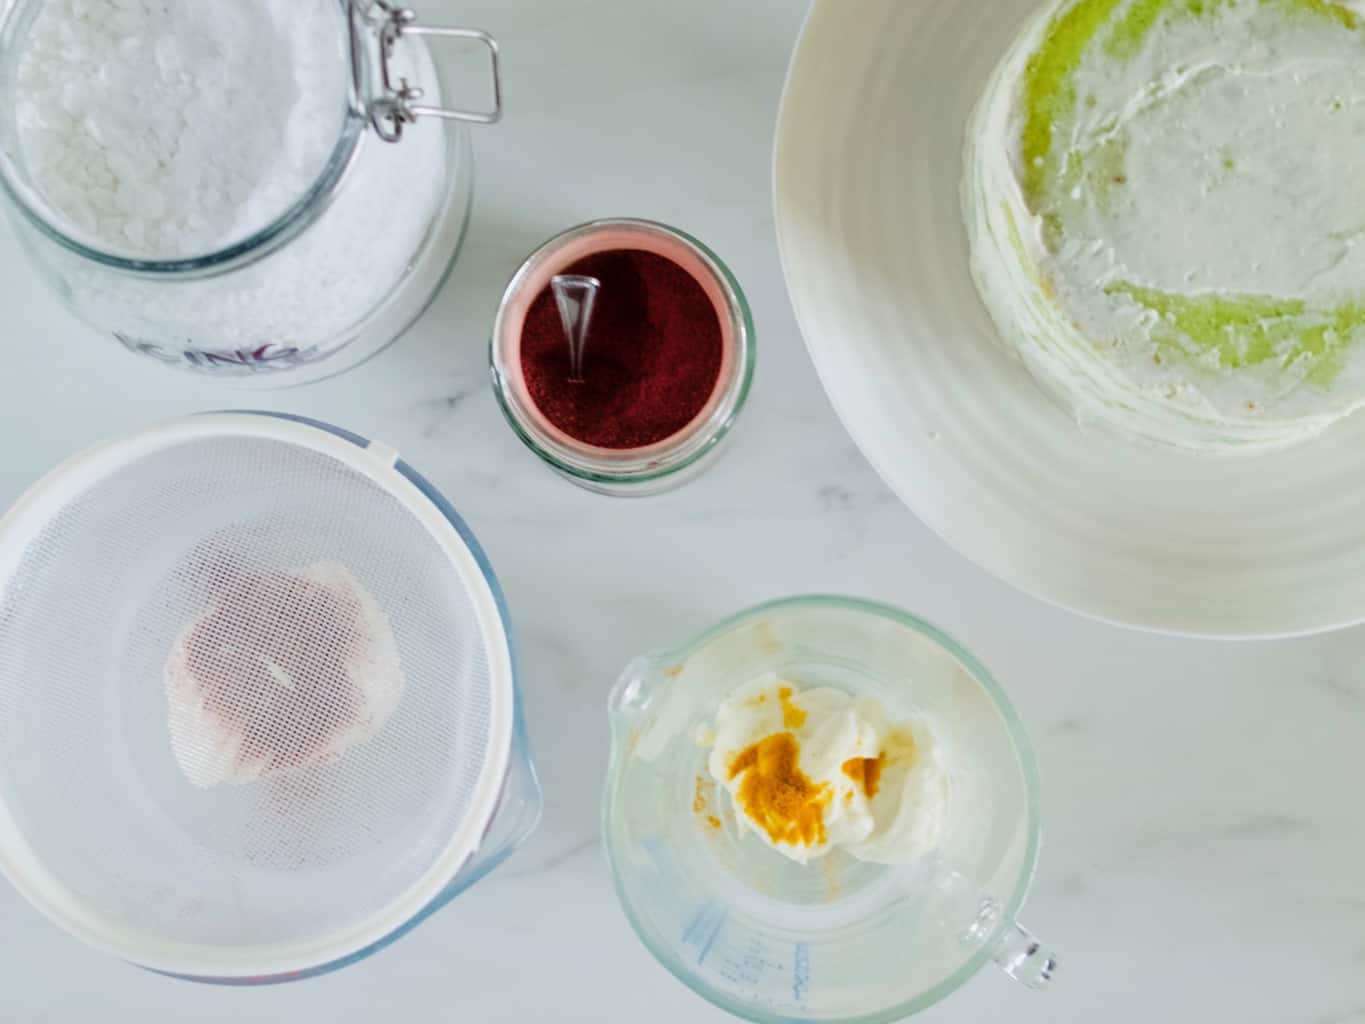
  • 250g soft cheese
  • 70g icing sugar (plus some more for later stage)
  • 1-2 tsp beetroot powder
  • 1tsp other type of natural frosting such as turmeric, matcha etc (optional)

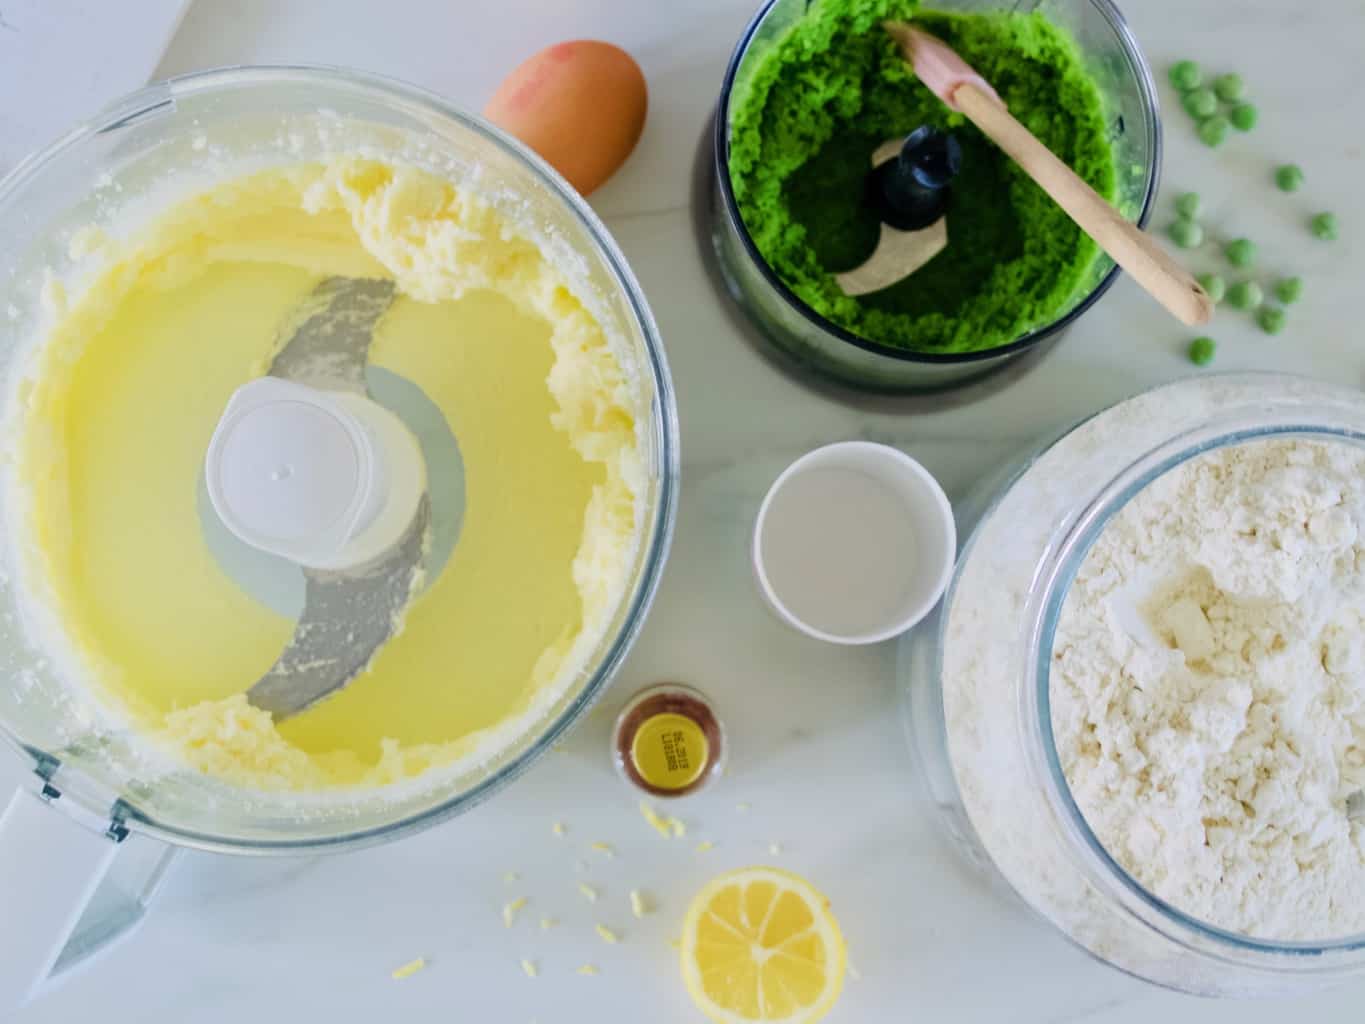
1. Puree the sweet peas in the food processor and set aside

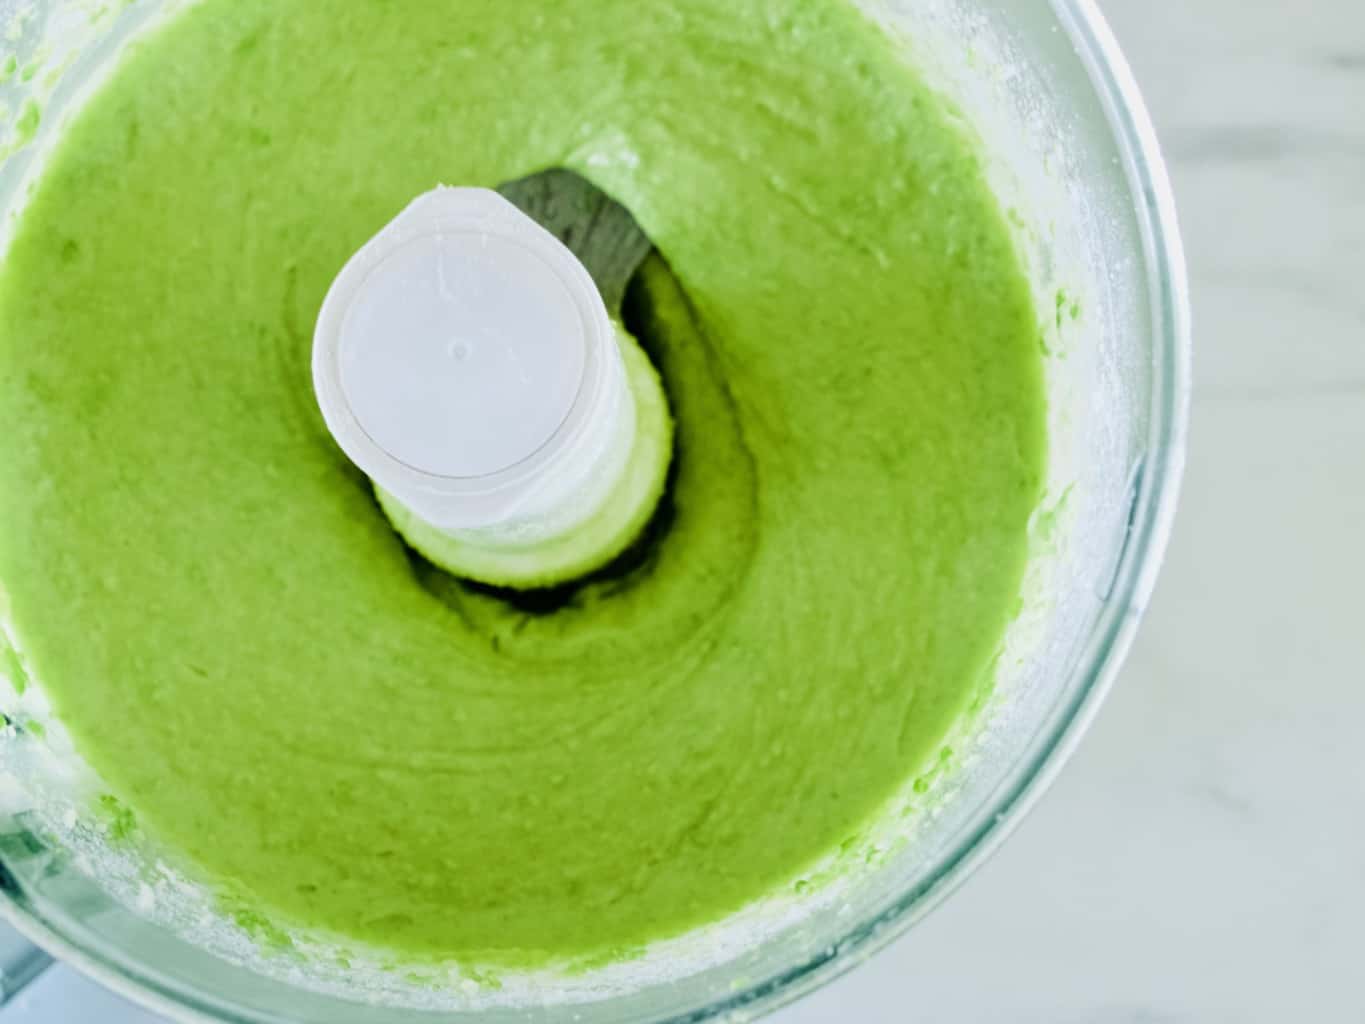
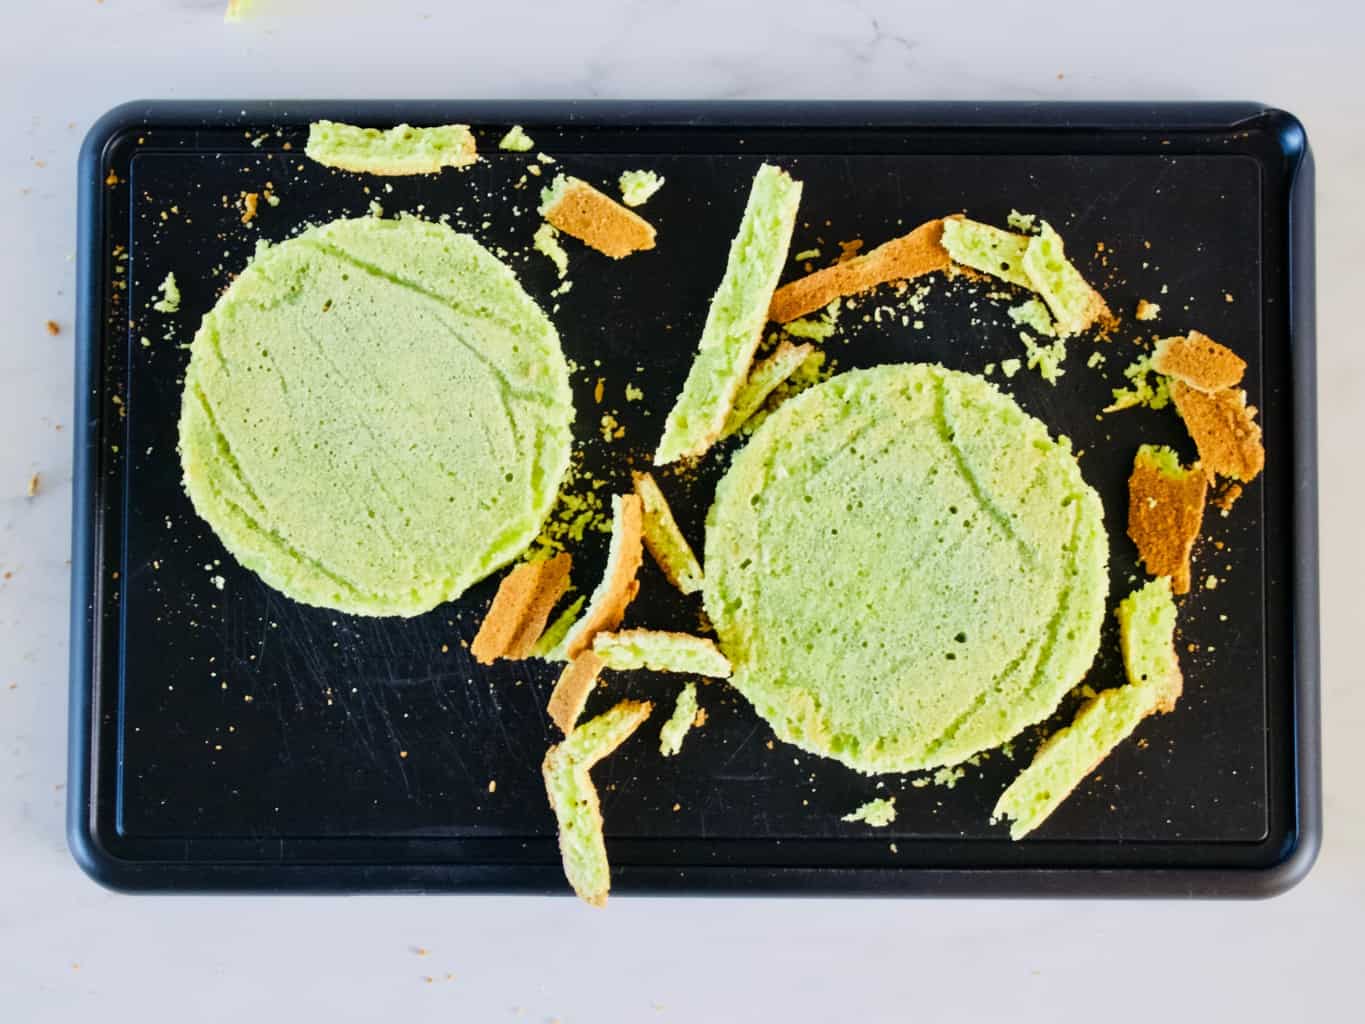
2. Cream the butter with sugar either in the large bowl with the wooden spoon or in the mixer.Spring-inspired celebration cake (with sweet peas) recipe 3. Add the rest of the ingredients (including sweet pea puree) into the butter cream and mix again to combine. Spring-inspired celebration cake (with sweet peas) recipe 4. Bake the cakes in the 15cm (6inch) tins in 180C preheated oven for about 20 min. Alternatively you can bake these in the sheet tray and use a large cookie cutter to cut out the rounds. I ended up cutting off the crust as I wanted bright green colour to show through the frosting.Spring-inspired celebration cake (with sweet peas) recipe5. Meanwhile make the frosting. Using the whisk, mix the soft-cheese with sifted icing sugar.
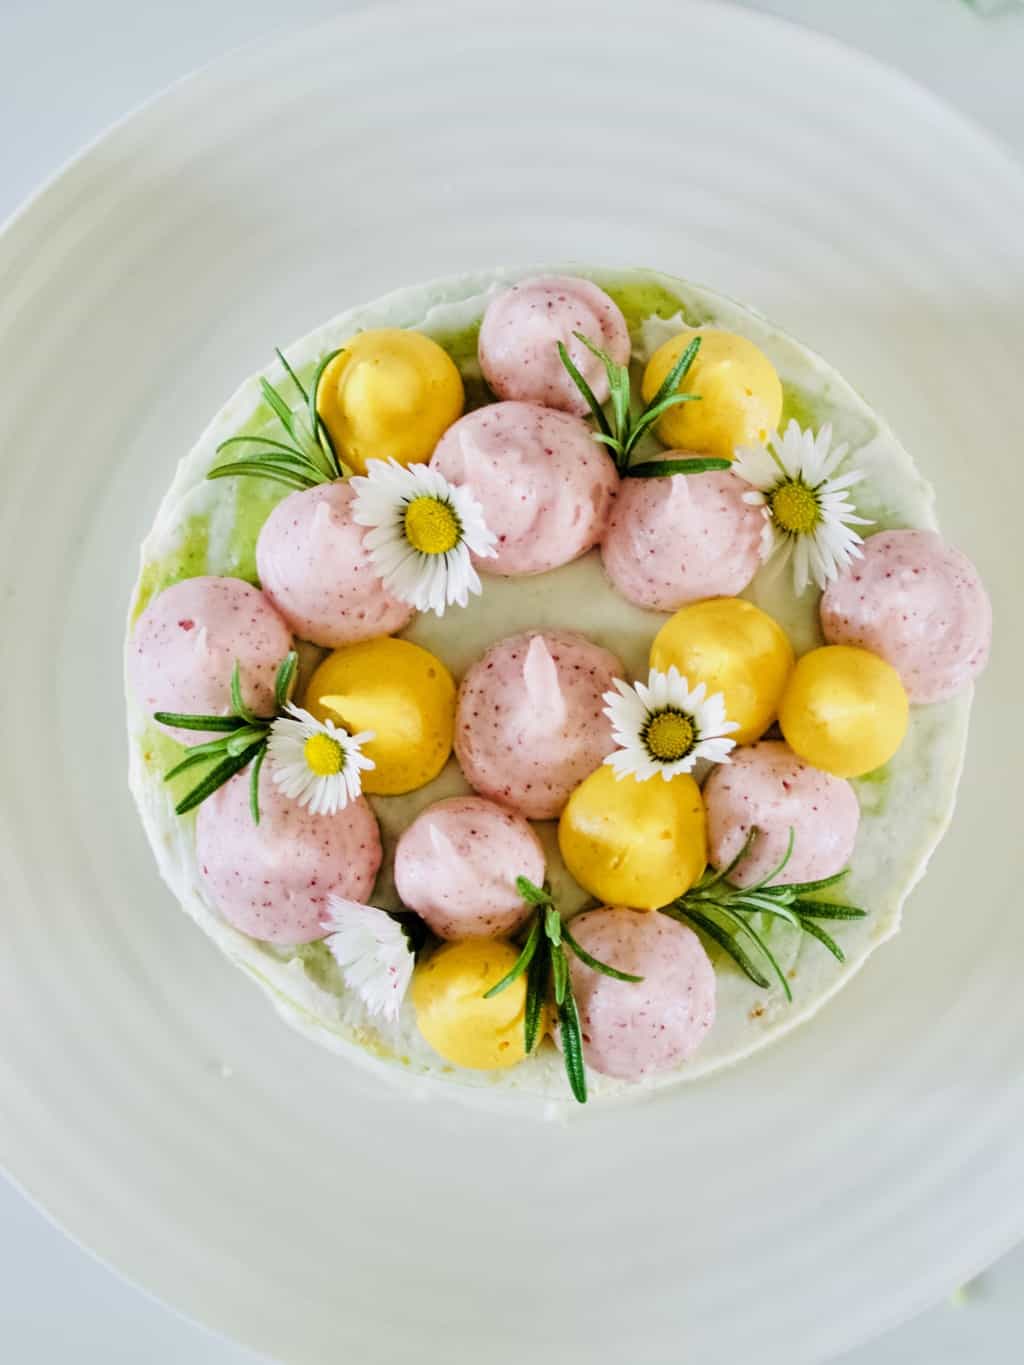
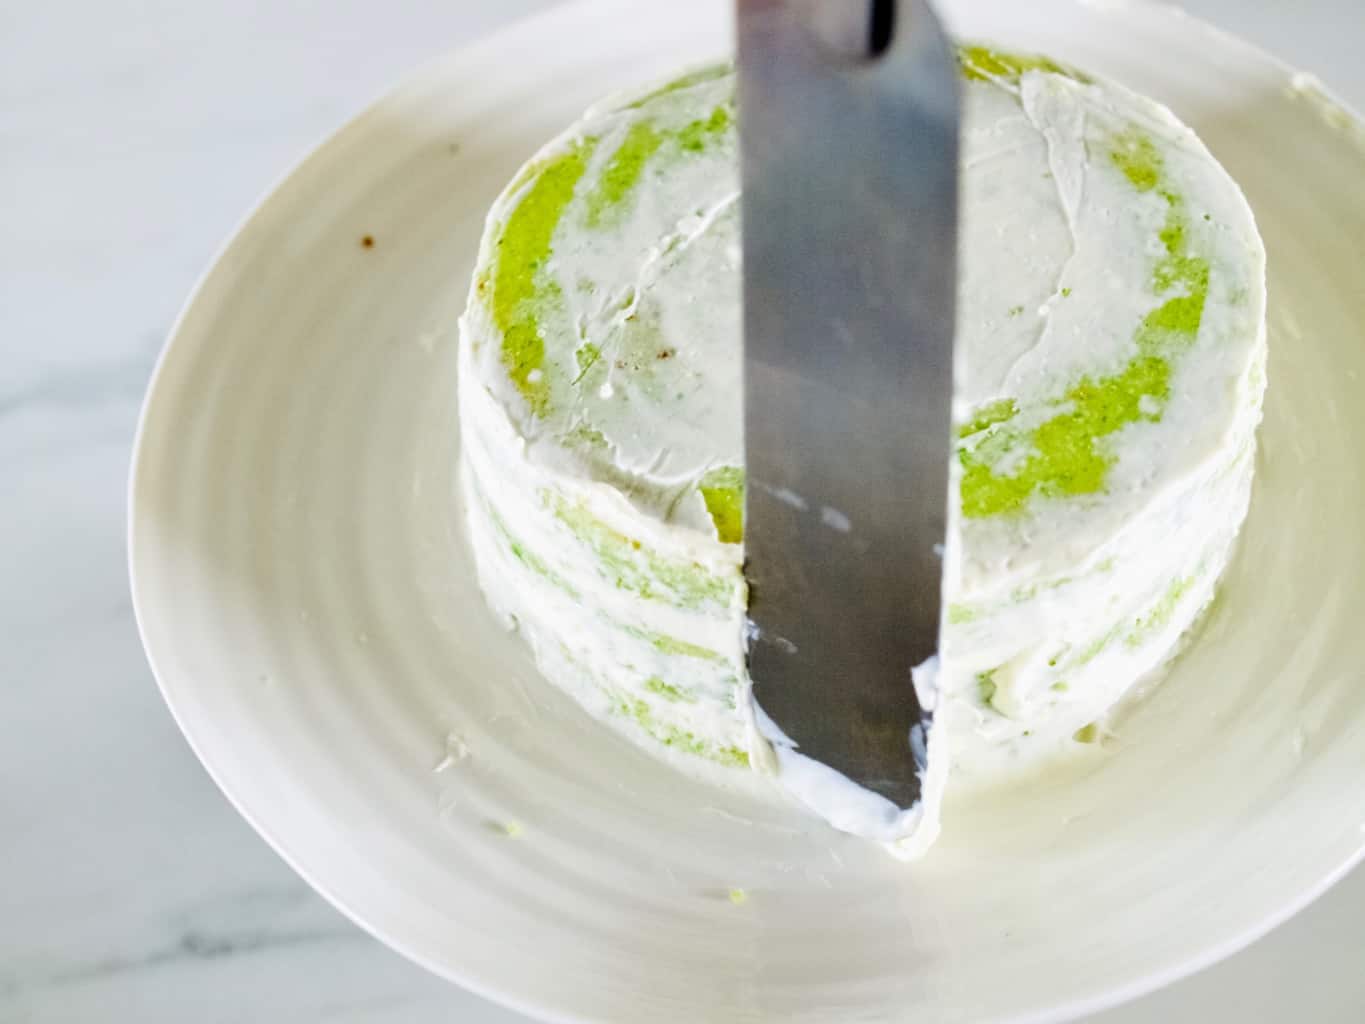
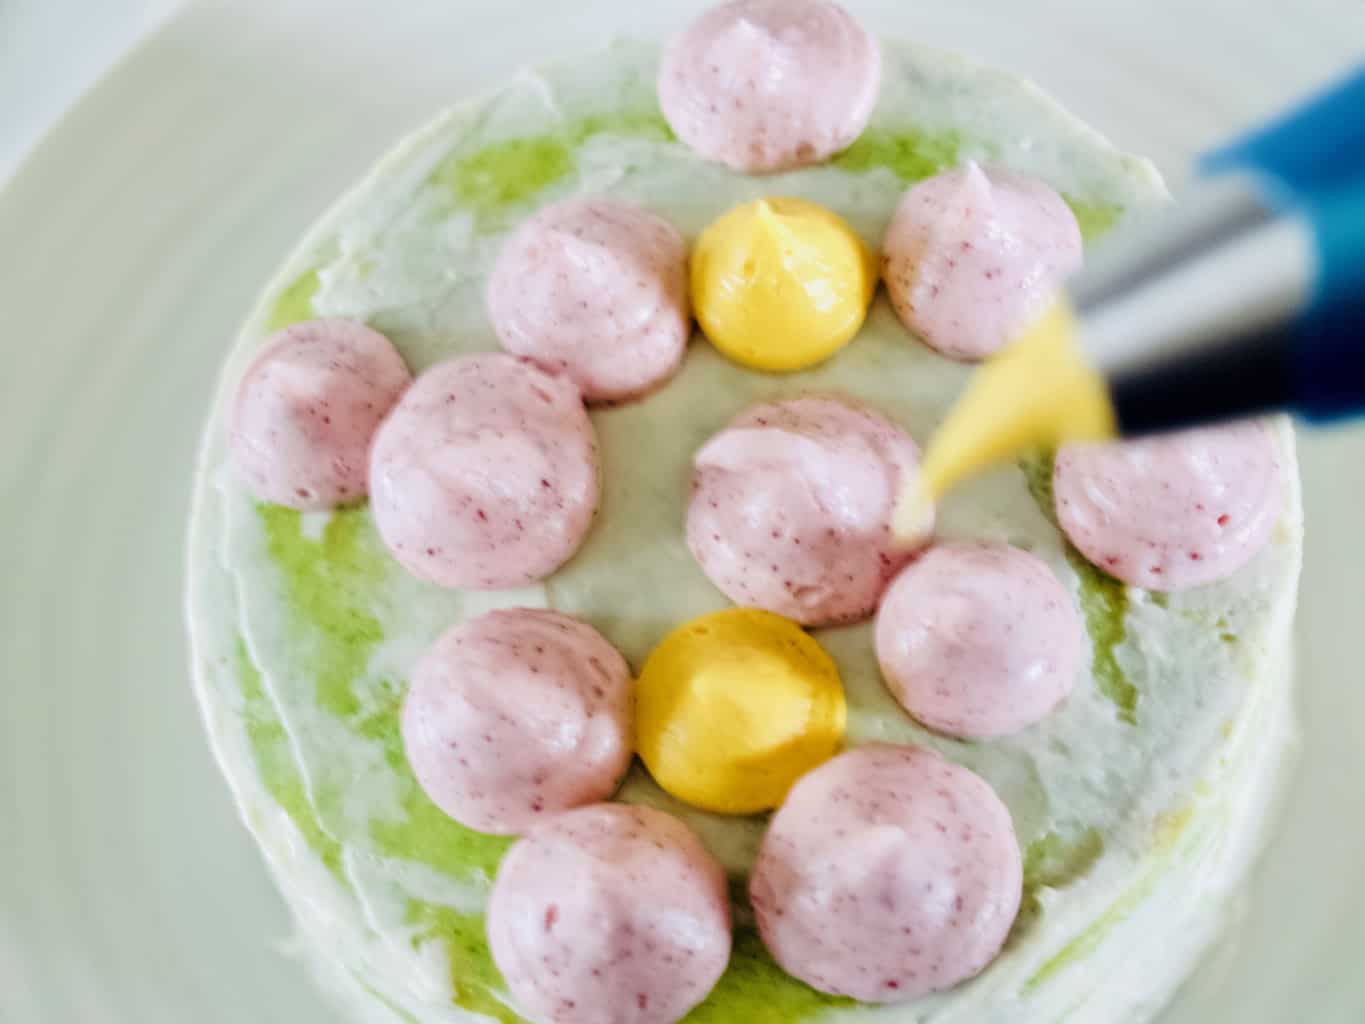
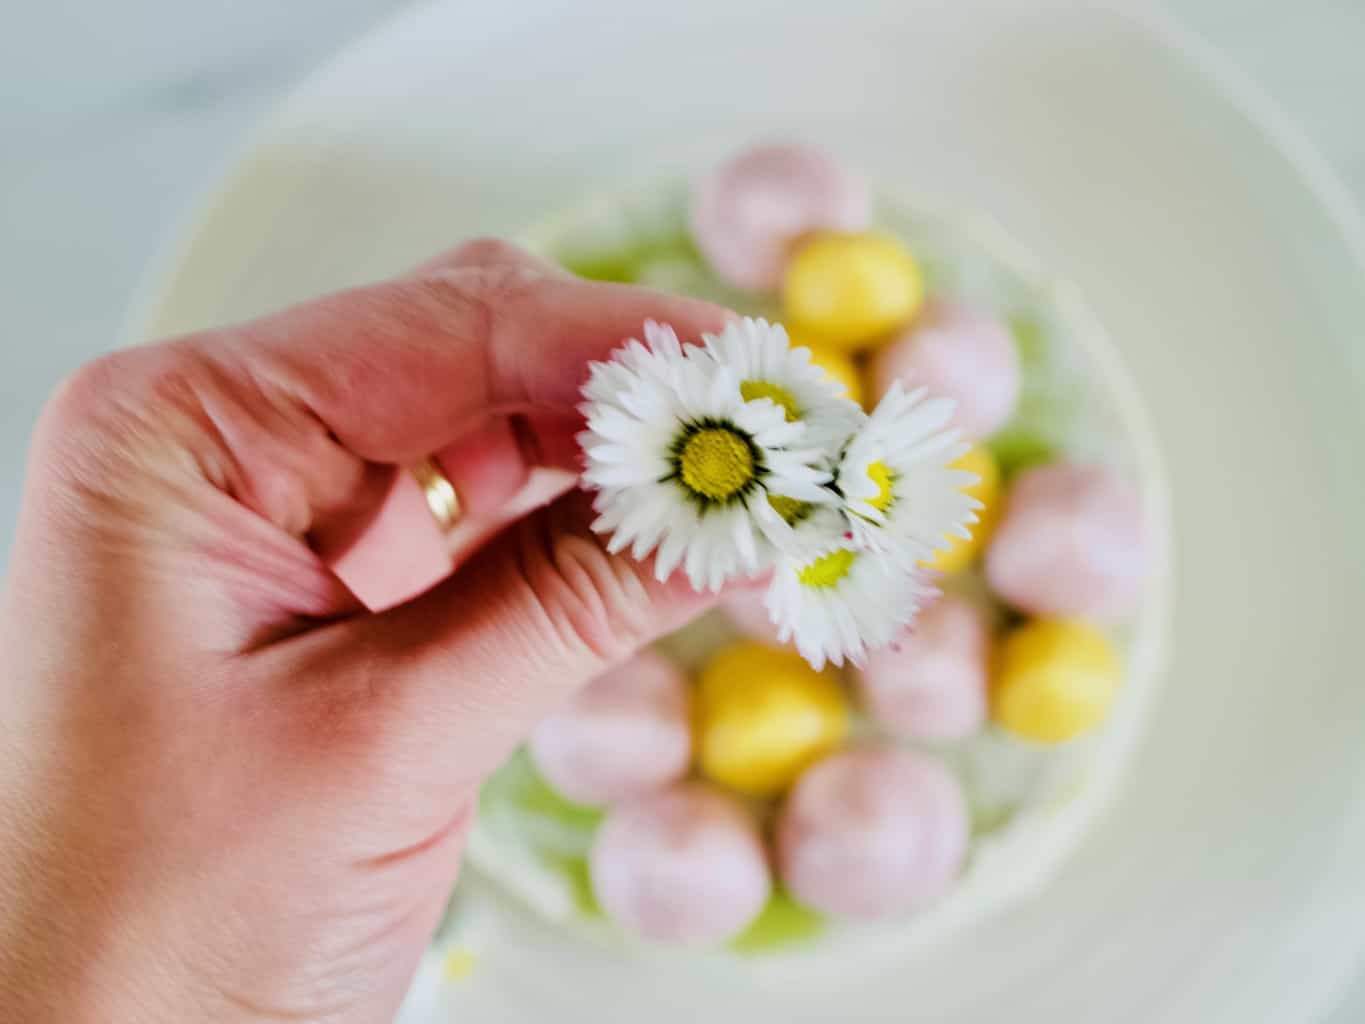
6. To assemble spread a little of the frosting between the layers of the completely cooled cakes and sandwich together. Cover the cake with some more frosting reserving a little for later. Using palette knife gently scrape of the icing creating that naked cake look.Spring-inspired celebration cake (with sweet peas) recipe 7. Split the remaining frosting into 2 or more bowls, unless you only want to dye it in one colour. I personally would have had only one colour (pink) now when I tried the multicolour. Add the beetroot powder (or other natural colour) and more icing sugar till the frosting reaches the right consistency. It needs to be stiff in order to keep its shape.Spring-inspired celebration cake (with sweet peas) recipe 8. Pipe the frosting on the cake using a piping bag and large round nozzle.Spring-inspired celebration cake (with sweet peas) recipe 9. Decorate the cake with wild flowers and herbs. It is amazing what you can find in the garden or in the park. These daisies are actually edible and were growing on my lawn.Spring-inspired celebration cake (with sweet peas) recipe Spring-inspired celebration cake (with sweet peas) recipeHappy spring waiting everyone!
Rasa xoxo

0

A year to find my style again: wardrobe detox

How I did my first wardrobe detoxOnce upon a time I knew my style. Yeah sure, I did not always wear the most exciting piece of clothing all the time, but I did know what suited my body shape. After having kids this changed dramatically. Yes I gained lots of weight (and lost some too), but my figure (my bust to be specific) has changed a lot which made me a little confused for a while. I could not understand why some of my clothes just don’t look right even though I do fit them. It took a while to figure out that because of my bust changes the overall balance of my figure changed too. Things that suit a flatter figure simply do not look the same on a fuller figure. I decided I need to find my new style and I couldn’t wait to start.  Now I have lost some weight finally the time is now!

On this journey I am planning to share my top findings on how to organise your wardrobe, how I do some alterations to old clothing to better fit my new figure, how to dress effectively (thinking to try creating one of those capsule wardrobe collections). I am going to invest in new clothing and maybe make some myself too! So watch this space girlies ;-).

So where do I start now? My obvious though is to first clear my wardrobe. I am not starting from scratch however! Over these past few years I bought some basics that fit and also some clothing pieces from the past does not do any harm in my wardrobe either. I decided to do a simple wardrobe detox where I remove all the clothes that no longer fit within the strict criterions I set out. So let’s get brutal, shall we?How I detoxed my wardrobeMy criteria for clothes that stay in the wardrobe were:

  • I have to like them (obviously), similarly to Mary Condo’s saying “it needs to give me joy”.
  • Have to fit me well, lots of time spend trying everything on!
  • Have to go with my style board, I have one on Pinterest.
  • Have to suit my body shape, probably the most important criteria!

With this I probably got rid of like at least 40%, my wardrobe looked a bit empty to begin with, but then I hang some stuff that could be hung from the drawers and that fixed it. Plus my drawers are much less crammed!

I did not empty the whole wardrobe and then put back what I am keeping (this is what Mary Condo does), instead I removed only the items that I am not going to wear straight away. When you have kids running around I find this is much more practical.

I made three piles:

  1. clothes that I am getting rid off
  2. clothes that I am passing on to my friend Vicki (we did lots of clothes switching in the past)
  3. clothes that need some alterations.

How I did my first wardrobe detoxEventually the pile of clothes that I am getting rid off ended up being the largest of course. That has been bagged ready to go to the charity shop.How I did my first wardrobe detox How I did my first wardrobe detox The drawers! I wish I took a picture of how it looked before. It was very very crammed. Although I am generally quite organised and I would not describe myself as a hoarder, because of a busy season in my life I let myself go a bit. My clothes were not only crammed, but also as hard as I find to say it; they were in chaos. I did not know what clothes I had and were mostly wearing a couple of items over and over again that were on the top. With the clear-out I gained the space where I could insert clothes organisers/dividers and fold everything in a way that is visible. I have been using my new organised wardrobe for few days now and I can’t describe how happy it makes me every time I open it :-).How I did my first wardrobe detoxHope you find this helpful if you are also going to do a wardrobe clear-out.

Rasa xoxo

1

Easy salmon and nettle quiche + dairy free version too!

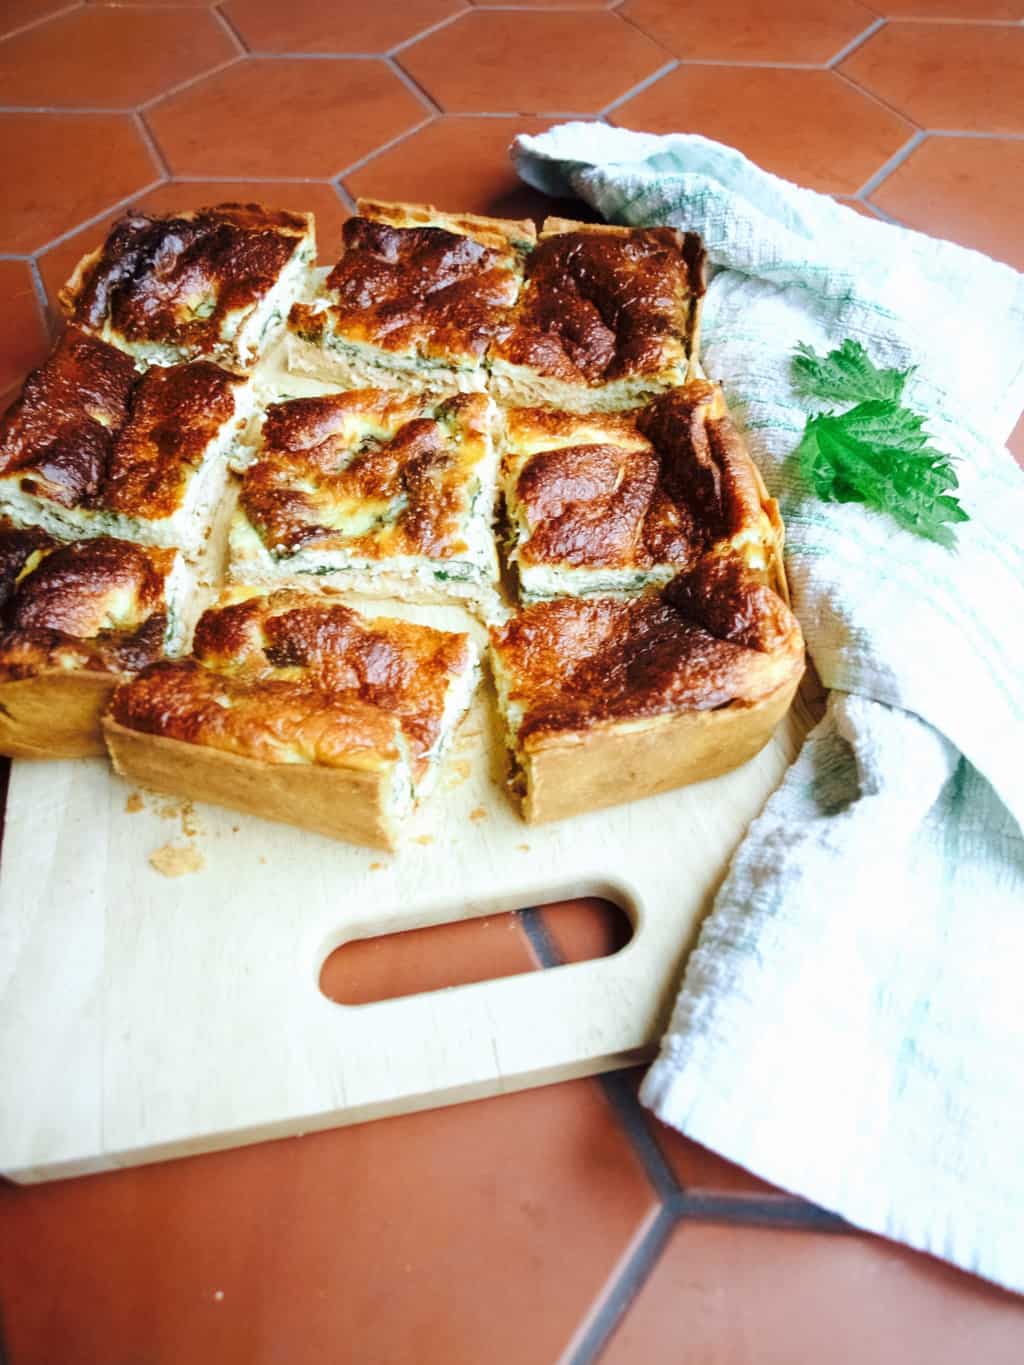
Easy salmon and nettle quiche recipe + dairy free version So finally I made something using stinging nettles. I’ve wanted to do this for so long because in spring time we have plenty of them in the garden. I heard that you can use this “weed” in place of spinach, so I was eager to try it out. I instinctively thought quiche is where it could work best. I usually match salmon with broccoli, but nettle seems to work really well too.

Generally I like foraging and sometimes taste different plants if I am not sure if they are what I think they are(I don’t recommend doing it though as you might consume poisonous plants by accident). However I rarely bring it home and make something out of it. While in Devon I found some wild garlic leaves, which was really exciting, and I wish I had brought some of that  home.

One more thing I would like to add is that I recently started trying out recipes dairy free. We currently testing whether Tomas eczema is related to a possible milk allergy and while I hope he isn’t allergic I am secretly enjoying the challenge. So I also made the quiche in a dairy free version too! It turned out very close to regular quiche, yey! If you would like to try these quiches then scroll down for the recipe.Easy salmon and nettle quiche recipe + dairy free version EASY SALMON AND NETTLE QUICHE

Its easy because you don’t need to blind bake the pastry ;-)

(for the pastry)

  • 90g softened butter (replace it with sunflower spread for dairy free version)
  • 1tsp sugar
  • a pinch of salt
  • 180g plain flour
  • 2 egg yolks
  • ice-cold water (you will find you don’t need this for dairy free version)

(for the filling)

  • 180g hot-smoked salmon fillets, flaked
  • a handful of stinging nettle leaves (pick young leaves from the plant that’s not flowering yet)
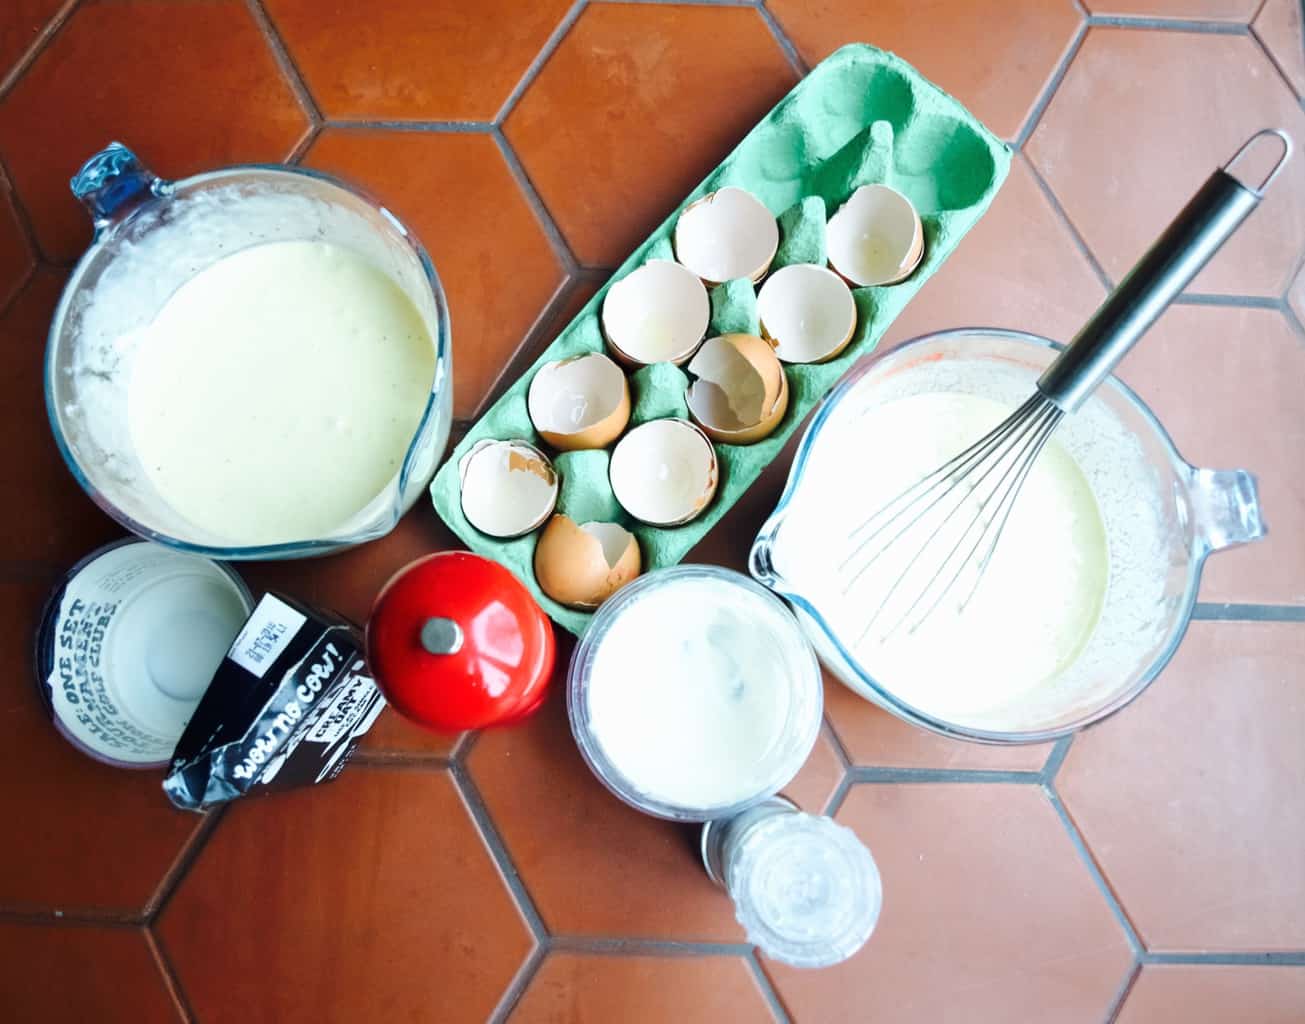
  • 4 eggs plus 2 egg yolk (save the whites to brush the pastry)
  • 300g creme fraiche (I used oatly creme fraiche and single cream mix for dairy free version)
  • 1 tsp salt
  • pepper

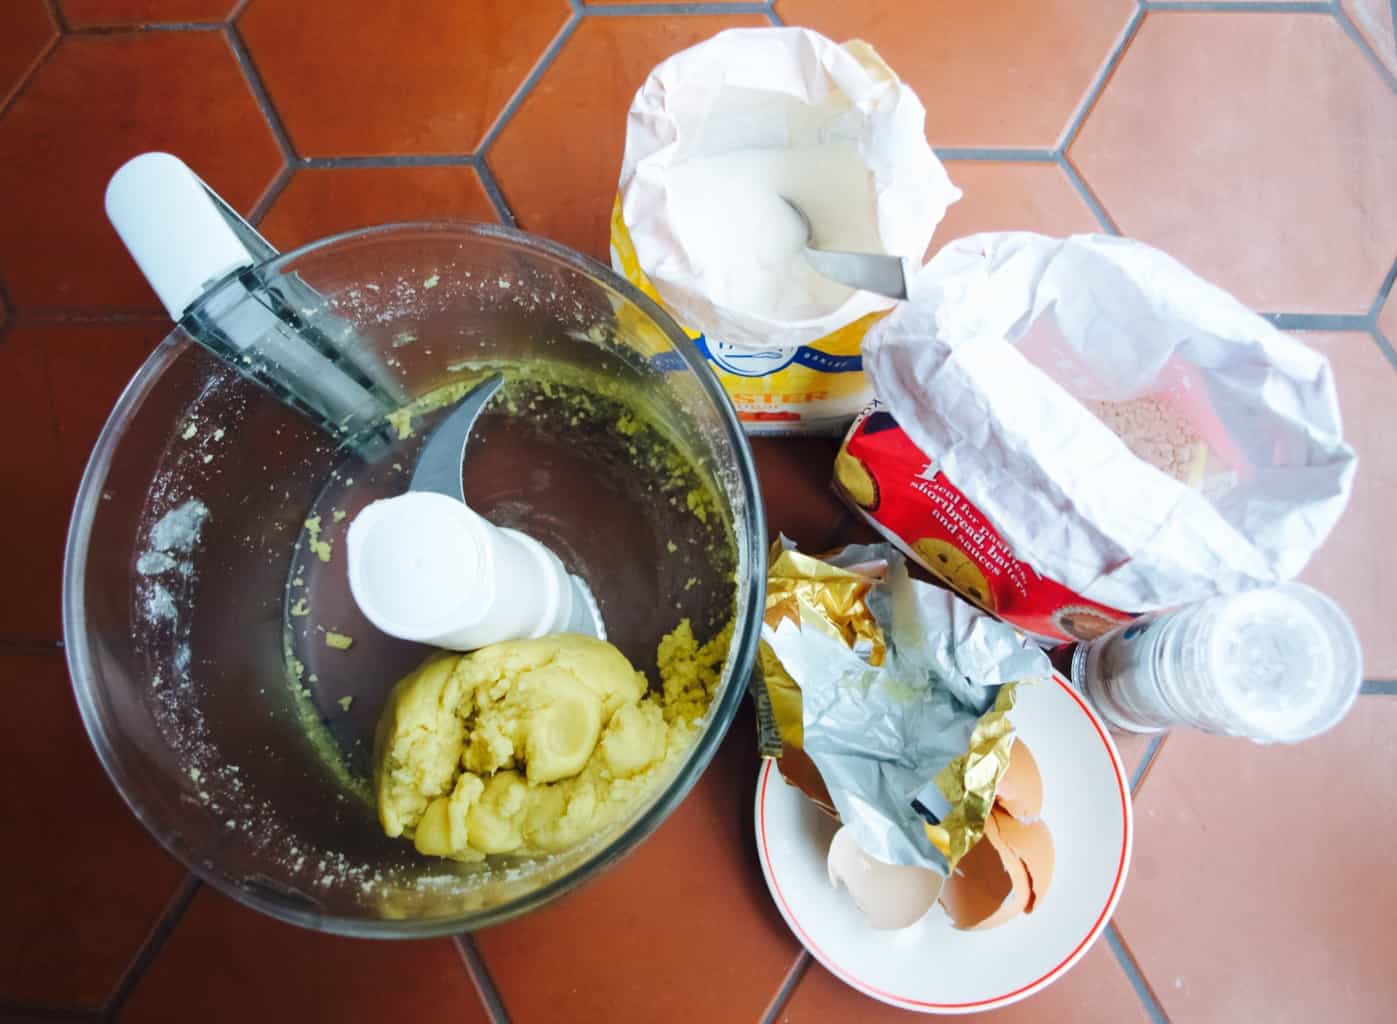
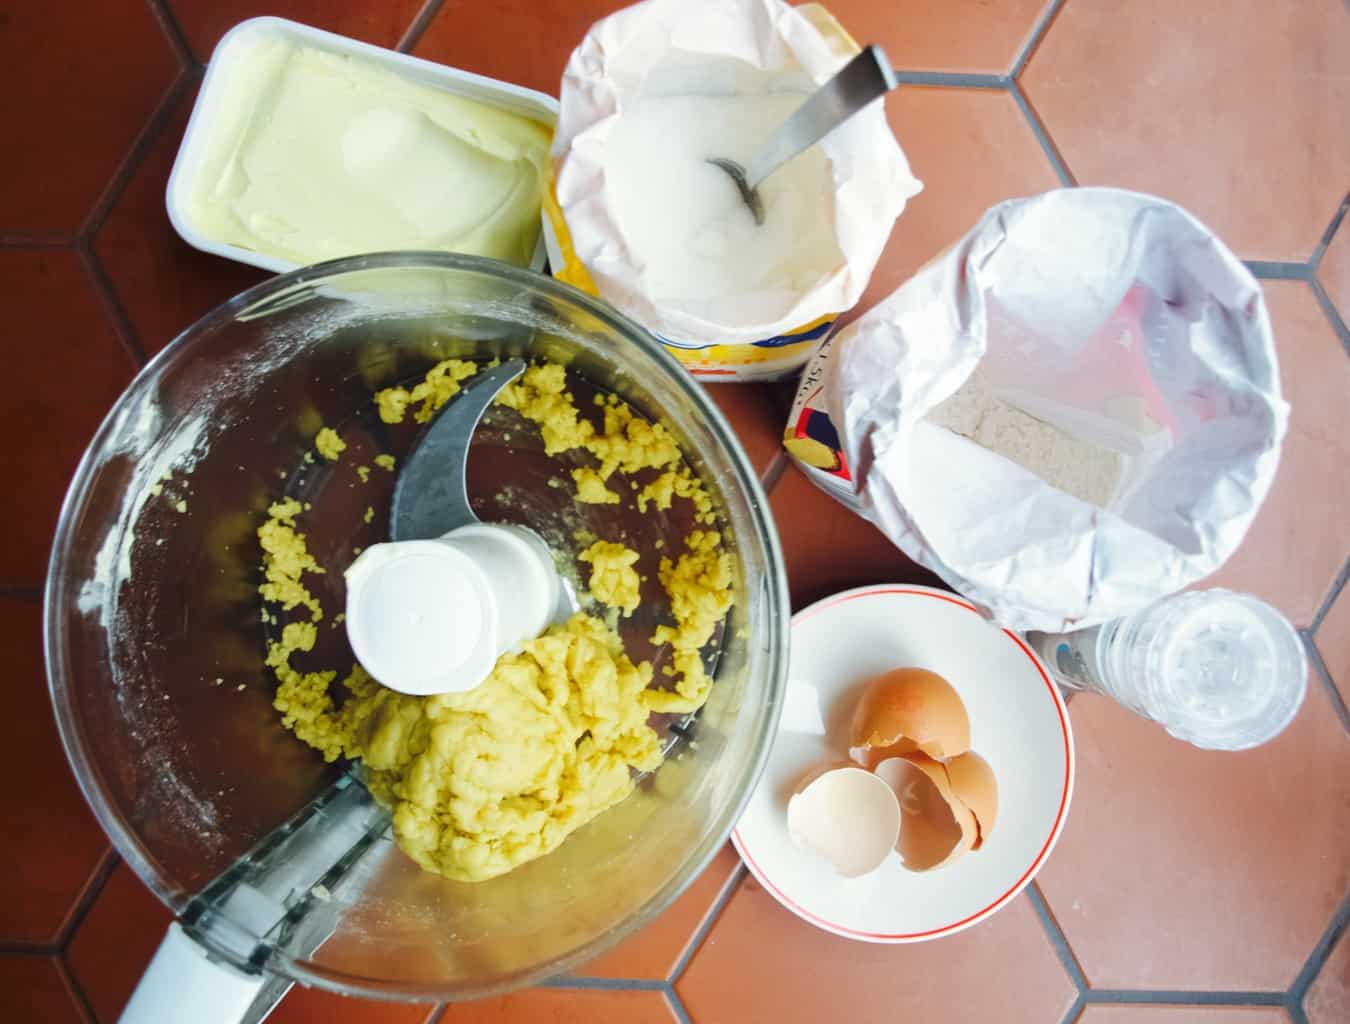
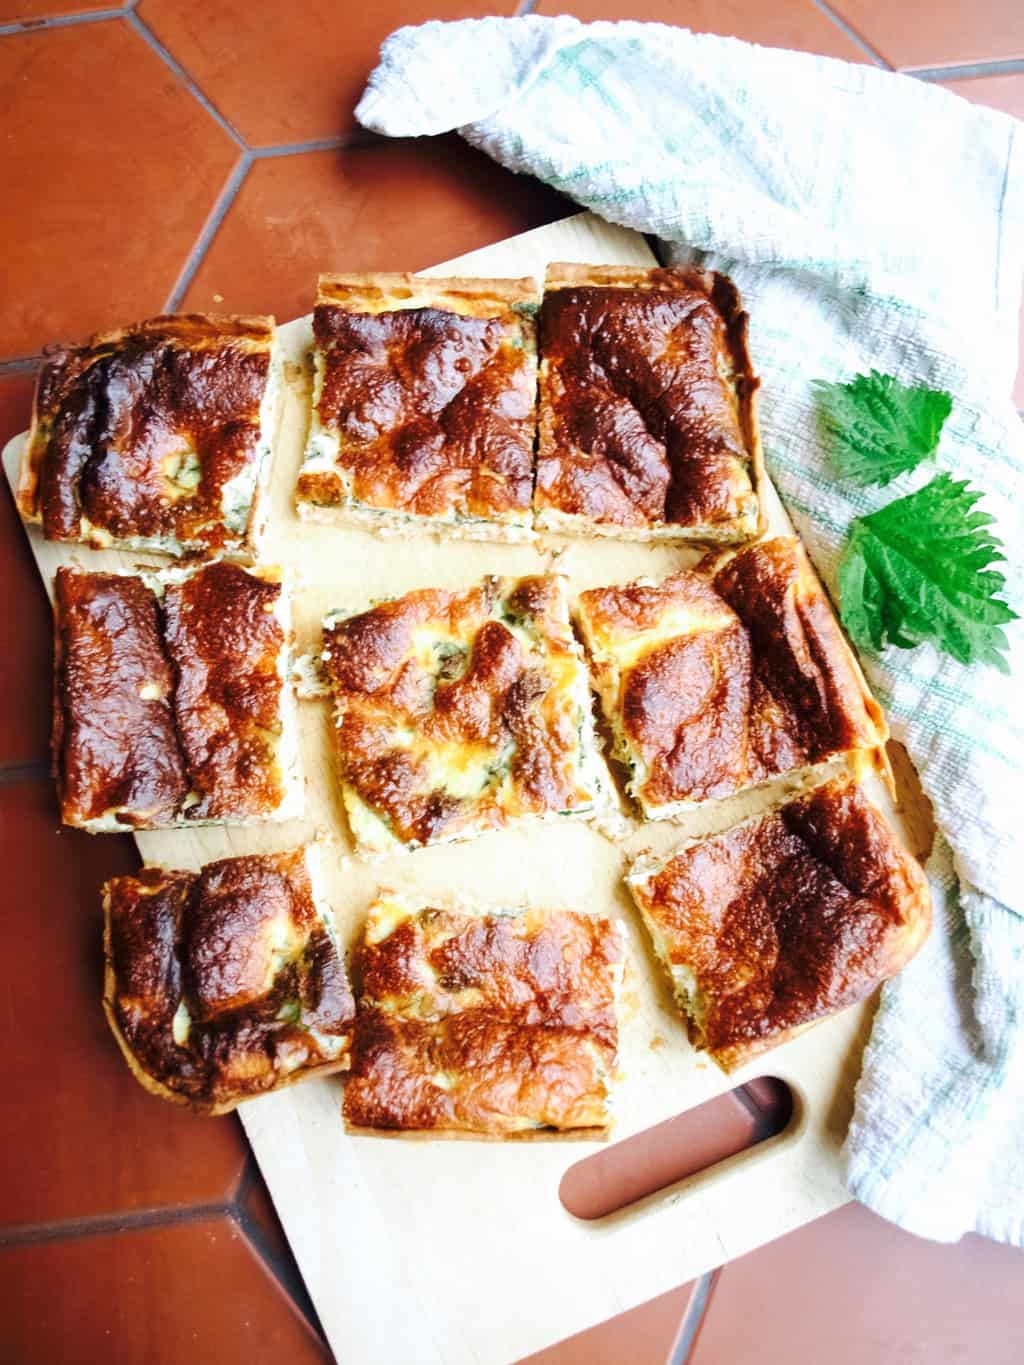
1. To make the pastry place all the ingredients (except the water) into the mixer. While mixing for few minuted gradually and slowly add water till it sticks into a ball. Wrap the dough in cling film and refrigerate for an hour or till when you are ready to use it.Easy salmon and nettle quiche recipe + dairy free version The dairy free version came out more moist (which is why you probably don’t need to add water into it) and did not solidify in the fridge.Easy salmon and nettle quiche recipe + dairy free version 2. Remove the pastry from the fridge 30min before using. Roll out the pastry between 2 sheets of baking paper to avoid until it is 5 mm thick. Line the baking tin or quiche dish with the pastry, brush it with egg white. Scatter salmon and nettle leaves in the pastry case. Refrigerate while preparing the egg mixture.Easy salmon and nettle quiche recipe + dairy free version 3. To make the egg mixture lightly beat the eggs in a bowl, add the creme fraiche (and cream if using) and seasoning and continue to beat until mixed well. Easy salmon and nettle quiche recipe + dairy free version 4. Pour the egg mix into the pastry case. Bake the quiche for 30-45min in 180C preheated oven or until the filling is golden brown and set.Easy salmon and nettle quiche recipe + dairy free version Can you guess which quiche is in the pics? I will give you a clue, it has oat milk in it! Yes, there were not many differences between these two quiches other that the texture and slight taste differences. Joni preferred the dairy one, I liked both. Tomas loved non-dairy one for all I care.Easy salmon and nettle quiche recipe + dairy free versionHope you like it too!

Rasa xoxo

0

Devon in spring

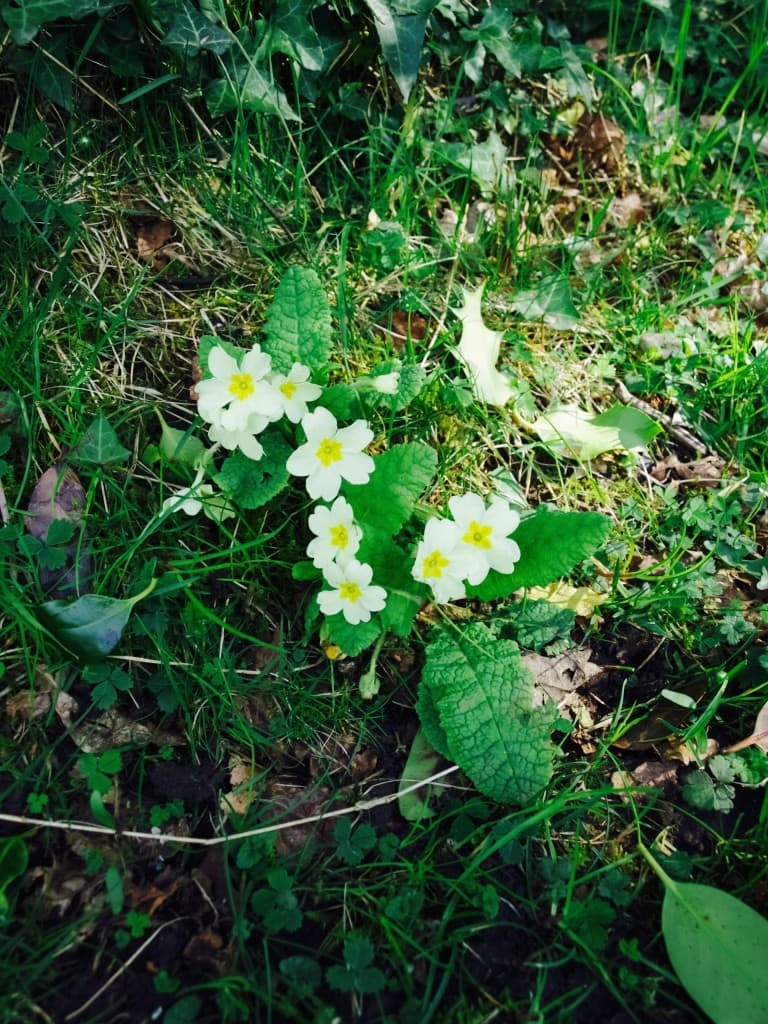
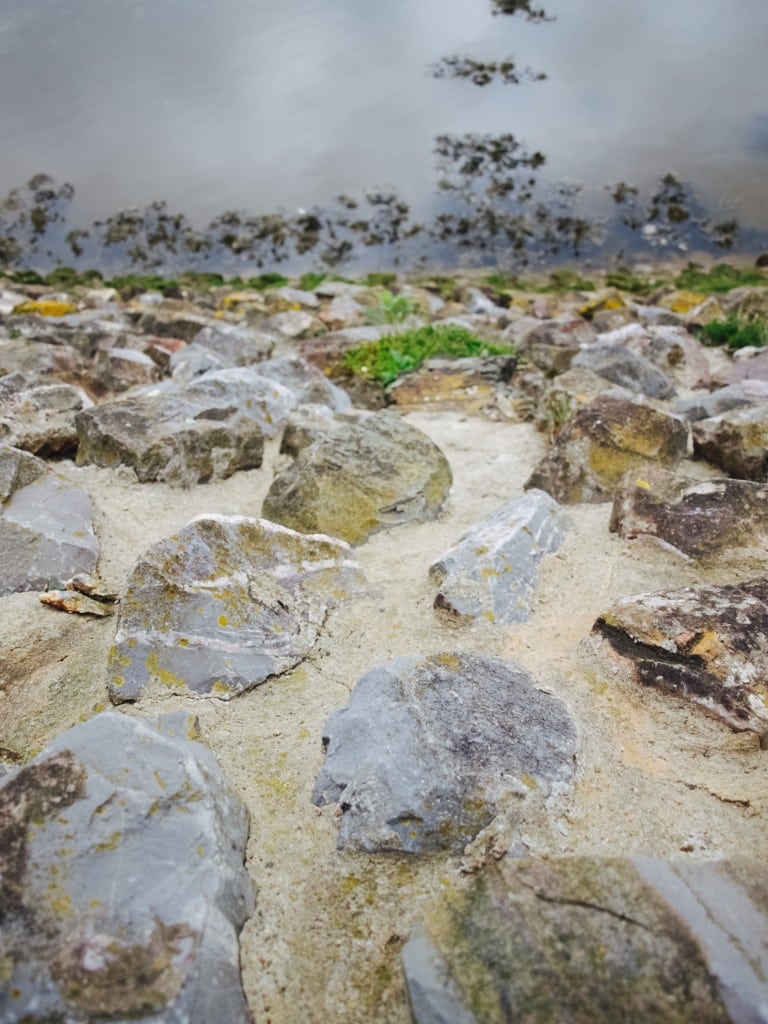
Devon in spring A week or so ago we had a pleasure of visiting Devon again. This time in spring! This is one of the benefits of having family somewhere far and dreamy (many negative aspects as well unfortunately). Like everywhere else in spring outdoors are filled with many bright coloured flowers like daffodils and bluebells, however here I found primroses as well (strangely it reminds me of Teletubbies scenery… hmm). Devon in spring: full of primroses Devon in spring Although we stayed in Honiton we have been lucky to explore further in Devon. We took a tramway to Seaton through dreamy marshes…Devon in spring: on the way to Seaton by Tramway Devon in spring: Seaton Devon in spring …and explored the seaside :).Devon in spring: Seaton Devon in spring: Seaton Devon in spring: Seaton Devon in spring: Seaton We also had a chance to visit Escot Park that happen to have this lovely cafe.Devon in spring: cafe at the Escot park Devon in spring Devon in spring: Escot Park Devon in spring: Escot Park Devon in springHope you all had a lovely Easter break too ;-)

Rasa xx

1

Temporary Easter wall decorations

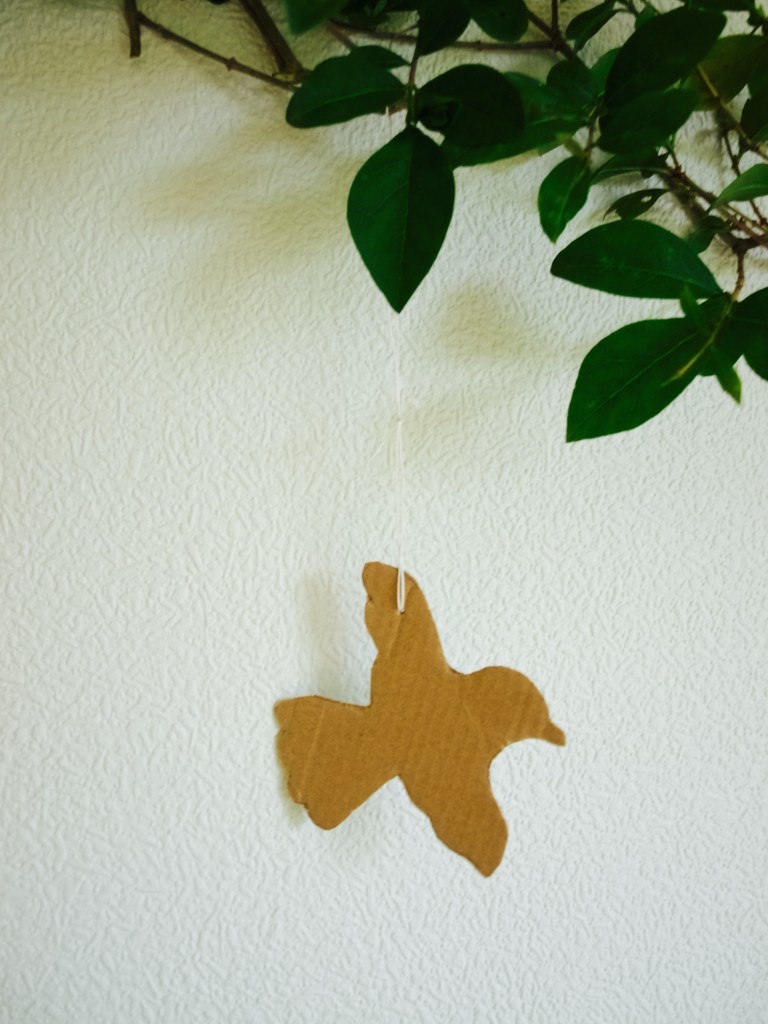
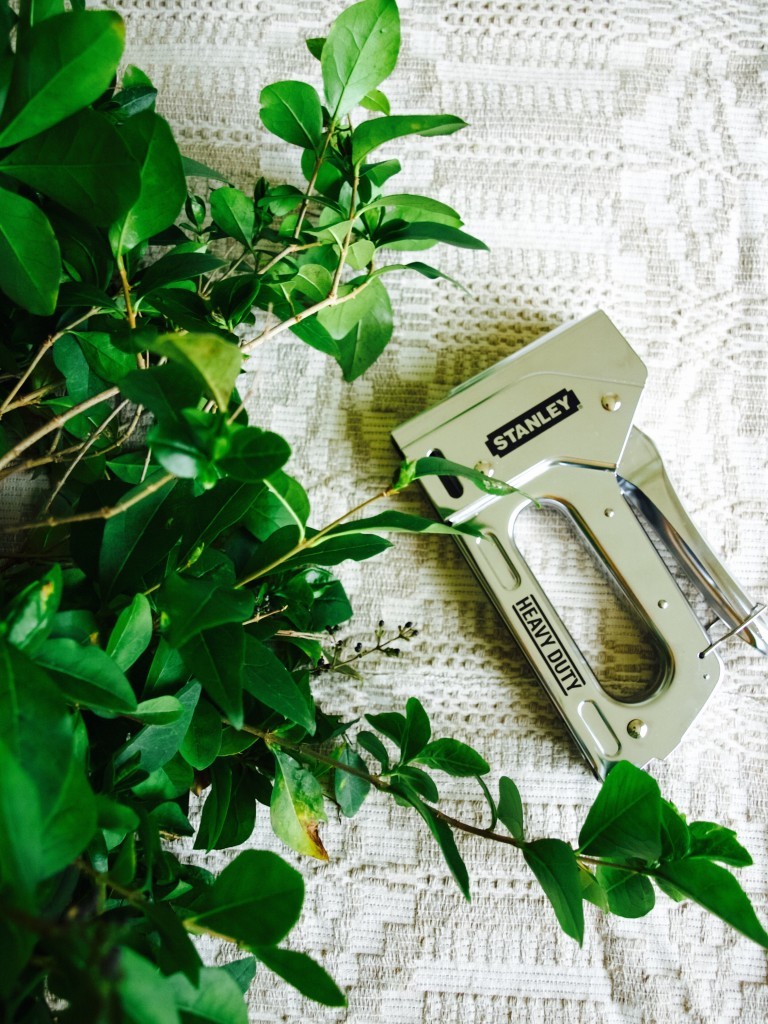
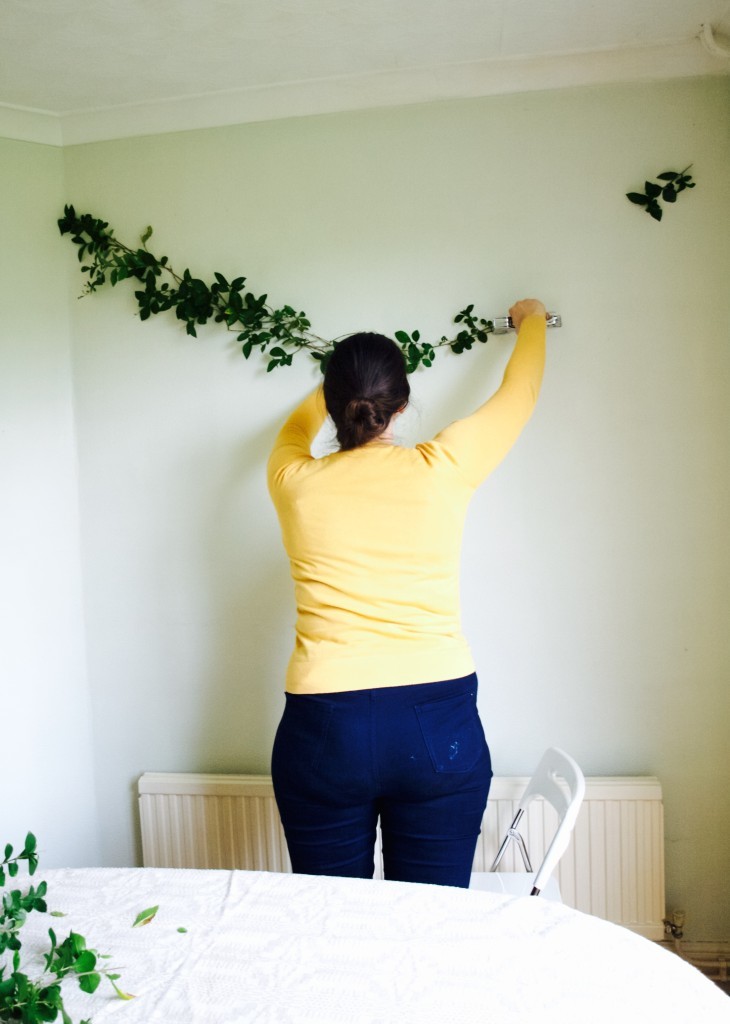
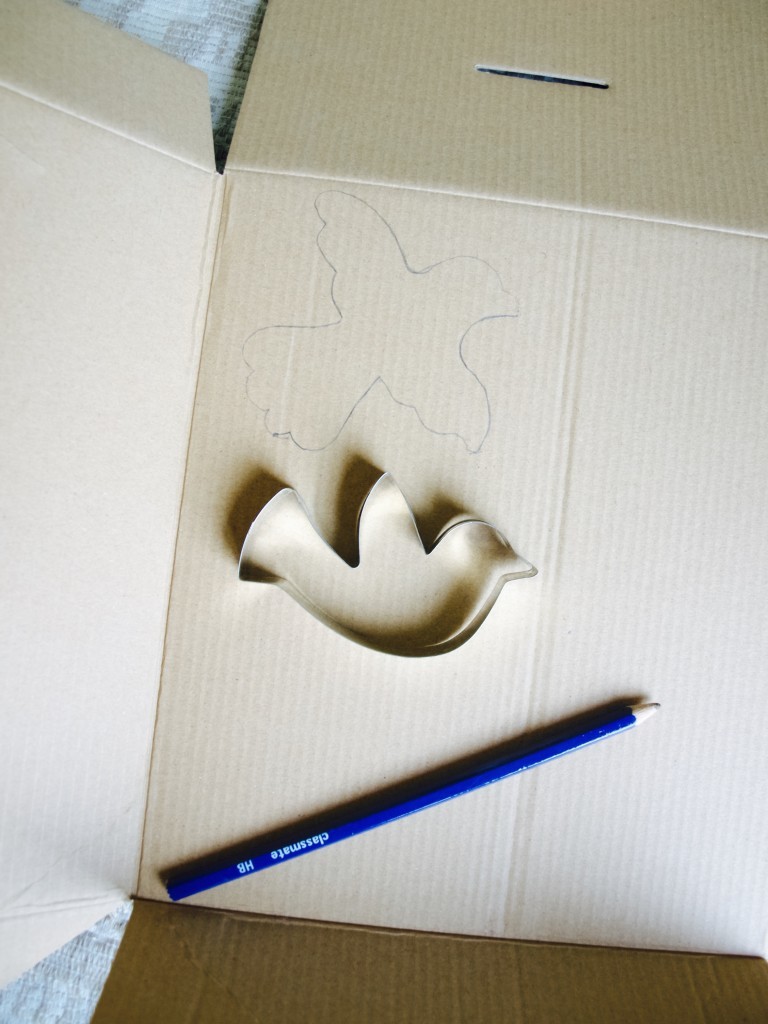
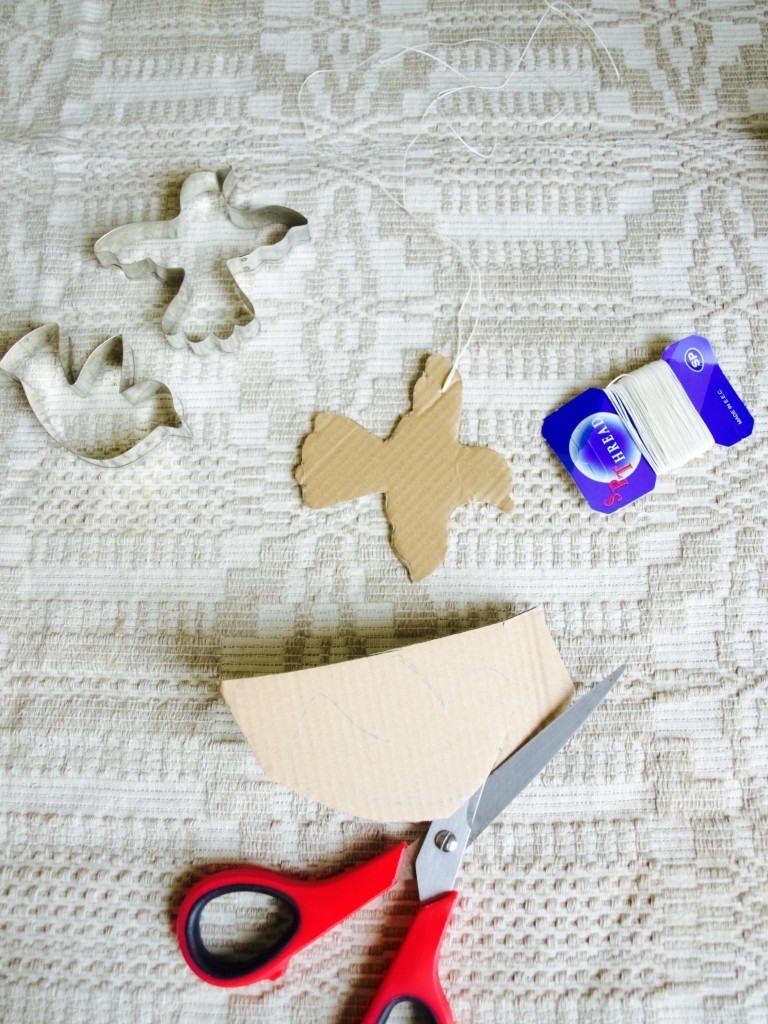
Temporary Easter wall decorationsTemporary Easter wall decorations Last weekend we hosted Lukas dedication in our house which was stressful to begin with but we all enjoyed it at the end. I decorated walls with bird/leaves “garland” which has been inspired by this one. I really liked the outcome and I thought this could be suitable for Easter as well! Except the fresh leaves have already dried up :-(. But if you hosting Easter at your place, I think this is a fab idea ;-). Just make sure you decorate it the day before or on the day, because it last around 3 days depending on the leaves you are using. I think what would look even more amazing is using branches with about to pop leaf buds, which should last even longer!Temporary Easter wall decorationsBecause majority of our walls in the house are not decorated the way we want yet, I used stapler to attach the leaves. In your case you probably would not want to damage your walls, so I suggest using a tape? Or attach all the leaves on the string and tie the ends of that string on something that sticks out (such as nails perhaps?). Let me know if you come up with something else ;-). Temporary Easter wall decorations Temporary Easter wall decorations Temporary Easter wall decorations Once the leaves are up it is super easy to tie the hanging birds on them. I made the birds almost the same way as these!Temporary Easter wall decorations Temporary Easter wall decorations Temporary Easter wall decorationsHappy Easter everyone!

Rasa xoxo

0

La la la… spring is coming!!!

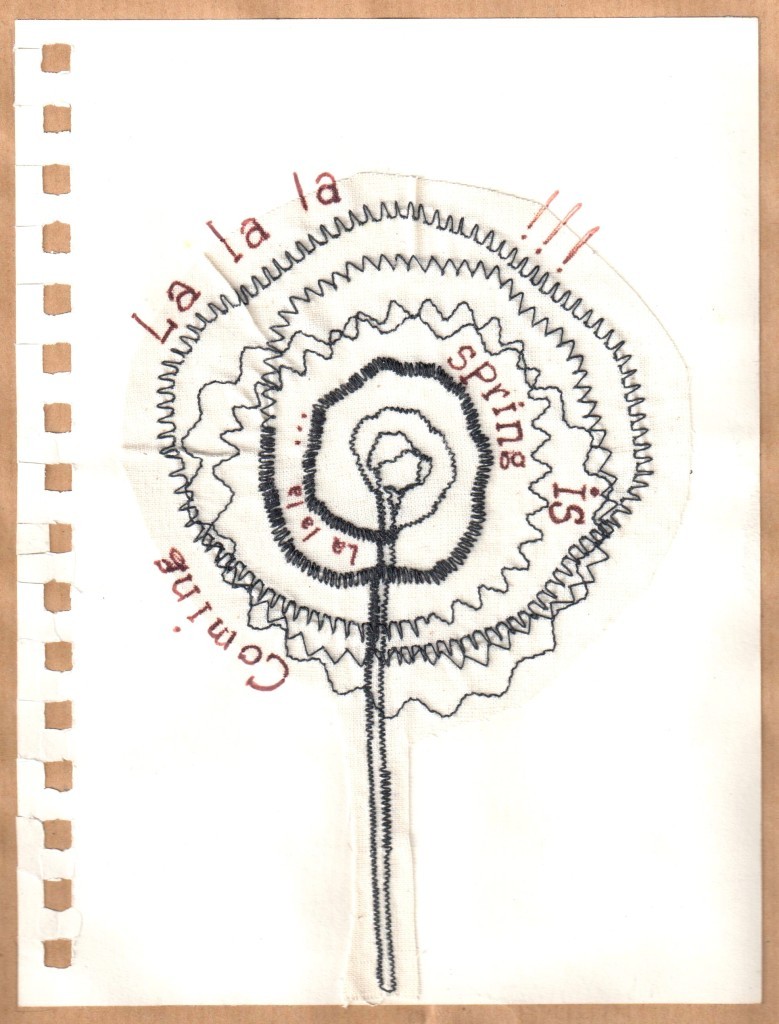
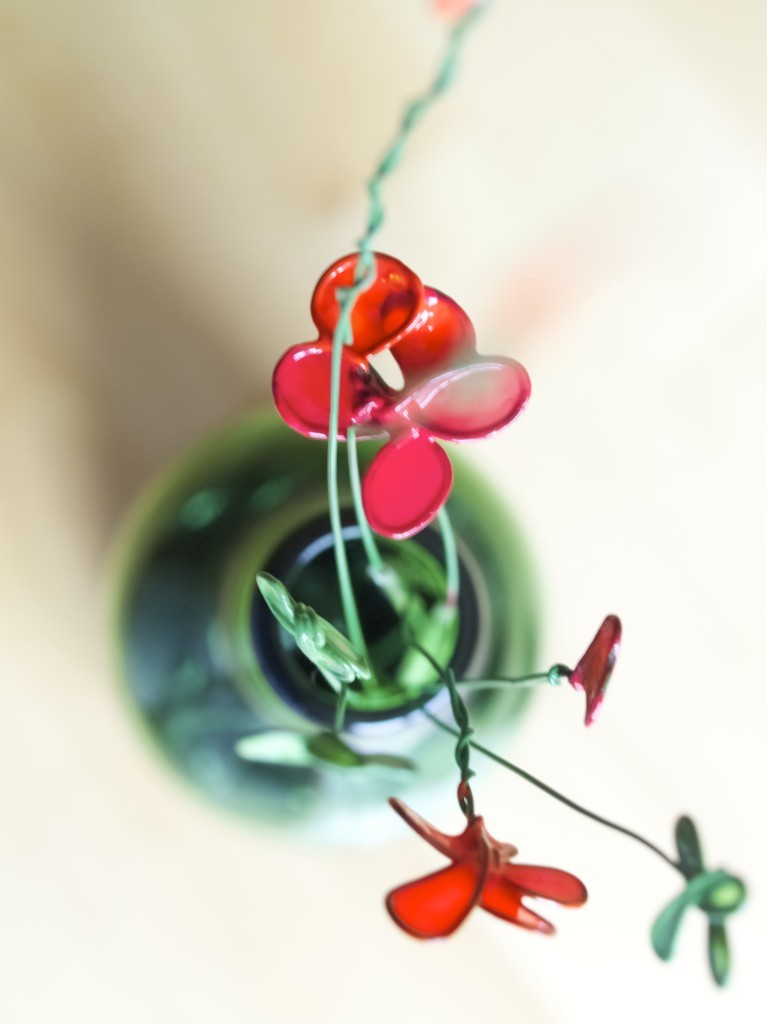
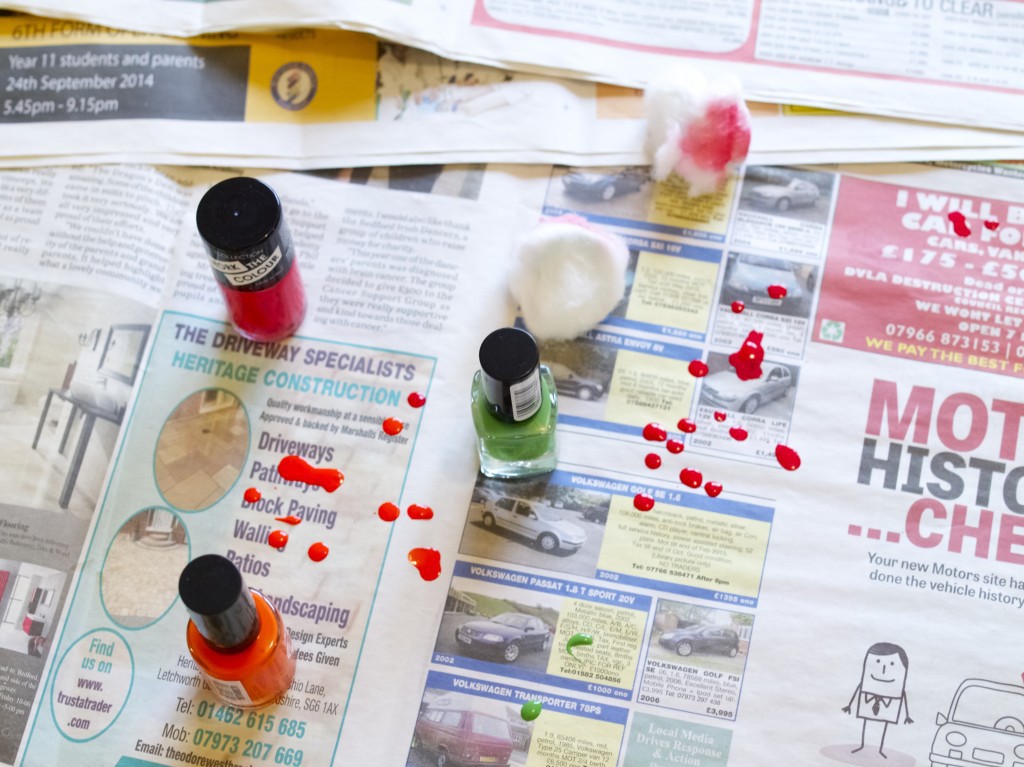
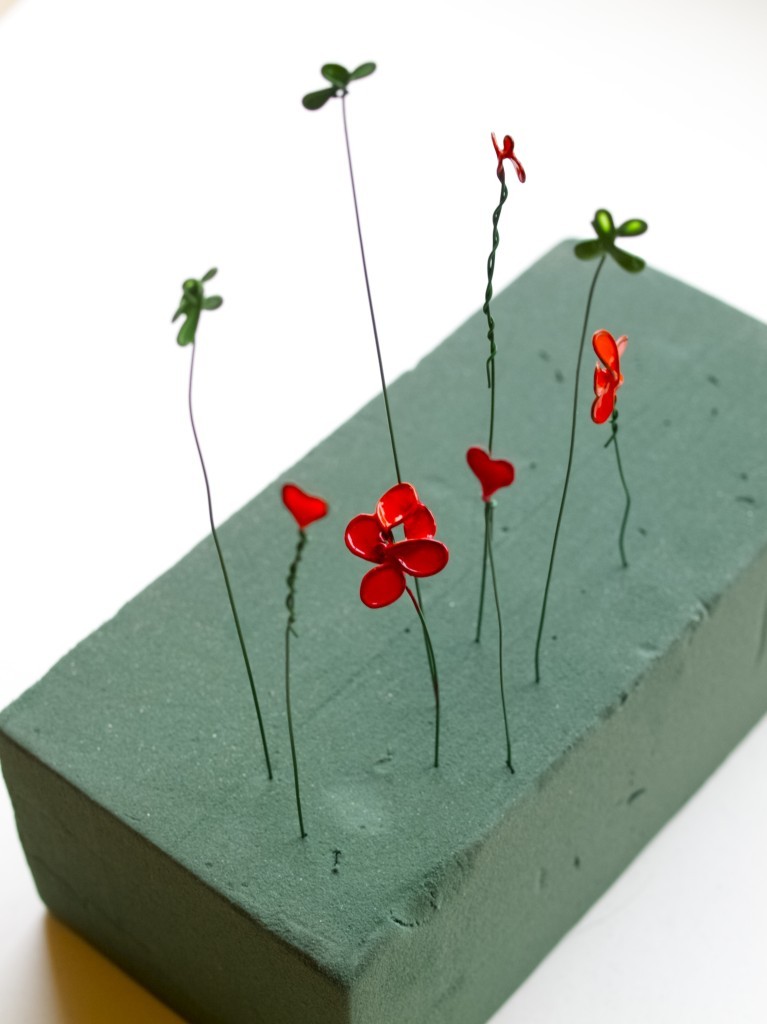
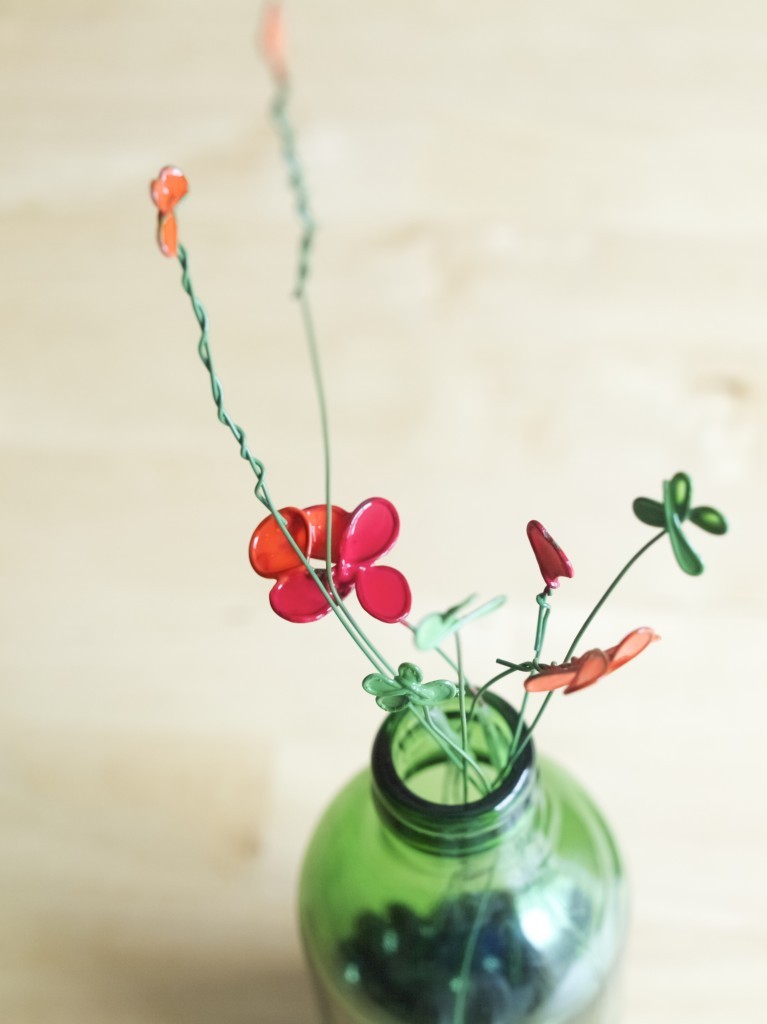
La la la... spring is coming! Vicki's early artworkThis is how I feel these days when the days are getting longer and brighter with occasional glimpse of sunshine(btw, this is Vicki’s early artwork and I am so lucky to have it!). Maybe it’s a little early to think about spring, but I am sooooo excited and can’t wait until blooming season will begin! For now I get easily pleased with anything flowers related such as these roses from Joni…La la la... spring is coming! Roses from JoniOr these flowers made of wire (it was Joni’s idea to make them). We made them last weekend and here are the step by step instructions for this lovely project. They are now decorating our windowsill :-). La la la... spring is coming! painted wire flowers DIYI must warn you though, this project can be messy! So have nail varnish and some cotton buds ready to use!  La la la... spring is coming! painted wire flowers DIYLa la la... spring is coming! painted wire flowers DIYLa la la... spring is coming! painted wire flowers DIYI hope this post brought some sunshine into your day ;-)

Rasa xoxo

1