Top

Archive | Recipes

Basic potato pancakes

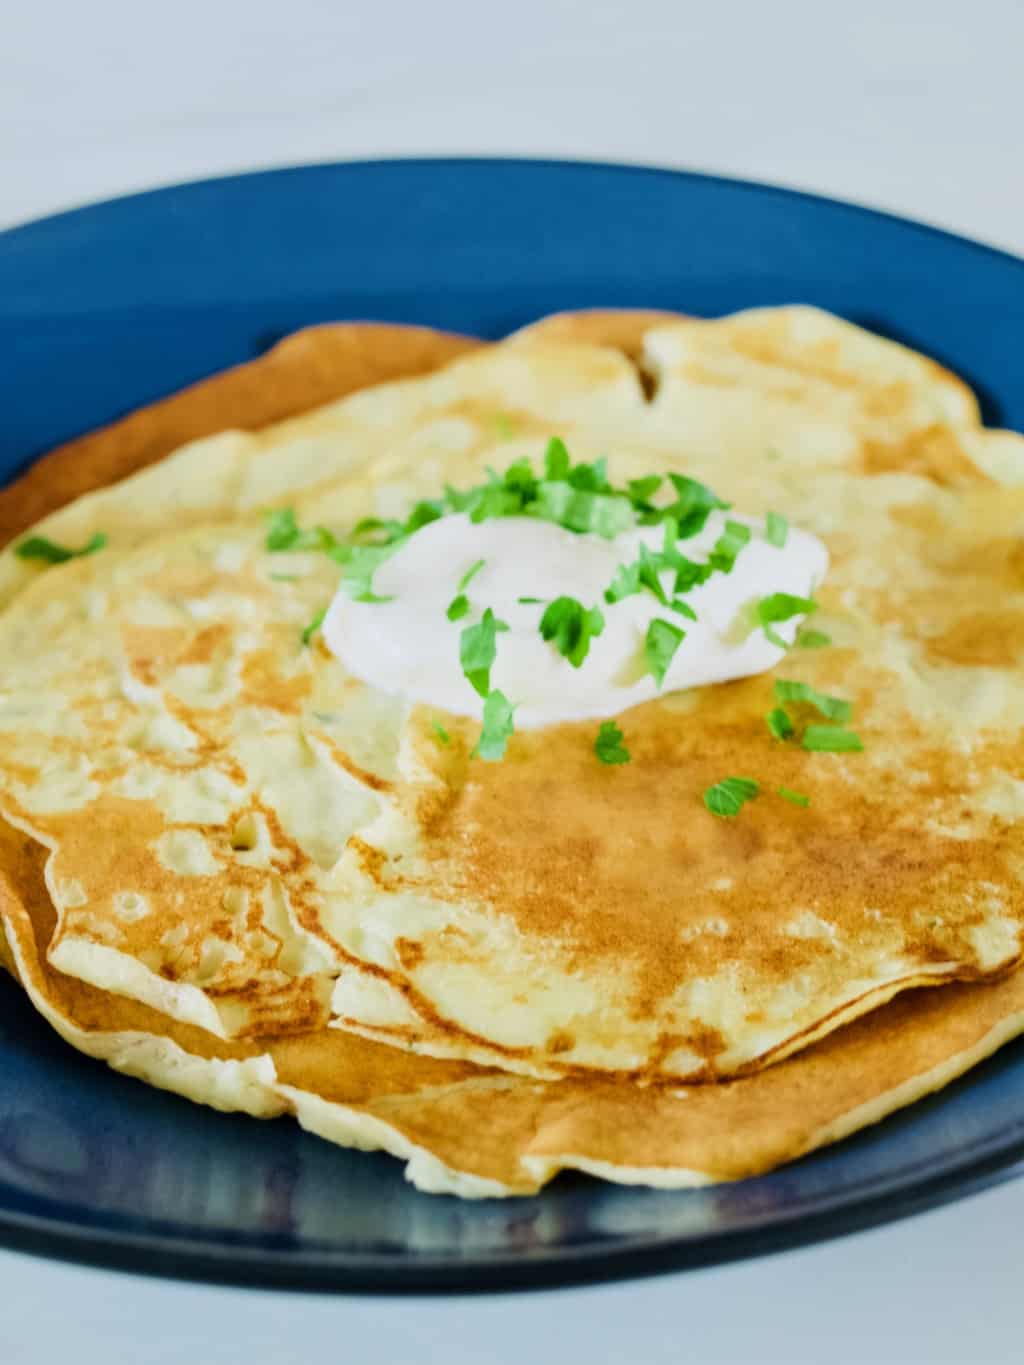
Basic potato pancake recipeYey! The pancake day is here! I thought I will share one of my savoury pancake recipe for this occasion ;-). It’s a potato pancake but not how you imagine. It’s not an Eastern European type of pancake that taste a little like a hash brown (although they are very tasty too) and it’s not a vegan type of pancake either. However it is a very versatile pancake that is tasty on it’s own or with the filling. I adapted this recipe from this waffle recipe. I loved it too much, but now in the pancake form I think I can enjoy it more frequently. Yum! Basic potato pancake recipeBASIC POTATO PANCAKES

  • 2 medium sized potatoes, cut into small uniform pieces
  • 2-4 garlic cloves
  • 1 onion
  • 1 tbsp fresh rosemary leaves (optional)
  • 60ml olive oil
  • 160ml milk
  • 2 eggs, whisked
  • 125g plain flour
  • salt and pepper to taste

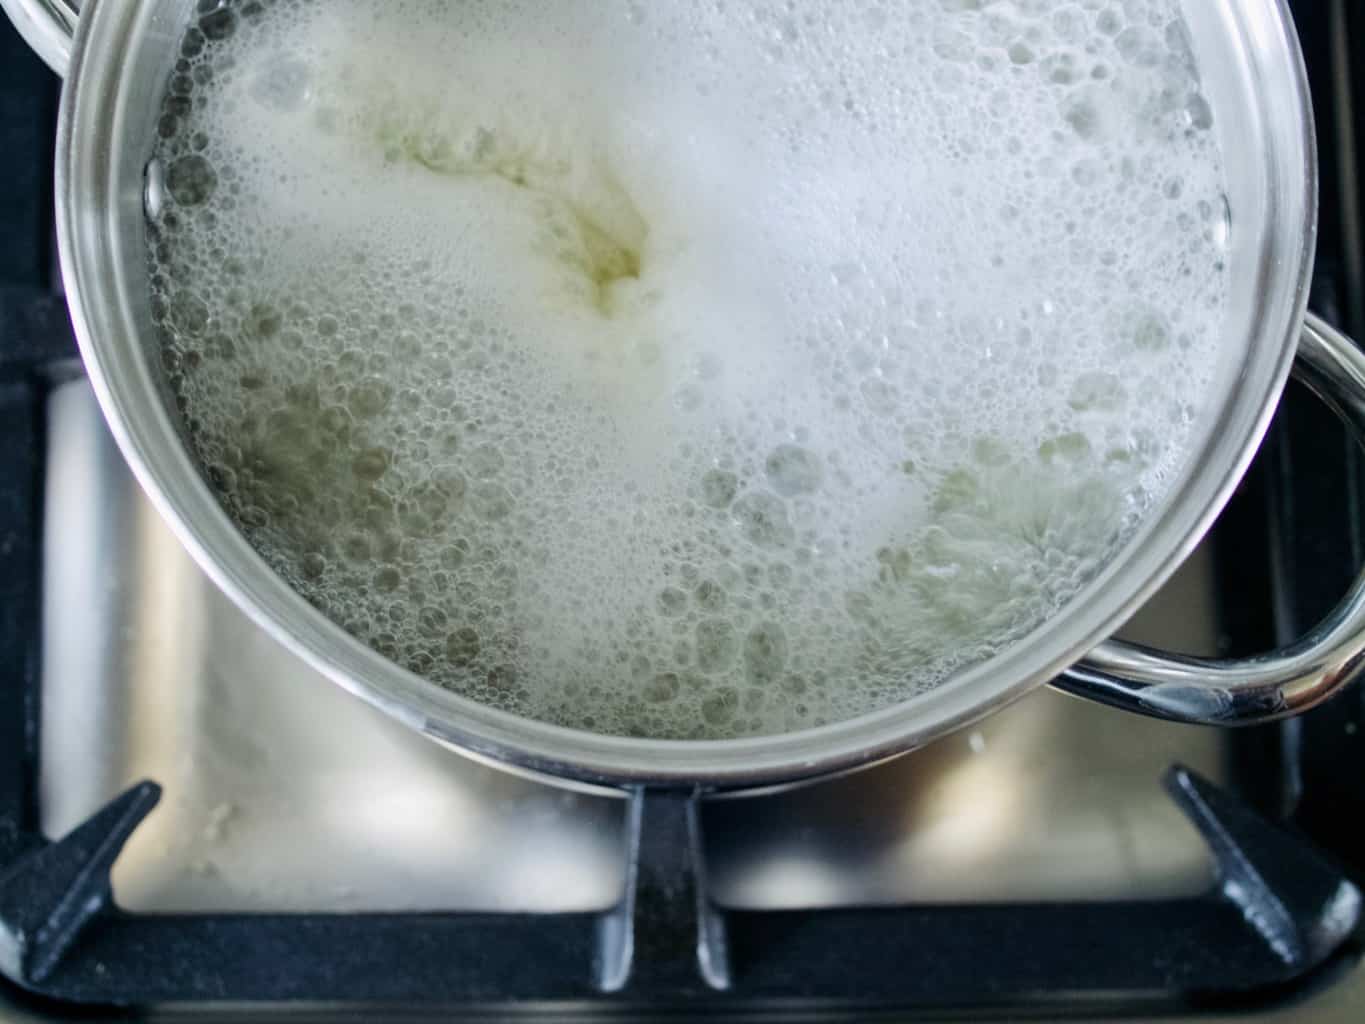
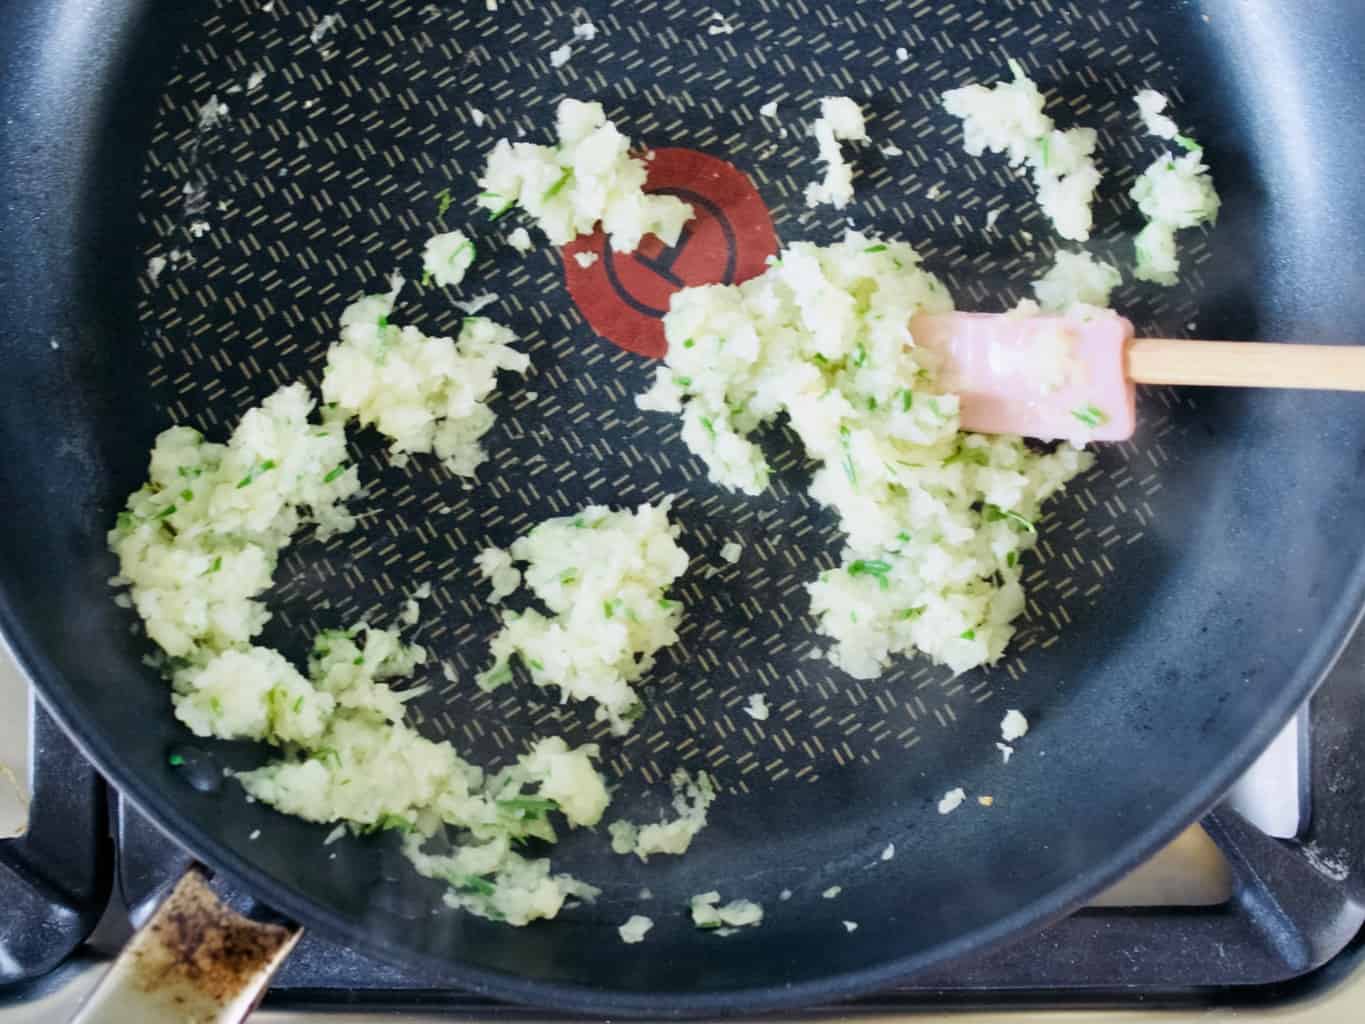
1. Put potatoes and garlic in a large pot with cold water to cover. Add a pinch of salt and bring to a boil. Then lower heat and cook until potatoes can be pierced easily with a fork drain, reserving about 60ml of potato/garlic water.Basic potato pancake recipe 2. While potatoes cook, puree onions with rosemary leaves if using. Heat olive oil and fry onion in a frying pan over low heat just until onion softens a bit.Basic potato pancake recipe3. Transfer the potatoes and garlic into the bowl or large mixing jug. Mash it and mix it together with onions.
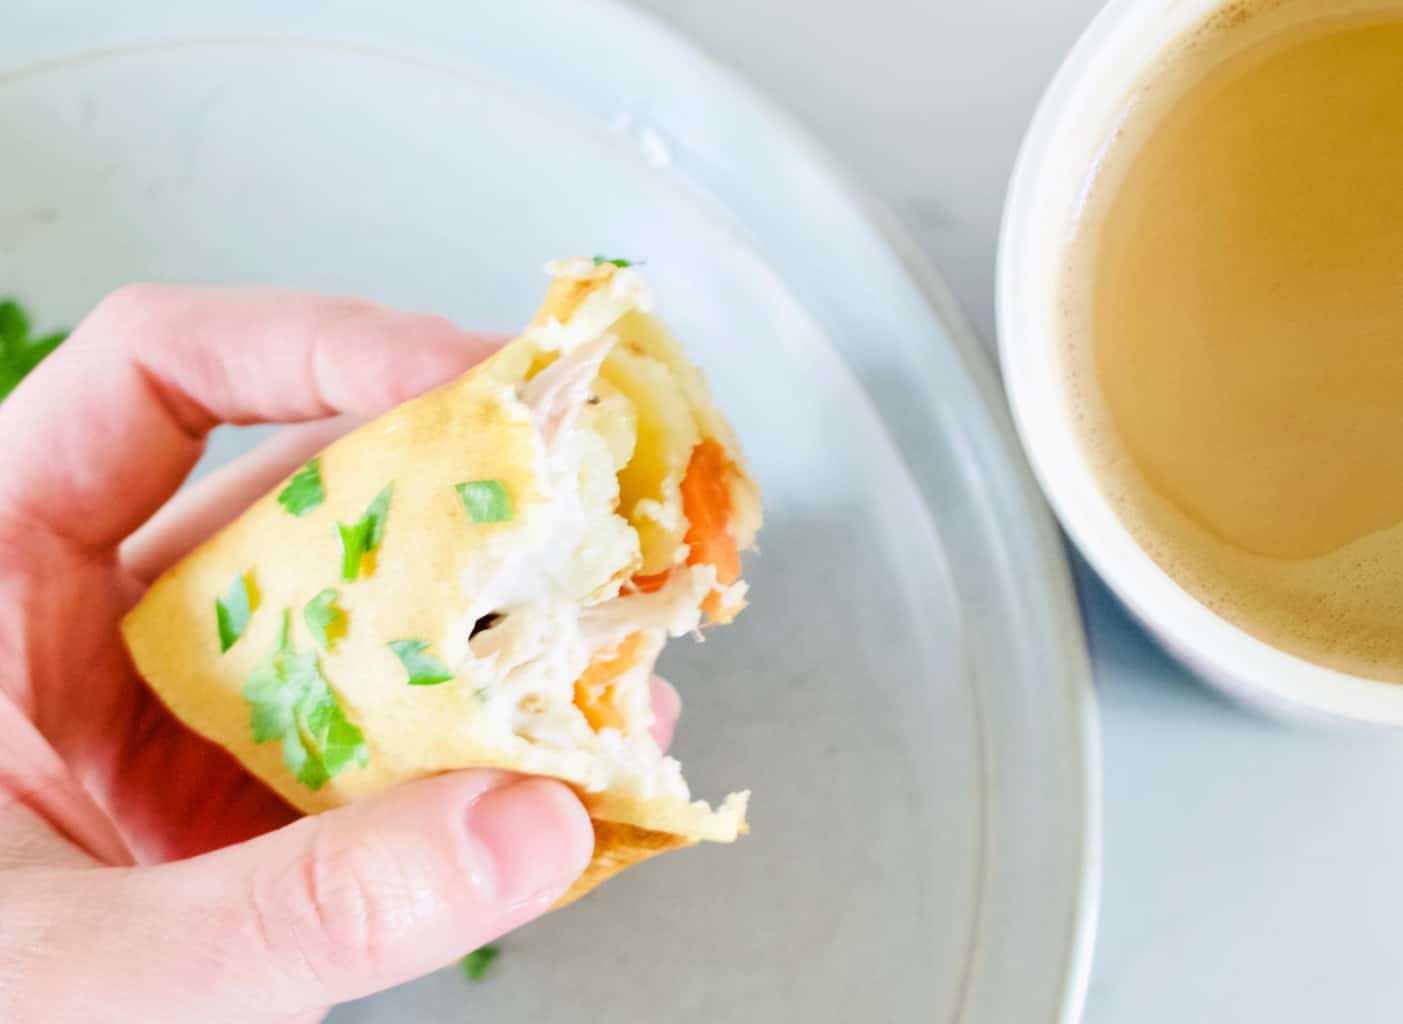
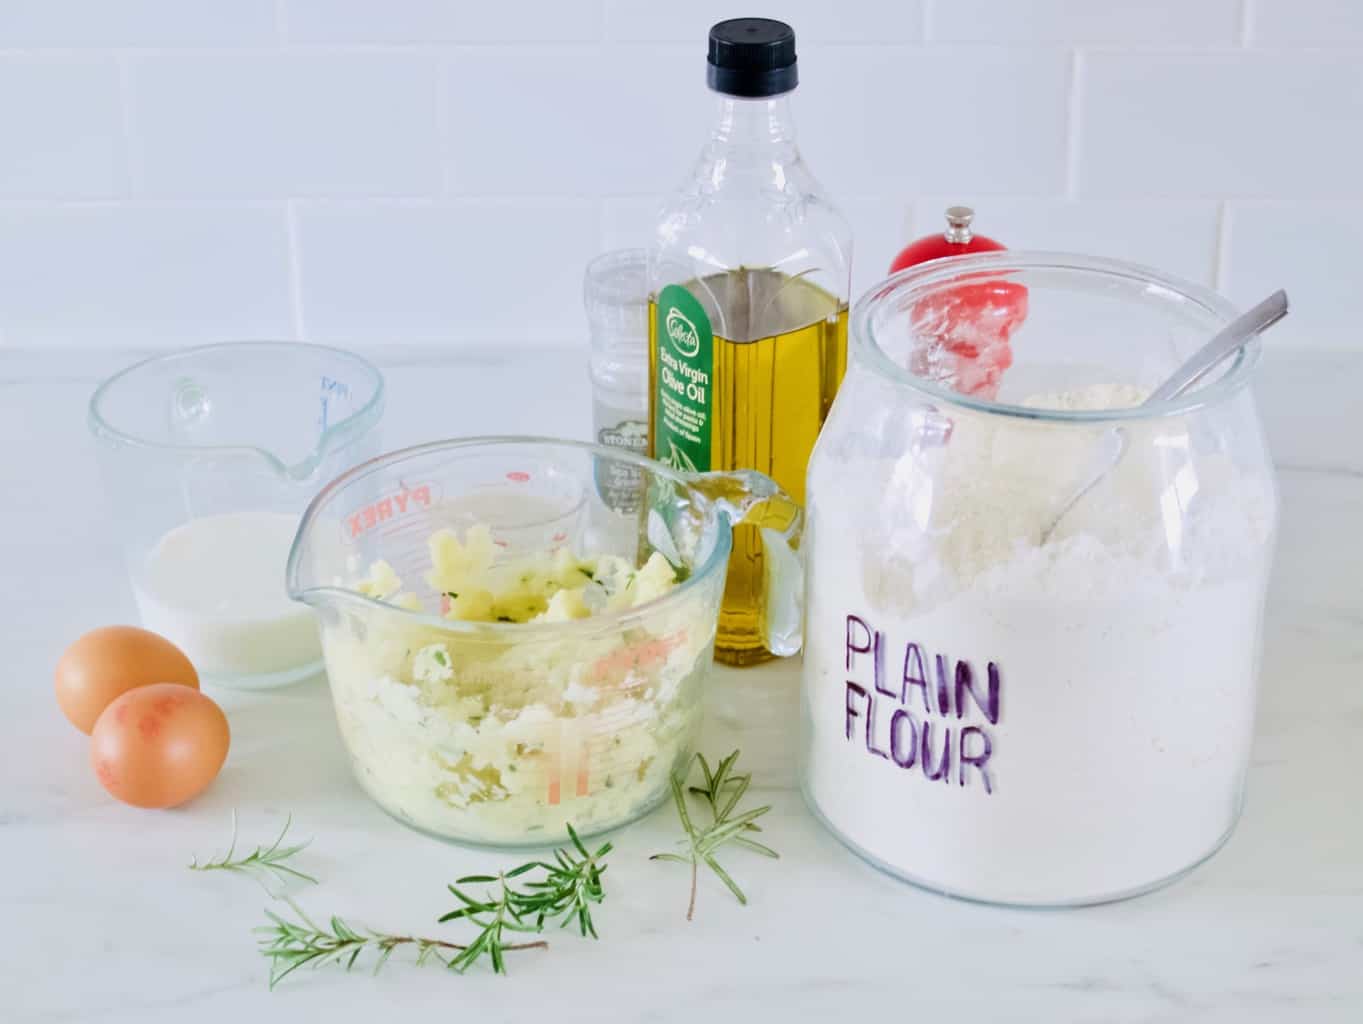
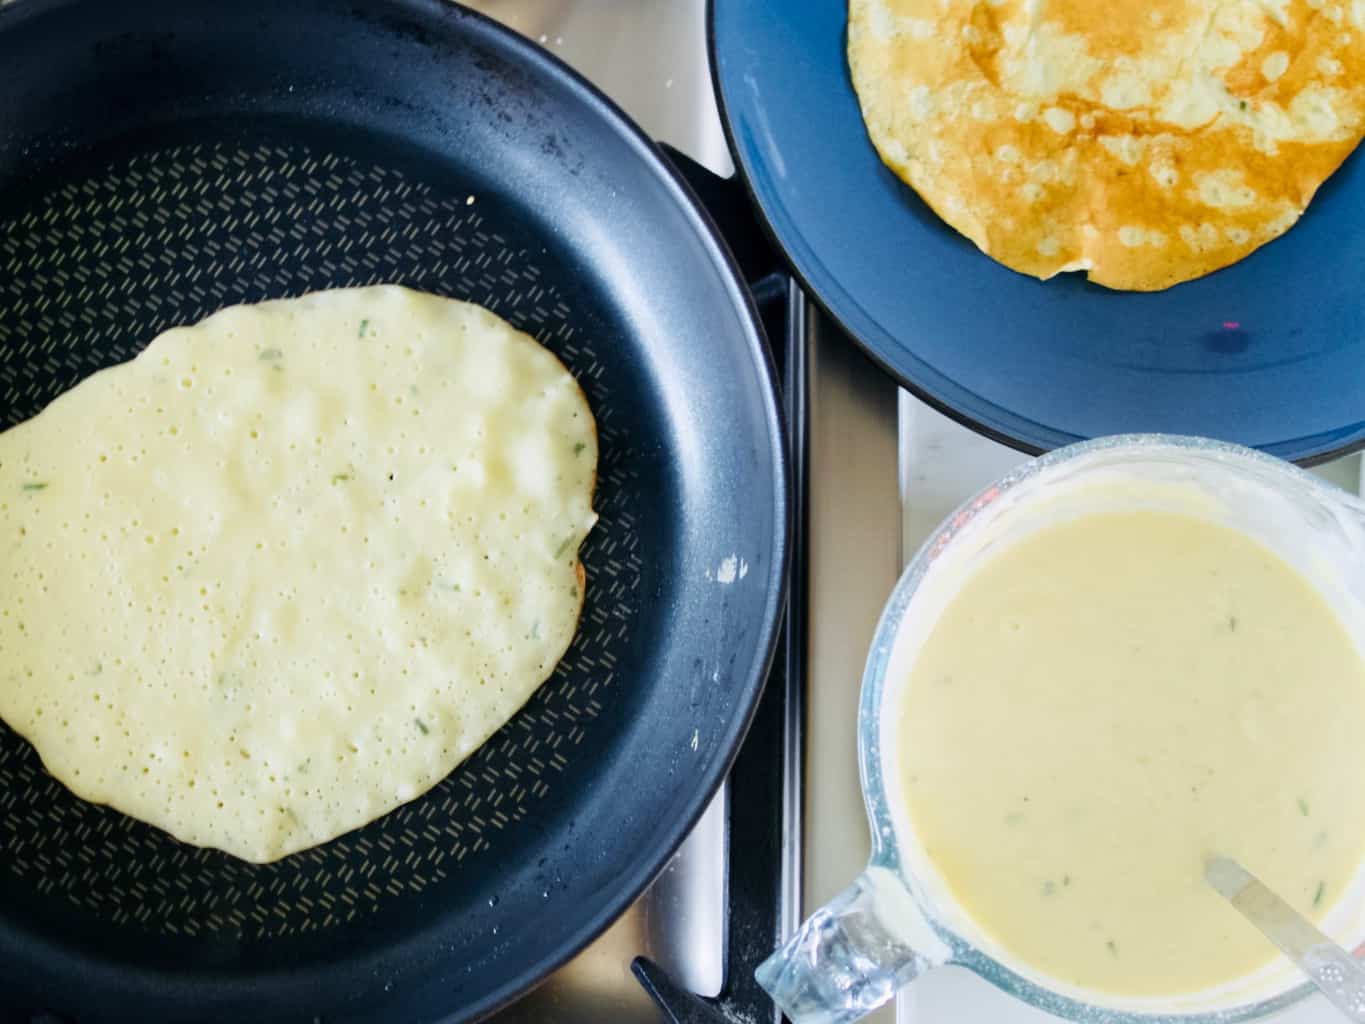
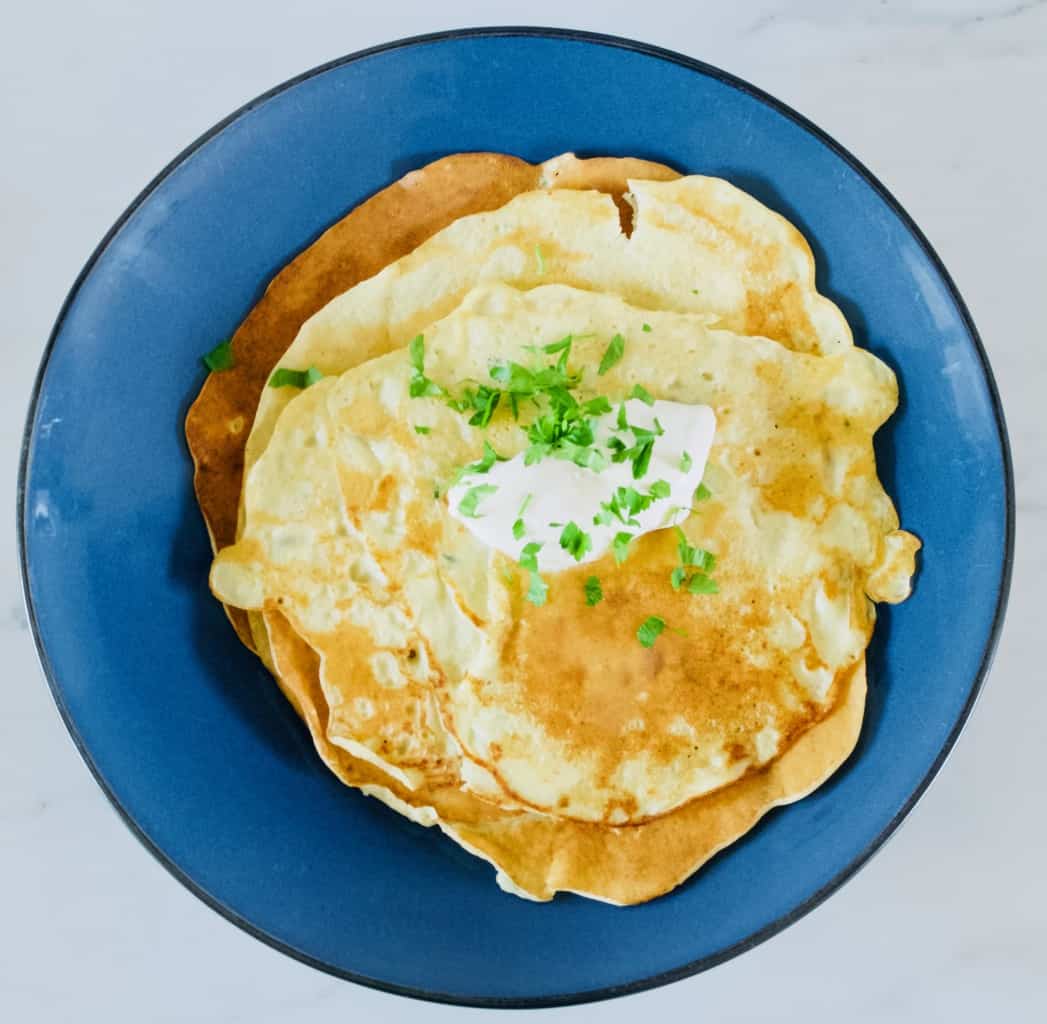
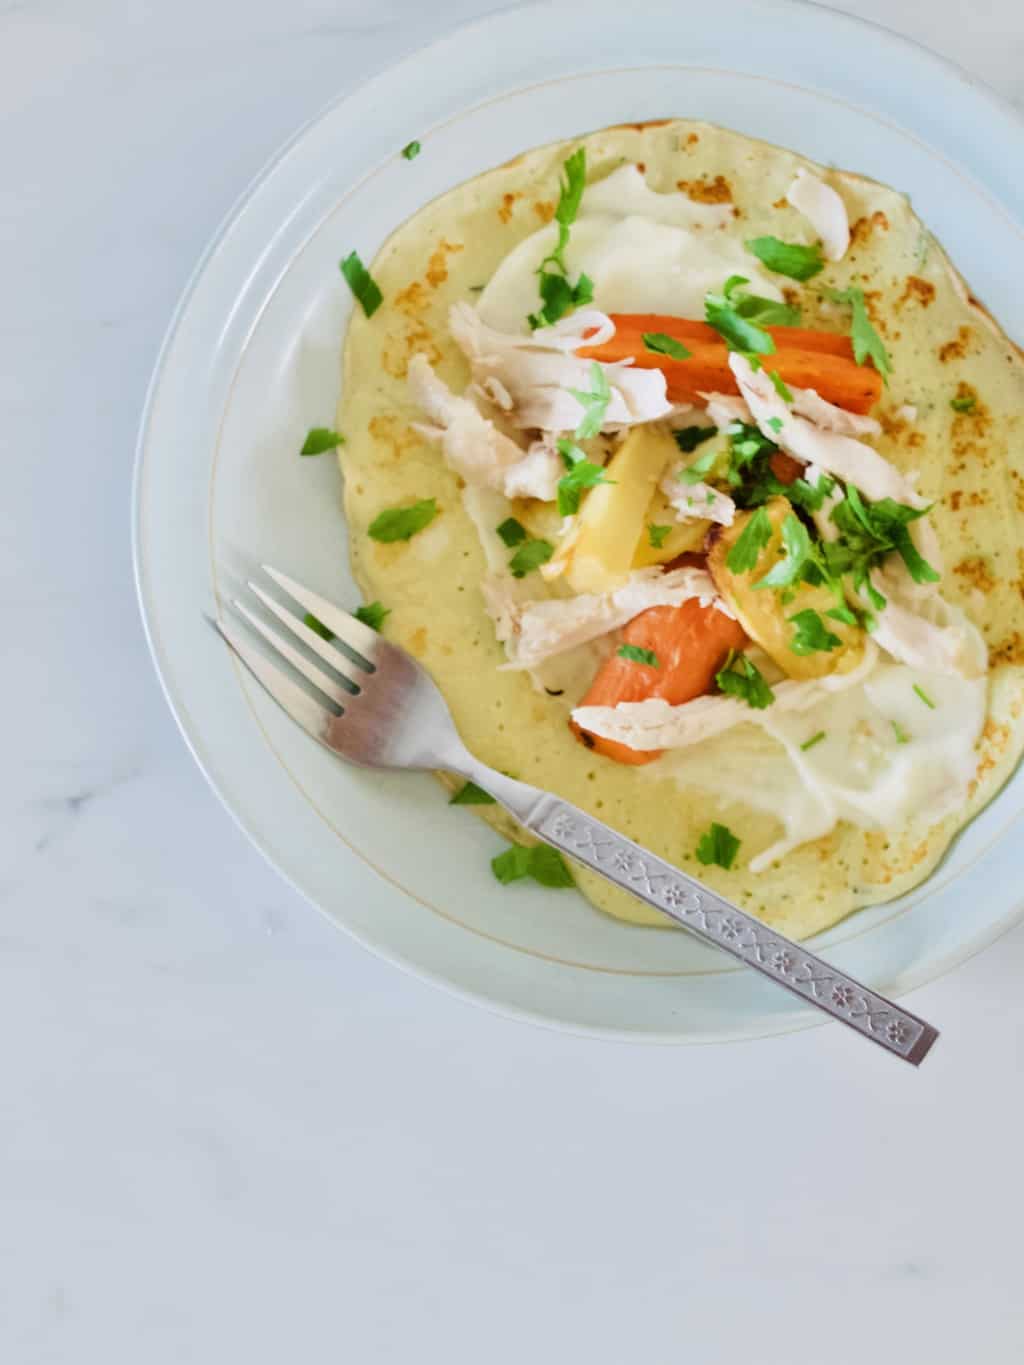
4. Gradually add garlic/potato water, oil, milk and eggs while constantly mixing so it all combines well. Eventually add flour and seasoning and give a last mix. Basic potato pancake recipe 5. Fry pancakes in well heated pan with little oil. Pour one spoonful to the pan and immediately start swirling round the pan to get nice even layer. Lift the pancake to flip and cook the other side as well. Basic potato pancake recipe Serve it either with a dollop of creme fraiche  and parsley. Basic potato pancake recipeOr if you like you can use these pancakes as a wrap. There are quite many fillings to experiment with. We had chicken roast the other day so that went really well with it!Basic potato pancake recipe Basic potato pancake recipeEnjoy!
Rasa xoxo

0

Spring-inspired celebration cake

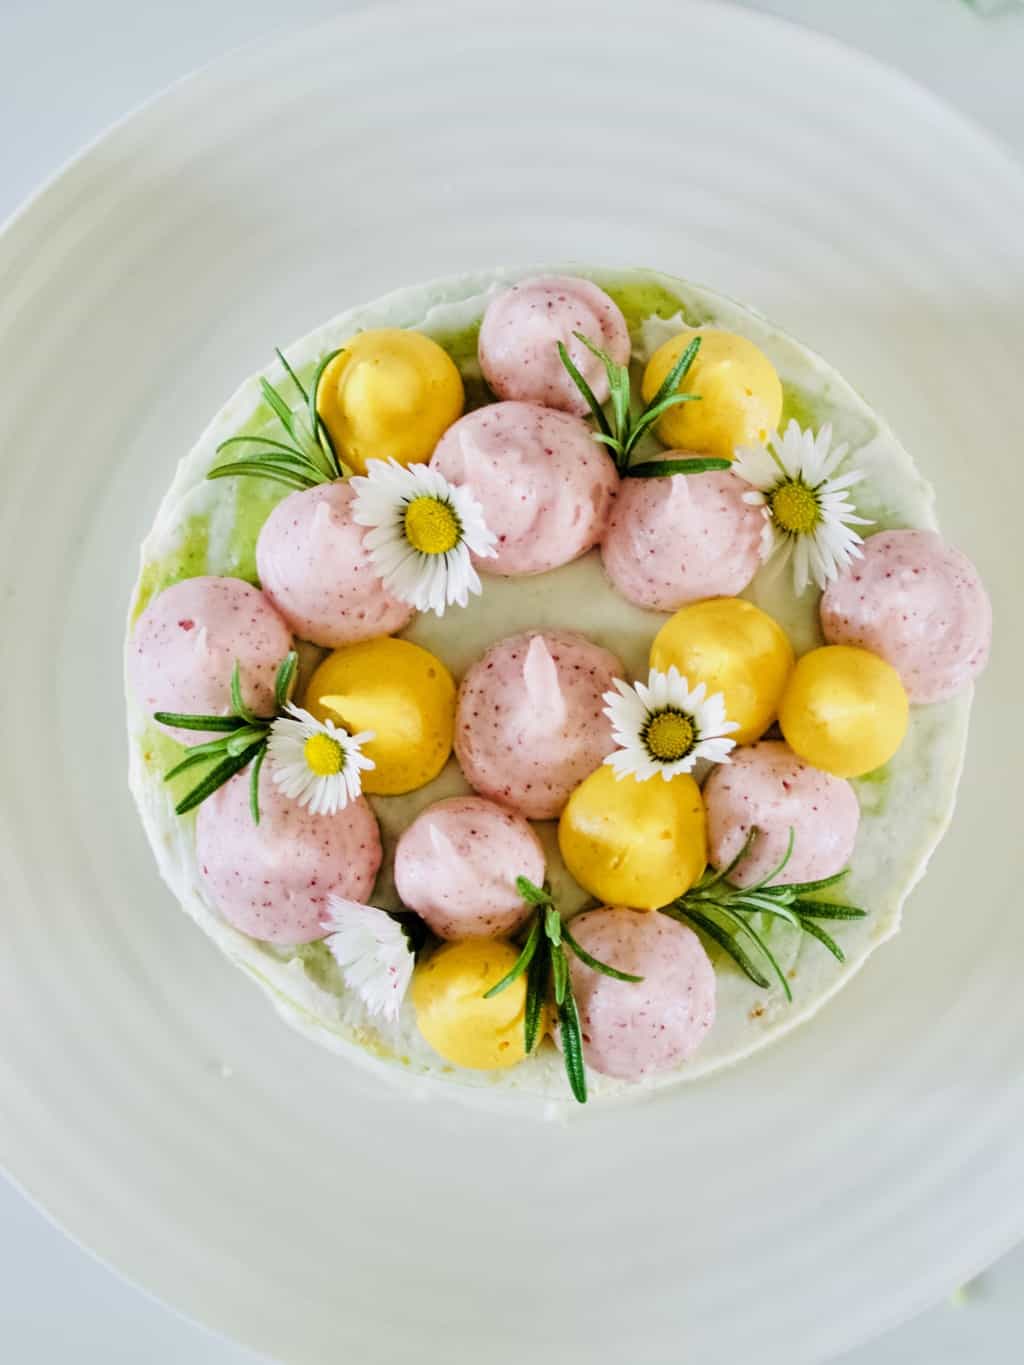
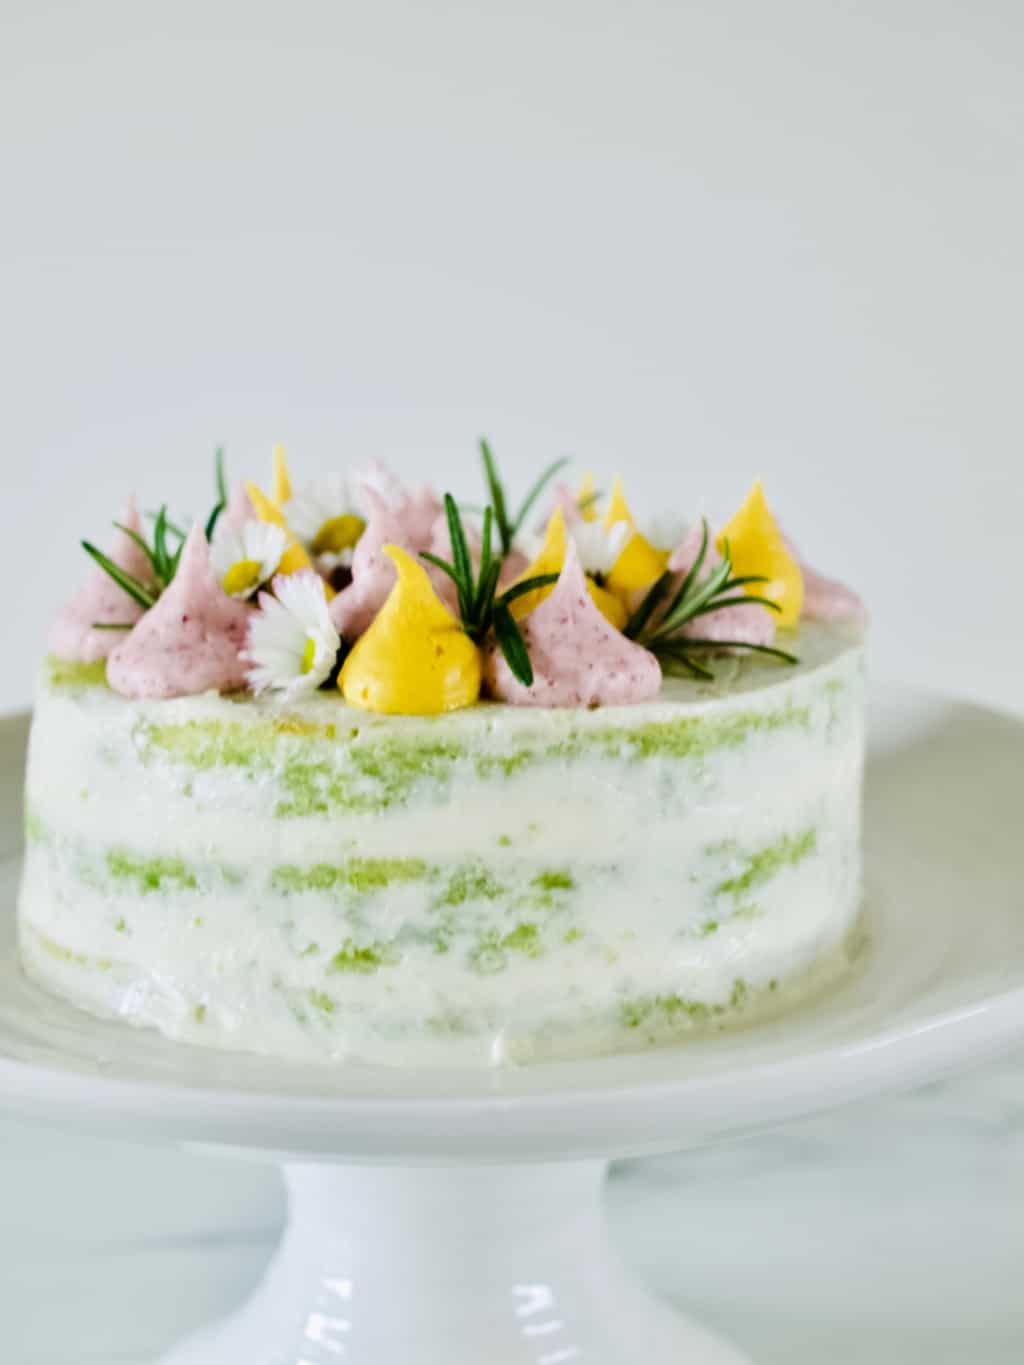
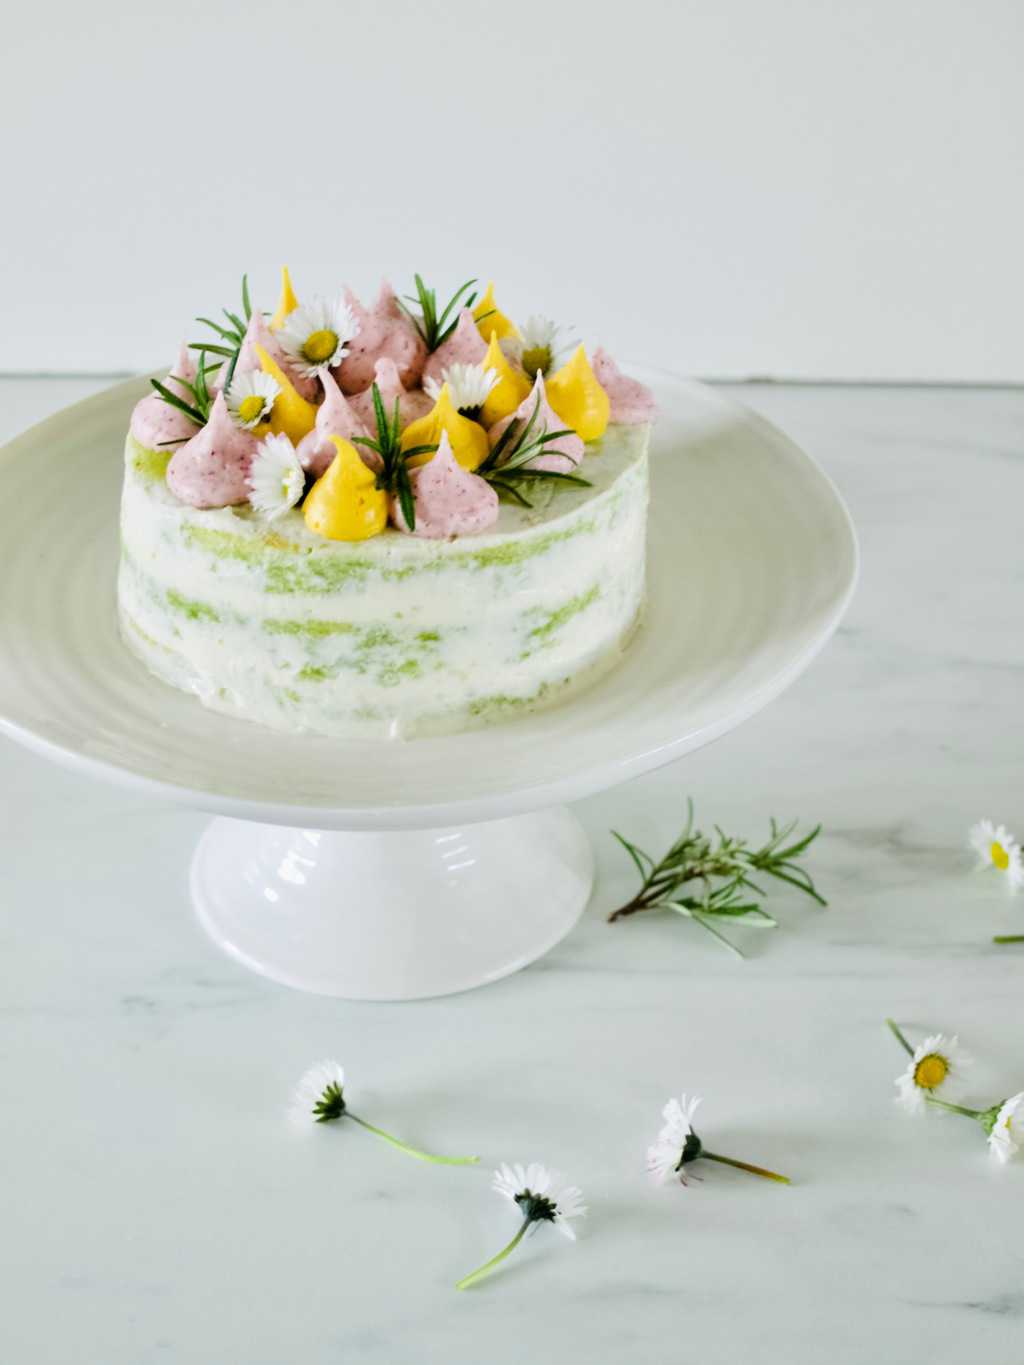
Spring-inspired celebration cake (with sweet peas) recipeI always wanted to try and bake a cake using sweet peas, but I never had an opportunity. Sweet peas is such as spring vegetable and no one in our family have a birthday in a spring. Eventually I decided to just go for it for Tomas birthday. It almost feels like a spring now! Spring-inspired celebration cake (with sweet peas) recipe SWEET PEA CAKE WITH BEETROOT FROSTING adopted from Veggie Desserts

(for the cake)

  • 180g sweet peas, steamed or boiled
  • 130g butter, softened
  • 100g caster sugar
  • 2 eggs
  • 1tsp vanilla extract
  • 1 tsp lemon zest and a drizzle of juice
  • 165g flour
  • 2tsp baking powder
  • pinch salt

(for the frosting)

  • 250g soft cheese
  • 70g icing sugar (plus some more for later stage)
  • 1-2 tsp beetroot powder
  • 1tsp other type of natural frosting such as turmeric, matcha etc (optional)

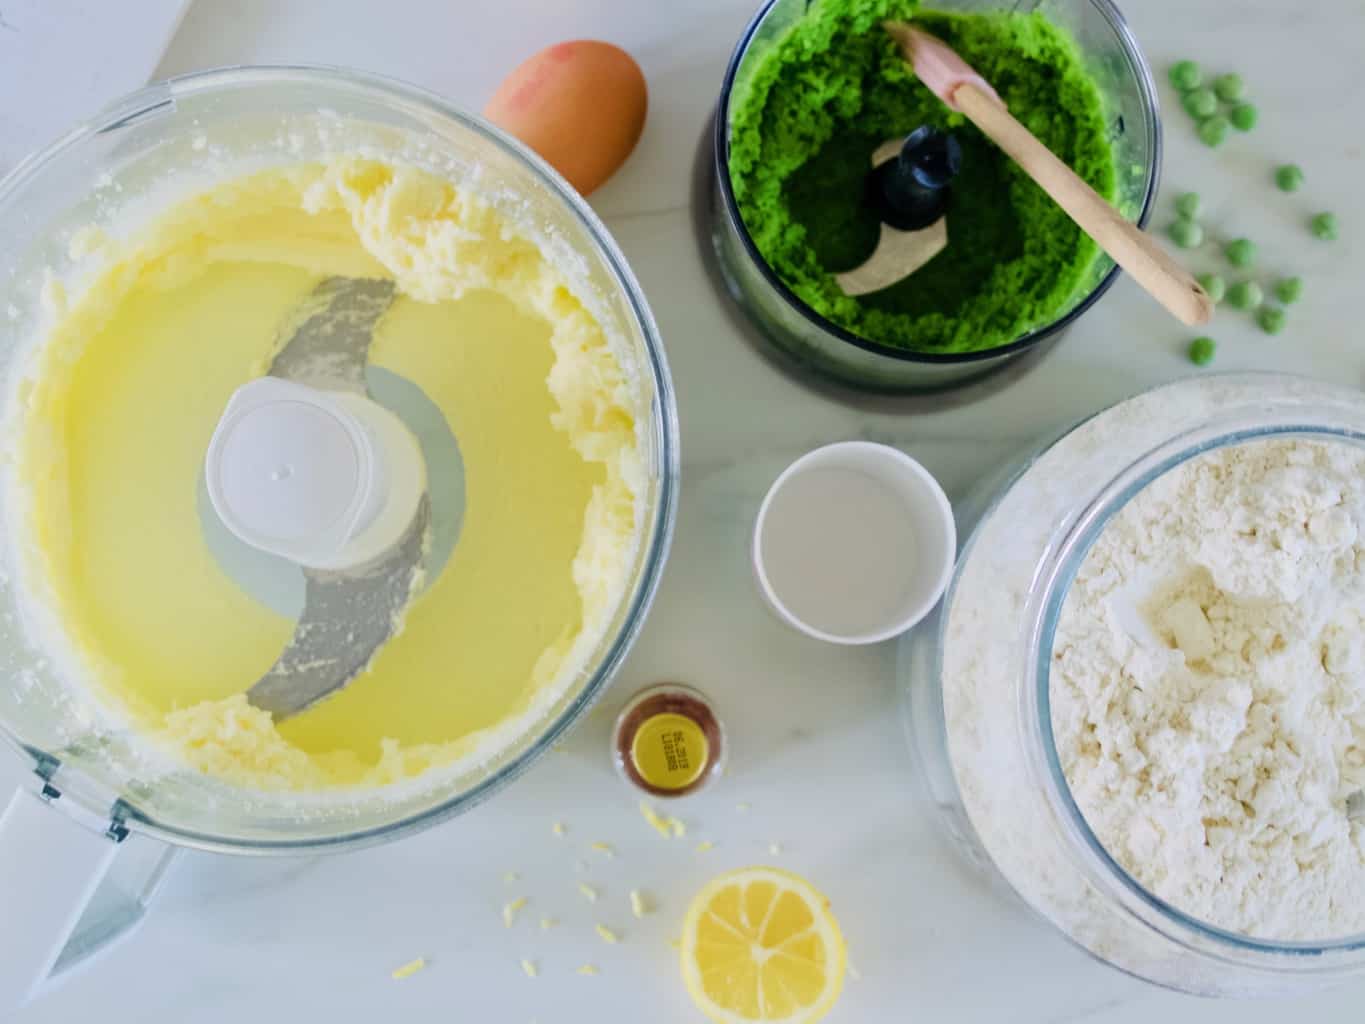
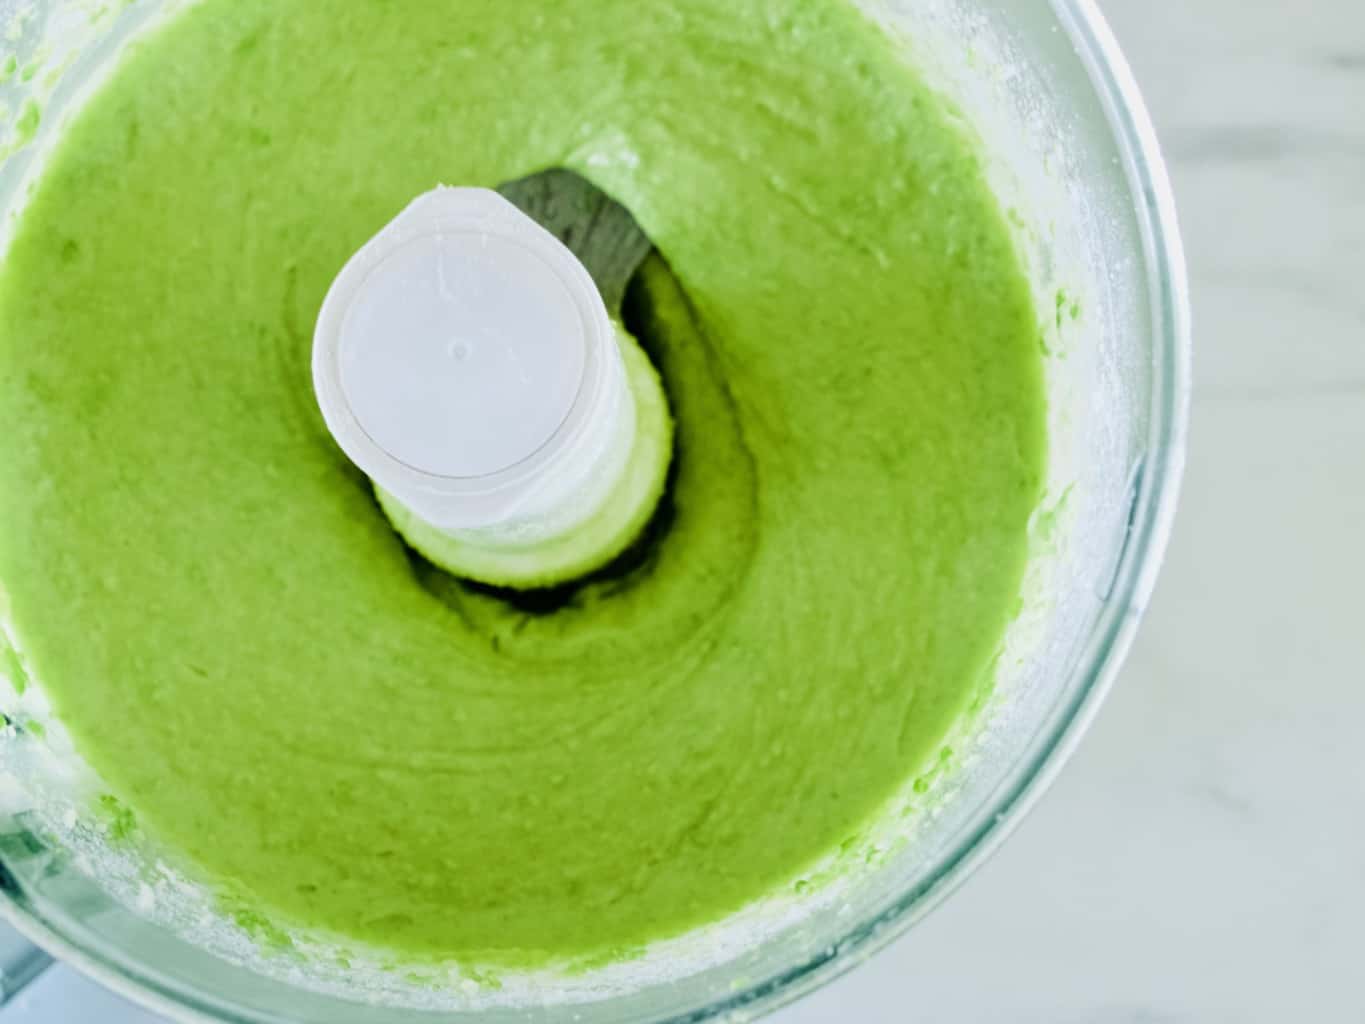
1. Puree the sweet peas in the food processor and set aside

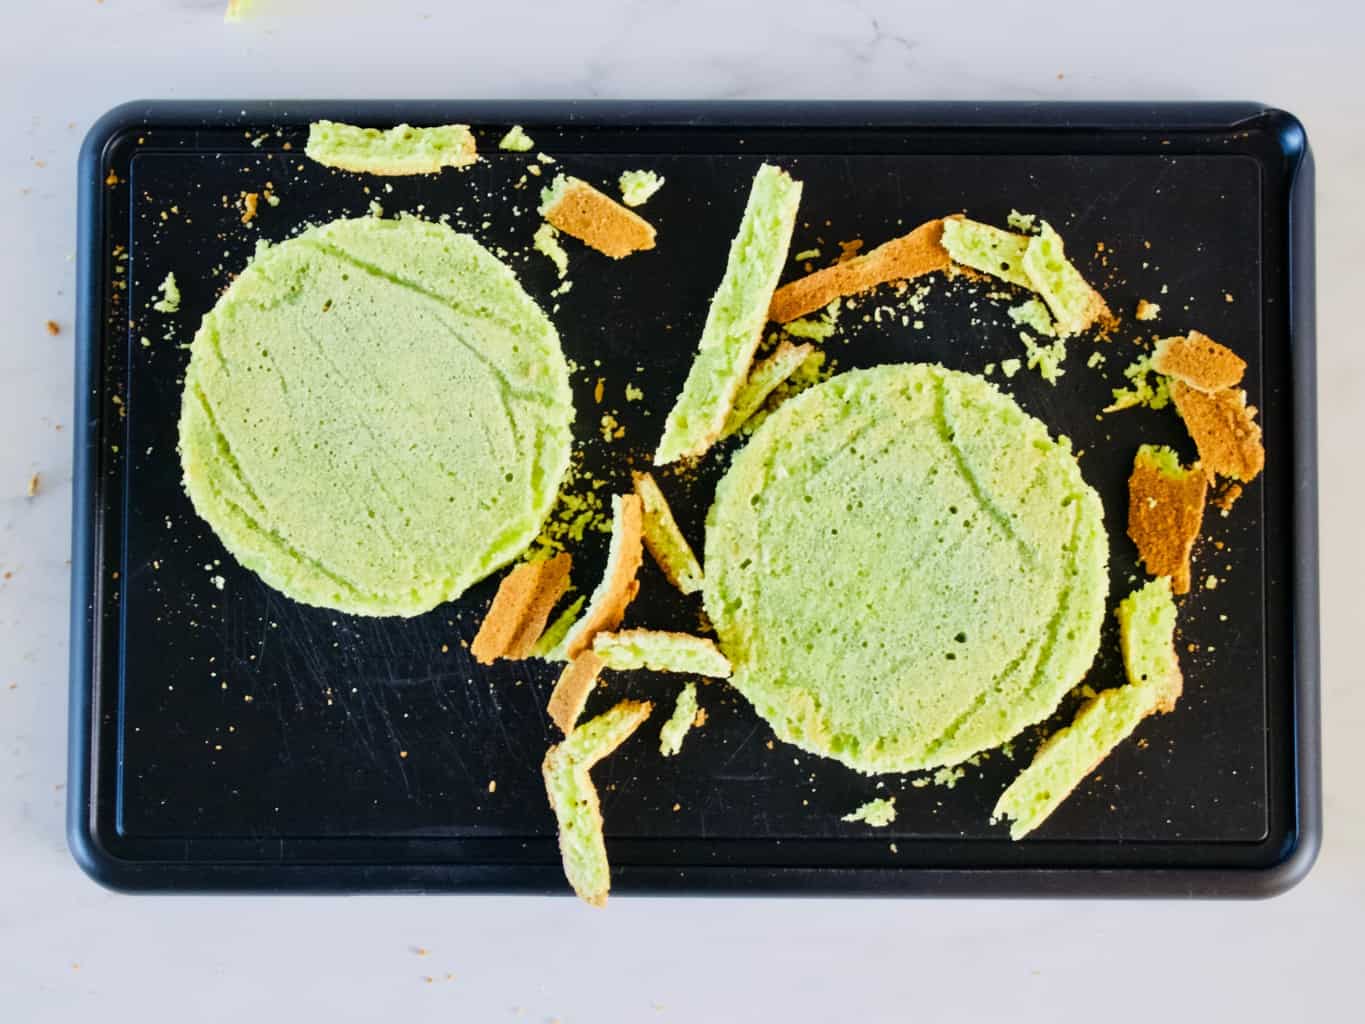
2. Cream the butter with sugar either in the large bowl with the wooden spoon or in the mixer.Spring-inspired celebration cake (with sweet peas) recipe 3. Add the rest of the ingredients (including sweet pea puree) into the butter cream and mix again to combine. Spring-inspired celebration cake (with sweet peas) recipe 4. Bake the cakes in the 15cm (6inch) tins in 180C preheated oven for about 20 min. Alternatively you can bake these in the sheet tray and use a large cookie cutter to cut out the rounds. I ended up cutting off the crust as I wanted bright green colour to show through the frosting.Spring-inspired celebration cake (with sweet peas) recipe5. Meanwhile make the frosting. Using the whisk, mix the soft-cheese with sifted icing sugar.

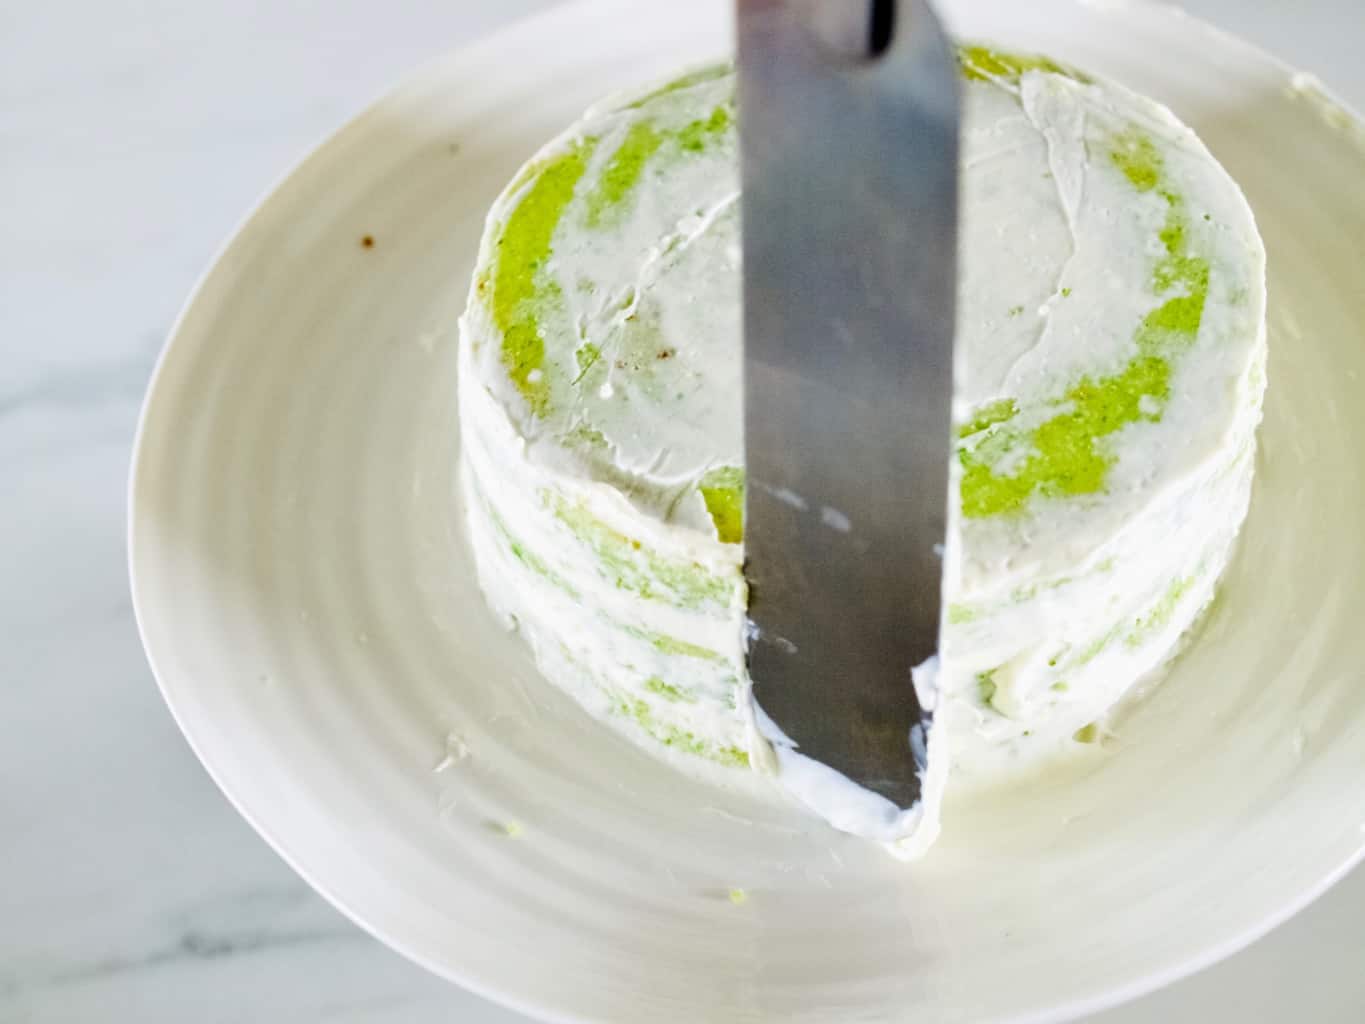
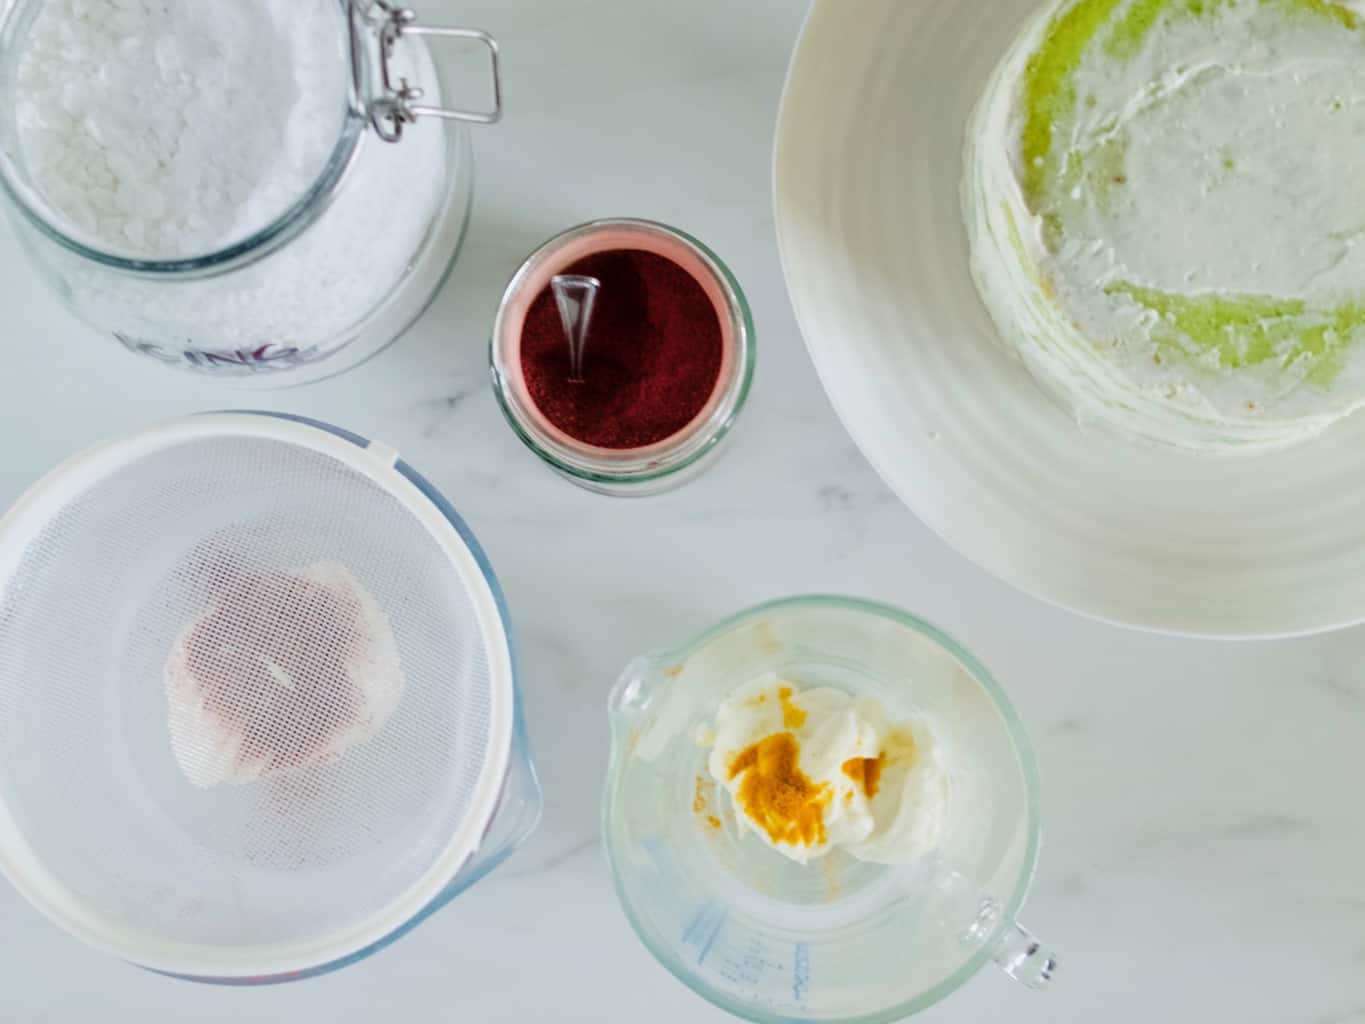
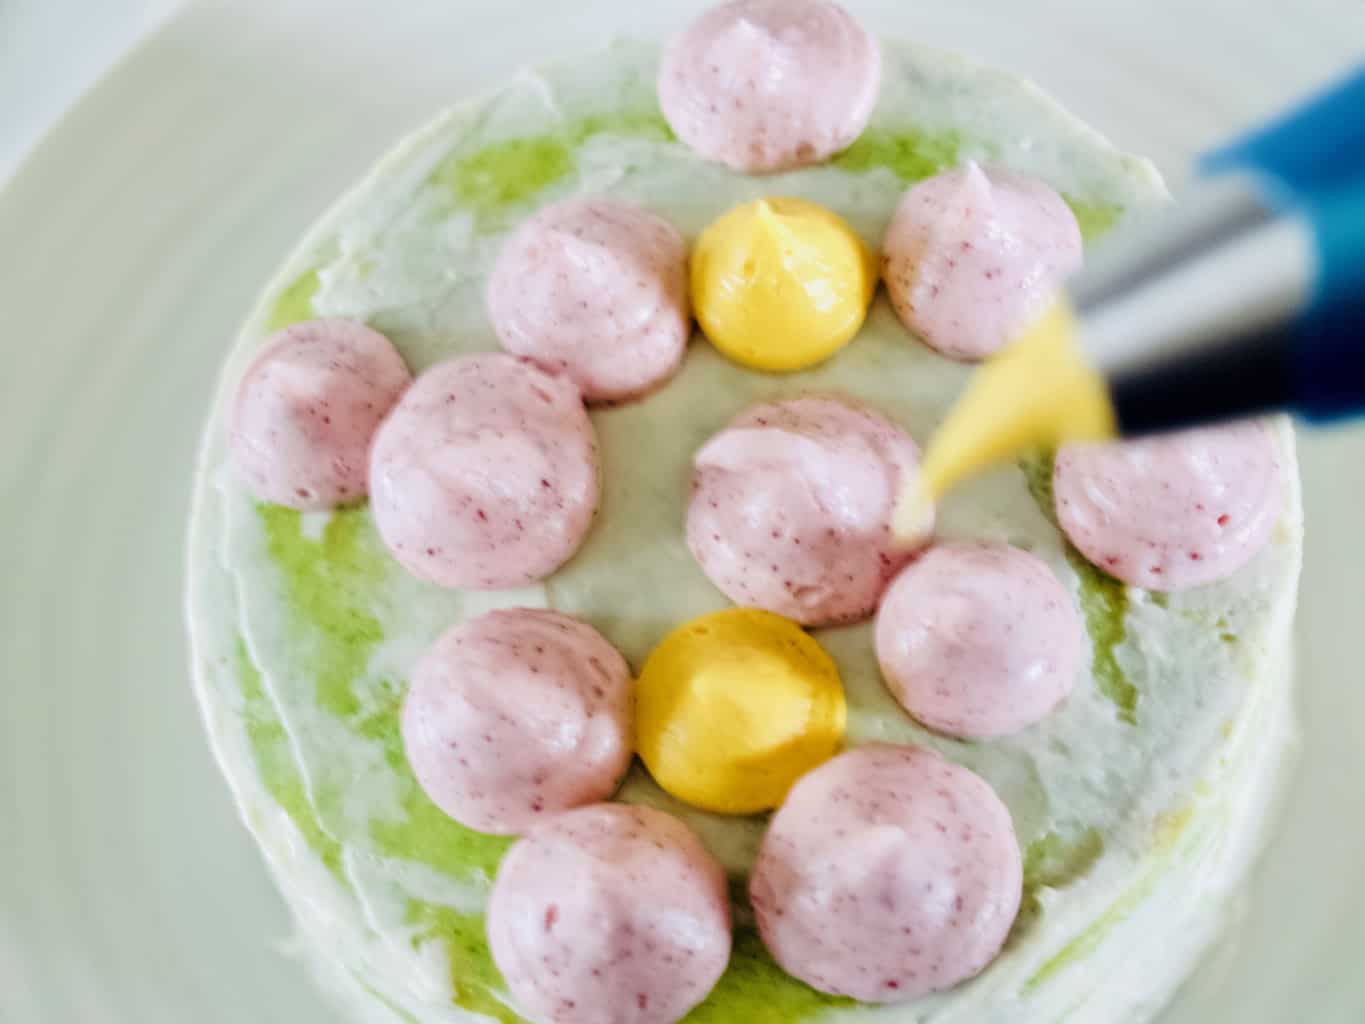
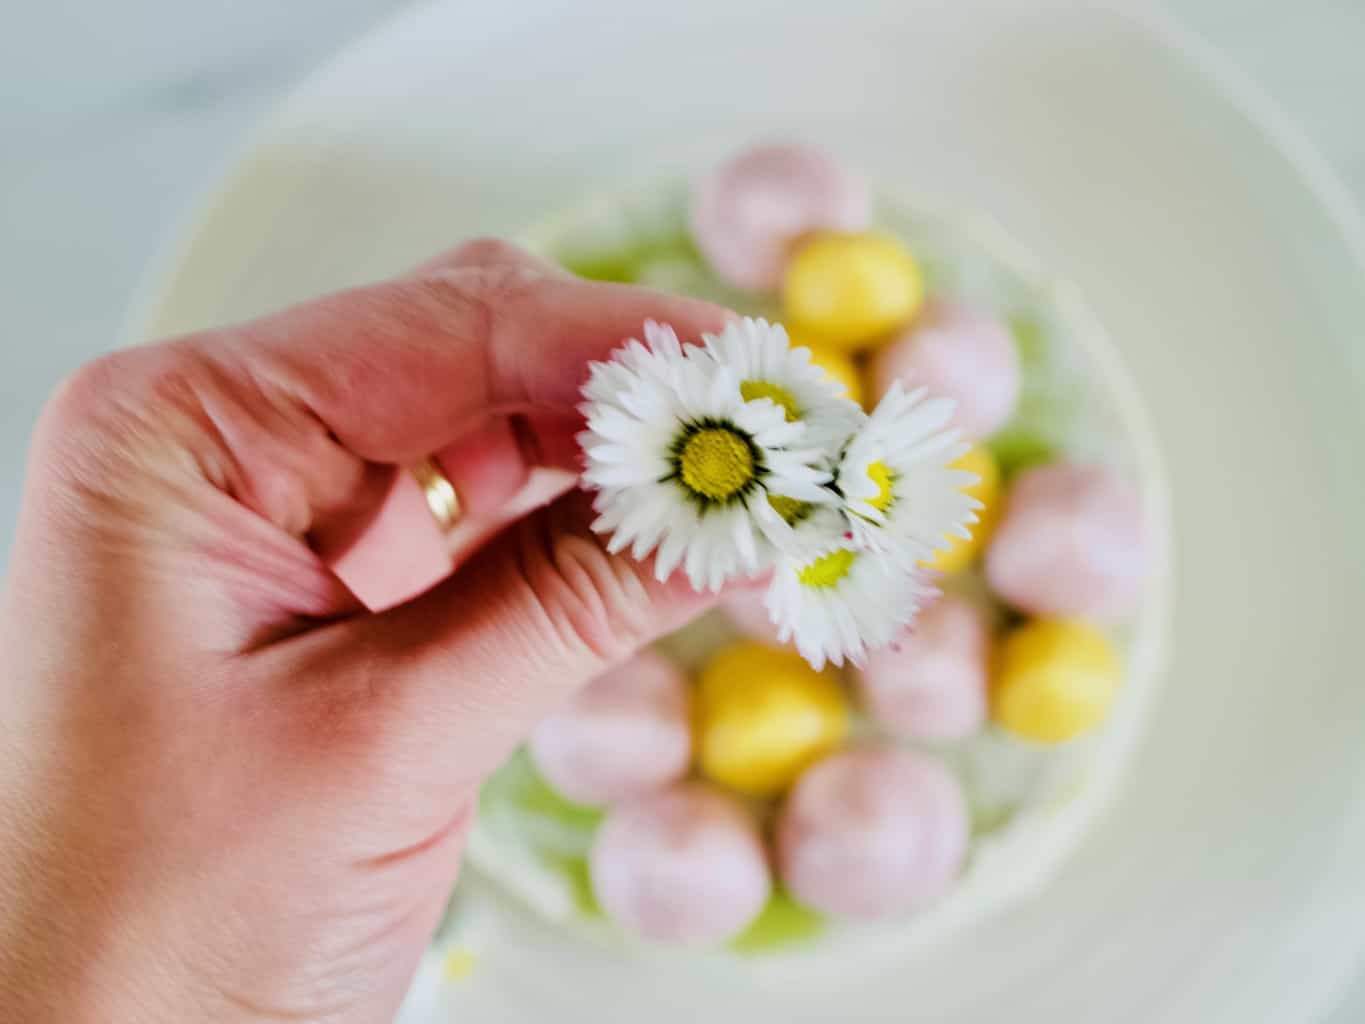
6. To assemble spread a little of the frosting between the layers of the completely cooled cakes and sandwich together. Cover the cake with some more frosting reserving a little for later. Using palette knife gently scrape of the icing creating that naked cake look.Spring-inspired celebration cake (with sweet peas) recipe 7. Split the remaining frosting into 2 or more bowls, unless you only want to dye it in one colour. I personally would have had only one colour (pink) now when I tried the multicolour. Add the beetroot powder (or other natural colour) and more icing sugar till the frosting reaches the right consistency. It needs to be stiff in order to keep its shape.Spring-inspired celebration cake (with sweet peas) recipe 8. Pipe the frosting on the cake using a piping bag and large round nozzle.Spring-inspired celebration cake (with sweet peas) recipe 9. Decorate the cake with wild flowers and herbs. It is amazing what you can find in the garden or in the park. These daisies are actually edible and were growing on my lawn.Spring-inspired celebration cake (with sweet peas) recipe Spring-inspired celebration cake (with sweet peas) recipeHappy spring waiting everyone!

Rasa xoxo

0

Pinterest challenge: parsley cheese crackers

Parsley cheese crackers recipeFirst of all I would like to inform you that I won’t be doing any “Pinterest challenge” posts anymore (Booo! I know!). I feel like I have been doing this for ages (4 and half years to be more specific) and I felt these lack of creativity on my part. Yes, I have learned a lot, I have made my own alterations on some of the recipes, I tried many recipes that just have been sitting there on my boards and I use some of these recipes again and again… BUT I feel it’s time to move on! I realised I need to start creating more of my own recipes as well (which I have been doing already).

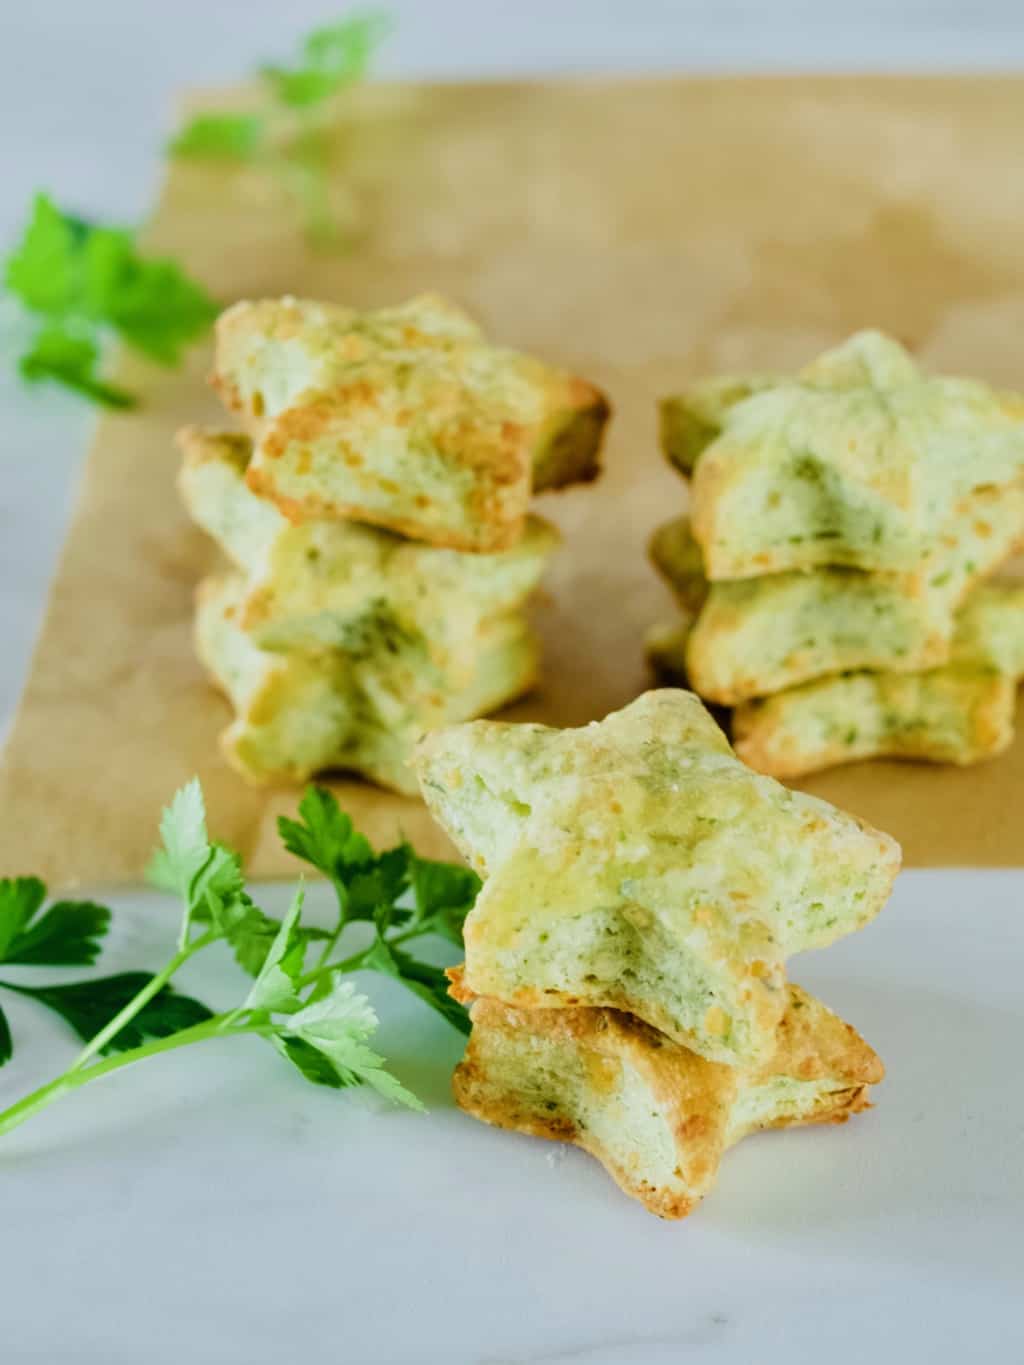
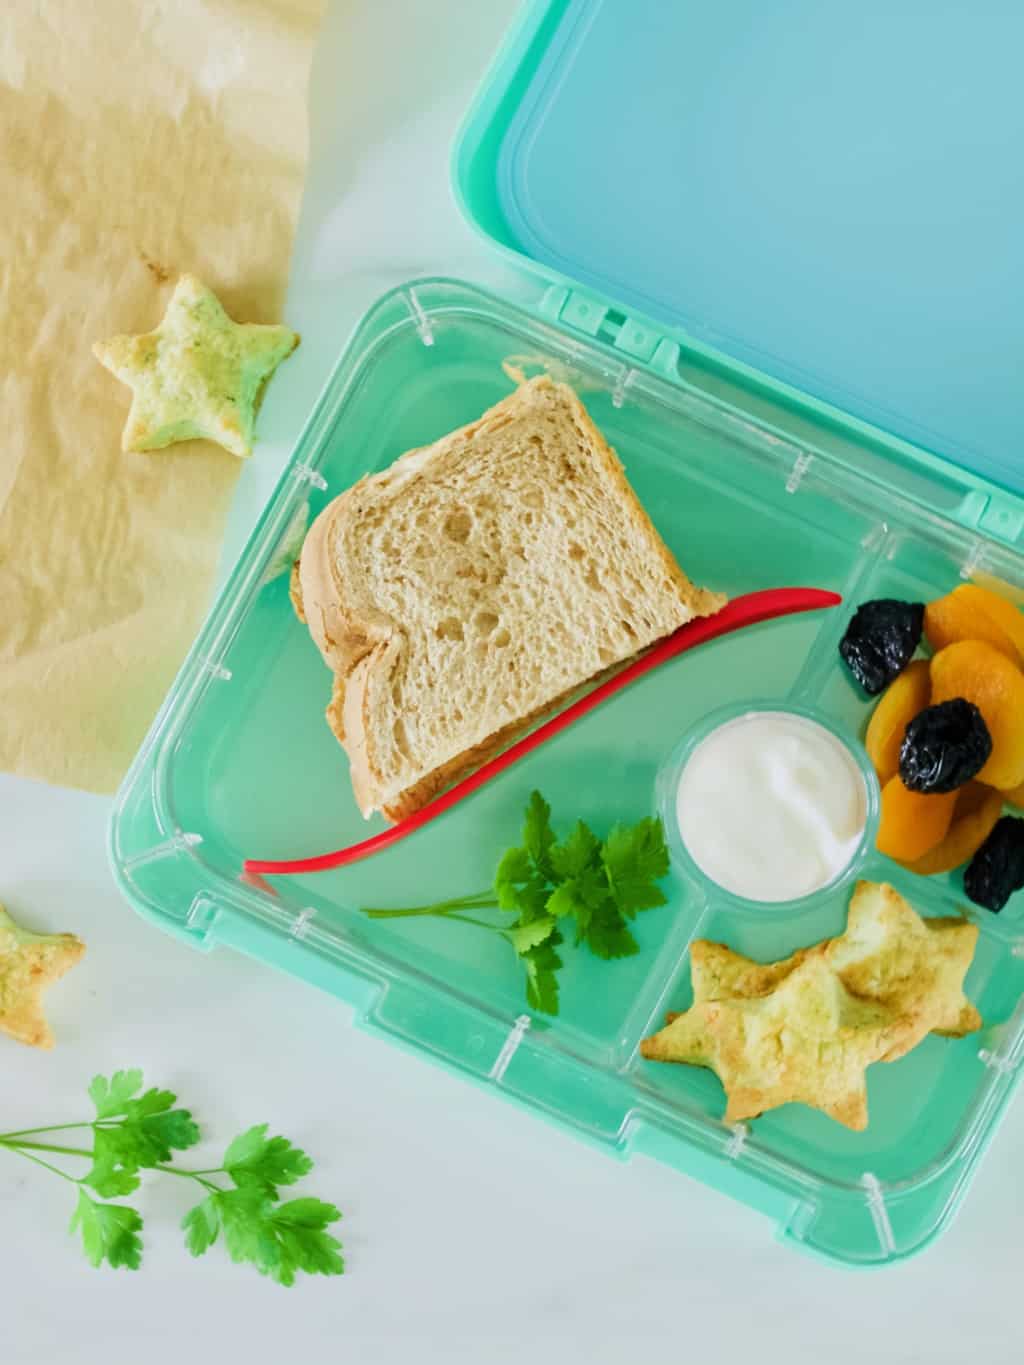
Now coming back to my final “Pinterest challenge” post. I have been doing a lot of cupboard clearing lately. This included me going through my cupboards and using up all these leftover flours and grains etc. Although these crackers does not call for any special flour, I baked them anyways as these make good lunch box fillers (Lukas calls them lunch box stars) and they make as a tasty snack on the go too! I tweaked the recipe a little bit to add some parsley. I feel better when this adds some green into the kids lunch boxes, even though I am not too sure how many nutrients from the parsley survive the process. Either way at least the parsley give some work out for the taste buds ;-). Parsley cheese crackers recipe PARSLEY CHEESE CRACKERS adopted from Winter Monroe

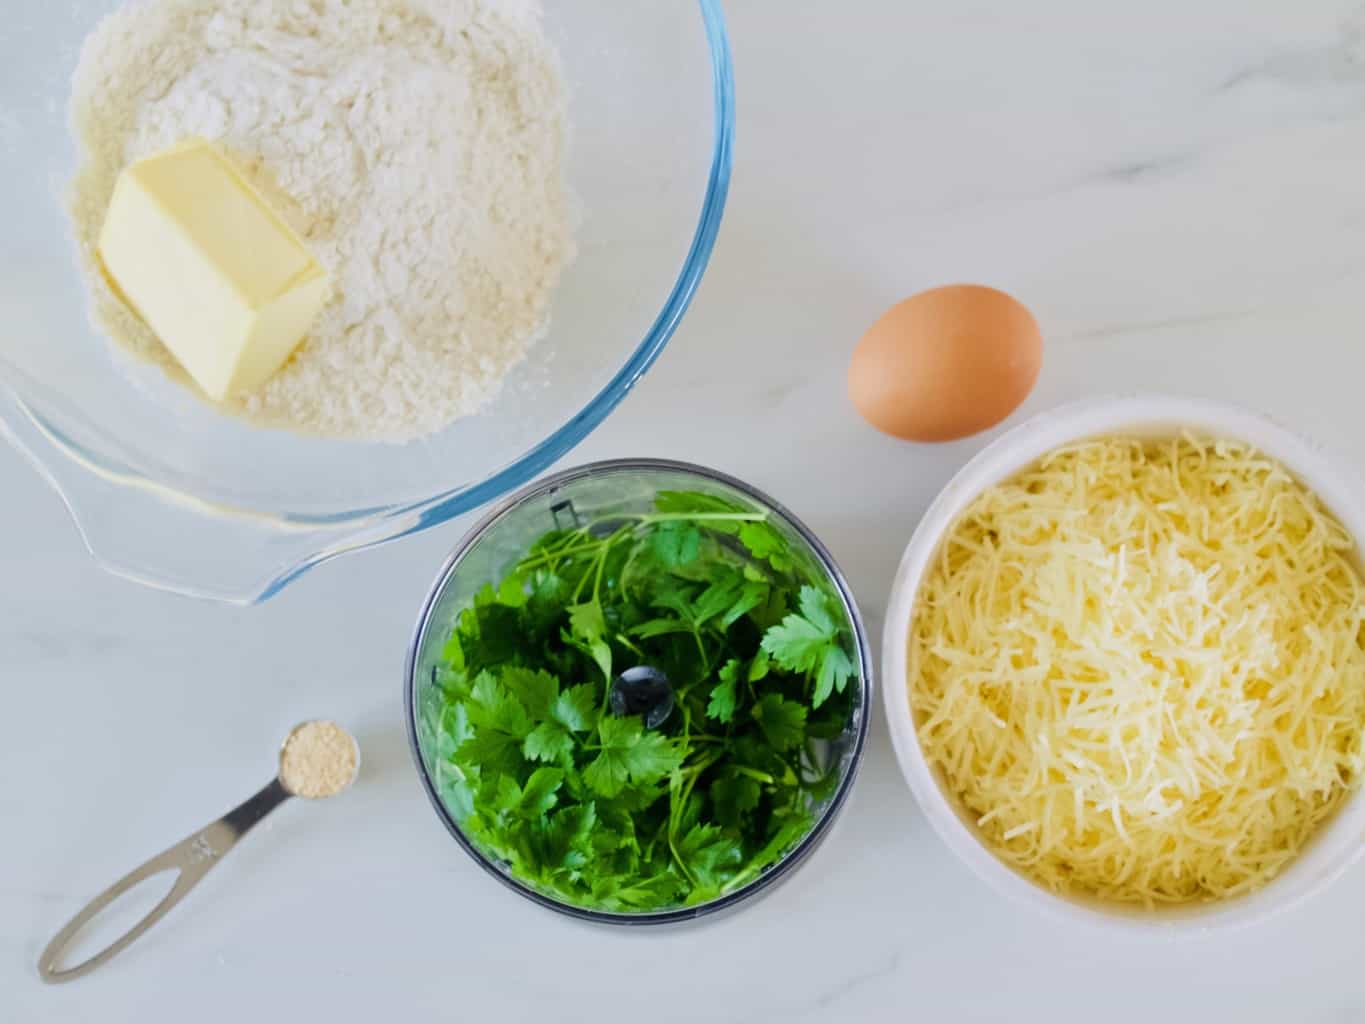
  • 200g flour
  • 1/2 tsp garlic powder
  • 85g butter
  • 200g cheese, finely grated
  • 1 egg
  • handful parsley + 2tbsp water, whizzed to a paste

1. Add the garlic powder into the flour and mix to combine. Rub the butter into the flour mix with your fingertips until the mixture looks like moist breadcrumbs.

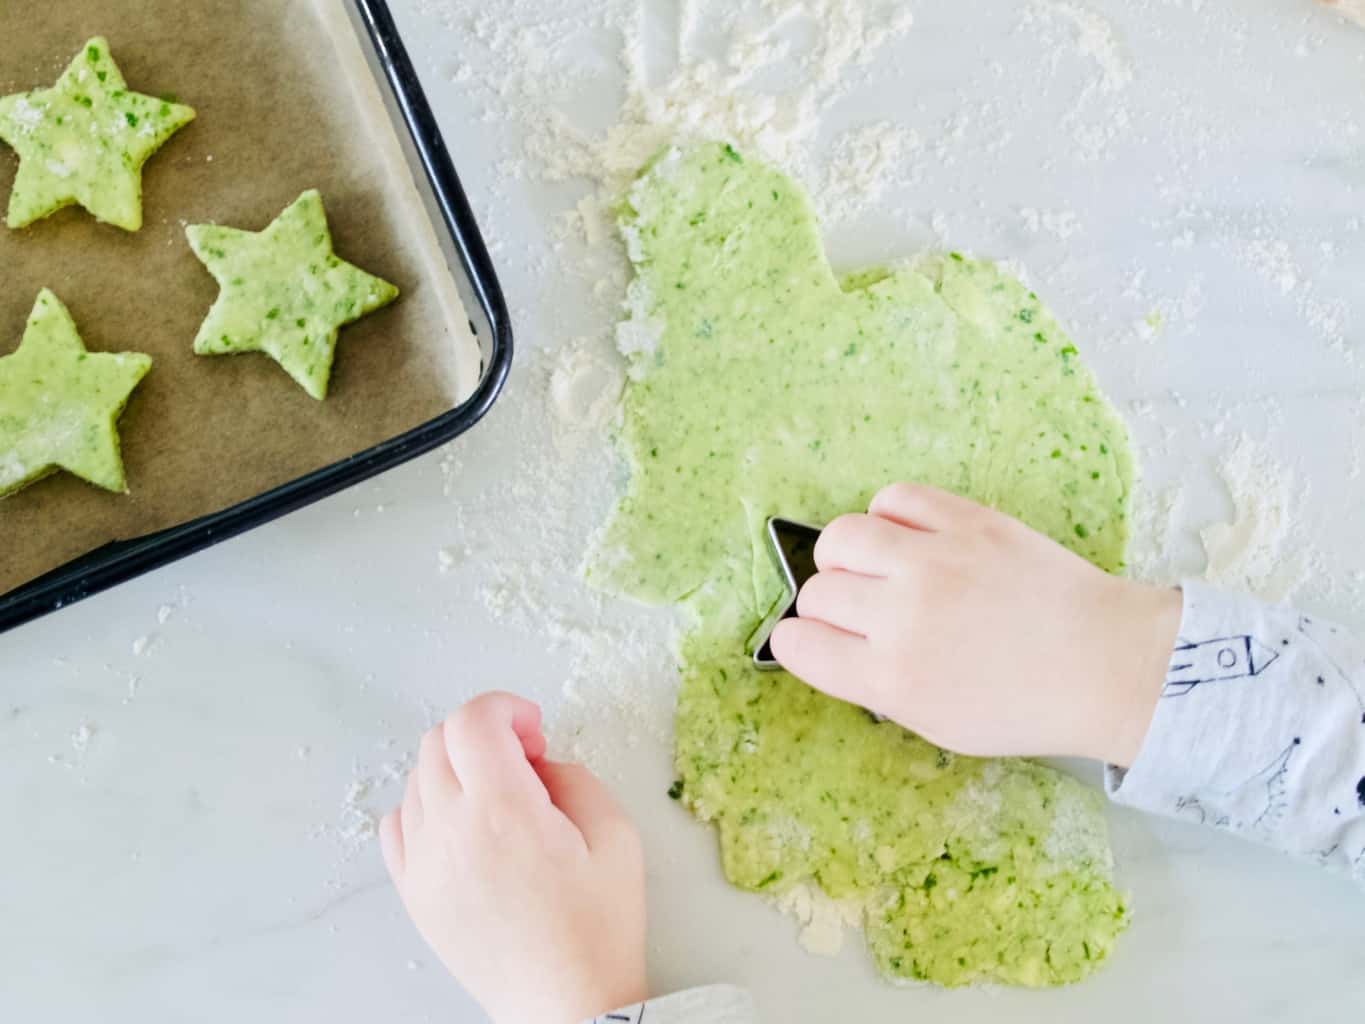
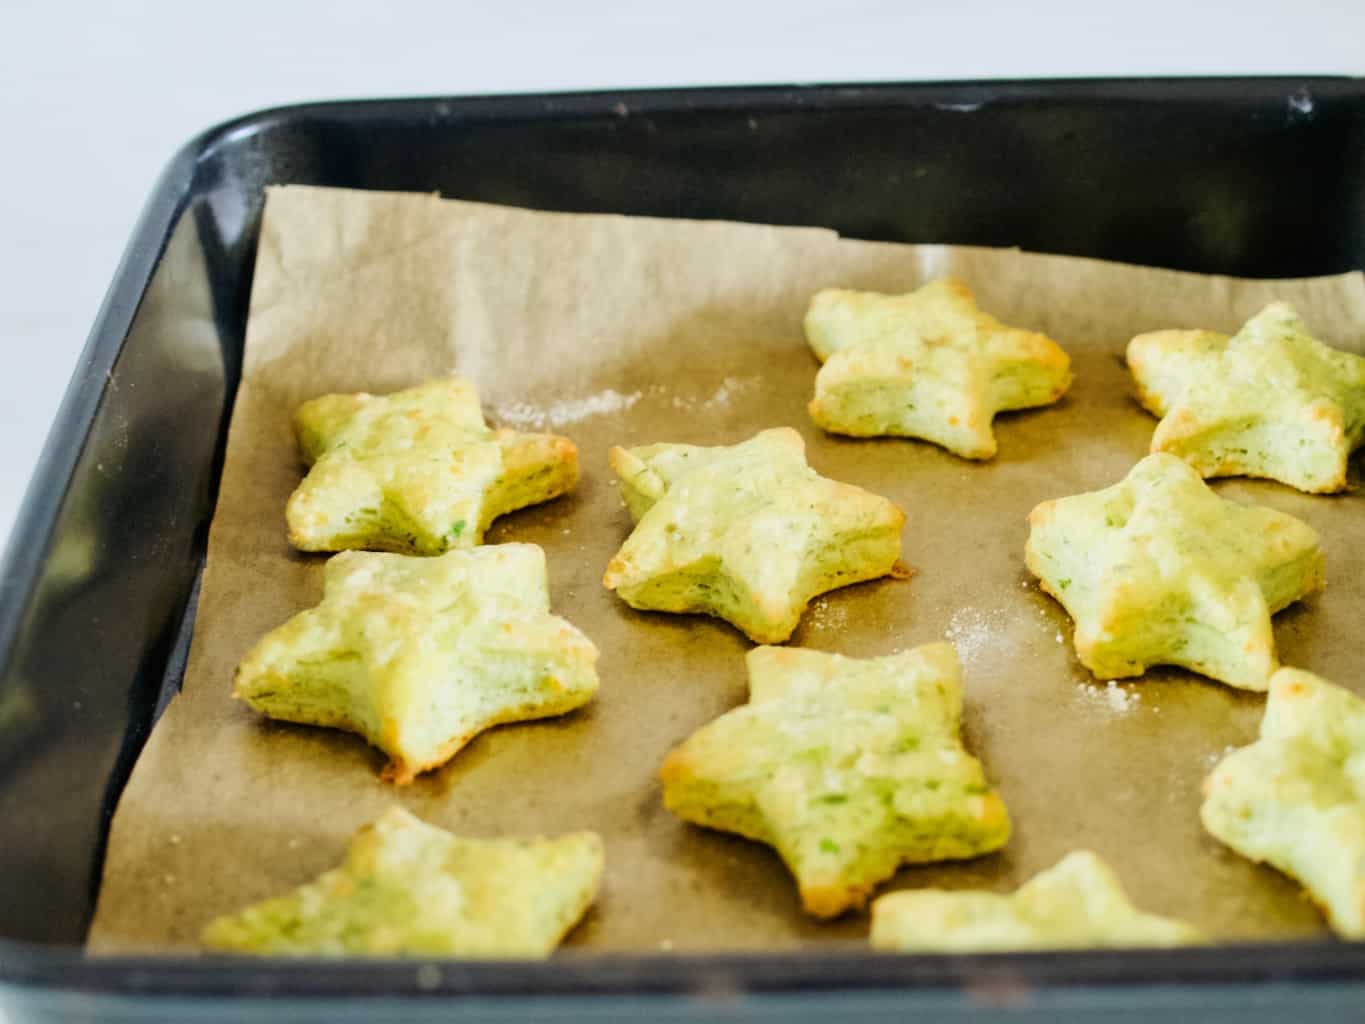
2. Add the rest of the ingredients and mix well to combine.Parsley cheese crackers recipe3. Roll the pastry out, 7mm thick. Using a cookie cutter cut out the shapes and place them on ready lined baking tin or tray. This part is fun to do with kids!Parsley cheese crackers recipe 4. Bake the crackers in 180C preheated oven for 10-15min.Parsley cheese crackers recipe Parsley cheese crackers recipeEnjoy!

Rasa xoxo

0

Salted chocolate apples

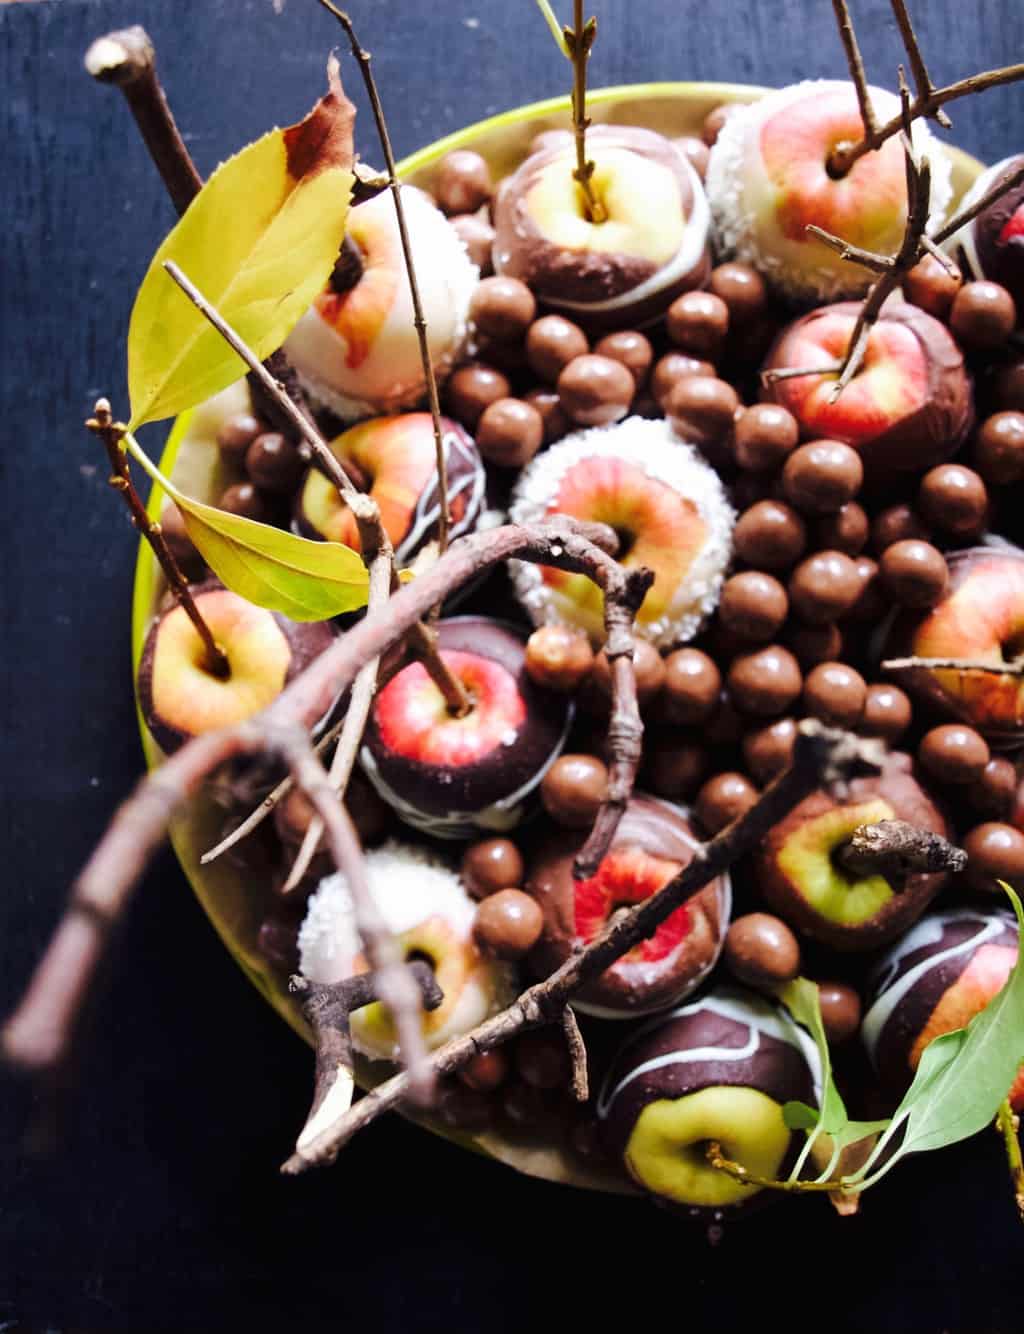
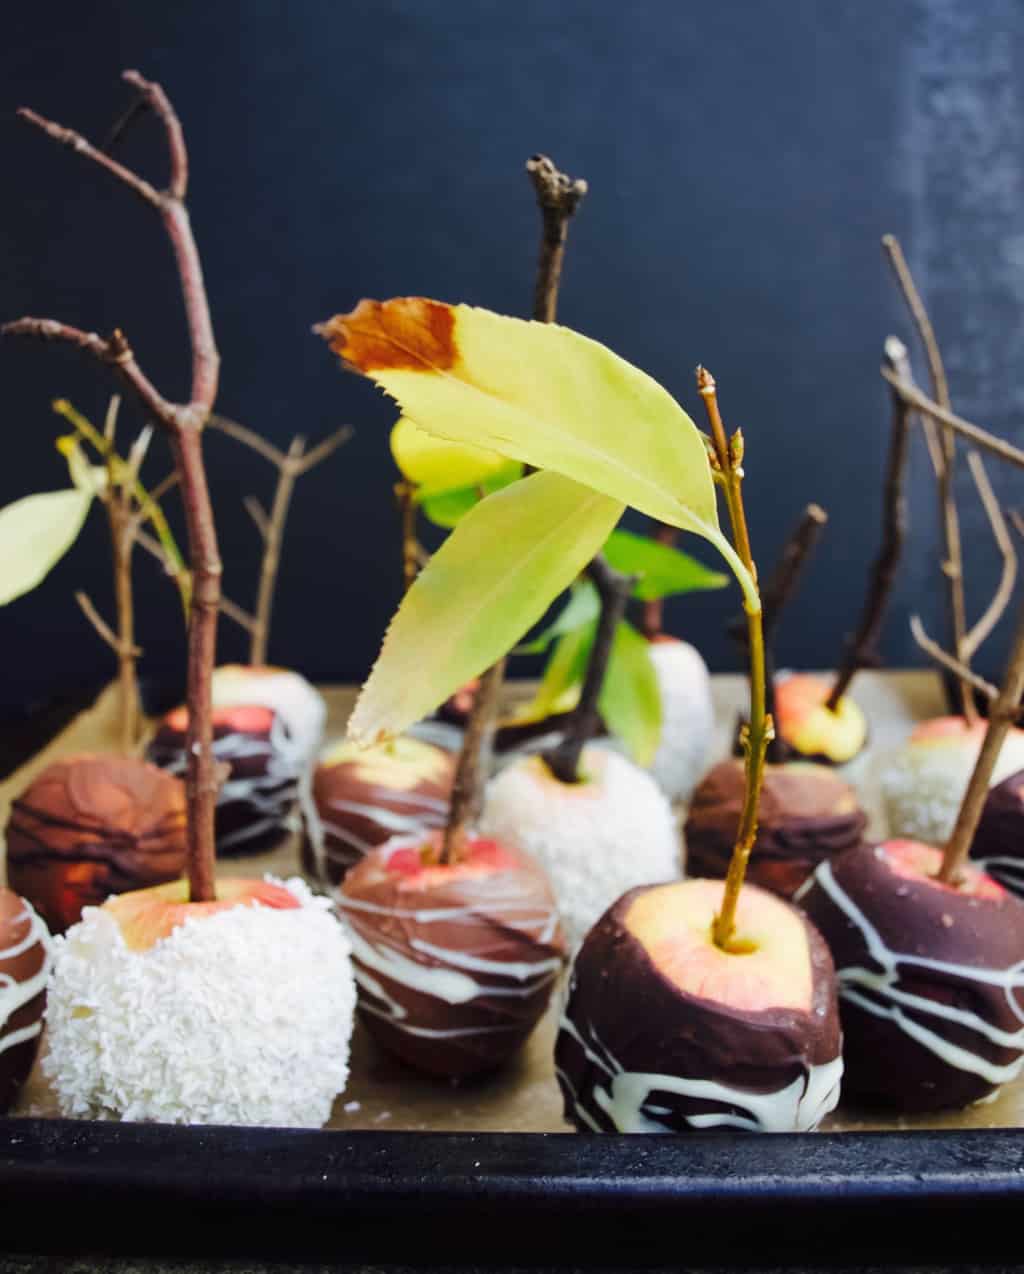
Salted chocolate applesNormally I only share a recipe after a lot of testing and tasting and often with a bit of modification to improve it.  This time however I made these apples for Hallowe’en and it was such a hit that I did not even get a chance to taste them! I am sure they tasted lovely though. So here we go; apples that are good for any autumnal celebration (did someone mention Bonfire night?)

Now let me share more about my feeling re Hallowe’en. I still dislike it even though I was more involved this year. I think I mentioned before I dislike this celebration mostly due to tacky decorations and creepy dress ups (It does not seem so bad in USA, but here in the UK kids dress up in grotesque costumes). I even wrote a post in the past on how to survive halloween! But beside all these reasons my real real reason for disliking halloween is the fact that it celebrates fear and a spiritual realm that does exist. I am not going further with this and try to argue. Instead I want to explain why I am involved more this year. My prime reason is to get to know my neighbours and to experience Hallowe’en a bit from a broader perspective so decide what if anything I should do with my kids next year.Salted chocolate apples SALTED CHOCOLATE APPLES

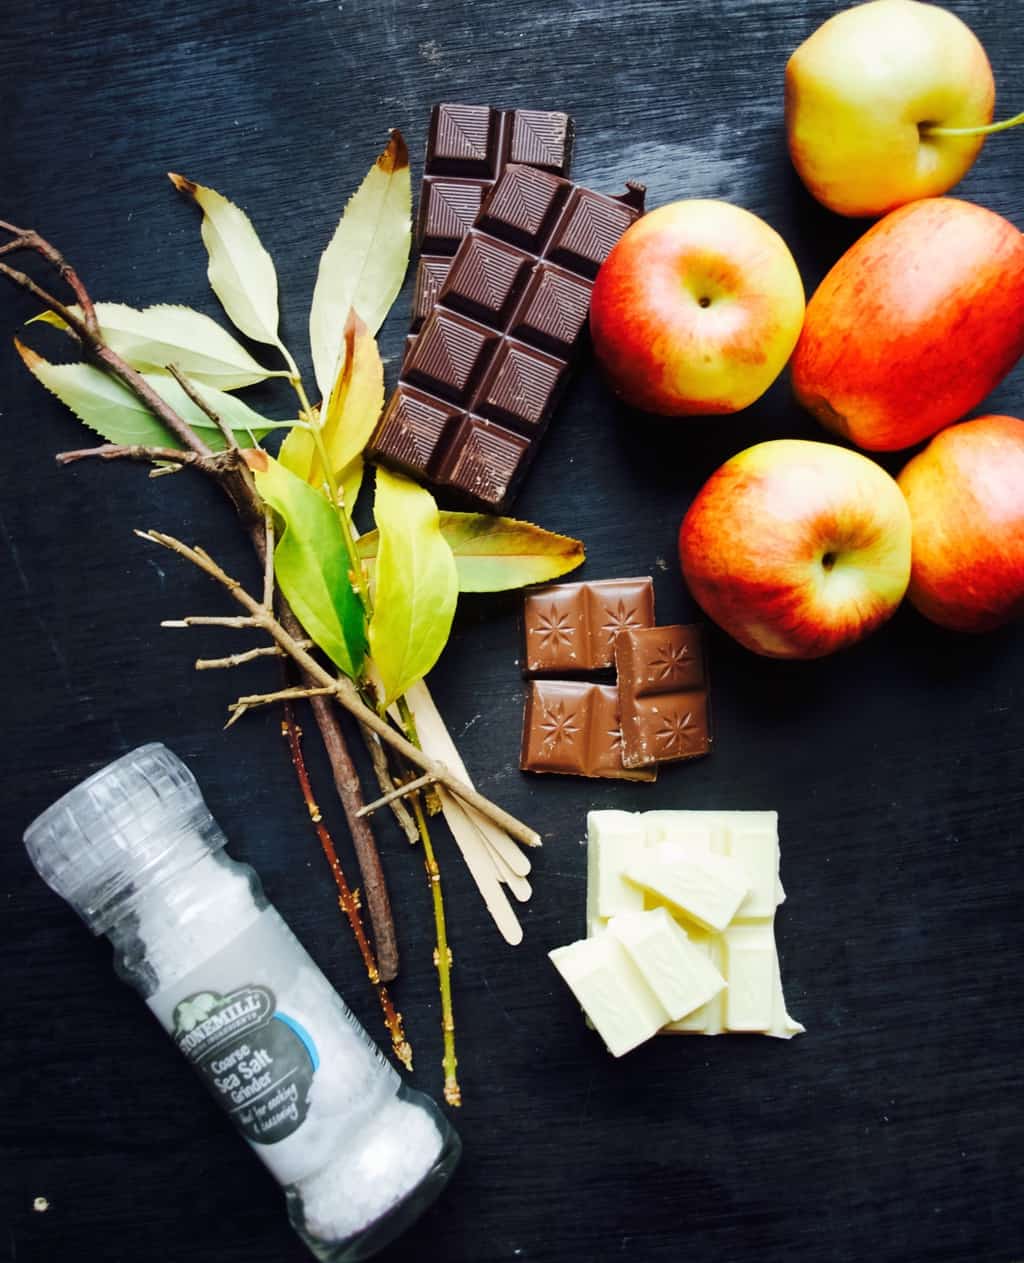
  • 12-17 small eating apples
  • 200g dark chocolate
  • 200g milk chocolate
  • 200g white chocolate (optional)
  • sea salt
  • descanted coconut (if using white chocolate)
  • sticks (can be reused ice lolly sticks, tree branch bits or even skewers perhaps?)

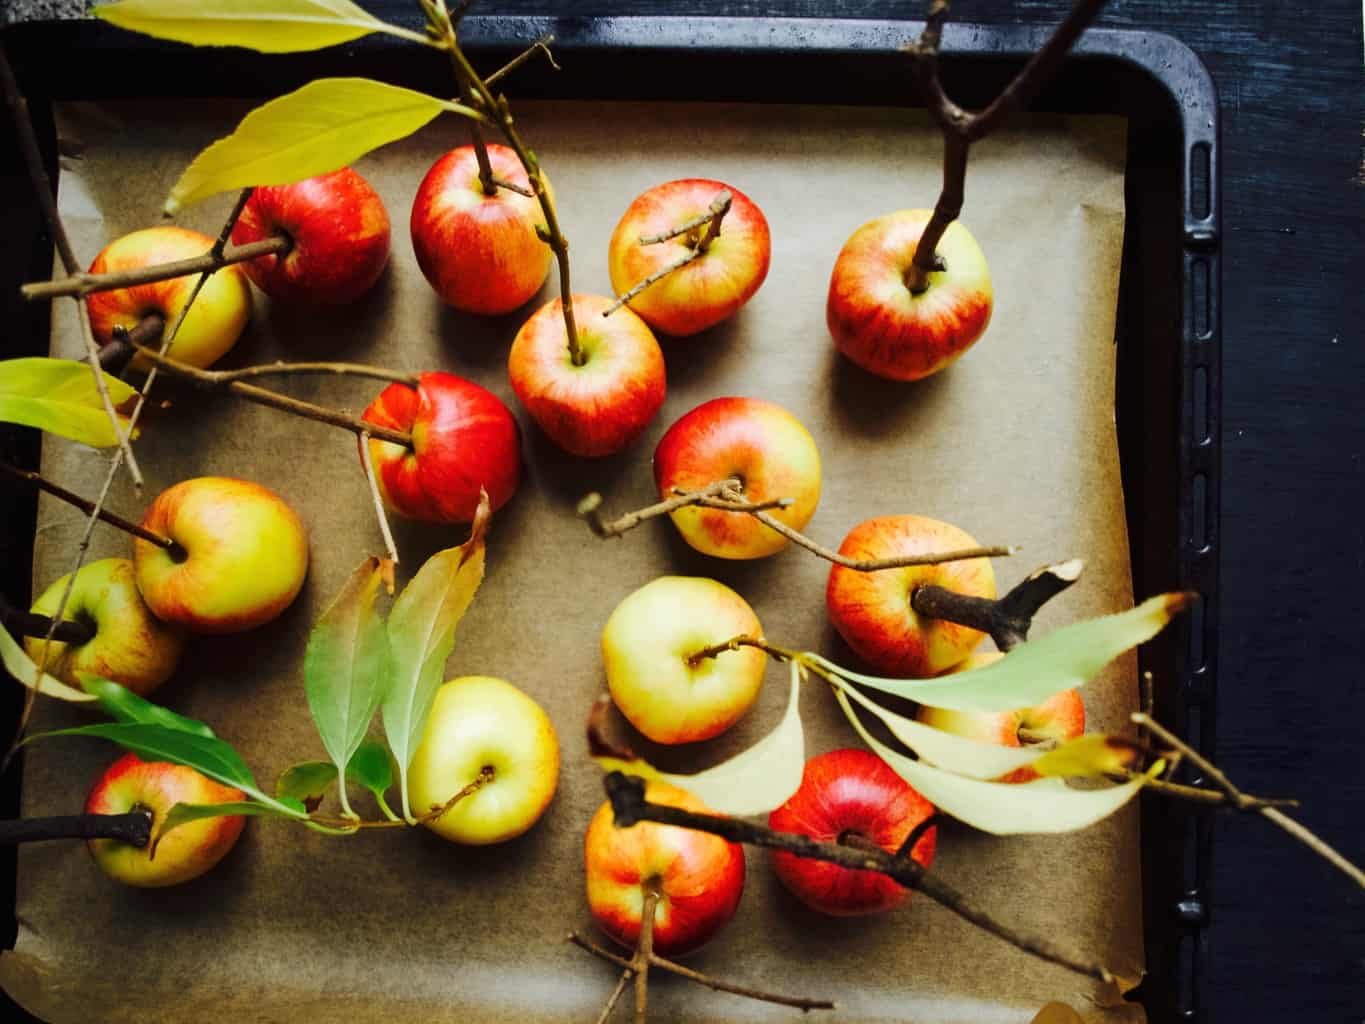
Salted chocolate apples 1. First arrange apples on the baking paper. Insert sticks so you are able to hold onto them when applying chocolate.Salted chocolate apples2. Melt the chocolate either carefully heating it in the microwave or over a pot of hot water.

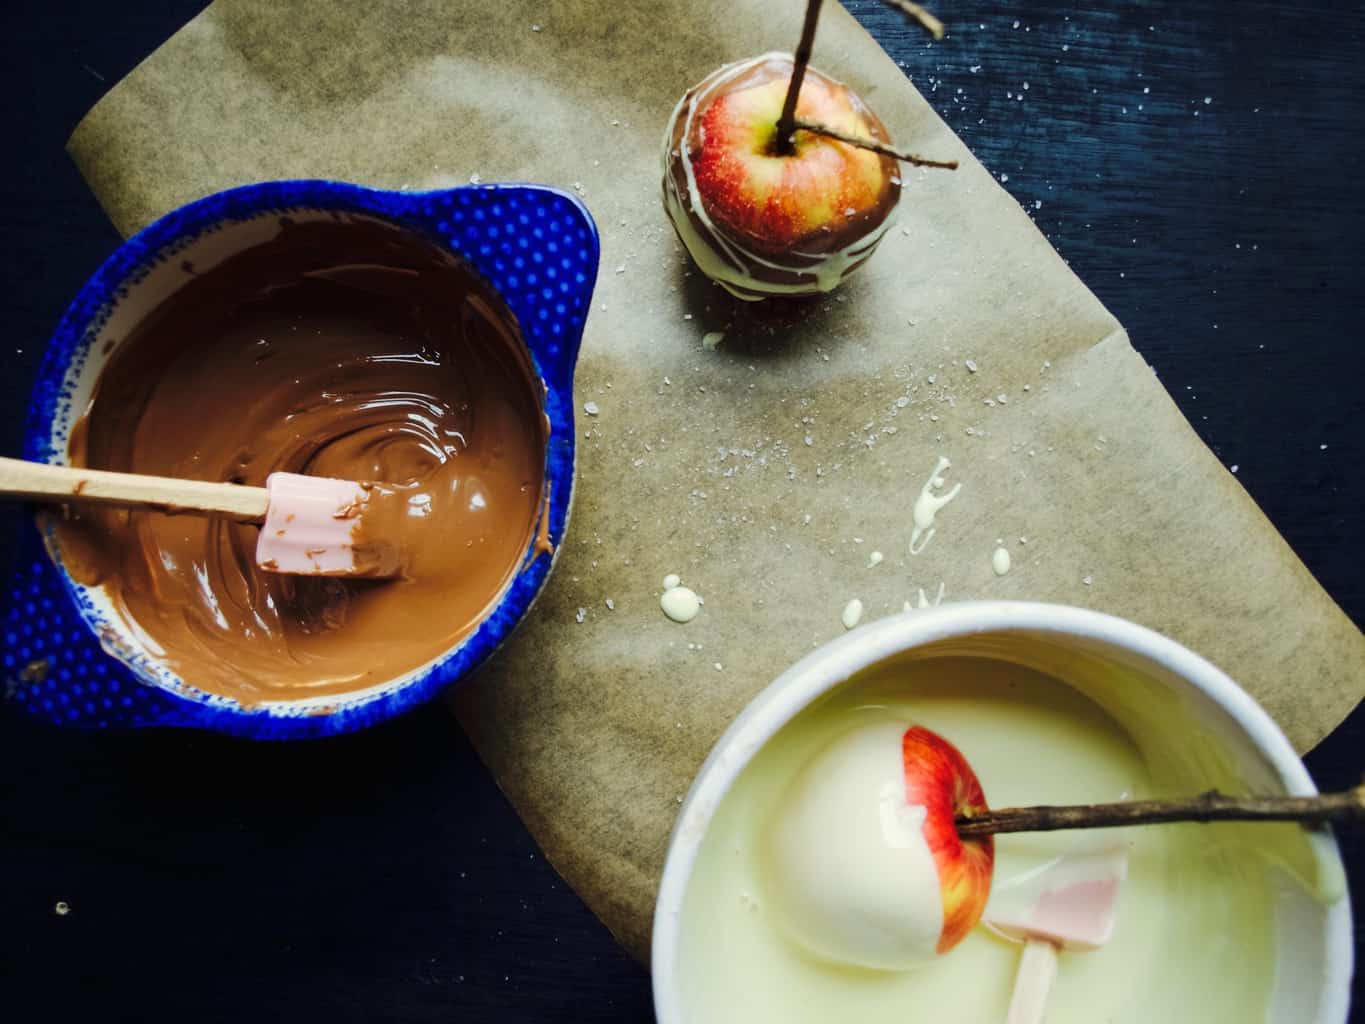
3. Swirl the apple into chocolate so it gets evenly coated. Drizzle some more chocolate of different type on the sides for a pretty look. Don’t forget to salt it ;-).

4. Let the apples set in the fridge.Salted chocolate applesI found that white chocolate does not go back to solid state very quickly. Once applied, white chocolate would just slide off the apple. I think it is important to either wait till the chocolate starts thickening or roll the apple (with chocolate on it) in some descanted coconut so it holds everything together. The apples decorated this ways look as pretty as other apples I think :-).Salted chocolate applesHope you feel inspired

Rasa xoxo

2

Aeroplane themed birthday cake

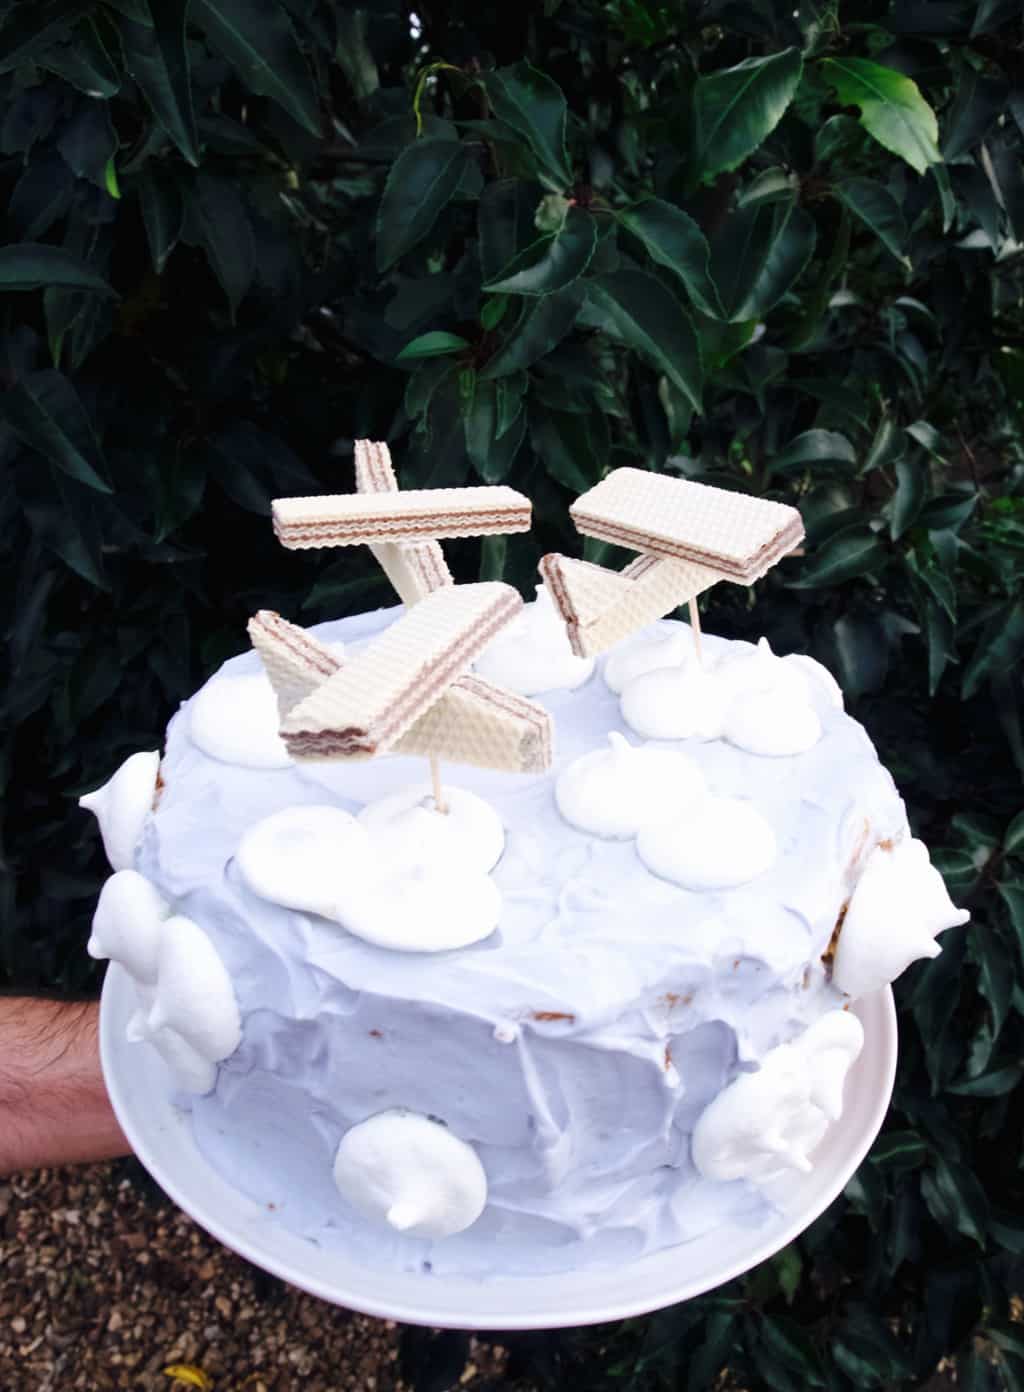
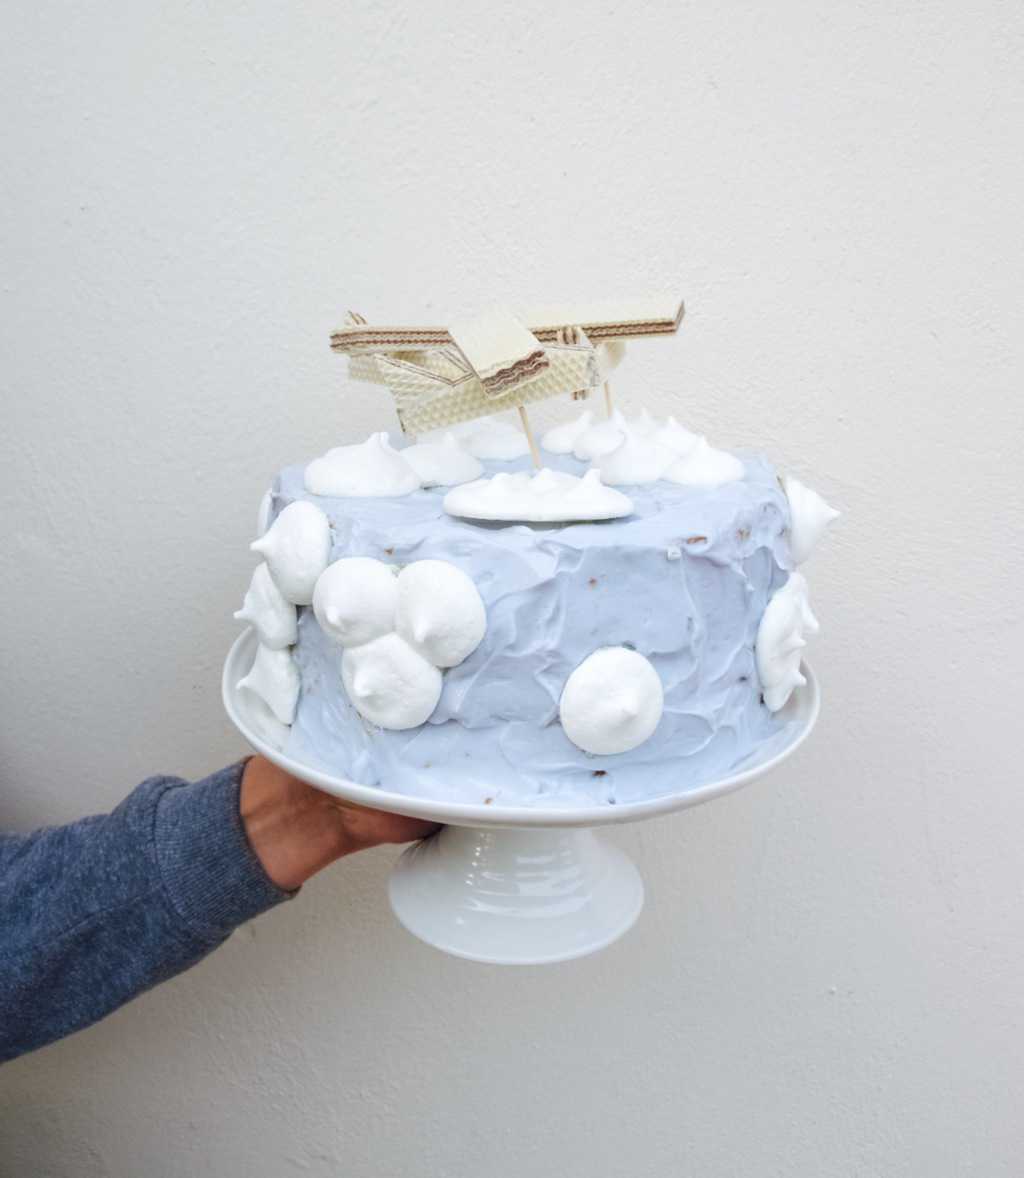
Aeroplane themed birthday cakeSo here it is, my vision became a reality. This year I made Lukas birthday cake aeroplane themed which he really enjoyed. I have been dreaming about this cake for ages (not really I practically copied the idea from here). The only thing I wanted to do differently is to try and dye the frosting with natural dyes….

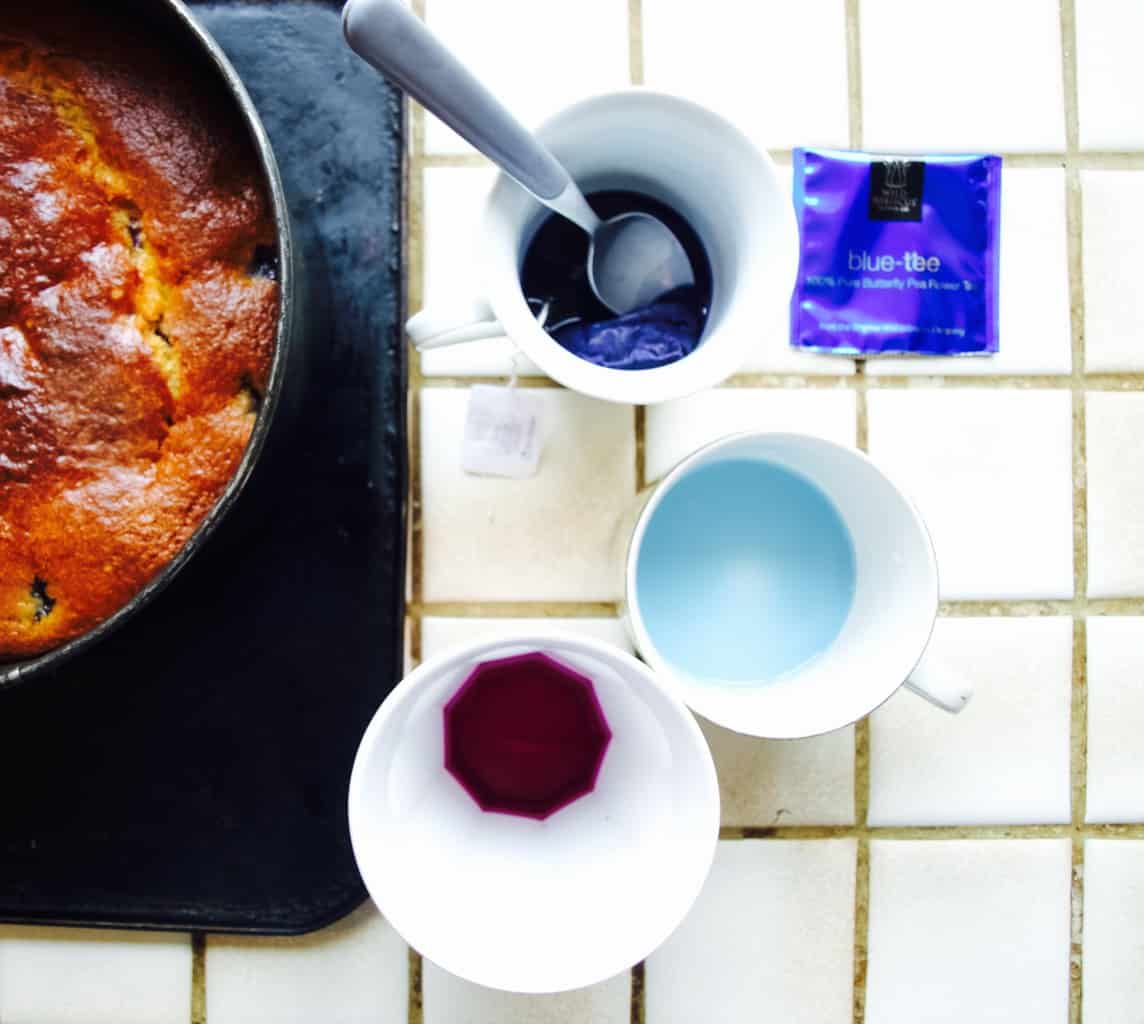
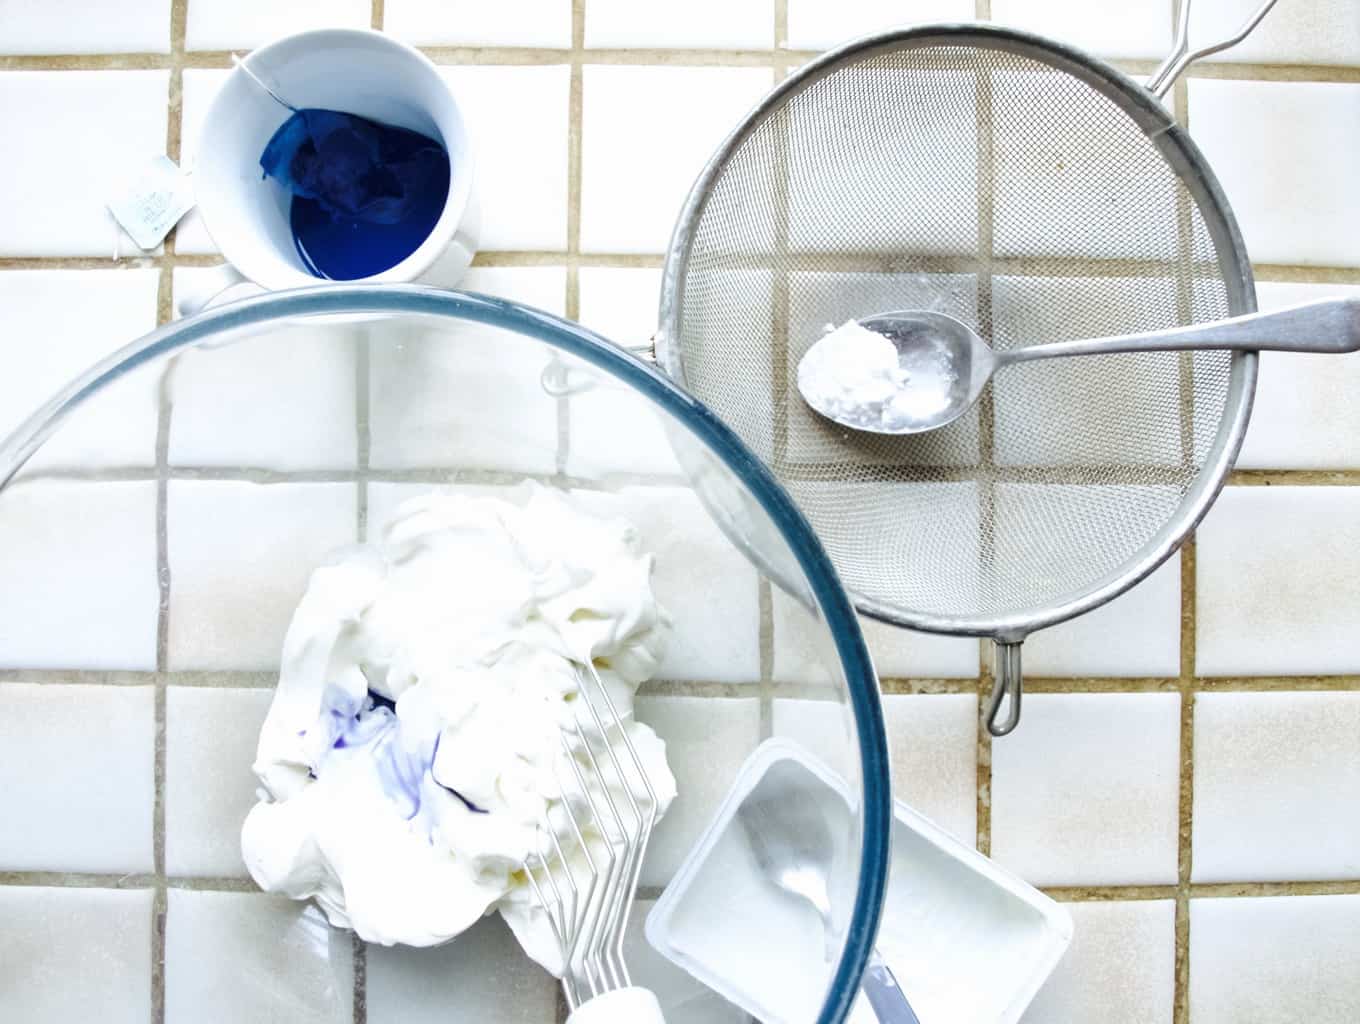
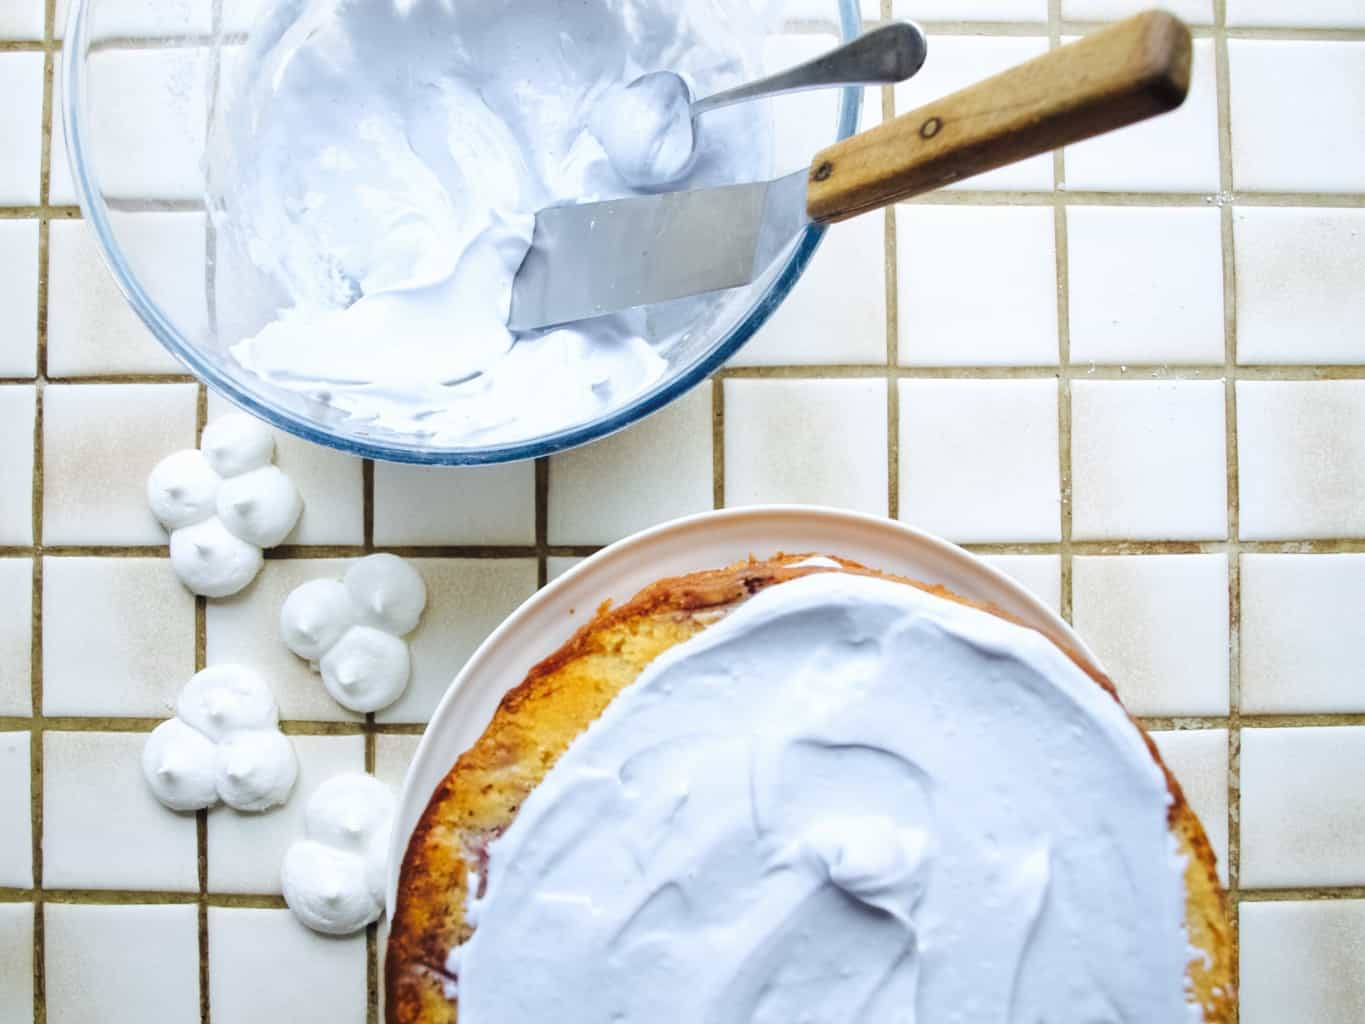
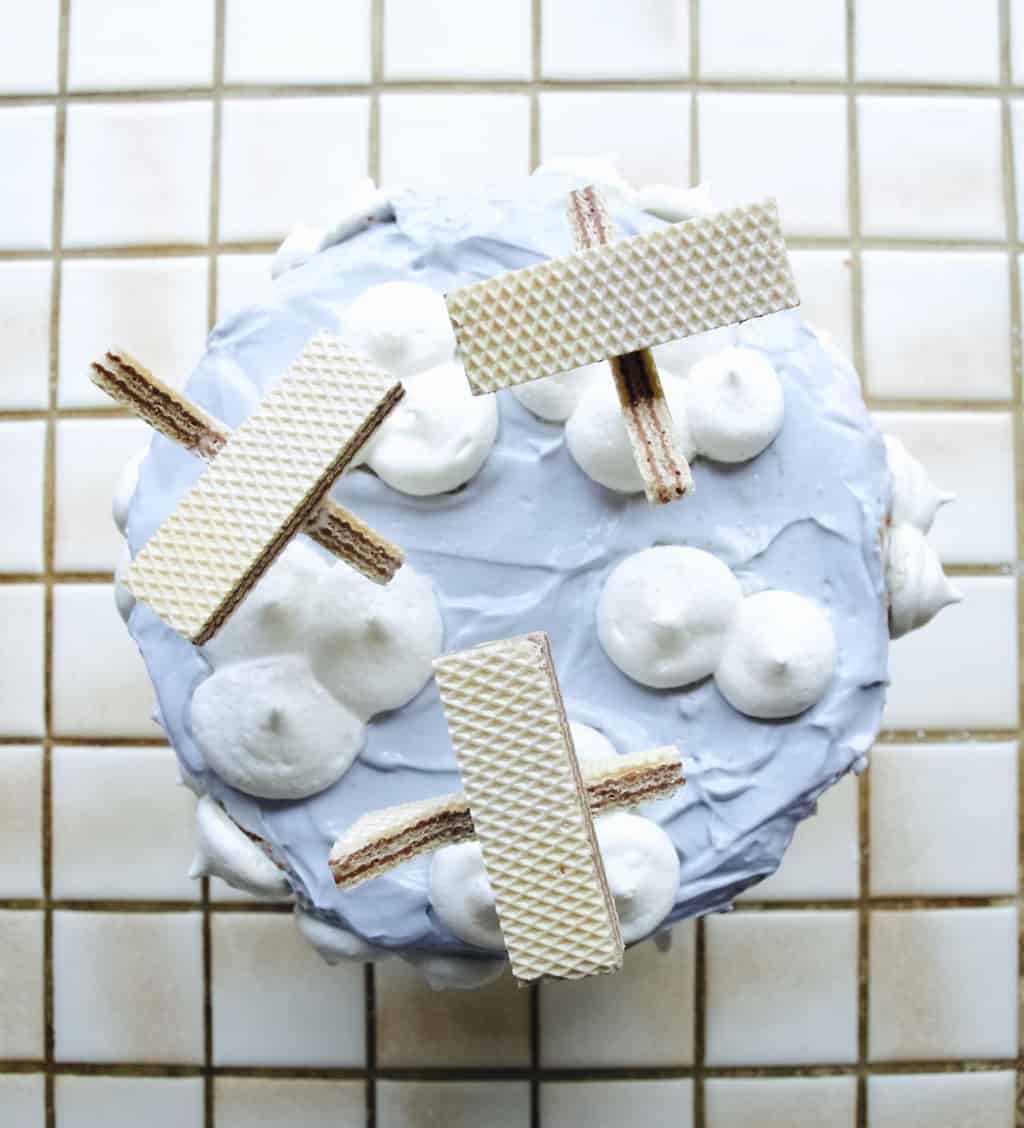
But as you may know the colour blue is hard to find in nature! I know i know, the sky is blue, but you can’t exactly put that in the icing. With a bit of research and friends recommendation I went with butterfly pea tea that is sort of blue. You see I had fun with experimenting and realised that butterfly pea tea changes colour according to the ph of the liquid you mix it into. With a bit of lemon it turns to a burgundy violet and with milk it turns into bluish sky blue. Although this might sound easy, the blue that I get from mixing the tea with milk is not concentrated enough for what is needed when you try to dye large amounts of frosting. I ended up using it in soft cheese frosting and it turned out a little more lilac then sky blue. Shall we imagine that the planes are flying over a sunset sky?Aeroplane themed birthday cake BLUEBERRY YOGURT CAKE WITH BUTTERFLY PEA FROSTING

(for the cake)

  • 3 eggs
  • 350g caster sugar
  • 450g greek yogurt
  • 180g rapeseed or olive oil
  • 300g ground almond
  • 250g plain flour
  • 1 tsp vanilla extract
  • 3tsp baking powder
  • 2 handful blueberries

(for the meringue)

  • 3 egg whites, room temperature
  • 100g icing sugar, sifted
  • few drops of lemon
  • pinch of salt

(for the frosting)

  • 600g soft cheese
  • icing sugar to taste, sifted
  • butterfly pea tea, brewed in little water

(for the “aeroplanes”)

  • cocktail sticks
  • wafers in the finger form

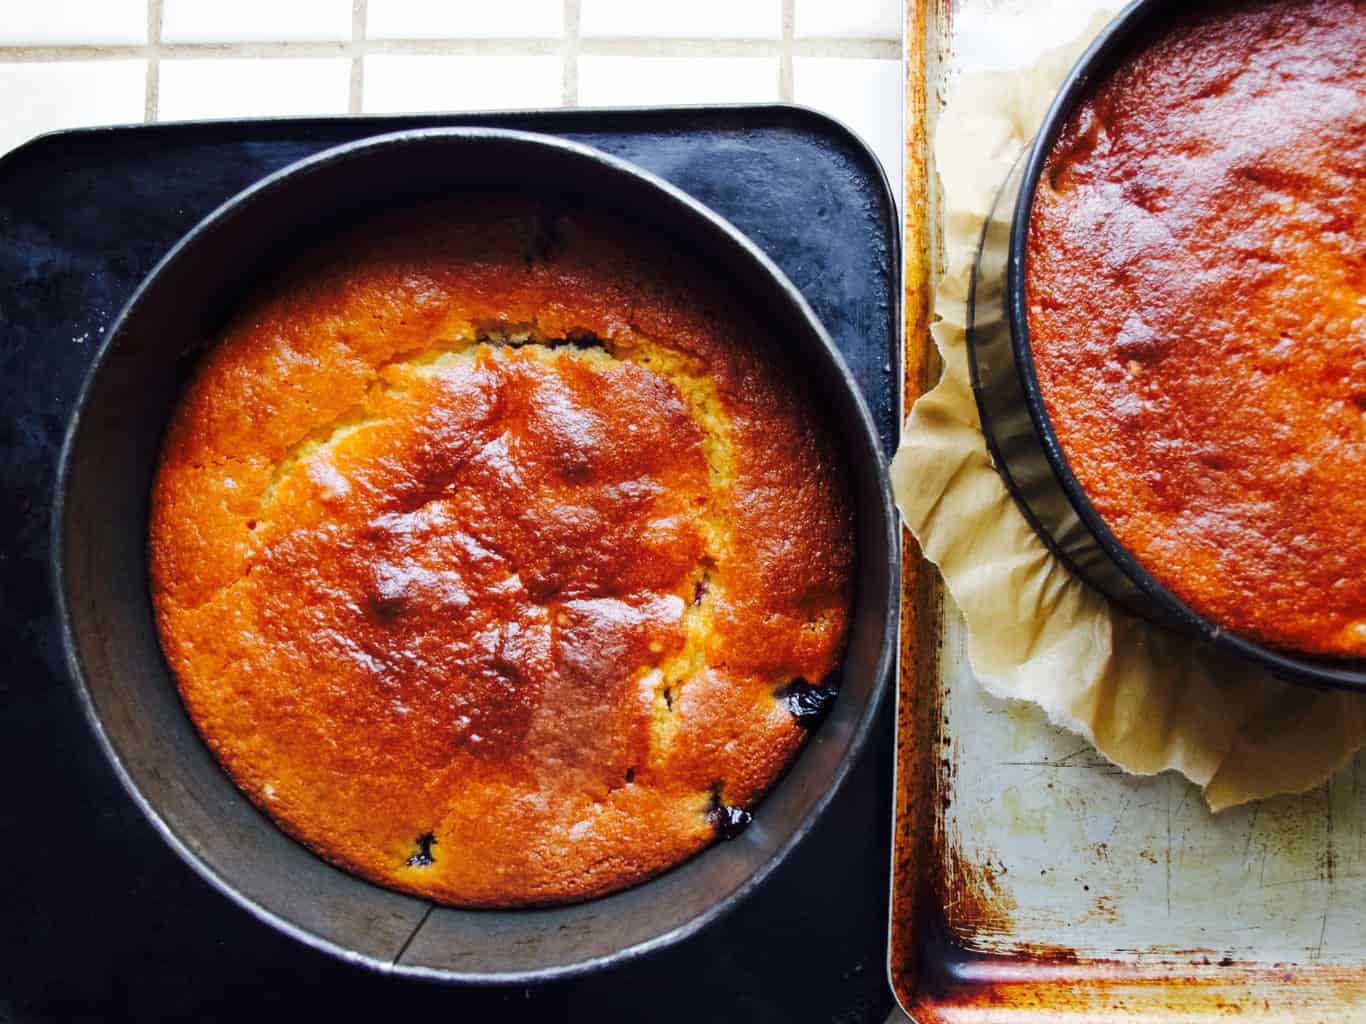
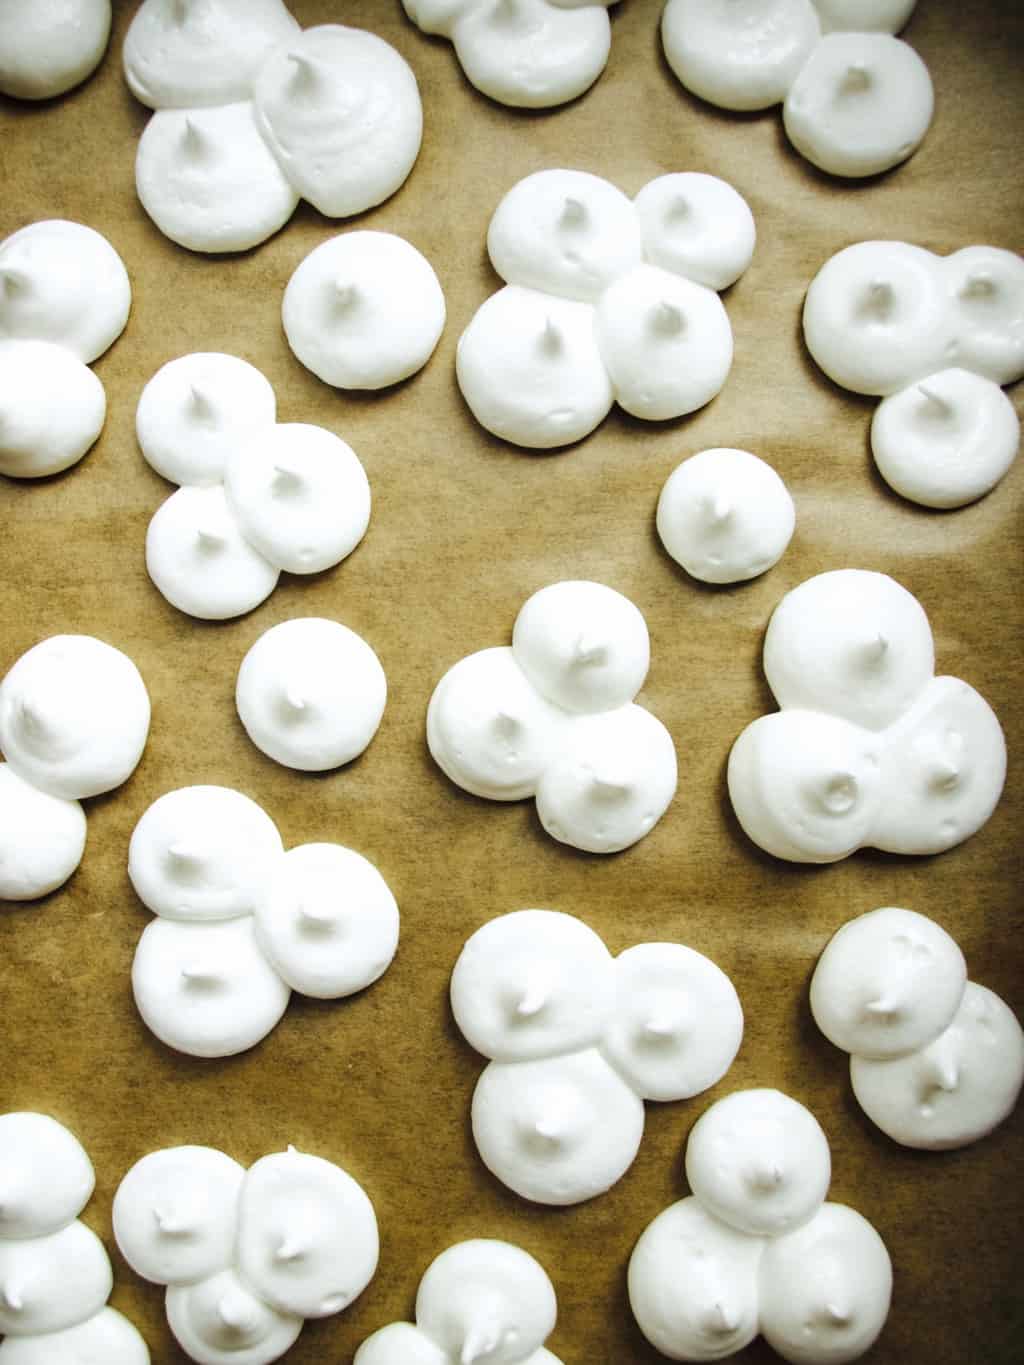
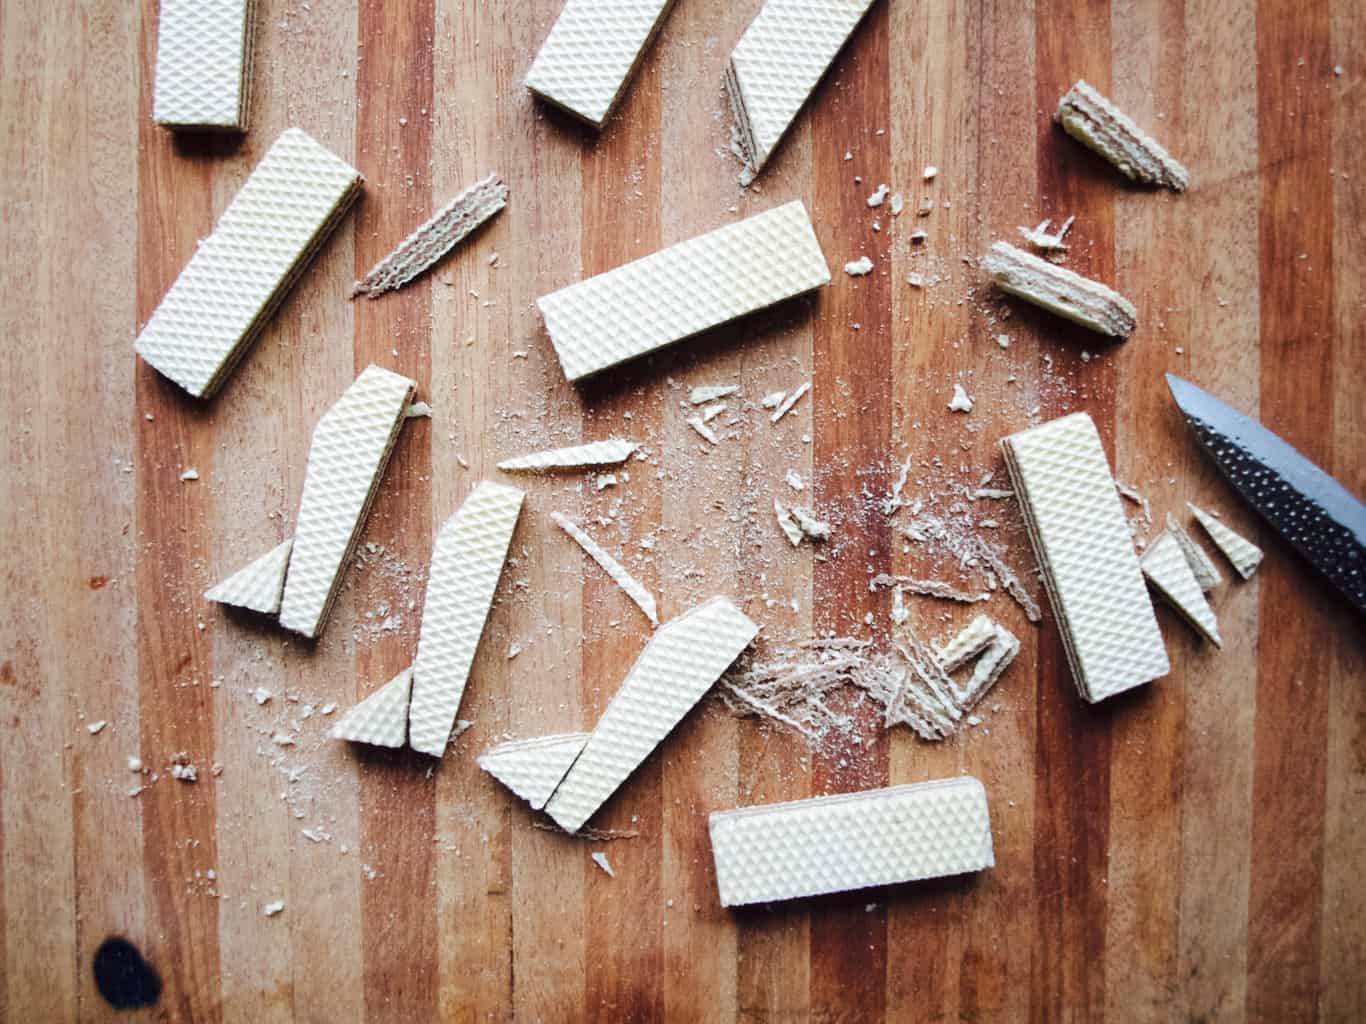
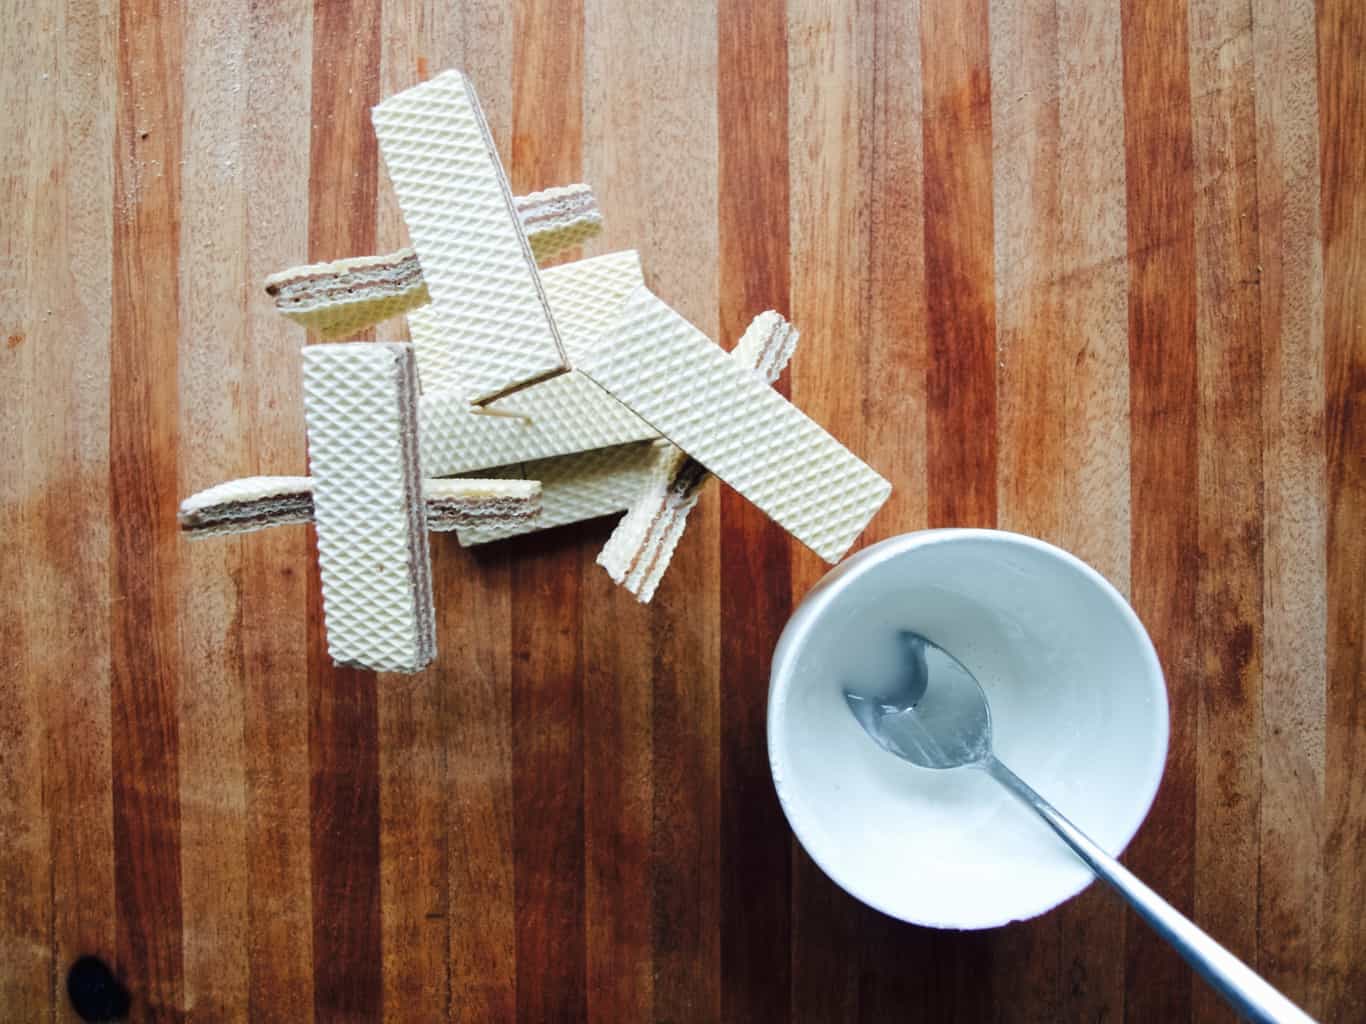
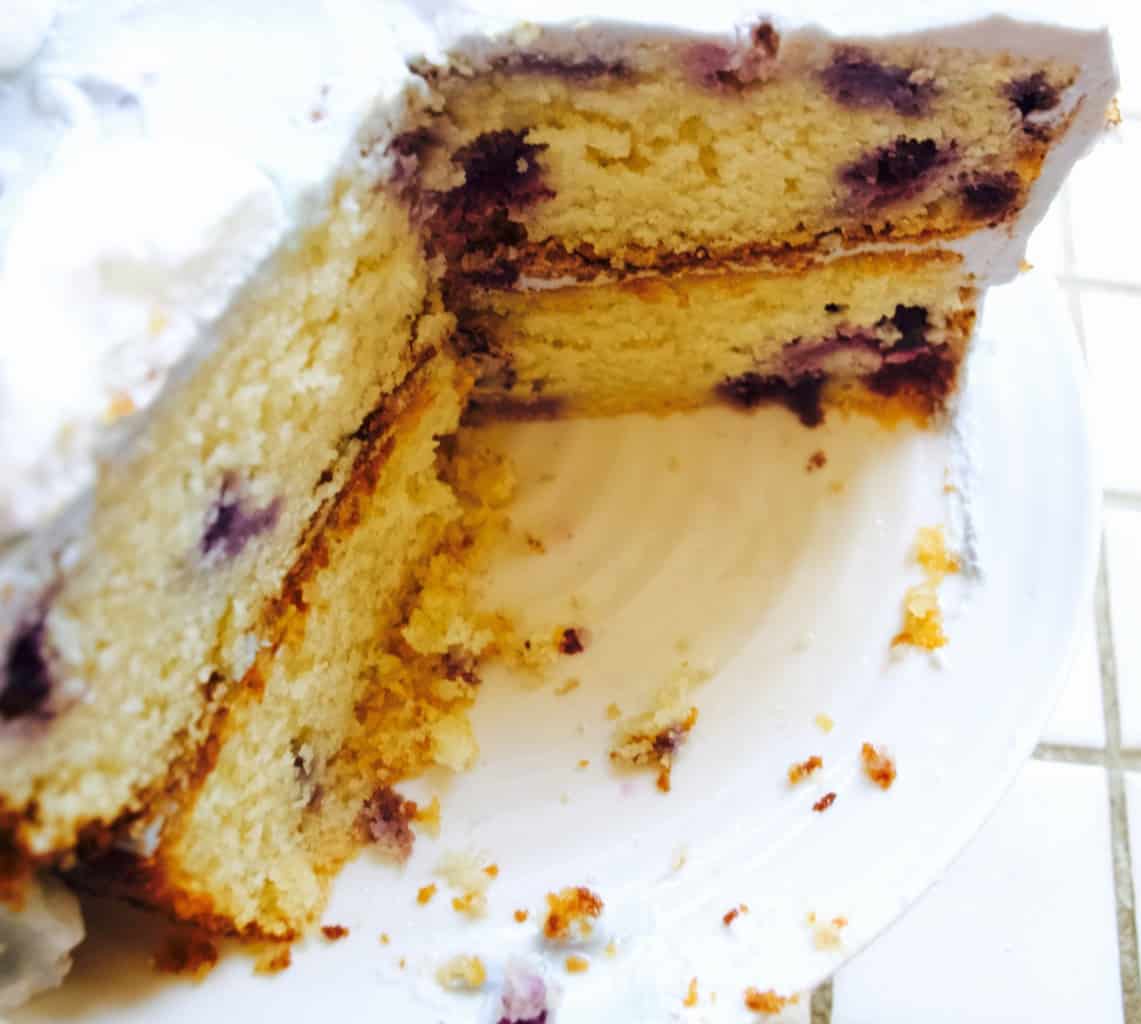
1. To make the cake beat the eggs with sugar. Add the rest of the ingredients and mix again to combine. Pour equal amount of cake mixture into two lined baking tins. Bake in 180C oven for 40-45min.Aeroplane themed birthday cake 2. Meanwhile prepare the meringues for baking. Baking these will take few hours on the low heat once the cake is baked presuming you don’t have two ovens. Mix the egg whites with drop of lemon, salt and half of icing sugar. Start whisking the mixture while gradually adding the rest of icing sugar. In the past I struggled to make meringues and later I realised that all it needs a little patience. It takes really long time to achieve stiffly whisked egg whites, so bear with it till you can see the results. Don’t worry you can’t over mix it ;-)! Pipe the meringues on the baking sheet into cloud shapes using large round nozzle or no nozzle at all. Bake in C60 preheated oven for 3-4h. I find the longer the baking the whiter the meringues!Aeroplane themed birthday cake with merengue clouds  3. To make the frosting whisk soft cheese with icing sugar (I like it less sweet so I don’t add much). Gradually mix in the butterfly pea tea till you like the shade. Aeroplane themed birthday cake 4. For the plane, cut the wafer finger into aeroplane body shape and small triangle for the fin. Glue the plane using icing sugar and water mixture. Use the cocktail sicks to hold the plane together.Aeroplane themed birthday cake Aeroplane themed birthday cake5. To assemble the cake apply the frosting starting from the top and working your way to the bottom. Arrange the “the clouds” and “the planes” as closer to serving as you can. Sadly, the meringue have a tendency to go soggy.Aeroplane themed birthday cake Aeroplane themed birthday cake Aeroplane themed birthday cake I especially liked the cake. Although it was difficult to apply the frosting due to it being crumbly and moist, I feel it was worth it!Aeroplane themed birthday cakeHope you enjoy it!

Rasa xoxo

0

Green tomato ketchup

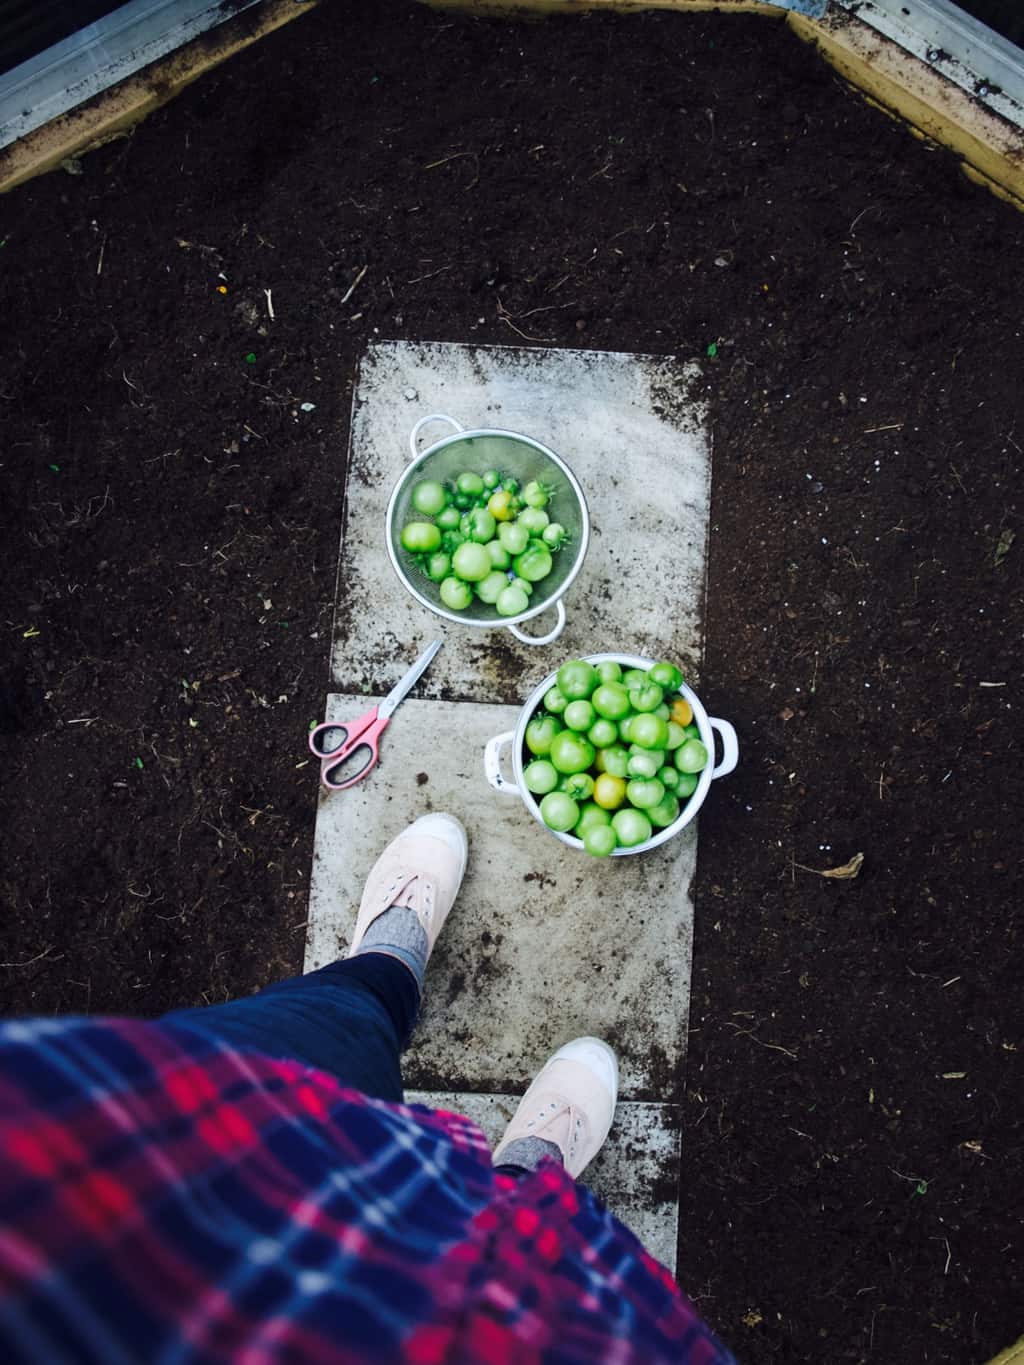
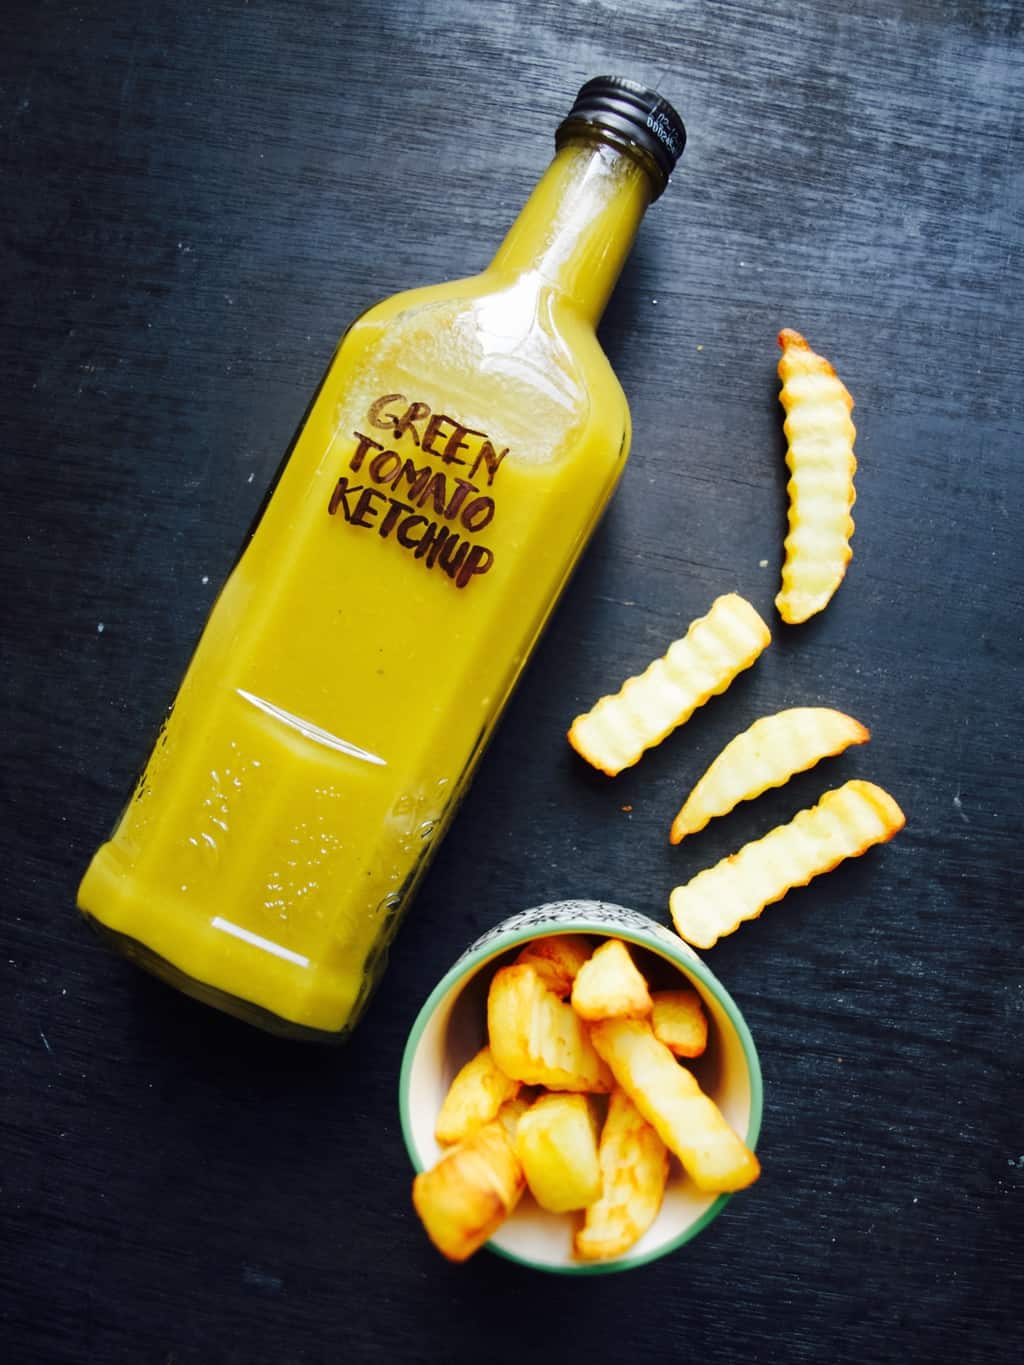
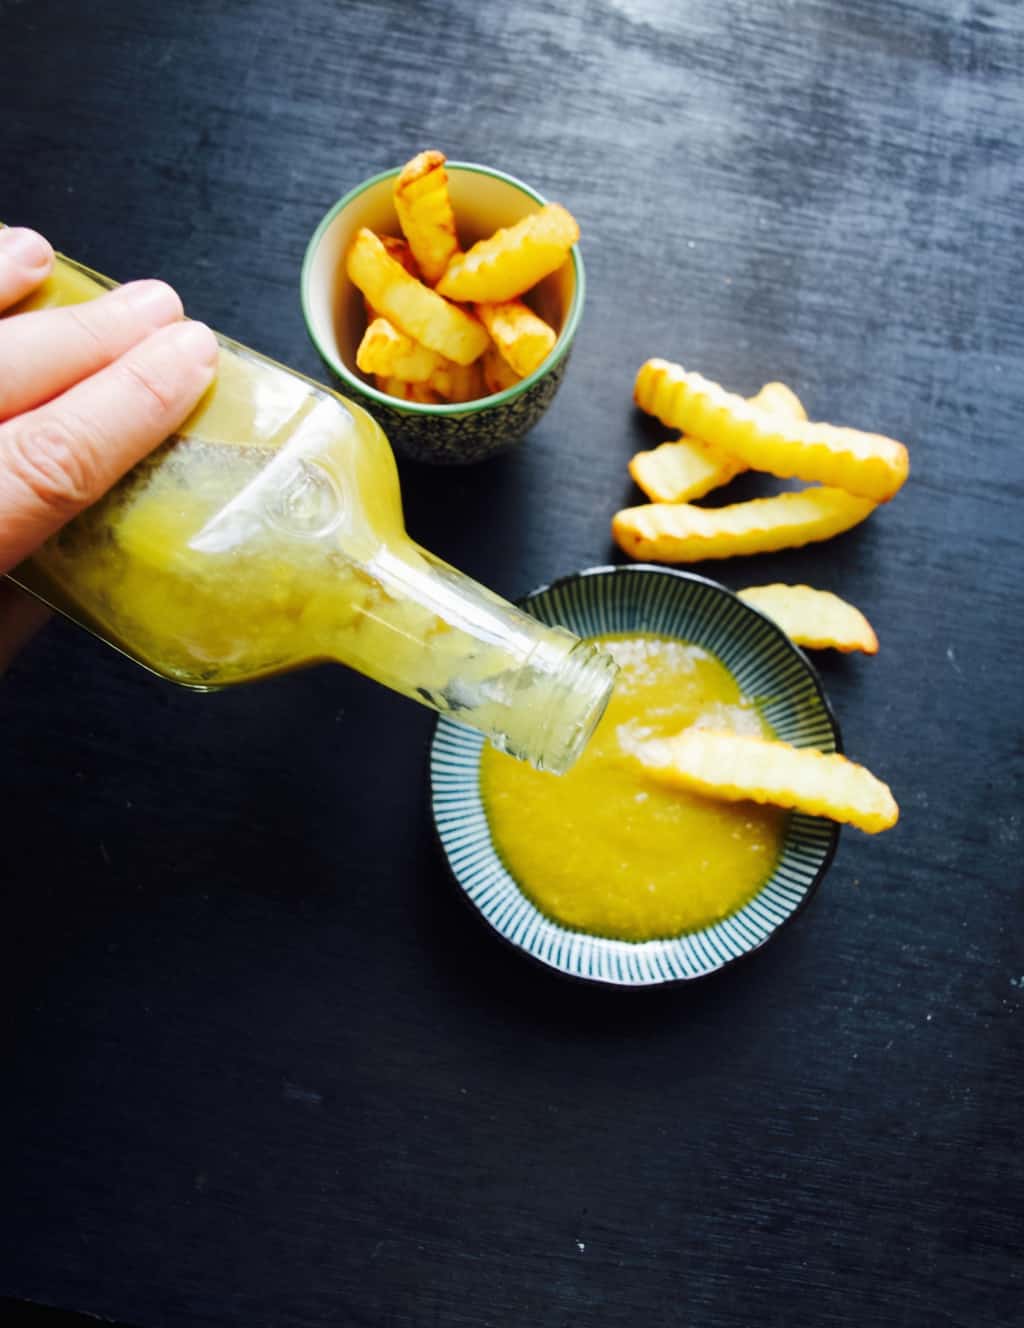
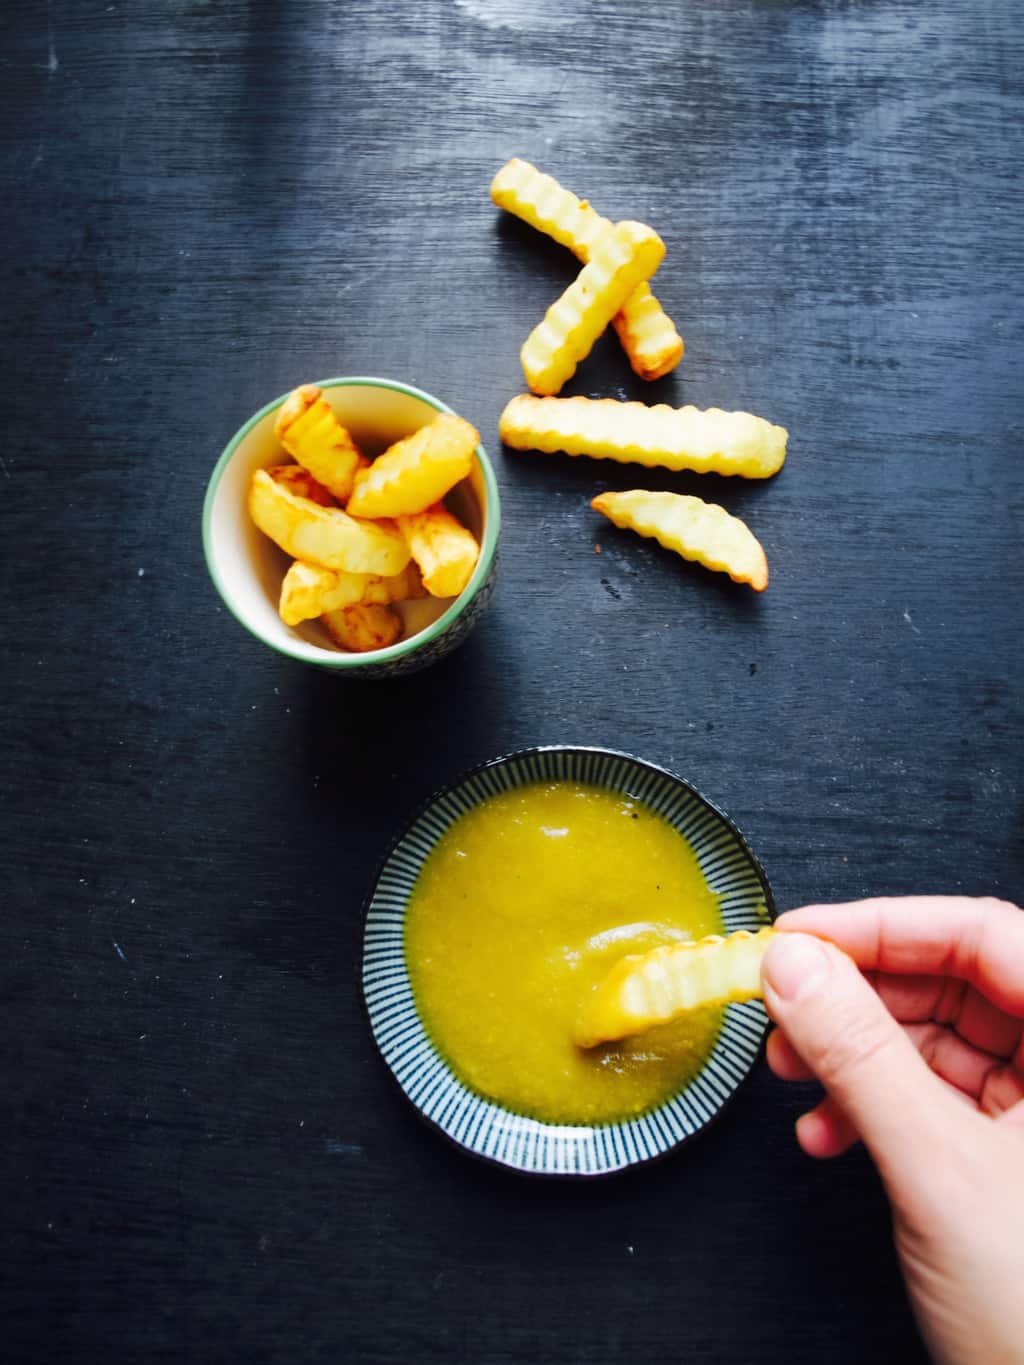
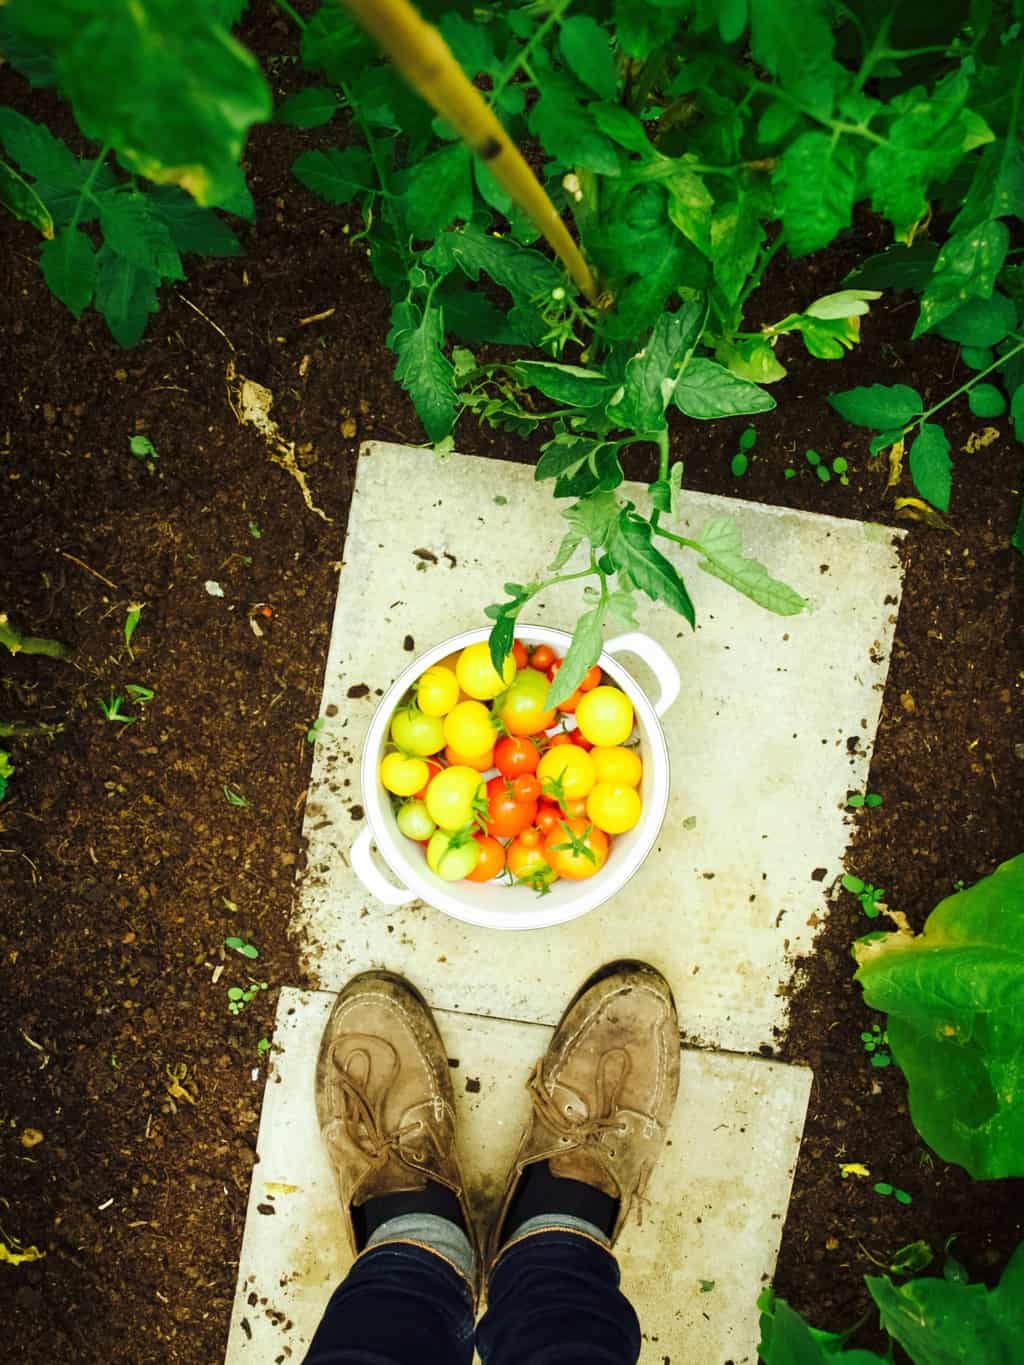
Green tomato ketchup recipeLast week we said goodbye to our green house. It was quite emotional for me as I really fell in love with it! Although the journey of building it and general gardening jobs delayed our house renovation (kitchen in particular) I feel having green house has given us irreplaceable experience. I loved getting fresh tomatoes everyday for my toast and salads, even if it was for only few months. I have learned a lot too! I will be applying my new learned knowledge next year when I grow tomatoes again :).Green tomato ketchup recipeBut what to do with all those green tomato that missed their chance to catch some sun? Few years ago we made some green tomato chutney. This year however I decided to go with green tomato ketchup only because we use ketchup more often (I bet you do too!). Green tomato ketchup taste a little fresher to compare to regular ketchup but is equally delicious with chips!Green tomato ketchup recipe Green tomato ketchup recipe This recipe can be halved or doubled depending on your green tomato harvest. So weigh your tomatoes before deciding how much ketchup to make.

GREEN TOMATO KETCHUP
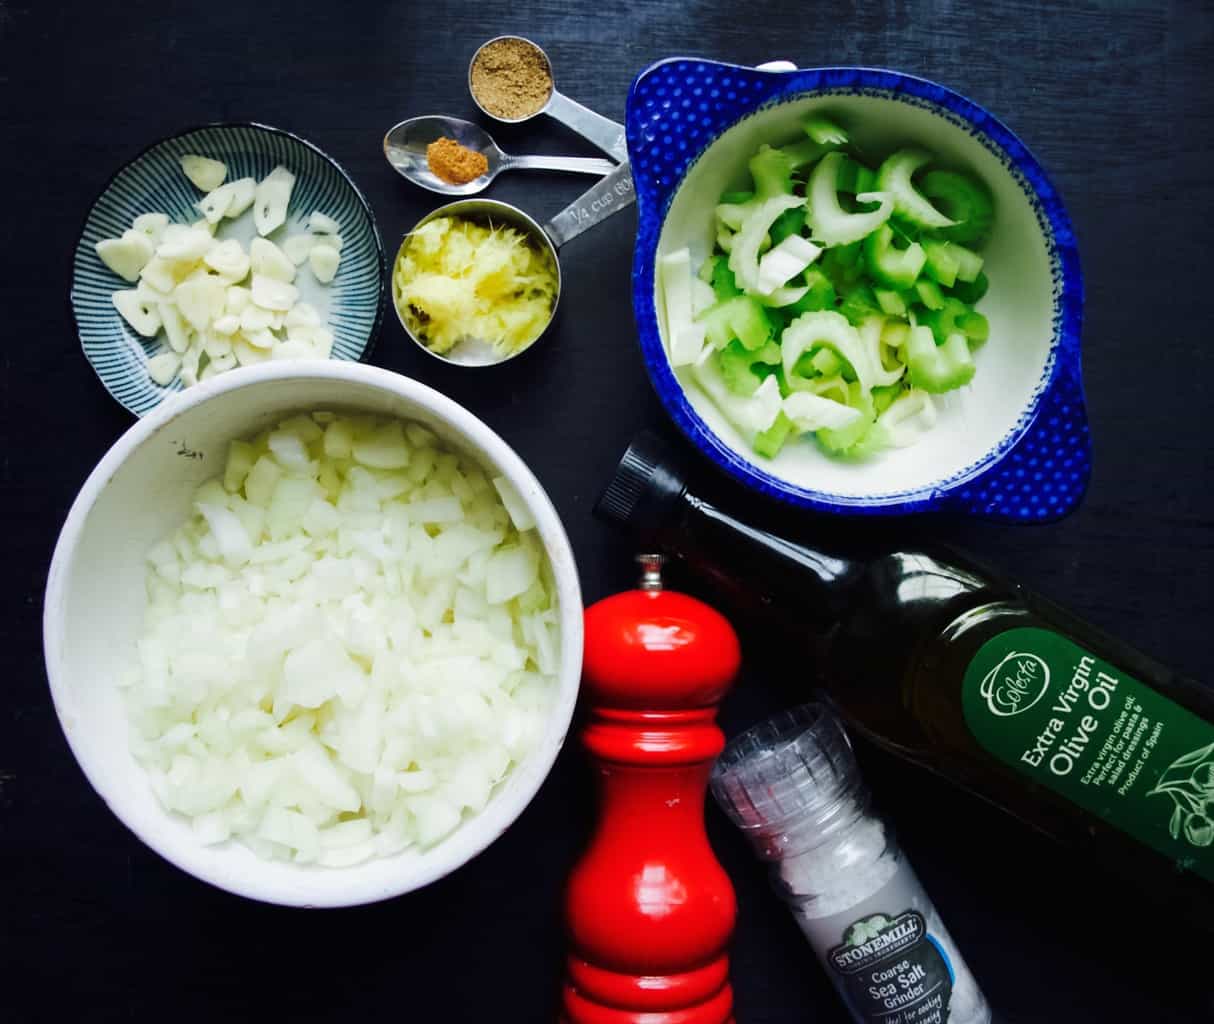
  • 2 kg tomatoes
  • olive oil
  • 3 onions, chopped
  • 2 celery sticks, sliced
  • 2 thumb fresh ginger, grated
  • 4 garlic cloves, sliced
  • 1 tsp ground coriander
  • 1/2 tsp ground mixed spice
  • salt and pepper
  • 700ml water
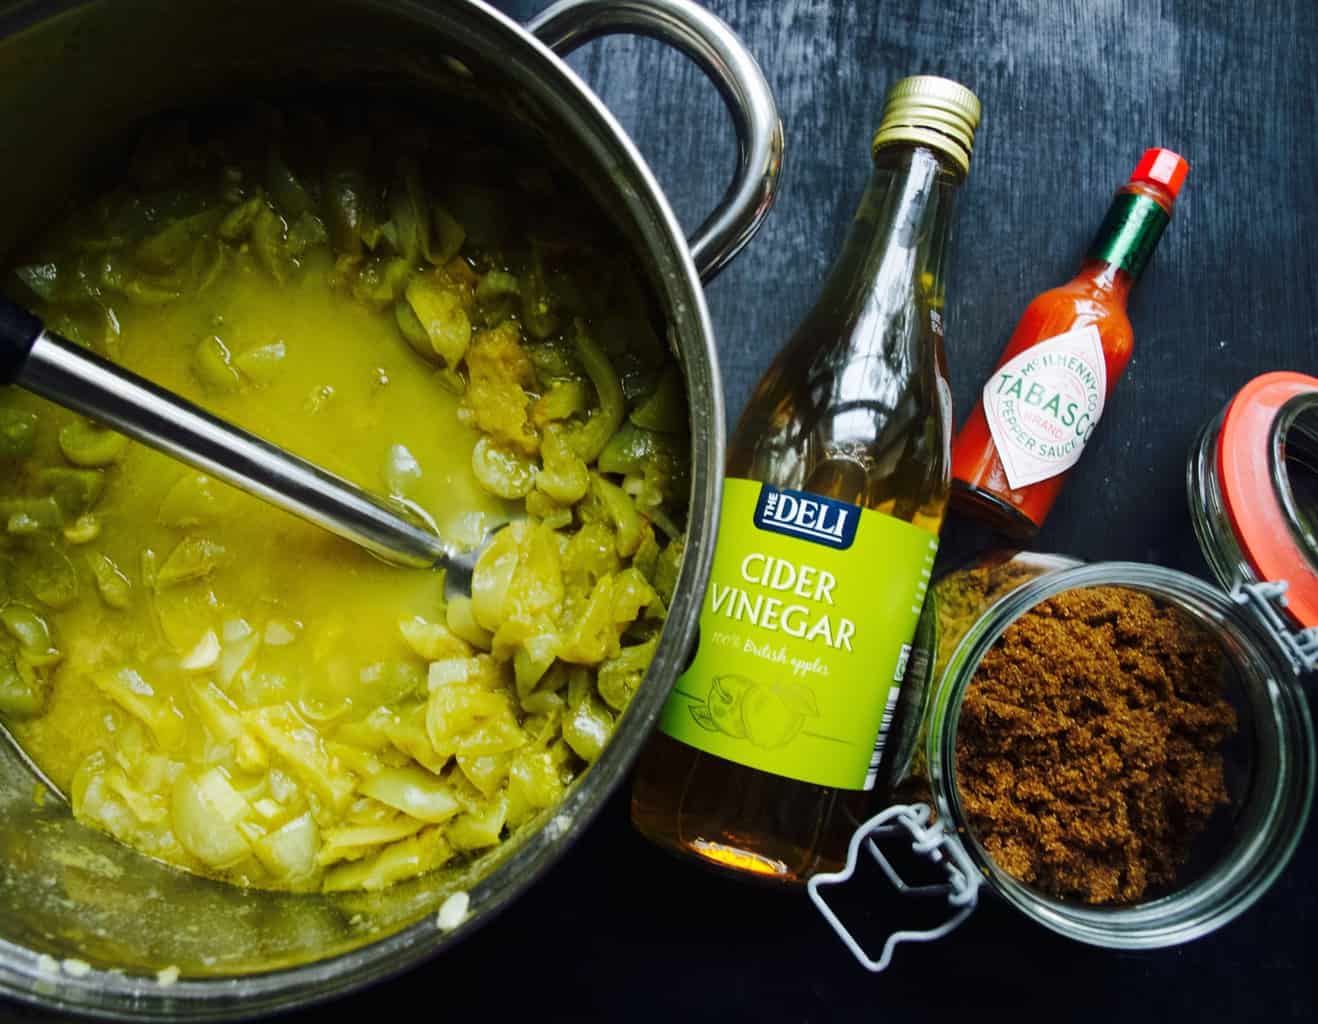
  • 2 tsp tabasco sauce (more if you like spicy)
  • 150ml apple cider vinegar
  • 200g brown sugar (I used dark brown which made the ketchup look darker)

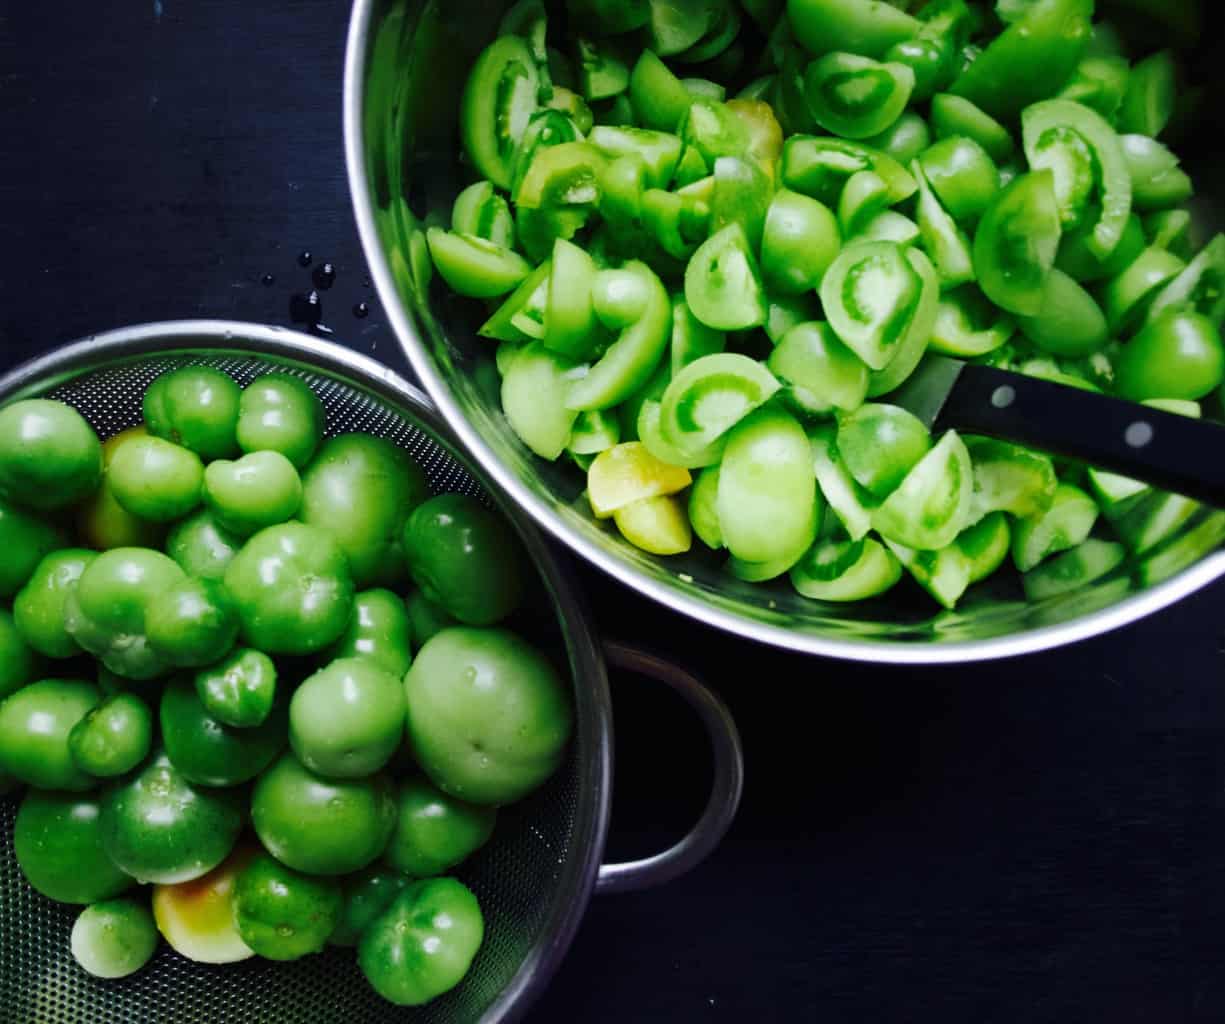
1. wash, weigh, chop the tomatoes and set aside.Green tomato ketchup recipe2. Place onions and celery  in a large saucepan with a generous amount of olive oil, ginger, garlic, ground coriander and mixed spice. Season with the pepper and a pinch of salt. Cook gently till softened.Green tomato ketchup recipe 3. Add the tomatoes, water and bring to the boil and simmer gently until the sauce reduces by half (around 3 h for 2kg tomatoes).

4. Whiz the sauce in a food processor or with a hand blender. Add the vinegar and the sugar. Place the sauce on the heat and simmer until it reduces and thickens to the consistency of tomato ketchup. At this point, adjust the seasoning to taste.

5. Spoon the jam into the ready sterilised jars or glass bottles.Green tomato ketchup recipe Green tomato ketchup recipeShould at least try making it for those chips ;-)

Rasa xoxo

0

End-of-season tomato jam

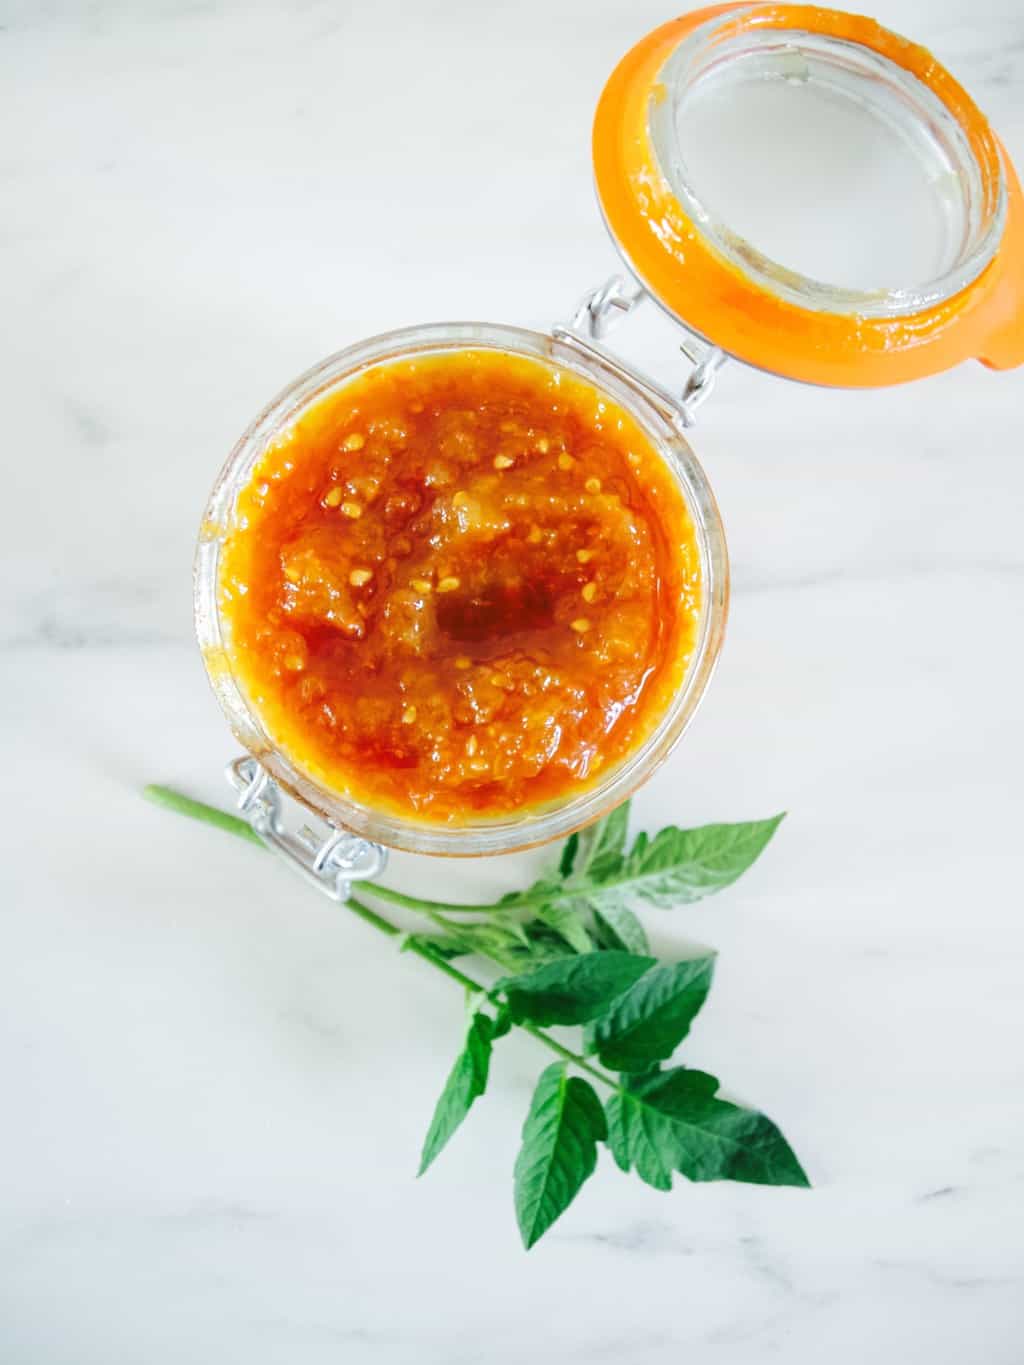
End-of-season tomato jam recipeTurns out our tomato harvest was little late when I thought it was barely there at all. When all of the sudden tomatoes started turning red and yellow in one go I actually panicked as I could not keep up with it even when I was eating them everyday (this is certainly a good problem to have). However their season is coming to the end and I will be soon harvesting green tomatoes to make something special for winter.

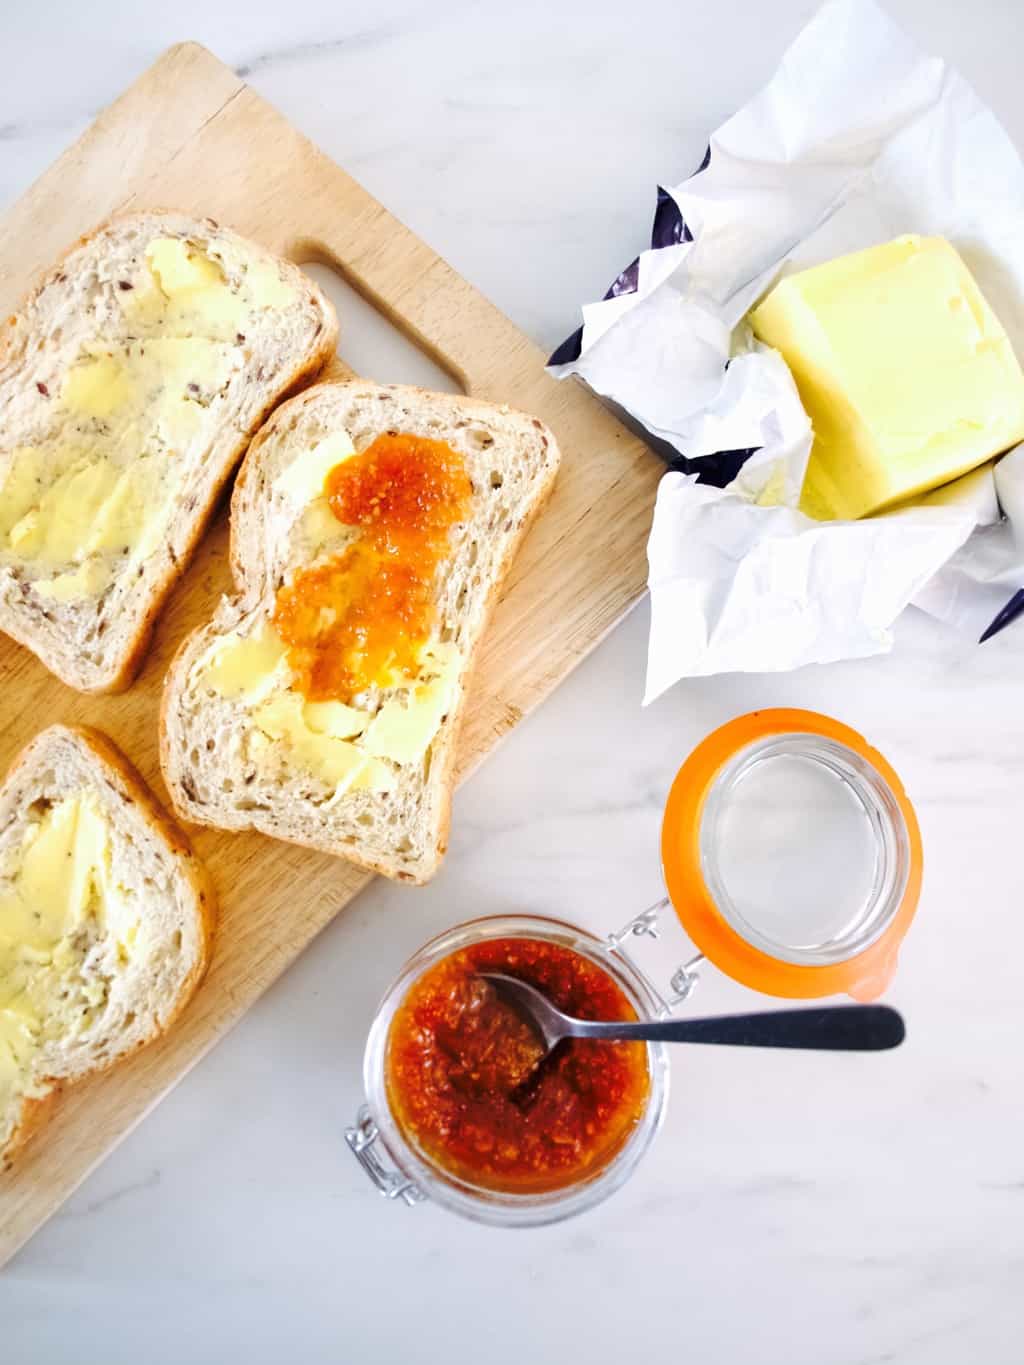
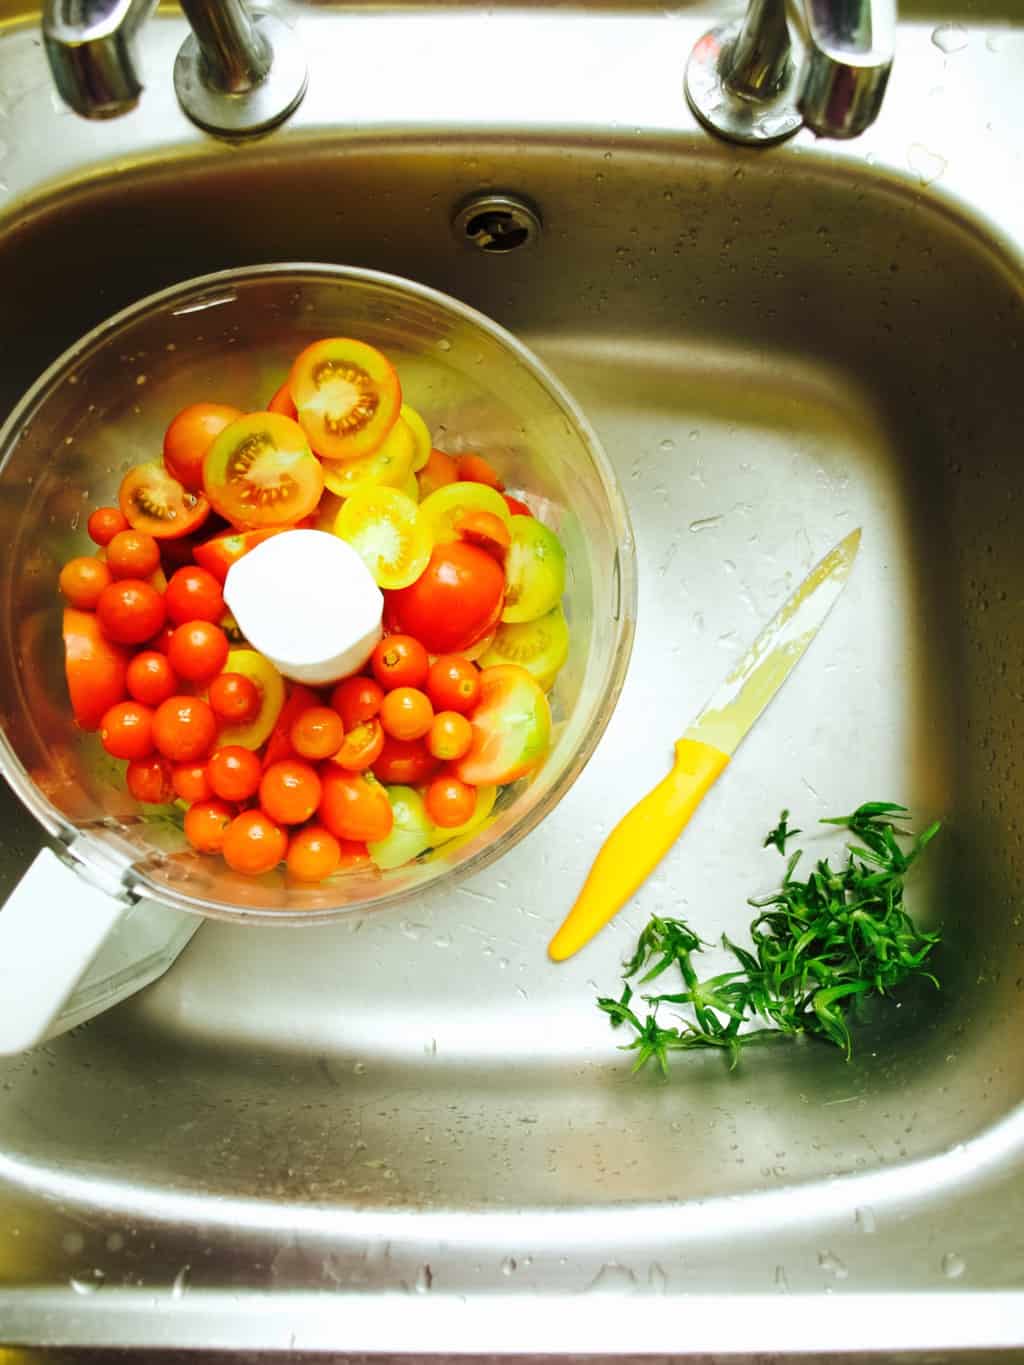
So far I have been freezing red, cherry and sunrise tomatoes into the 400g bags for next time I need chopped tomatoes in the recipe. I also reserved some for tomato jam that I wanted to try out making for a while. I love something sweet in my savoury dishes! If you feel the same then here it is, carry on reading for the recipe.End-of-season tomato jam recipe End-of-season tomato jam recipeEND-OF SEASON TOMATO JAM adapted from Healthy Delicious

  • 1kg ripe tomatoes, roughly chopped
  • 280g soft brown sugar
  • 1 lemon zest and juice
  • pinch ground ginger

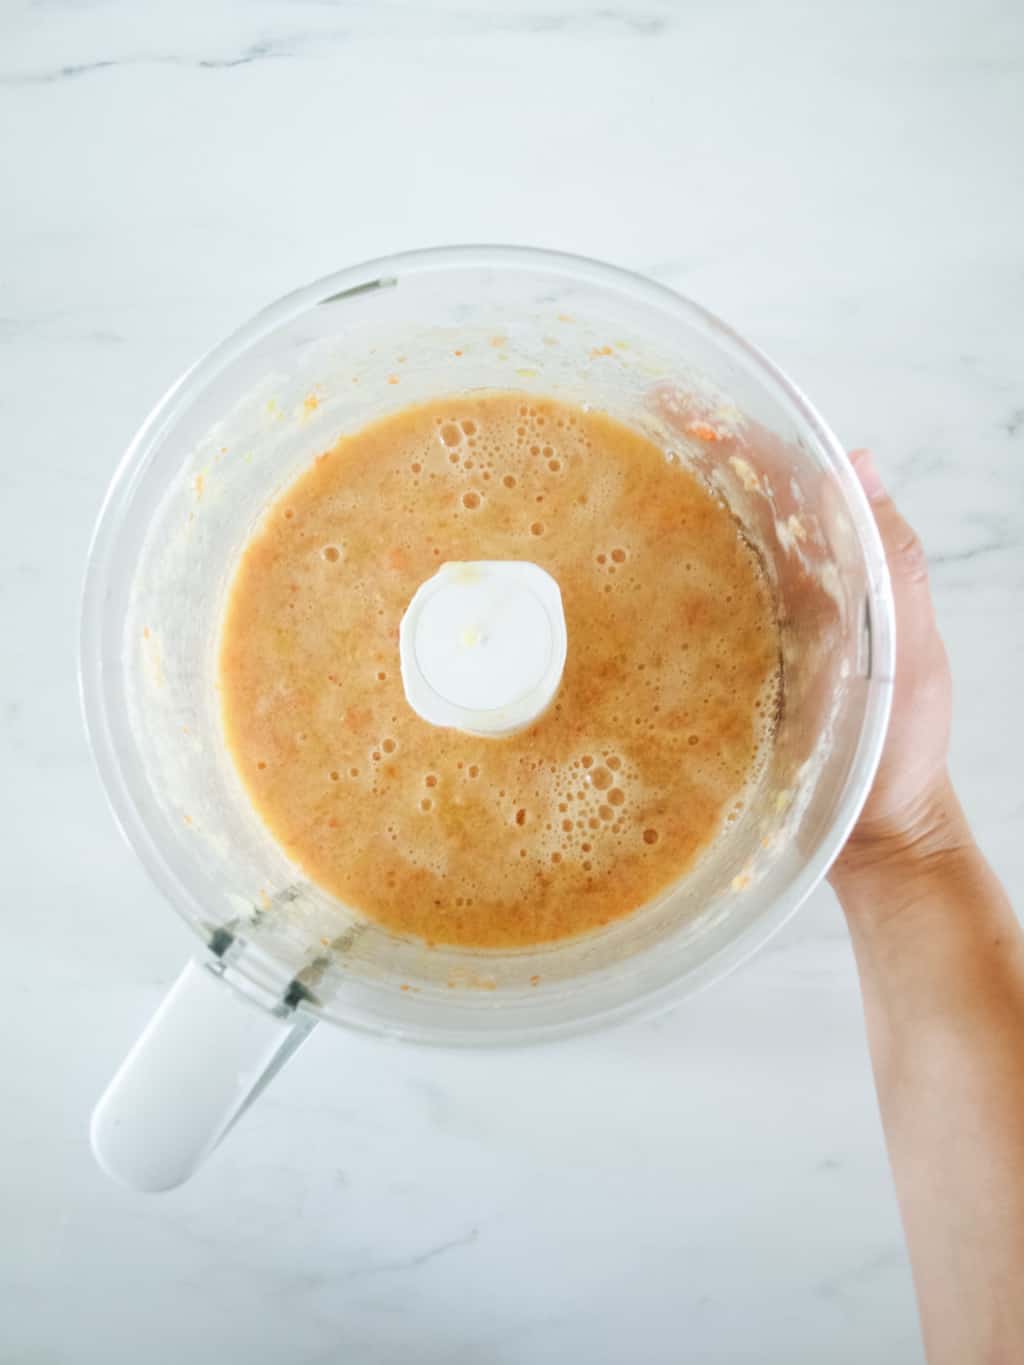
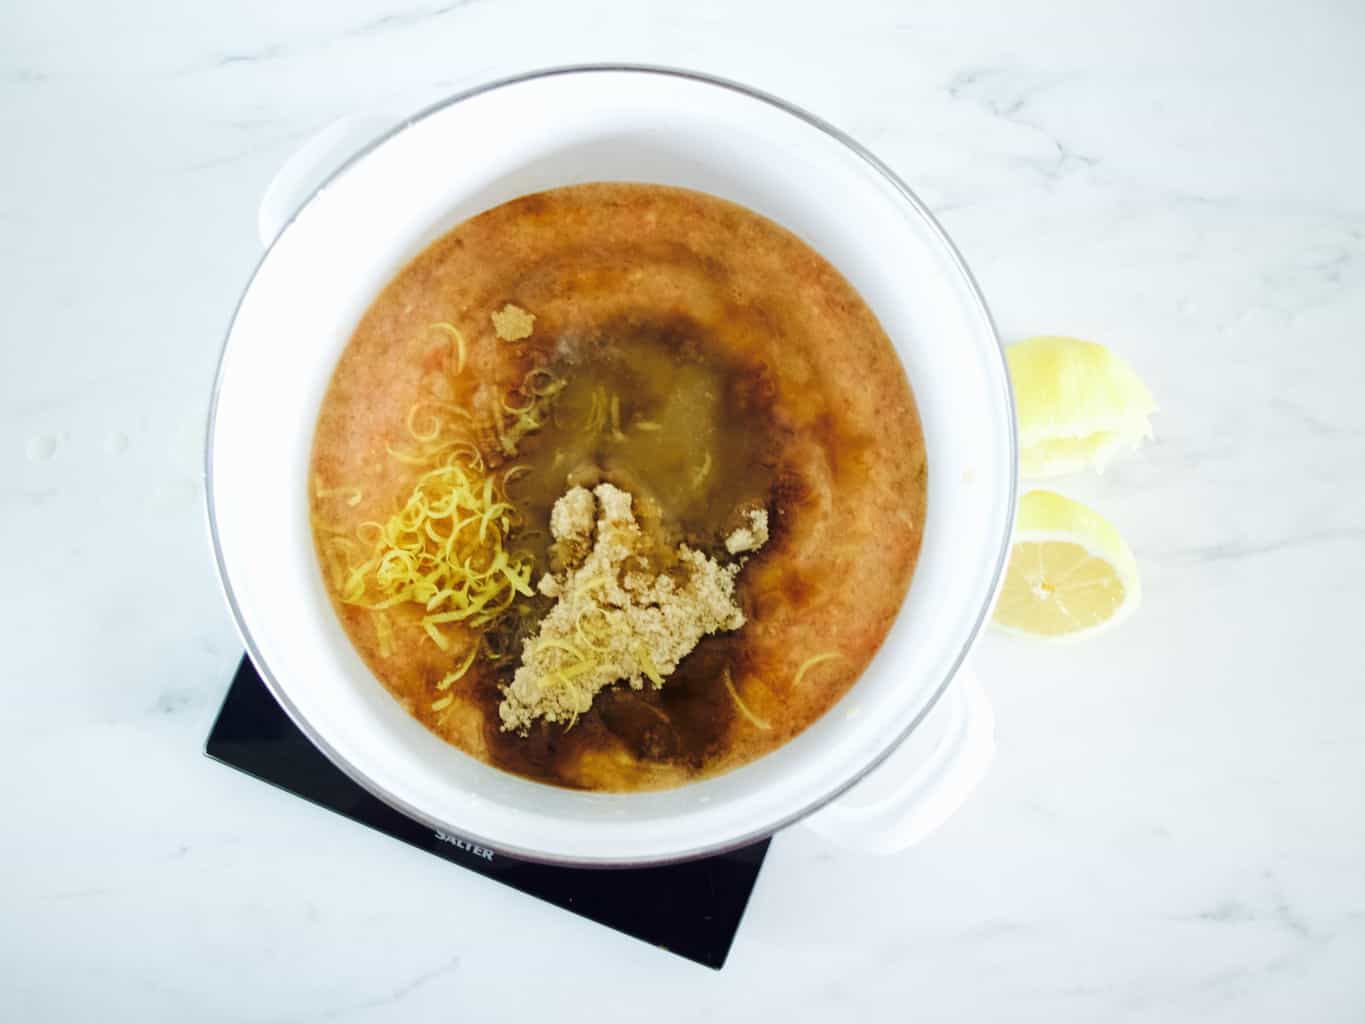
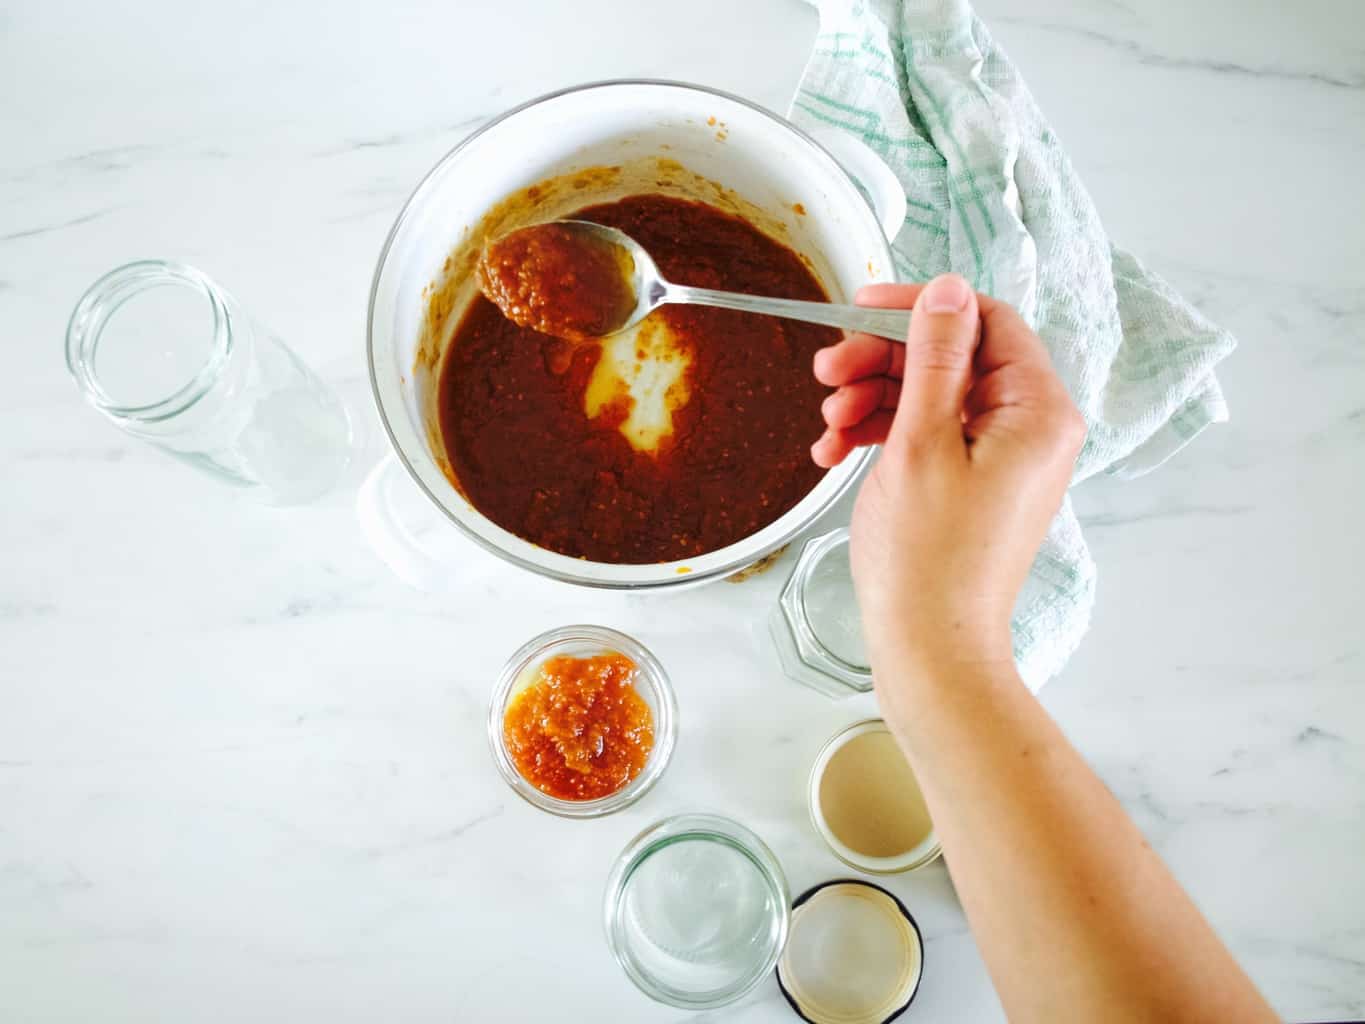
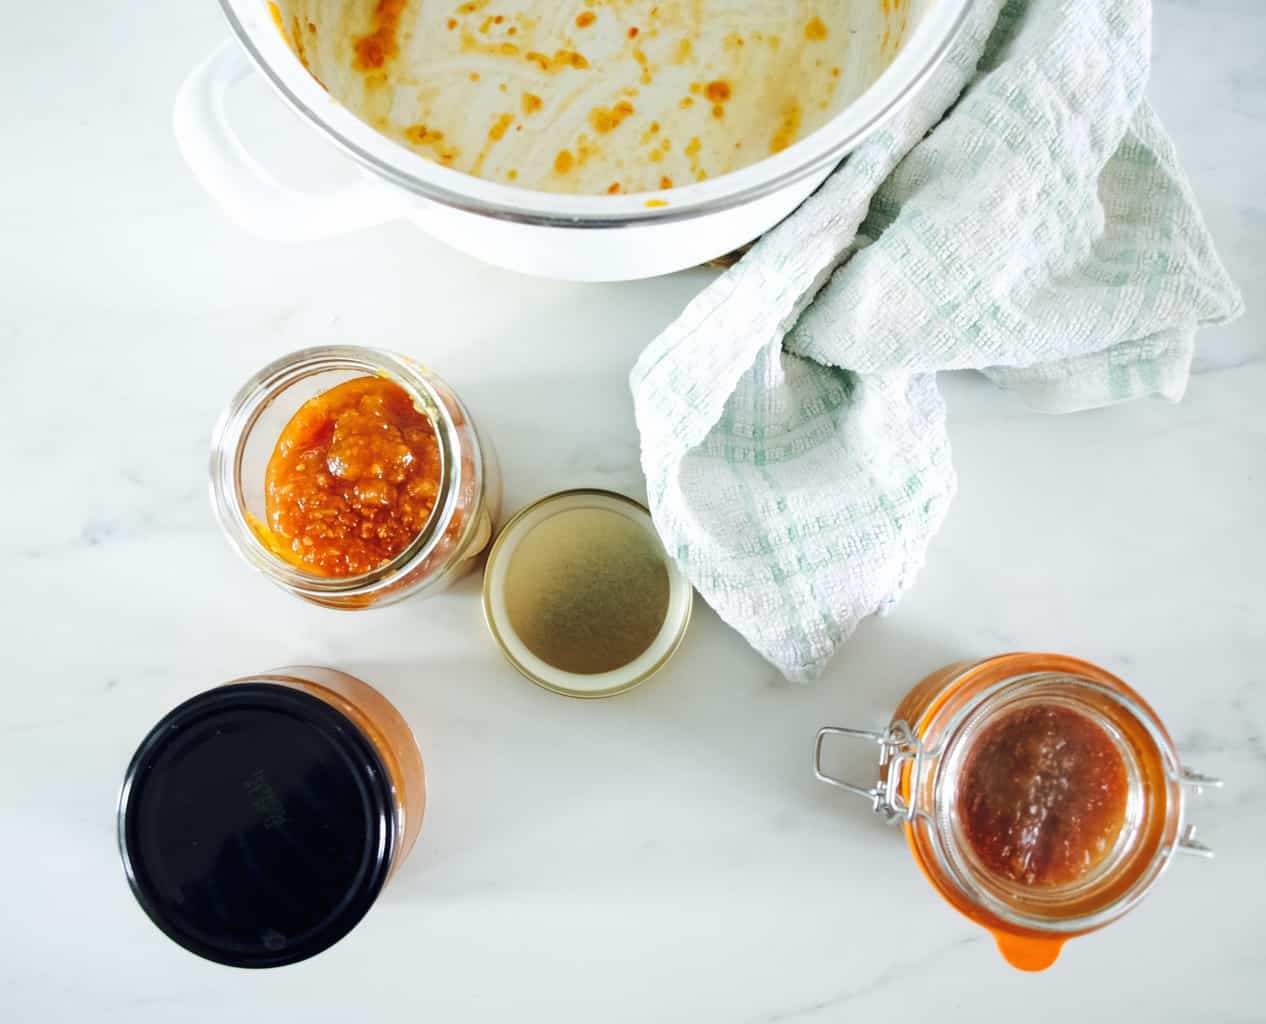
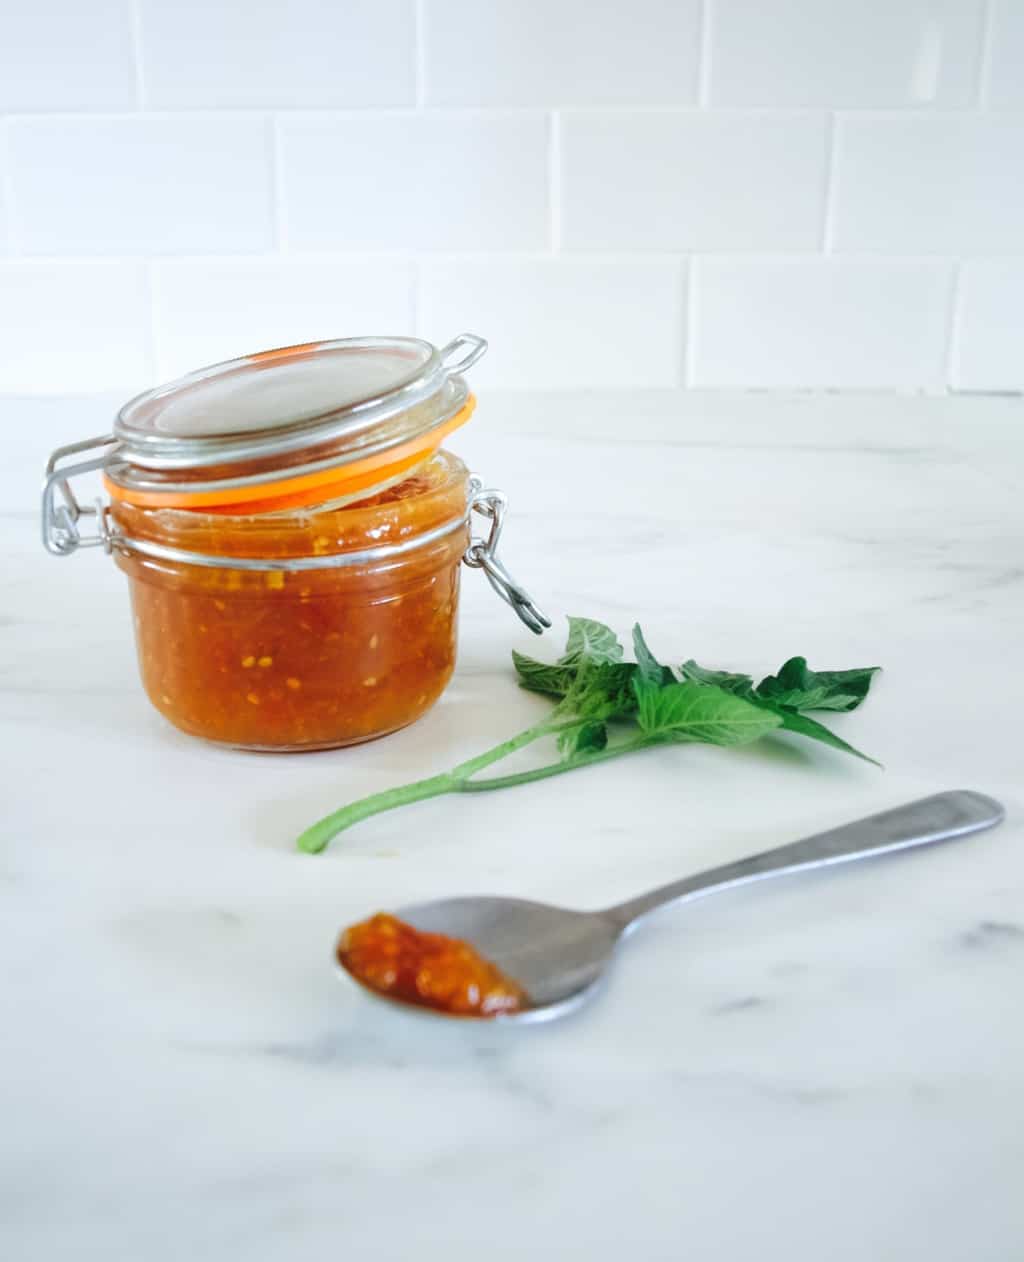
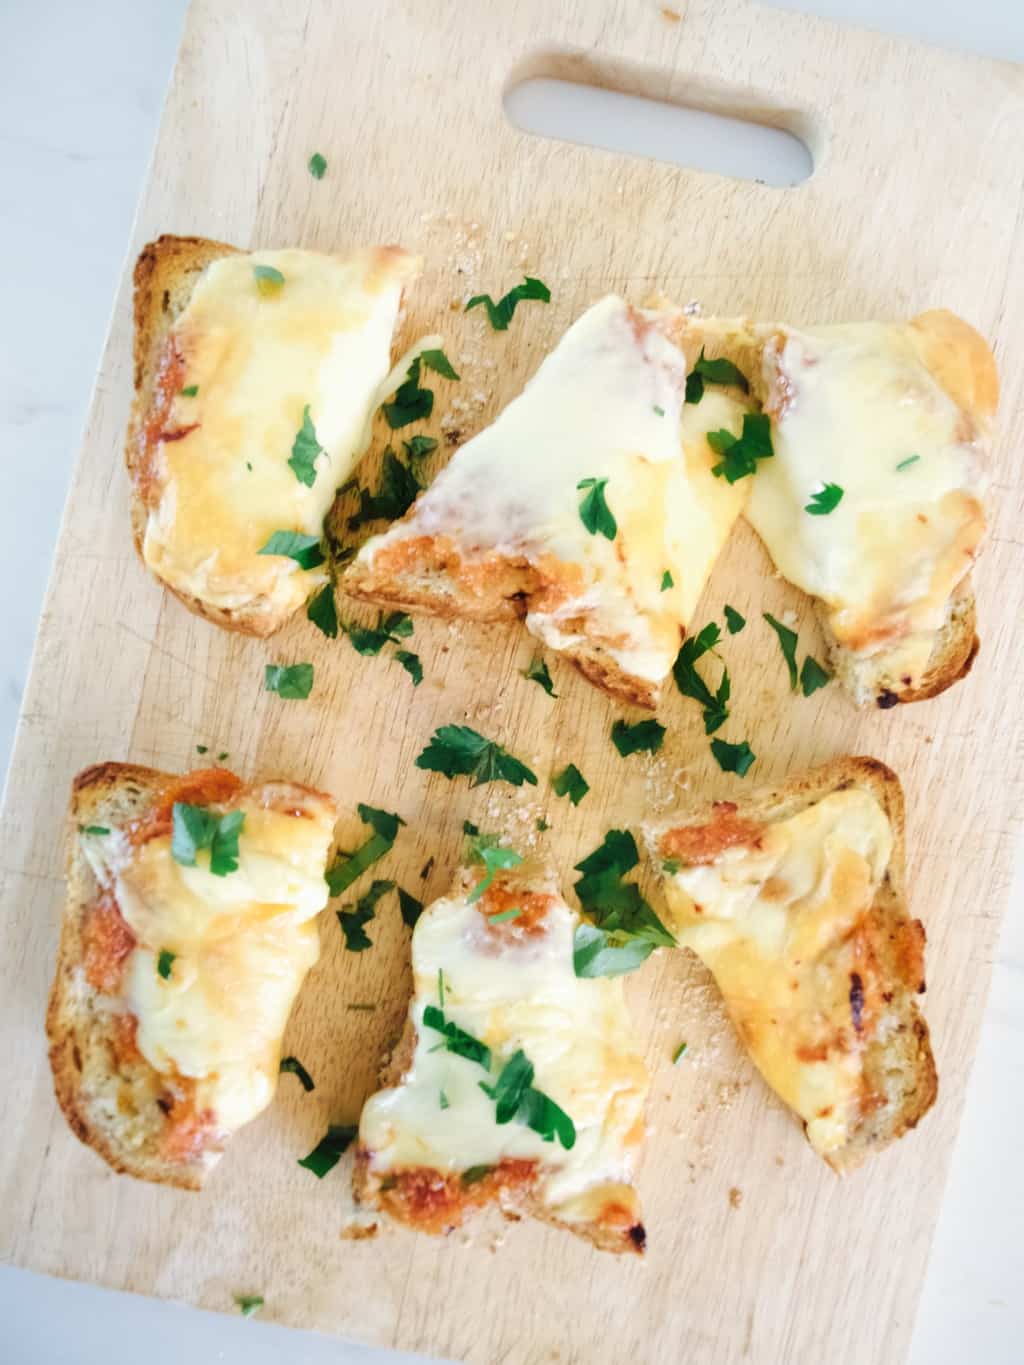
End-of-season tomato jam recipe 1. Whizz tomatoes in the blender till smooth like a pure.End-of-season tomato jam recipe2. Transfer the tomato puree together with the rest of the ingredients into the medium sized pot.End-of-season tomato jam recipe 3. Cook, stirring frequently, until the mixture is thick and jammy – this will take about an hour.End-of-season tomato jam recipe4. Spoon the jam into the ready sterilised jars.End-of-season tomato jam recipeEnd-of-season tomato jam recipe End-of-season tomato jam recipeEnjoy it anywhere you like. I am sure you will find many uses for this jam! I love mine in the cheese toasty ;-).

Rasa xx

0

Herb infused jams

Herb infused jams + rosemary infused blackberry jam recipeI know I know you might think that I am obsessed with blackberries (which is true). But how can you resist when these berries are so plump and lush right now? We just loooove picking them as we go for a walk!

Last year when I was cooking through Little Paris Kitchen book I found this recipe for the cherry compote. Not just any cherry compote, it was infused with basil and tasted amaaaaazing! This is why when I was thinking to make blackberry jam I decided to take similar approach and matched it with rosemary. It was as flavoursome as that compote I made last year ;-).

So if you are jamming this autumn, I really recommend trying out and adding herbs to your preserves. Sugar really bring out the flavour of it I think. Here are few suggestions if you like:

  • cherry and basil
  • blueberry and mint
  • raspberry and cardamom
  • apricots and lavender
  • strawberry and lemon thyme

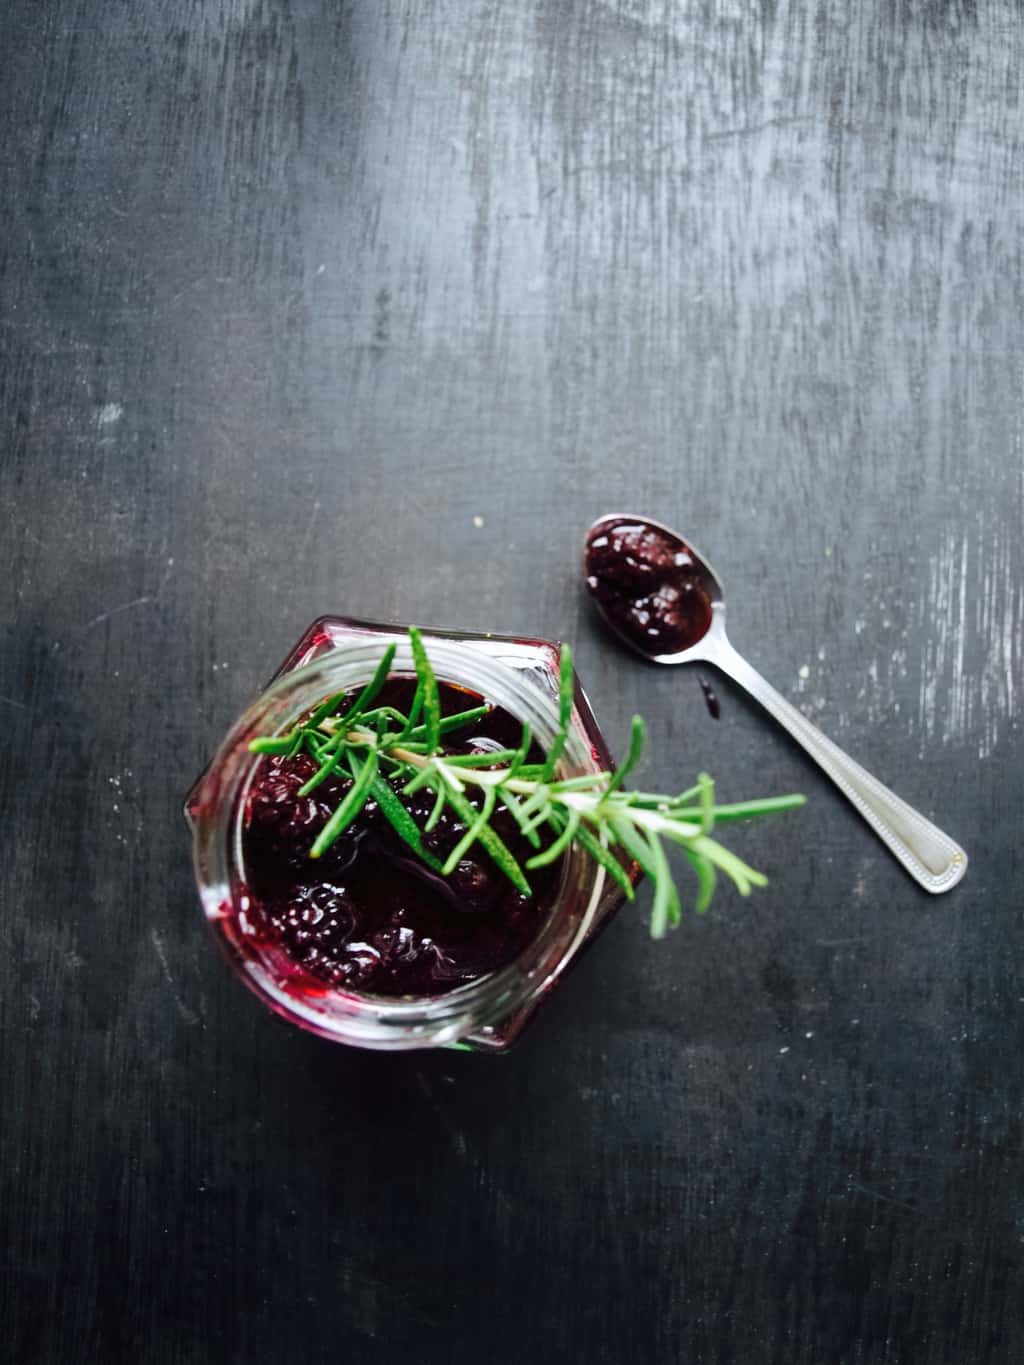
These are just few examples, but you can experiment with any herbs. Here is blackberry and rosemary for starters ;-).Herb infused jams + rosemary infused blackberry jam recipe BLACKBERRY AND ROSEMARY JAM

makes 2 jars

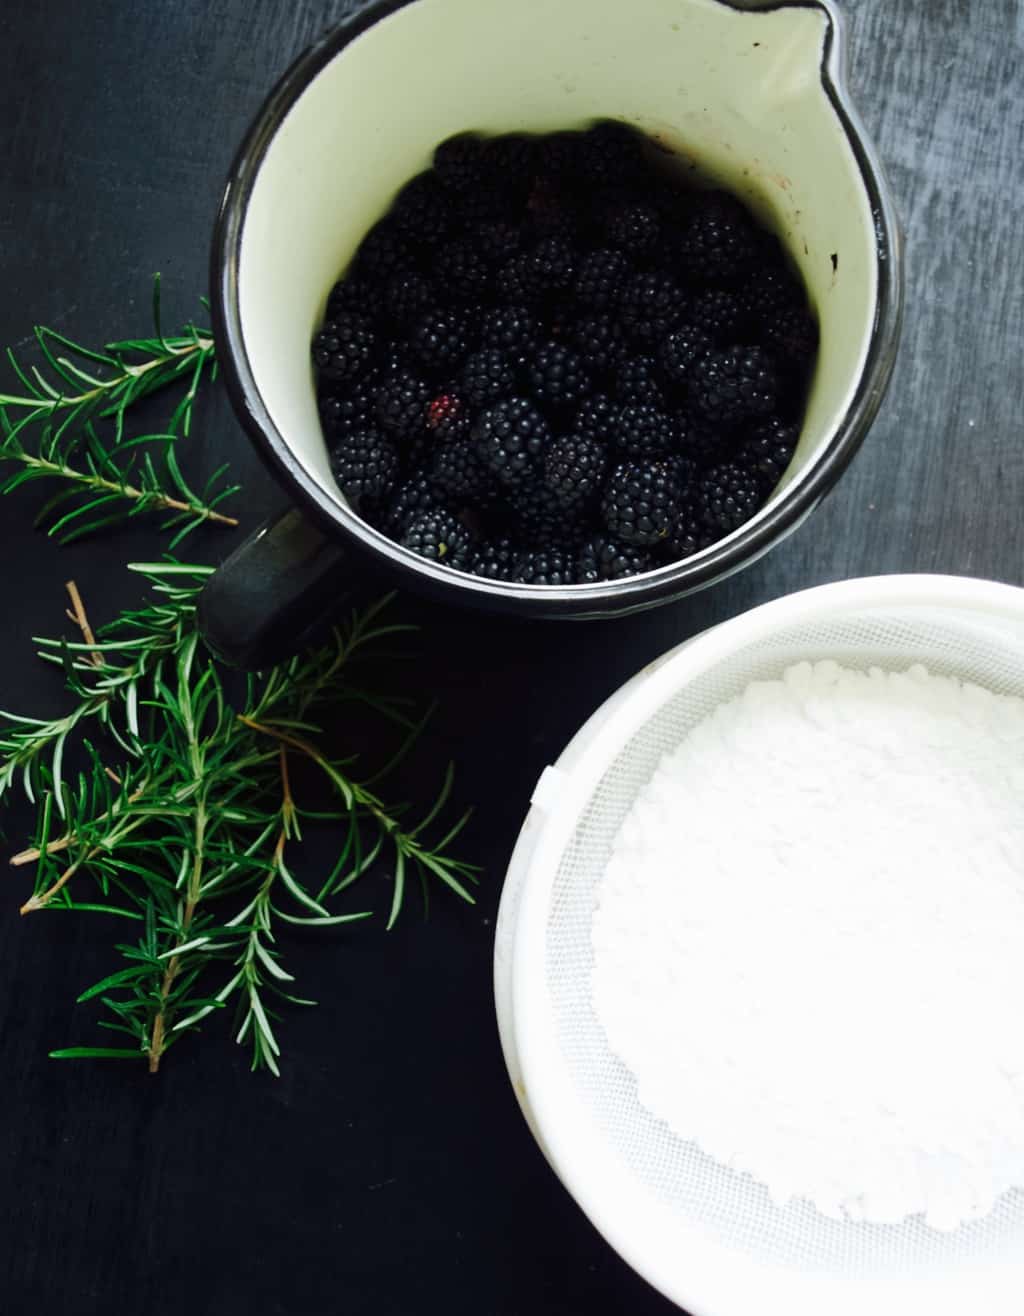
  • 1kg blackberries
  • 300g sugar (we used icing sugar as it dissolves quicker, but any other sugar will do)
  • bunch of rosemary

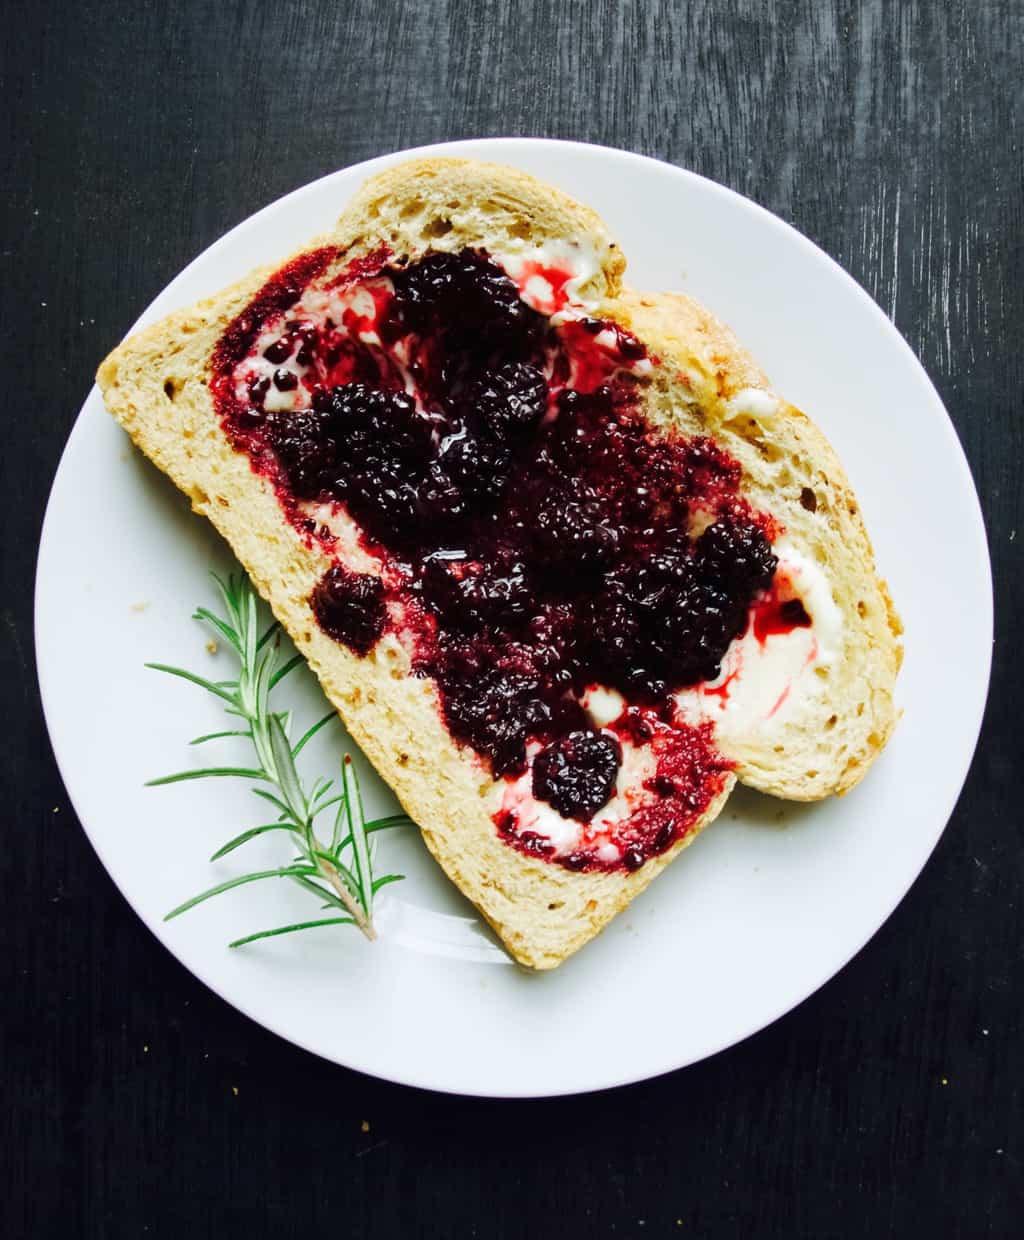
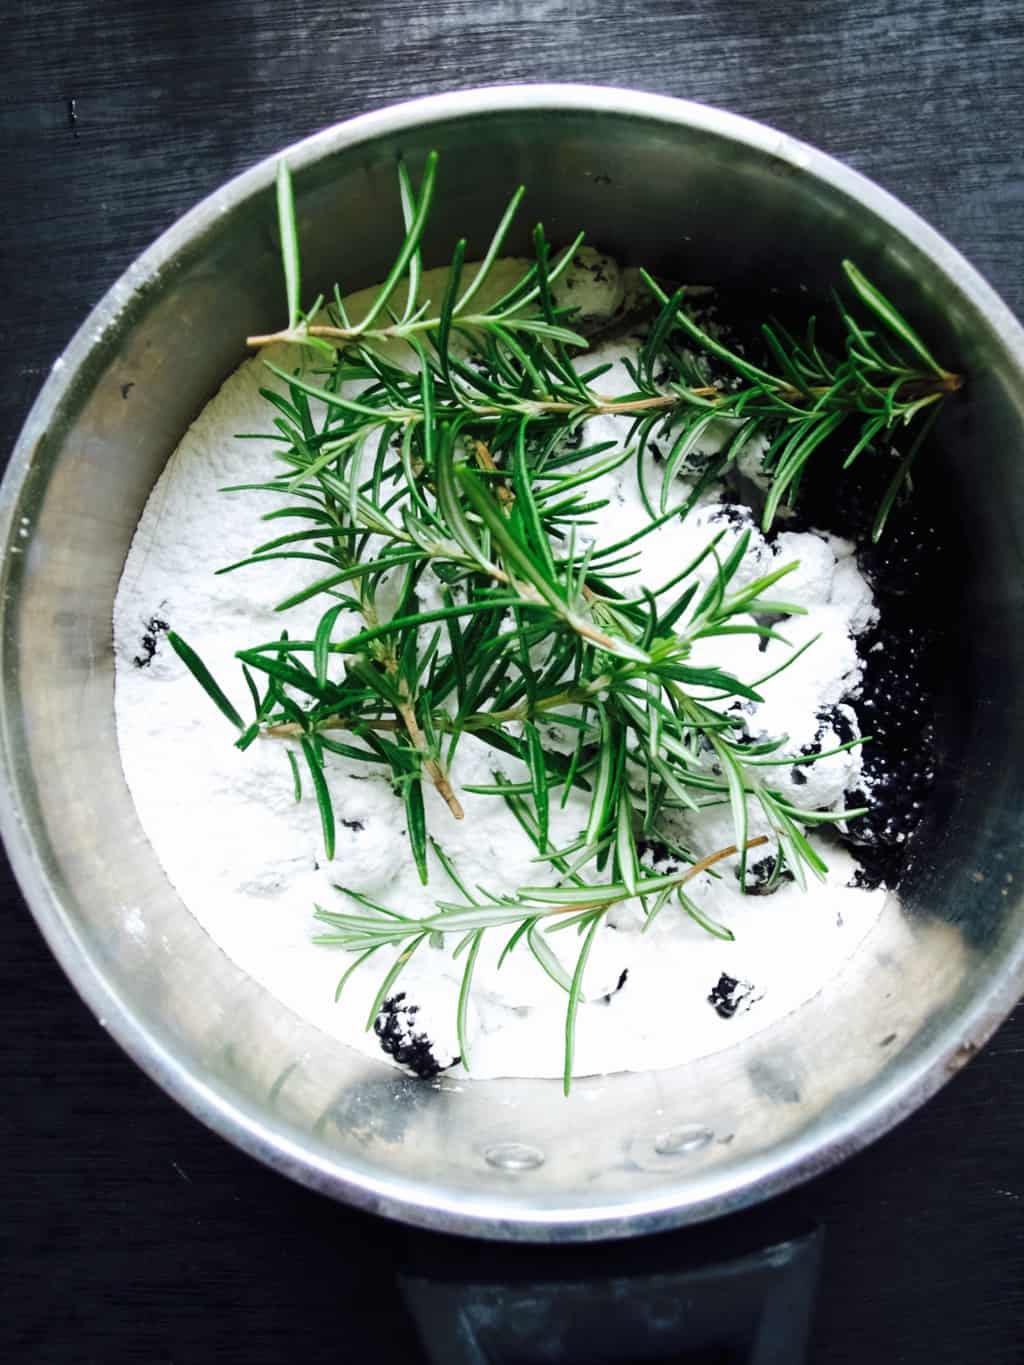
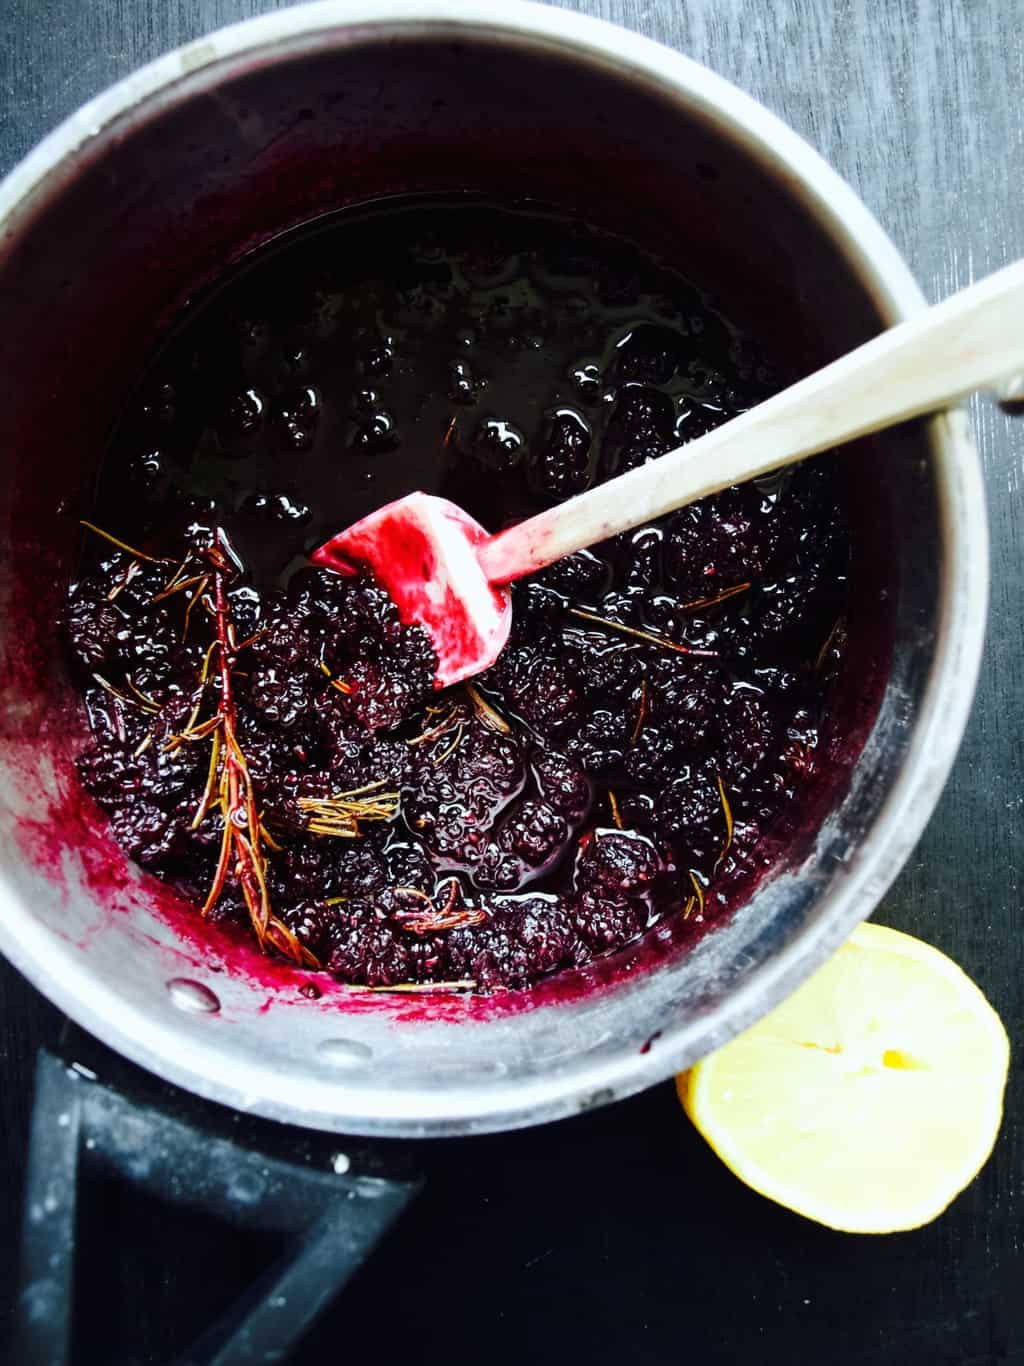
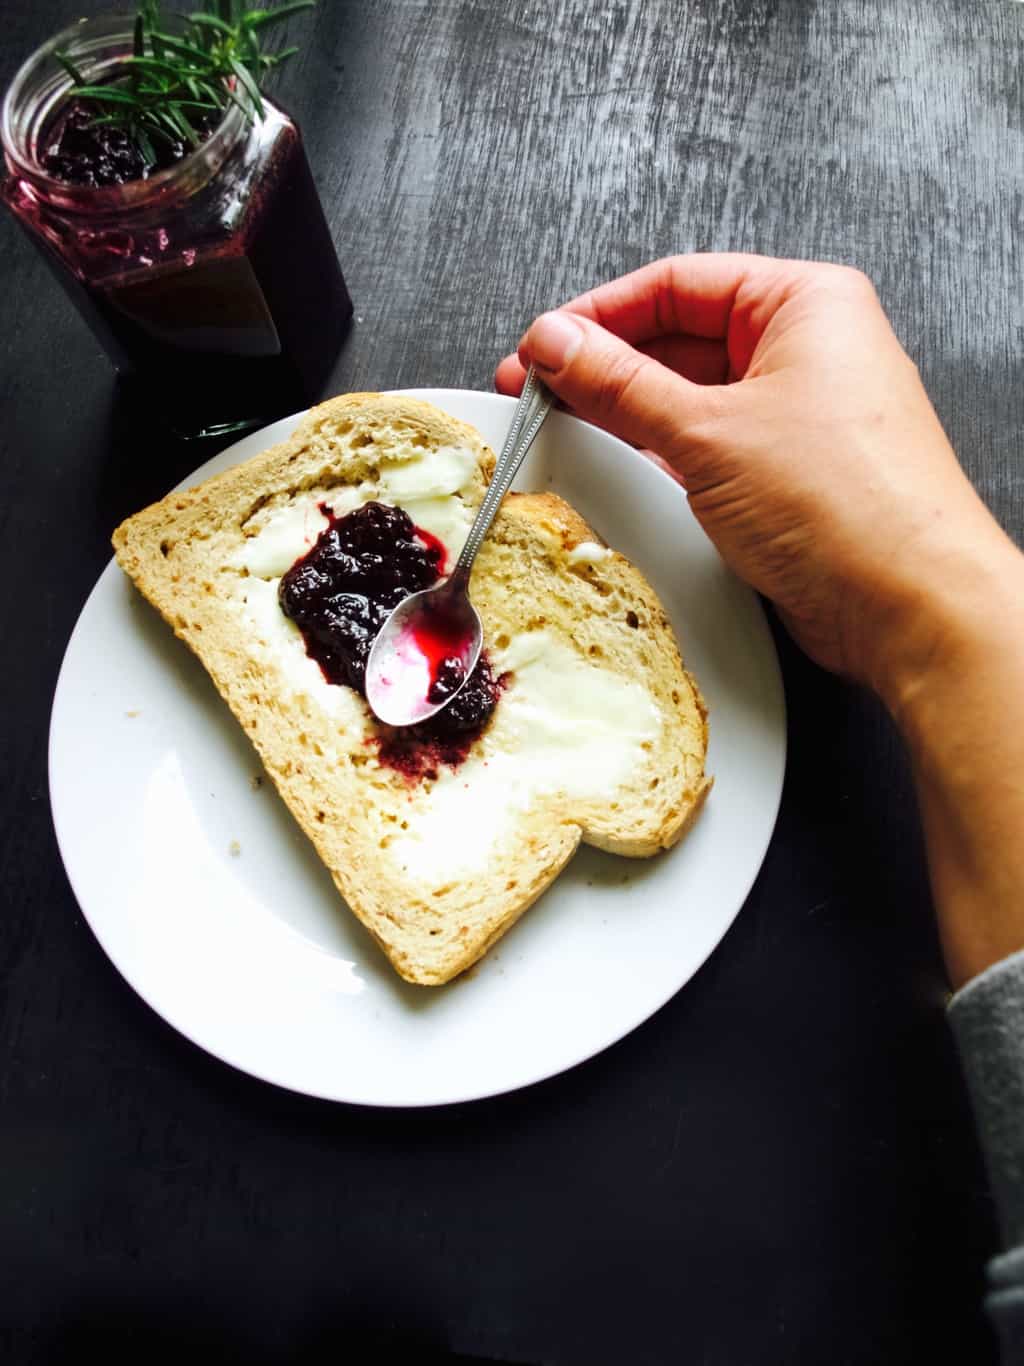
Herb infused jams + rosemary infused blackberry jam recipe 1. Place all the ingredients in a pot and simmer uncovered for 30 min or so.Herb infused jams + rosemary infused blackberry jam recipe 2. Stir occasionally while cooking to help dissolve the sugar.Herb infused jams + rosemary infused blackberry jam recipe 3. Remove the rosemary stalks (as much as you can) before spooning it into ready sterilised jars.Herb infused jams + rosemary infused blackberry jam recipeI enjoy it mostly with toast but there are plenty of other uses as well.

Rasa xoxo

0

Gluten free pizza topped with fresh ingredients (two ways)

Gluten free pizza topped with fresh ingredientsSo we started a new diet for Tomas this month. We (which is really me) decided that his eczema may be caused by gluten intolerance. Like with any other diets we tried this includes a long 6 weeks trial where we change our menu to avoid the ingredient in question. I found gluten is not that difficult to avoid. Unlike dairy gluten mostly can be found in carbs. So essentially I thought I need to start baking my own bread, but then I was putting that off as bread baking involves quite a lengthy process…. however without gluten it is not so lengthy. The trouble with gluten free bread is that is difficult to bake a nice bread, but it does not take that much time to make it since we don’t need to kneed the dough to get the gluten to stretch. So all and all no gluten means hello quick bread!

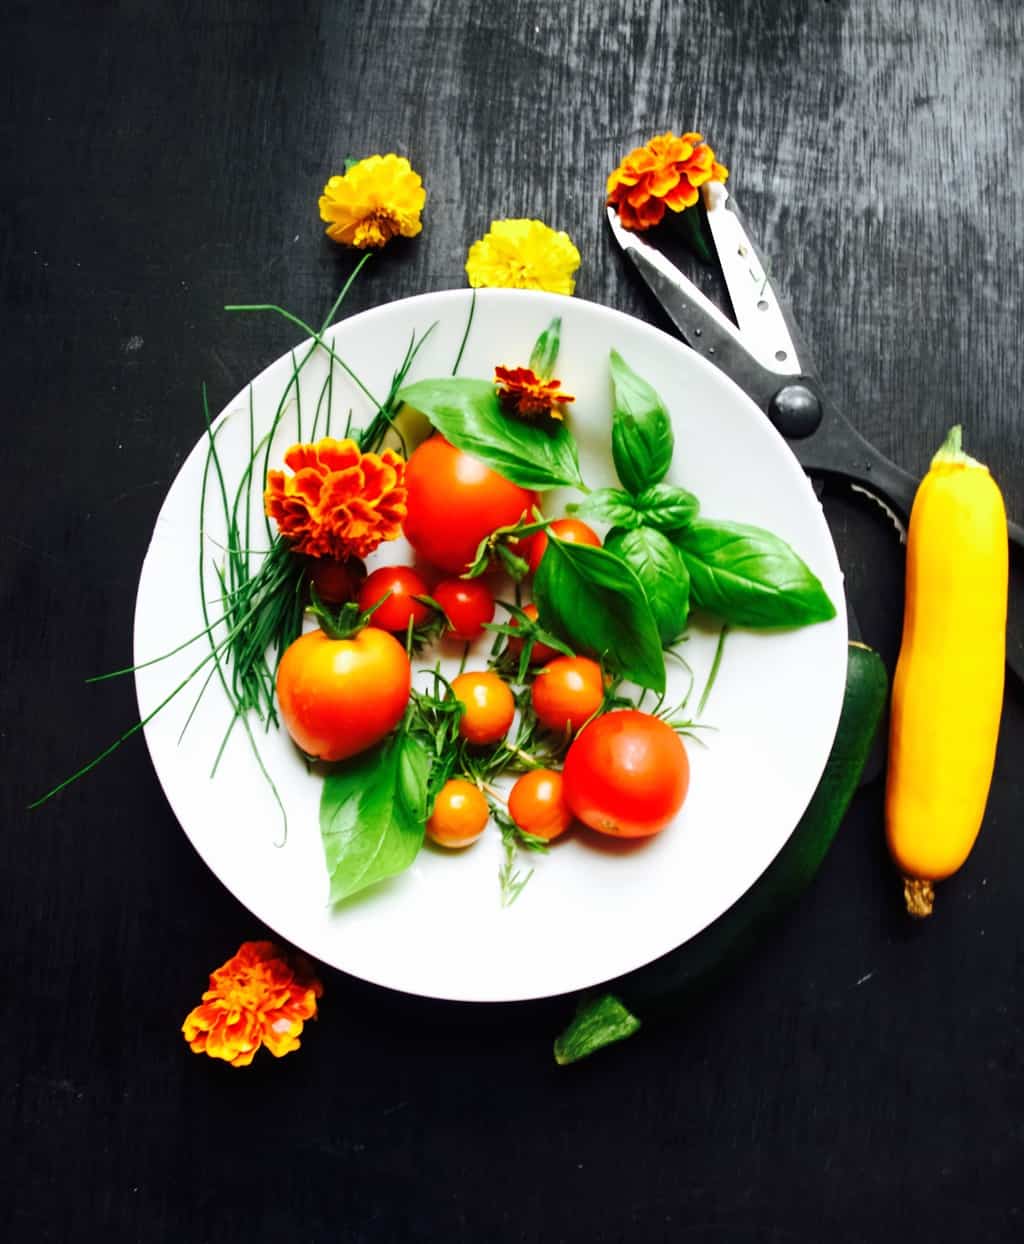
I have been recently inspired by fresh tomato toast recipes from Half Baked Harvest blog. Fresh tomatoes in summer are just amazing! I don’t have such a big harvest of tomatoes (yet) this year, but I thought it would be lovely to make fresh tomato pizza anyways. I made pizza with cucumber as well (I have started getting them in my green house too!!).Gluten free pizza topped with fresh ingredientsGLUTEN FREE PIZZA TOPPED WITH FRESH INGREDIENTS

Makes two pizzas

(for the base)

  • 600g gluten free flour mix (mine consisted of rice, tapioca and potato starch)
  • 25g xanthan gum
  • 1 tsp garlic salt
  • 2tsp brown sugar
  • 3 tsp baking powder
  • 10g quick acting dry yeast
  • 350ml warm water

(for the fresh tomato pizza)

  • 125g mozzarella cheese, torn into pieces
  • 100g cheddar cheese, grated
  • 1 clove garlic, smashed
  • ground pepper
  • 1 tbsp olive oil
  • 3-5 tomatoes, sliced
  • basil

(for the potato and cucumber pizza)

  • 125g mozzarella cheese, torn into pieces
  • 1 potato, pealed and thinly sliced (I used a grater)
  • salt and pepper to taste
  • 1tbsp olive oil
  • chives, finelly chopped
  • 1-3 cucumbers, sliced

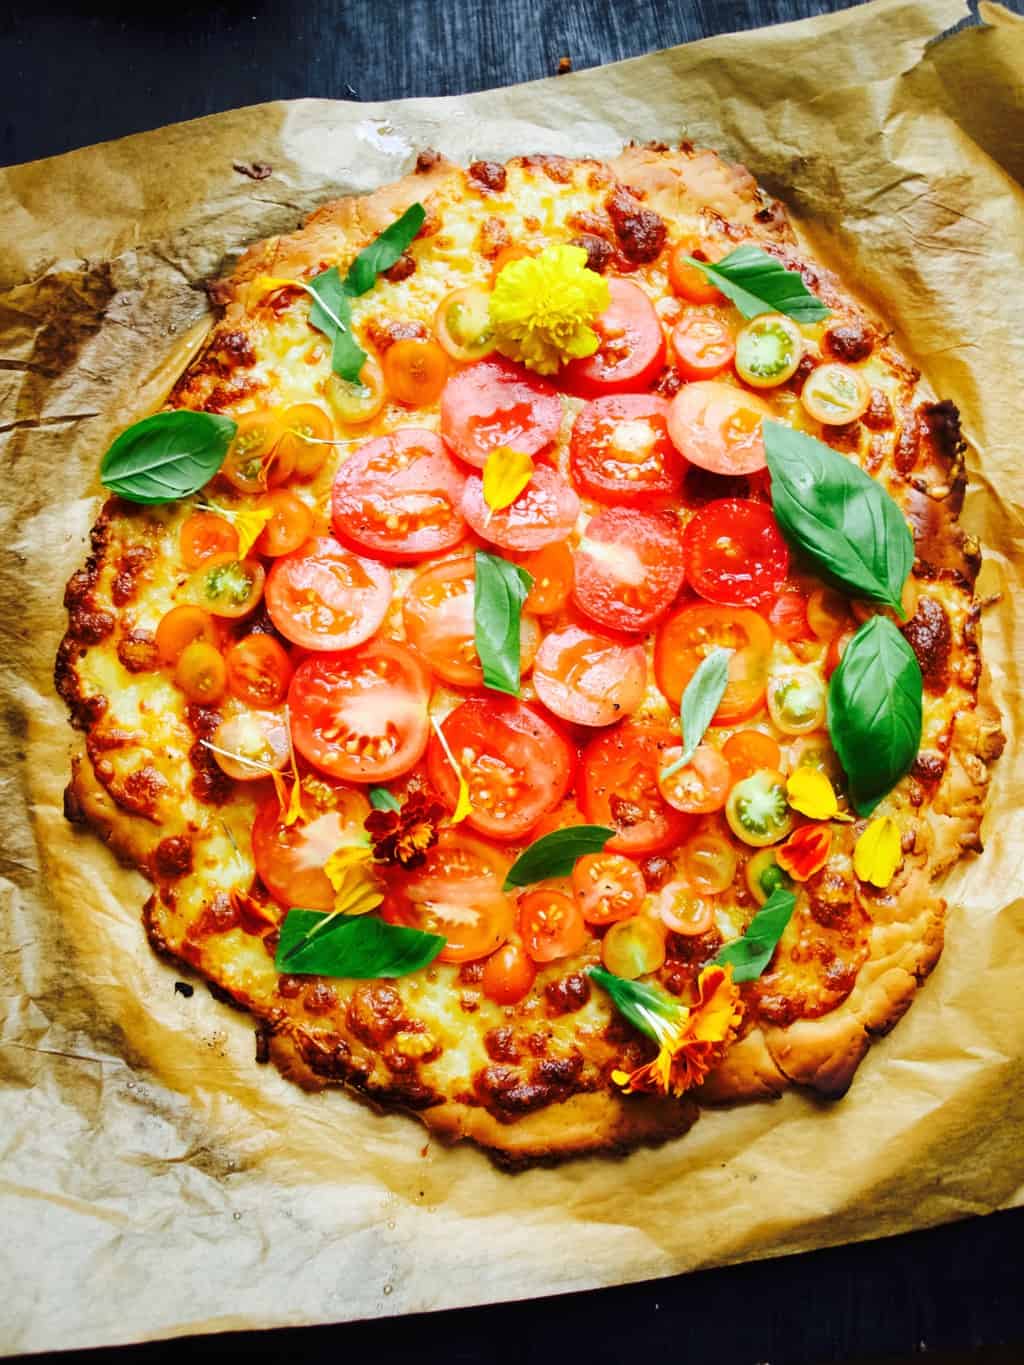
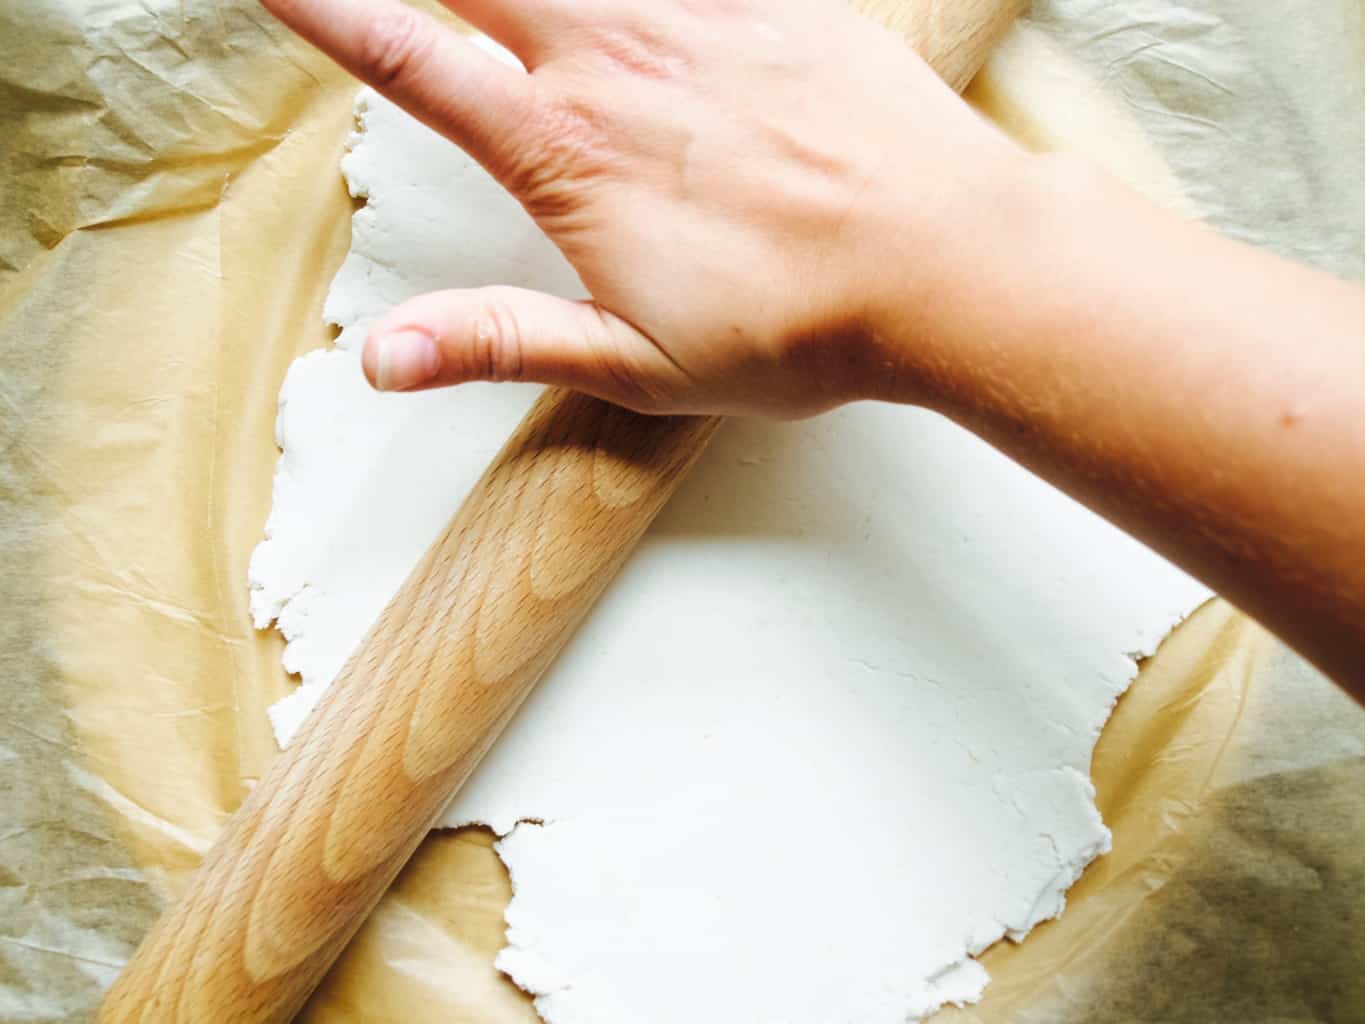
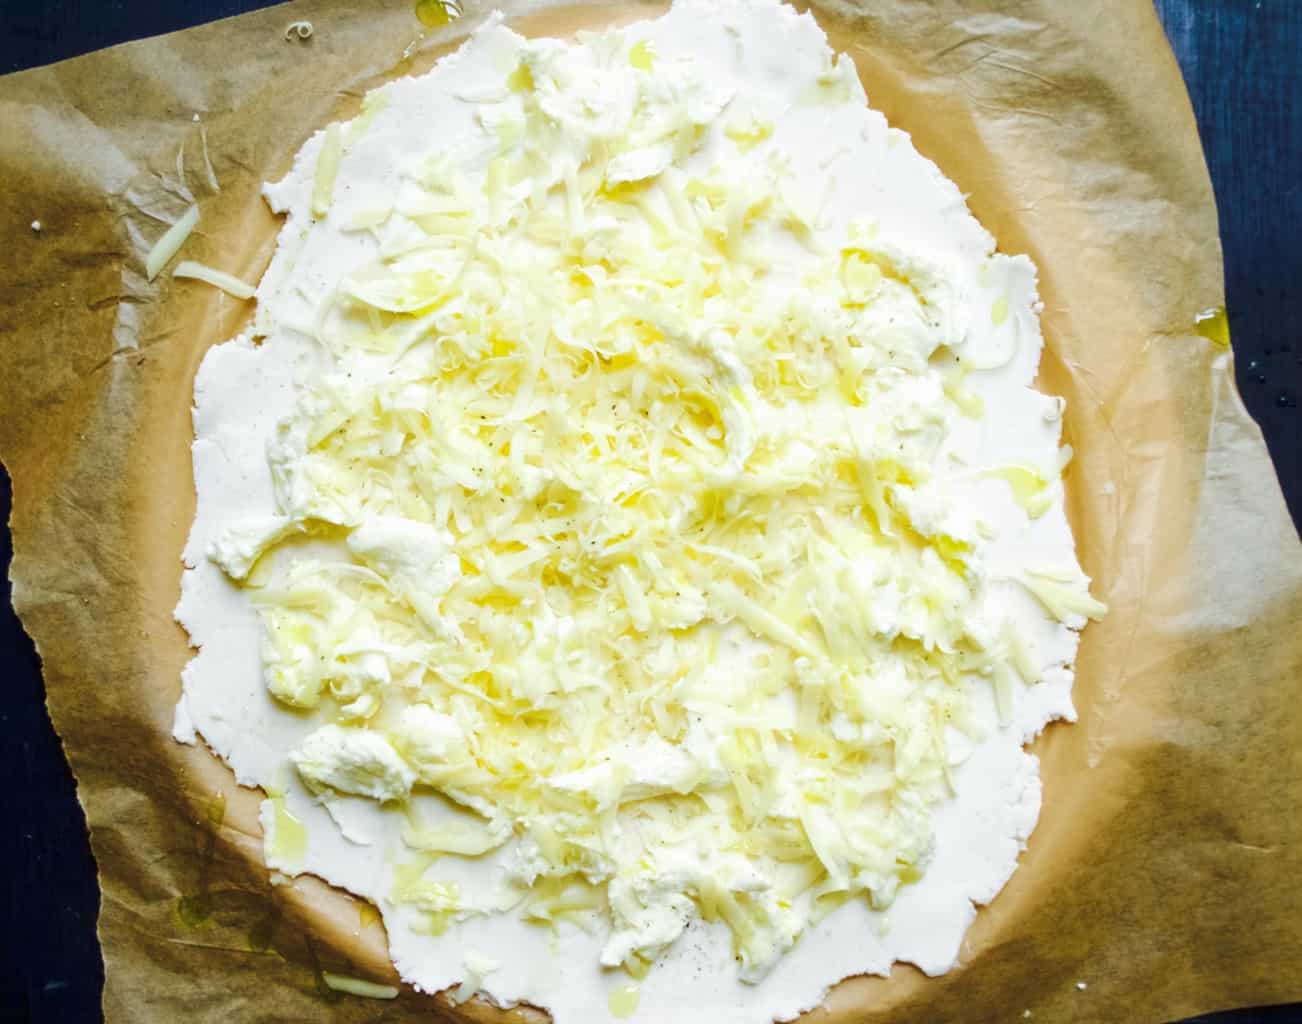
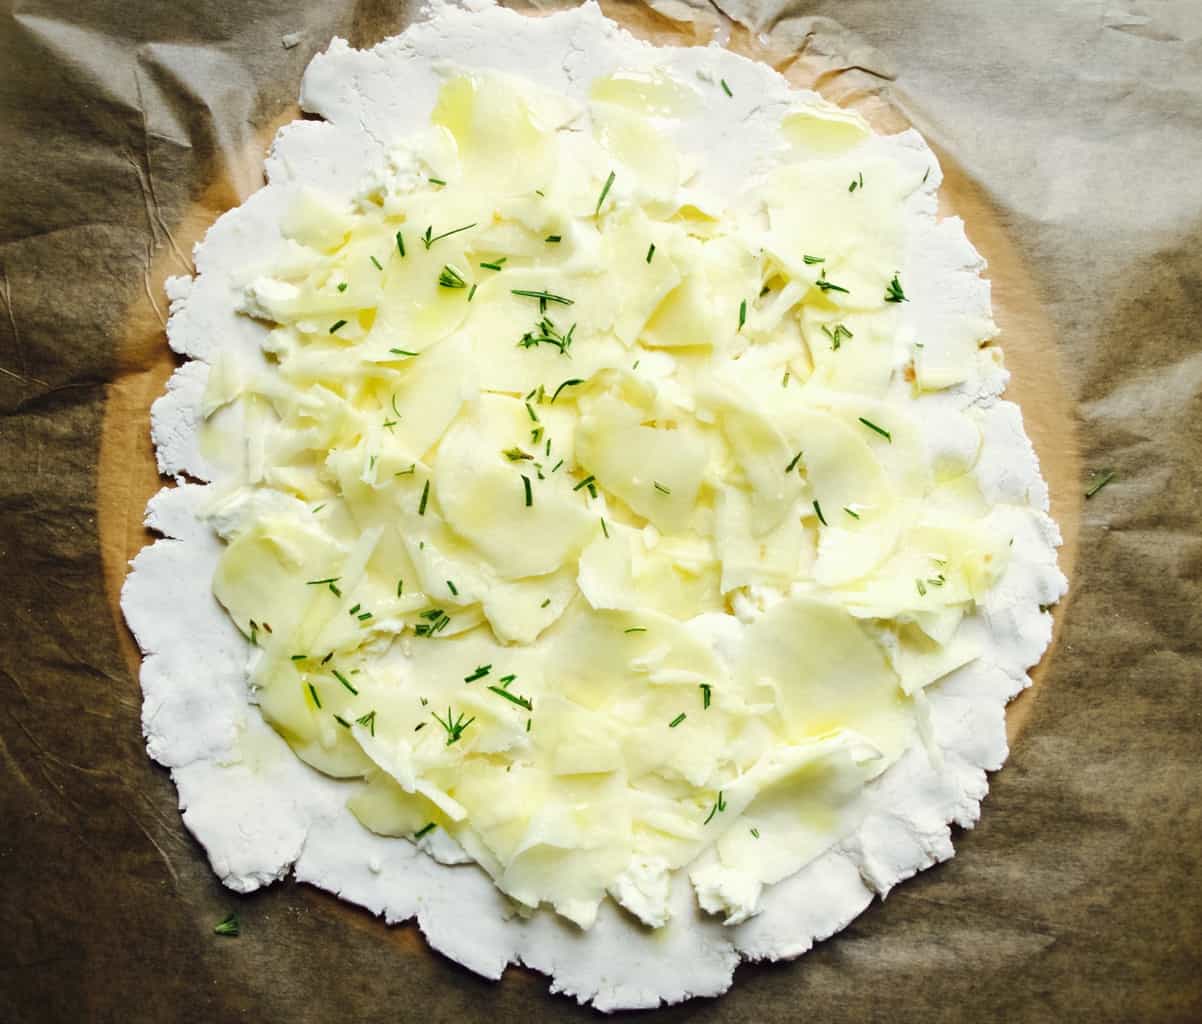
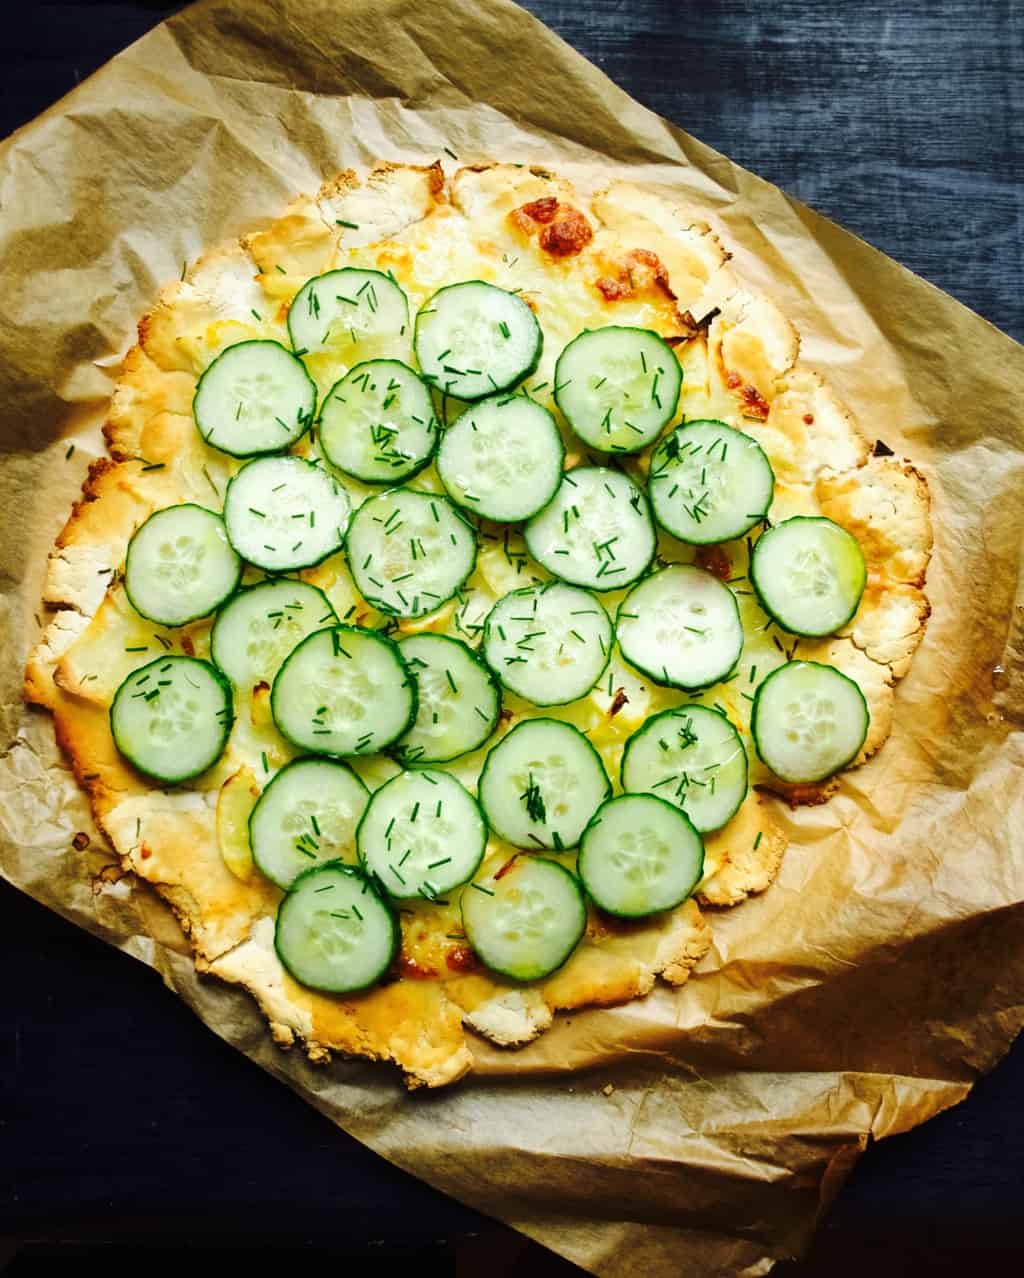
1. Mix together the flour, xanthan gum, garlic salt, sugar, baking powder and yeast in a large bowl. Make a well in the middle. Pour the water into the well and mix everything to form two balls. Roll out the dough onto the baking sheet until it is 5mm thick.Gluten free pizza topped with fresh ingredients 2. To make the cheese and fresh tomato pizza sprinkle the garlic, mozzarella and cheddar cheese over the base. Season it and drizzle some olive oil on top. Bake the pizza in the preheated 200C oven for 20-30min. Once baked top the pizza with sliced tomato and fresh basil.Gluten free pizza topped with fresh ingredients 3. For the potato and cucumber pizza sprinkle the base with mozzarella, potato and chives. Heavily season it (potato requires more salt) and drizzle some olive oil on top. Bake the pizza in the preheated 200C oven for 20-30min. Gluten free pizza topped with fresh ingredients 4. Once baked, top the pizza with cucumber and more chives (and maybe salt if needed). Gluten free pizza topped with fresh ingredientsEnjoy!

Rasa xoxo

0

Salad in a crepe

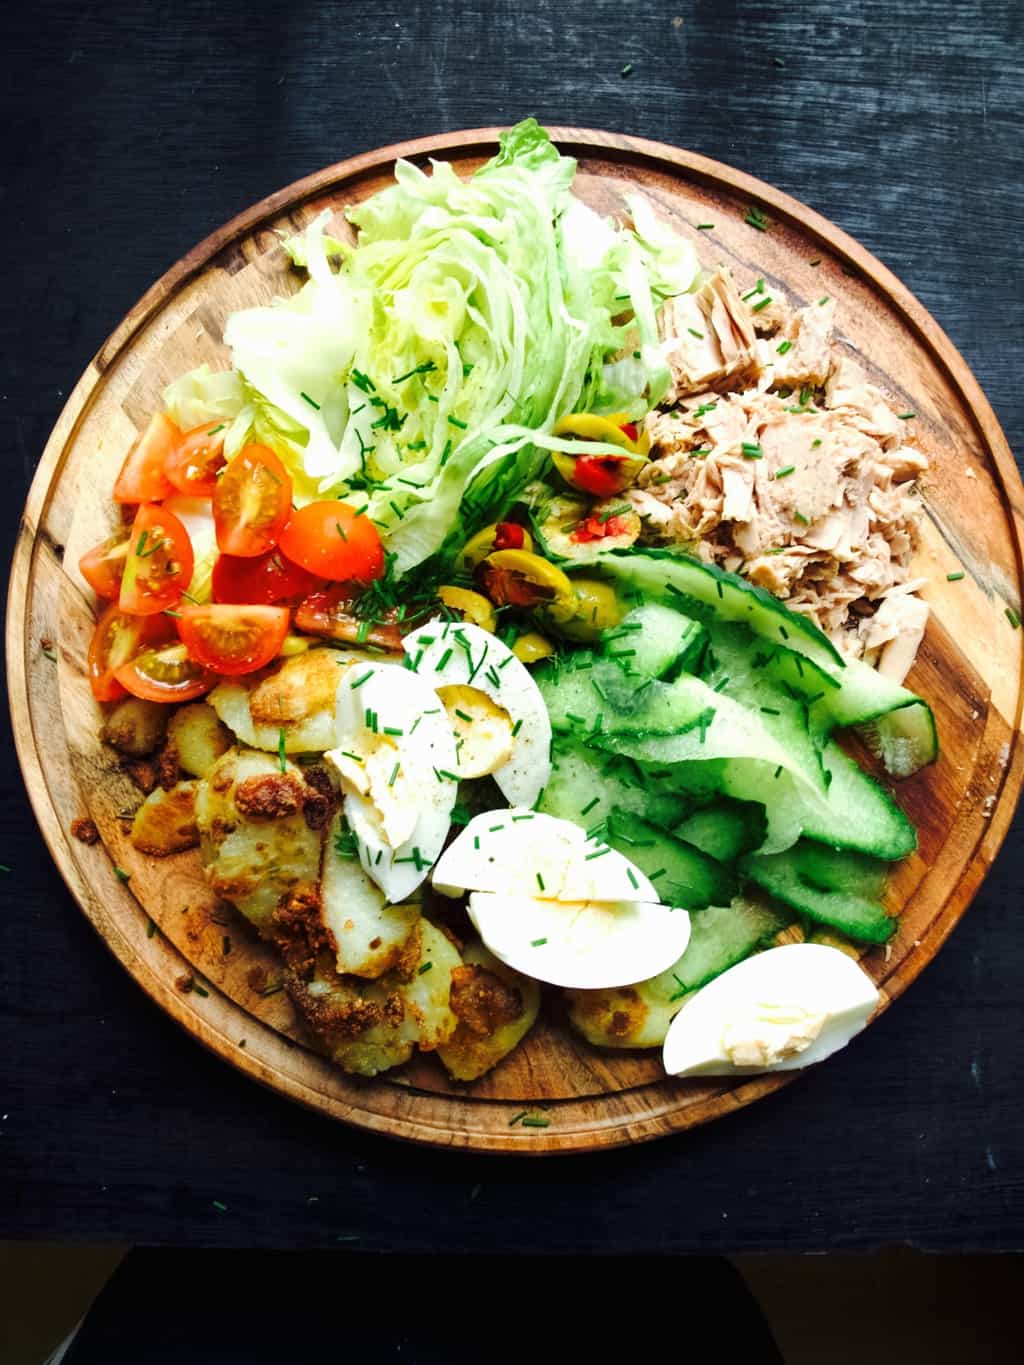
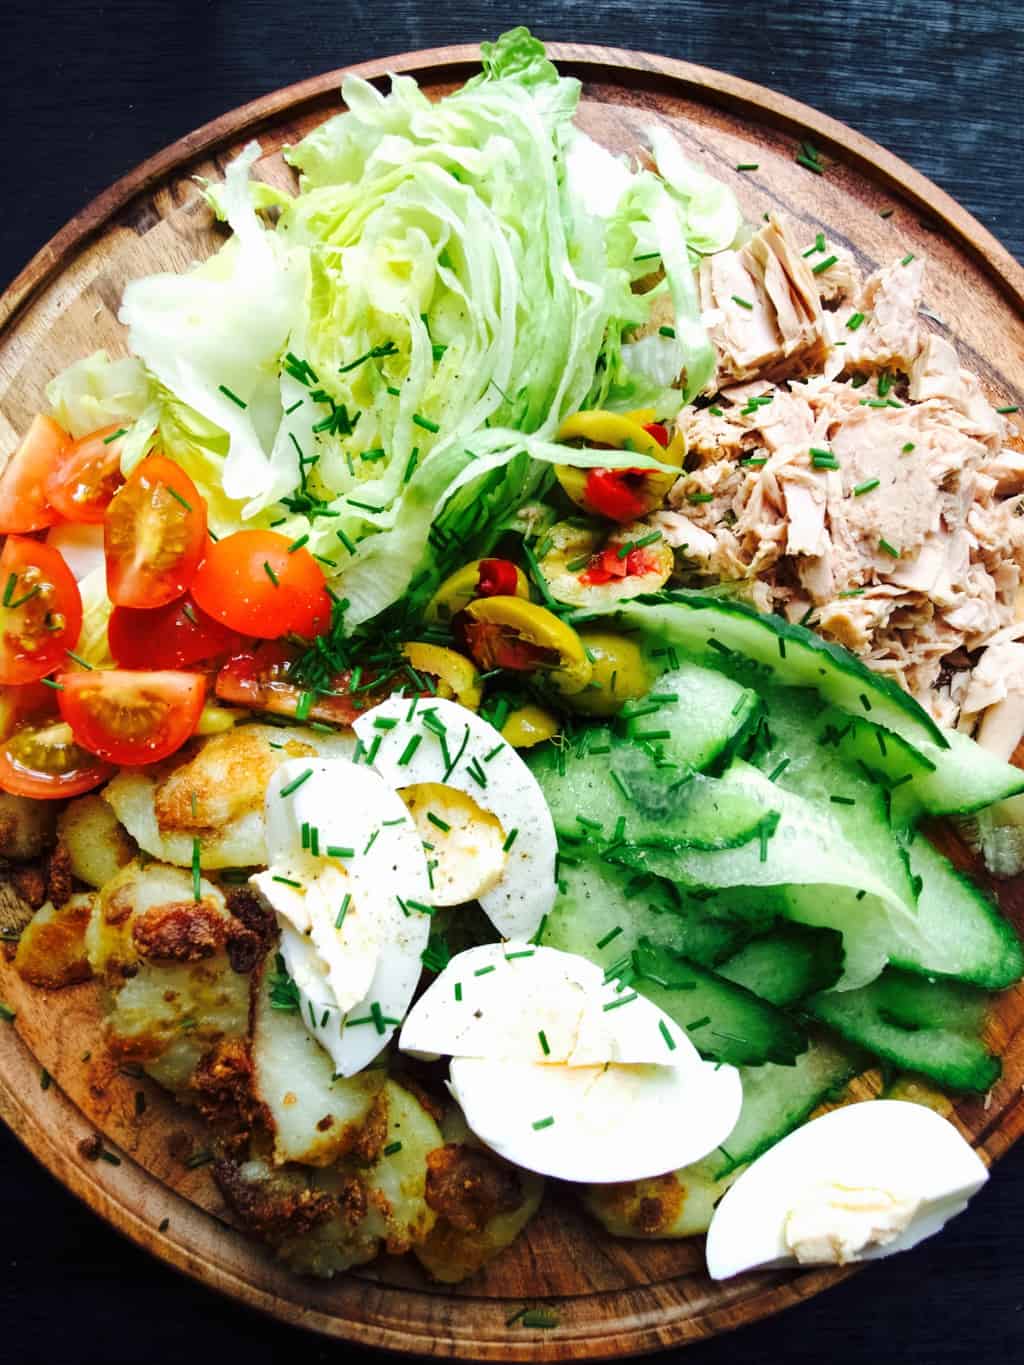
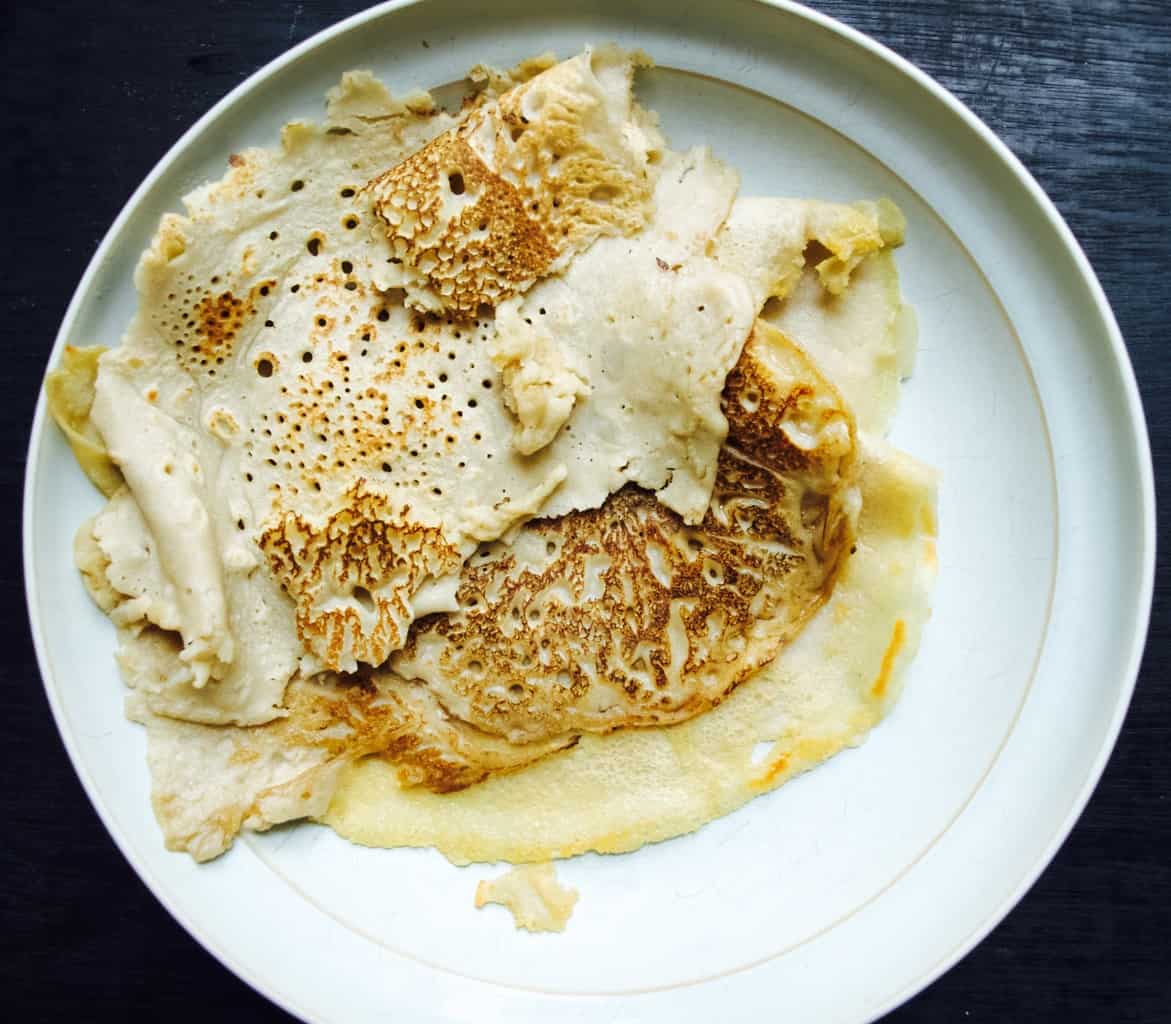
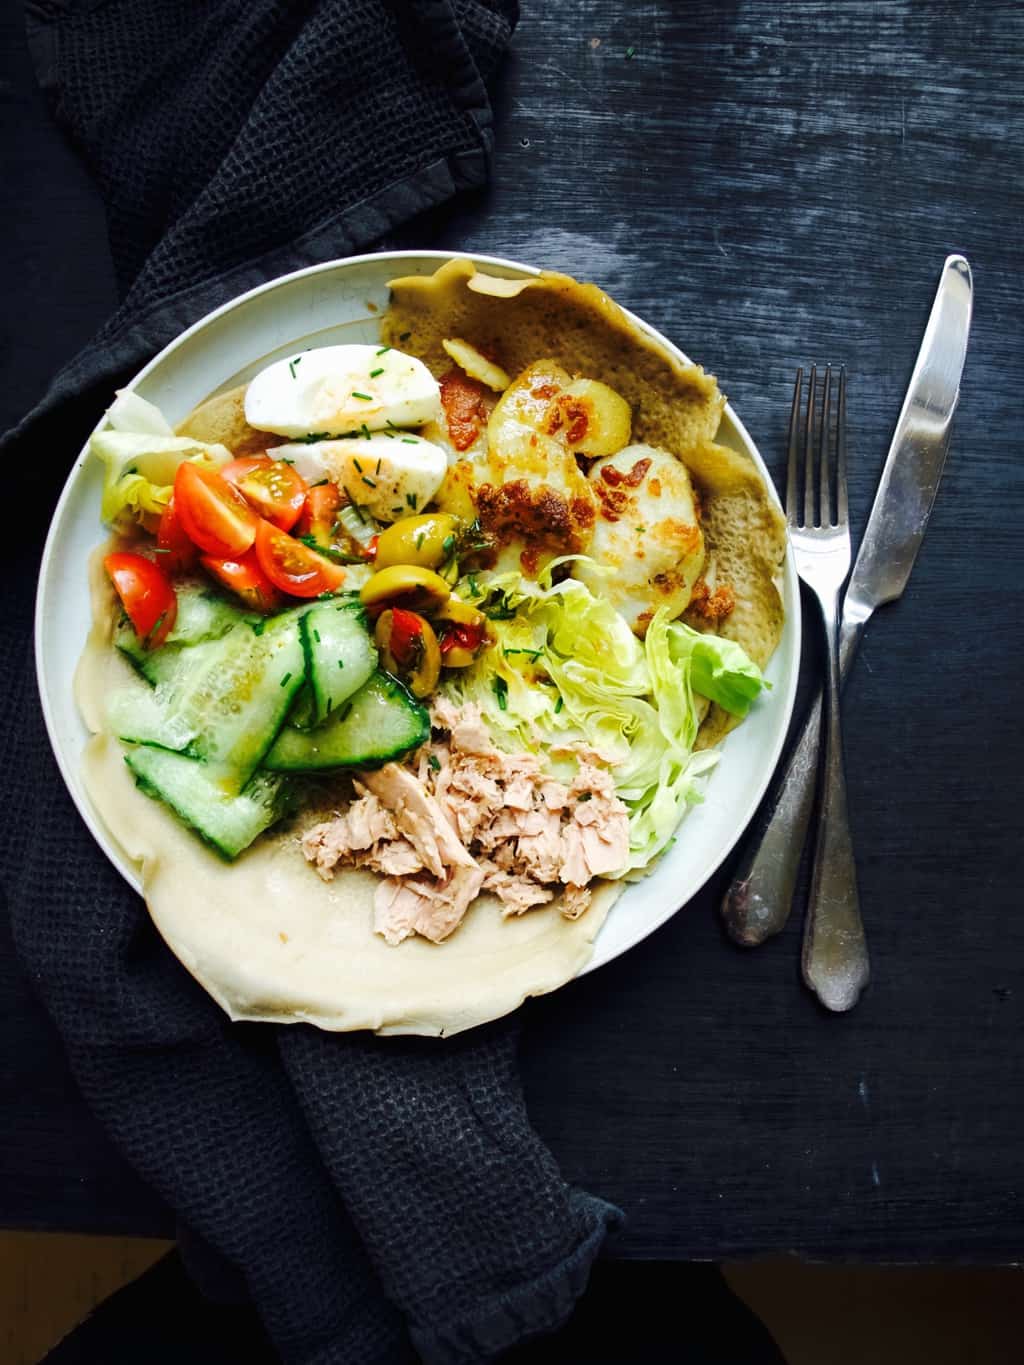
Nicoice salad in a crepe recipeMy love for crepes have reached the next level while in France. I knew crepes can be savoury and sweet but it never crossed my mind that crepes can be served with salad inside it. Woaaaah!!! Sunny times like these require a lot of salad eating I think! I also decided to brave up this time and make crepes 100% buckwheat (we all know pancakes without gluten are just too complicated). But after many failures you eventually get it, buckwheat pancakes need a lot of practice and patience. If you are not up for challenge, regular crepes/pancakes taste just fine ;-).Nicoice salad in a crepe recipeNICOISE SALAD IN A CREPE

(for the crepe)

  • 200g buckwheat flour
  • pinch of salt
  • about 500ml water
  • knob of butter for frying

(for the salad)

  • 3-4 potatoes, pealed and thinly sliced
  • sunflower oil
  • 200g canned tuna in brine
  • 20 green olives, halved
  • 1 cucumber, thinly sliced
  • 1 handful of lettuce, chopped
  • 1 handful cherry tomatoes, quartered
  • 3 eggs, quatered
  • 1 tbsp balsamic vinegar
  • 4 tbsp extra virgin olive oil
  • 1 tsp dijon mustard (we did not use it here, but I think it would taste good)
  • 1 clove of garlic, crushed to paste
  • juice of 1/2 lemon
  • 1 tbsp brown sugar
  • salt and pepper
  • chives, finelly chopped

1. First prep the crepe batter by combining all the ingredients. Start with dry ingredients and then gradually add water into it till the batter reach double cream consistently (be careful not to overmix). Refrigerate for an hour or overnight.

2. Boil the eggs.

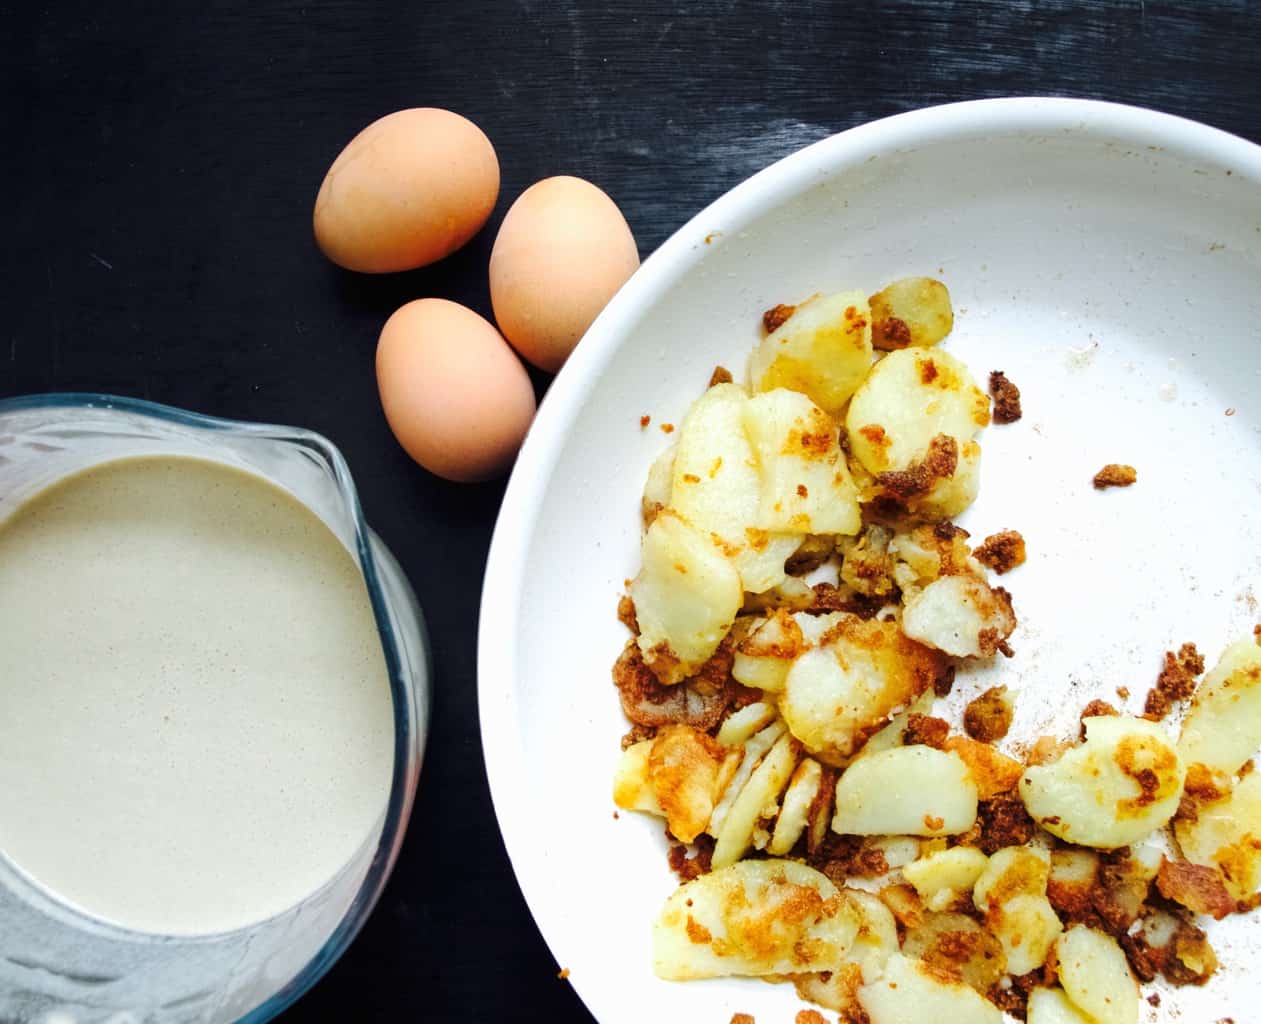
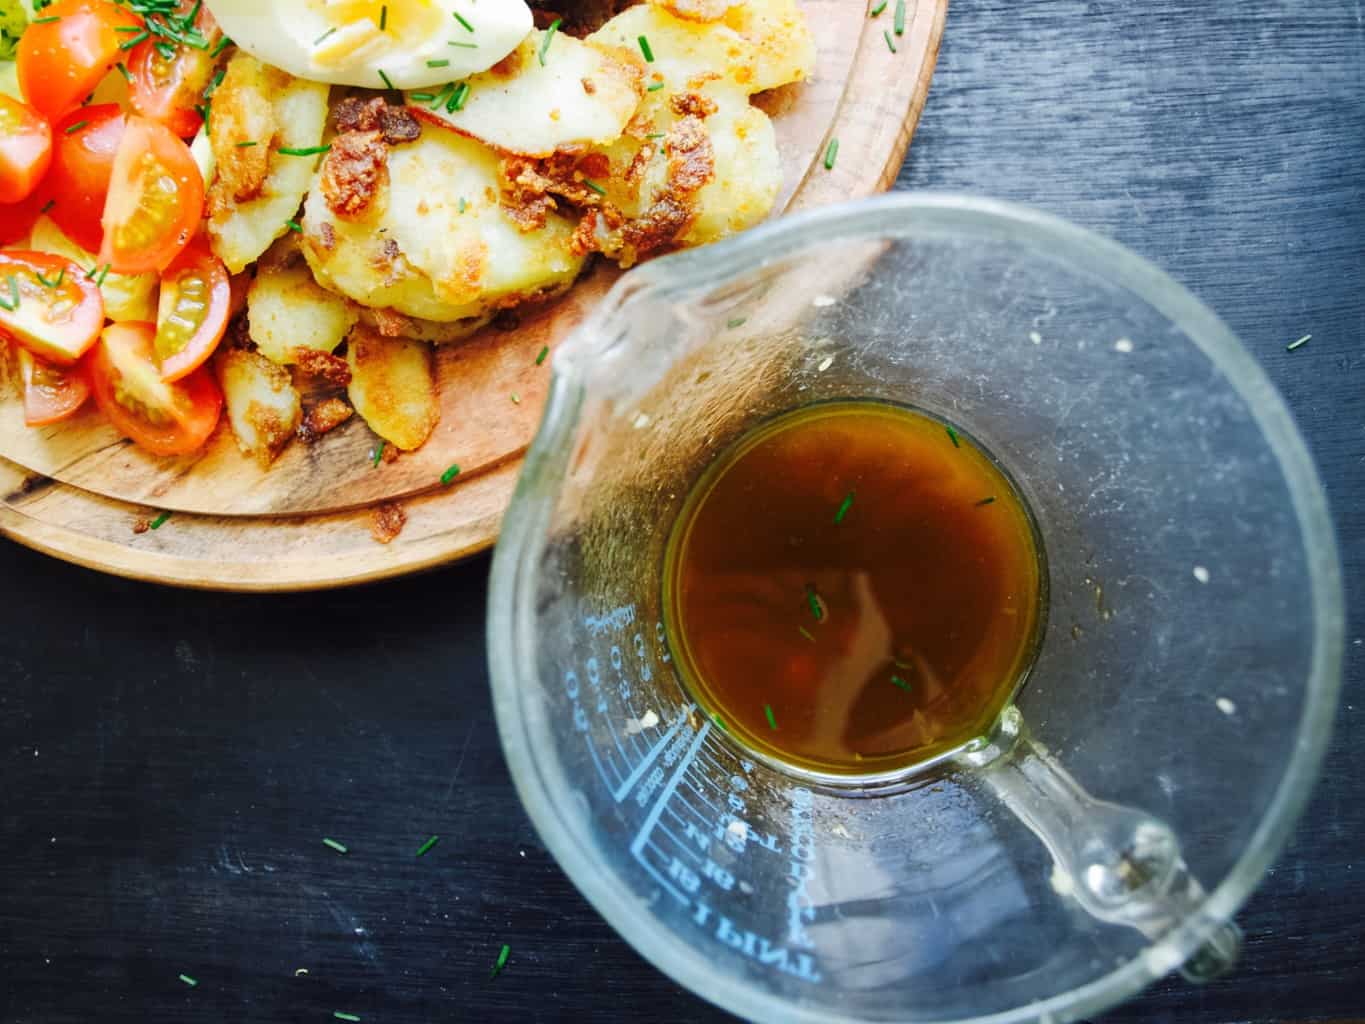
3. Fry the potatoes in the frying pan with the generous amount of oil.Nicoice salad in a crepe recipe4. Make the salad. Arrange prepped ingredients ready for serving. Sprinkle with chives and seasoning.Nicoice salad in a crepe recipe5. To make vinaigrette combine vinegar, olive oil, dijon mustard, garlic paste, lemon juice and sugar in the jug. Add salt and pepper to taste. Nicoice salad in a crepe recipe6. Melt the butter in well heated frying pan. Pour one spoonful of crepe batter and immediately start swirling round the pan to get nice even layer. Loosen around the edge with a spatula once the top “dries up”, then turn the crepe and cook for further 1 minute. As you can see its not easy as with lack of gluten these crepes are flaky and therefore easily collapse when flipping. However I am sure lovely crepes can be achieved once you have a bit of practice.Nicoice salad in a crepe recipe7. To serve arrange Nicoise salad on the crepe and scatter more chives on the top.Nicoice salad in a crepe recipeBon Apetitte

Rasa xoxo

0

Mint sauce – Lithuanian style!

Mint sauce Lithuanian style recipe So I am in Lithuania waiting for Joni to come and join us here for my brothers wedding. My dad is very eager to impress Joni with his culinary skills and kept asking what Joni would really enjoy to have for dinner when he comes.

Me: I am not too sure, we like a lot of things.

My dad: But what he really really likes?

Me: Ok, ok. I think he would really enjoy a good steak (I would enjoy that too with lots of salad… hmm)

My dad: How about I make roast lamb?

Me: But steak is beef? (why did he even ask if he is planning to make what he likes?)

My dad: So Joni does not like lamb?

Me: He likes lamb too. We like it with mint sauce.

My dad: Ok if I make roast lamb will you make the mint sauce?

Me: Ok sure!

I go and start looking into making some mint sauce. We have plenty of mint in the garden (check), salt (check), apple cider vinegar (Lithuanians are against using vinegar so I decide to try and use lemon instead), sugar (since lemon is sharp in taste I decide to make it more mellow by using some honey that we have plenty of as my dad is a bee keeper).

When Joni arrives my dad start introducing what he is making for dinner.

My dad: here is mussels for starter and here are some beef steaks for dinner.

Me: ????

Me: I thought you are making roast lamb??

My dad: But you said Joni prefers steak??

Me: never mind! I am not going into it.

I make the mint sauce anyways because I am interested how it turns out with lemon and honey. Joni is surprised how close to taste it was. I think I prefer it to the original recipe, because I am Lithuanian after all. I prefer food without vinegar although I do think sometimes it is necessary. Are you interested too how it tastes? Recipe is below.

MINT SAUCE LITHUANIAN STYLE

  • 1 cup compressed mint leaves
  • 1 tbsp honey
  • pinch salt
  • boiling water
  • 2-4 tbsp lemon juice

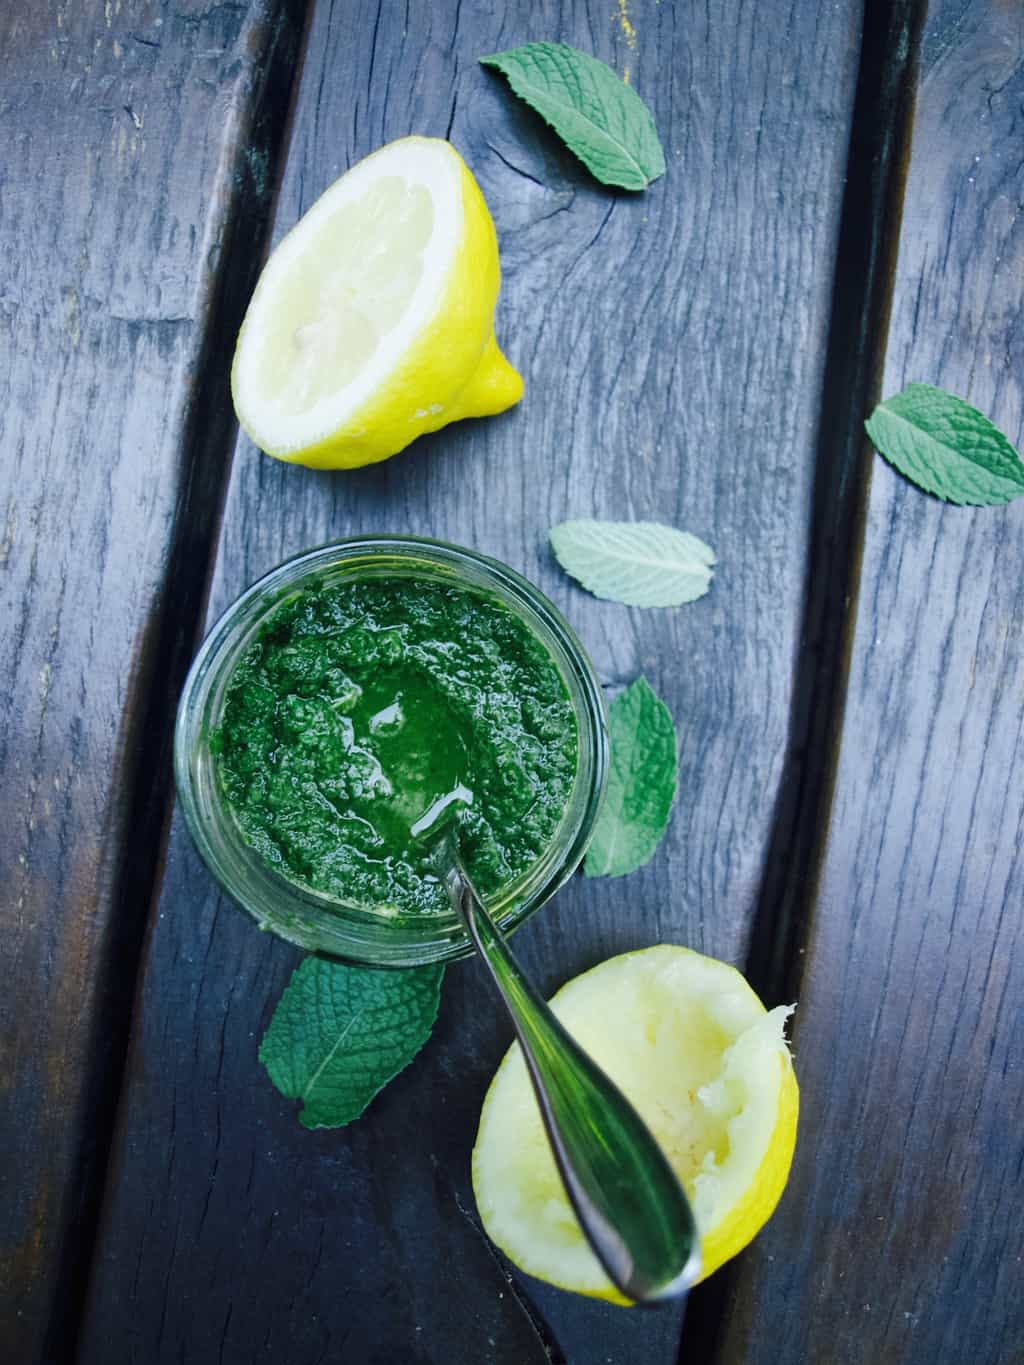
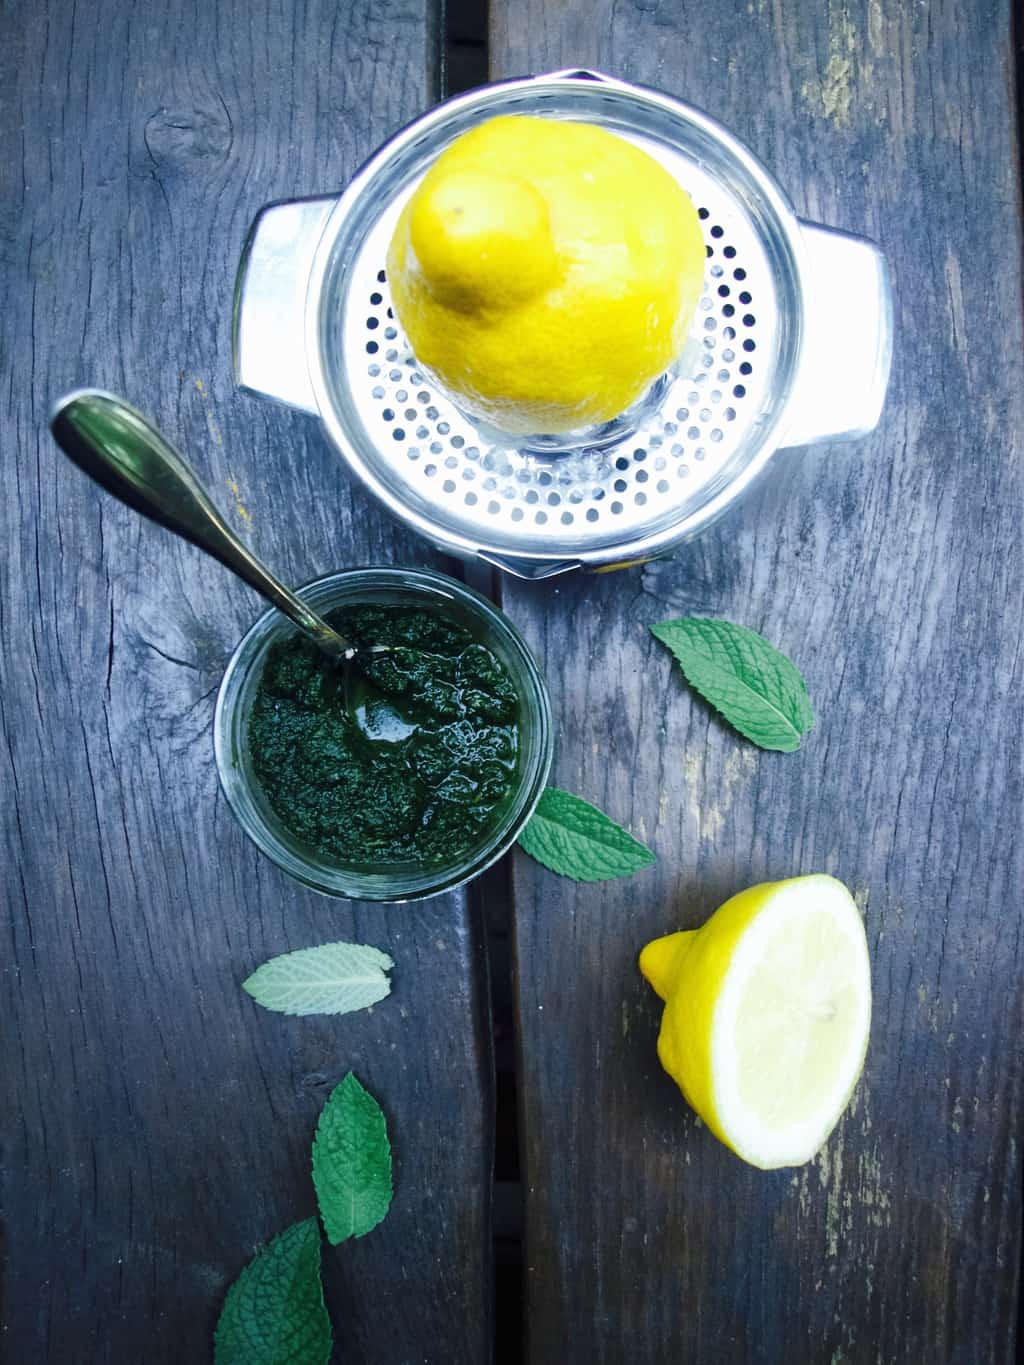
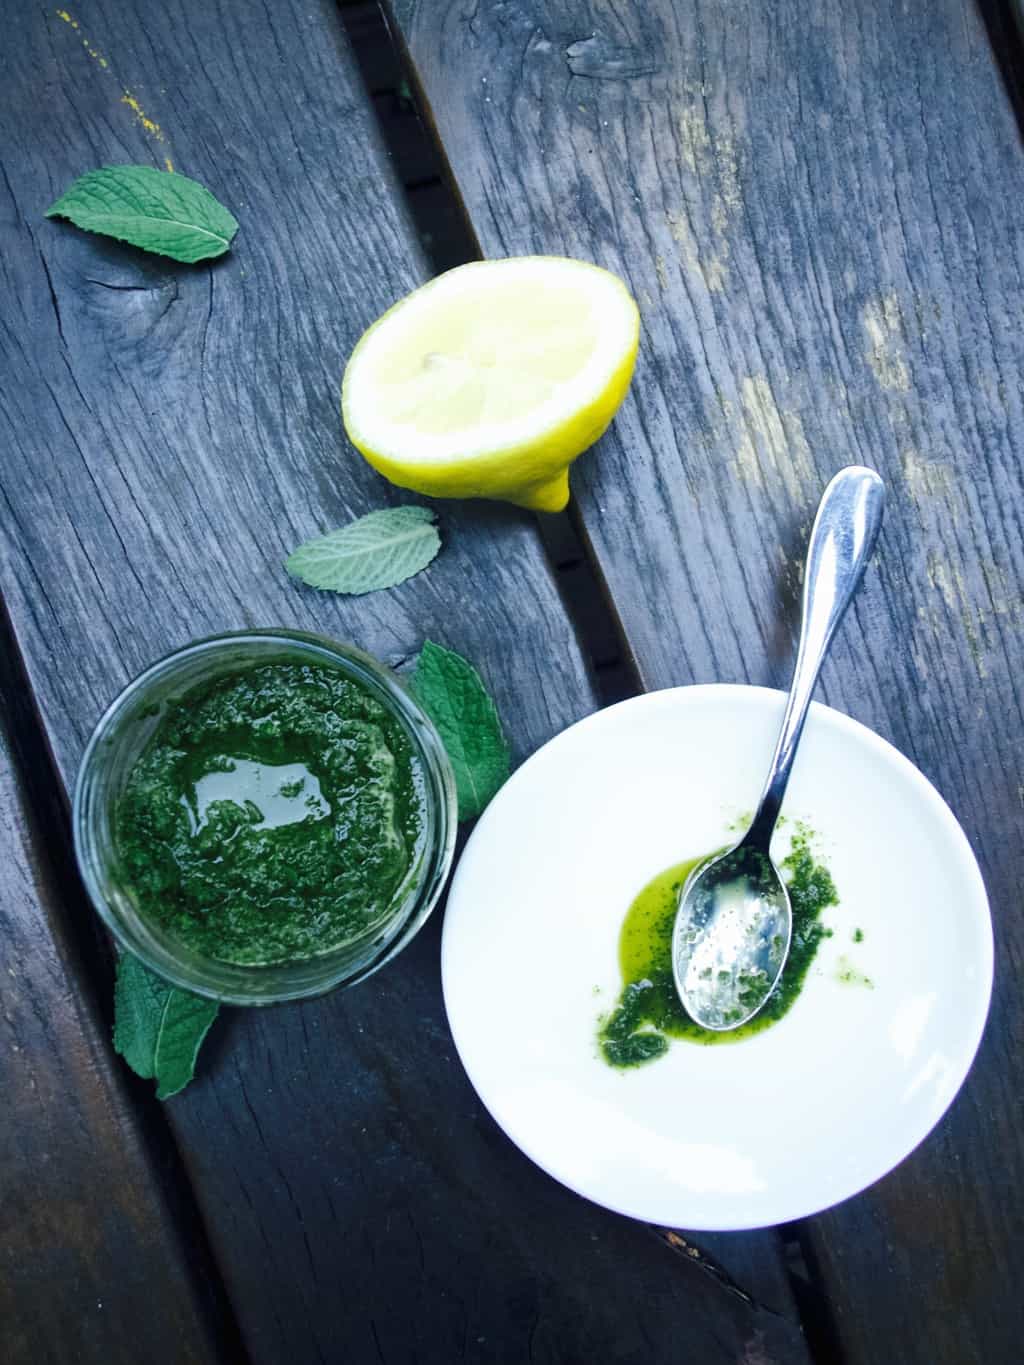
1. Place mints, honey, salt and some boiling water and whizz it with the hand processor.Mint sauce Lithuanian style recipe 2. Cool the mint puree and add lemon juice to your taste.Mint sauce Lithuanian style recipe This sauce is not only to use with lamb (although it goes with the lamb best). It can be used in mushy peas, mixed with yogurt to be used with rich stews. Maybe in salad too methinks?Mint sauce Lithuanian style recipeThanks for letting me share, hope this post does not sound too silly.

Rasa xoxo

0

Savoury pesto crepes (cheese filling is the best!!!)

Pesto crepes filled with cheese recipeTruth to be told I recently started to dislike mealtimes with my kiddies. Lukas has reached such a fussy age that I can’t predict if the food I make will meet his standards. Can anyone relate to this? And guess what, it’s not a gourmet food he is after. It’s pasta and pancakes that makes him really happy. Ok, we recently found out that he also likes curry, but I shall keep this story for another post. Ok? For now lets talk pancakes… hmmm

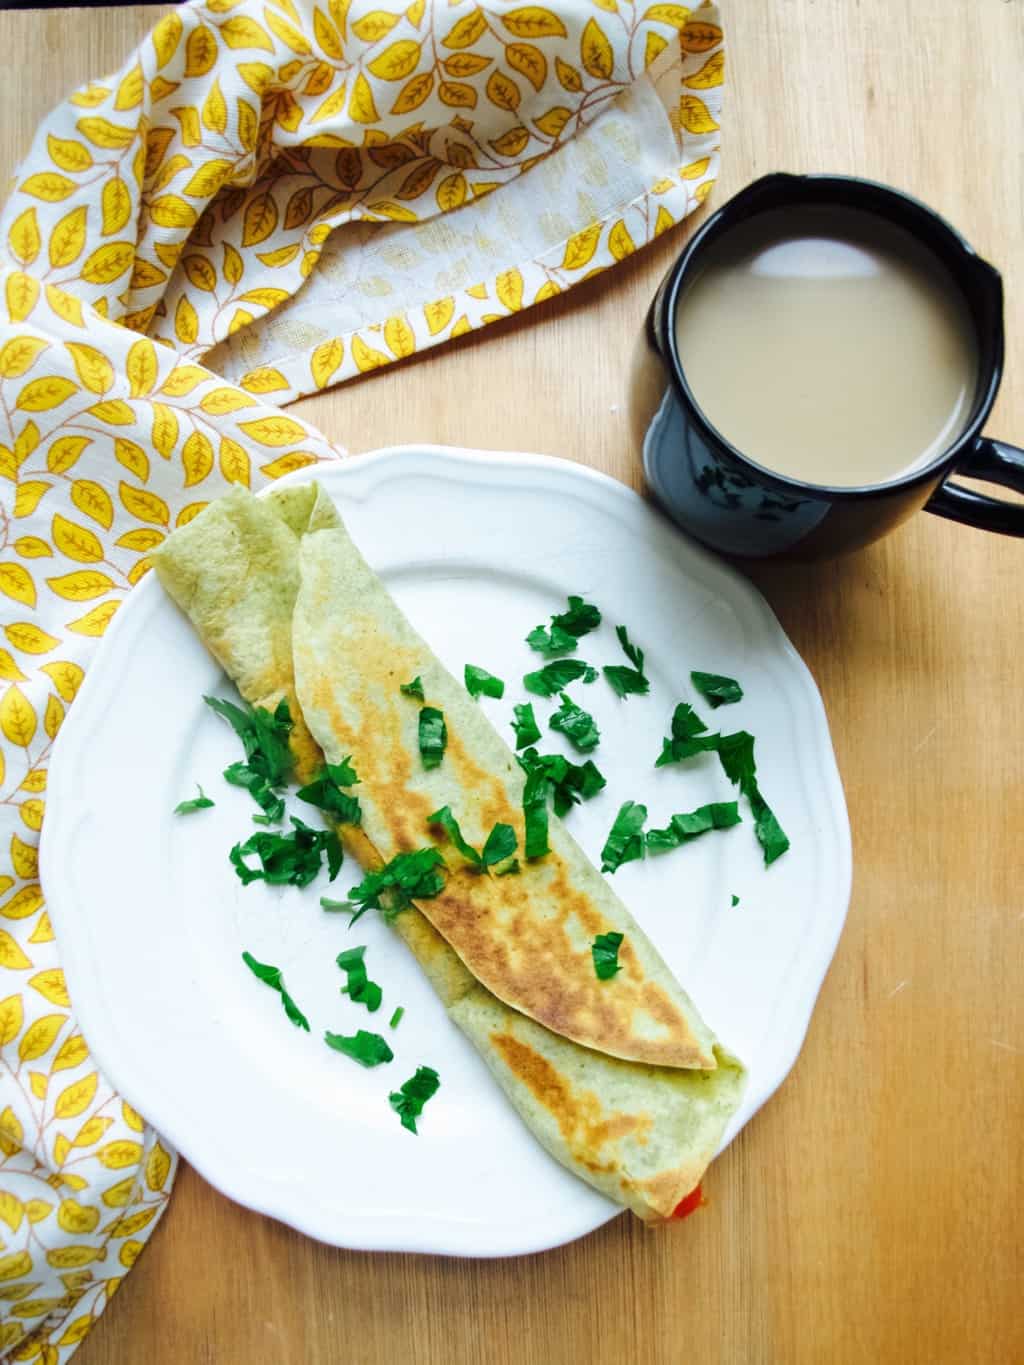
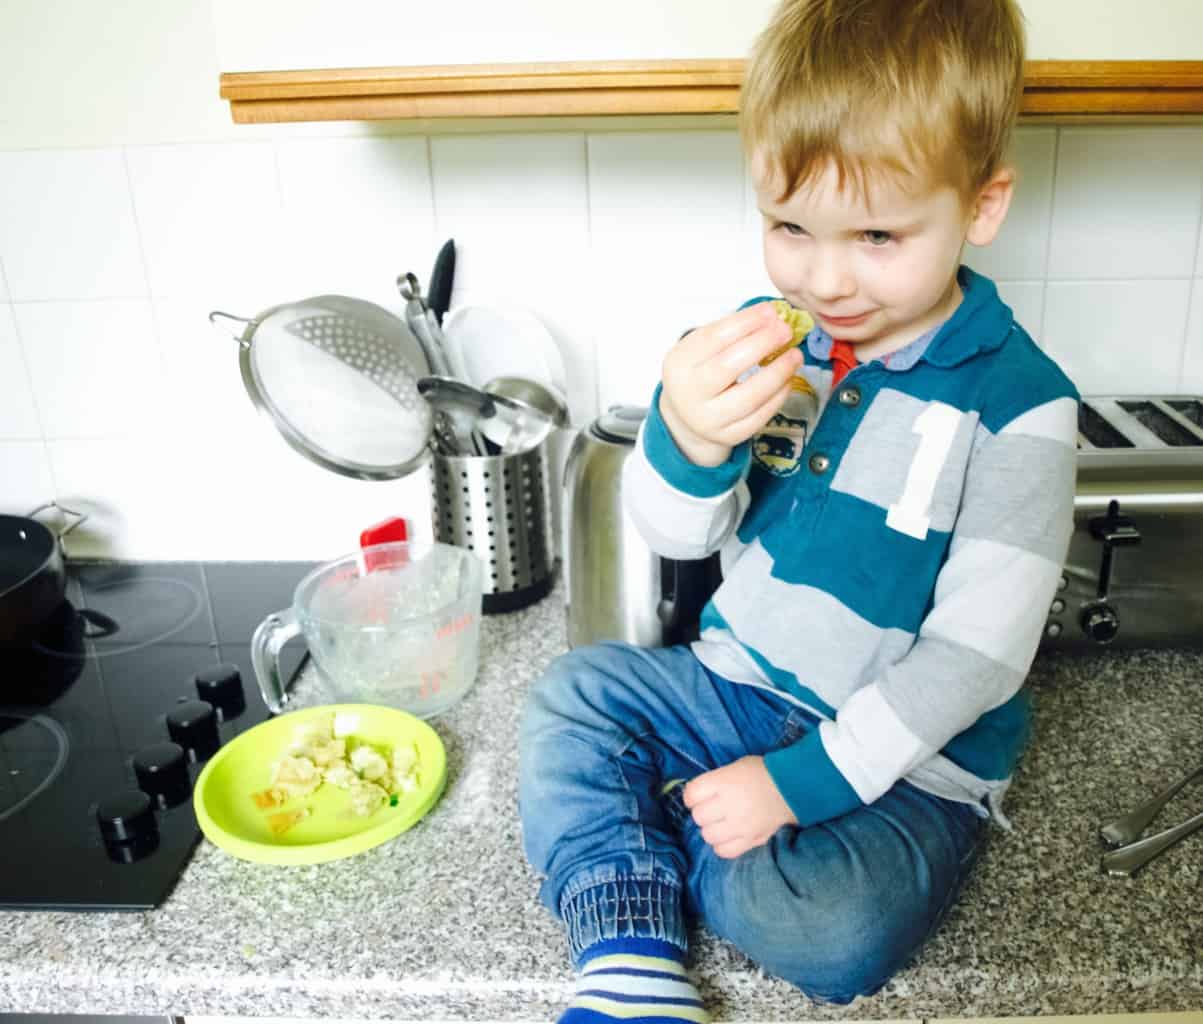
I came up with pesto crepes on one of those days when I wanted to keep lunch time casual. You see, sometimes Tomas goes for a nap in the middle of the day, which is why I started using this time to sort the meals out. I prep the dinner (often in slow cooker) and then me and Lukas casually lunch in the kitchen. I sit Lukas up on the counter while I fry some pancakes for him. I find this totally relaxing as I love nibbling on pancakes myself (with a cup of coffee on the side of course). This week I added pesto into the crepe batter which was a game changer. I started imagining how I could add different herbs next time as well  because it is so easy to make your own pesto using different kinds of bases (it can even be spinach!!). And most of all Lukas liked these “pancakes” equally as the plain ones. I made these savoury and filled it with cheese and tomato which was even better.

PESTO CREPES

  • 200g flour
  • 2 eggs
  • pinch of sugar
  • pinch of salt
  • 1 tbsp butter, melted (+ more for frying)
  • about 350ml water or milk
  • 4-6 tbsp pesto (doesn’t have to be basil pesto)

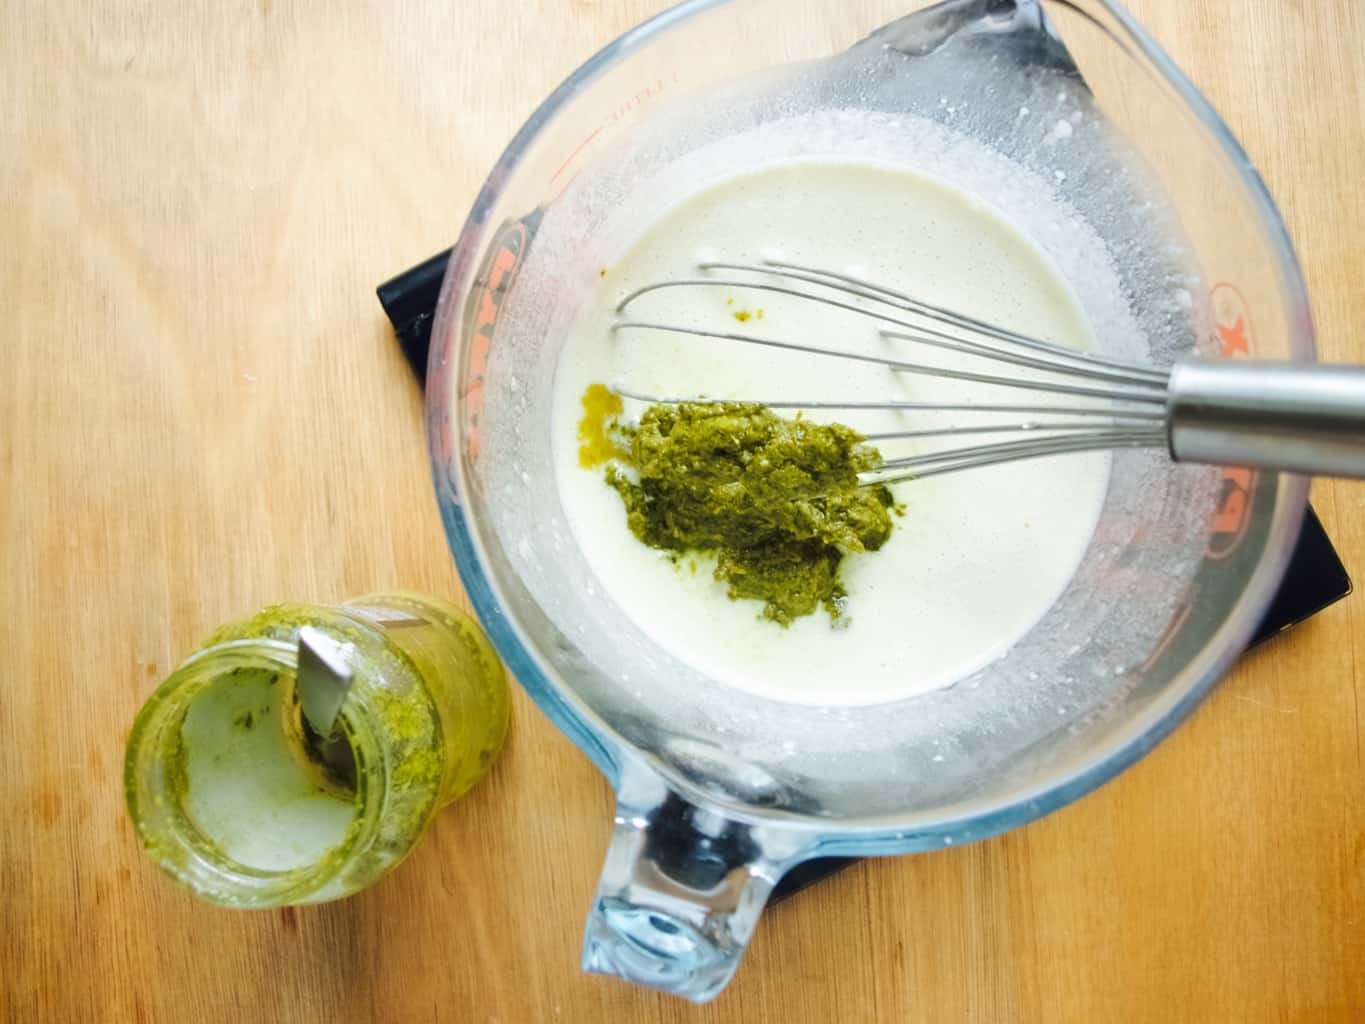
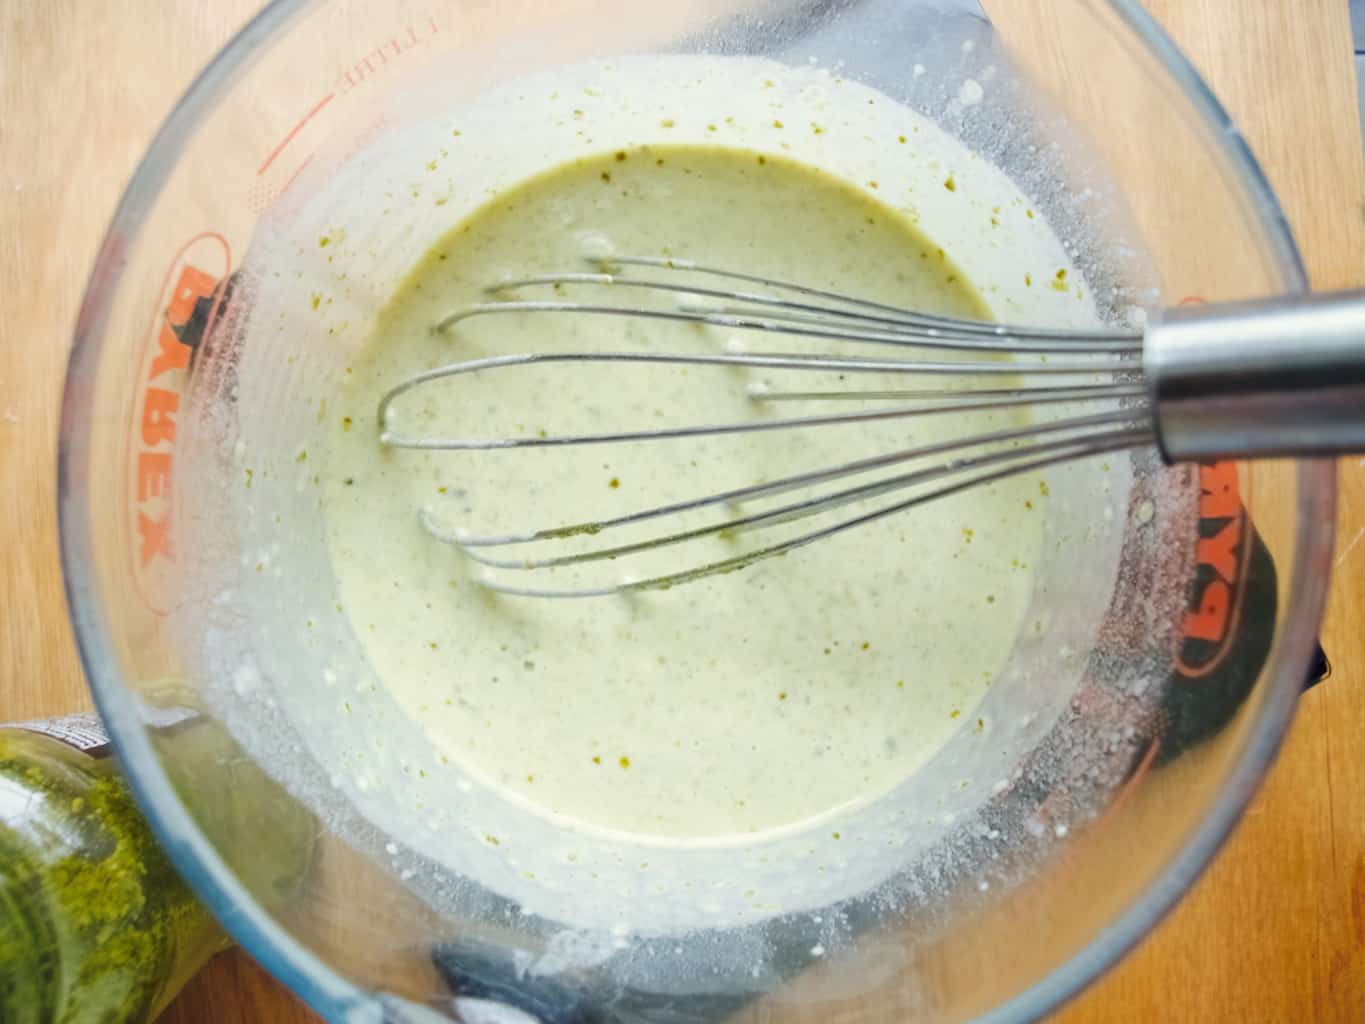
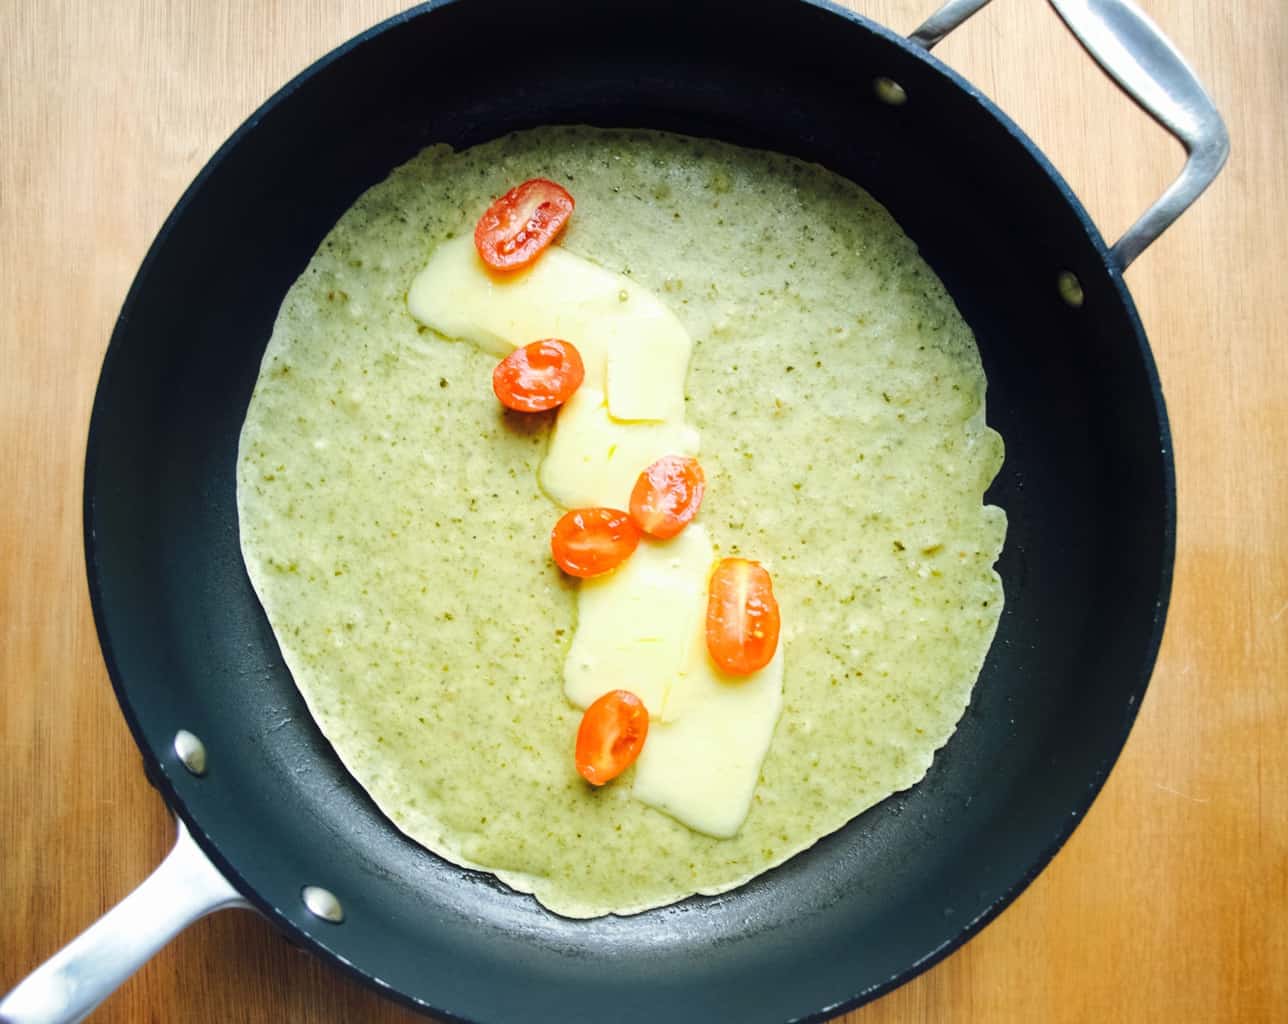
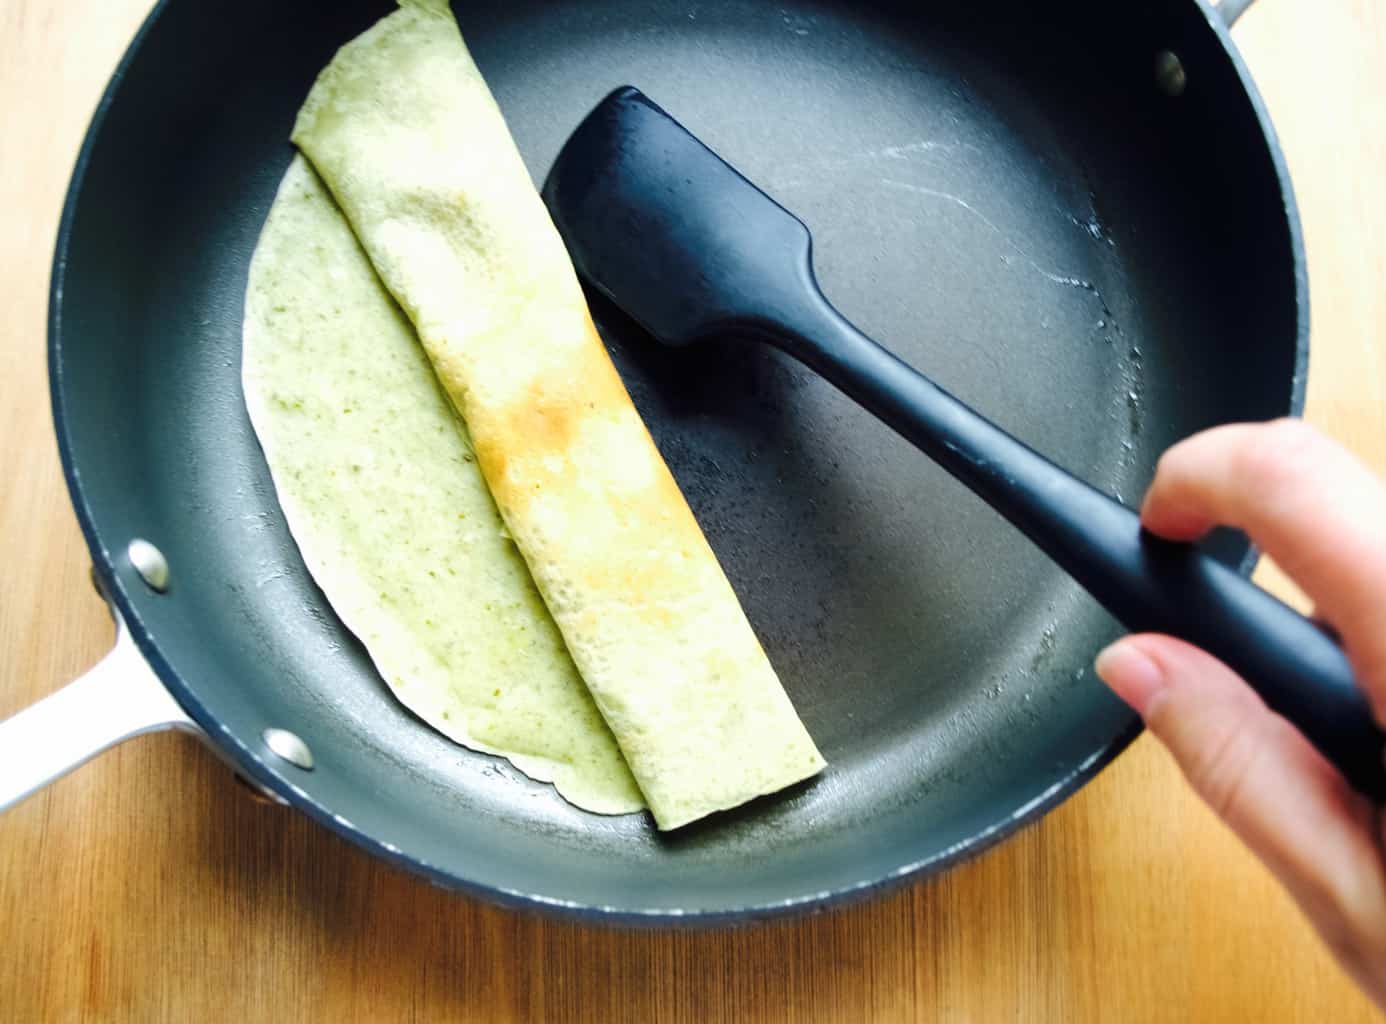
1. Place the flour into the bowl together with eggs, sugar, salt and butter. Whisk everything together into a dry mass. While whisking begin pouring the water gradually into the flour mass (not all in one go because you might not need it all). You are aiming for a batter consistency that easily drips down the whisk when held up but still leaves temporary traces when whisked. Pesto crepes filled with cheese recipe 2. Add pesto and mix again to combine.Pesto crepes filled with cheese recipe 3. You will need to fry pancakes in a well heated pan with a little butter. Pour one spoonful of batter into the pan and immediately start swirling round the pan to get a nice even layer. If you are having a cheese filling then add it at this stage as it needs to melt while the crepe is still frying. Pesto crepes filled with cheese recipe Just roll the crepe once the cheese is slightly melted.Pesto crepes filled with cheese recipe Best eaten warm!Casual lunch me and a toddler!Enjoy!

Rasa xoxo

0

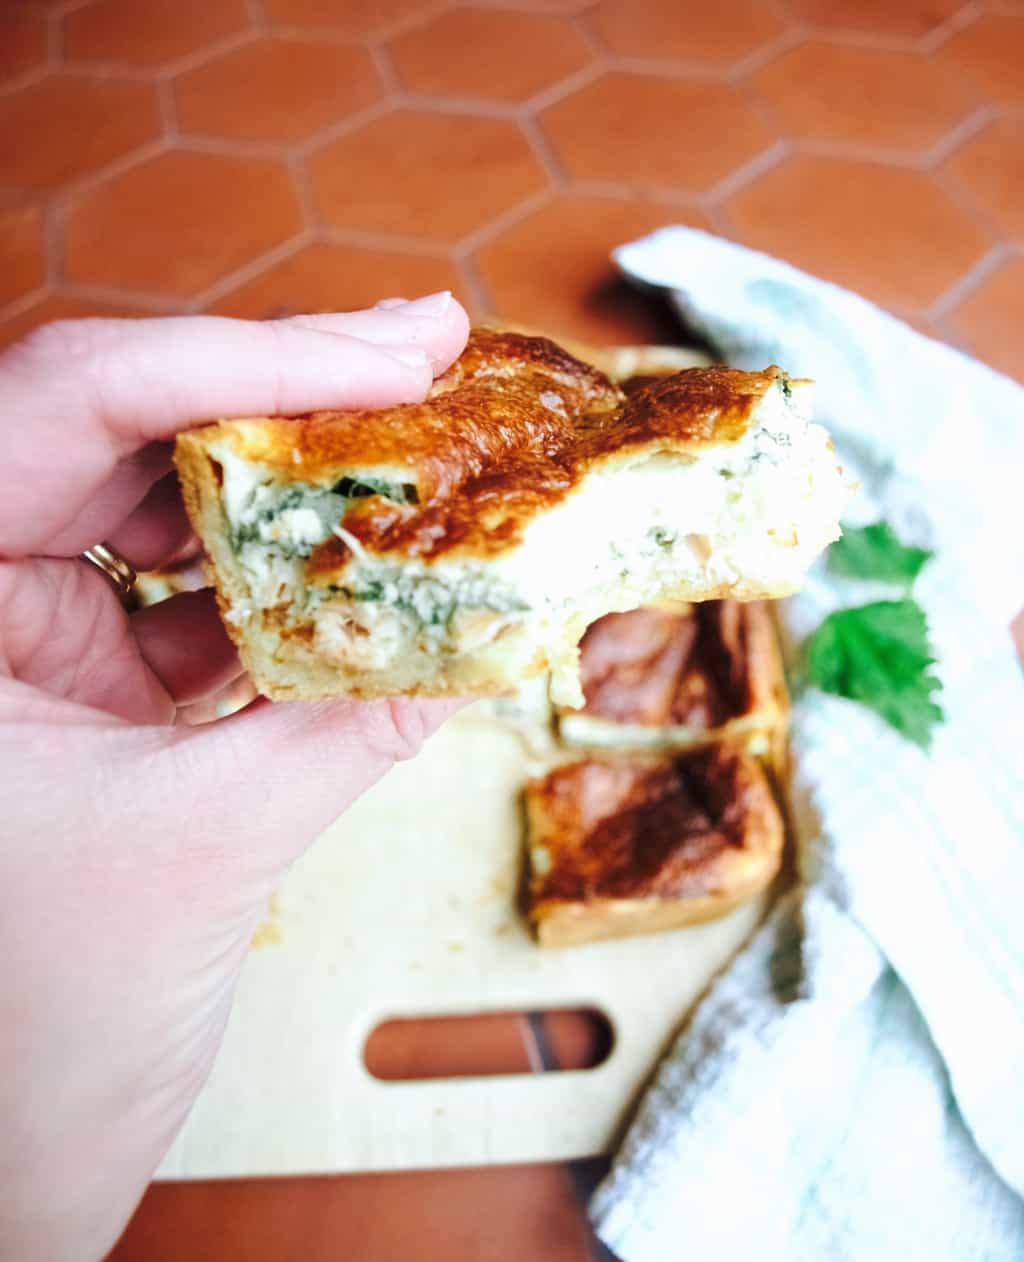
Easy salmon and nettle quiche + dairy free version too!

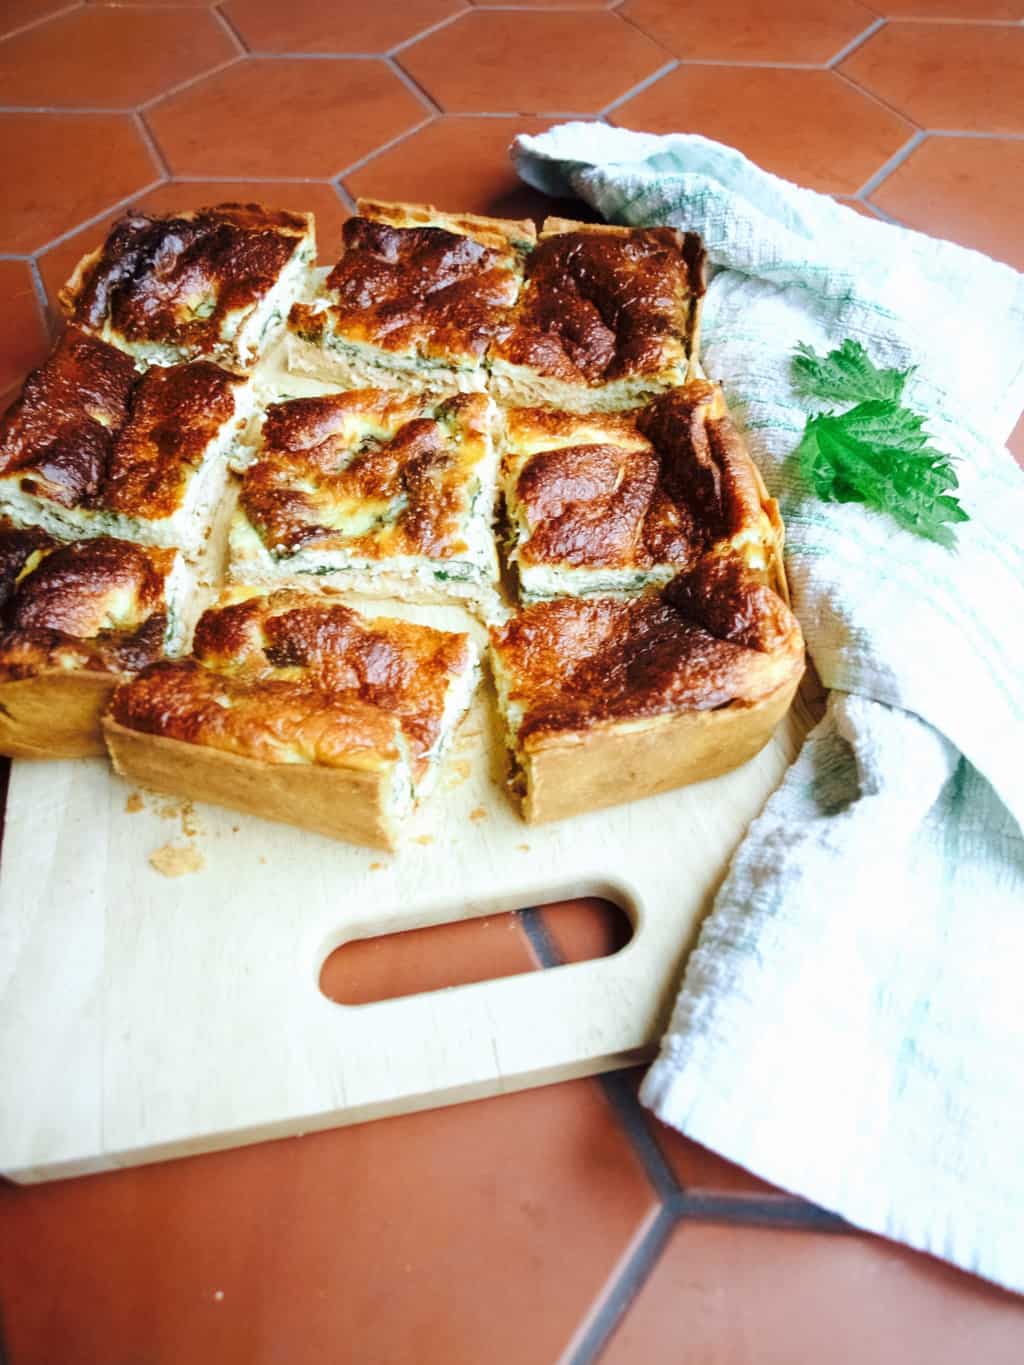
Easy salmon and nettle quiche recipe + dairy free version So finally I made something using stinging nettles. I’ve wanted to do this for so long because in spring time we have plenty of them in the garden. I heard that you can use this “weed” in place of spinach, so I was eager to try it out. I instinctively thought quiche is where it could work best. I usually match salmon with broccoli, but nettle seems to work really well too.

Generally I like foraging and sometimes taste different plants if I am not sure if they are what I think they are(I don’t recommend doing it though as you might consume poisonous plants by accident). However I rarely bring it home and make something out of it. While in Devon I found some wild garlic leaves, which was really exciting, and I wish I had brought some of that  home.

One more thing I would like to add is that I recently started trying out recipes dairy free. We currently testing whether Tomas eczema is related to a possible milk allergy and while I hope he isn’t allergic I am secretly enjoying the challenge. So I also made the quiche in a dairy free version too! It turned out very close to regular quiche, yey! If you would like to try these quiches then scroll down for the recipe.Easy salmon and nettle quiche recipe + dairy free version EASY SALMON AND NETTLE QUICHE

Its easy because you don’t need to blind bake the pastry ;-)

(for the pastry)

  • 90g softened butter (replace it with sunflower spread for dairy free version)
  • 1tsp sugar
  • a pinch of salt
  • 180g plain flour
  • 2 egg yolks
  • ice-cold water (you will find you don’t need this for dairy free version)

(for the filling)

  • 180g hot-smoked salmon fillets, flaked
  • a handful of stinging nettle leaves (pick young leaves from the plant that’s not flowering yet)
  • 4 eggs plus 2 egg yolk (save the whites to brush the pastry)
  • 300g creme fraiche (I used oatly creme fraiche and single cream mix for dairy free version)
  • 1 tsp salt
  • pepper

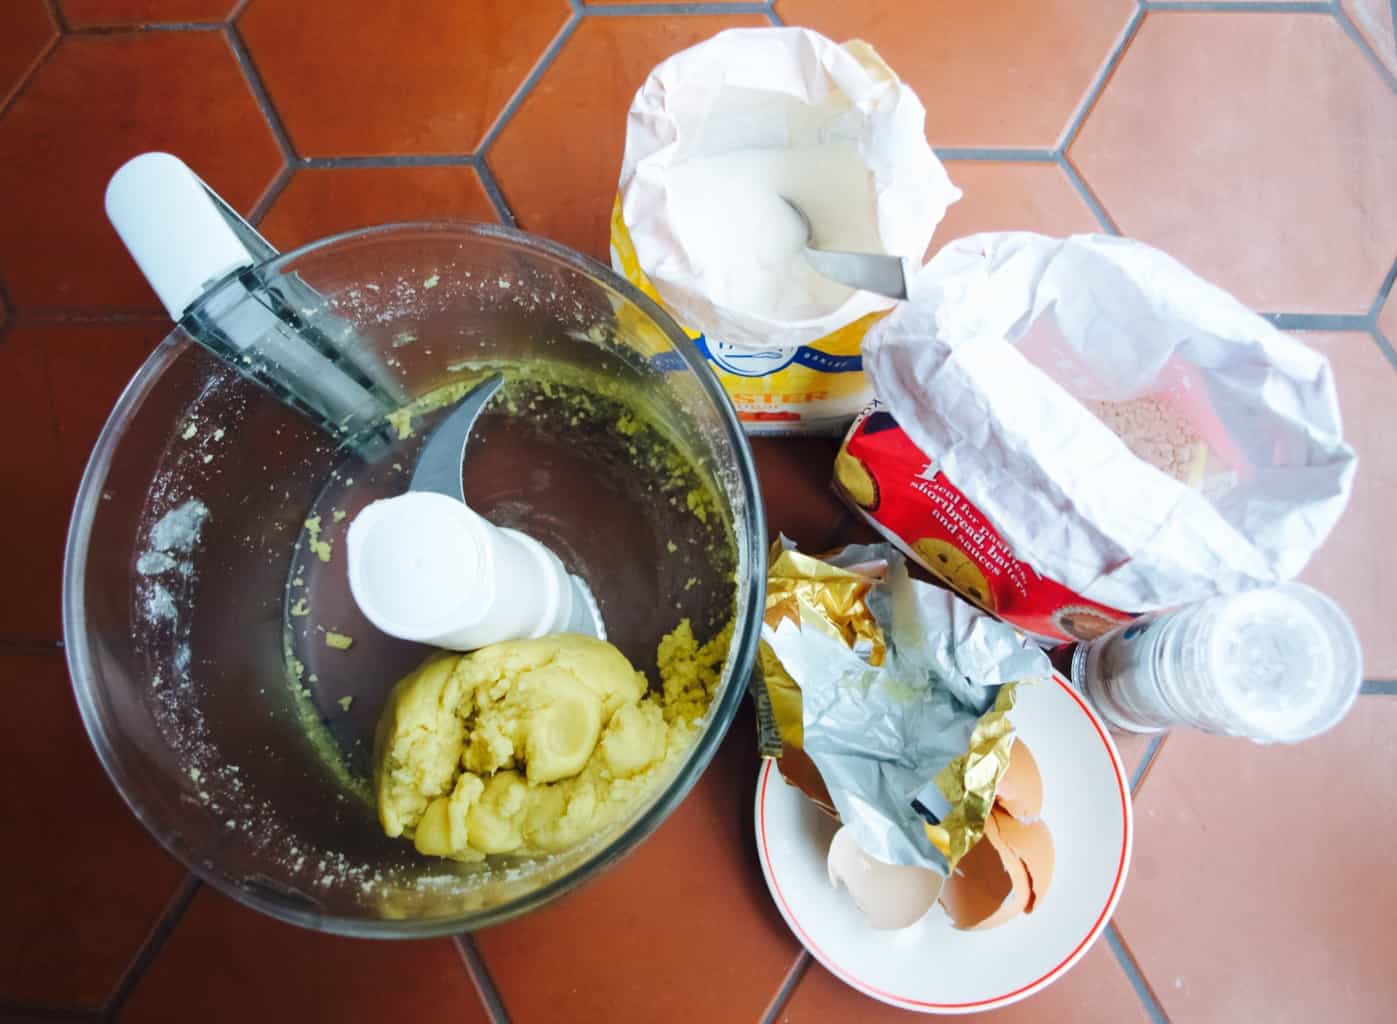
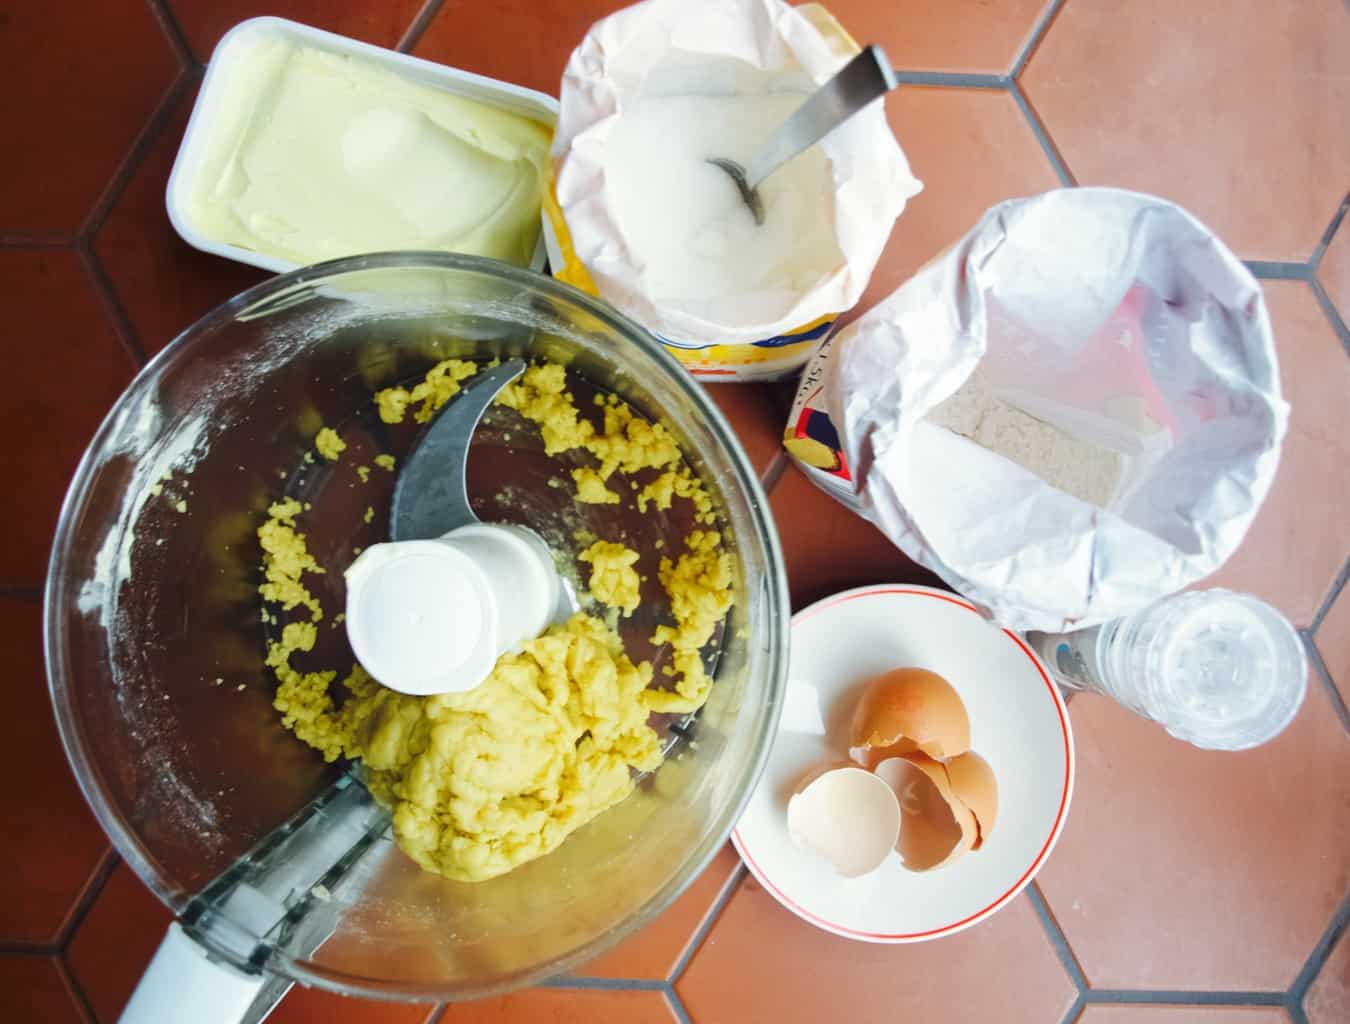
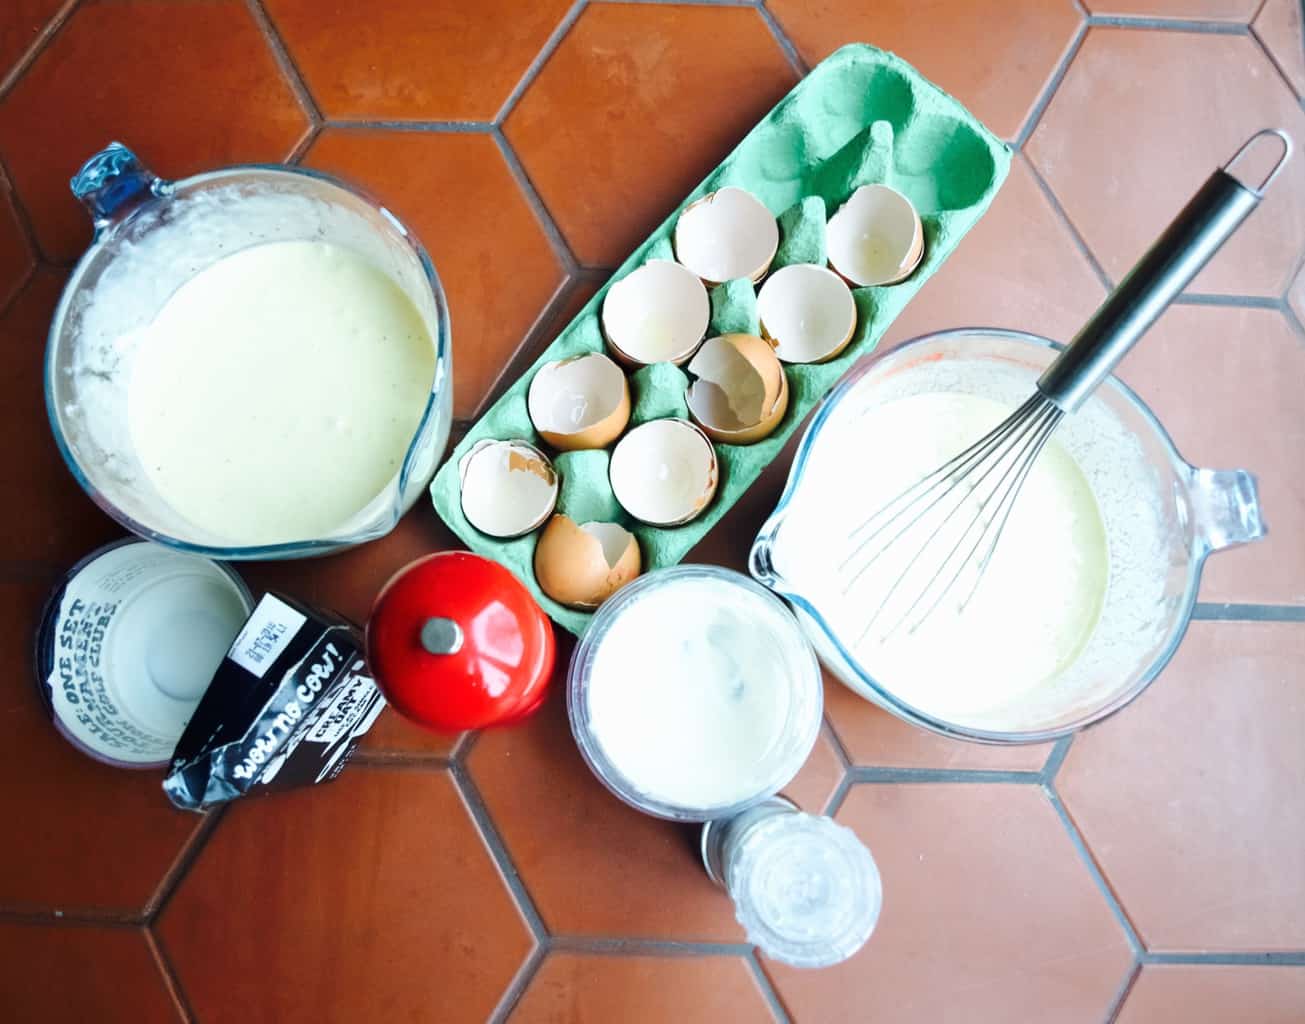
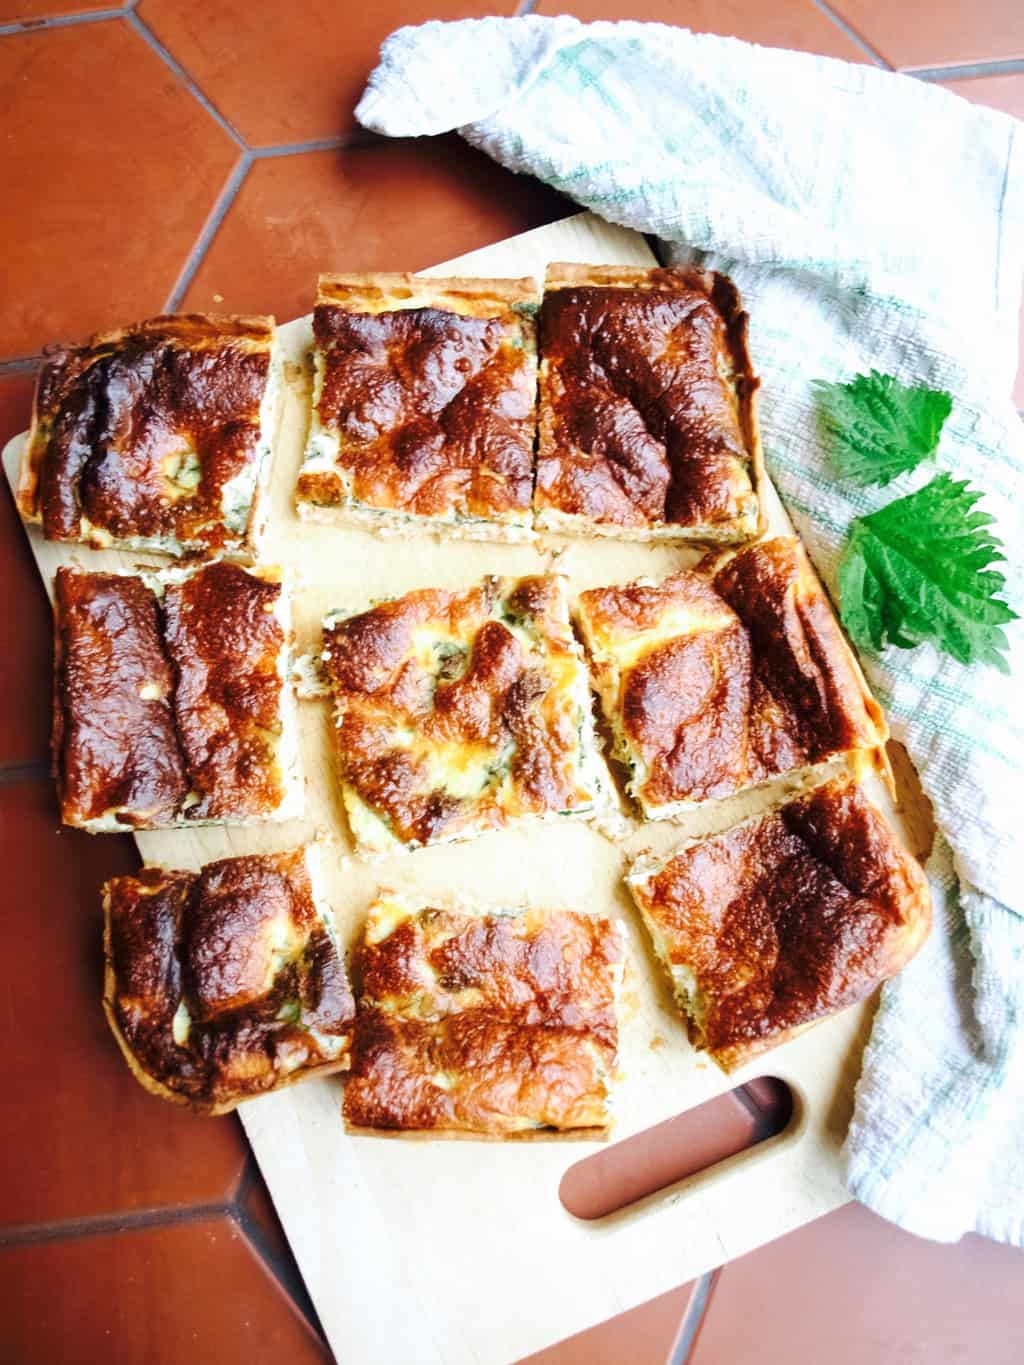
1. To make the pastry place all the ingredients (except the water) into the mixer. While mixing for few minuted gradually and slowly add water till it sticks into a ball. Wrap the dough in cling film and refrigerate for an hour or till when you are ready to use it.Easy salmon and nettle quiche recipe + dairy free version The dairy free version came out more moist (which is why you probably don’t need to add water into it) and did not solidify in the fridge.Easy salmon and nettle quiche recipe + dairy free version 2. Remove the pastry from the fridge 30min before using. Roll out the pastry between 2 sheets of baking paper to avoid until it is 5 mm thick. Line the baking tin or quiche dish with the pastry, brush it with egg white. Scatter salmon and nettle leaves in the pastry case. Refrigerate while preparing the egg mixture.Easy salmon and nettle quiche recipe + dairy free version 3. To make the egg mixture lightly beat the eggs in a bowl, add the creme fraiche (and cream if using) and seasoning and continue to beat until mixed well. Easy salmon and nettle quiche recipe + dairy free version 4. Pour the egg mix into the pastry case. Bake the quiche for 30-45min in 180C preheated oven or until the filling is golden brown and set.Easy salmon and nettle quiche recipe + dairy free version Can you guess which quiche is in the pics? I will give you a clue, it has oat milk in it! Yes, there were not many differences between these two quiches other that the texture and slight taste differences. Joni preferred the dairy one, I liked both. Tomas loved non-dairy one for all I care.Easy salmon and nettle quiche recipe + dairy free versionHope you like it too!

Rasa xoxo

0

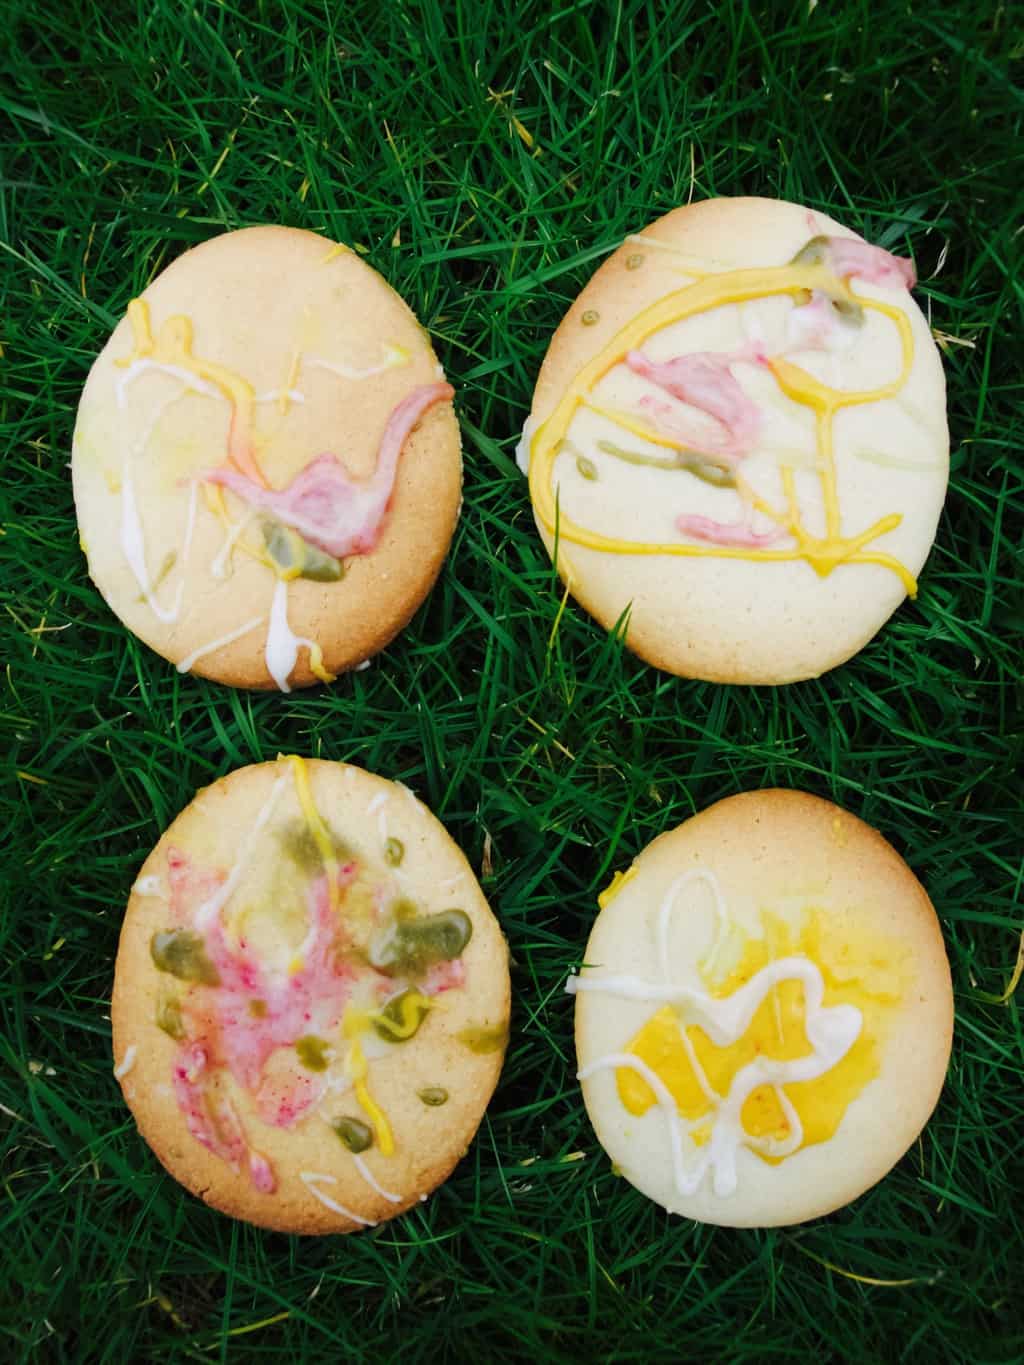
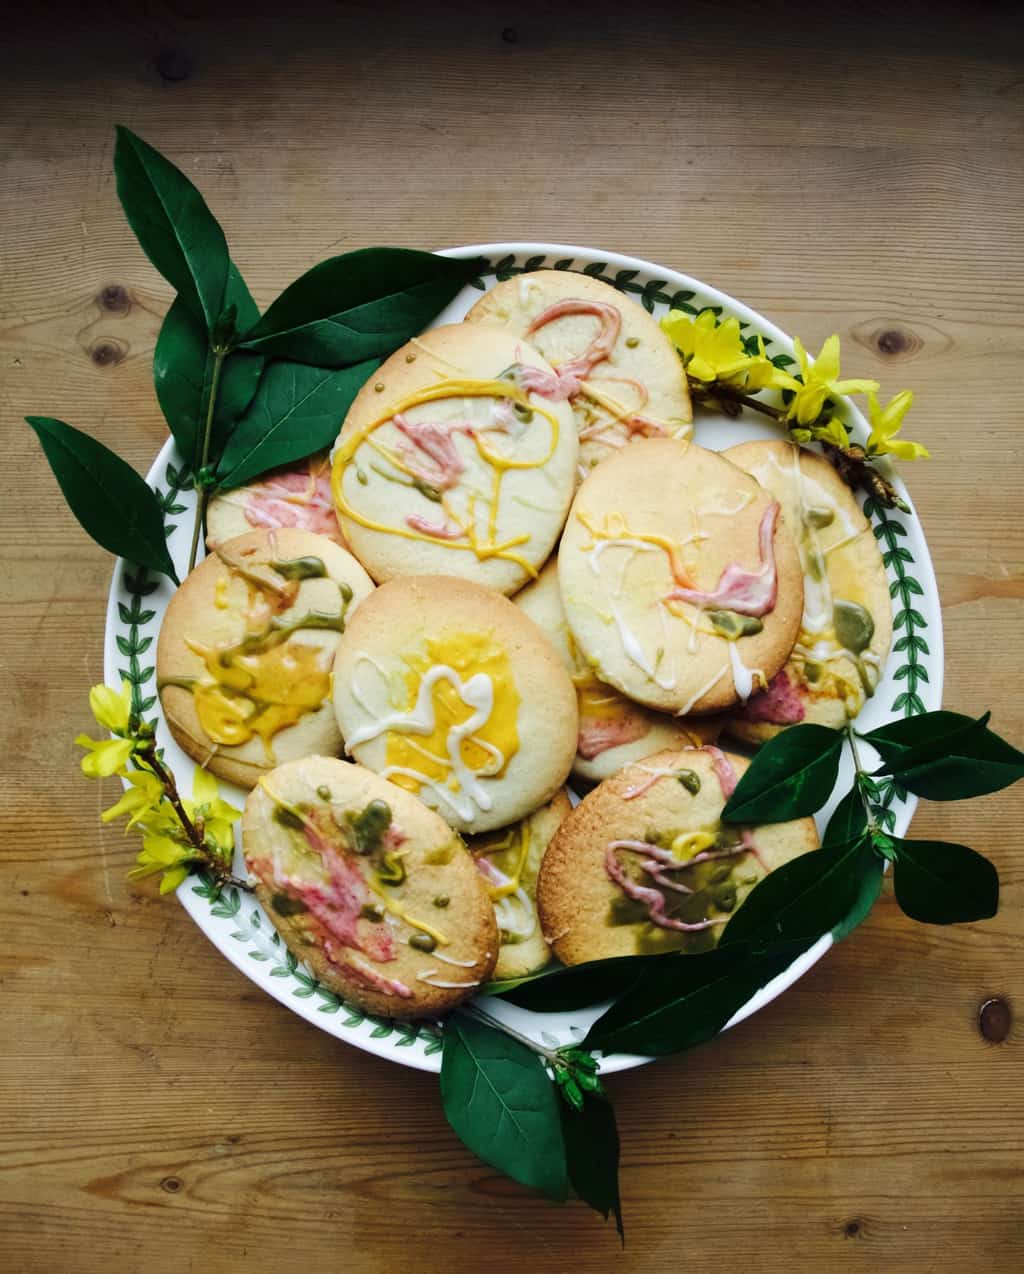
Kids art Easter biscuits

Kids art Easter cookies diyHands up who is really really looking forward to Easter! We do! Me and kids are in Devon with the grandparents already and we are pretty much ready here (its easy when you are not hosting).

Me and Lukas has been drawing and painting lots recently so I initially thought we will do good old Lithuanian tradition and paint some eggs, but then I decided against it when I thought of shortbread biscuits… hmmm! I thought if I make the biscuits into egg shape then it will be like painting eggs but on the flat surface rather than the round surface (a little less messy I thought). Plus, I thought this is a very good opportunity to try out more of natural food colouring :-).Kids art Easter cookies DIYKIDS ART EASTER BISCUITS

(for biscuits)

  • 240g butter, softened
  • 200g sugar
  • 1 egg
  • 500g flour
  • 1tsp baking powder
  • 4tbsp milk

(for the “paint”)

  • 4tbsp icing sugar, sifted
  • water
  • 1tsp beetroot powder for pink
  • 1/2tsp turmeric powder for yellow
  • 1tsp matcha powder for green

1. Place all the biscuits ingredients into the mixer and switch it on for few min till everything turns into nice soft dough. At this point you can wrap the dough and place it in the fridge for the next day or freezer for whenever you need it in the future.

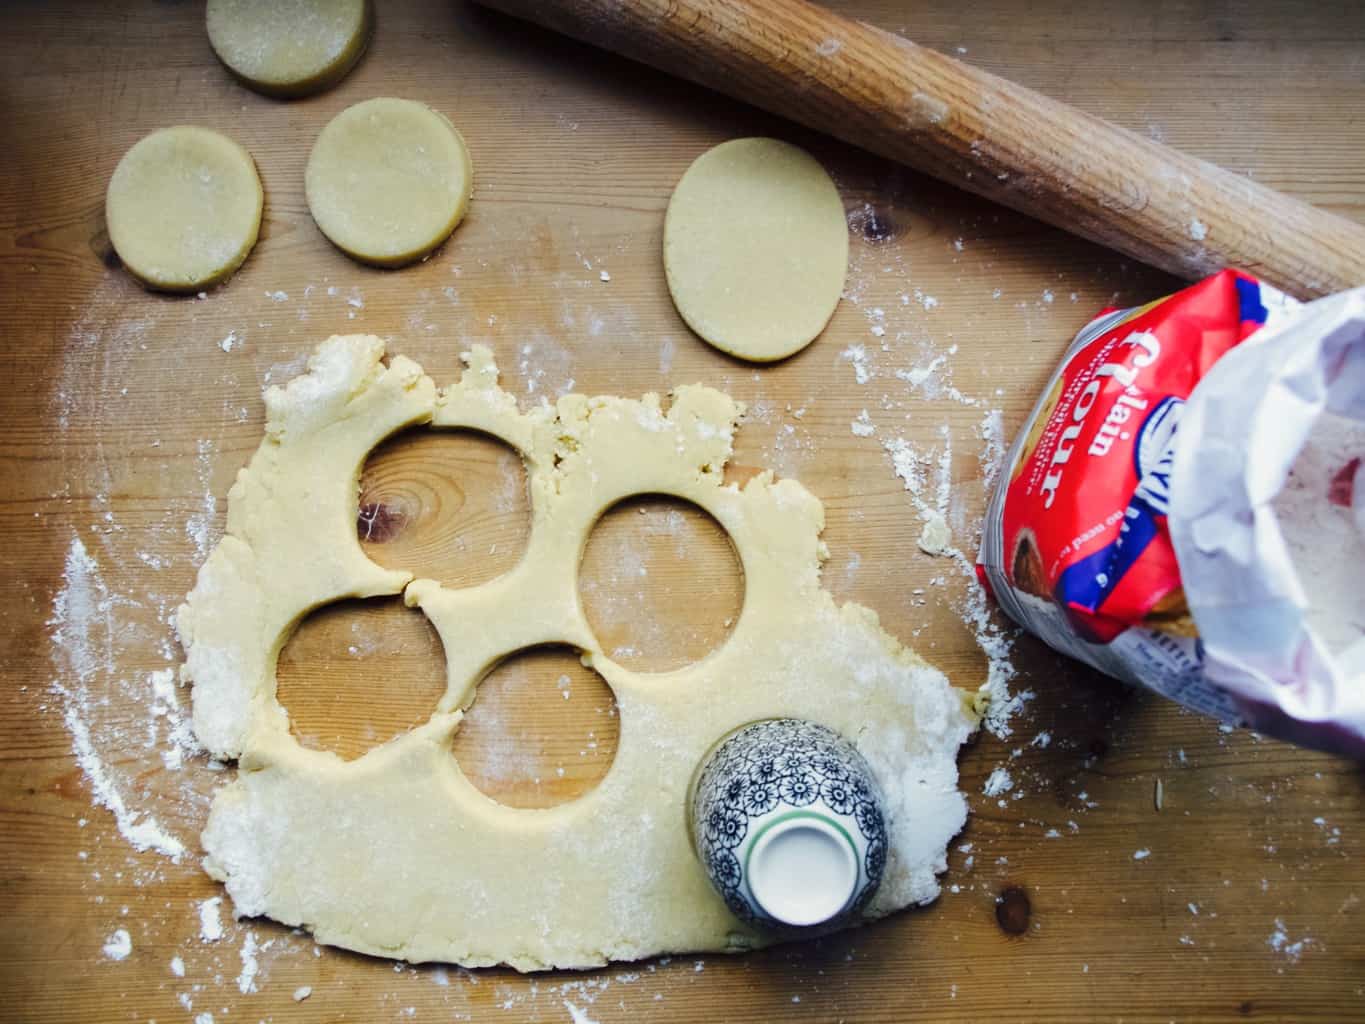
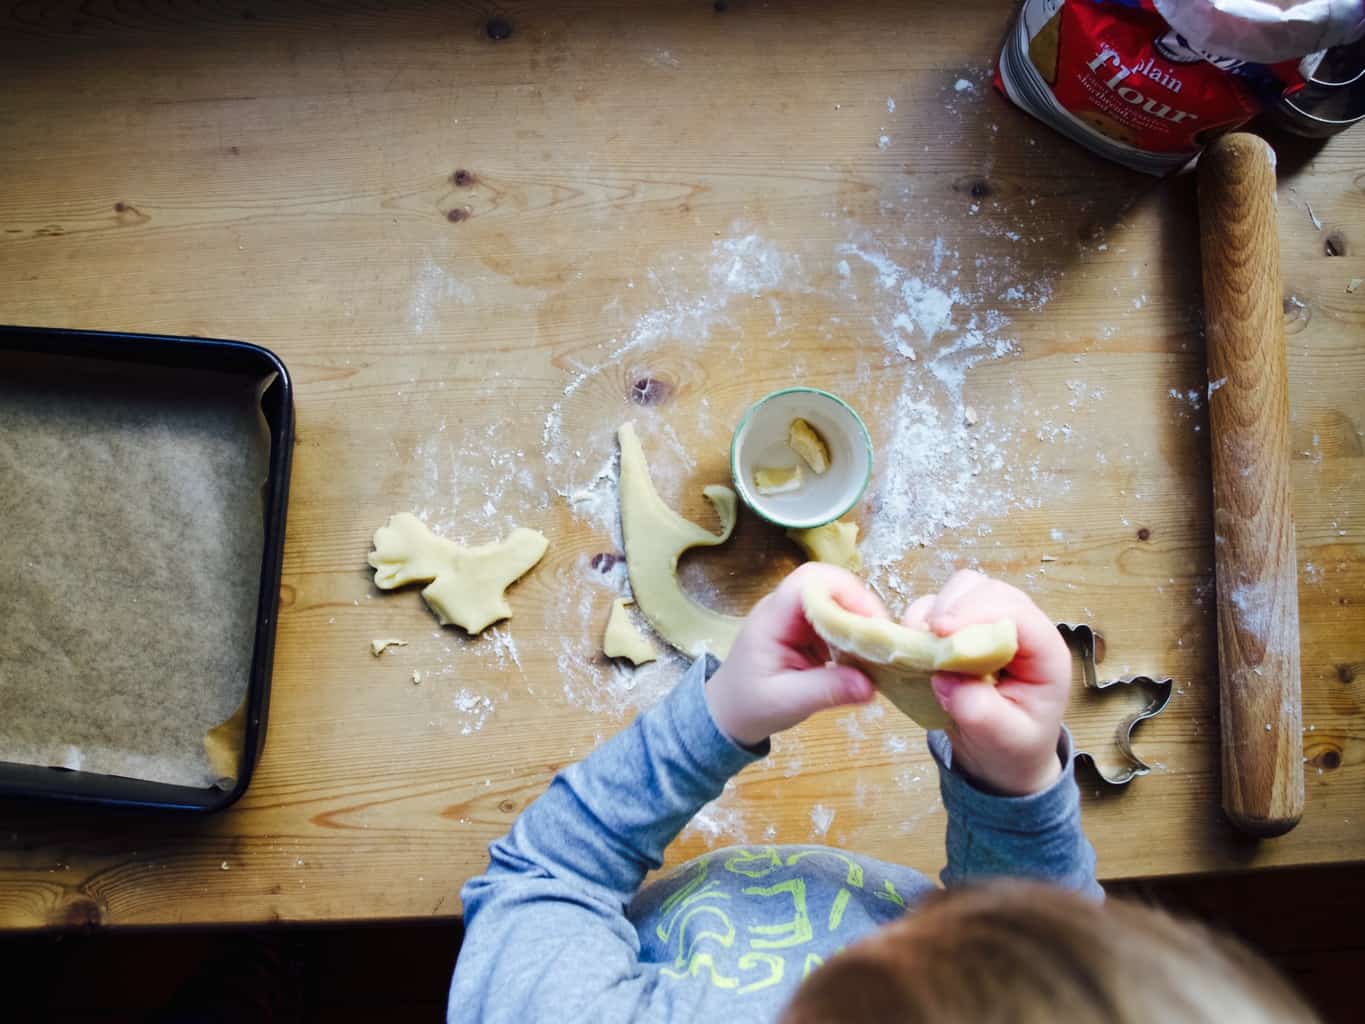
2. Flour the surface and the rolling pin and roll the dough about 7 mm thick. Using biscuit cutter or a cup/glass cut the circles in the dough. Once the circles are out of the dough roll it once more again (only one way) to make an oval shape.

Kids art Easter biscuits DIY 3. You can involve your kid at this point. Lukas was treating the dough as he would the play-dough.

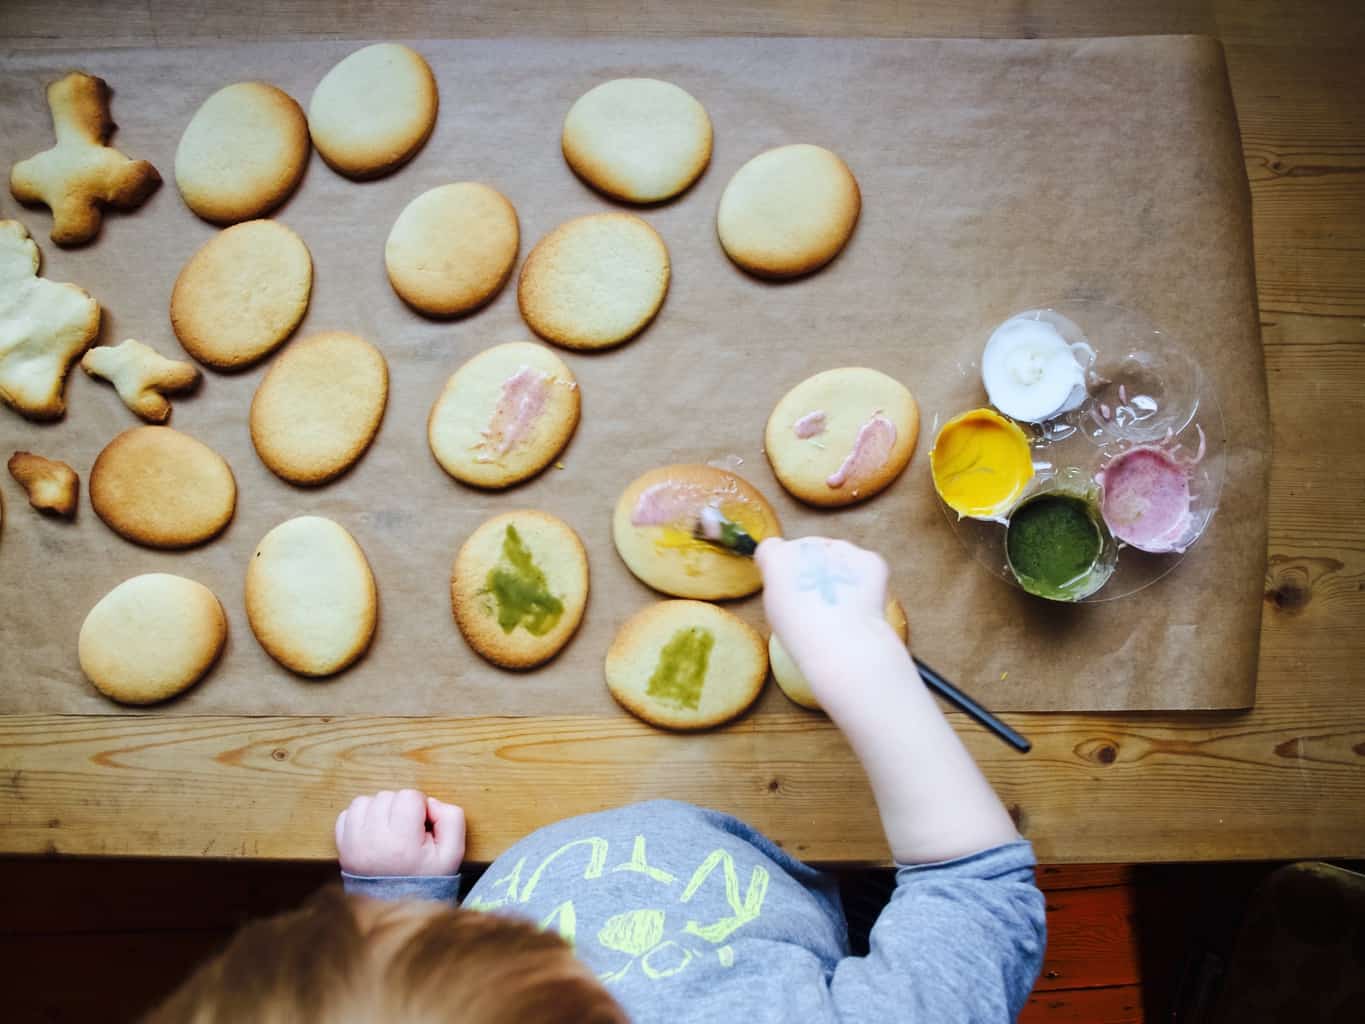
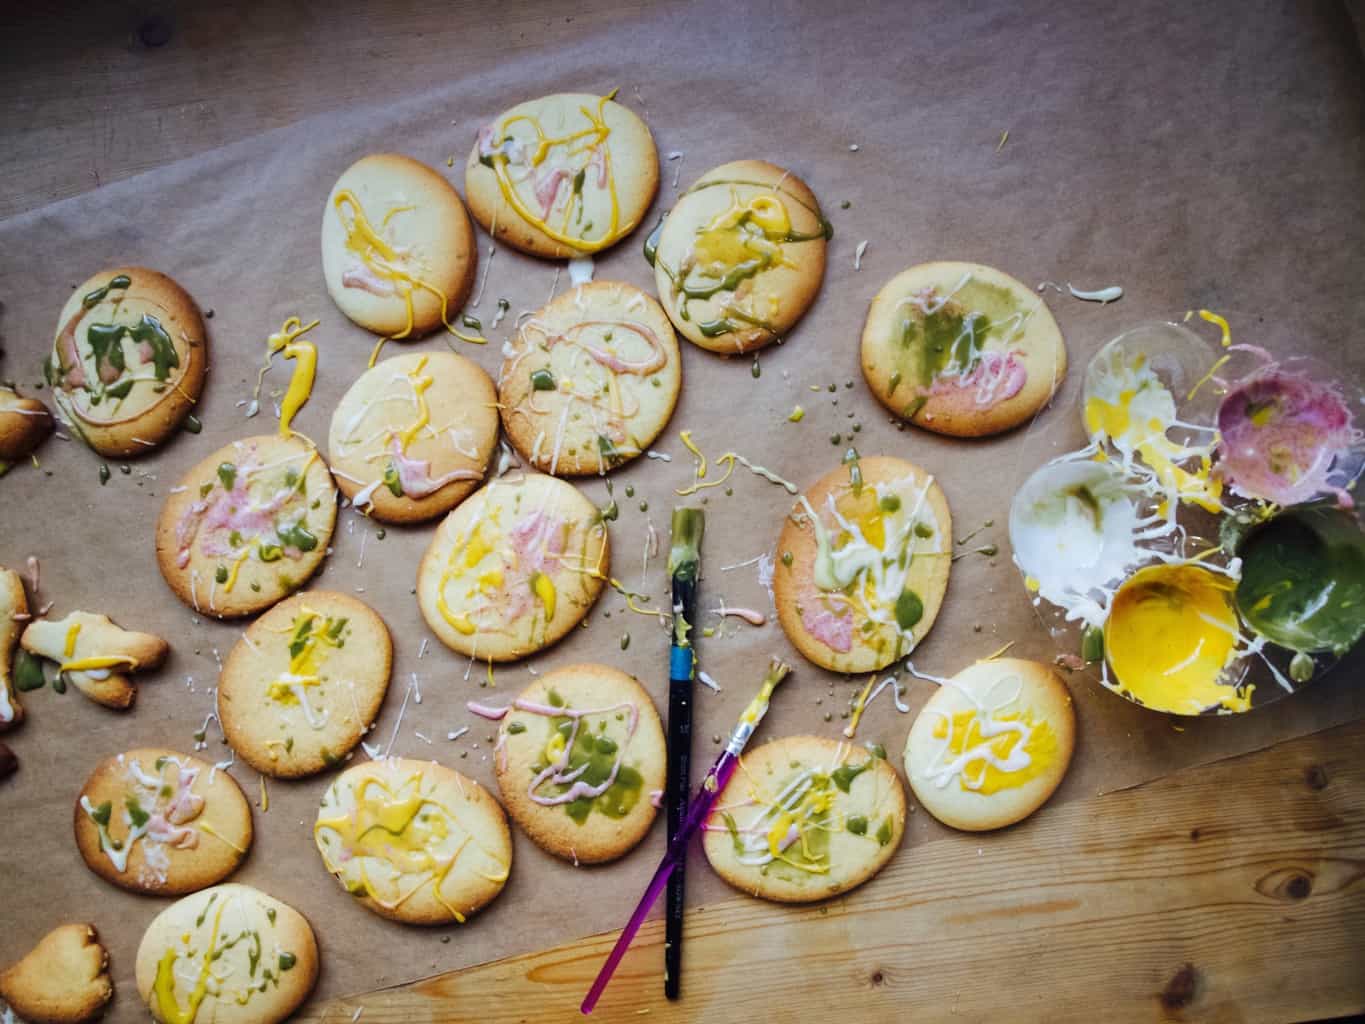
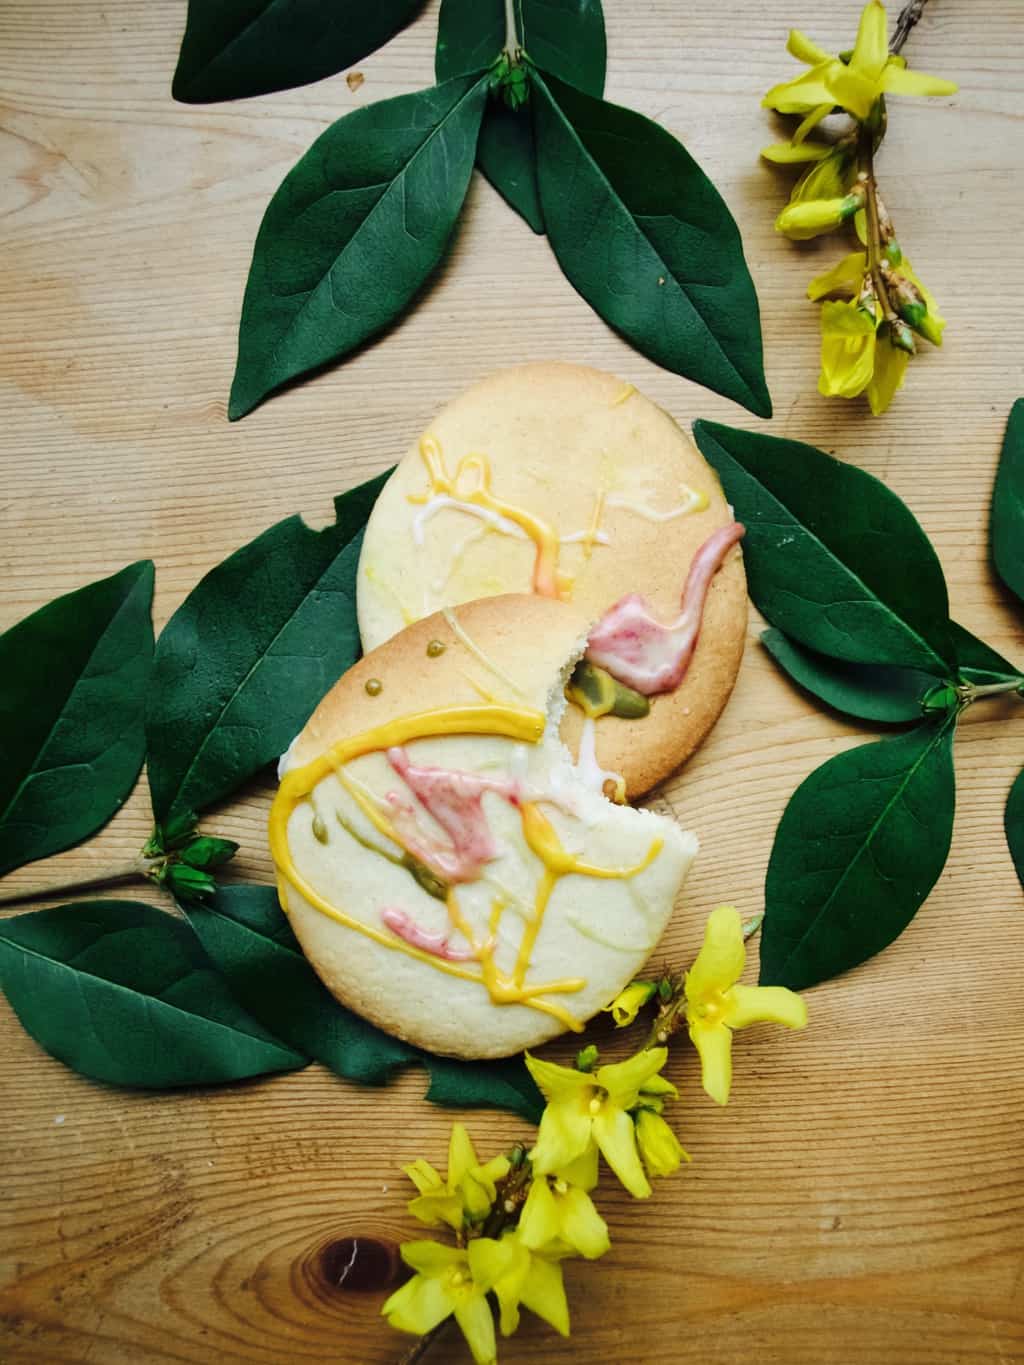
4. Place all the dough shapes into lined baking tray and bake them in C200 preheated oven for 10min.Kids art Easter biscuits DIY 5. Meanwhile make the “paint”! gradually add water into the icing sugar until you are happy with the consistency. Split the icing into four cups so you can make up few different colours. Add each colouring to the separate cup and mix. Kids art Easter biscuits DIY 5. Initially I showed Lukas how to brush the “paint” onto biscuits…Kids art Easter biscuits DIY but soon after he realised it is so much more fun to drizzle and splatter the paint over the biscuits. I totally agree, these remind me of Jackson Pollock paintings.Kids art Easter biscuits DIY Kids art Easter biscuits DIY Kids art Easter biscuits DIYHave a very lovely Easter everyone xx

Rasa xoxo

0

Natural frosting birthday cake

Spiced honey cake with turmeric soft cheese frosting & plum jam filling Few weeks ago we celebrated Tomas birthday, which is why I baked the cake. Anyone who knows me I like the cakes with minimum frosting, made with natural ingredients and most of all I like good flavours. This cake ticks all the boxes for me!!

When I was thinking of Tomas birthday party theme I was thinking of something cheerful, exciting and bold (exactly how I would imagine Tomas when he grows up). This is why I thought bright yellow frosting on the cake would be ideal. But what natural colouring could I use for a bright yellow? I did not need to think for too long, I suddenly remembered the power of turmeric that is vibrant with not much taste to it. The flavour of the cake followed of course. I thought what goes better with turmeric then other spices such as cinnamon, clove and nutmeg. I was completely right, when testing the cake I realised everything just work really well together. I used plum jam to neutralise the taste of richness which also turned out a very good choice.

Hope I got you seduced to try to bake this cake yourself. You will find the recipe below ;-).Spiced honey cake with turmeric soft cheese frosting & plum jam filling HONEY SPICED CAKE WITH TURMERIC FROSTING AND PLUM JAM FILLING

(for the cake)

  • 200g butter
  • 100g light brown sugar
  • 100g dark brown sugar
  • 170g honey
  • 2 eggs
  • 260ml milk
  • 325g flour
  • 1/2 tsp salt
  • 3tsp baking powder
  • 3tsp mixed spice
  • finelly grated zest of 2 oranges

(for the frosting)

  • 150g softened butter
  • 150g soft cheese
  • 150g icing sugar, plus a bit more for white frosting
  • 1tsp turmeric
  • 1/2 jar plum jam

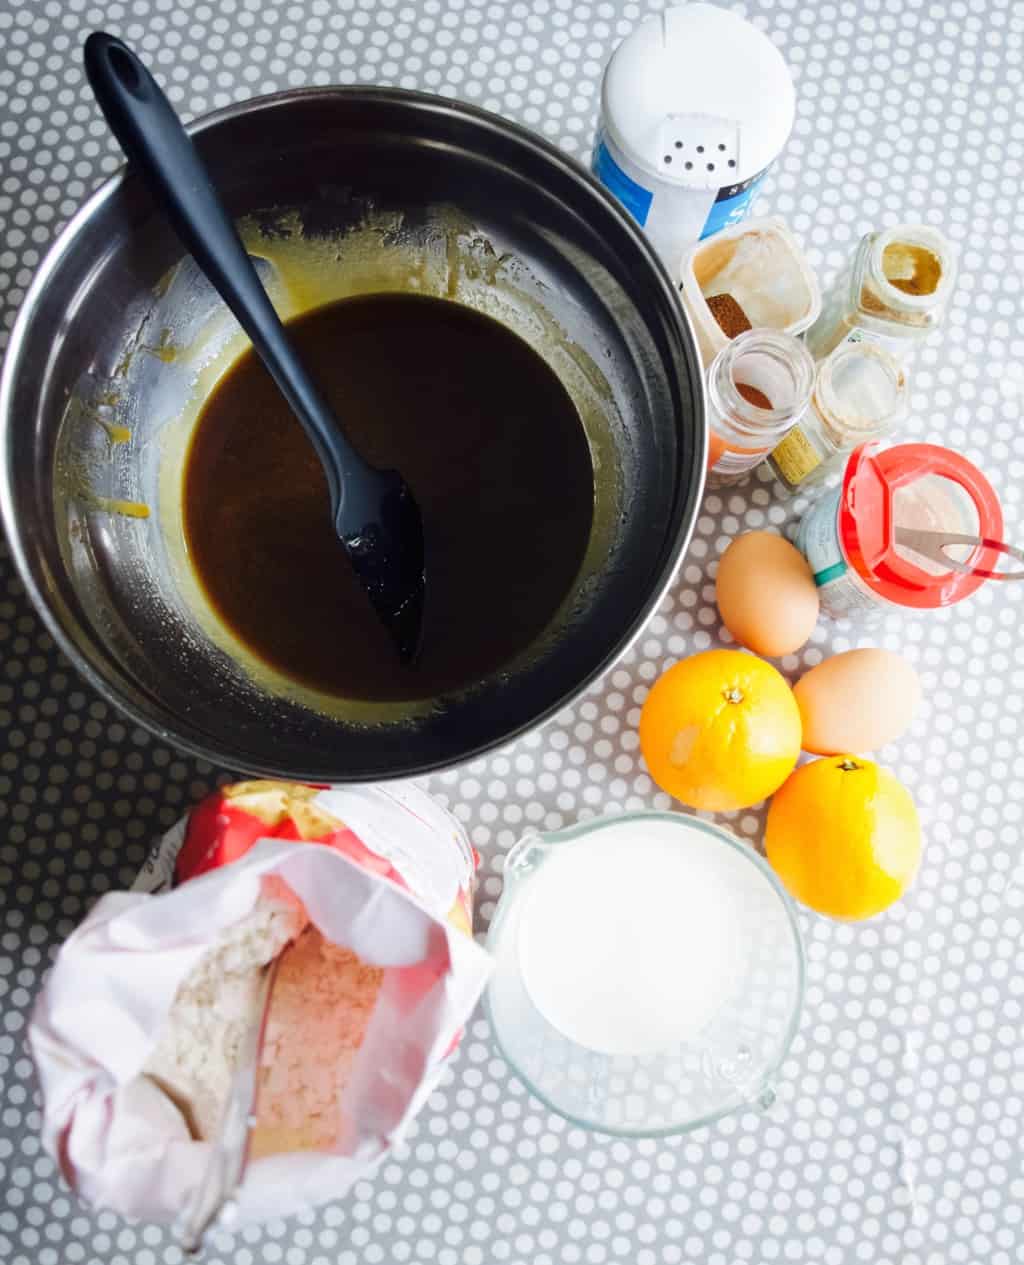
1. Over the hob melt the butter together with sugars and honey till everything is incorporated and the sugar is dissolved.

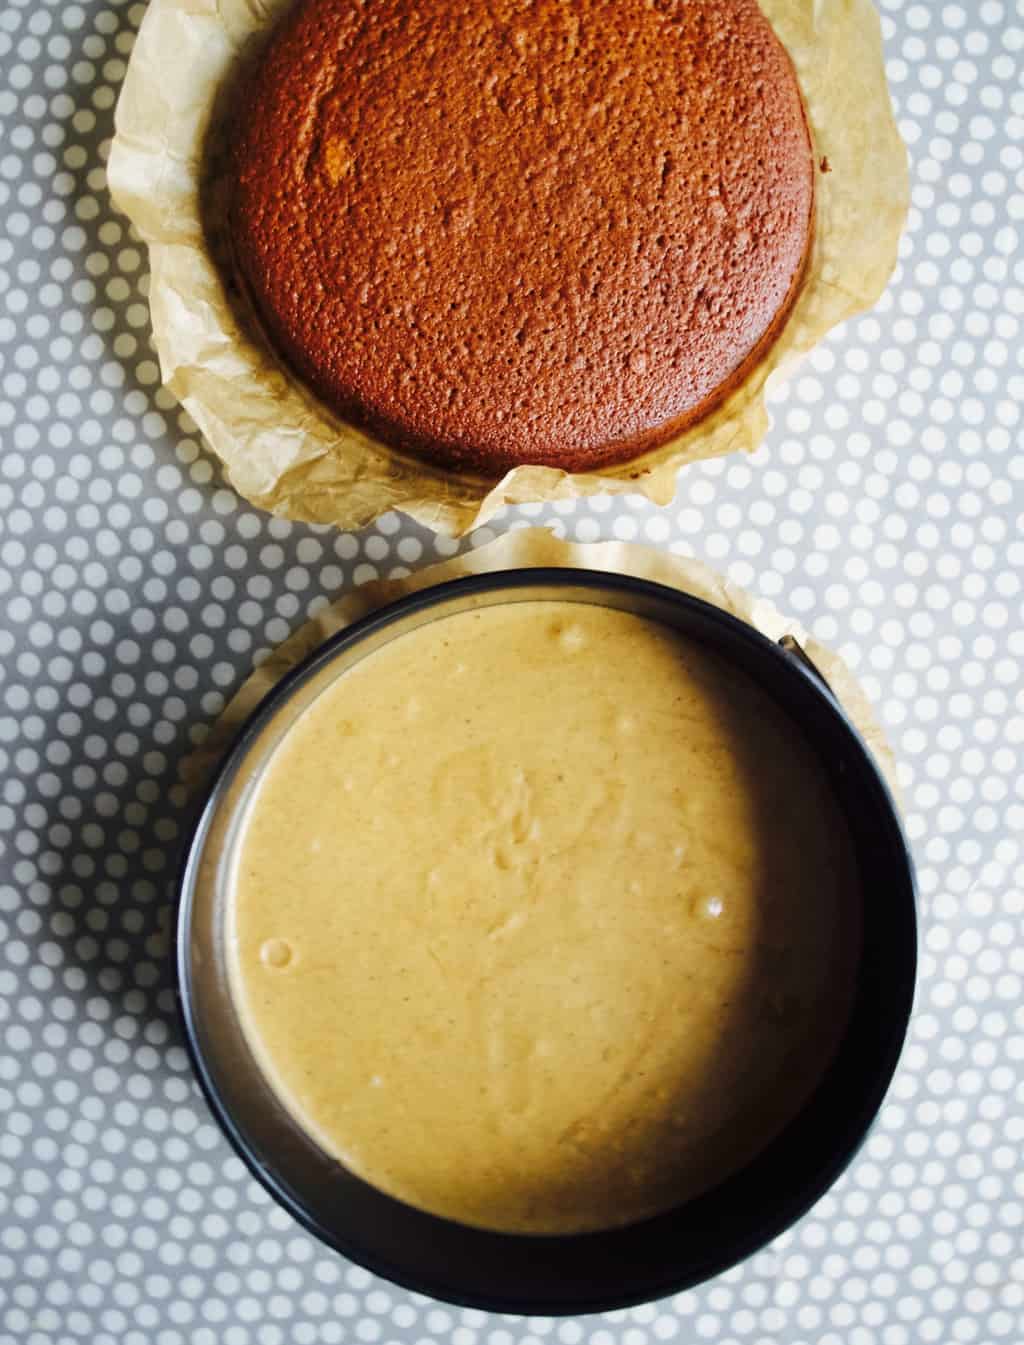
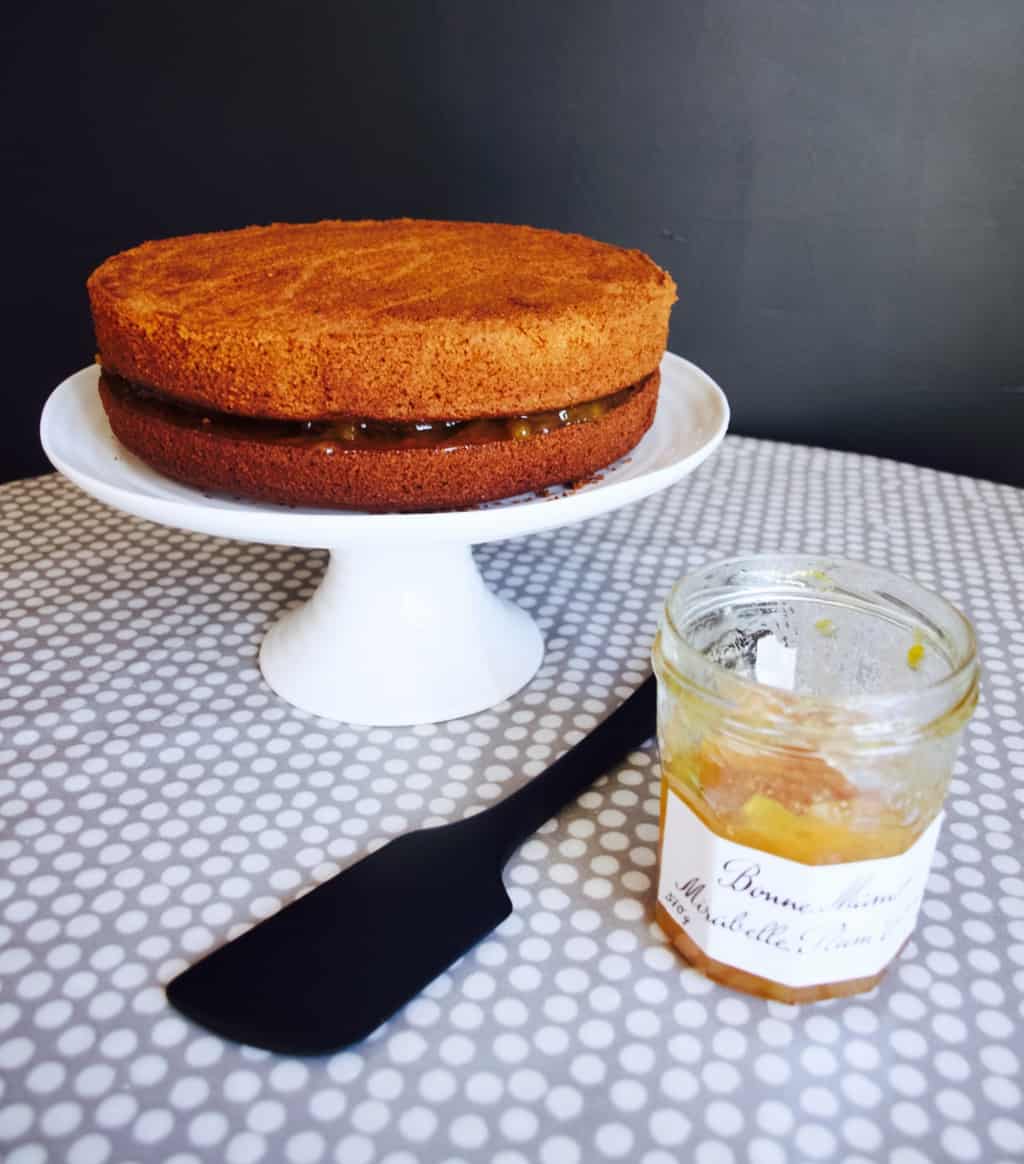
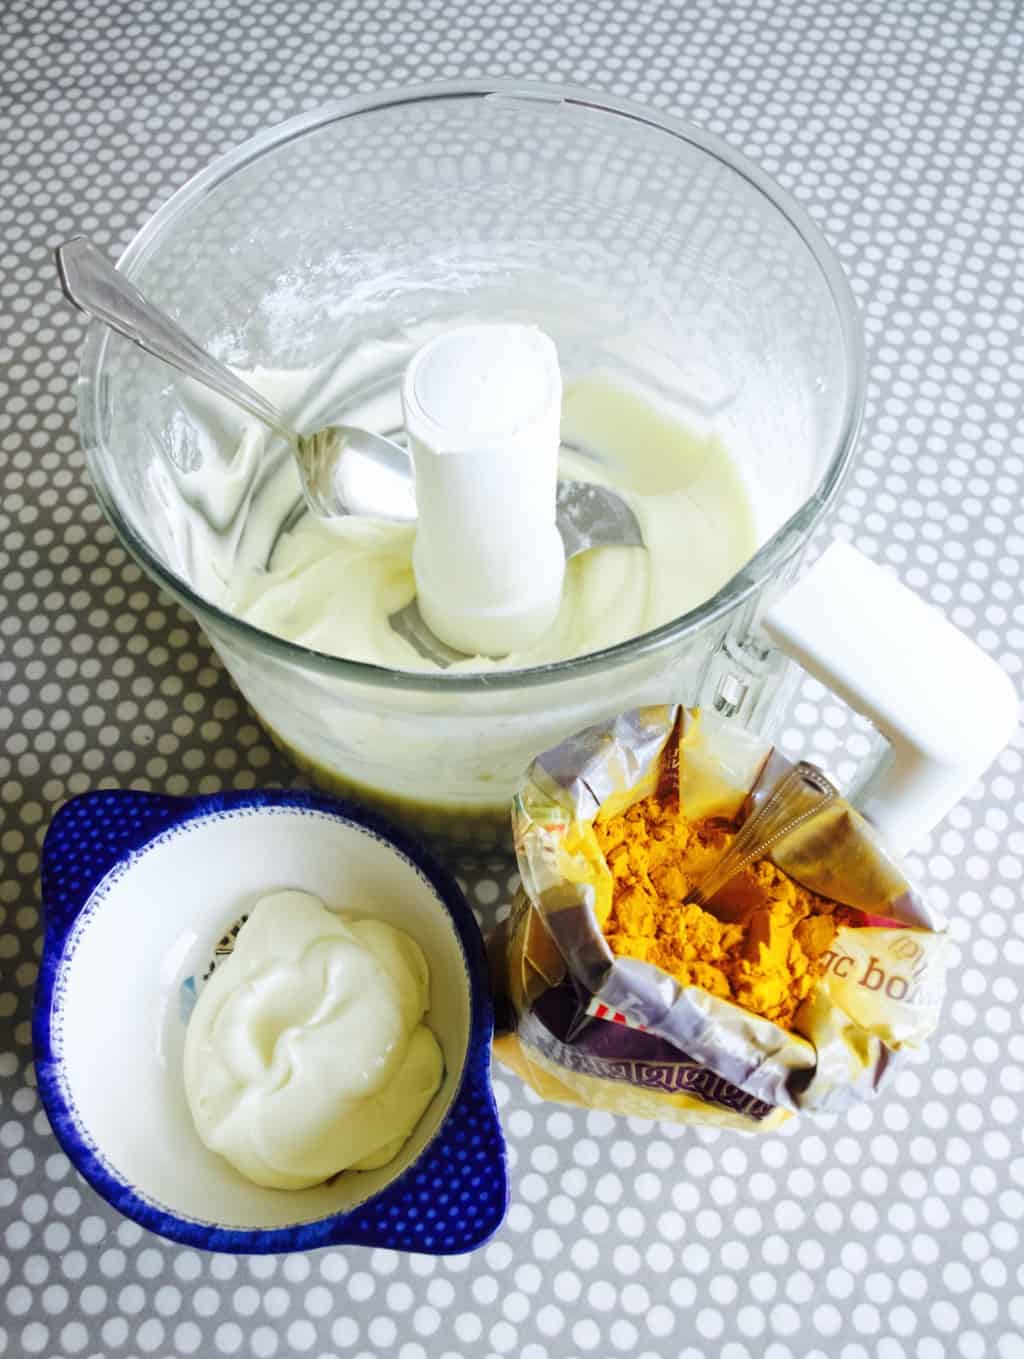
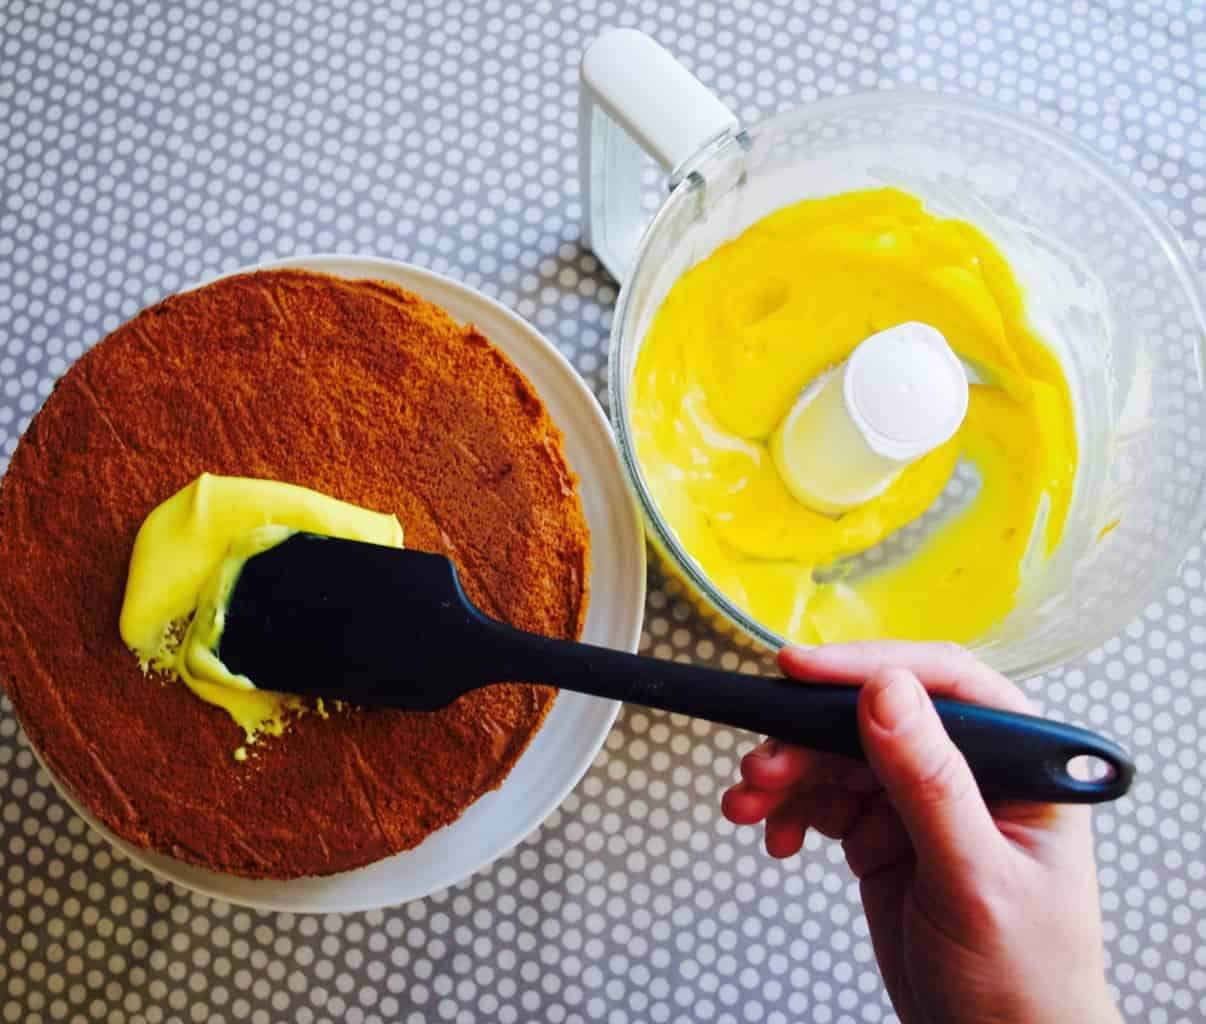
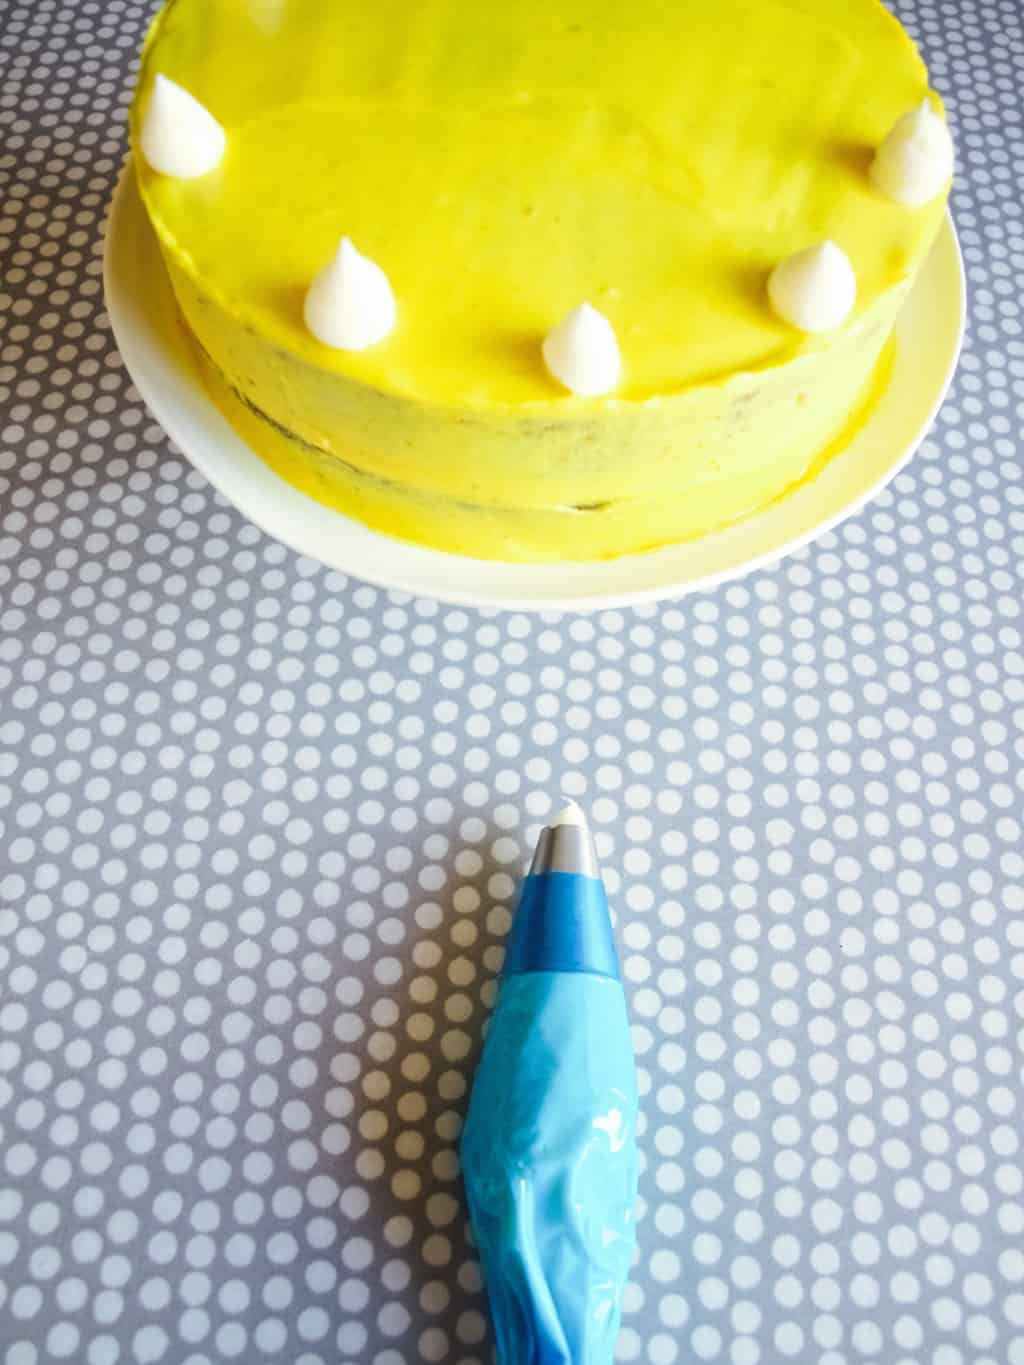
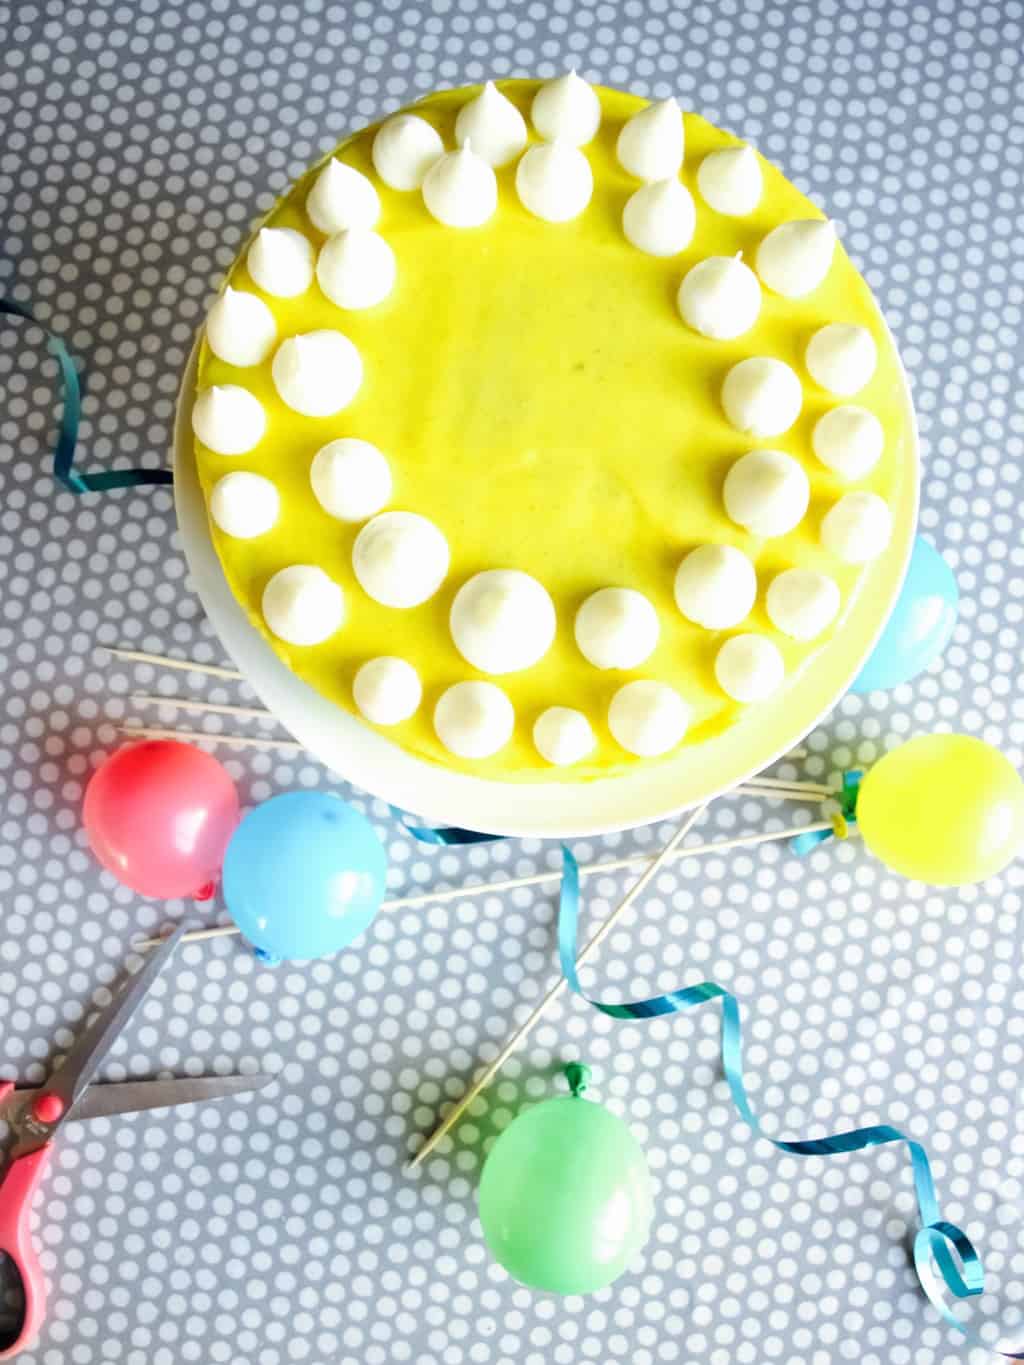
2. Add the rest of the cake ingredients and mix again to combine everything well.Spiced honey cake with turmeric soft cheese frosting & plum jam filling 3. Split the cake mixture into two ready tins (same size, springform are the best). Bake in 150C preheated oven for 1h and 15min.Spiced honey cake with turmeric soft cheese frosting & plum jam filling 4. Sandwich the cake with some plum jam. My tip is to put the cake upside down so the top is completely flat (really felpful when you do frosting).Spiced honey cake with turmeric soft cheese frosting & plum jam filling 5. To make the frosting place all the ingredients except turmeric into the mixer and let it run for few minutes. Put few table spoons of frosting aside for the white frosting. Add turmeric and let the mixer do its job one more time.  Spiced honey cake with turmeric soft cheese frosting & plum jam filling 6. Next job is to apply the frosting. I always add almost all the frosting on top to begin with and then push it down gently to the sides and then I work with frosting palette knife to the top again (I make the frosting thin for a reason so it flows easily). Once the base frosting is done I recommend to place the cake into the fridge so it sets.Spiced honey cake with turmeric soft cheese frosting & plum jam filling 7. Meanwhile add more icing sugar to the frosting left on the side. Continue adding the sugar till you are satisfied with the stiffness of the cream. Transfer white frosting into the piping bag with large round nozzle attached. Carefully pipe your decorations on the cake.Spiced honey cake with turmeric soft cheese frosting & plum jam filling 8. Finally decorate with any cake toppers. I used water balloons to make these mini balloon cake toppers which made the cake look very fun like I expected :-).Spiced honey cake with turmeric soft cheese frosting & plum jam filling Spiced honey cake with turmeric soft cheese frosting & plum jam filling Hope you like it too!!

Rasa xoxo

0