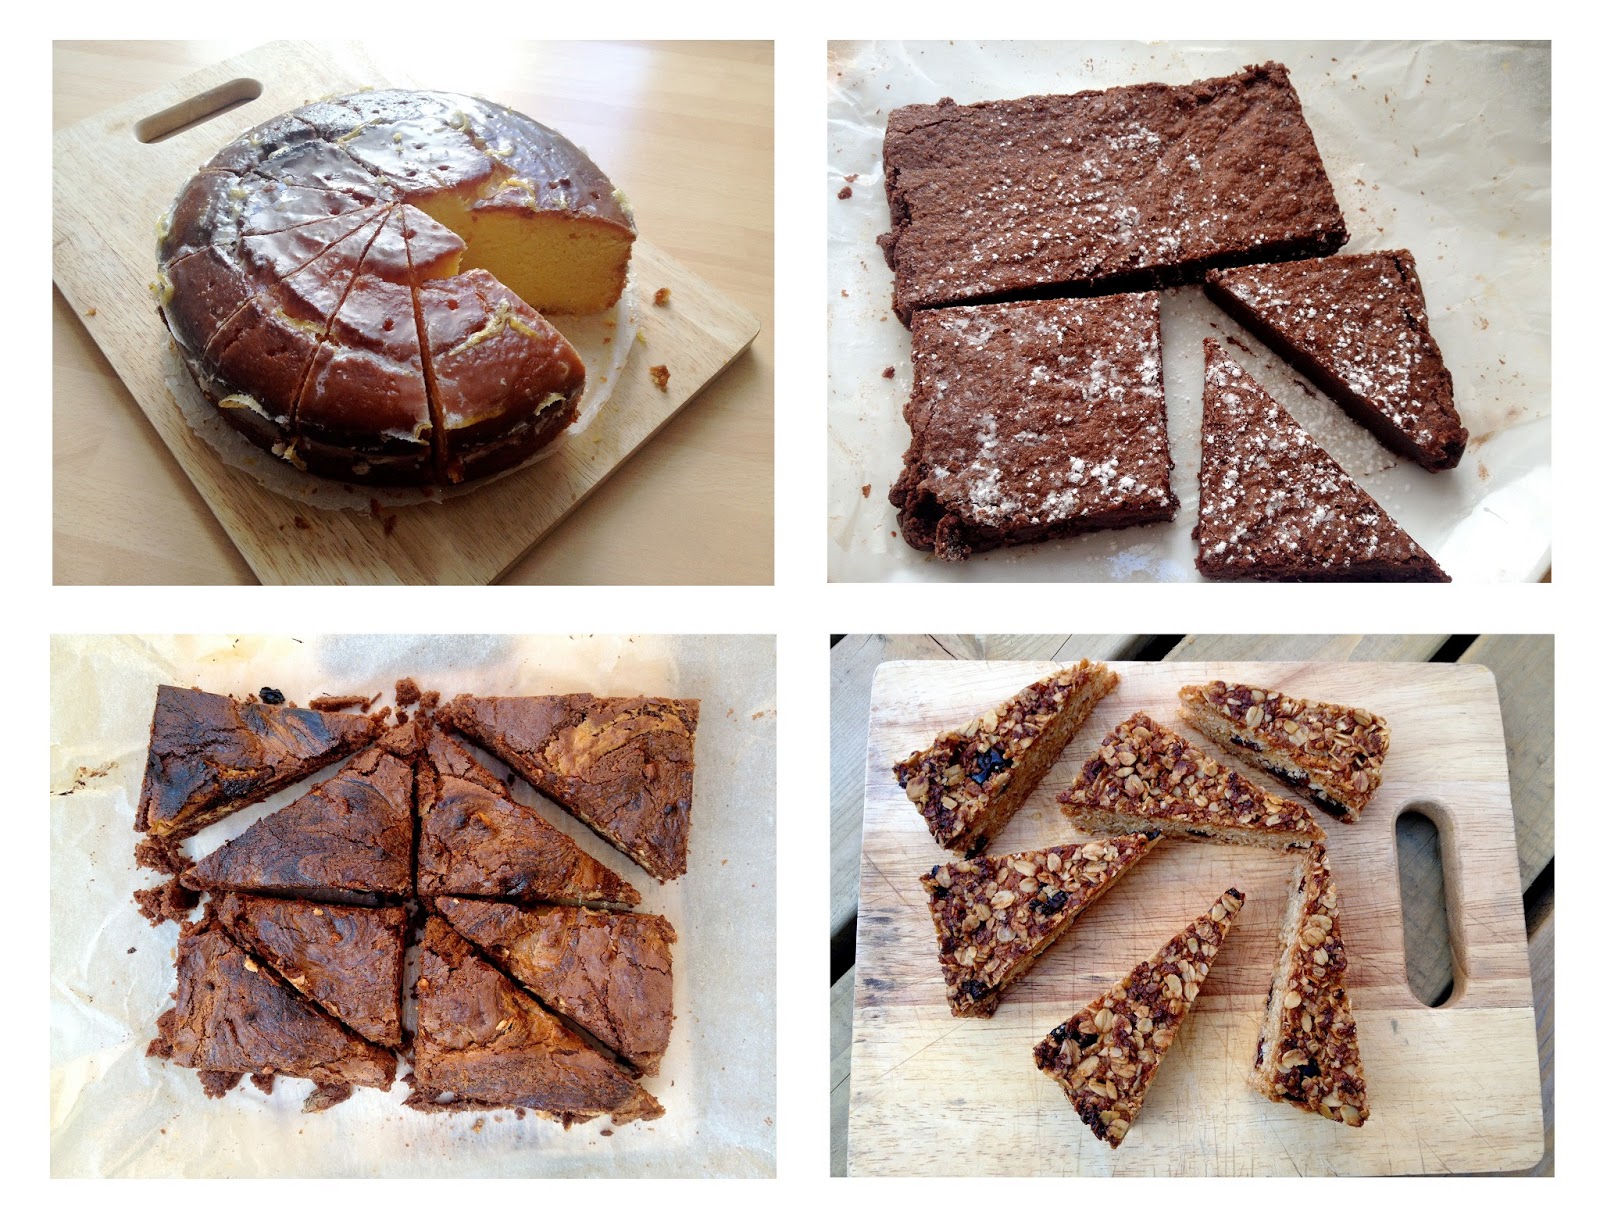
I am having such a relaxing day today by doing absolutely nothing (except writing this post perhaps)!!! And this is is much needed after baking so many samples to supply to cafes. After all this have been really successful as I am baking for one more cafe with few other really interested!
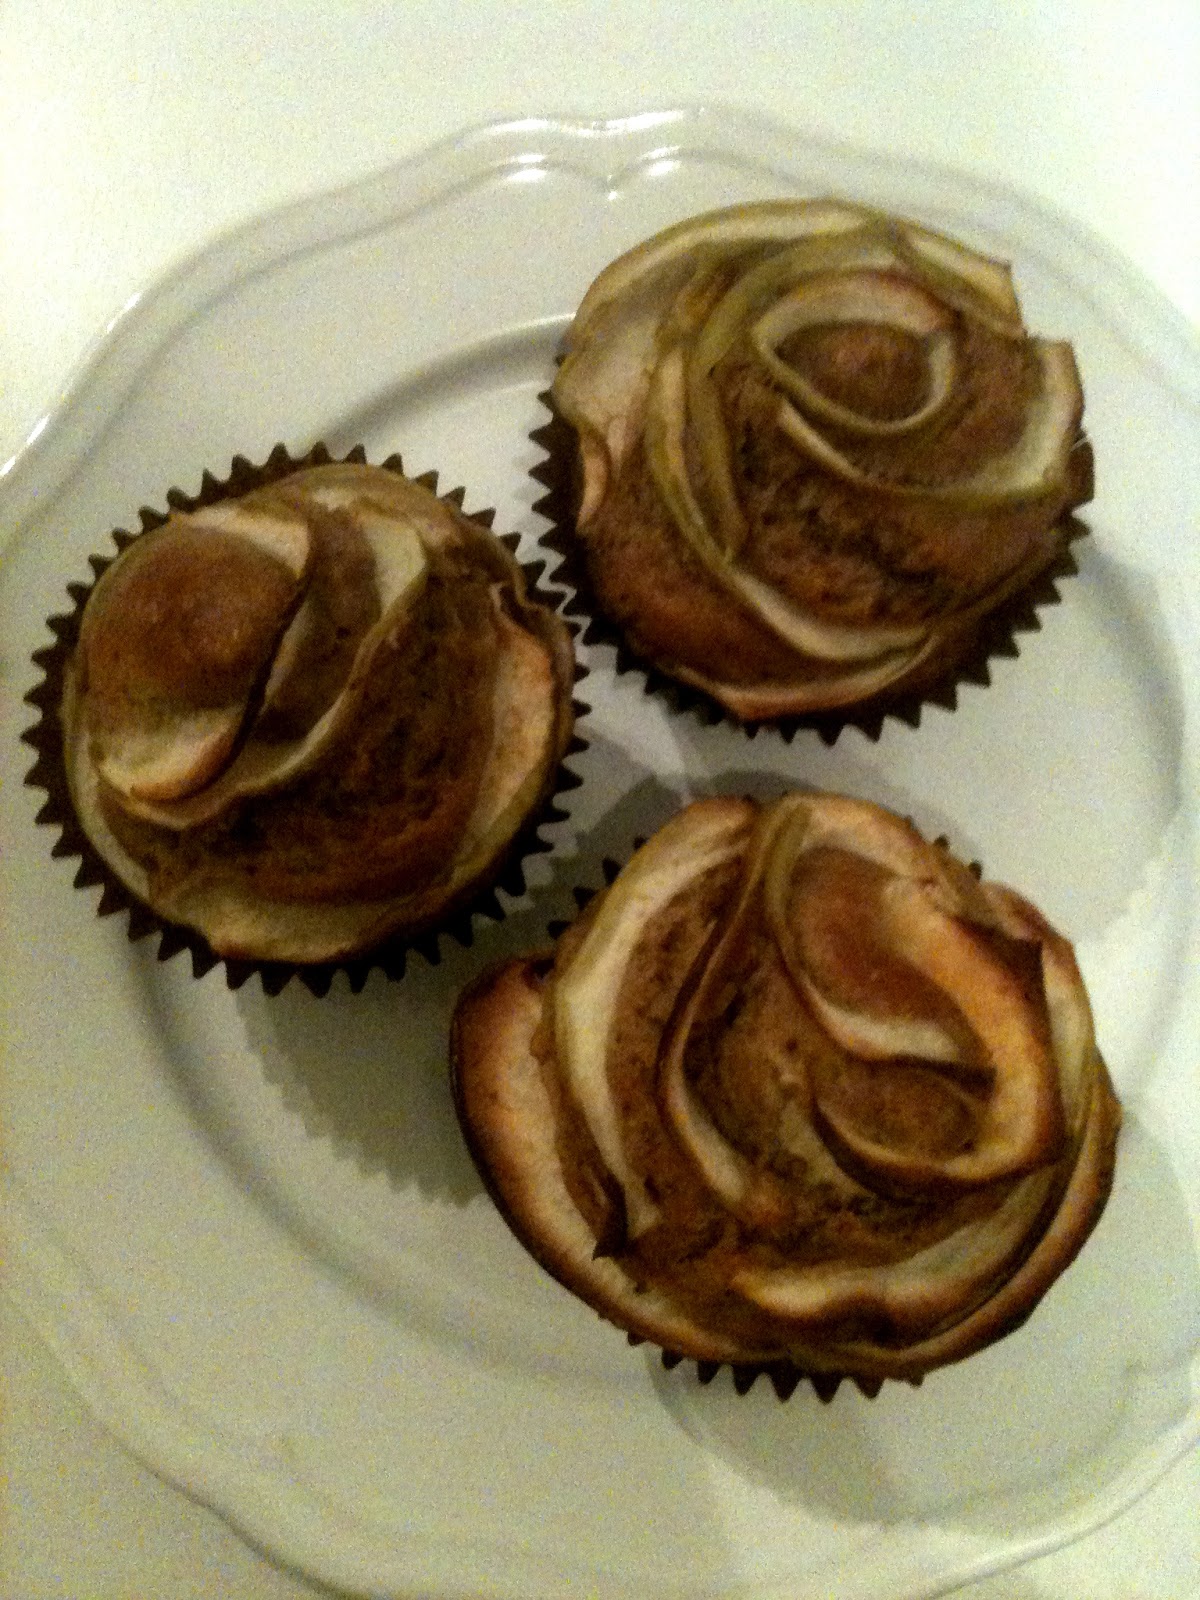
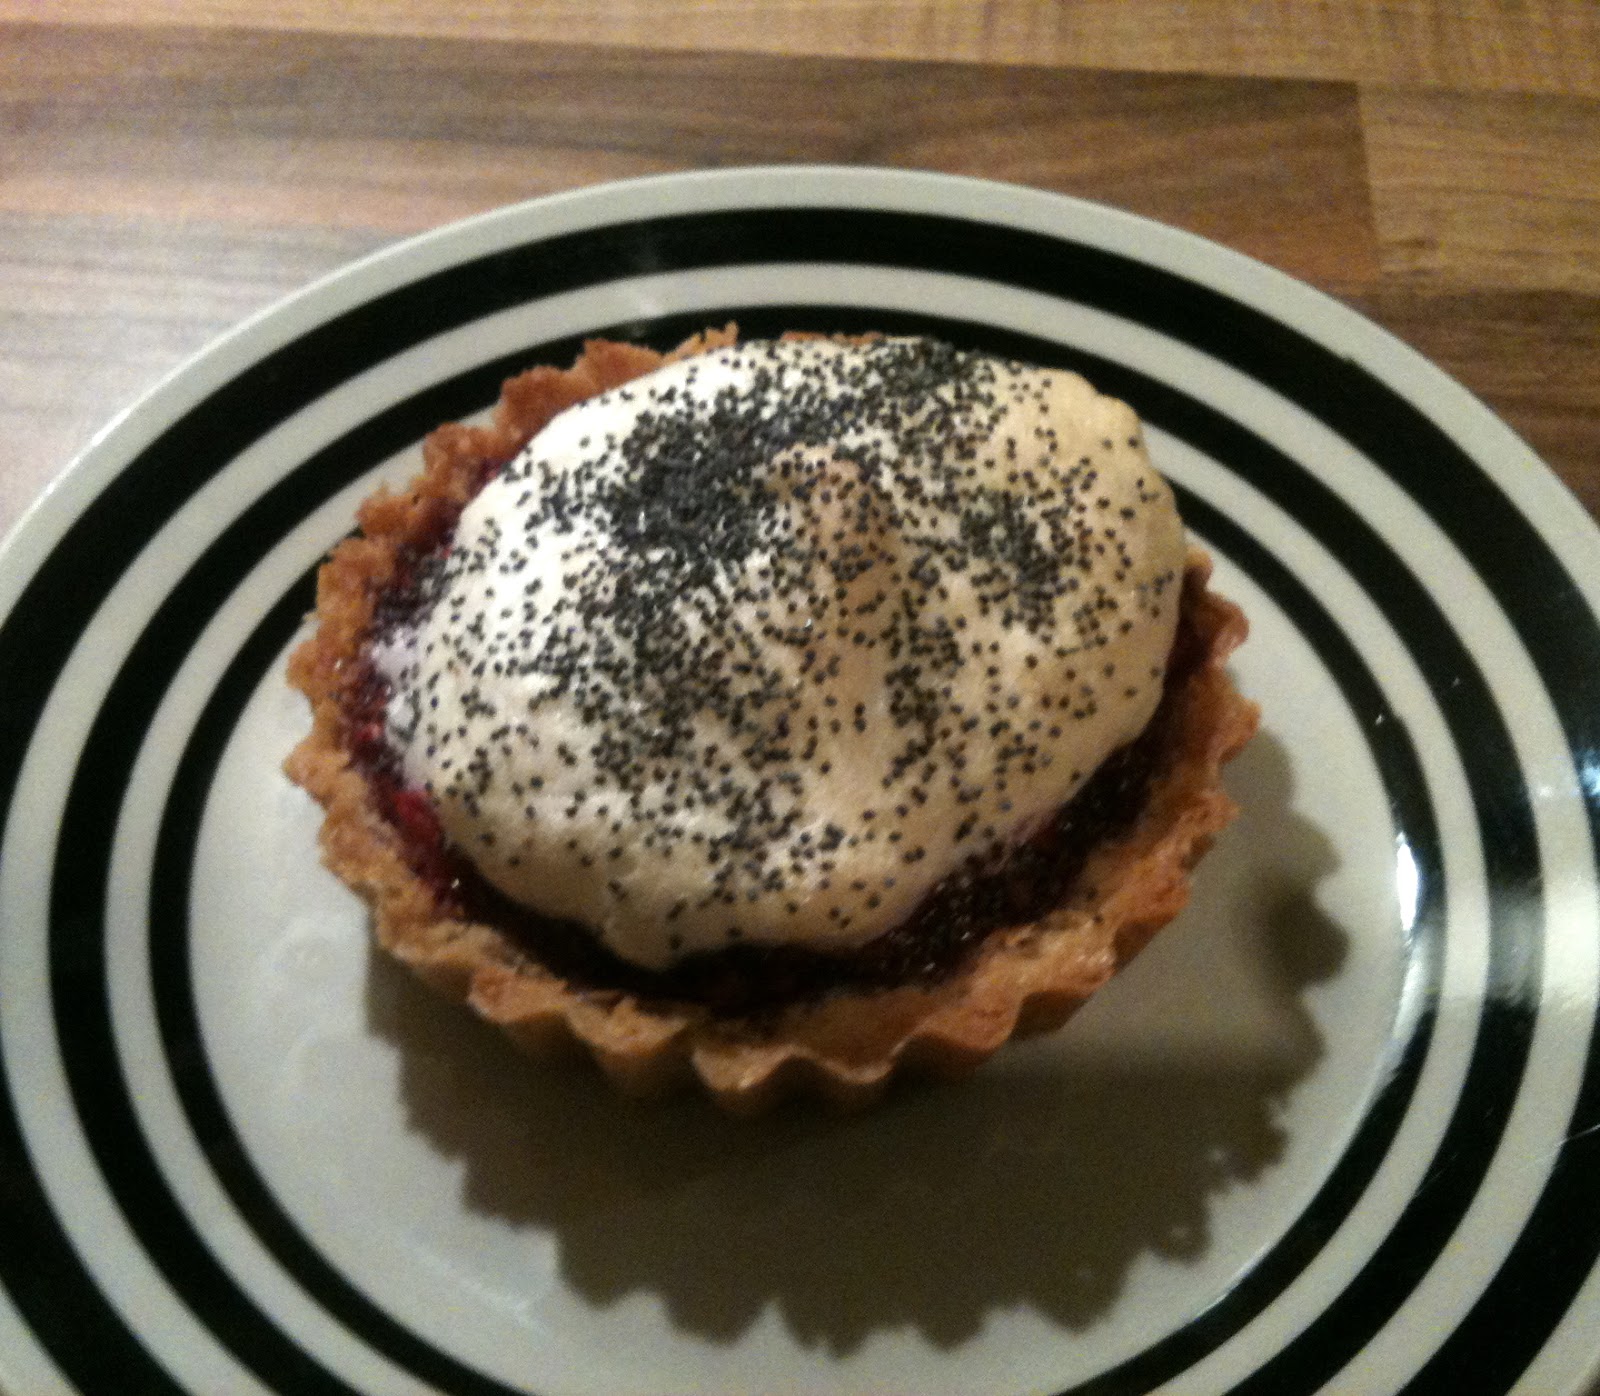
My mum’s favourite is the apple tart, however the credits go to Ramune who introduced this lovely recipe to our family. I love this too as it is such a freestyle cake! Although in theory the base is a sweet pastry, the amounts however are rough, there are no blind baking involved and you can pick any filling (I mean any but for now I am of course only adding apples).
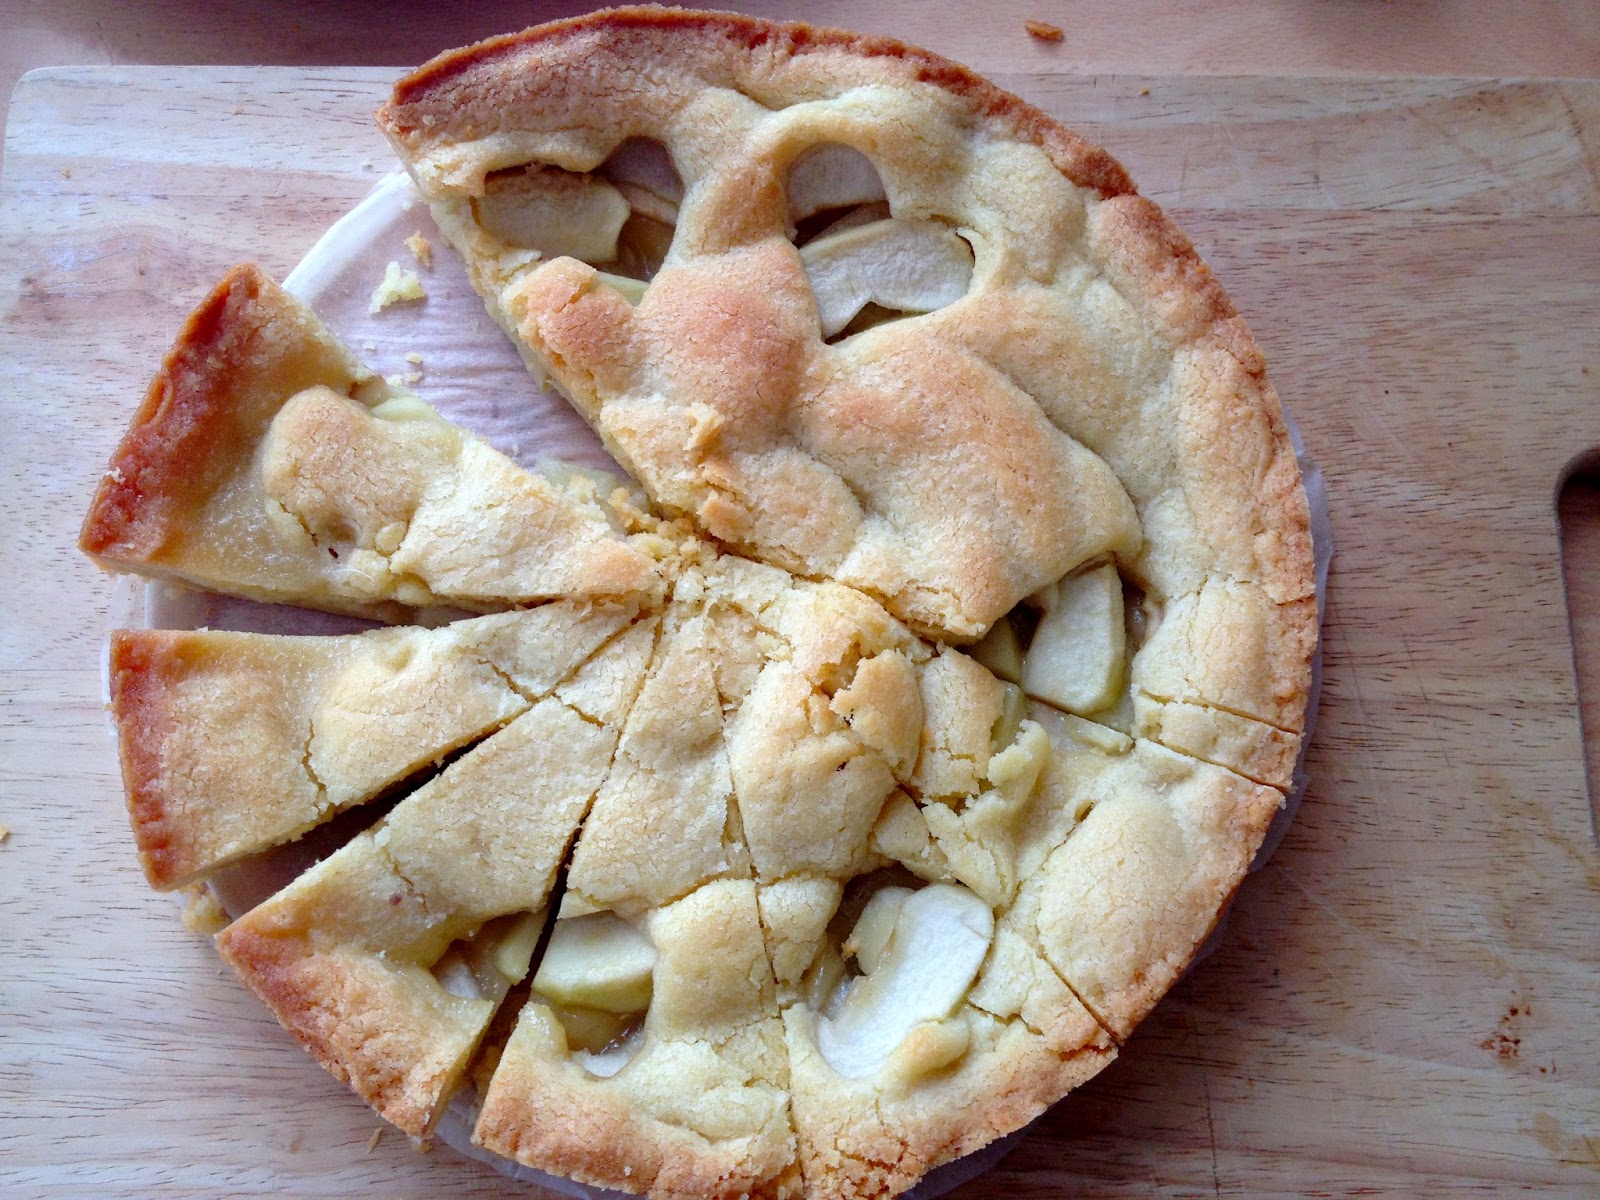
APPLE TART
Ingredients: 200g unsalted butter
6-8 tbsp sugar
2 egg yolks
15-20 tbsp flour
3 sliced apples
3tbs brown sugar
1. Preheat the oven to 170C.
2. Cream butter with sugar and mix it together with egg yolks.
3. Gradually add flour (I usually start with 15 tbsp and then see how the dough is reacting to it). The goal is to get the dough soft but not too sticky. So the less flour you can handle the better!
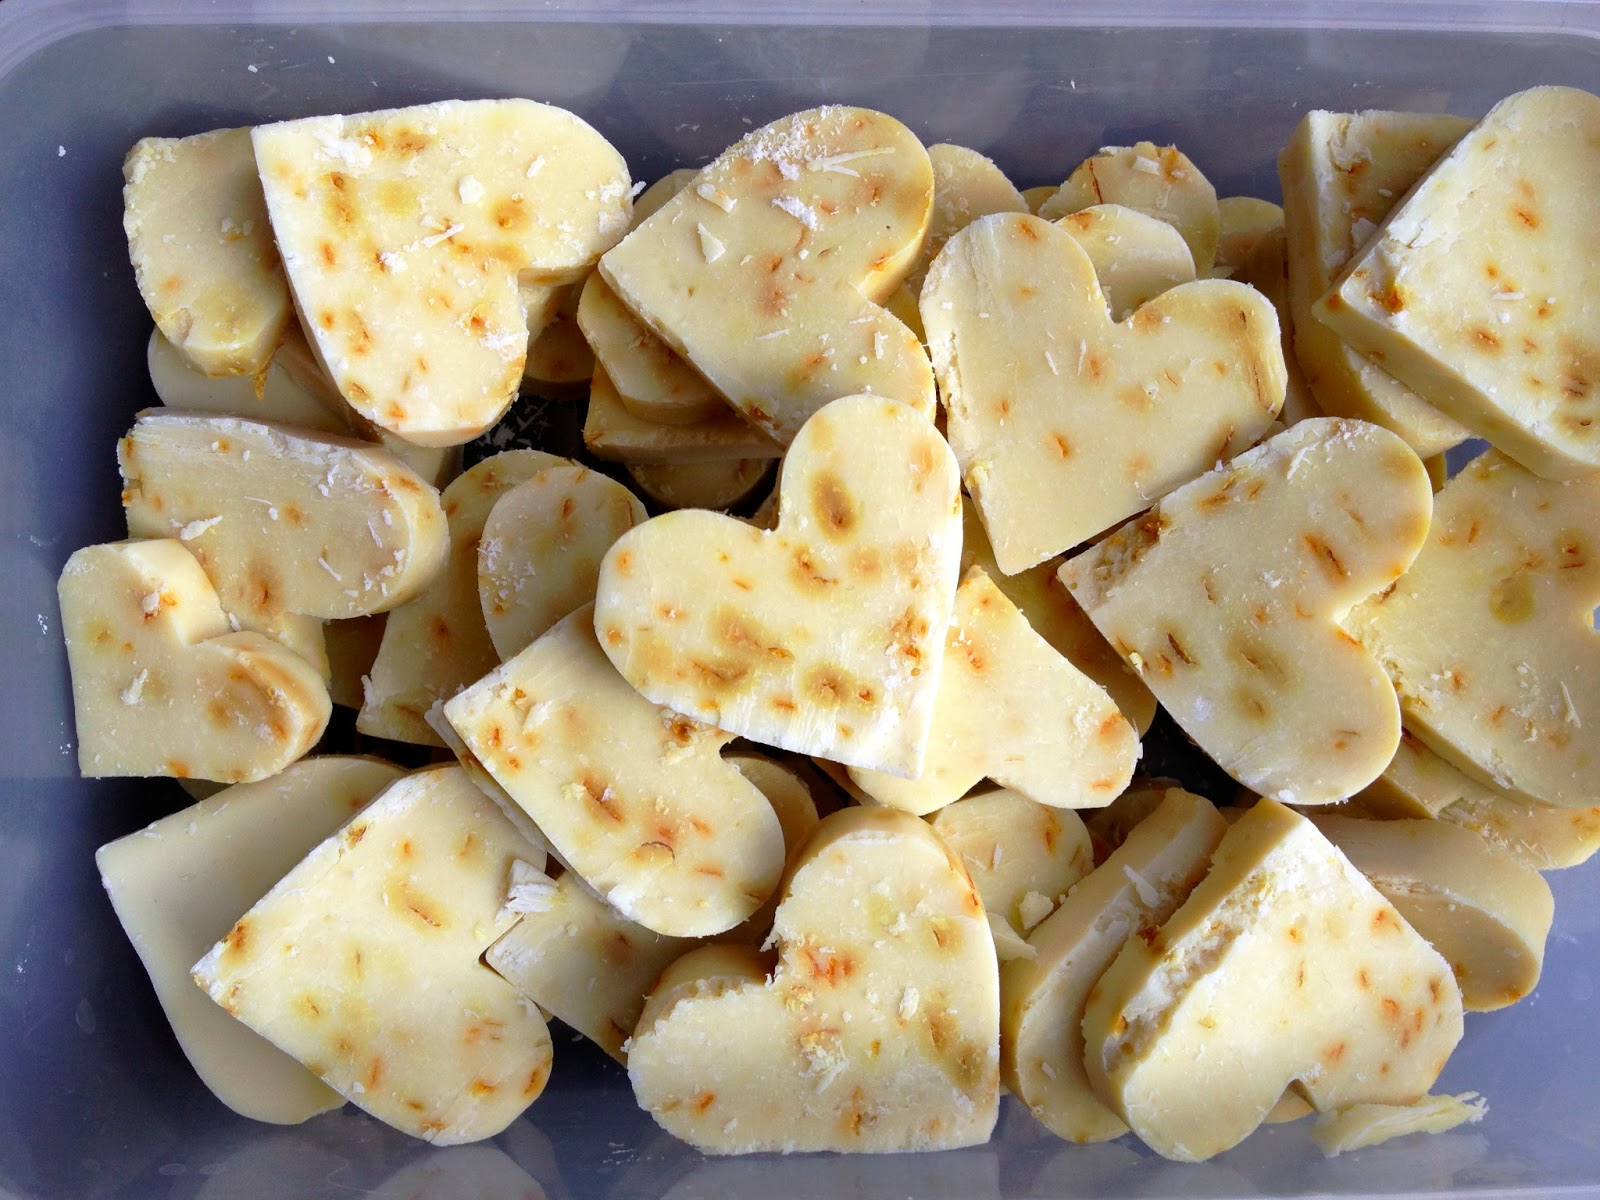
4. Split the dough in two and roll out flat on floured surface: one for the base and other for the top. Line baking tin with the dough (line baking tin with baking paper first if needed or just a butter is enough).
5. Coat slices apples with brown sugar and arrange them in the tart.
6. Cover the tart with the second part of the dough. If you want you can cut out little shapes on top with the biscuit cutter. But that is up to you – it won’t effect the taste ;)
7. Bake (I never take the time) until the top looks slightly golden. But be worn! As Ramune says: “it is better to under-bake than over-bake it”.
I hope you like it!
Rasa :)


.jpg)