 It’s this time of year when its getting chillier outside and you can’t wait to settle indoors for a cup of tea and a knitting project + the biscuits. I am getting in that mood already! I’ve started knitting a new cardigan for the winter ;-). I don’t know about you, but I love creating my own design, having a fashion degree really helps. For those who would love to progress to that level where you no longer need a written pattern to knit anything you like, I thought I would give you an insight into how I go about designing my own project. I am not promising this will turn you into a knitting master, but it should help you to work out where you could start to develop your skills. Maybe editing an existing pattern is a good place to start? Or maybe starting with the most basic project such as pillow case or a scarf? Anyhow, here is where I start when I want to knit something in specific.
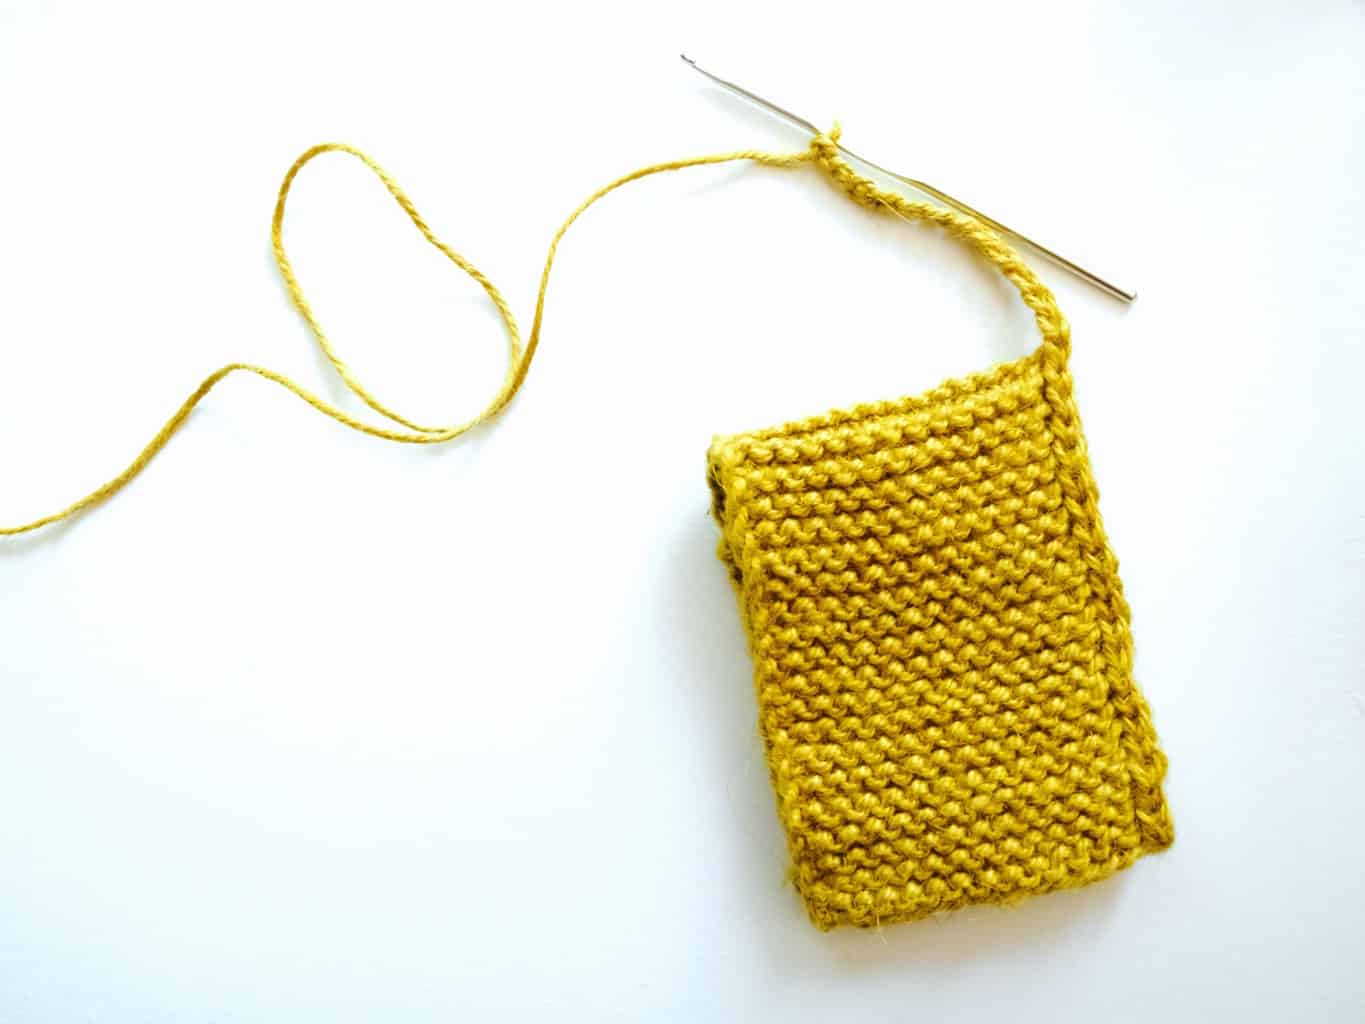
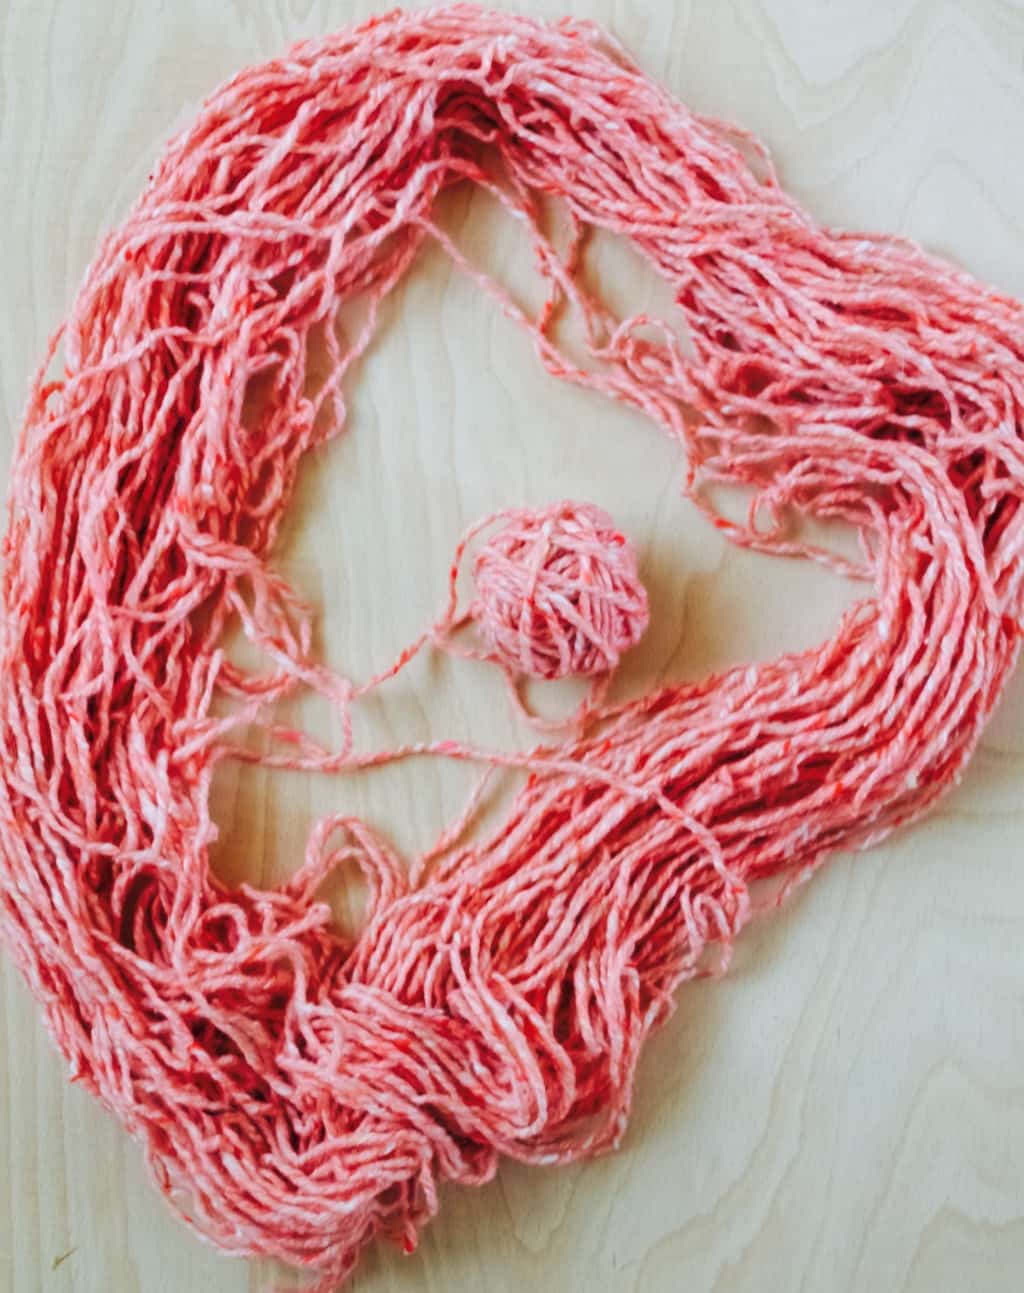
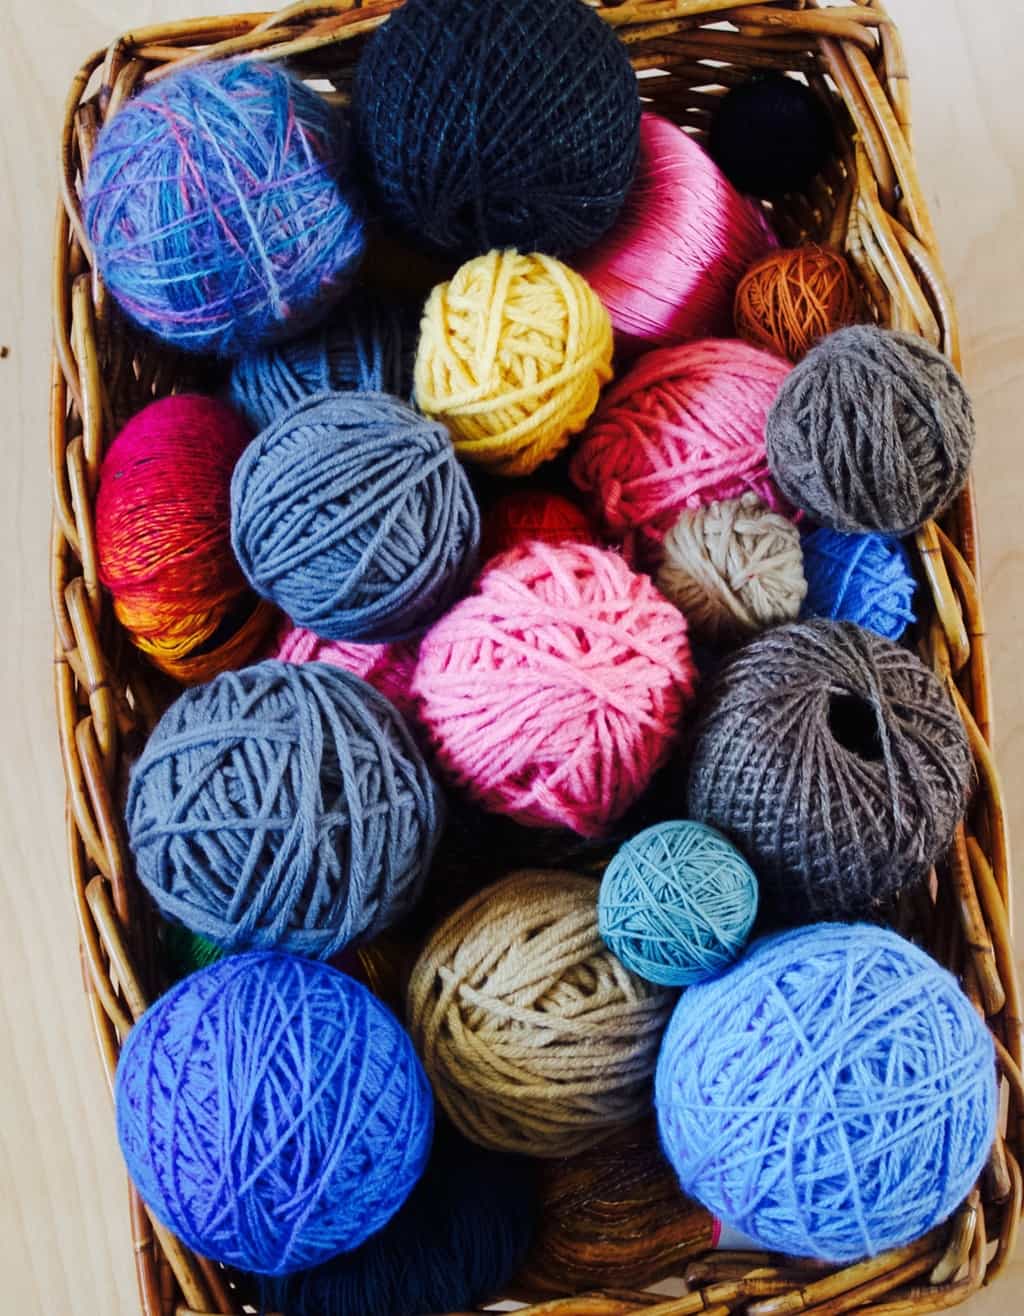
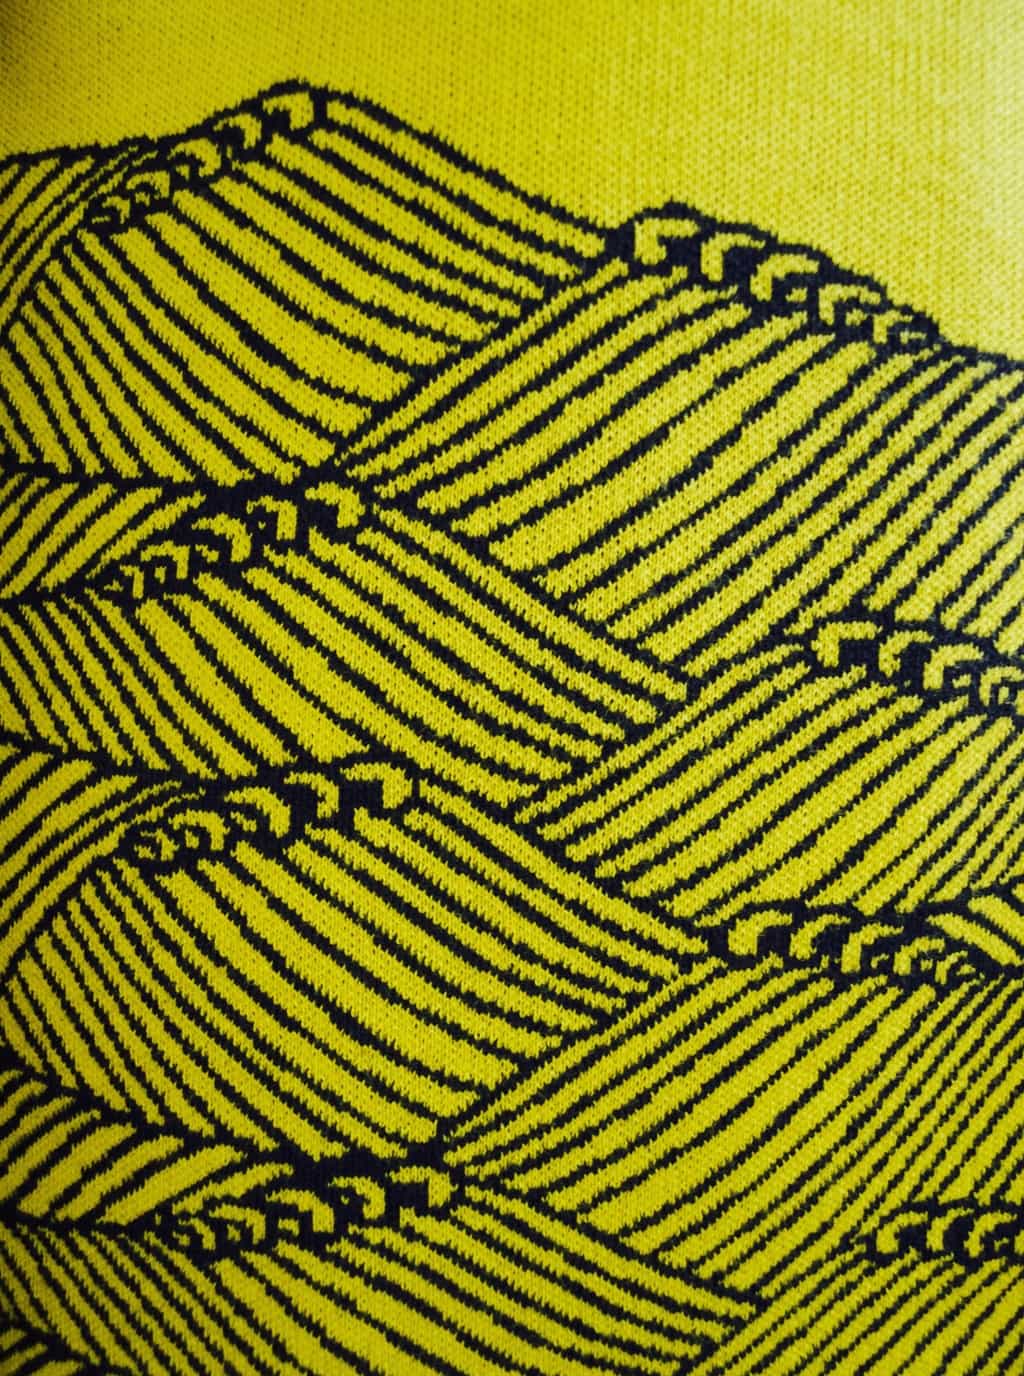
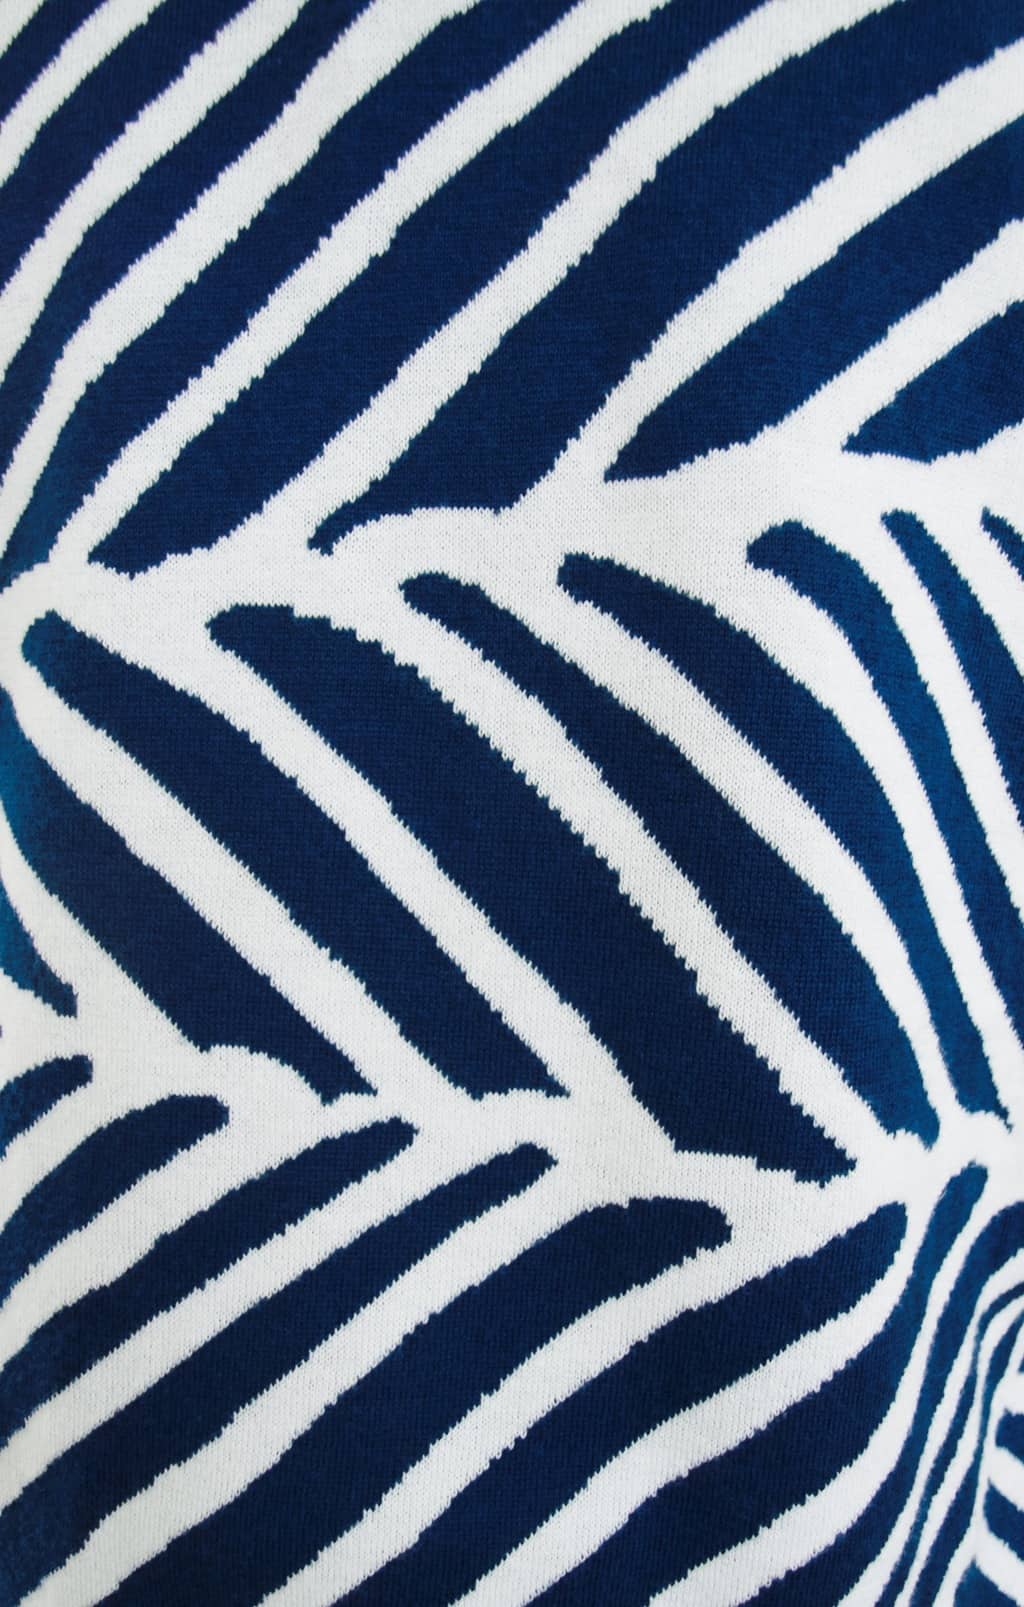
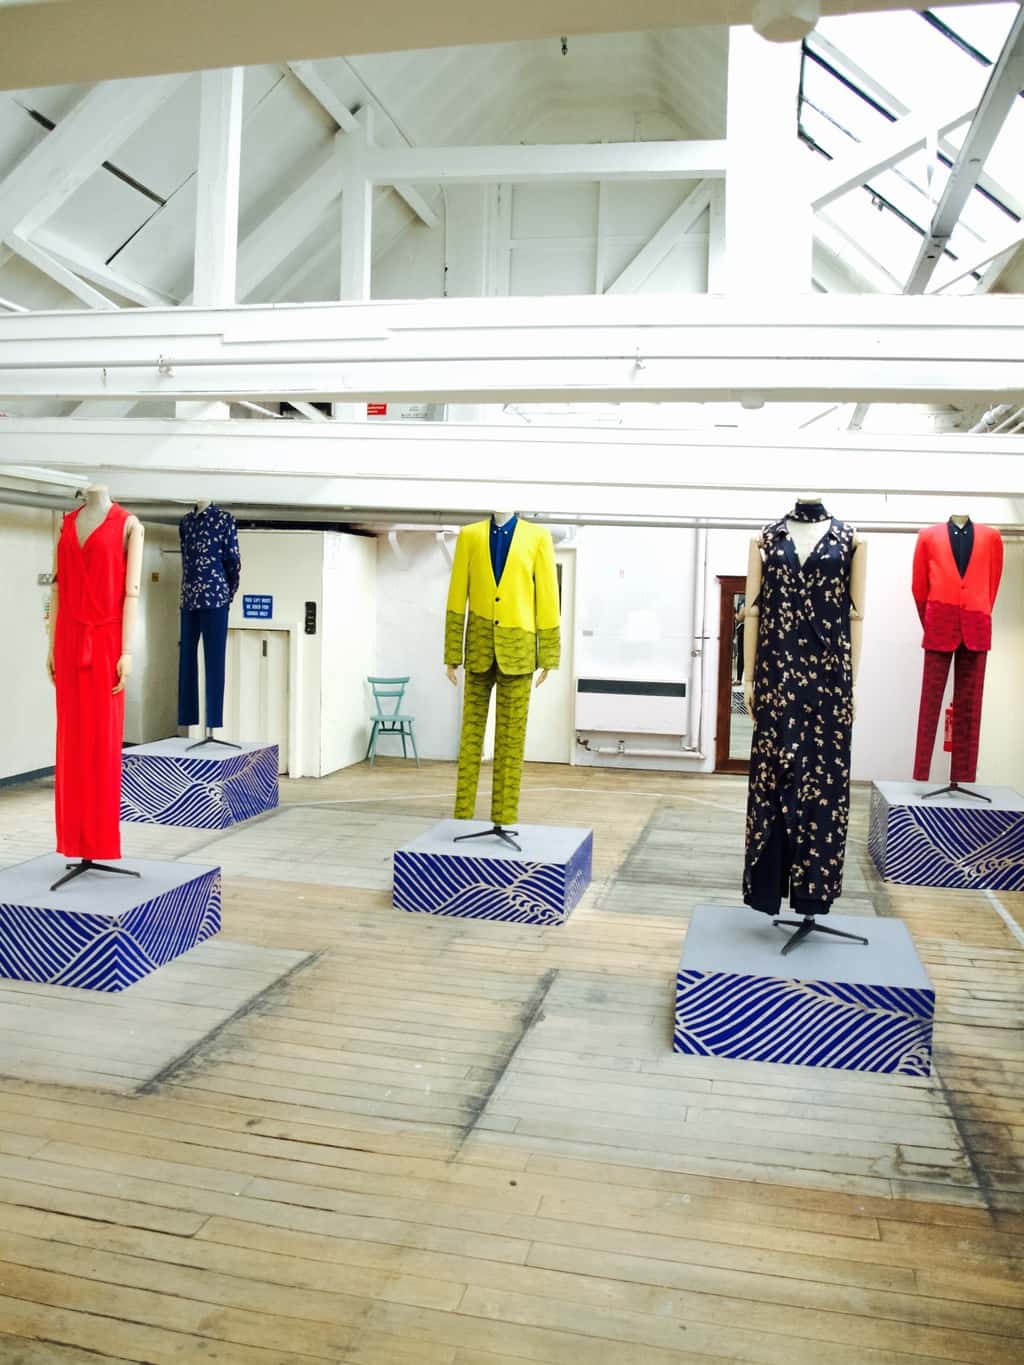
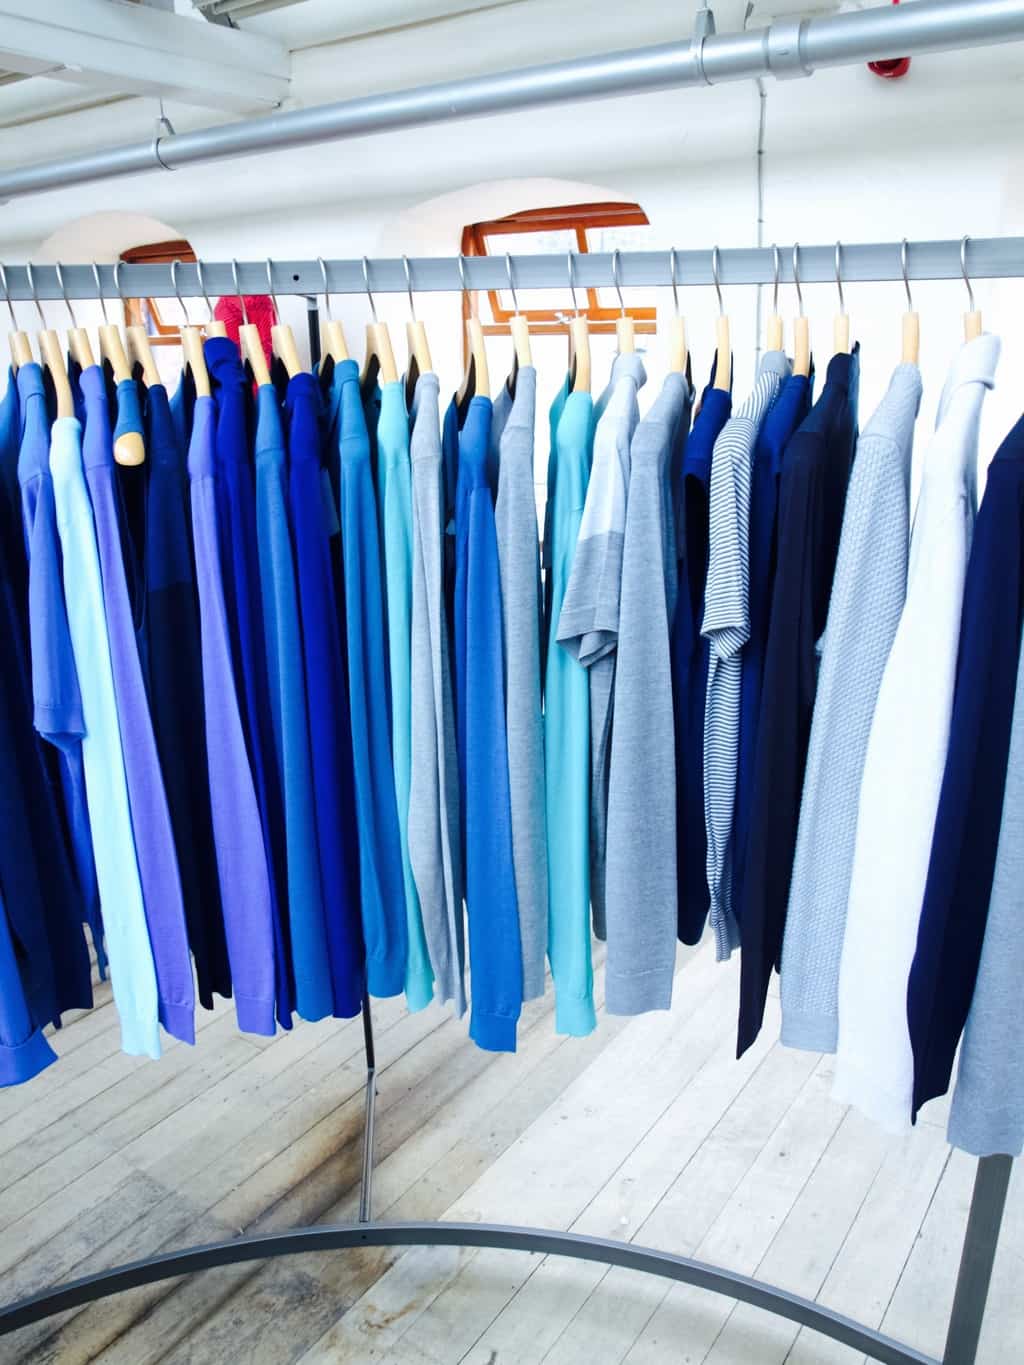
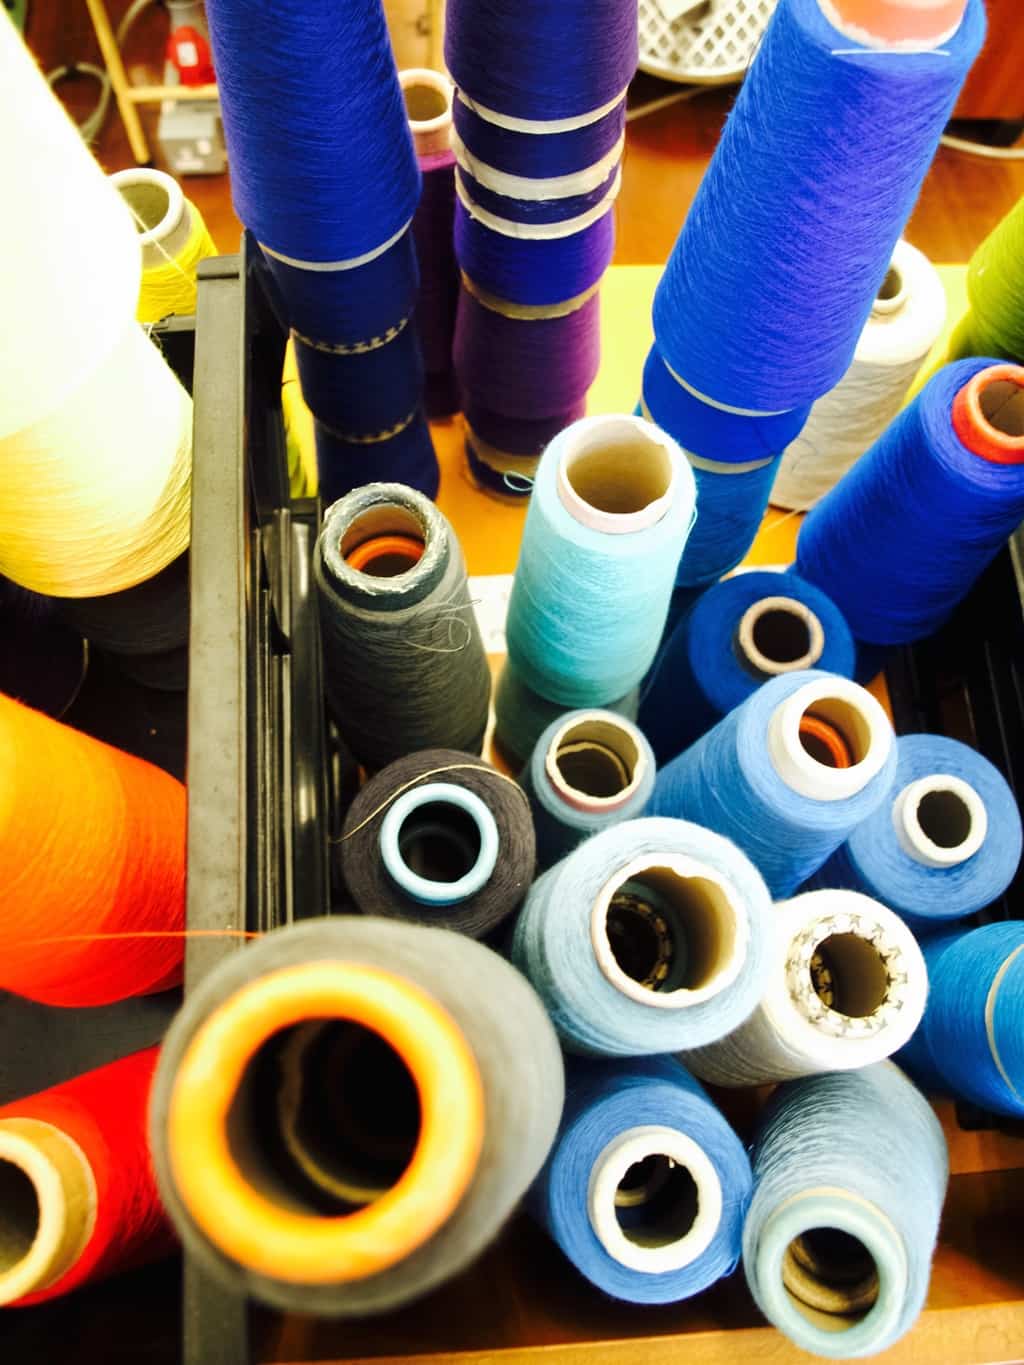
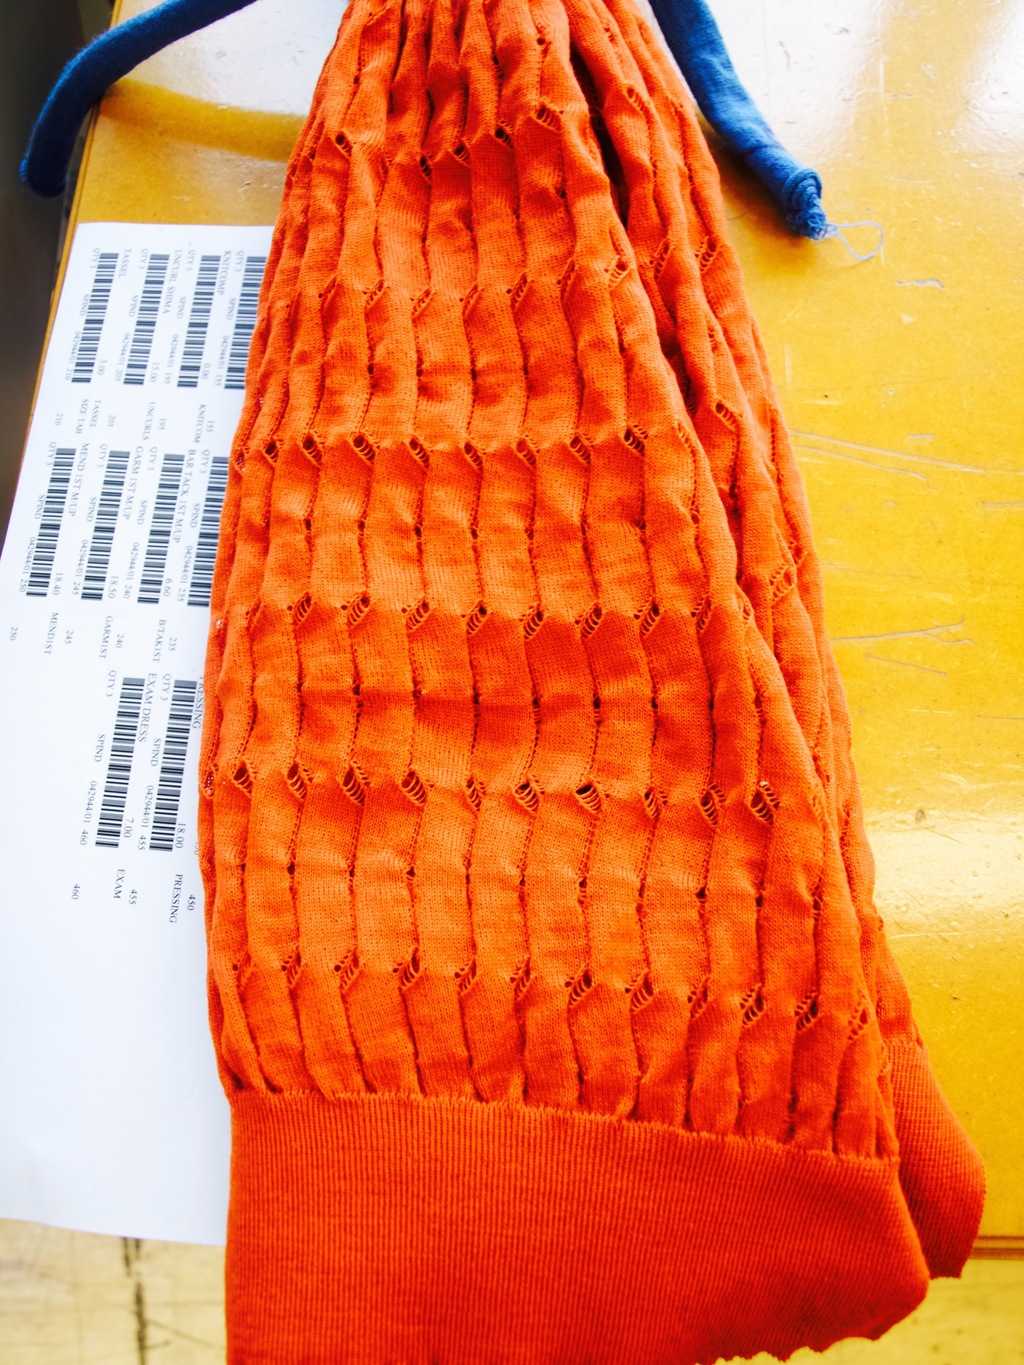
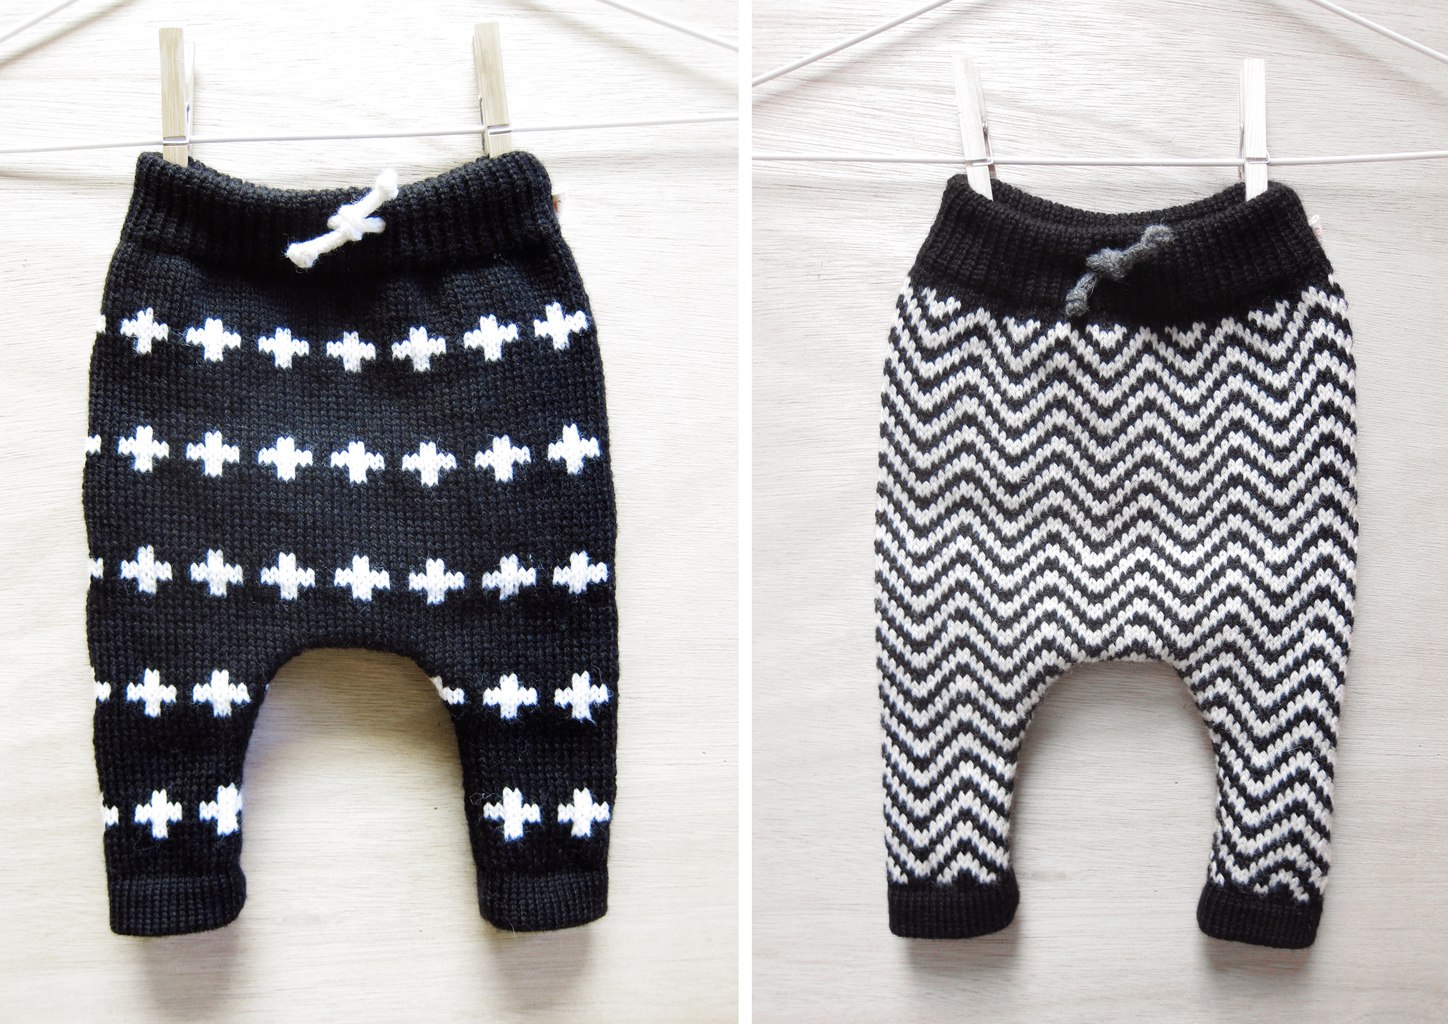
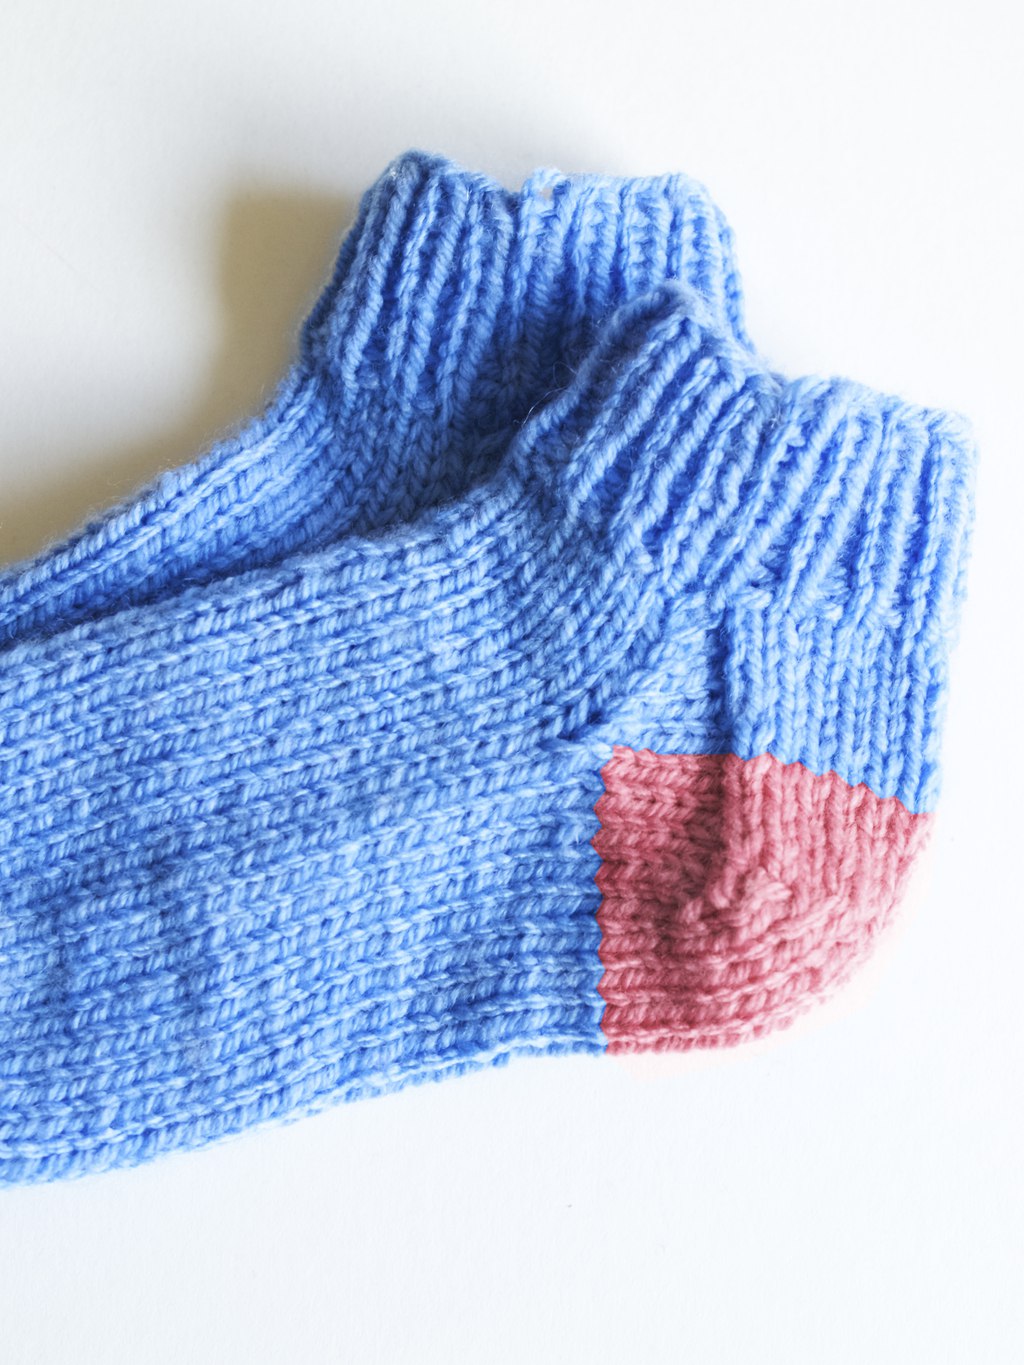
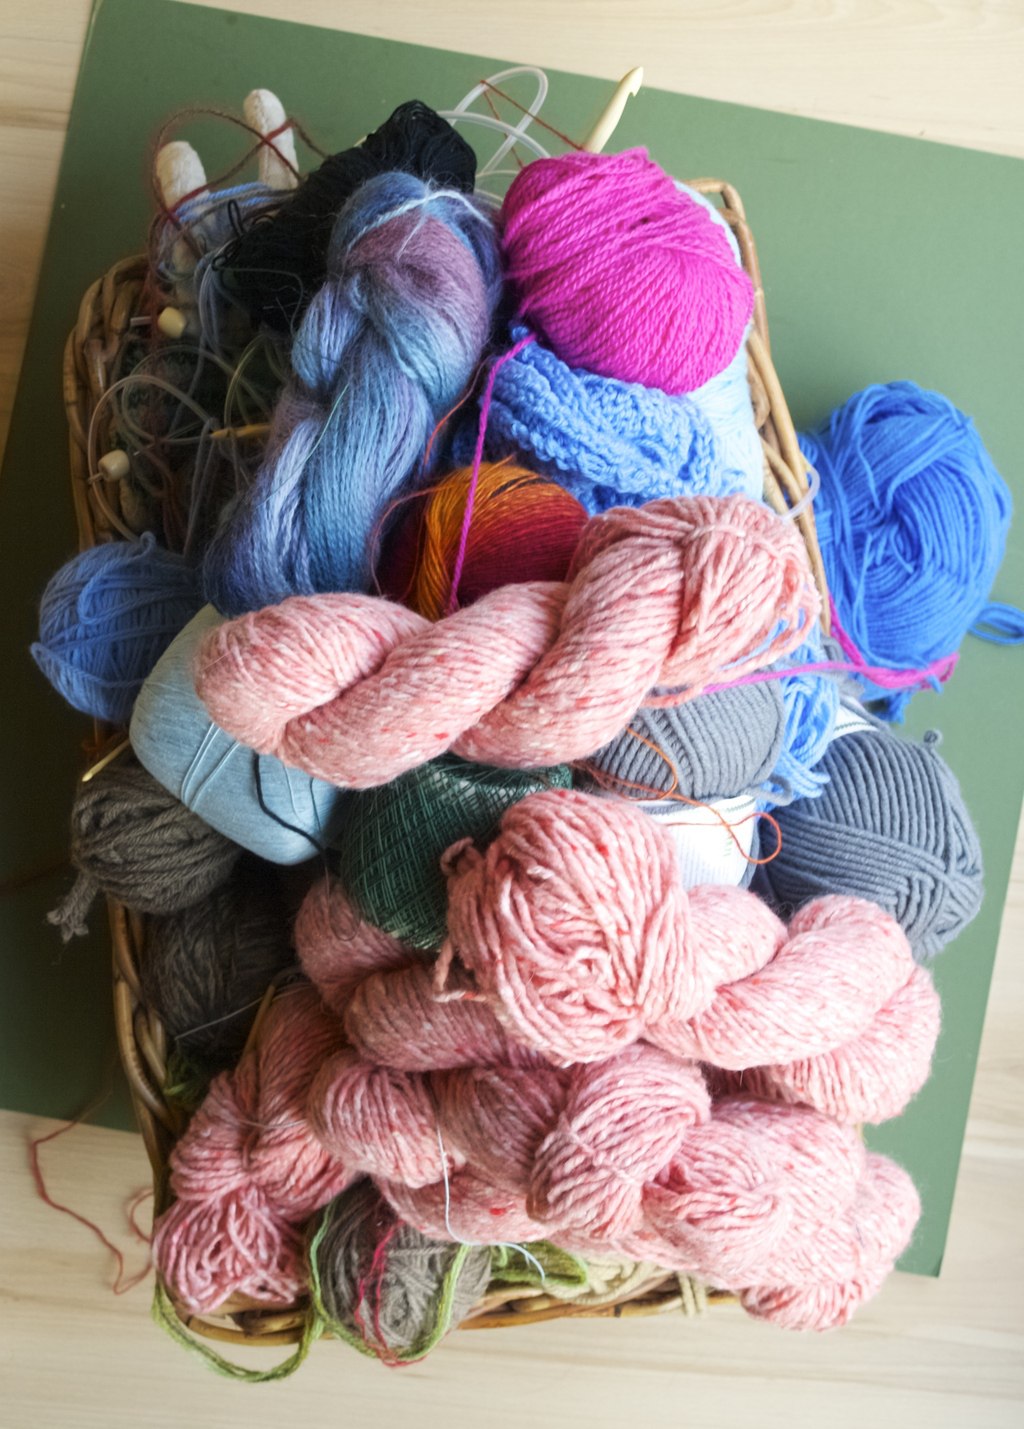
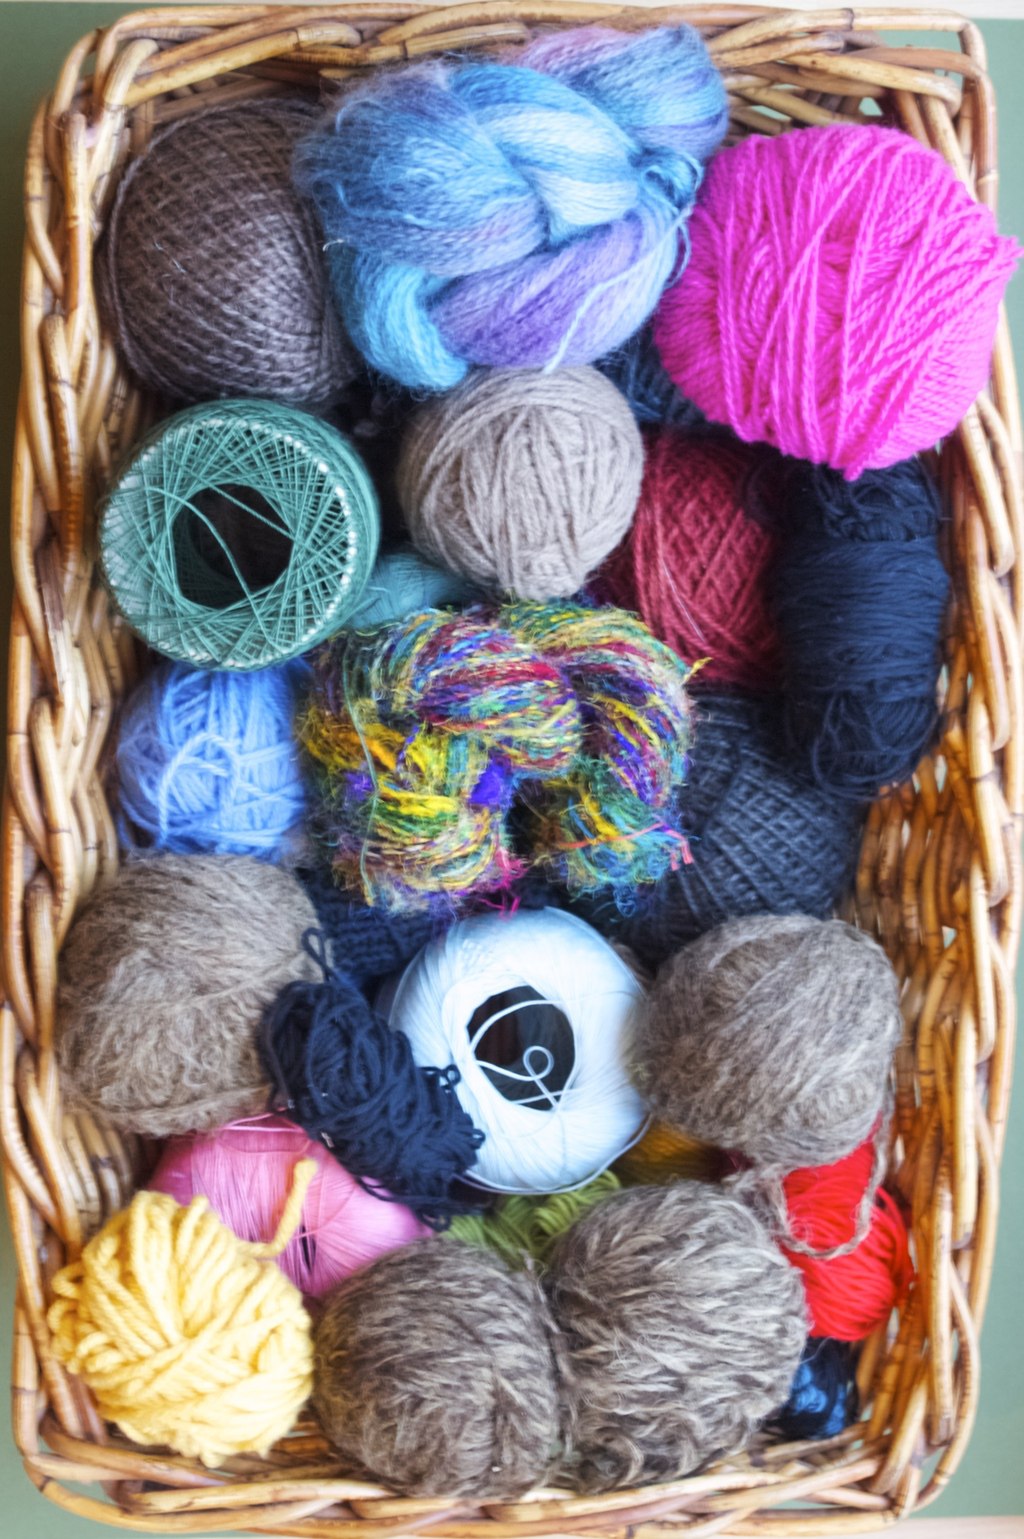
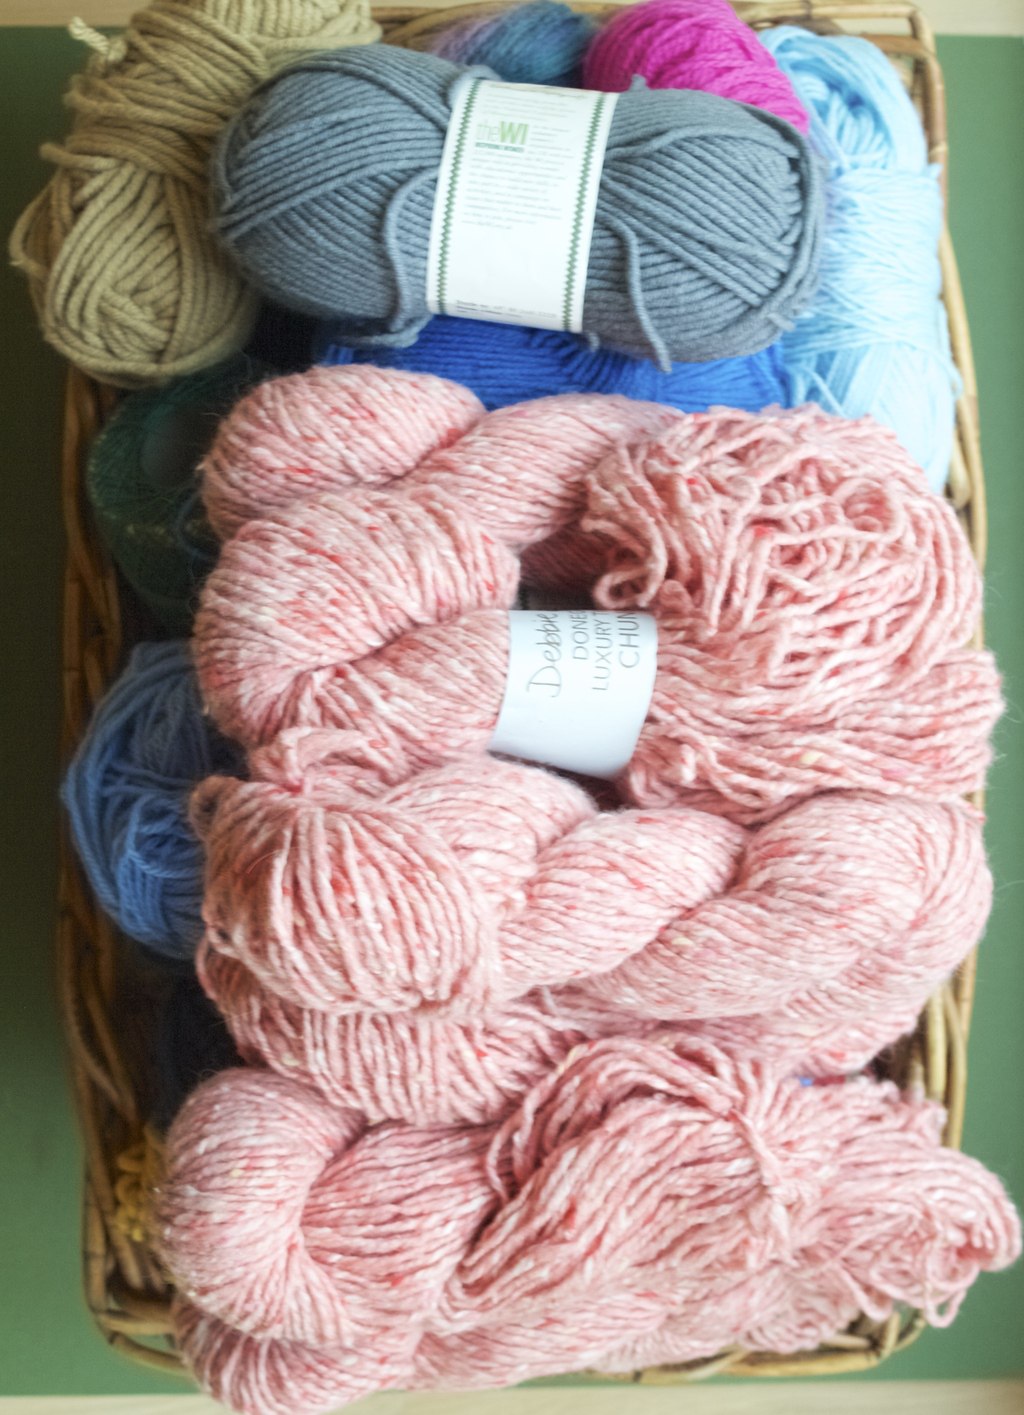
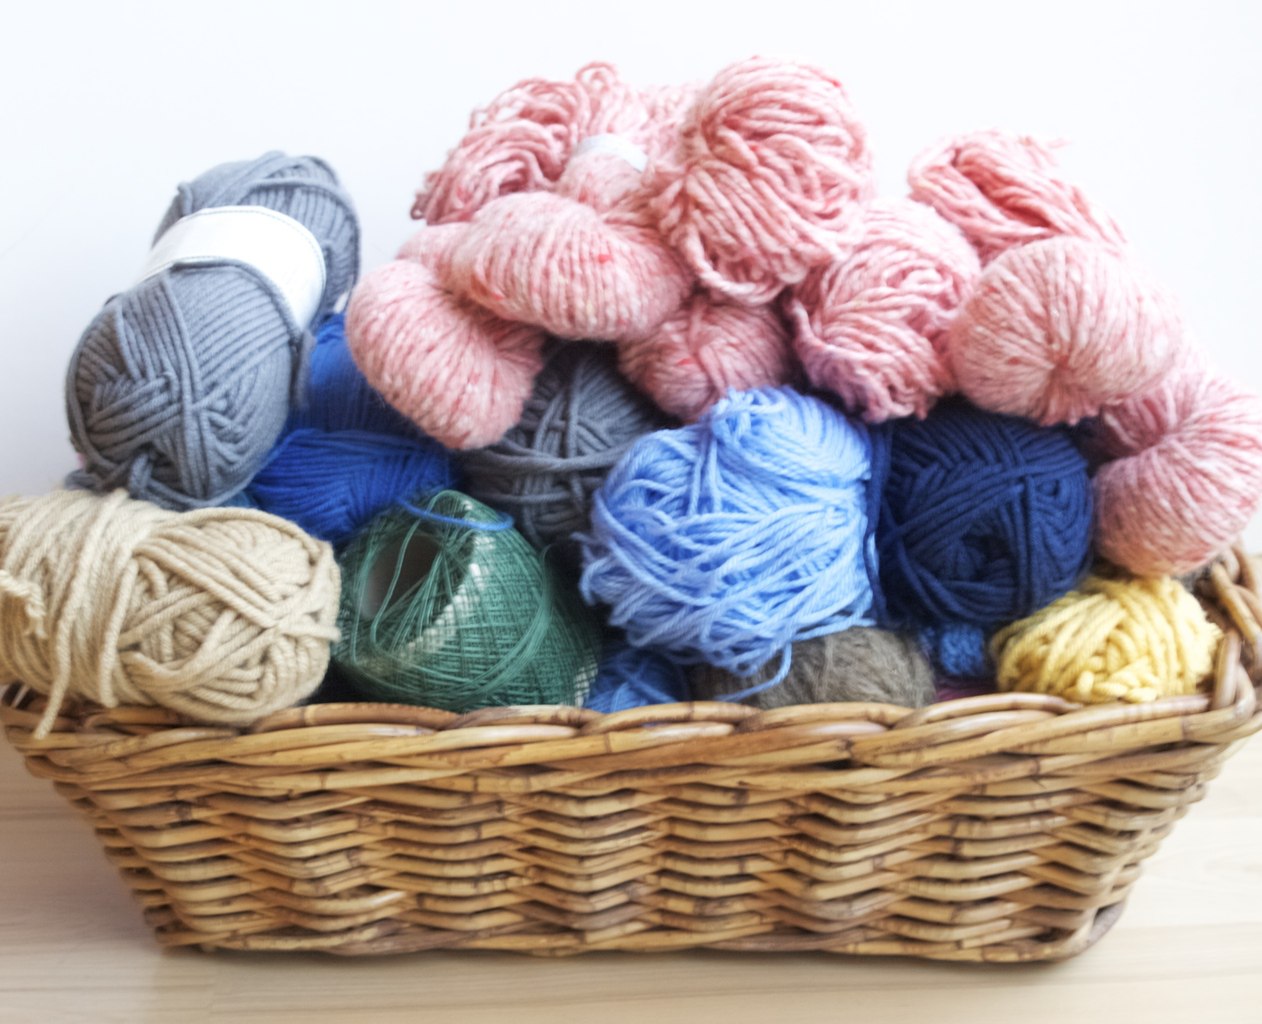
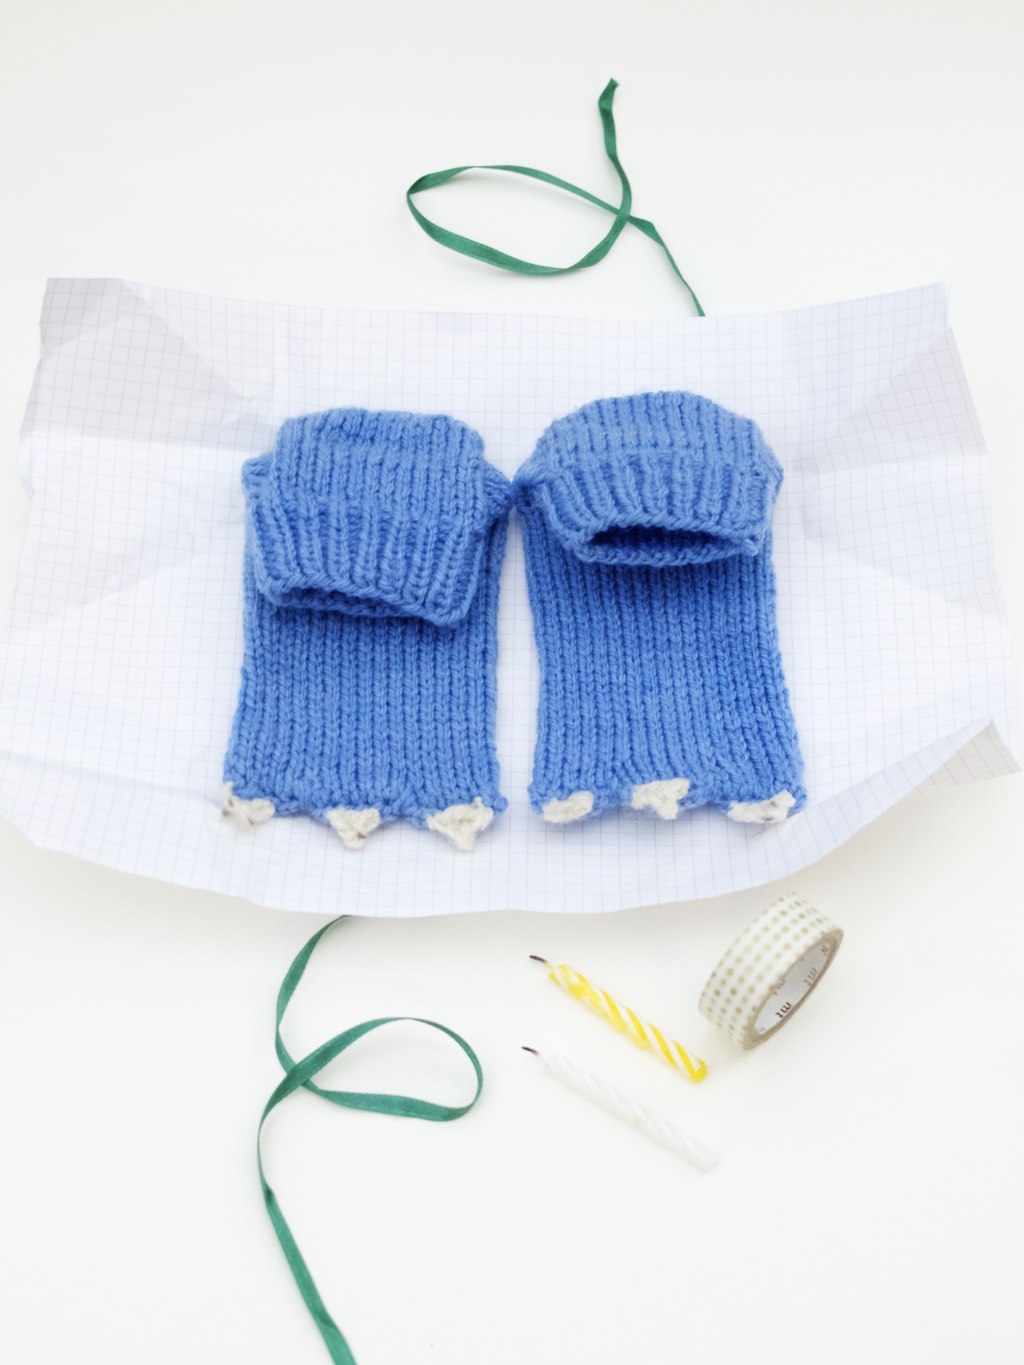
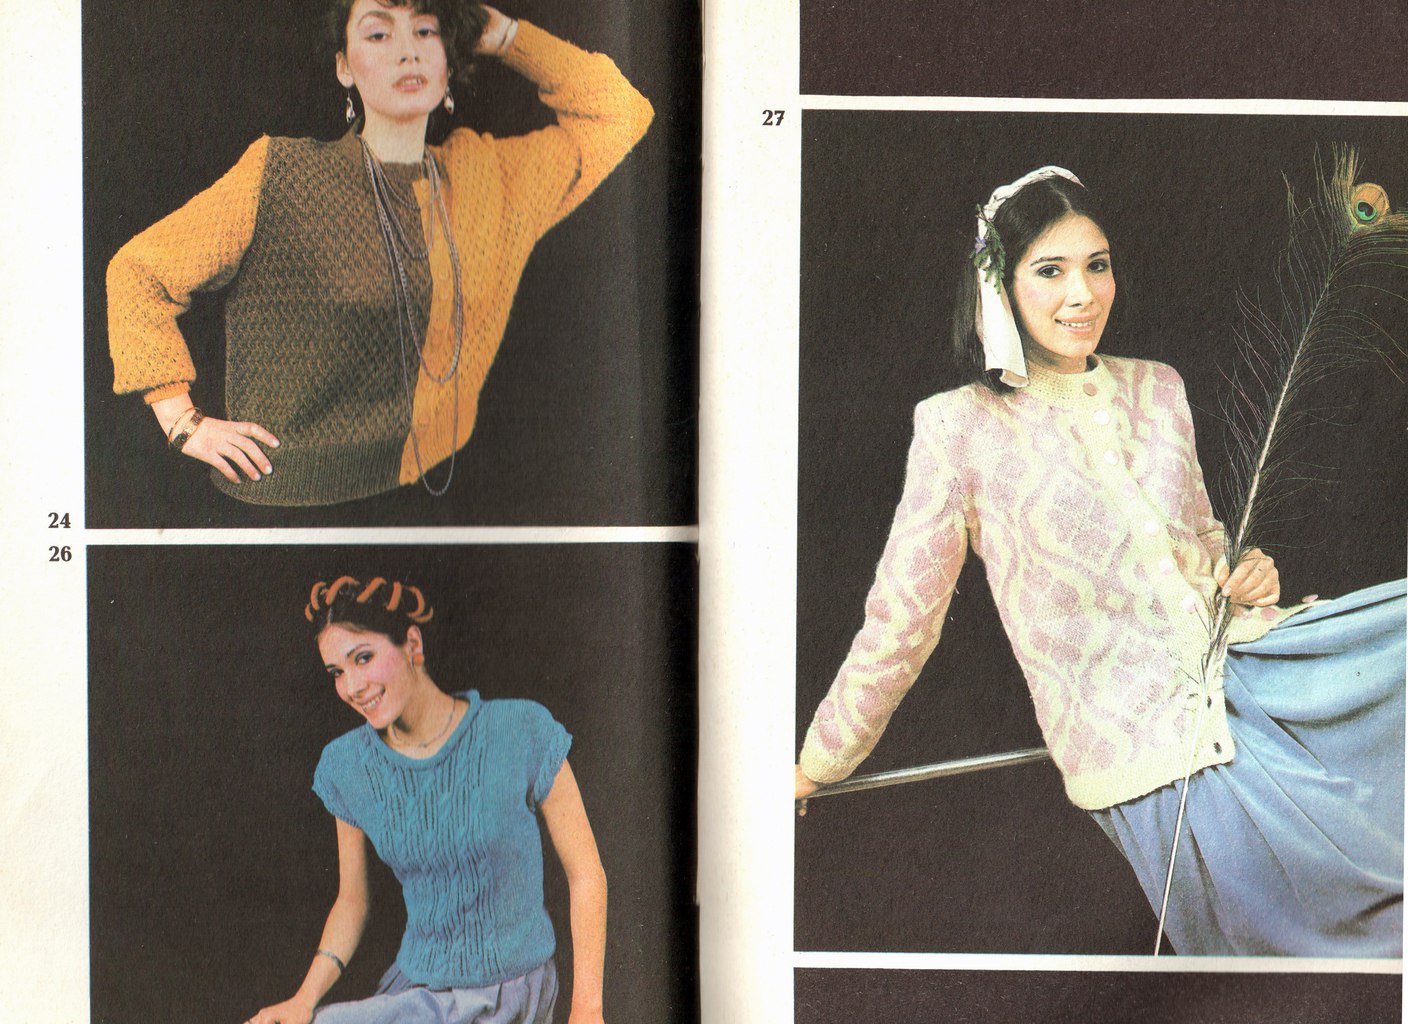
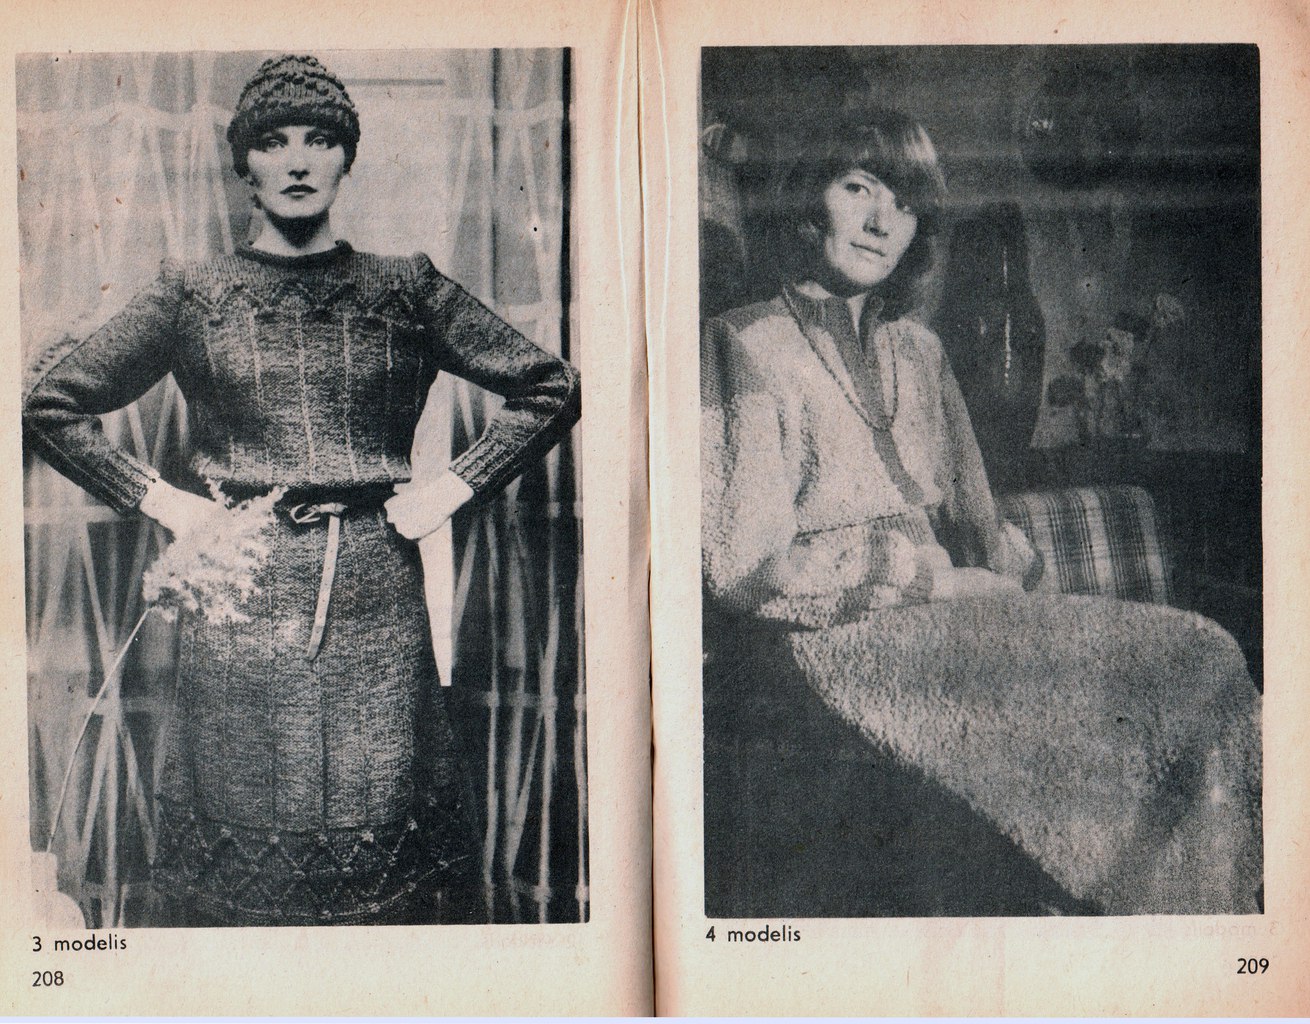
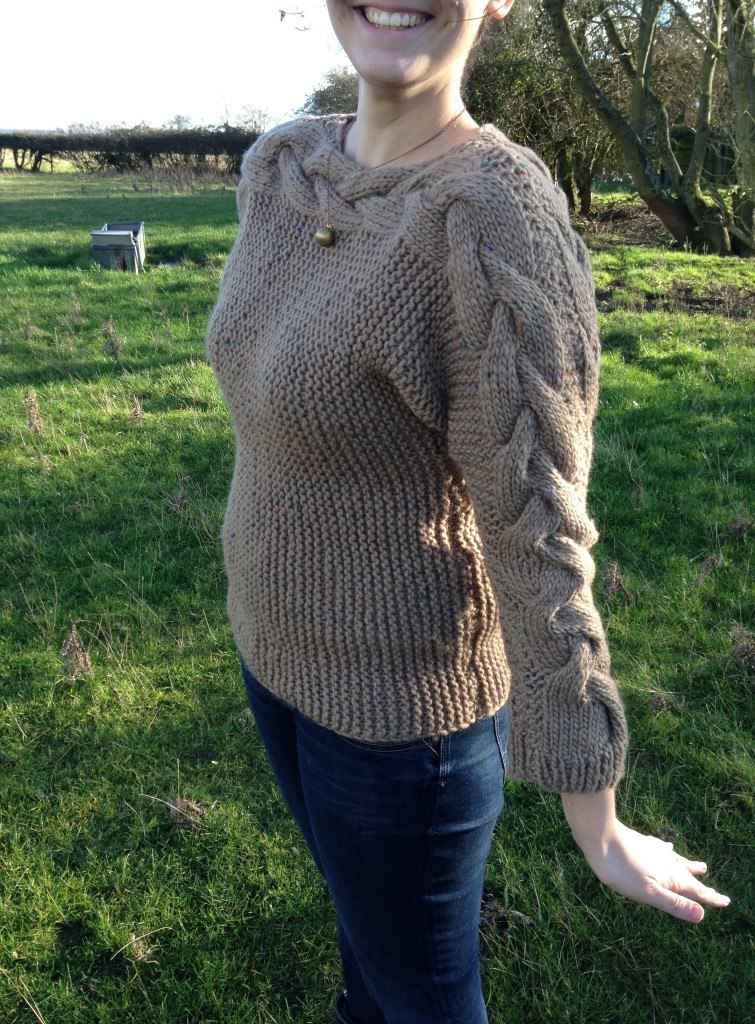
1. YARN is usually an inspiration to me. When I feel like knitting I just browse what I have in my yarn basket, simply go shopping online, or in my local shop. I also check what amount I have and what can I possibly knit from it. So if I only have one yarn ball of a type, I would definitely not knit a sweater out of it! Sometimes, rarely I actually need to knit something specific such as socks for winter or a scarf as a gift. Then I will decide on the design first and then will start browsing for yarn.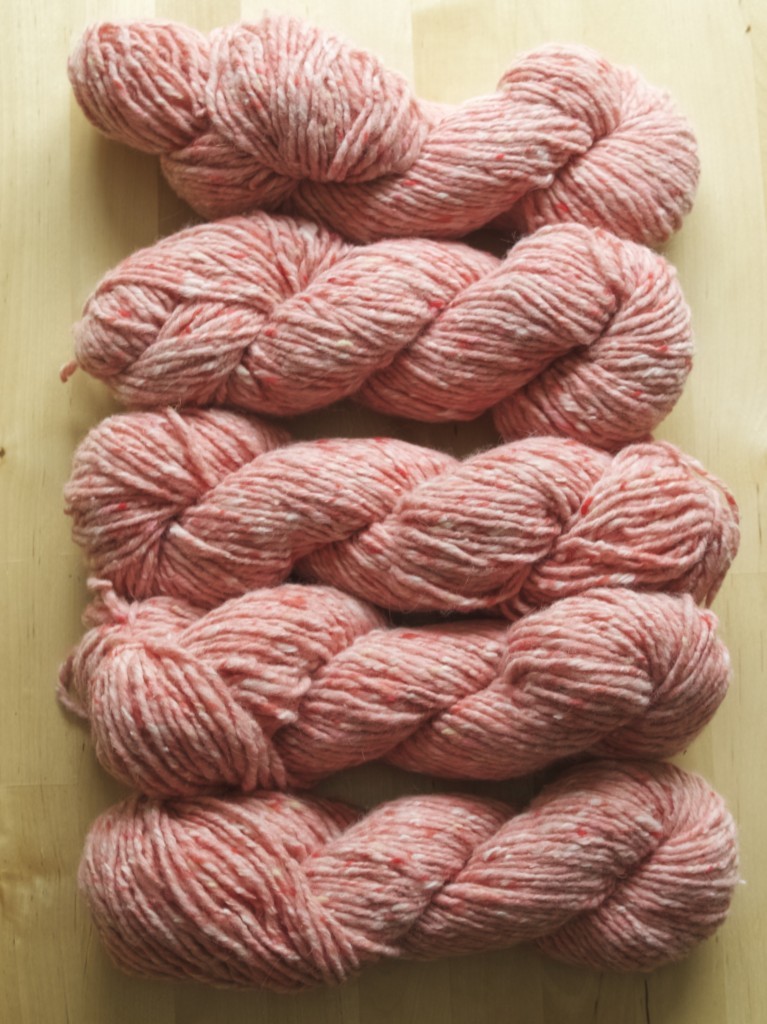 2. SKETCHING AND STITCH SAMPLING. At this stage I usually try out the yarn by knitting small samples of different stitches and sketch few drawings to decide on the actual design. Pinterest helps me a lot as an inspiration, but I never take an existing design, instead I take the features from many designs to create my own. For this particular design, I really liked this shape, but I have changed the front opening, the stitch pattern (planning to use Tunisian stitch) and sleeve shape.
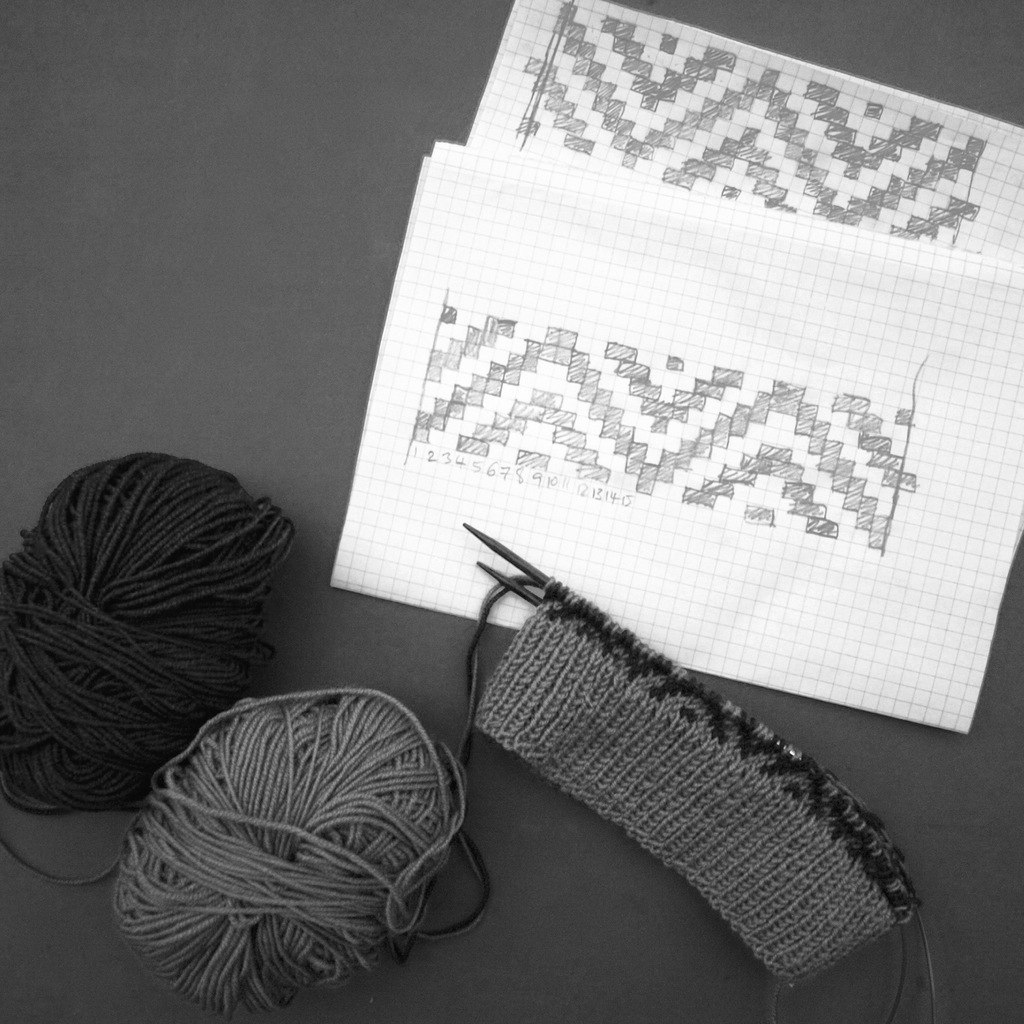
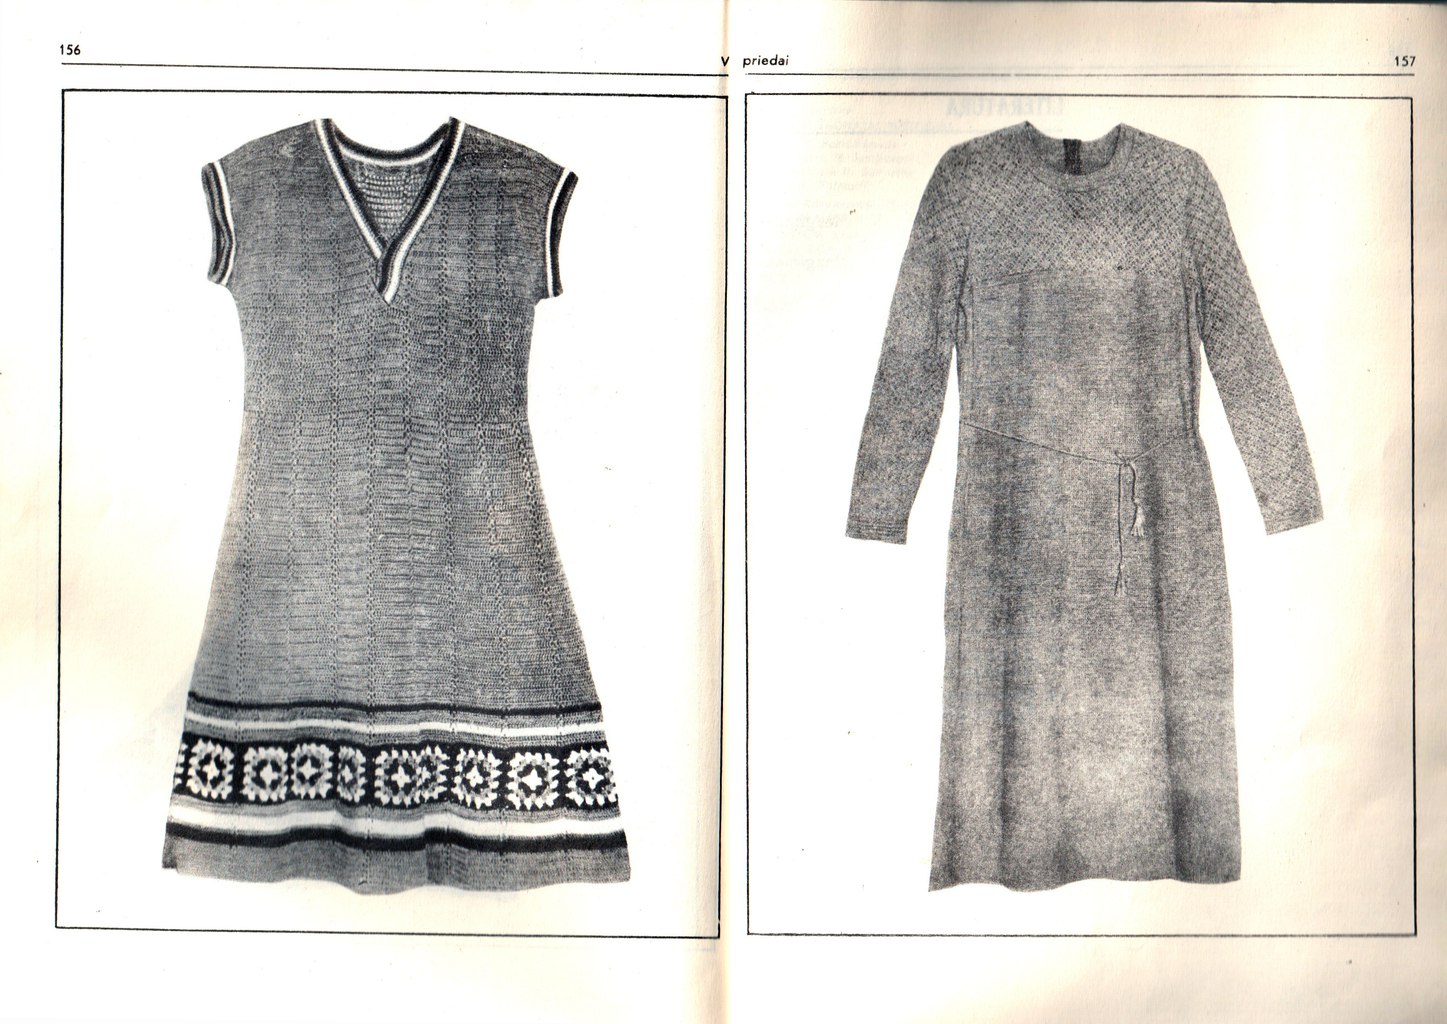
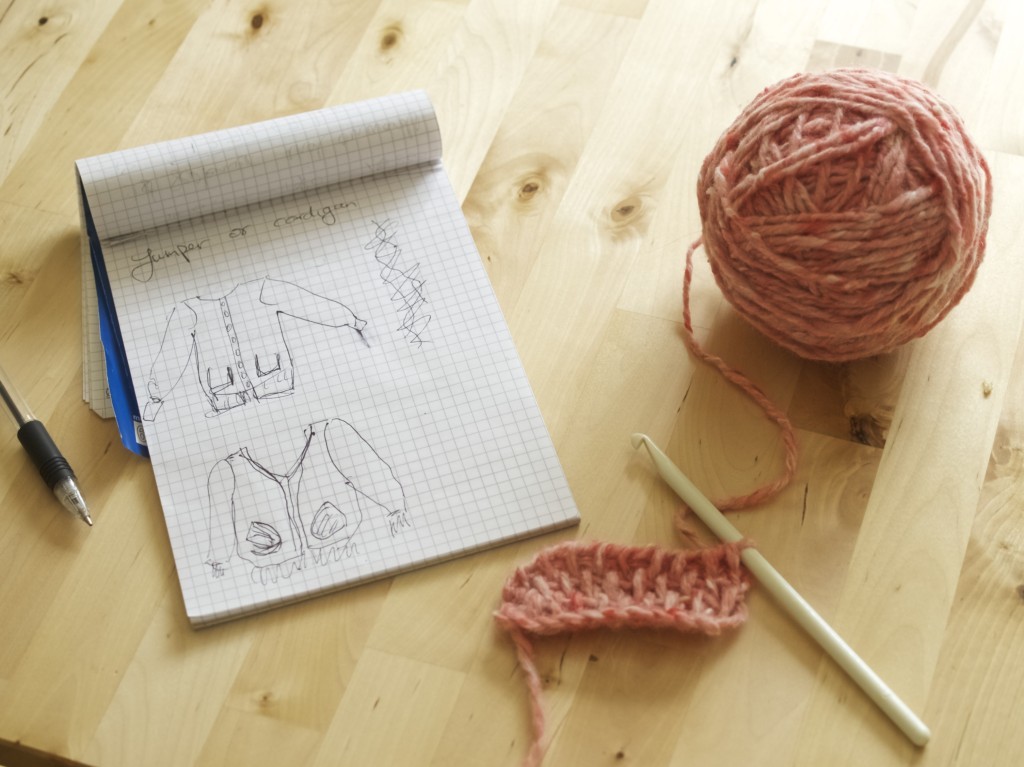 3. PATTERN CUTTING is something I’ve learned at University (and a little bit before). So I guess imagining shapes in 3D becoming a garment is much much easer for me. But let me tell you, knitwear requires a very minimum of pattern cutting as yarn and the stretchy knit is very forgiving. Don’t be terrified of the pattern bellow, I am currently trying to achieve a very odd shape in this cardigan I am knitting by adding more rows of stitches on the sides (it’s quite a challenge for myself at this moment actually). Instead, think of basic sweater, it is essentially made out of few blocks that majority of you know how to knit!
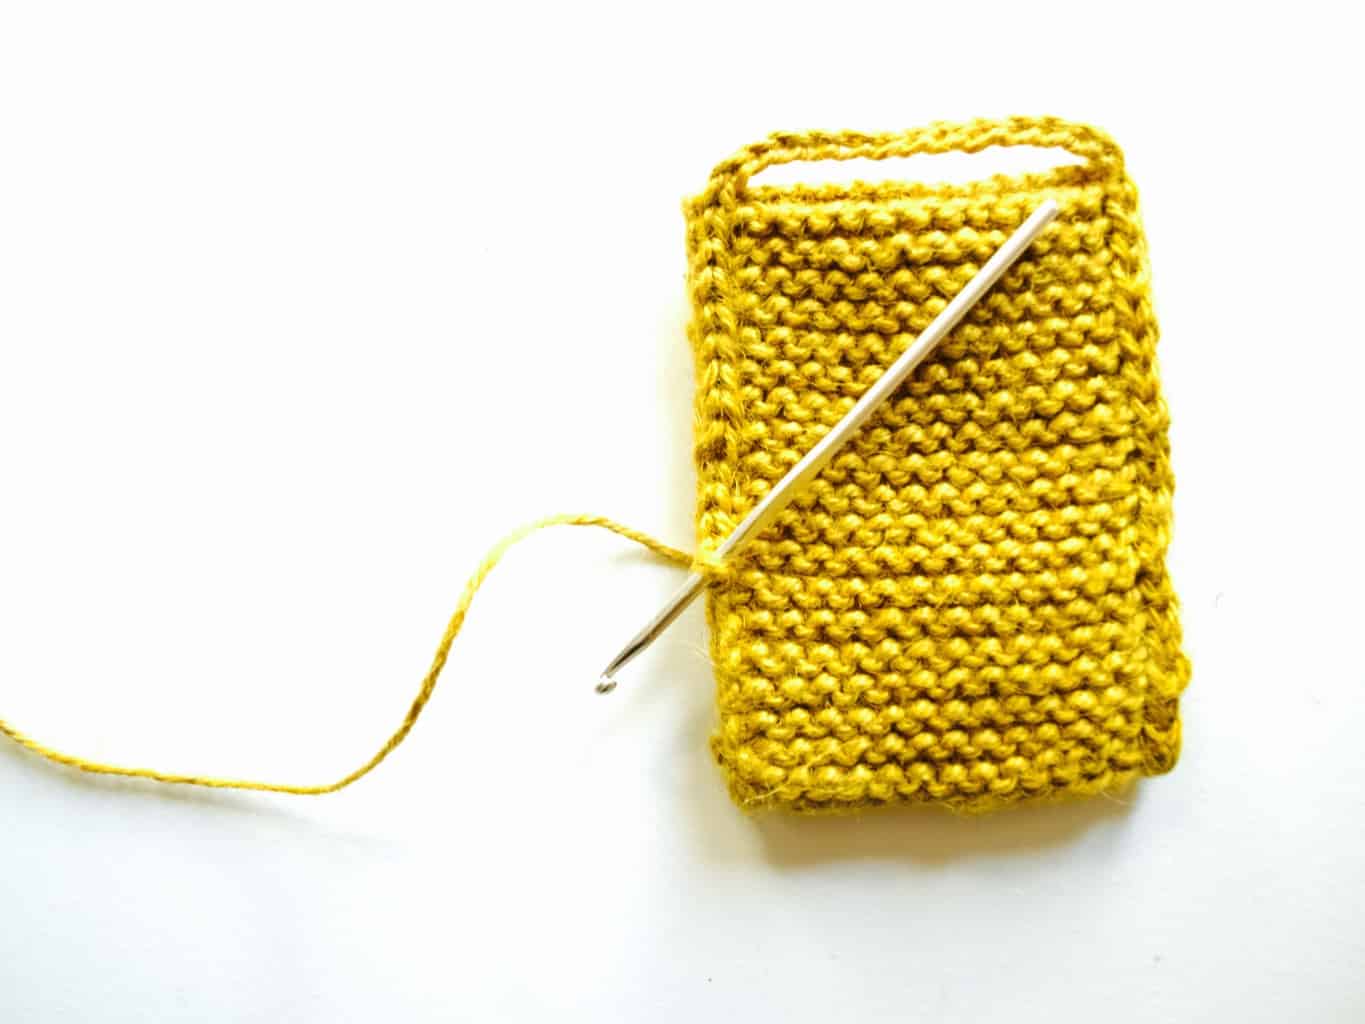
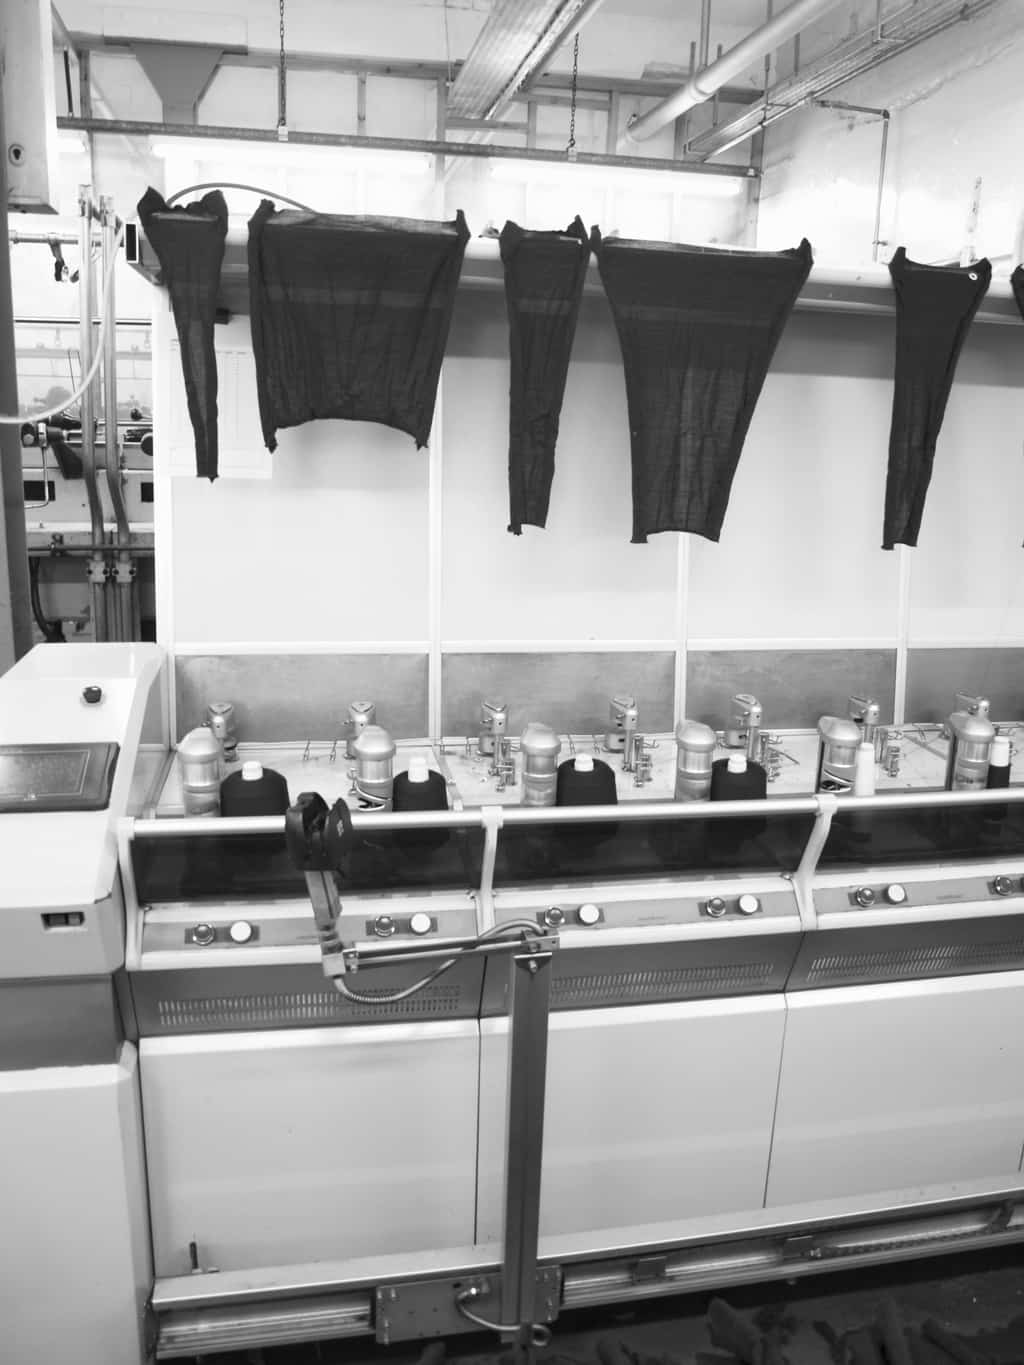
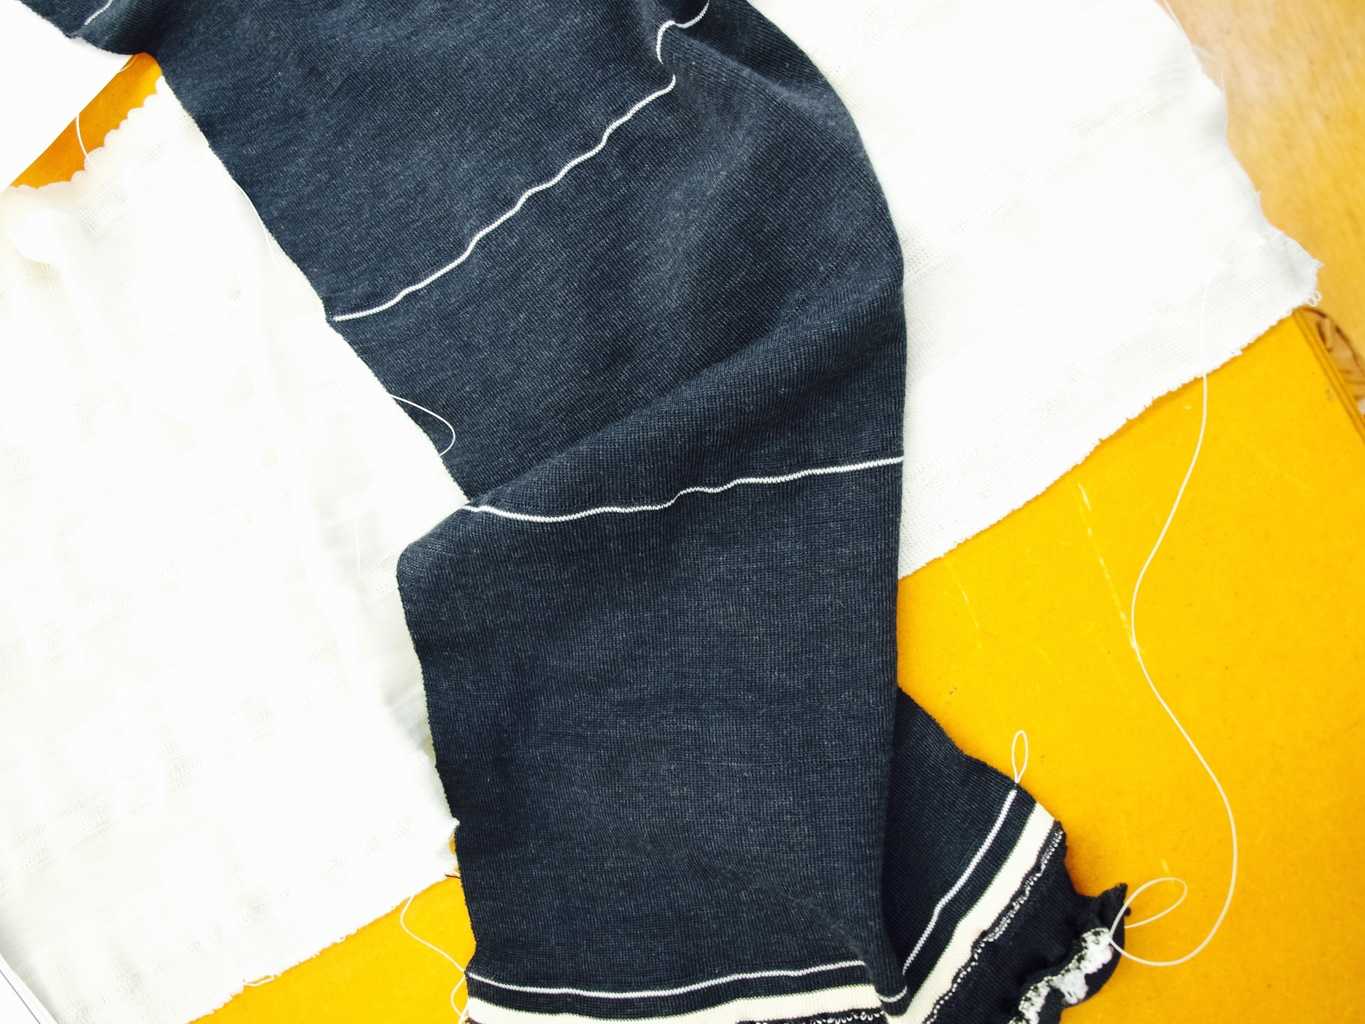
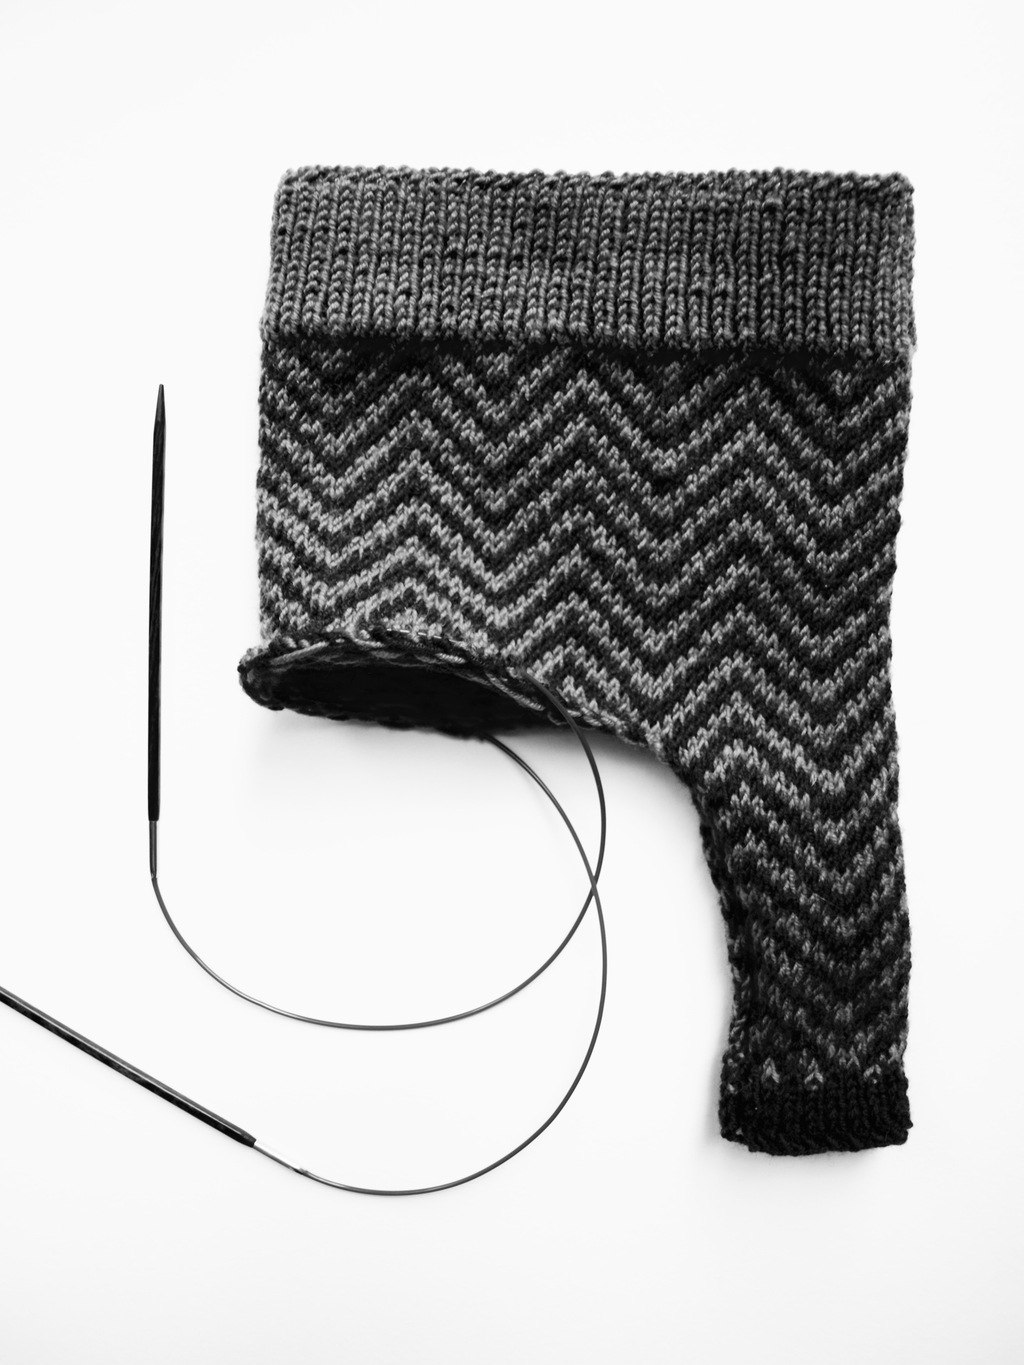
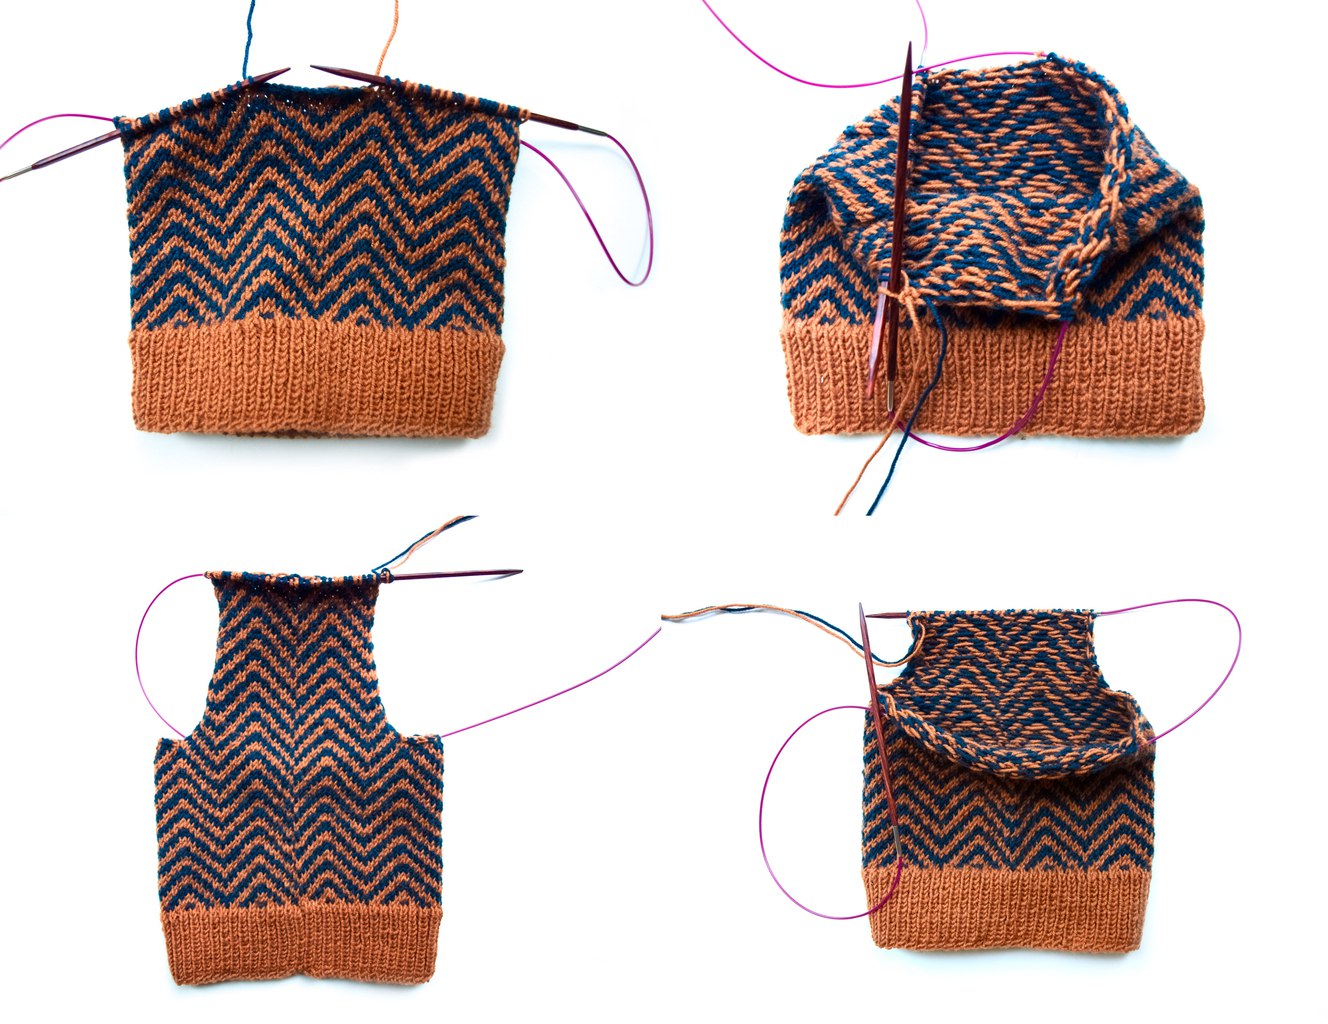
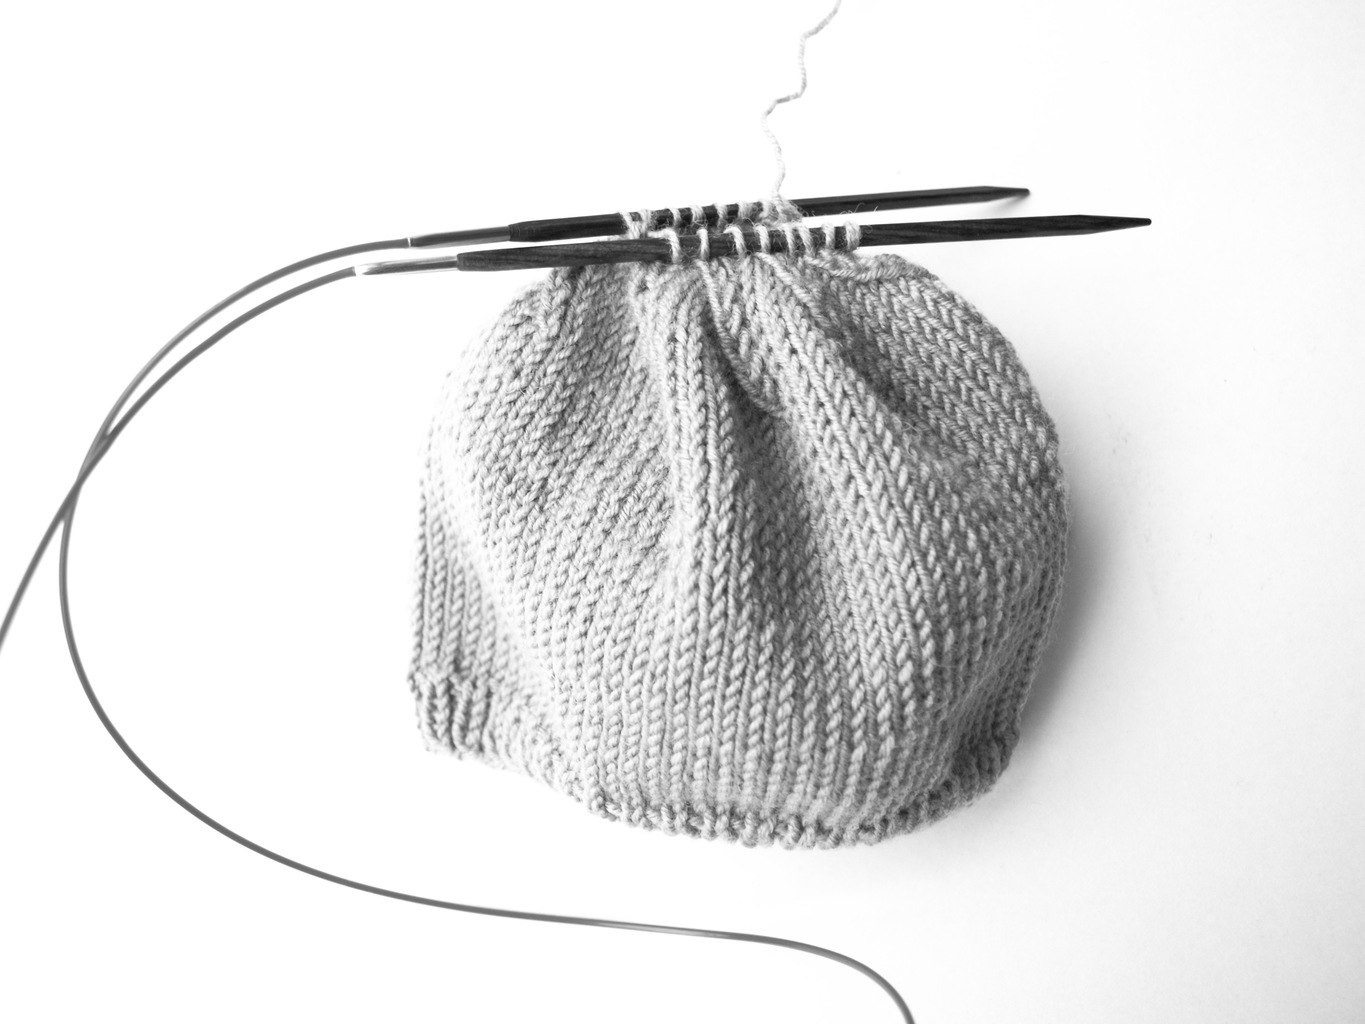
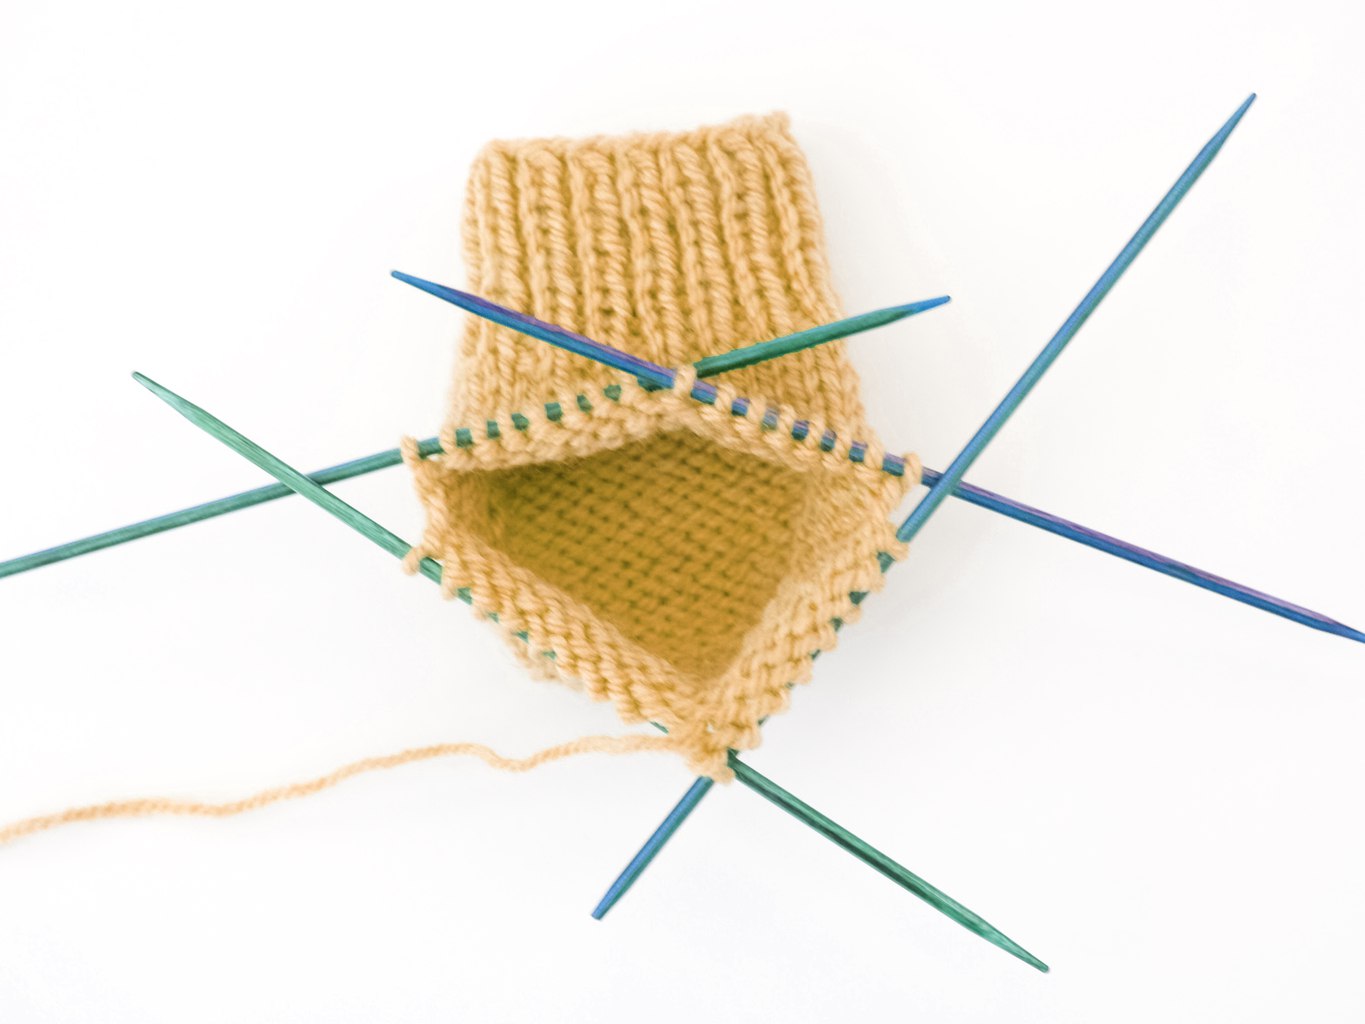
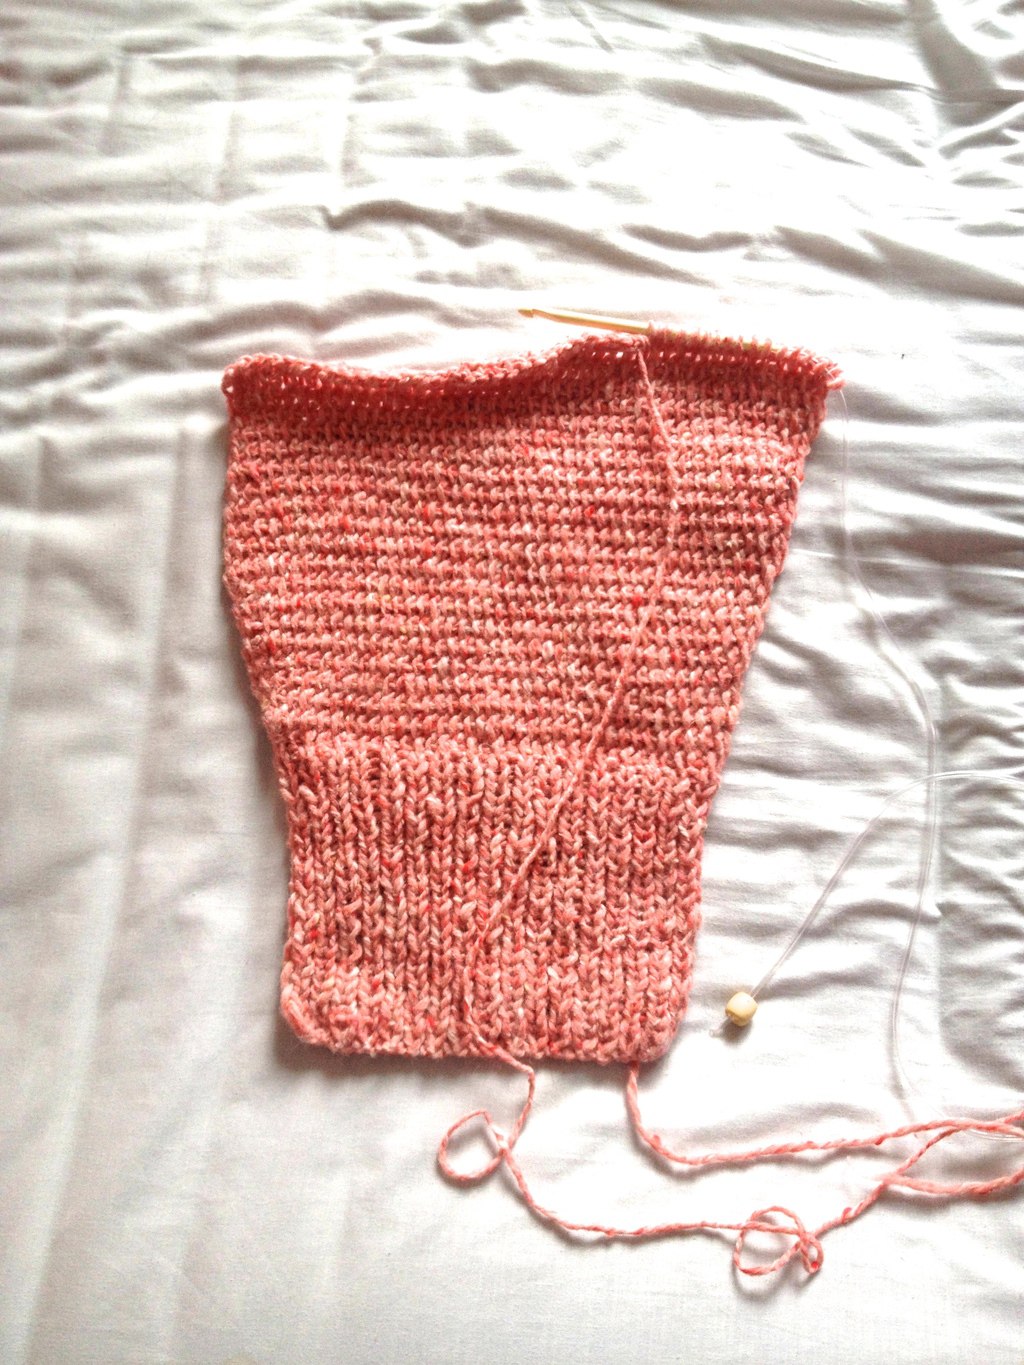
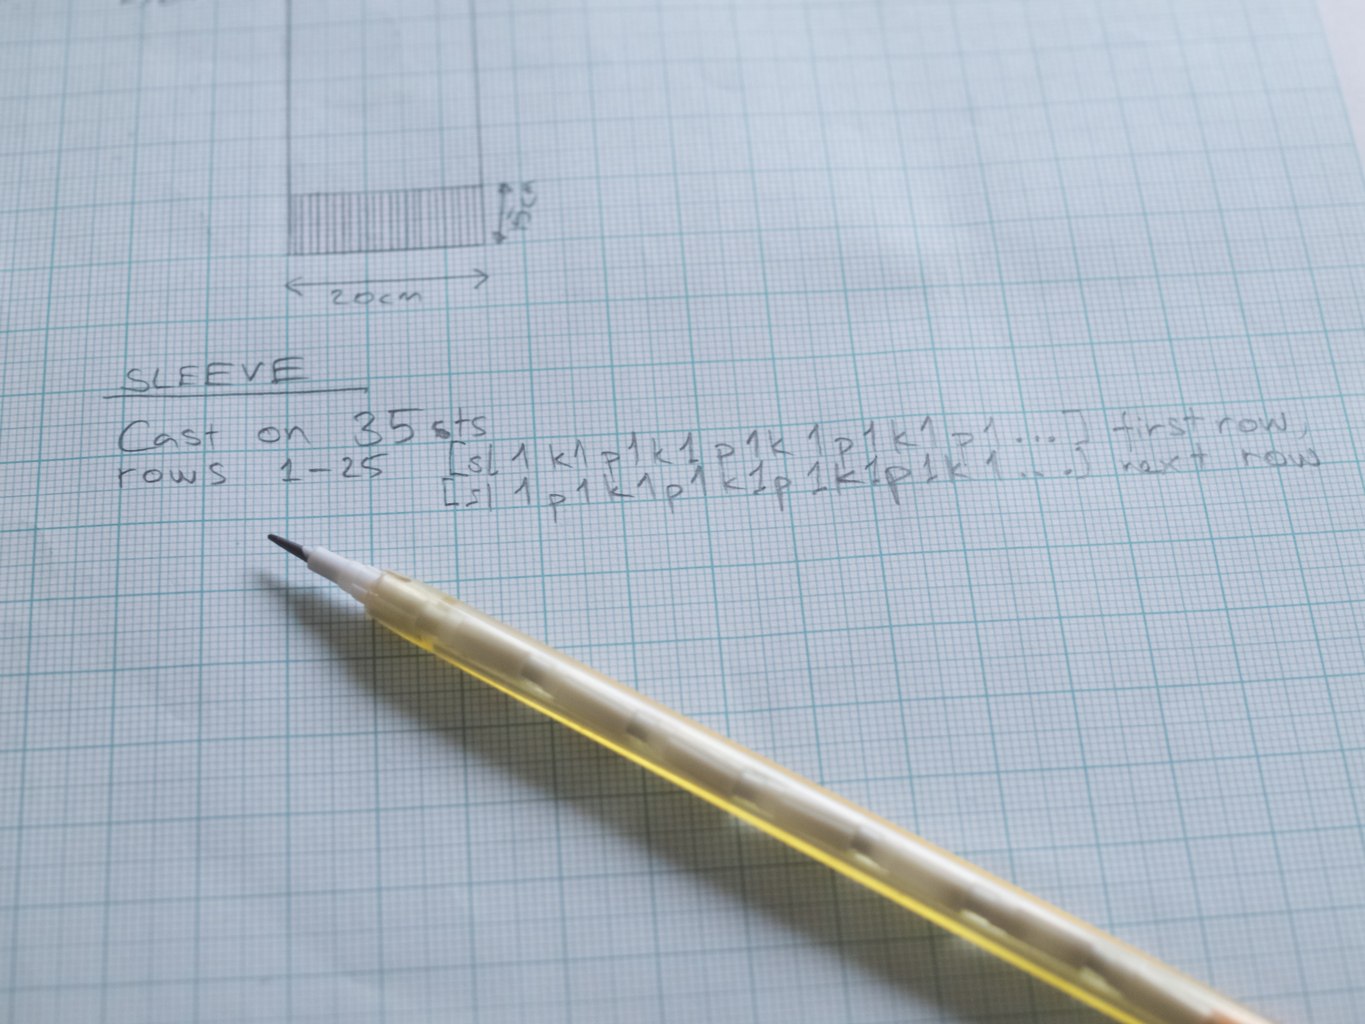
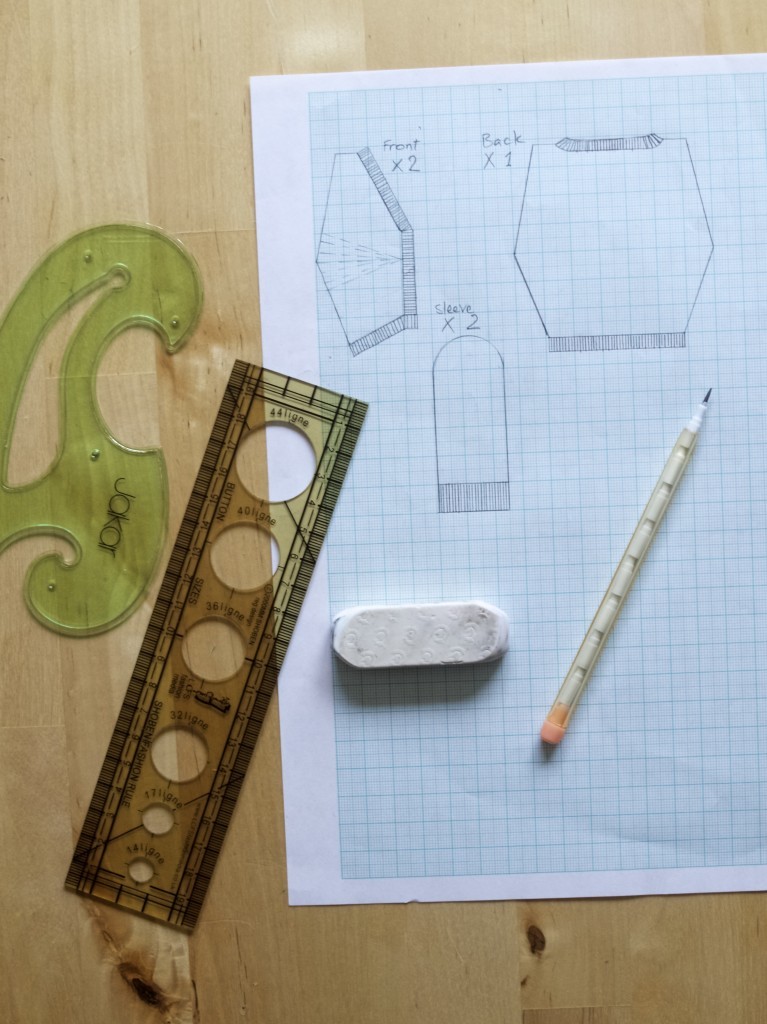 4. GAUGE is a knitting term that refers to the number of stitches per cm/inch, not the size of the finished garment. This is very important to work out at the beginning before starting to knit an actual project. Gauge helps you to predict the size of your garments! The best way to work out your gauge is to knit a large enough piece of sample with your chosen yarn, needles and the stitch pattern. If you have more than one stitch pattern on your project (such as ribbing and garter stitch patterns for example), you should knit separate sample for each of them, because some stitches ‘pulls in’ more then others, fitting in more stitches in the cm/inch. Ribbing usually ‘pulls-in’ the most, however it is the stretchiest of them all! So to work out the gauge (preferably wash and dry the sample first) measure 5cm/2inch horizontally and count how many stitches fits in it. Repeat the same vertically and count how many rows fits in the 5cm/2inch gap. In my case (used ribbing sample) 5cm horizontally fits 9 sts and vertically it fits 8rows. Now we know that to knit 40cm wide ribbing we need to cast on 70 stitches (I rounded up from 72) and we need to knit 13 rows to get the ribbing 7 cm long. Making sense already?
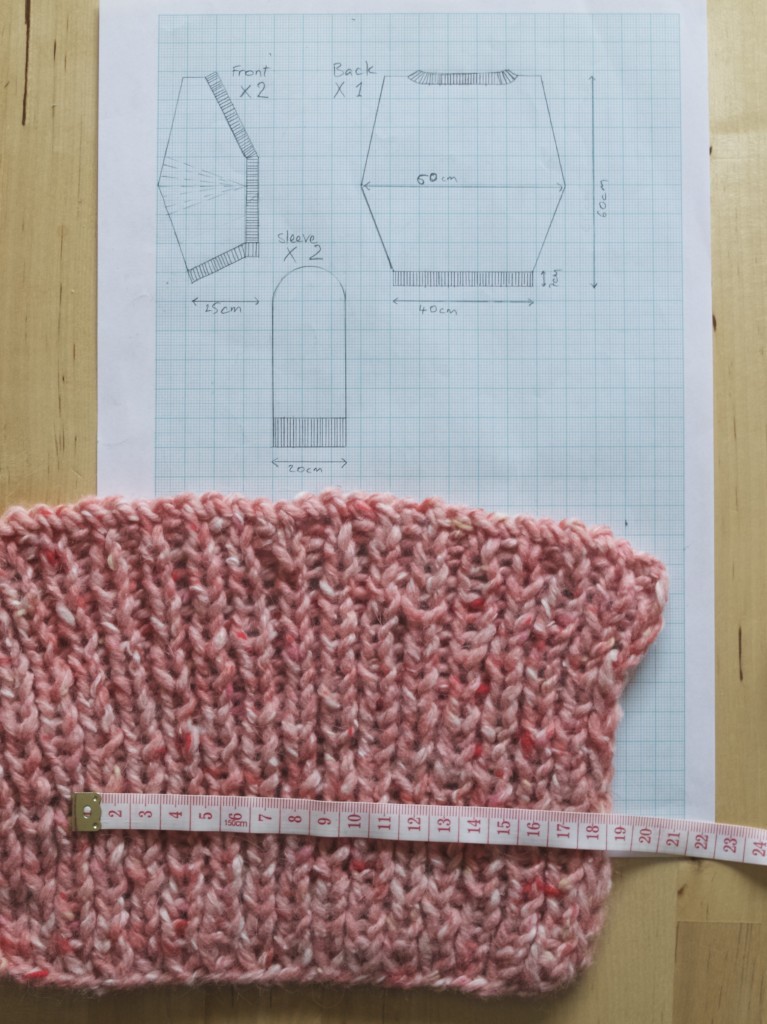 5. WRITING A PATTERN is the last thing I do when designing my own knitted project. I sometimes even wait until I finish knitting the garment and see what worked out and what did not. You see, I never used to use a written pattern as the visual diagram were always my preference. But I know a lot of you love (and understand it better than me) written abbreviations, so I went out of my way to learn it so I can translate my patterns that way for you. I am still however in learning process with this, so please give me a shout if you see something is really not making sense ;-)
  I hope this helps and good luck ;-)
Rasa x


 First of all, Happy New Year everyone!
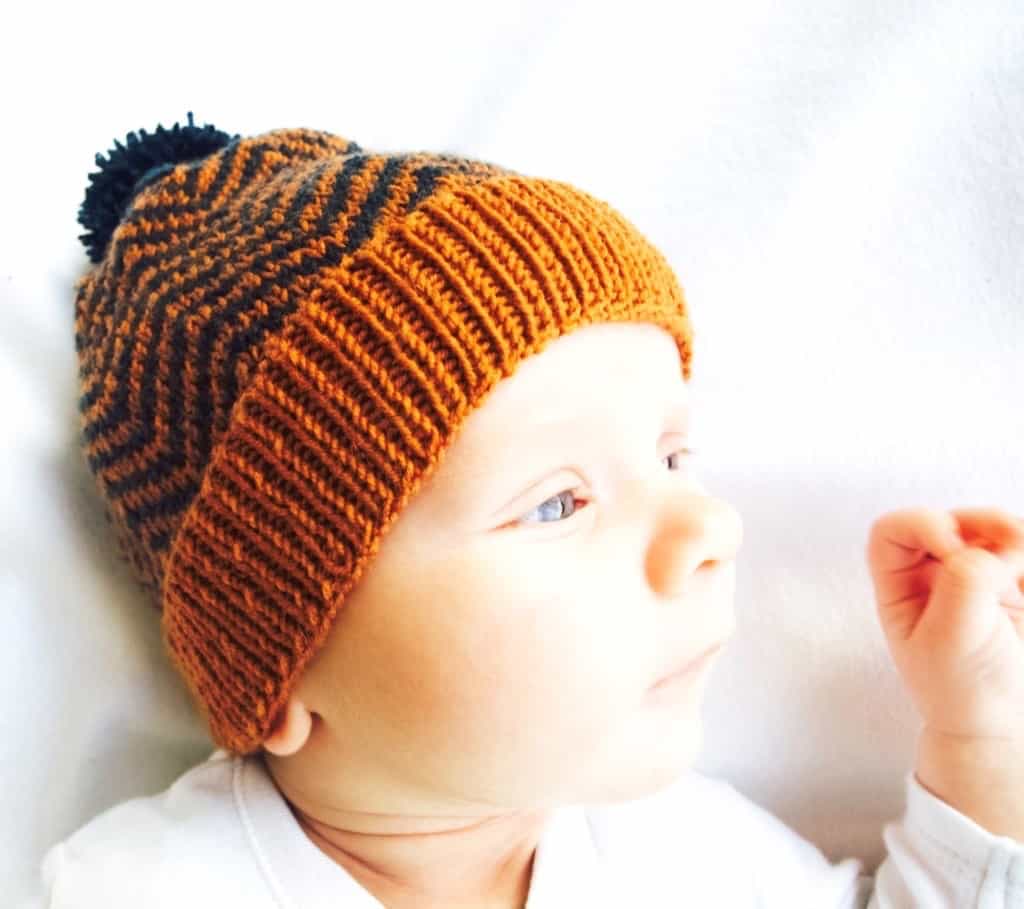
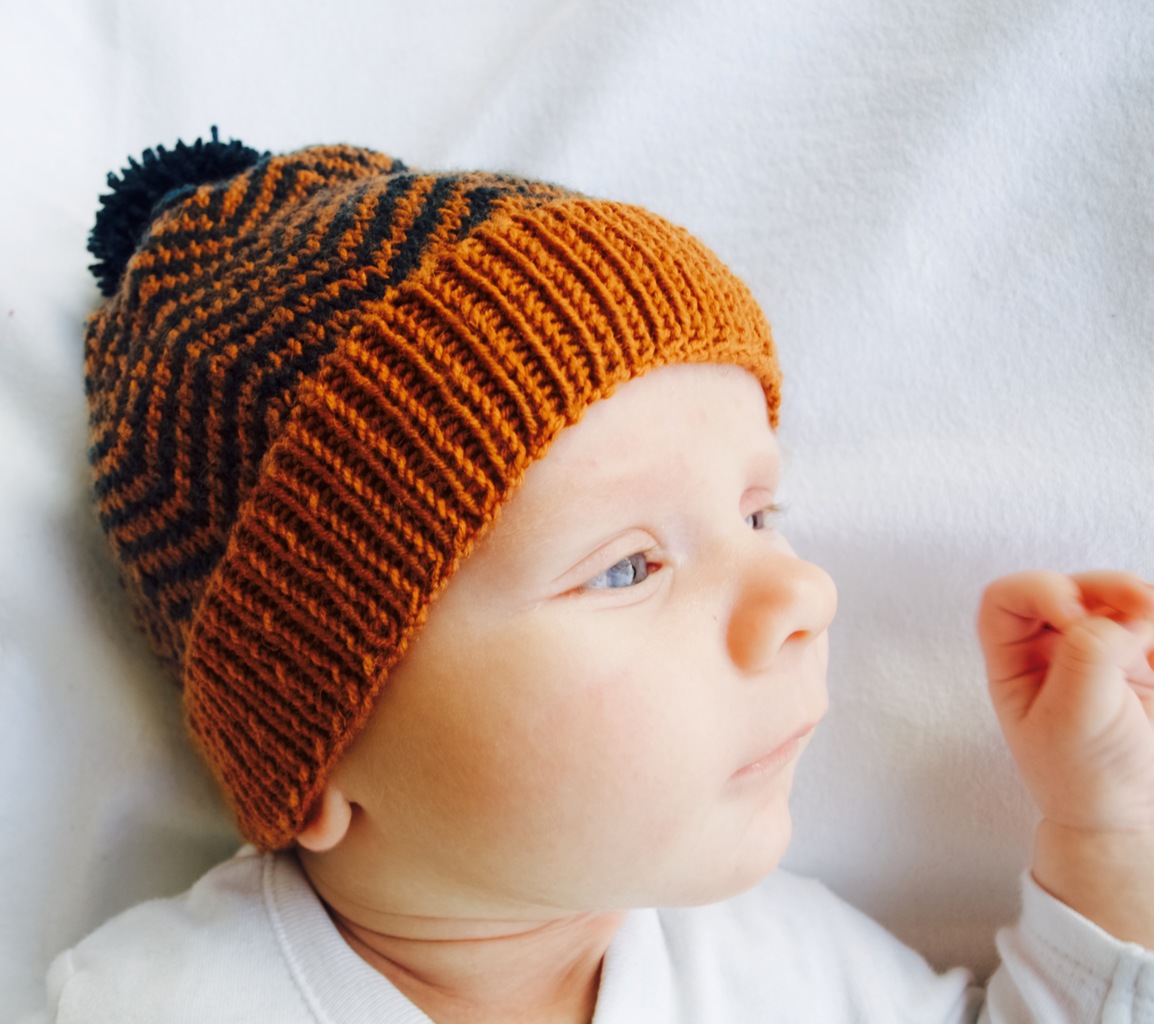
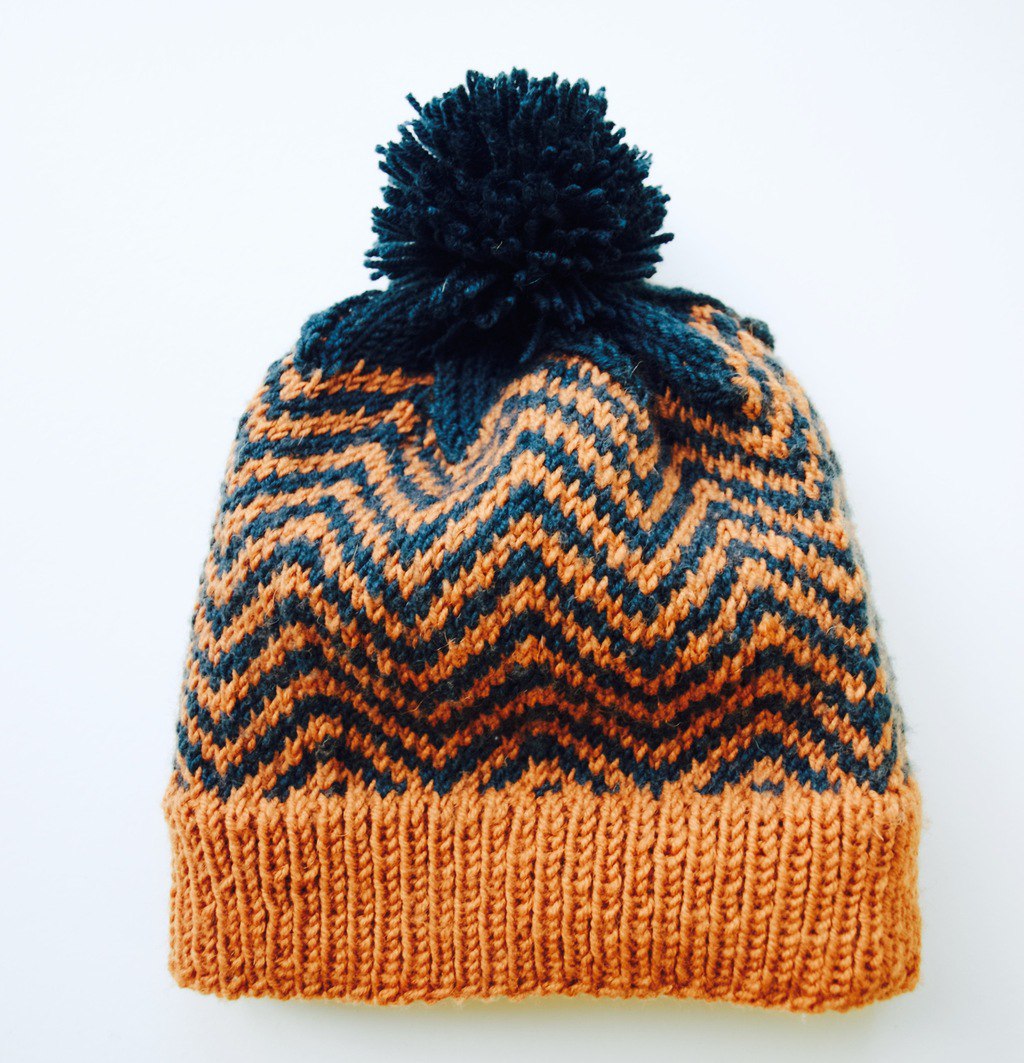
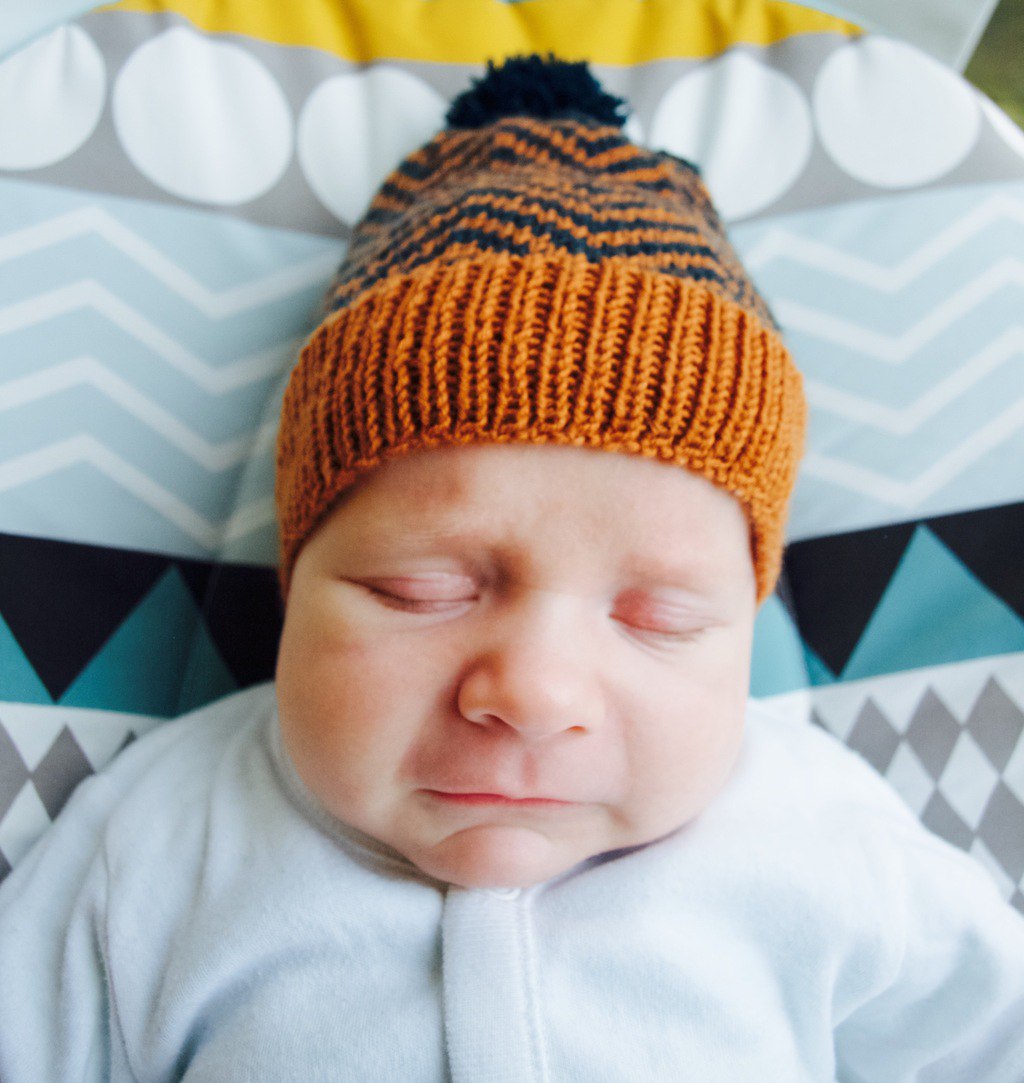
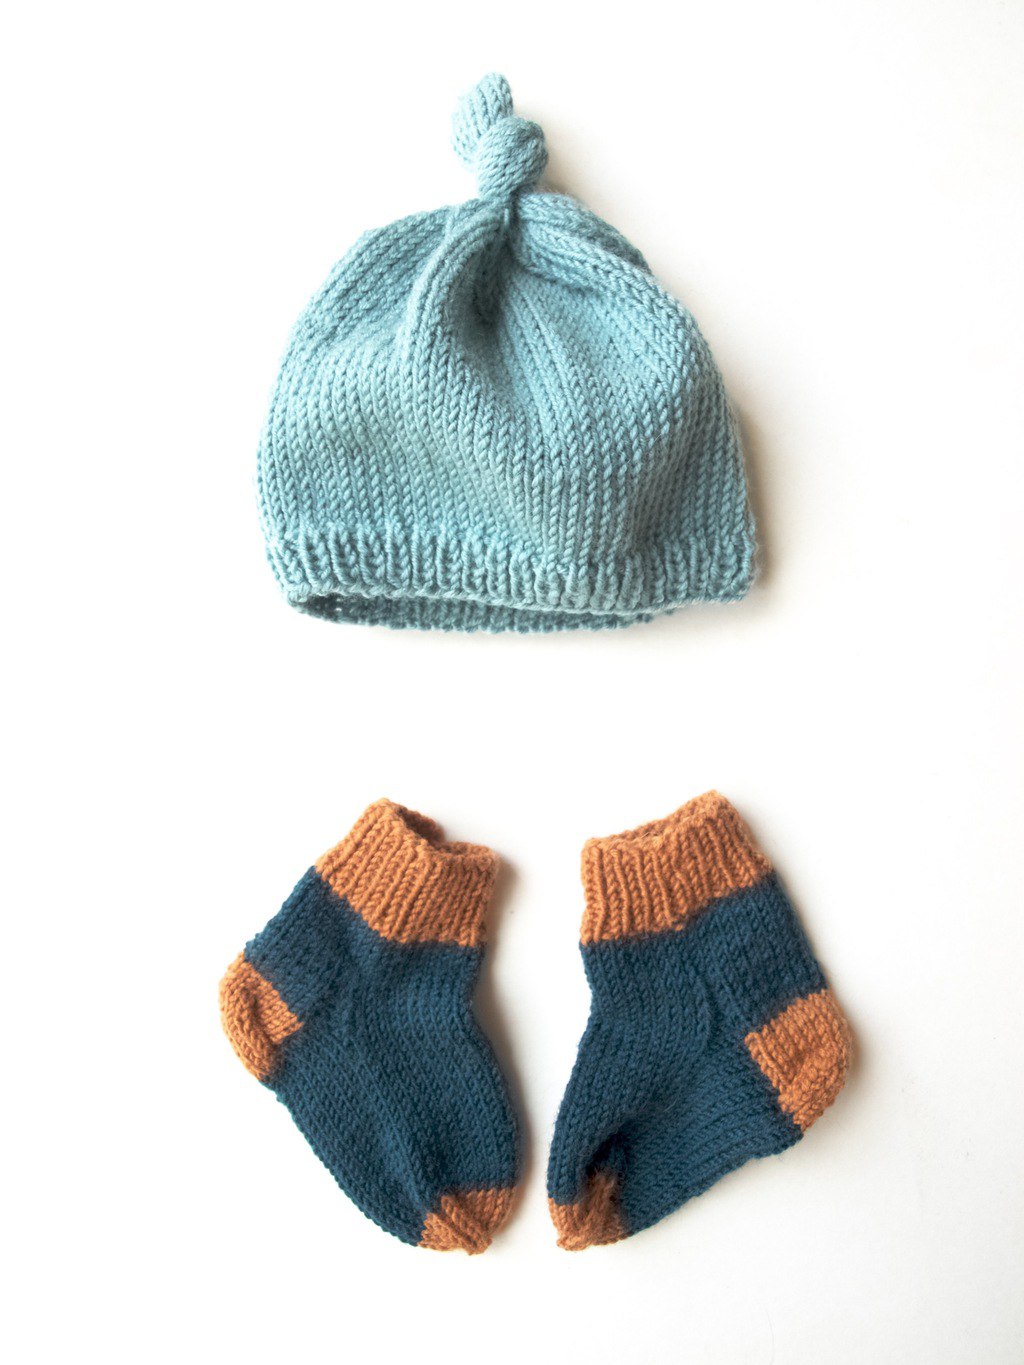
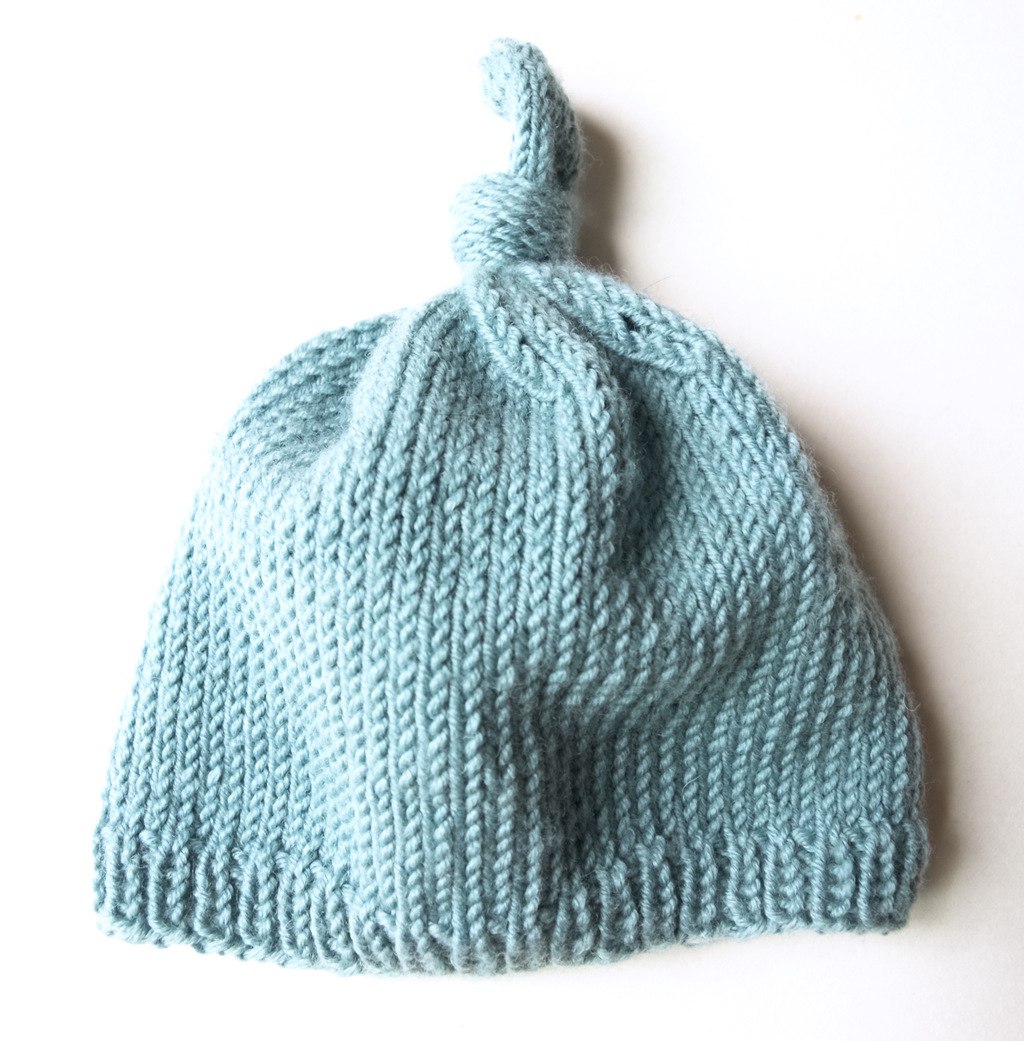
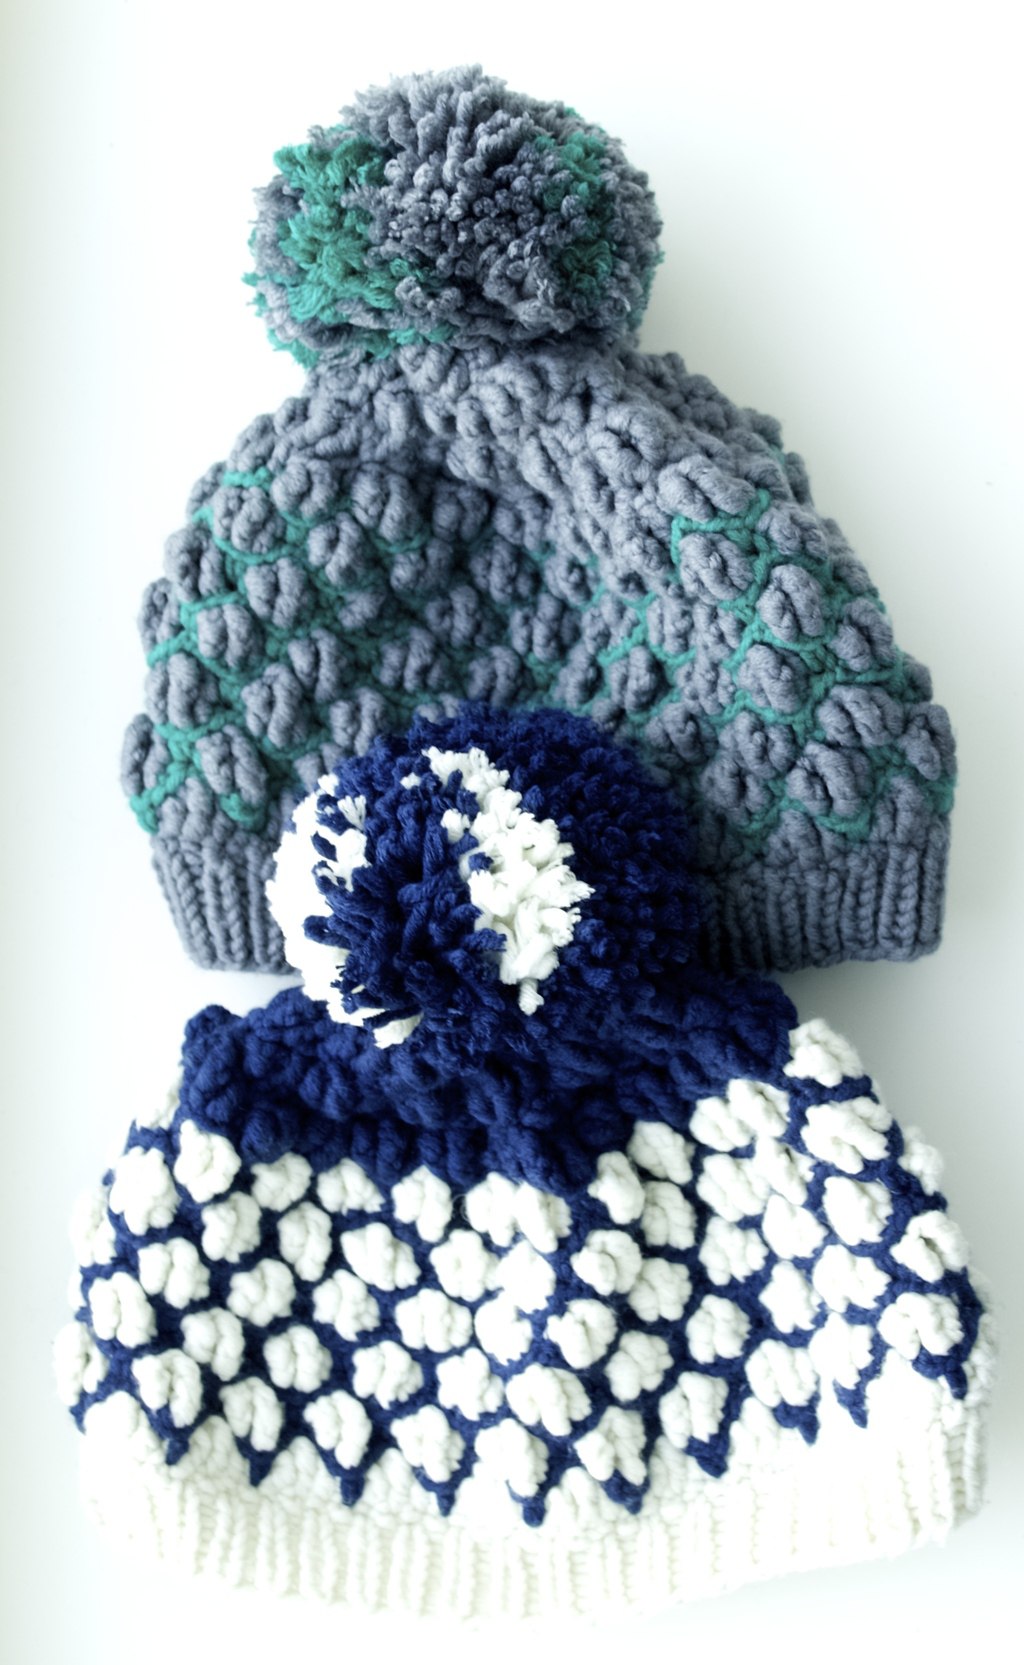
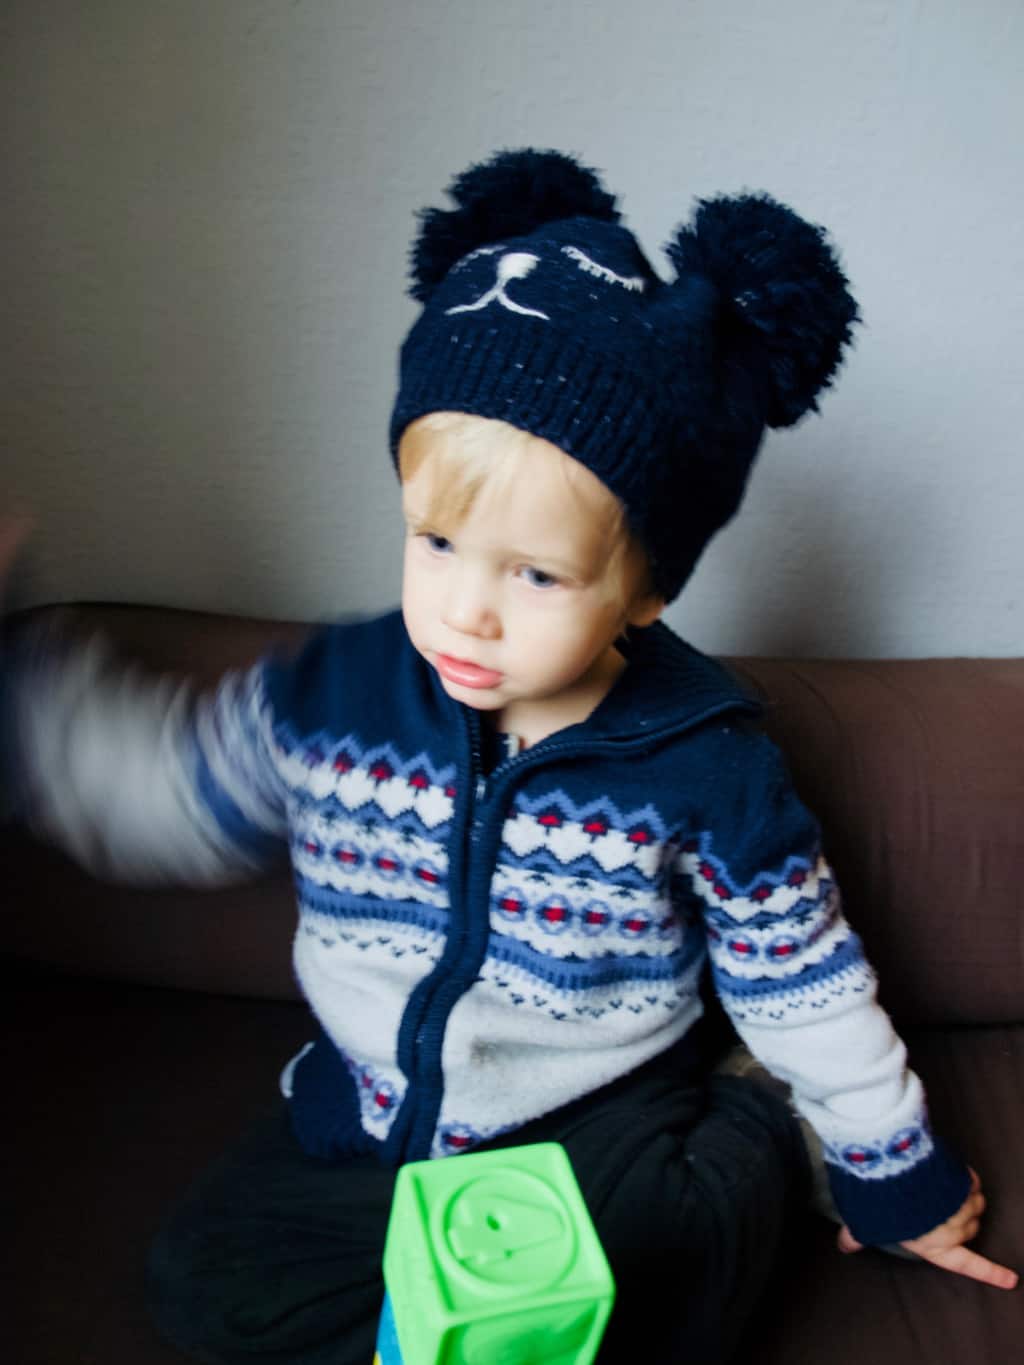
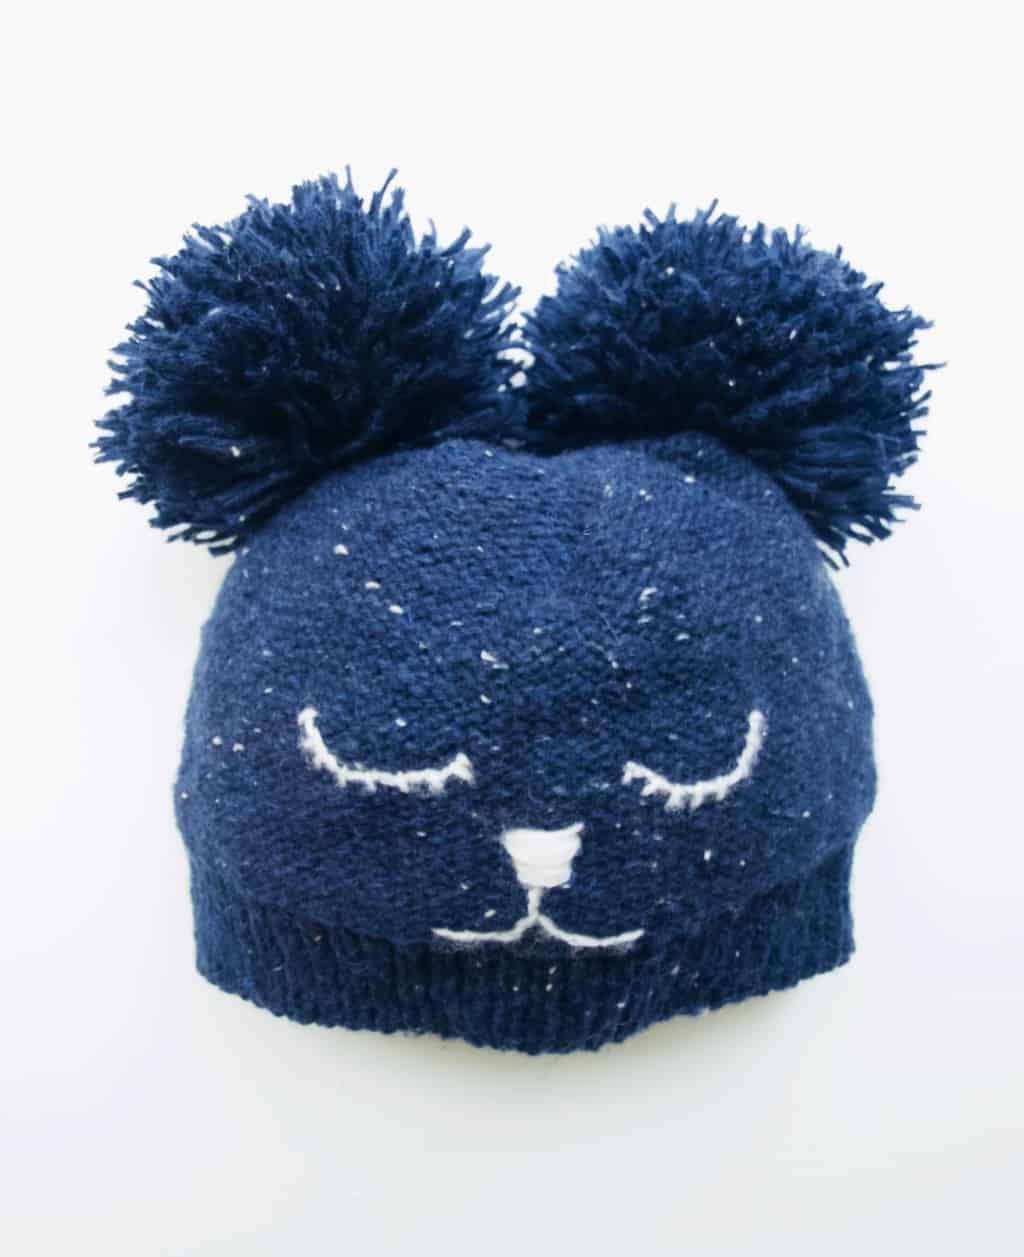 Over holidays I have started knitting because we have gone away and I was free from doing all the house tasks. I find knitting (or any other crafting) is something I can do while chatting or watching a movie. I find it very relaxing! I knitted this hat for my nephew that Tomas is modelling here, hence blurry pics because he can’t stay still. If you fancy knitting this hat then you can access the project here!
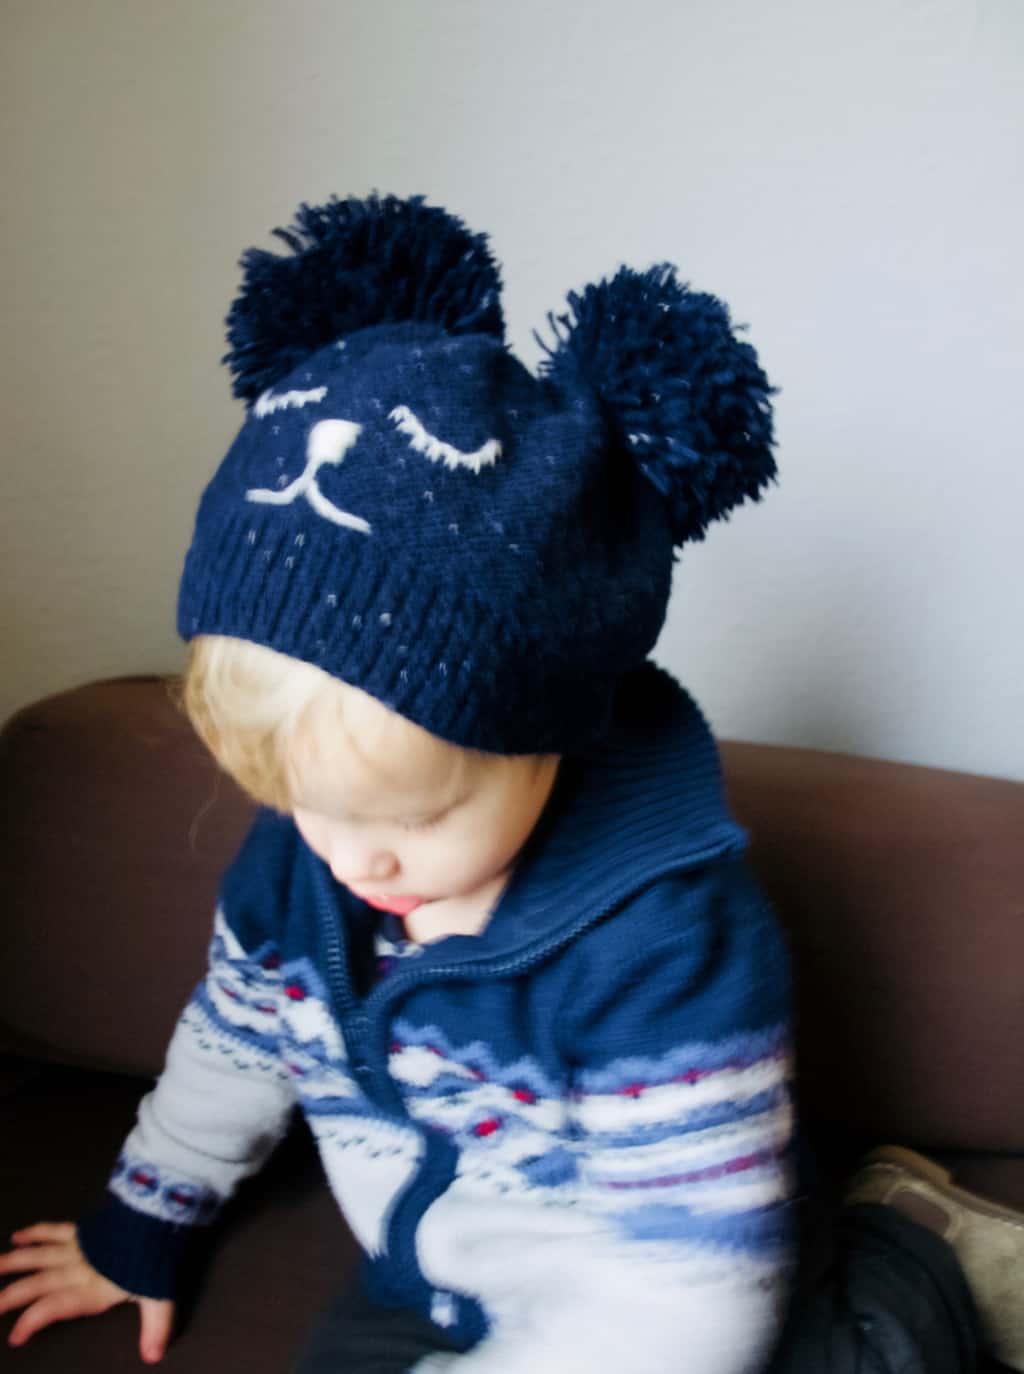 Have an enjoyable January!