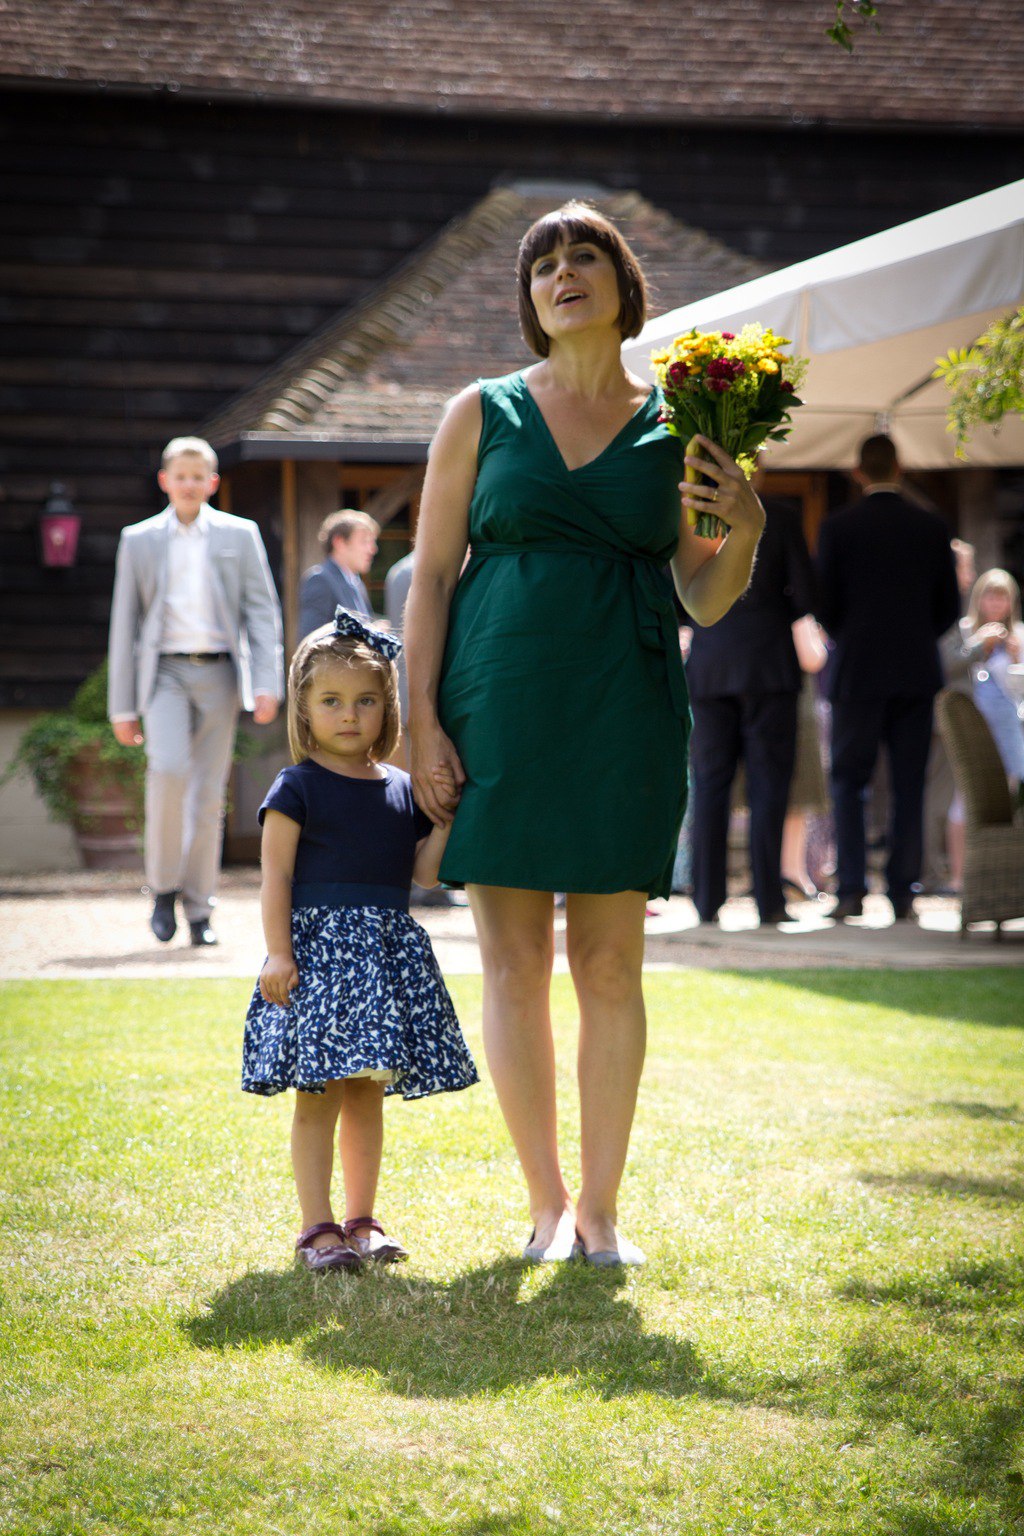
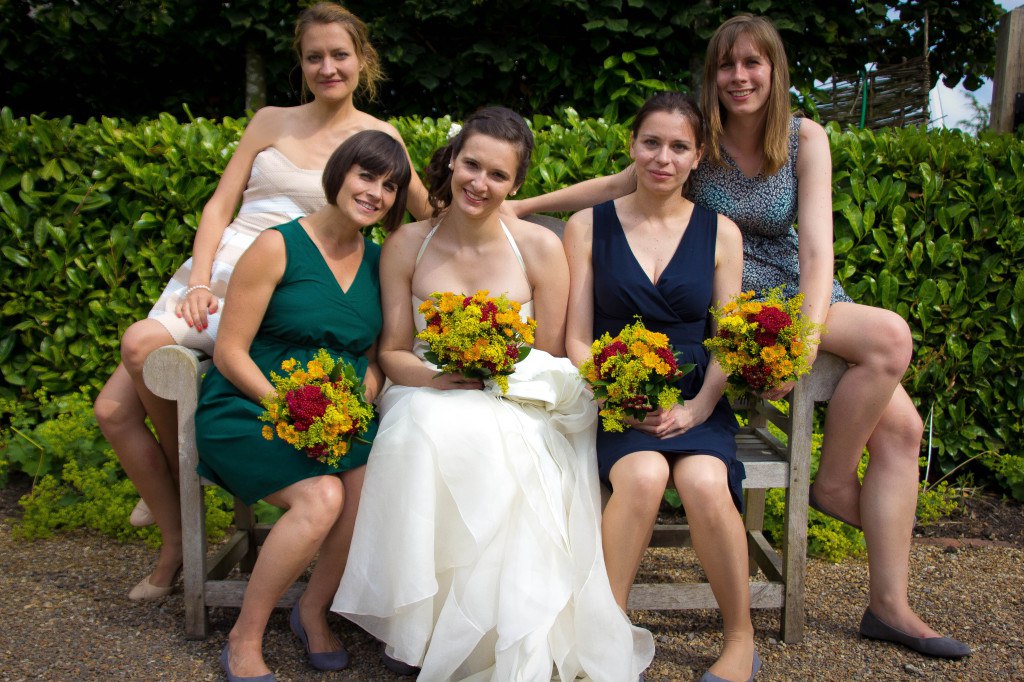
 When deciding on bridesmaid dresses I came across this blog post with the picture of bridesmaids wearing mixed style summer dresses. Unfortunately I can no longer find that post that I had pinned on my secret Pinterest board (I sometimes suspect Pinterest deletes some of my pins :-(). Anyhow, that look really inspired me! So this is what I have done. I made and fixed most of my bridesmaid dresses you see in the pic above.
First, I have made Nicola’s dress. You can all go here to see how I made it ;-). This one is also my favourite! Anna already had a dress we both liked. The only concern we had was it’s length. Last month I wrote a post on how to extend the dress length explaining how I made Anna’s dress a little bit longer. Really pleased with the result!!!!
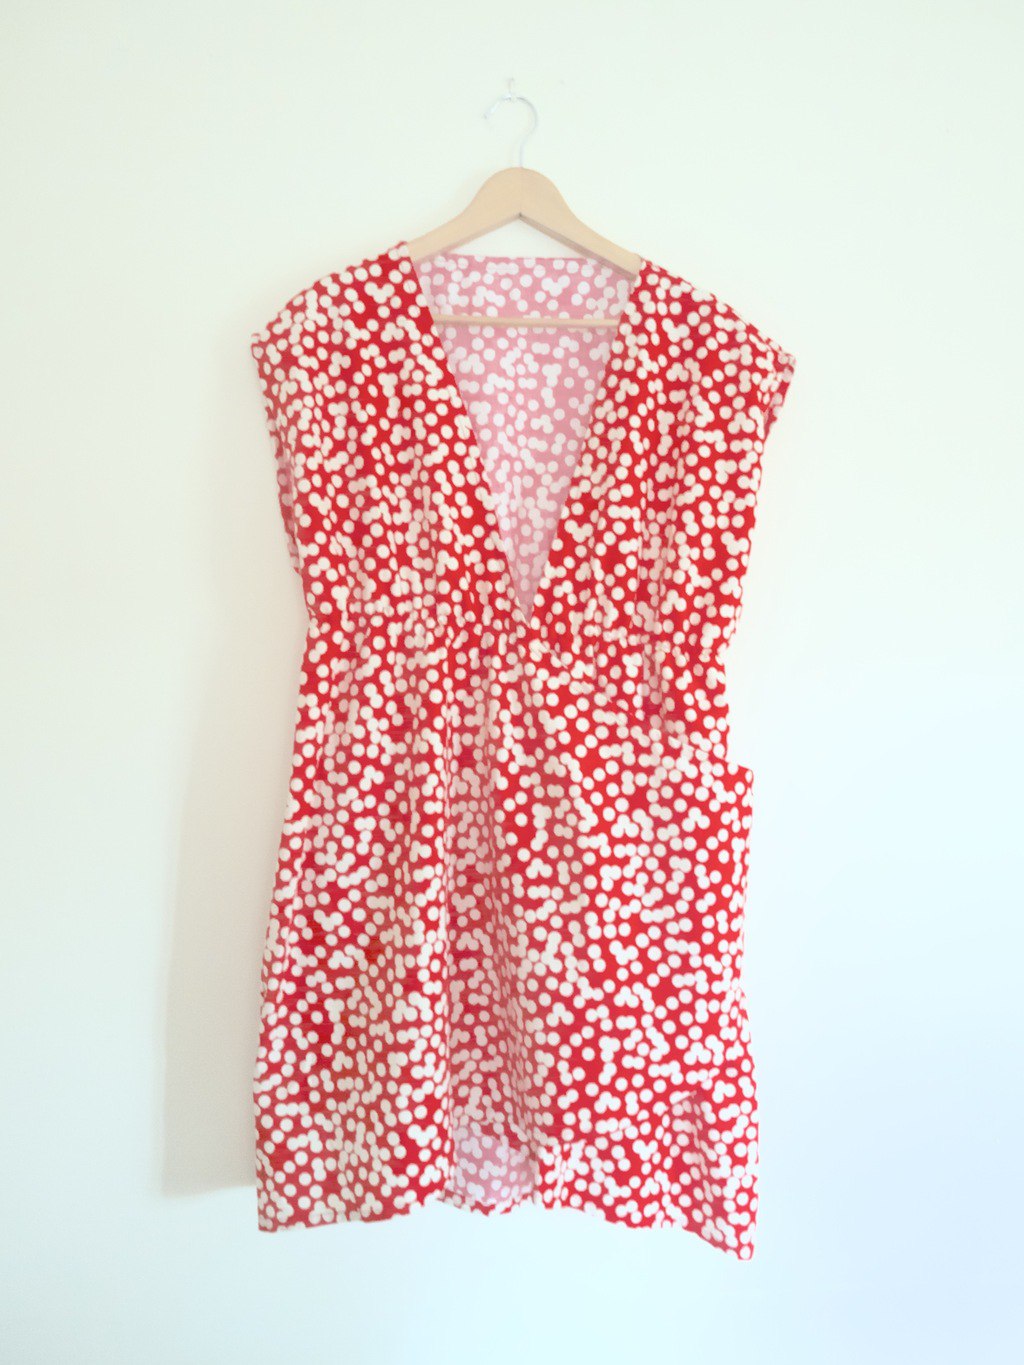
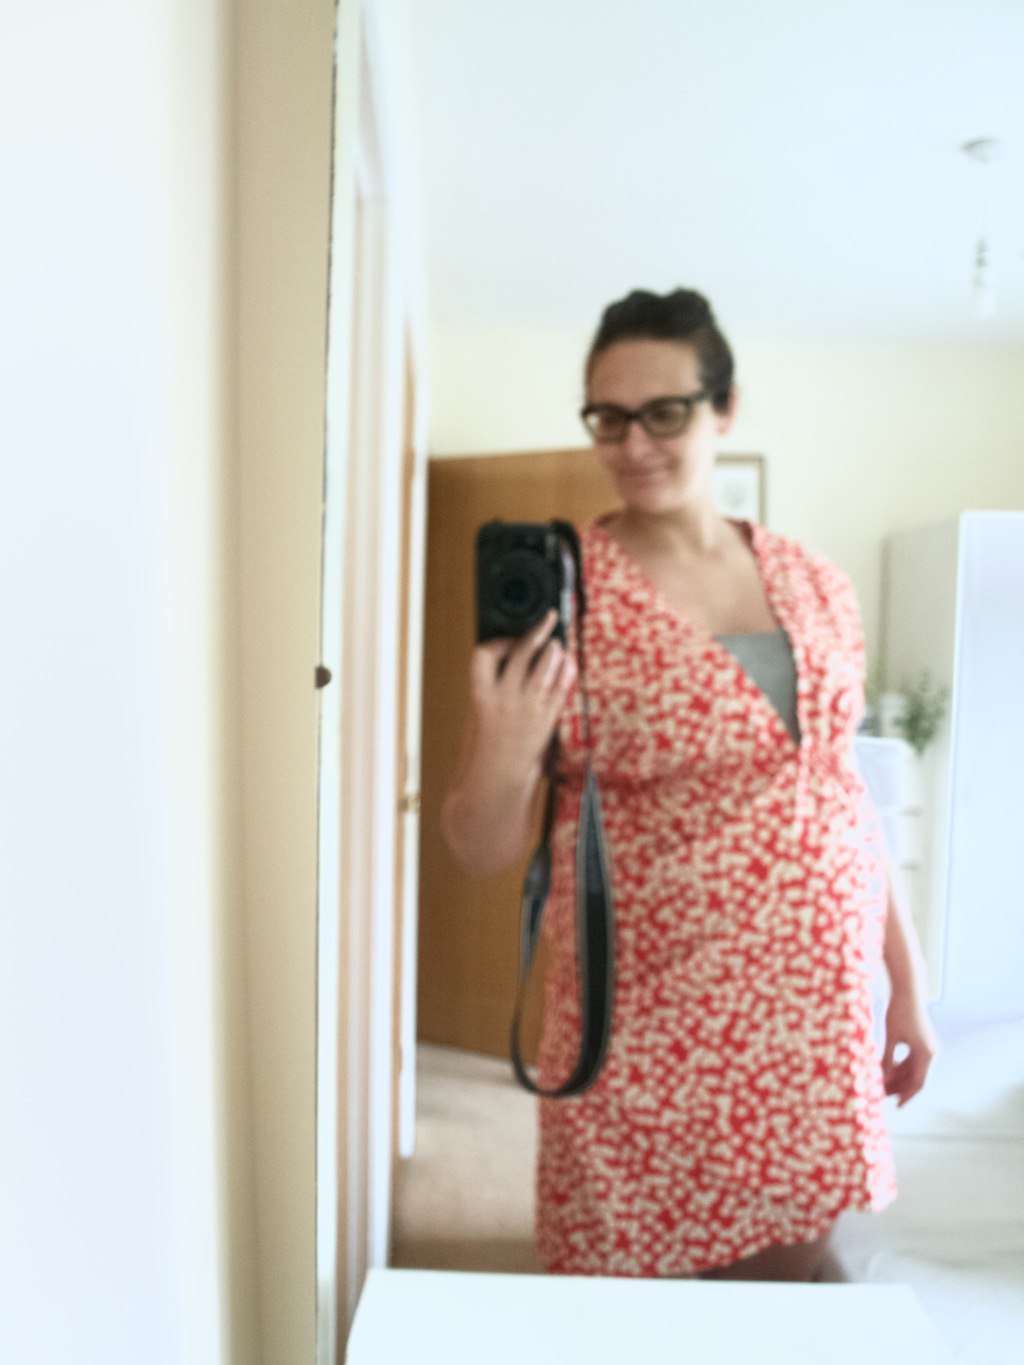
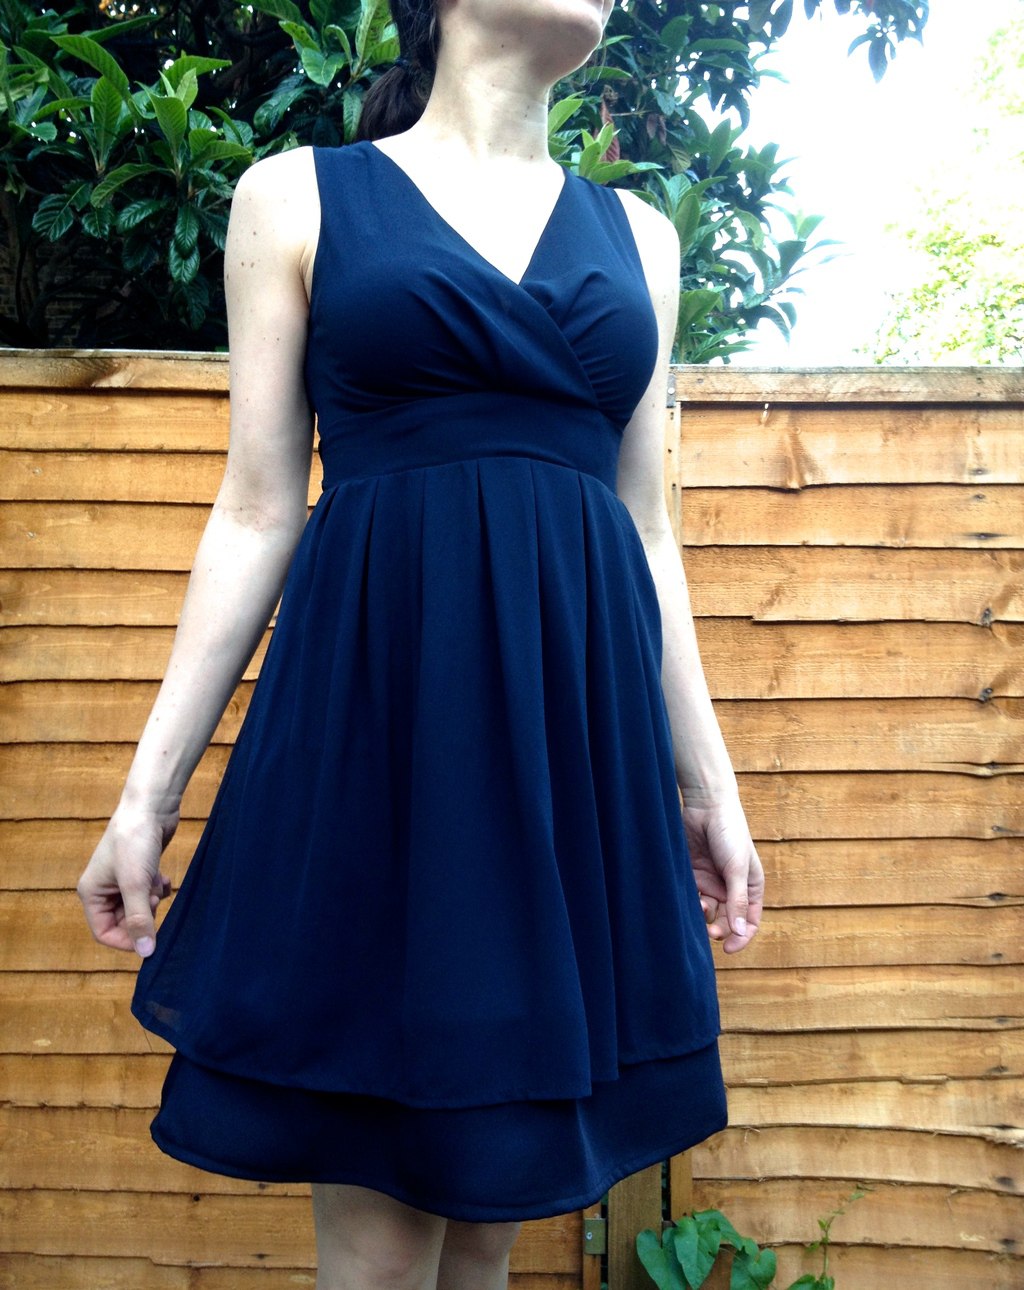
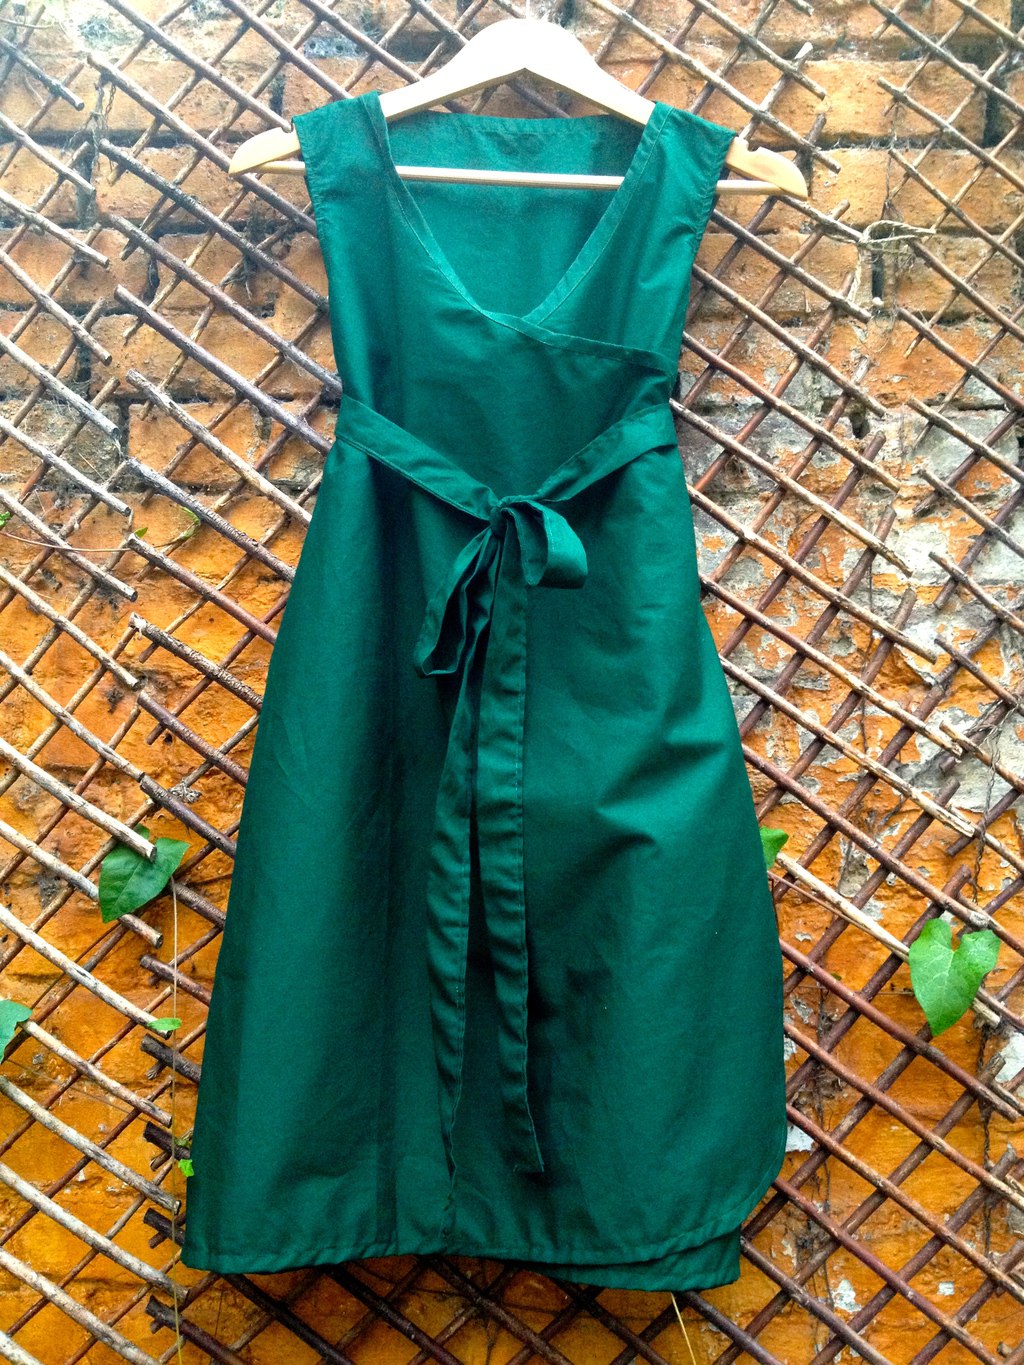
 Suzanne’s dress was quite a challenge! She was pregnant during the months leading up to my wedding and we were not able to meet to do some fitting. Even if we could have done some fitting, it would still have been very complicated as her body was changing so fast from pregnant to non pregnant. So I thought I would sew a wrap dress to make it easy for Suzanne to breastfeed whenever she needed. Turned out, I was wrong! Ladies (or gents), if you are making a dress for breastfeeding women it’s best if you make it out of stretchy fabric or make the dress strapless. This wrap dress wasn’t easy to escape apparently! Another issue was that it did not look good on the curves.This happened because I made it slightly loose (not shaped), because I thought that would give a better chance to fit Suzanne. Oh well… no worries, all you curvy ladies! I will be designing my next wrap dress just for you ;-).
Making your own dresses may not save you time, but it will definitely save you money. I spend £59.92 for bridesmaid outfits, including shoes!
Rasa xoxo


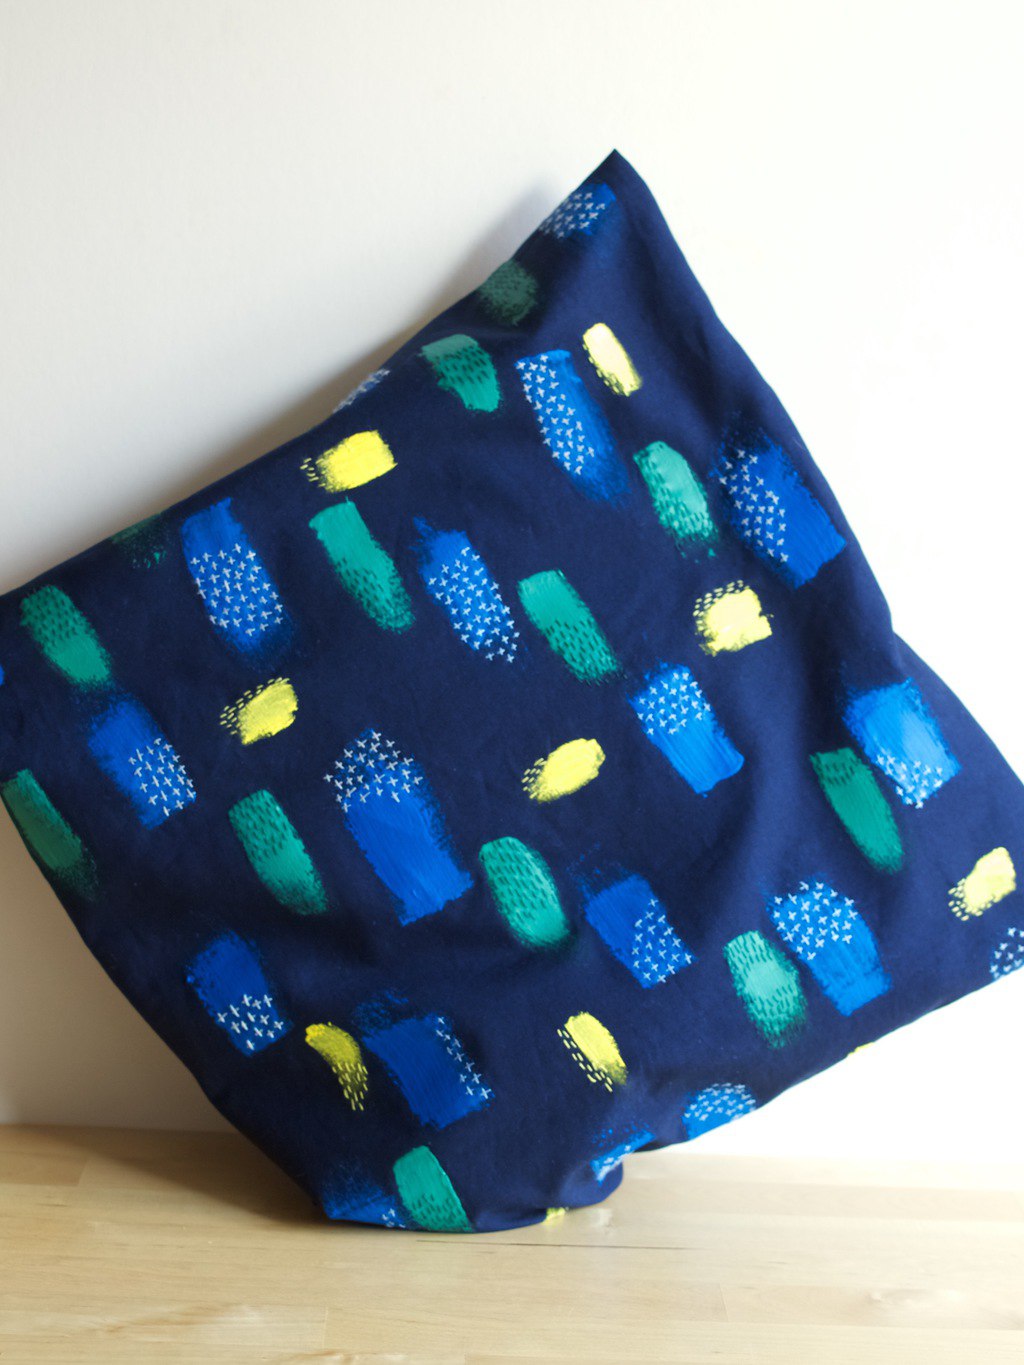
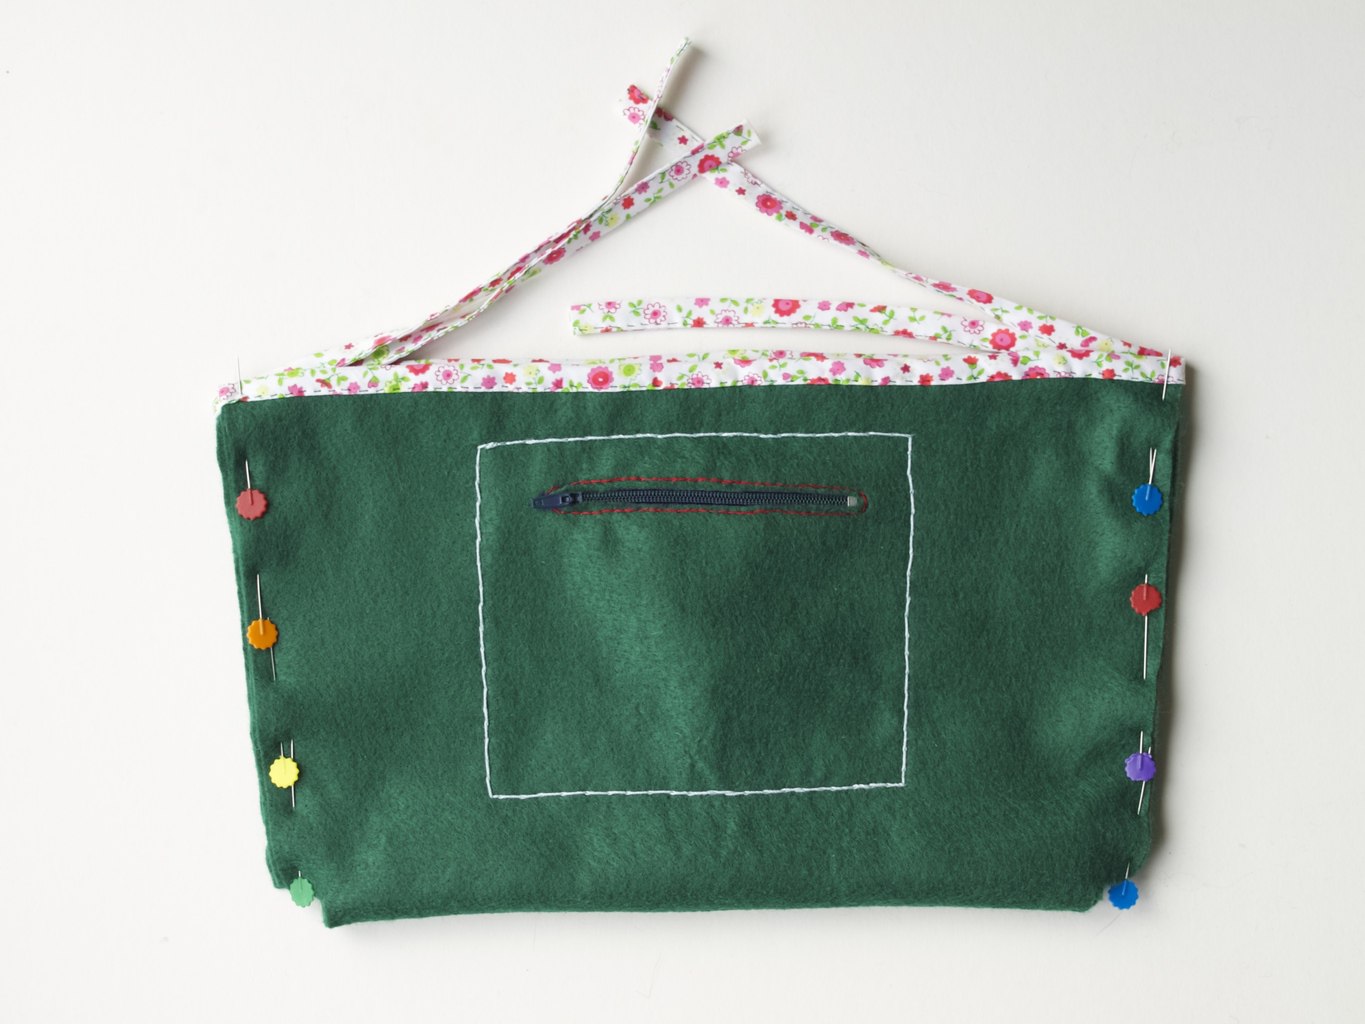
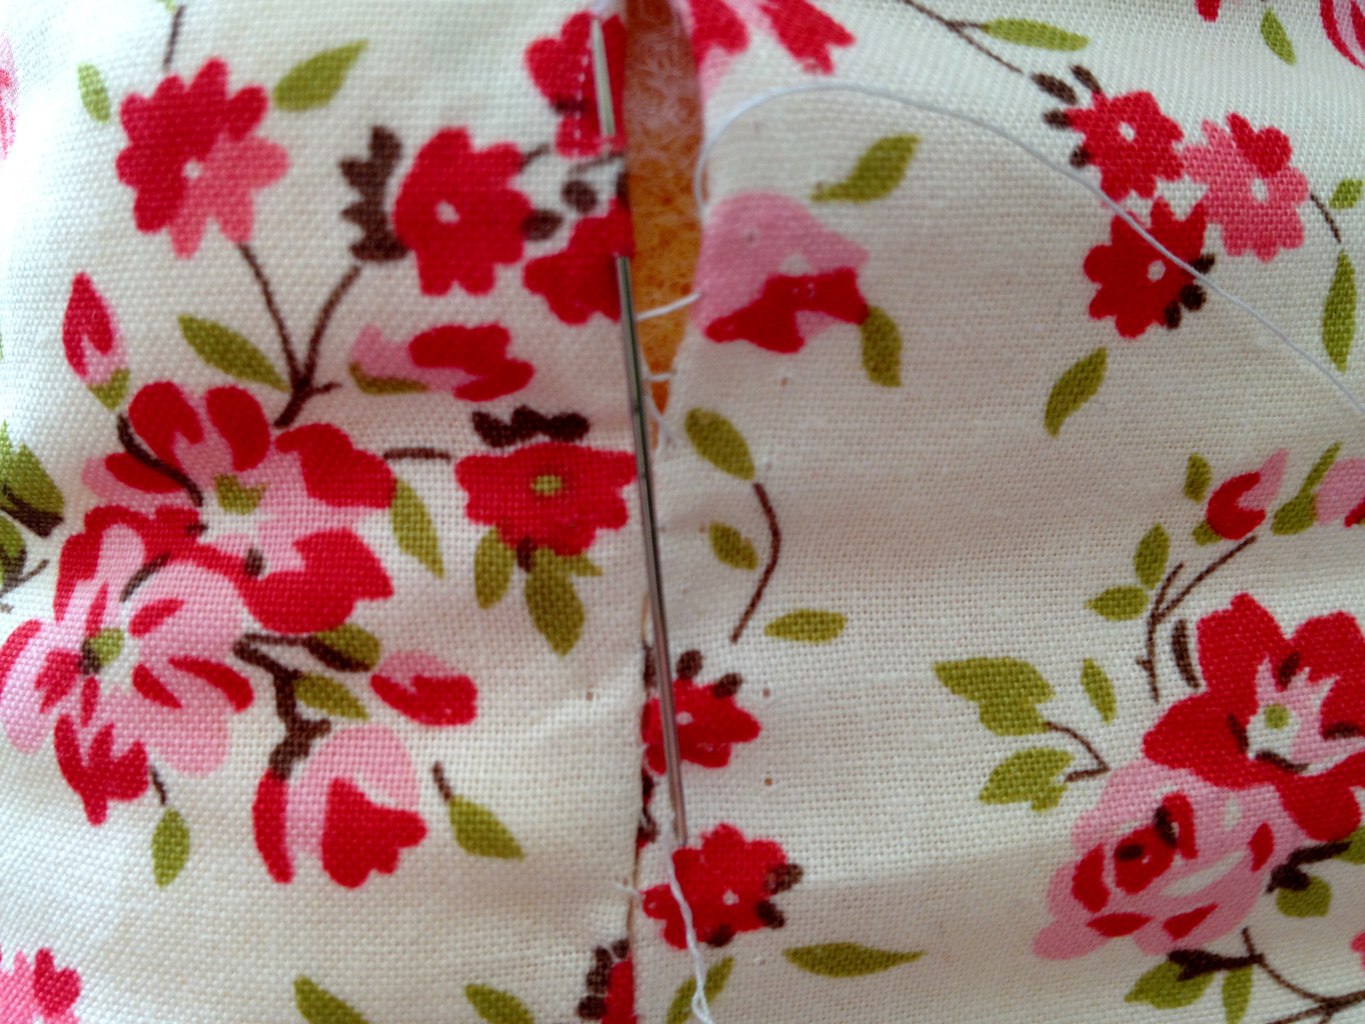
 I think there can never be enough cosmetic bags! I just love to keep everything organised, even if I don’t keep many actual cosmetics(if you know what I mean). Last week we celebrated my sister in law’s birthday and since I was giving her some cosmetics I thought why not make this simple customised pouch bag. What do you think?…
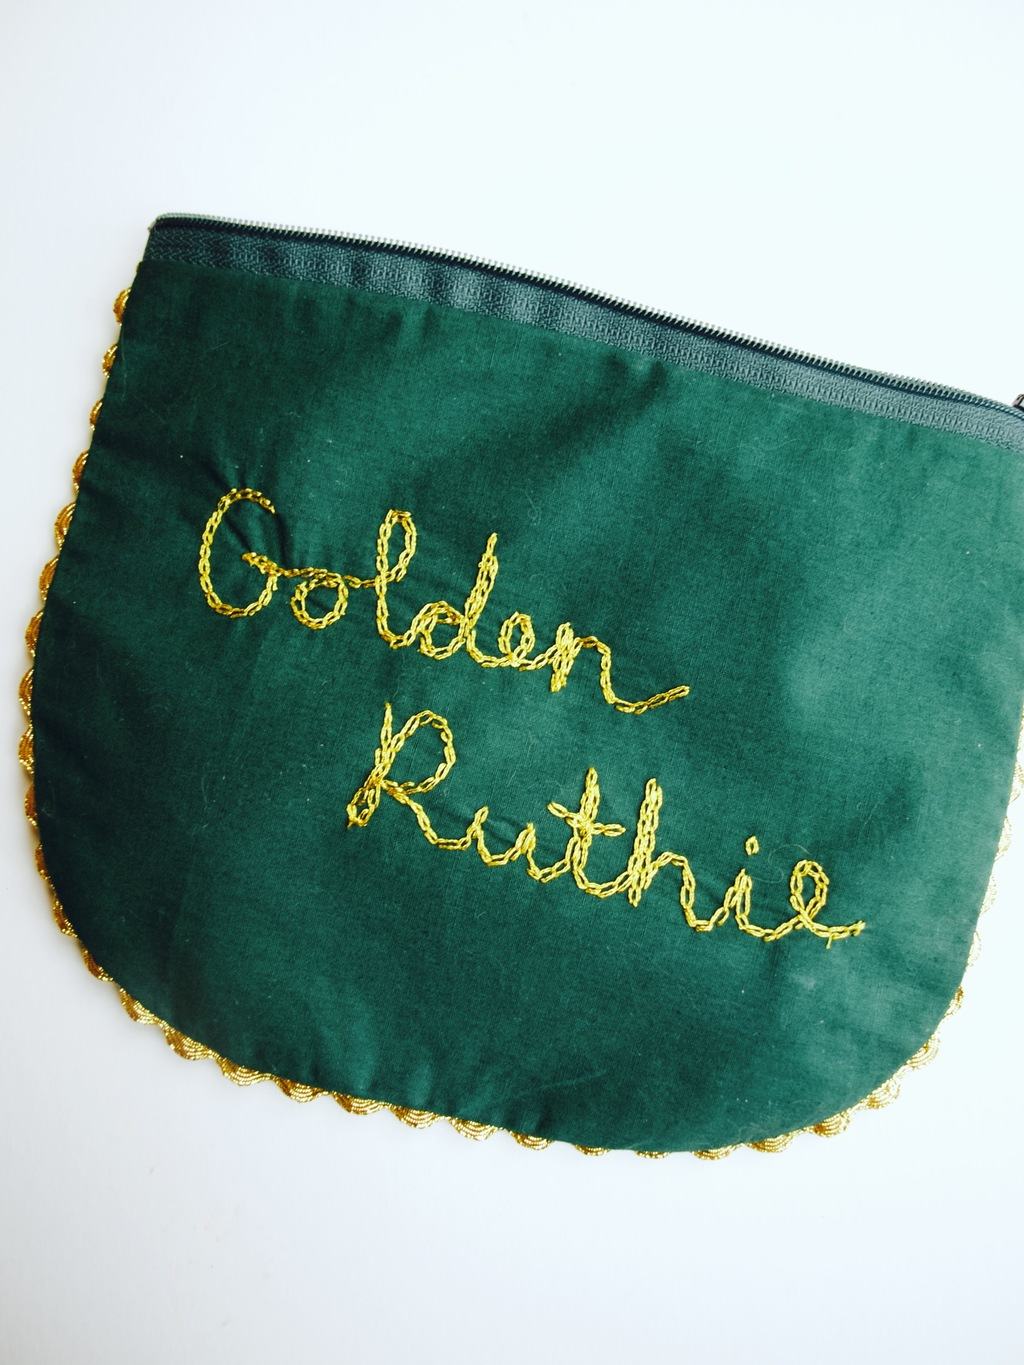
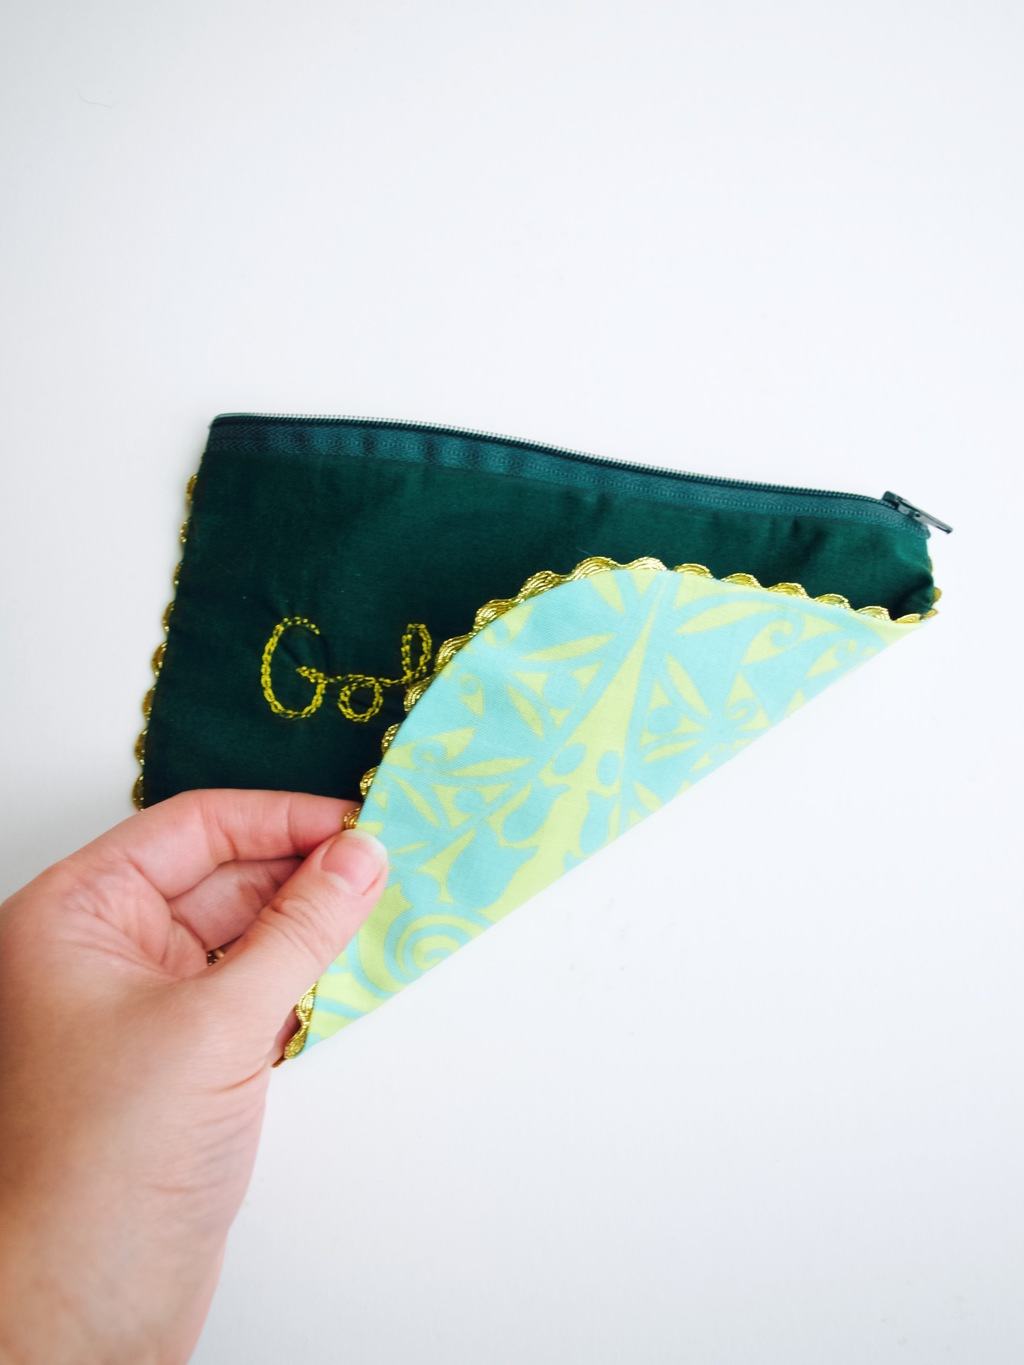 Like it? If you fancy making it than here is a link ;-).
 Enjoy sewing it!