Top

Archive | Preserves

Green tomato ketchup

Green tomato ketchup recipe
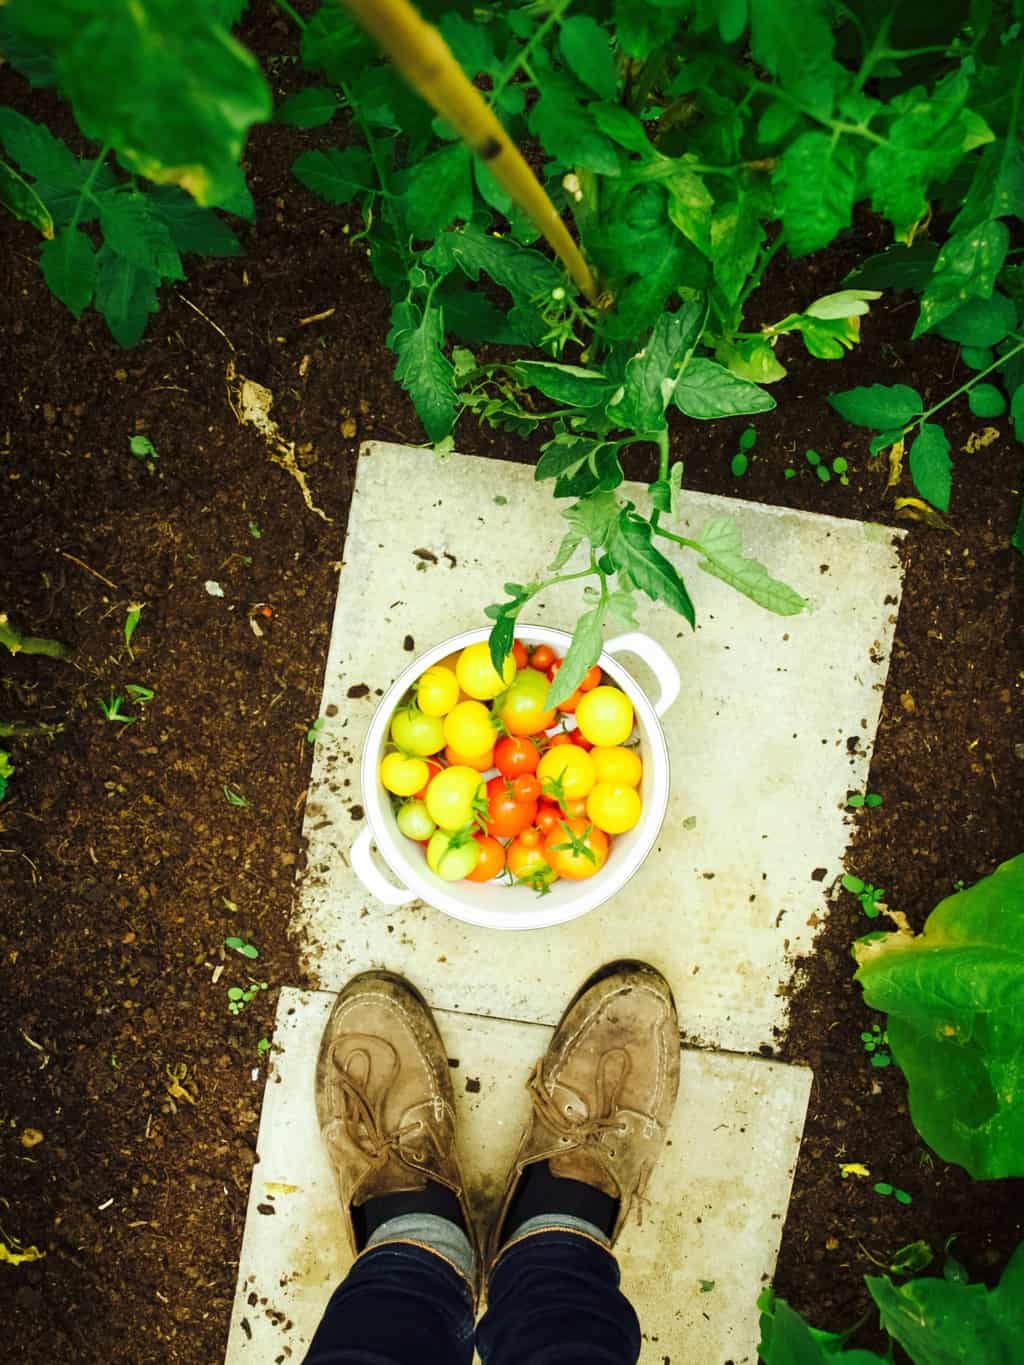
Last week we said goodbye to our green house. It was quite emotional for me as I really fell in love with it! Although the journey of building it and general gardening jobs delayed our house renovation (kitchen in particular) I feel having green house has given us irreplaceable experience. I loved getting fresh tomatoes everyday for my toast and salads, even if it was for only few months. I have learned a lot too! I will be applying my new learned knowledge next year when I grow tomatoes again :).Green tomato ketchup recipe
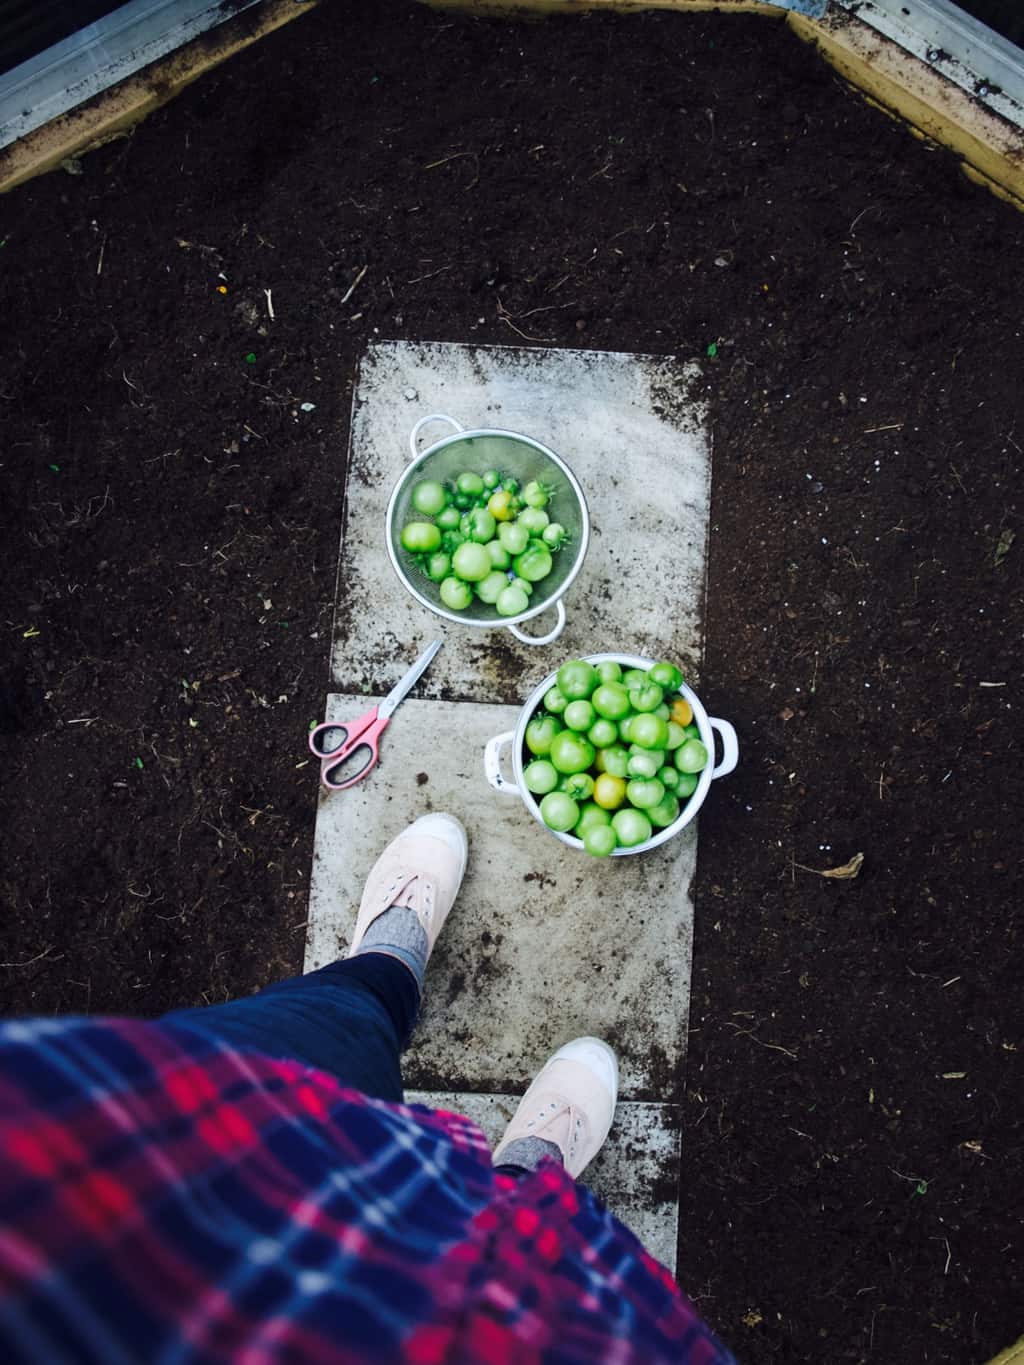
But what to do with all those green tomato that missed their chance to catch some sun? Few years ago we made some green tomato chutney. This year however I decided to go with green tomato ketchup only because we use ketchup more often (I bet you do too!). Green tomato ketchup taste a little fresher to compare to regular ketchup but is equally delicious with chips!Green tomato ketchup recipe Green tomato ketchup recipe 
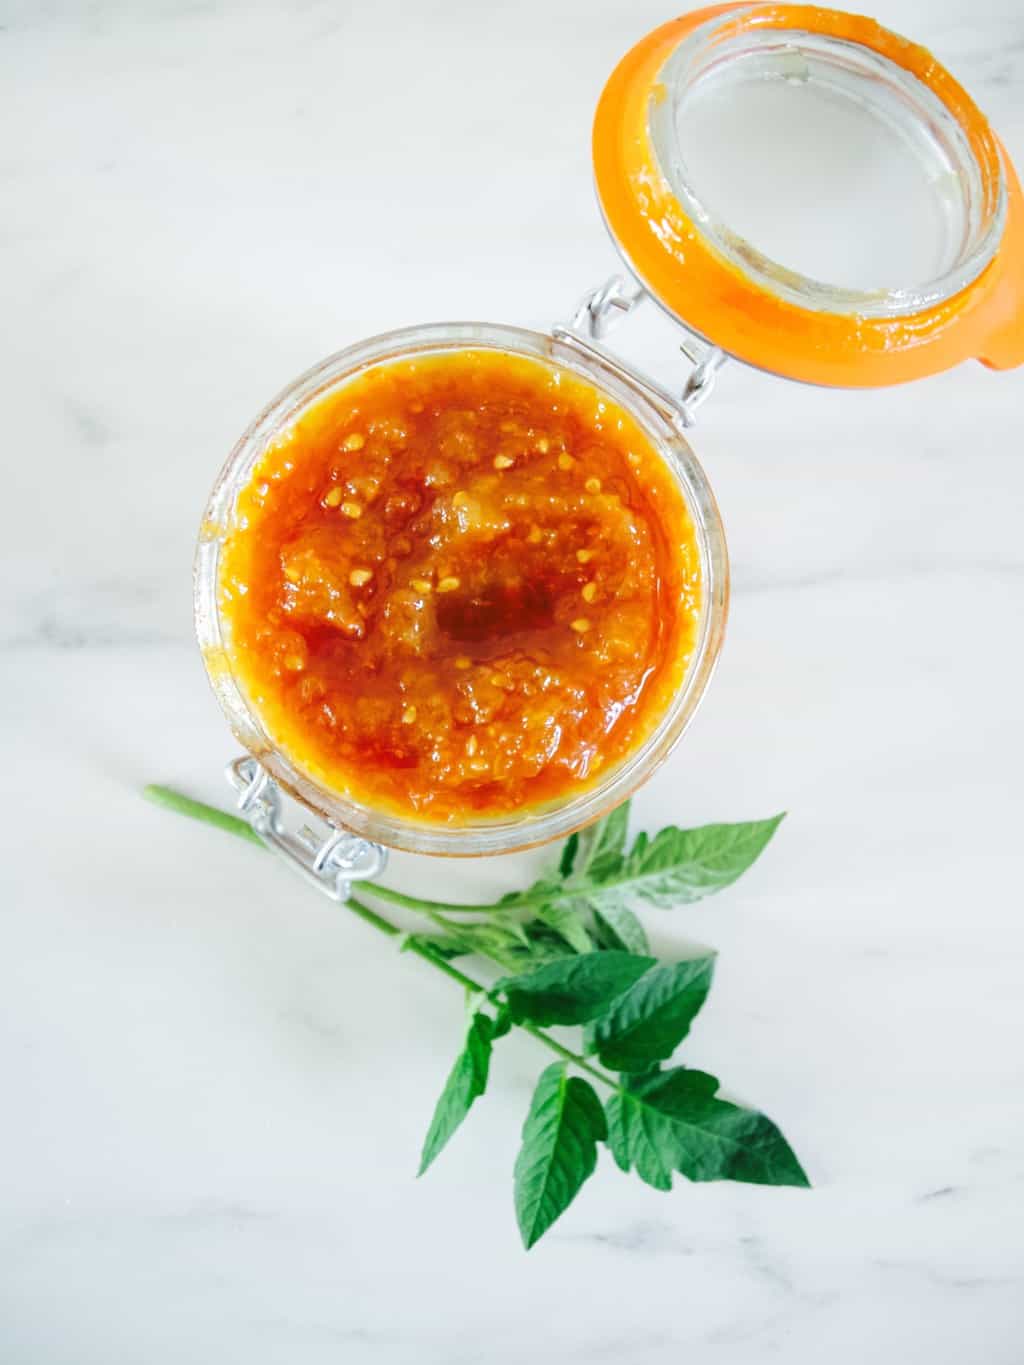
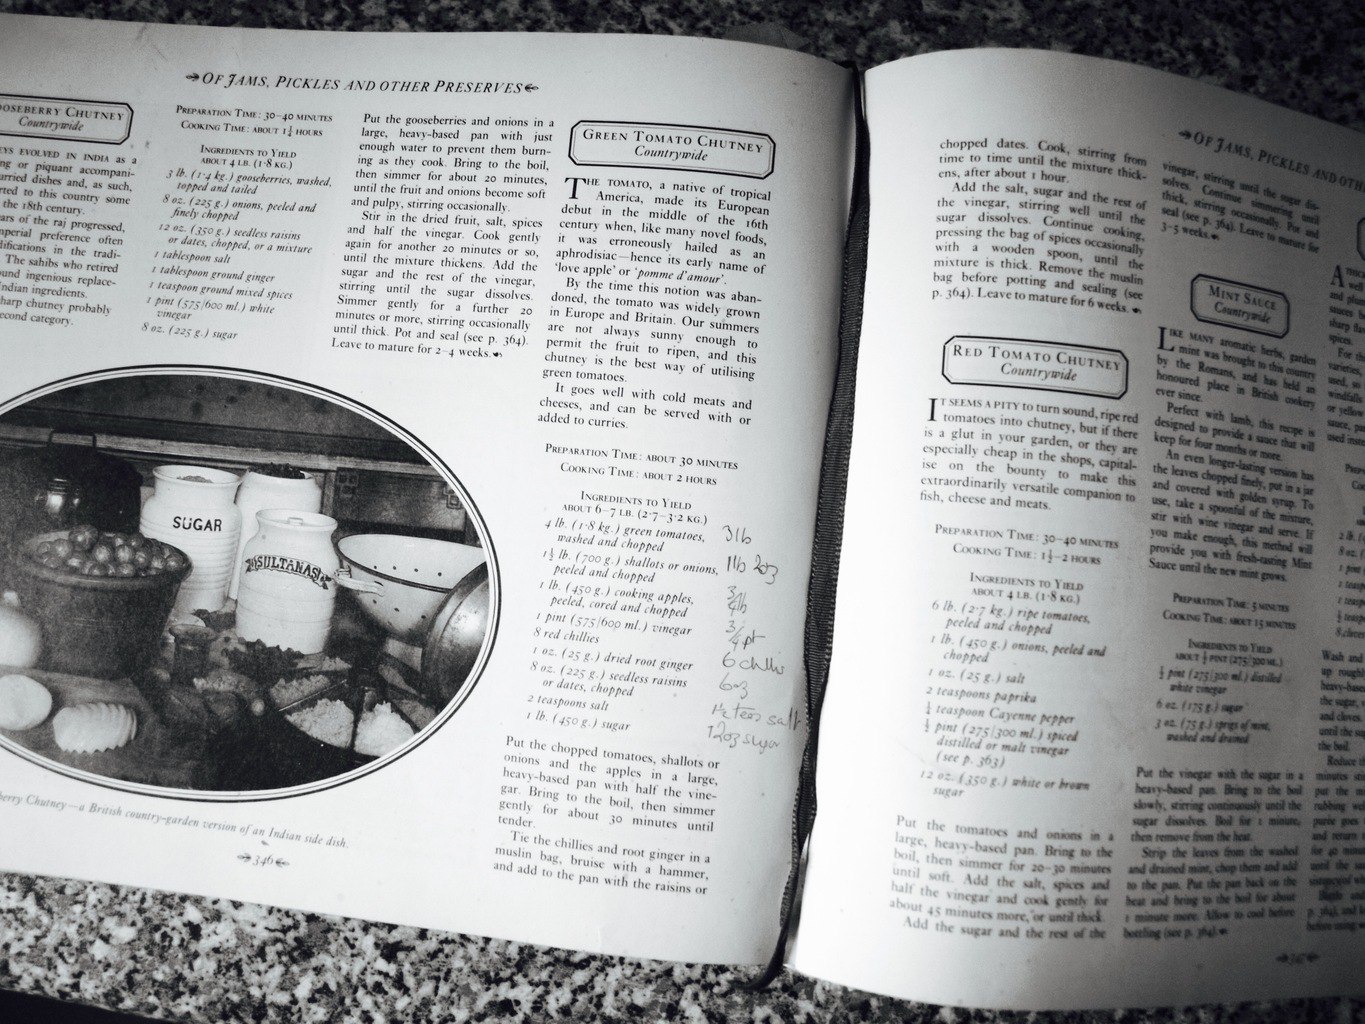
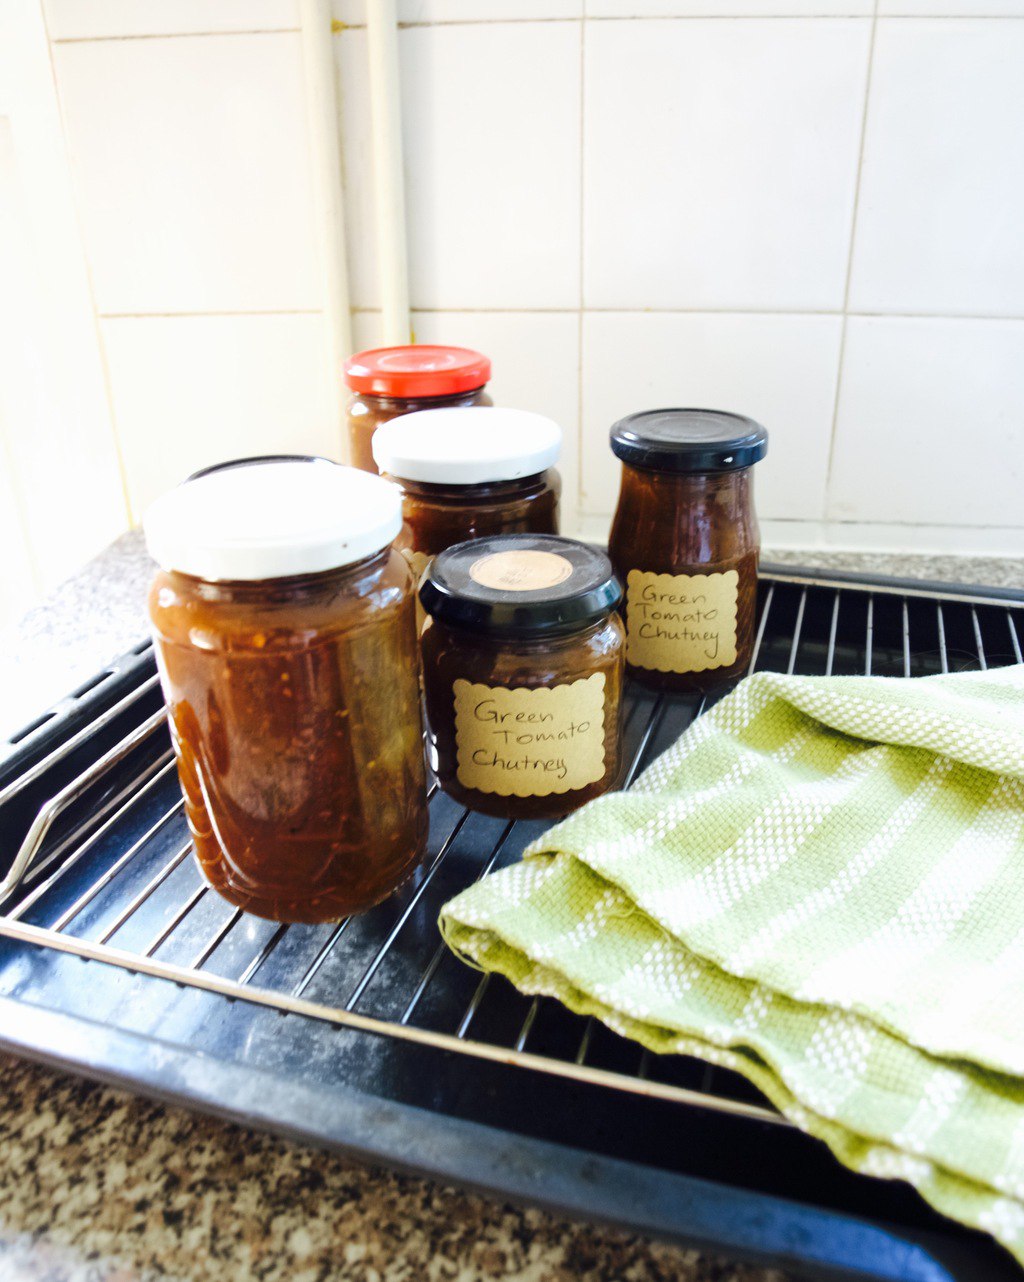
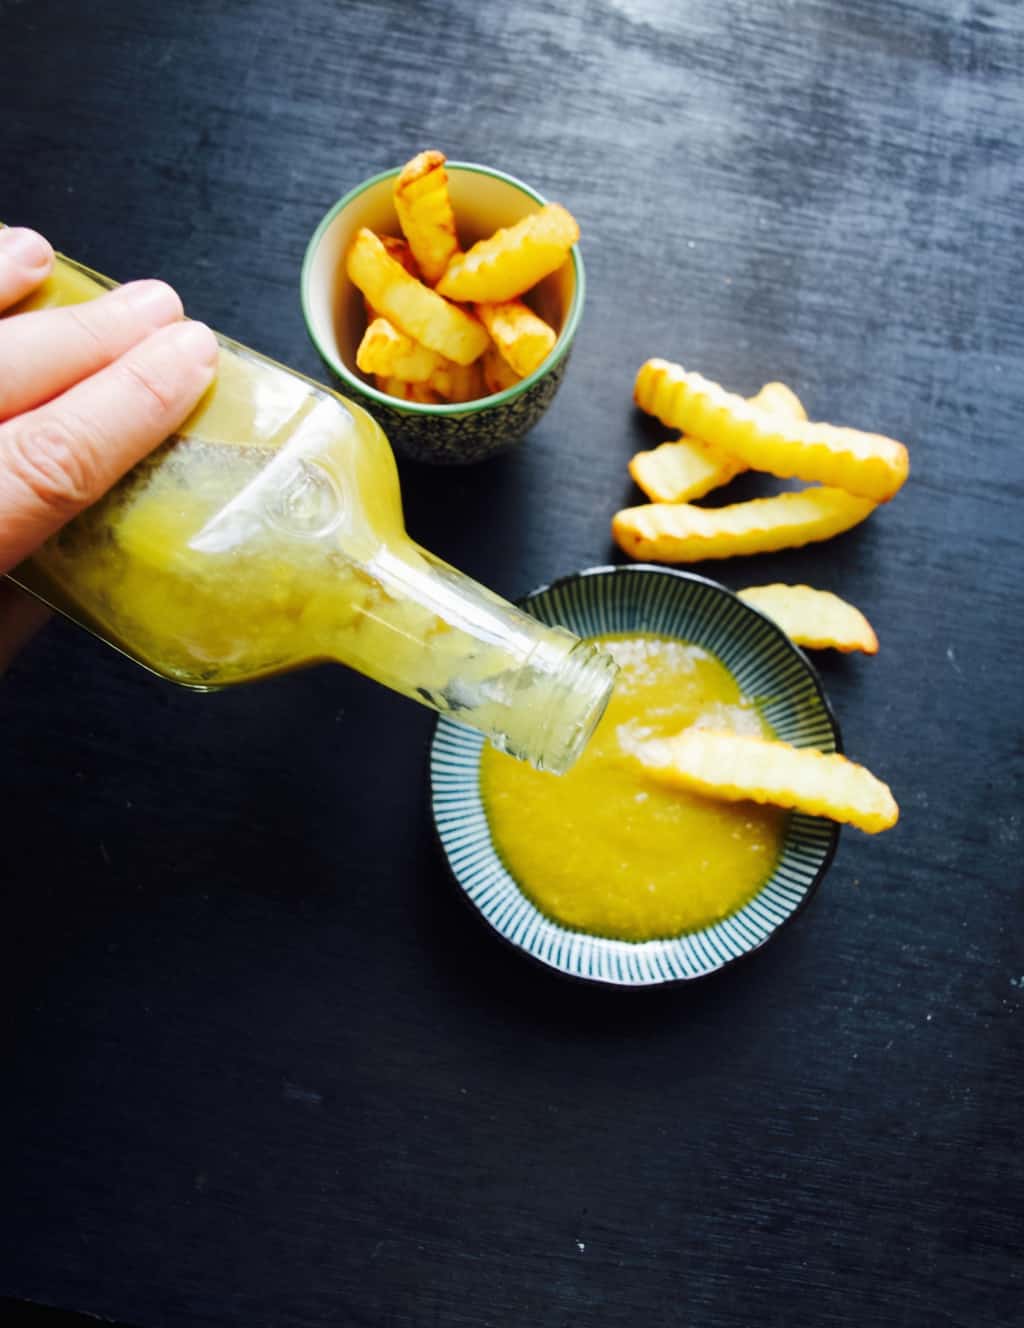
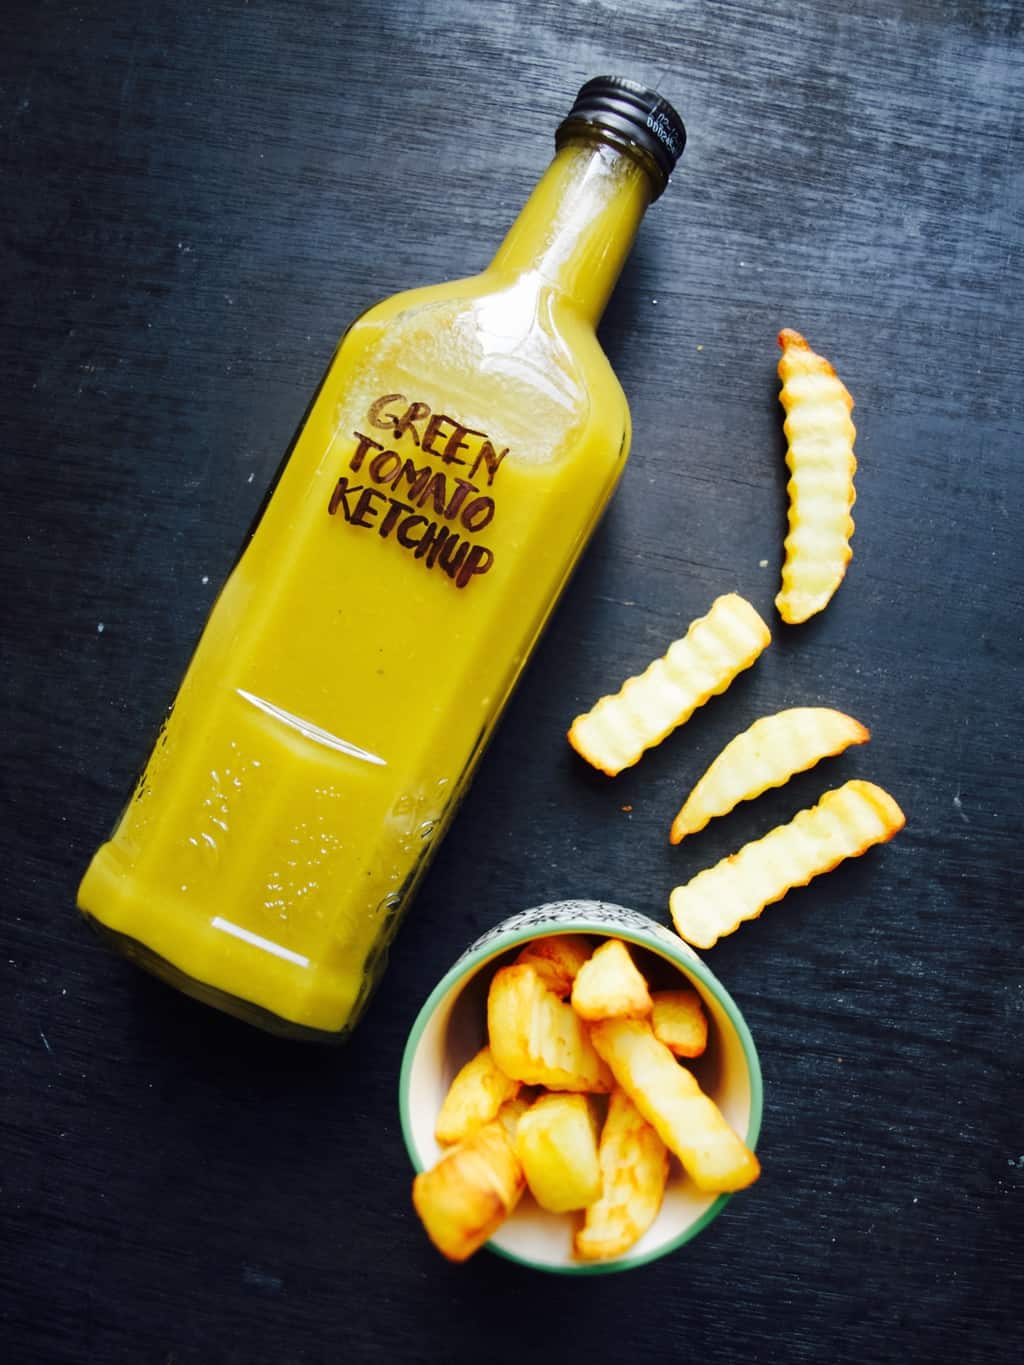
This recipe can be halved or doubled depending on your green tomato harvest. So weigh your tomatoes before deciding how much ketchup to make.

GREEN TOMATO KETCHUP

  • 2 kg tomatoes
  • olive oil
  • 3 onions, chopped
  • 2 celery sticks, sliced
  • 2 thumb fresh ginger, grated
  • 4 garlic cloves, sliced
  • 1 tsp ground coriander
  • 1/2 tsp ground mixed spice
  • salt and pepper
  • 700ml water
  • 2 tsp tabasco sauce (more if you like spicy)
  • 150ml apple cider vinegar
  • 200g brown sugar (I used dark brown which made the ketchup look darker)

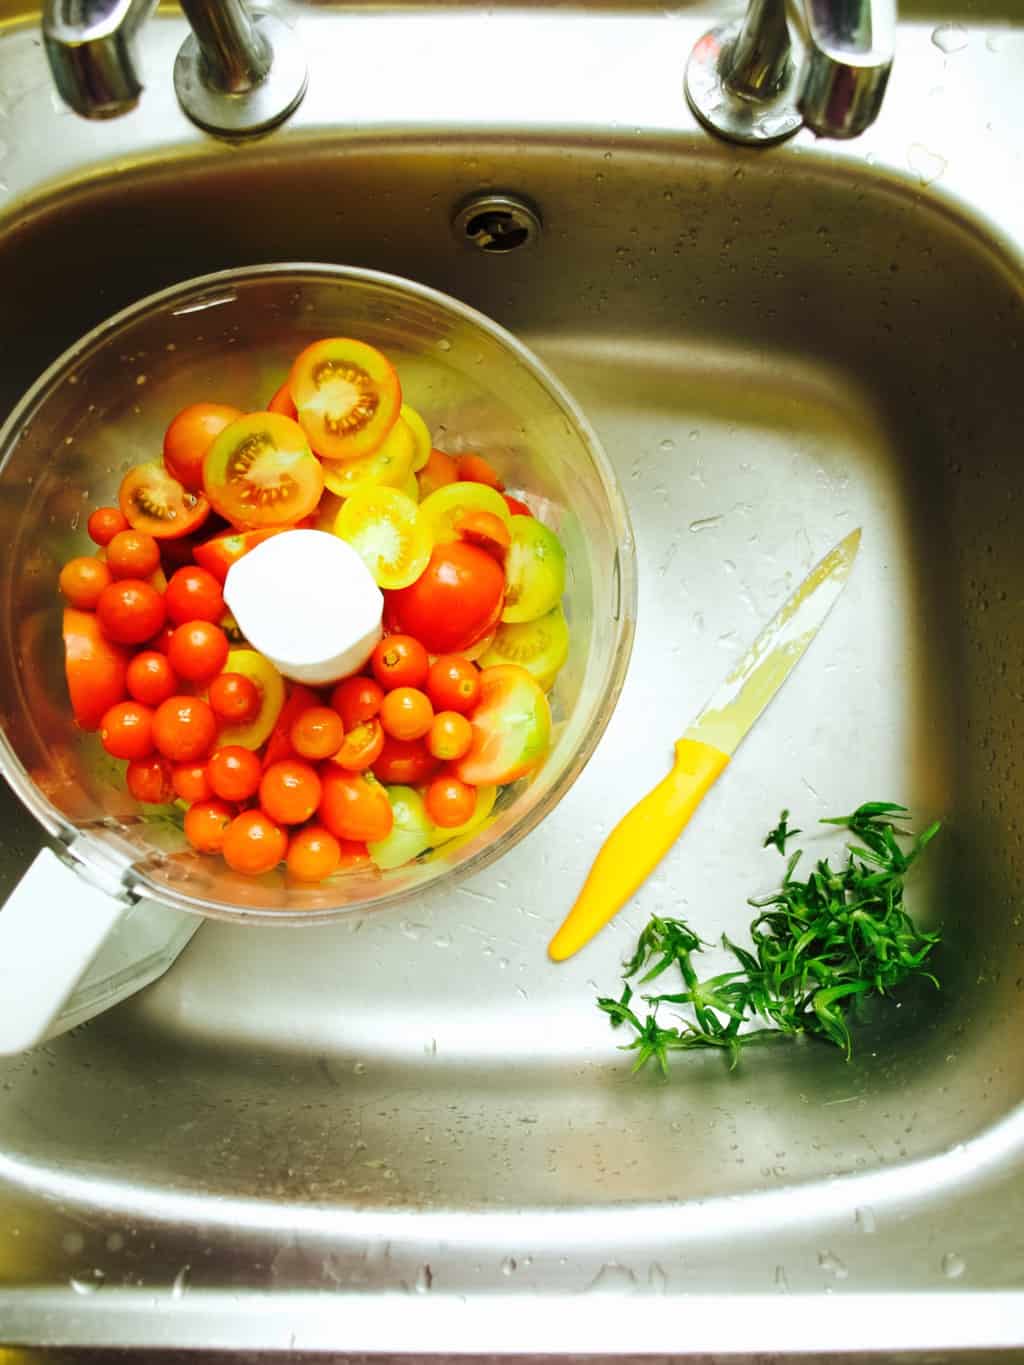
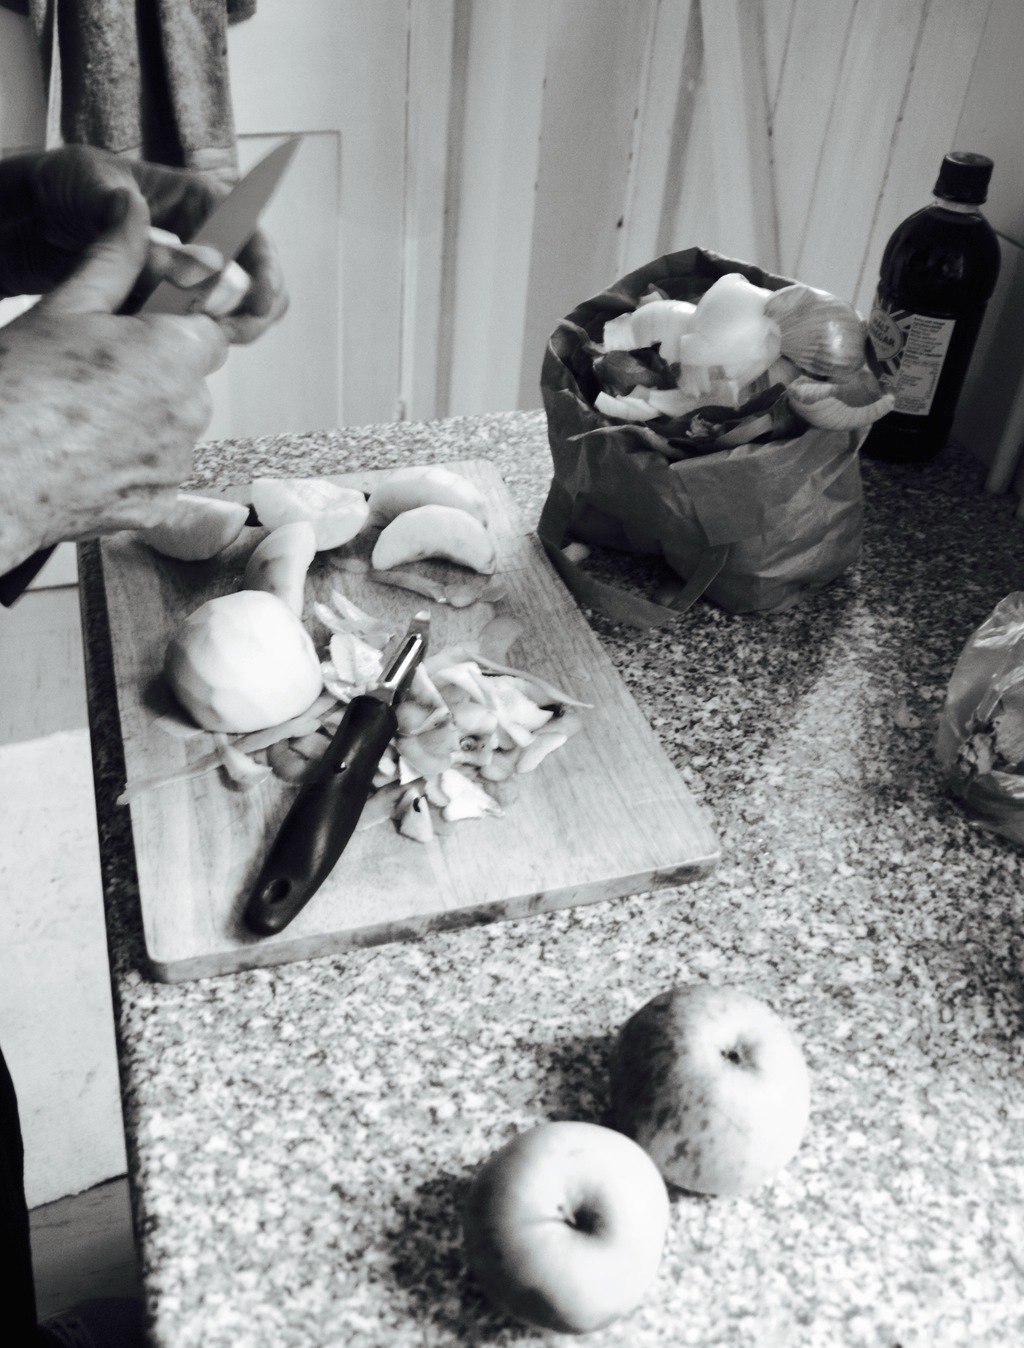
1. wash, weigh, chop the tomatoes and set aside.Green tomato ketchup recipe
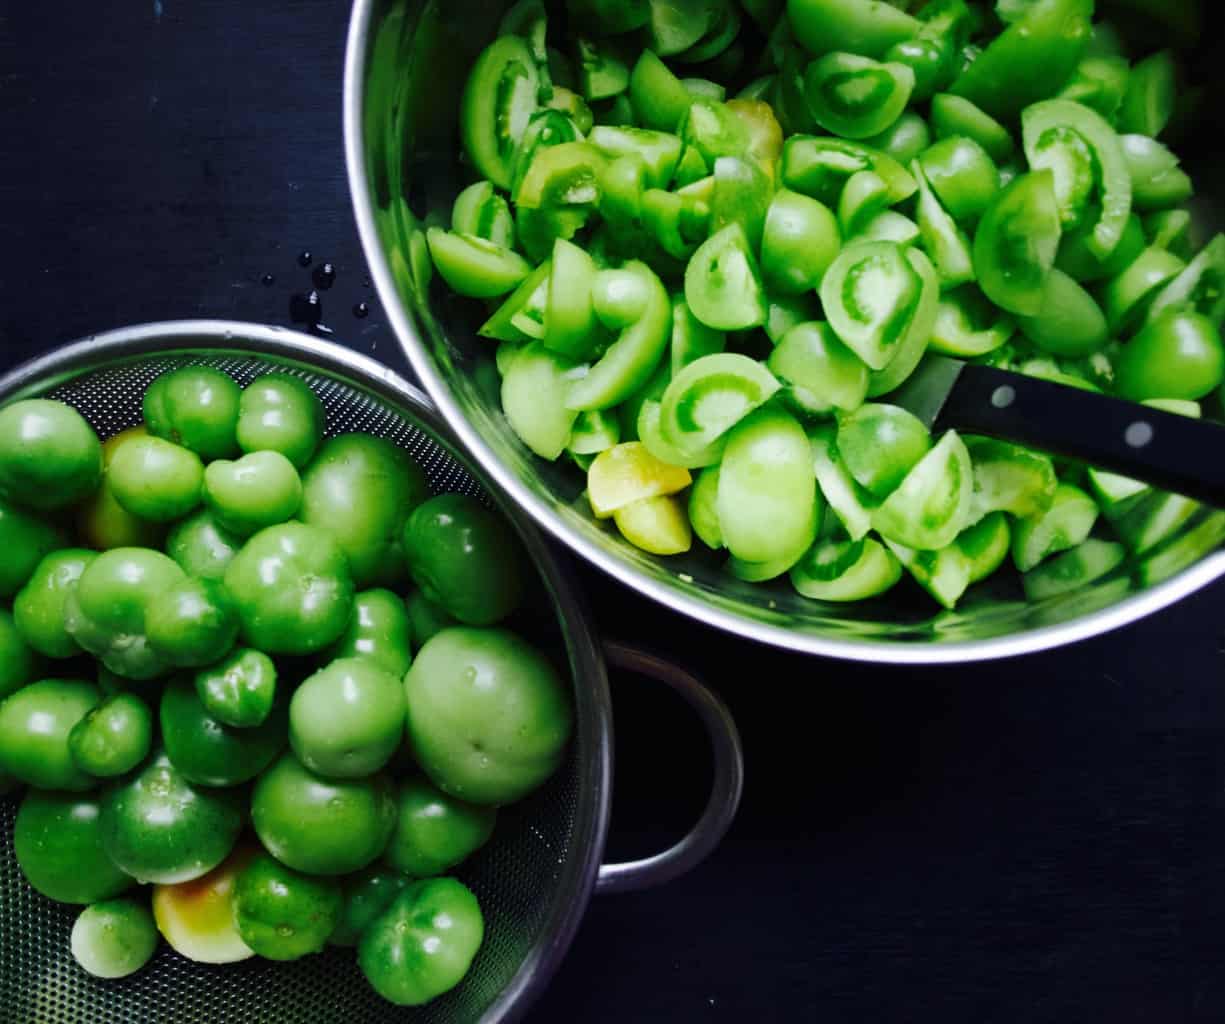
2. Place onions and celery  in a large saucepan with a generous amount of olive oil, ginger, garlic, ground coriander and mixed spice. Season with the pepper and a pinch of salt. Cook gently till softened.Green tomato ketchup recipe 
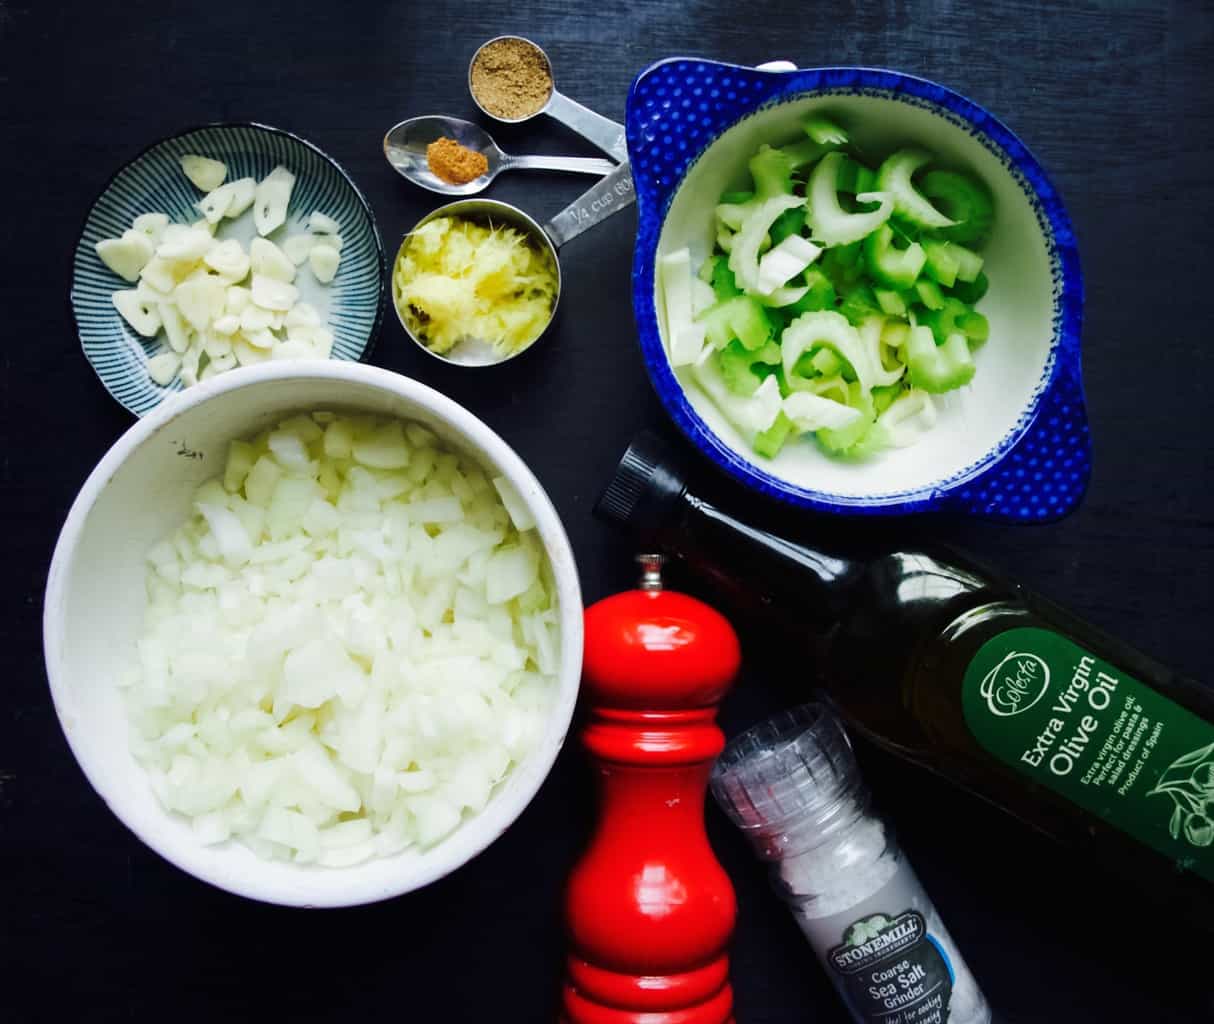
3. Add the tomatoes, water and bring to the boil and simmer gently until the sauce reduces by half (around 3 h for 2kg tomatoes).

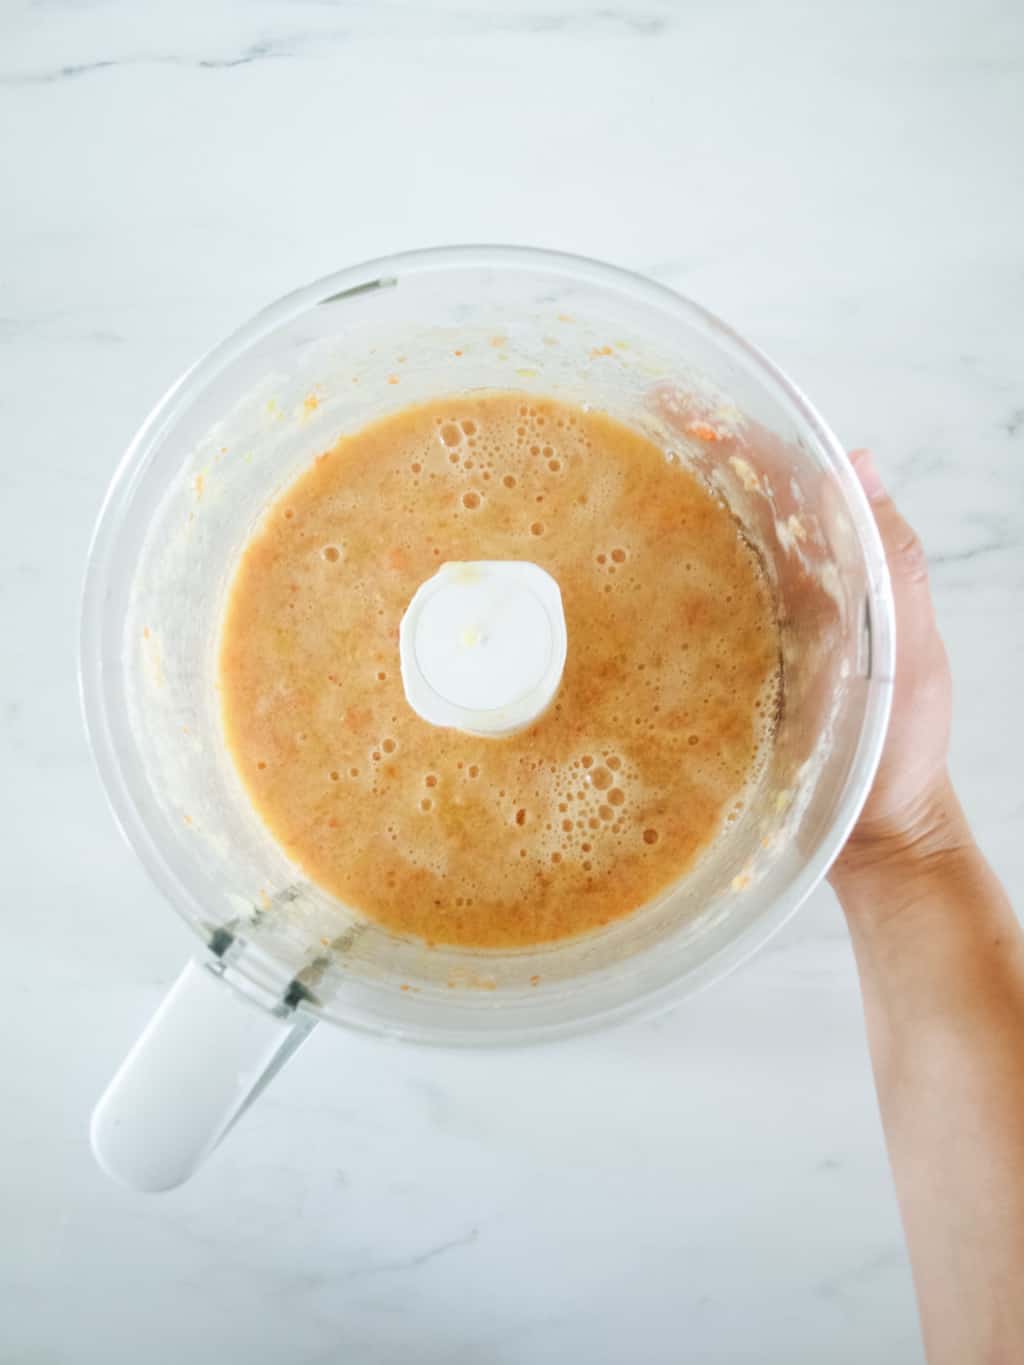
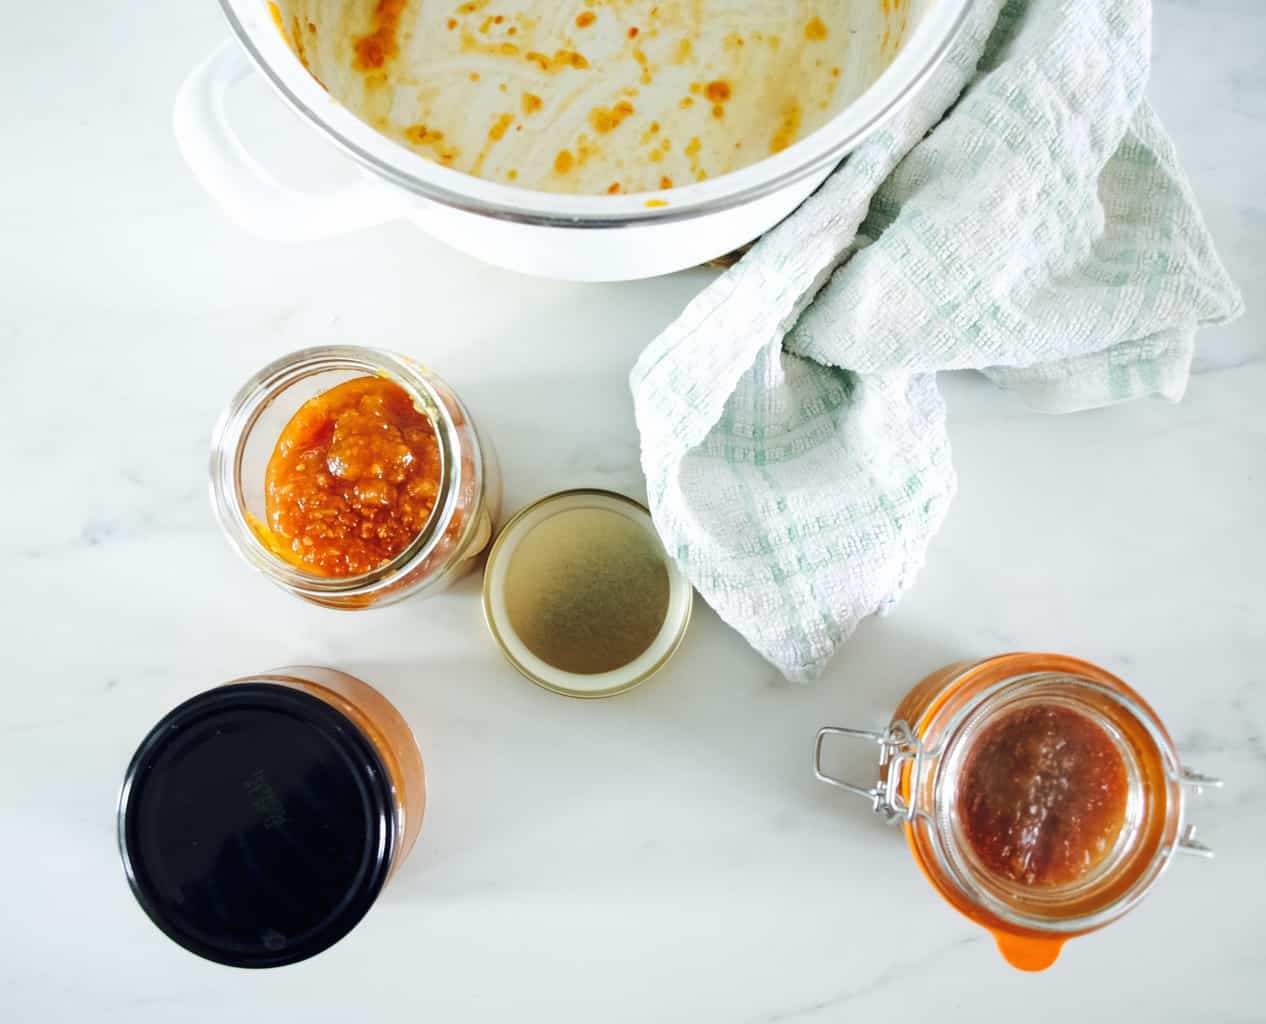
4. Whiz the sauce in a food processor or with a hand blender. Add the vinegar and the sugar. Place the sauce on the heat and simmer until it reduces and thickens to the consistency of tomato ketchup. At this point, adjust the seasoning to taste.

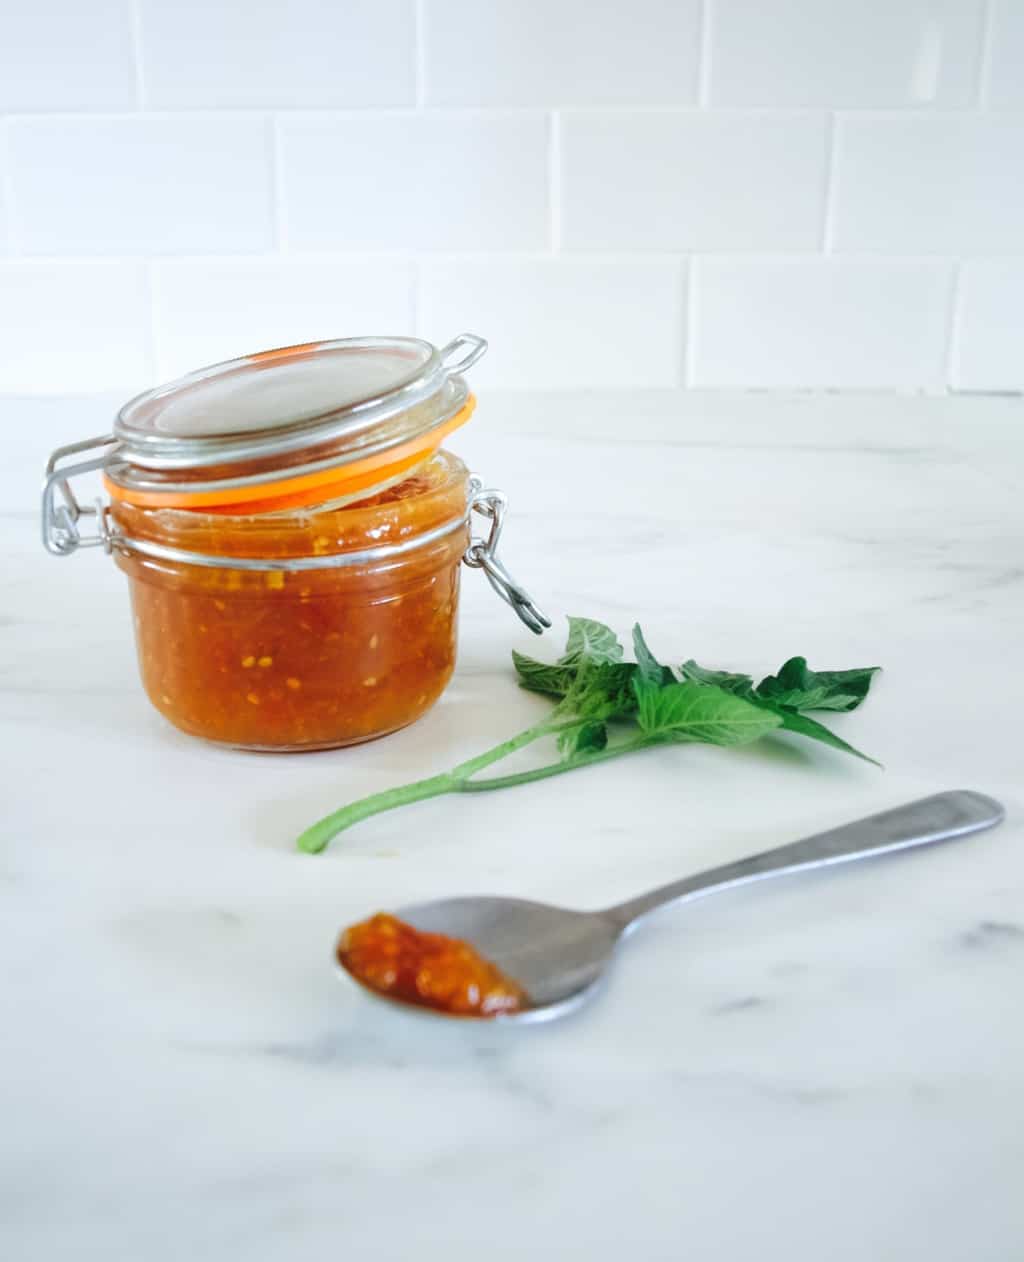
5. Spoon the jam into the ready sterilised jars or glass bottles.Green tomato ketchup recipe Green tomato ketchup recipe
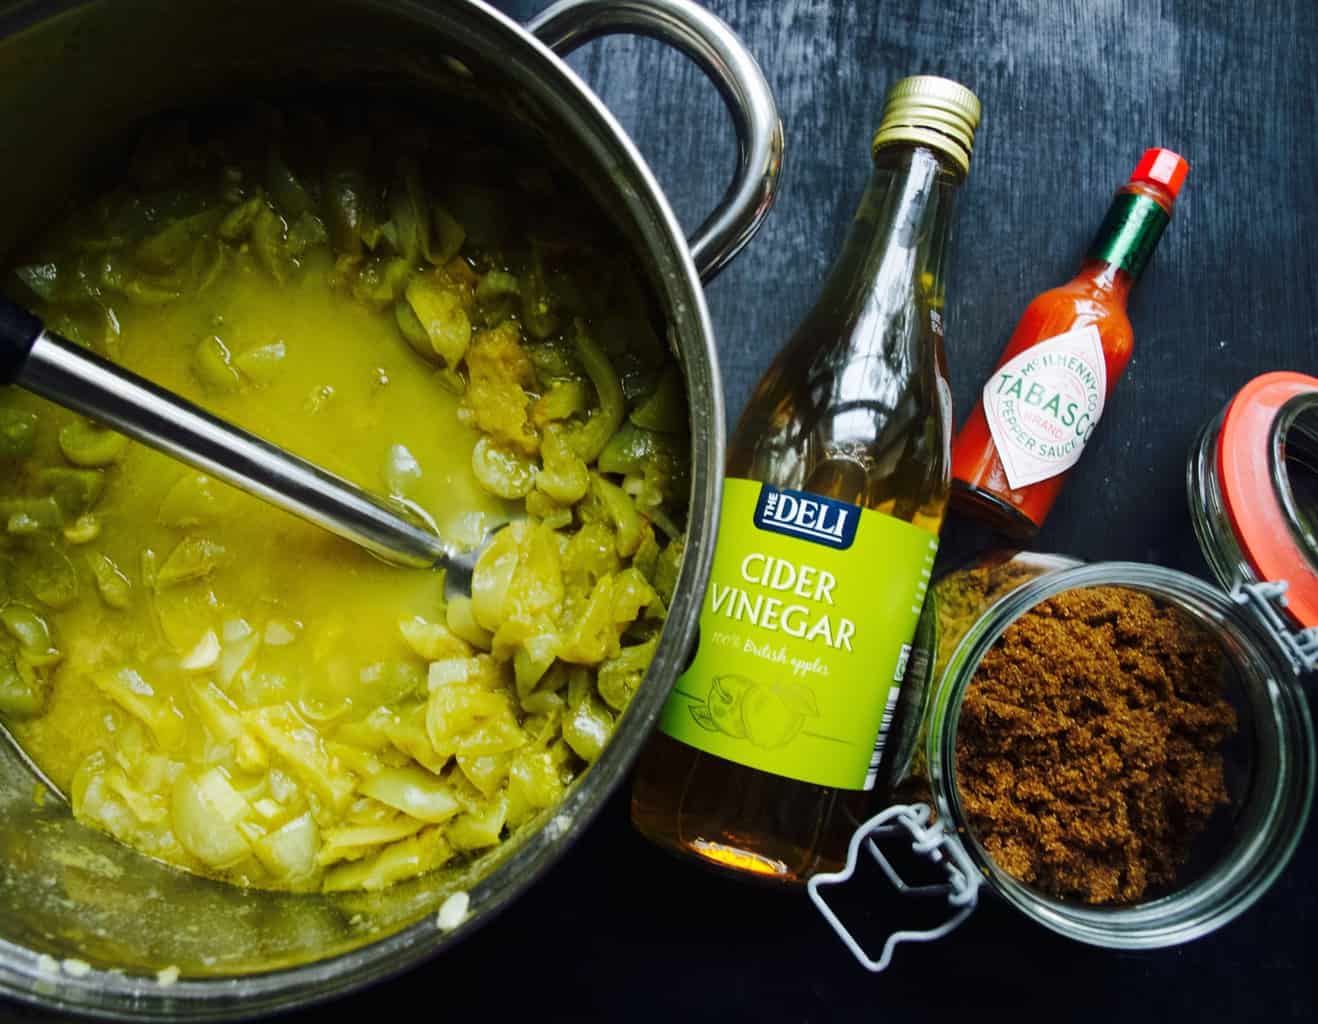
Should at least try making it for those chips ;-)

Rasa xoxo

0

End-of-season tomato jam

End-of-season tomato jam recipeTurns out our tomato harvest was little late when I thought it was barely there at all. When all of the sudden tomatoes started turning red and yellow in one go I actually panicked as I could not keep up with it even when I was eating them everyday (this is certainly a good problem to have). However their season is coming to the end and I will be soon harvesting green tomatoes to make something special for winter.

So far I have been freezing red, cherry and sunrise tomatoes into the 400g bags for next time I need chopped tomatoes in the recipe. I also reserved some for tomato jam that I wanted to try out making for a while. I love something sweet in my savoury dishes! If you feel the same then here it is, carry on reading for the recipe.End-of-season tomato jam recipe End-of-season tomato jam recipeEND-OF SEASON TOMATO JAM adapted from Healthy Delicious

  • 1kg ripe tomatoes, roughly chopped
  • 280g soft brown sugar
  • 1 lemon zest and juice
  • pinch ground ginger

End-of-season tomato jam recipe 1. Whizz tomatoes in the blender till smooth like a pure.End-of-season tomato jam recipe2. Transfer the tomato puree together with the rest of the ingredients into the medium sized pot.End-of-season tomato jam recipe 3. Cook, stirring frequently, until the mixture is thick and jammy – this will take about an hour.End-of-season tomato jam recipe4. Spoon the jam into the ready sterilised jars.End-of-season tomato jam recipeEnd-of-season tomato jam recipe End-of-season tomato jam recipeEnjoy it anywhere you like. I am sure you will find many uses for this jam! I love mine in the cheese toasty ;-).

Rasa xx

0

Herb infused jams

Herb infused jams + rosemary infused blackberry jam recipeI know I know you might think that I am obsessed with blackberries (which is true). But how can you resist when these berries are so plump and lush right now? We just loooove picking them as we go for a walk!

Last year when I was cooking through Little Paris Kitchen book I found this recipe for the cherry compote. Not just any cherry compote, it was infused with basil and tasted amaaaaazing! This is why when I was thinking to make blackberry jam I decided to take similar approach and matched it with rosemary. It was as flavoursome as that compote I made last year ;-).

So if you are jamming this autumn, I really recommend trying out and adding herbs to your preserves. Sugar really bring out the flavour of it I think. Here are few suggestions if you like:

  • cherry and basil
  • blueberry and mint
  • raspberry and cardamom
  • apricots and lavender
  • strawberry and lemon thyme

These are just few examples, but you can experiment with any herbs. Here is blackberry and rosemary for starters ;-).Herb infused jams + rosemary infused blackberry jam recipe BLACKBERRY AND ROSEMARY JAM

makes 2 jars

  • 1kg blackberries
  • 300g sugar (we used icing sugar as it dissolves quicker, but any other sugar will do)
  • bunch of rosemary

Herb infused jams + rosemary infused blackberry jam recipe 1. Place all the ingredients in a pot and simmer uncovered for 30 min or so.Herb infused jams + rosemary infused blackberry jam recipe 2. Stir occasionally while cooking to help dissolve the sugar.Herb infused jams + rosemary infused blackberry jam recipe 3. Remove the rosemary stalks (as much as you can) before spooning it into ready sterilised jars.Herb infused jams + rosemary infused blackberry jam recipeI enjoy it mostly with toast but there are plenty of other uses as well.

Rasa xoxo

0

Mint sauce – Lithuanian style!

Mint sauce Lithuanian style recipe So I am in Lithuania waiting for Joni to come and join us here for my brothers wedding. My dad is very eager to impress Joni with his culinary skills and kept asking what Joni would really enjoy to have for dinner when he comes.

Me: I am not too sure, we like a lot of things.

My dad: But what he really really likes?

Me: Ok, ok. I think he would really enjoy a good steak (I would enjoy that too with lots of salad… hmm)

My dad: How about I make roast lamb?

Me: But steak is beef? (why did he even ask if he is planning to make what he likes?)

My dad: So Joni does not like lamb?

Me: He likes lamb too. We like it with mint sauce.

My dad: Ok if I make roast lamb will you make the mint sauce?

Me: Ok sure!

I go and start looking into making some mint sauce. We have plenty of mint in the garden (check), salt (check), apple cider vinegar (Lithuanians are against using vinegar so I decide to try and use lemon instead), sugar (since lemon is sharp in taste I decide to make it more mellow by using some honey that we have plenty of as my dad is a bee keeper).

When Joni arrives my dad start introducing what he is making for dinner.

My dad: here is mussels for starter and here are some beef steaks for dinner.

Me: ????

Me: I thought you are making roast lamb??

My dad: But you said Joni prefers steak??

Me: never mind! I am not going into it.

I make the mint sauce anyways because I am interested how it turns out with lemon and honey. Joni is surprised how close to taste it was. I think I prefer it to the original recipe, because I am Lithuanian after all. I prefer food without vinegar although I do think sometimes it is necessary. Are you interested too how it tastes? Recipe is below.

MINT SAUCE LITHUANIAN STYLE

  • 1 cup compressed mint leaves
  • 1 tbsp honey
  • pinch salt
  • boiling water
  • 2-4 tbsp lemon juice

1. Place mints, honey, salt and some boiling water and whizz it with the hand processor.Mint sauce Lithuanian style recipe 2. Cool the mint puree and add lemon juice to your taste.Mint sauce Lithuanian style recipe This sauce is not only to use with lamb (although it goes with the lamb best). It can be used in mushy peas, mixed with yogurt to be used with rich stews. Maybe in salad too methinks?Mint sauce Lithuanian style recipeThanks for letting me share, hope this post does not sound too silly.

Rasa xoxo

0

Green tomato chutney

Green tomato chutney recipeI wanted to make green tomato chutney since I heard about it from my mum-in-law. What a great idea! I often failed to get my tomatoes ripe enough before autumn and they used to rot instead of being eaten. I so wish I knew I could use them!

Now my mum-in-law was staying over this week as Joni went away to Dublin. It was a great opportunity to make some green tomato chutney (especially when we had some green tomatoes in hand!). Joni’s mum pretty much made the chutney while i took few pics in between. She followed this recipe that she swears by (apparently the chutney using this recipe always turns out perfect). I forgot the title of that book, but will let you know once I get it.Green tomato chutney recipeGREEN TOMATO CHUTNEY

  • 1.8kg green tomatoes, roughly chopped
  • 700g onions, pealed and chopped
  • 450g cooking apples such as bramley, peeled, cored and chopped
  • 600ml vinegar (we used malt vinegar)
  • 8 red chillies (we used green chillies)
  • 25g root ginger
  • 225g raisins
  • 2tsp salt
  • 450g sugar (we used soft brown sugar)

Green tomato chutney recipe Green tomato chutney recipe1. Put the chopped tomatoes, onions and the apples in a large pan with half the vinegar. Bring to boil, then simmer for about 30min.

2. Add the chillies and root ginger into the pan, make sure you count them as you will need to fish them out later.

3. Add the raisins and cook, stirring from time to time until the mixture thickens, after about 1 hour.

4. Add the salt, sugar and the rest of the vinegar, stirring well till sugar dissolves. Continue cooking until the chutney thickens again.

5. Remove the chillies and ginger from the pot before potting and sealing (see how by clicking here). Leave to mature for 6 weeks. Green tomato chutney recipeHappy weekend everyone!

Rasa xoxo

1

Piccalilli

My piccalilli recipeHey! It’s Autumn here and what is Autumn without canning? I do like to make preserves and when Joni suggested to make piccalilli I got excited as I thought it would be really cool to make it.  Piccalilli is a great condiment that is tasty in sandwiches and pairs well with cheddar cheese. Yum!My piccalilli recipePICCALILLI

Makes about 2-2.5kg

  • 1 small cauliflower, chopped
  • 1/2 head broccoli, chopped
  • 2 courgettes, chopped
  • 5 green chillies, finely chopped
  • 200g green beans, chopped into smaller bits
  • 200g cherry tomatoes, sliced in half
  • 2 medium onions, pealed and roughly chopped
  • 50g salt
  • 2 tbsp olive oil
  • 2 tbsp mustard powder
  • 2 tbsp mustard seeds
  • 2 tbsp ground cumin
  • 2 tbsp turmeric
  • 1/2 whole nutmeg, grated
  • 4 tbsp flour
  • 600ml cider vinegar
  • 2 cox apples, grated
  • 1 mango, pealed and chopped
  • 6 tbsp runny honey
  • 3 cloves garlic, crushed and finely chopped

1. Place all the vegetables in a large bowl, sprinkle with the salt and cover it with water. Leave it in a cool place for 2 hours, then drain thoroughly.My piccalilli recipe2. Heat a large saucepan. Add the oil to the pan, then fry the mustard seeds, mustard powder, cumin, turmeric and nutmeg for few seconds. Lower the heat, add the flour and a splash of vinegar and stir to make a thick paste.

3. Gradually add the remaining vinegar while whisking all the time to make a smooth paste with no clumps.

4. Add the apples, mangoes, garlic and honey and cook for 2–3 minutes. 

5. Drain the salted vegetables and add them to the pan, stirring well to coat with the spice paste. Cook for 15 minutes until the vegetables have just softened and released juice.

6. Spoon Piccalilli into sterilised jars and close the lids tightly.My piccalilli recipe My piccalilli recipeHappy autumn canning ;-)

Rasa

0

Anatomy of pesto

How to make a pesto, any pesto!Pesto is a great addition to many meals, not only pasta. You could use it to spread on toast or season a very bland chicken roast. And it does not have to be made only from basil! You could use other herbs! Essentially if you follow a basic anatomy of pesto you could create many flavour pesto.

I wanted to draw the anatomy of pesto, but realised I am not as good in drawing like Vicki. So instead I will try to write it out. So here it goes!

Pesto made out of: HERBS OR GREENS + NUTS OR SEEDS + GARLIC + OIL + CHEESE + EXTRAS

HERBS can be parsley, dill, coriander leaves, mint and so on

GREENS include spinach, kale, beet greens or even broccoli!

NUTS not only pine nuts, but also almonds, walnuts, pecans, hazelnuts, cashew nuts and list goes on….

When it comes to SEEDS I only tried sunflower seeds, but I am sure there are many more to try out!

GARLIC can only be garlic unfortunately

For OIL I generally use olive oil, but I am sure other oils could work as well!

The best CHEESE for pesto is hard cheeses such as parmesan or pecorino romano. However I use cheddar cheese when I run out of the other cheeses and it still works out ok.

EXTRAS can be red pepper, sun dried tomato, lemon juice…. Why don’t you just go and experiment ;-)

To make pesto all you need to do is whiz all the ingredients in small food processor until it forms pesto consistency. Thats all!How to make a pesto, any pesto!Here are few flavours of pesto that I tried the other day!

ROASTED RED PEPPER & PARSLEY PESTO

I tried this one with pasta. Got the recipe from BBC Good Food actually. Worked a dream!

  • 290g jar roasted red peppers, drained
  • large handful parsley
  • 75g cashews
  • 1 garlic clove
  • 2 tbsp extra virgin olive oil
  • 50g parmasan

How to make a pesto, any pesto!BROCCOLI PESTO

I used this recipe for quite a while, but don’t quite remember where I got it from

  • 1 head broccoli, chopped and boiled
  • 80g pine nuts
  • 1 garlic cloves
  • 2 tbsp olive oil
  • 60g cheddar cheese
  • juice from 1/2 lemon

How to make a pesto, any pesto!DILL PESTO

  • 2 bunches of dill
  • 1 bunch of parsley
  • 30g sunflower seeds
  • 1 cloves of garlic
  • 3 tbsp olive oil
  • 30g parmesan cheese

How to make a pesto, any pesto! How to make a pesto, any pesto!Enjoy pesto making ;-)

Rasa

1

Joni’s green (not red) chilli jam

Green chilli jam recipe Joni is a big fan of chilli jam (now i’ve tried it and have become a fan as well!). He had a batch of red chilli jam that he finished a long time ago and he was enthusiastic (more like constantly reminding me) that we get some chillies so he could make a new batch (the previous batch was lovingly made by his mum) . I eventually got green chillies for our house warming party as I was making some Enchiladas. Luckily there were plenty leftover due to generous deals at Bedford market!

So we both agreed that green chillies are perfectly fine to make not so red chilli jam. We did hope however it would be bright green in colour the way red chilli jam is brightly red. However it turned out amber, I guess this is because we used darker cider vinegar.  We tried it with some enchiladas and loved the taste. This is how I got converted to be a chilli jam fan!Green chilli jam recipeJONI’S GREEN CHILLI JAM based on Nigella’s red chilli jam recipe

Joni made this last weekend. It took him a few hours to deseed and chop all those chillies. If you want to try this I really recommend you use gloves.  Even though these were not the hottest variety of chilli’s, it took about 12 hours for the burning effect to wear off. So make sure you wear some gloves to protect yourself from misery while making this very chilli jam (read Joni’s warnings and notes at the end of this recipe).

  • 150g green chilli peppers (deseeded and roughly chopped)
  • 150g yellow peppers (cored, deseeded and roughly chopped)
  • 1kg jam sugar (jam sugar has pectin which is needed to set the jam)
  • 600ml cider vinegar

1. Put the chillies and peppers into food processor and pulse until they are finely chopped.Green chilli jam recipe2. Dissolve the sugar in the vinegar in the sauce pan over a low heat without stirring.

3. Scrape the chilli-pepper mixture out of the bowl and add to the pan. Boil everything for 10 minutes.

4. Take the pan off the heat and allow it cool. The liquid will become more syrupy, then from syrup to viscous and from viscous to jelly-like as it cools.

5. To sterilise the jars heat them in preheated 100C oven for about 15 min. Pour the chilli jam into the jars and seal them tightly.

Joni’s notes:

De-seeding the peppers is rather straightforward.  Insert your knife on the top next to the stalk and cut around to remove.  Pull it out and then halve the pepper. Discard the stalk and the seeds from inside.  Trim back the seed structure to the inner wall of the pepper and then roughly chop the pepper flesh into segments ready to go into the food processor.

De-seeding the chilli’s is simple in practice but warrants caution.  Even relatively low Scoville scale chilli’s have capsaicin oil in them.  The more chilli’s you chop the more oil will be deposited on your hands and chopping board and this can be very nasty to deal with.  If you are not wearing gloves you will suffer some excruciating time until you can get the oil off.  Olive oil is supposed to help dissolve some of the oil so it can be washed off with soap.  I didn’t find this very effective.   I de-seeded the chilli’s by chopping off the stalk and then halving the chilli lengthwise.  This allowed me to scrape the seeds and seed structure from the inside of the chilli.  I then roughly chopped the remaining flesh ready for the food processor.

I’m sure you could play around with the relative proportions of peppers and chilli’s as well as choosing different types to alter the flavours.  It strikes me as very simple to do and could give you jam of strikingly different colours, texture’s, flavour, & all important chilli heat.

I dissolved the sugar in the cider vinegar as Nigella’s recipe required.  I have an electric hob so once it reaches a heat it can often overheat.  Heating up the sugar and adding the blended chilli and pepper mixture was easy but i think i overheated the sugar and some of it caramelised which i think led to the amber colouring rather than the jam taking it’s coloration from the chilli.  If you have a gas ring and better temperature control you may get a better result.  Do let us know how you get on.Green chilli jam recipeEnjoy!

Rasa + Joni

5

Marmalade tart with rosemary crust

Marmalade tart with rosemary crustLast week Joni asked me to bake a cake for his work so he could celebrate our wedding with his colleagues.  As soon as he asked I thought ‘great’! I can use up at least one jar of marmalade that we got in the house (for some reason people think that Joni LOOOOOAAAVES marmalade so we ended up with 5 whole jars!). Don’t get me wrong, I don’t really like marmalade and Joni just likes it. If he loved marmalade that much I suppose we would have one jar of it or two at the max in the house. Luckily one jar of marmalade went straight to the bin (I think it was off as the texture was all sugary/candy like) and another has been used up to bake this tart. So if you are ok with your maths, we now have only three jars of marmalade…. wooohoo!!!!

Ok, I am very sorry to be so negative about the marmalade. After all it makes great tarts! And if you unlike me and like marmalade, then this tart is for you. It’s tastefully combined with rosemary flavour, therefore making it an amazing afternoon treat! How do I know that? Well… although I did not taste it (even if I wanted to have a one slice to see how my experiment turned out), apparently Joni’s colleagues really liked it and wanted more… All I can say ‘Success!!!’

Marmalade tart with rosemary crustMARMALADE TART WITH ROSEMARY CRUST

  • 200g unsalted butter
  • 6-8 tbsp sugar
  • 2 egg yolks
  • 15-20 tbsp flour
  • 1 rosemary spring, leaves finely chopped (plus 3-4 springs for decoration)
  • 1 jar of marmalade
  • icing sugar for dusting

Marmalade tart with rosemary crust1. Make the pastry dough by creaming butter with sugar. Gradually add egg yolks, flour and finely chopped rosemary. Wrap the dough into cling film and let it rest in the fridge for 15 min or so (it will be easer to handle it later). Marmalade tart with rosemary crust2. Roll out the dough and line prepared baking tin with it (lined with baking paper prior that).Marmalade tart with rosemary crust3. Fill the tart with the marmaladeMarmalade tart with rosemary crust

4. Cover the tart with the remaining dough. Just make little balls out the dough and place them evenly over the marmalade.
Cover the tart with the remaining dough
5. Bake in preheated 170C oven for 30-45min constantly checking if not over-baked, but lightly golden.
Marmalade tart with rosemary crust
Enjoy!
Rasa xoxo
P.S. Thanks to Ann-Mary for this beautiful cake stand ;-)
0

Pickled radish spread

Pickled radish spreadIt is not exactly pickling or preserving season, but I totally had to do that with my homegrown radishes. This spread is perfect for a quick toast, a cracker or cheddar cheese. I even tried it as a salad dressing, that was really yum!pickled radish spreadPICKLED RADISH SPREAD

  • 2 handfuls of radish
  • 1 cucumber
  • 6 garlic cloves
  • 2 tbsp brown sugar
  • 4 tbsp apple cider vinegar
  • 2 tbsp olive oil
  • salt to taste
  • chives (or other of your favourite herbs)

pickled radish spread1. Grate the radishes, cucumber and garlic. pickled radish spread2. In separate bowl or glass mix sugar with vinegar and oil. Pour it over the radishes.

3. Add salt to taste and sprinkle some chives on top (I added chive flowers to complete the prettiness!). pickled radish spread4. Jar it or eat it straight out, decision is yours ;-)

Rasa xoxo

0

Autumn canning

  IMG_4568

Recently I shared some preserving and pickling recipes. I hope you enjoyed trying them out! Here is the list of the veg, fruit and berries that I canned this year:

The biggest lesson I have learned is to always sterilise the jars and never wait until the preserves are cooled before canning. So always wash your jars with the soapy water and heat them for 10min in preheated 180C oven just before using them.

IMG_4646

Here you can access free printable labels.

Happy autumn canning!

Rasa :)

2

My grandma’s pickled beets

IMG_4625

I grew way too many beetroots this year! Although I am quite happy with this as I love beetroots very much, especially their colour ;) So I asked my grandma for a pickled beets recipe as I knew I would not be able to use all of them before winter. I like this recipe as it doesn’t need any vinegar that sometimes gives a harsh taste (in Lithuania we don’t use much vinegar for cooking). It is simply preserved by using apple juice. Although I must say that the apple juice we use in Lithuania is quite sour. So make sure you get sugarless, not from concentrate apple juice. Sainsbury’s organic apple juice is a good one (not promoting, just recommending ;).

IMG_4633

PICKLED BEETS

  • 10 medium sized beetroots
  • 500ml sugar free apple juice
  • salt to taste

1. Cook the beetroots, whole with the skins on for about 30-40min(If you using a ready cooked ones from the shop then skip this step).

2. Once the beetroots are cooked then rub the skin off and chop them into desired sizes.

3. Place chopped beets into the clean pot and pour apple juice just to cover it. Add salt to taste.

4. Prepare the jars for preserving. Wash them with the soapy water and heat them for 10min in preheated 180C oven.

5. Heat the beetroots with apple juice until it reaches the boiling point.

6. Spoon the beets into the jars while still hot and pour the liquid on top.

7 Seal the jars with the lids and let it cool.

Enjoy!

Rasa ;)


2

Jamming with the Elderberry!

I am loving the Autumn! Mainly because the gardens (and the parks) are full of berries, fruit and veg! My dad keeps sending me these pics of the produce he is collecting from his big garden (he is the proud owner of many apple trees)….

IMG_4576

While in return I send him this (even more proud owner of the rhubarb)… To be fear,  my garden is a much smaller garden than my dads!

IMG_4557

The other day I went out for a run with my neighbour Anna. While we were running we were picking some elderberries that were just waiting for us by the river (how cool is that!). On the way home me and Anna we were already plotting what we were going to do with our find (how exciting!). Anna could not wait, so she made her jam on the same afternoon. That was some tasty sugarless elderberry jam with some honey and drizzle of lemon!

IMG_4518

Meanwhile (two days later) I have made some big jamming experiment by combining apples and my lovely rhubarb which I though was even more amazing! Had to make the basic elderberry jam first as these small little berries need sieving (all those tiny seeds etc). But you must try this out while it is still not too late!

IMG_4573

ELDERBERRY JAM

  • 500g elderberries
  • 500g jam sugar

1. Wash the elderberries under cold running water and gently pull off the berries from the stems (you can freeze the berries prior to make this job easer).

2. Cook the berries in the dry saucepan until the juice until the juice start running. Use the wooden spoon to bruise the berries slightly.

3. Add one third of sugar into the saucepan and continue cooking everything until the berries becomes thoroughly soft and pulpy.

4. Sieve the mixture trough the fine mesh (no seeds must go through).

5. Put the pulp, juice and remaining sugar back into the cleaned saucepan. Let this simmer for half an hour, stirring and skimming frequently.

6. Remove the pan from the heat and skim off any impurities from the surface using a slotted spoon. Leave to cool for 5 minutes. Pour the Elderberry Jam into heated sterilised jars and seal. Leave the jars to cool completely, then label and store in a cool, dark place.

ELDERBERRY & RHUBARB JAM

  • 350g rhubarb (trimmed and cut into 1cm pieces)
  • 300ml water
  • 1tbsp rose water (my secret ingredient ;)
  • 150g elderberry jam
  • 350g jam sugar

1. Put rhubarb, water and rose water into the saucepan and bring it to boil.

2. Cook the rhubarb for 10min and then add elderberry jam and sugar.

3. Boil the jam for another 15 min.

4. Remove the pan from the heat and leave to cool for 5 minutes. Pour the jam into heated sterilised jars and seal. Leave the jars to cool completely, then label and store in a cool, dark place.

ELDERBERRY & APPLE JAM

  • 350g apples (peeled, cored and chopped)
  • 80ml water
  • 1tbsp cinnamon
  • 150g elderberry jam
  • 350g brown sugar

1. Put apples and water into the saucepan and bring it to boil.

2. Cook the apples for 10min and then add elderberry jam, sugar and cinnamon.

3. Boil the jam for another 15 min.

4. Remove the pan from the heat and leave to cool for 5 minutes. Pour the jam into heated sterilised jars and seal. Leave the jars to cool completely, then label and store in a cool, dark place.

Happy jamming!

Rasa :)


0

Spiced Plum Chutney

IMG_4372

As it is getting autumny I decided to make a plum chutney today. I bought the plums from the store this time since this is must have in my kitchen and unfortunately I don’t own a plum tree. I love it with cheese (any type!!), but it would also taste really good with the ham or savoury biscuits…. the list goes on!

IMG_4383

The recipe have been “stolen” from the BBC Good Food website (as always!!!)

Don’t forget to enjoy autumn ;)

Rasa xox

0

Sugarless Apple Sauce

Apple Souce

Vicki had an access to an apple tree this year. Yay! And what could be better if not to use these genuinely organic apples for making preserves? I thought I will make an apple sauce since I heard that you can use it to substitute sugar!  However I was quite disappointed for a moment as I found out from many apple sauce recipes that in fact you need to add sugar and butter (wow!) in order to make it :-(…. bummer! It doesn’t make sense to me why would you use the apple sauce as a sugar substitute when it contains sugar anyways. Luckily after doing a further research I have released that I can still make a sugarless apple sauce, however I would need to take extra care in preserving it. So this is how I made it.

SUGARLESS APPLE SAUCE

Ingredients:

  • Apples (sweet types like Gala, Golden Delicious, Braeburn or Fuji)
  • Cinnamon sticks (optional)

1.Clean the apples by pealing them, removing cores and any blemishes.

IMG_4104

2. Put the apples and cinnamon stick if using into the pot and cover it slightly with water. Cook it for about an hour.

IMG_4083

3. Meanwhile preheat the oven to 180C. Wash the jars in warm soapy water, then rinse and dry them and place upside down in the oven for 10 min.

4. When the apples are cooked, drain them slightly (don’t throw away the juice) and puree it with the food processor.

5. While the apple sauce is still hot pour it into the hot jars (very important, otherwise you can end up with the apple cider).

This one needs a lot of practice! I must admit I messed up the first time round, the jar lids got popped open. It must be because I let the cooked apples cool before pureeing them. Let’s hope this time it won’t happen again!

On the other note, my mum is visiting me tomorrow.  That means I can ask her more advice on preserving ;)

All good!

Rasa :-D

1