Top

Archive | Autumn

Salted chocolate apples

Salted chocolate applesNormally I only share a recipe after a lot of testing and tasting and often with a bit of modification to improve it.  This time however I made these apples for Hallowe’en and it was such a hit that I did not even get a chance to taste them! I am sure they tasted lovely though. So here we go; apples that are good for any autumnal celebration (did someone mention Bonfire night?)

Now let me share more about my feeling re Hallowe’en. I still dislike it even though I was more involved this year. I think I mentioned before I dislike this celebration mostly due to tacky decorations and creepy dress ups (It does not seem so bad in USA, but here in the UK kids dress up in grotesque costumes). I even wrote a post in the past on how to survive halloween! But beside all these reasons my real real reason for disliking halloween is the fact that it celebrates fear and a spiritual realm that does exist. I am not going further with this and try to argue. Instead I want to explain why I am involved more this year. My prime reason is to get to know my neighbours and to experience Hallowe’en a bit from a broader perspective so decide what if anything I should do with my kids next year.Salted chocolate apples SALTED CHOCOLATE APPLES
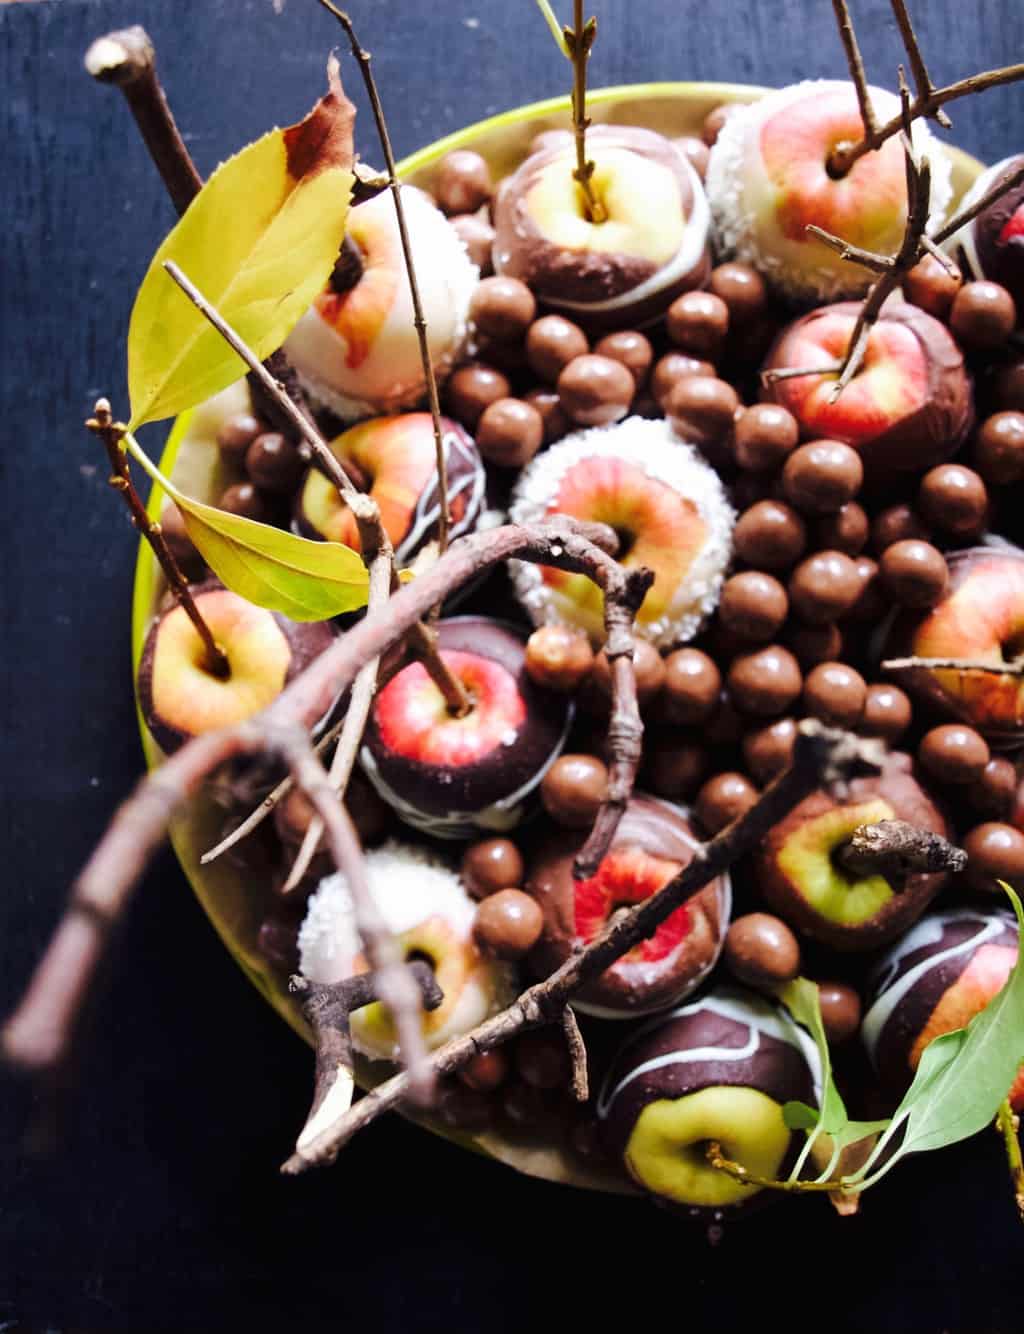
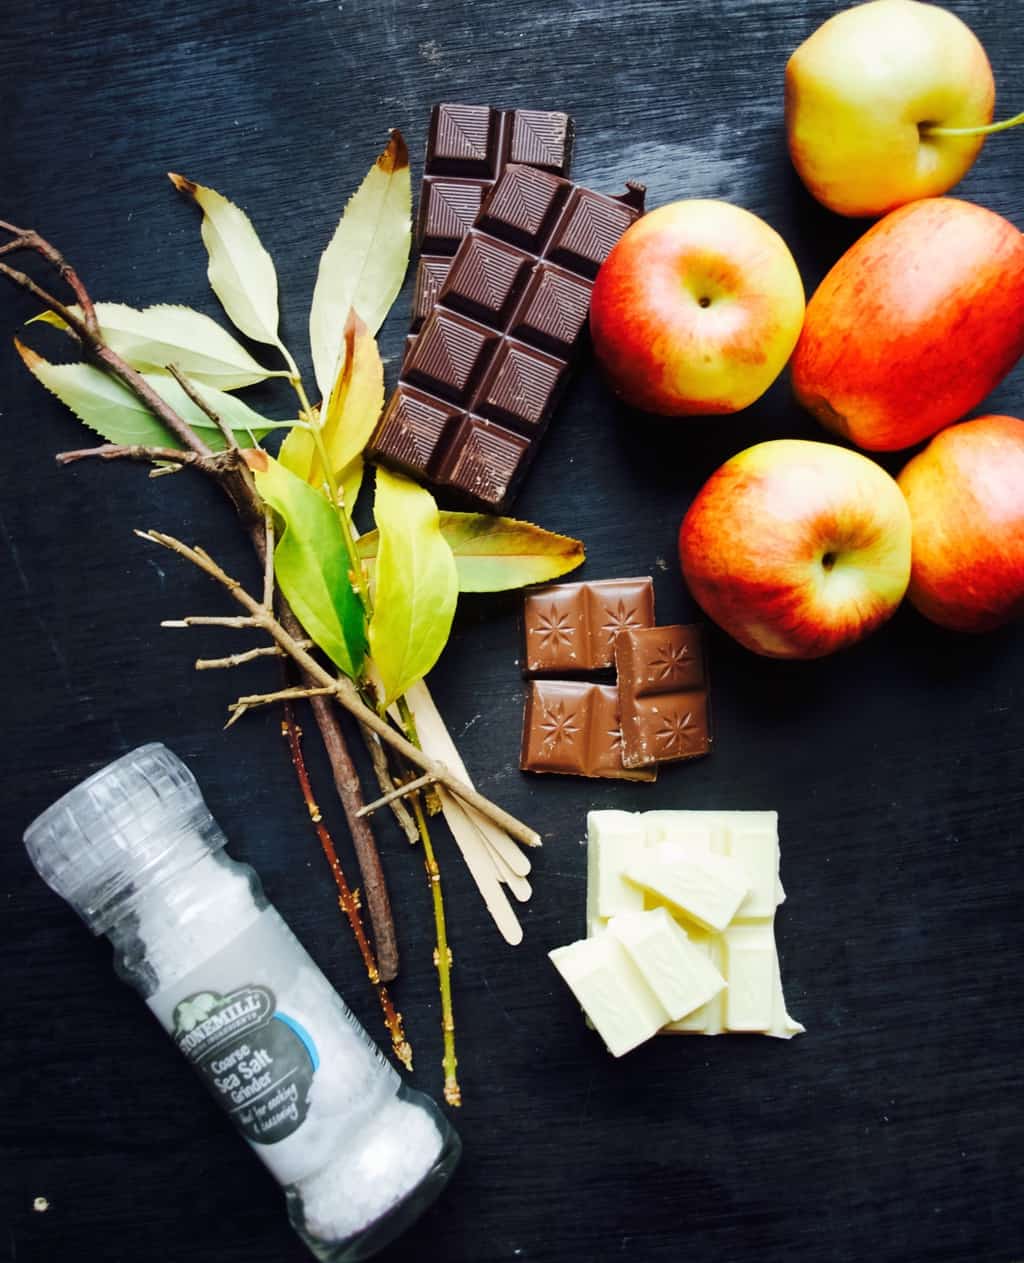
  • 12-17 small eating apples
  • 200g dark chocolate
  • 200g milk chocolate
  • 200g white chocolate (optional)
  • sea salt
  • descanted coconut (if using white chocolate)
  • sticks (can be reused ice lolly sticks, tree branch bits or even skewers perhaps?)
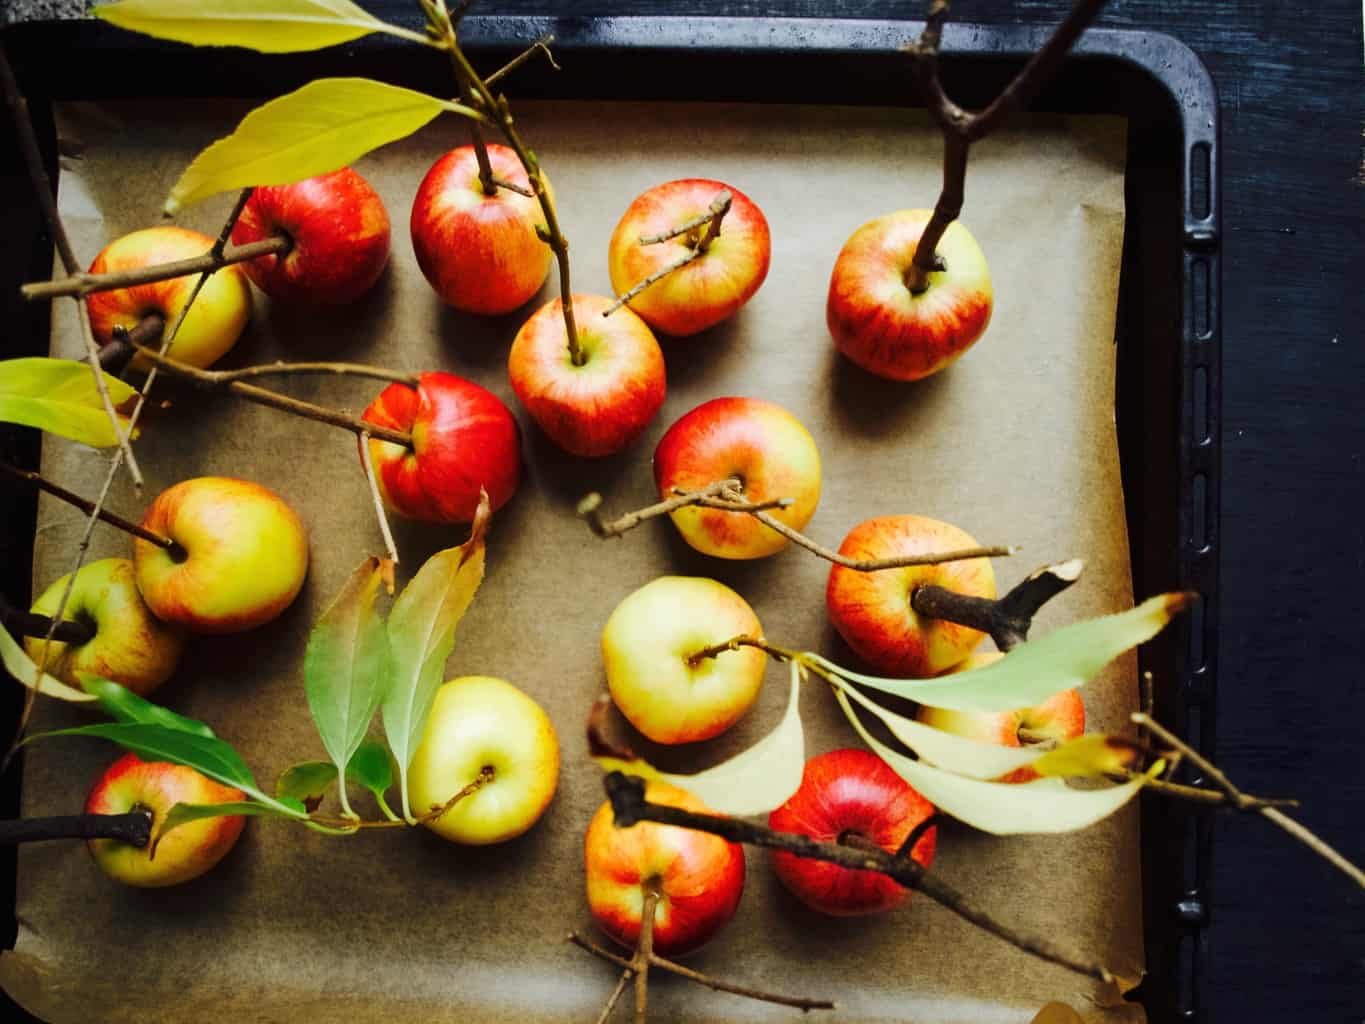
Salted chocolate apples 1. First arrange apples on the baking paper. Insert sticks so you are able to hold onto them when applying chocolate.Salted chocolate apples2. Melt the chocolate either carefully heating it in the microwave or over a pot of hot water.
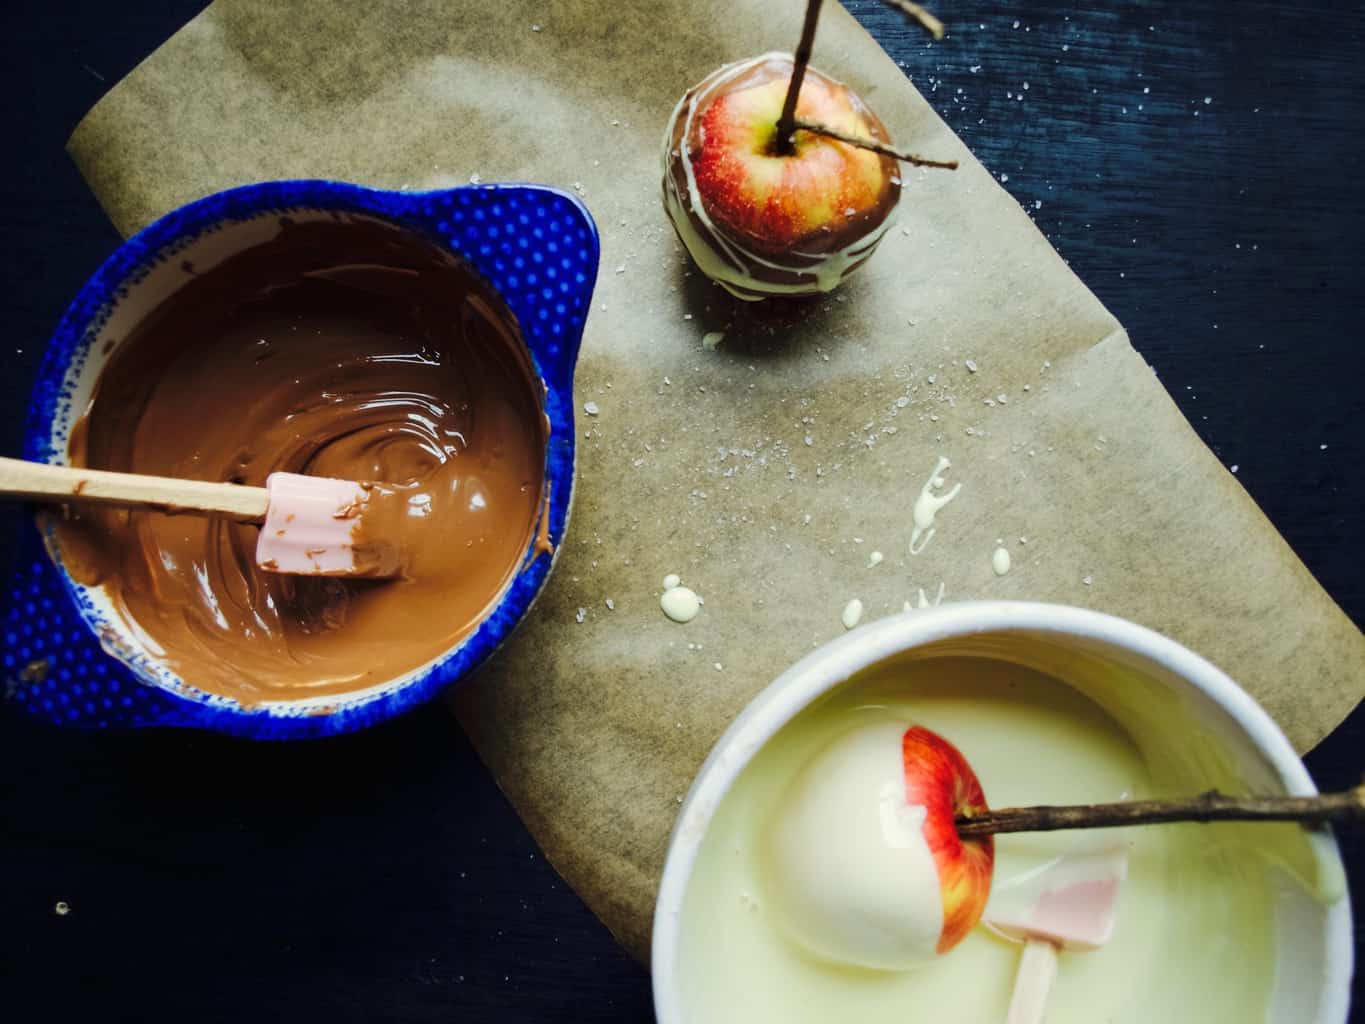
3. Swirl the apple into chocolate so it gets evenly coated. Drizzle some more chocolate of different type on the sides for a pretty look. Don’t forget to salt it ;-).

4. Let the apples set in the fridge.Salted chocolate applesI found that white chocolate does not go back to solid state very quickly. Once applied, white chocolate would just slide off the apple. I think it is important to either wait till the chocolate starts thickening or roll the apple (with chocolate on it) in some descanted coconut so it holds everything together. The apples decorated this ways look as pretty as other apples I think :-).Salted chocolate applesHope you feel inspired
Rasa xoxo
2

Green tomato ketchup

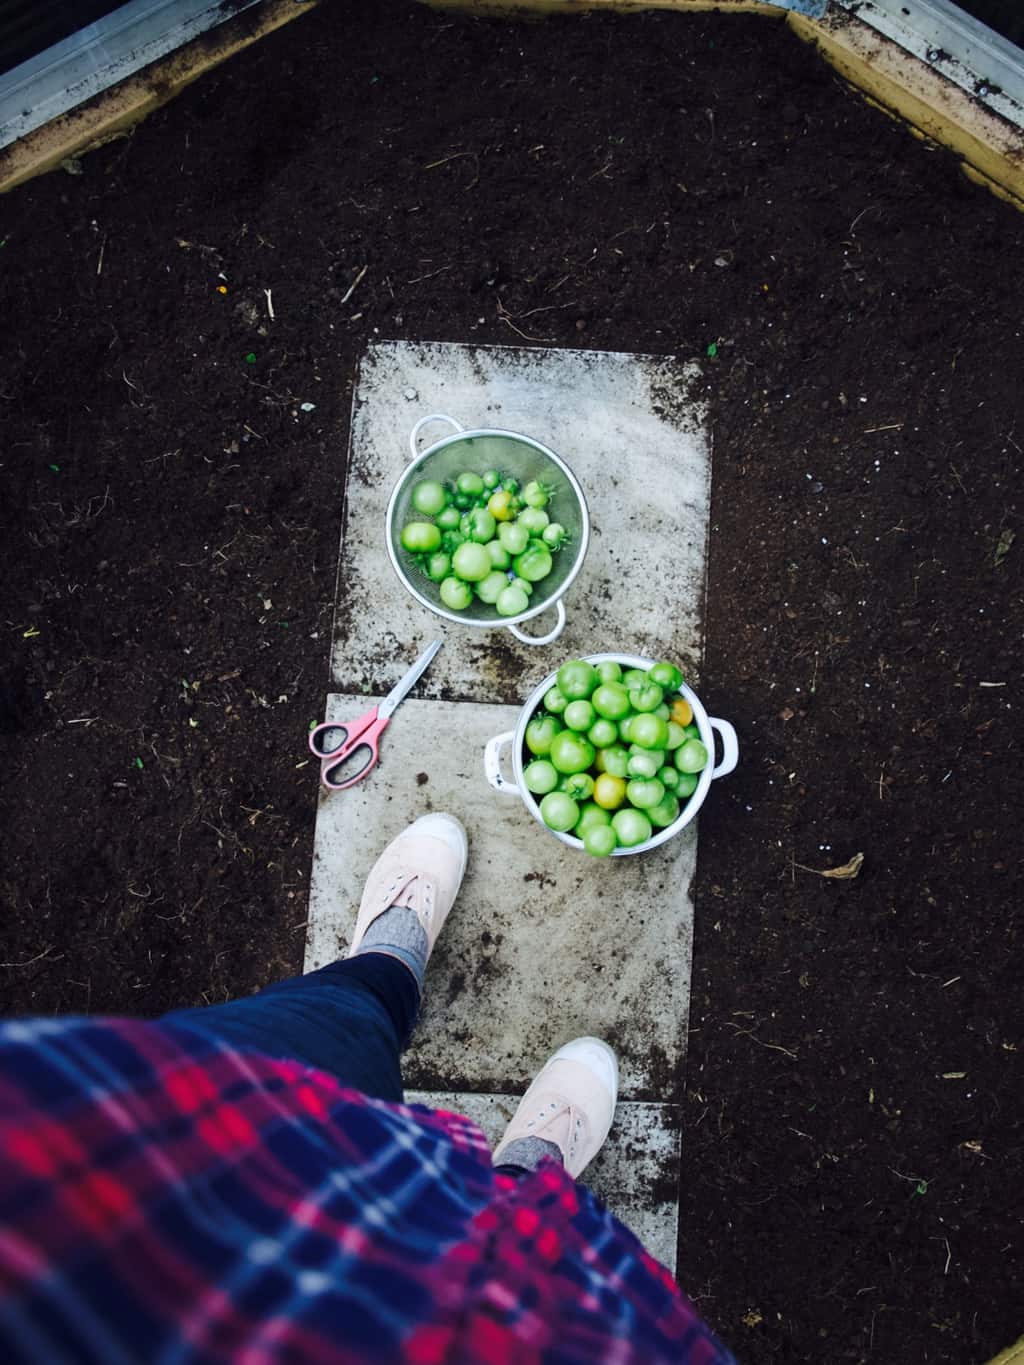
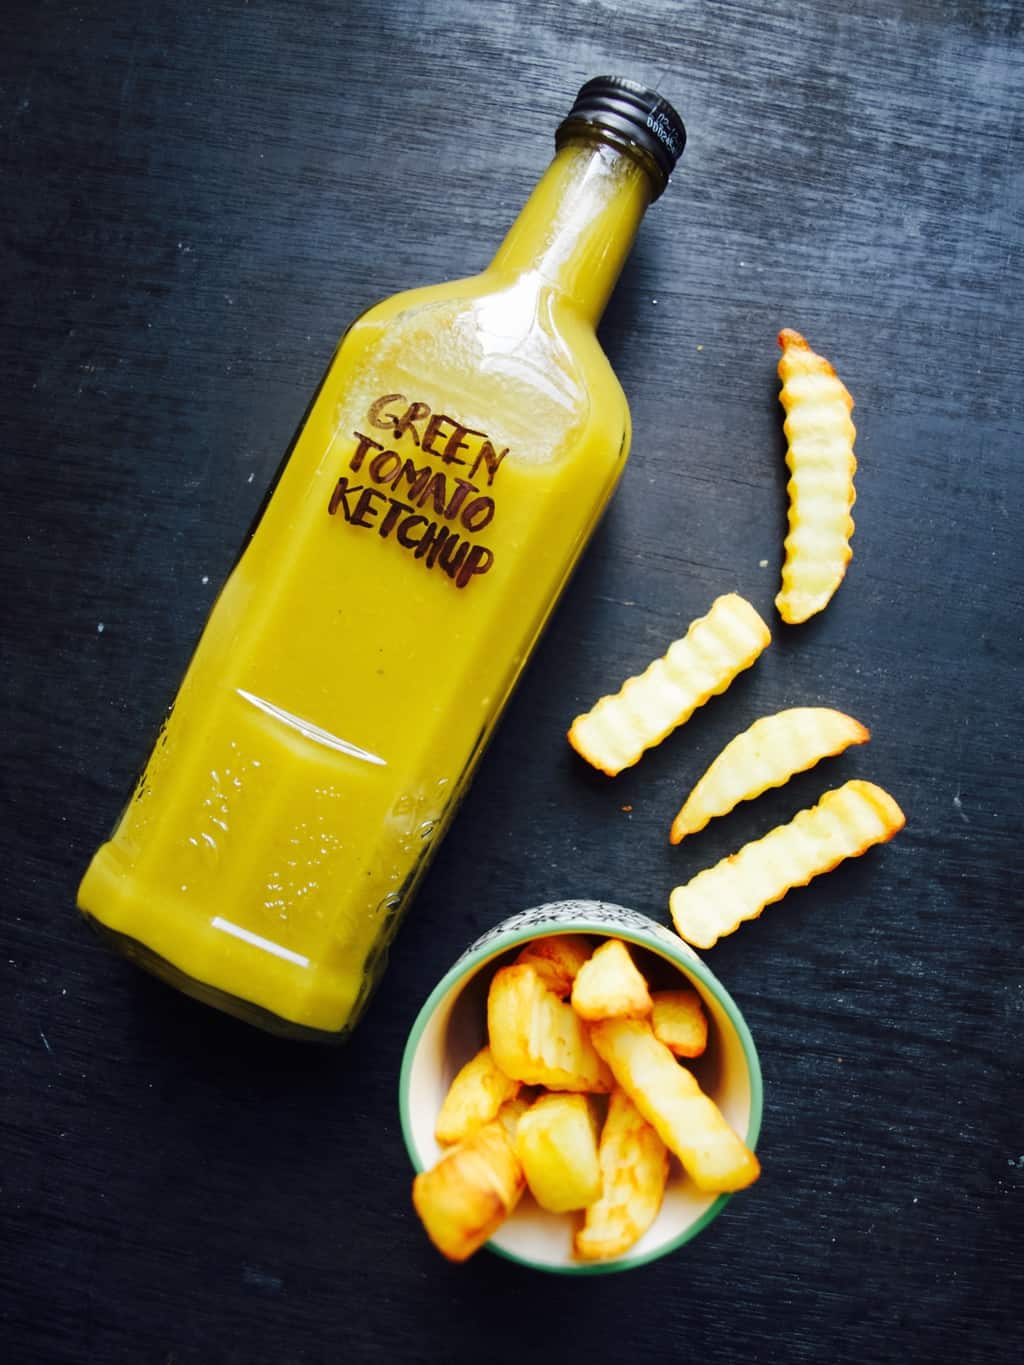
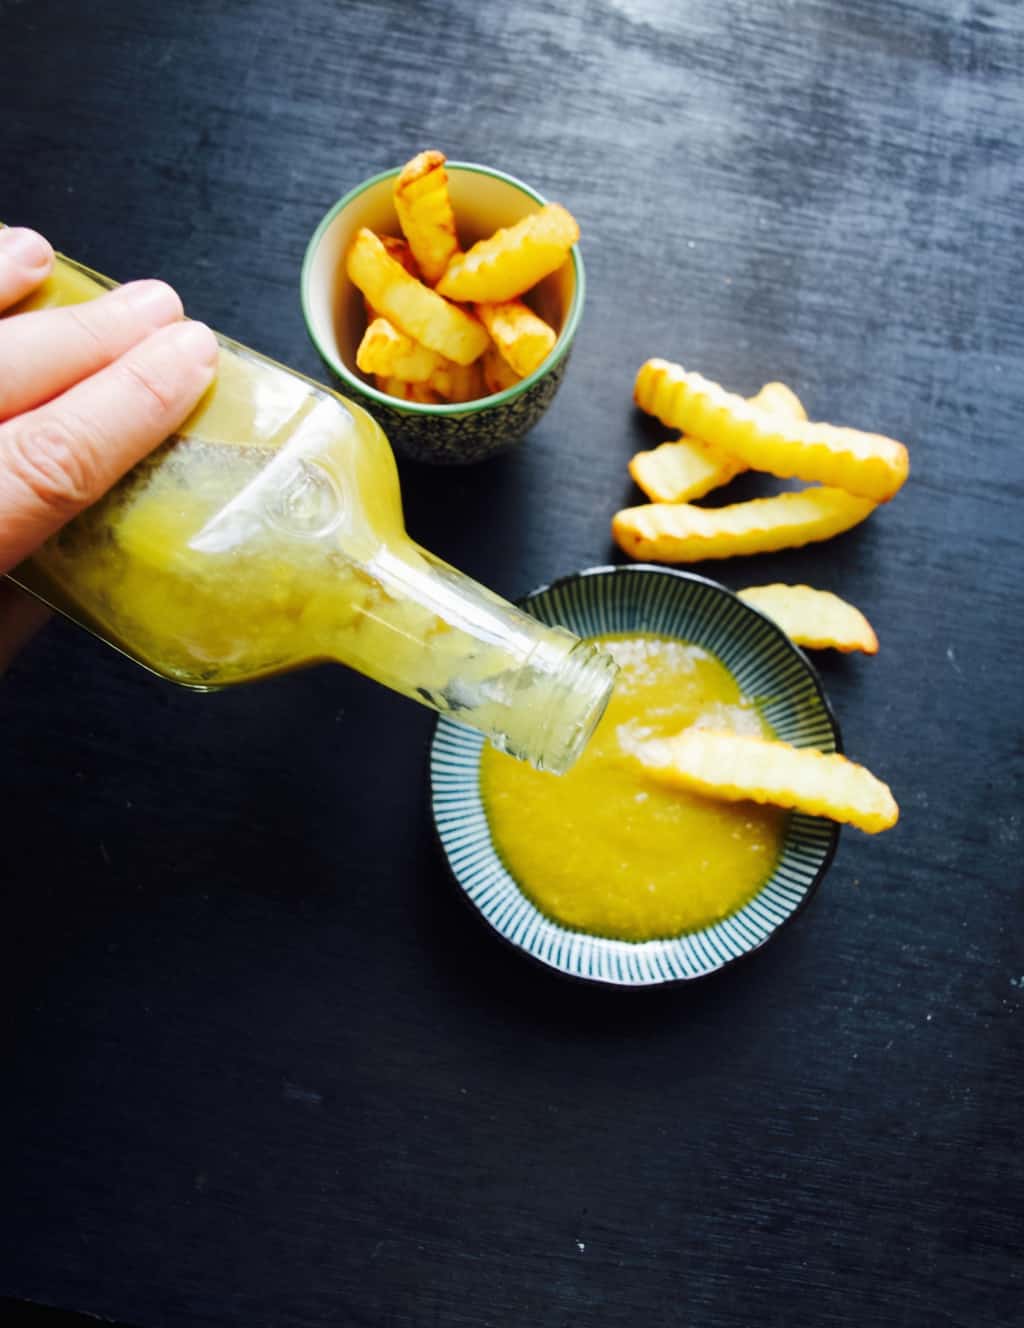
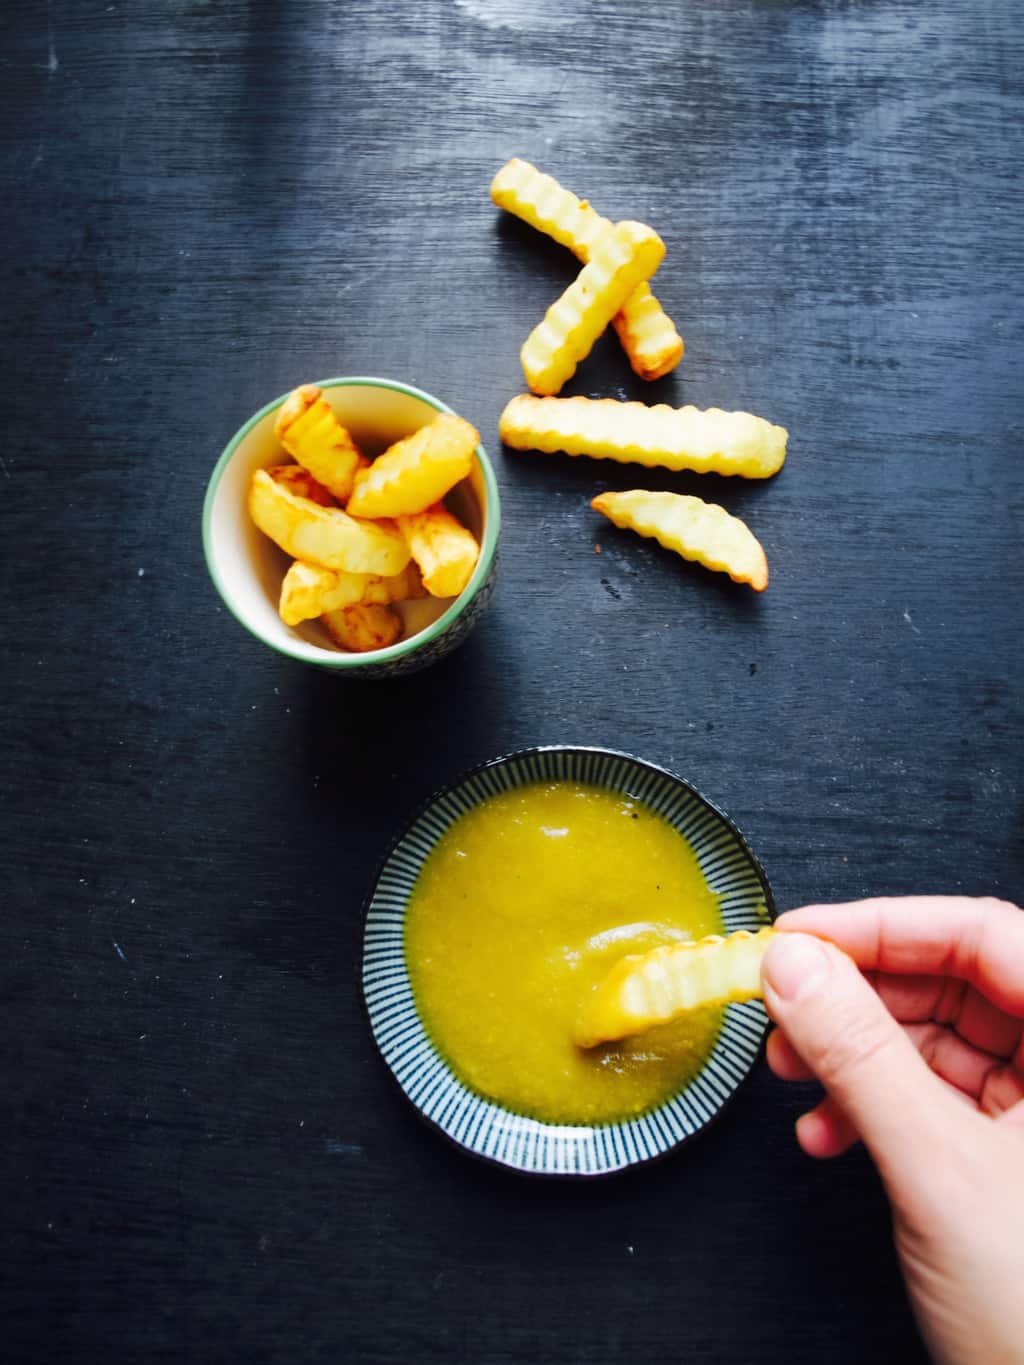
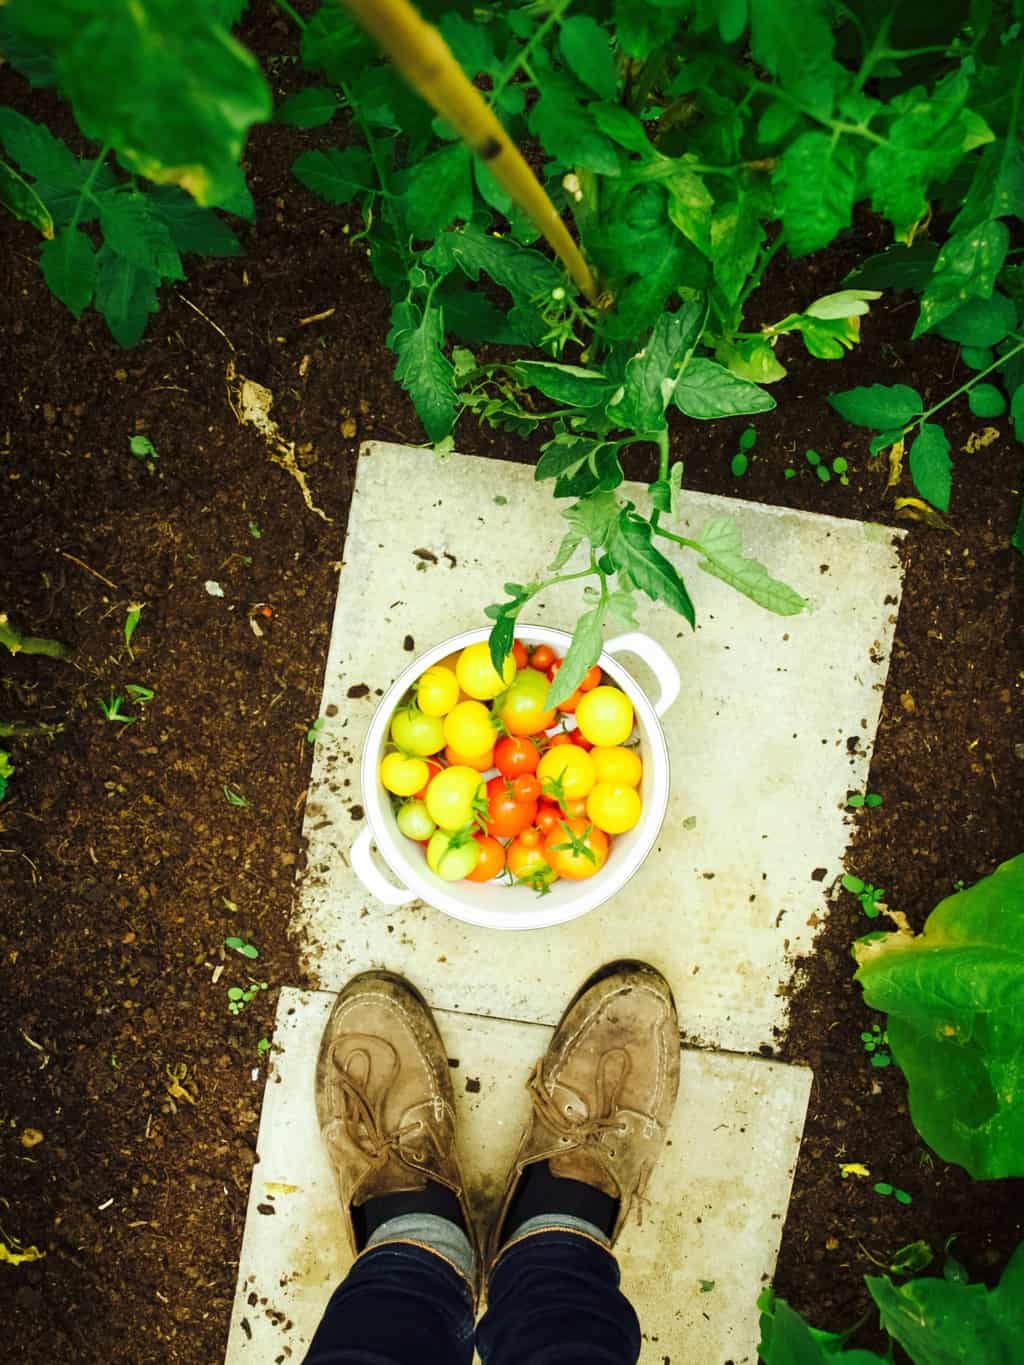
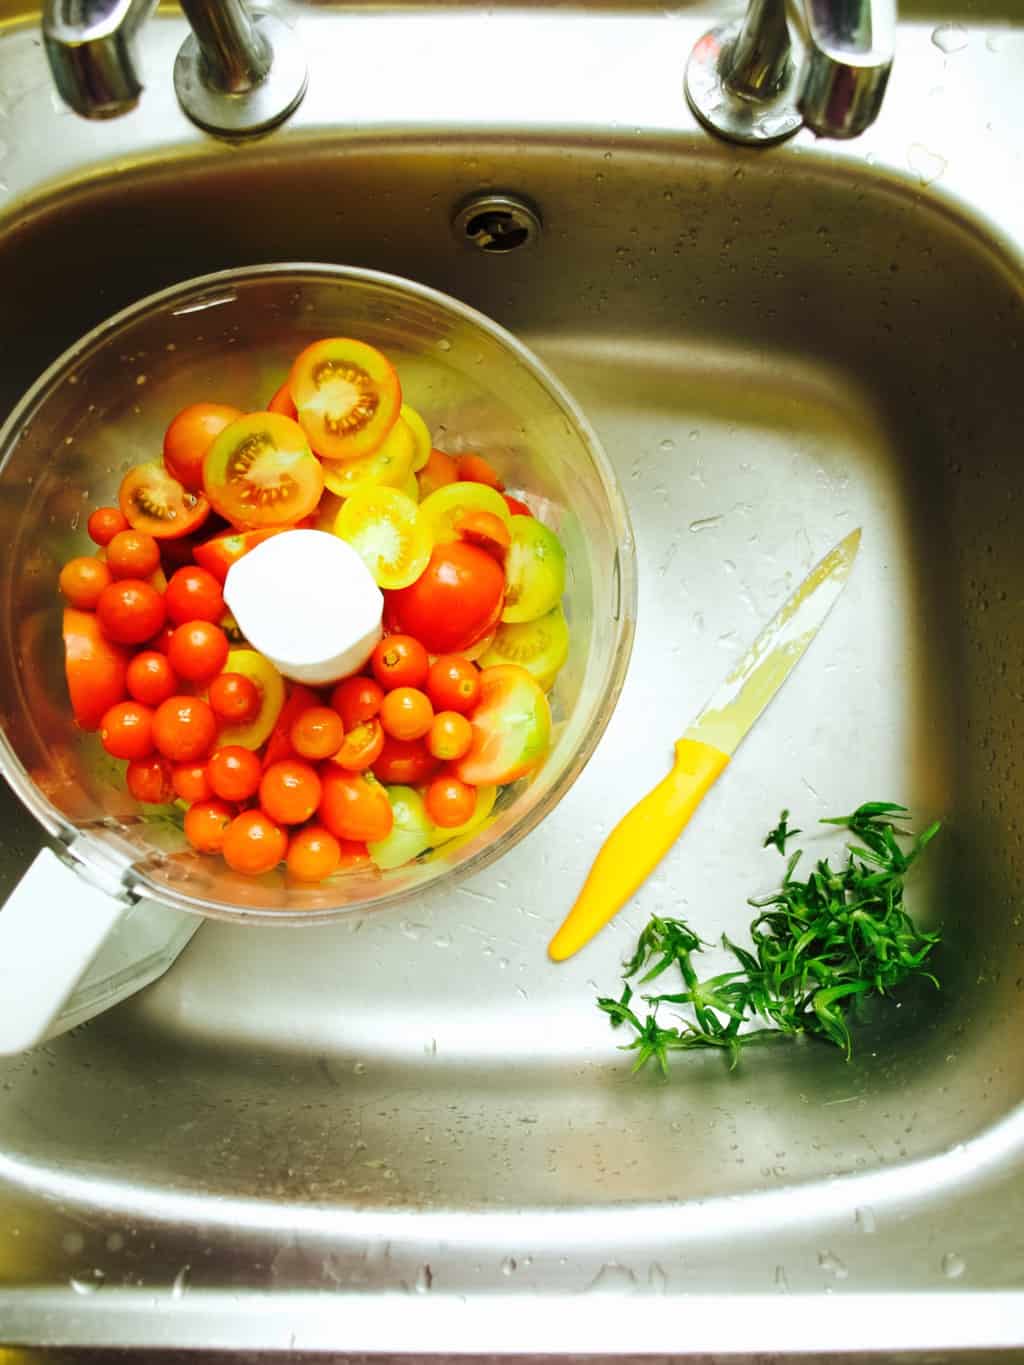
Green tomato ketchup recipeLast week we said goodbye to our green house. It was quite emotional for me as I really fell in love with it! Although the journey of building it and general gardening jobs delayed our house renovation (kitchen in particular) I feel having green house has given us irreplaceable experience. I loved getting fresh tomatoes everyday for my toast and salads, even if it was for only few months. I have learned a lot too! I will be applying my new learned knowledge next year when I grow tomatoes again :).Green tomato ketchup recipeBut what to do with all those green tomato that missed their chance to catch some sun? Few years ago we made some green tomato chutney. This year however I decided to go with green tomato ketchup only because we use ketchup more often (I bet you do too!). Green tomato ketchup taste a little fresher to compare to regular ketchup but is equally delicious with chips!Green tomato ketchup recipe Green tomato ketchup recipe This recipe can be halved or doubled depending on your green tomato harvest. So weigh your tomatoes before deciding how much ketchup to make.

GREEN TOMATO KETCHUP

  • 2 kg tomatoes
  • olive oil
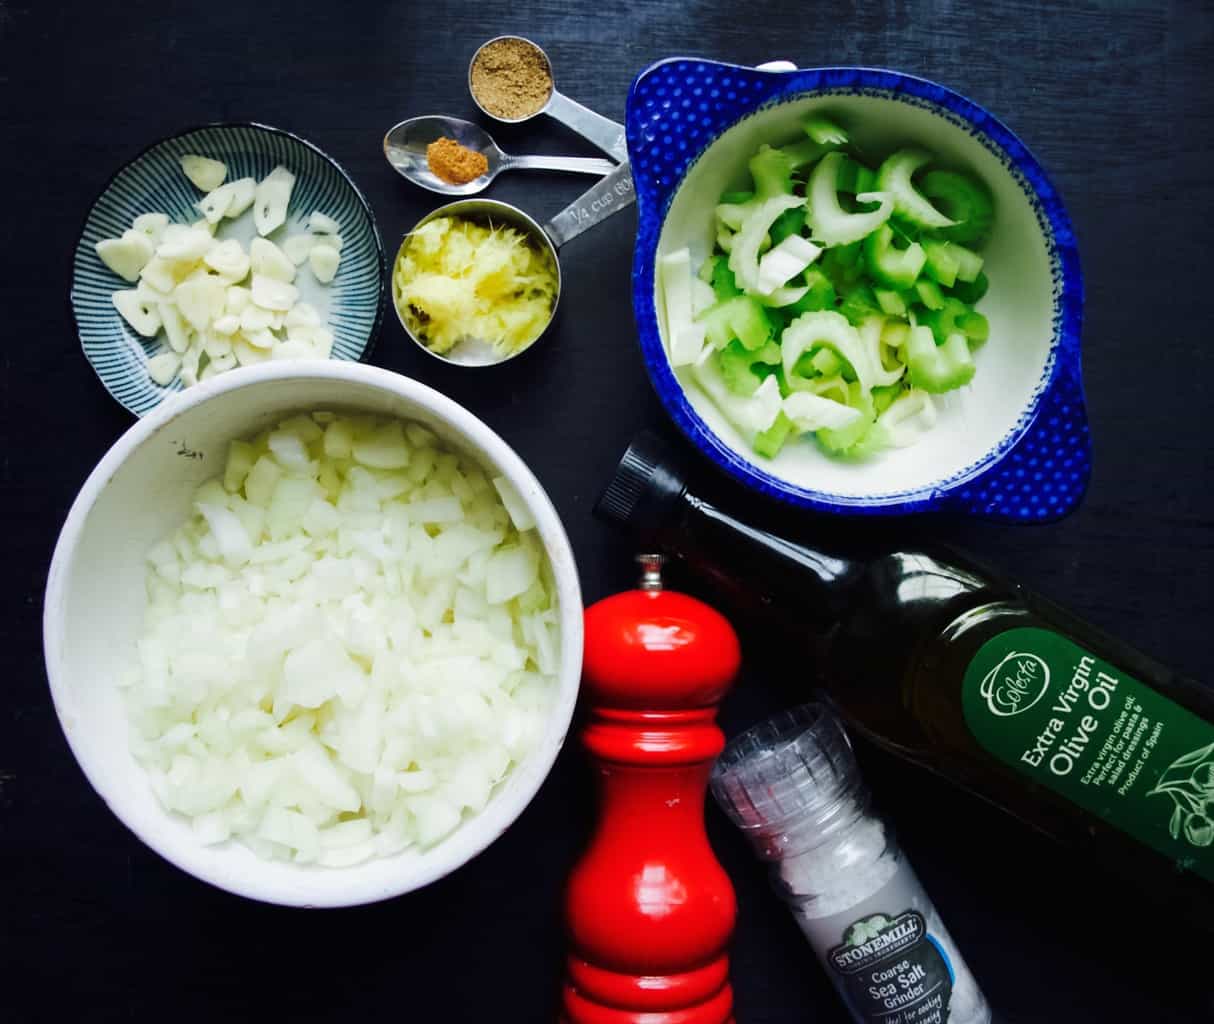
  • 3 onions, chopped
  • 2 celery sticks, sliced
  • 2 thumb fresh ginger, grated
  • 4 garlic cloves, sliced
  • 1 tsp ground coriander
  • 1/2 tsp ground mixed spice
  • salt and pepper
  • 700ml water
  • 2 tsp tabasco sauce (more if you like spicy)
  • 150ml apple cider vinegar
  • 200g brown sugar (I used dark brown which made the ketchup look darker)

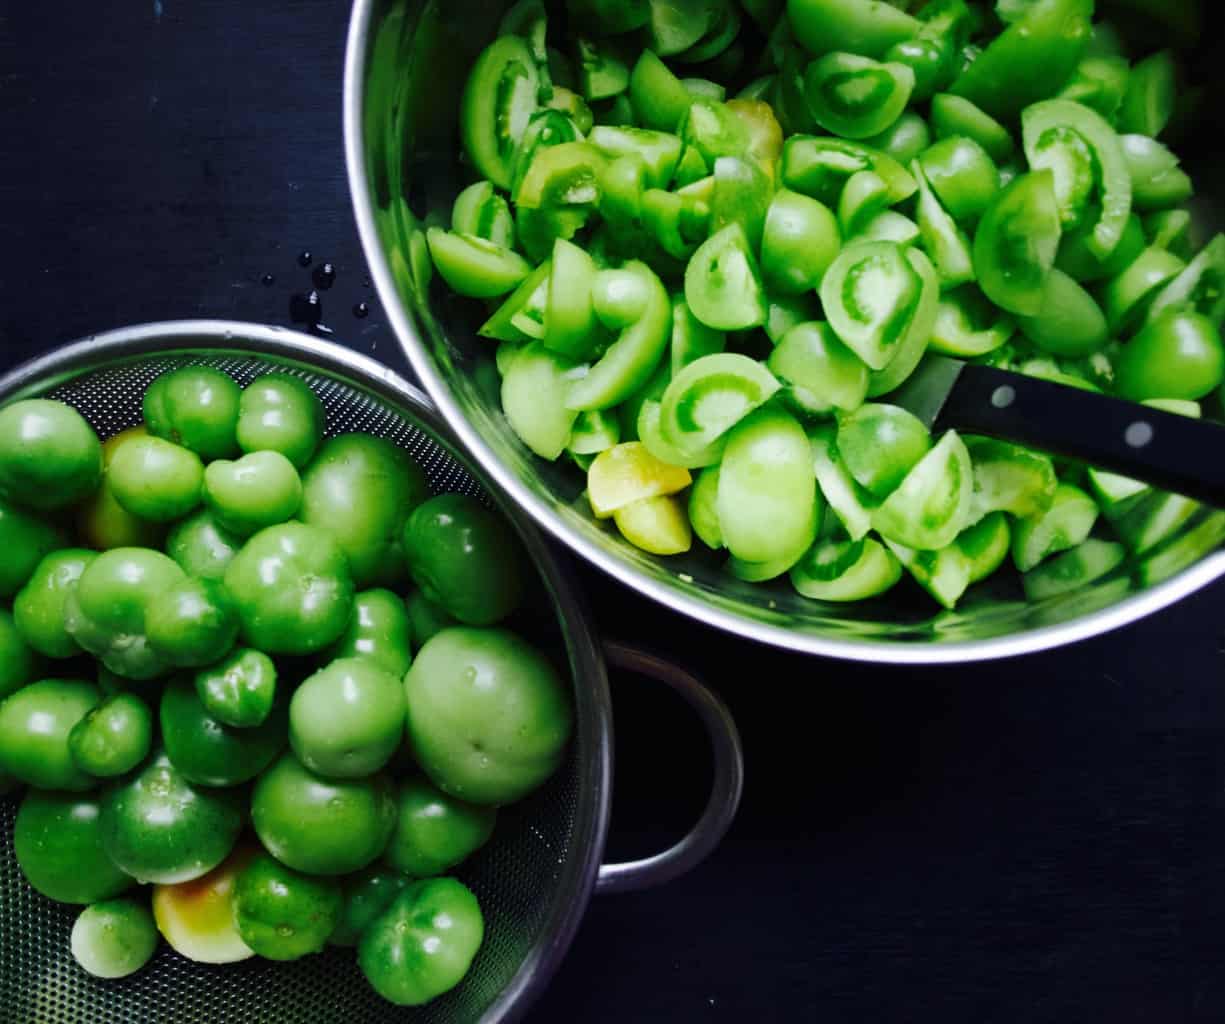
1. wash, weigh, chop the tomatoes and set aside.Green tomato ketchup recipe2. Place onions and celery  in a large saucepan with a generous amount of olive oil, ginger, garlic, ground coriander and mixed spice. Season with the pepper and a pinch of salt. Cook gently till softened.Green tomato ketchup recipe 3. Add the tomatoes, water and bring to the boil and simmer gently until the sauce reduces by half (around 3 h for 2kg tomatoes).

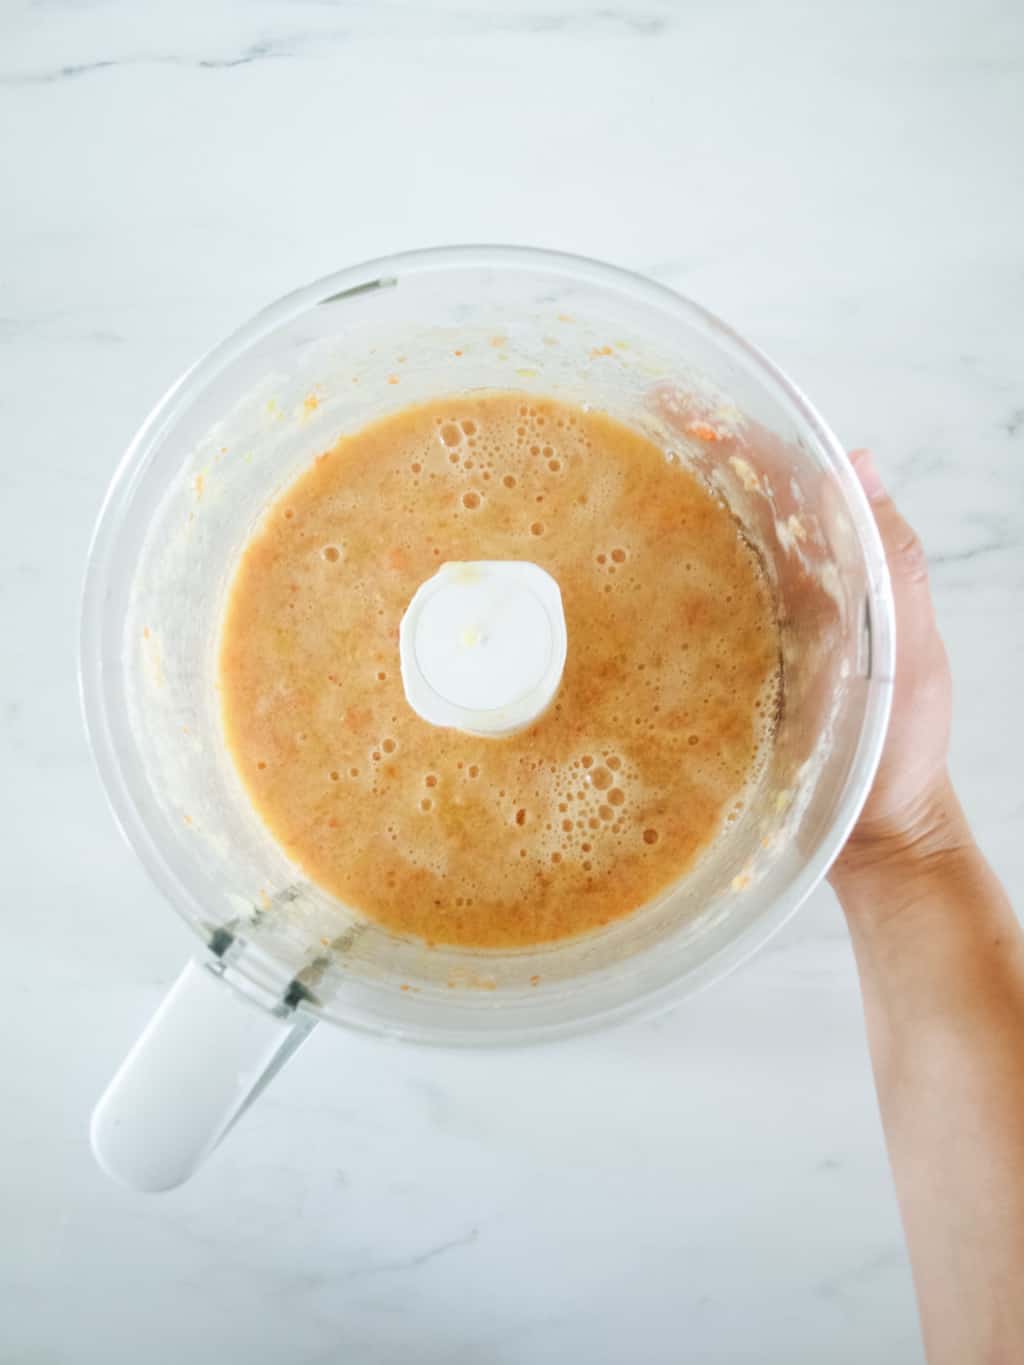
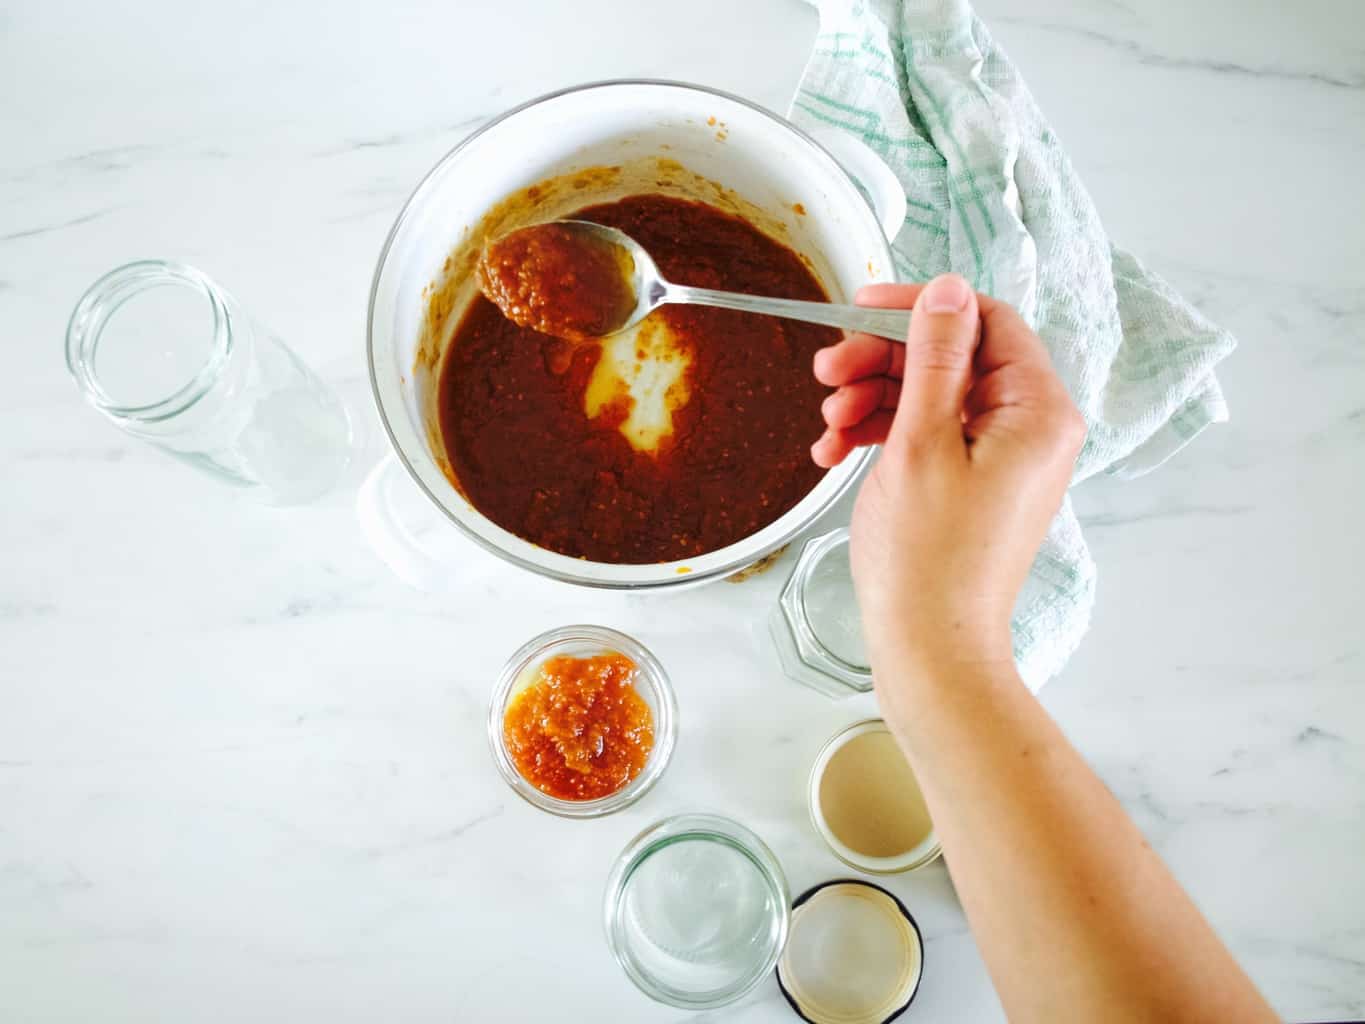
4. Whiz the sauce in a food processor or with a hand blender. Add the vinegar and the sugar. Place the sauce on the heat and simmer until it reduces and thickens to the consistency of tomato ketchup. At this point, adjust the seasoning to taste.

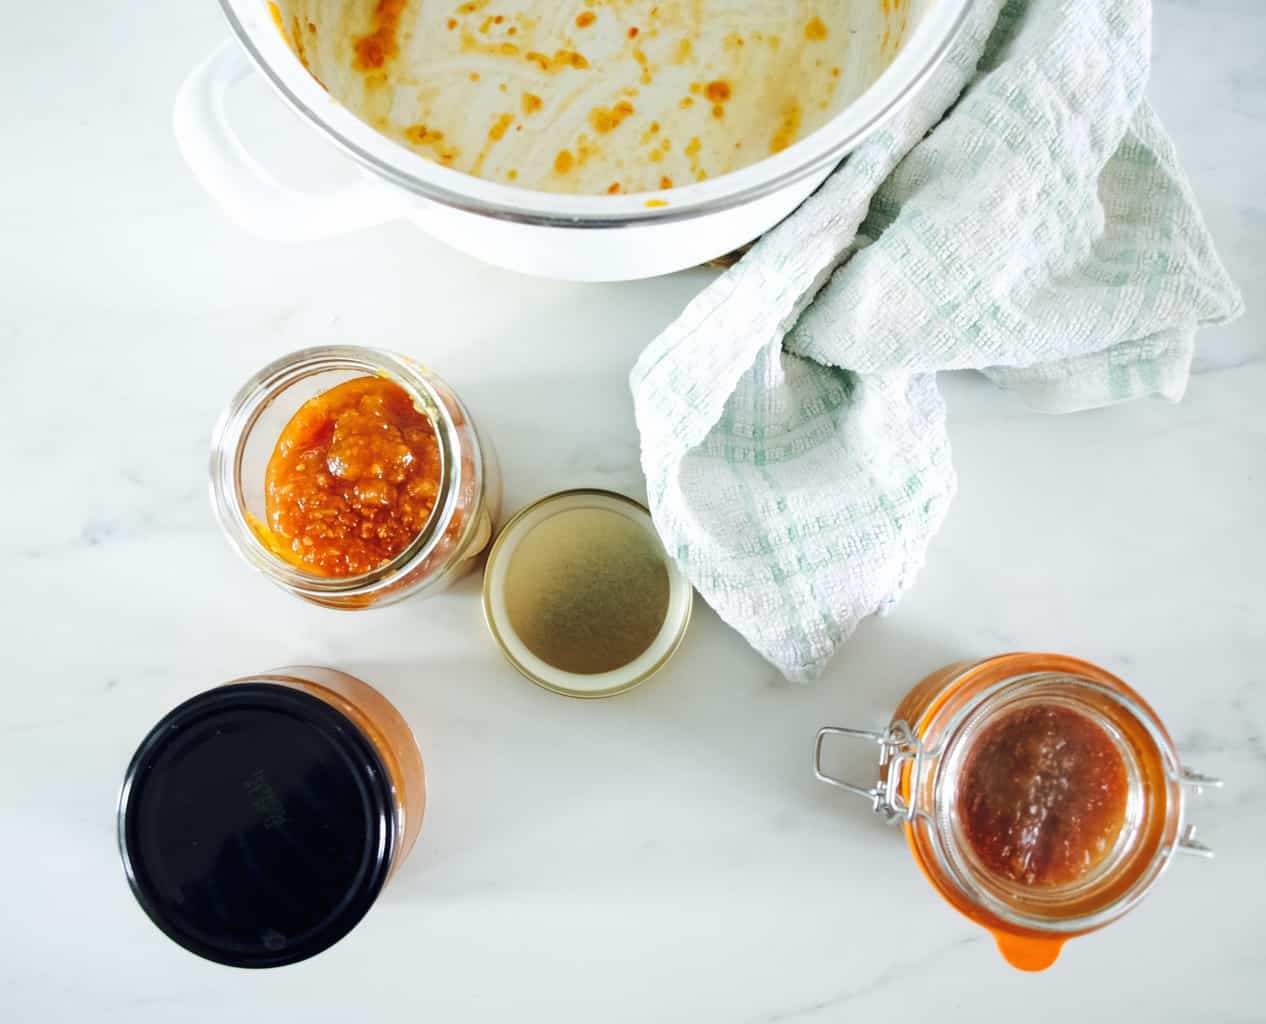
5. Spoon the jam into the ready sterilised jars or glass bottles.Green tomato ketchup recipe Green tomato ketchup recipeShould at least try making it for those chips ;-)

Rasa xoxo
0

End-of-season tomato jam

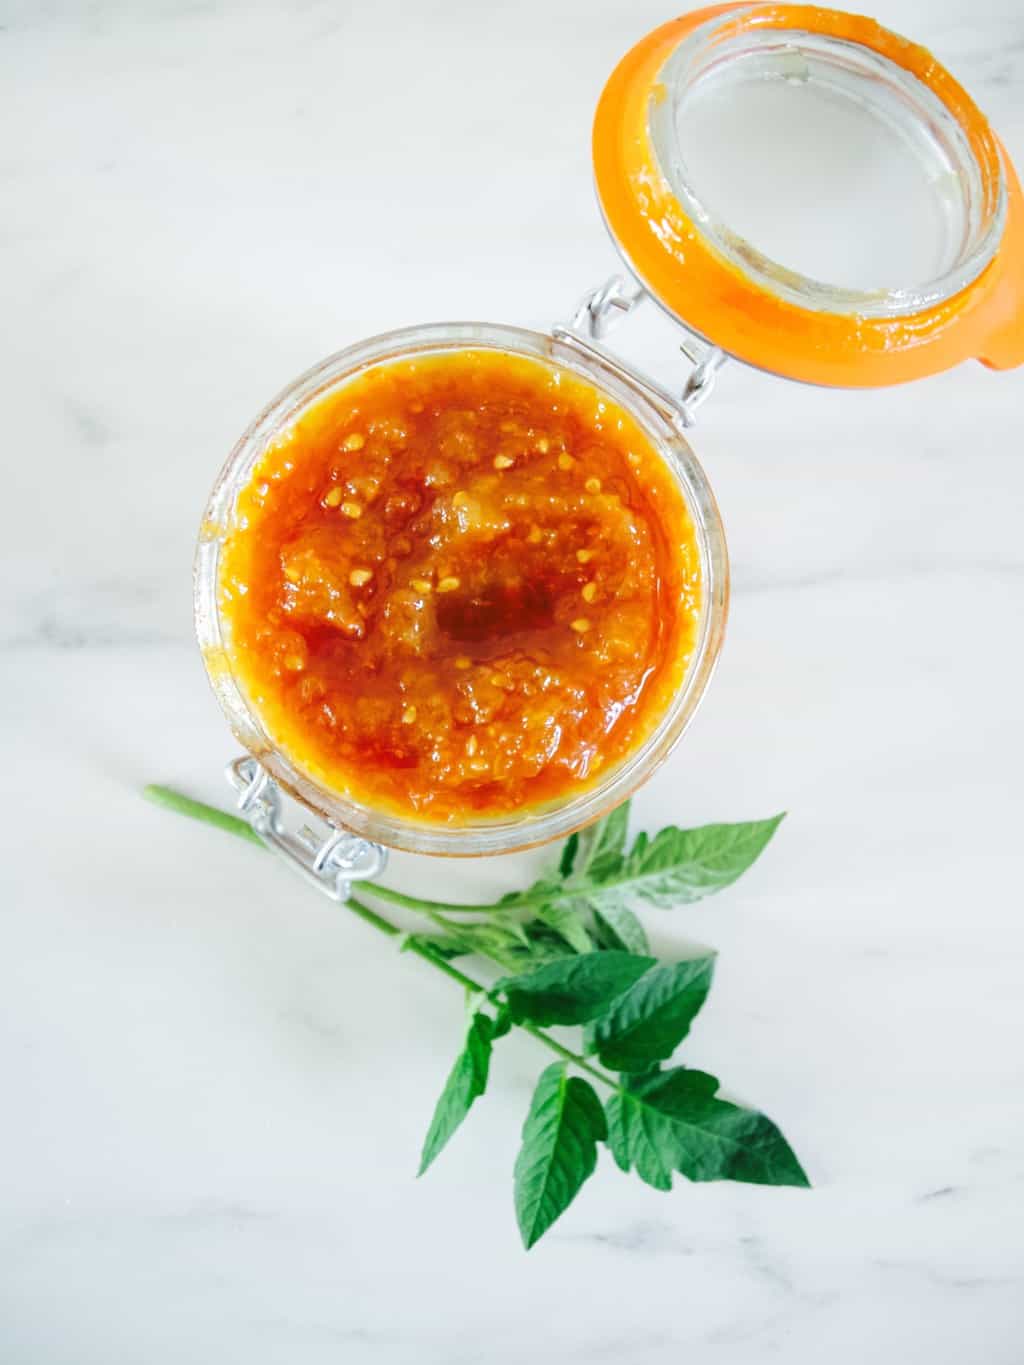
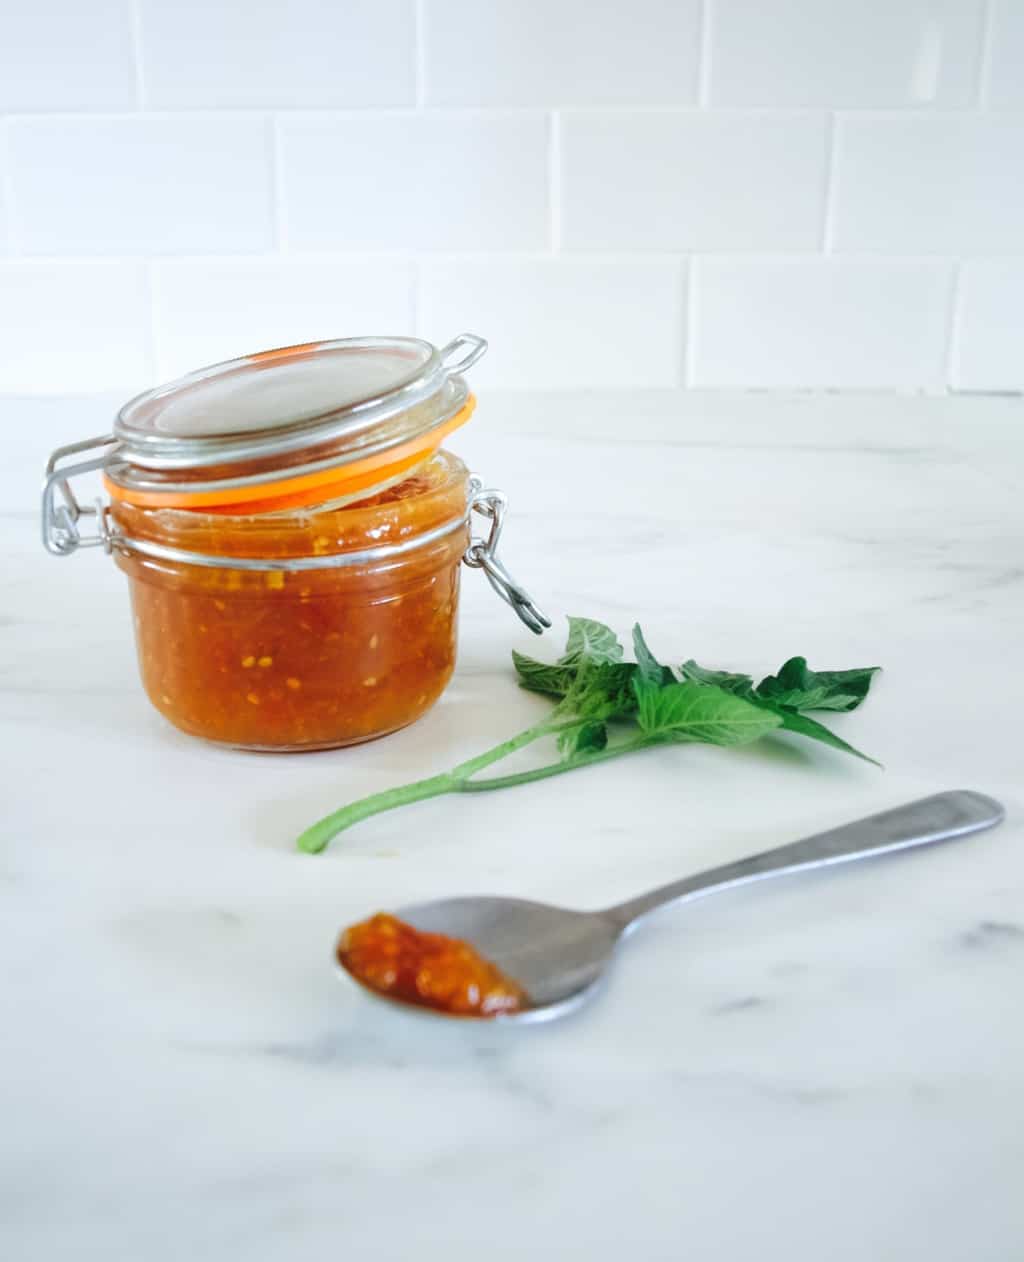
End-of-season tomato jam recipeTurns out our tomato harvest was little late when I thought it was barely there at all. When all of the sudden tomatoes started turning red and yellow in one go I actually panicked as I could not keep up with it even when I was eating them everyday (this is certainly a good problem to have). However their season is coming to the end and I will be soon harvesting green tomatoes to make something special for winter.

So far I have been freezing red, cherry and sunrise tomatoes into the 400g bags for next time I need chopped tomatoes in the recipe. I also reserved some for tomato jam that I wanted to try out making for a while. I love something sweet in my savoury dishes! If you feel the same then here it is, carry on reading for the recipe.End-of-season tomato jam recipe End-of-season tomato jam recipeEND-OF SEASON TOMATO JAM adapted from Healthy Delicious

  • 1kg ripe tomatoes, roughly chopped
  • 280g soft brown sugar
  • 1 lemon zest and juice
  • pinch ground ginger

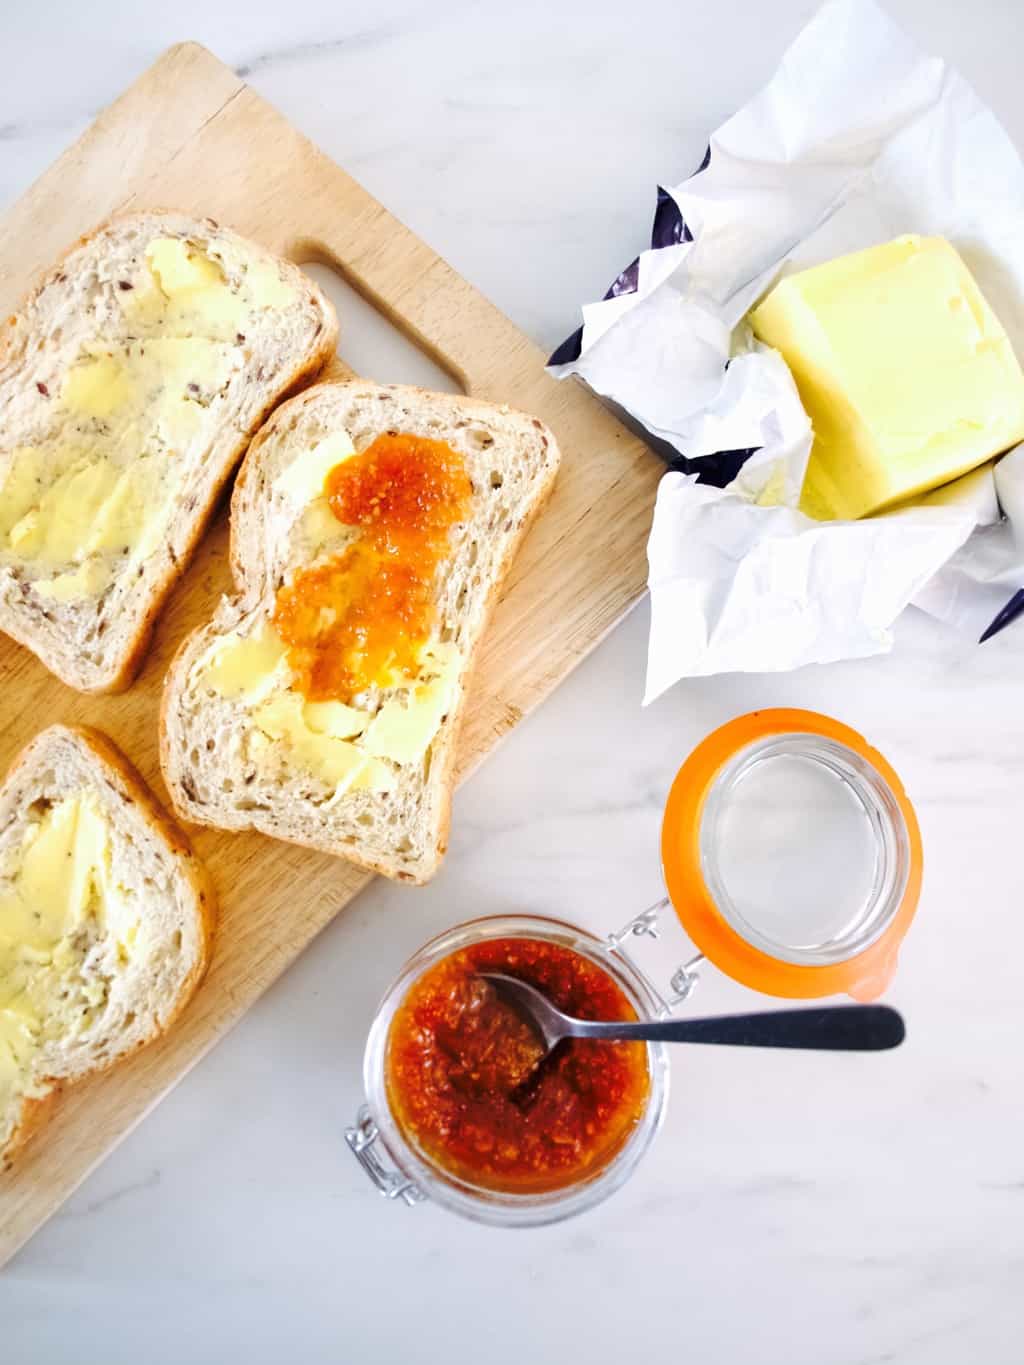
End-of-season tomato jam recipe 1. Whizz tomatoes in the blender till smooth like a pure.End-of-season tomato jam recipe2. Transfer the tomato puree together with the rest of the ingredients into the medium sized pot.End-of-season tomato jam recipe 3. Cook, stirring frequently, until the mixture is thick and jammy – this will take about an hour.End-of-season tomato jam recipe4. Spoon the jam into the ready sterilised jars.End-of-season tomato jam recipeEnd-of-season tomato jam recipe End-of-season tomato jam recipeEnjoy it anywhere you like. I am sure you will find many uses for this jam! I love mine in the cheese toasty ;-).

Rasa xx

0

Herb infused jams

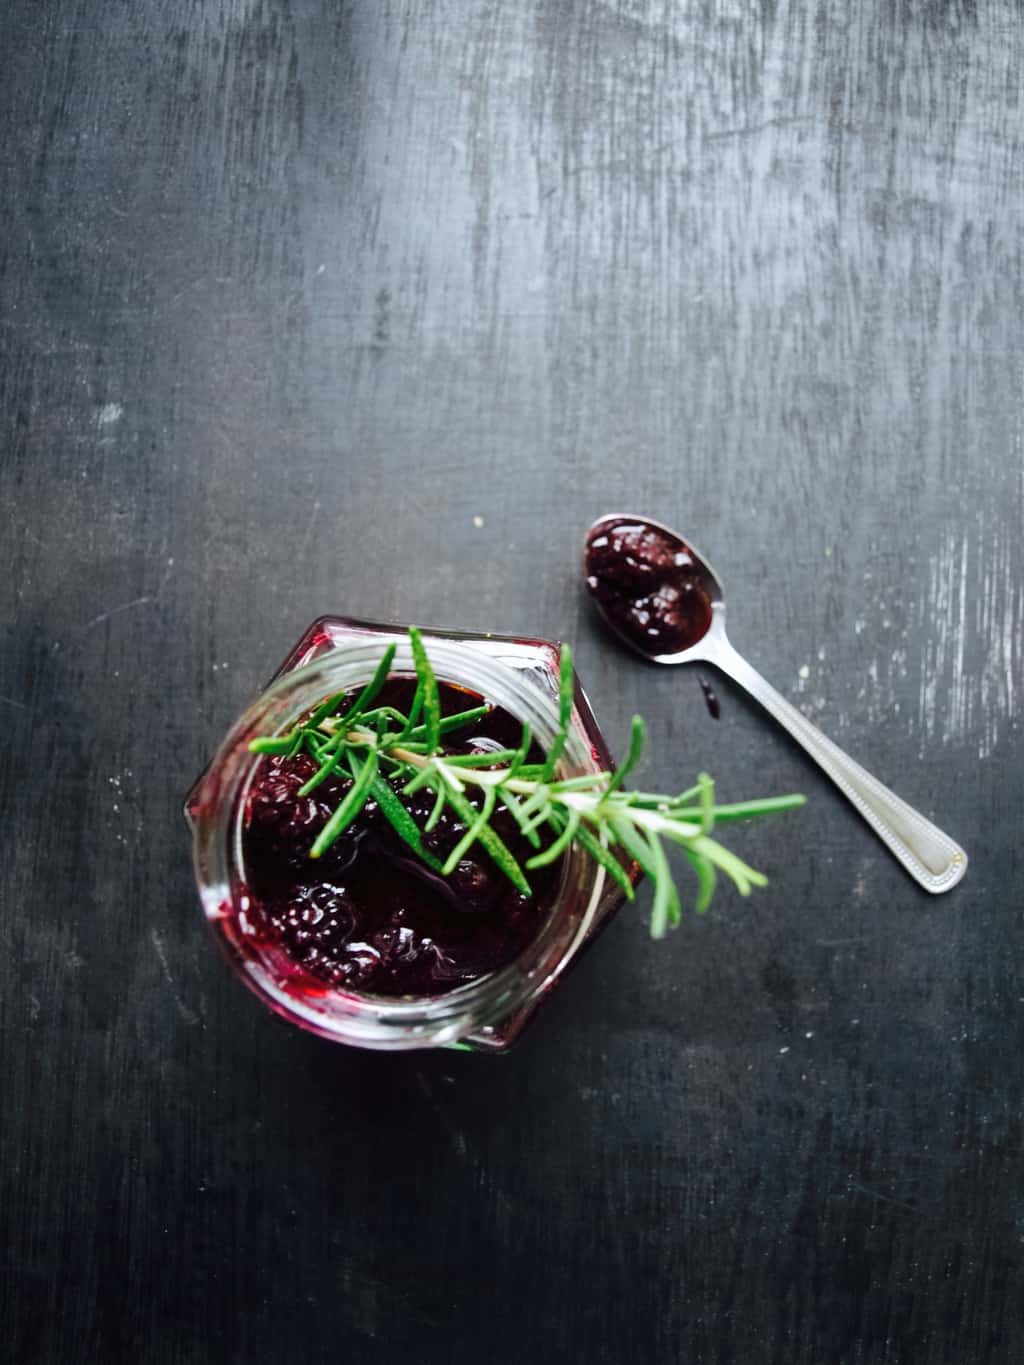
Herb infused jams + rosemary infused blackberry jam recipeI know I know you might think that I am obsessed with blackberries (which is true). But how can you resist when these berries are so plump and lush right now? We just loooove picking them as we go for a walk!

Last year when I was cooking through Little Paris Kitchen book I found this recipe for the cherry compote. Not just any cherry compote, it was infused with basil and tasted amaaaaazing! This is why when I was thinking to make blackberry jam I decided to take similar approach and matched it with rosemary. It was as flavoursome as that compote I made last year ;-).

So if you are jamming this autumn, I really recommend trying out and adding herbs to your preserves. Sugar really bring out the flavour of it I think. Here are few suggestions if you like:

  • cherry and basil
  • blueberry and mint
  • raspberry and cardamom
  • apricots and lavender
  • strawberry and lemon thyme

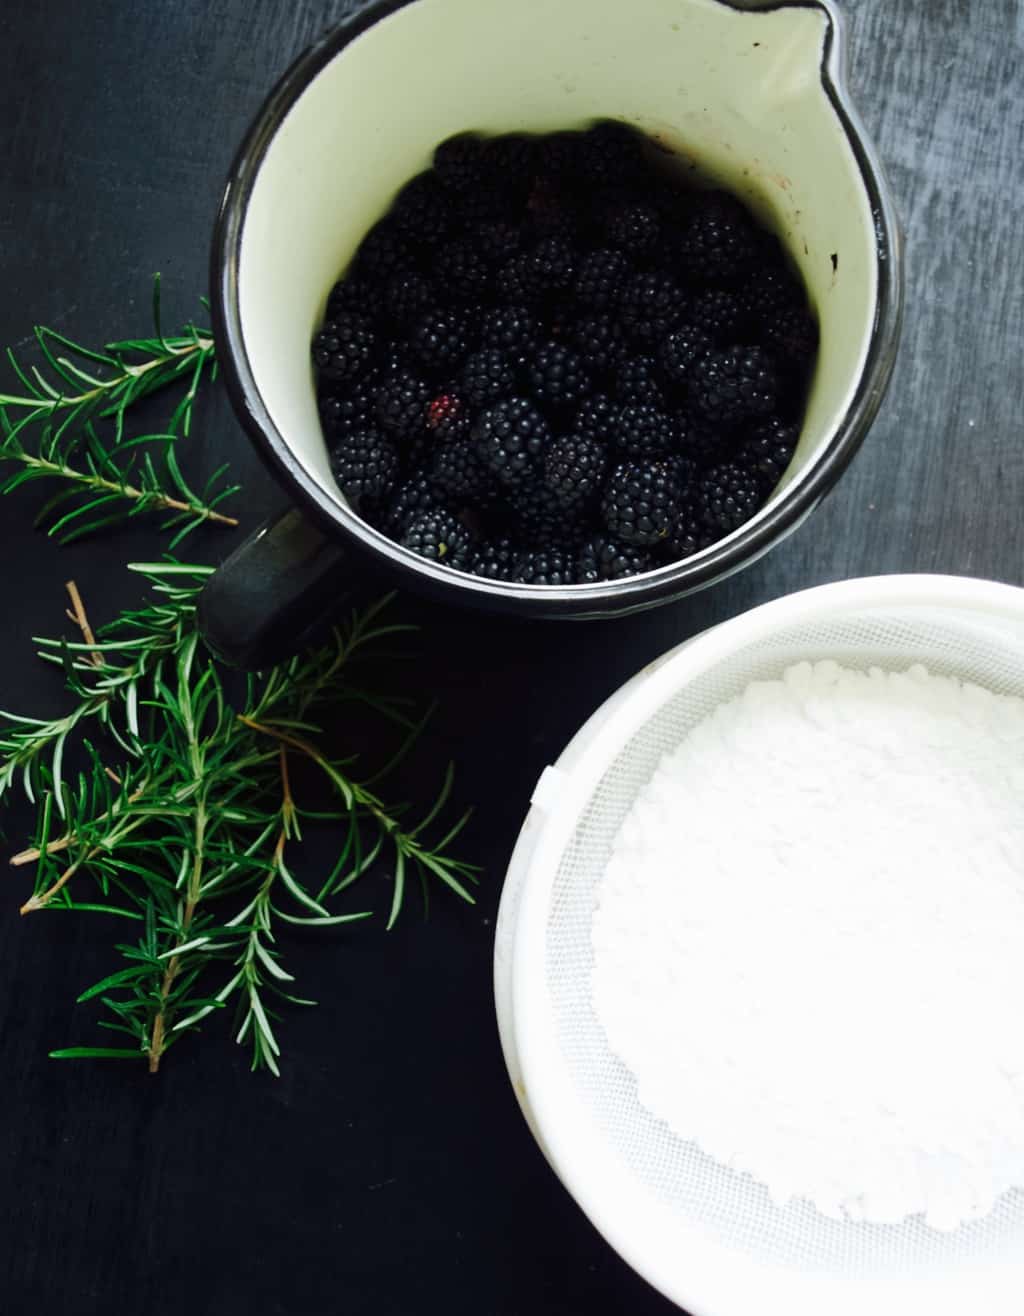
These are just few examples, but you can experiment with any herbs. Here is blackberry and rosemary for starters ;-).Herb infused jams + rosemary infused blackberry jam recipe BLACKBERRY AND ROSEMARY JAM

makes 2 jars

  • 1kg blackberries
  • 300g sugar (we used icing sugar as it dissolves quicker, but any other sugar will do)
  • bunch of rosemary

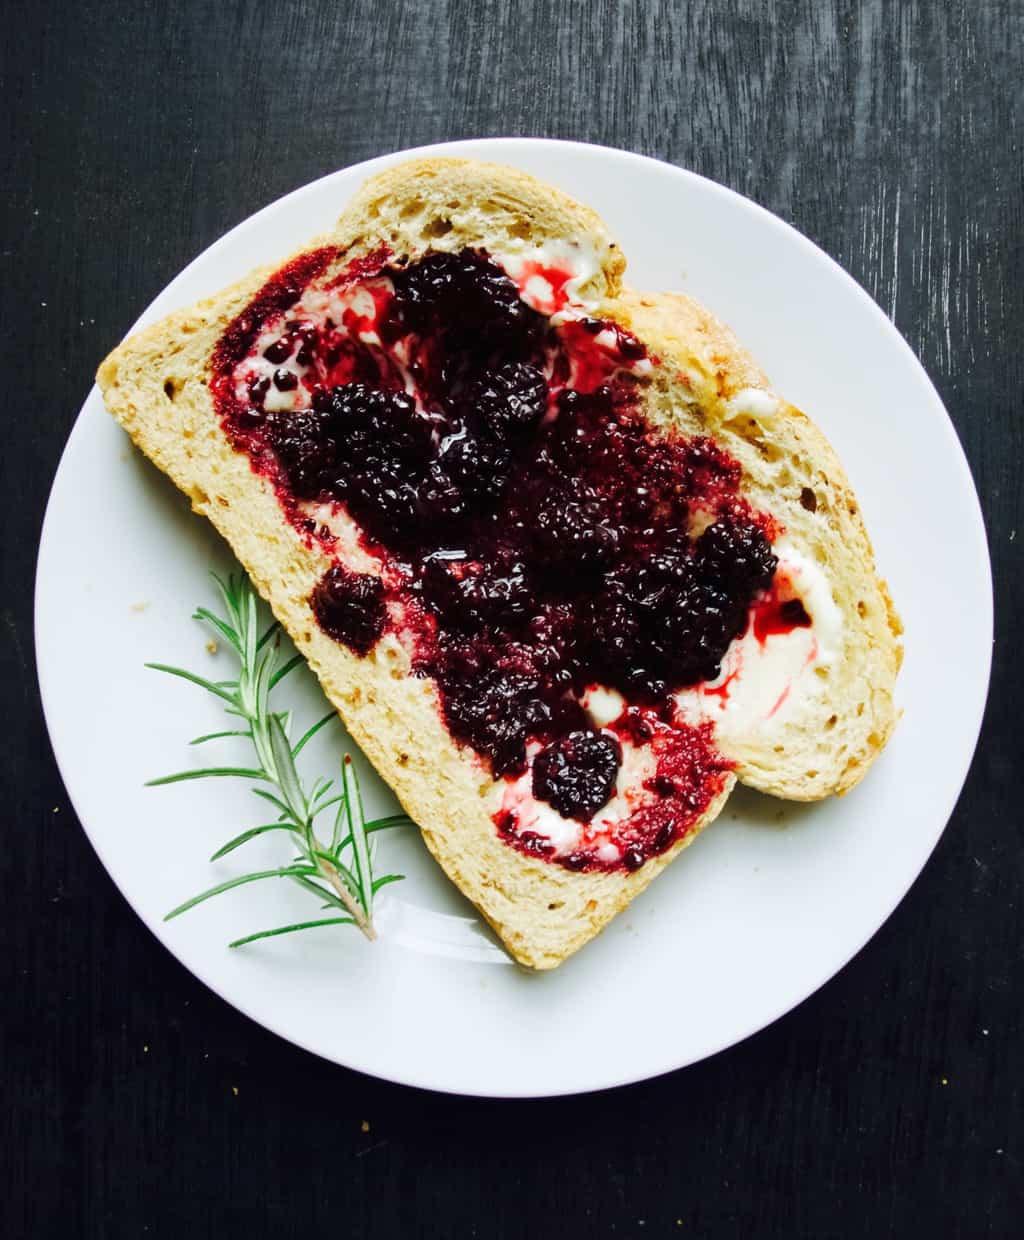
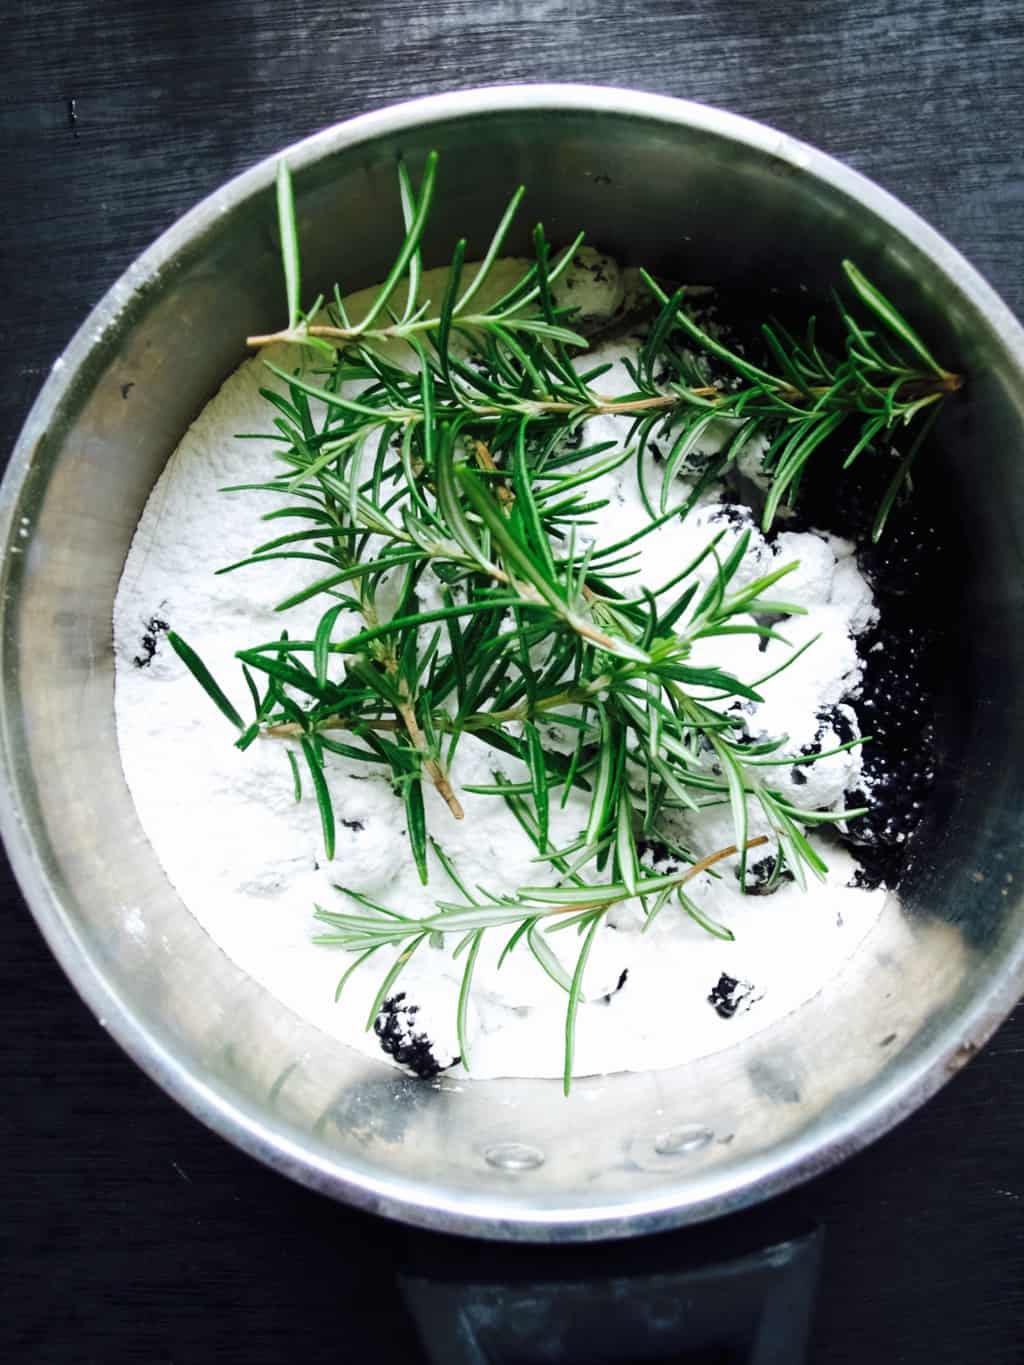
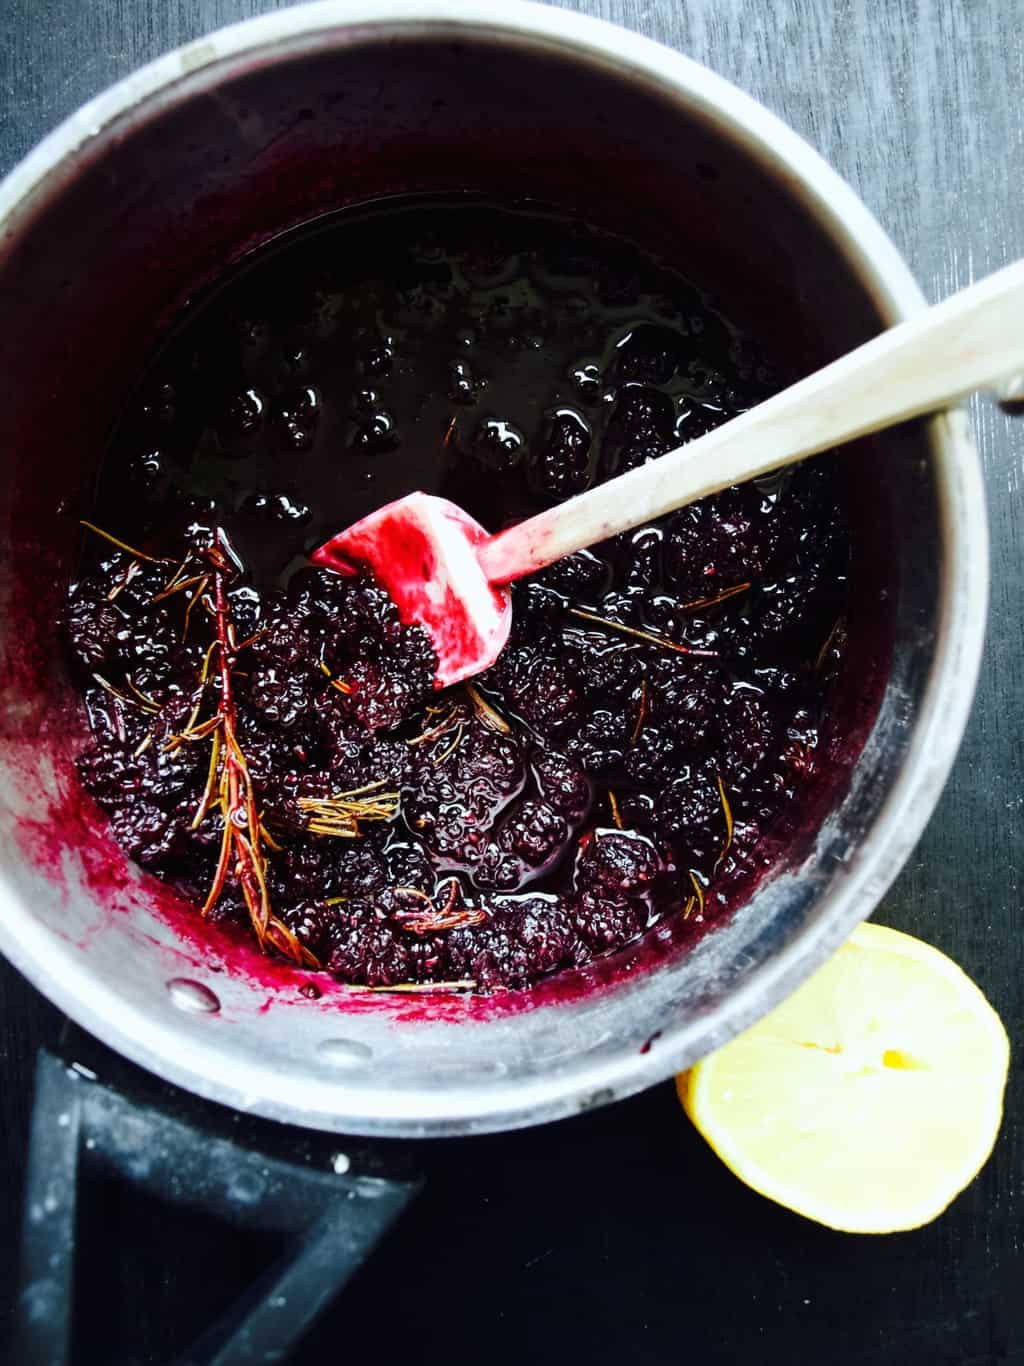
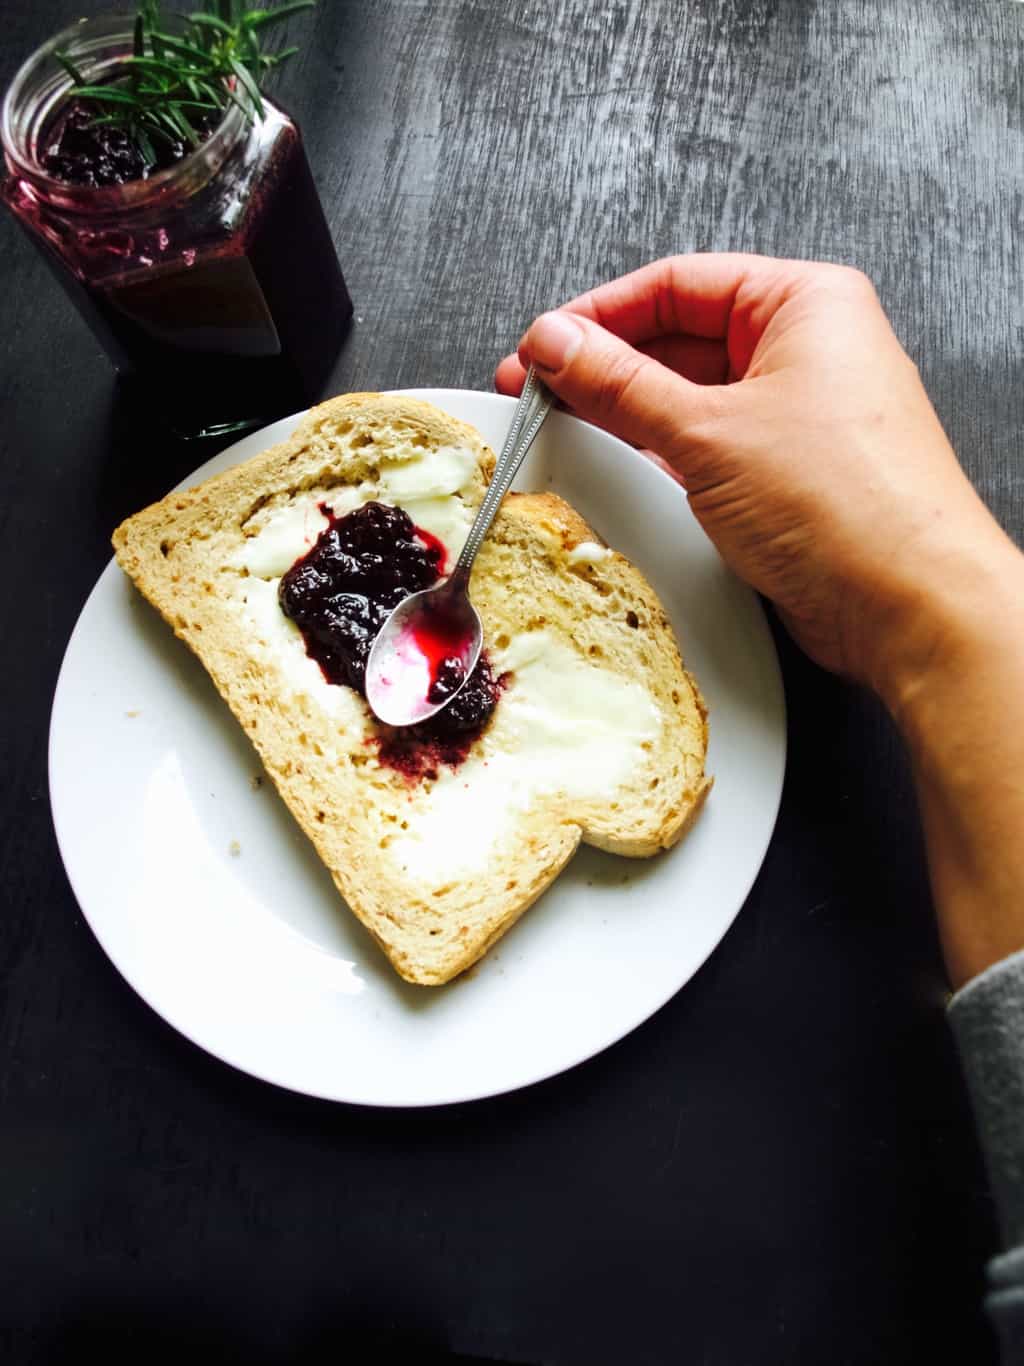
Herb infused jams + rosemary infused blackberry jam recipe 1. Place all the ingredients in a pot and simmer uncovered for 30 min or so.Herb infused jams + rosemary infused blackberry jam recipe 2. Stir occasionally while cooking to help dissolve the sugar.Herb infused jams + rosemary infused blackberry jam recipe 3. Remove the rosemary stalks (as much as you can) before spooning it into ready sterilised jars.Herb infused jams + rosemary infused blackberry jam recipeI enjoy it mostly with toast but there are plenty of other uses as well.

Rasa xoxo
0

My review of bullet journaling

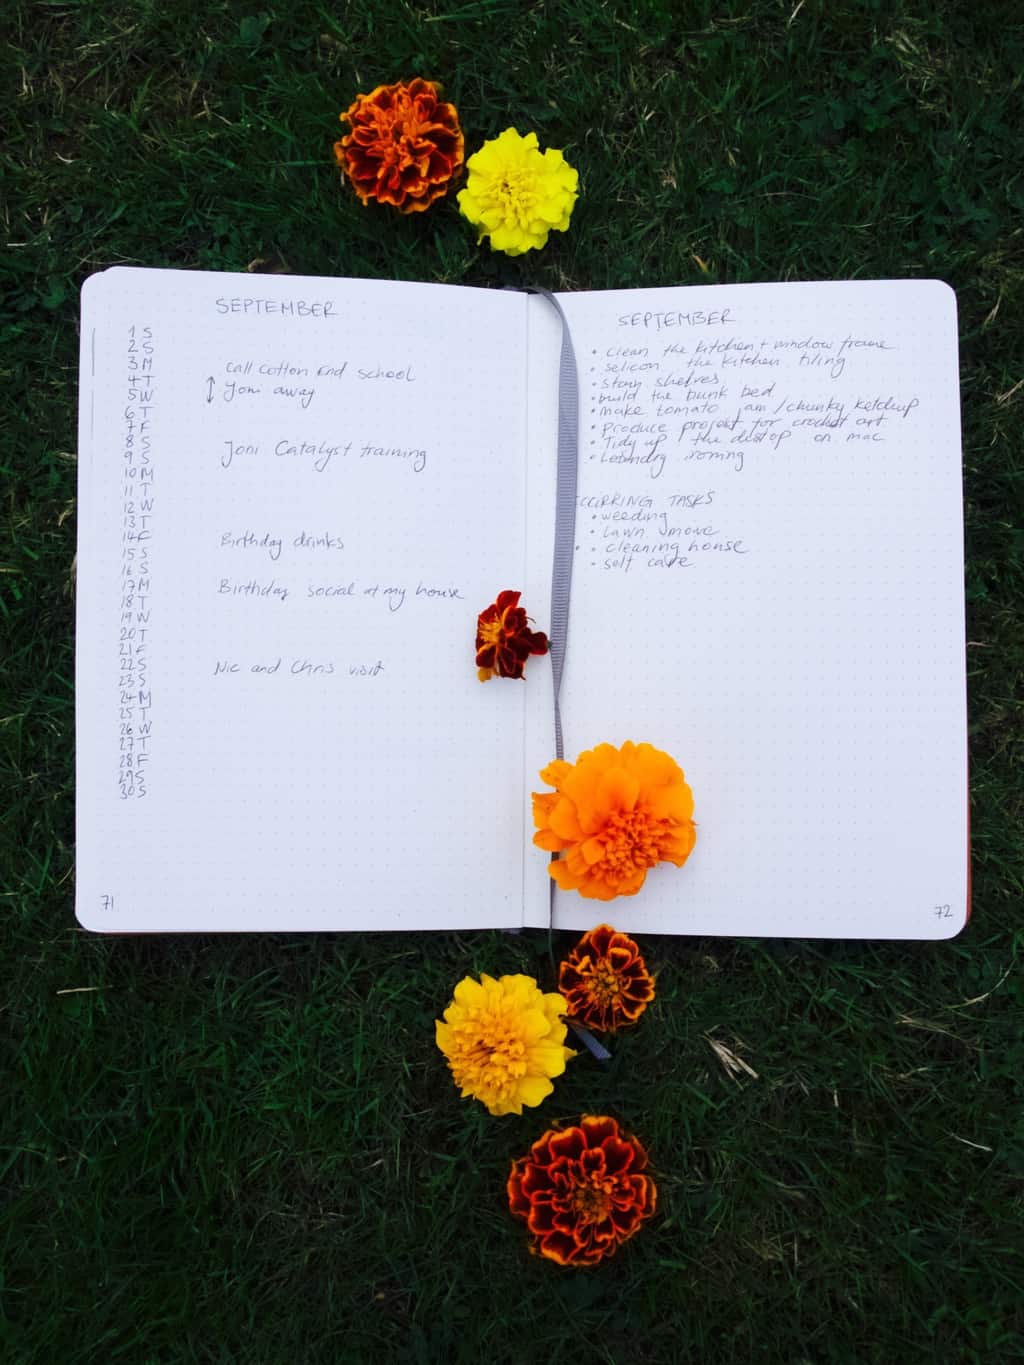
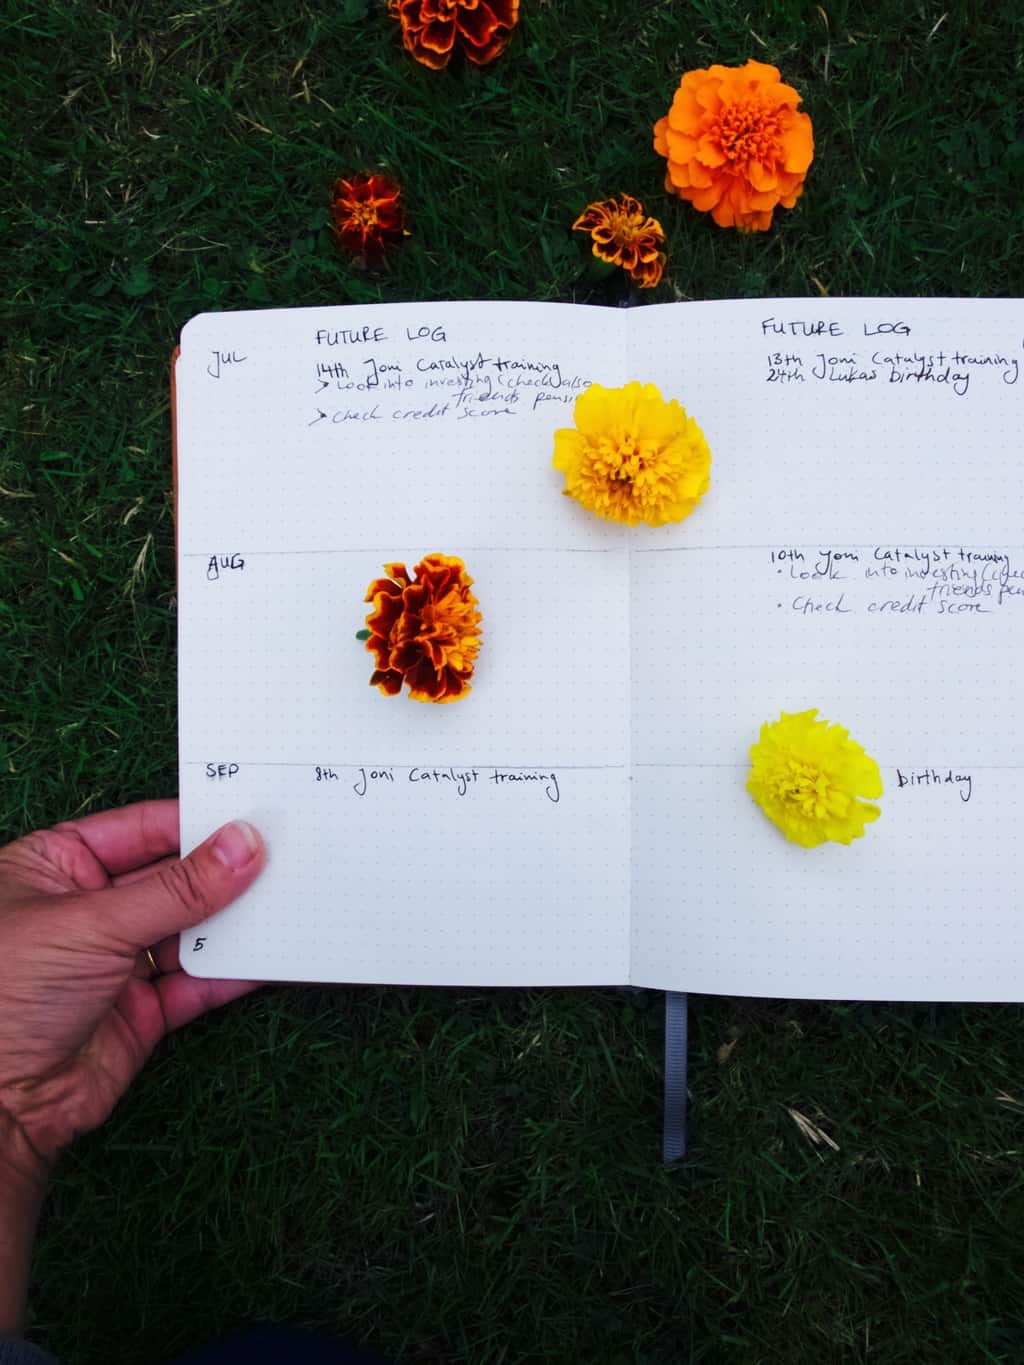
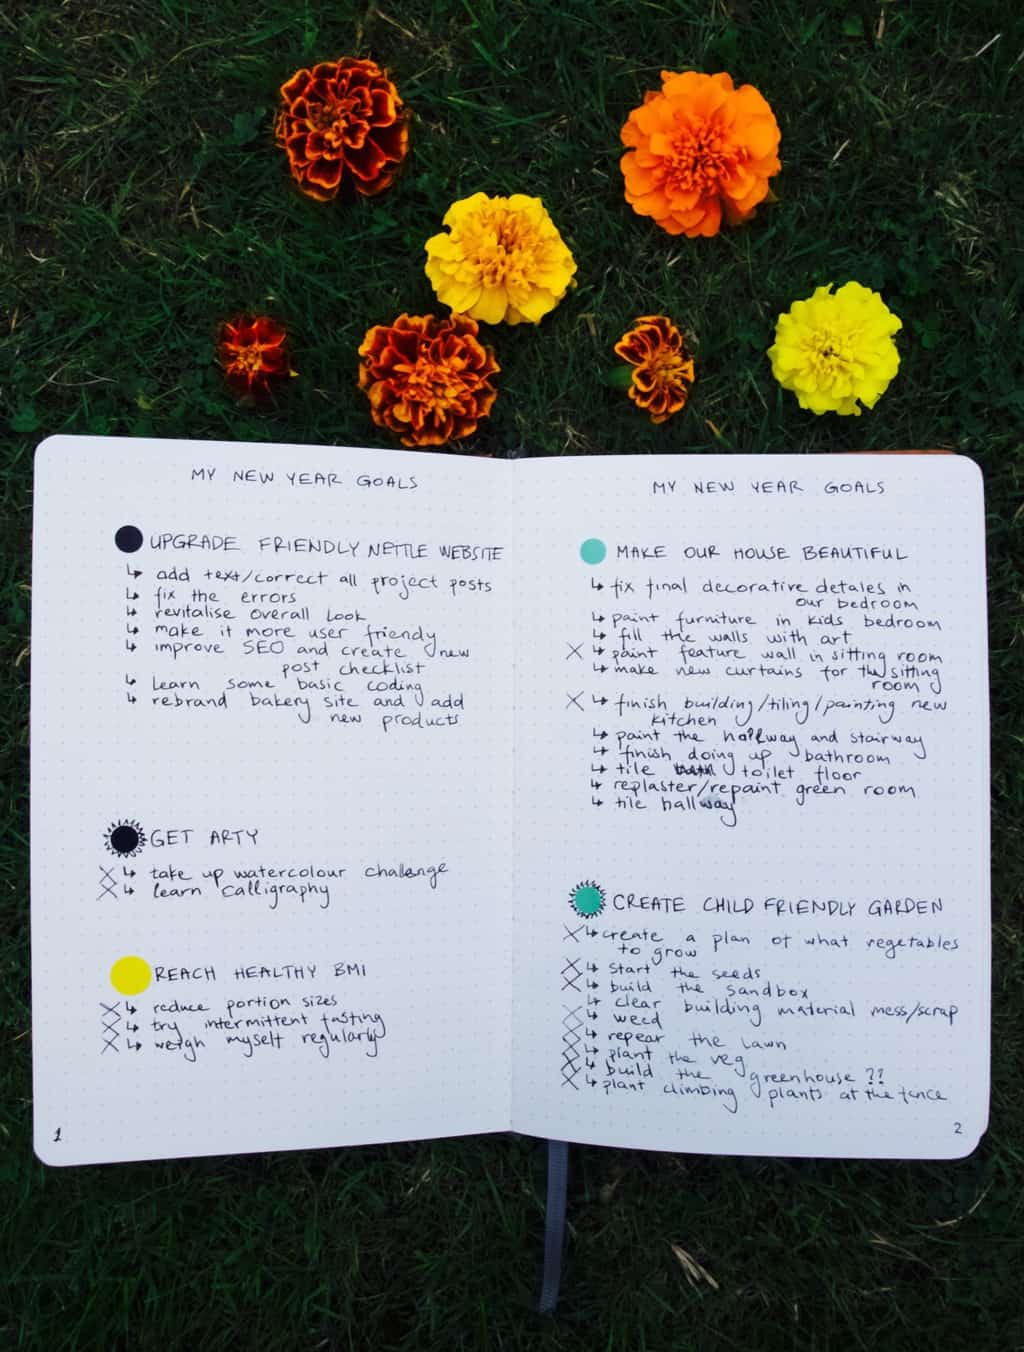
my review on bullet journalingAt the beginning of this year I tried bullet journalling, so how did I get on? Well… my opinion about it has not changed much. I think this system is best suited for a single person who loooooves stationary. However the system itself is cool and it can maybe be applied to a wall organiser. Or at least this is what I am hoping to do.

First I will start with positives of bullet journalling (need to be positive!).

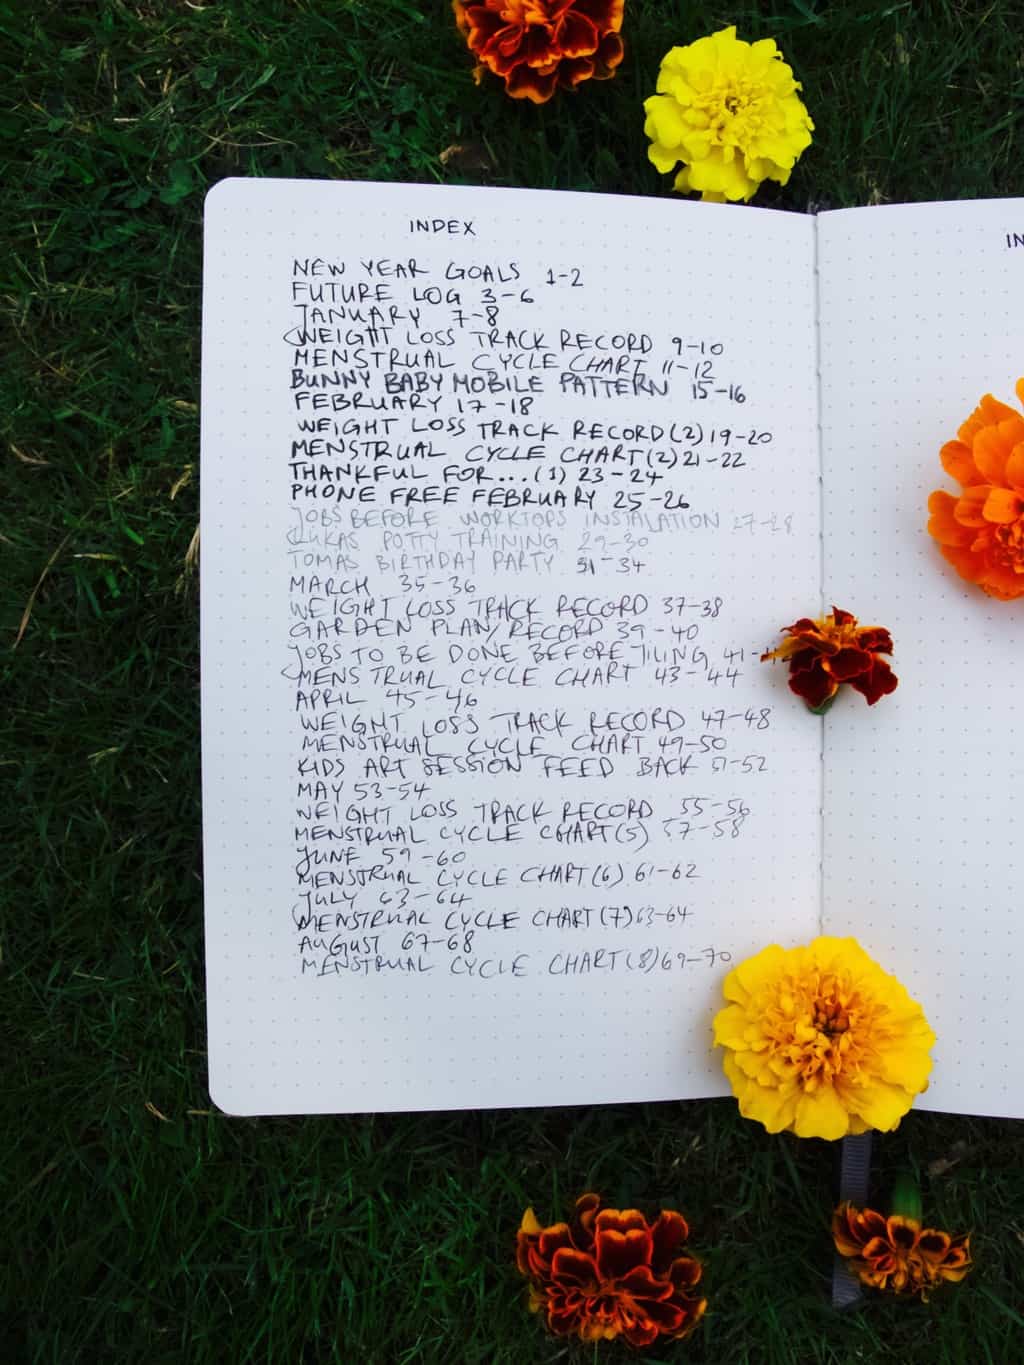
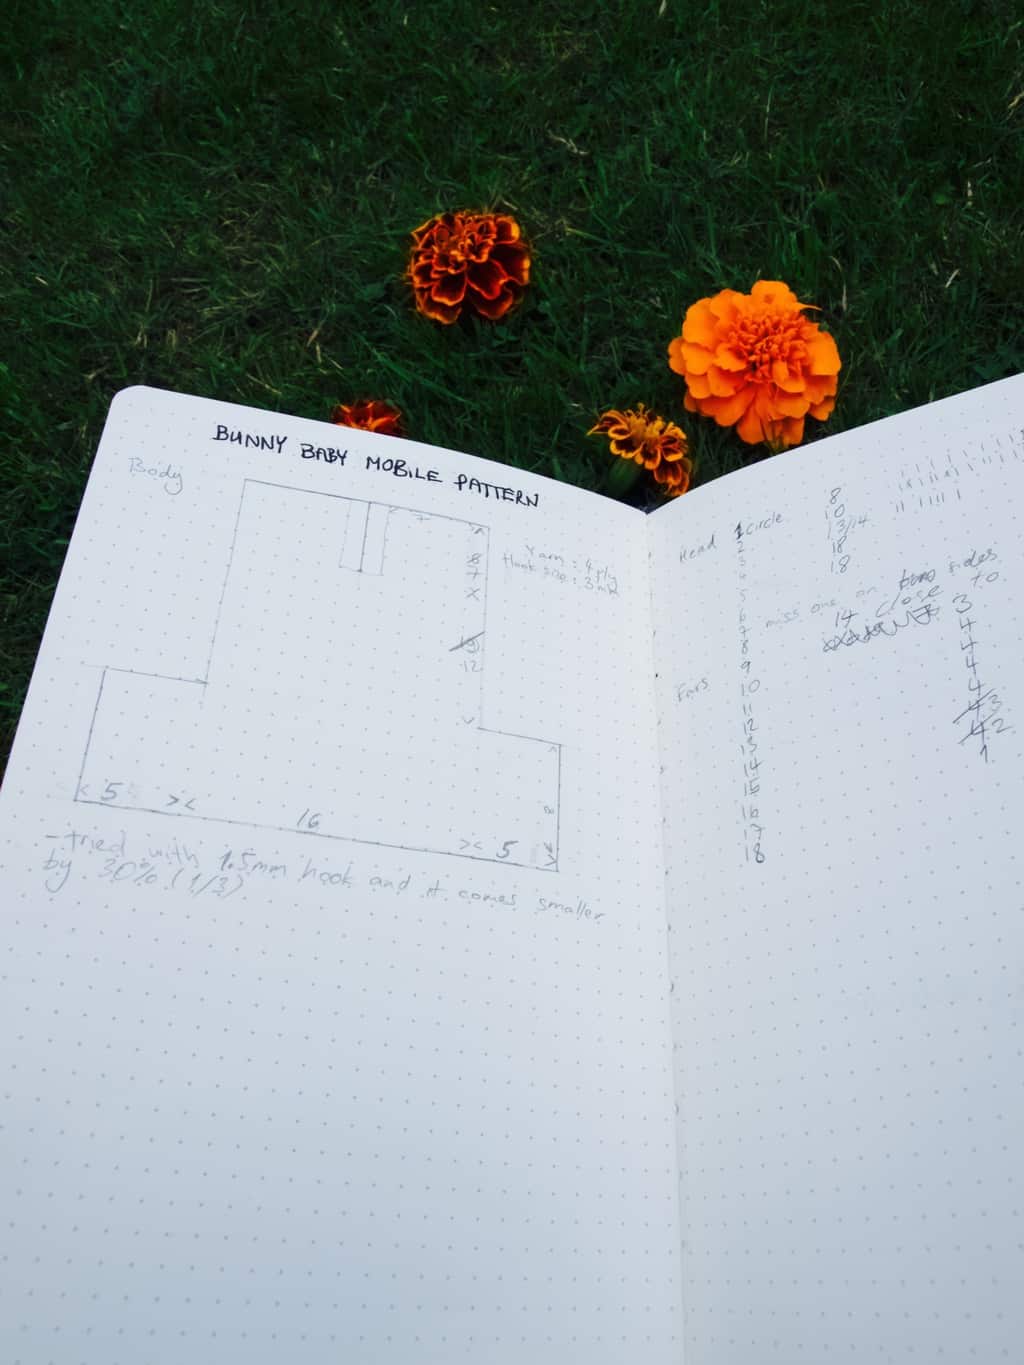
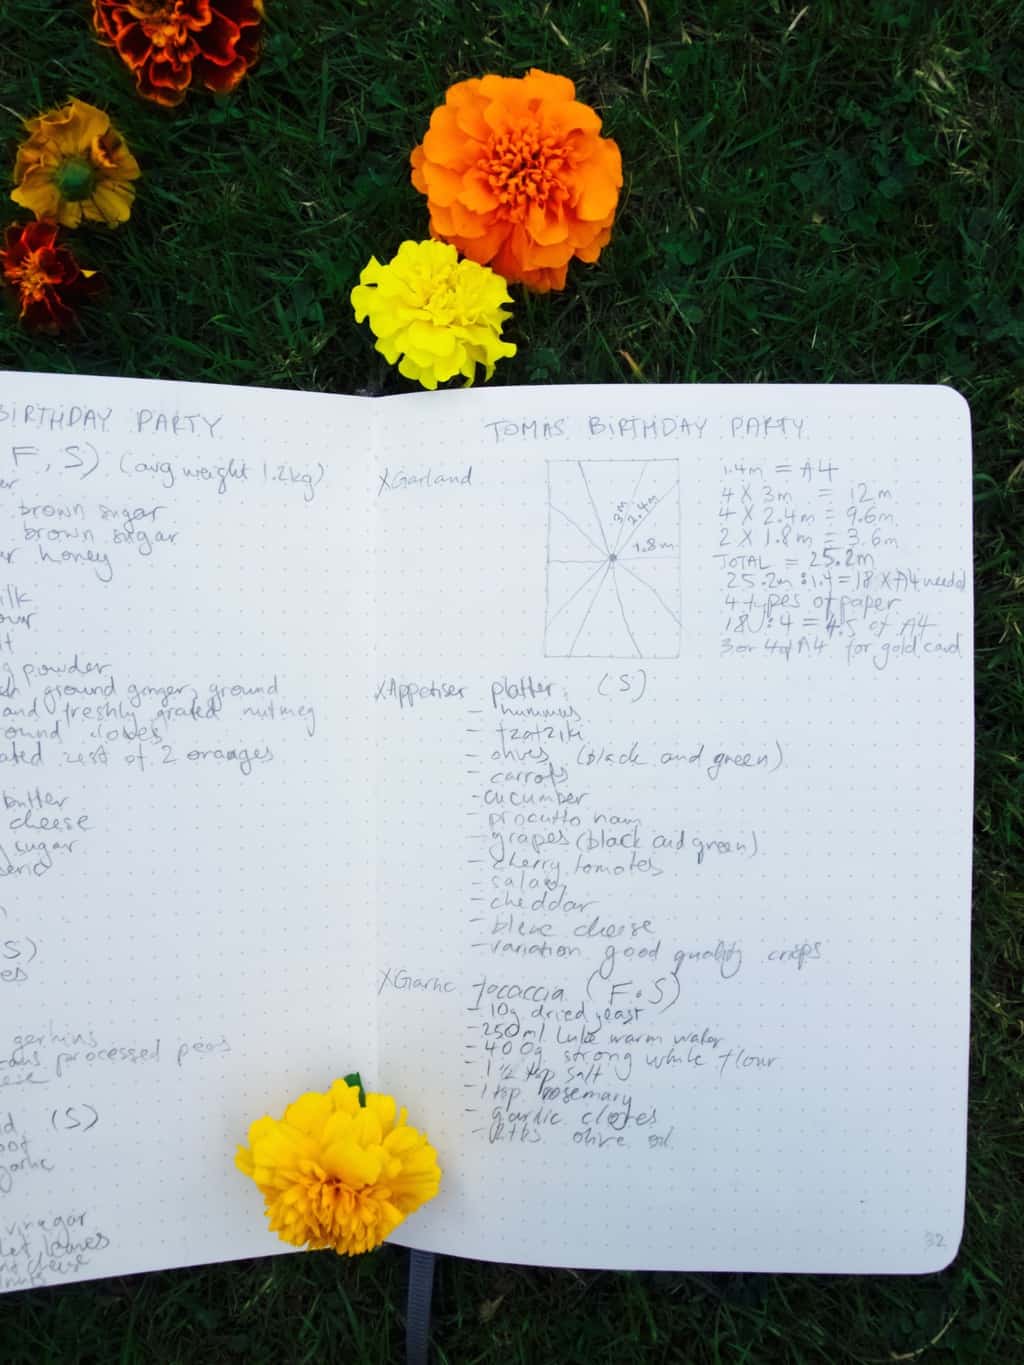
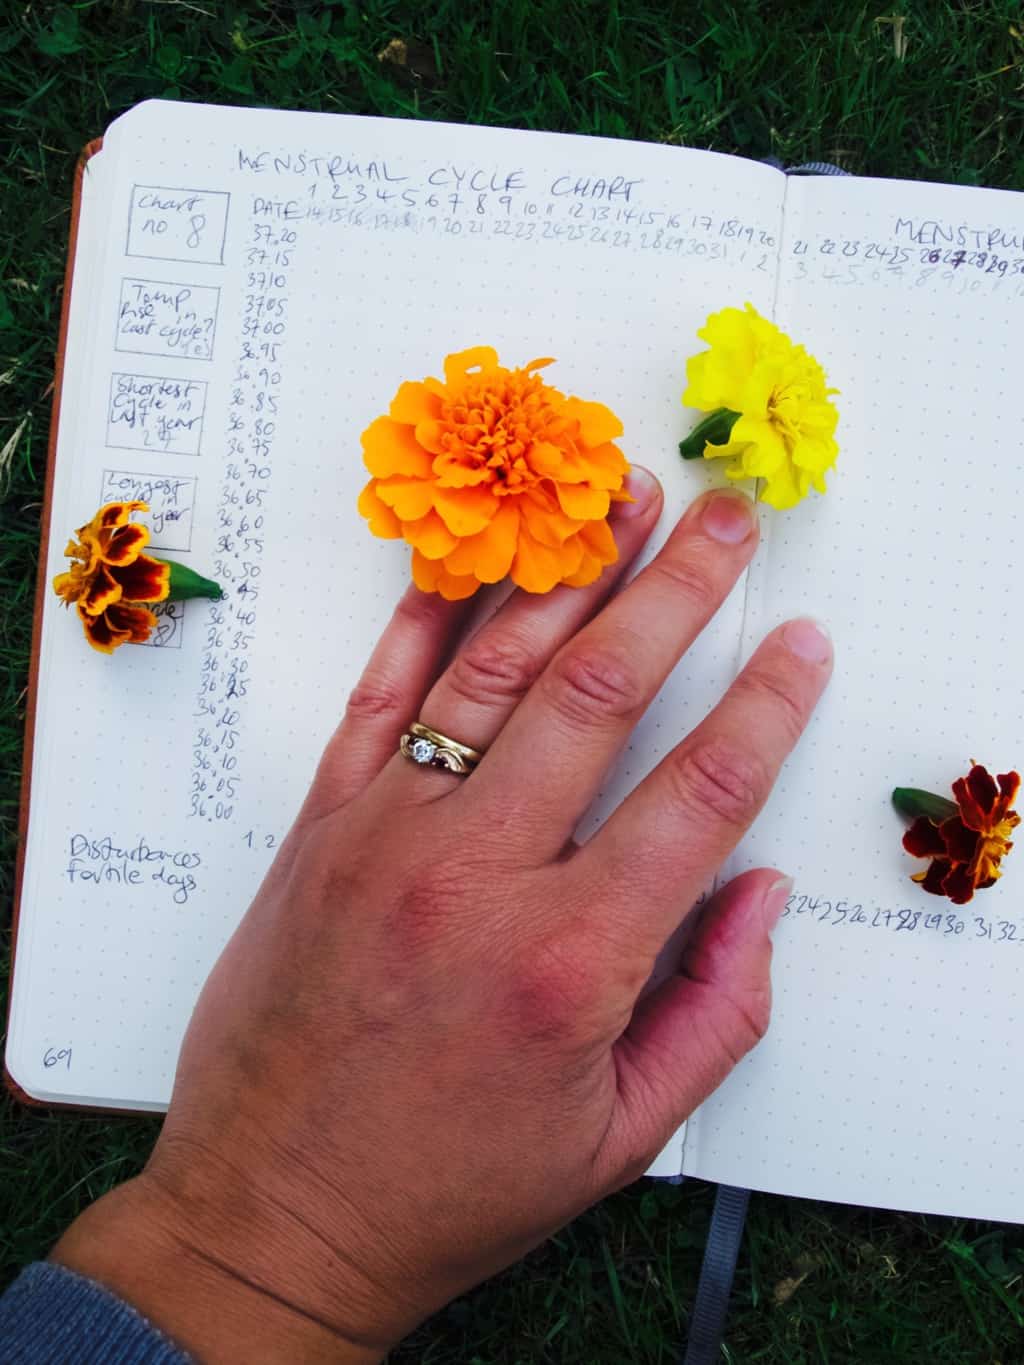
1. I loved how this diary is like a book. It almost feels like writing a book! You know how they say that everyone has a book in them?  Well, here is your chance to sort of practice and write it. It has page numbers, an index page, and more. my review on bullet journaling 2. The BUJO system itself is very practical. It’s all about tracking your tasks, organising them in advance and moving them around to different time slots. The “future log” creates an area where you can store events and tasks that needs to be done sometime in the future. The symbols lets you identify if the task is completed, moved or canceled. If only I could somehow translate this system into the wall diary/organiser…. hmm.my review on bullet journaling 3. My favourite part however is my new years goals pages. Although I feel I am slightly behind I feel splitting goals into tasks helped me to see the progress which itself is very uplifting. I know I know, if I do maths here I probably have almost half of the tasks completed, but only one third of the year left. So I am guessing I wont be able to complete all the tasks by the end of the year. But its ok, I can always review these tasks and forward some to the new year ;-).my review on bullet journaling 4. Additionally to all the fab parts of bullet journalling, I can store project patterns,my review on bullet journalingdetailed event hosting plan with drawings and recipes,my review on bullet journaling my cycle charts (embarrassed to say) and many more. Basically whatever floats your boat ;-). my review on bullet journalingWhen it comes to negative points of using BUJO is that it is not easy to access for whole family. Yes bullet journal is perfect for storing personal stuff like charts etc, but other then that when it comes to family planning this needs to somehow to transfer to a wall organiser.

And btw, I mentioned before that I was very excited to use my fountain pen with this journaling business. However this proved unpractical as I often had to wait till my writing dries before going onto next page. Also I made so many mistakes that by now I am not too bothered about my handwriting in this journal.

That is it for now, hope you found my review useful

Rasa xoxo
0

Devon in Autumn

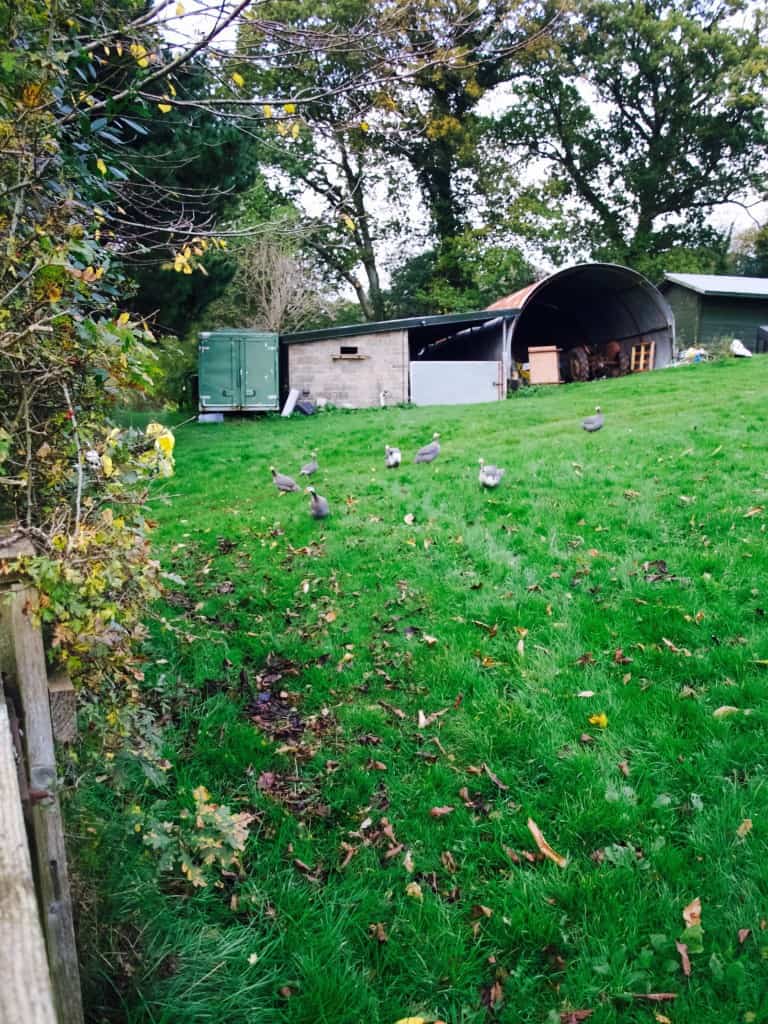
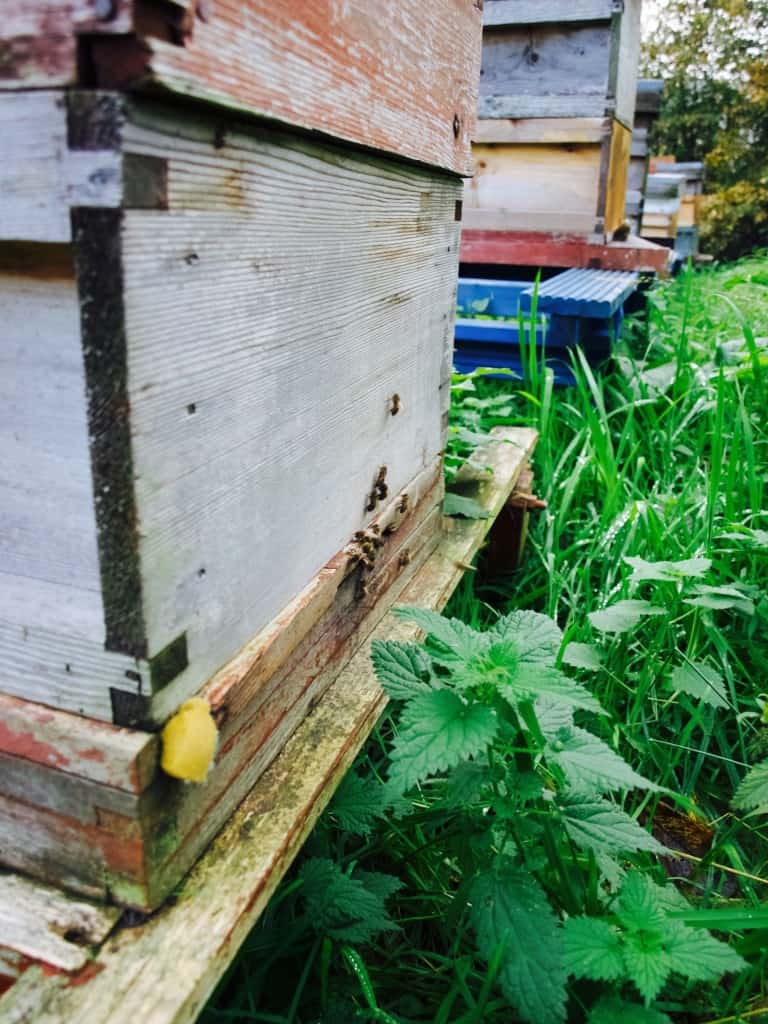
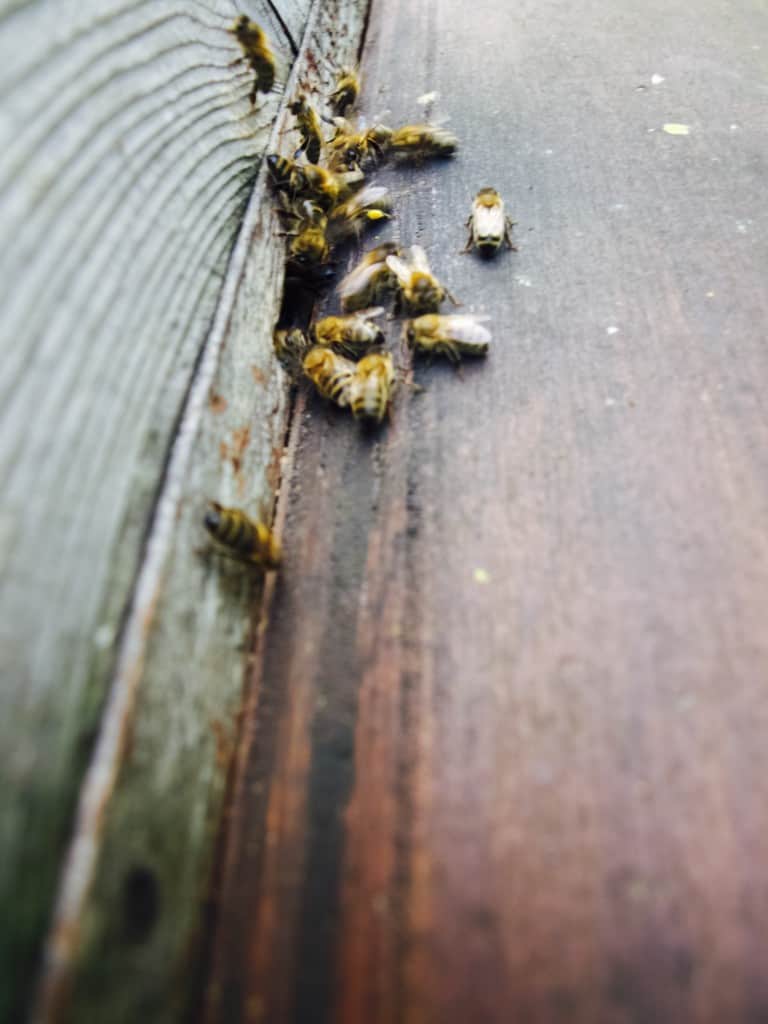
Devon in Autumn We spend last week in Devon to celebrate Lukas birthday and I was blown away by a beautiful scenery once again. I was thinking yeah yeah, I been here before and blogged about it as well. Surely there is nothing new to see and share. But guess what? I changed my mind! Initially I was taking pictures with my phone not planing to post it and only on our last walk I took my DSLR with me when I realised this beauty needs to be captured properly. So forgive me for some pics that does not have such a great quality, I included some pics from my older walks when I was not prepared. Devon in AutumnYou would think Devon is coloured with Autumn colours right now, but thats not the case. It turns out the grass is still green (very very green in fact), then there are evergreen plants such as my beloved ferns ❤︎ ❤︎ ❤︎ . Devon in AutumnDevon in Autumn Even the pond is green in Autumn because of green algae, who could have thought!Devon in Autumn Lukas liked the muddy puddles the best and I decided to chillax and let him enjoy the Devon properly. He even took his cars to have a wash :D.Devon in Autumn Devon in Autumn Devon in Autumn Devon in Autumn Devon in Autumn And of course there were bees. Joni’s dad said I was brave to go and take pics of them so close so I could share these pics with you ;-). Luckily I did not get stung! I wonder what the bees are up to in Autumn.Devon in Autumn Devon in AutumnHope you are enjoying Autumn wherever you are :-).

Rasa xoxo
0

Pinterest challenge: apple and butternut squash soup

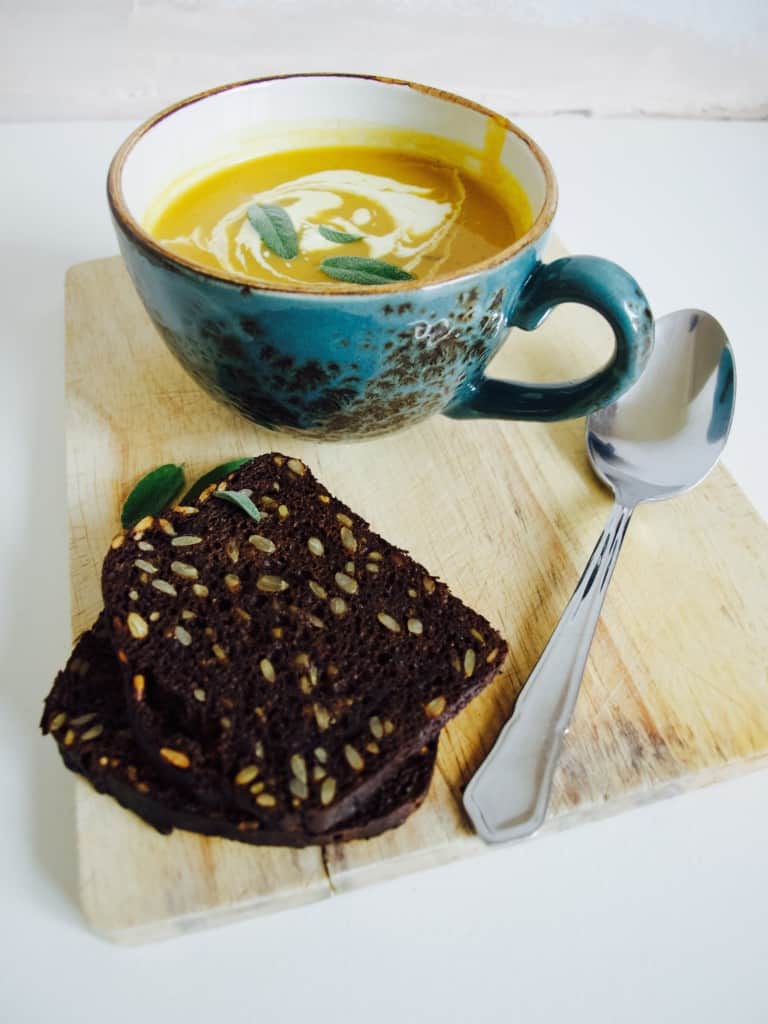
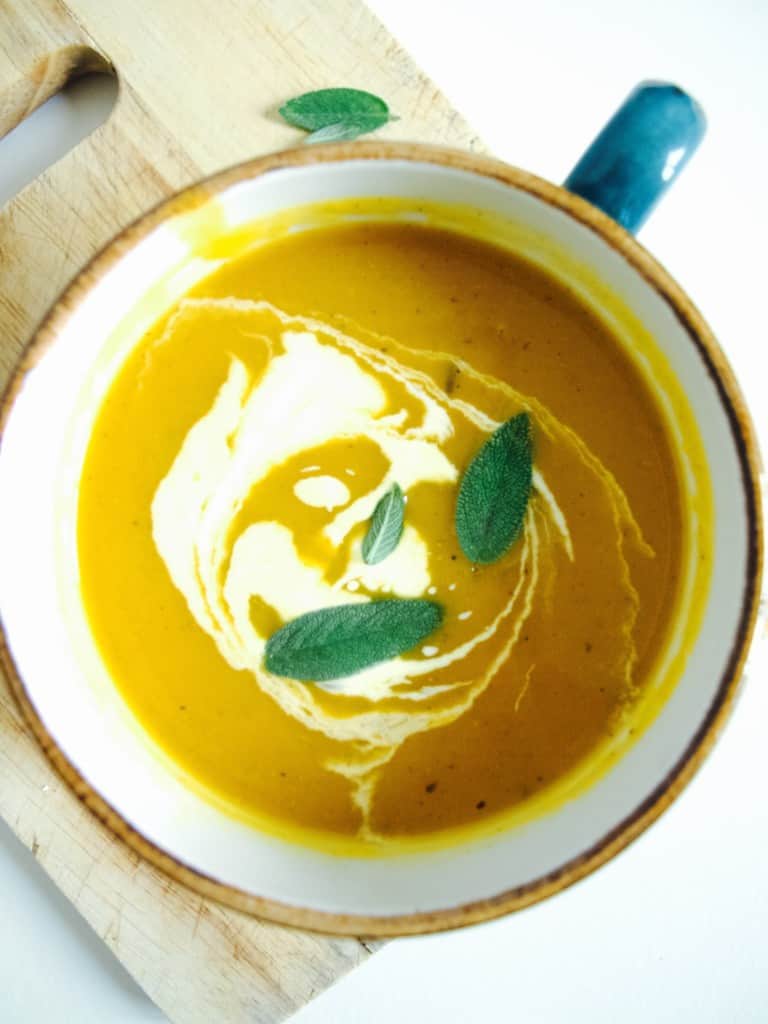
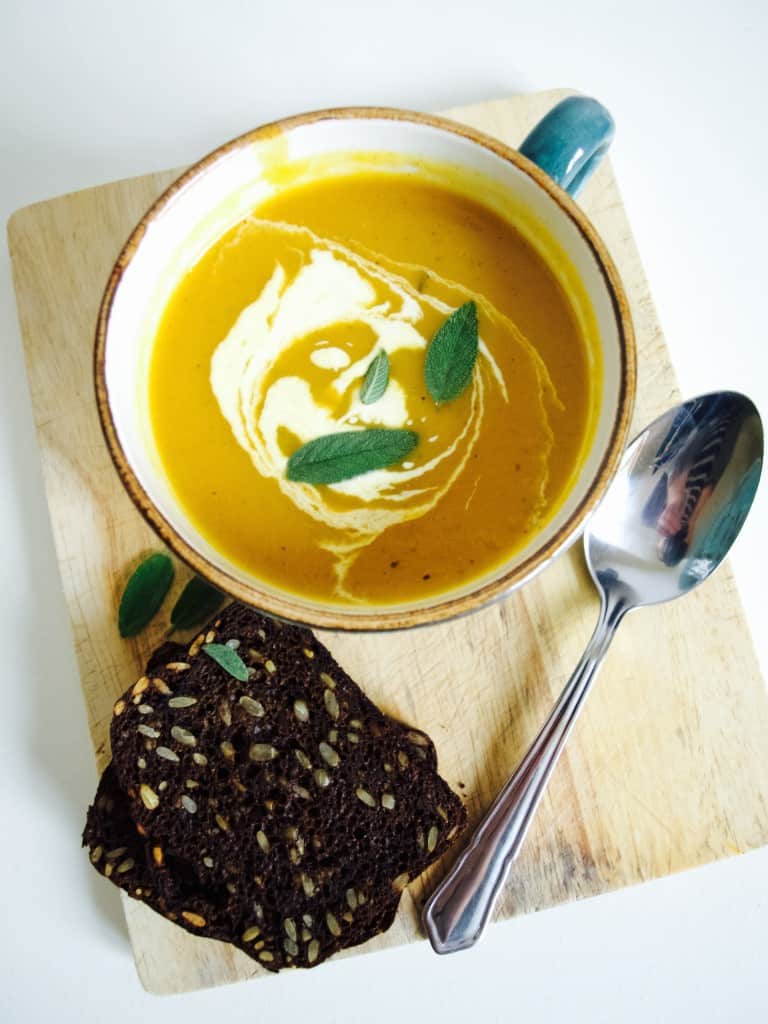
Apple and Butternut Squash soup recipe So the soup season is continuing here and I am trying to explore more and more flavours to stock up with (for the freezer). I find these soup portions very handy for lunches (super kid friendly too!!).

Apple and butternut squash seemed like a great match, was very eager to go and try it out as soon as I saw it on Pinterest. Made few changes, because I needed dairy free option as well as keeping it rich in flavour (I am talking about butter here). Hope you like it too as much as I did. Scroll down for the recipe ;-).Apple and Butternut Squash soup recipe APPLE AND BUTTERNUT SQUASH SOUP adopted from Foodess

serves 6 adults (you are welcome to double it up!)

  • 1 medium butternut squash, peeled and chopped
  • 1 large cooking apple, cored and chopped
  • 1tbsp fresh sage, or 1 tsp dried
  • olive oil for roasting and frying
  • 1 onion, diced
  • 1/2 tsp mixed spice
  • 1l chicken stock
  • double cream (optional)
  • salt and pepper to taste

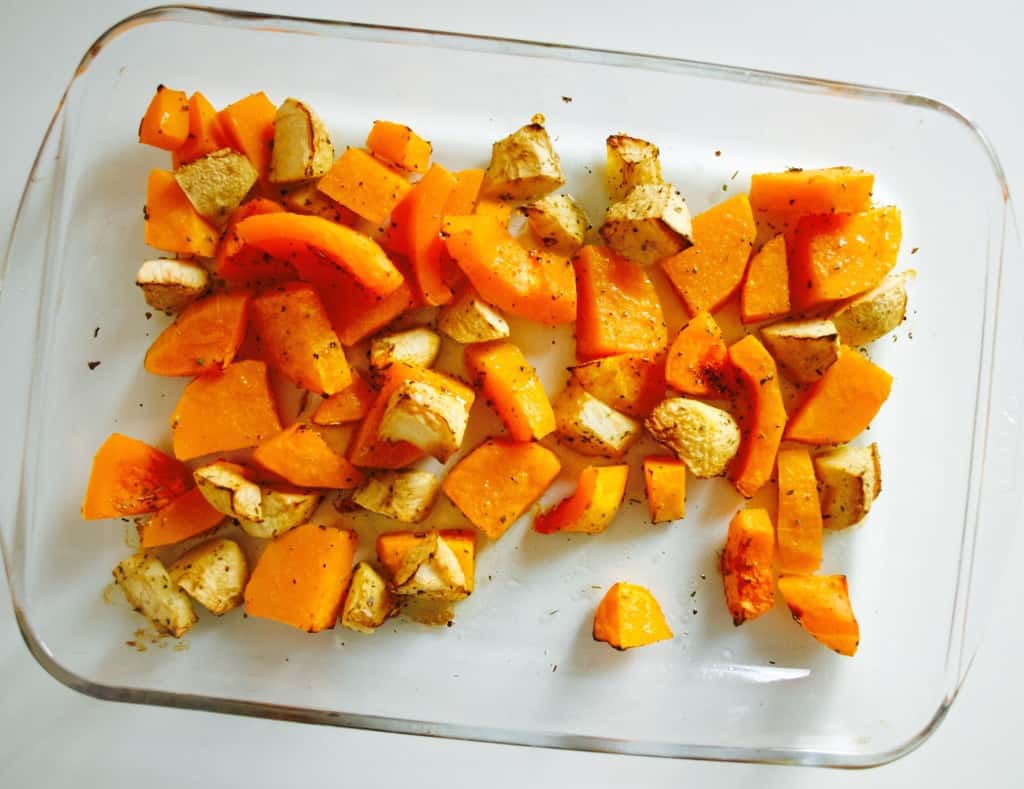
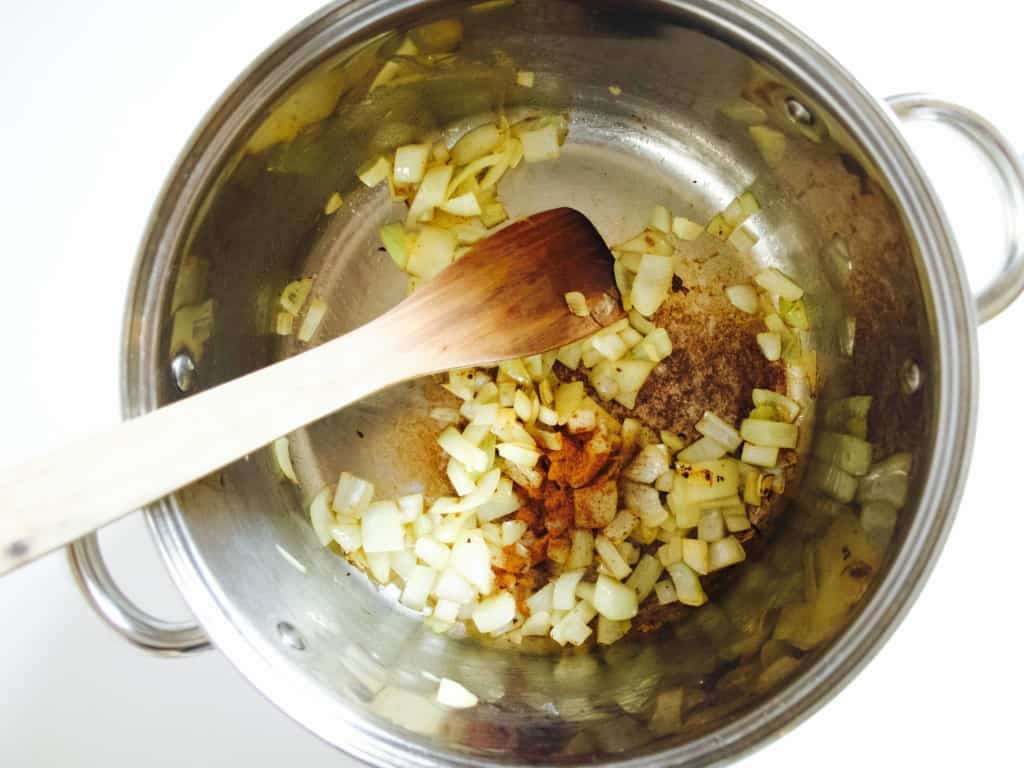
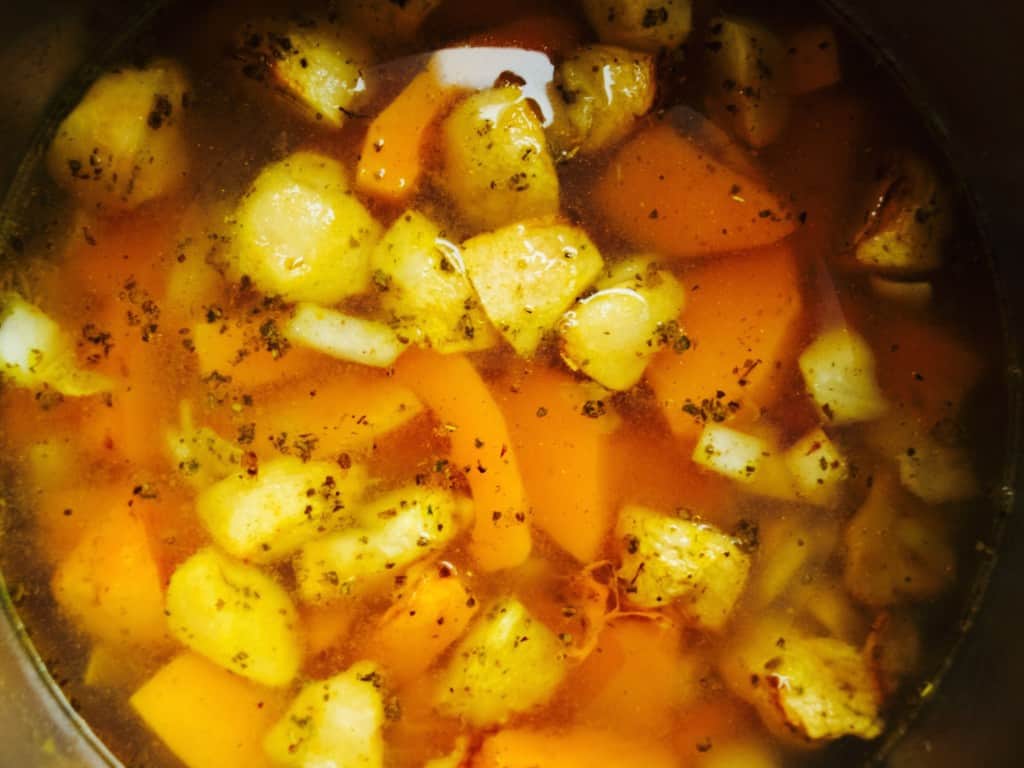
1. Place butternut squash and apple into the baking tray, sprinkle with sage and drizzle with olive oil. Roast the veg for 25min.Apple and Butternut Squash soup recipe2. In large pot fry the onion for 5 min and add the mixed spice.Apple and Butternut Squash soup recipe 3. Add roasted veg (and fruit) together with chicken stock. Bring everything to boil and simmer for 20min.Apple and Butternut Squash soup recipe4. Puree soup using a blender. Stir in cream, if using, and return to a simmer (although it tastes totally wonderful without the cream as well). Season with salt and pepper. Apple and Butternut Squash soup recipeEnjoy!

Rasa xx

0

Pinterest challenge: broccoli, cumin and yogurt soup

Broccoli, cumin and yogurt soup So the chill is on and I thought to better start the soup season (well… I have started it a while ago actually). Joni cooked this soup last year for Lukas dedication and I have been revisiting it ever since. Its my favourite soup at this moment! Whats not to like, its flavoursome (sorry to say it is better than stilton and broccoli soup), kids love it, packed with all the green veg and its freezable (lunches sorted in advance). It’s found on Pinterest but it is not challenging at all ;-).

BROCCOLI CUMIN AND YOGURT SOUP  adopted from Trois Fois Par Jour (thank goodness for Google Translator)

serves 12 adults or makes many many portions for kids lunches

  • 50g butter
  • 2 large onions, chopped
  • 2 large potatoes, sliced or cubed
  • 1-2 tsp cumin
  • 2 large handfulls spinach
  • 2 large broccoli heads, chopped
  • 5 garlic cloves, crushed and chopped
  • 2l vegetable stock
  • 2 tbsp maple syrup
  • salt and pepper to taste
  • 200ml yogurt

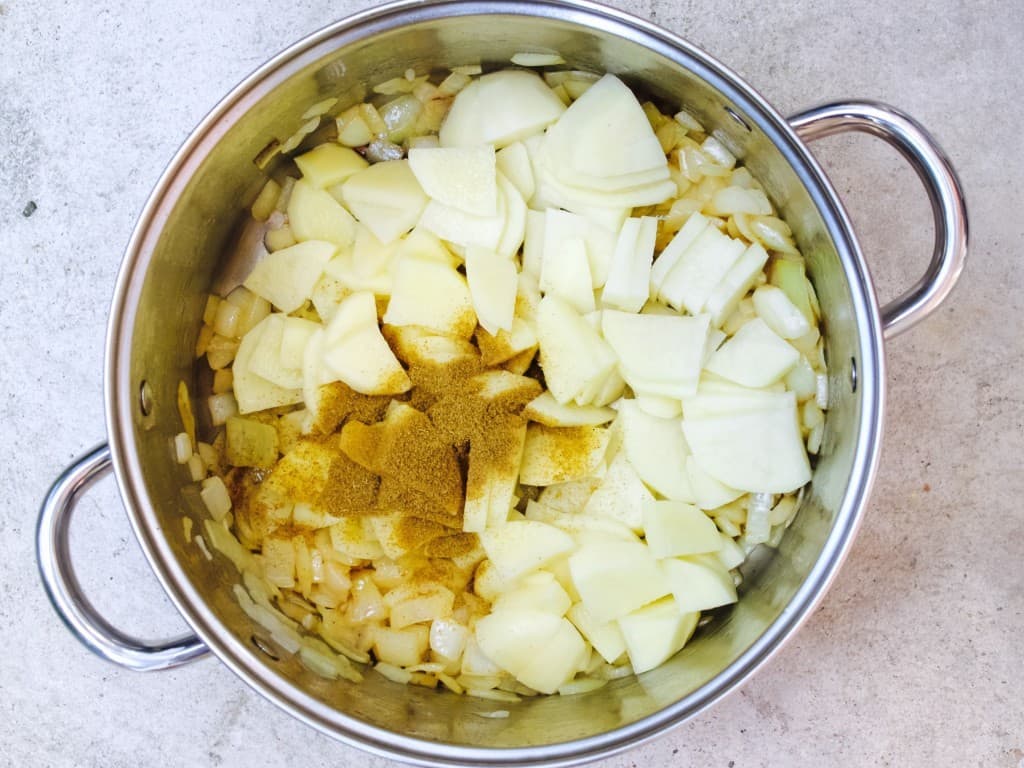
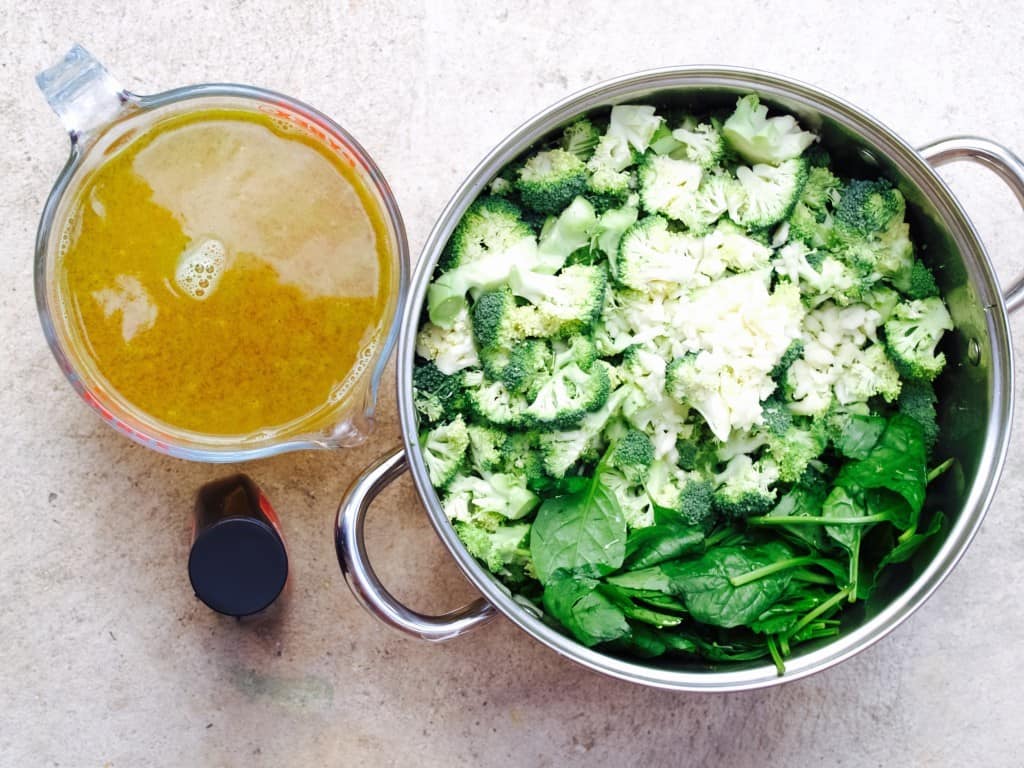
1. In the largest pot you can find, melt the butter and fry the onions for 3 to 4 minutes. Add potato and cumin, continue cooking for about 3 minutes.Broccoli, cumin and yogurt soup2. Add broccoli, spinach and garlic then mix well so that broccoli is soaked in spices and spinach has wilted. Cover everything with vegetable stock, then add maple syrup and simmer for 25 to 30 minutes.

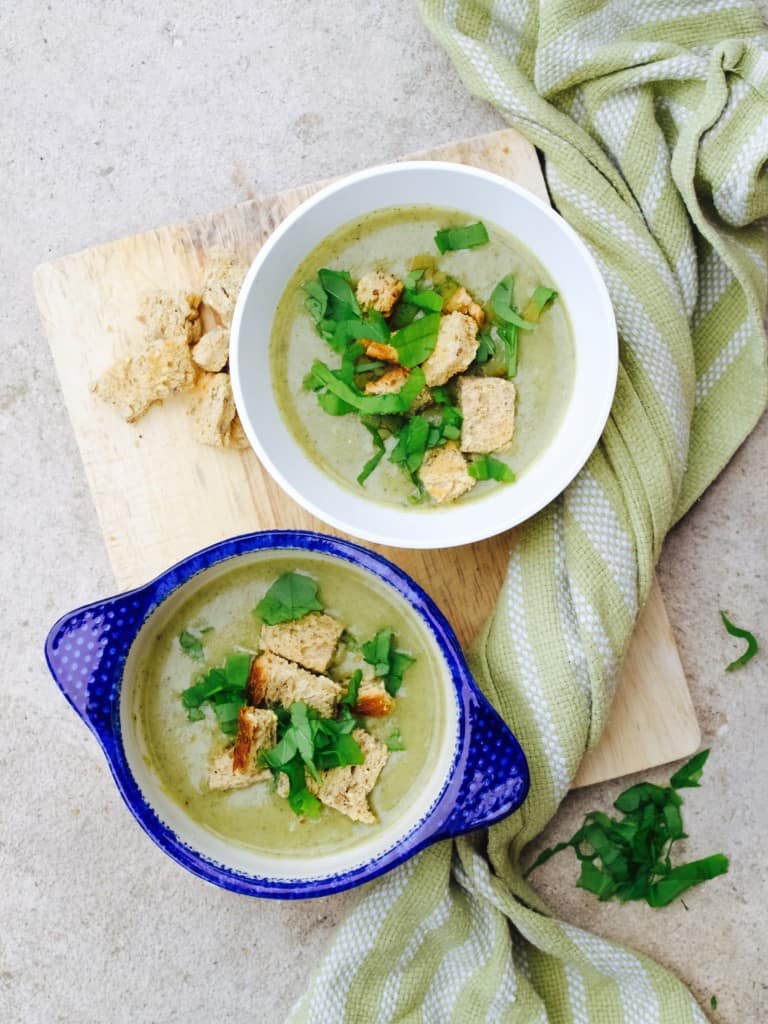
Broccoli, cumin and yogurt soup3. Blend the soup and stir in the yogurt. Season and serve it while still hot! Broccoli, cumin and yogurt soupEnjoy xx

Rasa :)

0

Butternut squash & jam roly-poly

butternut squash & jam roly poly recipeWell… I have not posted here for a while! Motherhood turned out to be the hardest job I have ever done…

Only a month ago I imagined being a mother is going to be hard, but I thought I will still manage and blog while baby sleeps. Little did I know that when my baby sleeps I will want to sleep too! I also realised that decoding baby cues is a learned thing, not something that comes as an instinct (or at least it did not come as an instinct to me like I thought it would). I sometimes spend hours to figure what baby Lukas wants and sometimes I have a breakthrough and sometimes I just want to cry out of desperation :(.

Anyways during the weekend I had some luck and I managed to bake while my baby boy is sleeping. It may have taken me to do it in few baby sleeps, but I am totally proud of myself and the outcome! I wanted to bake this for quite a while, the idea of butternut squash and jam combination have been lingering in my mind for few months at least. So why butternut squash? Because I use butternut squash to replace the pumpkin (like here in the cupcakes)… because in England this is a rare vegetable to find… Hope you like this recipe I created :). Btw this is not a swiss roll, jam roly-poly is a British pudding that has a similar to shortbread consistency. So don’t expect a cakey spongy roll here!butternut squash & jam roly poly recipe BUTTERNUT SQUASH & JAM ROLY-POLY

  • 300g plain flour
  • 1tsp baking powder
  • 1tsp ground cinnamon
  • 1tsp ground nutmeg
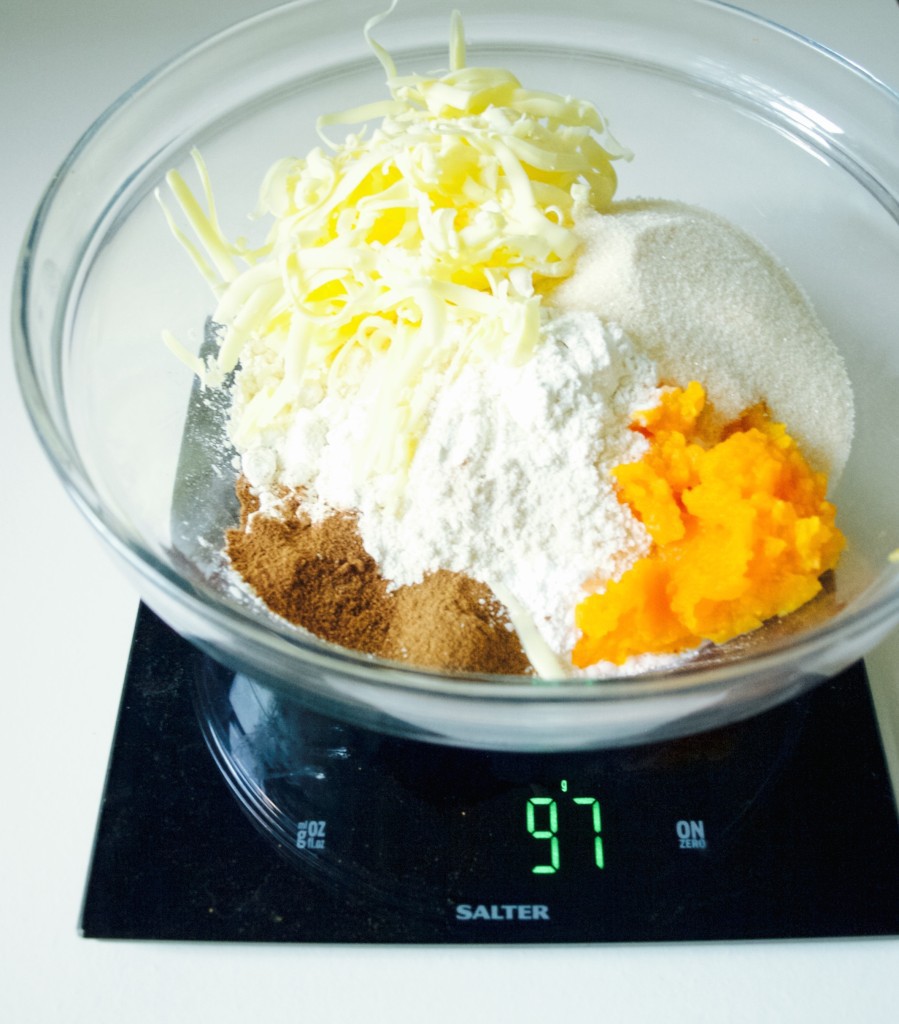
  • 70g butternut squash puree (boil around 1/3 butternut squash and puree it)
  • 70g butter, grated
  • 100g caster sugar
  • 40ml-70ml whole milk

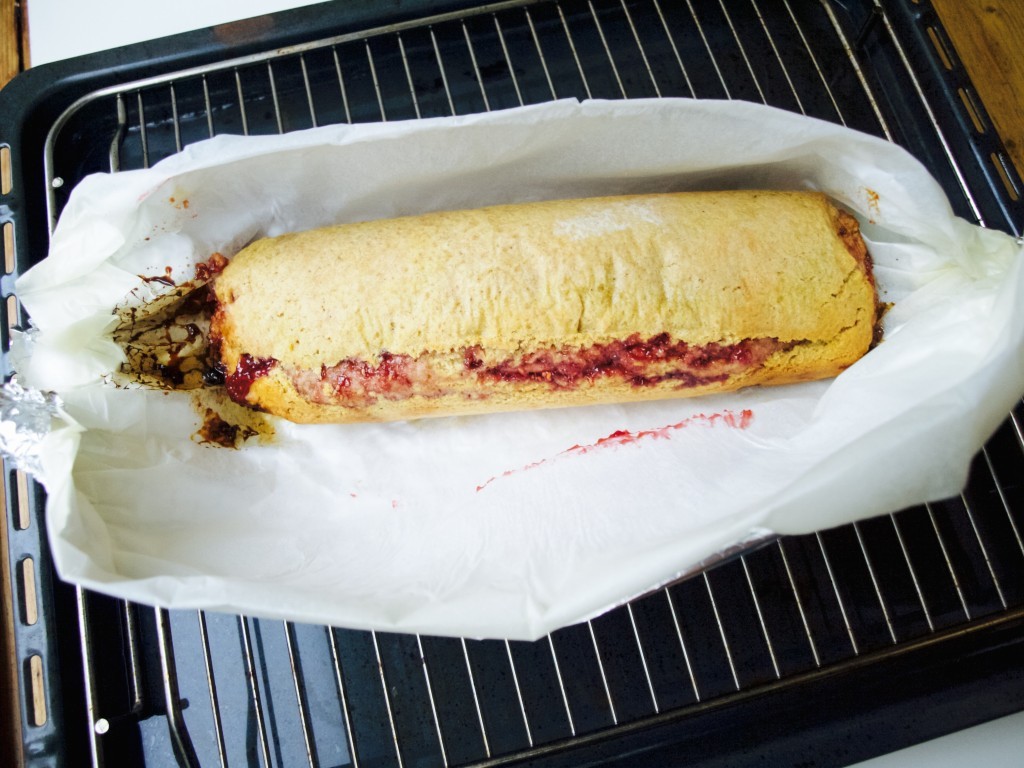
1. First prepare the oven. We want to steam this pudding therefore put a deep roasting tin half filled with boiling water onto the bottom shelf of the oven, and make sure that there’s another shelf directly above it. Heat the oven to 170C.

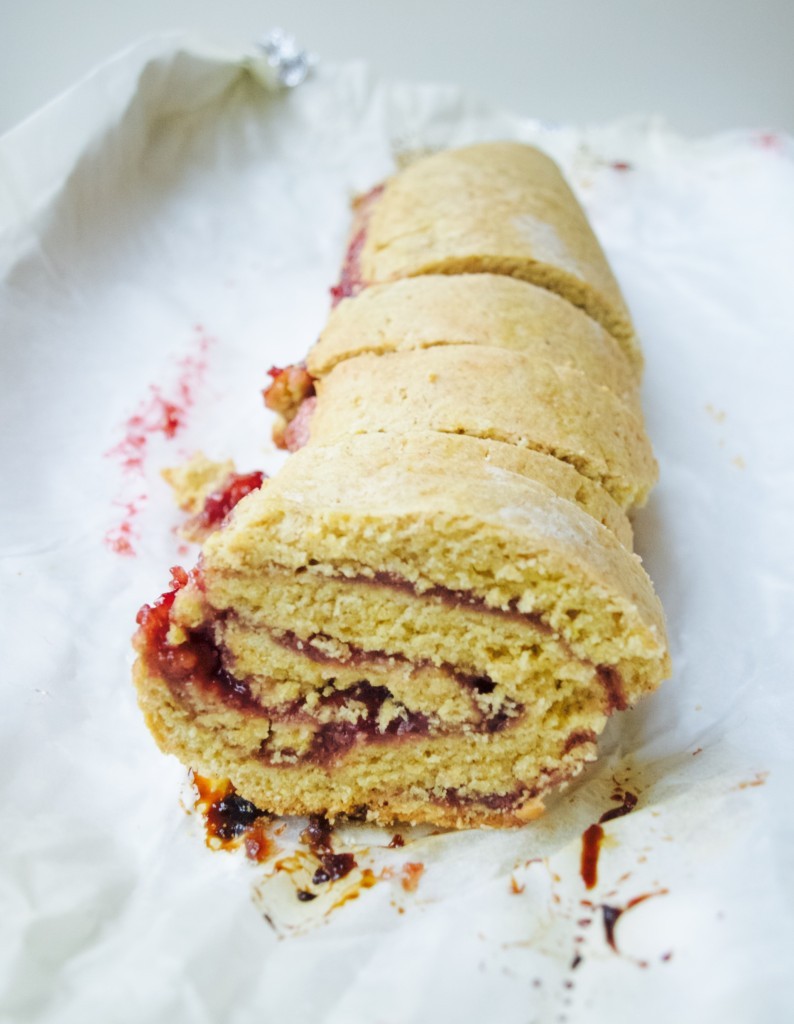
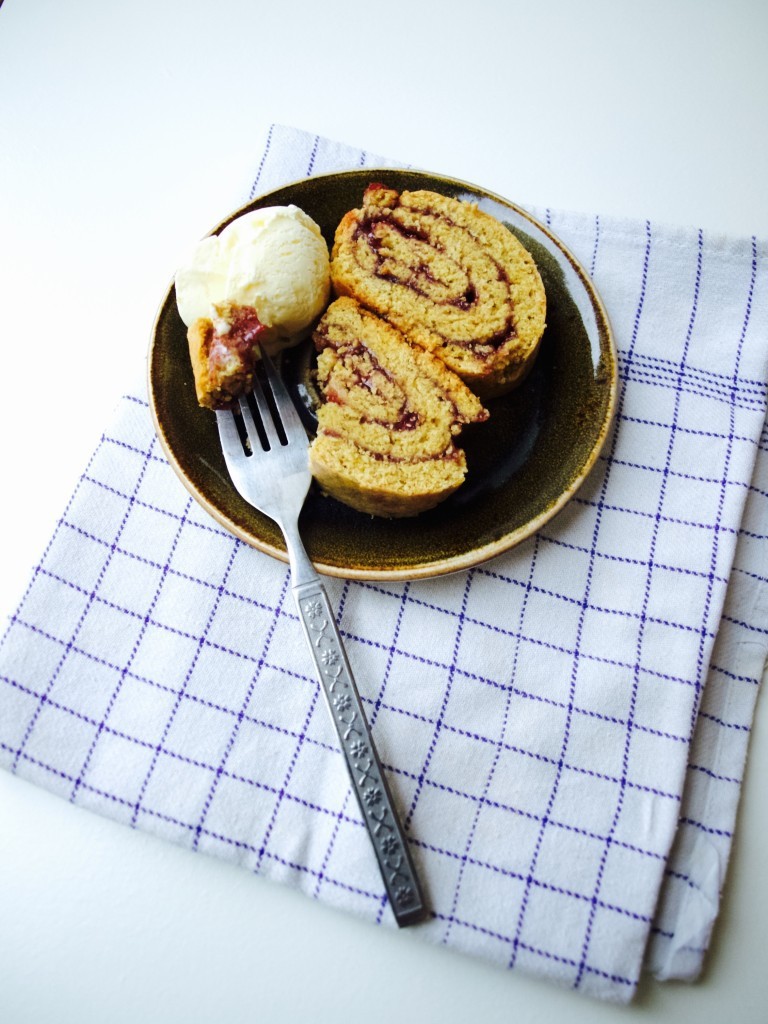
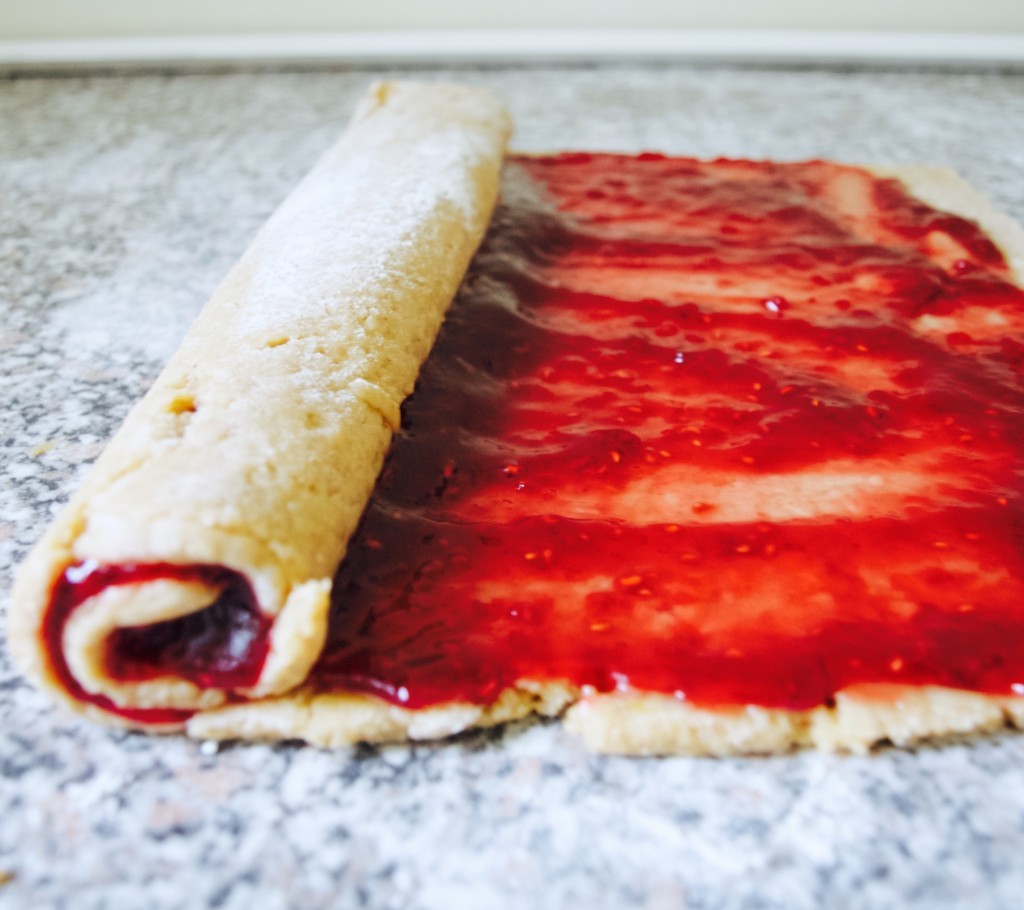
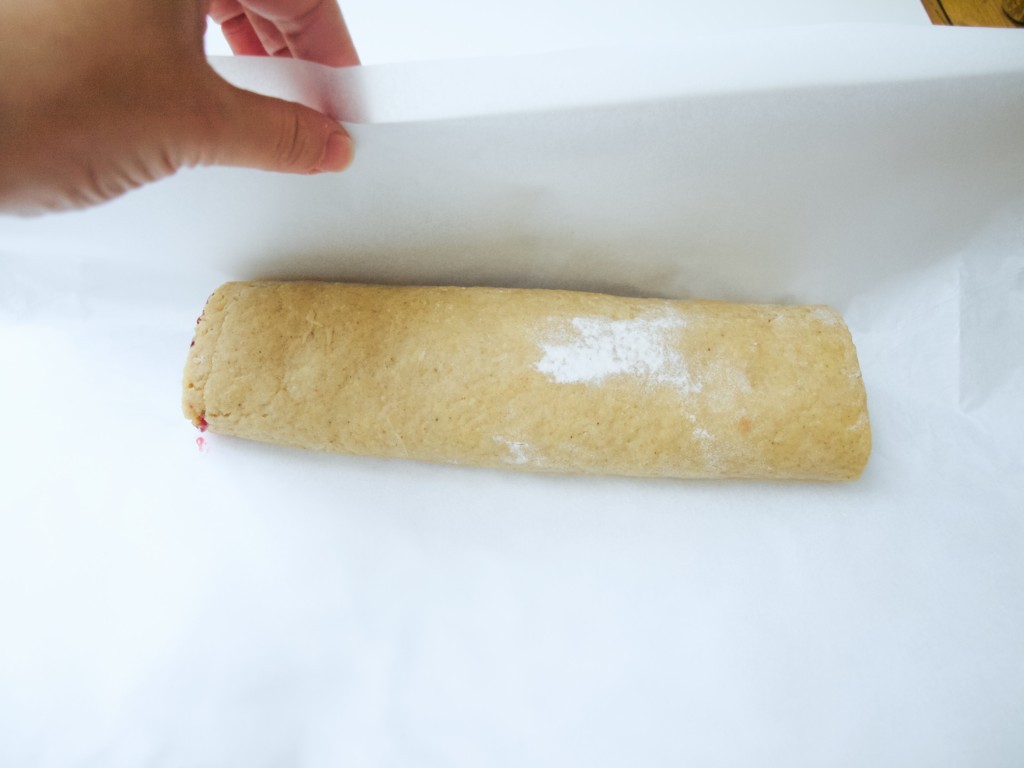
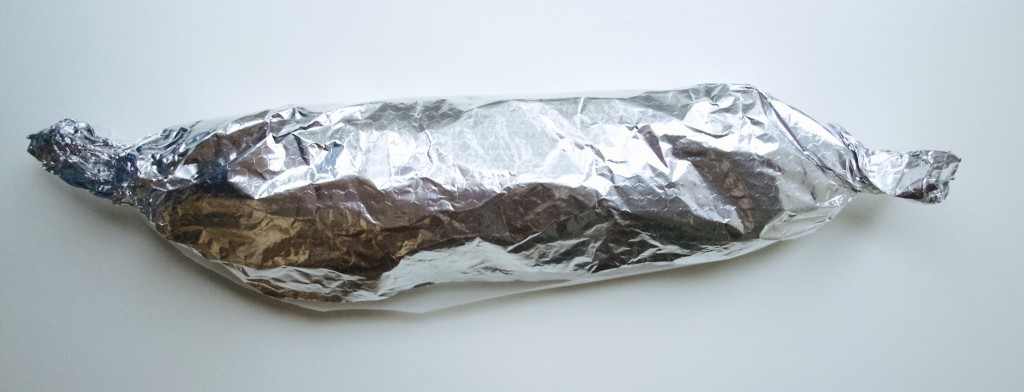
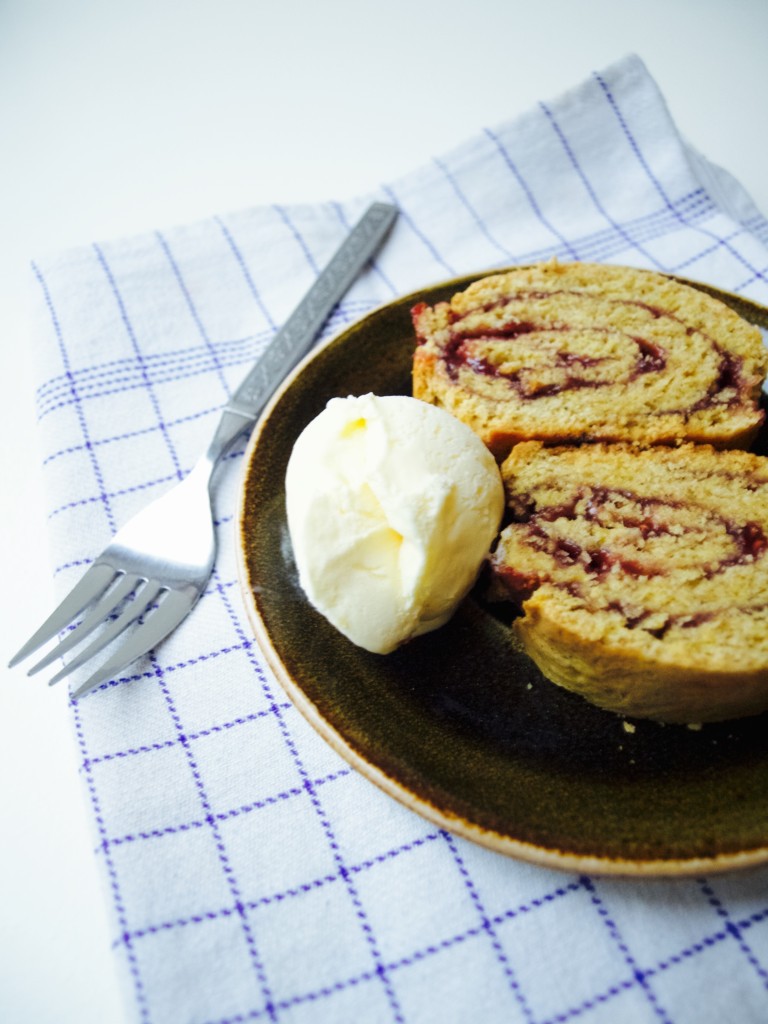
2. In a bowl combine the flour together with baking powder, spices, butternut squash puree, butter and sugar. Kneed it roughly into dry mixture. Gradually add milk until the mixture turns into pastry like dough. butternut squash & jam roly poly recipe2. 3. Roll the dough on the floured surface into the square. Spread the jam all over, leaving a gap along one edge, then roll up from the opposite edge.butternut squash & jam roly poly recipe4. Carefully lift the roll onto the piece of foil lined with baking paper.  butternut squash & jam roly poly recipe5. Loosely bring up the paper and foil around it, then scrunch together along the edges and ends to seal. The roly-poly will puff quite a bit during cooking so don’t wrap it tightly. Lift the parcel directly onto the rack above the tin and cook for 1 hr.butternut squash & jam roly poly recipe6. When baked, carefully open the foil and paper, and thickly slice to serve.butternut squash & jam roly poly recipeTraditional jam roly-poly is served with custard, but I always prefer the ice-cream. Luckily I got some ;-)butternut squash & jam roly poly recipe butternut squash & jam roly poly recipeEnjoy!

Rasa xoxo

0

Green tomato chutney

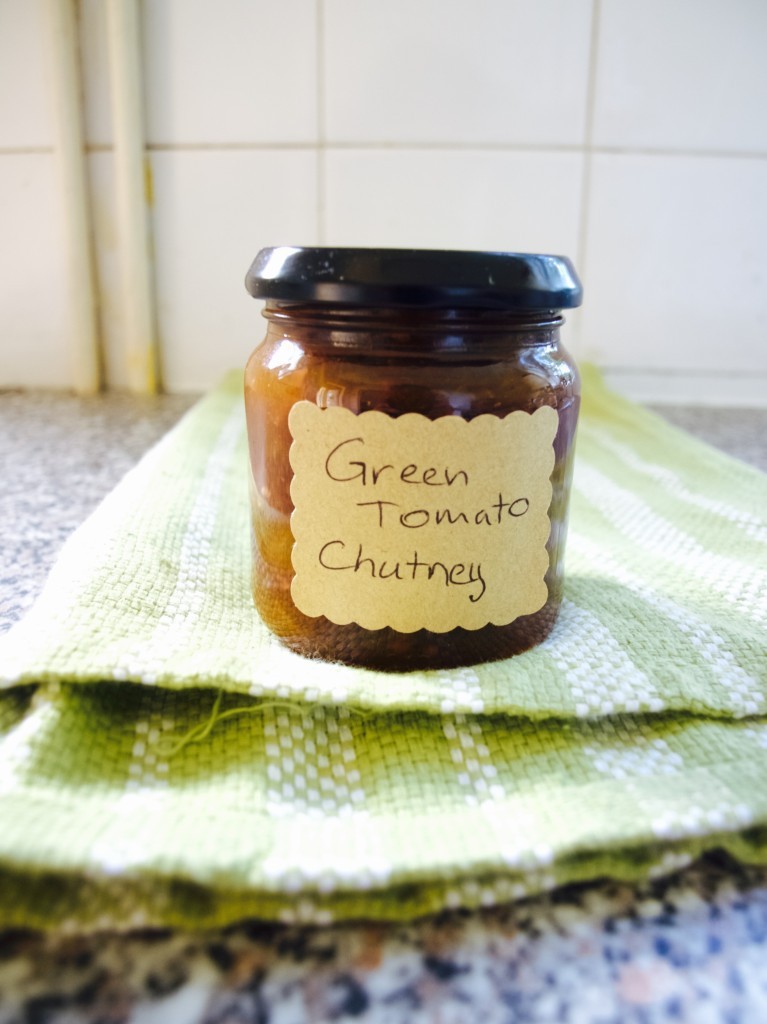
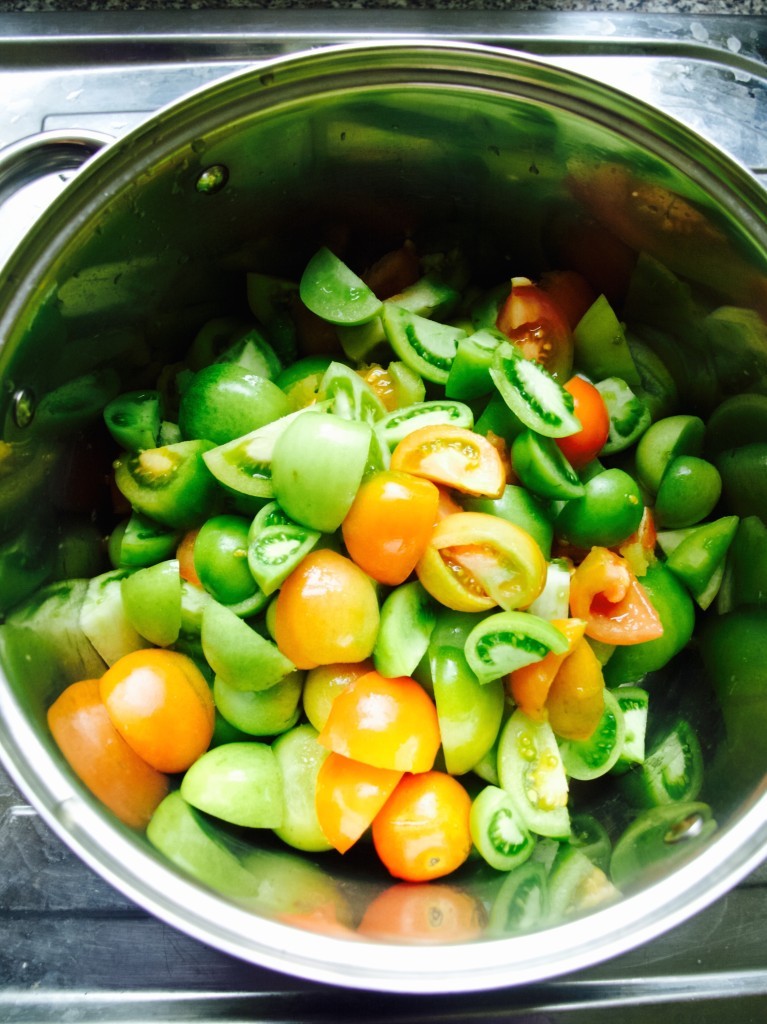
Green tomato chutney recipeI wanted to make green tomato chutney since I heard about it from my mum-in-law. What a great idea! I often failed to get my tomatoes ripe enough before autumn and they used to rot instead of being eaten. I so wish I knew I could use them!

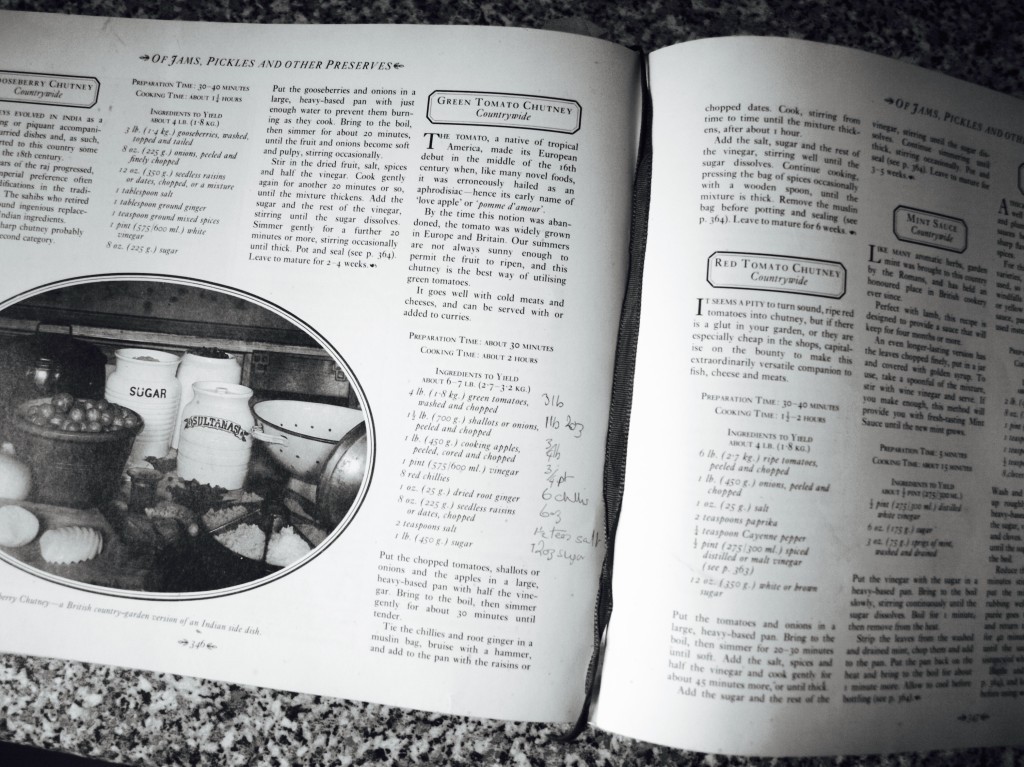
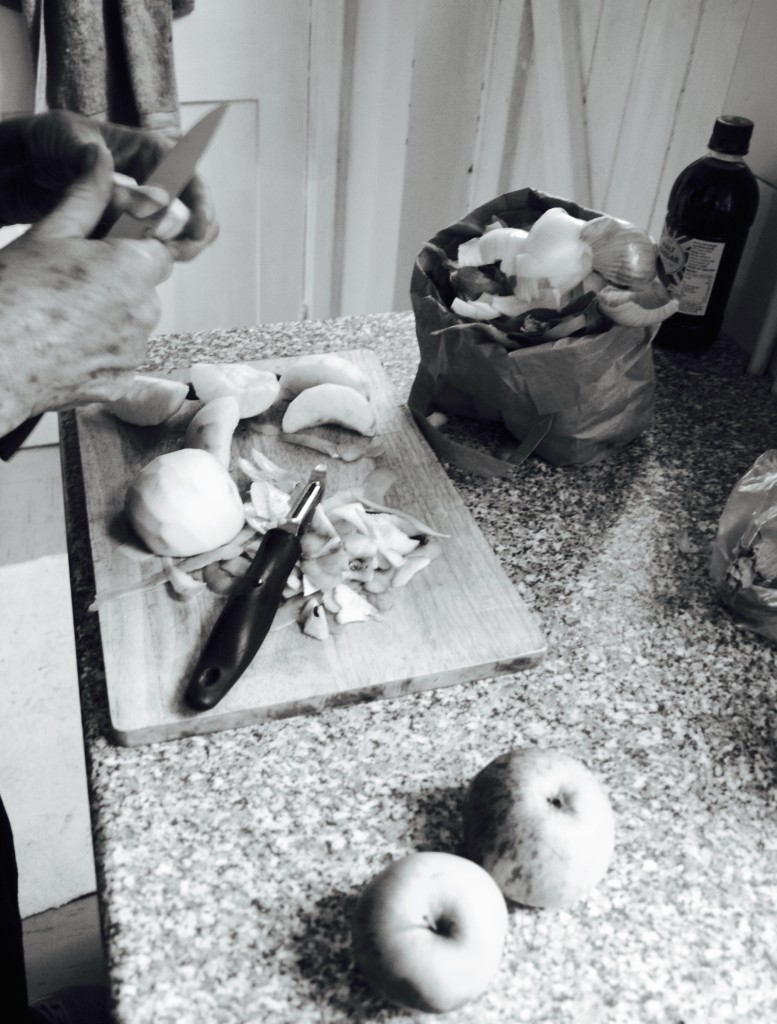
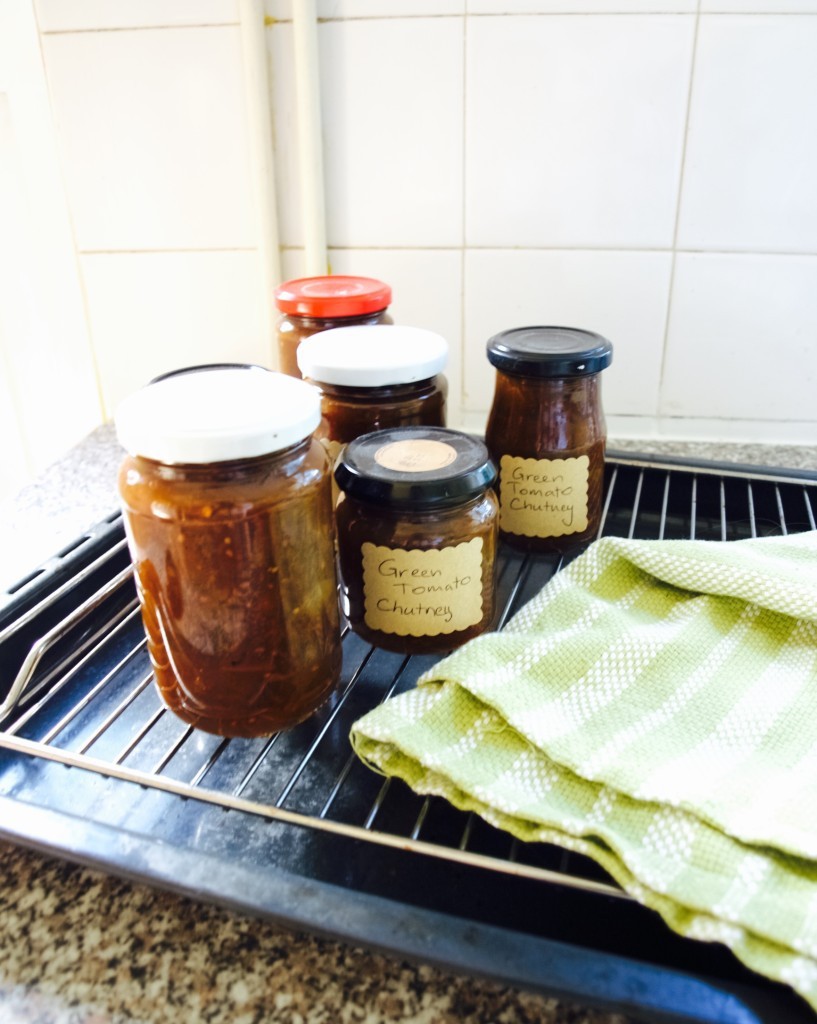
Now my mum-in-law was staying over this week as Joni went away to Dublin. It was a great opportunity to make some green tomato chutney (especially when we had some green tomatoes in hand!). Joni’s mum pretty much made the chutney while i took few pics in between. She followed this recipe that she swears by (apparently the chutney using this recipe always turns out perfect). I forgot the title of that book, but will let you know once I get it.Green tomato chutney recipeGREEN TOMATO CHUTNEY

  • 1.8kg green tomatoes, roughly chopped
  • 700g onions, pealed and chopped
  • 450g cooking apples such as bramley, peeled, cored and chopped
  • 600ml vinegar (we used malt vinegar)
  • 8 red chillies (we used green chillies)
  • 25g root ginger
  • 225g raisins
  • 2tsp salt
  • 450g sugar (we used soft brown sugar)

Green tomato chutney recipe Green tomato chutney recipe1. Put the chopped tomatoes, onions and the apples in a large pan with half the vinegar. Bring to boil, then simmer for about 30min.

2. Add the chillies and root ginger into the pan, make sure you count them as you will need to fish them out later.

3. Add the raisins and cook, stirring from time to time until the mixture thickens, after about 1 hour.

4. Add the salt, sugar and the rest of the vinegar, stirring well till sugar dissolves. Continue cooking until the chutney thickens again.

5. Remove the chillies and ginger from the pot before potting and sealing (see how by clicking here). Leave to mature for 6 weeks. Green tomato chutney recipeHappy weekend everyone!

Rasa xoxo

1

Piccalilli

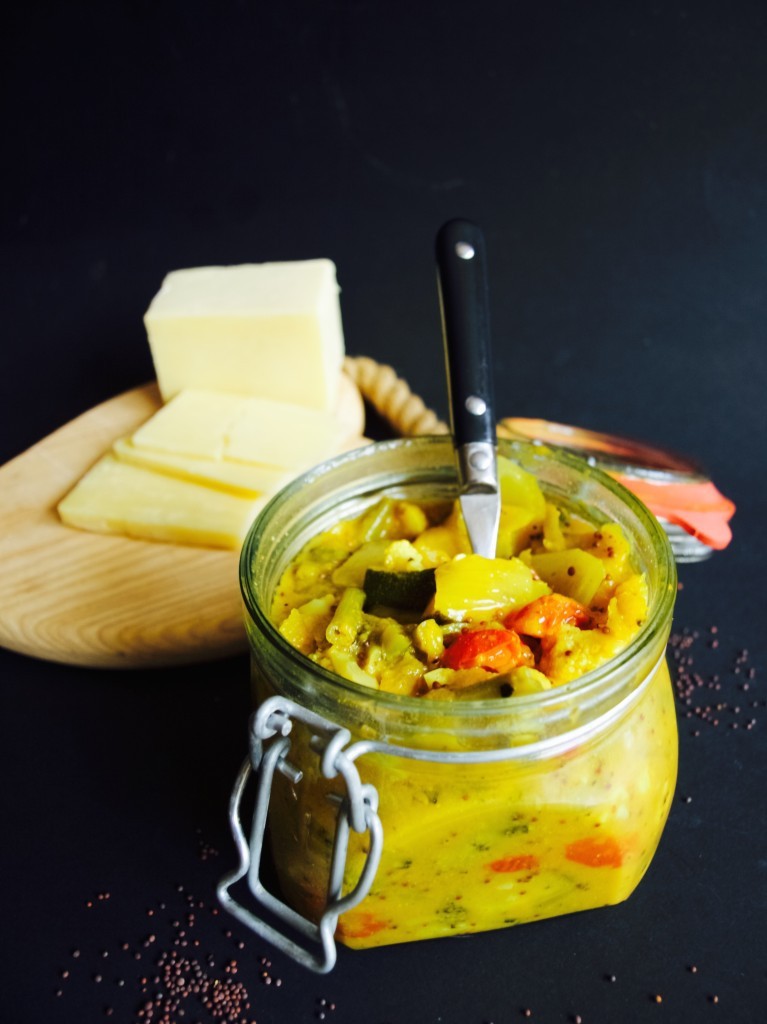
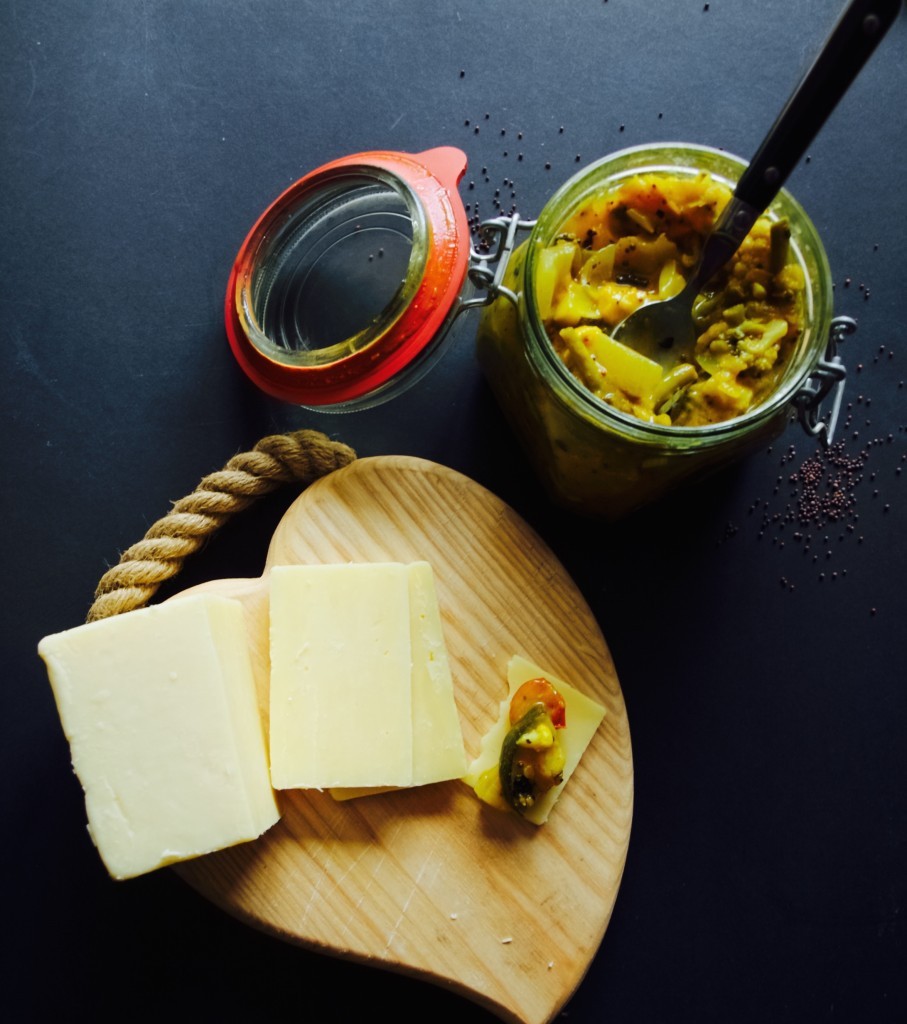
My piccalilli recipeHey! It’s Autumn here and what is Autumn without canning? I do like to make preserves and when Joni suggested to make piccalilli I got excited as I thought it would be really cool to make it.  Piccalilli is a great condiment that is tasty in sandwiches and pairs well with cheddar cheese. Yum!My piccalilli recipePICCALILLI

Makes about 2-2.5kg

  • 1 small cauliflower, chopped
  • 1/2 head broccoli, chopped
  • 2 courgettes, chopped
  • 5 green chillies, finely chopped
  • 200g green beans, chopped into smaller bits
  • 200g cherry tomatoes, sliced in half
  • 2 medium onions, pealed and roughly chopped
  • 50g salt
  • 2 tbsp olive oil
  • 2 tbsp mustard powder
  • 2 tbsp mustard seeds
  • 2 tbsp ground cumin
  • 2 tbsp turmeric
  • 1/2 whole nutmeg, grated
  • 4 tbsp flour
  • 600ml cider vinegar
  • 2 cox apples, grated
  • 1 mango, pealed and chopped
  • 6 tbsp runny honey
  • 3 cloves garlic, crushed and finely chopped

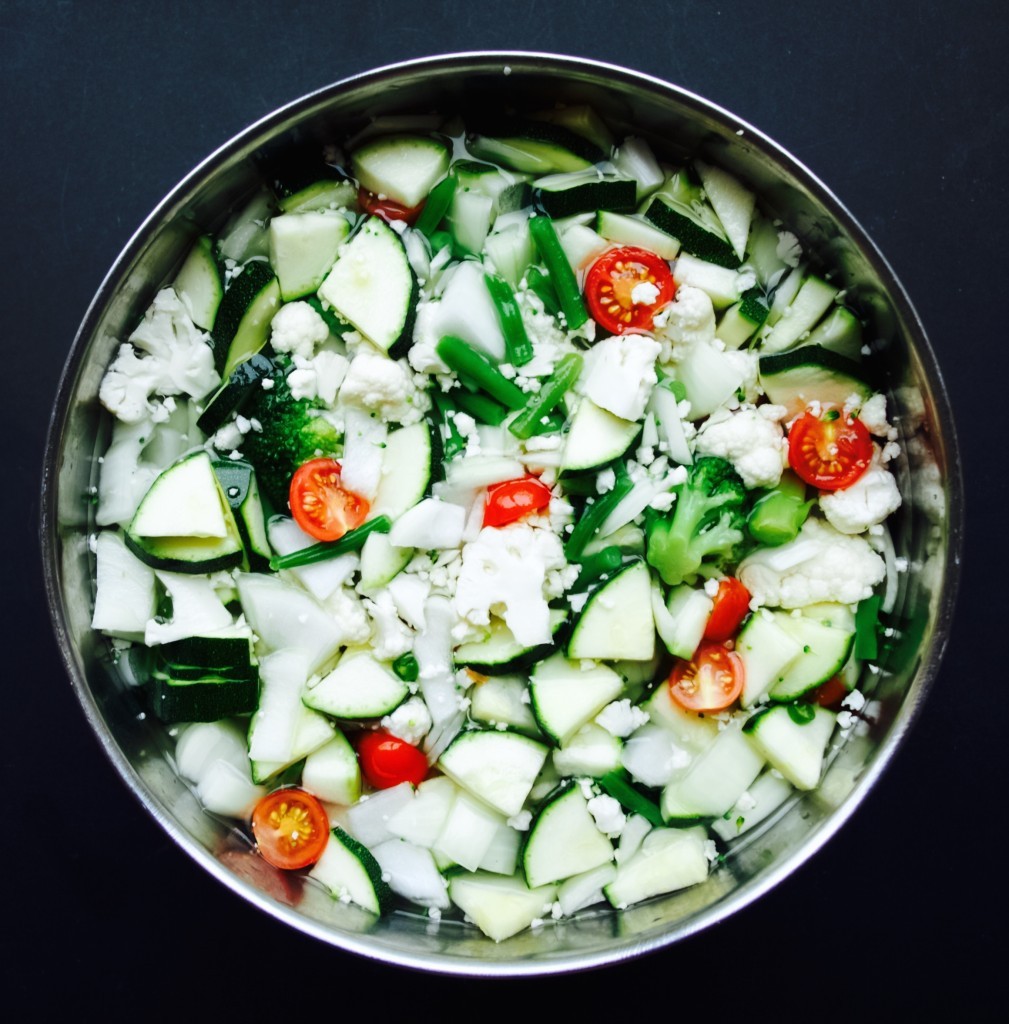
1. Place all the vegetables in a large bowl, sprinkle with the salt and cover it with water. Leave it in a cool place for 2 hours, then drain thoroughly.My piccalilli recipe2. Heat a large saucepan. Add the oil to the pan, then fry the mustard seeds, mustard powder, cumin, turmeric and nutmeg for few seconds. Lower the heat, add the flour and a splash of vinegar and stir to make a thick paste.

3. Gradually add the remaining vinegar while whisking all the time to make a smooth paste with no clumps.

4. Add the apples, mangoes, garlic and honey and cook for 2–3 minutes. 

5. Drain the salted vegetables and add them to the pan, stirring well to coat with the spice paste. Cook for 15 minutes until the vegetables have just softened and released juice.

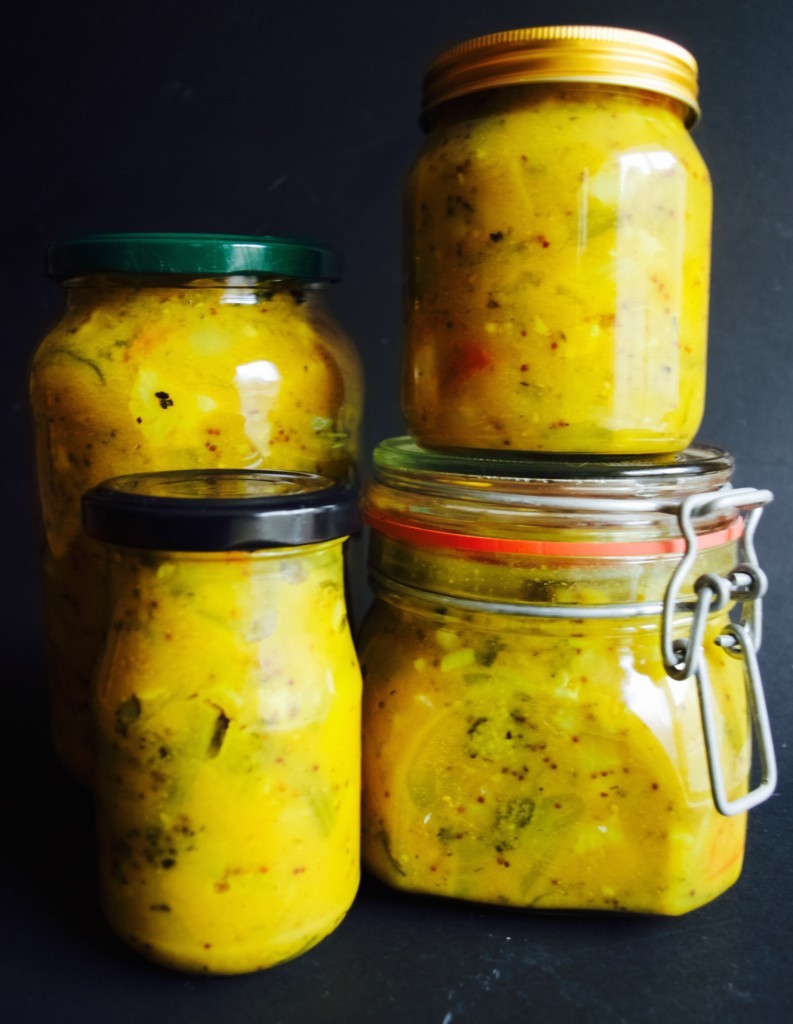
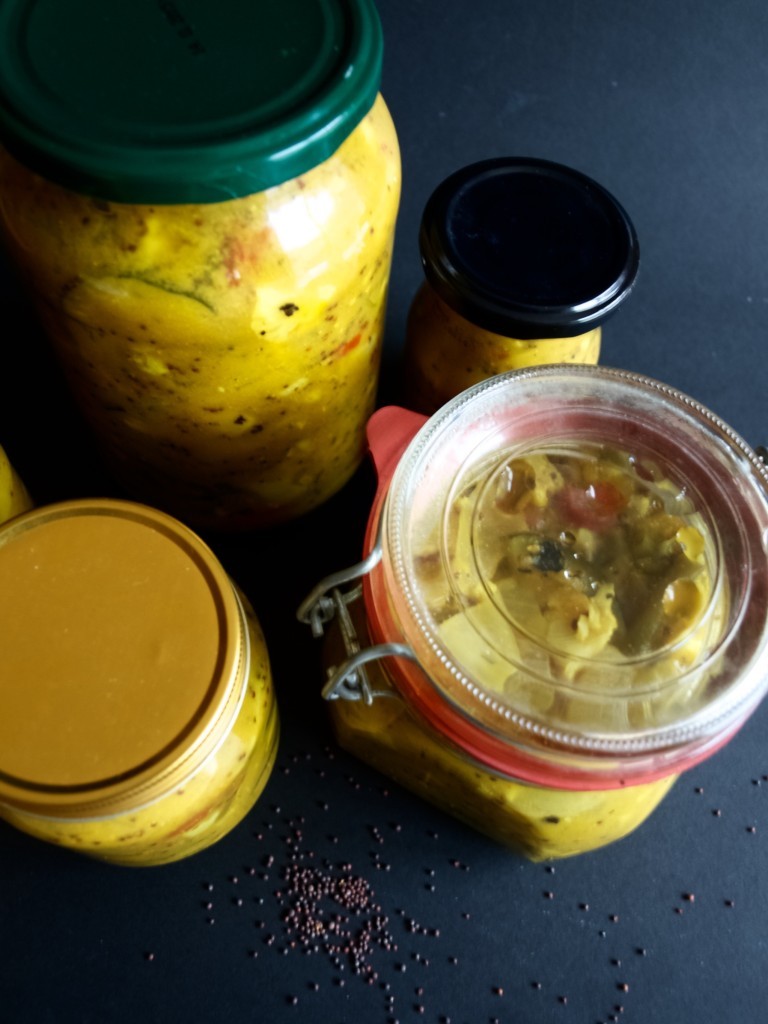
6. Spoon Piccalilli into sterilised jars and close the lids tightly.My piccalilli recipe My piccalilli recipeHappy autumn canning ;-)

Rasa

0

Little things I am knitting for our new arrival

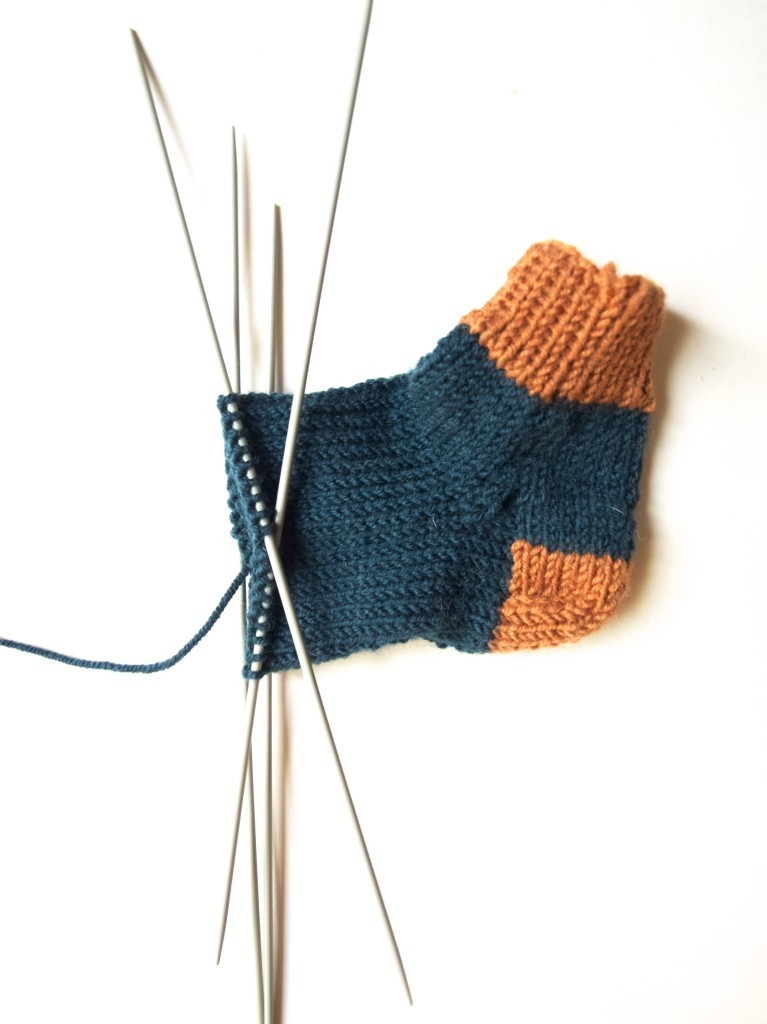
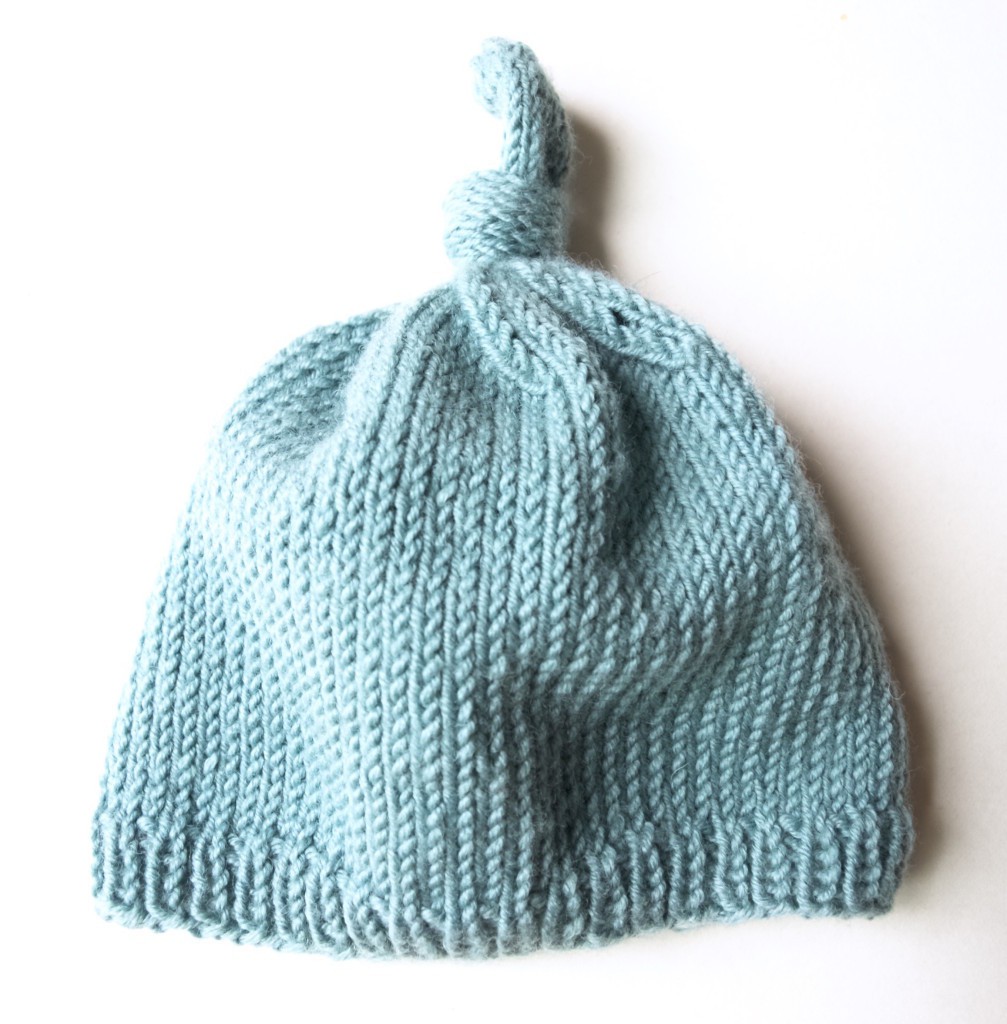
knitting for a babyJoni and I are expecting our new arrival very soon and lots of you have been asking what I am knitting for our new baby. To be honest I only started knitting recently and so far I finished a hat and little socks. Time permits you might see here some baby pants and maybe even a jumper.

As for inspiration I have been mostly inspired by Pinterest (of course) and the book called “What to knit when you’re expecting” that was a gift from my mum in-law (love the title of it!).You can learn how to knit baby knot hat by clicking here.And if you prefer to learn to knit socks then click here (although you might need to get your own measurements for the baby as their feet proportions are completely different to the kid’s sizes).knitting baby socks

OLYMPUS DIGITAL CAMERA baby socksI hope I inspired you ;-)

Rasa xoxo

0

Quick to make no sew crochet edge scarf

Lace edge scarf DIY with crochet trim chardAutumn is ending and soon we will be entering winter season… brrr, hopefully it won’t be so cold this year! Because this scarf might not be the most perfect one to wear when is chilli outside. On the other hand it’s really pretty and it’s so easy to make (that is if you know your way round lace crocheting).

Last weekend we took Leia (our beloved cat) to the vets and this scarf was just enough to accessorise my otherwise plain top. In case you are wondering… our kitty had an infection after spaying, but she recovered really quickly. Her stitches came out last weekend and today we are removing her cone of shame (as Joni calls it). Yey!auntumnAnyways, if you fancy making this scarf, here is the place to click for crochet chart and more ;-)Lace edge scarf DIY with crochet trim chard Lace edge scarf DIY with crochet trim chard Lace edge scarf DIY with crochet trim chard Lace edge scarf DIY with crochet trim chardEnjoy your last weeks of autumn :-)

Rasa xoxo

0

Pinterest challenge: apple and cheddar quiche with hash-brown crust

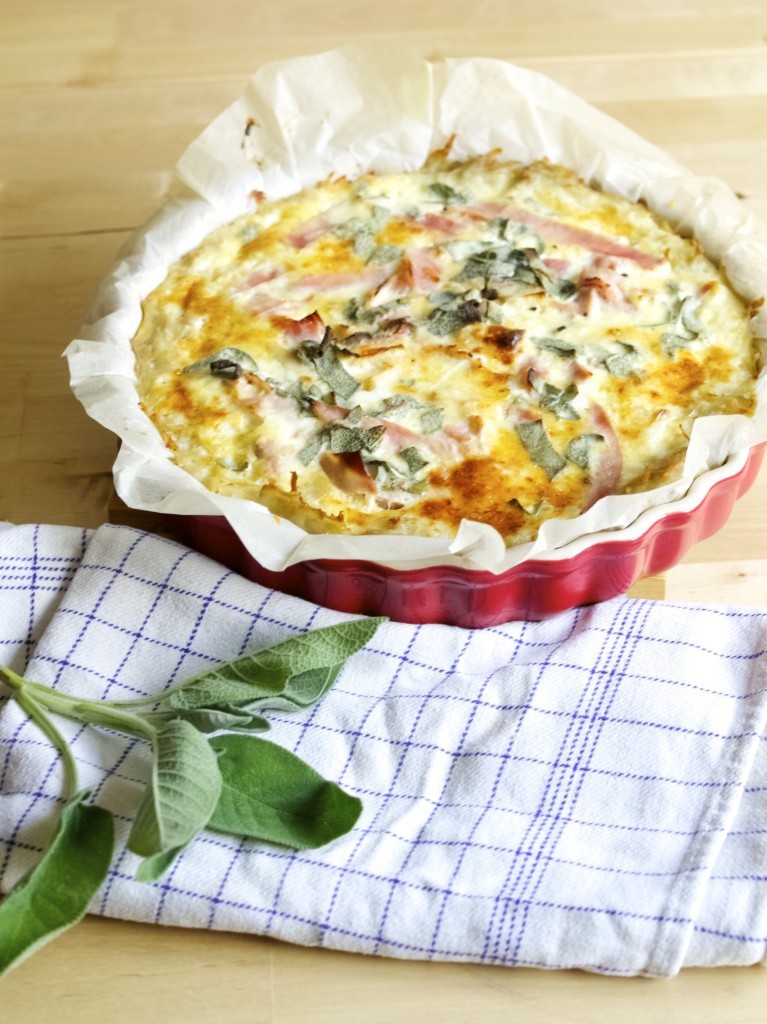
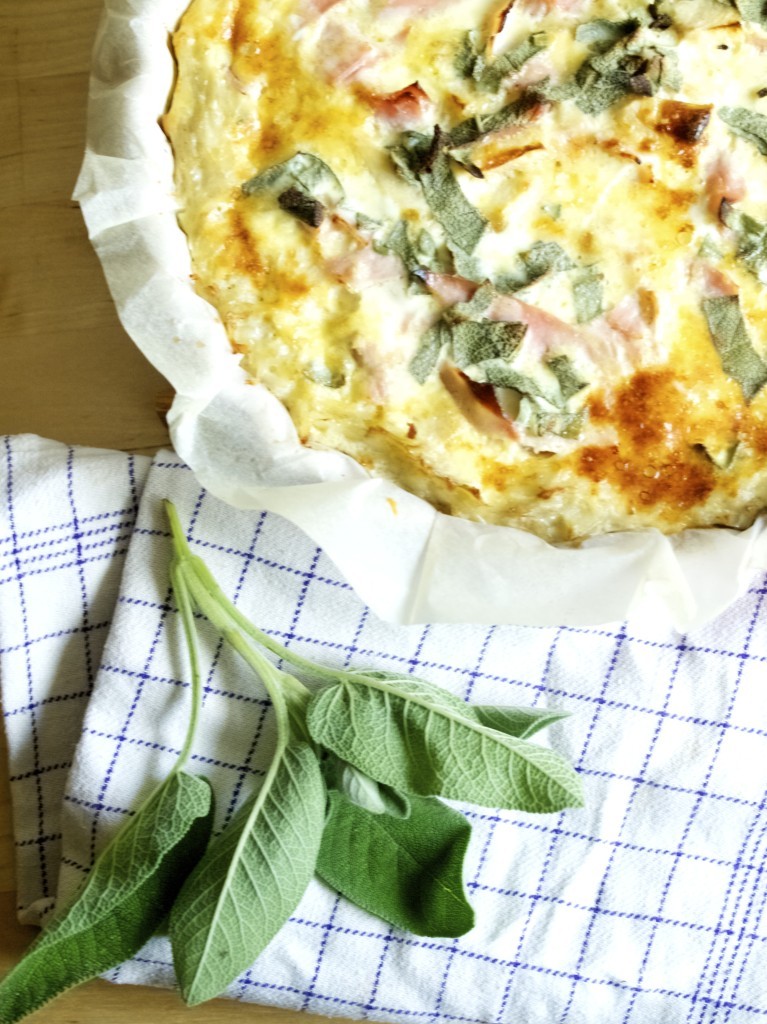
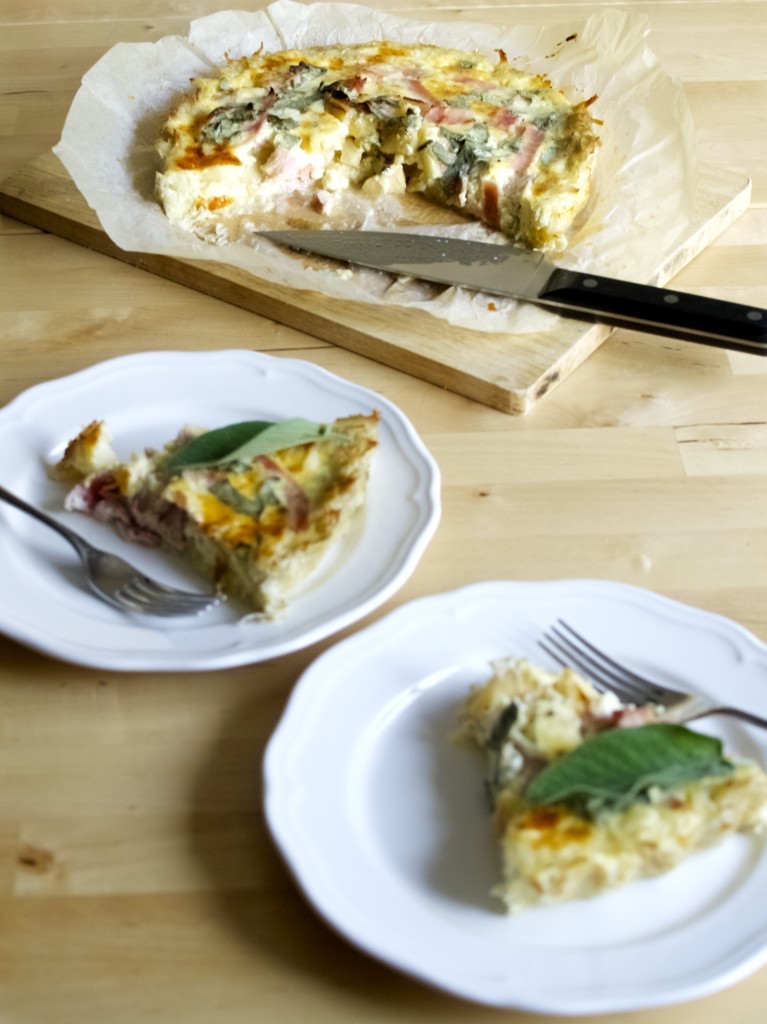
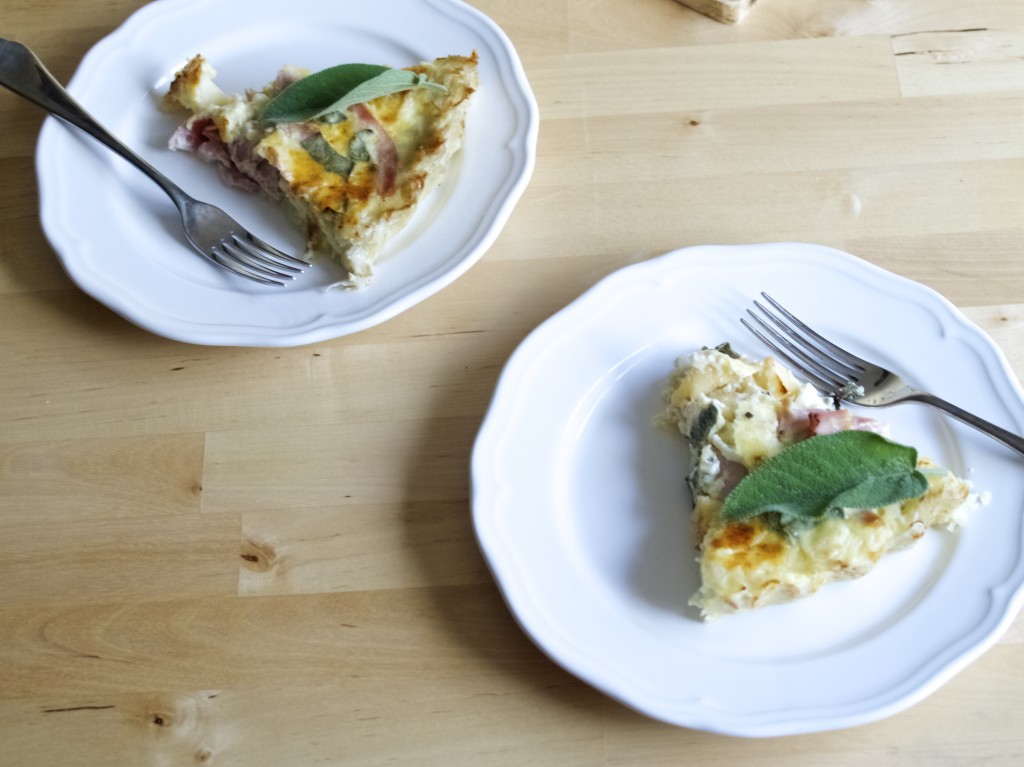
Apple and cheddar quiche with hash-brown crustThis time I took a double challenge. I practically combined two recipes from Pinterest! I loved the flavour match in this quiche, but I did not want all that dough at our dinner table, so I have decided to seek for alternative. I once baked this quiche that had hash-brown crust. I loved the idea of making quiche gluten free by adding extra vegetables. It’s like the pizza I made once with courgette crust!Apple and cheddar quiche with hash-brown crustIt turned out well (luckily!) and we did end up having a nice dinner! The only thing I can say about the hash-brown crust is that it does not go with all quiche fillings out there. I thought apple and cheddar filling was just ok with that kind of crust, but if you made it let’s say with pears or something than this would be totally wrong. But then again, it’s up to you! You may have completely different taste to me ;-). Joni did not like apples in the quiche as much as I did, so there we are… everybody have a different taste!

APPLE & CHEDDAR QUICHE WITH HASH-BROWN CRUST

(for the crust, adopted from Martha Steward

  • 420g grated raw potatoes (about 3 large ones)
  • 1 egg
  • 30g butter, softened + some for greasing

(for the filling, adopted from Bob Vivant)

  • 1 tbsp butter
  • 2 shallots, finely diced
  • 1 apple, chopped
  • 120g ham, diced
  • pinch of cinnamon
  • 115g grated cheddar cheese
  • 3 eggs
  • 110g sour cream
  • 190ml milk
  • 1 tsp salt
  • 1 tbsp finely chopped sage leaves

1. Line a pie dish (or any other baking tin) and grease the baking paper as well.

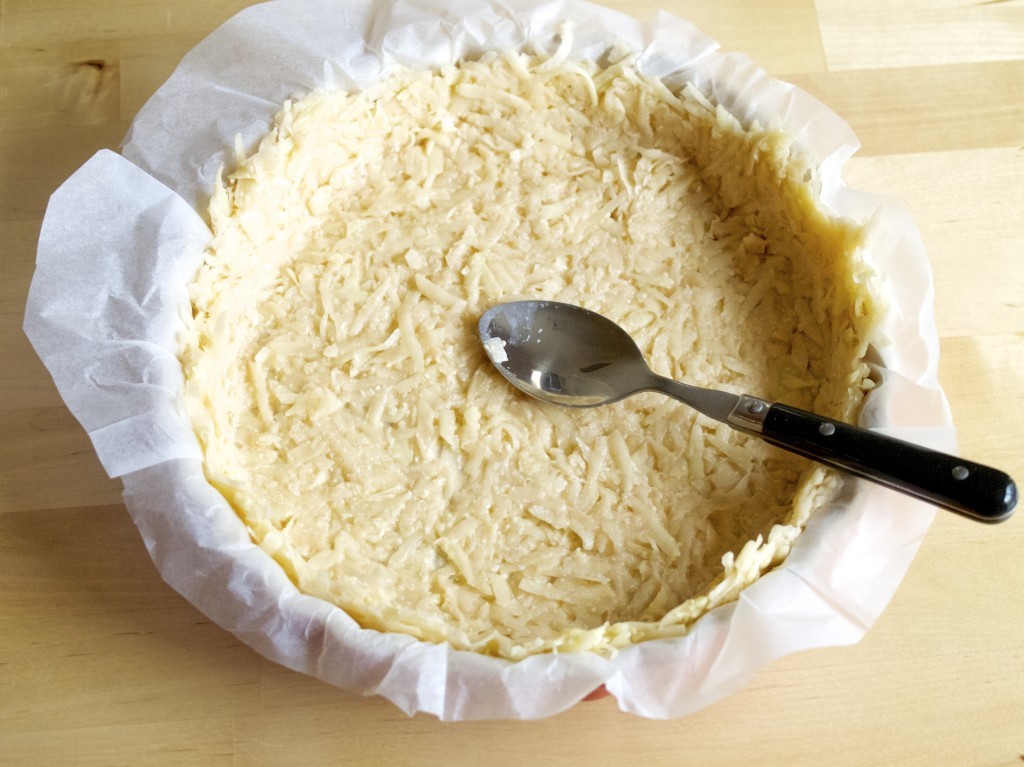
2. Combine grated potatoes with butter and egg, and press the mixture into lined baking dish. No need to blind bake, yey!Apple and cheddar quiche with hash-brown crust2. Fry the onions and apple in butter for few minutes, than add it together with cinamon and cheese into baking dish on top of the hash-brown mixture

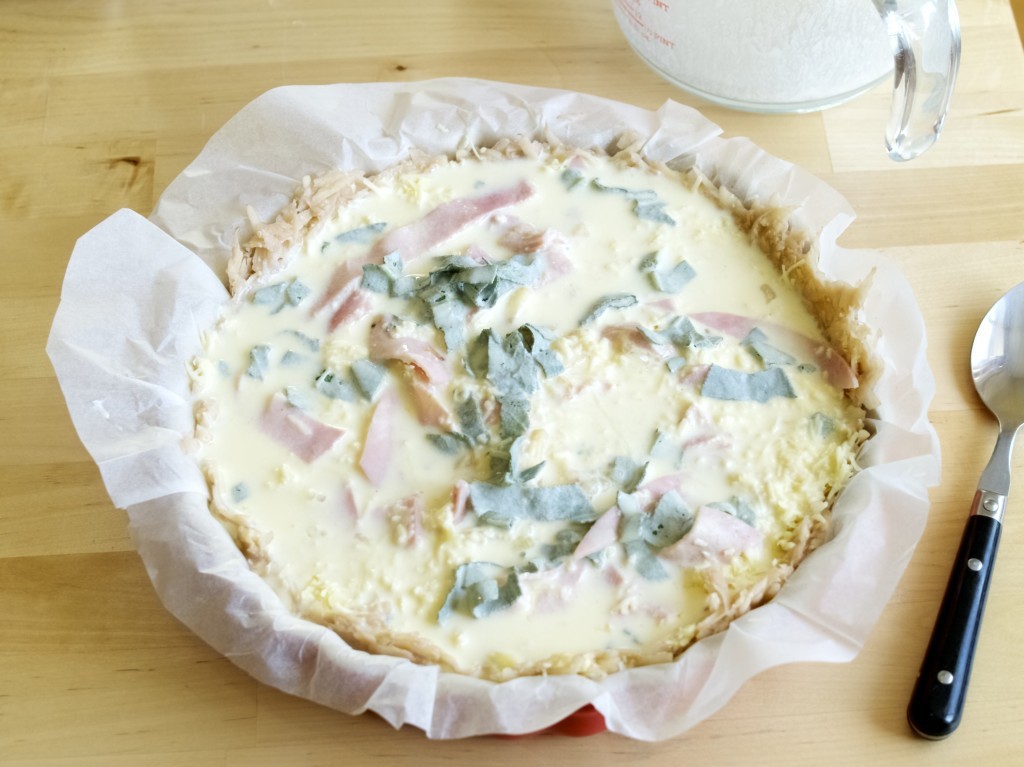
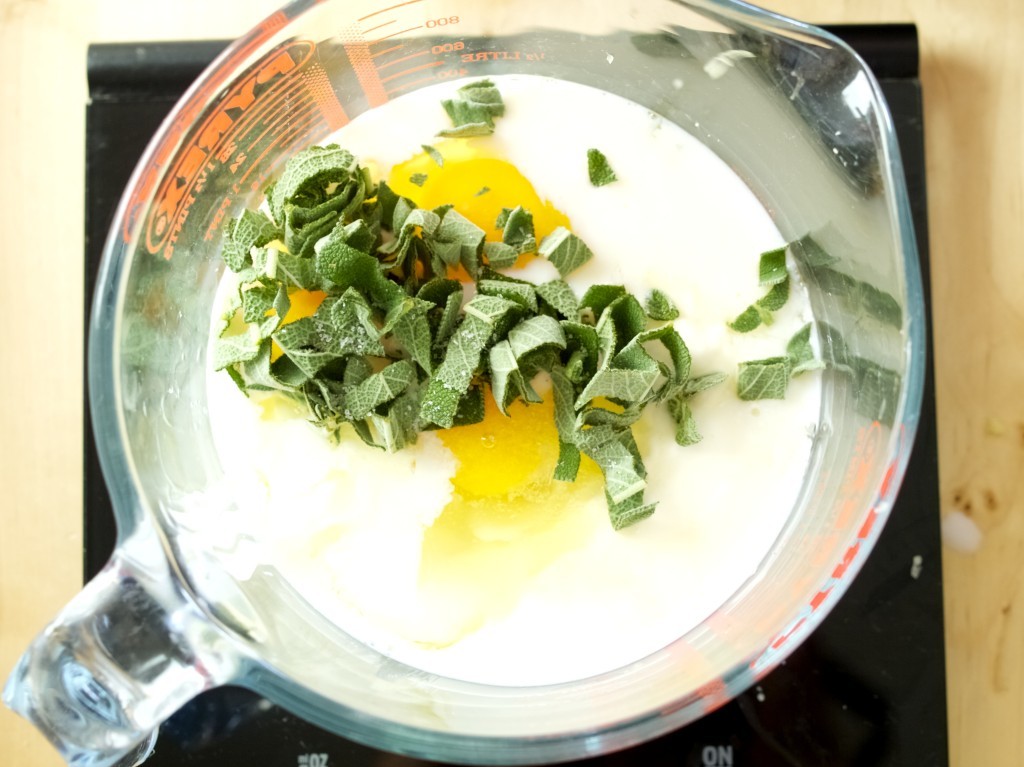
3. Lightly whisk the eggs together with sour cream, milk, salt and chopped sage.Apple and cheddar quiche with hash-brown crust4. Pour the egg mixture over ham, cheese and apples (and all the rest). Bake the quiche in preheated 180C oven for 30-40min.OLYMPUS DIGITAL CAMERA Apple and cheddar quiche with hash-brown crust Apple and cheddar quiche with hash-brown crust Apple and cheddar quiche with hash-brown crustEnjoy!

Rasa xoxo

0

Autumn vegetable risotto

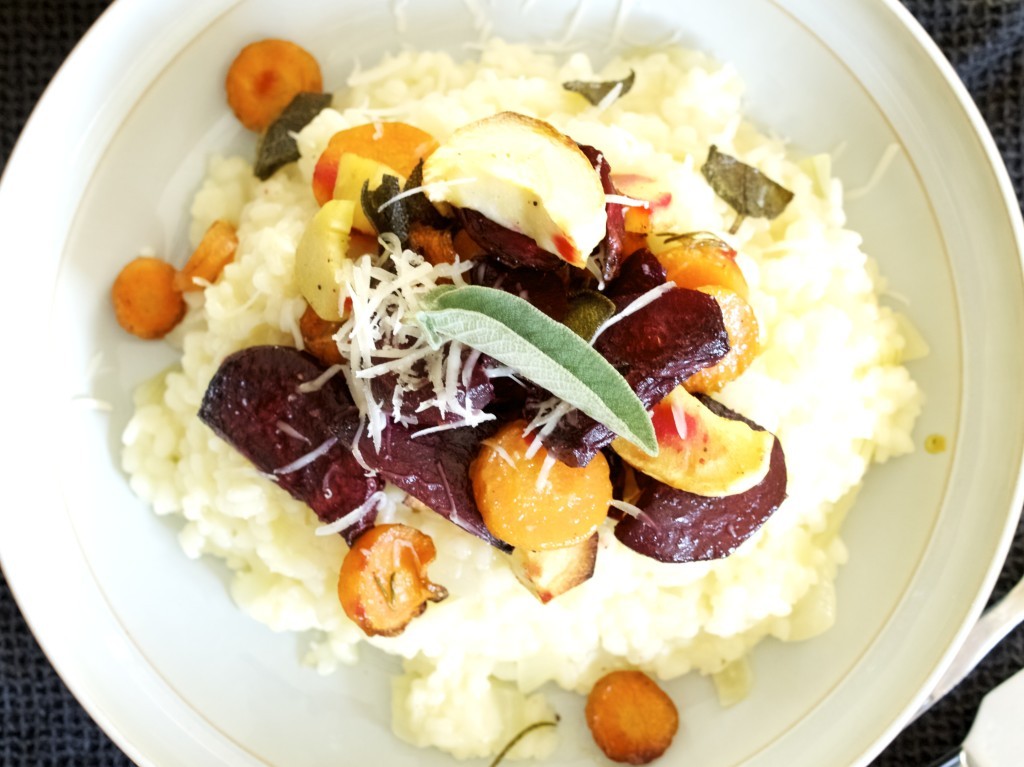
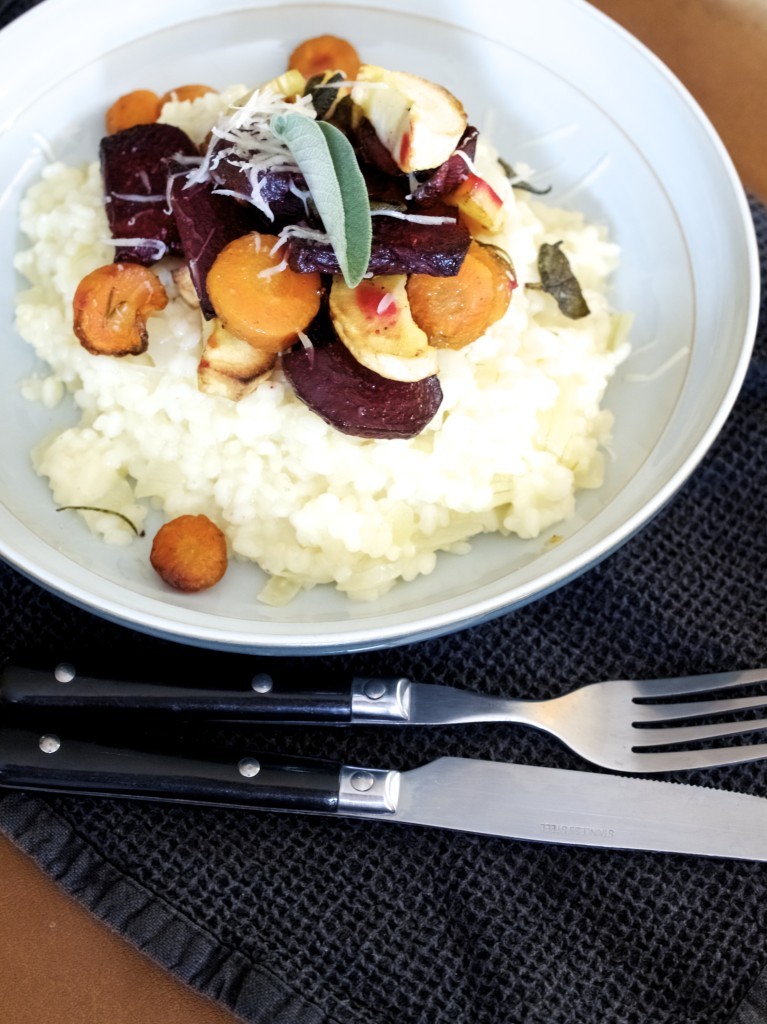
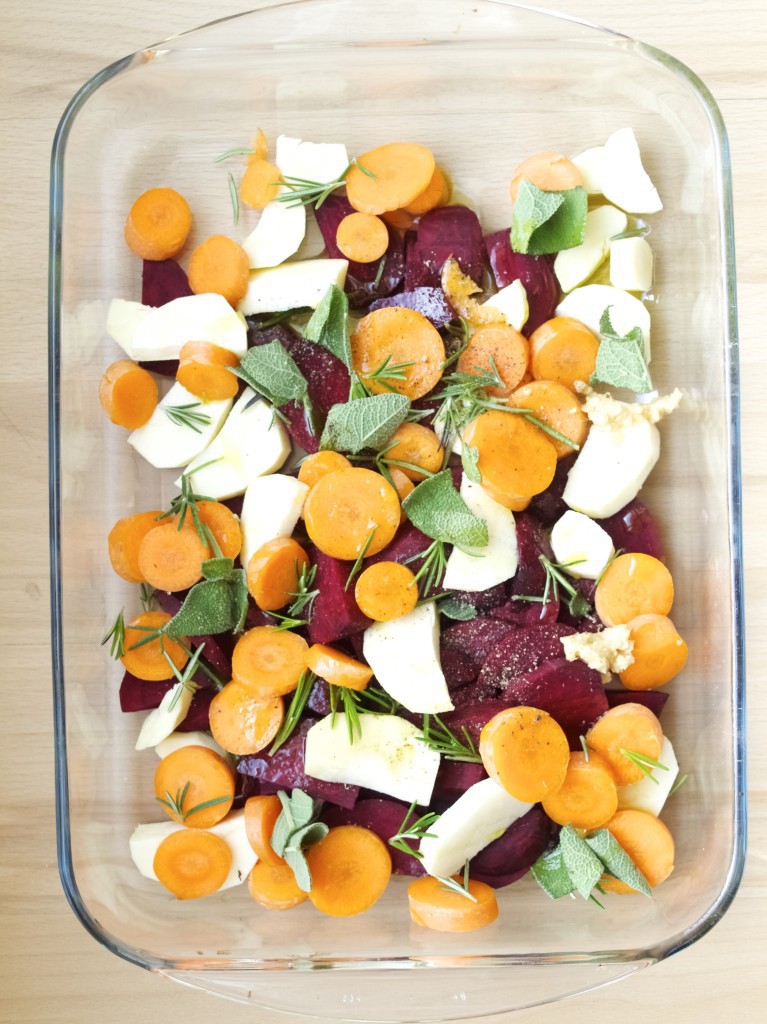
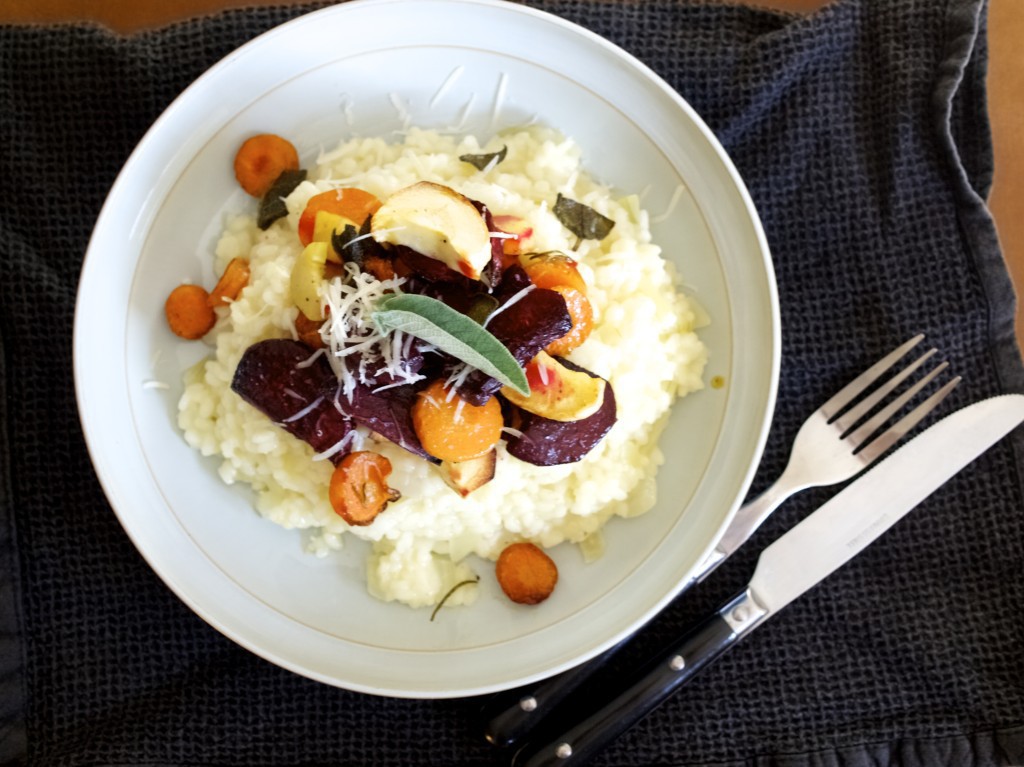
Autumn vegetable risotto recipeSince november is a last month in autumn, I though I will make something special and heartwarming. This autumn vegetable risotto is the best risotto I ever made (and I made quite many in my lifetime). I picked roasted root vegetable for the topping and that went like a dream with goooeeey risotto.Autumn vegetable risotto recipeAUTUMN VEGETABLE RISOTTO

  • 3 carrots, sliced
  • 4 beetroots, pealed and chopped
  • 1 large parsnip, pealed and sliced
  • 1 tbsp chopped fresh rosemary
  • 4 garlic cloves, minced
  • 1 tbsp chopped fresh sage
  • pepper and salt to taste
  • olive oil
  • 1 onion, finely chopped
  • 300g risotto rice
  • 200ml white wine
  • 700ml chicken (or vegetable) stock
  • 20g butter
  • 70g parmesan cheese

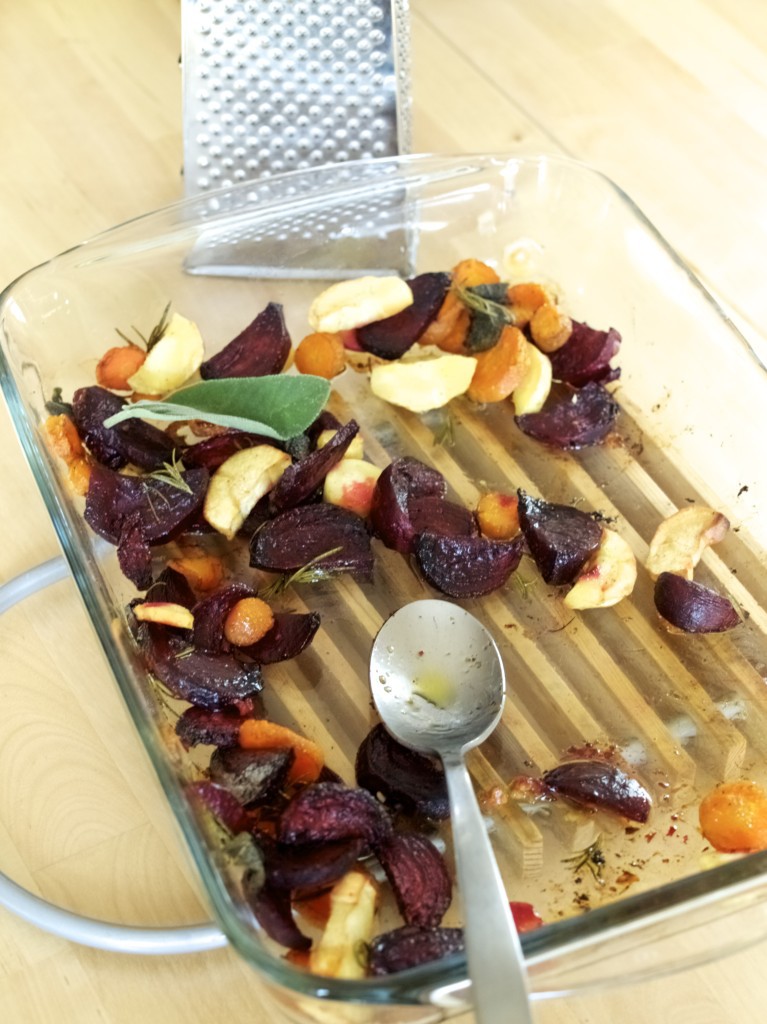
1. First make the vegetable topping. Place all chopped/sliced vegetables into the oven proof dish. Sprinkle everything with garlic (reserve one for the rice) and herbs, season it and drizzle it with olive oil.  Bake it in preheated 200C oven for 30min. Autumn vegetable risotto recipe2. Meanwhile cook risotto rice. Fry the onions and remaining garlic clove in the pan with generous mount of oil. Then add rice, continue frying for a minute until rice become sort of transparent and then pour in the wine.

3. Now reduce the heat and add the stock gradually while stirring the rice constantly. This process should take about 15min or so. Every time you add some stock just wait until everything becomes thick again. At the end of this process the rice should be cooked and nice!

4. At the end add butter and some grated parmesan cheese into the rice and let it rest. Remove roasted vegetables from the oven and serve it with rice.

Autumn vegetable risotto recipe Autumn vegetable risotto recipeEnjoy!

Rasa xoxo
0