These couple of months I have been desperate to start eating healthily. I have been tempted too many times by cakes and wine! My common excuse is to find something to celebrate. Every time I let myself eat pretty much everything I want I hear myself saying ‘Never mind, I will start new a diet next monday’. Why monday? Because I guess thats a start to a new week and there is likely to be less temptations to nibble on something naughty (you know, nothing is really happening on mondays).
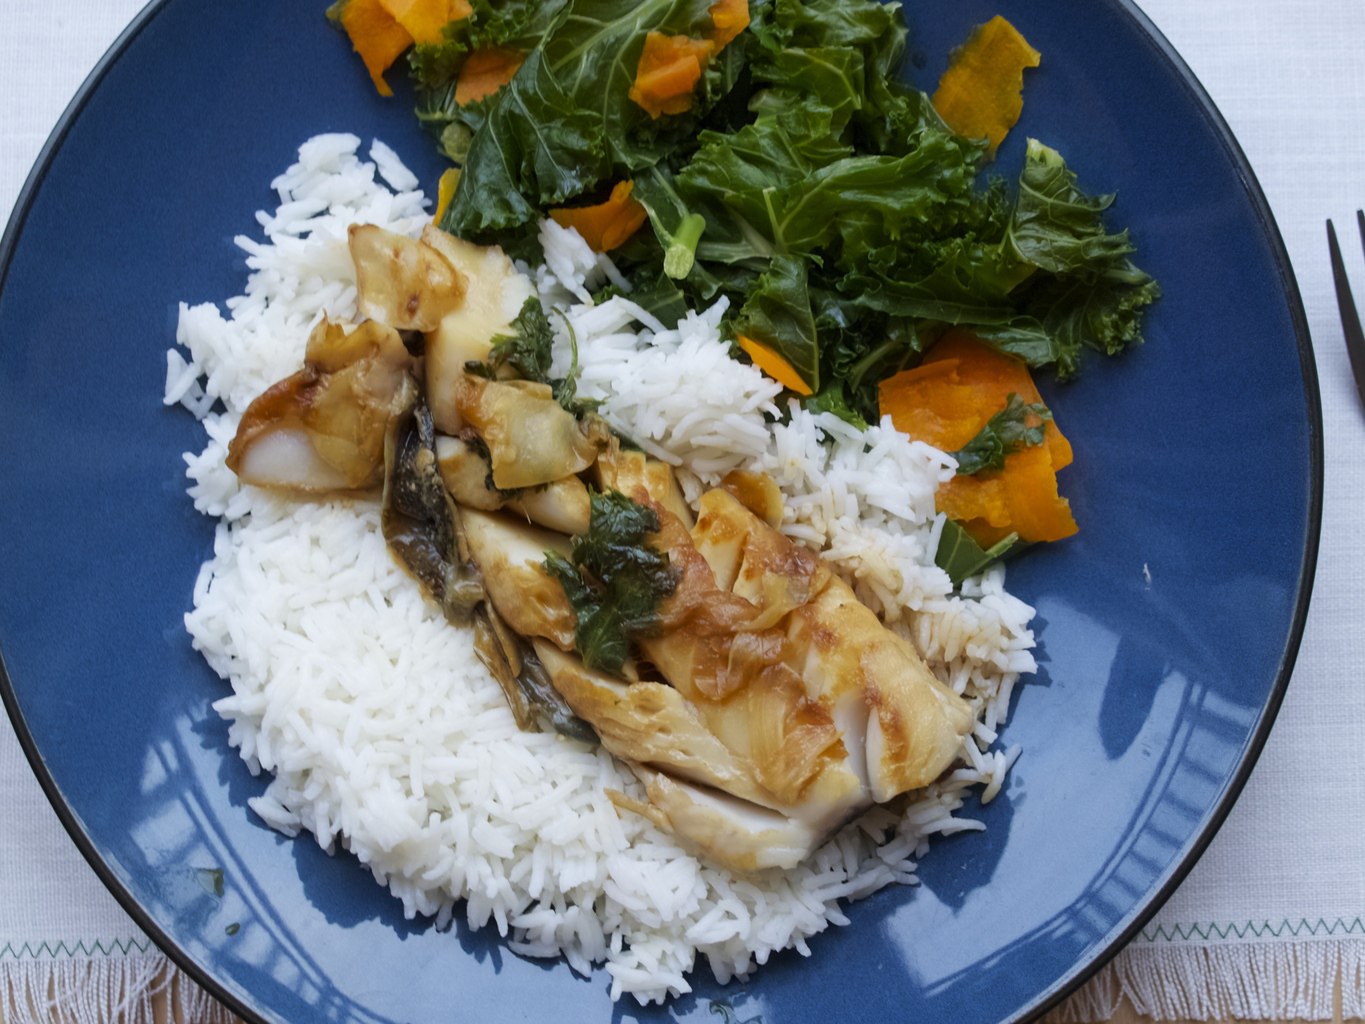
Anyways, I came across this fish in a pouch recipe through Pinterest on Table for Two website and my first thought was ‘Great! A quick and healthy dinner idea!’. I have made fish in pouch before, but I liked the combination of ingredients in this recipe. The only thing I changed is that I sprinkled the fish with coriander instead of spring onion. Overall, good recipe, but don’t expect to indulge in this!
GINGER SOY SESSAME FISH IN A POUCH adopted from Table for Two
- 2 fresh white fish filets (cod, halibut, your favourite)
- 4 tsp. sesame oil, divided
- 2 tbsp. soy sauce
- 20 thin slices of ginger root
- 1 tbsp chopped coriander
- salt and pepper
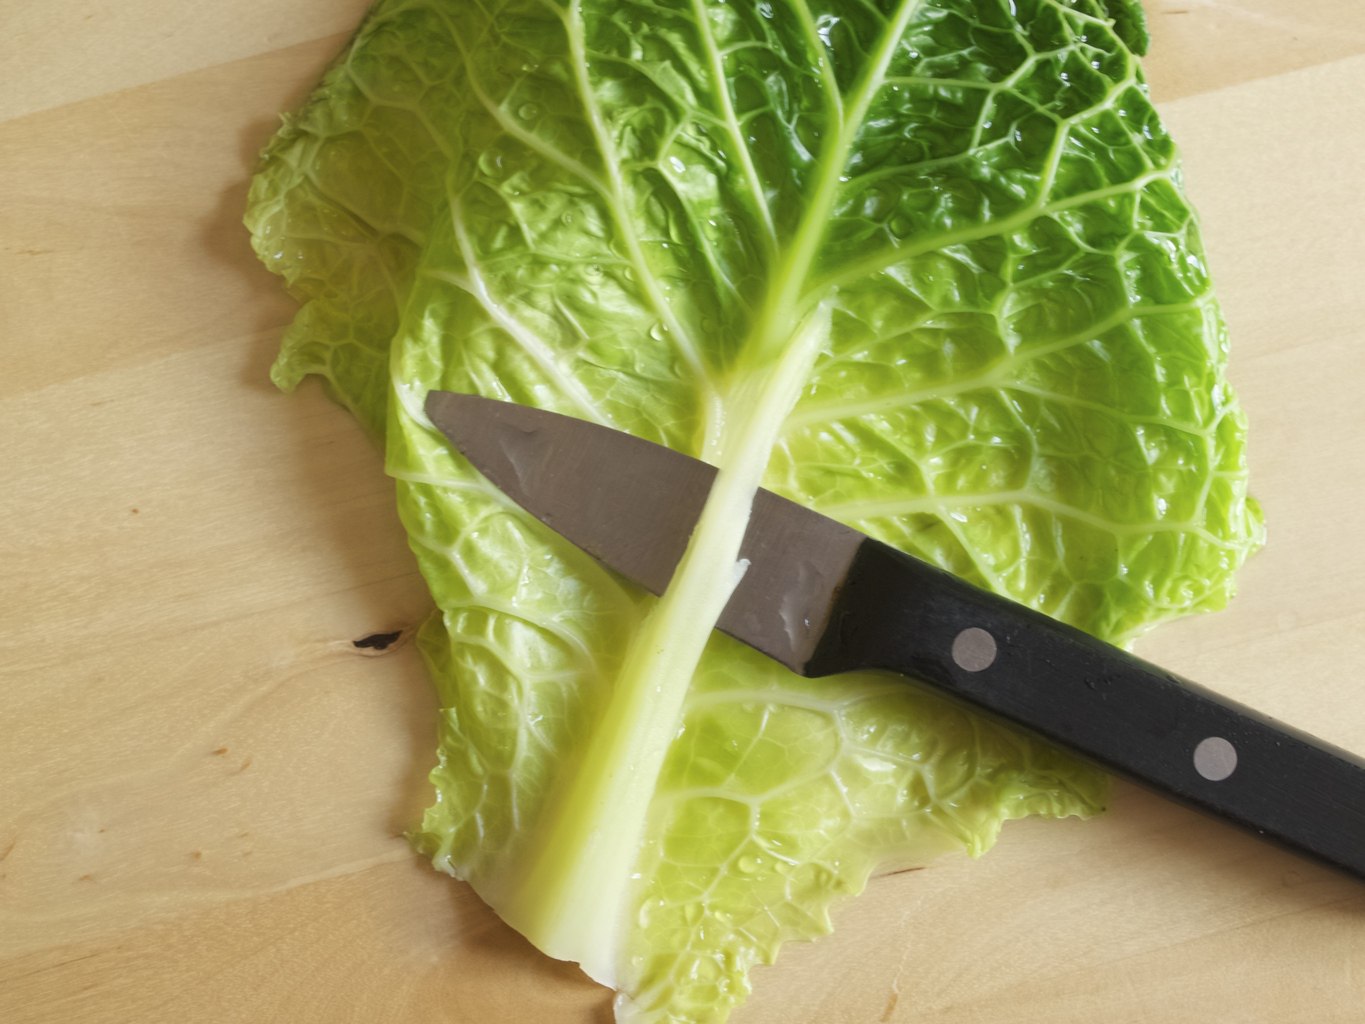
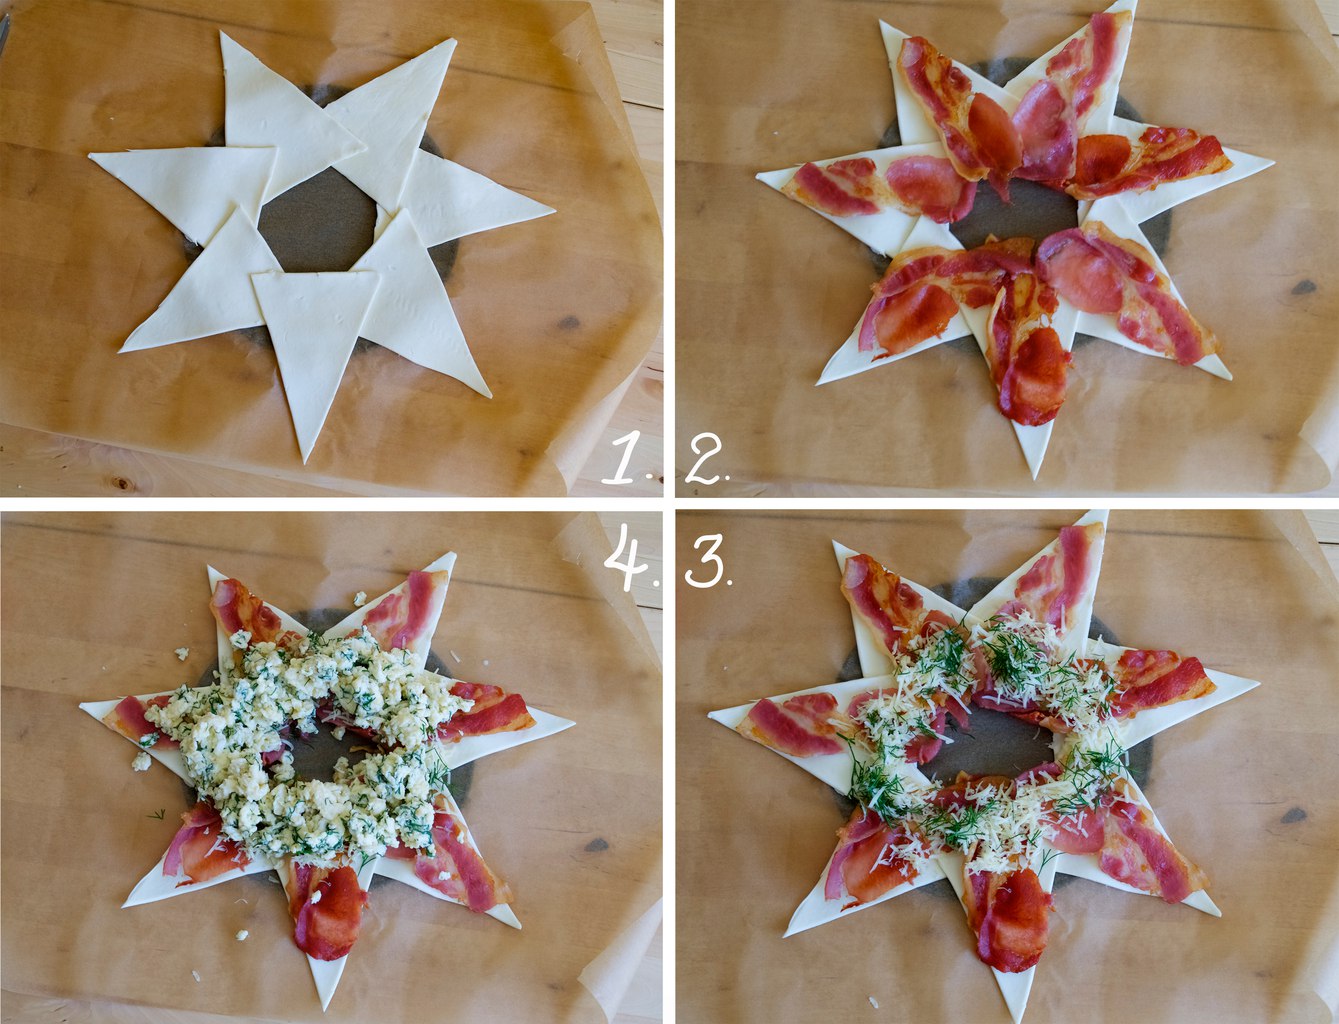
1. Place each fish fillet on separate sheet of foil. Leave enough of space around it so it can be wrapped.
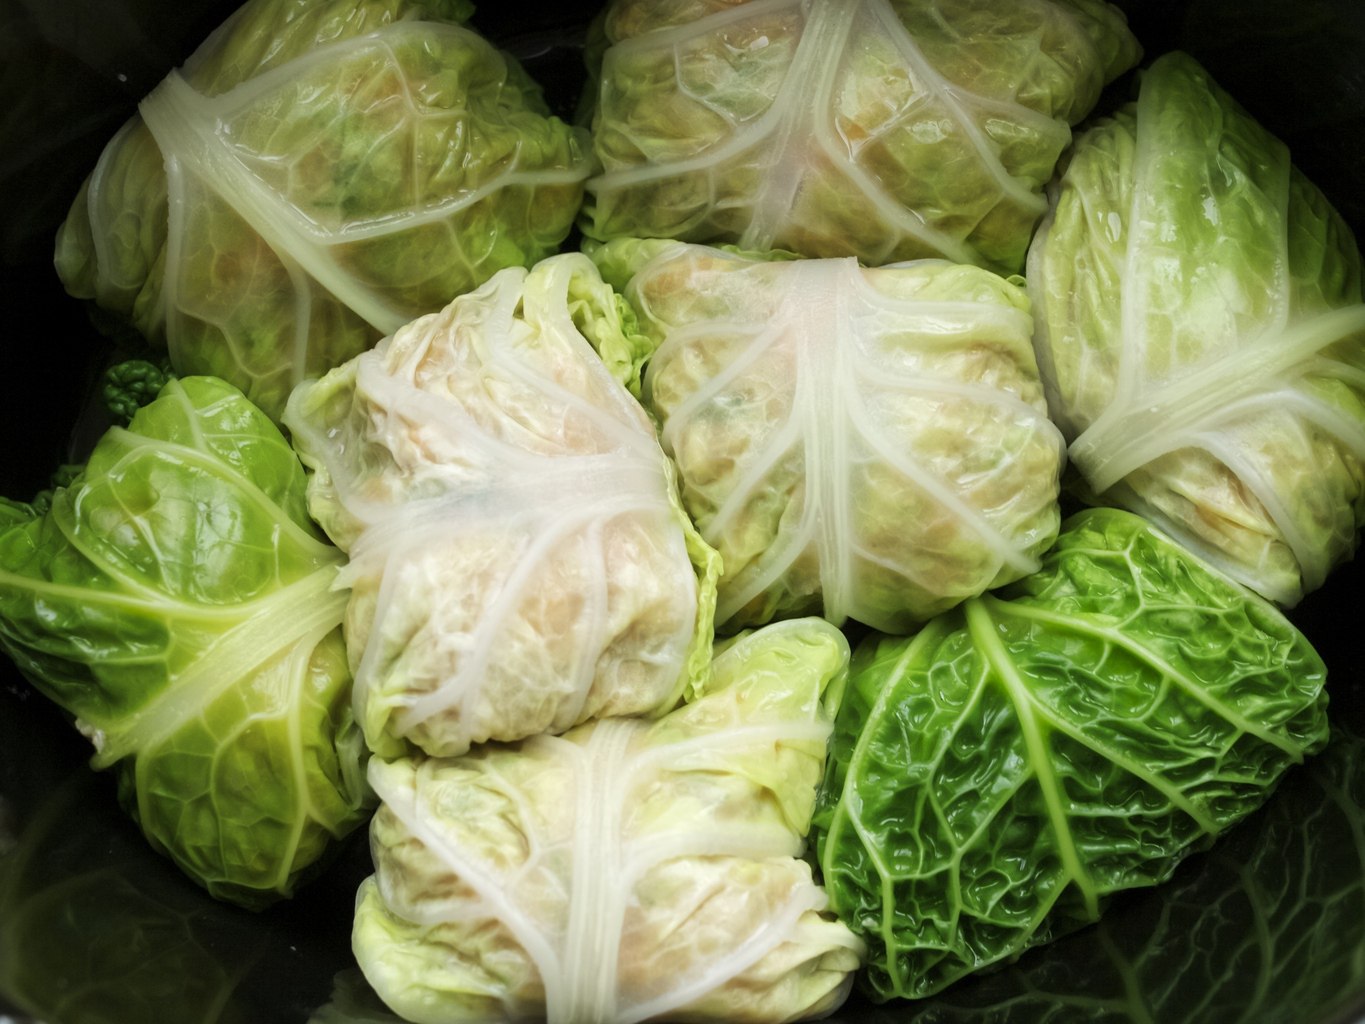
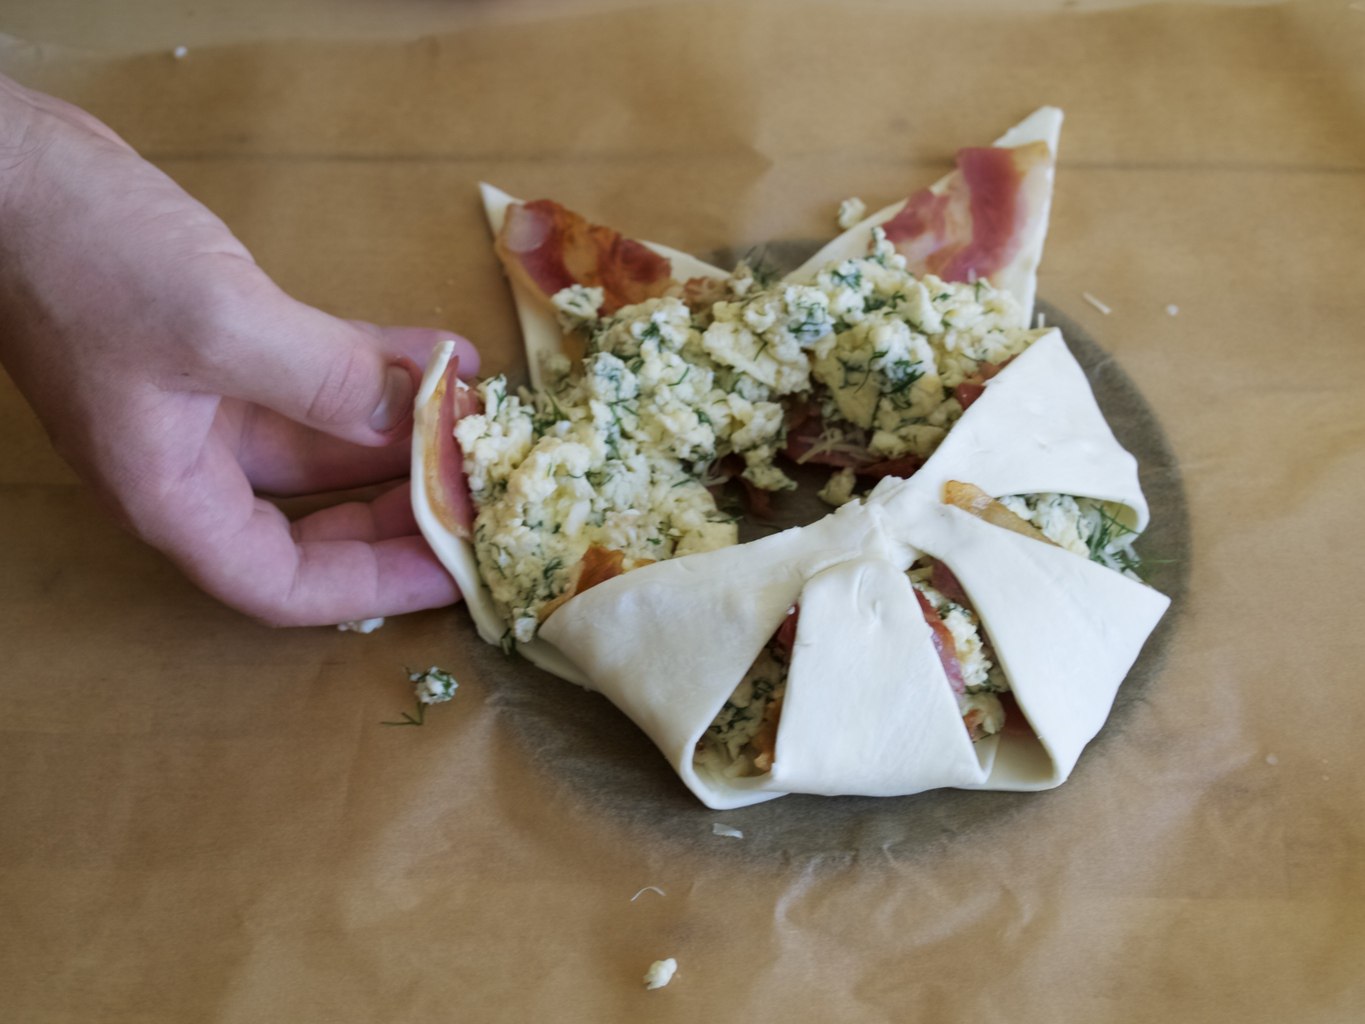
2. Drizzle 2 tsp. of sesame oil on top and gently rub it all over the fish with your fingertips then flip the filet over to coat the other side with the excess sesame oil that has dripped onto the foil. Drizzle 1 tbsp. of soy sauce on top then add 10 slices of ginger, half the chopped coriander and season with salt and pepper.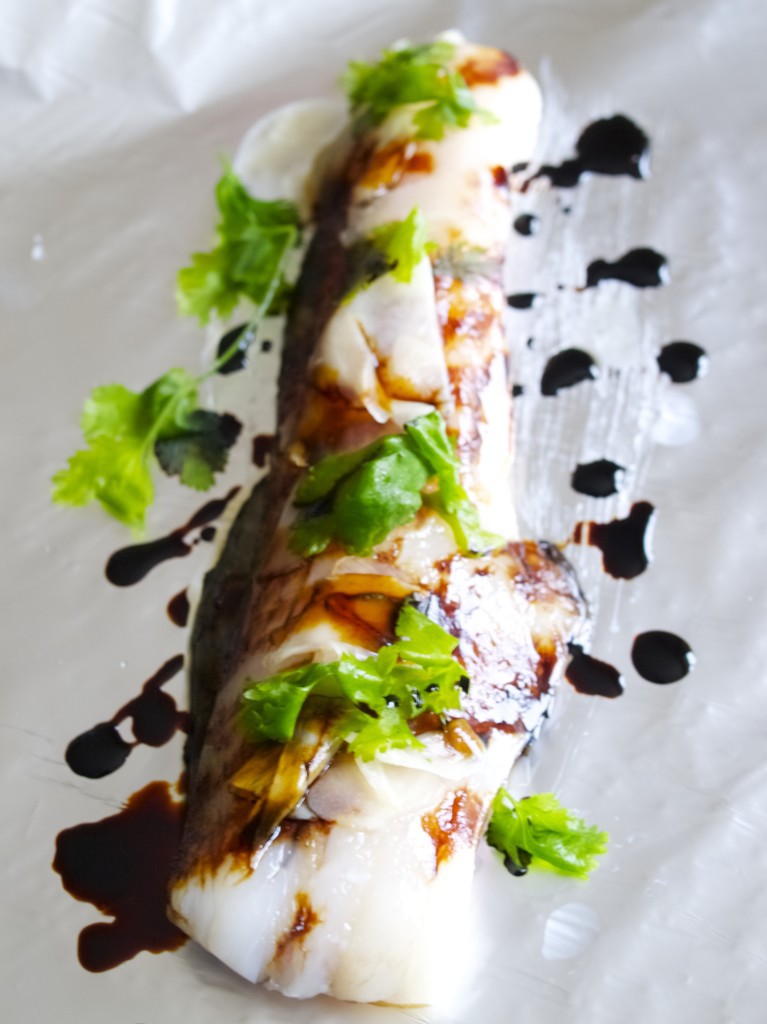 3. Bring up the two long sides of the aluminum foil to a tent then together, roll them down while bringing the two other sides up so the liquid doesn’t drip out. You should get a nice little pouch/packet. Repeat with the other filet.
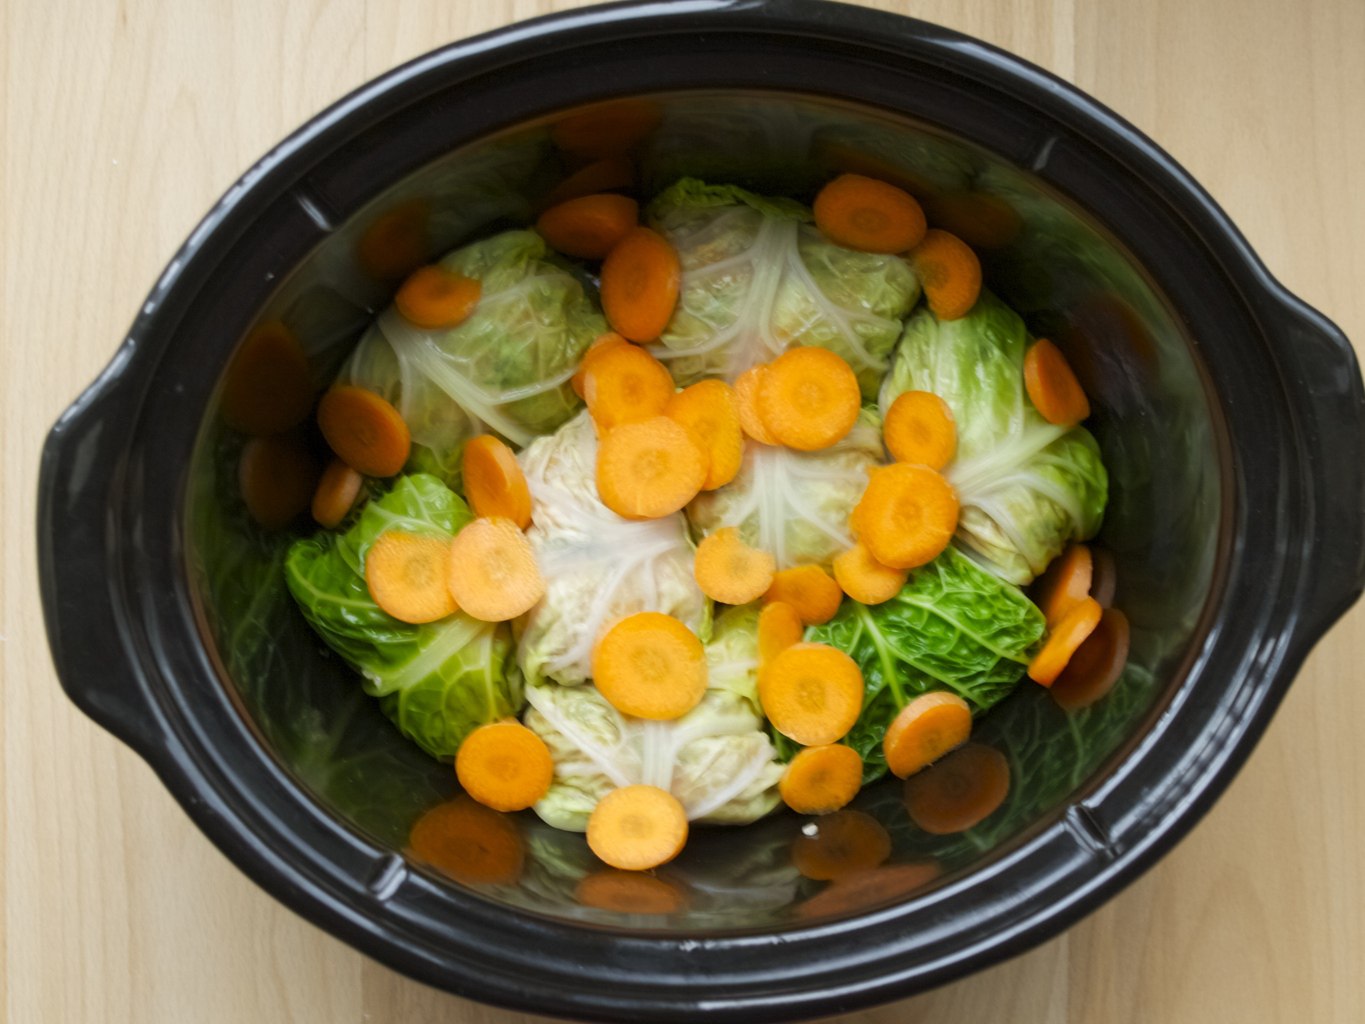
4. Place both foil packets on a baking sheet and bake fish in preheated 180C oven for 10-15 minutes or until fish is cooked through and flaky.
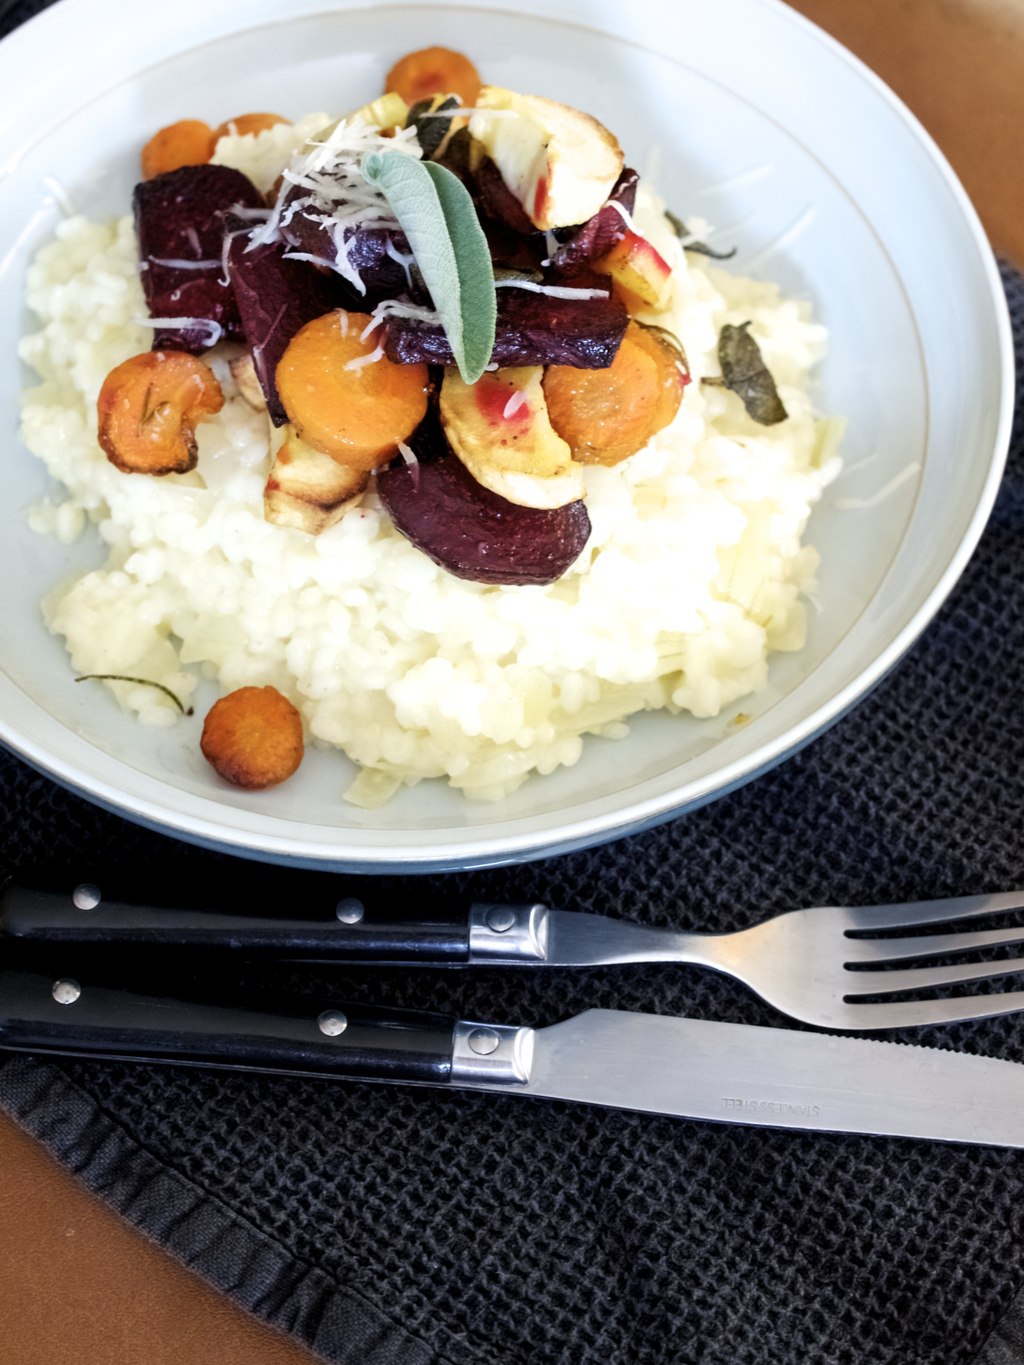
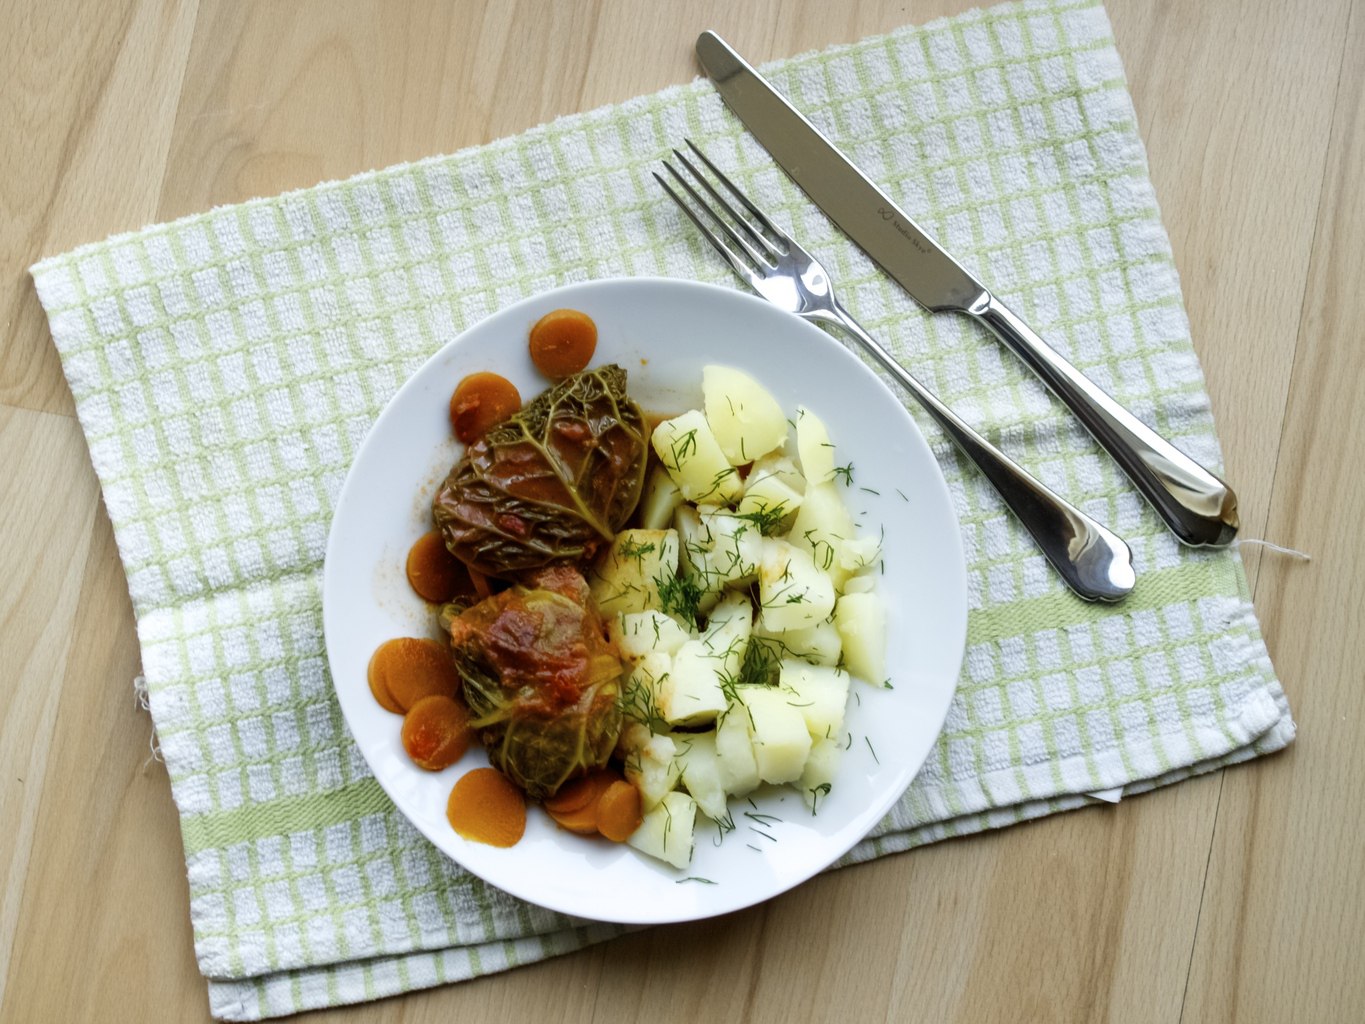
5. Carefully unwrap the fish from the package. There is HOT liquid that may come out from either side so be careful!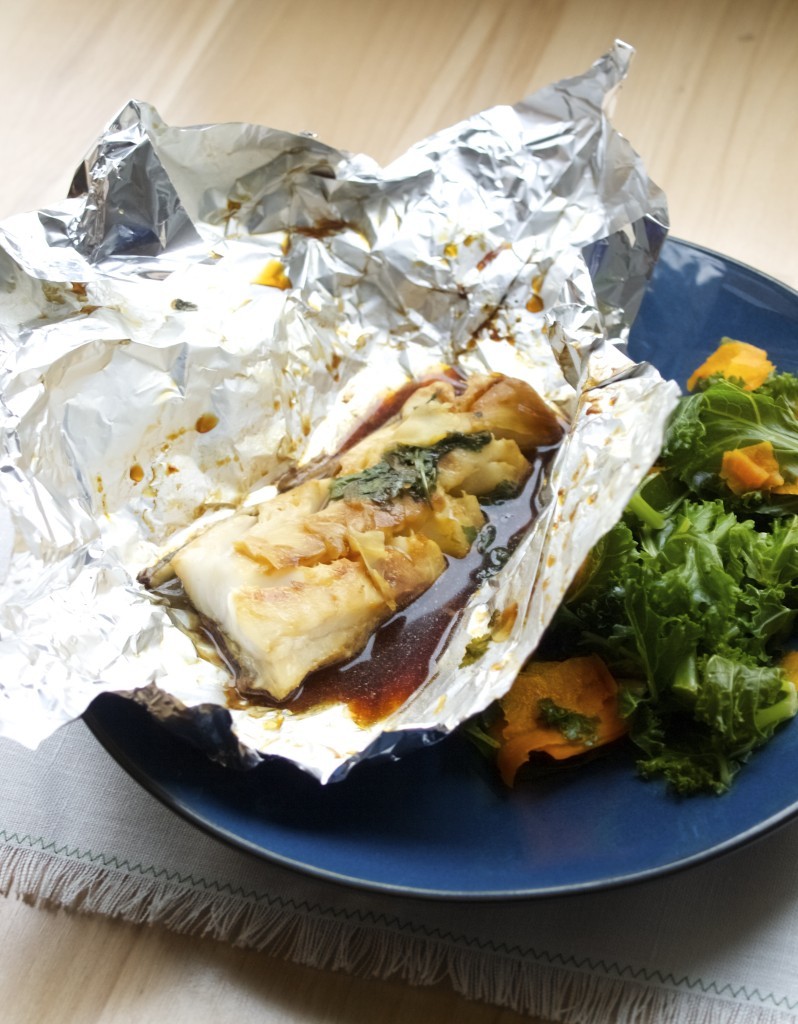 6. Serve hot over a bed of rice, veggies, or a salad.
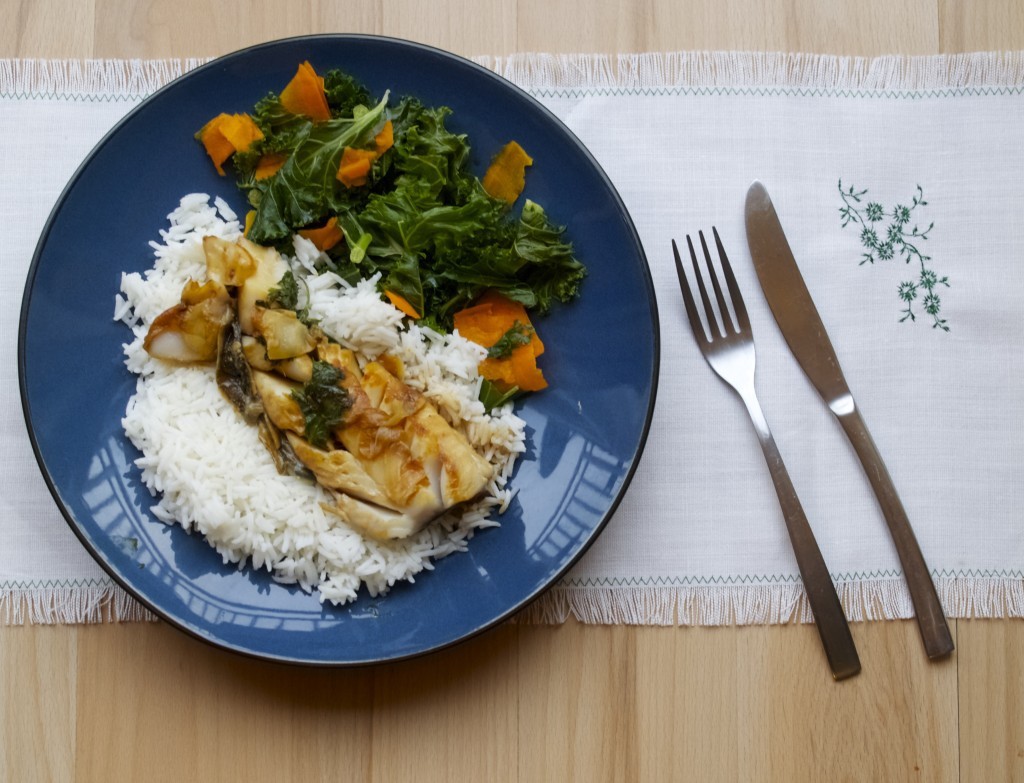 Happy, hopefully not so boring, Monday!
Rasa xoxo


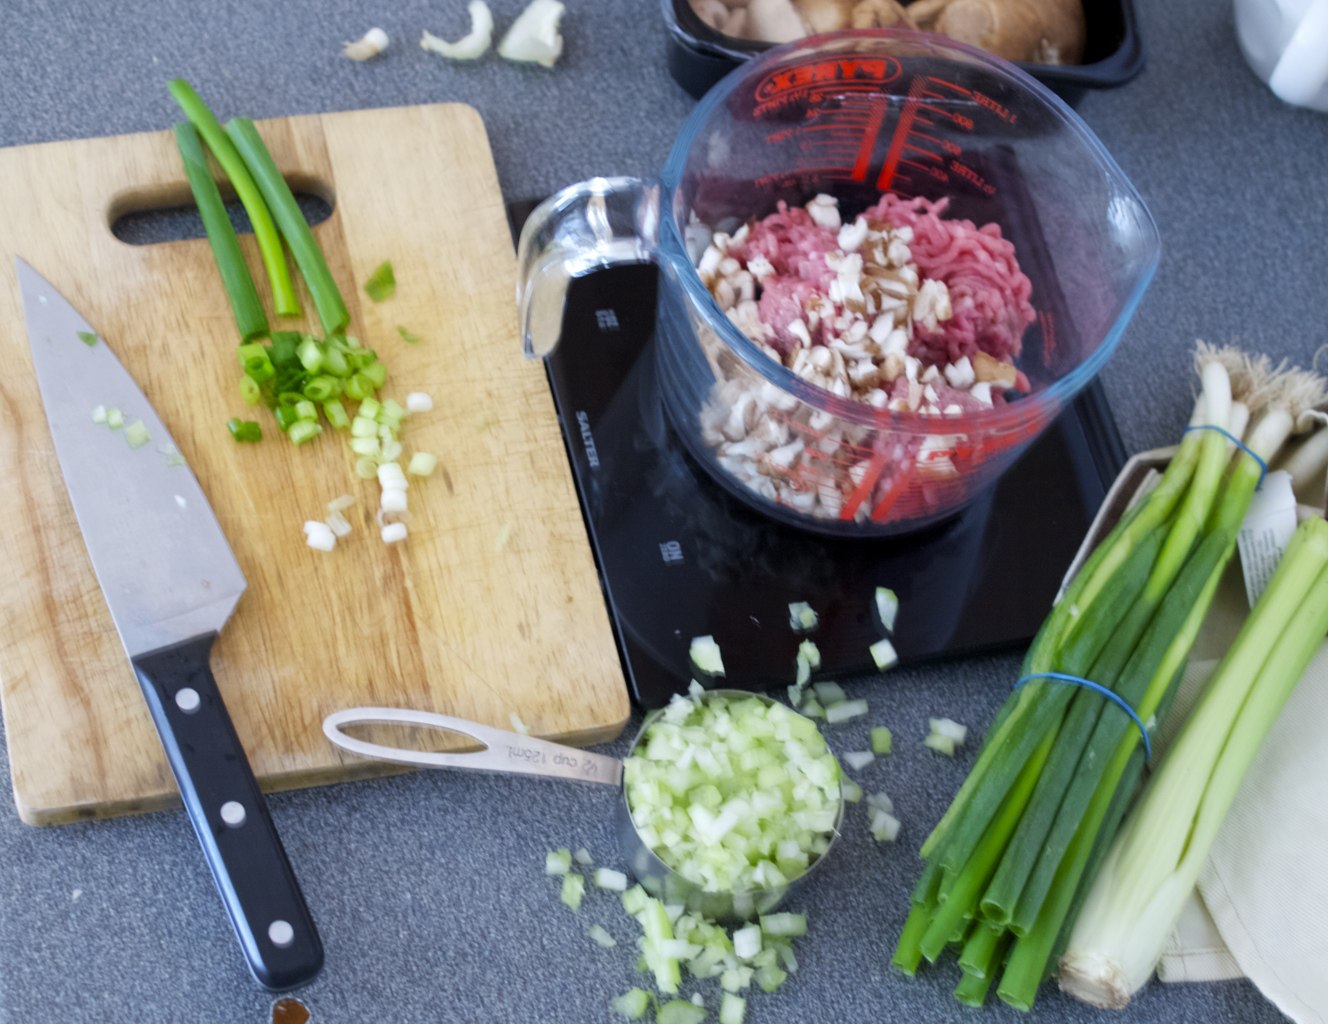
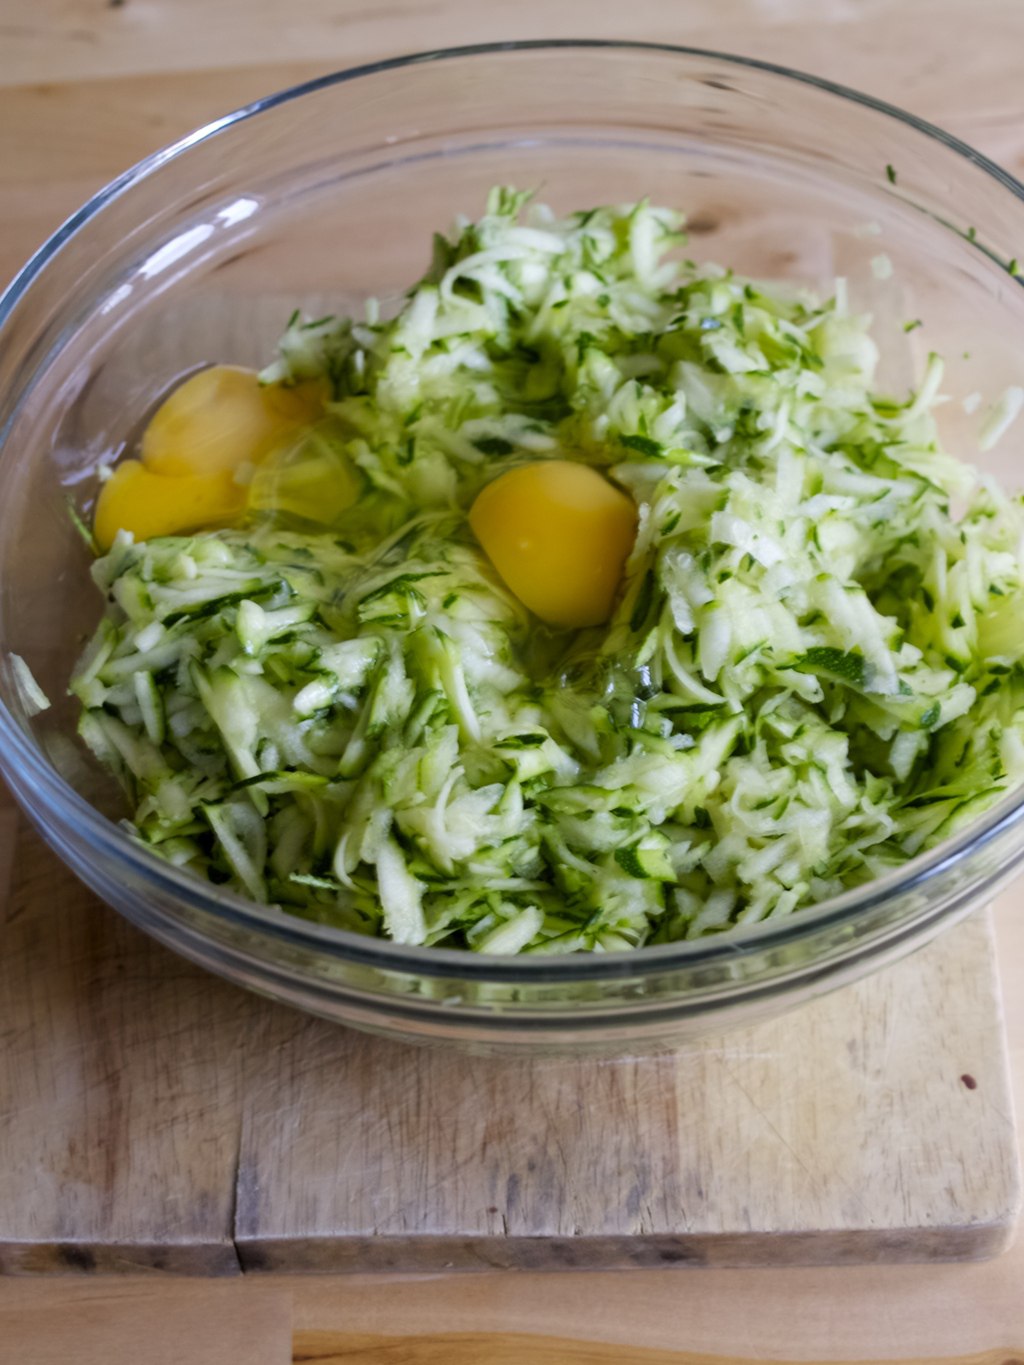
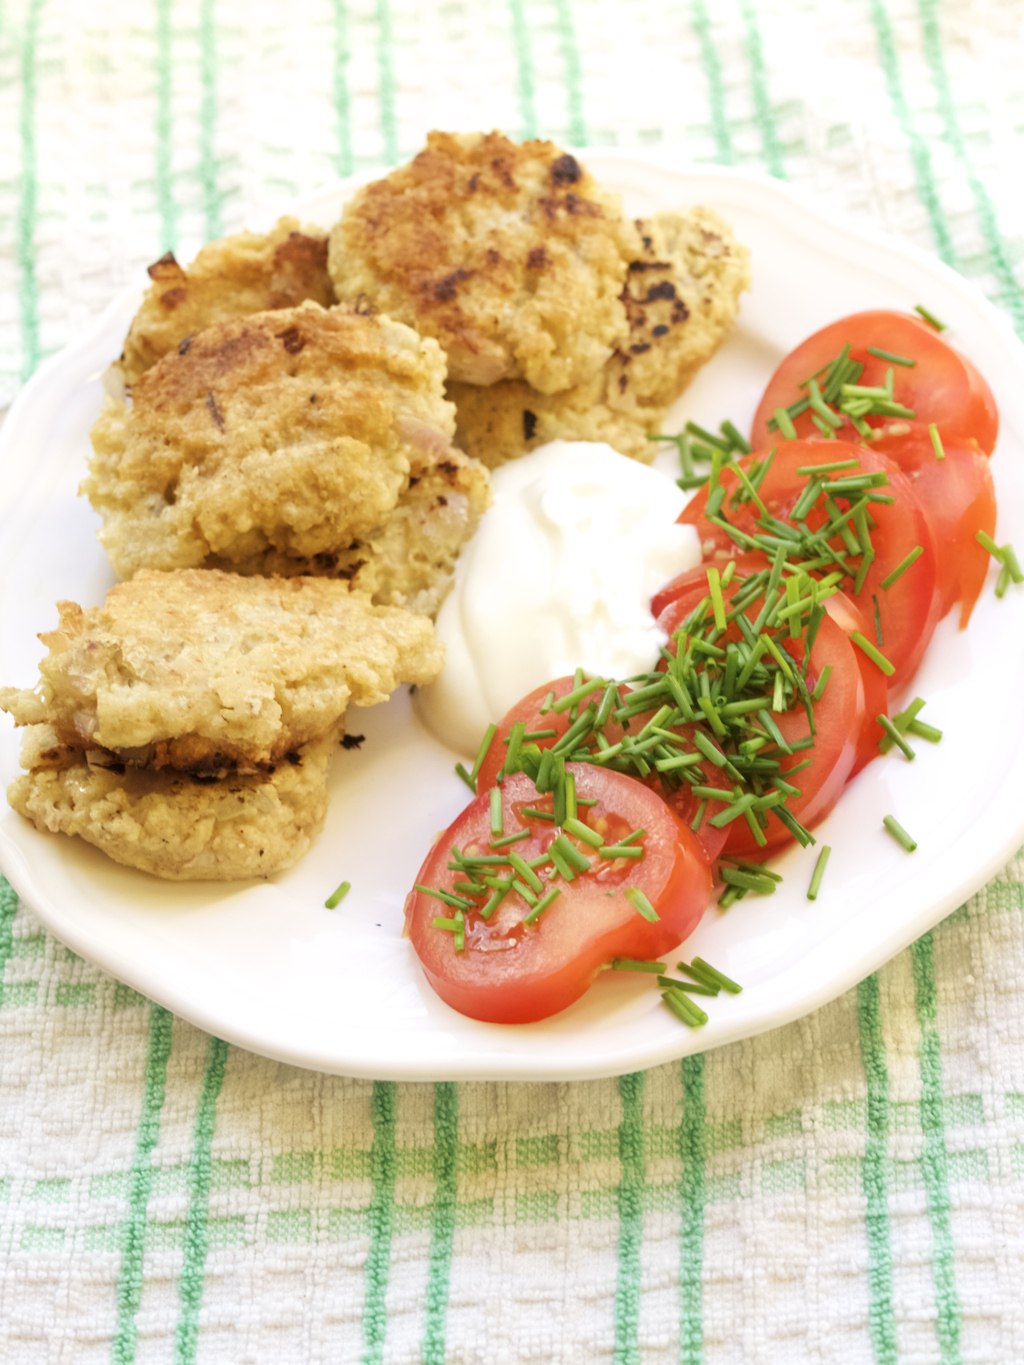 As you know, my favourite meal is breakfast. In fact I love it so much that I sometimes have it for lunch as well! These oat fritters have been introduced to me by my dear friend Vicki. We used to have this type of breakfast every time I used to sleepover at her place (good old days!). This is diffusion breakfast between porridge and classic fry-up as it taste a little meaty. Very good vegetarian recipe from Vicki’s mum!
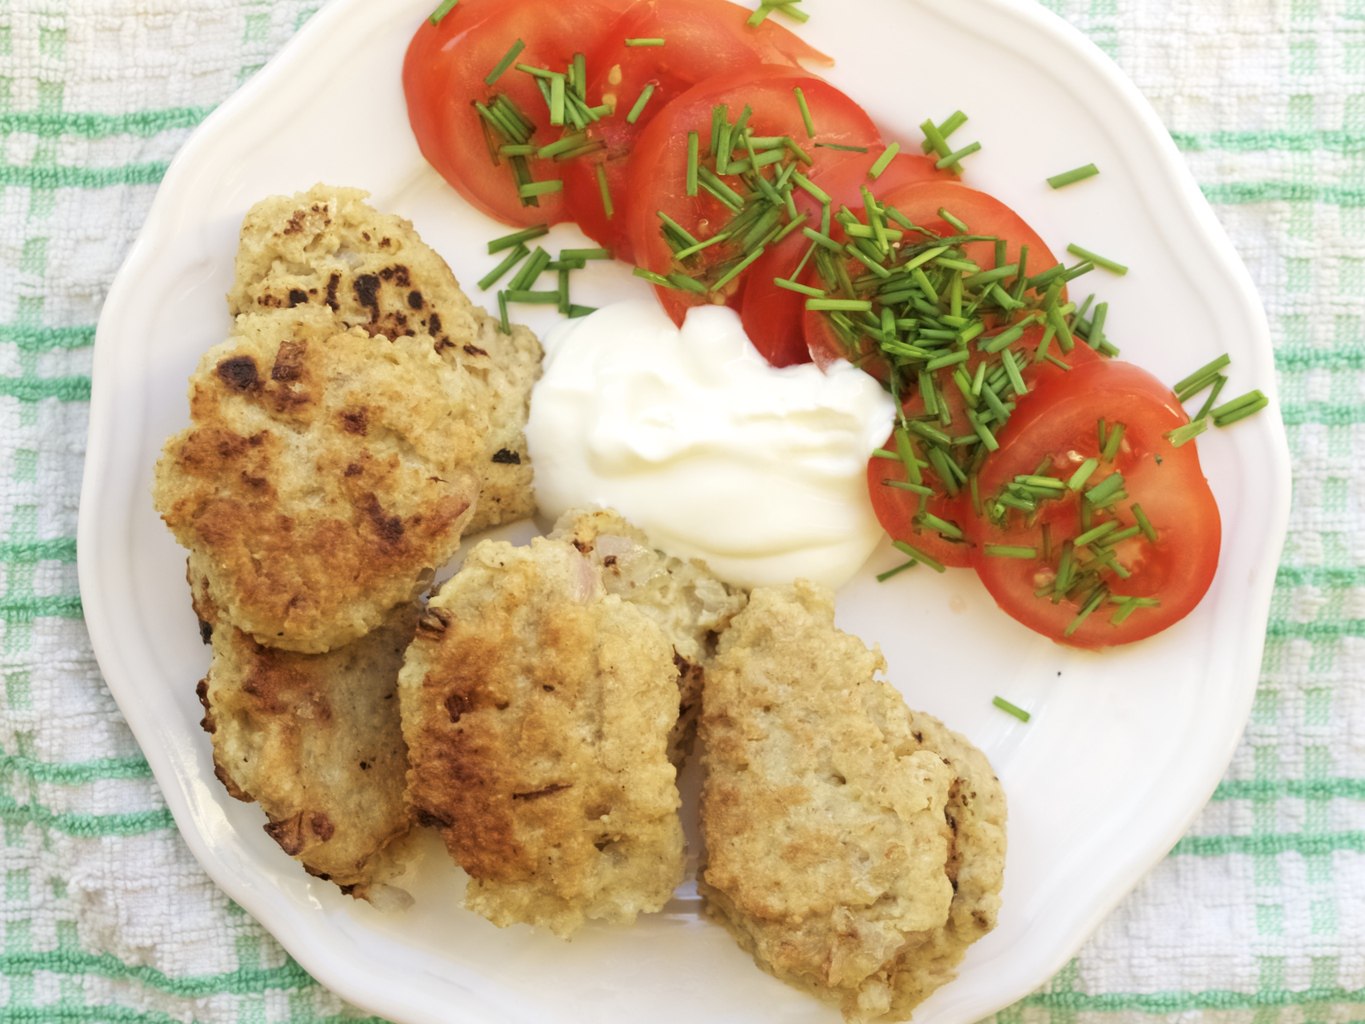 VICKI’S MUM’S SAVOURY OAT FRITTERS enough for 2-3 brunch lovers
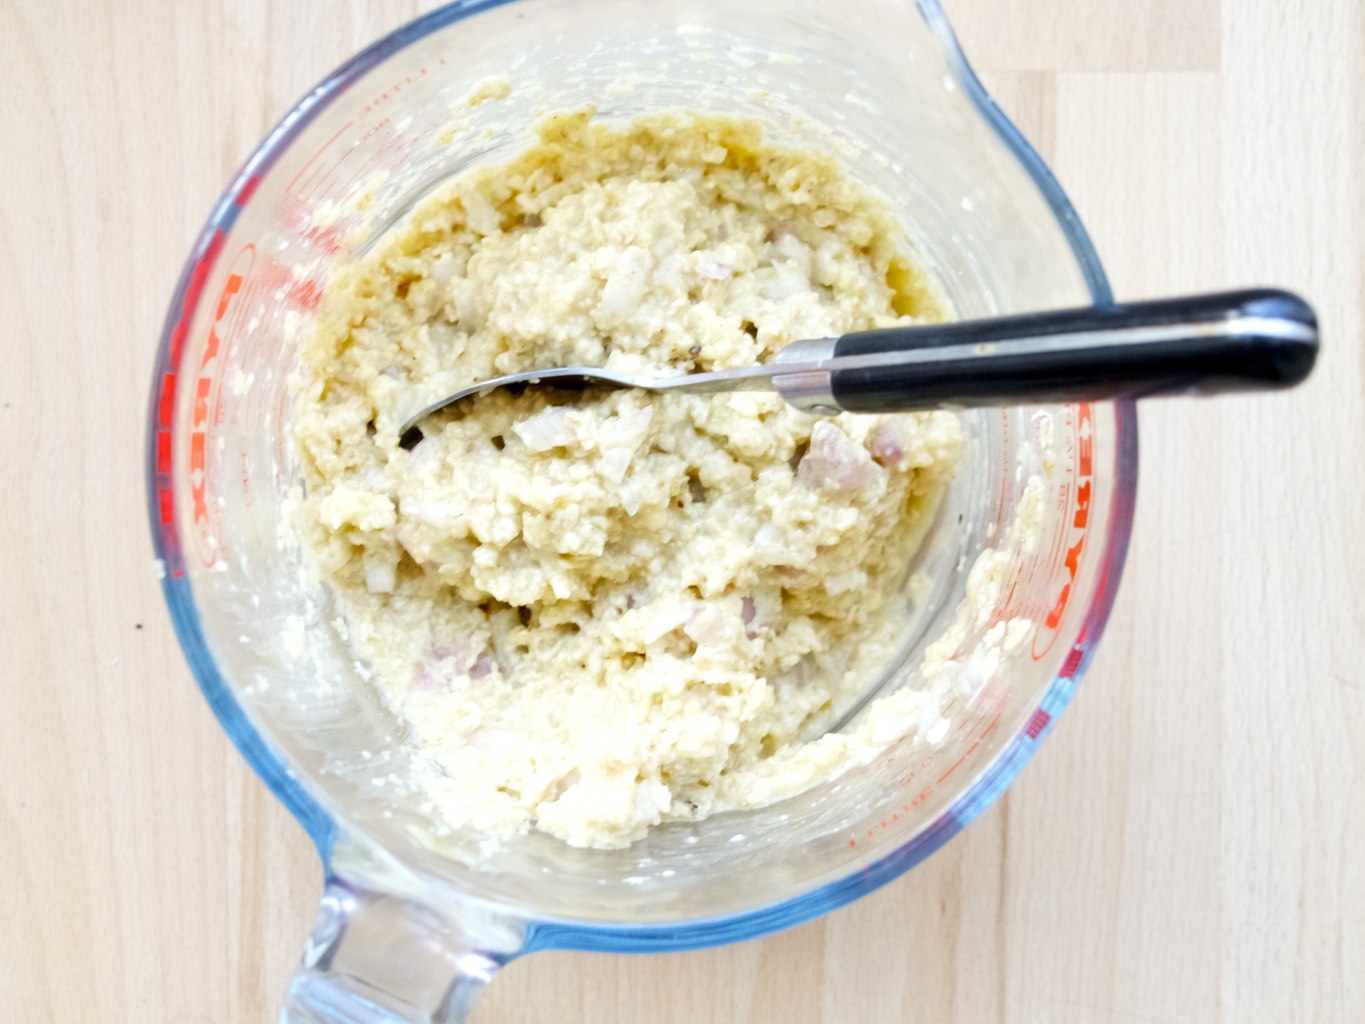 2. Heat the oil in the pan and then spoon the mixture in, leaving gaps in between. Fry the fritters while occasionally turning them over to ensure they cook on both sides.
 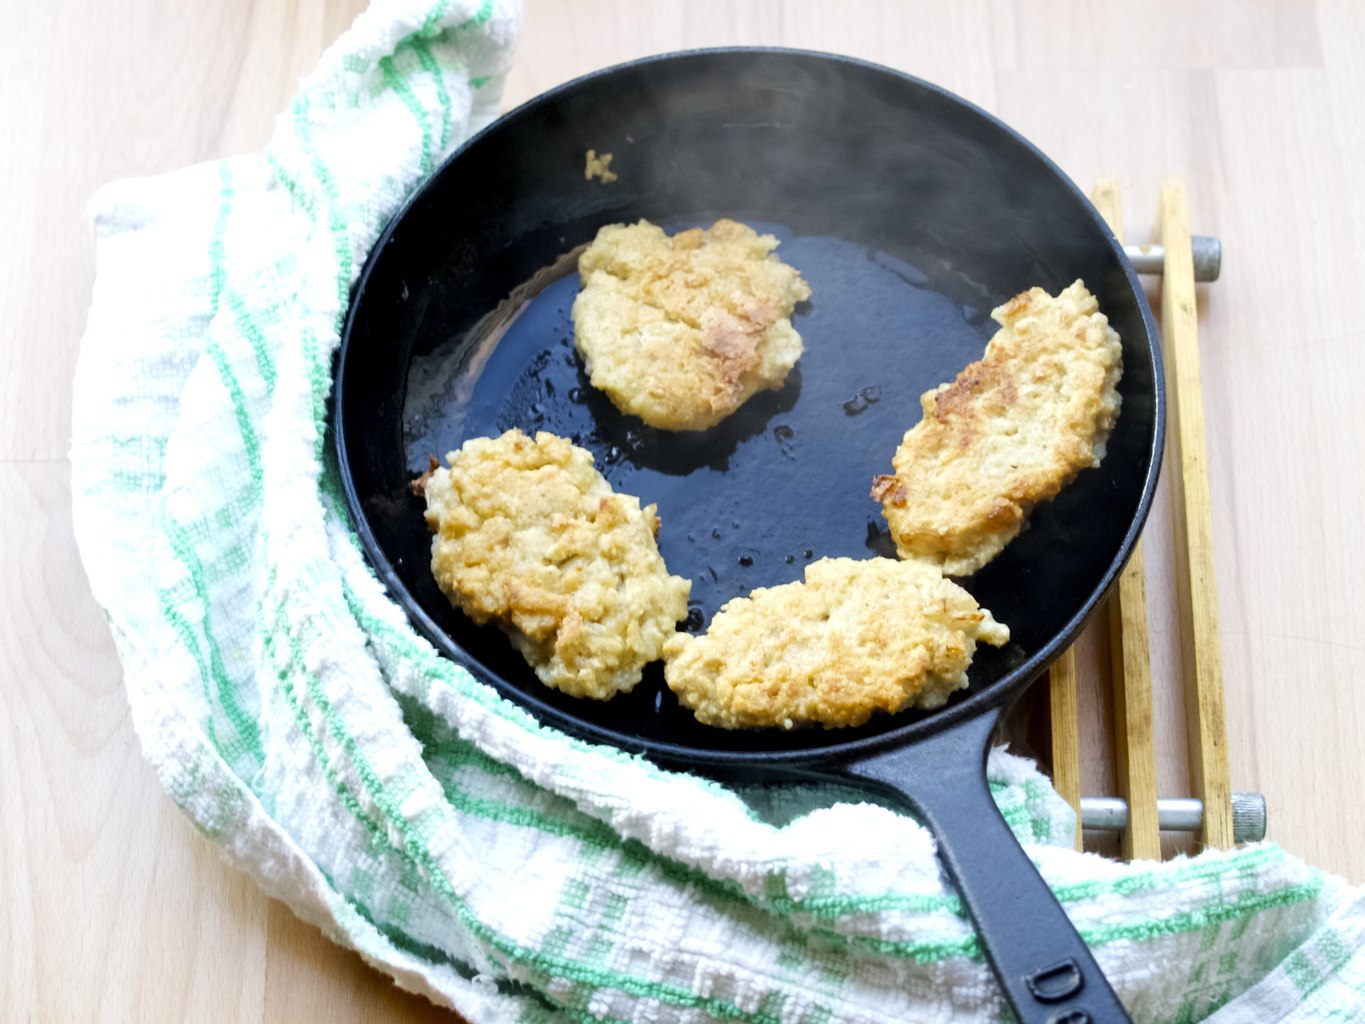 3. Serve with cream fresh and tomato salad!
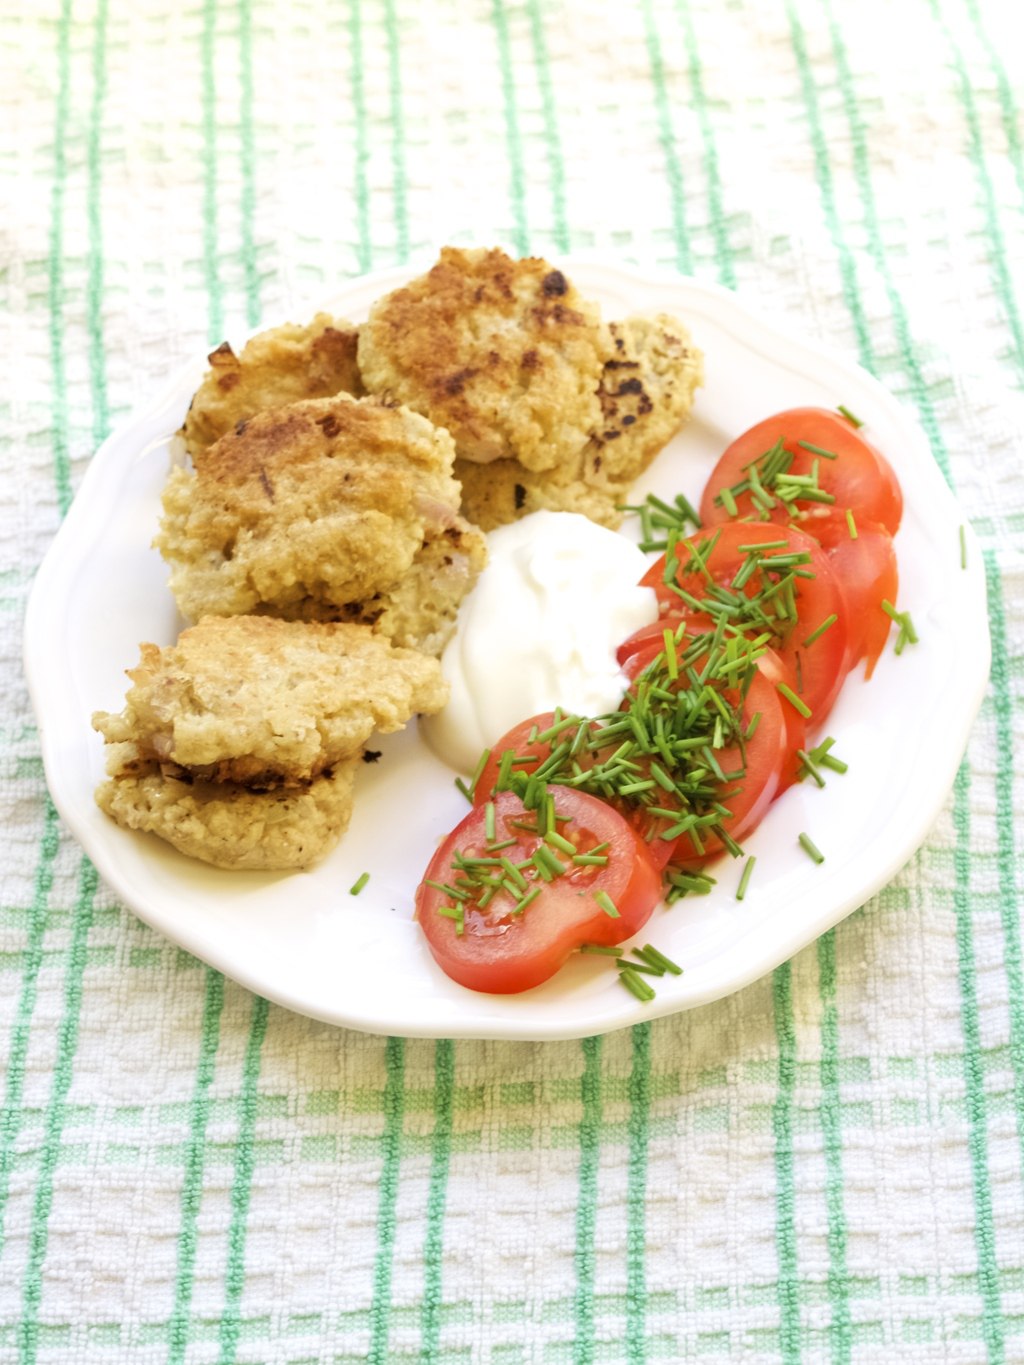 Enjoy!