Top

Bread baking

Potato bread

For those who don’t know I have learned bread baking two years ago. My first bread loaf I have tried baking from scratch (not with the help of machine) was a potato bread! After few courses and lots and lots and lots of  practice I finally developed a good technique that works with a lot of bread recipes. That of course allowed me to customise my bread as much as I want by adding different flavours and ingredients. Exciting!

Do you have your favourite bread type, flavour or even recipe. Please share here with us. Would love to see!

For those who are complete beginners in baking bread than I defiantly recommend Craftsy online baking course. It’s so useful to know all the stages of bread baking, just think of possibilities! In fact there is a great offer going on right now, you can get Craftsy 25% Off Food Classes during November. And if you are feeling lucky then you should defiantly give a try and participate in Craftsy contest for a chance to win a free Food Class by sharing you own favourite recipe (not only bread) on Craftsy Recipe Sharing Submission Page. Good luck!

POTATO RYE BREAD WITH SEADS

  • 1 potato (about 200g)
  • 300g bread flour
  • 100g rye flour
  • 7g fast action yeast
  • 1.5 tsp salt
  • 200ml lukewarm water
  • 1 tbsp pumpkin seeds
  • 1 tbsp sunflower seeds
  • 1 tsp caraway seeds

1. Mix all the dry ingredients except the seeds in the large bowl and make a well in the middle.

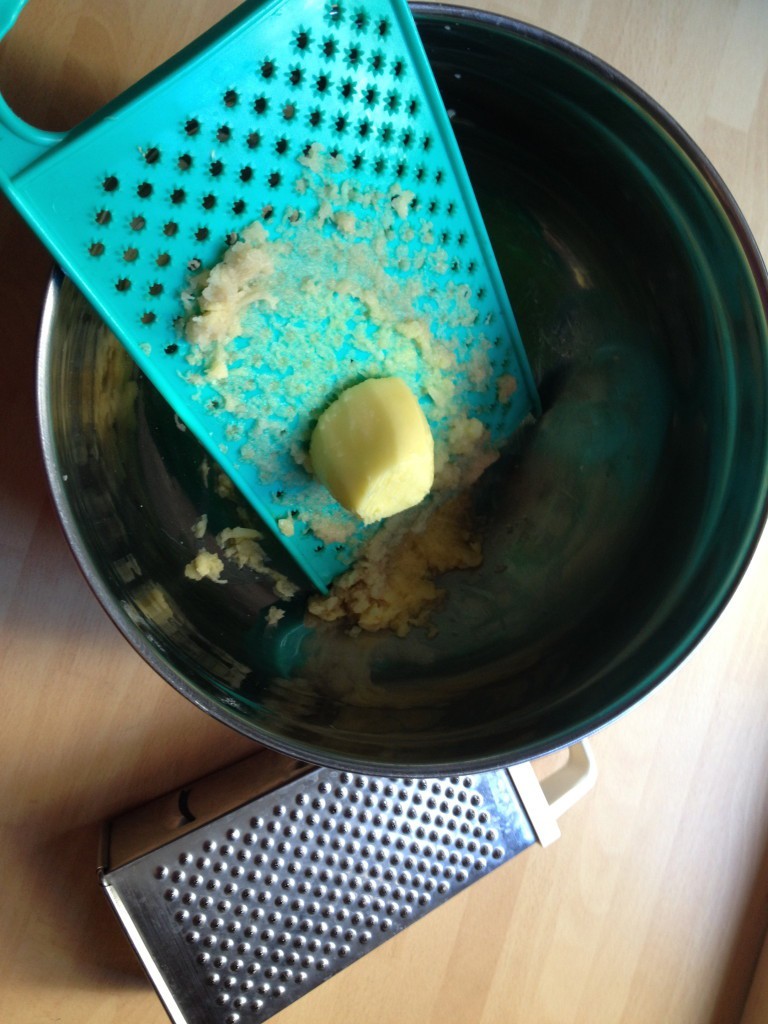
2. Grate pealed potato by using “pucker” stile hole grater that is common in most multi hole side graters. I prefer using plastic one as that prevents grated potato go grey.

plastic potato grater

3. Pour water and add grated potato into the flour well. Mix everything together into solid mass by folding the flour in from the sides. Mix the seeds into the mixture.

4. Kneed the dough continuously for 10-15 minutes until it becomes less sticky. Do not be tempted to add more flour during this process.

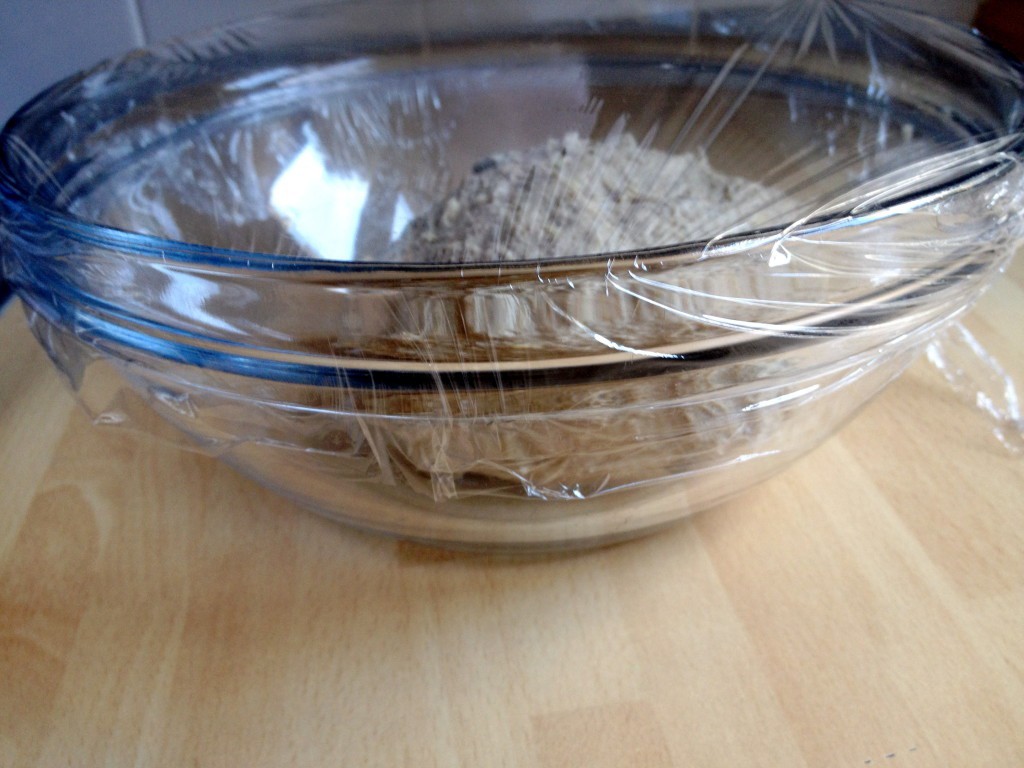
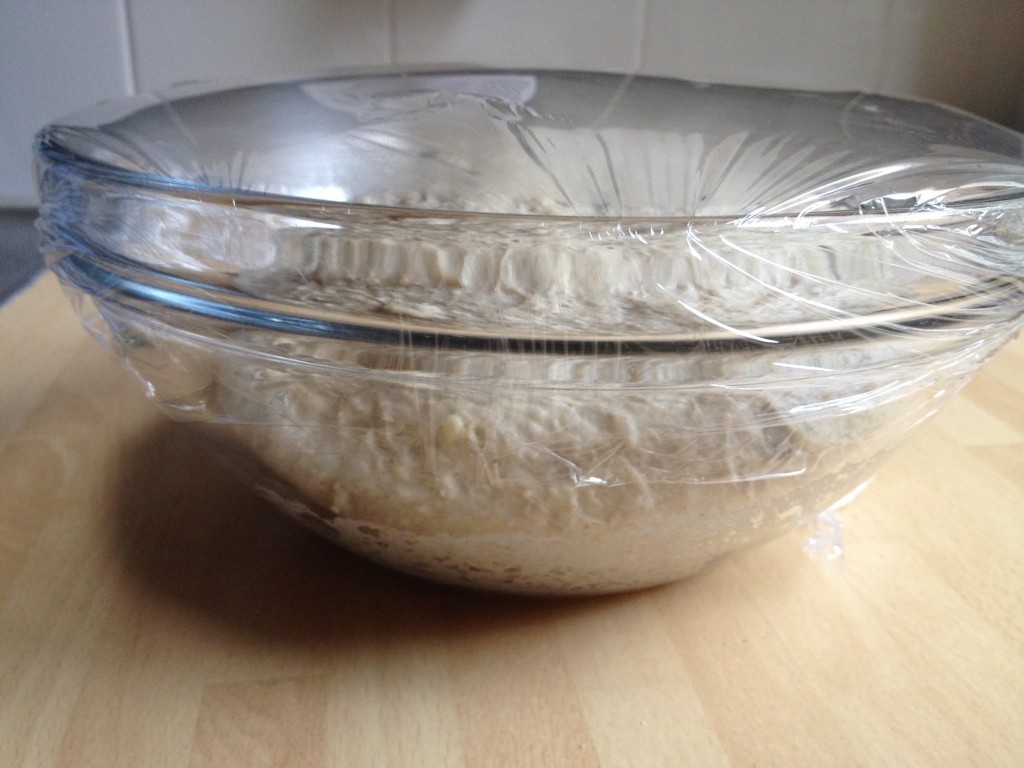
5. Cover the dough in the clean bowl and let it rise for 1hour until it doubles in size.

bread dough rising bread dough rising

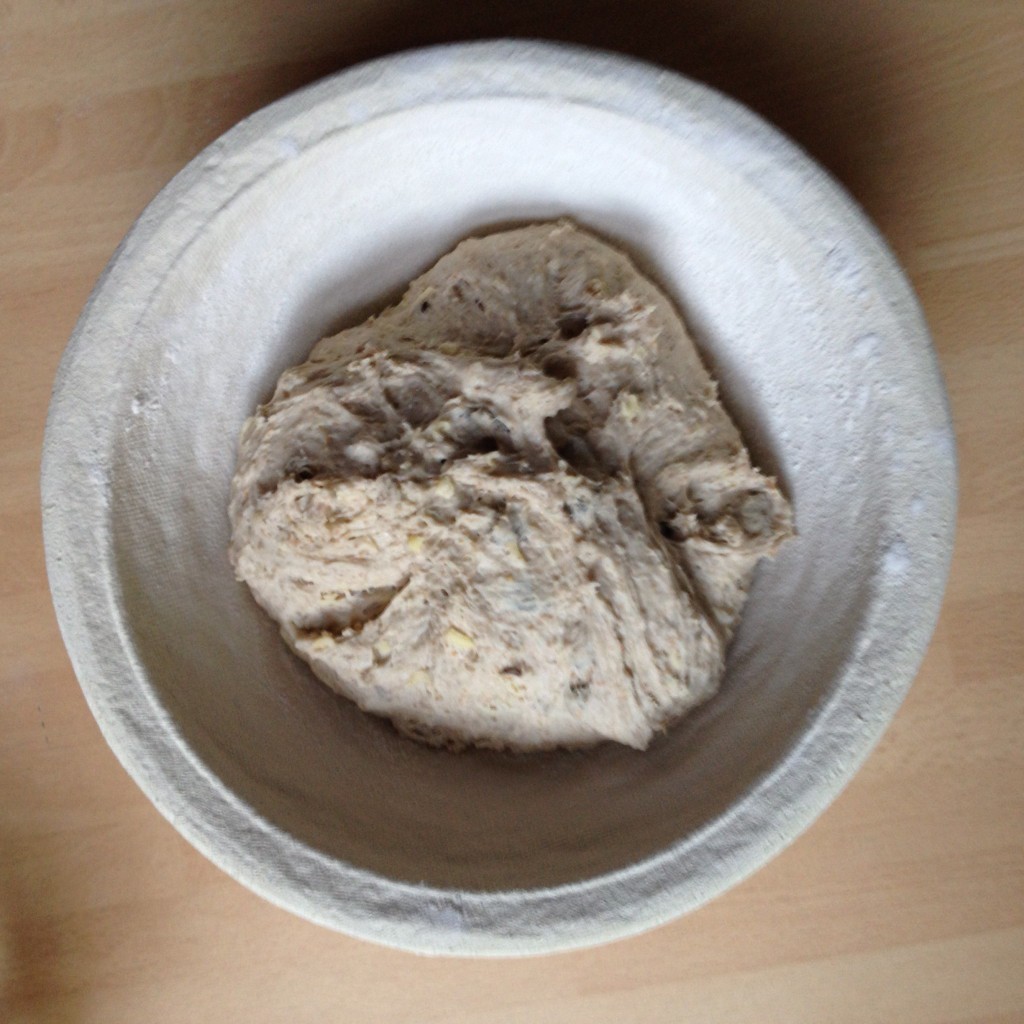
6. “deflate” the dough and form it into the loaf. I use a proving basket so it makes nicer looking bread loaf. Cover the loaf and let it rise one more time for 30 min.

Potato bread dough in prooving basket

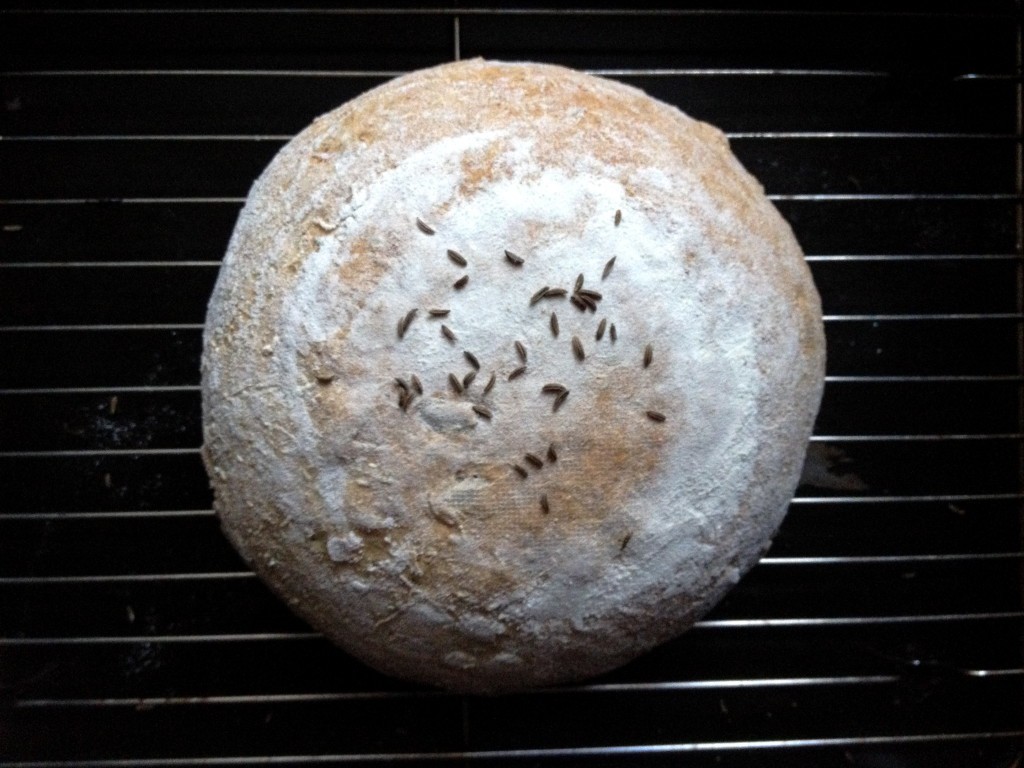
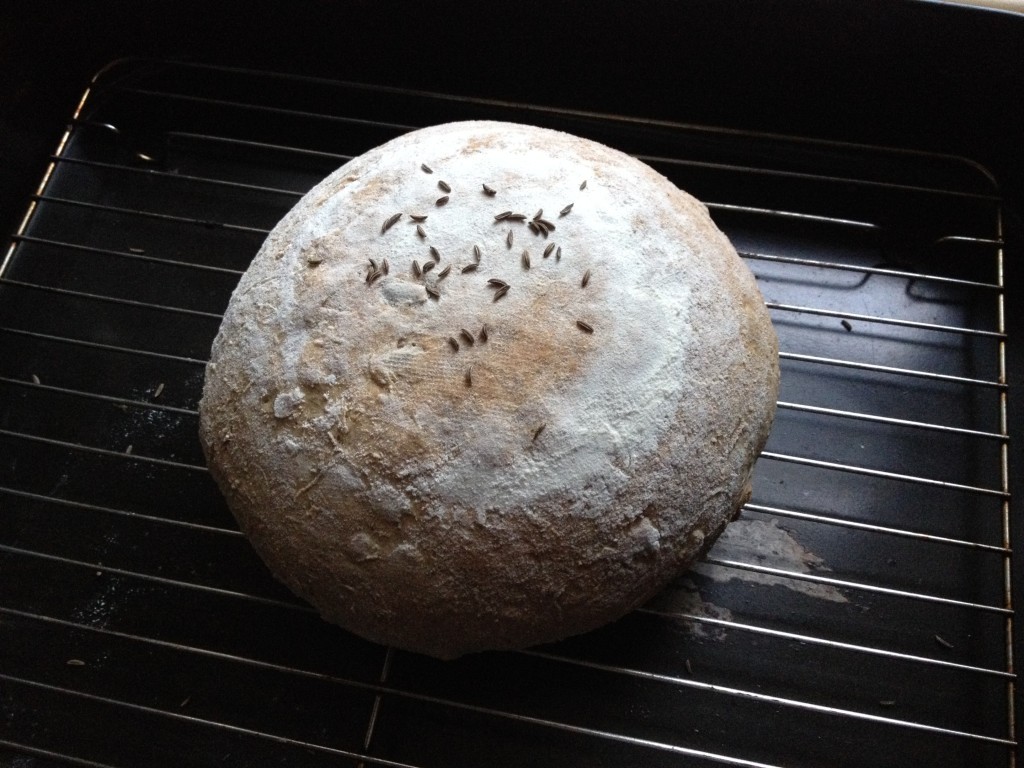
7. Once the bread dough had its final rise, bake in preheated 200C oven for 30 min.

potato bread with seeds and rye

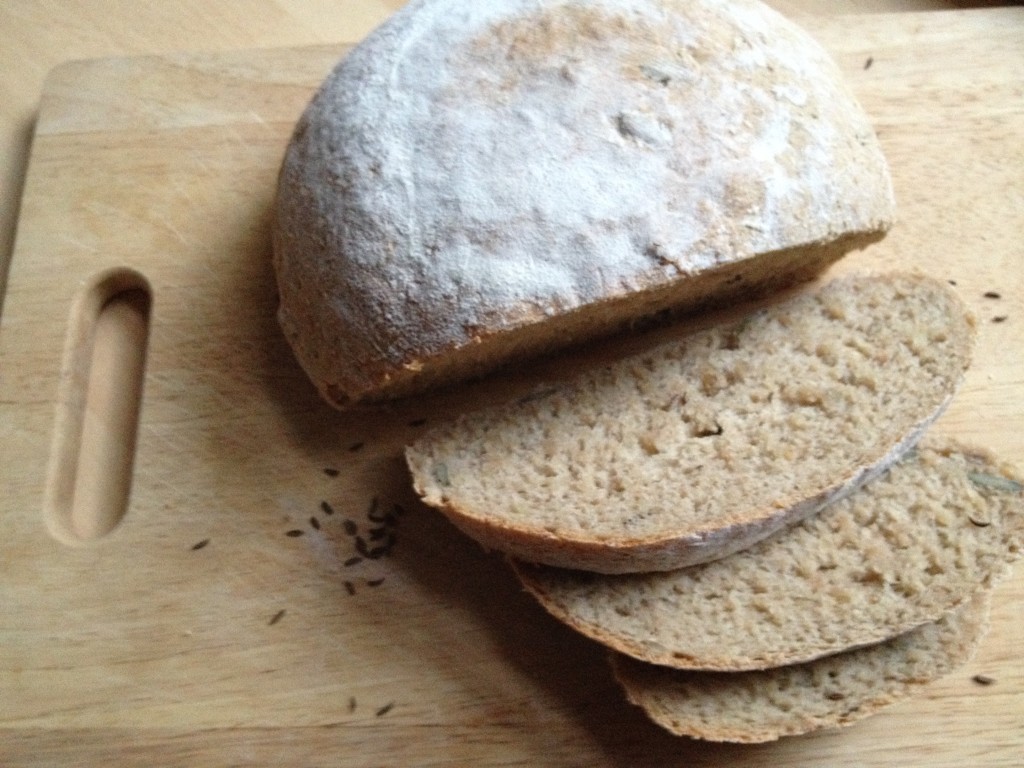
Let the bread cool completely before slicing.

potato bread with seeds and rye

Happy bread baking!

Rasa
2

Spiked cinnamon malted drink

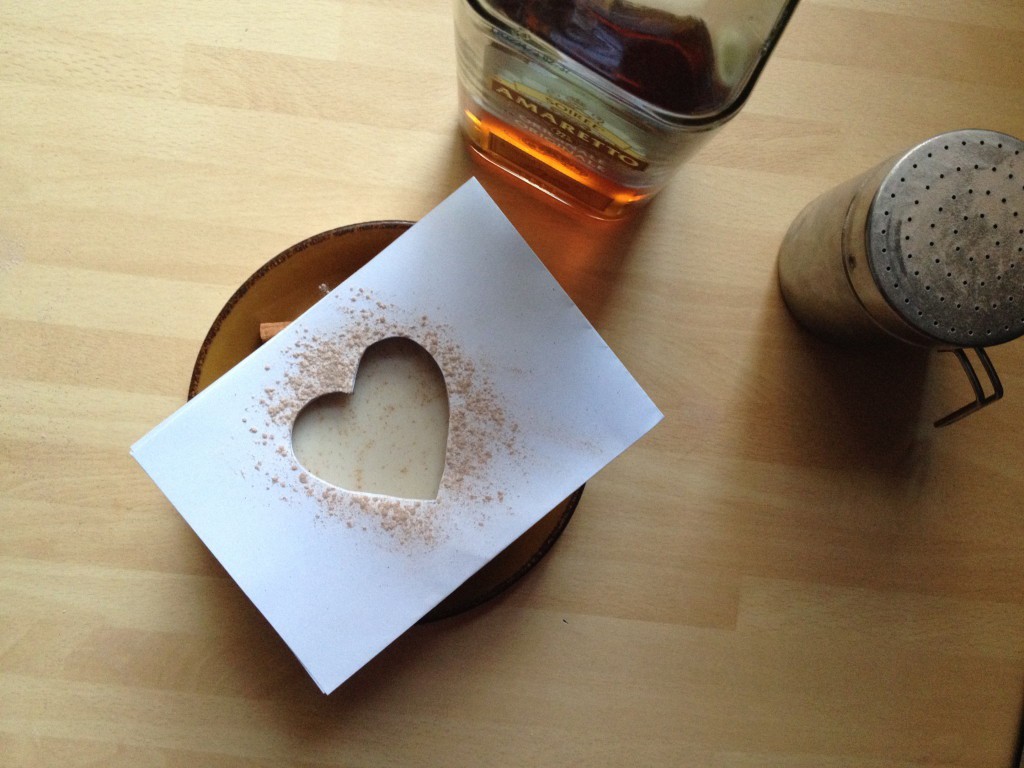
spiked cinnamon malted drink

I tried this drink last Monday after my friend Selina shared the recipe on Facebook. I loved this combination as it makes perfect cup for an evening or even weekend afternoon!

SPIKED CINNAMON MALTED DRINK

(makes one cup)

  • 30g (2 tbsp) malted drink powder (e.g Horlicks, Ovaltine)
  • 1/2 tsp cinnamon
  • 250ml milk
  • 45ml (1 shot) almond liqueur (e.g Disaronno, Amaretto)

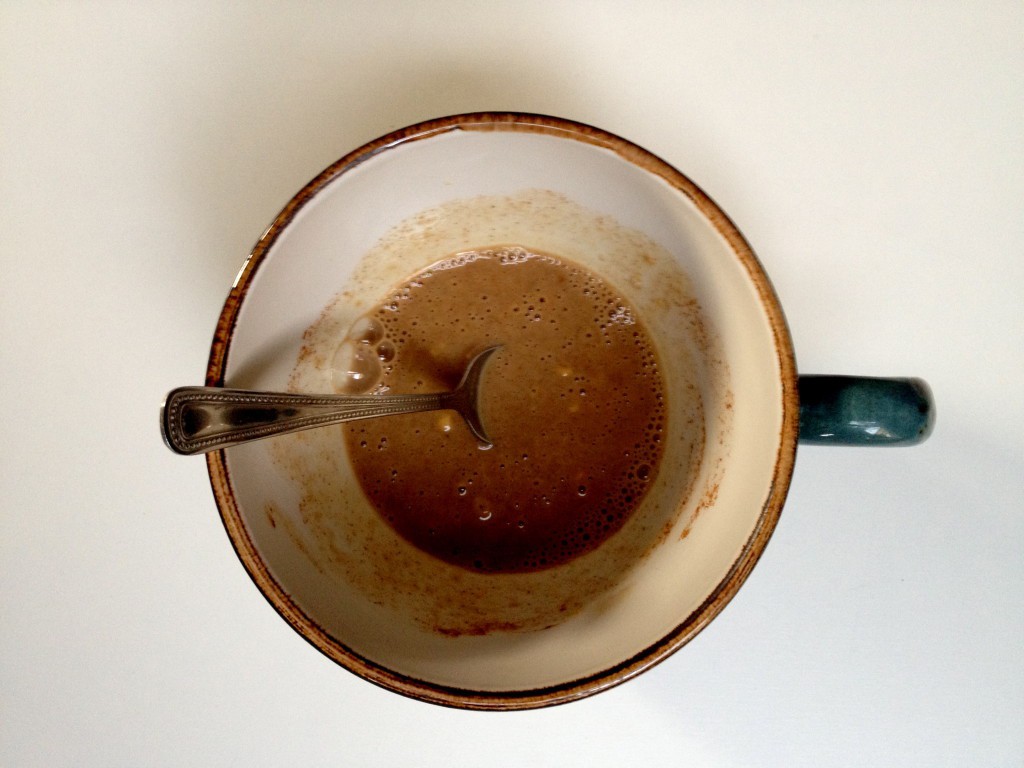
1. Spoon malted drink powder into the mug together with cinnamon and mix to a smooth paste with a little water.

spiked cinnamon malted drink

2. Heat the milk and froth it a little bit if you can, this will make your drink taste just a little more smooth.Pour the milk into the mug together with the shot of almond liqueur.

3. If you want you can sprinkle some cinnamon/sugar mixture on the top.

spiked cinnamon malted drink

Enjoy your weekend ;)

Rasa

1

Christmas gift for him

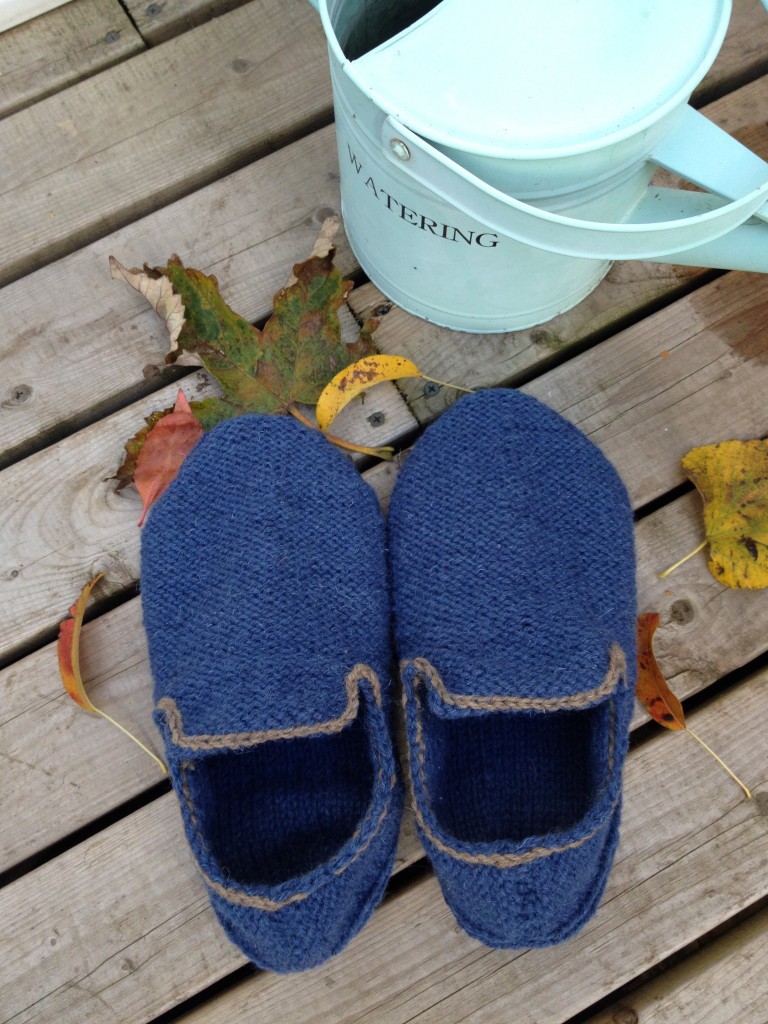
loafers for him

I think you would agree that getting a gift for a dad or any man is a difficult task. My dad often ends up getting pair of socks or a tie. So this year I thought of something different. I loved the knitted loafers that I made for myself so I thought I will remake it in manly size. I also made it extra protective and strong by taking Sian’s advice and attaching soles on them! What do you think? Click here for Loafers For Him Project with the step-by-step instructions.

Loafers for him

That’s something to do for a weekend ;)

Rasa xoxo

0

DIY Christmas tree

last year's tree

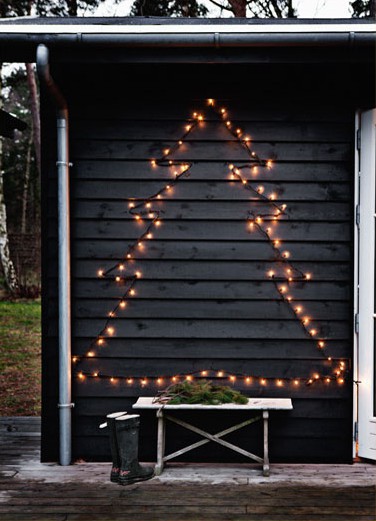
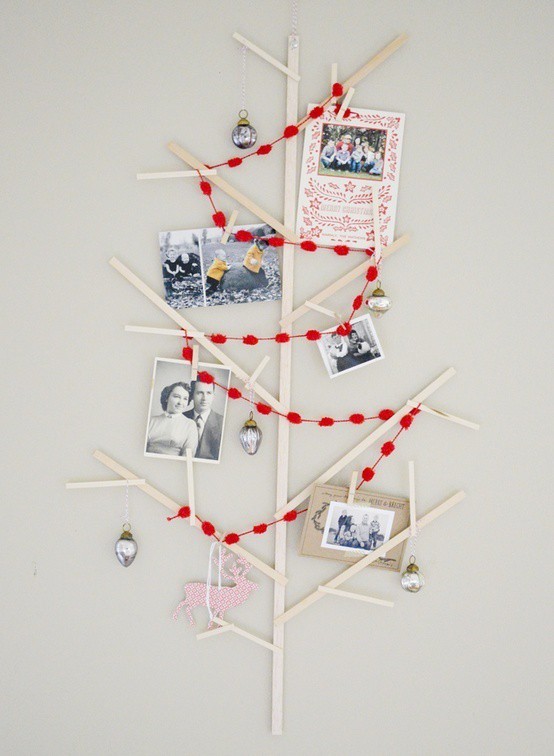
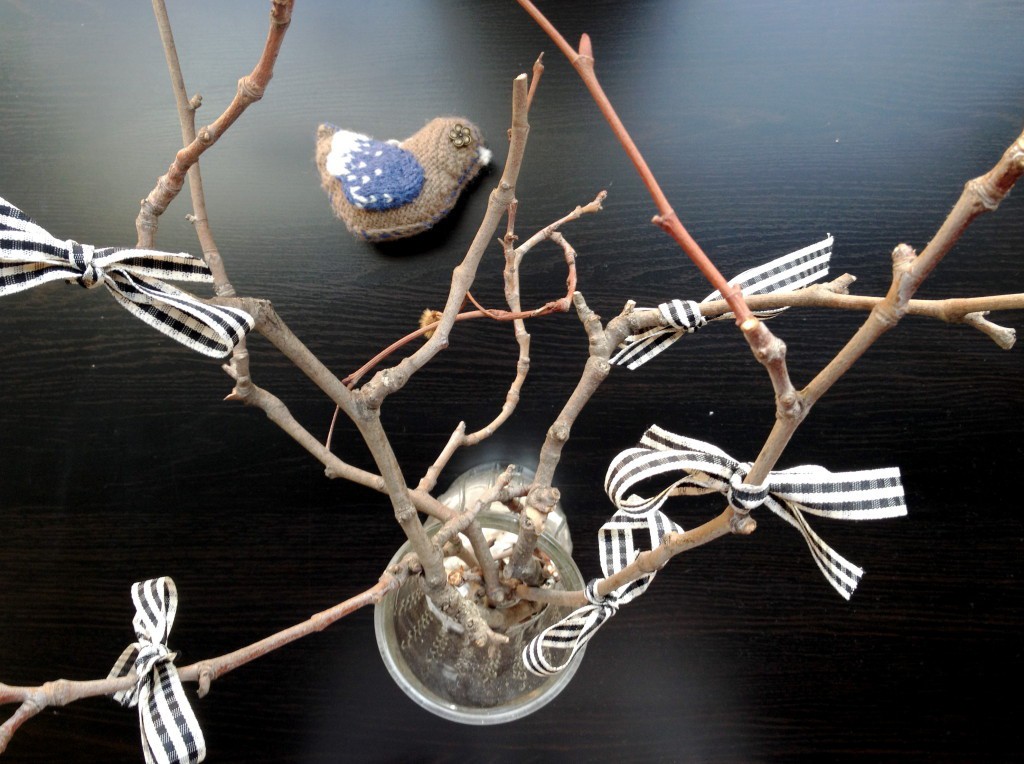
Danish Christmas(PICTURE ABOVE) Although I have made my mind to get a real Christmas tree this year I still adore the idea of DIY tree. Last year I decorated few twigs that was quite original I thought at that time… until I saw these!

(PICTURE ON THE LEFT) Love this simple idea, a tree made out of Christmas lights :). Visit Planete Deco for more.

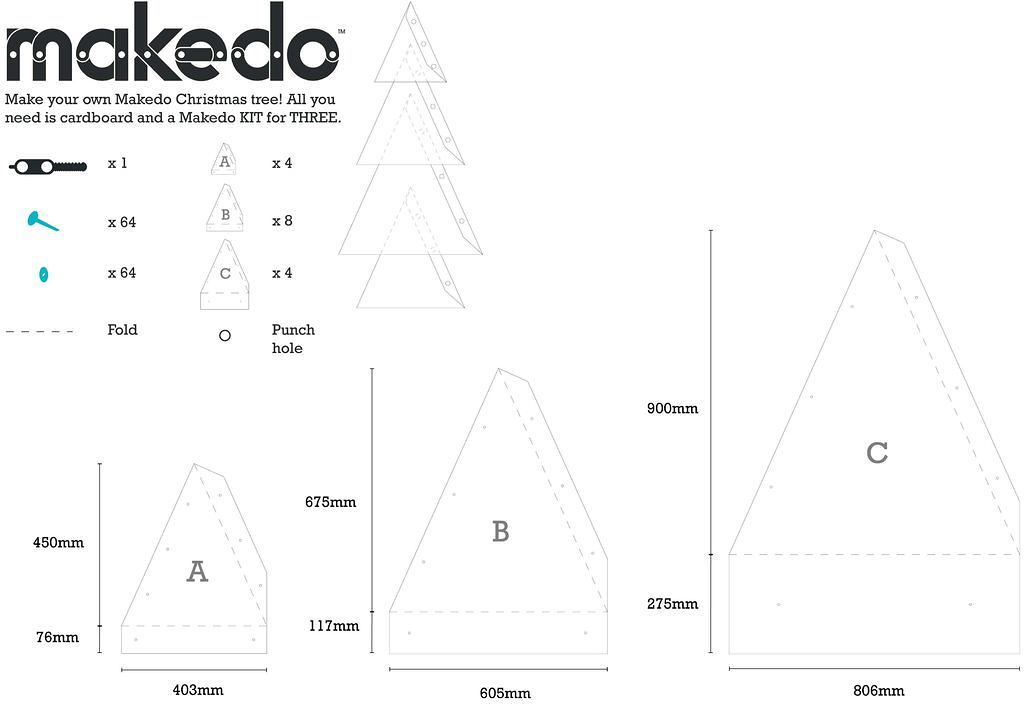
(PICTURE BELLOW) And how about a tree made out of cardboard? It might be not the prettiest thing, but I can see so much potential in this, just think about decorating it! Go to Instructables to download your christmas tree template!

Cardboardtree.LARGE

Not into the boxed one? Then here is the prettier one from etsy!

Cardboardtree

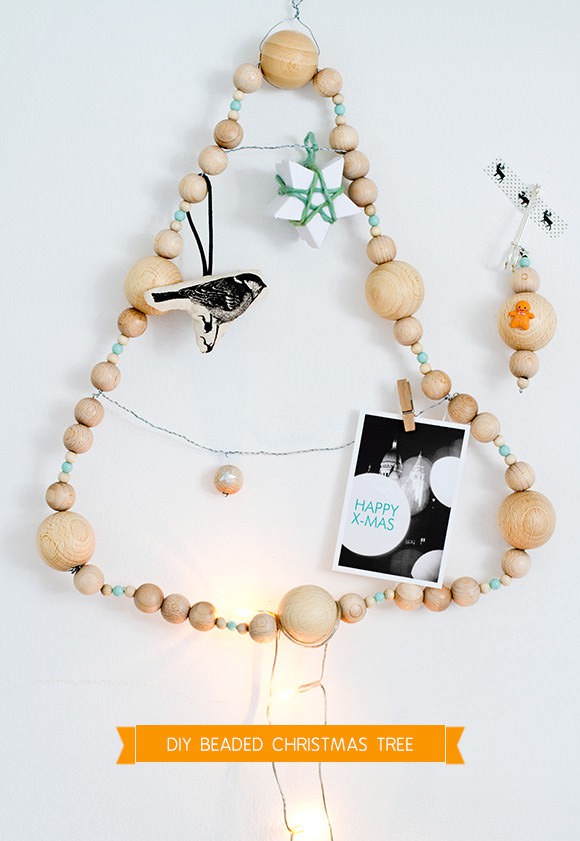
This one is my favourite so far. Go to Handmade Charlotte for useful DIY instructions.

Beaded-christmas-tree

I had a thought of making something like this last year! I guess Pejper (sweedish bloggers) got it first.

wooden tree

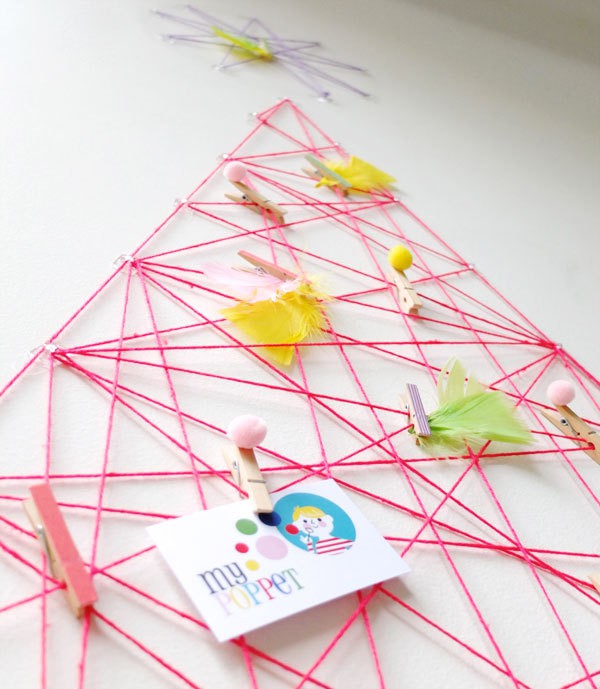
And the last but not least here is an idea for yarn “tree”! I love it’s functionality. Visit My Poppet for DIY instructions.

close-up-string-tree

I hope you are inspired!

Rasa xoxo

1

Lost and found recipies

Apple and potato rosti

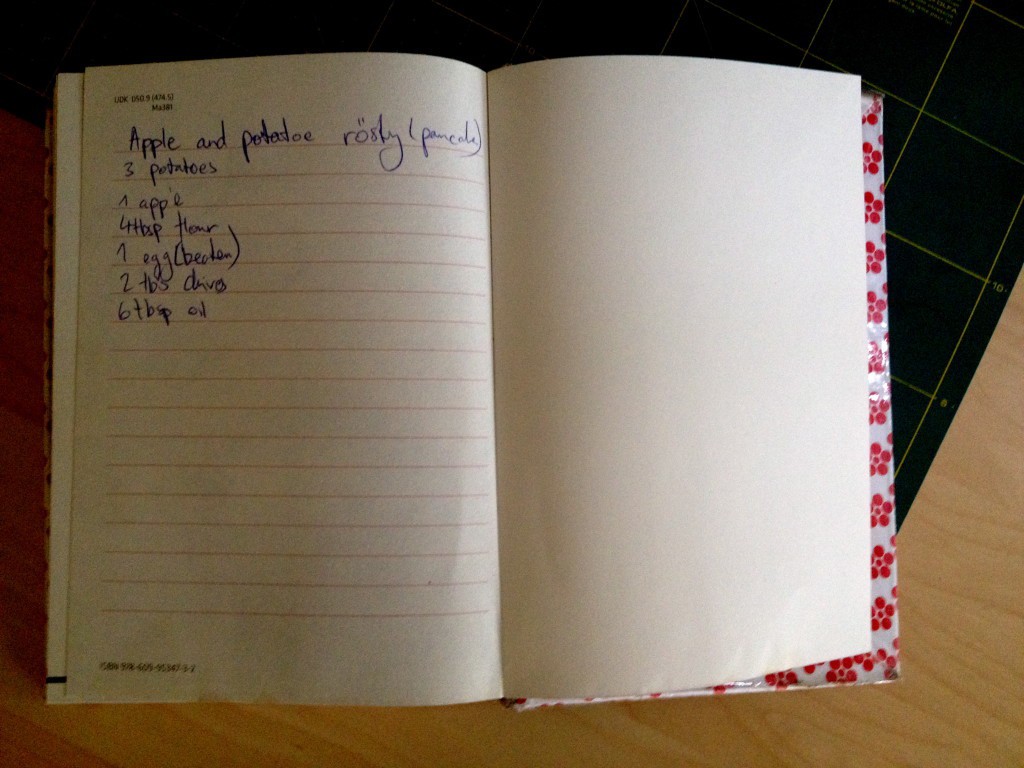
Recently I have been going through my old diary and came across this recipe for apple and potato rosti. The funny thing is that I don’t even remember writing it, but I do recognise my scribbles :D. Has this ever happened to you?

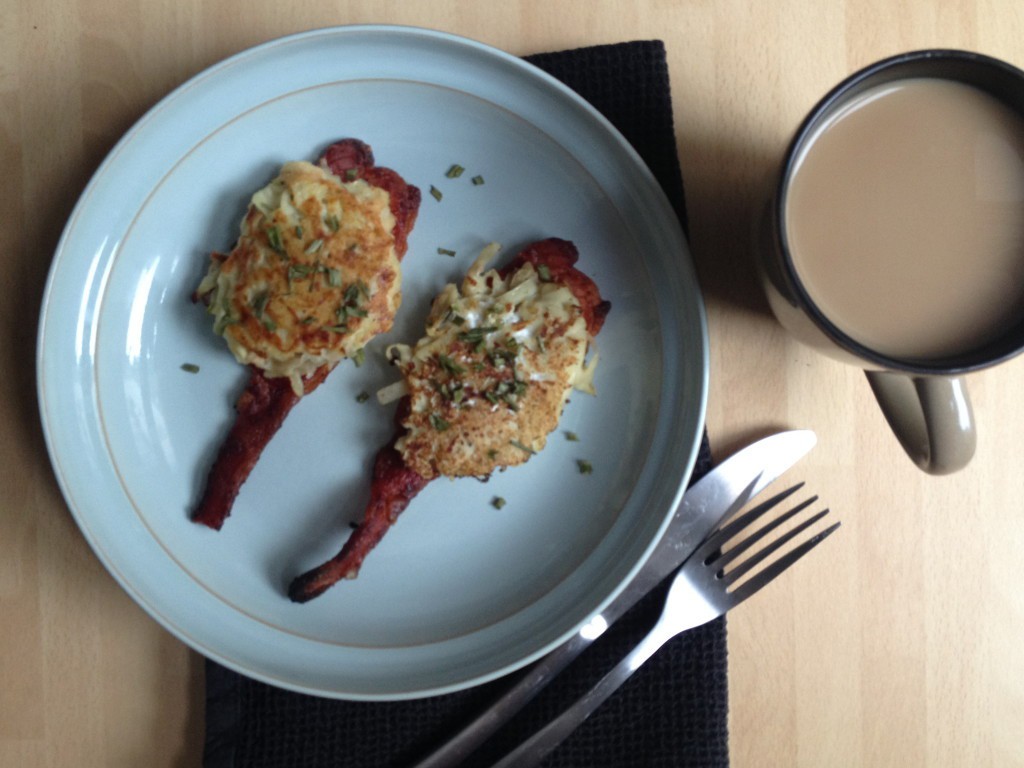
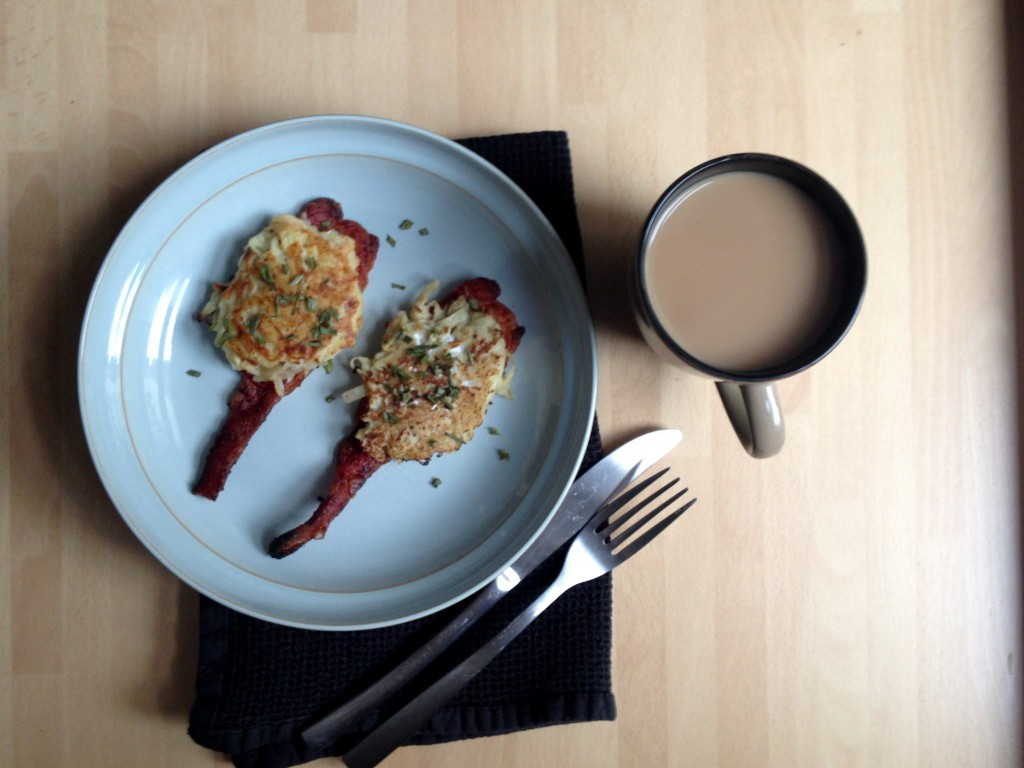
Anyhow, I went ahead and tried this recipe for brunch and it turned out a treat!

apple and potato rosti

APPLE AND POTATO ROSTI

(will serve at least 4 people)

  • 6 tbsp oil
  • 3 potatoes (pealed and grated)
  • 1 apple (pealed, cored and grated)
  • 4 tbsp flour
  • 1 egg (beaten)
  • 2 tbsp chives
  • salt and pepper to taste
  • 8-12 grilled bacon rashers to serve

apple and potato rosti

1. preheat oil in the frying pan.

2. mix all the ingredients except bacon and spoon out the mixture into frying pan. Make sure there is enough of space between every rosti. Fry for 1-2 minutes on each side.

3. Serve on top of bacon rasher.

Enjoy!

Rasa :)

0

Friendly Nettle so far…

cafe illiustration

So since we launched our website in June there have been a lot of changes in my life. The biggest change is that I have been blogging almost everyday and I am loving it! I especially have enjoyed the responses from you and all the kind words. Thank you so much for that!

I would like to hear more feedback on the practicality of the website and I wonder if you have had a chance to visit our virtual cafe? If not, then click on “CAFE” on the menu above and check out our interactive cafe, illustrated by Vickie :).

tea and biscuits shop

Another great news! We have been working really hard to open “tea and biscuits” shop and it is coming really really soon! I am so excited about it and I really hope it is going to be up and running just on time for Christmas.

Thanks for your  support and have a lovely week ;)

Rasa

0

Renegate Craft Fair in London

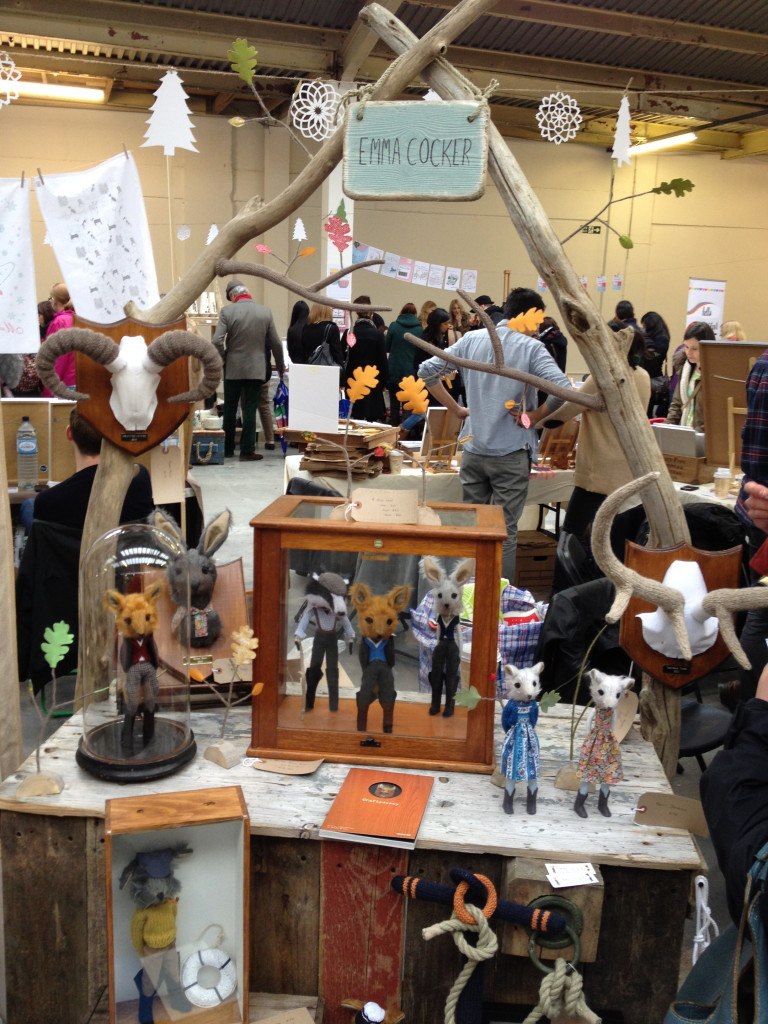
Emma Cocker

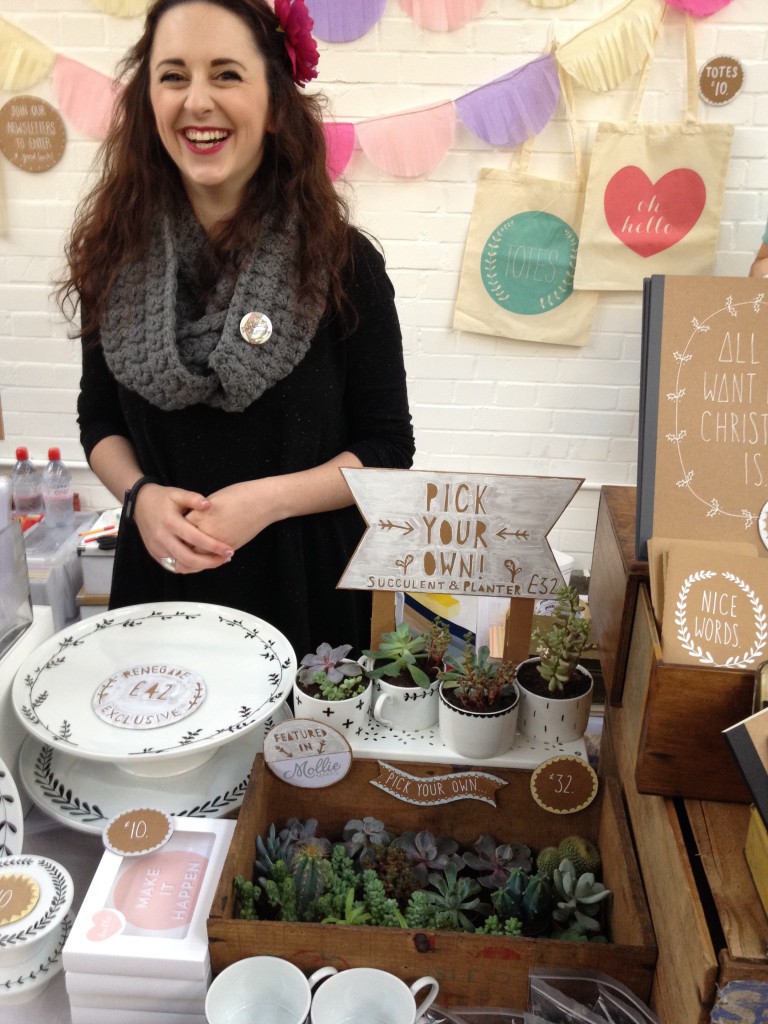
Just came back from Renegate Craft Fair, just down the road from where I live! What a great place to visit for some inspiration and unique gifts for Christmas (perfect timing!). I will try to summarise, although that’s tough as I have seen lots of inspiring things today. This is why I would strongly advise you to visit this fair yourself if you are free this weekend and in London!

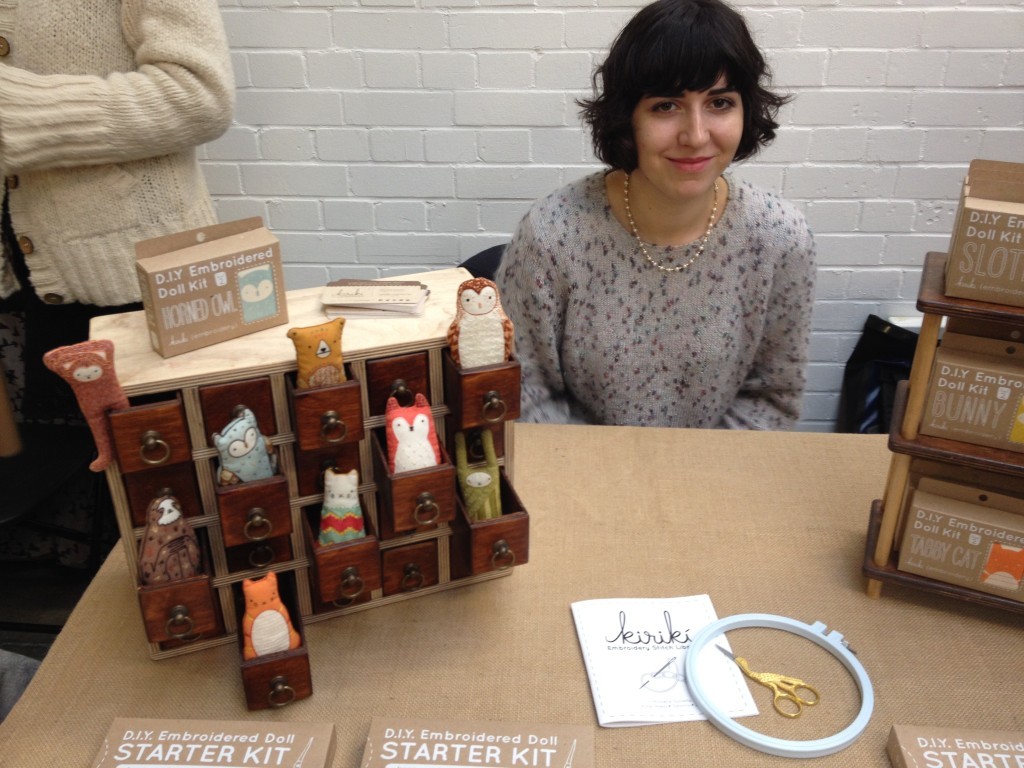
I will start with Michelle Galletta (Kiriki), who make embroidered doll kits… so basically your gift could be half made by you! Check out her website for an amazing embroidery stitch library :).

Kiriki

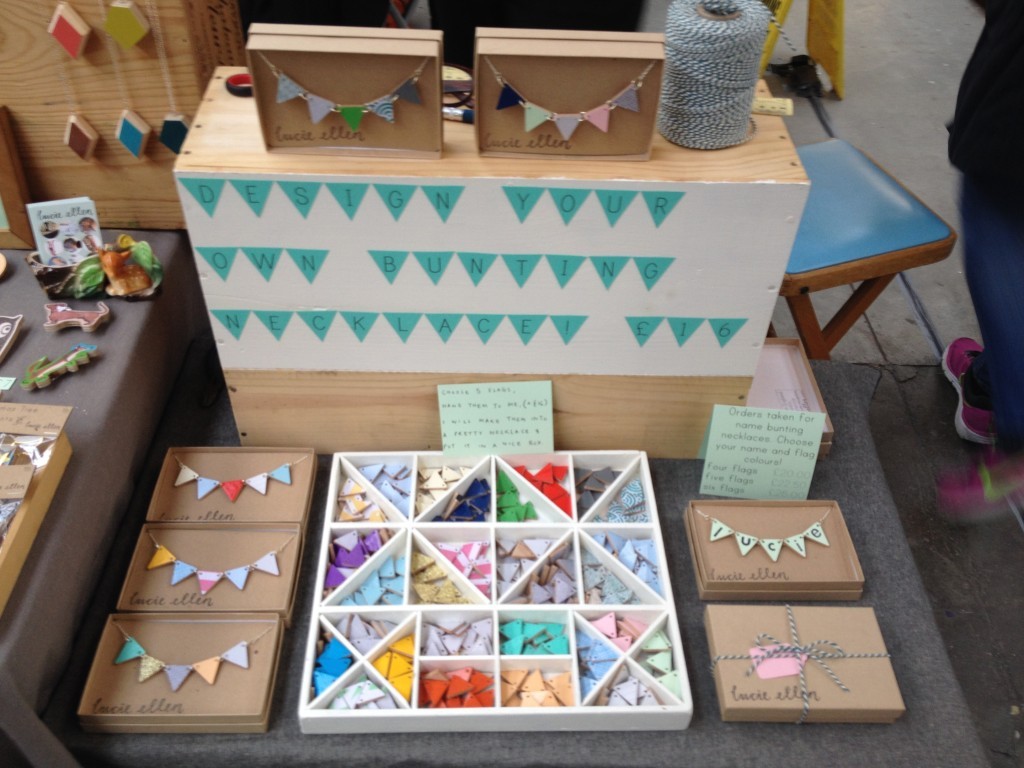
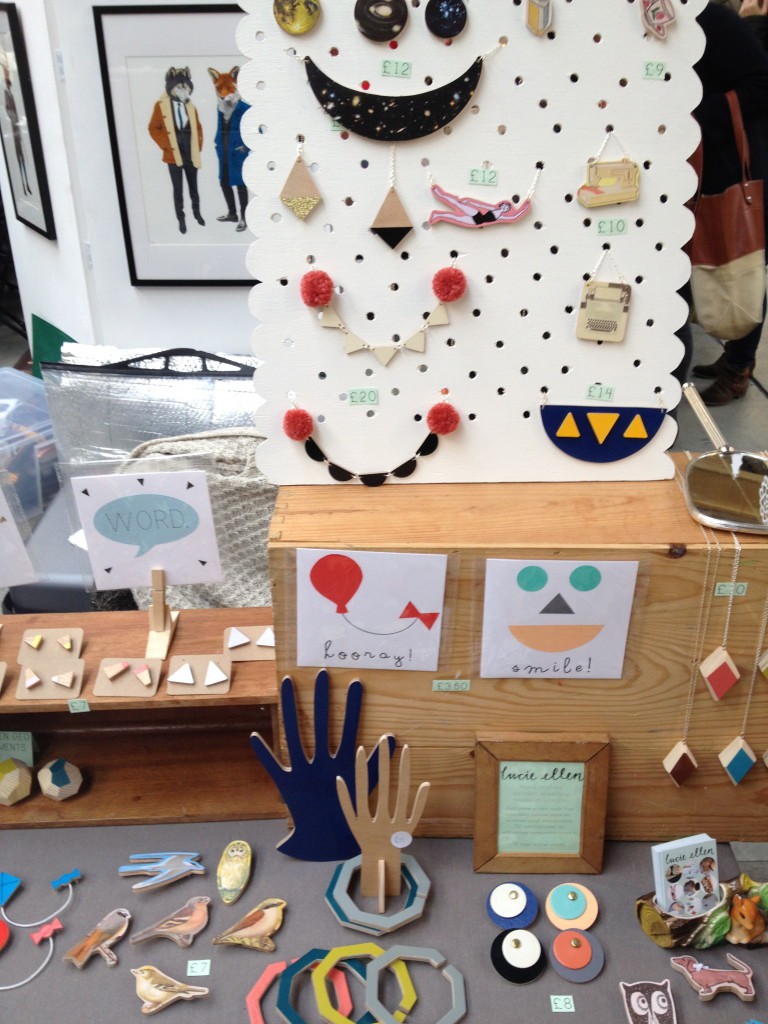
Lucie Ellen gives you an opportunity to design your own bunting necklace, how lovely!

Lucie ellen Lucie Ellen

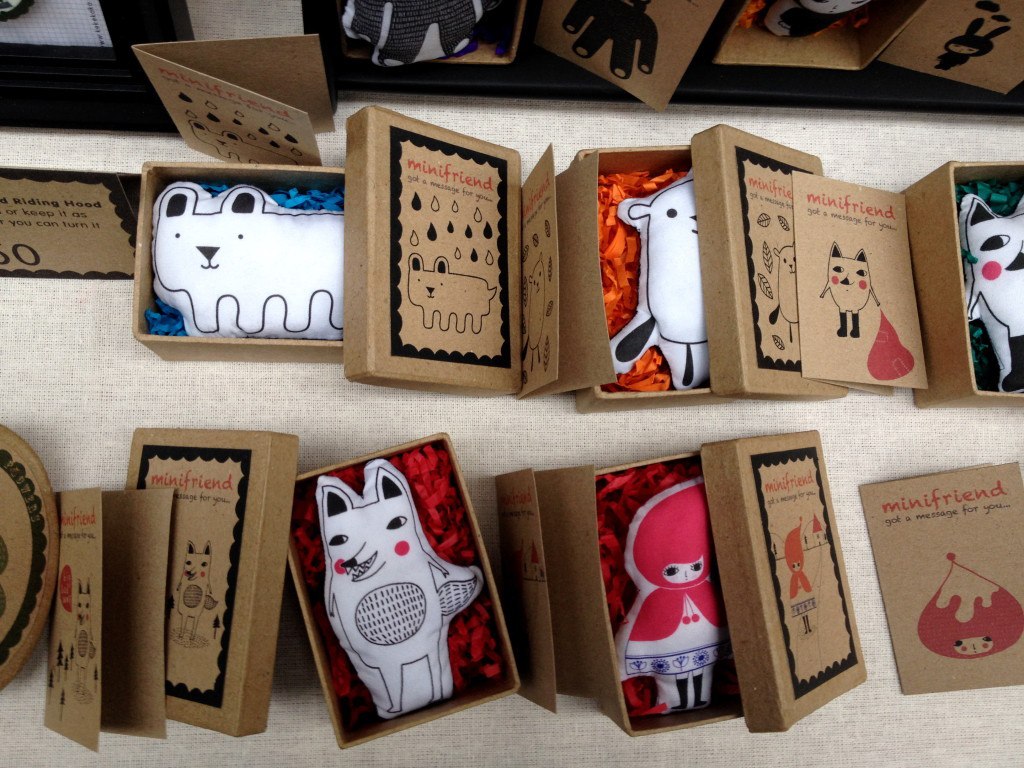
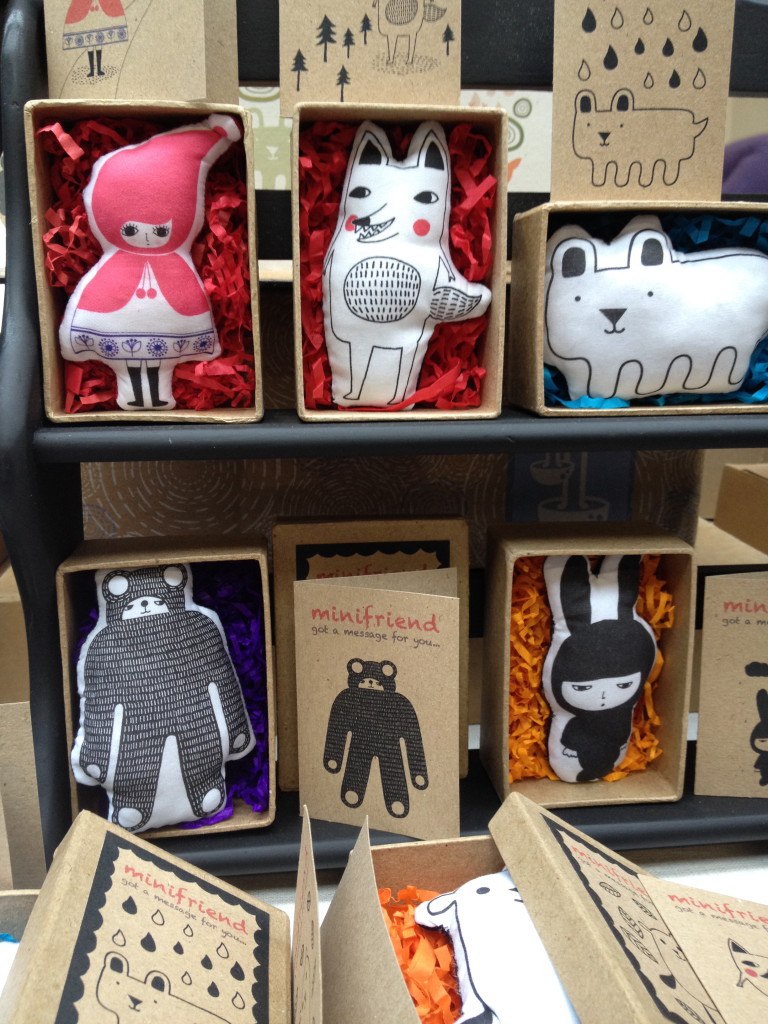
I am in love with these cute miniature plush toys that come in their own “houses”….

Kekekaka

These ones are made by Kekekaka!

Kekekaka

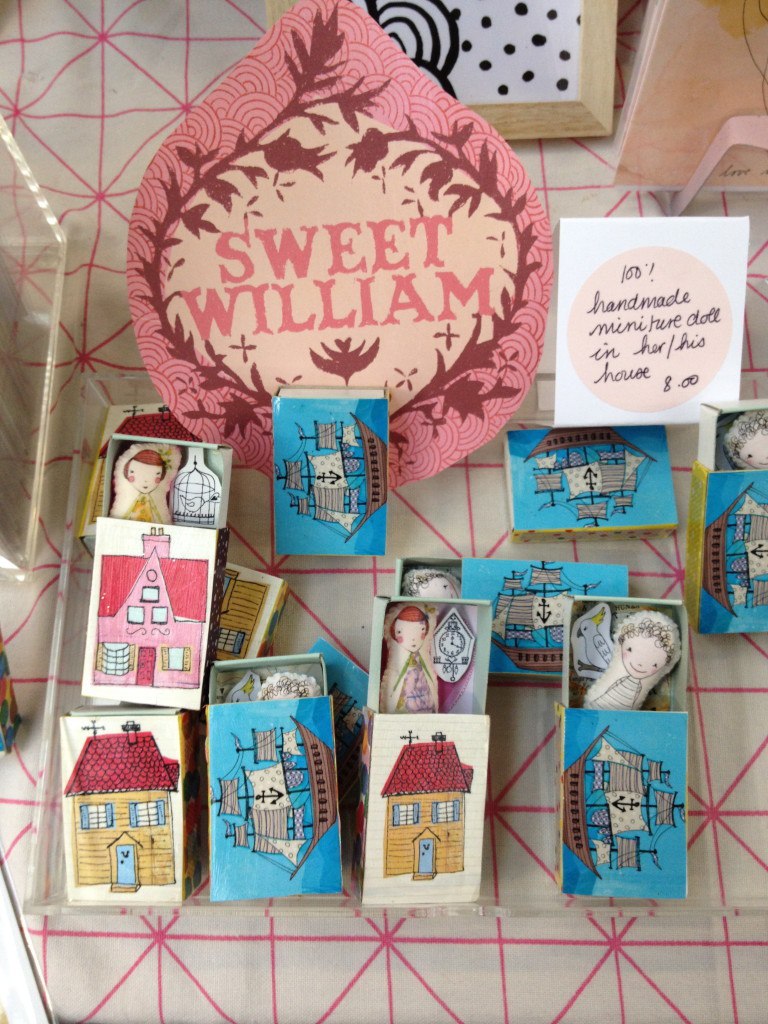
And these cuties are made by Sweet William :). In fact I came across Sweet William on Pinterest, so I was quite excited to see actual workmanship in front of me!! Wouldn’t you?

Sweet William

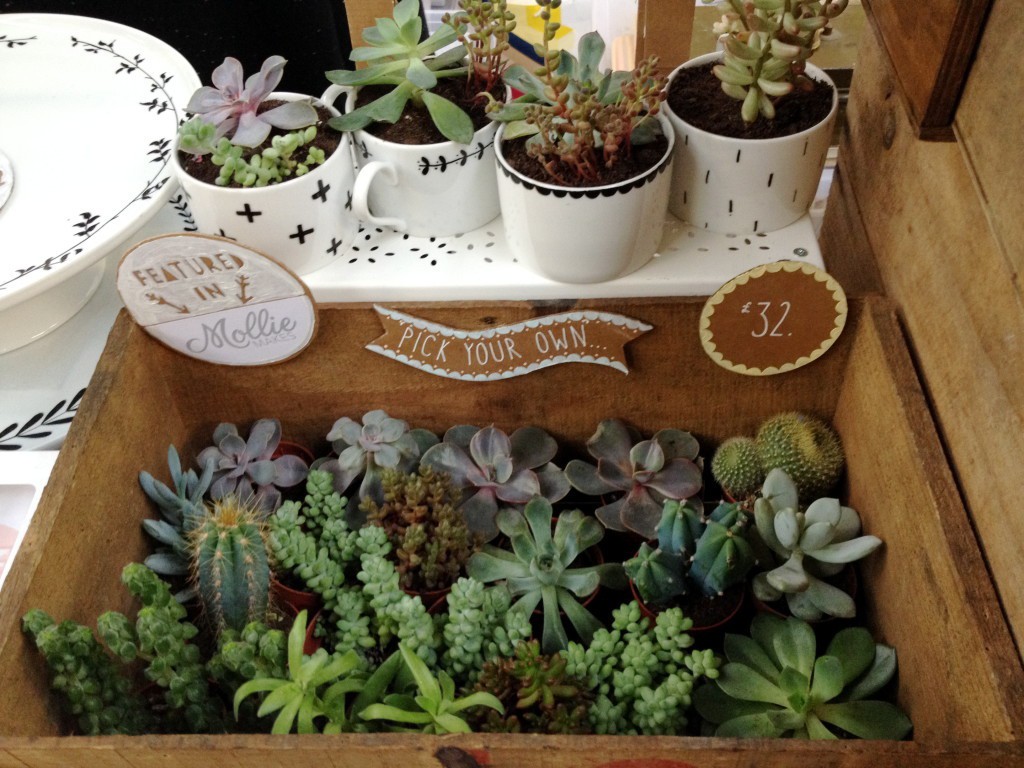
And finally, but not least it’s Oh No Rachio! I must say I have been attracted to these lovely planters by the succulents that I adore…. and by Rachel Basinger smile of course! :)

IMG_6178 Oh no Rachio!

Hope to see you there!

Rasa xoxo

0

Baked Koldūnai (Lithuanian mince beef dumplings)

baked koldūnai

Baked koldūnai is a classical version of virtiniai and it taste even better when it is baked….hmm. The only thing is that when you see how much fat goes in it, that makes you go…. AaaAaa. But sometimes it is worth just to try it and enjoy it! I usually go to dance class when I feel I ate too much of rich food ;).

BAKED KOLDŪNAI

  • 250g plain flour
  • 1 egg
  • pinch of salt
  • 120ml water

(for the filling)

  • 300g mince beef
  • 200g lard (I used butter, grated)
  • 1 medium onion (shredded)
  • 2 tbsp stock (liquid)
  • 2 tsp sugar
  • 1 tsp herbes de provence
  • pepper and salt  as desired

(for sauce)

  • 100g cream
  • 50g parmesan cheese
  • pepper if desired

1. To make the dough mix all the ingredients together and knead to combine. Set it aside to rest for at least 30min.

2. Meanwhile make the filling by combining all the ingredients that goes in it.

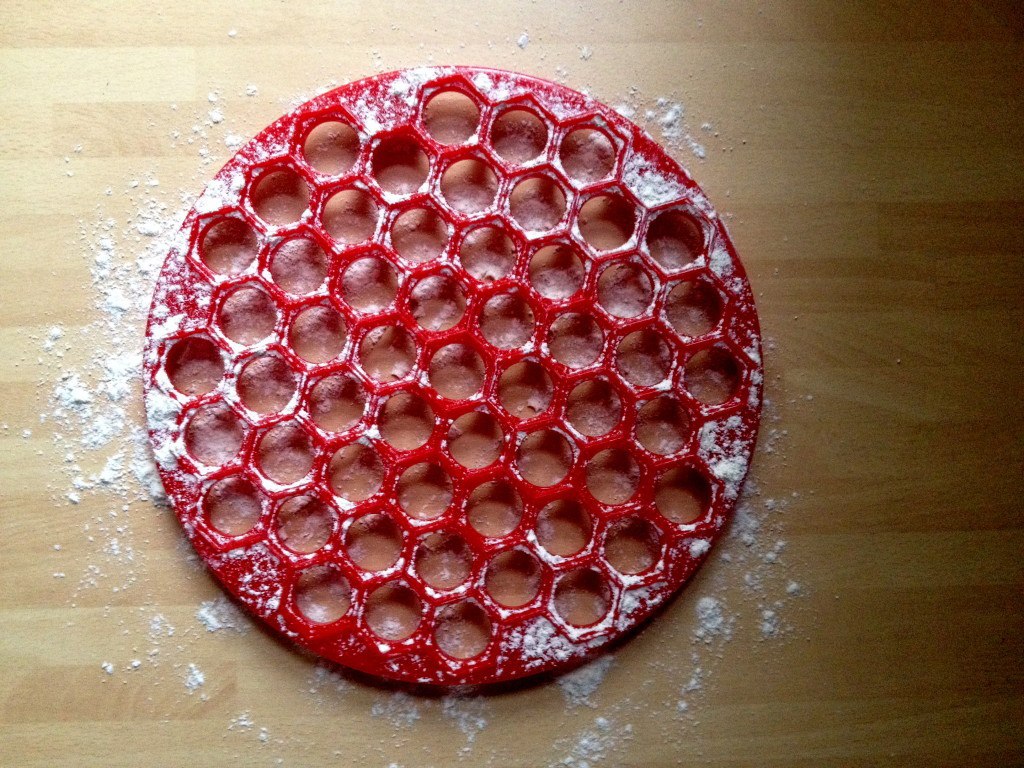
3. Dust the ravioli/dumpling mold maker with flour, before making the dumplings. If you don’t have ravioli/dumpling maker, then check out this alternative method.

dust ravioli/dumpling mold with flour

4. Roll the dough and cover the mold with half of it. Fill each “cell” with the filling.

beef filling

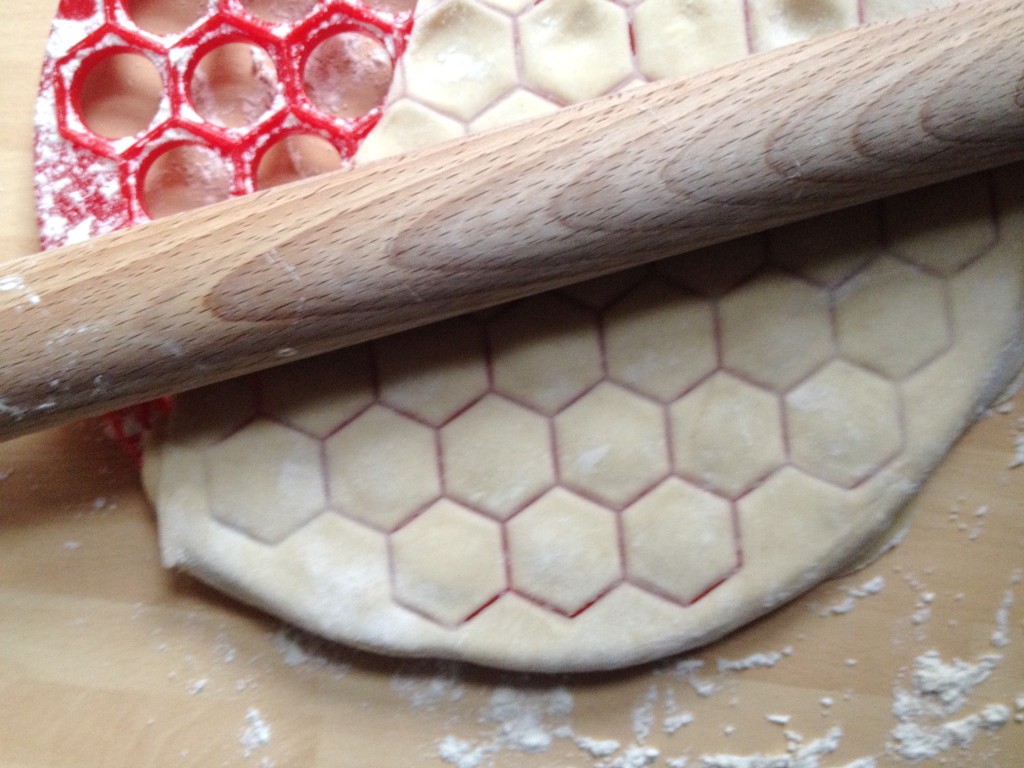
5. Cover everything with the rest of the dough. Press everything with the rolling pin and “pop” all the dumplings out.

ravioli/dumpling mold

making koldūnai

6. Cook the dumplings in salted boiling water for 10min, then drain them like pasta. They should be floating on top when the are completely cooked.

7. Meanwhile make the sauce by heating the cream and stirring the cheese in. season it with black pepper.

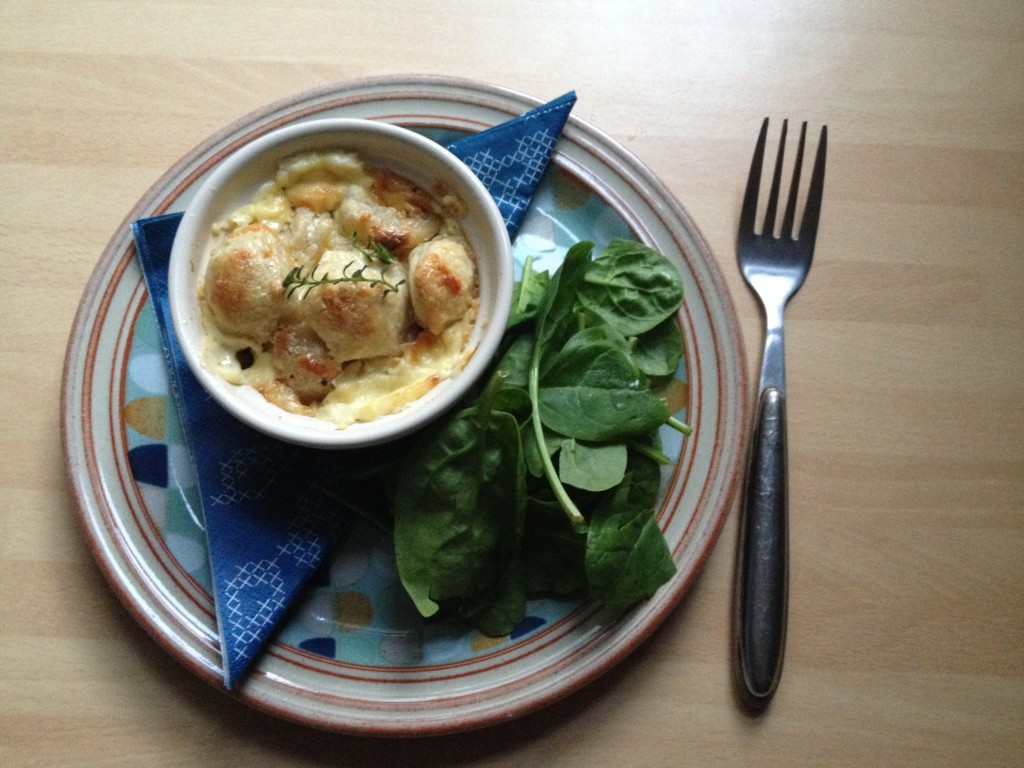
9. Place cooked dumplings in small gratin dishes and pour cream sauce over it. Bake for 30min in preheated 200C oven.

baked koldūnai

Enjoy!

Rasa ;)

0

Christmas decorations at Petersham Nurseries

Christmas decorations from Petersham Nurseries

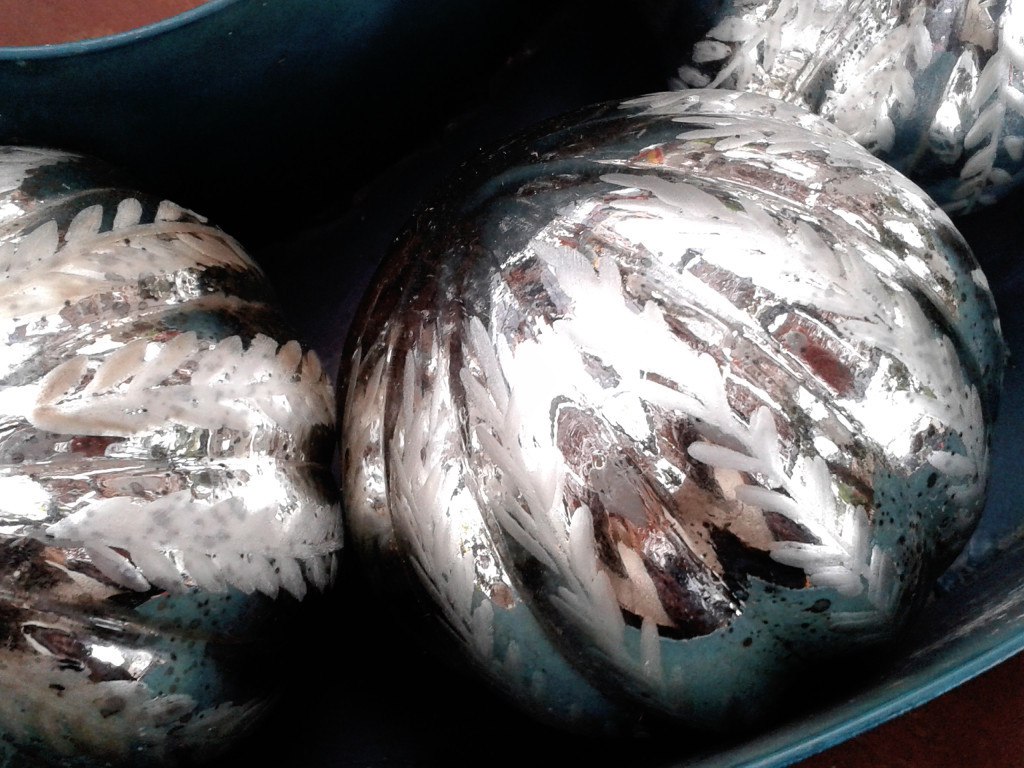
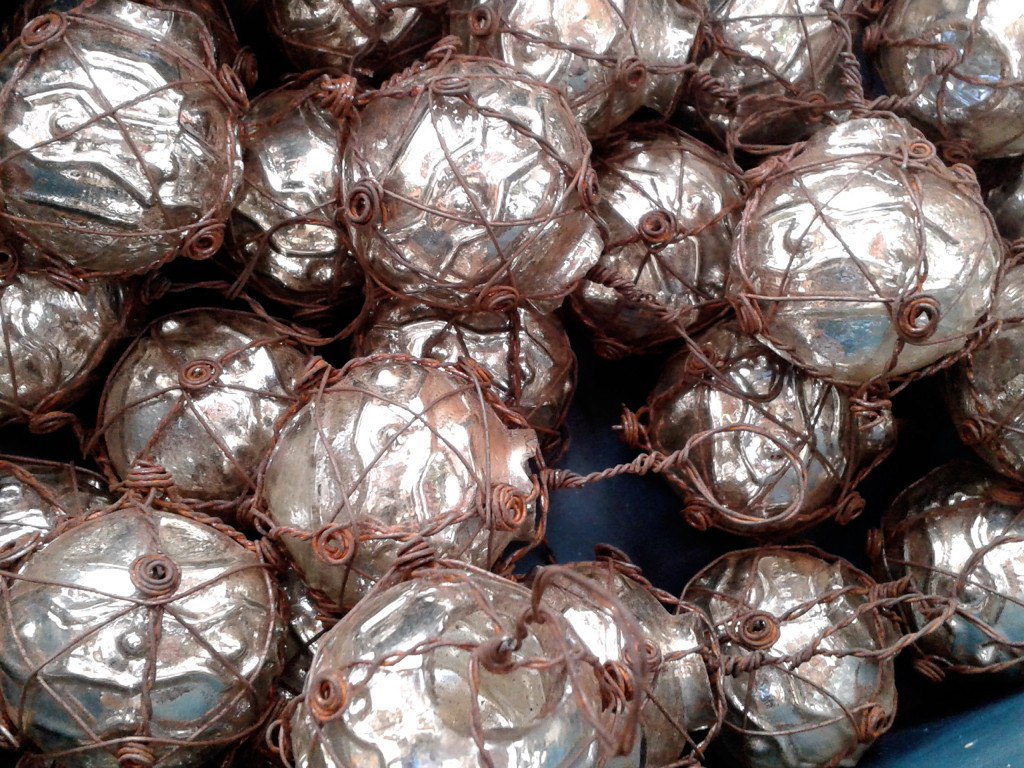
I mentioned Petersham Nurseries before, it’s our favourite place in London right now! Recently Vicki have paid another visit there and came back with the beautiful Christmas decoration pictures. How can you not be inspired, even if holidays seems still far away? I already started thinking on how to make something similar for my craft projects…. I especially love these “ribbons” made out of scrap fabric!

Christmas decorations from Petersham Nurseries

Christmas decorations from Petersham Nurseries

I love this etched glass detail on silver baubles!

Christmas decorations from Petersham Nurseries

Christmas decorations from Petersham Nurseries

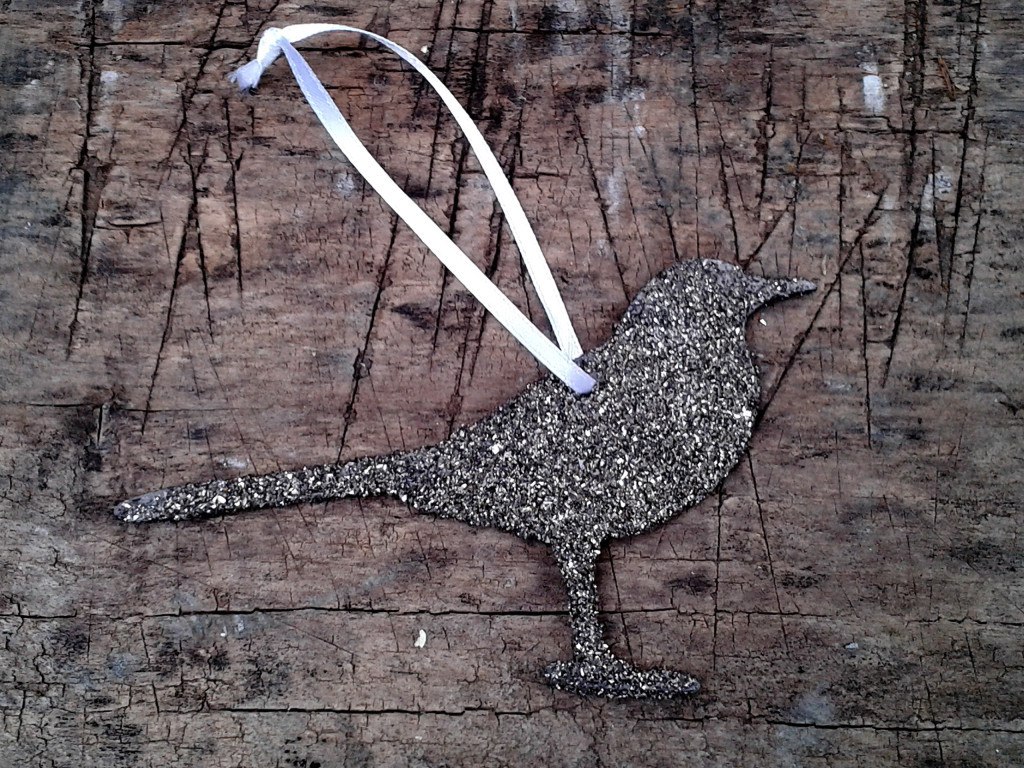
This bird hanging decoration is Vicki’s favourite! Seems simple to make, yet quite impressive.

Christmas decorations from Petersham Nurseries

I am quite obsessed with woodland theme this year! So these are perfect for that ;)

Christmas decorations from Petersham Nurseries

Christmas decorations from Petersham Nurseries

Big thanks to Vicki for these pretty pictures, visit her Pinterest page for more inspiration!

Rasa :)

1

Something for Bonfire Night

Spanish Tortilla with pasta

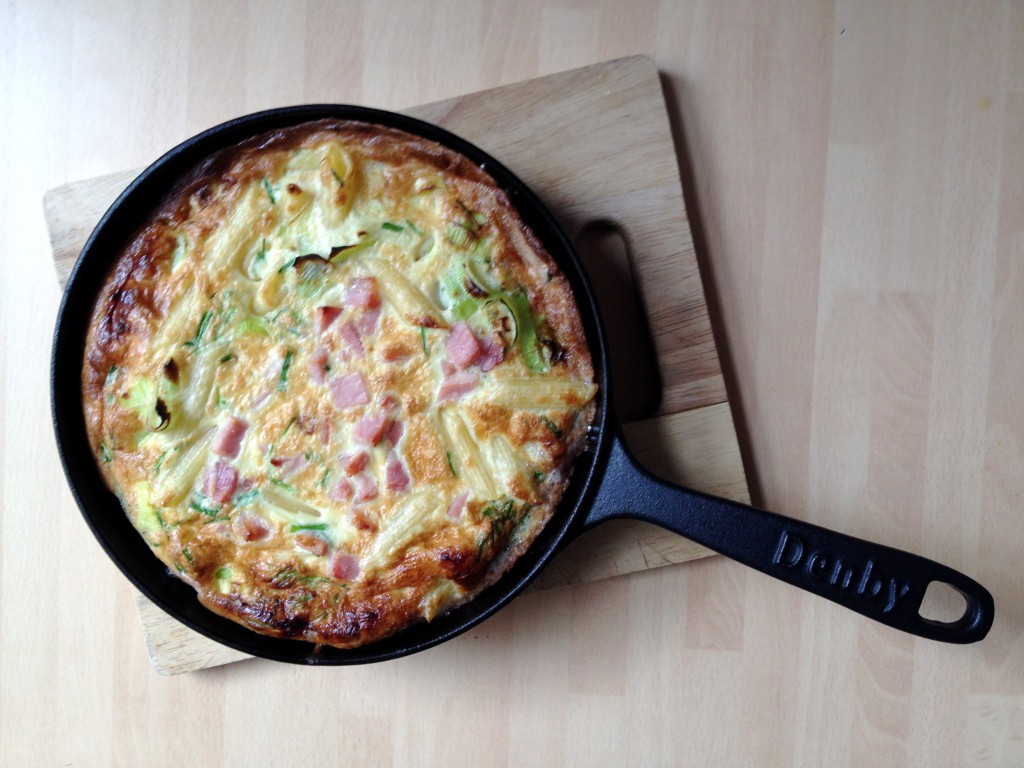
So what are your plans for tonight? Are you going to watch the fireworks or are you settling in for private party with bonfire? Whatever you are doing, making snack size tortilla is always a good way to go! Here is how I have made mine today, with pasta, leeks and bacon. You can pretty much substitute any ingredient with something that you already have in the fridge and this is why I love this dish! I believe every food deserves a second chance ;).

PASTA TORTILLA WITH LEEK AND BACON

  • 6 eggs
  • 1tsp dijon mustard
  • 3 cooked bacon rashers
  • 20g grated cheese (I used parmesan)
  • 1tbsp chopped chives
  • 130g cooked pasta
  • 1 leek (chopped and fried)
  • 2 tbsp rapeseed oil
  • 20 cheery tomatoes
  • a handful of fresh spinach leaves

1. Beat the eggs with the mustard and some seasoning if you would like, then add bacon, chives, pasta and leek.

2. Set the grill on high. Heat the oil in medium frying pan (iron pan preferably). Cook the egg mixture on low heat for about 5-10min.

spanish tortilla with pasta

3. Once the tortilla is set in the pan, place the pan under the grill to finish off cooking the top.

spanish tortilla with pasta

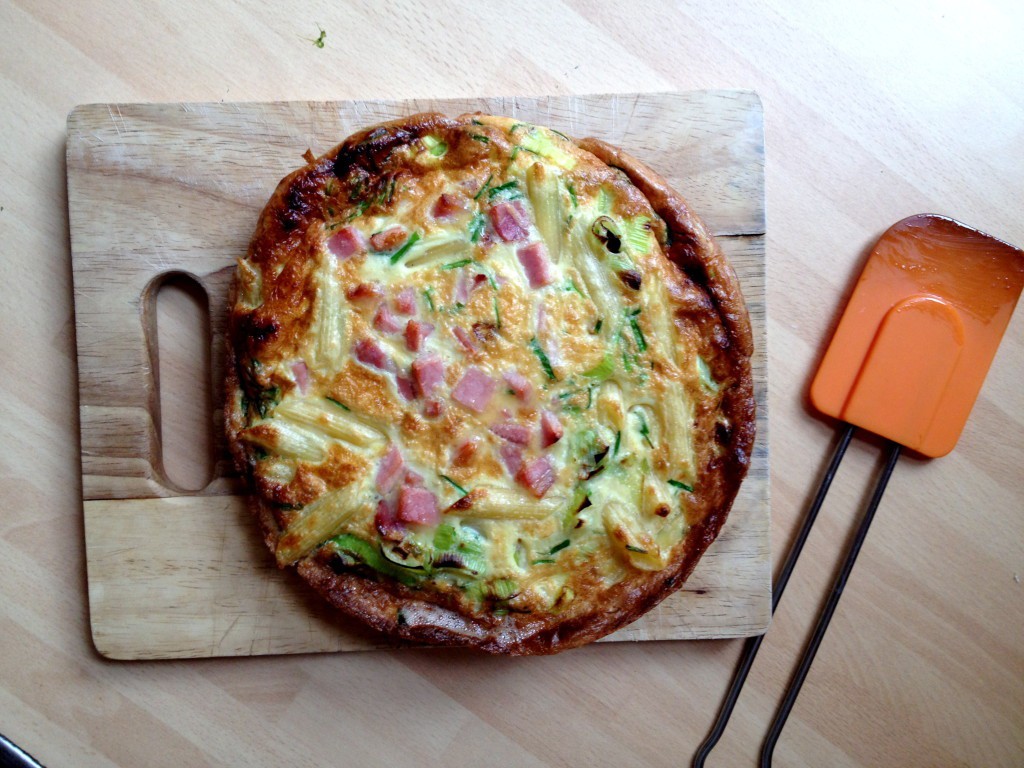
4. Remove the tortilla by placing plate or chopping board on top and flip it.

spanish tortilla with pasta

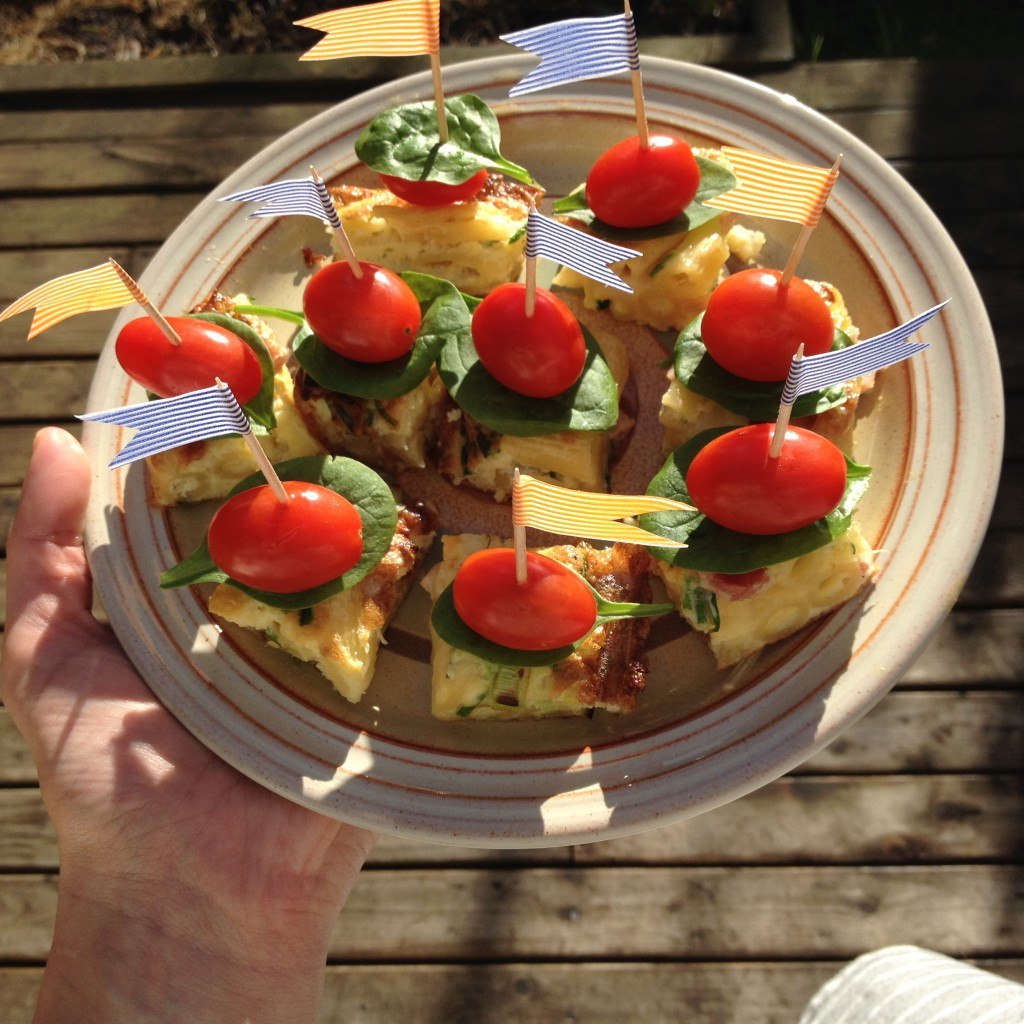
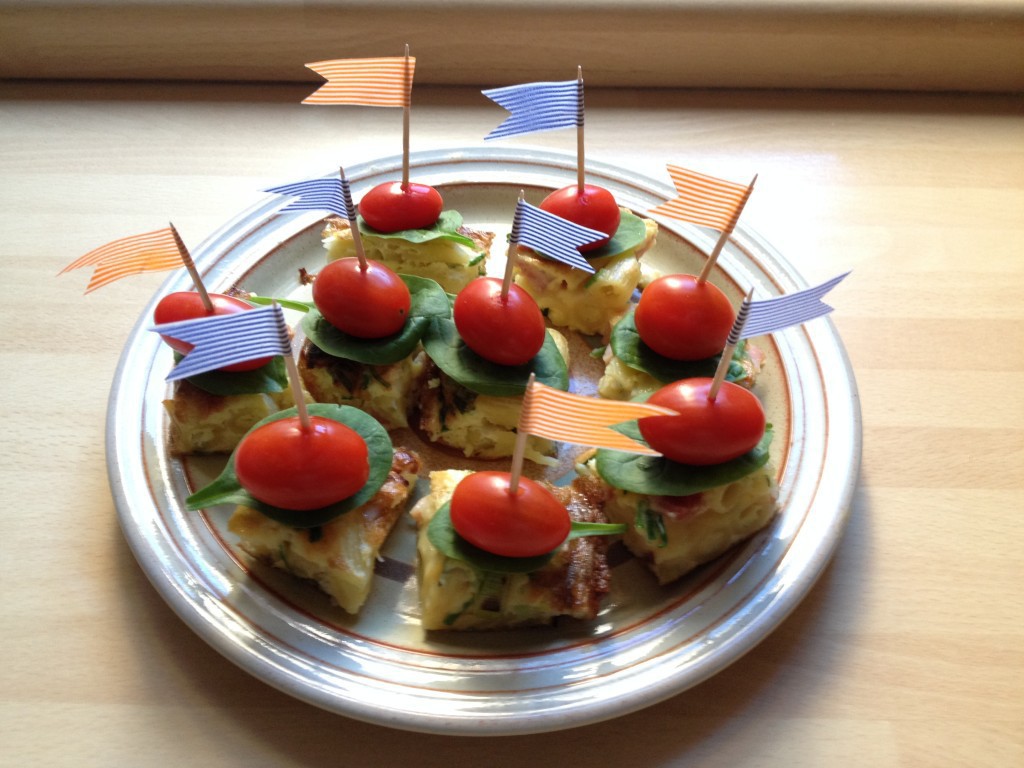
5. Slice the tortilla into the squares and serve it with spinach and cherry tomato skewers on top.

picking food

Enjoy your Bonfire Night!

Rasa :)

1

Gift Packaging!

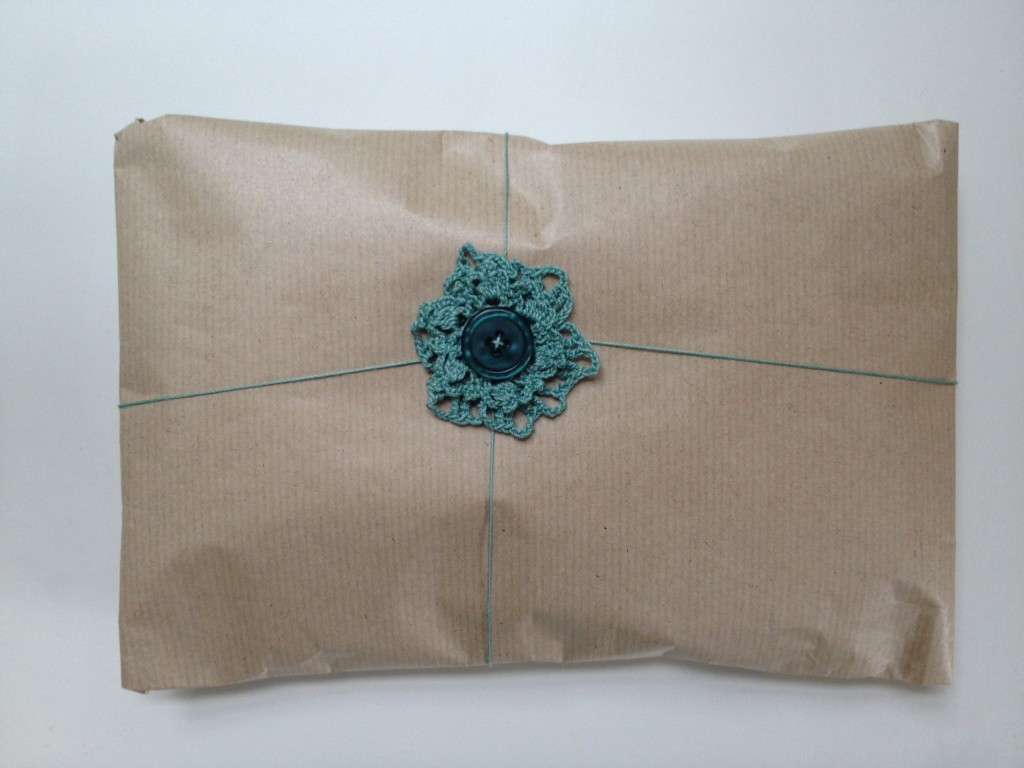
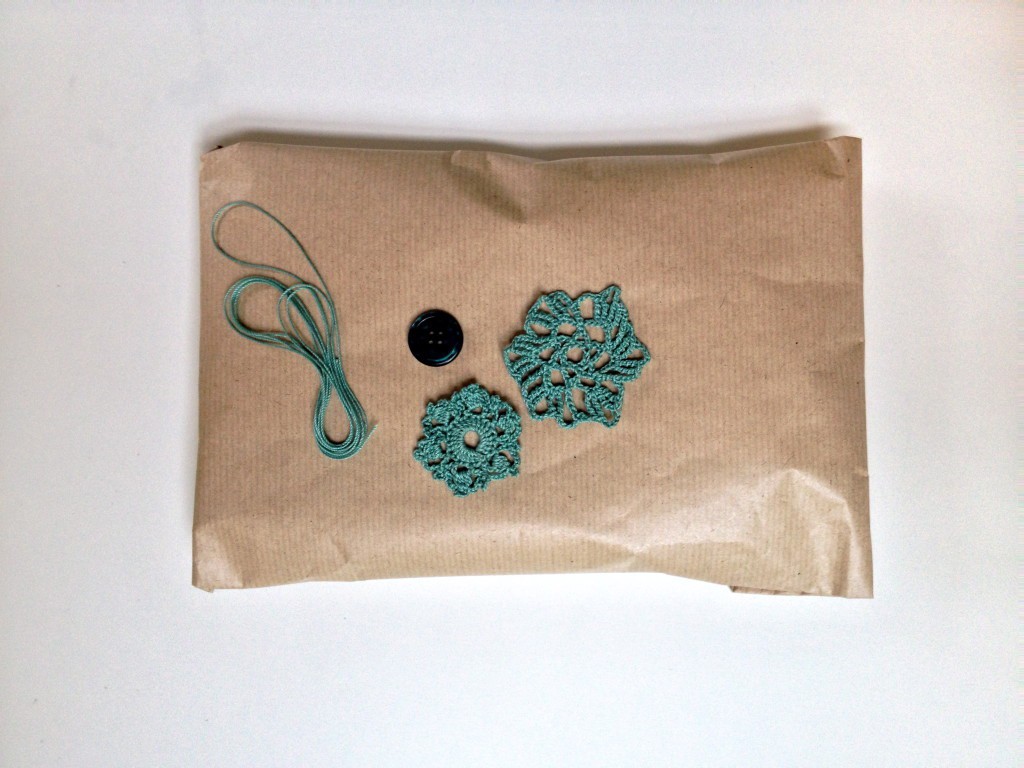
crocheted flower gift packaging

I know I know, this might be too early for some of you, but I have already started gift wrapping my gifts for Christmas! I am being really organised this year ;). Here is how I packaged a scarf that I knitted for my mum. The idea is really simple, unless you still need to learn how to crochet mini doilies. In this case you need to learn the basics in crocheting and following simple doily diagrams on Pinterest should be easy. So if you up and ready for this, click here for instructions on how to package your gift using two crocheted mini doilies, button and the cord (or thin ribbon).

Crocheted flower gift packaging

Have a nice week!

Rasa xoxo

0

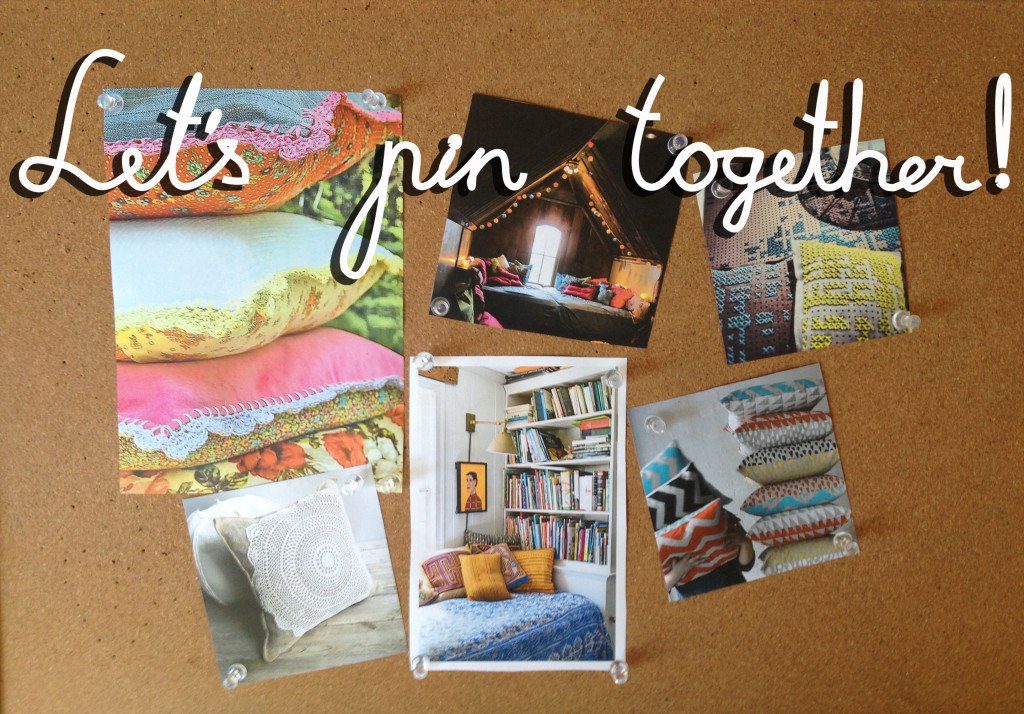
Pinterest lovers, let’s unite!

Hey! do you like Pinterest? I love it! Its like making inspiration idea boards online, except with less mess. If you are like me, you will be excited about this as I have created a special group crafts board that anybody can join. Basically anything that inspires you to do crafts or the DIY projects can be pinned there and because it is a group board it will be fun to see what everybody else is doing! Interested? Read on to see instructions on how to join :).

Follow Crafts! by Rasa at Friendly Nettle on Pinterest

So if you want to join follow these simple steps:

1. Follow me on Pinterest (if you haven’t done so).

2. Comment here that you did it together with your Pinterest user name.

That’s it!

As soon as I receive your comment I will follow you back and send an invitation to you to join the group.

Happy pinning!

Rasa xoxo
1

Beetroot soup

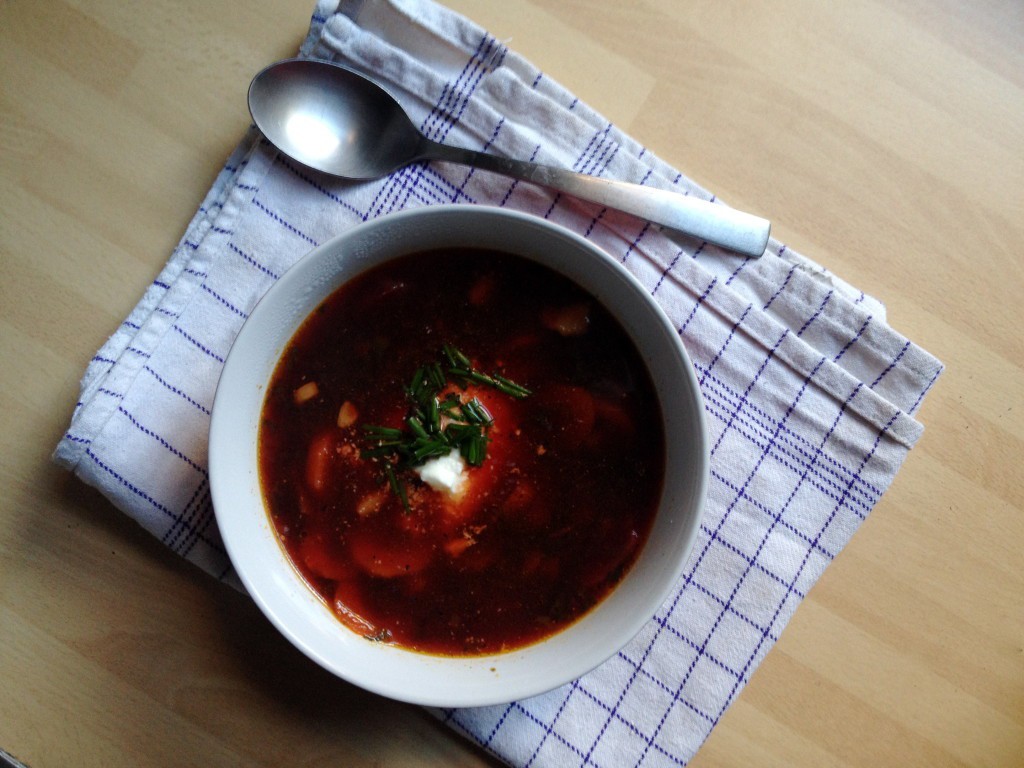
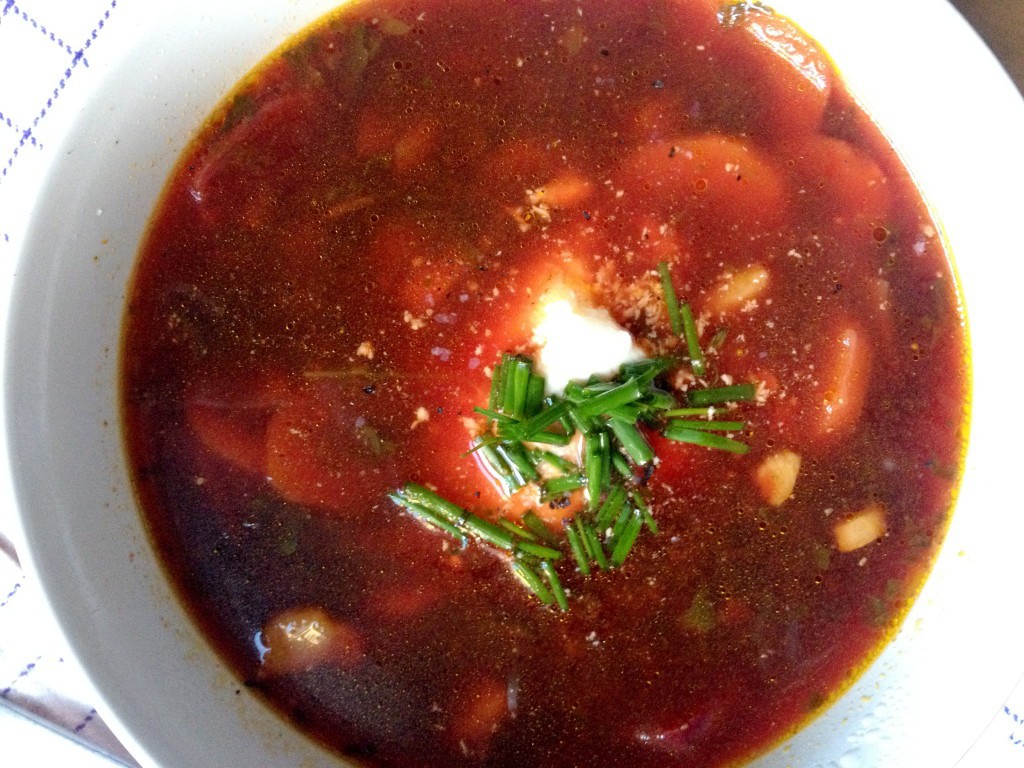
beetroot soup

I don’t know about you, but as soon as it becomes a little bit chilly outside I feel like eating something warming. Soups for instance are really good with warming you up :). One of my favourite is beetroot soup (after sour spinach soup)! I cook this soup with the raw beetroots including the leaves, however since I know that is more common to buy beetroot already cooked in the UK I have adapted the recipe to the ingredients available.

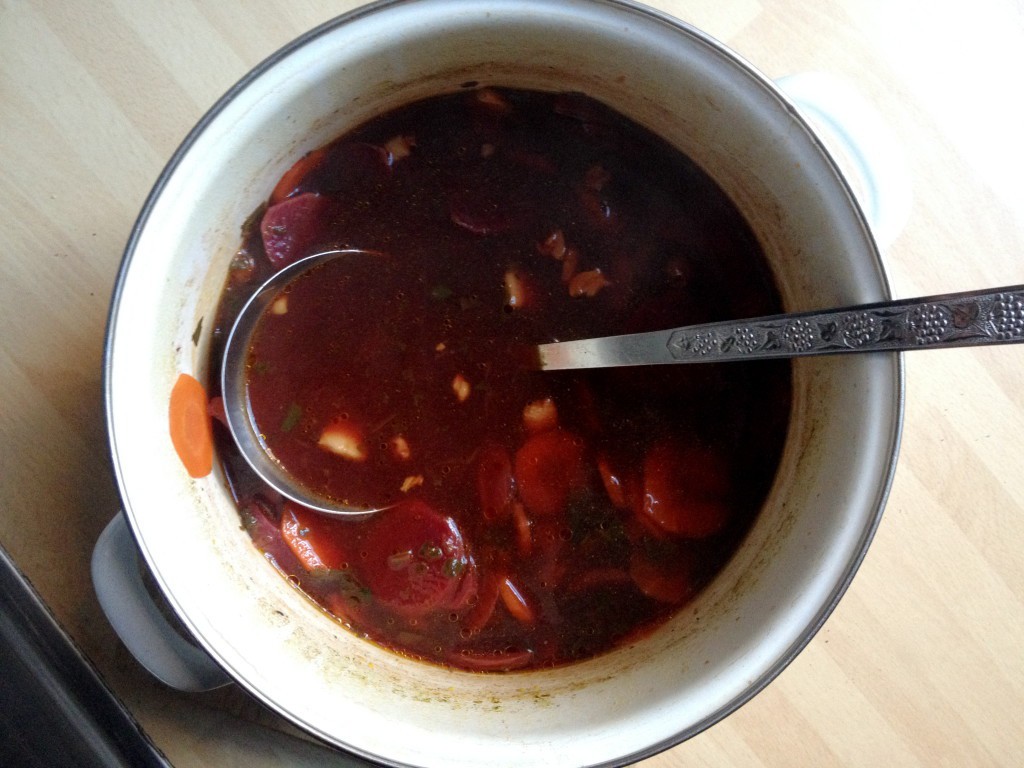
beetroot soup

BEETROOT SOUP

  • 100g smoked lardons
  • 1 onion
  • 2 carrots
  • 1 celery stick
  • 1.5l vegetable stock
  • 2 potatoes
  • 2 tbs tomato pure
  • 1 bay leaf
  • 3 cooked beetroots, chopped
  • 2 handfuls of spinach
  • 1 tbsp balsamic vinegar
  • salt and pepper
  1. Fry the lardons in the pot together with the diced onion, carrots and celery stick. Let it fry for about 5 min.
  2. Meanwhile peal the potatoes (if you want you can cook it with the skin) and dice them.
  3. Cover fried lardons with the stock and add the potatoes, tomato pure and a bay leaf into the soup
  4. Cook for about 20min or until potatoes cooks through.
  5. 5min before finishing the cooking, add the beetroots. When finished the cooking add the spinach, vinegar and season to your taste.

beetroot soup

You can serve this soup with the dollop of cream fraiche  and fresh herbs such as chives, dill or parsley.

Enjoy!

Rasa xoxo
0

New member in our knitting club!

Bruno!

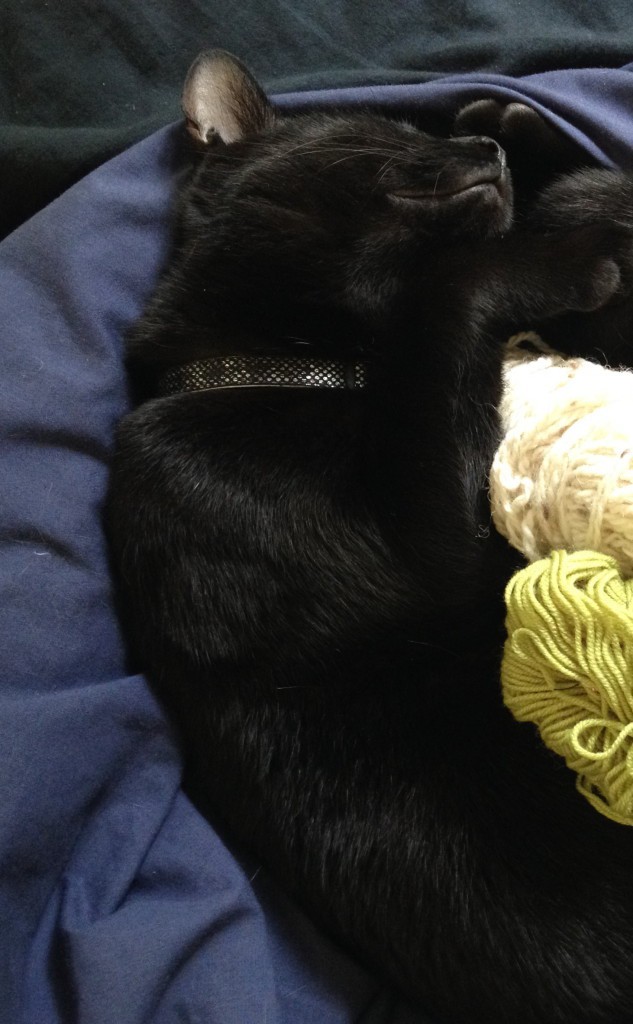
Just wanted to welcome our newest knitting club member: Bruno! Although he can’t knit he has a real passion for yarn :)

Are you interested to join us too? If yes, then check out our events page! Although our knitting events are often full, we are interested to know our future demand for it. Just let us know of the location where you want to meet for social knitting (or other crafts) and you never know… we might host an event where it is convenient for you :)

Bruno

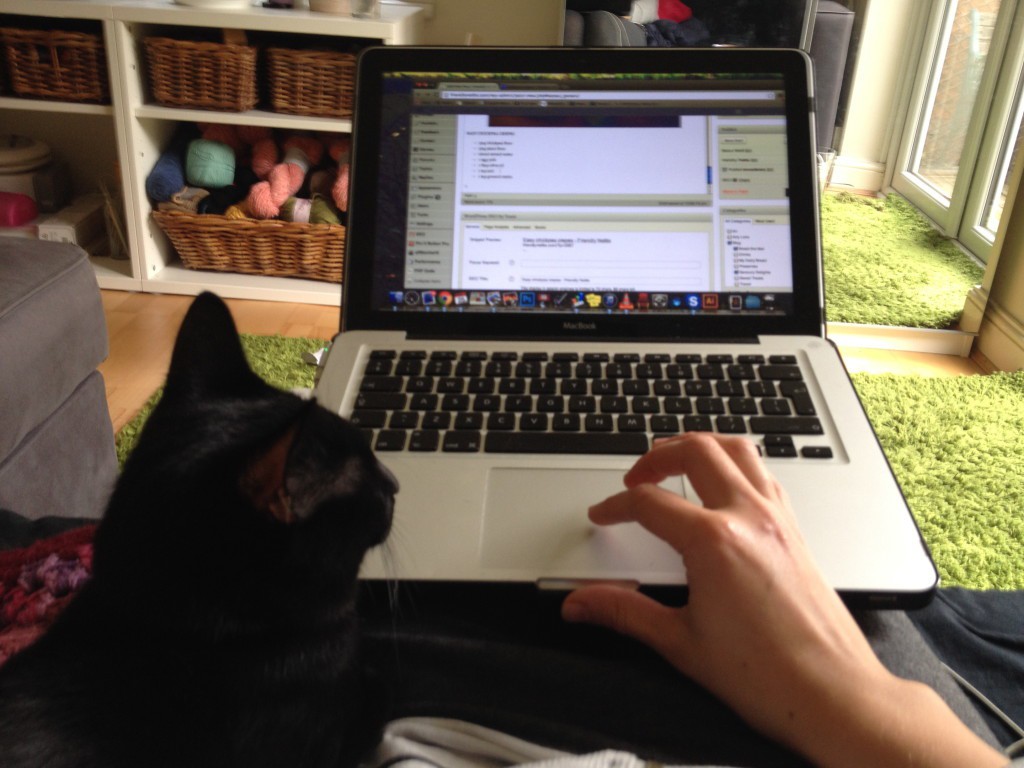
When Bruno is not sleeping or playing he loves accompanying me with blogging… aww :)

Blogging with Bruno

Have a lovely week!

Rasa xoxo
1