Top

Author Archive | Rasa Pelham

How to sew without a sewing machine

hand stitching tutorial, how to sew without a sewing machine
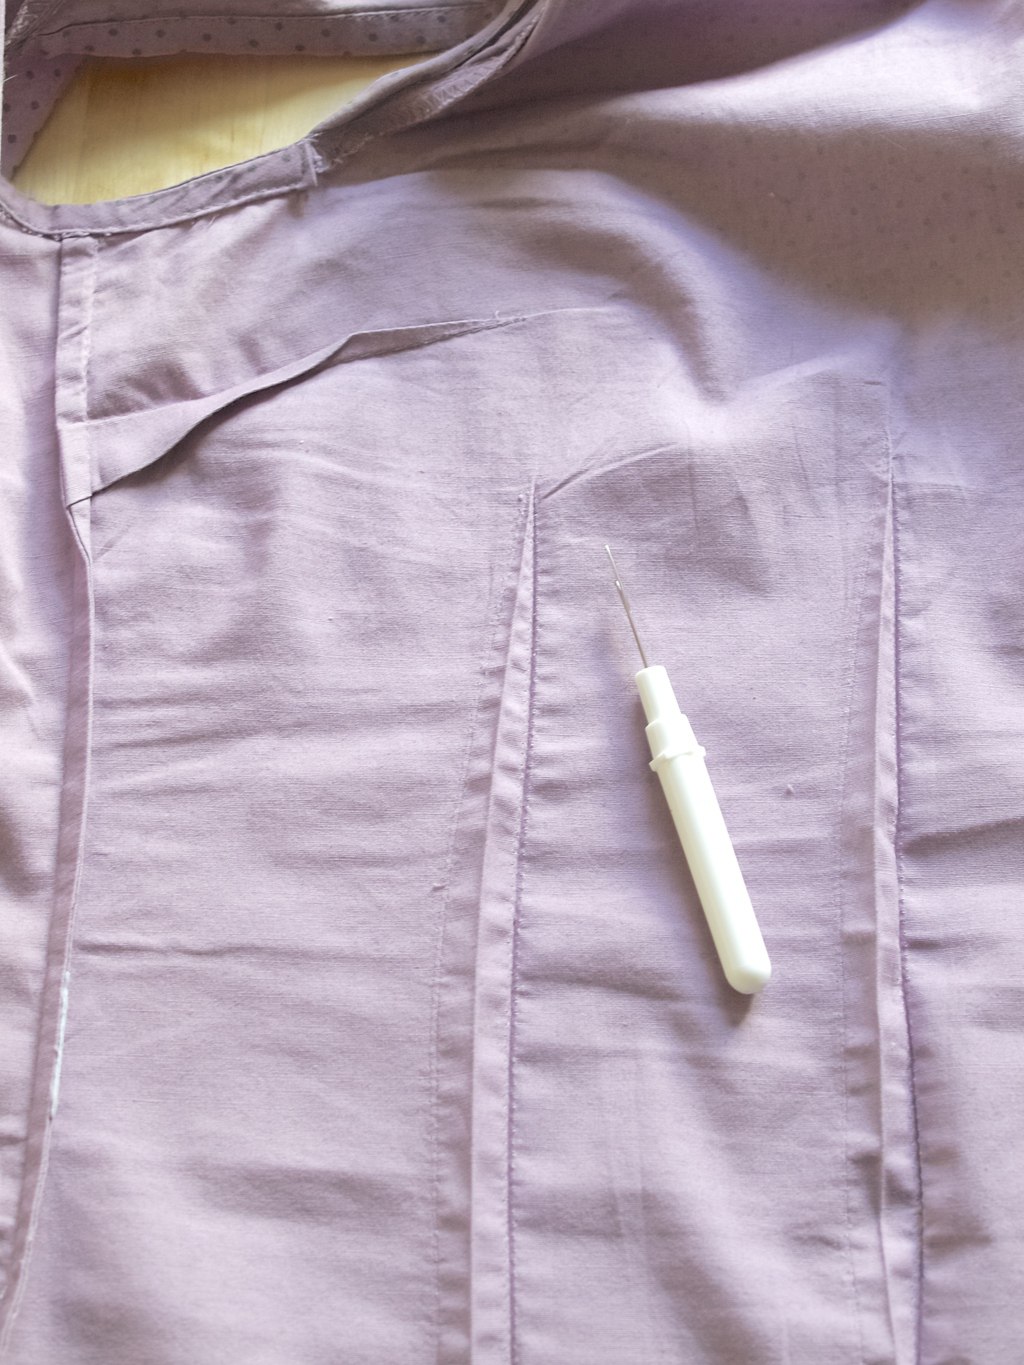
Today I thought I would give you a tutorial on how to hand sew. It’s sometimes much easer to do small things (alterations or a project) with just a needle and thread rather than getting the sewing machine out. Interested? Click here for a full tutorial! If not, carry on reading while I am trying to convince you to see hand sewing in a different light. blanket stitchAlthough sewing machines are often useful for big projects as they are faster, neater and more efficient, hand stitching has also many plus points. Here are few of my favourites.

  • Hand stitching is cheaper (because you only need a needle and thread)
  • You don’t need a big set up or space
  • A needle and tread doesn’t mess with you like a sewing machine (it never pulls your stitches and never gets lose or tight)
  • Hand sewing is peaceful and quiet (some sewing machines can be really loud)
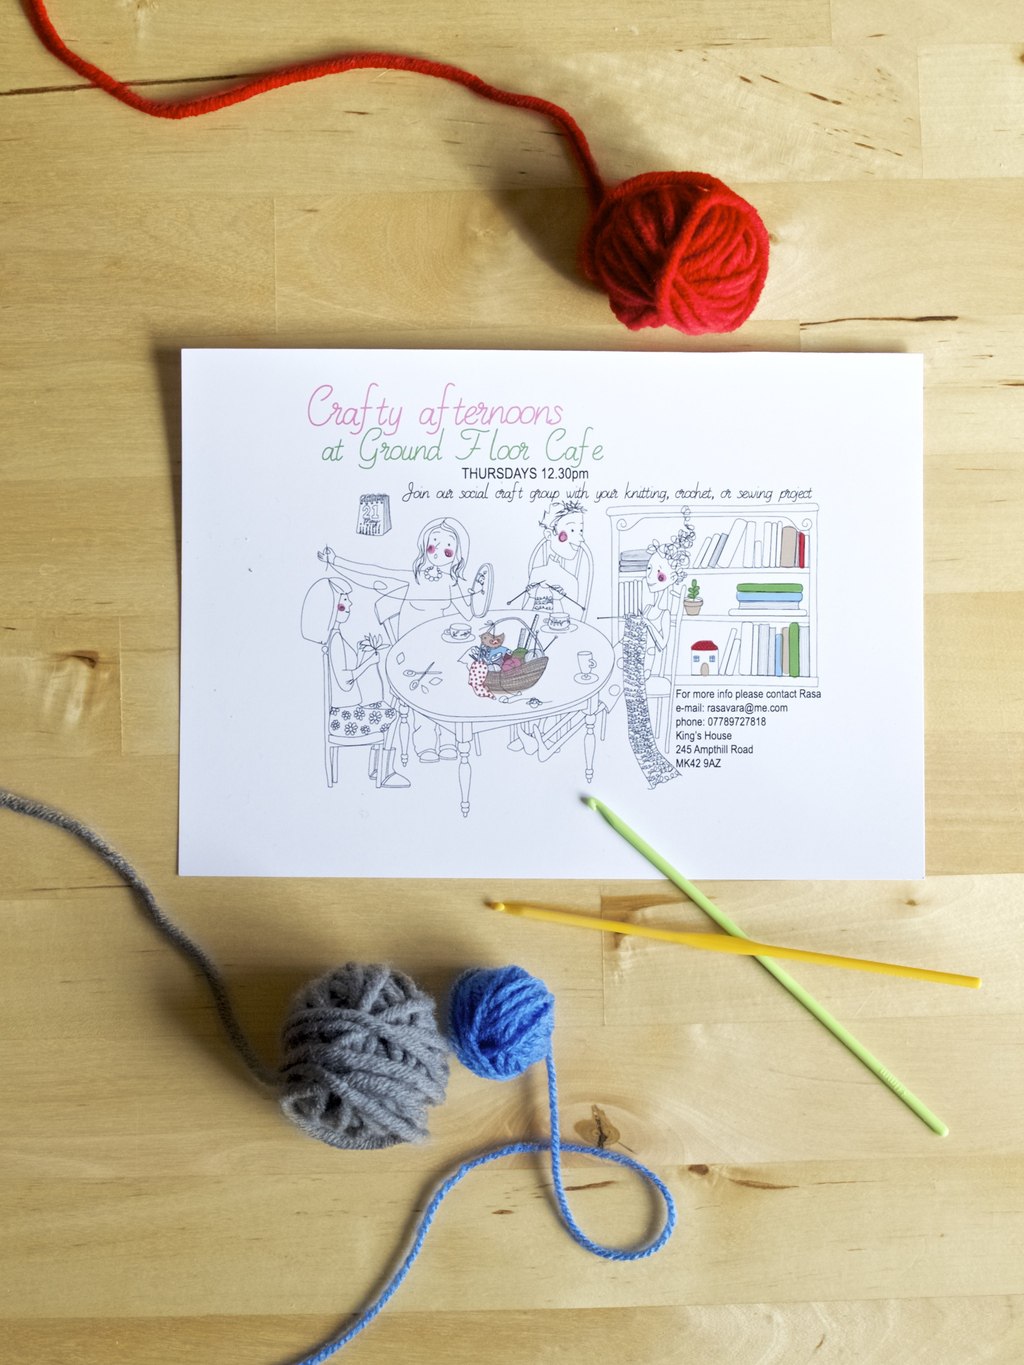
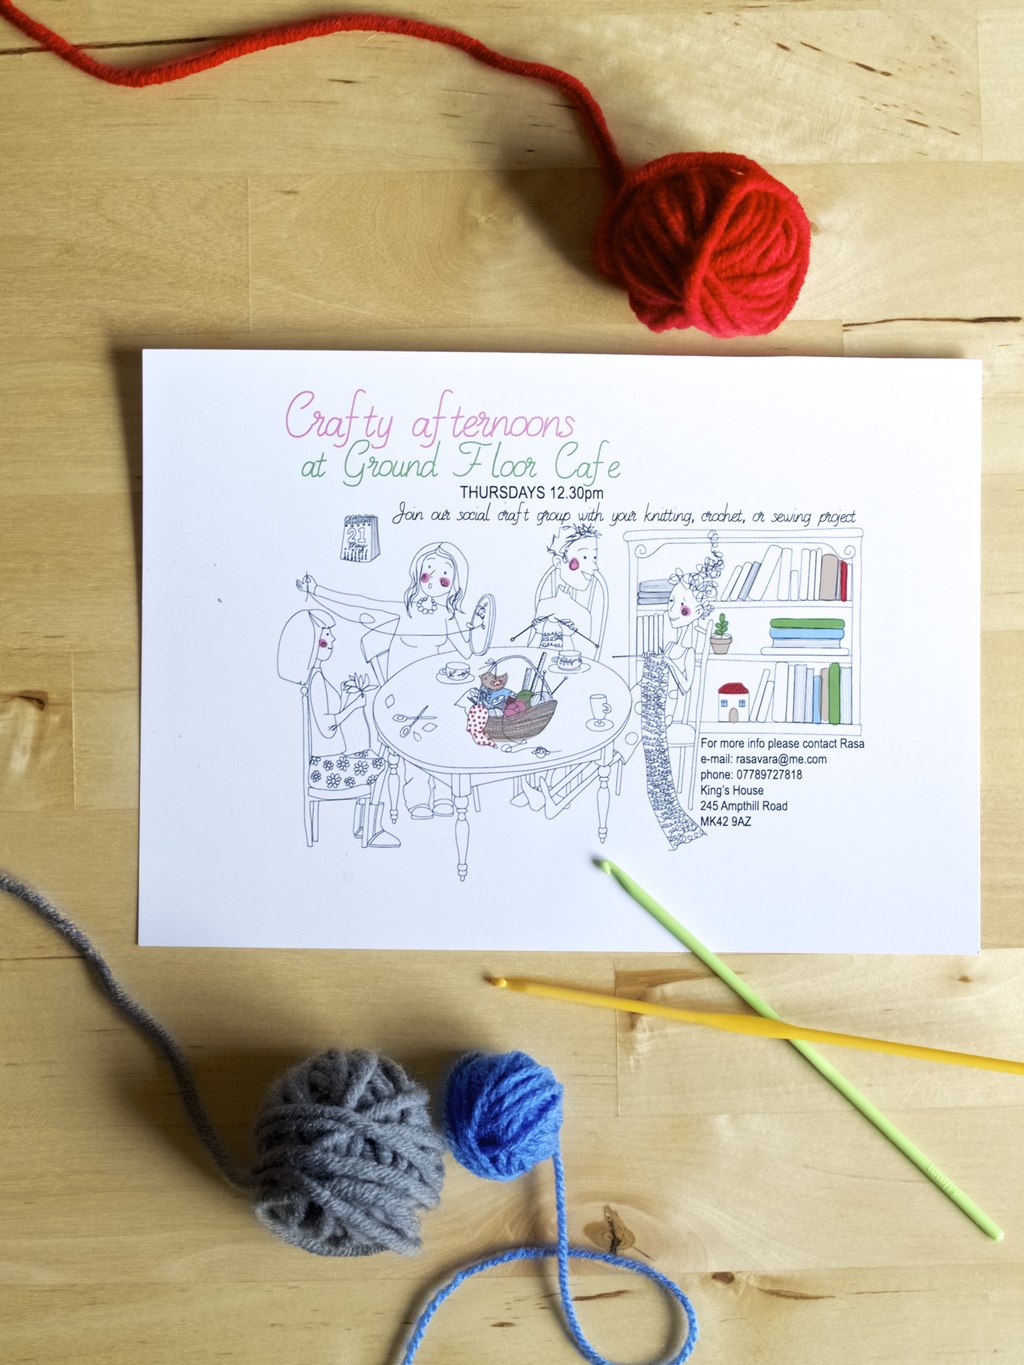
  • Hand sewing can be social, you can work on projects in a social craft club(you can’t do that with a sewing machine! Ha!)
  • Hand sewing is portable (you can sew on the train or bus!)

top alteration using hand stitching techniques
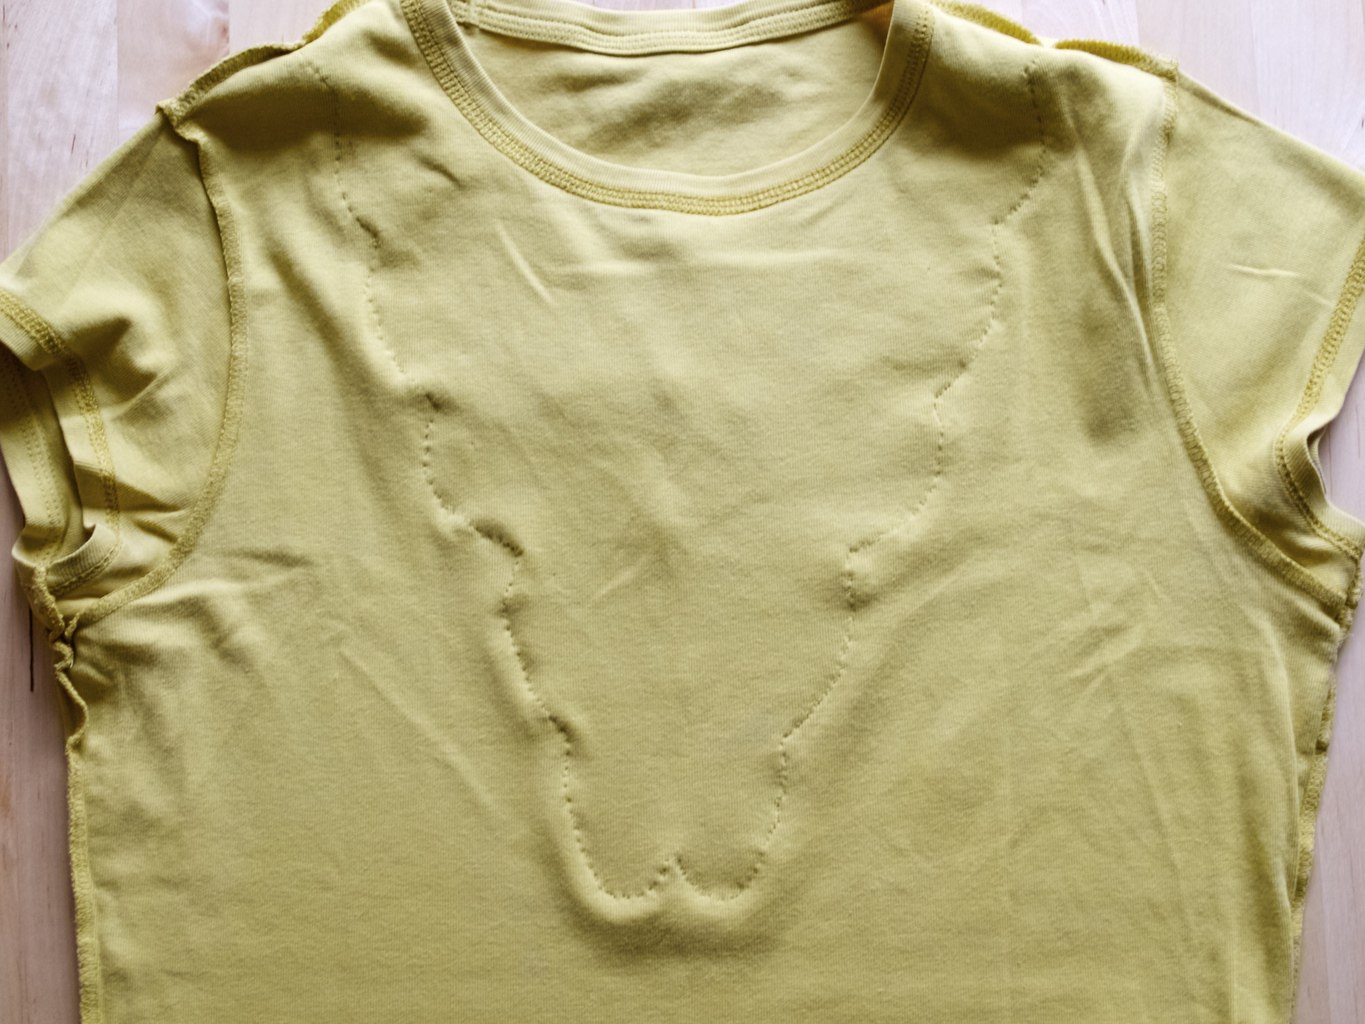
Here is an example where I used hand stitching to sew a lace insert on the t-shirt, I finished the raw edges with a blanket stitch!top alteration using hand stitching techniques back stitch
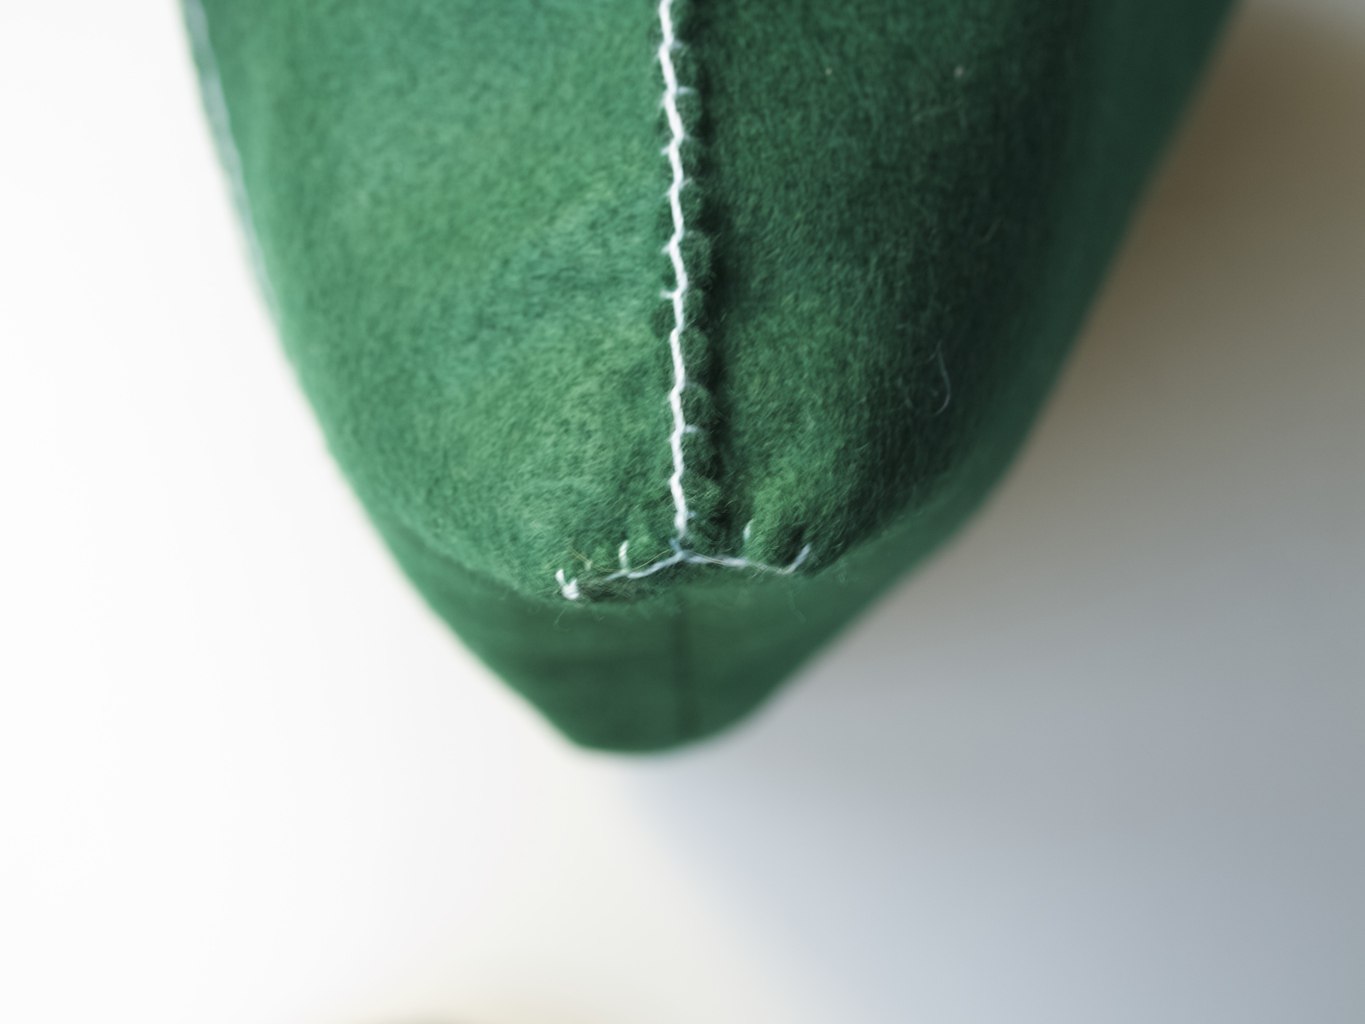
I used a combination of stitches such as blanket stitch and back stitch to complete this handbag organiser insert. I loved how it turned out :-).Bag organiser insert made without the use of sewing machine Bag organiser insert made without the use of sewing machine invisible/ladder stitch
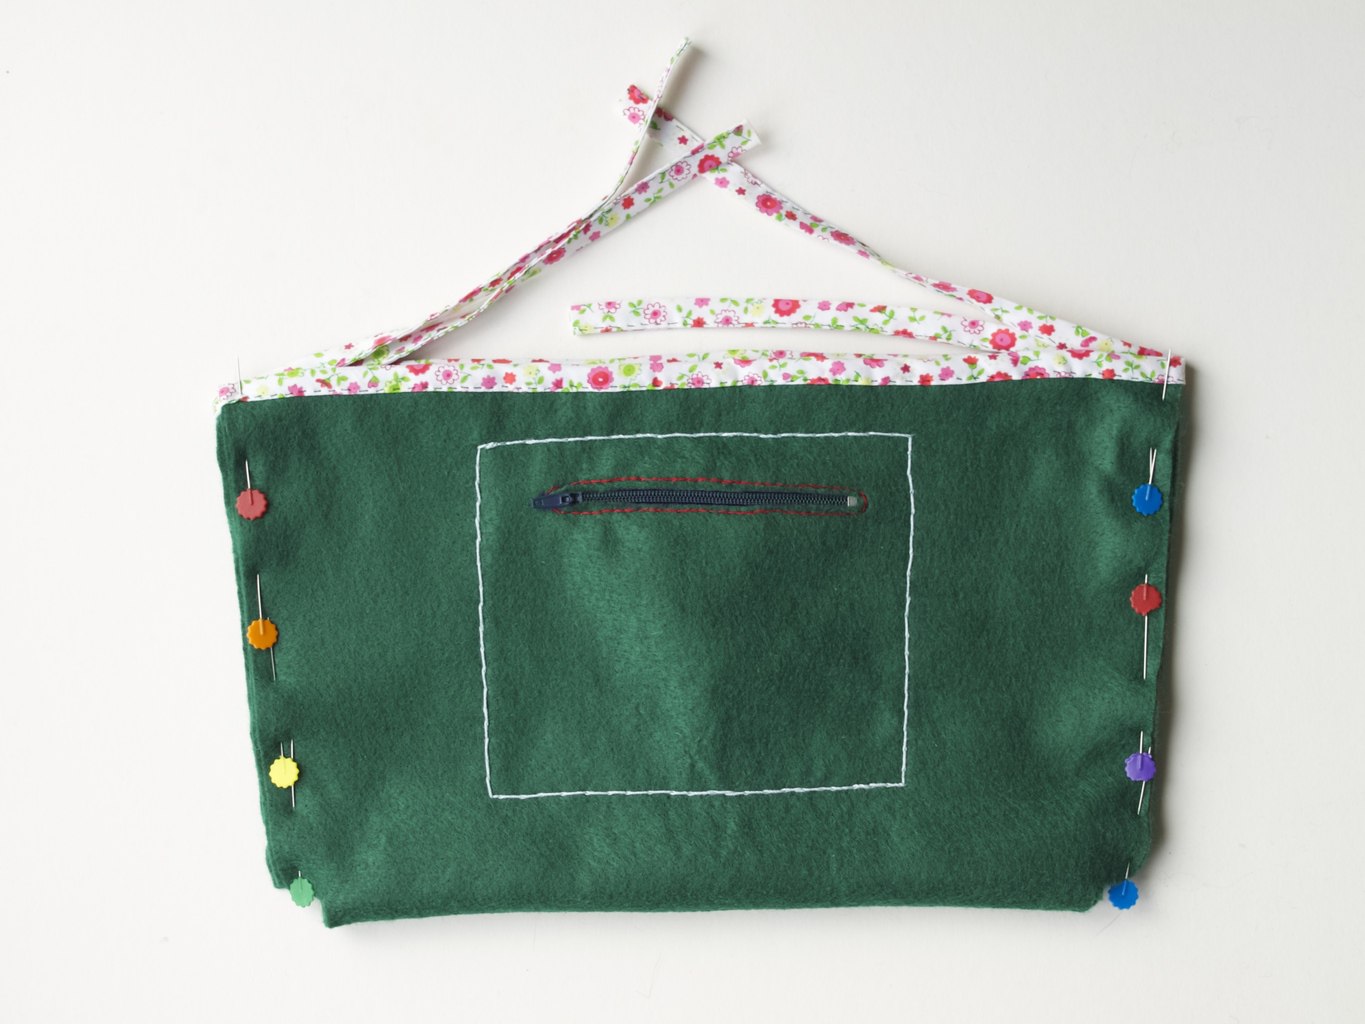
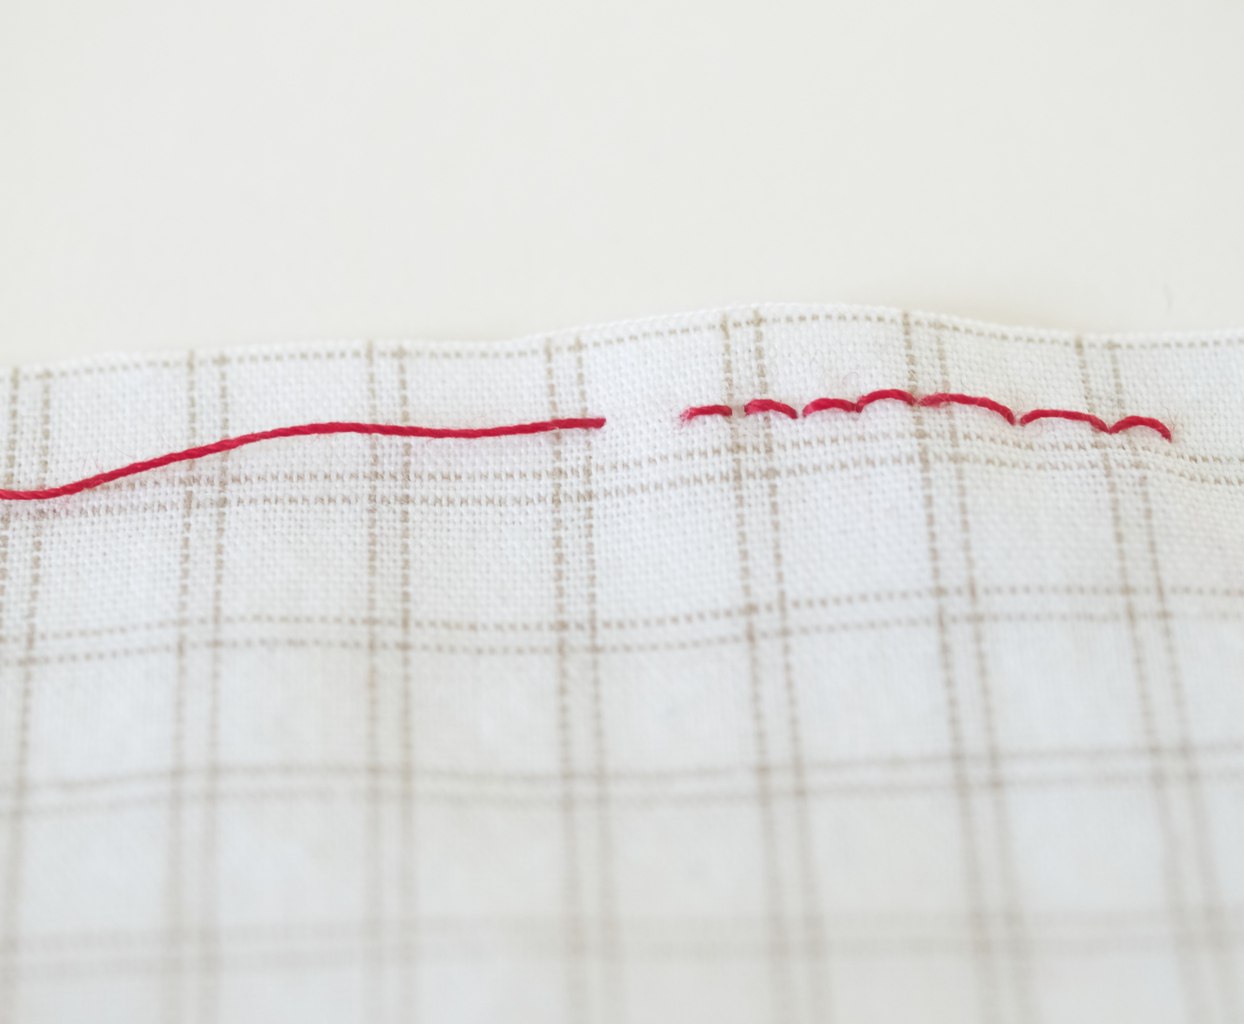
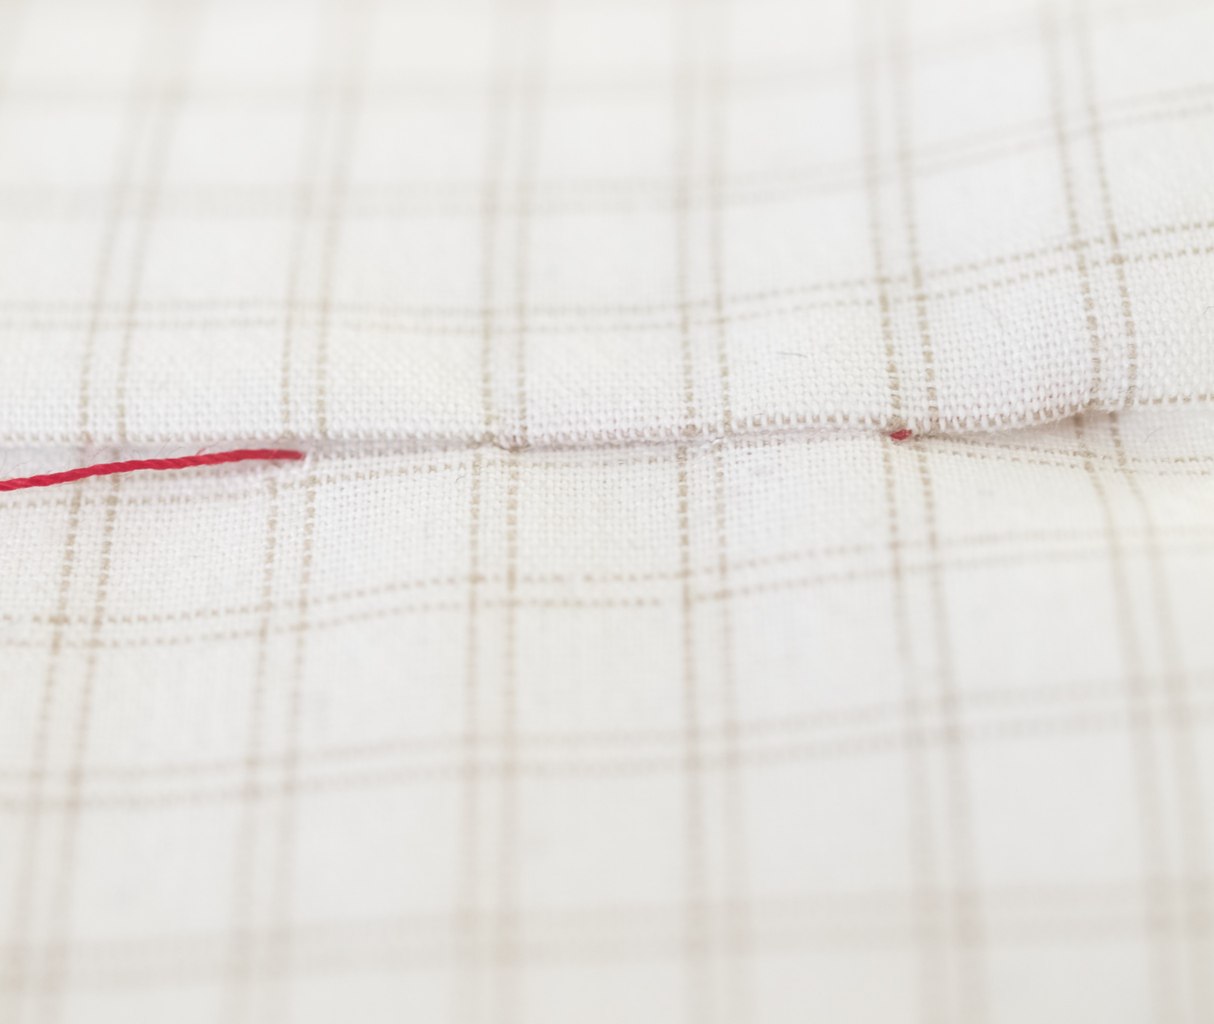
I used invisible/ladder stitch on many occasions, even if I used sewing machine to begin with. You see a lot of stuffed toys and pillows require a gap in the seam which is used for stuffing. To close it neatly invisible/ladder stitch is the best, because you just don’t see it (really invisible)!Hand stitching to finish off a pillowHand stitching to finish off a pillow
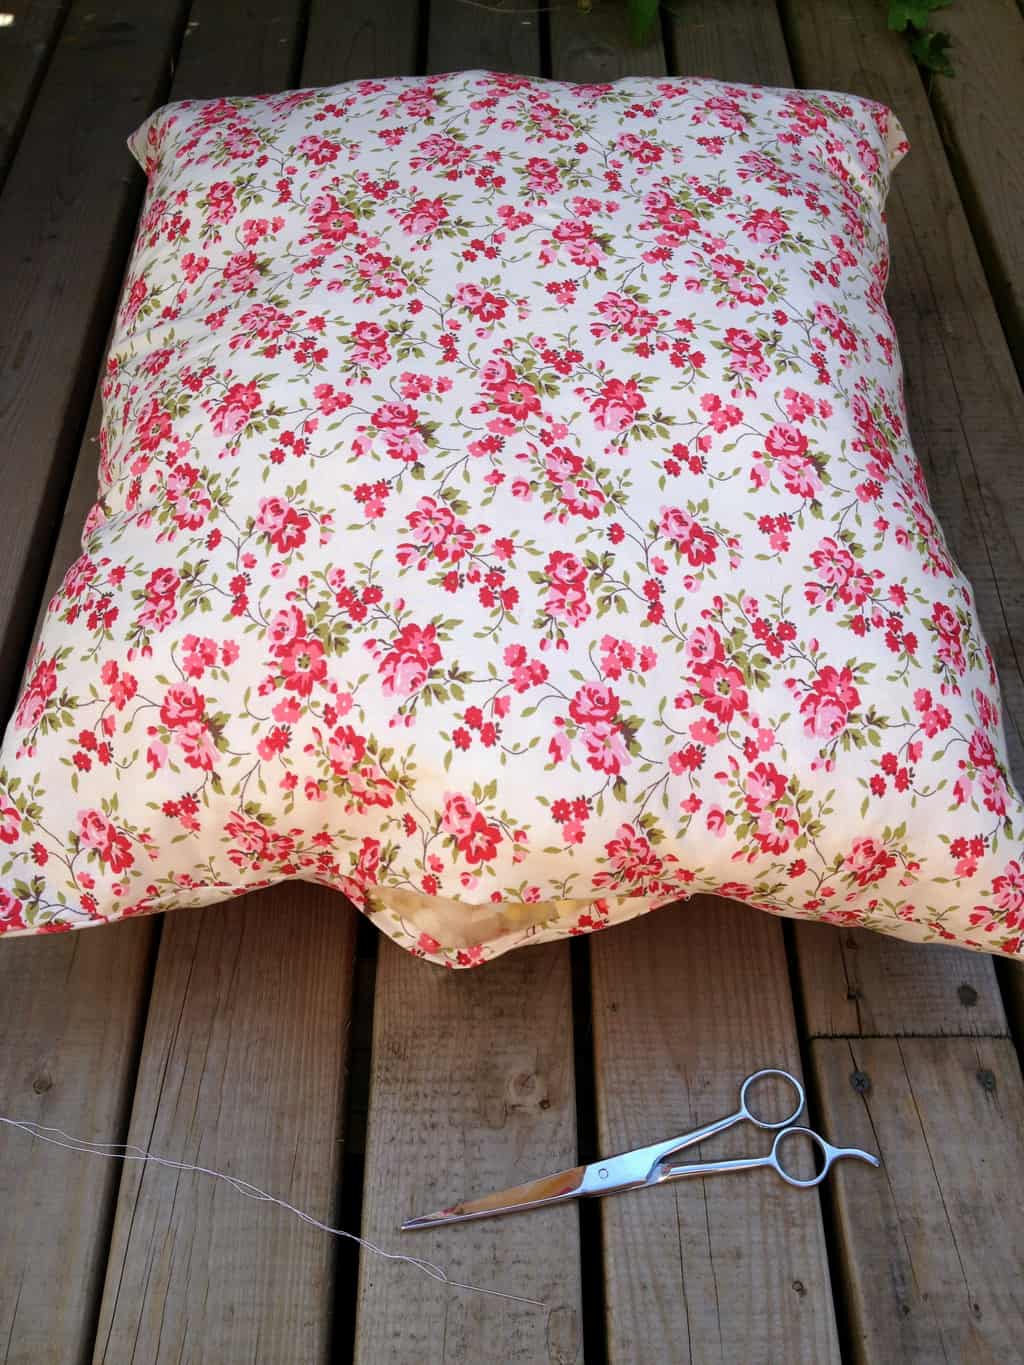
Ok, I am not trying to convince you that you should completely ditch your sewing machine. Because sewing machines are very useful and fast. I am only trying to open your eyes to more possibilities with hand stitching.  Here is a link to a tutorial again ;-).

I hope this has been useful to you!

Rasa xoxo

1

Blackberry breakfast biscuits

Blackberry breakfast biscuits recipeLately I haven’t been feeling well, so blogging did not come easy (especially blogging about food). Eating became a chore (can you believe that?), so my favourite meal of the day have been replaced with some biscuits that are the only enjoyment I get these days from food. I will have to admit that I have been a good and loyal “Belvita” customer these days, until I thought I could make my own batch of breakfast biscuits! I baked my biscuits with blackberries, very low in sugar and no butter (no wonder why they do feel quite light and moreish).

BLACKBERRY BREAKFAST BISCUITS makes about 25-30 biscuits

  • 110g coconut oil
  • 80g golden caster sugar
  • 1 egg
  • 160g flour
  • 80g oats
  • pinch of salt
  • 1/2 tsp baking powder
  • 100g blackberries, chopped into smaller pieces

1. First make the dough (of course). Mix coconut oil with sugar then add egg and mix again. While mixing gradually add flour, oats, salt and baking powder. Finally add blackberries! Combine everything well (don’t worry when it all becomes slightly purple, it’s how it should be!). Blackberry breakfast biscuits recipe2. Using a large-ish teaspoon spoon the dough mixture on to the baking sheet. It really helps to have another teaspoon in hand to scrape the dough off the main teaspoon (if you know what I mean). Blackberry breakfast biscuits recipe3. Bake the biscuits for good 15 minutes in preheated C180 oven until the edges of the biscuits become lightly golden. Blackberry breakfast biscuits recipe4. Let it cool and enjoy!Blackberry breakfast biscuits recipeHappy weekend everyone! xx

Rasa

0

February favourites

February favourites!February did go slow no matter how short it was until the 14th when I received some flowers from Joni and suddenly remembered that spring is just round the corner (and it is technically spring today! yey!).

Joni’s original idea for flowers was wire painted flowers, however he did run out of time to make them so we both ended up creating all afternoon. It was some messy Valentine’s day afternoon! February favouritesThen I finally had enough of courage to cut my own hair! See the turn out here.Giving myself a haircut for the first time... Ahhh!February is the month when I replaced my porridge with overnight oats. Looking forward to trying out more flavours and grains! Switching porridge to overnight oats! And the last thing that have happened in February is that we have relaunched our social group meets. This time it is bigger and better in so many ways. Check out the details here.Crafty afternoons in Bedford (join us please!)Happy March everyone!

Rasa xoxo

0

Pinterest challenge: spanakopita mini tarts

Spanakopita tarts recipeThis time round on my weekly Pinterest challenge I have decided to have a look at the pins that I liked long time ago. In fact I went back to the pin that I saved when I just joined Pinterest almost three years! This recipe is cool, because it needs filo pastry, which I don’t have much experience with. I made filo pastry once from scratch for a layered Slovenian pie where the dough were concealed in between the fillings. With these Spanakopita mini tarts (I changed from strudels to tarts as I find that easer and prettier) the filo pastry is coating the filling therefore the effect is completely different. And this is what I wanted to challenge myself with. The turnout was great and crispy. Joni loved it of course and I thought this would be great served at the party!Spanakopita tarts recipeSPANAKOPITA MINI TARTS makes 12

  • 115g cottage cheese
  • 150g (or more) frozen spinach, defrosted
  • 170g feta cheese
  • 3 eggs, beaten
  • 1 roll of filo pastry (although you will only need about half of it)
  • 50g butter, melted in cup or mug

1. First make the filling by combining cheeses with spinach and eggs.Spanakopita tarts recipe Spanakopita tarts recipe2. Set up your work station: muffin baking tray, melted butter with pastry brush, filling and ready cut pastry into 10cmX10cm squares.Spanakopita tarts recipe3. Push one dough square at the time into the muffin hole and brush it with melted butter. Repeat this for about 5 times (which makes about 5 layers of the dough with butter in between).  Spanakopita tarts recipe4. Spoon enough of filling into each tart and press the dough sideways to close.Spanakopita tarts recipe5. Bake the tarts in preheated 180C oven for about 30min until golden and crispy.Spanakopita tarts recipe Spanakopita tarts recipeEnjoy!

Rasa xoxo

0

Crafty afternoons in Bedford (you are welcome to join us)

Crafty afternoons in Bedford (join our social group)Hey guys, I got some wonderful news! Our crafty social meets are back and are better than ever :). The improvements include:

  • Unlimited space (almost), so no RSVP needed
  • Super comfortable sofas at the ground floor cafe in Kings House
  • Convenient location (if only you live in Bedford)
  • Any type of crafts are welcome (before we were only knitting)

Interested to join? Visit our events page for more info.King's House ground floor cafe, BedfordCrafty afternoons in Bedford (join our social group)Hopefully see you soon!

Rasa xoxo

0

Skillet scones

skillet scones recipeLast month I have baked really basic scones so this time round I decided to experiment. However I experimented not with ingredients but with the method. Basically I tried “frying” scones in the skillet instead of baking them in the oven. I thought what if  your oven breaks and you don’t have any bread anywhere found (because I find scones are great replacement for bread, even if they are crumbly)? This method worked for me well once for breakfast when I could bother with oven and I used the same skillet to fry bacon as well (easy peasy!).

ROSEMARY SKILLET SCONES makes ones small skillet scone

  • 150g plain flour
  • 1 tsp dried rosemary
  • 1 tsp baking powder
  • 50g butter, soften
  • 30 ml milk
  • 1 egg

1. Mix all the ingredients together (mix flour and baking powder separately first) until everything combines well and shapes non-stick dough.

2. Roll the dough 1 cm thick (try to roll into the round) and place it into the skillet.skillet scones recipe3. “Fry” the scone while turning over so it cooks on both sides. skillet scones recipeWe had it with bacon, hard-boiled eggs, mayo, avocado tomato and sliced apples (on the side). But I would recommend buttering it generously or serving it with lots of sauce, because it can be dry as it’s very crumbly.skillet scones recipeEnjoy!

Rasa xoxo

0

How to give yourself a haircut at home

How to give yourself a haircut at homeOk, I am not a hairdresser and I am never going to be one. And in case you were thinking, I am not going to turn this blog into hair-do tutorial site. All I needed is to trim my hair for now until my next visit to hairdressers. Up until now my experiences include cutting my eyelashes at the age of 5 (yes, my parents were horrified) and trimming my fringe at the age of 9 one centimetre long because I just could not get it straight enough (although I did learned that few years ago, thanks to my friend Suzanne!).

So if you can imagine I was really really desperate to learn to at least trim my hair ends. This is when I figured I could learn it and blog about it! First I read what tools to get (those were not many, just a good comb and most importantly hair cutting scissors or at least fabric scissors). Later on, almost few moments before cutting my hair, I came across this ponytail hair cutting technique. After reading this and that I finally made a decision to make a move and actually cut my hair! Here is what I learned…

To cut your hair you will need good scissors (if you don’t have hair scissors then fabric scissors should do the trick), a headband (for ponytail of course!) and a a hair brush. The best thing about this method is that you don’t need to wash your head before cutting your hair and it is quite quick as well. So you can do this anytime even if you are in the rush!How to give yourself a haircut at homeTo prepare you will need to tie your hair into tidy ponytail (this is where the hairbrush comes handy!). This method is all about the the position of the ponytail. So if you tie a low ponytail right at the neck then after cutting your hair you should get almost straight hair with possible short layers.How to give yourself a haircut at homeIf you tie the ponytail centred at the middle of the top of your head, then medium layers is what you should get.How to give yourself a haircut at homeIf long layers suits you best then you should tie the ponytail right on the top of the head (this may look a little silly though!).How to give yourself a haircut at homeI decided to go with layers as previously my hair was cut straight. I though long layers would work well with my wavy hair and besides I have long enough hair to play if that went wrong. So at this stage all I needed to do was to cut the ponytail straight!How to give yourself a haircut at homeThe result have been amazing. I have never thought cutting my hair would be so easy. I am really pleased with layers although I am very keen to try the medium layers next time (will let you know how that goes!How to give yourself a haircut at home How to give yourself a haircut at homeAnd this is how much hair I have cut away. Seems loads, but it doesn’t feel like my hair length changed that much (which is a good thing!). How to give yourself a haircut at homeHave you tried cutting your hair before?

Rasa xoxo

0

26th of March – Crafty Afternoon – Bedford

King's House ground floor cafe, Bedford

WHAT TIME: 12.30pm
WHERE: King’s House, Ground Floor Cafe, 245 Ampthill Road, MK42 9AZ
WHO IS IT FOR: anyone who likes crafts
WHAT TO BRING: your project you are working on or if you are a beginner bring 7mm knitting needles (or a similar size crochet hook) and some chunky yarn.
HOW TO ATTEND: Just pop around or e-mail rasa@friendlynettle.com for more info
0

19th of March – Crafty Afternoon – Bedford

King's House ground floor cafe, Bedford

WHAT TIME: 12.30pm
WHERE: King’s House, Ground Floor Cafe, 245 Ampthill Road, MK42 9AZ
WHO IS IT FOR: anyone who likes crafts
WHAT TO BRING: your project you are working on or if you are a beginner bring 7mm knitting needles (or a similar size crochet hook) and some chunky yarn.
HOW TO ATTEND: Just pop around or e-mail rasa@friendlynettle.com for more info
0

5th of March – Crafty Afternoon – Bedford

King's House ground floor cafe, Bedford

WHAT TIME: 12.30pm
WHERE: King’s House, Ground Floor Cafe, 245 Ampthill Road, MK42 9AZ
WHO IS IT FOR: anyone who likes crafts
WHAT TO BRING: your project you are working on or if you are a beginner bring 7mm knitting needles (or a similar size crochet hook) and some chunky yarn.
HOW TO ATTEND: Just pop around or e-mail rasa@friendlynettle.com for more info
0

26th of February – Crafty Afternoon – Bedford

King's House ground floor cafe, Bedford

WHAT TIME: 12.30pm
WHERE: King’s House, Ground Floor Cafe, 245 Ampthill Road, MK42 9AZ
WHO IS IT FOR: anyone who likes crafts
WHAT TO BRING: your project you are working on or if you are a beginner bring 7mm knitting needles (or a similar size crochet hook) and some chunky yarn.
HOW TO ATTEND: Just pop around or e-mail rasa@friendlynettle.com for more info
0

Buckwheat, roasted veggies and avocado hummus bowls

Buckwheat, roasted veg and avocado hummus bowlsSomebody once asked me what food is like in Lithuania…. and after a quick think I said that traditional Lithuanian food is generally very fatty and rich in taste, and doesn’t look ascetically pleasing (I don’t think I sold Lithuanian food well here!). However I have shared many Lithuanian recipes on the blog here that are slightly edited and presented in a more appealing way. For instance we do eat a lot of buckwheat in Lithuania (almost like rice here), but it is usually served with fried onion and pancetta type bacon cubes which if you can imagine would look a bit brown and dull (and very unhealthy). However I used to love eating cooked buckwheat with sliced avocado and some tomatoes in the very beginning when I moved to England. I love the taste of buckwheat so I am happy that I started cooking with it again!   Buckwheat, roasted veg and avocado hummus bowlsBUCKWHEAT, ROASTED VEGGIES AND AVOCADO HUMMUS BOWLS makes about 3-4 bowls

(for veggies)

  • 1 courgette
  • 1 red pepper
  • 1 tomato
  • 1 tsp cajun spices (or any other spices such as curry or Moroccan spices)
  • salt and pepper to taste
  • 2 tbsp olive oil

(for buckwheat)

  • 200g buckwheat
  • 1l water
  • 1tsp salt

(for more hummus than you need for 4 portions)

  • 1 can (400g) chickpeas, drained
  • 1  ripe avocado, stone removed and flesh scooped out with the spoon
  • 2 cloves garlic, pealed
  • 8 tbsp olive oil
  • 1 lemon juice
  • 1 tbsp sesame seeds
  • 1 tsp ground cumin
  • 1tsp ground paprika
  • salt to taste

(extras)

  • 100g feta cheese, crumpled
  • handful dill, finely chopped (very Lithuanian)

1. First prepare the veggies. Slice courgette, tomato and red pepper and place them into the baking dish. Season the veggies and drizzle oil over them, toss well to coat. Roast in C200 preheated oven for 30 min or so.Buckwheat, roasted veg and avocado hummus bowls2. Meanwhile cook the buckwheat (in Lithuania I am used to seeing dark brown buckwheat, but here they are much lighter in colour, although it taste the same). Add the water, salt and buckwheat into medium size pot and cook it as you would cook rice. I usually start with cold water, bring it all to boil and then reduce the heat to simmer for 20 min or so. Cooked buckwheat usually soaks up all the water and becomes really soft.Buckwheat, roasted veg and avocado hummus bowls3. Next make the hummus. Just pull all the ingredients to the food processor and whizz… ta da! Buckwheat, roasted veg and avocado hummus bowls4. To combine the bowls just add a little bit of everything: roasted veggies, buckwheat and avocado hummus. Sprinkle the bowls with some feta cheese and dillpomegranate Buckwheat, roasted veg and avocado hummus bowls Buckwheat, roasted veg and avocado hummus bowlsSkanaus! (“Bon appetit” in Lithuanian)

Rasa xoxo

0

La la la… spring is coming!!!

La la la... spring is coming! Vicki's early artworkThis is how I feel these days when the days are getting longer and brighter with occasional glimpse of sunshine(btw, this is Vicki’s early artwork and I am so lucky to have it!). Maybe it’s a little early to think about spring, but I am sooooo excited and can’t wait until blooming season will begin! For now I get easily pleased with anything flowers related such as these roses from Joni…La la la... spring is coming! Roses from JoniOr these flowers made of wire (it was Joni’s idea to make them). We made them last weekend and here are the step by step instructions for this lovely project. They are now decorating our windowsill :-). La la la... spring is coming! painted wire flowers DIYI must warn you though, this project can be messy! So have nail varnish and some cotton buds ready to use!  La la la... spring is coming! painted wire flowers DIYLa la la... spring is coming! painted wire flowers DIYLa la la... spring is coming! painted wire flowers DIYI hope this post brought some sunshine into your day ;-)

Rasa xoxo

1

Savoury or sweet pancake day (depending on the filling you choose)

Buckwheat batter pancakes recipeOh, and happy Pancakes Day once again! This day is never to be missed! Last year I have made unconventional Lithuanian pancakes and they were delicious (almost made a proper meal!) . This year however I decided to keep it simple. I went with the recipe that I often make. Whenever I have some buckwheat flour in the house I would throw some in to otherwise very basic pancake batter. The cool think about these pancakes is that you can eat them savoury or sweet depending on the filling you choose.Buckwheat batter pancakes recipeBUCKWHEAT PANCAKES

  • 80g buckwheat flour
  • 120g plain flour
  • 2 eggs
  • 1 tbsp sugar
  • 1 tsp salt
  • 1 tbsp coconut oil + more for frying
  • about 350ml water or milk

1. Place the flour into the bowl together with eggs, sugar, salt and oil. Whisk everything together into the dry mass. While whisking begin pouring the water gradually into the flour mass (not all in one go because you might not need it all). You are aiming for a batter consistency that easily drips down the whisk when held up but still leave temporary traces when whisked. making the pancake batter2. You need to fry pancakes in well heated pan with oil (although to fry without oil is quite possible after much practicing). Pour one spoonful to the pan and immediately start swirling round the pan to get nice even layer.Buckwheat batter pancakes recipePancakes then can be eaten savoury. I like it with ham or bacon with cheese. I usually serve it with cream fresh and dill (this is such a Lithuanian thing to do!)Buckwheat batter pancakes recipeOr if you prefer it sweet then blueberries, banana, and maple syrup ticks my boxes ;-).Buckwheat batter pancakes recipeBuckwheat batter pancakes recipeHappy Pancake Day!

Rasa xoxo

1

How to make fitted shirt become slightly loose

How to make fitted shirt become slightly  looseRecently I have been wearing a lot of shirts under my sweater. This combination is so comfortable and looks cute at the same time. One problem was that not all my shirts fitted me well (especially this super cute polka-dot shirt). It’s ok when the shirt is covered with cardigan but it feels horrible inside!How to make fitted shirt become slightly  looseIt’s  not always easy to make fitted shirt become loose. But there is a way! If you lay your shirt inside out you can see some vertical ‘seam’ lines called darts (excluding the side seams of course). Darts are the ones that make the garment fitted! In my shirt scenario there are two curved darts at the back and 4 darts at the front + two little horizontal lines at the bust. I am very lucky that those darts aren’t seams (they can be and I will show you later how they look like). How to make fitted shirt become slightly  looseSo all I needed to do is to unstitch those darts (all of them! except the horizontal darts at the bust). You can see that the fabric behind it is uncut which means you won’t be needing to stitch here anymore. All you need to do now is to put the shirt to wash and steam iron it. The lines from darts should disappear straight after ironing!   How to make fitted shirt become slightly  loose How to make fitted shirt become slightly  looseOk, and this is a good example how darts in some shirts can be turned into seams. As you can see here the darts are running from the sides all the way to the bottom (unlike in the previous shirt). This shirt is also really fitted on the sides. Look at those side seams all curved!How to make fitted shirt become slightly  looseIf you look inside the shirt you should see that the dart is almost identical to the side seam (They are both cut and overlocked on top). In this case scenario there is not much you can do when it comes to making the shirt slightly looser. You could try to undo the seams and stitch back on as  straight as you can stitching closer to the edge in some places. However this is a lot of work and it’s not really worth it in my opinion. How to make fitted shirt become slightly  looseI hope this helped!

Rasa xoxo

0