Top

Author Archive | Rasa Pelham

Pinterest challenge: bacon, egg and cheese pastry wrap


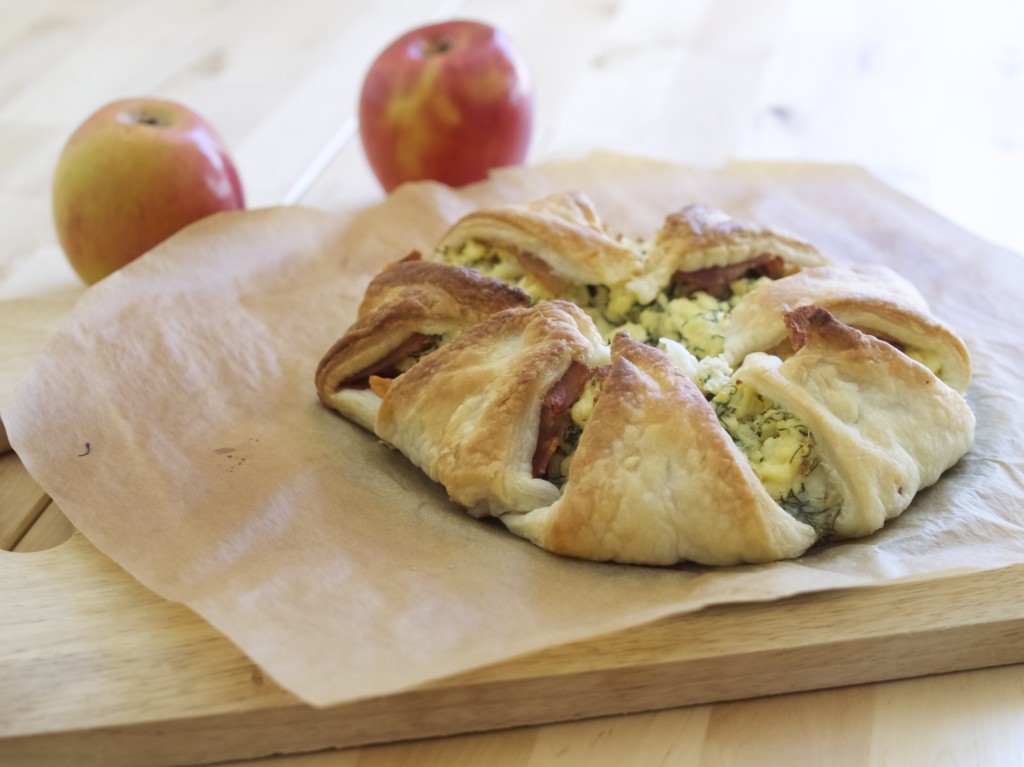
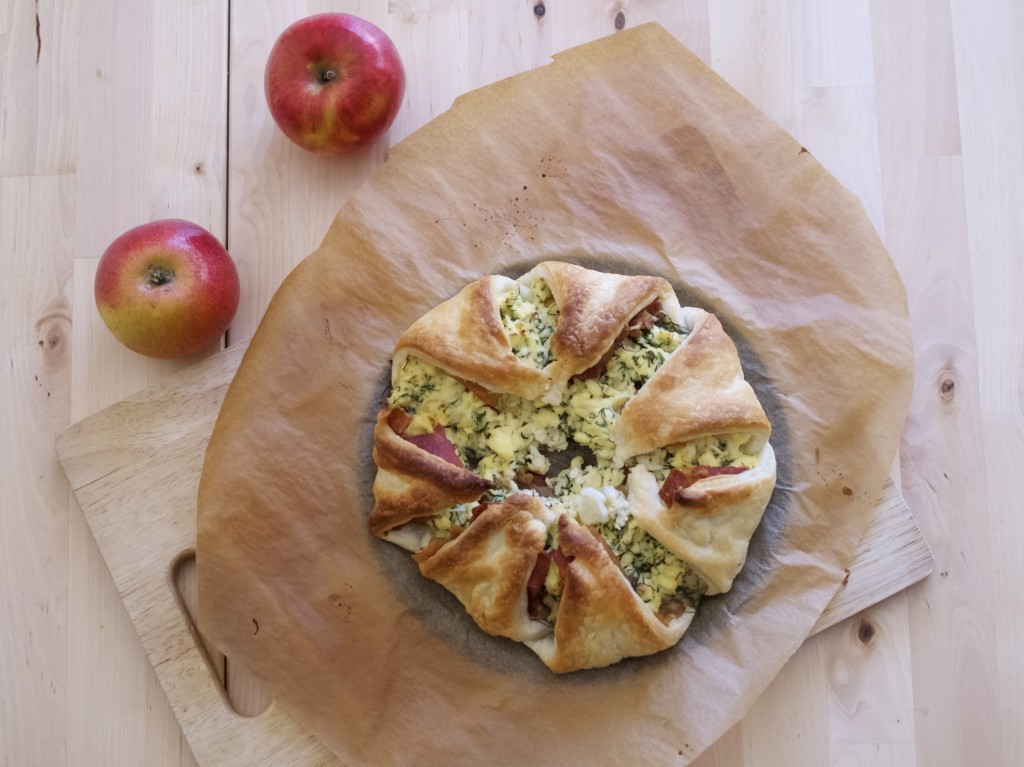
wrapped breakfast: bacon egg & cheese in pastryExtended weekend often means we can enjoy brunch! Wake up late and eat full on breakfast, what’s not to like? Me and Joni prefer breakfast that has egg and bacon with it! No wonder why I tried this bacon, egg & cheese pastry wrap from The Kitchen Life of a Navy Wife. I took this to a breakfast meeting with our friends the other day and it was gone fast!

After looking through The Kitchen Life of a Navy Wife I have realised that this recipe originated from crescent pastry breakfast ring (or wreath) and have been linked and linked back from another blogs. I guess I am linking it and blogging about it again! The only thing I changed is that I made it slightly smaller (no longer a ring) and I added some dill into it (because I am Lithuanian… Ha ha!). I hope you try it, like it and create your own version!wrapped breakfast: bacon egg & cheese in pastryBACON, EGG & CHEESE PASTRY WRAP adopted from The Kitchen Life of a Navy Wife

  • 1 puff pastry roll, cut into triangles
  • 7 bacon slices, cooked
  • 50g strong cheddar cheese, shredded
  • small bunch of dill, finely chopped
  • 4 eggs, scrambled (Joni does it best! although he scrambled 5, I would say 4-3 would work just as well)

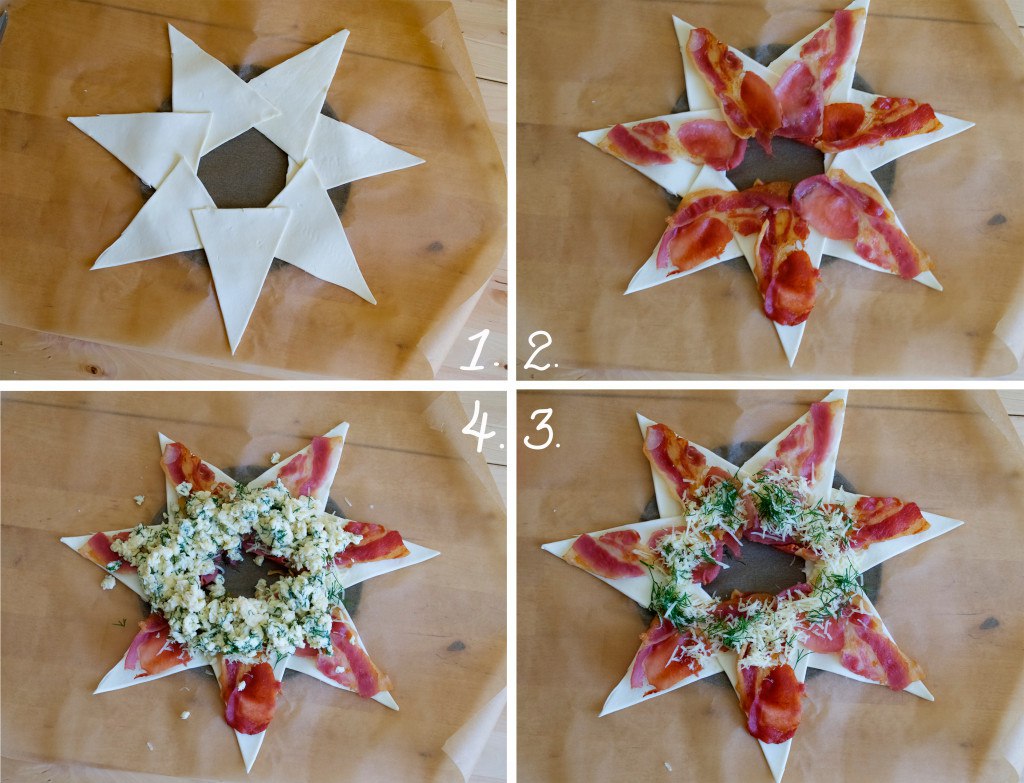
wrapping breakfast in pastry1. Place the pastry triangles on the baking paper in the round, in the shape of a star.

2. Place the bacon slice on each triangle.

3. Sprinkle shredded cheese on top together with chopped dill.

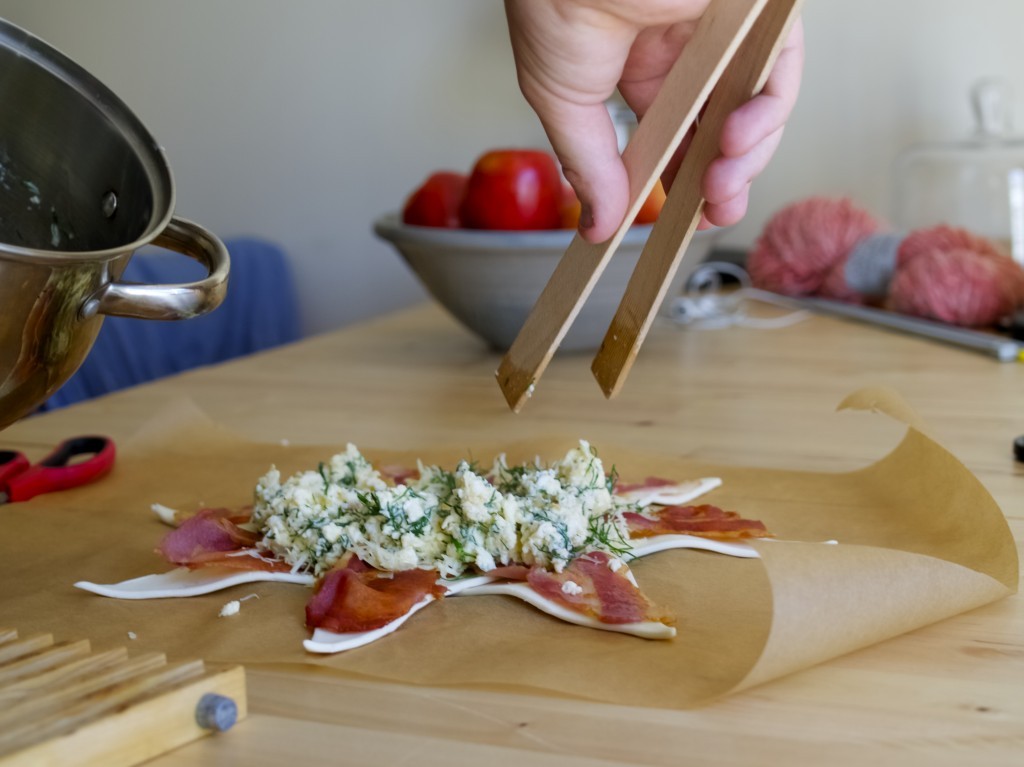
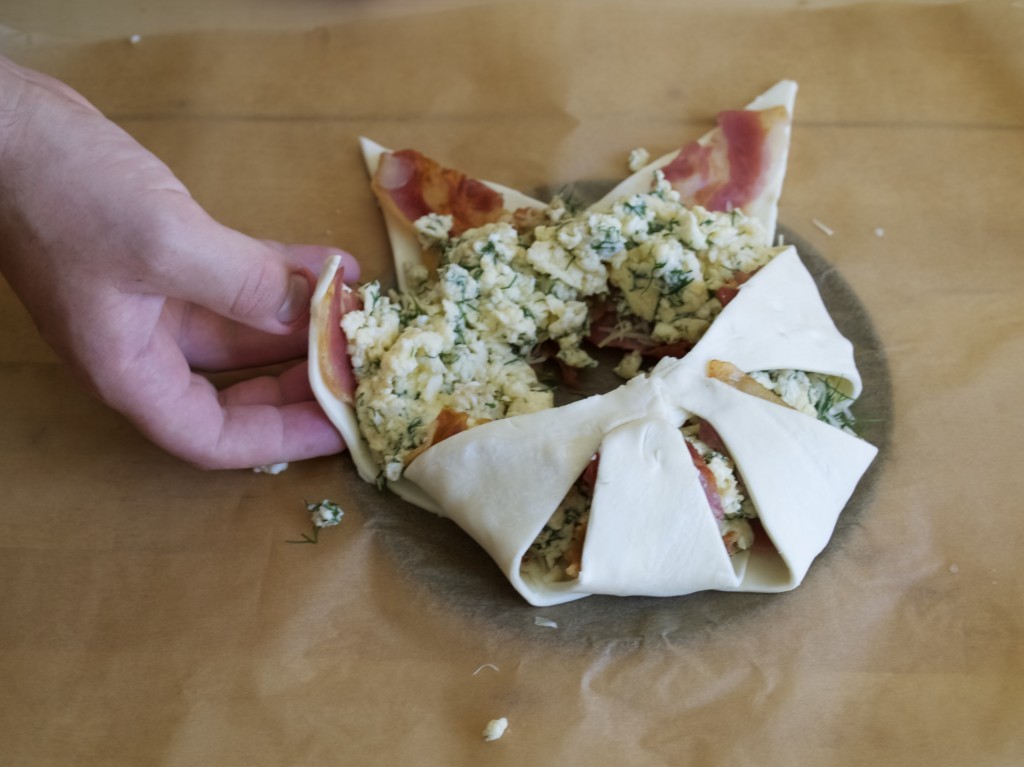
4. Arrange scrambled egg on top in the shape of a ring.wrapped breakfast: bacon egg & cheese in pastry5. Fold over the triangles to the centre to form a parcel.wrapped breakfast: bacon egg & cheese in pastry6. Bake the wrap in 200C oven for 20 min or so. Cut into 7 peaces to serve.wrapped breakfast: bacon egg & cheese in pastryEnjoy!

Rasa xoxo


1

‘Let’s celebrate!’ crate

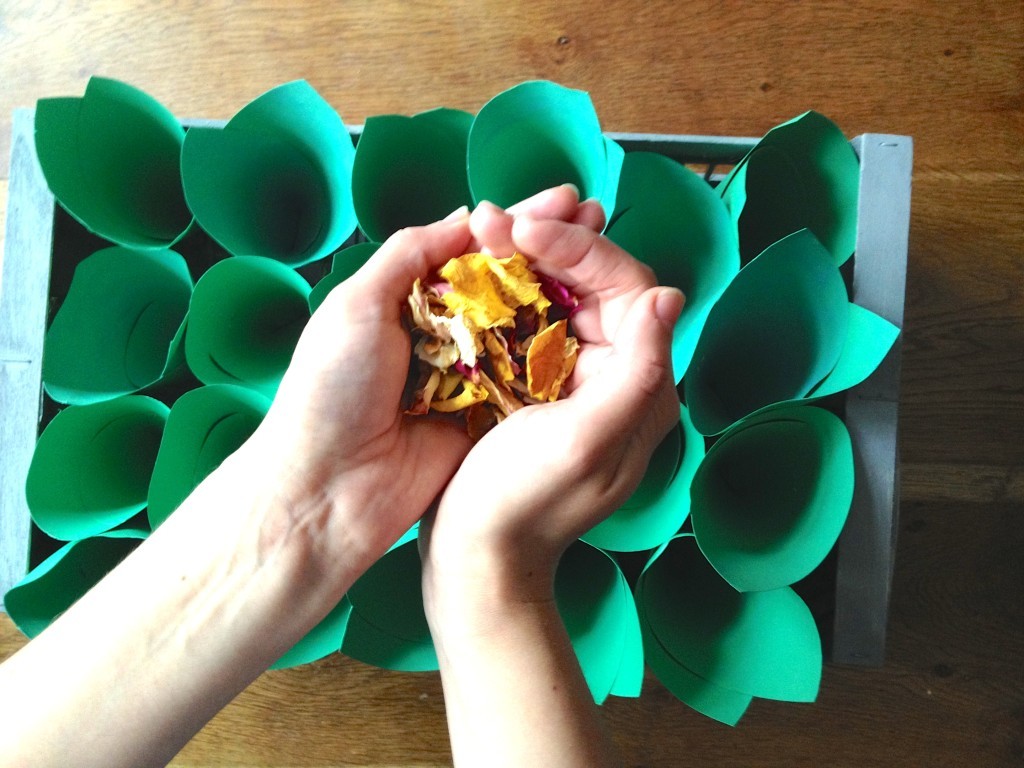
Let's celebrate confetti cones crate, DIY stepsHey! Aren’t you supper happy that the summer bank holiday is almost here? I know I am! Although I am nowhere near to Notting Hill Carnival, extra free time with my hubby is worth to celebrate! So I thought a project on how to make the confetti cones crate would be quite appropriate. I made this crate for our wedding, but I think it can be used on many occasions. I have upcycled this box from vegetable wooden crate, so it doesn’t require lots of money to do this project either. Just walk by a grocery shop or market and I am sure you will find a crate for grabs ;-). fill the cones with confetti Confetti cones used at our weddingFill the cones with confettiConfetti used in our wedding, DIY your own confetti cones crate!Enjoy your last days of summer ;-)

Rasa xoxo

0

A healthier plum steamed pudding

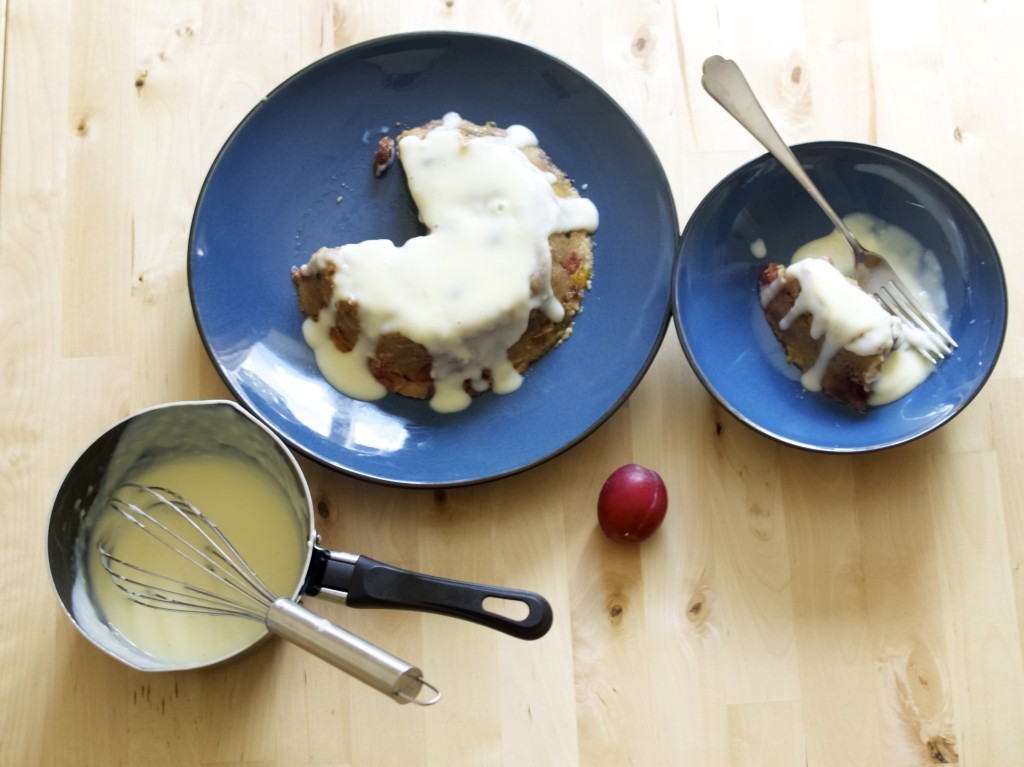
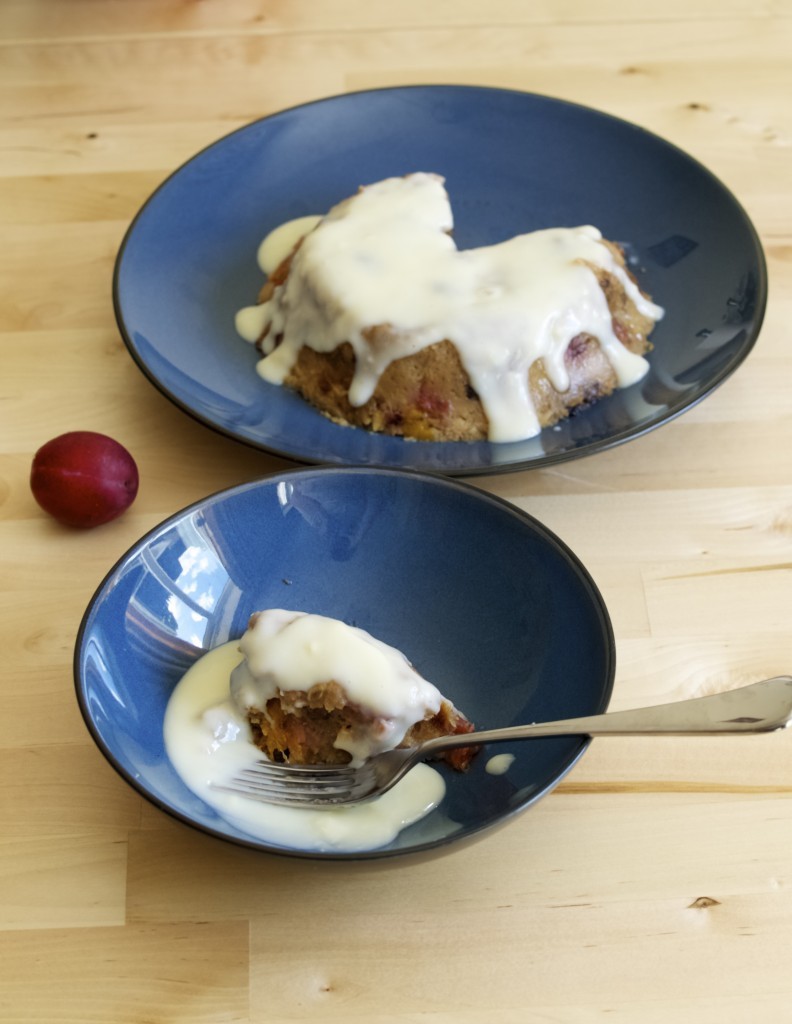
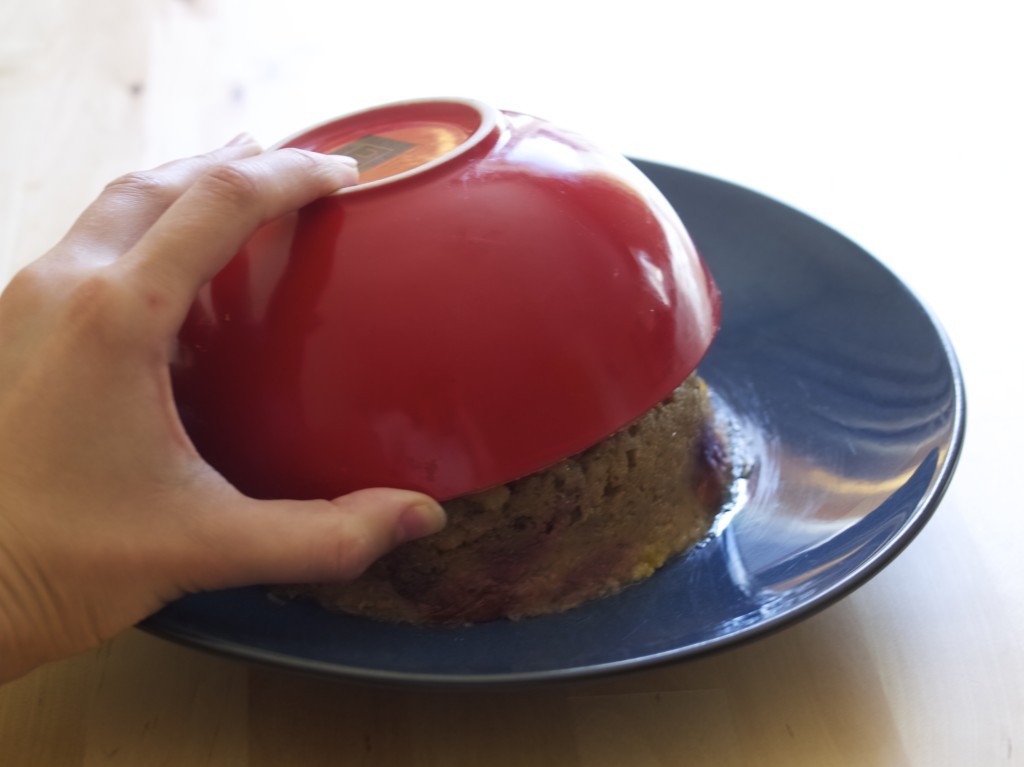
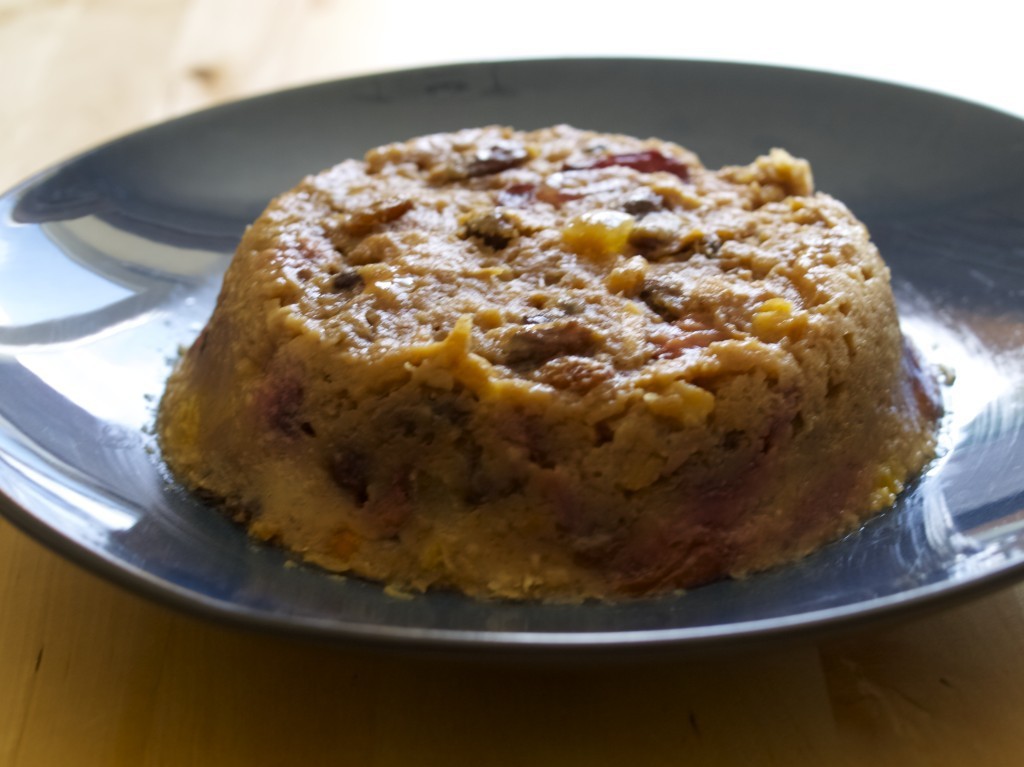
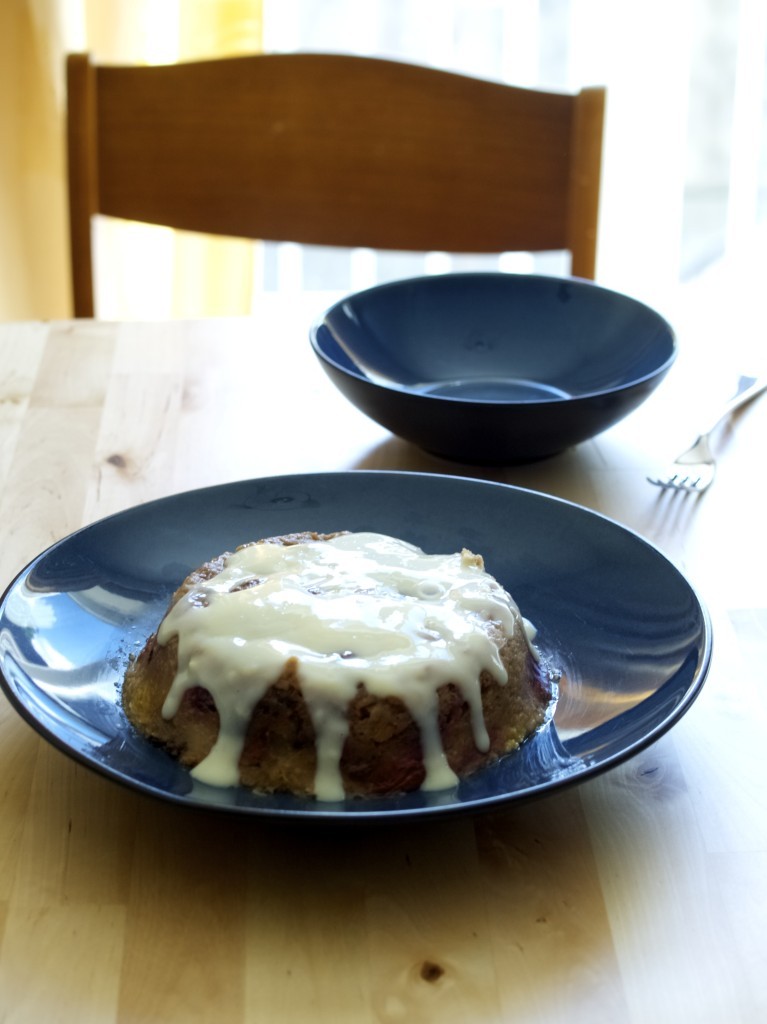
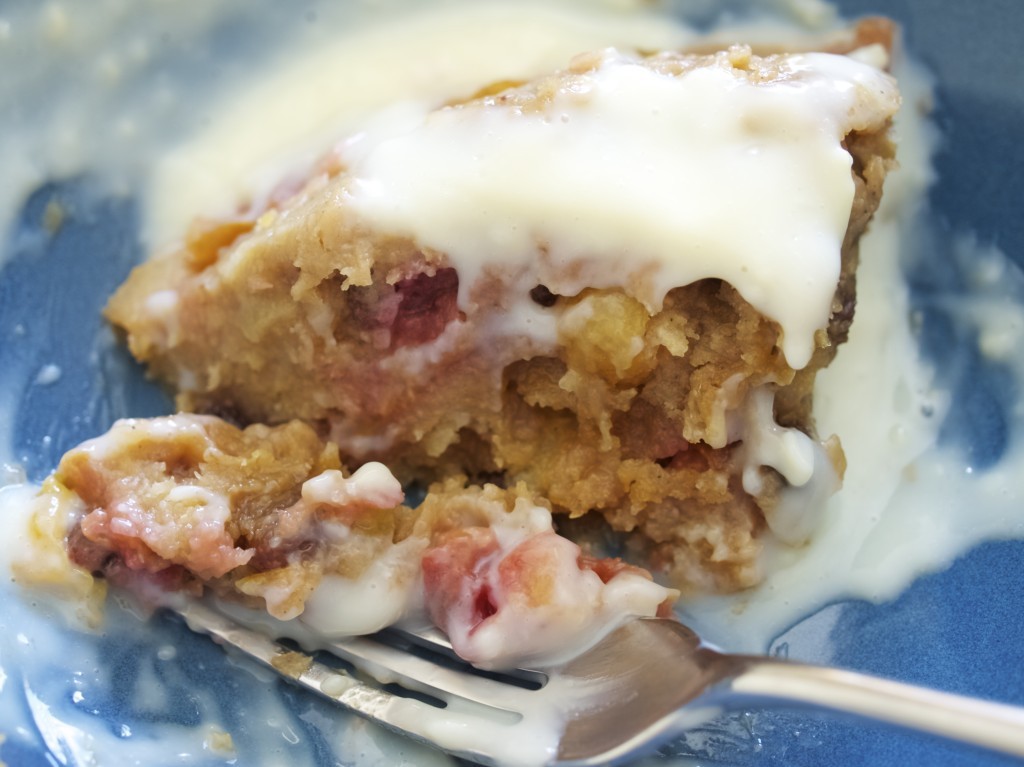
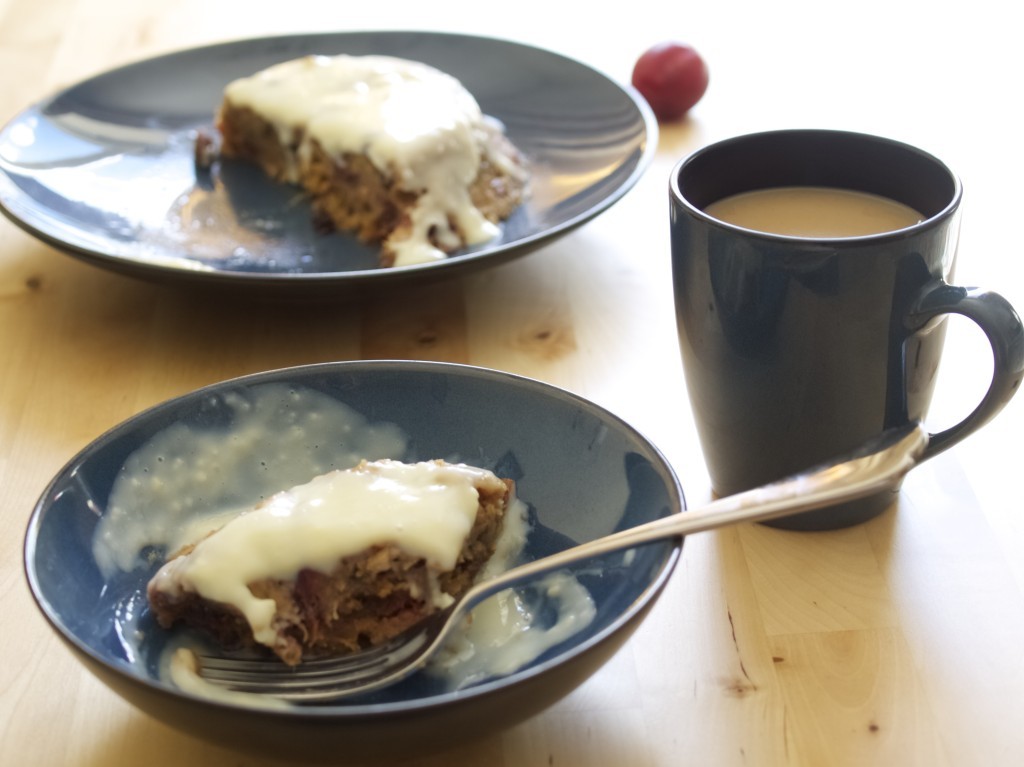
a healthier plum steamed puddingAfter living with an englishman for over a month, I realised that a pudding is an important part of the meal. Joni’s favourites are figgy dowdy, plum duff and spotted dick (yes, that’s right, thats how they call their puddings). All of these puddings are steamed puddings and that’s what I am going to talk about today. Although steamed puddings are meant to be for winter, it is good to make them now to reflect on current weather! I replaced suet (pure animal fat, similar to shortening in america) with coconut oil and caster sugar with molasses sugar so this can be a healthier option. And you don’t need to have all the equipment! Here I demonstrated how to steam your pudding in a regular steamer using cereal bowl. Go on, try it ;-). a healthier plum steamed puddingPLUM STEAMED PUDDING

  • 55g self raising flour
  • 110 mixed dried fruit
  • 2 slices of bread with no crust, soaked in milk and drained
  • 55 molasses sugar
  • 50g coconut oil
  • 1/2tsp mixed spice
  • 115g plums, cored and chopped
  • half of an apple, pealed, cored and shredded
  • 2 tbsp orange marmalade
  • 2 tbsp vanilla rum (can be any you have, preferably dark rum)
  • 1 egg
  • 60ml milk
  • custard to serve

1. mix all the ingredients (except the curd) until all well combined.

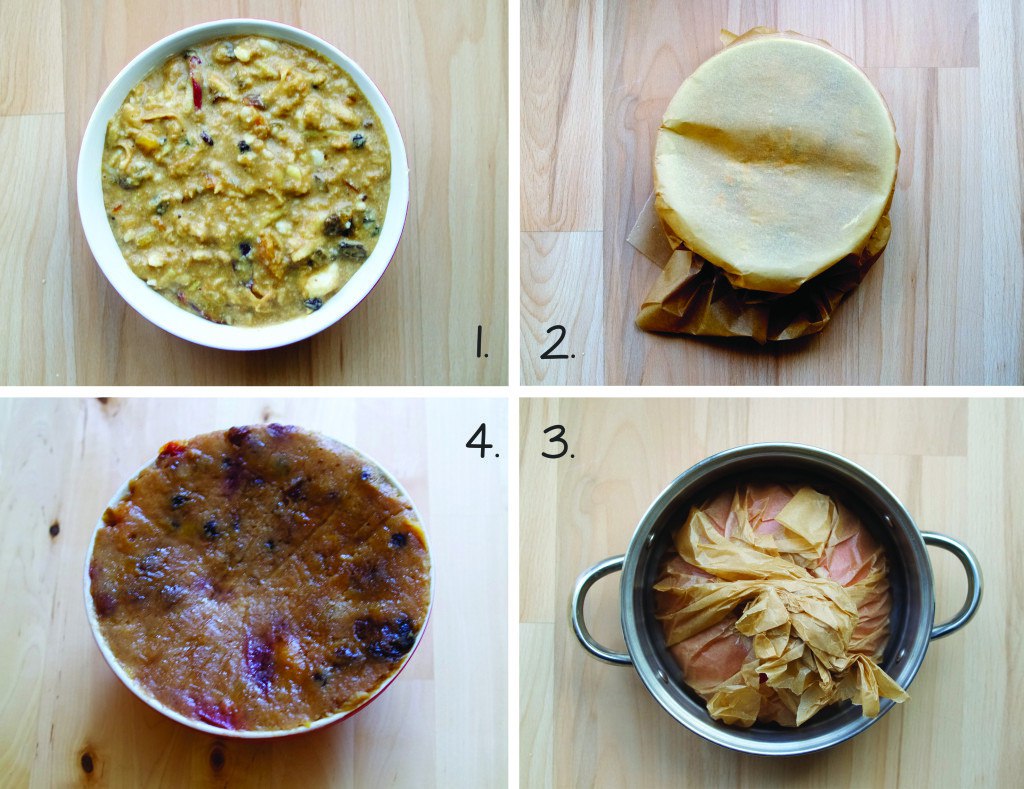
2. to steam the pudding place the pudding mixture into the greased bowl (1.) and cover it with baking paper (2.). Place the bowl upside down in the steamer (3.). Steam the pudding for three hours (4.), replenish the water level if necessary. how to steam the pudding3. Place the pudding bowl upside down in the plate and slowly lift it up to release the pudding.a healthier plum steamed pudding a healthier plum steamed pudding4. Enjoy it while still warm with custard.a healthier plum steamed pudding a healthier plum steamed pudding a healthier plum steamed puddingIt’s comforting food all over, so indulge ;-)

Rasa xoxo

1

Seating chart design

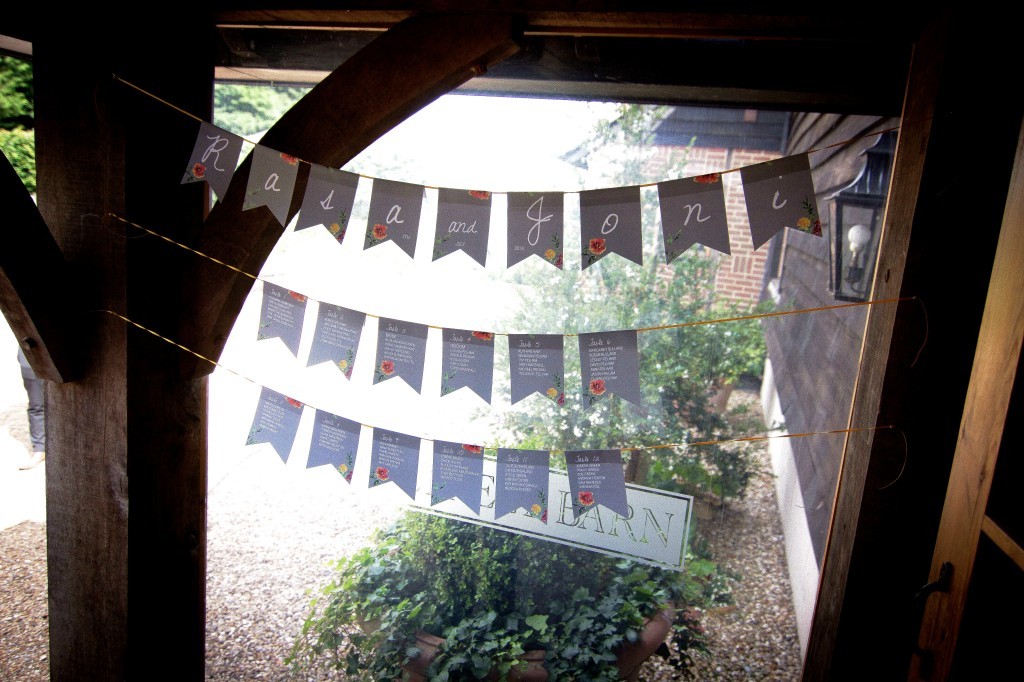
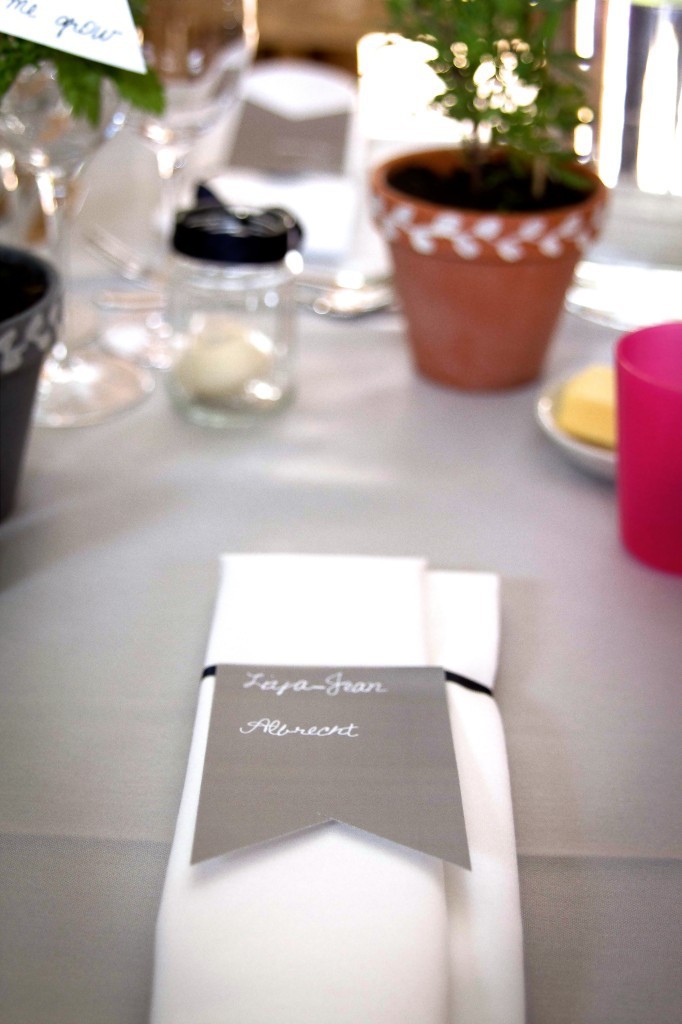
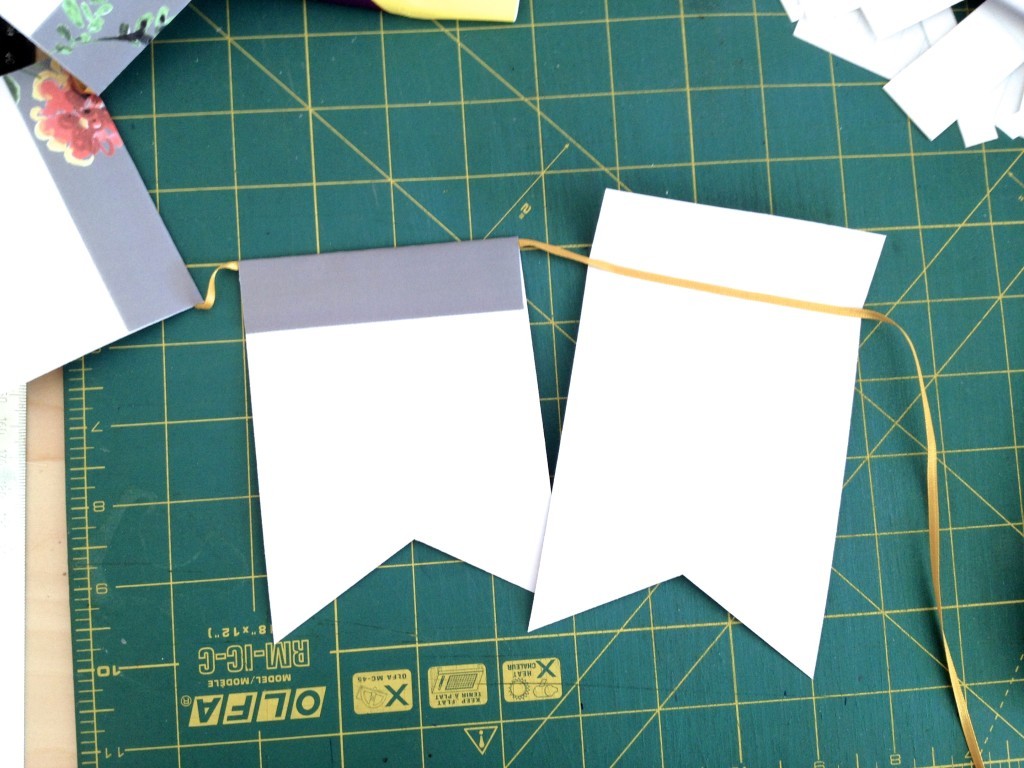
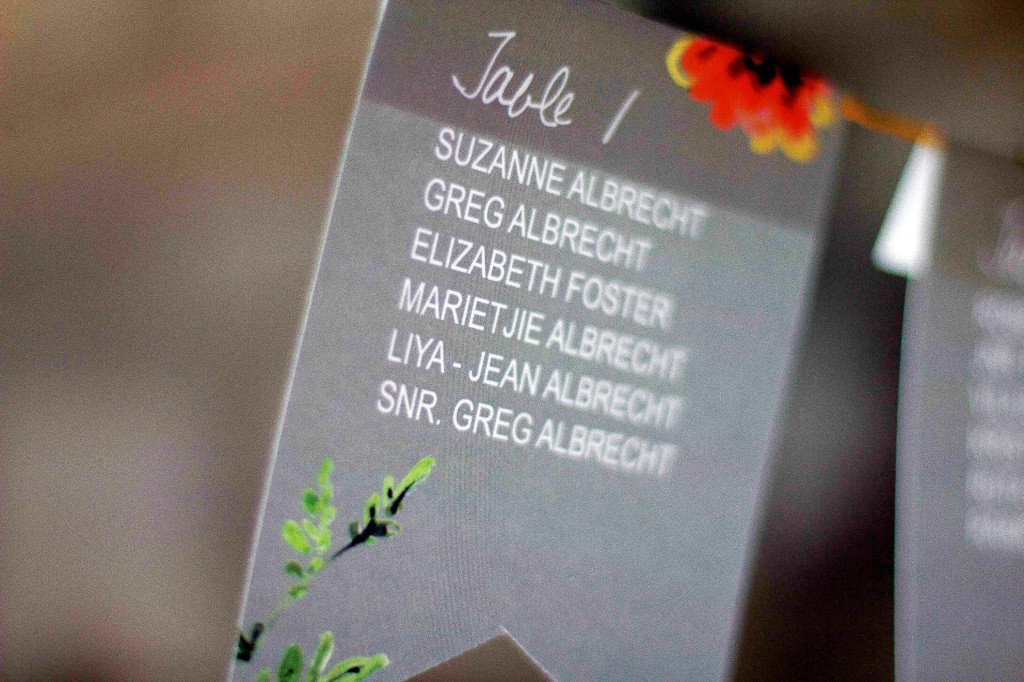
seating chart designWhen it comes to organising big events such as weddings, the seating chart is much needed poster. But does it have to be a poster? We tried to avoid that in our wedding. After checking out some ideas on Pinterest, I initially got attracted with the idea of drying line design (with the rope, pegs and stuff). Our wedding planner even suggested we use some garden forks as something that we can wrap the rope around. But we were already tight with the budget and did not want to buy those garden forks (especially when I no longer have a garden to use those tools). Then somehow the idea came to my head to make it as a bunting. I always liked bunting, but our venue looked too good to cover all the features with bunch of flags. This subtle table chart design not only fulfilled my earlier decorational dreams, but also it really worked together with other deco such as name place cards and painted marigolds. Yey!name place card designTo make seating chart design as a bunting I have printed guest names together with table number on separate cards then cut it out in flag shape. I folded each flag top edge, inserted a ribbon together with double sided tape and sealed it. Yep, It’s that simple! seating chart designseating chart designInspired? good!

Rasa xoxo


2

Pinterest challenge: slow cooker moroccan chicken

Slow cooker moroccan chicken I don’t know about you, but I love Pinterest! As mentioned many times before I got addicted to it two years ago and by now I have over 7000 pins (click here to see my pins) and over 1000 likes. Although I love pinning craft ideas, majority of my likes are related to food. But do I actually cook/bake from many of those recipes? Although I do try from time to time to bake or cook from my boards and likes, but sadly not often enough. I wish some of those foods would come alive in my kitchen! Can you relate? If so, than this challenge is for you! I have decided from this week forward I will try out one recipe from Pinterest once a week and will write my reviews here. Sounds like a plan? Great! Let’s go with that ;-).

My first recipe to try out is slow cooker moroccan chicken from ‘Will Cook for Smiles’ blog. I got attracted to it as we have recently received slow cooker as a gift and I love the convenience of it. So was kind of looking for more ideas for that type of cooking method. I had to change few things in this recipe however. First, I did not like the idea of using ready sauce from the packet so I made my own. I also used chicken legs instead of breast just because I prefer those parts and I used parsley instead of cilantro (american way to call coriander), because I wanted to use up parsley in my fridge. The chicken came out tender and really tasty! Will definitely make again ;-)Slow cooker moroccan chicken

SLOW COOKER MOROCCO CHICKEN adopted from Will Cook for Smiles

For the chicken

  • 1tbsp coconut oil
  • 2 garlic cloves, finely chopped
  • 1tsp salt
  • 1tsp paprica
  • 1tsp cumin
  • 1/2 tsp cayenne pepper or black pepper to taste
  • 1 tsp sugar
  • 1 tbsp chopped parsley
  • 2 tbsp tomato puree+2 tbsp water to dilute
  • 3-4 tomatoes
  • 3 chicken legs
  • 1 cup of chicken stock
  • 1 small onion, sliced
  • 1 can of chickpeas, drained

For the meal:

  • 1 cup of dry couscous
  • 1tbsp ground almonds
  • 2 tsp chopped parsley
  • 2 tbs chopped  spring onion

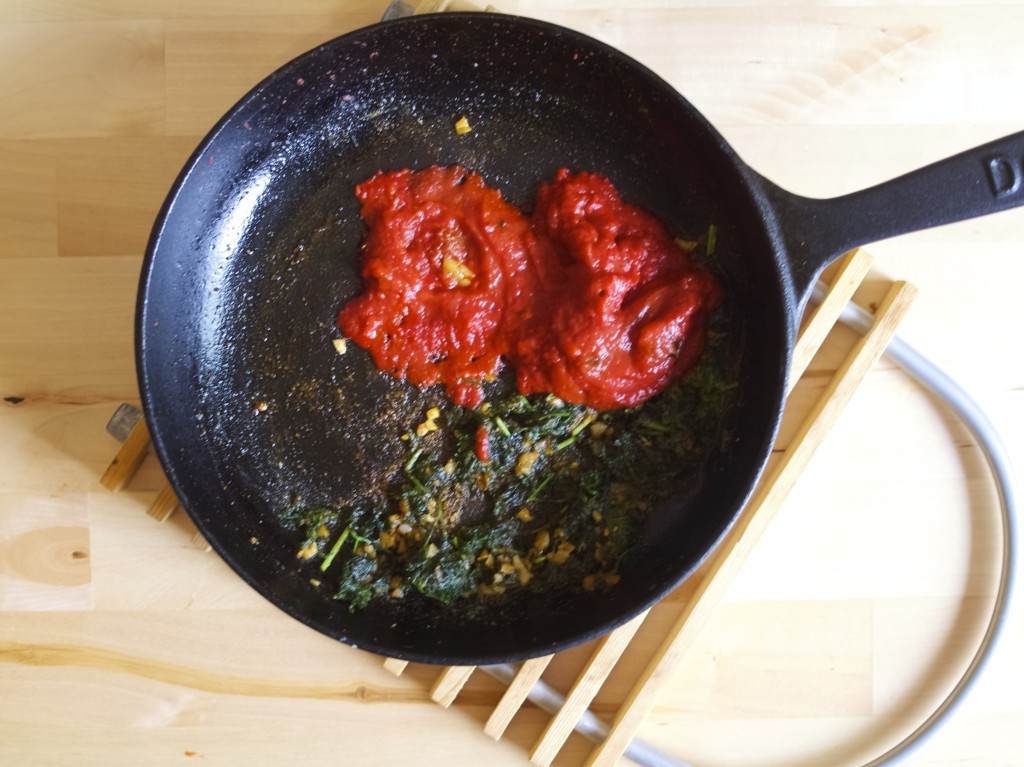
1. Fry garlic in the frying pan using coconut oil. Add all the seasonings, tomato puree with water and fry for another 2-3min.

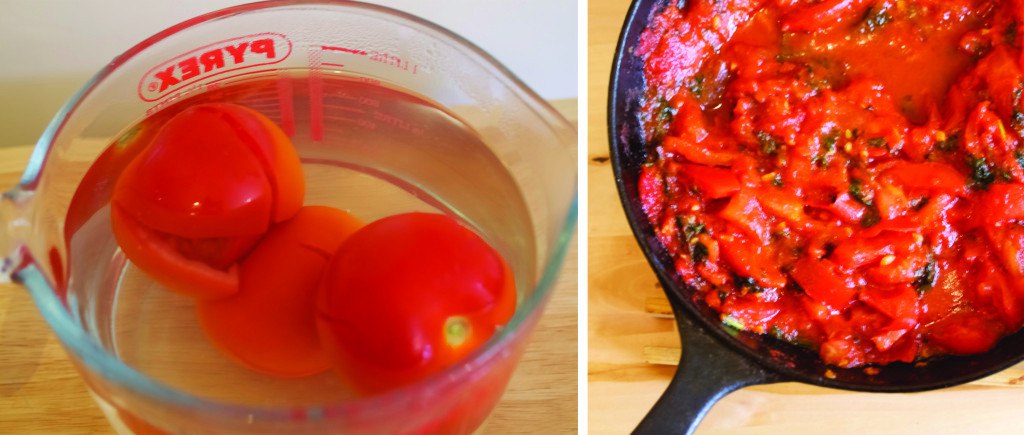
Slow cooker moroccan chicken 2. Meanwhile peal and deseed the tomatoes. Slice the tomatoes in four and pour boiling water over them. The skin should fall off and seeds come out easer. Chop the tomatoes and add them into the frying pan together with garlic and seasoning.

how to peal, deseed and chop tomatoes3. Place the chicken breasts in the slow cooker and add the tomato sauce from the pan, chicken stock and onions. Mix well and set of 6-8 hours. Add the drained chickpeas about half way through.

4. Make couscous by pouring boiling water over it. Once it’s made, stir in the almonds parsley and salt to taste.

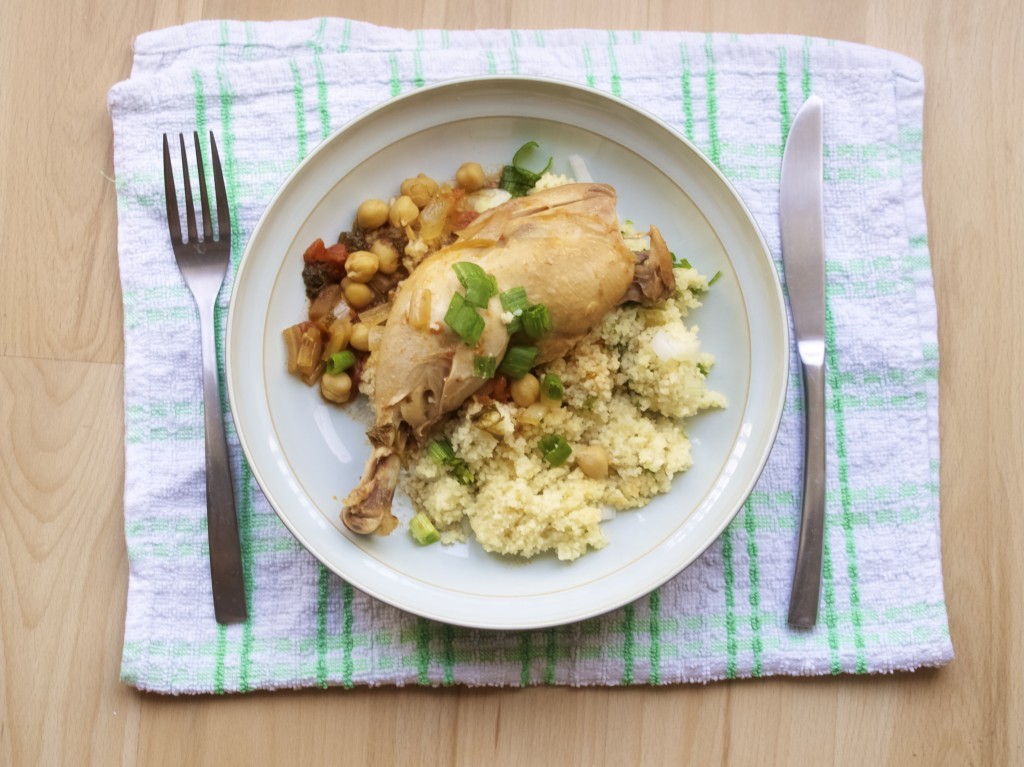
5. Serve chicken on top of couscous. Scoop juice and chickpeas over the chicken and add some spring onions on top!Slow cooker moroccan chicken Slow cooker moroccan chicken

Enjoy!

Rasa xoxo

0

Our apartment in Tuscany

Our apartment in TuscanyWe were on the strict budget when planning our honeymoon. If you have read wedding dress alterations post, you probably remember that most of our money went on the reception venue and caterers. But our holidays turned out amazing! Sometime low budget doesn’t have to be less enjoyable. Sometimes you just have to be more creative when it comes to money spending!

Instead of hotel we decided to go with Airbnb. I absolutely love the concept of Airbnb! No, and I am not being sponsored by them for me to write this. I used Airbnb on many occasions to rent out my London apartment  when I went on holidays. This time it was my first time experience when it’s other way round! There are so many other holiday homes available for rent that are very unique and are cheaper then hotels. I especially look forward to trying out those tree houses in Sweden!

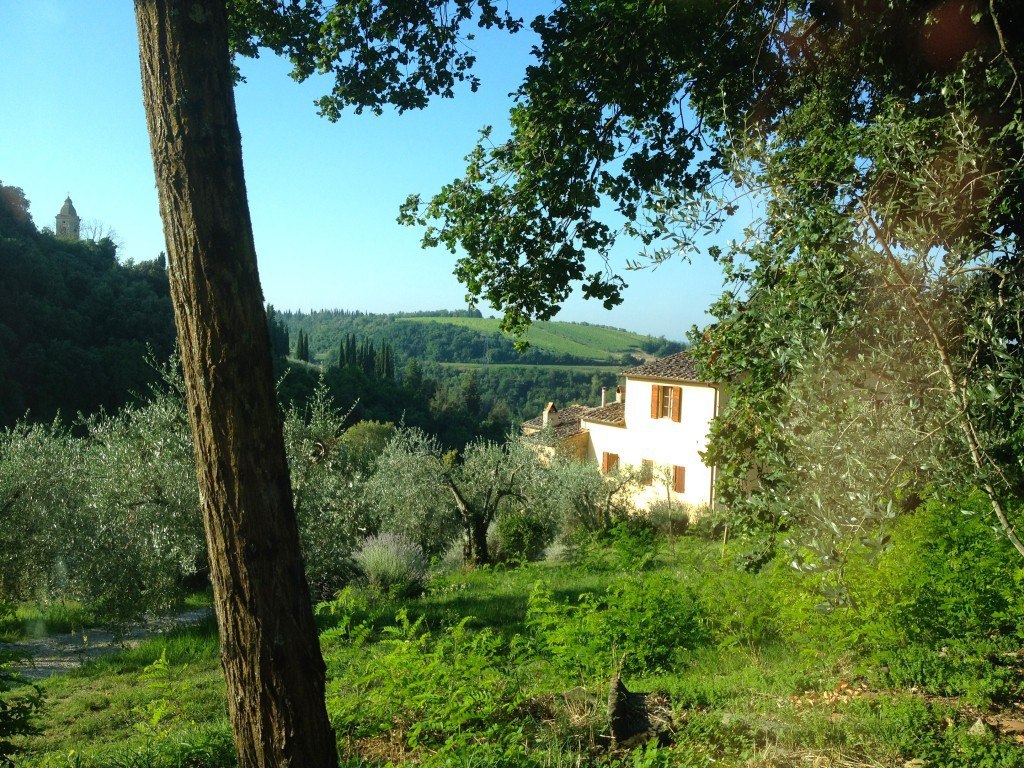
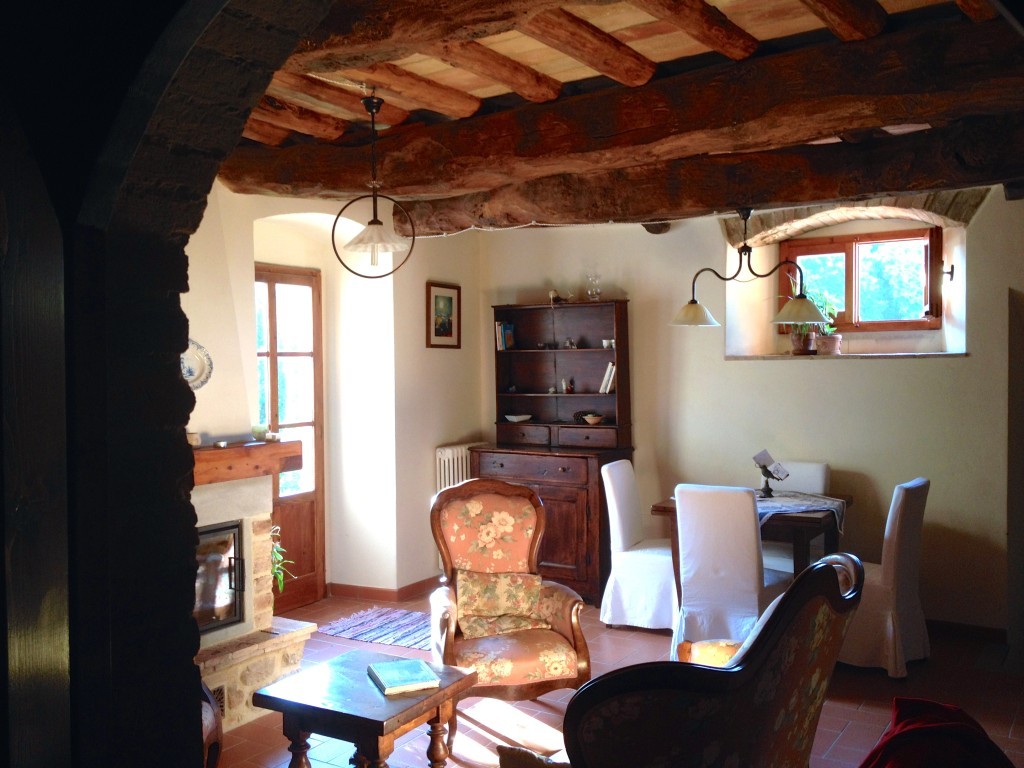
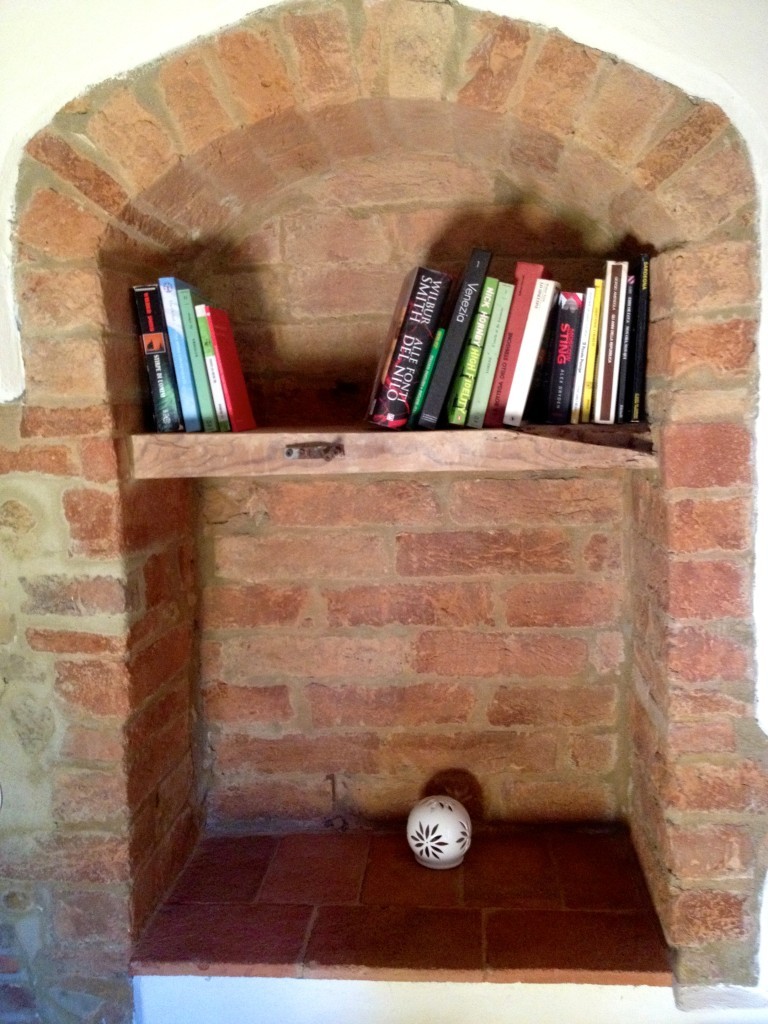
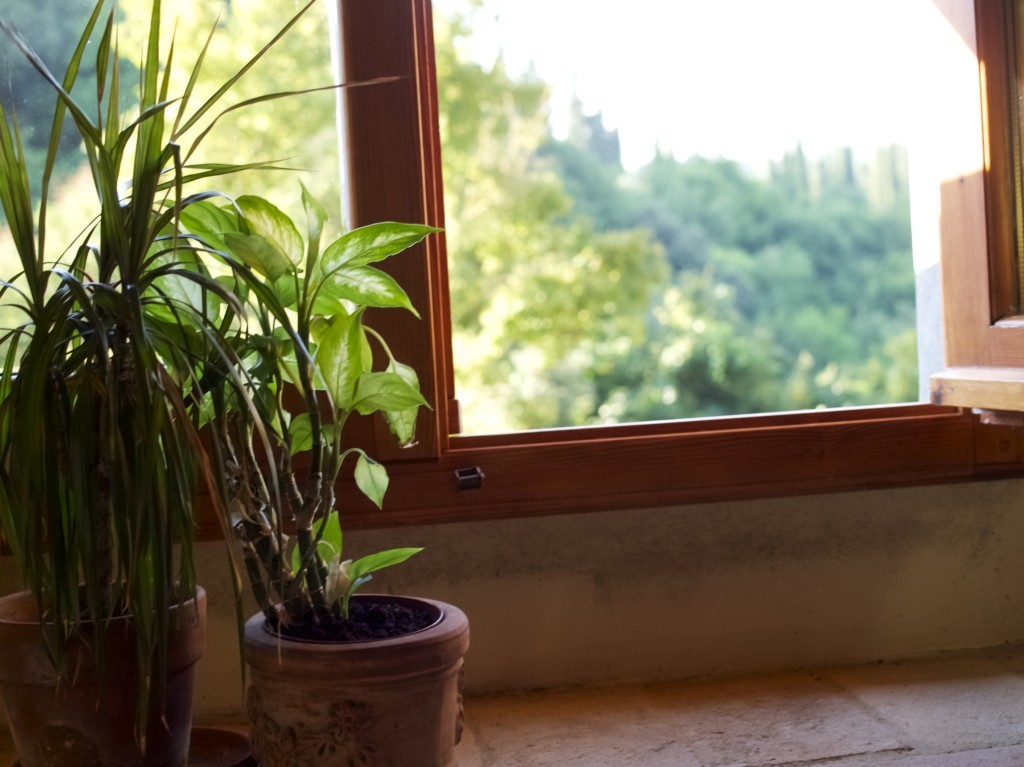
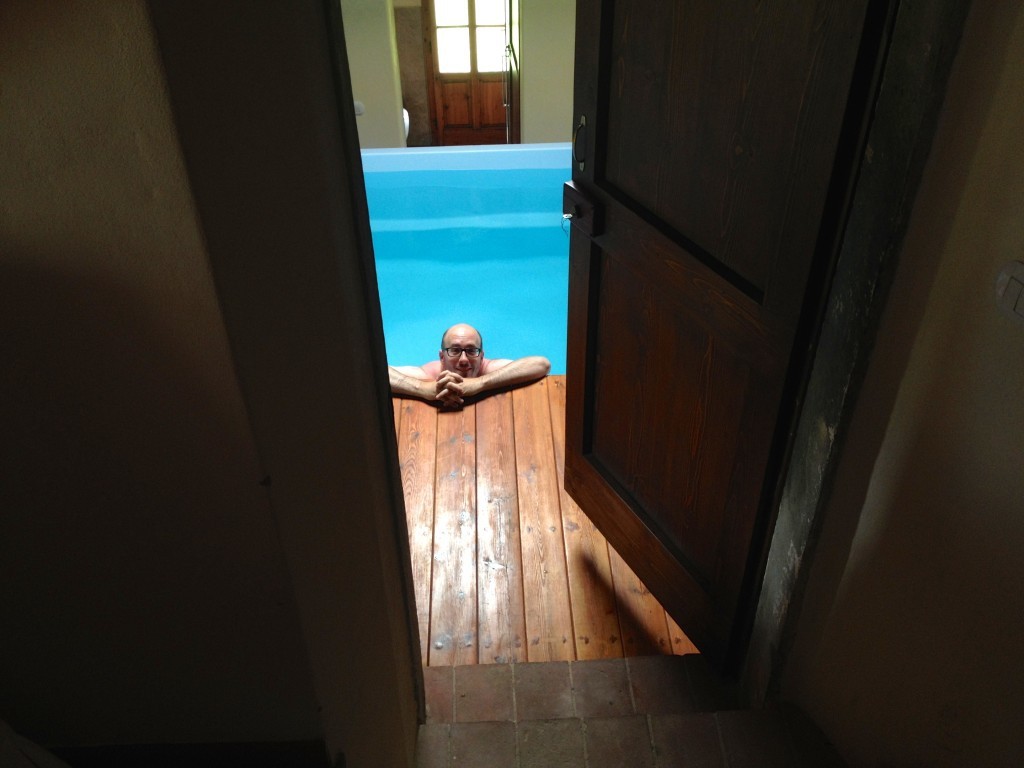
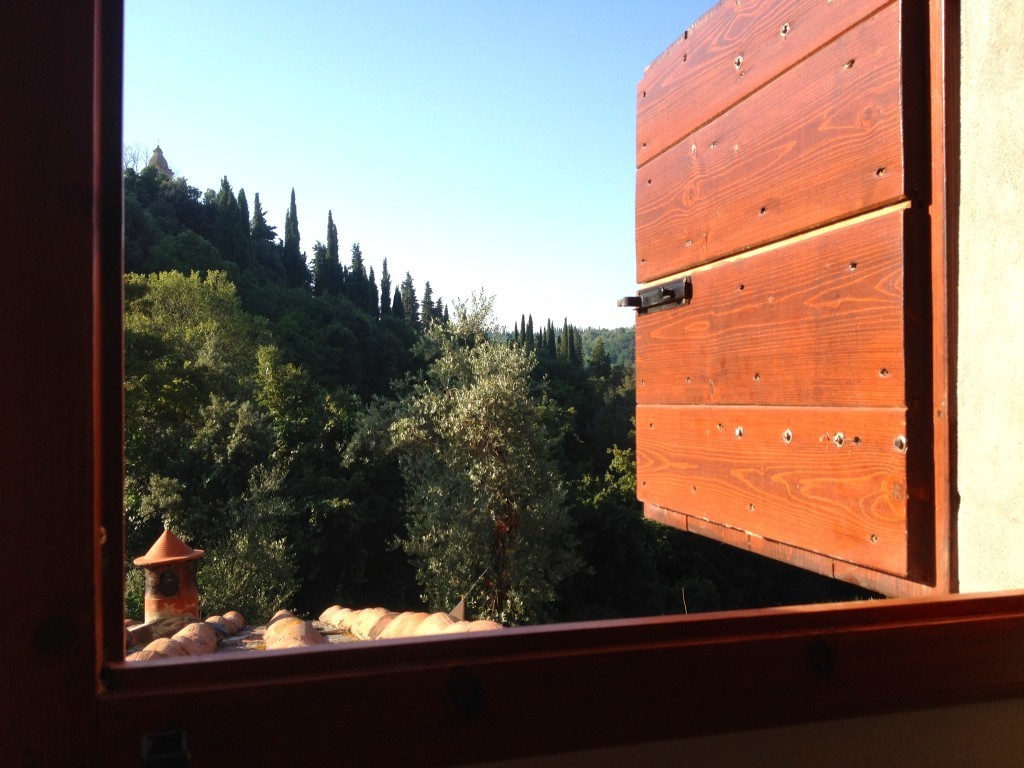
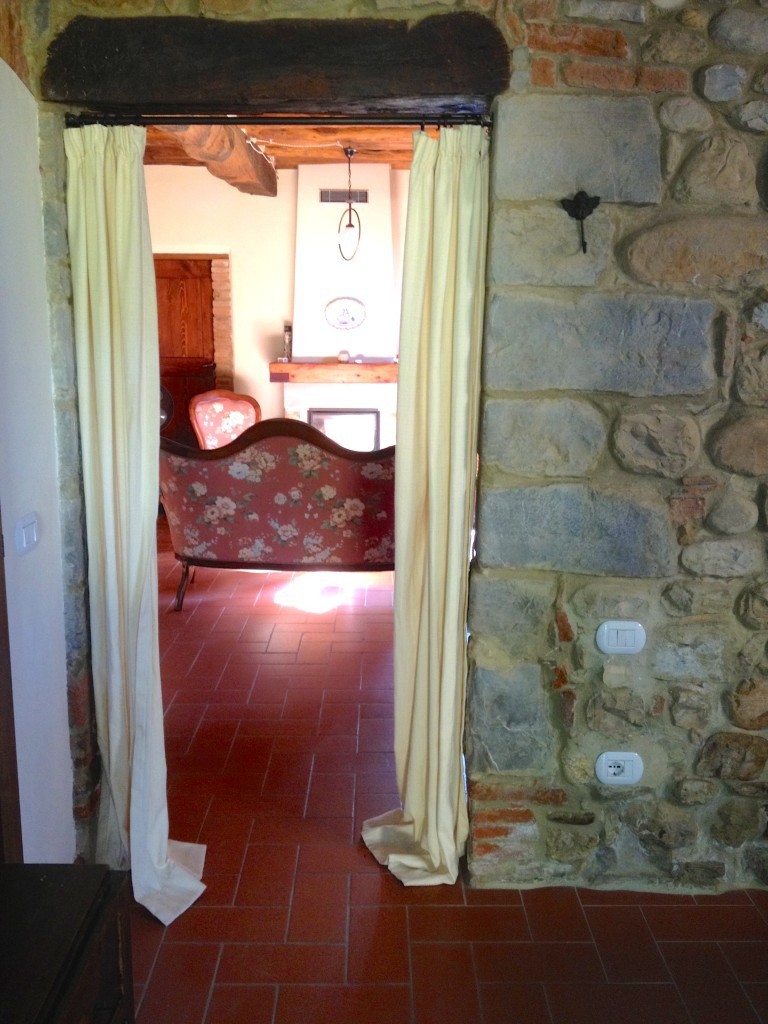
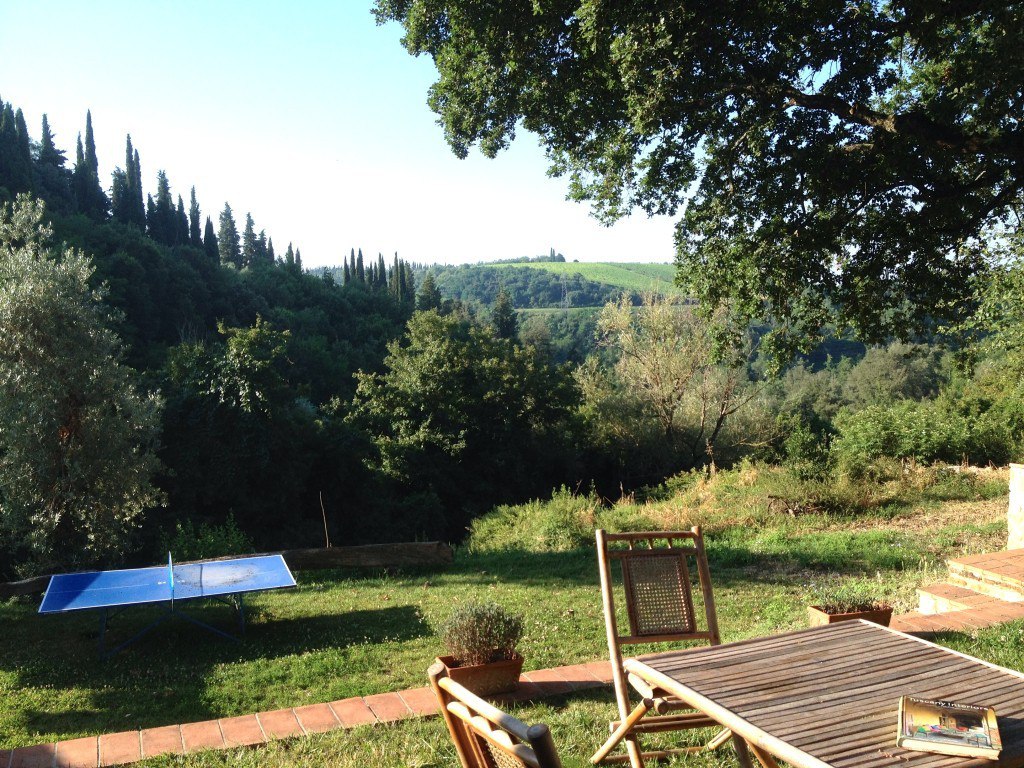
Anyway, coming back to our honeymoon apartment. Our little villa were surrounded by olive trees and vineyards in little village of Montefiridolfi. So we were surrounded by many very beautiful views!Our apartment in TuscanyIt is very cosy apartment that happened to have playing cards and some books in english.Our apartment in Tuscany

Our apartment in TuscanyWe also had a Jacuzzi room! We used it well during few days of storms.Our apartment in TuscanyOur apartment in Tuscany

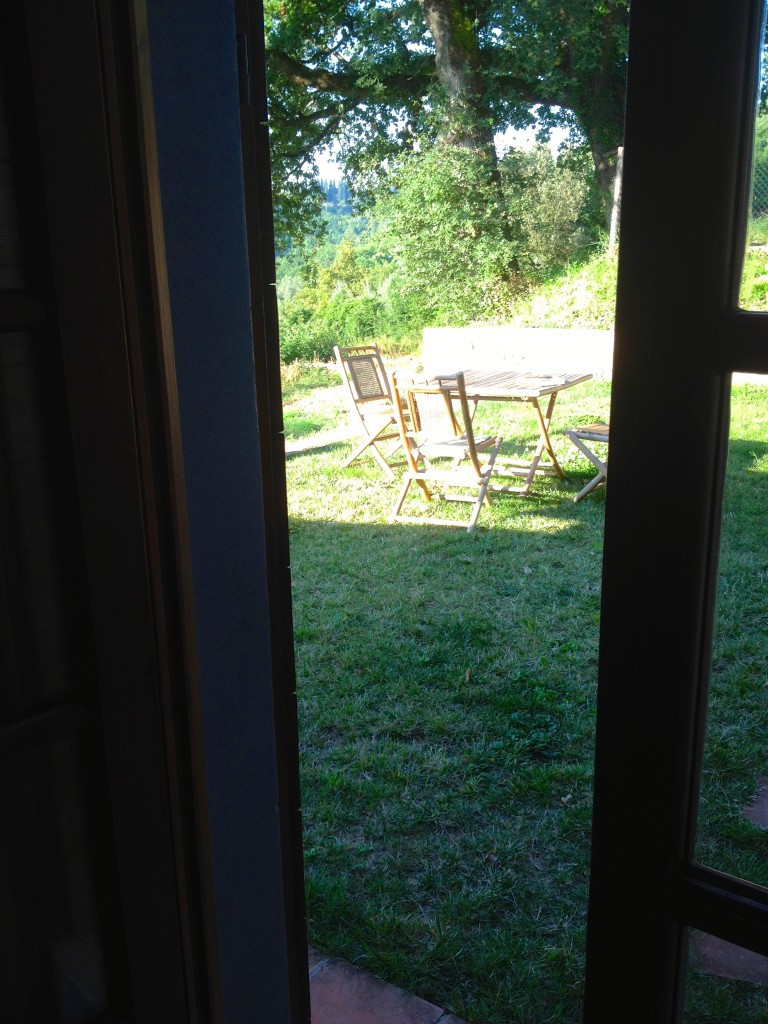
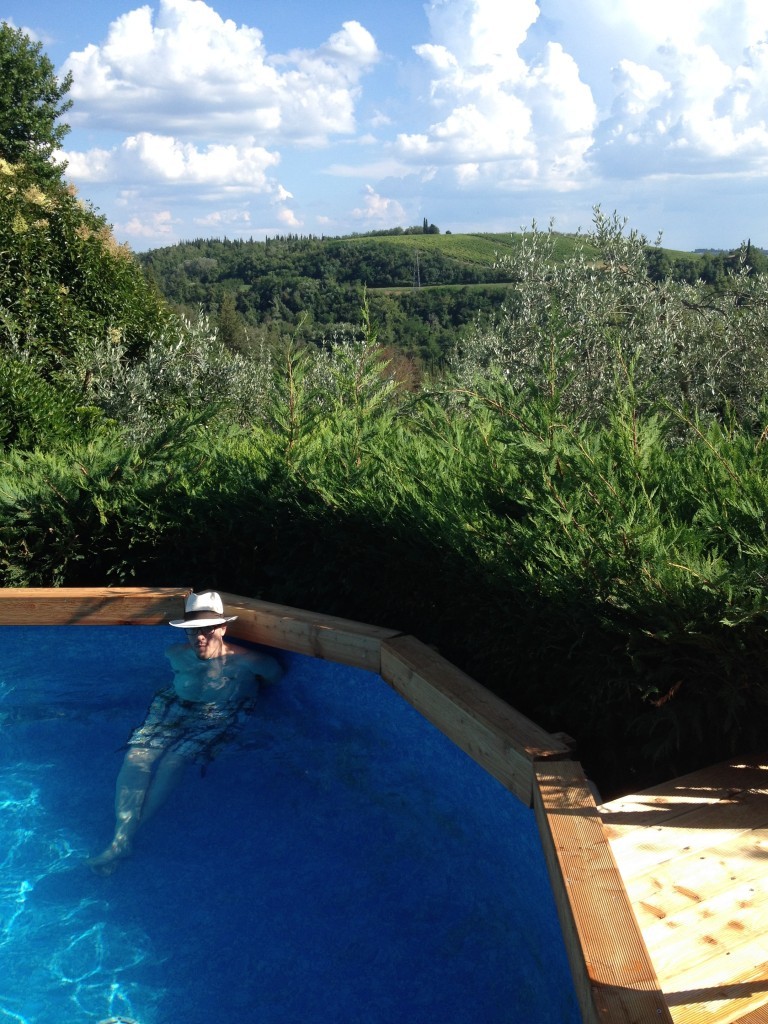
Our apartment in Tuscany I loved rustic interior of our Tuscany apartment. It used to be  a stable before it has been made into apartments! Our apartment in TuscanyOur apartment in TuscanyWe had breakfast outdoors most of the mornings…. really missing that!Our apartment in TuscanyOur apartment in TuscanySwimming pool is where we had most of the fun!Rasajump Jonijump

So, yes, Airbnb is my solution to frugal holiday. What’s yours?

Rasa xoxo

0

Liquid soap making

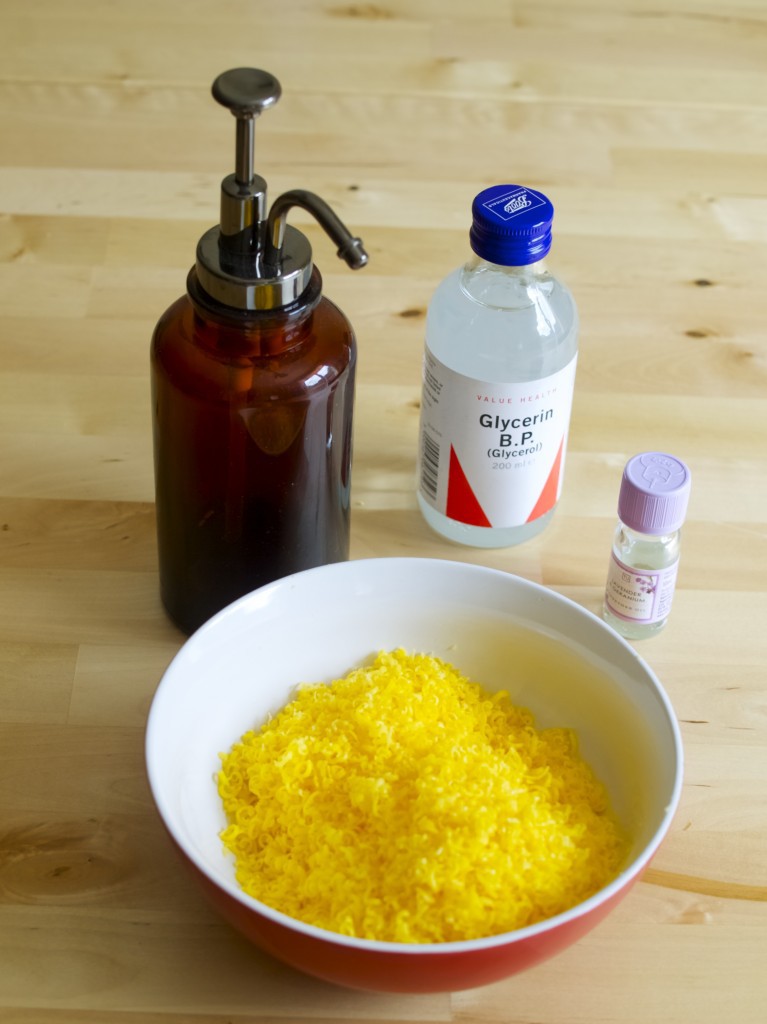
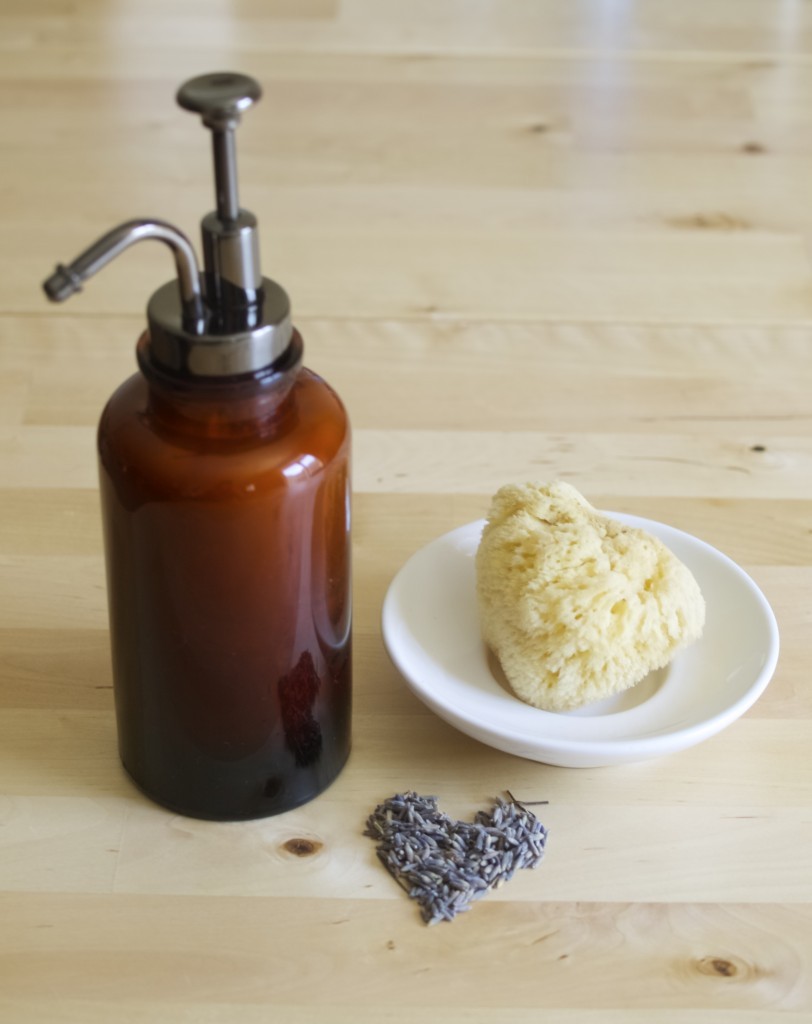
Liquid soap making (recipe included)One of our favourite wedding gifts we have received is this lovely soap pump from Alex. It looks very handsome don’t you think? The only con of having an empty soap pump it that it does come empty and we just realised that it is not so easy to find soap refillers in the shops. So I have decided to give a go and make my own! Few years ago I have made soap, so I know a little bit about how to make soap from scratch. However I have decided to make liquid soap half-way this time (I mean from existing hard soap). First, I had some soap to use up and second, I did not want to do much of preparation. Basically I wanted this to be a quick job without worrying about chemical reactions in my kitchen. Liquid soap making (recipe included)For this Liquid soup you will need:

  • 100g hard soap (can be any you want, but scent-free ones are preferable)
  • 200ml water
  • 1 tsp glycerin (can be purchased in many pharmacy shops)
  • 1 tsp essential oil (I used lavender)

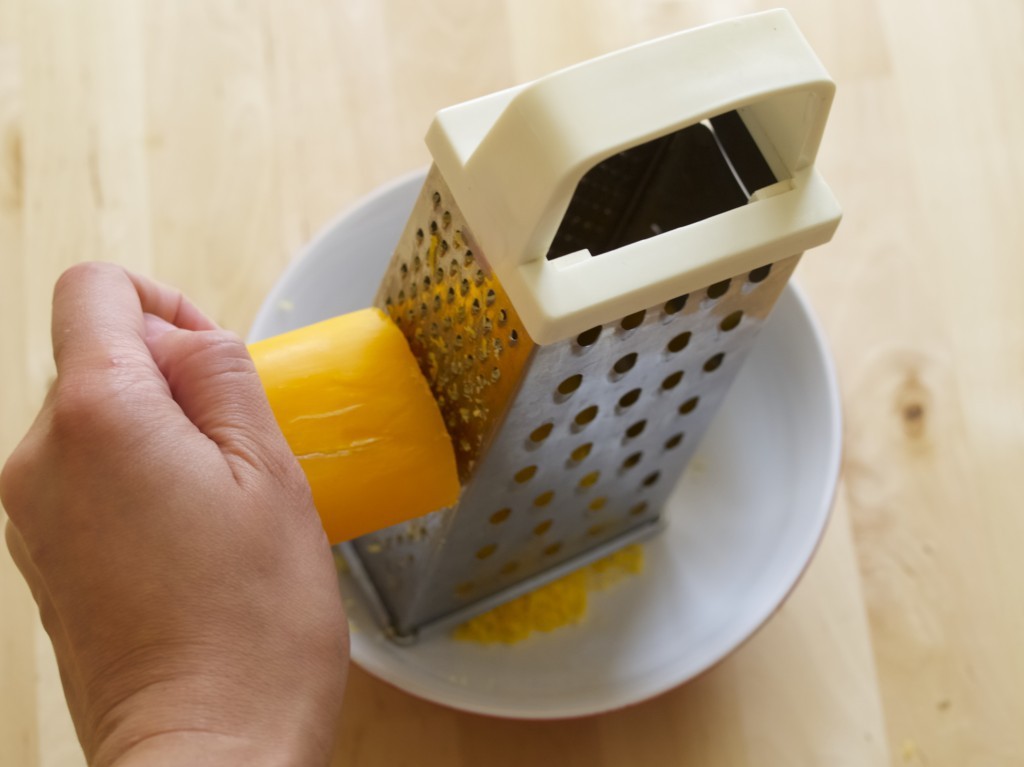
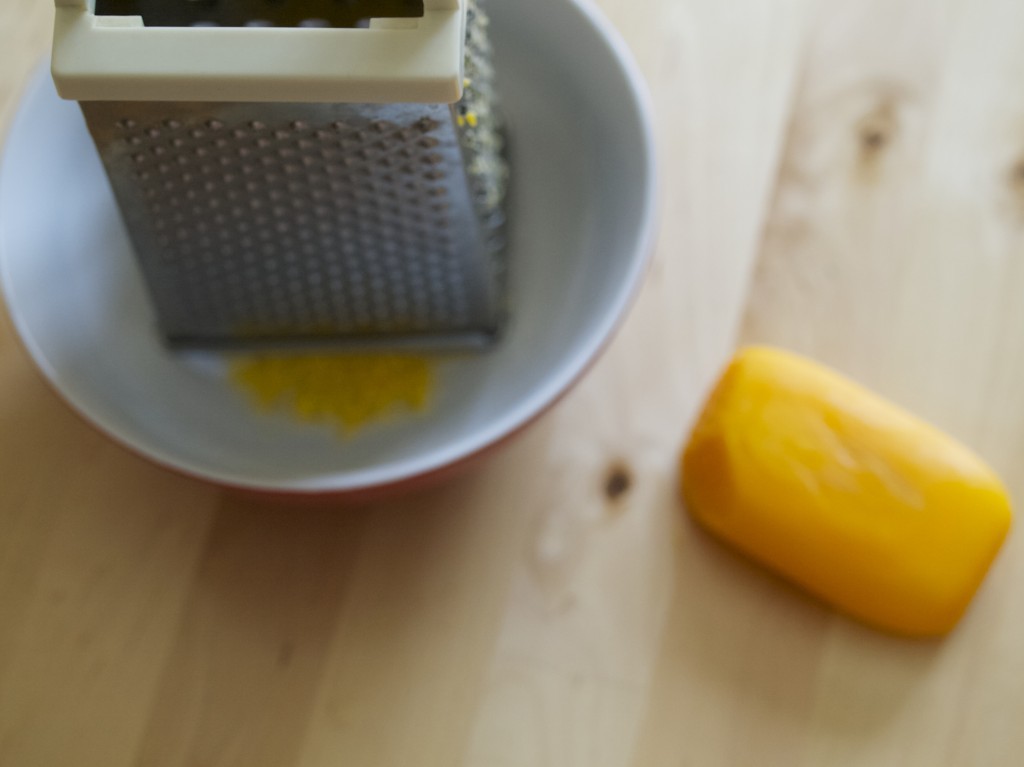
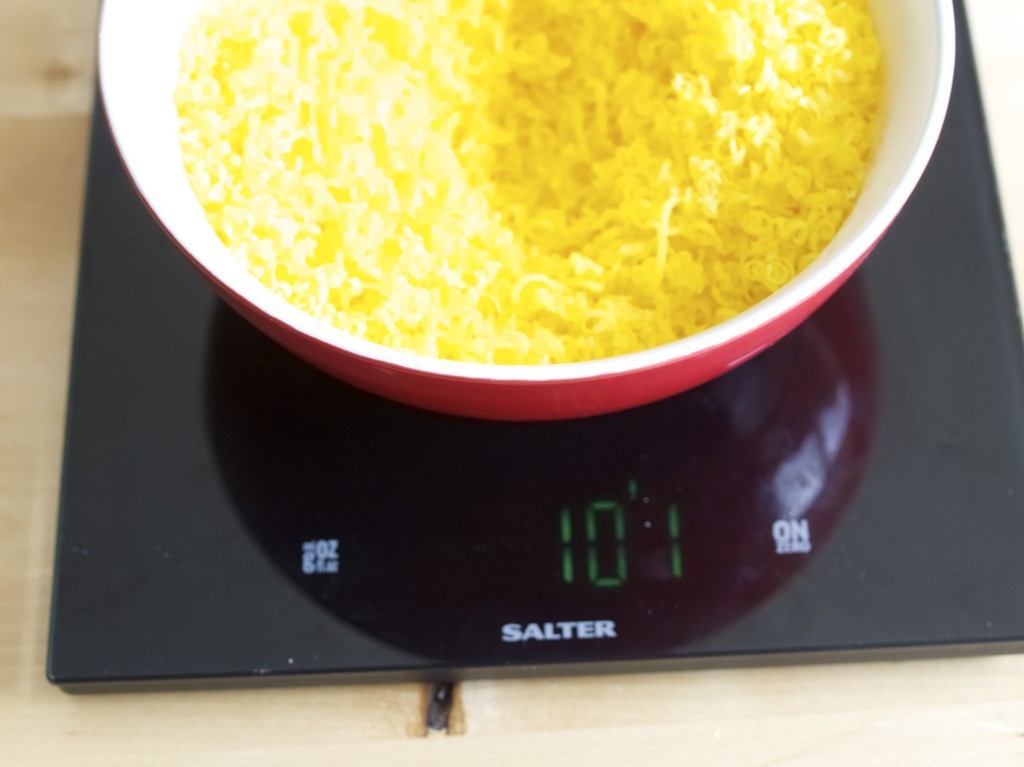
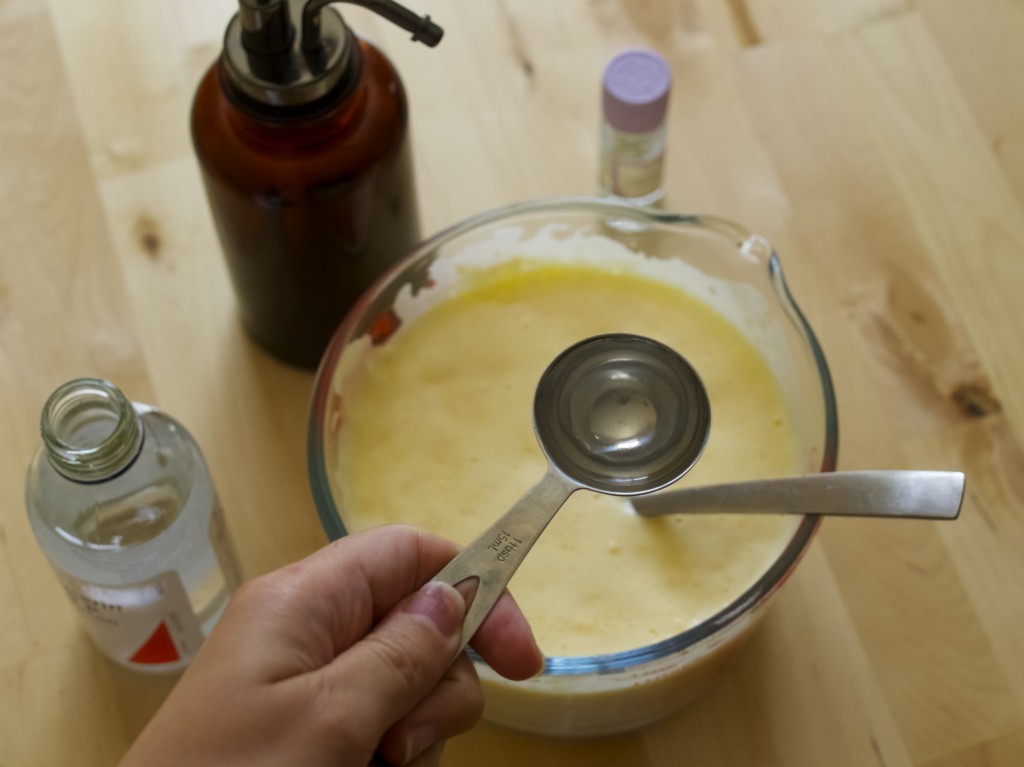
1. Grate the soap. I used Wrights coal tar soap, which wasn’t a good choice as it is almost impossible to kill that strong burned smell. Liquid soap making (recipe included) Liquid soap making (recipe included) Liquid soap making (recipe included) Liquid soap making (recipe included)2. Gather all other ingredients such as glycerin, and essential oils. Liquid soap making (recipe included)3. Weigh the soap flakes and boil water accordingly. There should be 200ml water per 100g of soap. Melt the soap flakes in boiled water and process it with the hand processor. Liquid soap making (recipe included)4. Add glycerine and essential oil into the soap mixture and combine it well.Liquid soap making (recipe included) Liquid soap making (recipe included)Have you learned something new today? Rasa xoxo

1

Bridesmaids dresses

my bridesmaidsWhen deciding on bridesmaid dresses I came across this blog post with the picture of bridesmaids wearing mixed style summer dresses. Unfortunately I can no longer find that post that I had pinned on my secret Pinterest board (I sometimes suspect Pinterest deletes some of my pins :-(). Anyhow, that look really inspired me! So this is what I have done. I made and fixed most of my bridesmaid dresses you see in the pic above.

First, I have made Nicola’s dress. You can all go here to see how I made it ;-). This one is also my favourite!Our honeymoon in TuscanyAnna already had a dress we both liked. The only concern we had was it’s length. Last month I wrote a post on how to extend the dress length explaining how I made Anna’s dress a little bit longer. Really pleased with the result!!!!bridesmaid dress no.2Suzanne’s dress was quite a challenge! She was pregnant during the months leading up to my wedding and we were not able to meet to do some fitting. Even if we could have done some fitting, it would still have been very complicated as her body was changing so fast from pregnant to non pregnant. So I thought I would sew a wrap dress to make it easy for Suzanne to breastfeed whenever she needed. Turned out, I was wrong! Ladies (or gents), if you are making a dress for breastfeeding women it’s best if you make it out of stretchy fabric or make the dress strapless. This wrap dress wasn’t easy to escape apparently! Another issue was that it did not look good on the curves.This happened because I made it slightly loose (not shaped), because I thought that would give a better chance to fit Suzanne. Oh well… no worries, all you curvy ladies! I will be designing my next wrap dress just for you ;-).bridesmaid dress no.3

Making your own dresses may not save you time, but it will definitely save you money. I spend £59.92 for bridesmaid outfits, including shoes!

Rasa xoxo


1

Florence of Italy

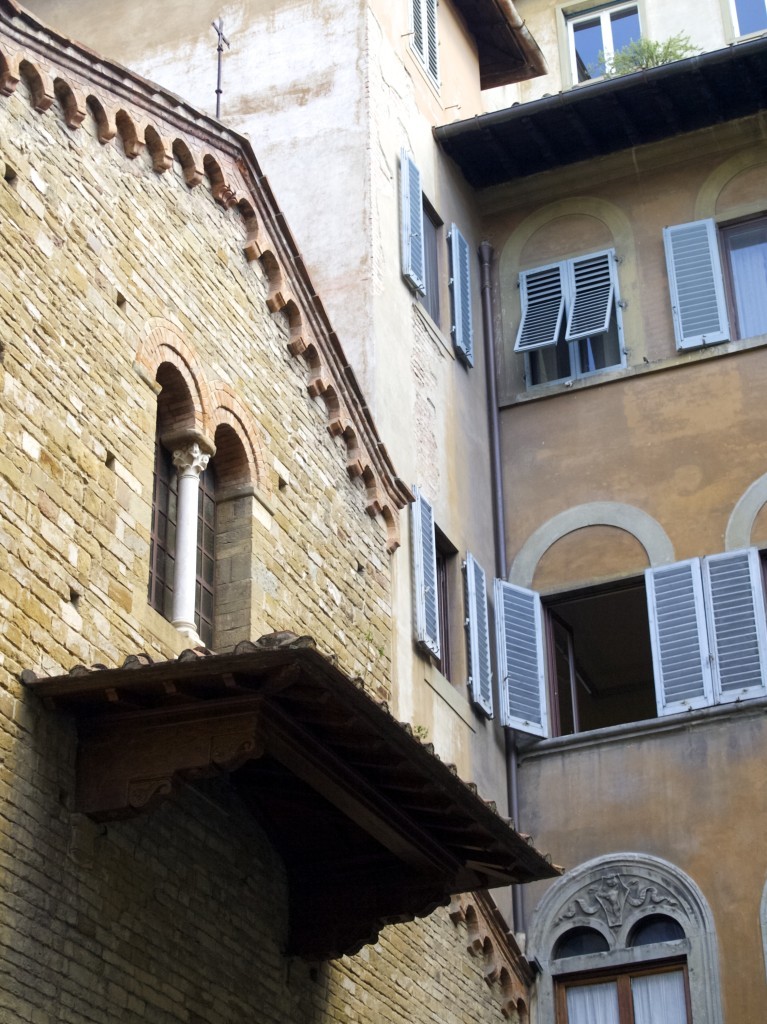
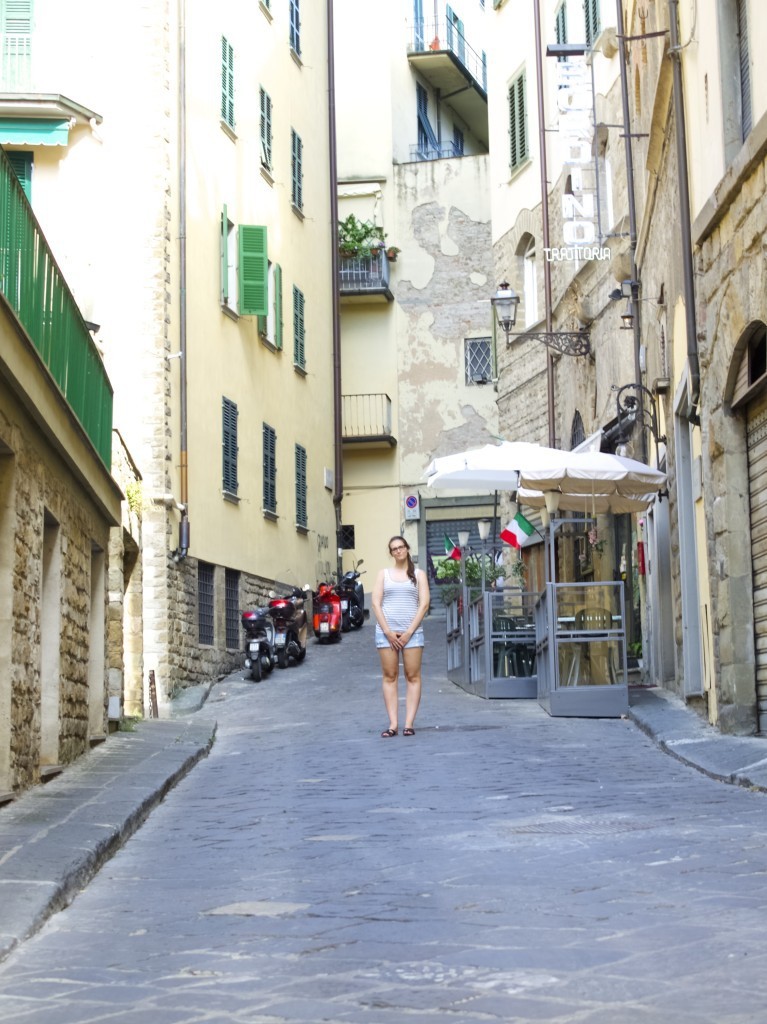
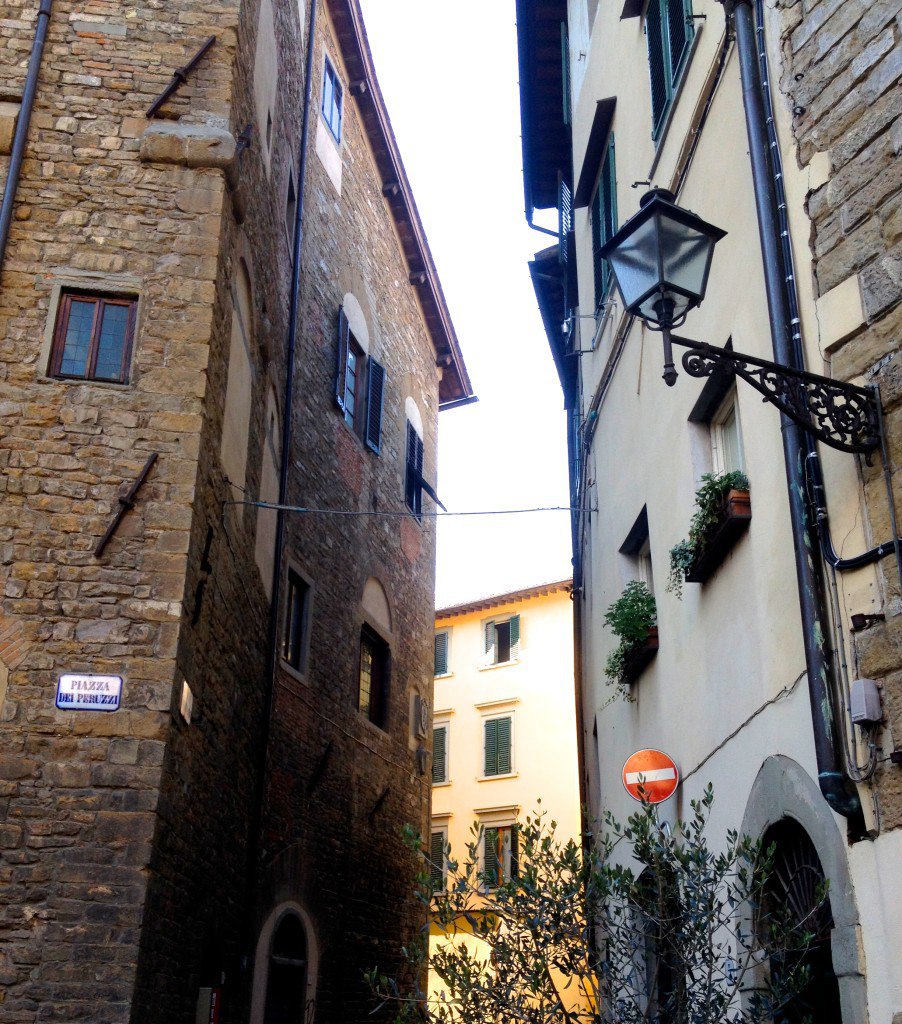
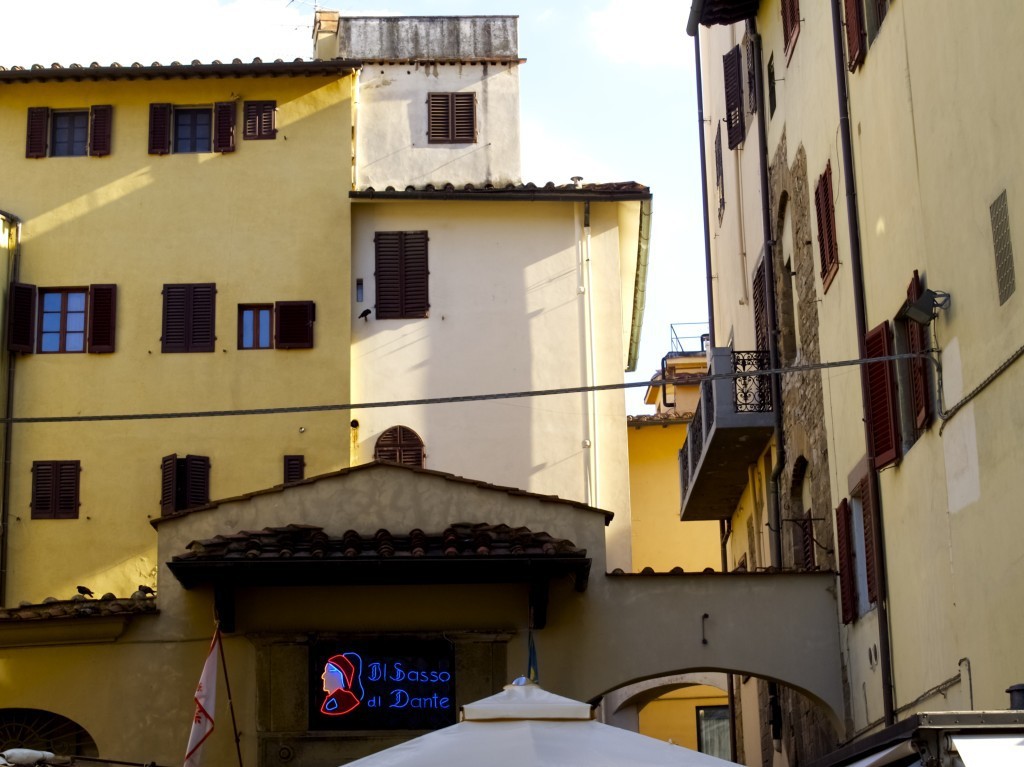
Florence architecture in ItalyWhile in Tuscany we visited Florence many times. Not only that our flight was from Florence, but also we visited for many cultural reasons such as architecture, theater (we went to see italian opera once) and some shopping.Florence architecture in Italy Florence architecture in ItalyI personally loved tall, four/three storey buildings with beautiful long windows.Florence architecture in ItalyIf you are in Florence, prepare to walk a lot! And don’t miss out on  the Duomo at Piazza Santa Maria del Fiore ;-).Florence architecture in Italy

Florence architecture in Italy Florence architecture in Italy

Florence architecture in Italy Florence architecture in ItalyIf you are not on holidays already then have a lovely week!

Rasa xoxo


0

Any-day roast :-)

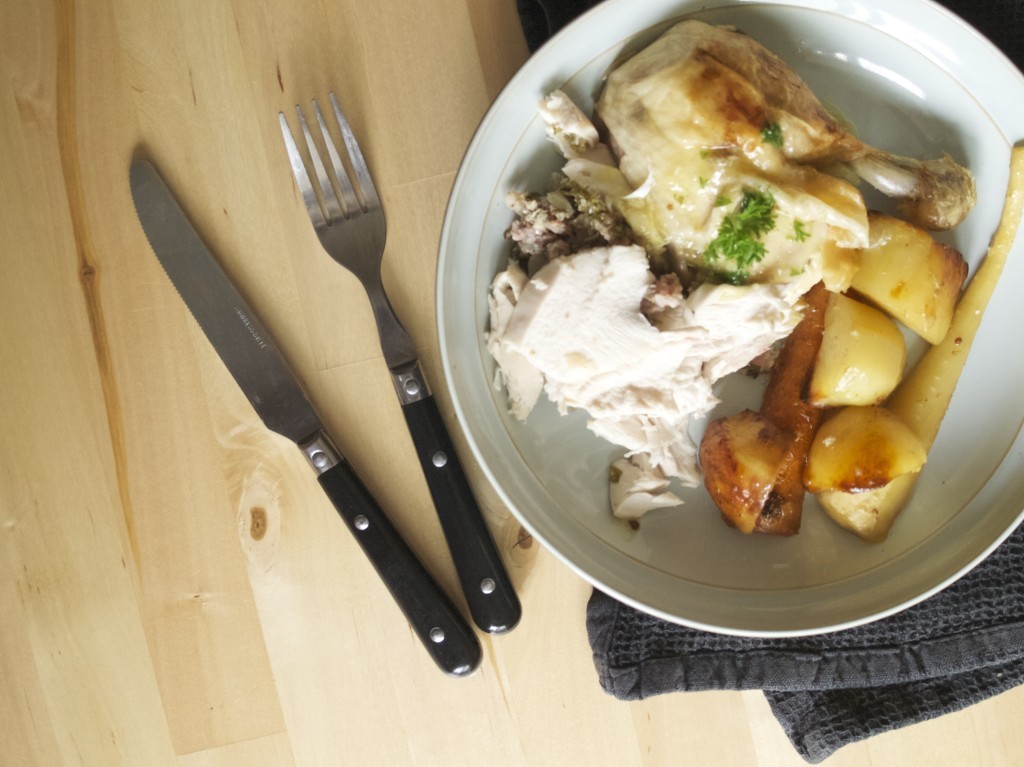
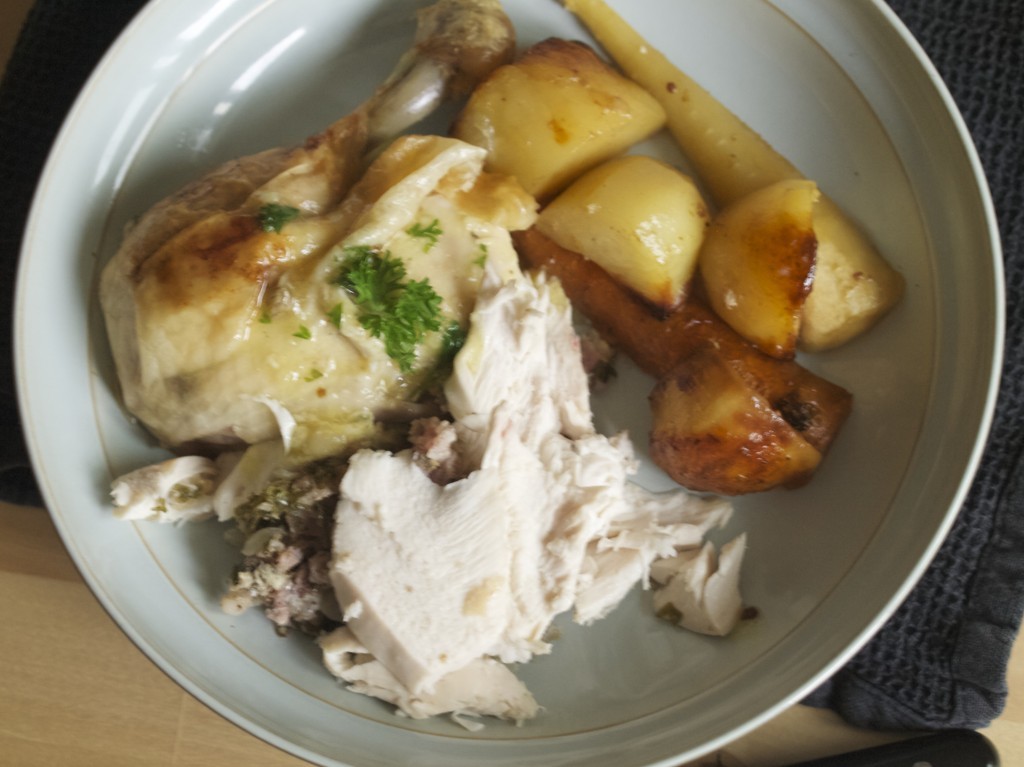
any-day roastAfter living in UK for 14 years I am very familiar with the sunday roast concept. However I probably could count on my fingers how many times I actually roasted any meat, so you can imagine not so many times! Joining Pelham family prompted me  to rethink my strategy on roasting. Pelhams proved me on so many occasions that they can do roasting amazingly well. Not only that they roast pheasants and other game meat, Joni’s dad actually makes his own handmade Yorkshire pudding!any-day roastAnyway… luckily, thanks to Nishalini’s wedding gift (a book called “Sunday Roast” by Clarissa Dickson Wright & Johnny Scott) I had another attempt at roasting! I picked chicken recipe with anchovies. I know, I know not a very classical choice, but I thought it was interesting and it did taste amazing in my opinion (it did not go well with Joni however as I think he only likes anchovies on pizza). The only thing I edited is the sauce.  I added corn flour to make it thicker and I added parsley… well, because I am Lithuanian!any-day roastROASTED CHICKEN WITH ANCHOVIES adapted from “Sunday Roast” by Clarissa Dickson Wright & Johnny Scott

  • 1.3kg chicken
  • 6 anchovy fillets, chopped (I used 12 anchovies, sorry, Joni)
  • 75g unsmoked bacon + 4 slices to cover the chicken while baking
  • 4 tablespoons chopped parsley
  • 1 onion, finely chopped
  • salt and freshly ground black pepper
  • fat such as oil, butter, pork fat or goose fat
  • 1tsp nutmeg
  • 125 chicken stock

1. preheat the oven to 230C.

2. to make the stuffing mix two-thirds of anchovies, chopped bacon, half parsley, and onion, and season well with salt, pepper and nutmeg.

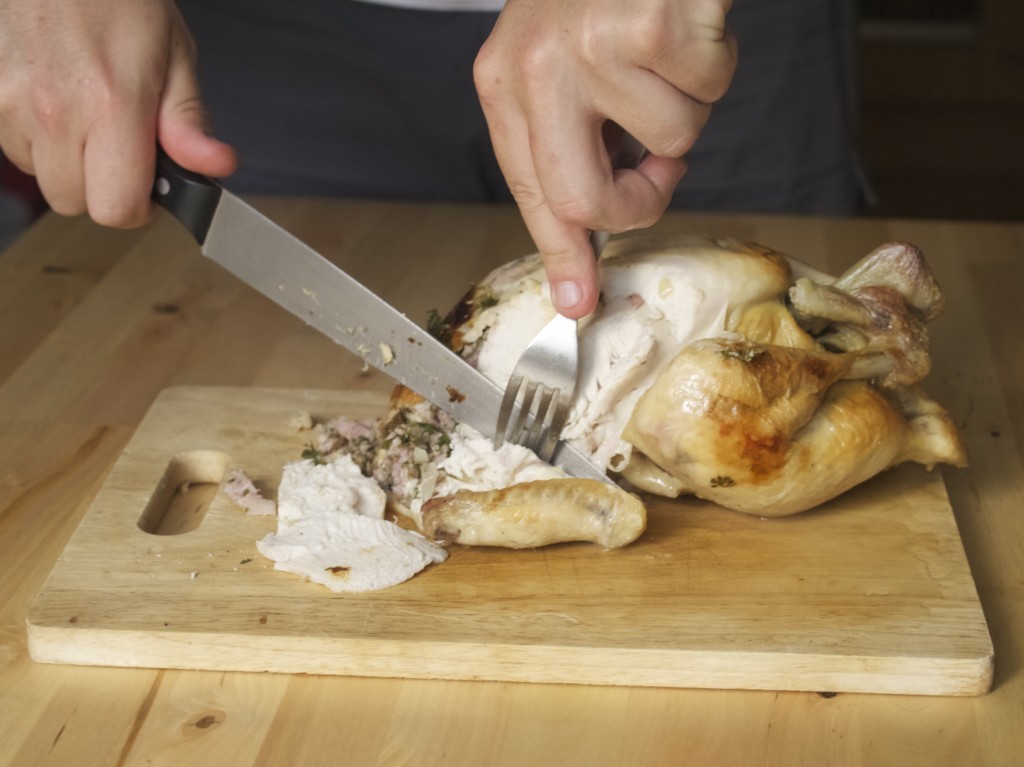
3. Insert your hand under the loose flap at the non-cavity end of the chicken (basically where the chicken head was), loosen the skin and then slide the stuffing under the skin.

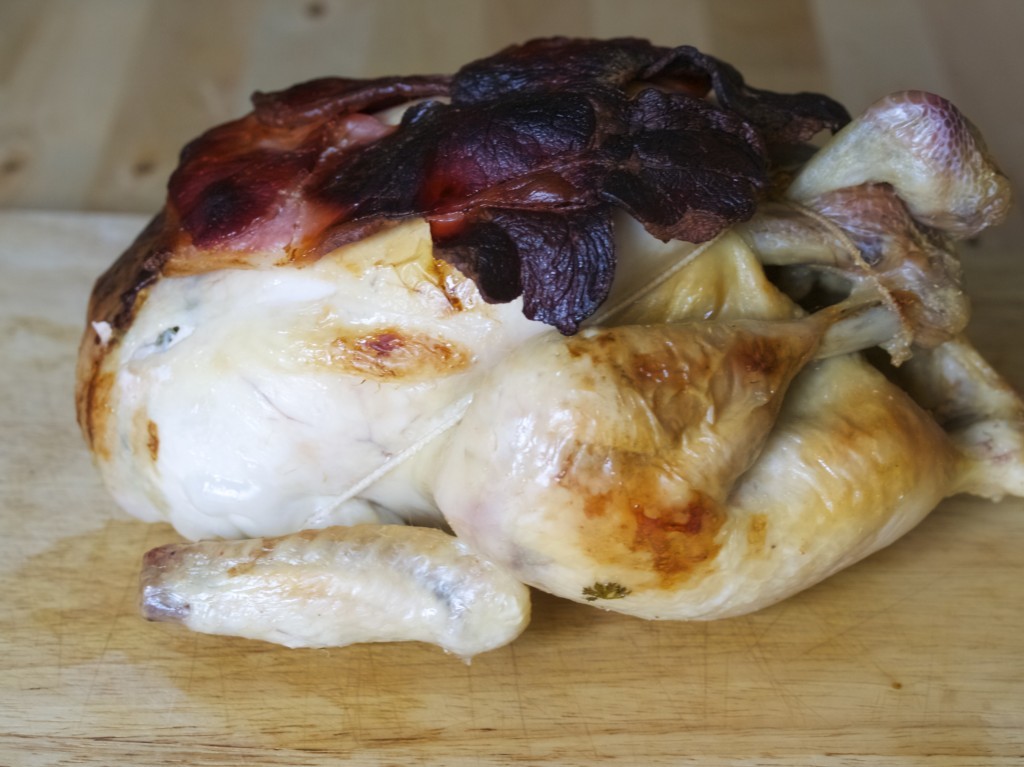
4.Put the bird in a roasting tin together with potatoes, carrots and parsnips if using. Lay the bacon slices over the top and brush it with fat.

5. Roast the chicken for 30min, then reduce the oven temp. to 160C and cook it for another 20min.

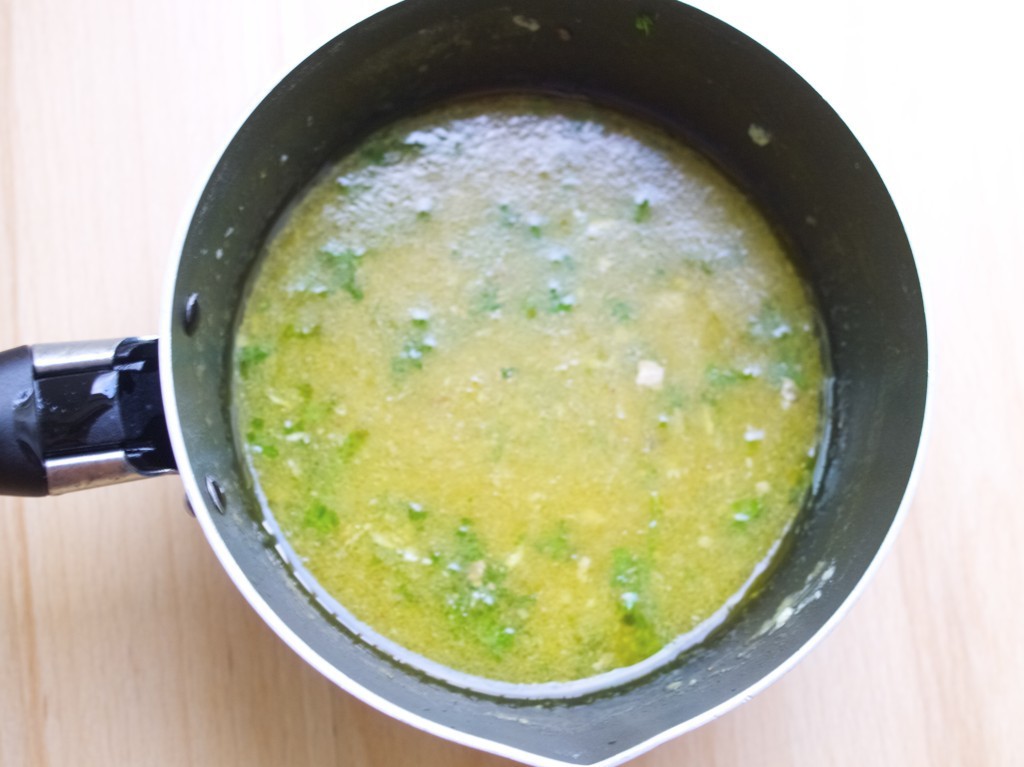
6. Leave the bird to rest while making the sauce.any-day roast any-day roast7. Add the stock, corn flour, remaining anchovies and parsley to the juices left in the roasting pan, and heat it to make a sauce. any-day roast any-day roast

Have a lovely weekend ;-)

Rasa xoxo

0

Things I look forward to in August

Work in progress, our new home in BedfordAugust came somehow unexpectedly, hence my late update about this last summer month. Since we came back from our honeymoon I have rushed into updating you guys about the time we have been away and organising our new home in Bedford. So much so, I have few things that I look forward to in this busy month.

1. FINISH ORGANISING OUR NEW HOME! Not so long ago we lived between the boxes of everything, so lots of progress has been done already. There are still a lot of things to organise such wardrobes, our little home office, three toilet/bathrooms (yes three and I am very confused with that) and most importantly our garage. We got lots of furniture from Freecycle including sofas and armchairs that I am looking forward to refurbishing. So essentially I am looking forward to the stage when I can start new home projects to make this space prettier!  Work in progress, our new home in Bedford2. KNITTING AGAIN! Although this is not a priority at this moment as I have to get so many other things done, I really can’t wait until I have more time to enjoy just knitting. Vicki’s mum recently suggested that we should all knit together over Skype (me, Vicki and her mum and we all live so far away from each other at this moment). Yey! What a great idea!

Just last year while in San Francisco I came across this book called “Pop Knitting” by Britt Christofferson. These knitting techniques are definitely on my list to try ;). Britt Christofferson, and author of "Pop Knitting"4. GETTING MY BLOG UP TO SCRATCH. After having a break I have definitely blogged more, however there are so many things still to improve. Any suggestions? Would love to hear from you ;-).Screen Shot 2014-08-07 at 11.26.26Enjoy the rest of the week!

Rasa xoxo


0

Wedding dress alterations

my wedding dressOnce someone told me that when it comes to the wedding planning choose one thing that is most important to you, spend most of the money for that and make everything else work around it. This advice stuck in my head throughout my wedding planning! I guess majority of the brides would say that the most important wedding thing is a dress, but that wasn’t the case for me. I prioritised the venue (and caterers that sort of came with the venue), leaving the dress on the low budget.

Initially I thought to make my own dress, but then I realised that this might stress me out as it would take more than one skilled person to help me. So then I have decided to alter an excising dress. I tried Nicola’s wedding dress and then some wedding dresses at the charity shop and hey…. I got lucky with one of them ;-). I paid £100 for slightly damaged dress that I knew how to fix. That was a good first spend from our wedding budget don’t you think? After that the dress stayed untouched for good few months as I was trying to slim down before altering it (I could not completely fit into the dress even if the size was bigger that my usual!). My slimming down wasn’t going well however :-(. At some point I have even though to replace the zip with the lace. Luckily my friend Vicki have managed to squeeze me in just on time. Another thing I dreamed about was adding some lace to the dress, however I needed someone who knew dressmaking to help me. As an alternative I thought I will just add some ribbon flowers, however that did not quite worked out either (read on, will tell later).

wedding dress alterationsAs  you can see, originally the dress had halter neck which I completely disliked. Yes, it looked unique, but I did not feel it was my style! So the first alteration I have made (after fixing a broken zip) was to cut them off and tuck them in over the “boobtube” edge.

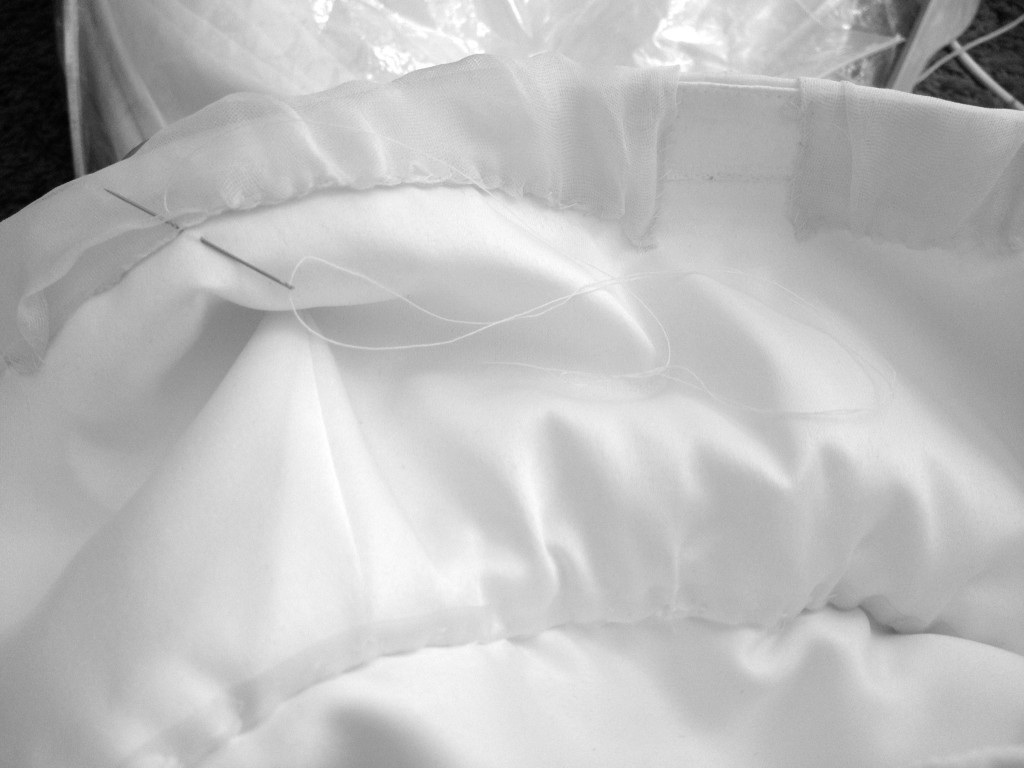
wedding dress alterationswedding dress alterationsNext, I fixed the obvious. The broken button loop has been stitched back and the trail connectors has been reinforced. wedding dress alterationsWith the halter neck off the dress seemed sitting very low exposing too much of my cleavage. I felt like I needed some straps to push the dress up. However I wasn’t keen on the straps so I was thinking to come back to my original idea to add some lace over the top….wedding dress alterationsThe lace idea did not worked out, too difficult to do that by myself and I really did not want to get a mannequin just for this occasion. So making a long strap going over the neck made complete sense. I know I know this looks like another halter neck, but at least it suited my taste!wedding dress alterationsNext step was cleaning the dress. When I found out that to dry clean the dress would cost at least £70, I have decided to wash it myself. I have done quite a bit of research and realised that this is quite safe to do. What did I have to lose? my dress only costed a £100! So I gave my dress a little warm bath with some Ecover Delicate Laundry Liquid and it came out super clean. I would like to say it almost came out brilliant white, but it did’t as the dress was ivory. But if it was a white dress I am sure the bath would have turned it into brilliant white!

Getting rid of the creases was a tough task. Luckily it passed the iron test, so I steamed ironed the whole dress. It was still quite challenging as there were many layers to go through!! Washing and ironing my wedding dressAs I mentioned at the beginning of this post I planned to decorate the dress with some ribbon flower brooches, however it did not look as I have imagined. So last minute decision was just to leave the dress plain. I did however decorated my wedding shoes with coloured ribbon flowers. That worked really well!bride's wedding dress + shoes!!

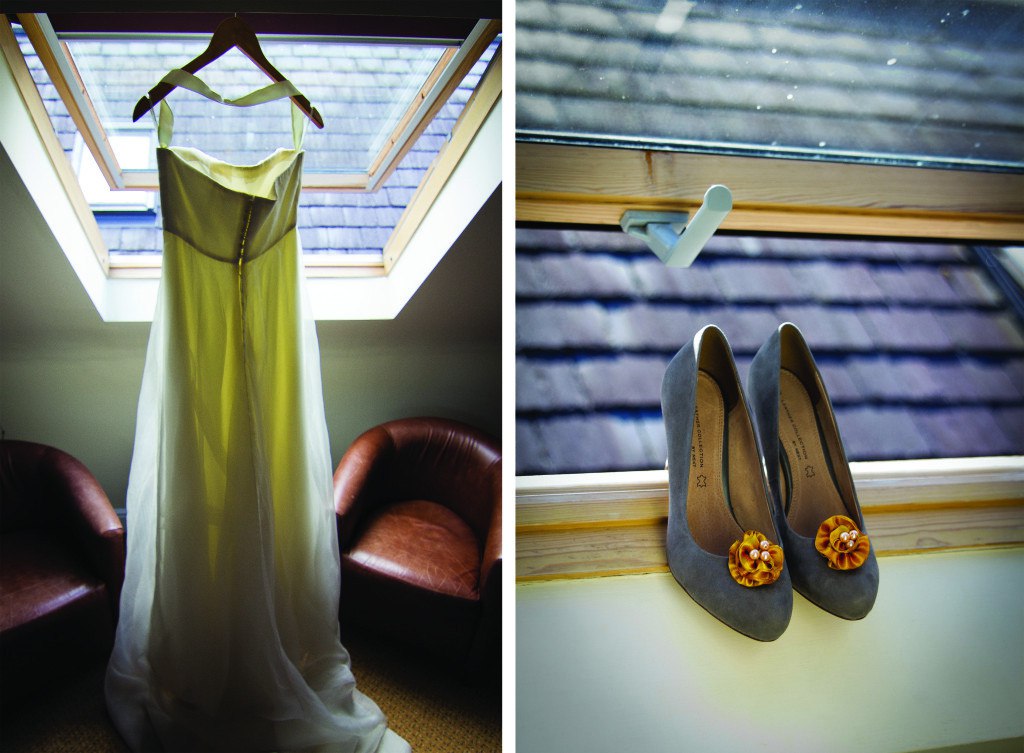
I hope you have been inspired ;-)

Rasa xoxo
3

Marmalade tart with rosemary crust

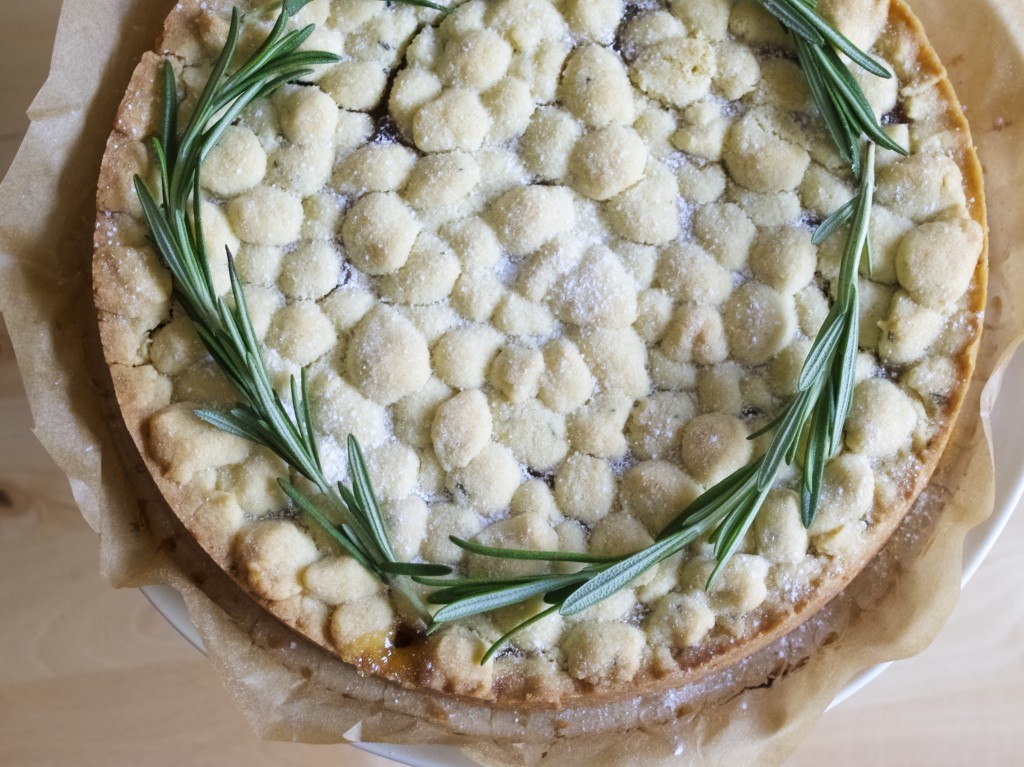
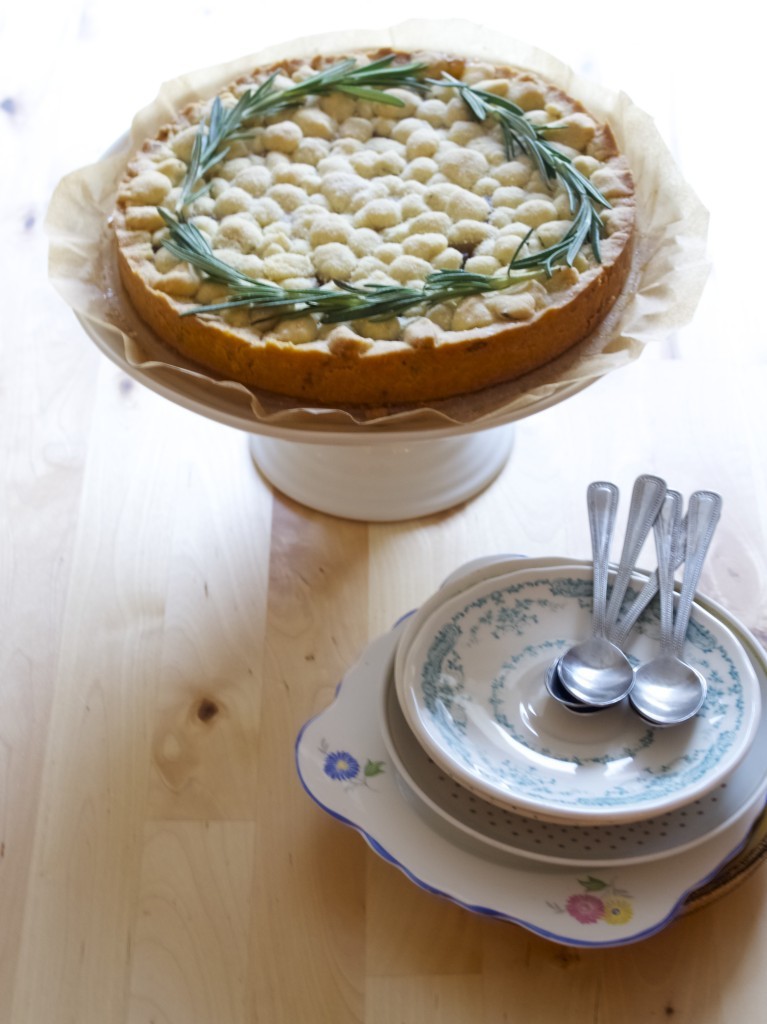
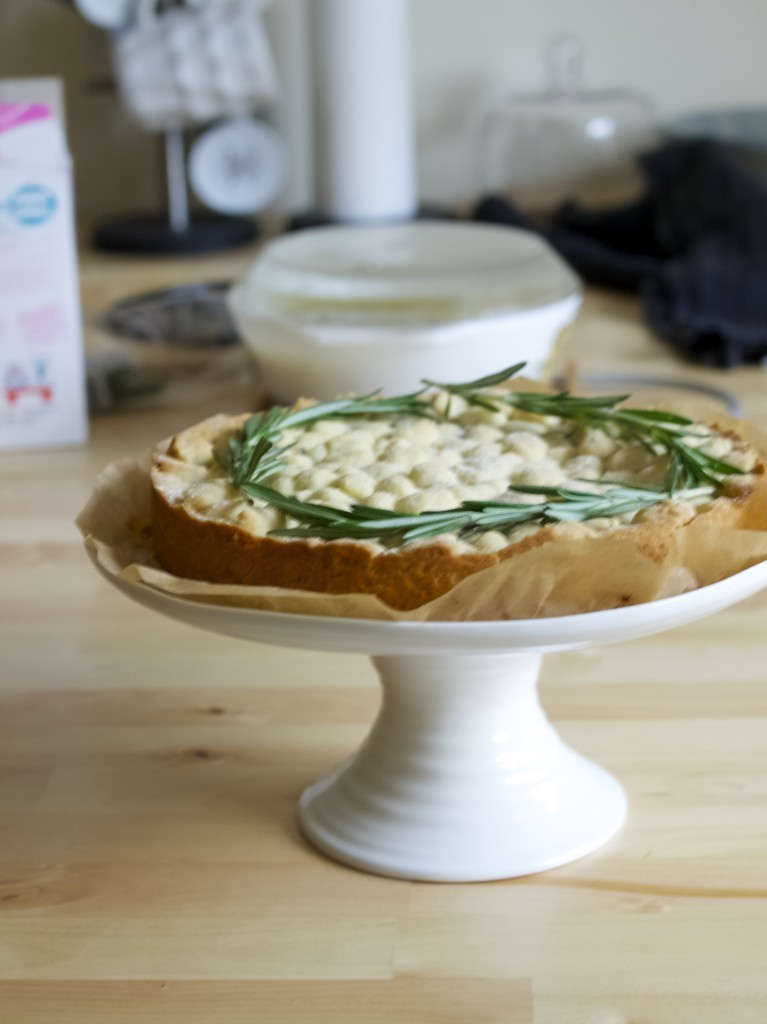
Marmalade tart with rosemary crustLast week Joni asked me to bake a cake for his work so he could celebrate our wedding with his colleagues.  As soon as he asked I thought ‘great’! I can use up at least one jar of marmalade that we got in the house (for some reason people think that Joni LOOOOOAAAVES marmalade so we ended up with 5 whole jars!). Don’t get me wrong, I don’t really like marmalade and Joni just likes it. If he loved marmalade that much I suppose we would have one jar of it or two at the max in the house. Luckily one jar of marmalade went straight to the bin (I think it was off as the texture was all sugary/candy like) and another has been used up to bake this tart. So if you are ok with your maths, we now have only three jars of marmalade…. wooohoo!!!!

Ok, I am very sorry to be so negative about the marmalade. After all it makes great tarts! And if you unlike me and like marmalade, then this tart is for you. It’s tastefully combined with rosemary flavour, therefore making it an amazing afternoon treat! How do I know that? Well… although I did not taste it (even if I wanted to have a one slice to see how my experiment turned out), apparently Joni’s colleagues really liked it and wanted more… All I can say ‘Success!!!’

Marmalade tart with rosemary crustMARMALADE TART WITH ROSEMARY CRUST

  • 200g unsalted butter
  • 6-8 tbsp sugar
  • 2 egg yolks
  • 15-20 tbsp flour
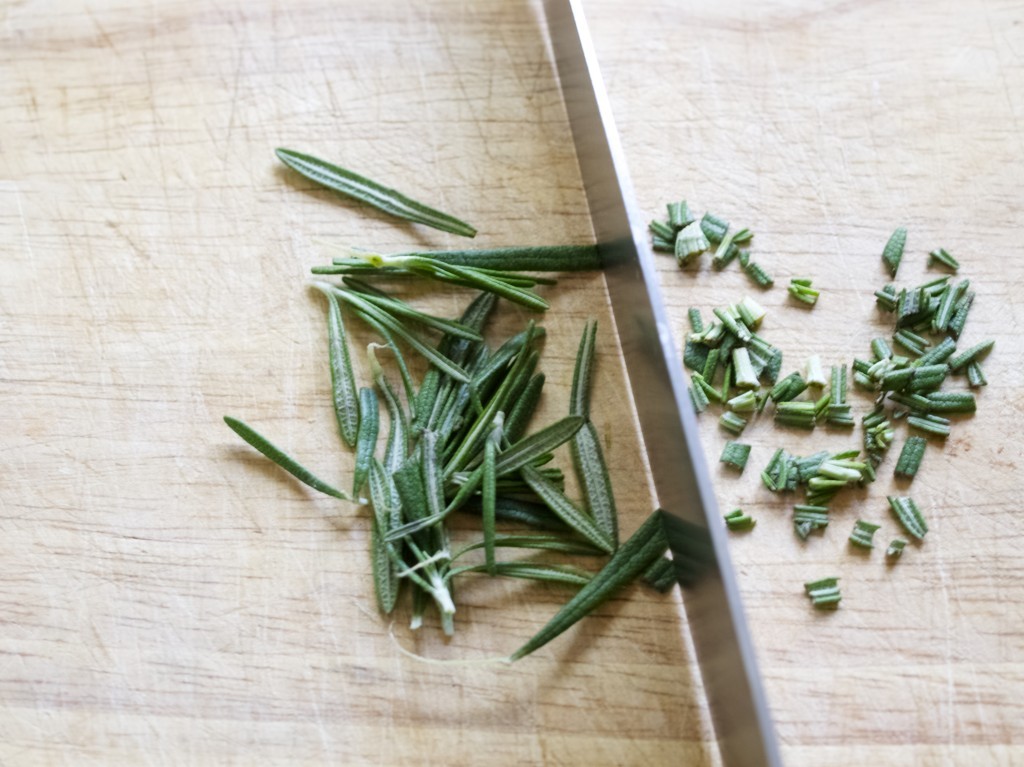
  • 1 rosemary spring, leaves finely chopped (plus 3-4 springs for decoration)
  • 1 jar of marmalade
  • icing sugar for dusting

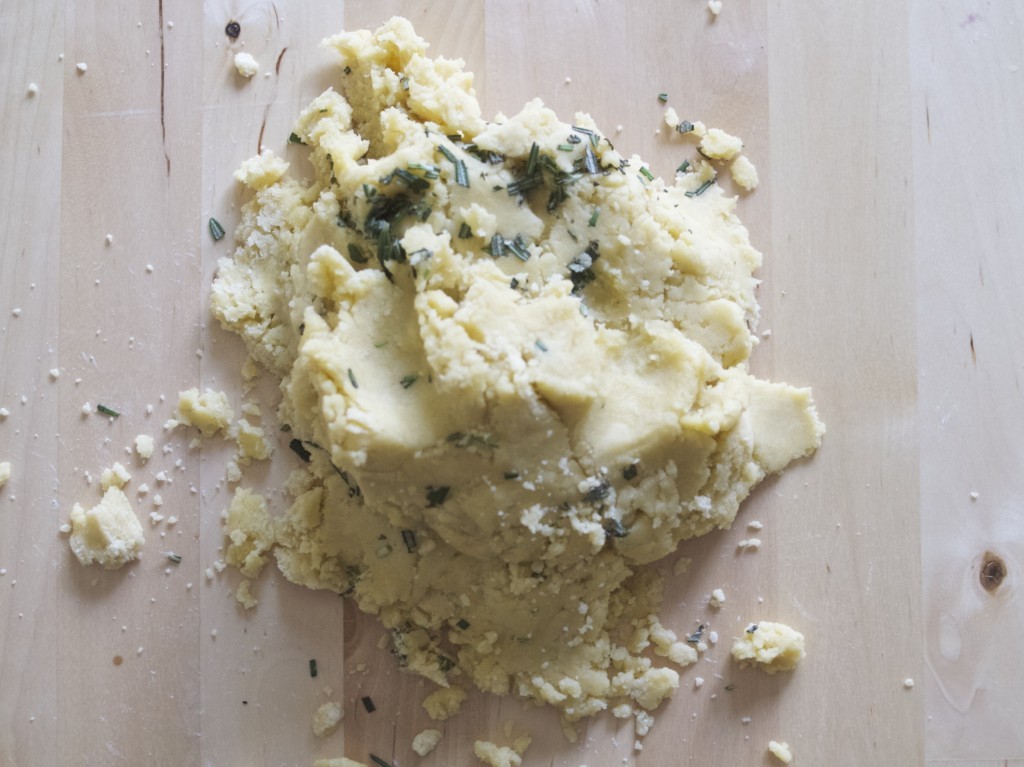
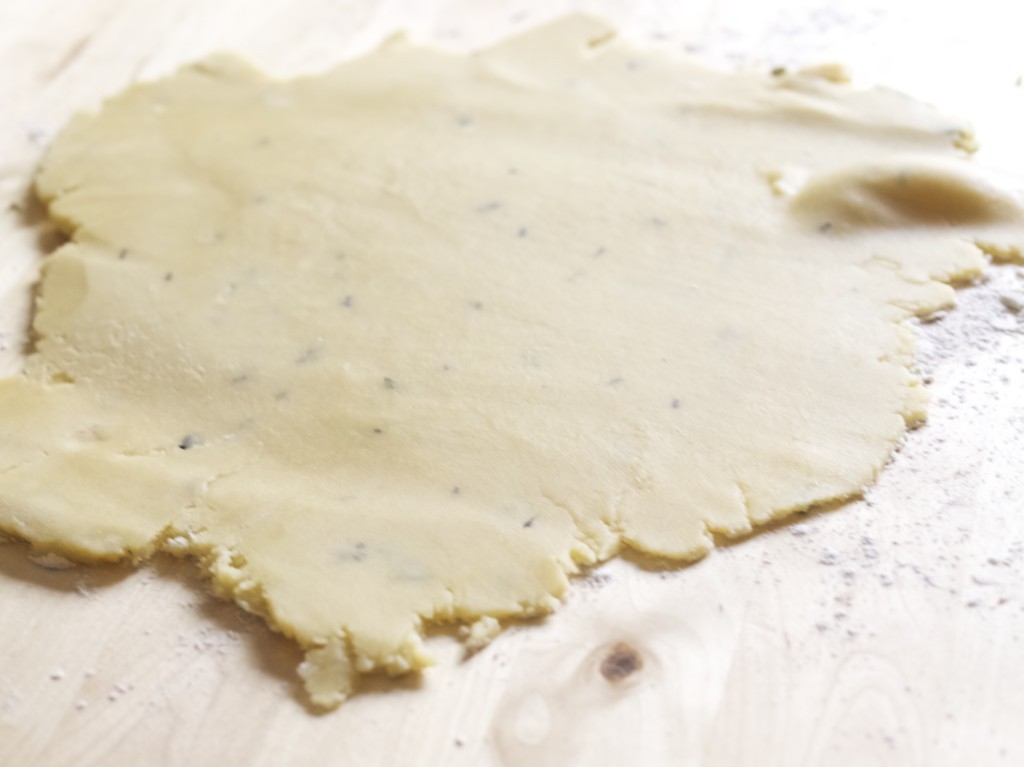
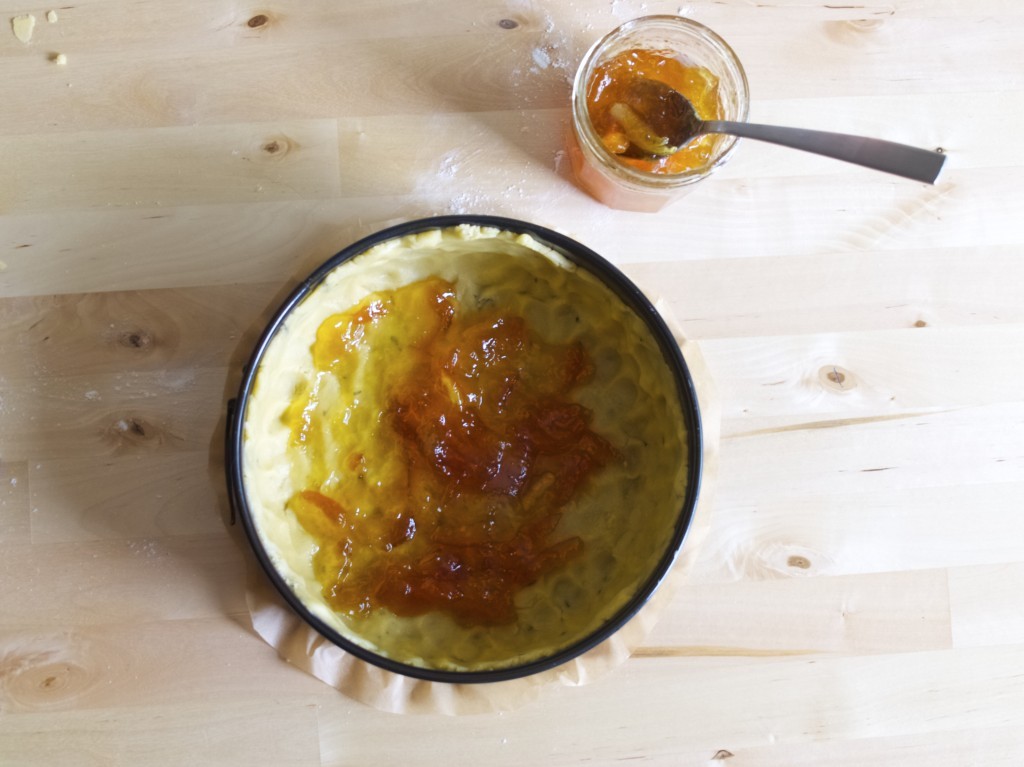
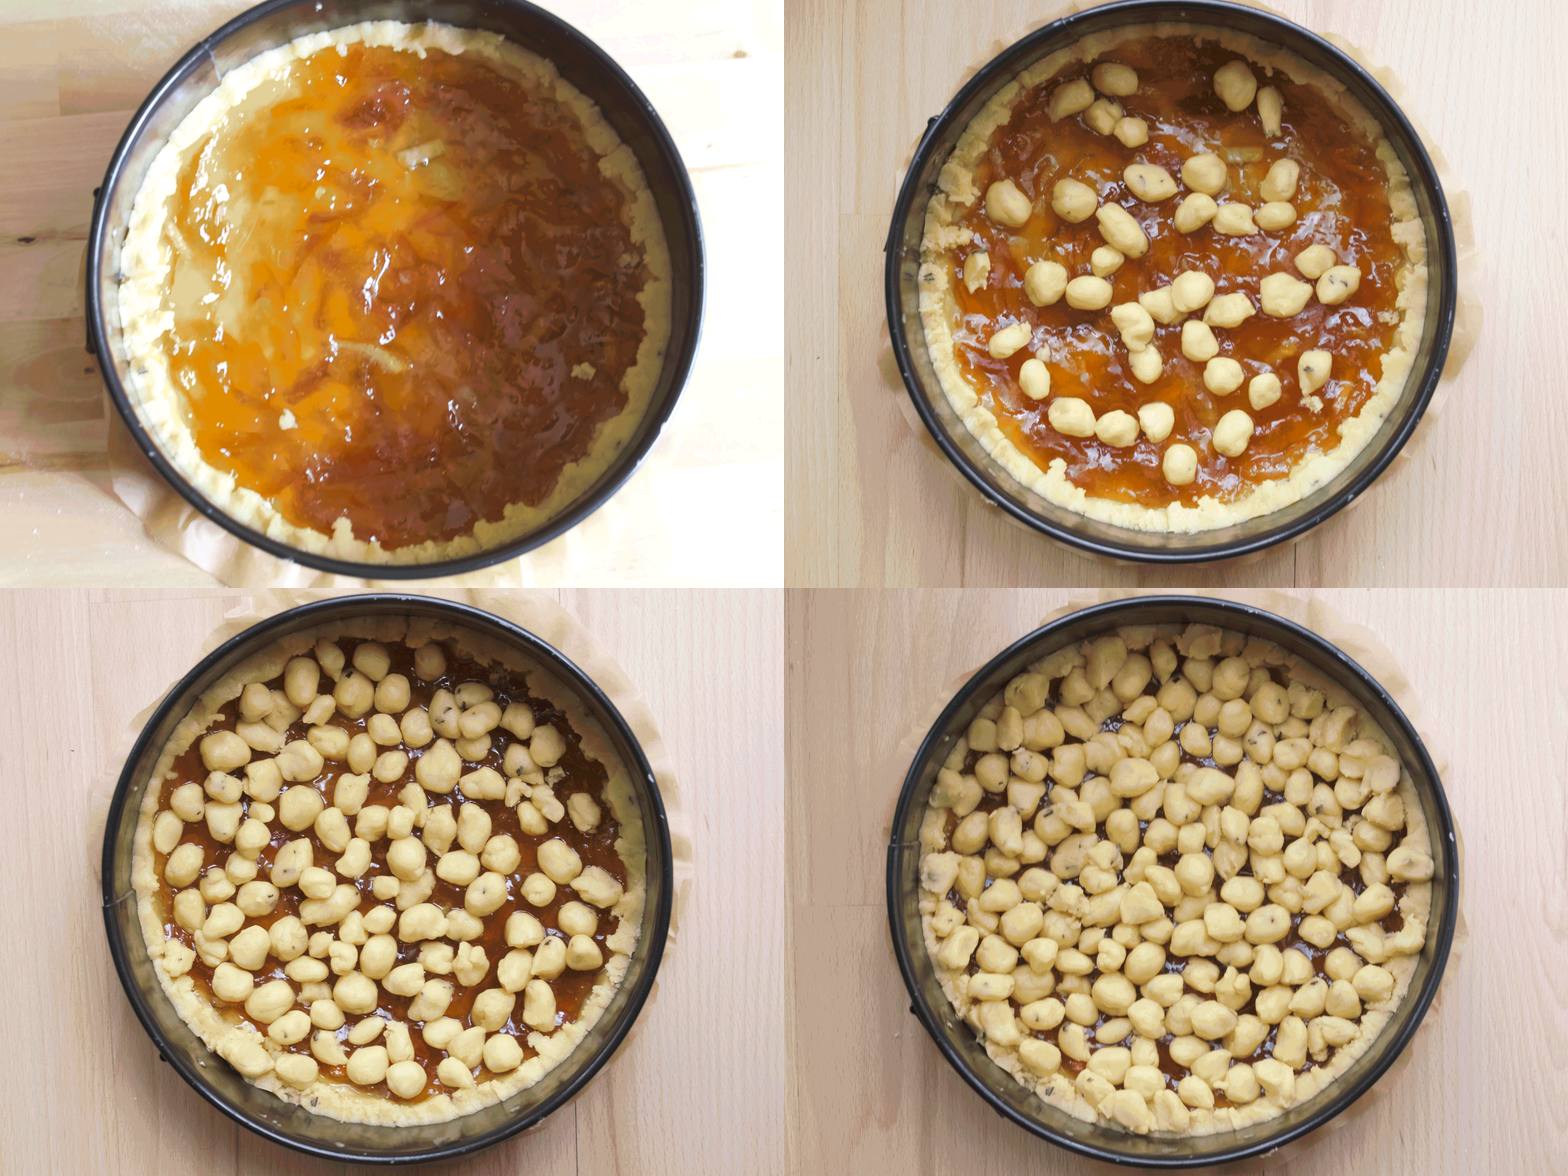
Marmalade tart with rosemary crust1. Make the pastry dough by creaming butter with sugar. Gradually add egg yolks, flour and finely chopped rosemary. Wrap the dough into cling film and let it rest in the fridge for 15 min or so (it will be easer to handle it later). Marmalade tart with rosemary crust2. Roll out the dough and line prepared baking tin with it (lined with baking paper prior that).Marmalade tart with rosemary crust3. Fill the tart with the marmaladeMarmalade tart with rosemary crust

4. Cover the tart with the remaining dough. Just make little balls out the dough and place them evenly over the marmalade.
Cover the tart with the remaining dough
5. Bake in preheated 170C oven for 30-45min constantly checking if not over-baked, but lightly golden.
Marmalade tart with rosemary crust
Enjoy!
Rasa xoxo
P.S. Thanks to Ann-Mary for this beautiful cake stand ;-)
0

Visiting Thermal Springs in Italy

Thermal Springs in Saturnia, ItalyIf you are going to Italy sometime soon, be sure to visit thermal springs in Saturnia. We were lucky to stay in North Tuscany, so we reached this little town in two and a half hours by car. It was totally worth it! The only thing I would have done differently is to visit different locations of the hot springs instead of settling for a free one. In fact the setup is so confusing that we did not even know where to go once we are in Saturnia itself. We took at least an hour to actually figure this out. We used information listed on Discover Tuscany website, which have been quite useful in getting there and had some clues how to find this place. However I have recently found this comment on Trip Advisor that would have been useful if only… well, I did find it earlier before going to Italy!Thermal Springs in Saturnia, ItalyIt’s quite amazing to dip yourself into warm waters while adoring a wonderful view of an Italian landscape. I suppose it would be much more interesting to experience the thermal springs in autumn or even winter when the air temperature drops. The only think I should warn you about however is that you will be smelling of rotten eggs (just slightly) because of sulphurous waters.Thermal Springs in Saturnia, Italy Thermal Springs in Saturnia, Italy Thermal Springs in Saturnia, Italy Thermal Springs in Saturnia, Italy
 

Have a lovely weekend!

Rasa xoxo

0

Tuscan bread salad

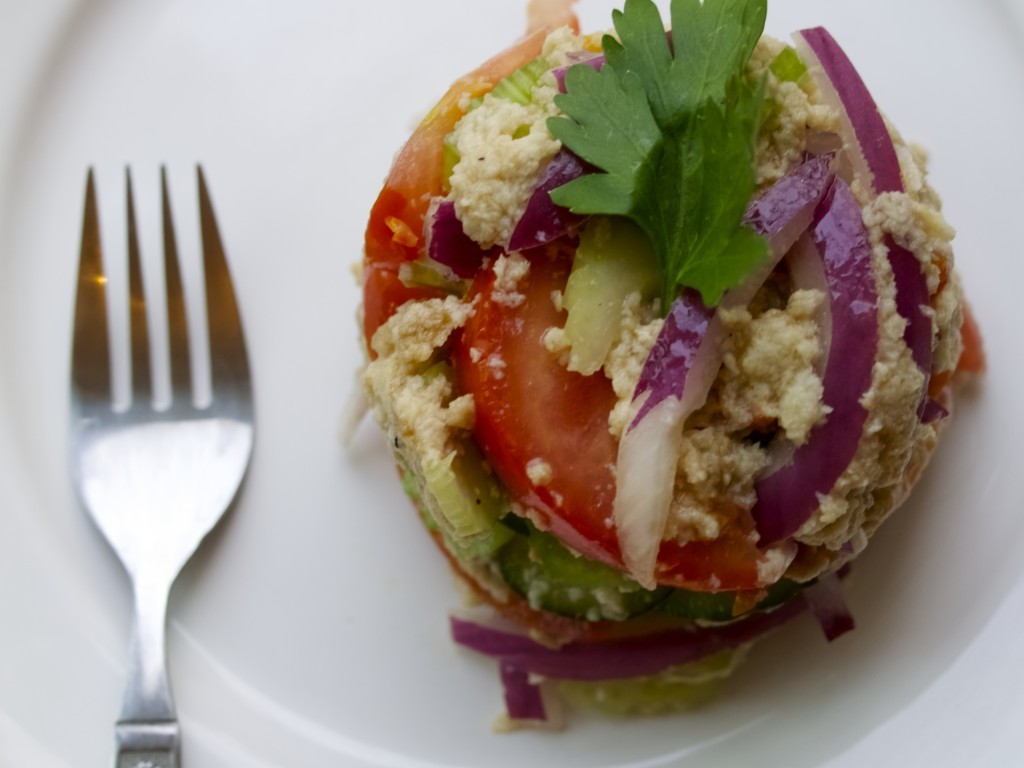
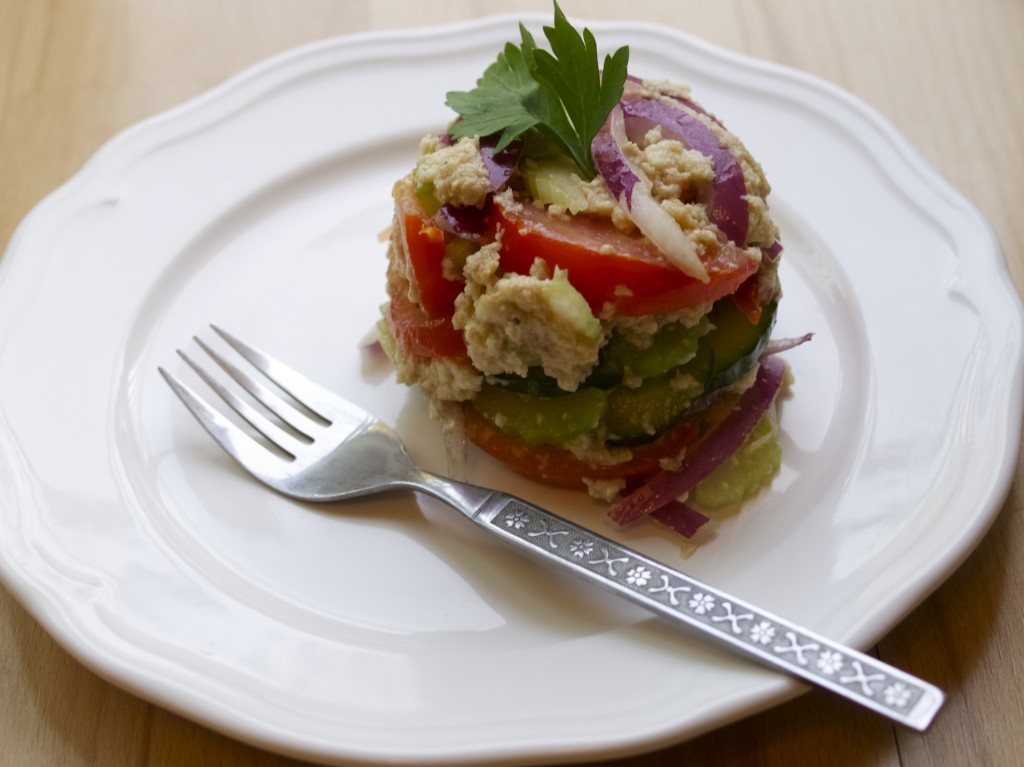
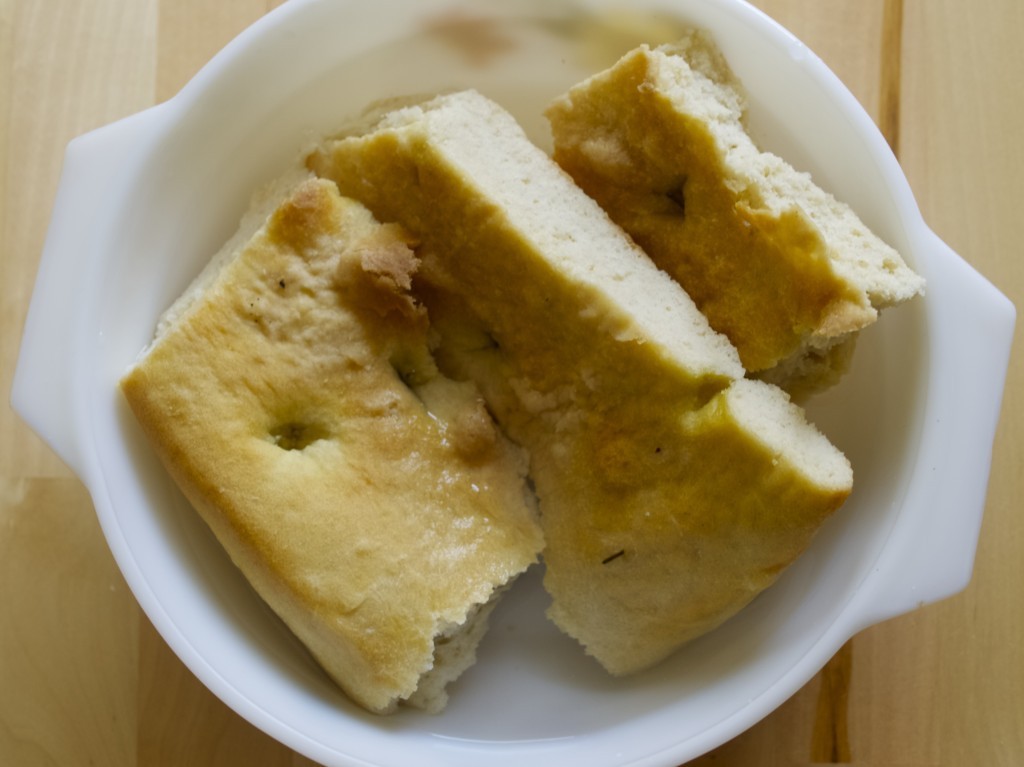
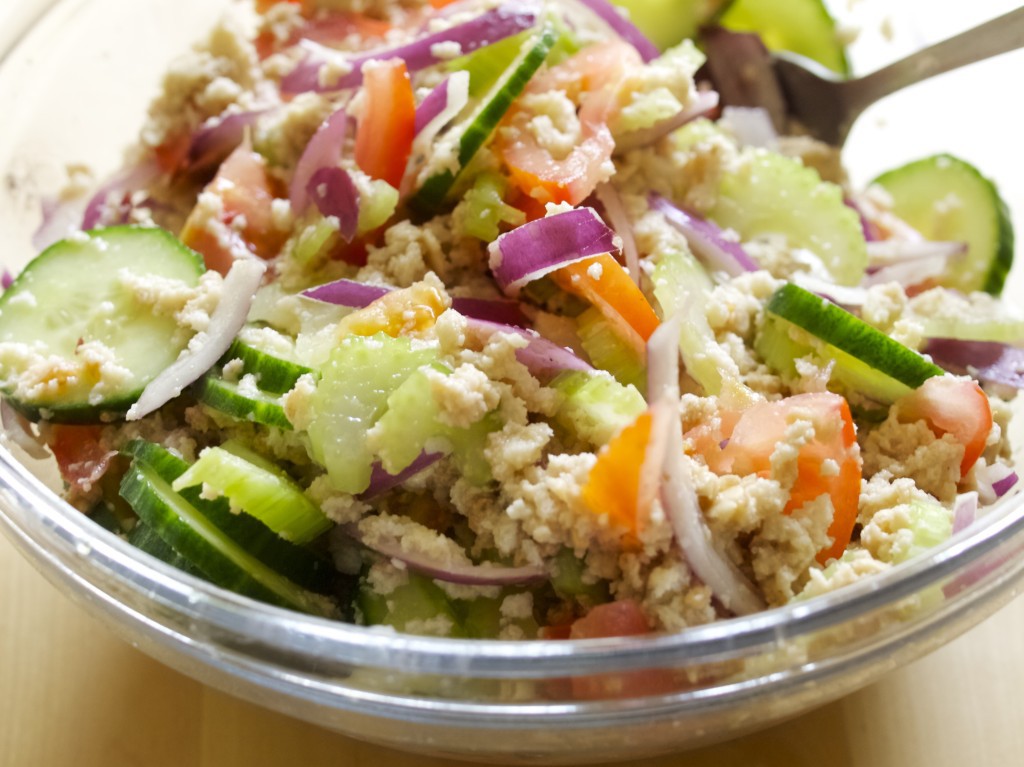
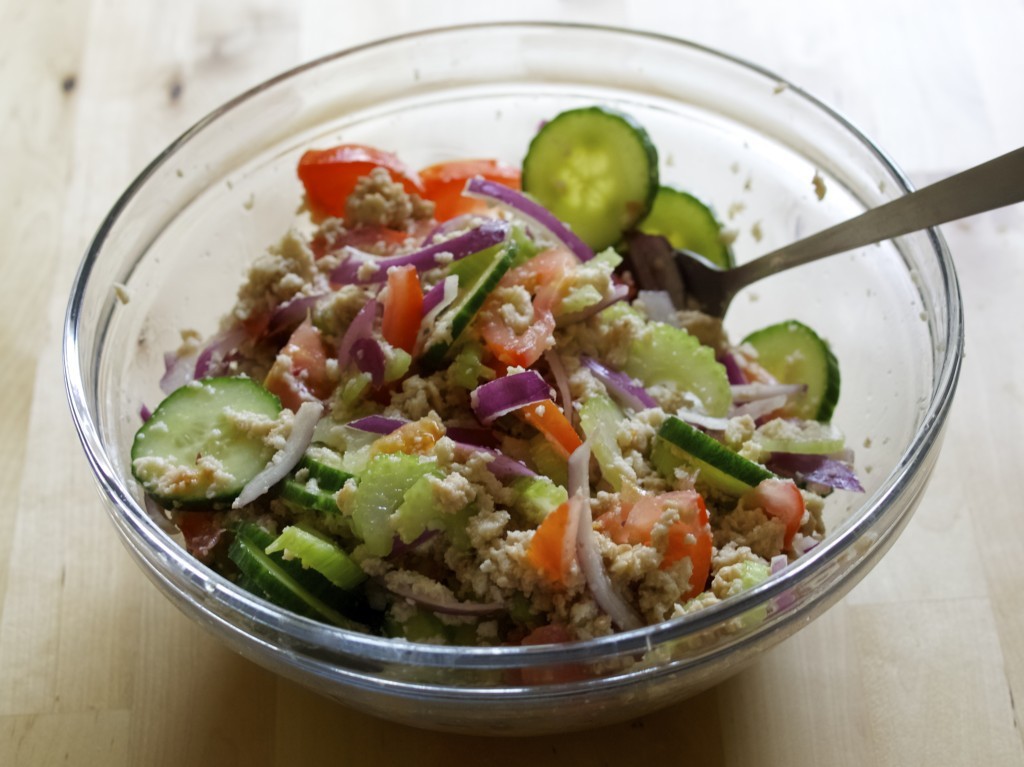
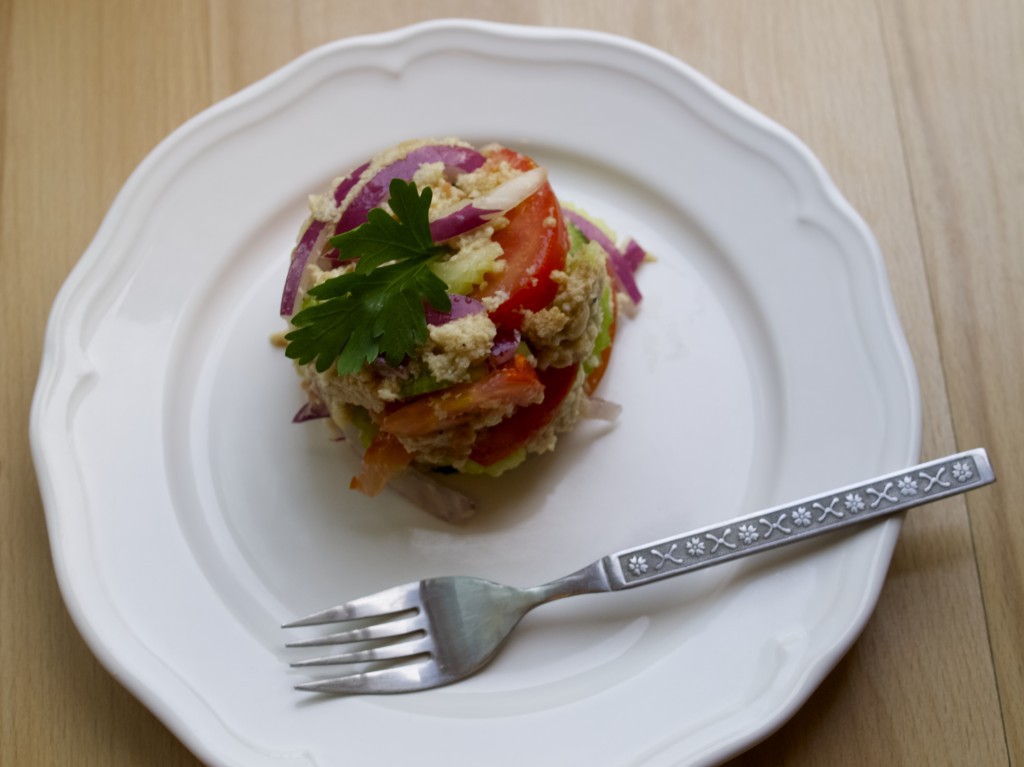
Tuscan bread salad recipe While in Tuscany we took some classes in cooking. Although the most intricate food we learned to make was fresh pasta, my favourite thing to eat and to make was bread salad (otherwise called Panzanella). It’s a perfect summertime appetiser and in my opinion this can be served with meat dishes as well!

TUSCAN BREAD SALAD

  • 3 slices harden stale bread (good quality, home baked not the regular shop bought sliced bread)
  • 3 medium sized tomatoes (my favourite is beefsteak tomato if you can find them in stores)
  • 1/2 red onion
  • 1 cucumber
  • 1-2 celery sticks
  • Balsamic vinegar
  • Extra-virgin olive oil
  • Salt

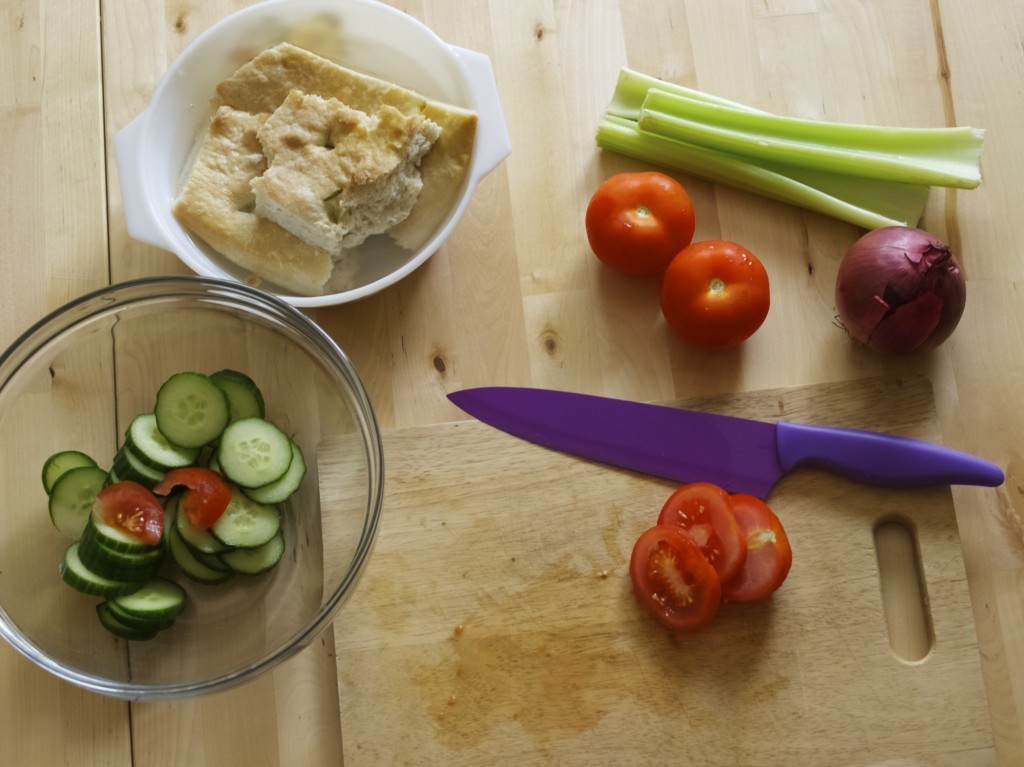
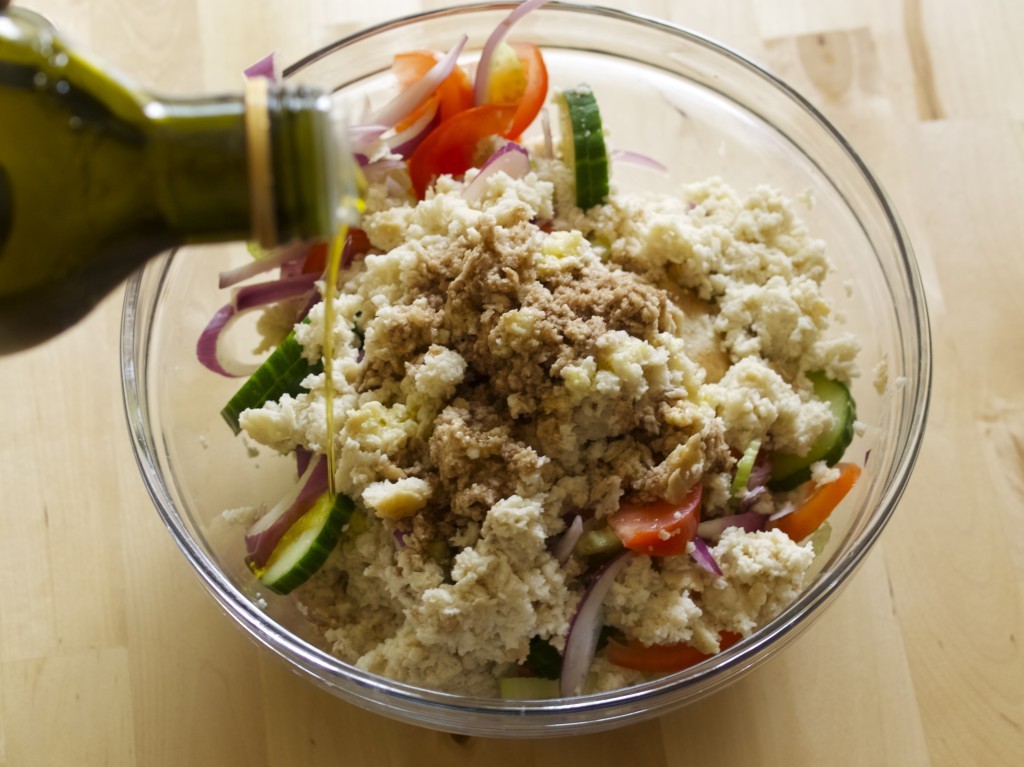
Tuscan bread salad recipe 1. Soak Bread in water for about 15 min. I recently have been trying to bake focaccia bread so this is what I used to make the salad this time. Tuscan bread salad recipe 2. Meanwhile slice tomatoes, cucumber, onion and chop celery. Place everything in one salad bowl. Tuscan bread salad recipe 3. Drain the bread and squeeze out the excess water and coarsely crumble with your hands. Place in a bowl with vegetables.Tuscan bread salad recipe 4. Season with salt and pepper and drizzle with vinegar and olive oil.

Tuscan bread salad recipe 5. Mix carefully and refrigerate.Tuscan bread salad recipe Tuscan bread salad recipe Tuscan bread salad recipe


Buon Appetito!

Rasa xoxo

0