Top

Archive | For little ones :)

Photography challenge: birthday cake “smash”

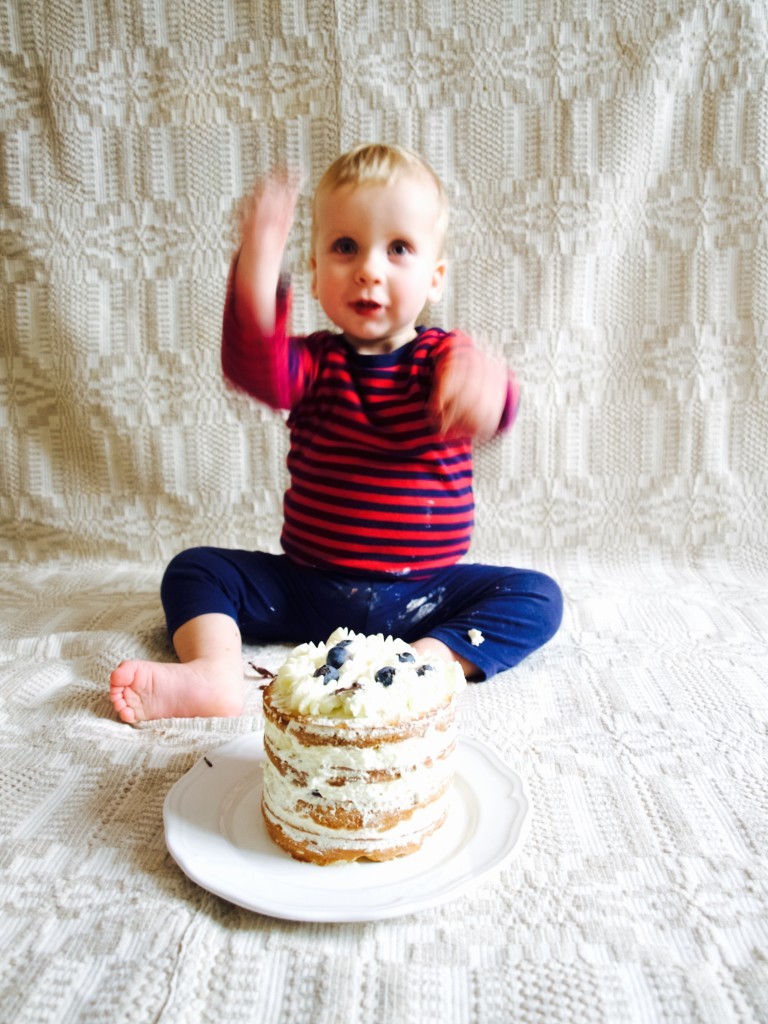
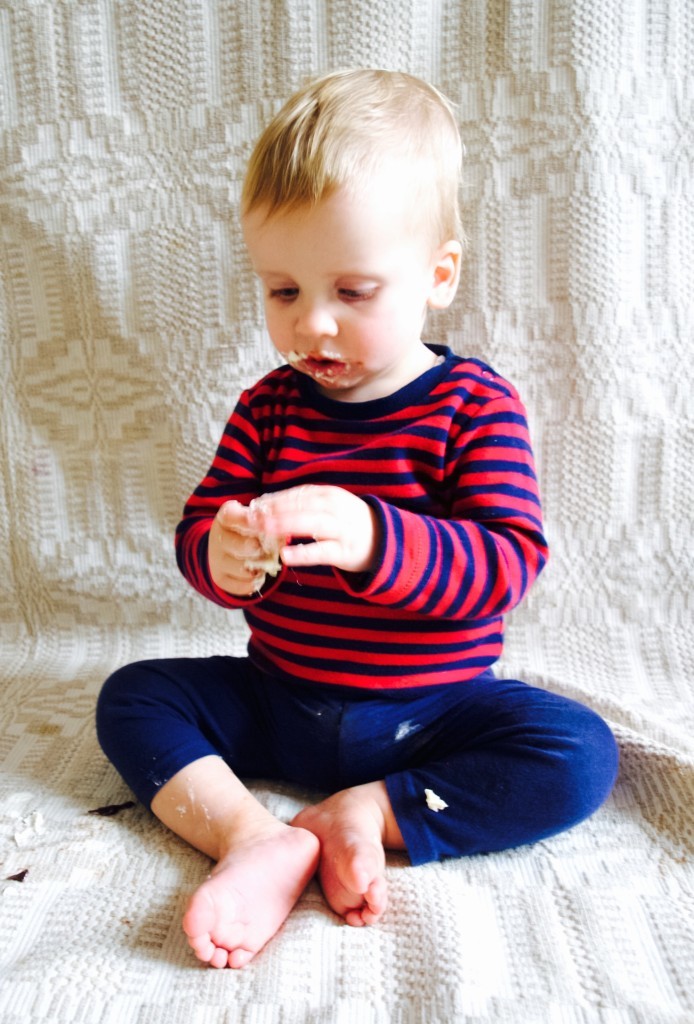
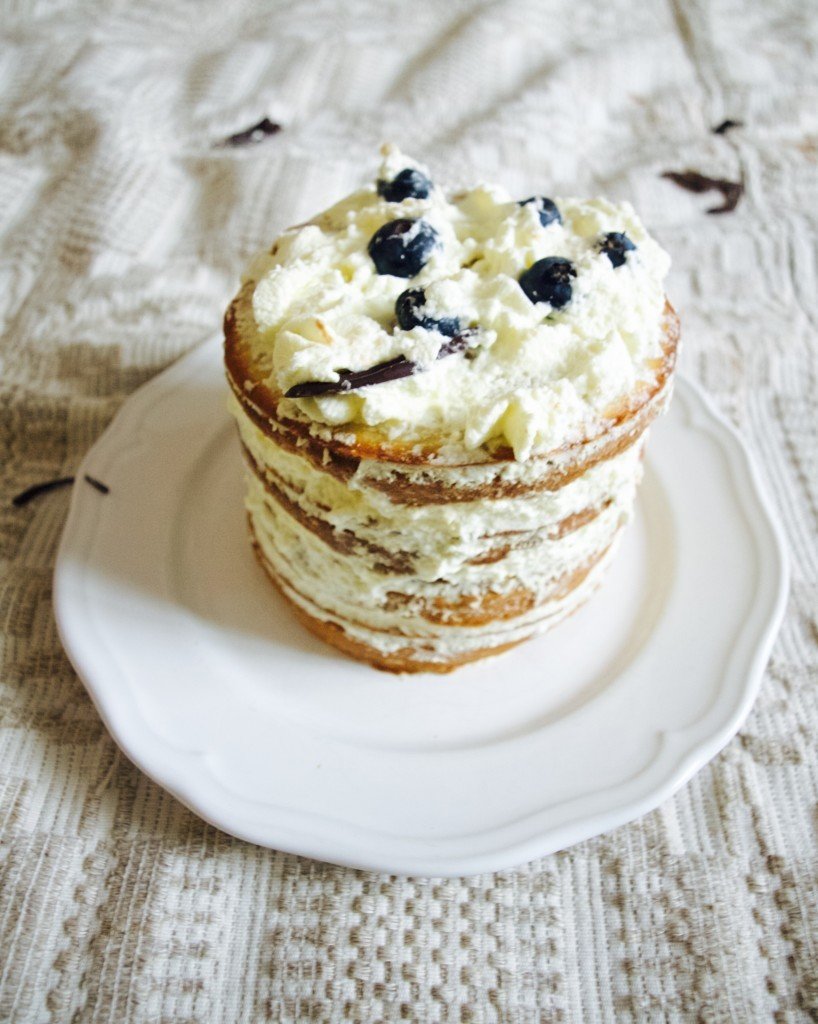
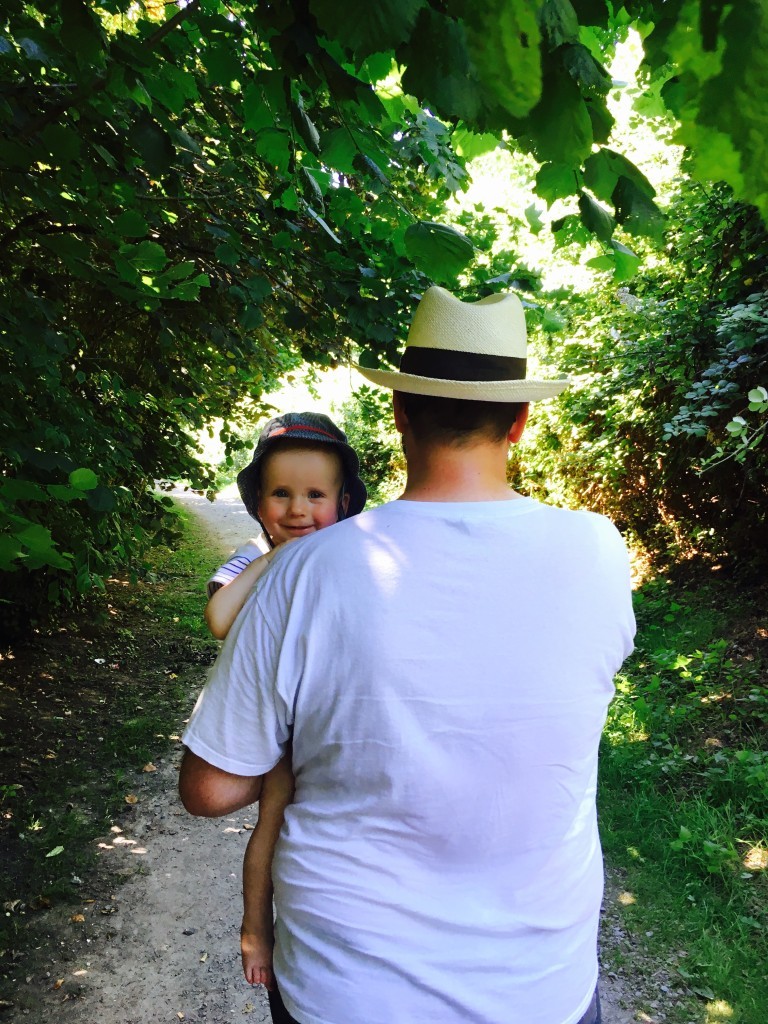
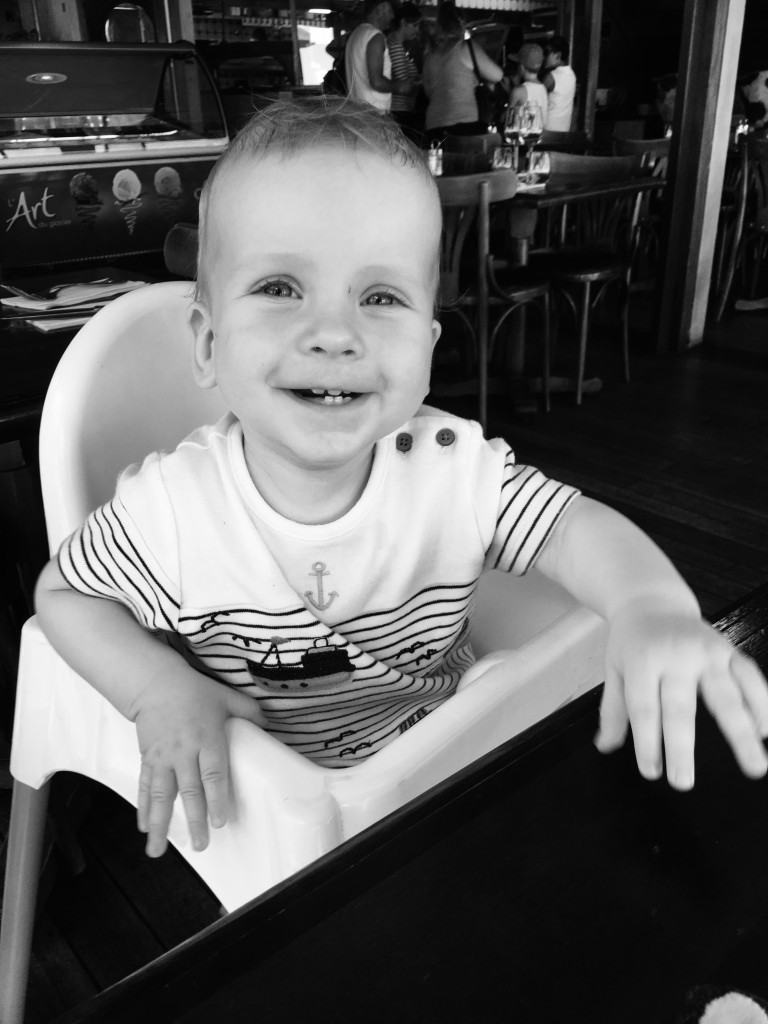
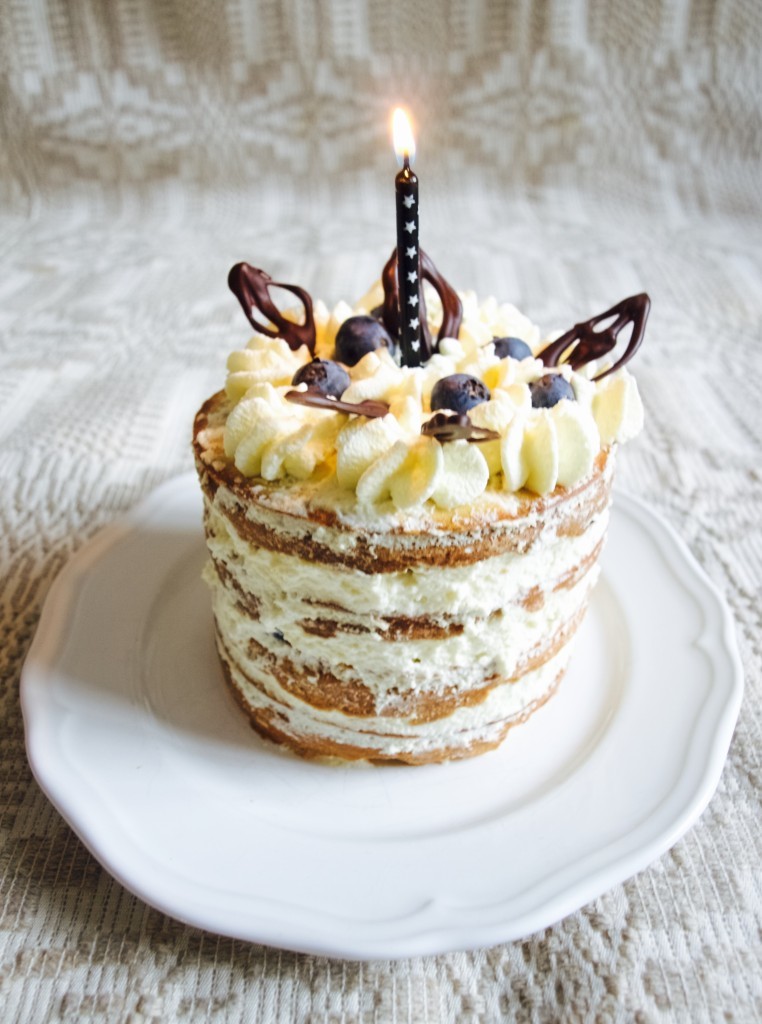
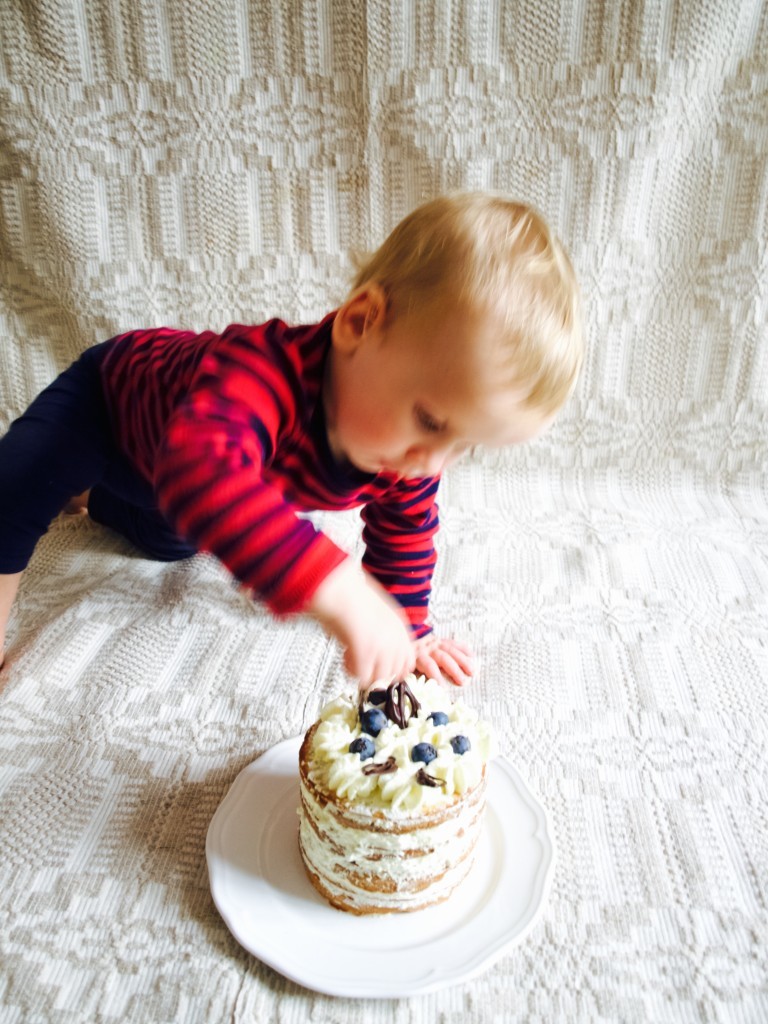
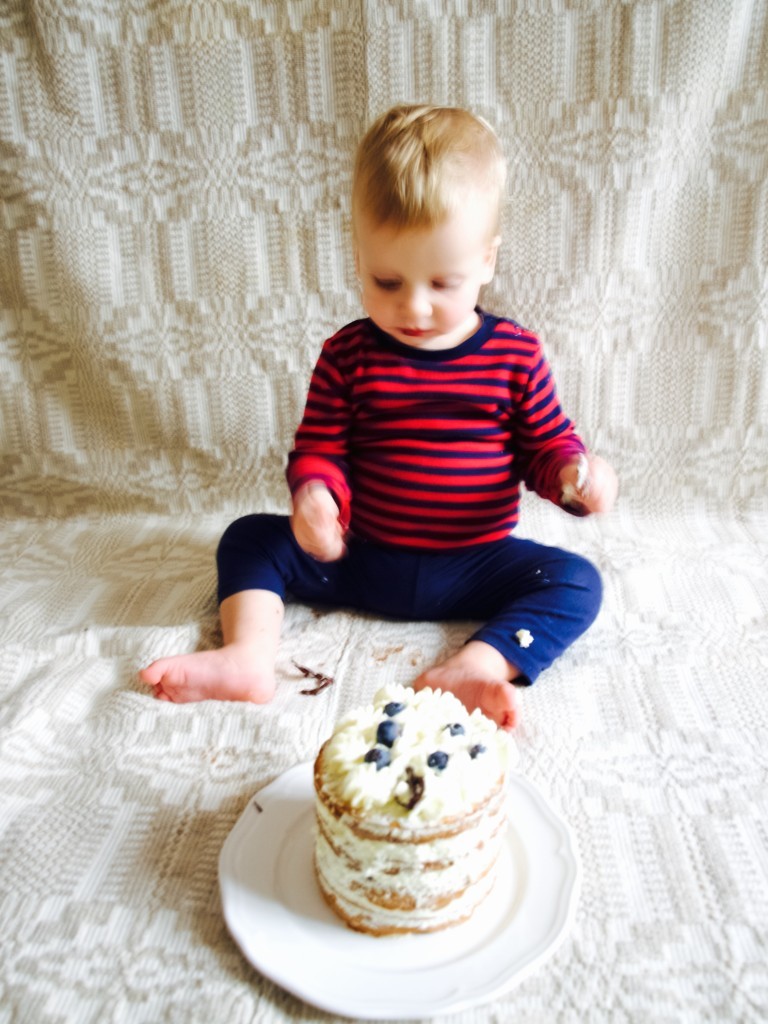
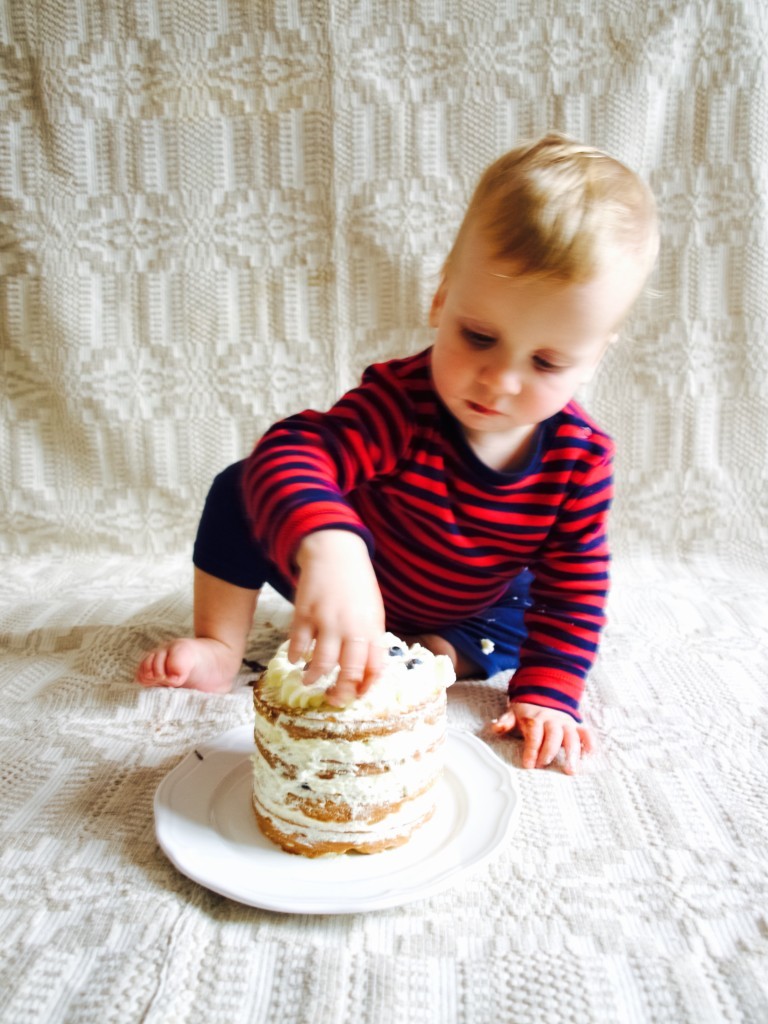
This is how I took photographs while baby "smashed" the cake I don’t know if you heard of a term “cake smash” (I am sure if you google it it would give you plenty of examples), but I wanted to try it on Lukas real bad! I thought it would be sooooo much fun for both of us, because I believe Lukas enjoys making mess :D.This is how I took photographs while baby "smashed" the cake So Lukas birthday comes up (I can’t believe he is now 1 year old!) and I finally come up with a plan of how its going to work. I found a few baby friendly recipes to combine (sugar free of course!) for the cake, which I was very pleased with in the end. I worked out where we were going to do this messy act (in the sitting room on the floor covered with the blanket). I chose an outfit (very important!), although I did not put too much thought in to that as it just had to be something simple. I also read a few tips on how to do such a photo shoot, they all suggested make it relaxing (not rushed) and make sure the baby is in good mood (fed and napped). This is how I took photographs while baby "smashed" the cake The result? Not quite what I expected! I failed on napping Lukas well that day, so I had to bake and decorate the cake while he was awake. I was rushed and definitely not relaxed. I finished the cake very late and was worried about the lighting (oh those early autumn evenings!). As I have mentioned in other photography post in the past, when there is poor light you need to compromise with a slower shutter speed which means I had to hold camera steady to avoid blur. But try telling a one year old to stay still, so I ended up with many blurry pics (which is ok I guess as it captures the movement). On top of everything Lukas did not destroy the cake, but picked out the decorations and sampled them. If you are interested, here is a video that Joni took during photoshoot.This is how I took photographs while baby "smashed" the cake This is how I took photographs while baby "smashed" the cake This is how I took photographs while baby "smashed" the cake This is how I took photographs while baby "smashed" the cakeSo my advice if you want to take cake smash photos is to first relax, and pick a day that is completely activity free. Pre-make the cake perhaps? Take picture after babies first nap or something. And most importantly, enjoy!
Rasa xoxo

0

How to holiday with a baby (what I have learned so far)

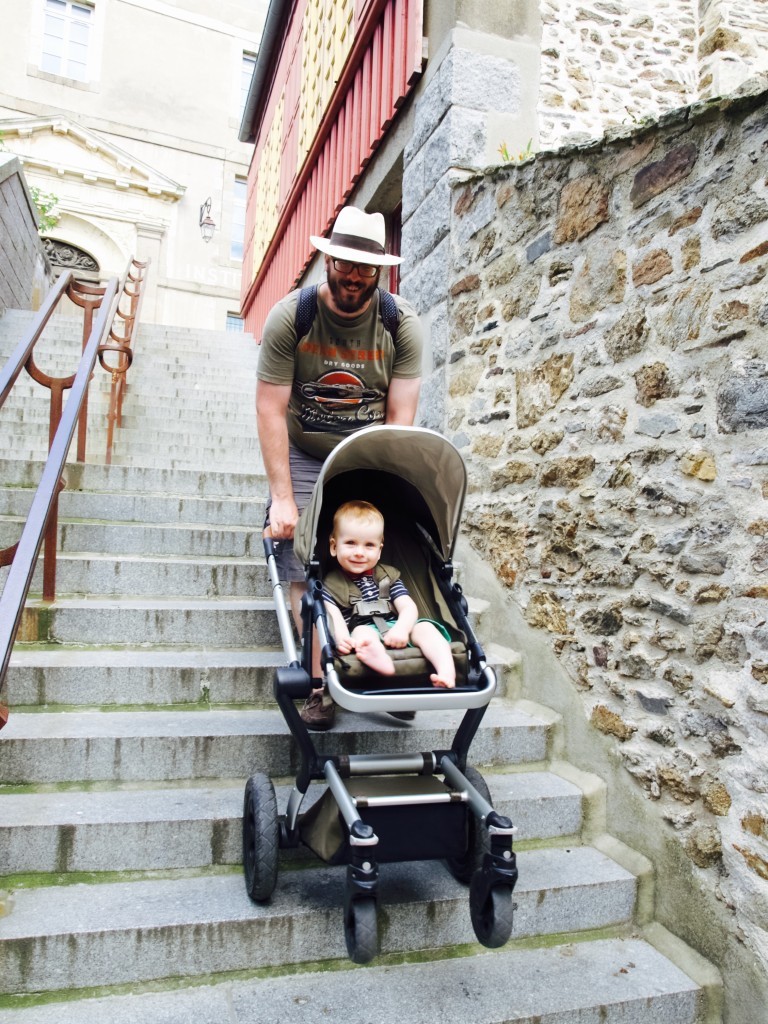
How to holiday with the baby (what I have learned so far) If you are following me on Instagram/Facebook then you probably know that I have struggled with the holidays and a baby combination. I just did not find it relaxing and I was missing the holidays I used to have. But the reality is that this is how my life is going to be for good few years so I decided to find a new ways to find a new relaxing. My first stop was to ask my friends who had experience with it. Here is what came up and how did I apply on our second holidays in France. How to holiday with the baby (what I have learned so far) Lower your expectations, first thing I heard from one friend which I must admit made me a bit sad as it sounded a bit negative. However having high expectations is what made me feel disappointed with my first holidays, so this advice totally makes sense! So when we went to France I decided to enjoy as it comes and it really helped for me to relax (not completely but definitely more relaxing). For example, we used Lukas naps for driving to different locations, that way we did not need to wait around for his naps to finish and we could explore different locations in France.

Babysit in turns, was the next advice from another friend. Joni looking after Lukas while I go and do something I enjoy sounds good! Except we preferred walking and enjoying the sights together, so babysitting in turns did not work all the time. Except once when Joni wanted to go on the tour in Fort National (obviously not my cup of tea). He took Lukas with him while I enjoyed the sun on the rocks (much better and more relaxing than it sounds!).  How to holiday with the baby (what I have learned so far) Eat out for lunch and eat in for dinner, because apparently that’s cheaper. Well… it turned out to be true! There are plenty of affordable and good meals available for lunch and in rural Normandy where we stayed there were less restaurants open in the evening and everything is more expensive. However I found that’s not the only reason why this advice was a life saver!  Because our habit is to put Lukas to bed around 7pm, it just works much better if we eat in while he is asleep which I really enjoyed (especially eating al fresco!).

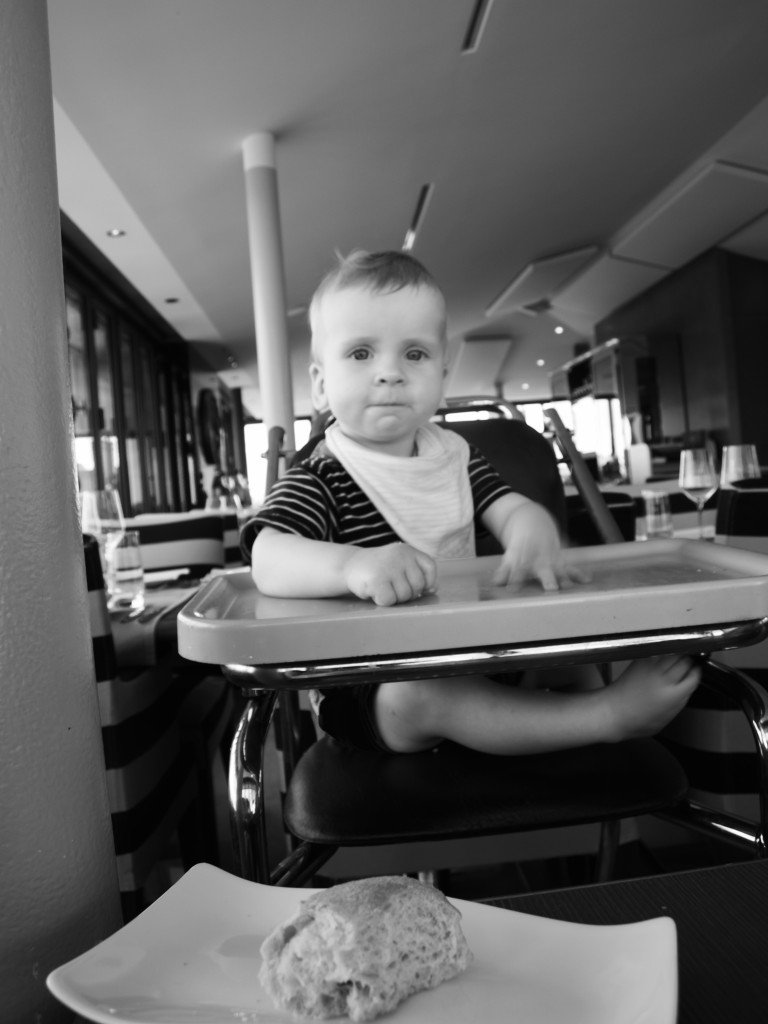
I did however found that French like to take their kids to dinner which can sometimes be very late in the evening. But in return they put their kids to nap in the early afternoon. Well that is good alternative to keep in mind!How to holiday with the baby (what I have learned so far) After Lithuanian holiday I could also add another advice.

Pack for everything, if you don’t have luggage restrictions of course! After Lukas sleep was disrupted by the very light bedrooms in Lithuania, I invested in travel blinds. I have not yet had a chance to use it, because in France the window shutters were unbeatable, but I still think it is worth every penny and I am sure it will come in useful. Every time I pack I carefully think through what I need to make Lukas feel at home as much as possible. Because I just love his routine and would love to keep it as it is during the holiday as well.

We will be off to Centre Parcs next, which I never thought of visiting before. Suddenly it sounds like a much more apealing destination when you have a baby with you. Will let you know how that goes!How to holiday with the baby (what I have learned so far)I hope you found this helpful xx

Rasa

3

Lukas room update: changing unit with tray

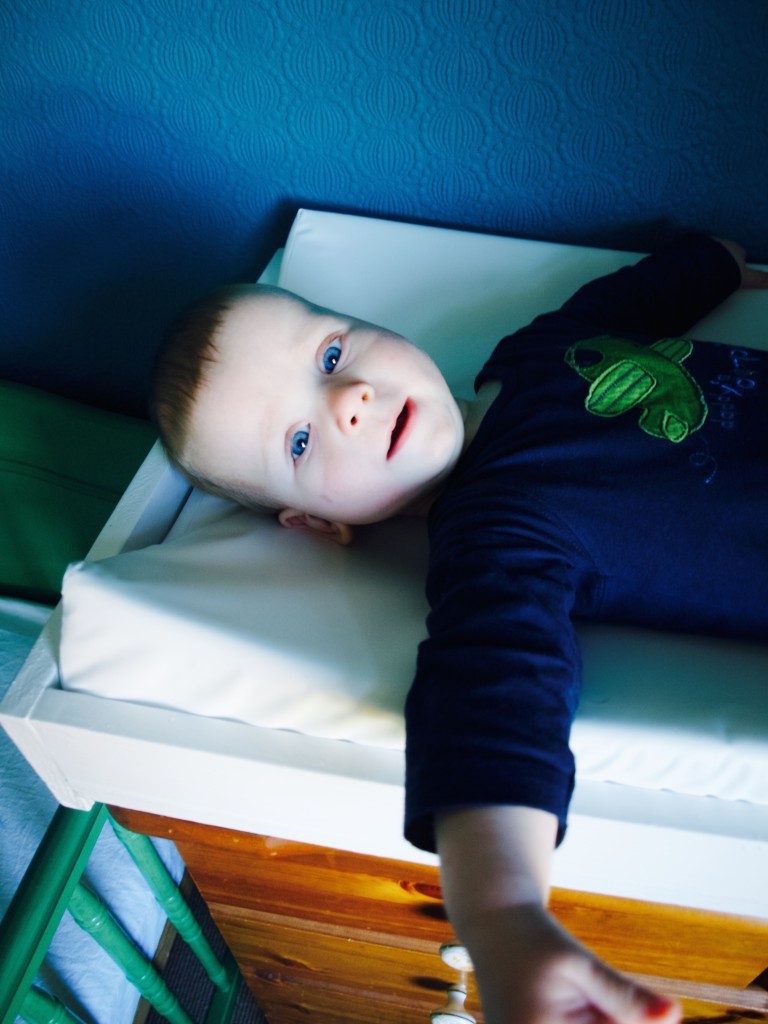
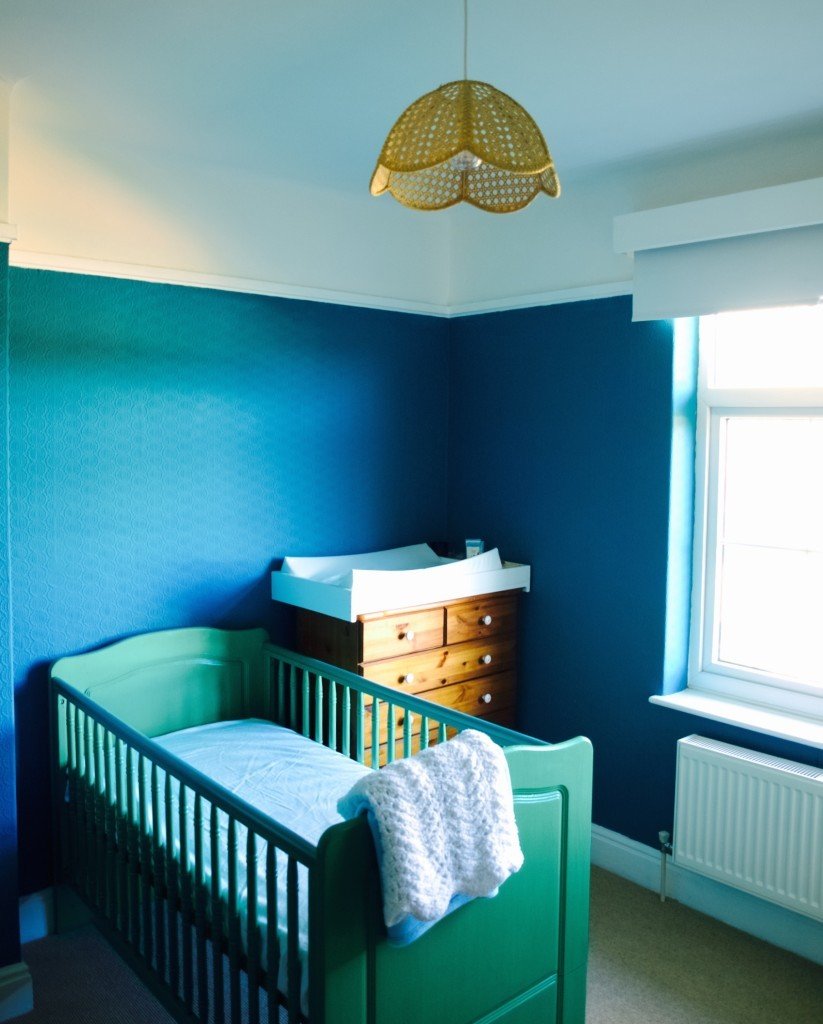
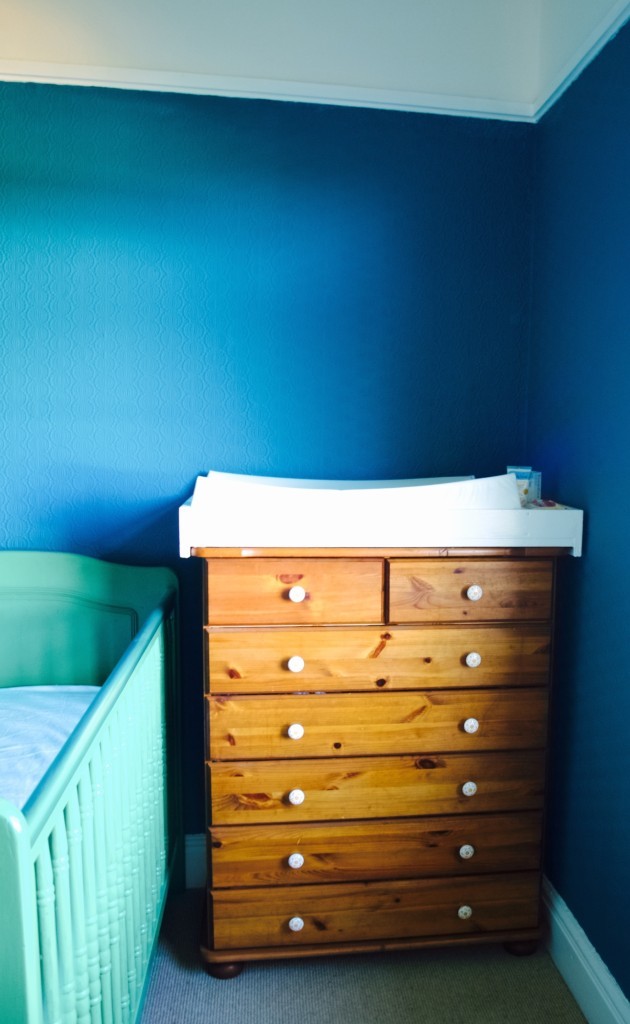
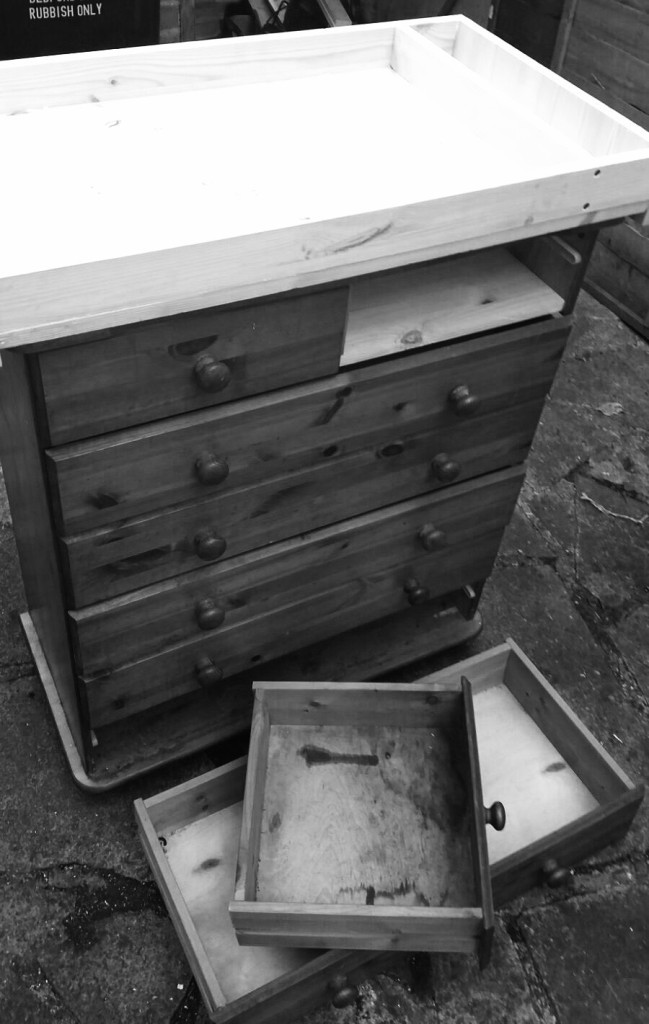
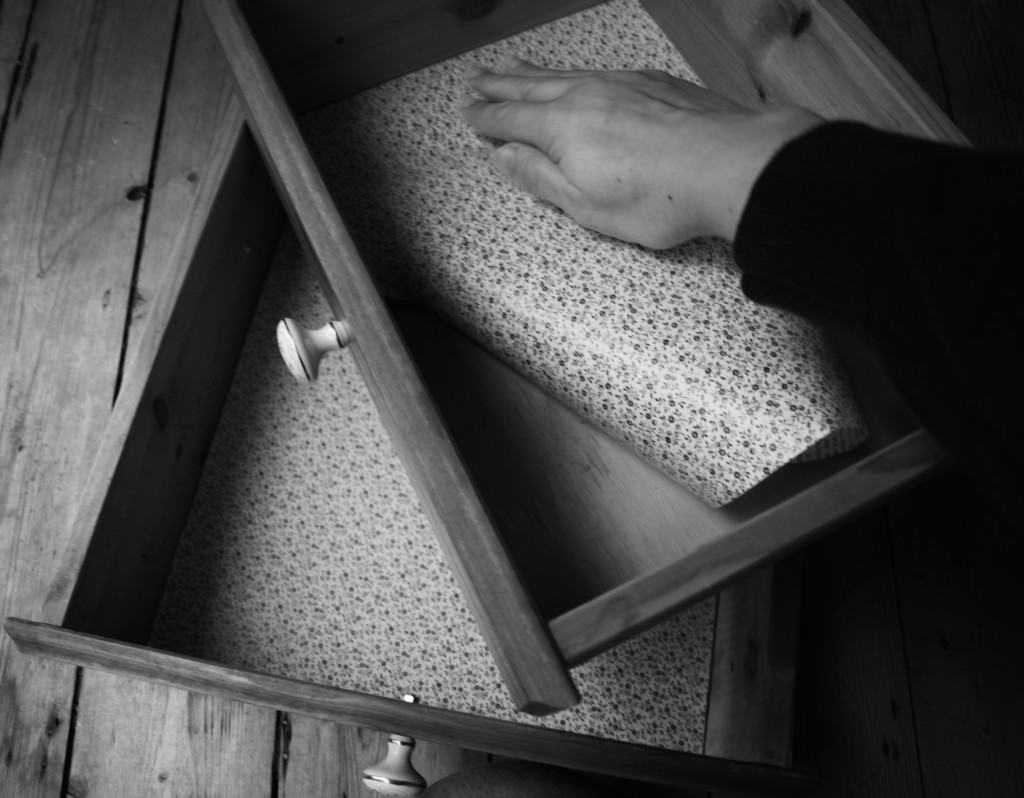
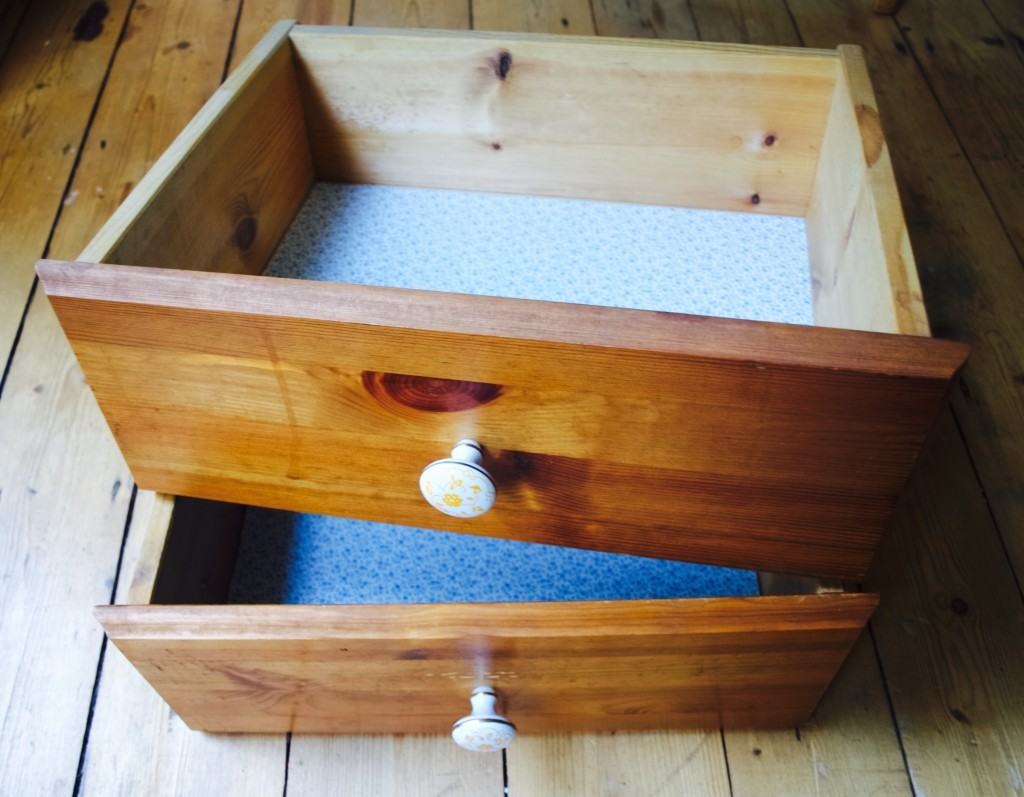
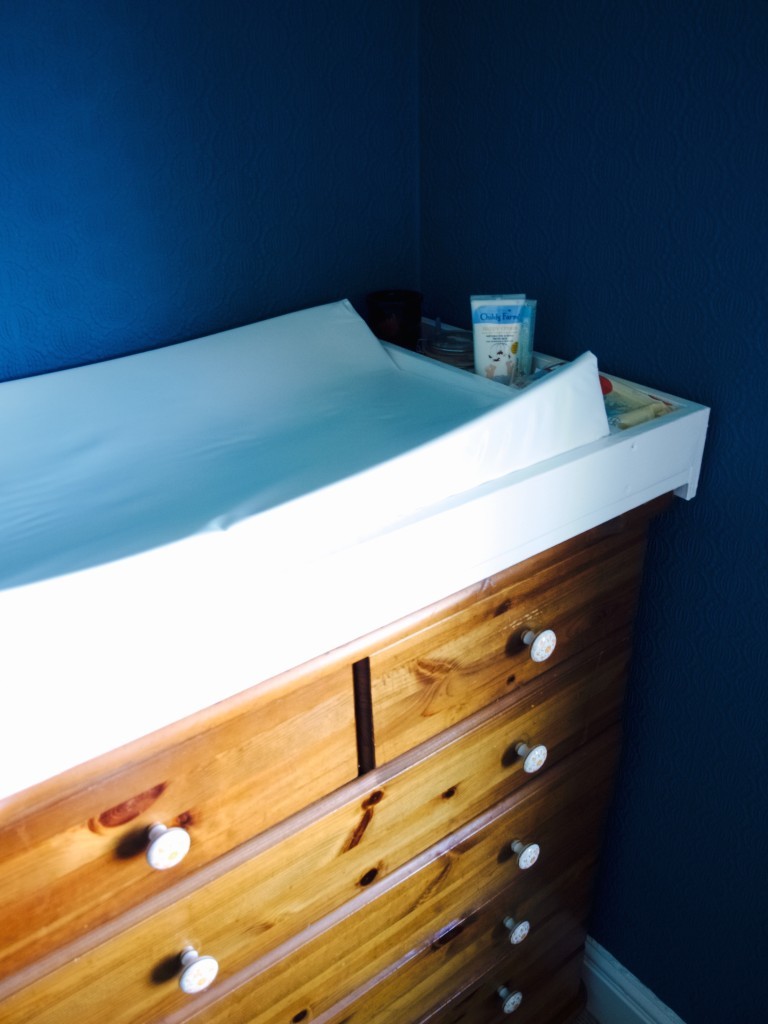
Lukas bedroom update: change drawers makeover So here we are! Lukas room have been painted (not perfectly, but it will do for now) and furniture moved in. There are still plenty things to get done here, but at least it is functional and Lukas does not seem to be complaining. Lukas bedroom update: Change drawers makeover Probably the most used furniture right now is the changing unit that have had it’s makeover long long time ago (about one month before Lukas was born).  Finally I am able to share about the process how I got it to current state.Lukas bedroom update: Change drawers makeoverIt was once a chest of drawers and it was in very bad state. It did not need to have huge makeover, but it did needed some tlc…Lukas bedroom update: Change drawers makeover The main thing I changed are the drawers. I lined them and replaced the knobs to something more excitingLukas bedroom update: Change drawers makeover

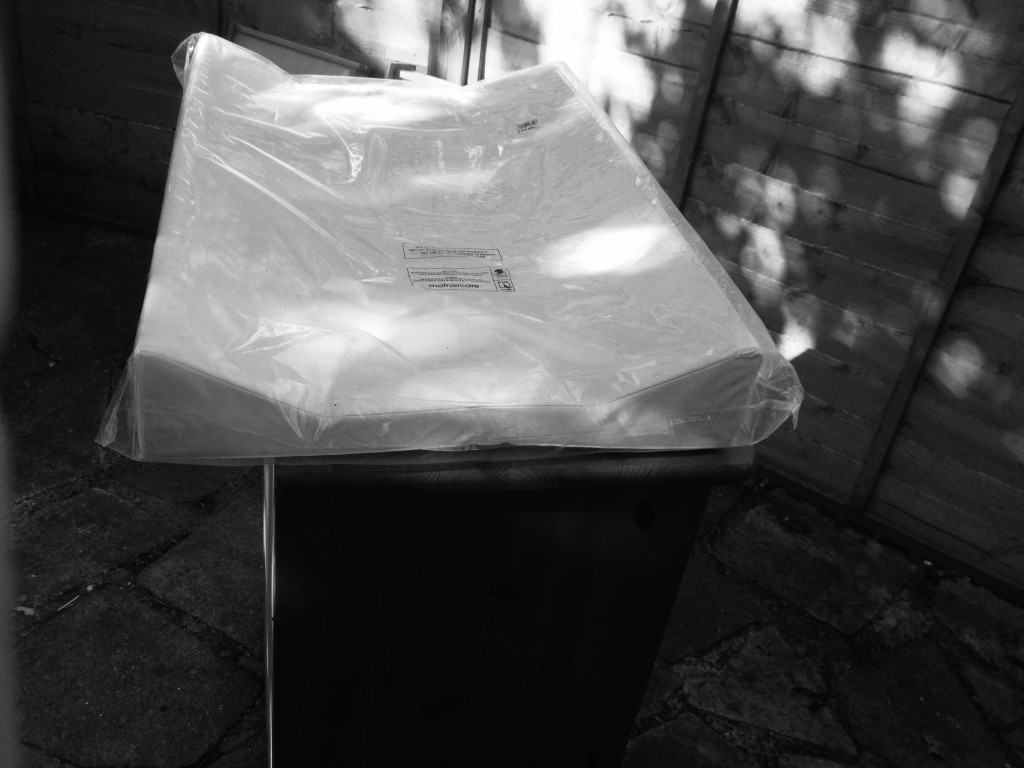
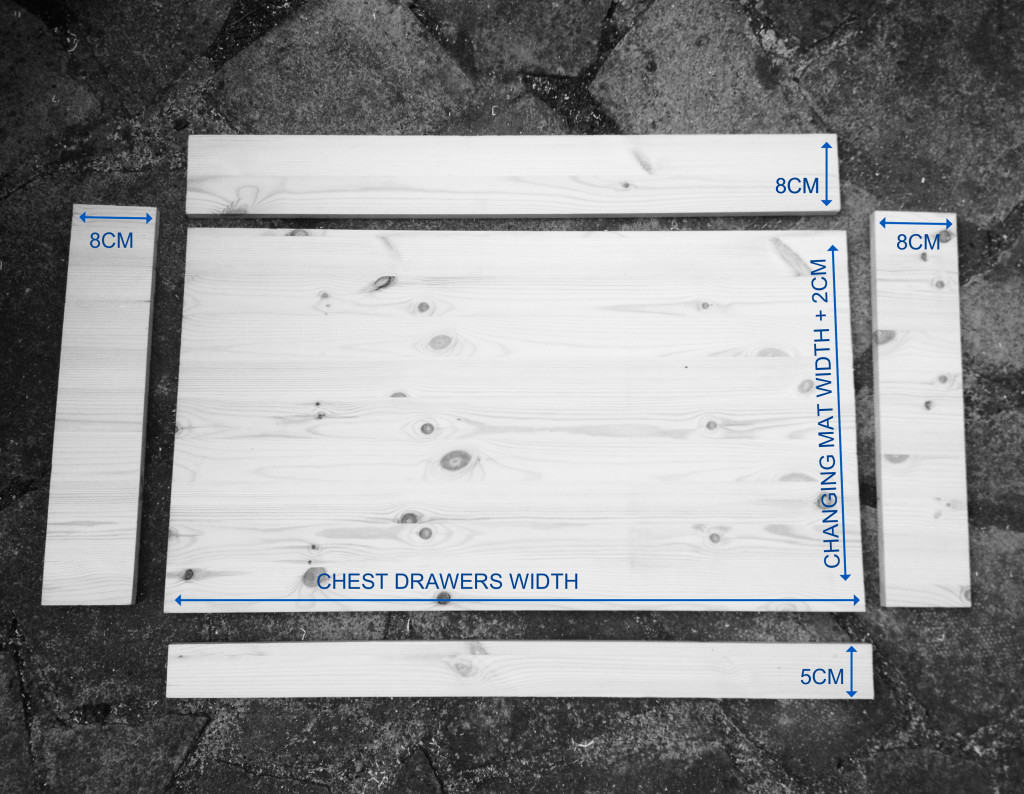
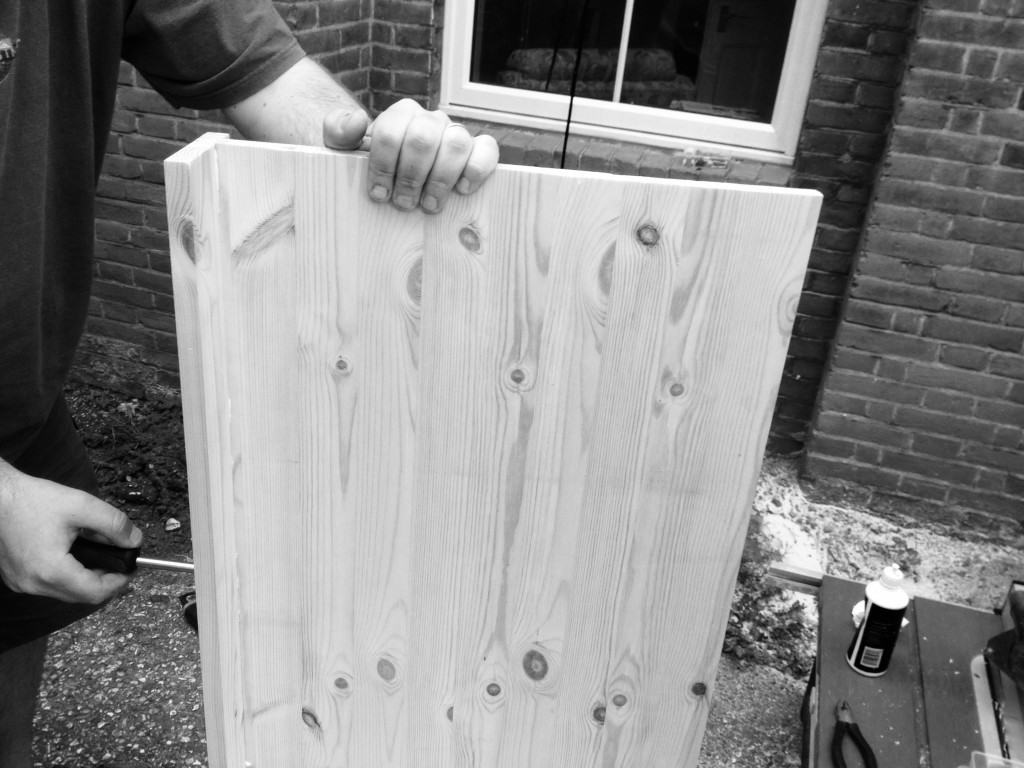
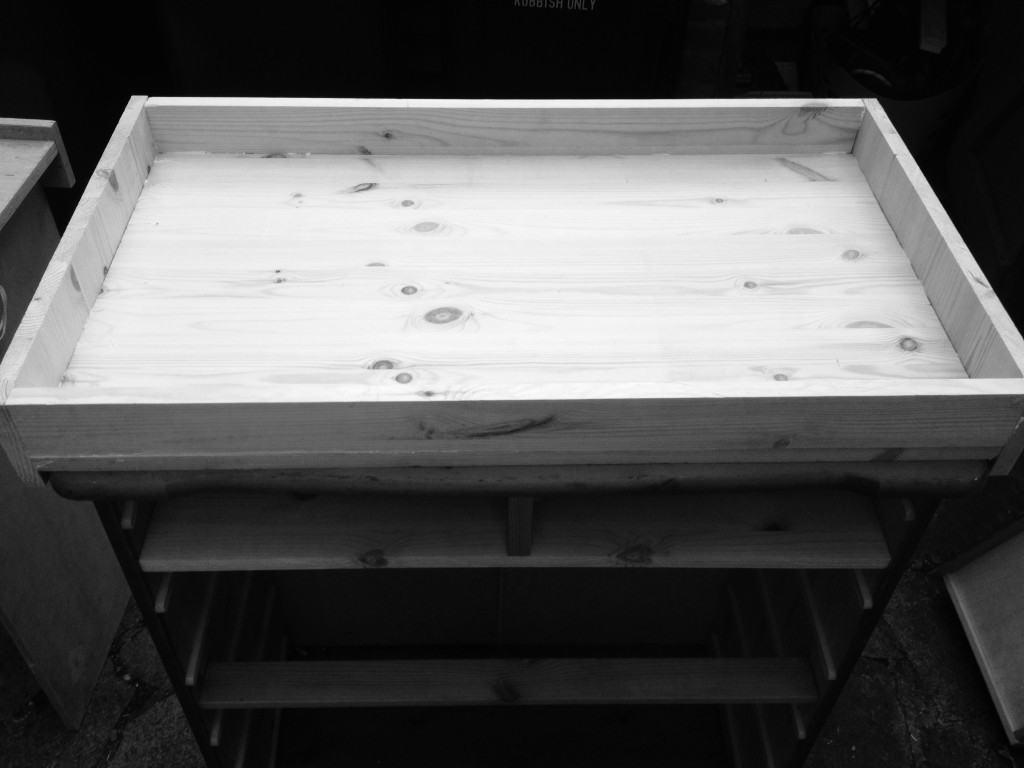
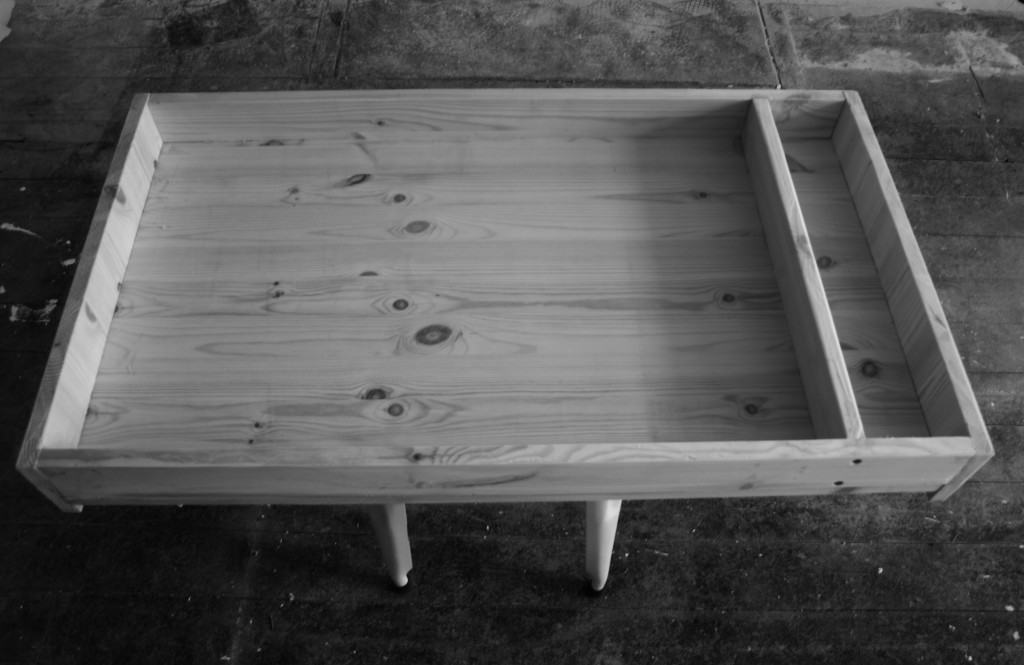
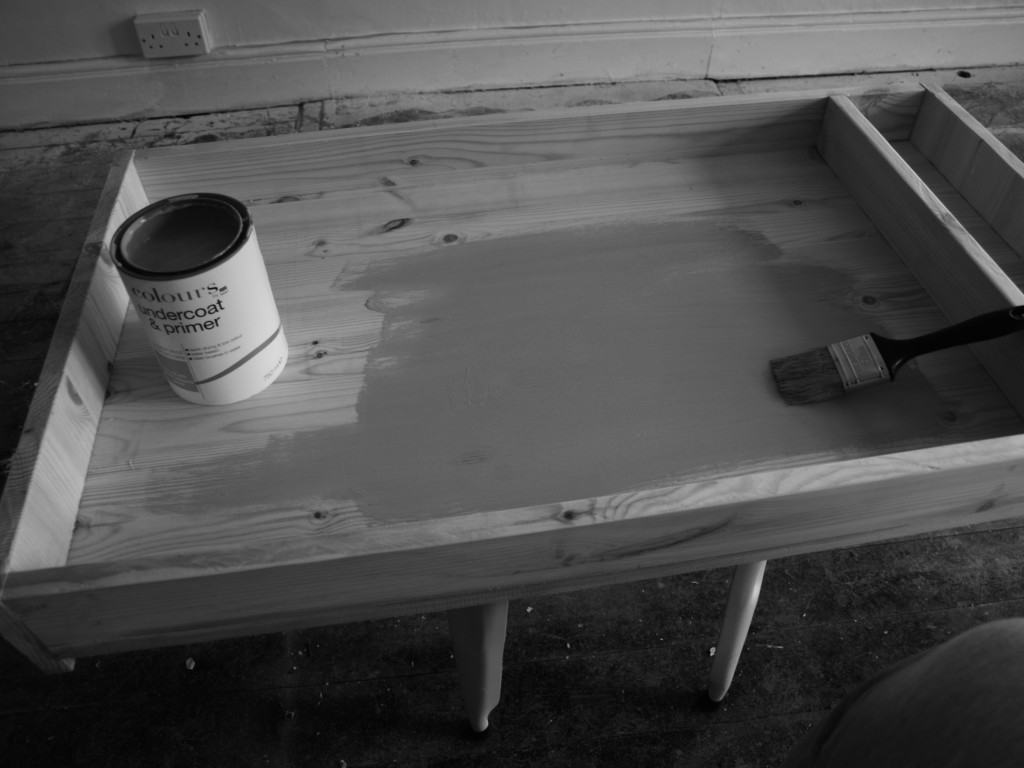
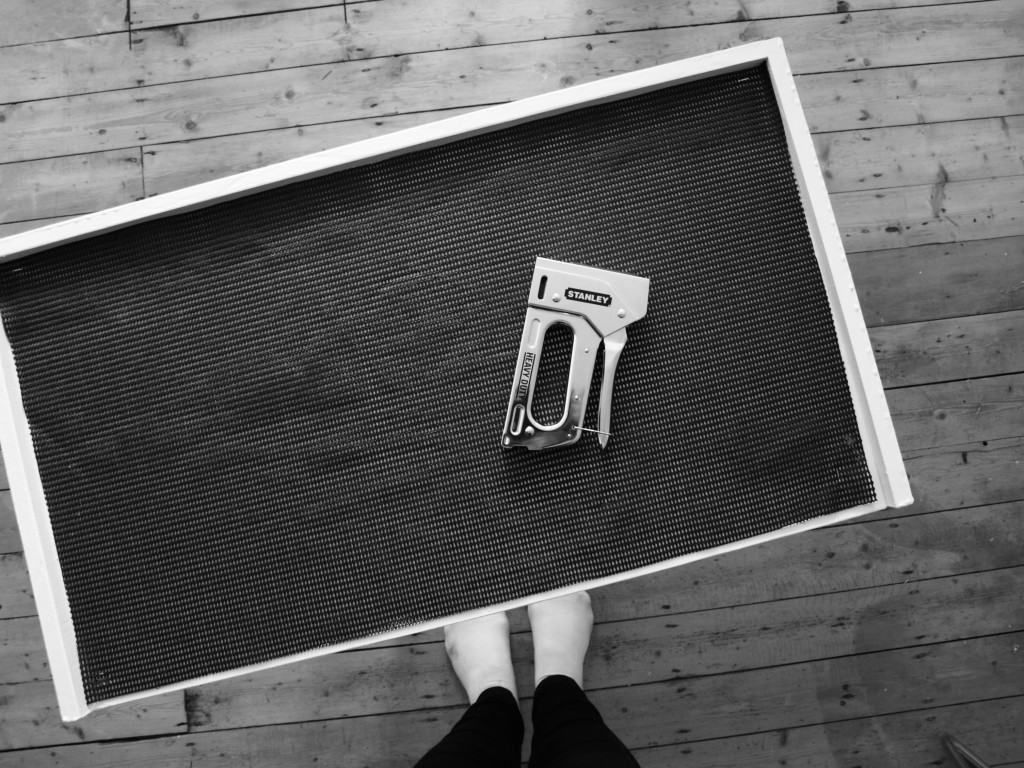
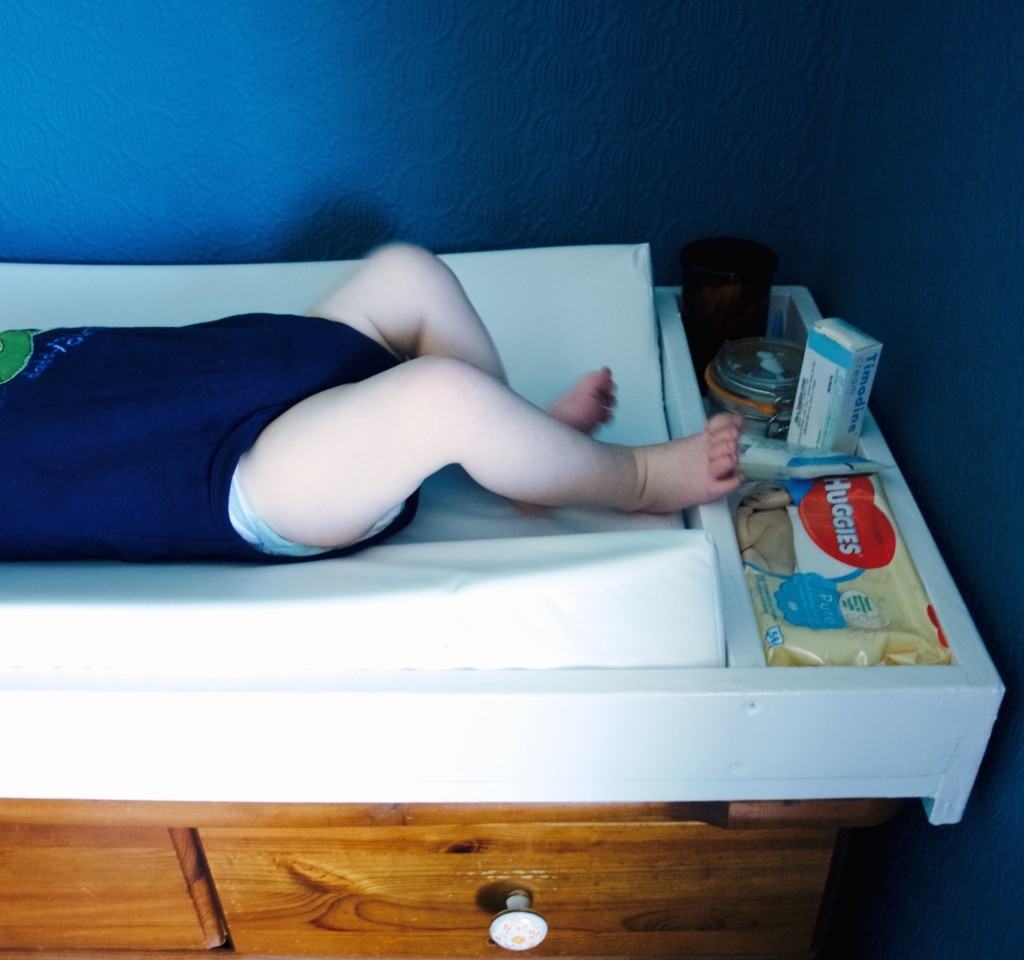
Lukas bedroom update: Change drawers makeoverOnce the drawers were ready we decided to build the tray that could hold the changing mat. Joni pointed out that the tray could be removed and used as the drawer once we finished with the nappy changing season (even if it seem it would never end). All sounds good,although there were a slight issue with this idea. The changing mat was hanging over… Lukas bedroom update: custom changing tray DIYI have been reassured that hanging over changing tray would not be a problem. Here are the wood pieces Joni used to make the custom box that were suppose to fit the chest of drawers. Custom changing tray DIY Custom changing tray DIY Custom changing tray DIYLuckily there were some space on the side for extra miscellaneous compartment. Currently it holds the wet wipes, cream and other very necessary stuff that is very handy (I am sure all mums out there would appreciate).Custom changing tray DIY Custom changing tray DIYAnd this is how we fixed the issue of the tray hanging over the drawers. This anti slip mat that you usually use for car is exactly what made it very stable (believe me, we tested it before changing Lukas nappy on it). I of course used my ultimate tool to fix it in (the stapler).Custom changing tray DIY Custom changing tray DIY Lukas bedroom update: custom changing tray DIYHope you found this inspiring :)

Rasa xoxo

0

Make your own kids gardening kit

Make your own kids gardening kitAlthough we are in the middle of winter I already can’t wait till spring (I think I had enough of cold and rain). So making this seed growing kit for my nephew was quite uplifting :-). Hopefully he is now looking forward to spring as much as I do!

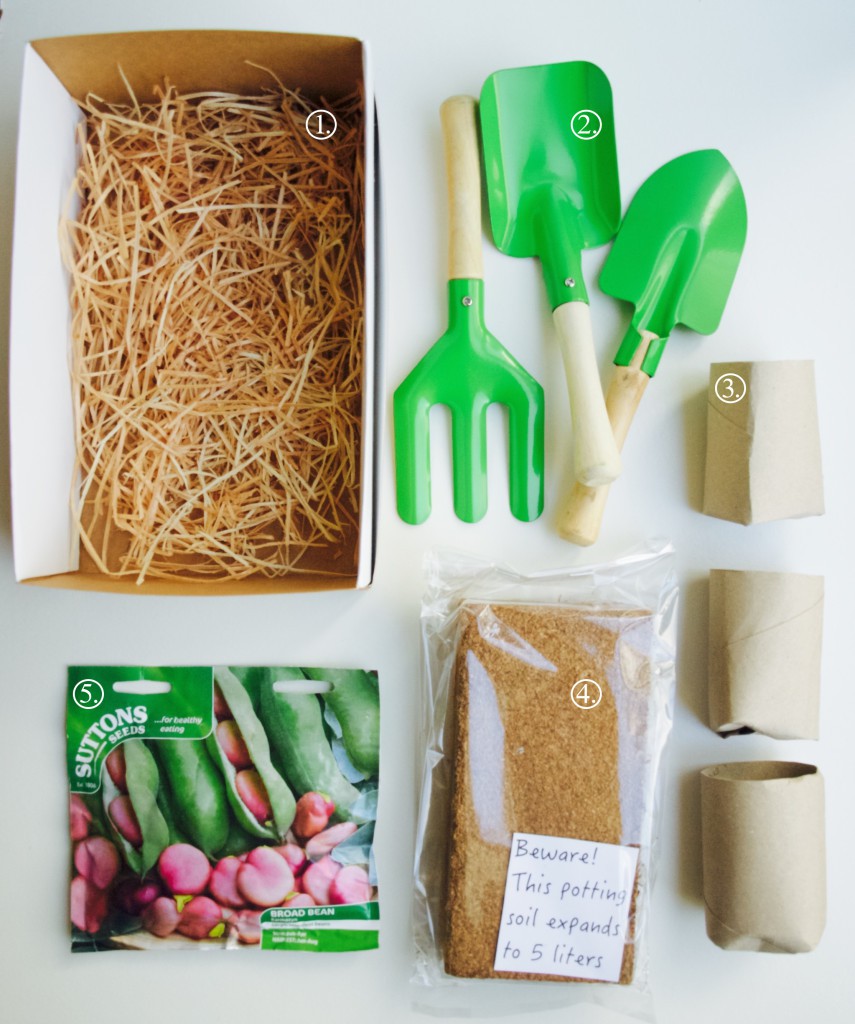
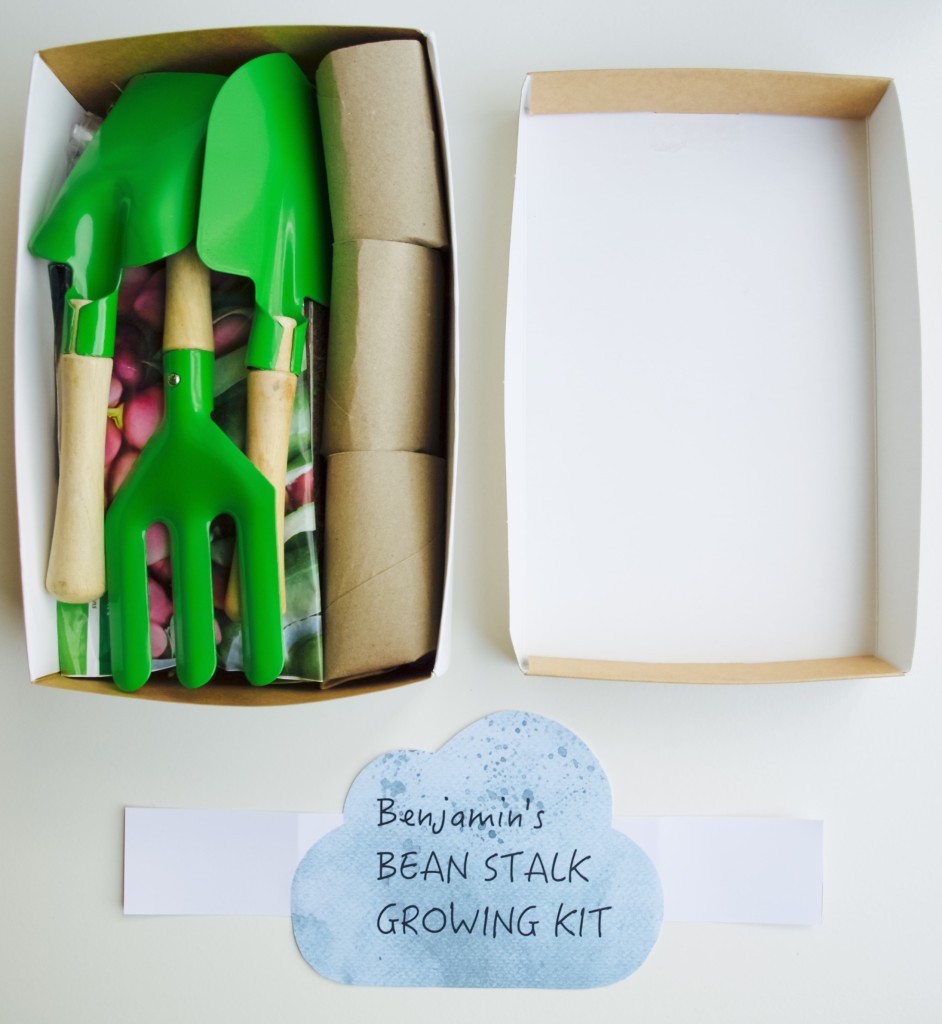
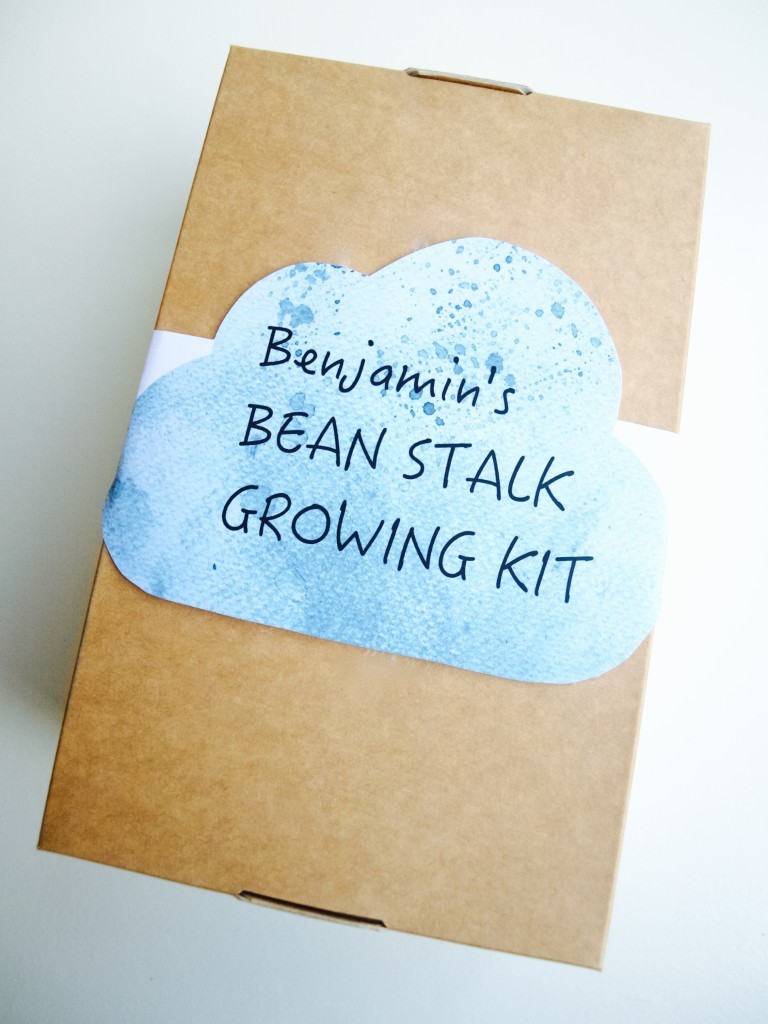
In the kit I included the beans for sowing (5.) and everything else that is needed to make it grow (minus the water). Some of the stuff I had to buy such as kiddy gardening tools (2.) and compressed soil (4.). However the other items were free, like these toilet roll pots (3.) and the box with the straw (1.) that I just upcycled!Bean stalk growing kit printableI decided to go with the beans because I thought it’s cool and it’s so easy to grow. It kind of goes along with Jack and The Beanstalk story! I thought it would make a very personal gift if I replaced Jack’s name to my nephew’s name.  Make your own kids gardening kit Make your own kids gardening kitI hope you found this simple gift idea inspiring

Rasa xoxo

2

Baby trousers that got converted into a hat

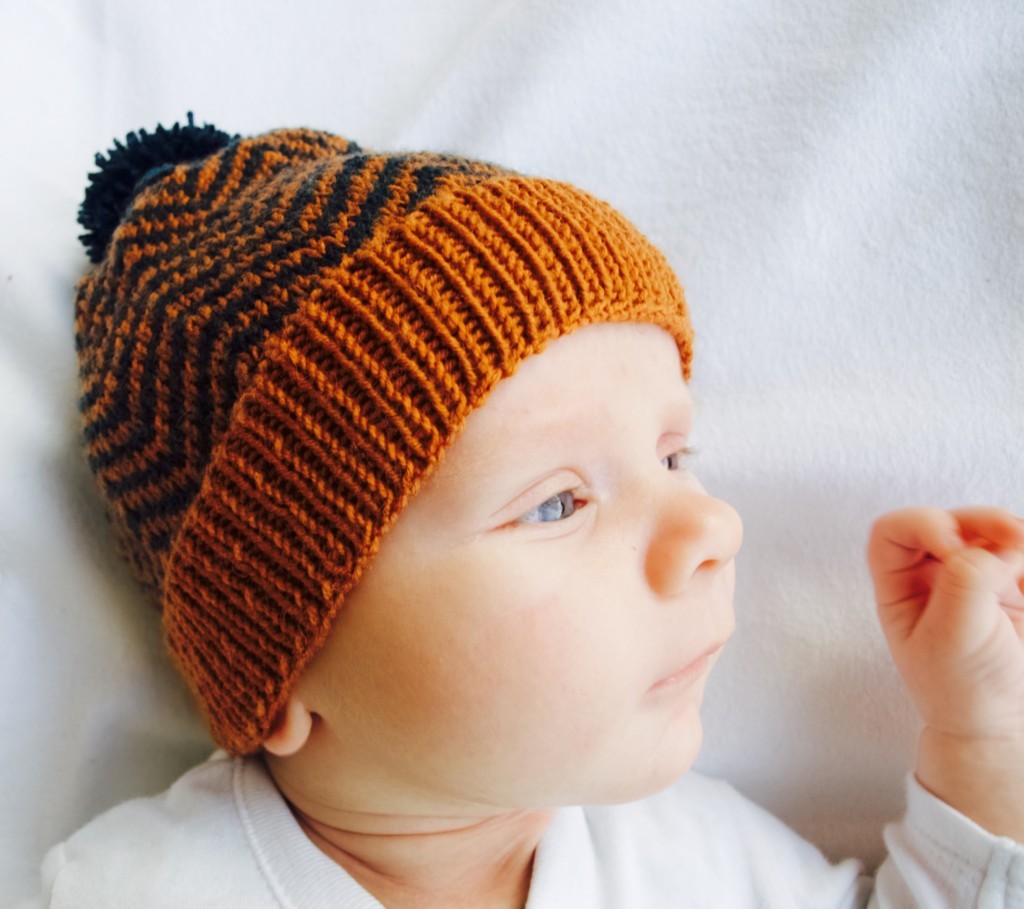
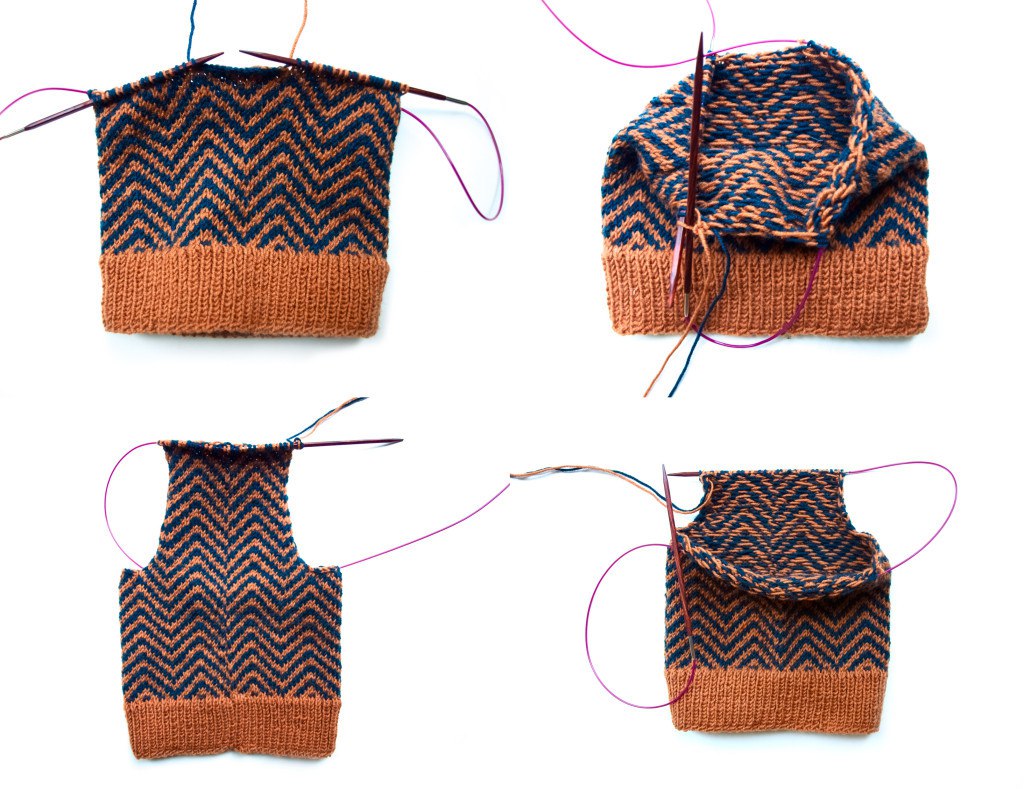
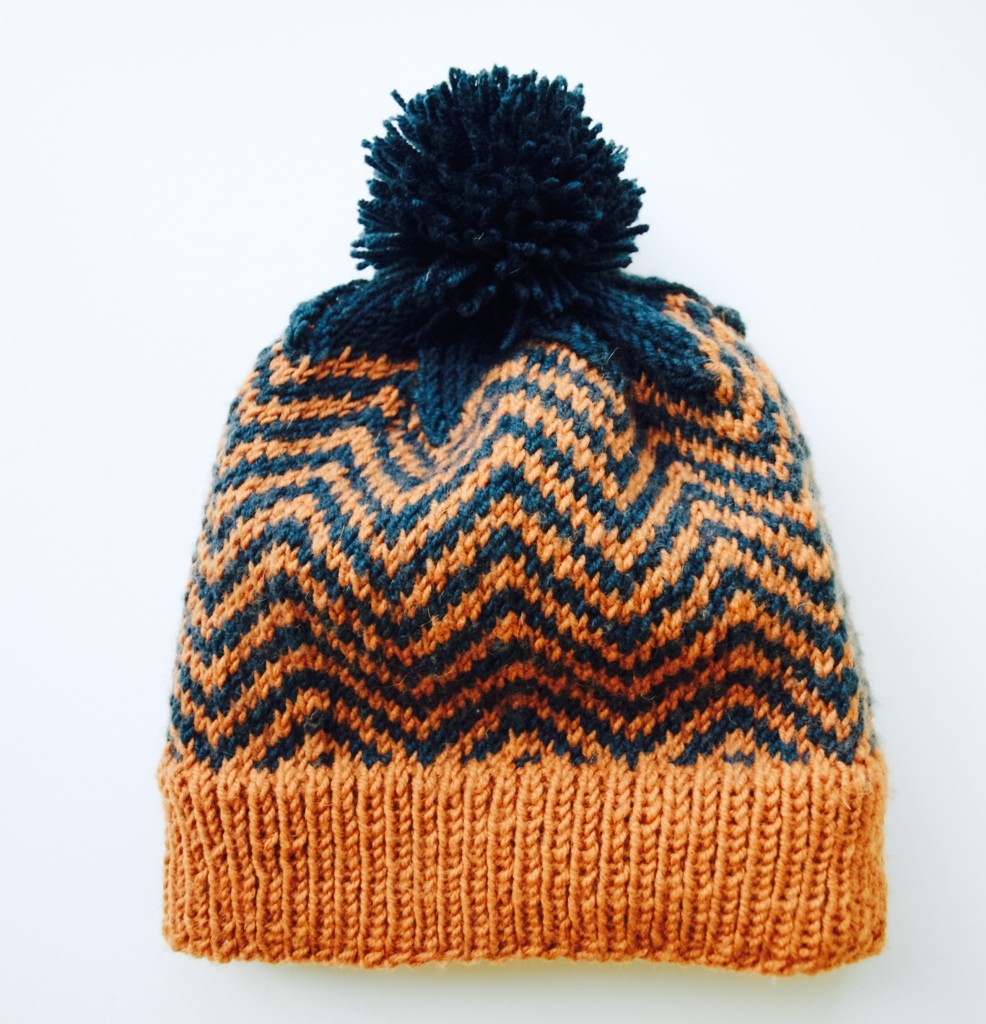
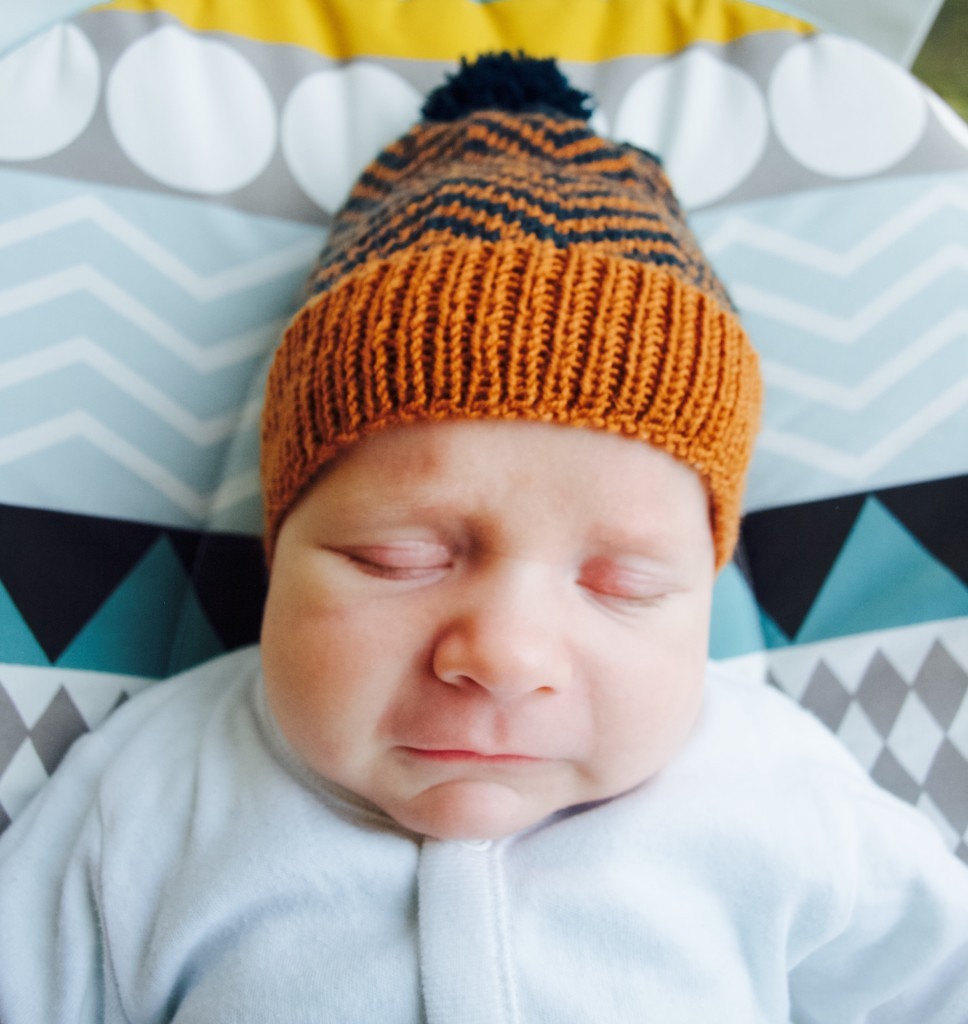
Kids hat pattern includedBefore Lukas was born I was knitting these baby trousers that ended up being ridiculously too small (even a small baby would not have fitted in!). So I decided to undo the legs and finish it as a hat. It fits Lukas already! It’s amazing how big his head got ;-). The baby trousers that got converted into a hatKids hat pattern includedThis is my first time using Lukas as a model, hopefully there will be more babywear projects coming. However I realised how difficult it is to take a picture of a baby. He does not seem to be smiling when I want (and he is smiling usually), but instead he looks disappointed…Kids hat pattern includedOr yawning!OLYMPUS DIGITAL CAMERAThe pattern can be found here!

Rasa xoxo
0

Project fail: baby trousers

Project fail: baby trousers

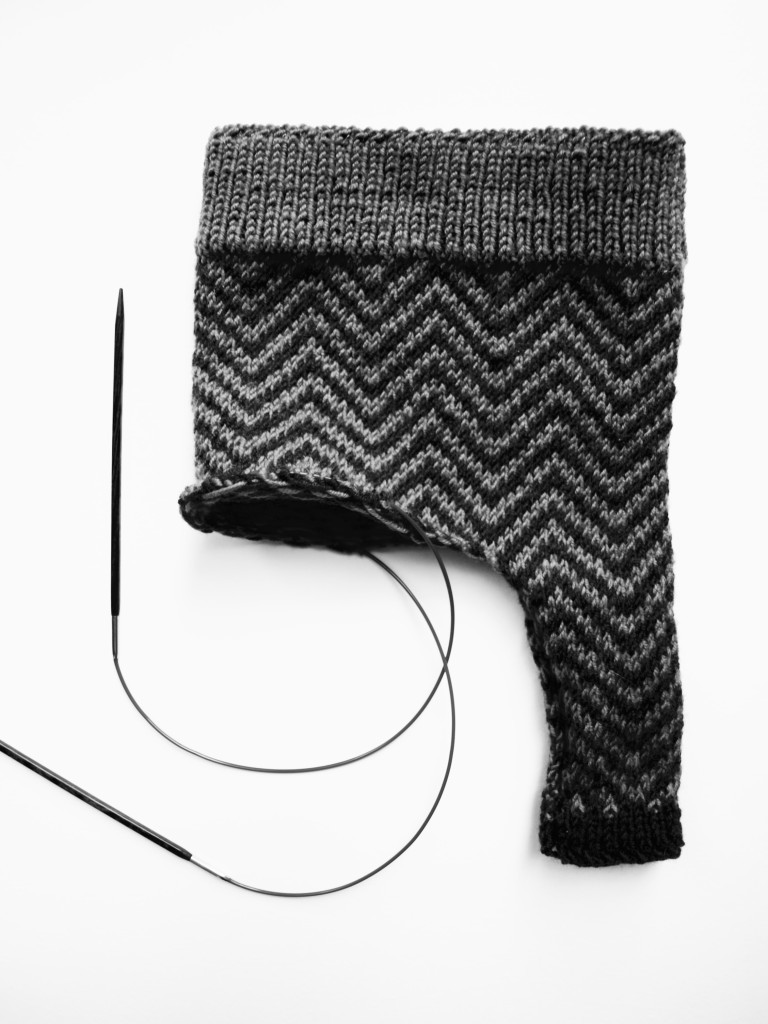
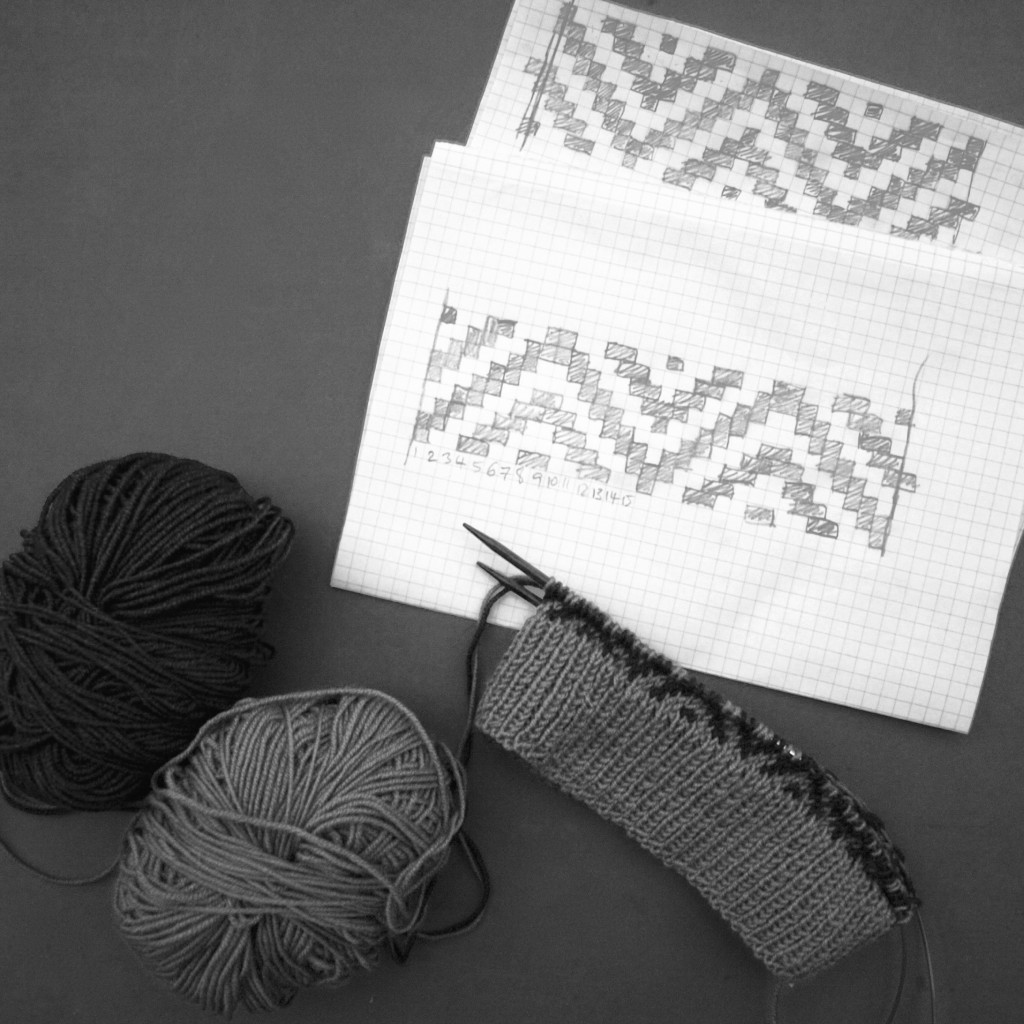
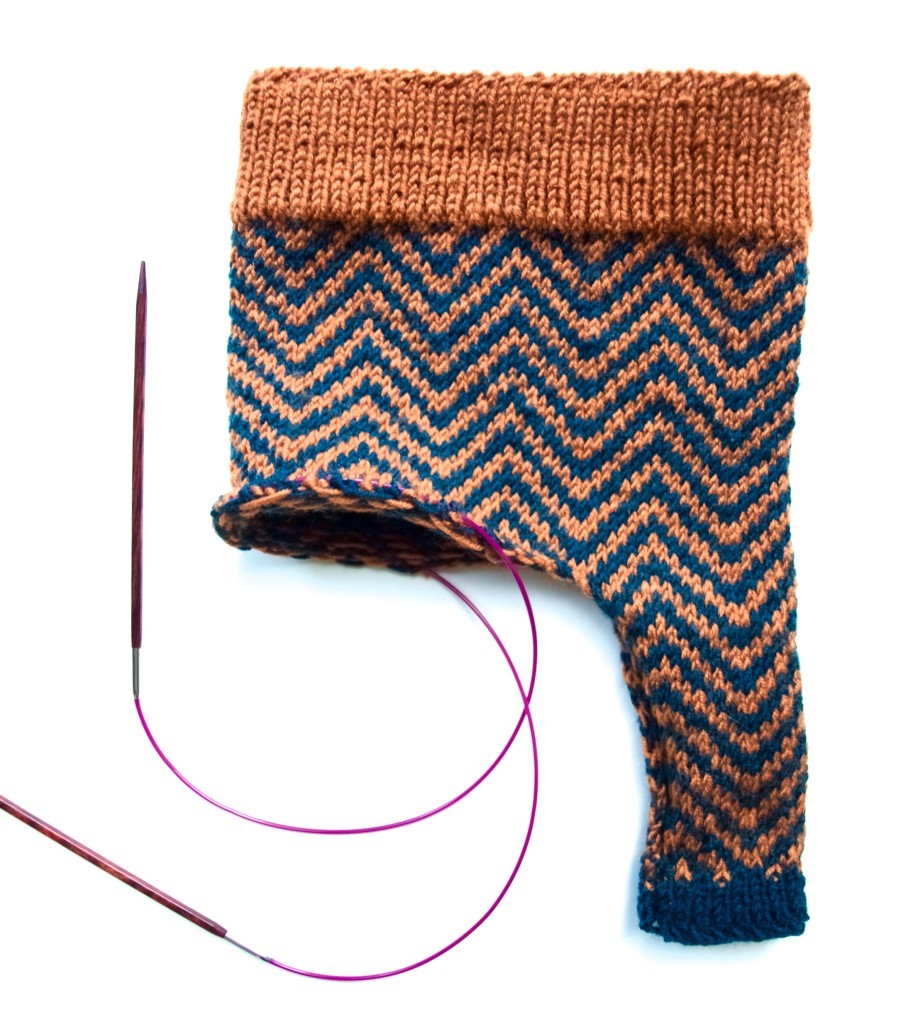
Lately if you have been watching me on Instagram, I was knitting for our baby boy some trousers. Although I am really pleased with the chevron pattern I have created, I had an inkling that they might be too small for quite a while. After knitting one leg it became obvious that they are indeed the wrong size and probably would not even fit a tiny baby :(. I took it to the baby group last Monday and it’s official: this project is a fail (better noticing earlier than late).

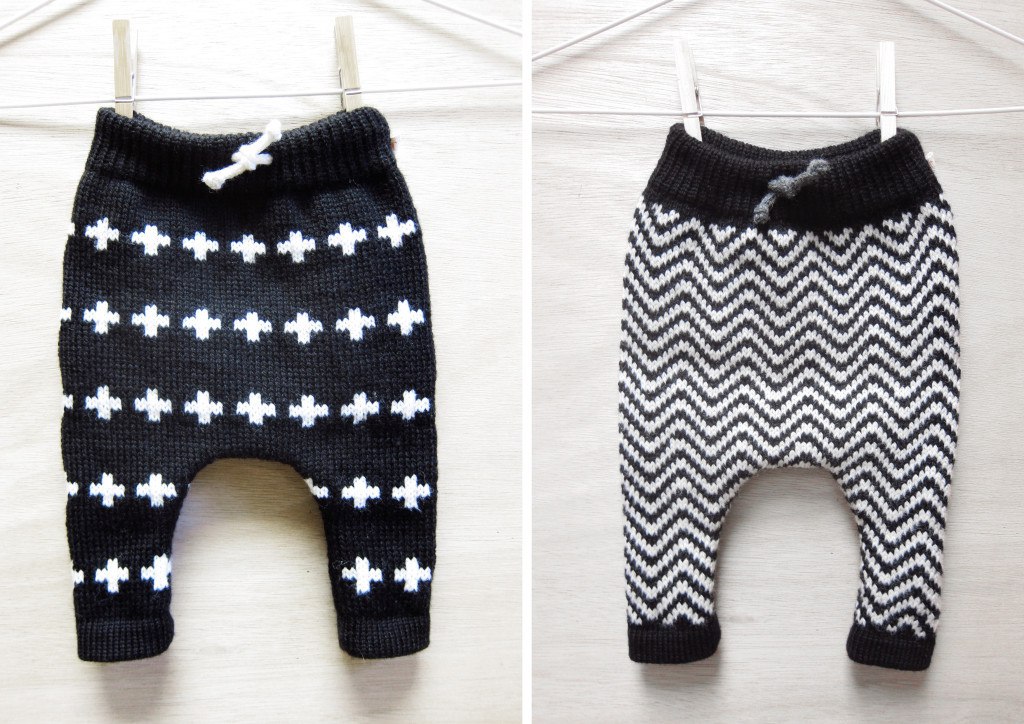
The idea to knit these trousers came to my mind after seeing these lovely creations by Camp&Company. I just love the shape of them and this is what I wanted to recreate on the ones I was knitting. Oh well… I still have time, I am sure toddler would look super cool in these as well :-).  Camp & Company baby trousersAnd what about the trousers I almost finished knitting I hear you say? Well, I am thinking to turn them into chevron patterned hat! After all I did take a lot of time for working out the pattern and actually knitting them ;-).Chevron knitting pattern Knitting baby trousers


Lovely sunny day, isn’t it?

Rasa xoxo
1

Little things I am knitting for our new arrival

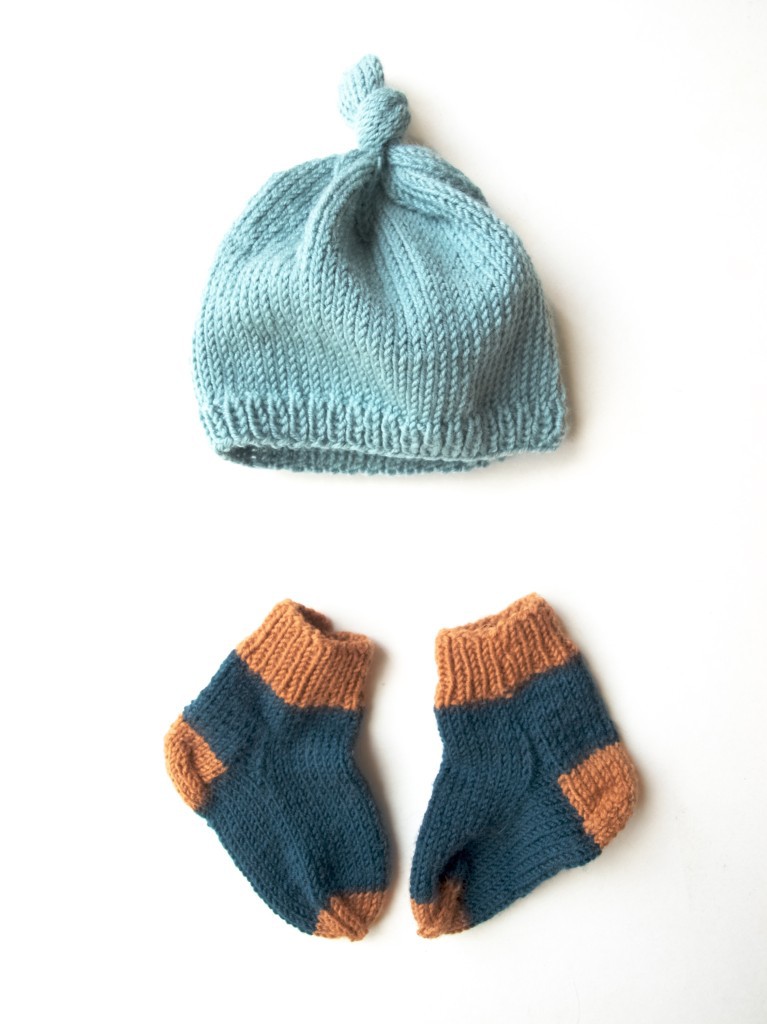
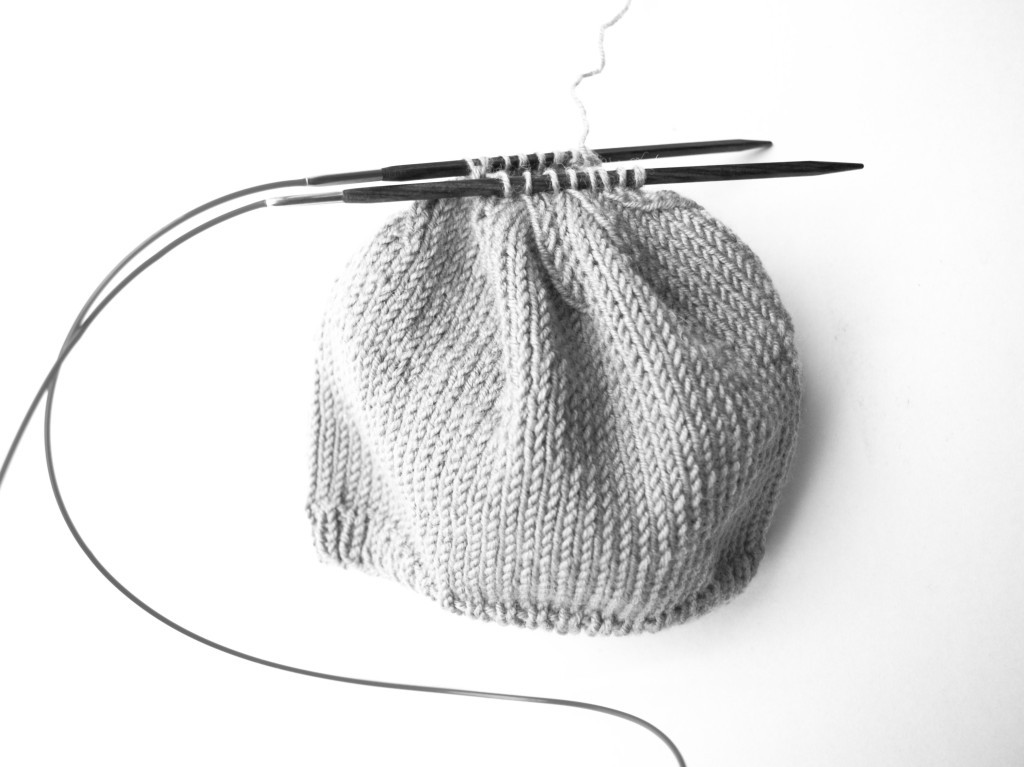
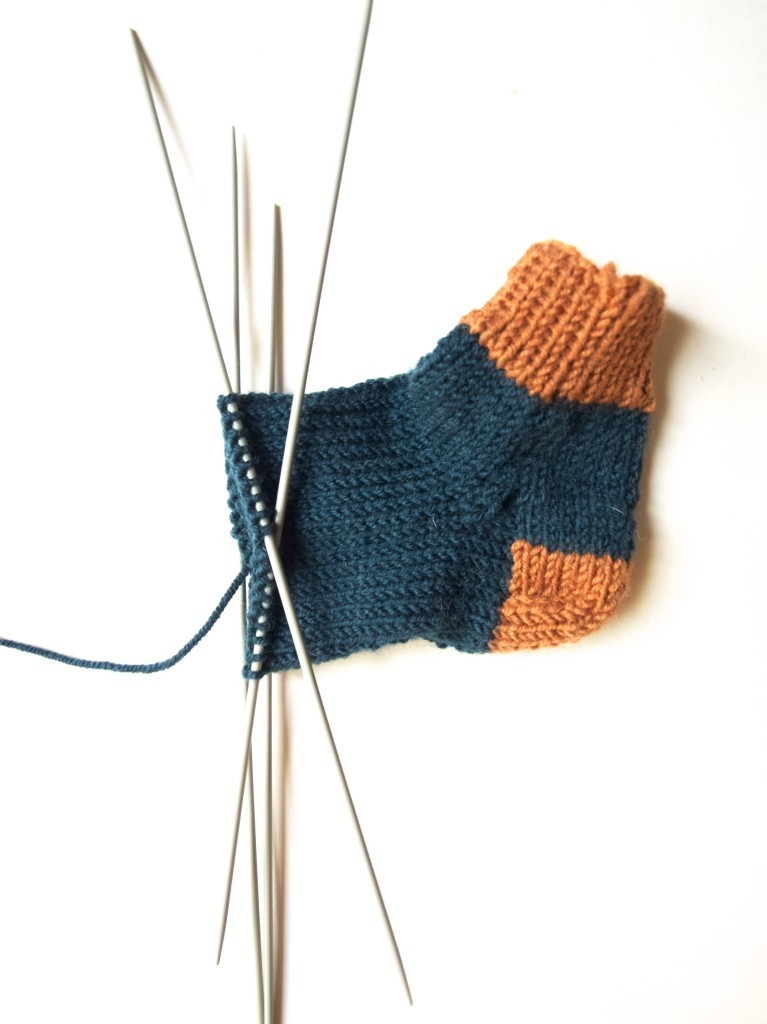
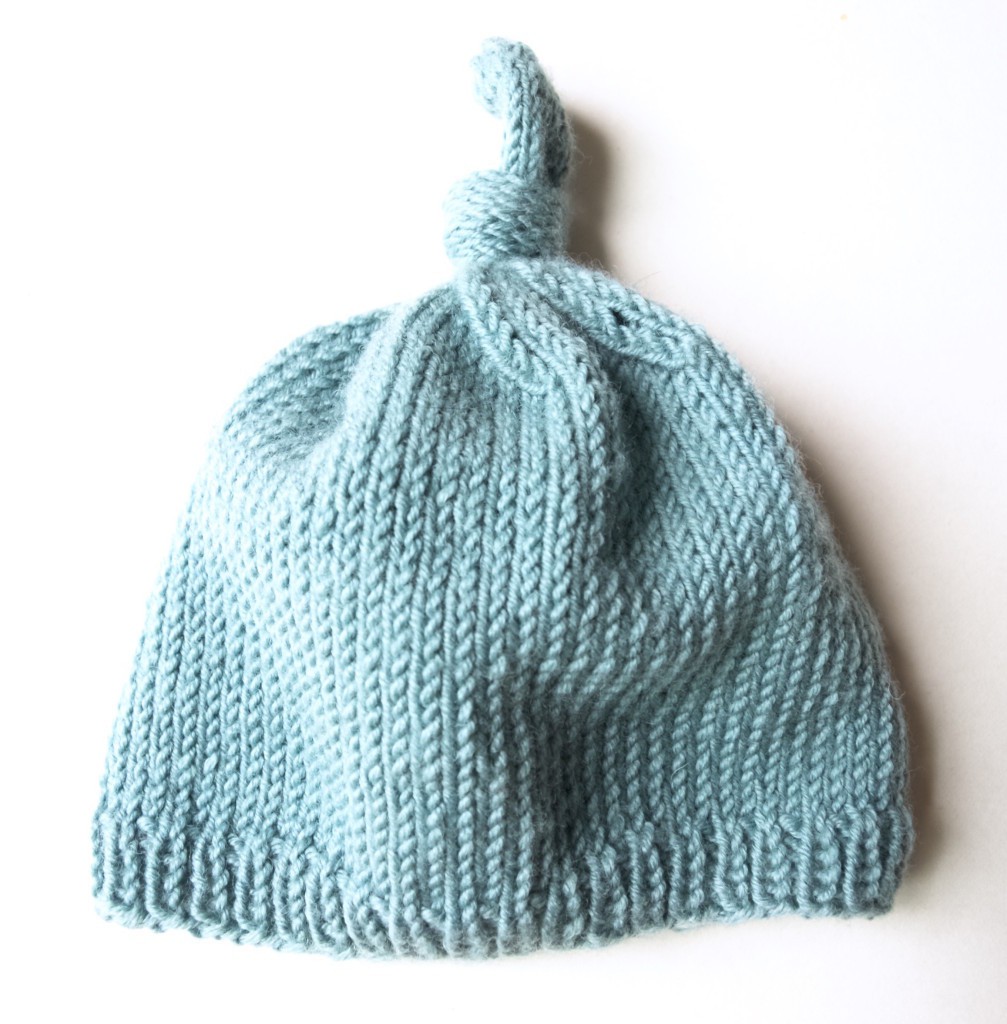
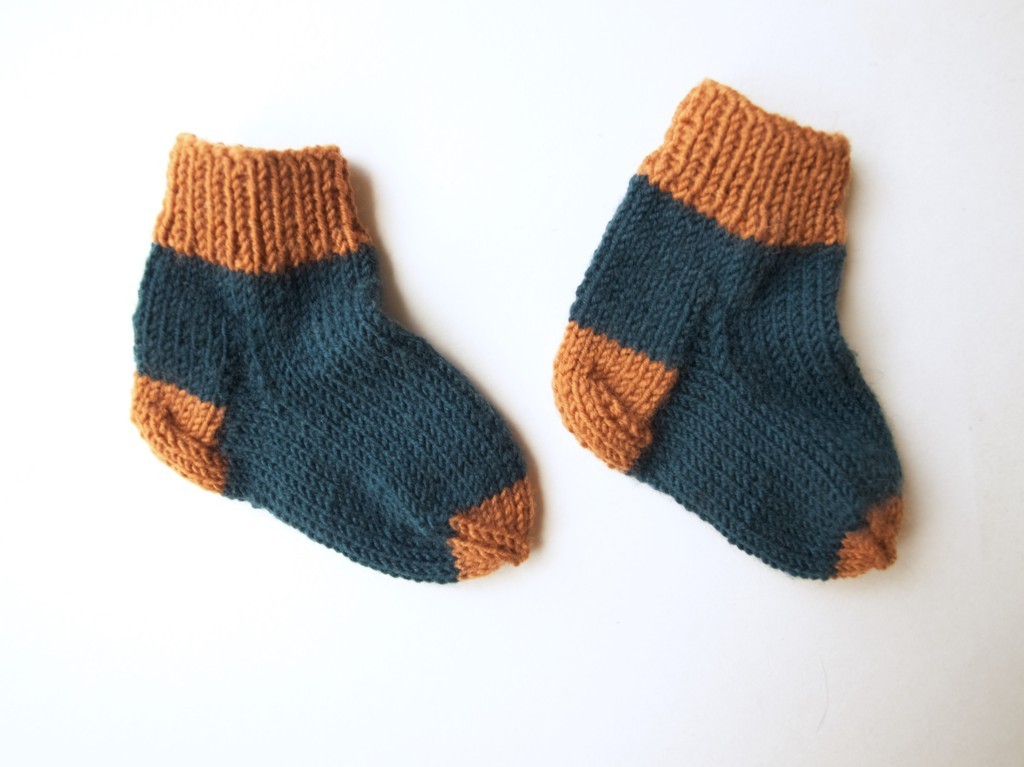
knitting for a babyJoni and I are expecting our new arrival very soon and lots of you have been asking what I am knitting for our new baby. To be honest I only started knitting recently and so far I finished a hat and little socks. Time permits you might see here some baby pants and maybe even a jumper.

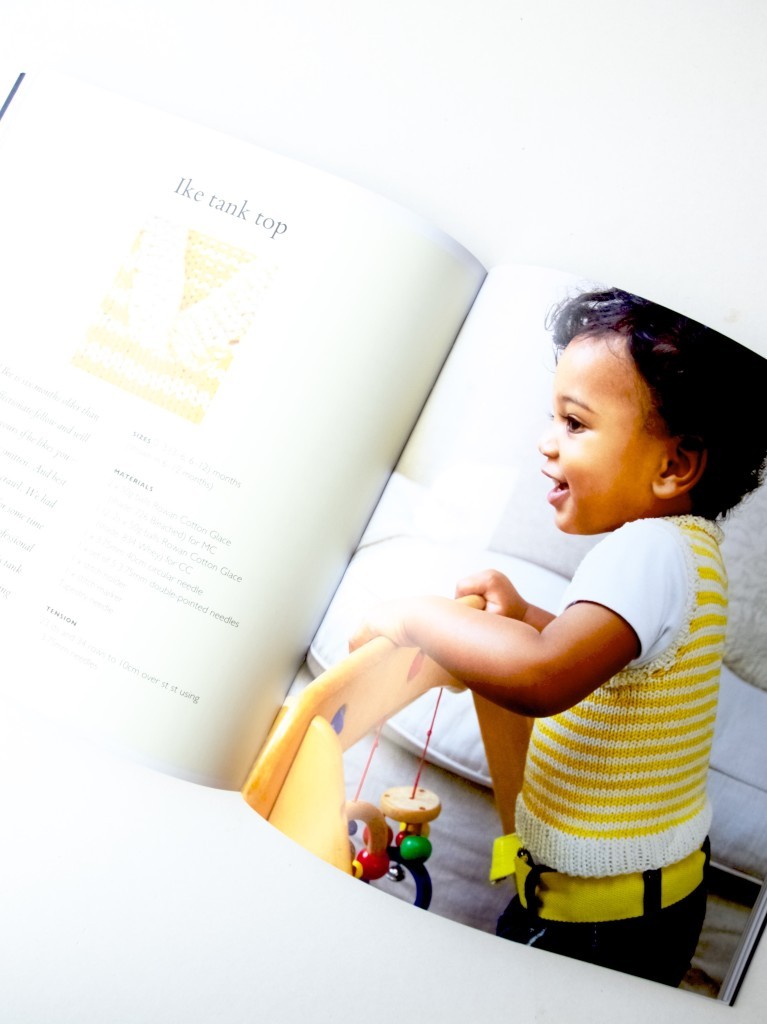
As for inspiration I have been mostly inspired by Pinterest (of course) and the book called “What to knit when you’re expecting” that was a gift from my mum in-law (love the title of it!).You can learn how to knit baby knot hat by clicking here.And if you prefer to learn to knit socks then click here (although you might need to get your own measurements for the baby as their feet proportions are completely different to the kid’s sizes).knitting baby socks

OLYMPUS DIGITAL CAMERA baby socksI hope I inspired you ;-)

Rasa xoxo

0

Handmade gift idea for kids

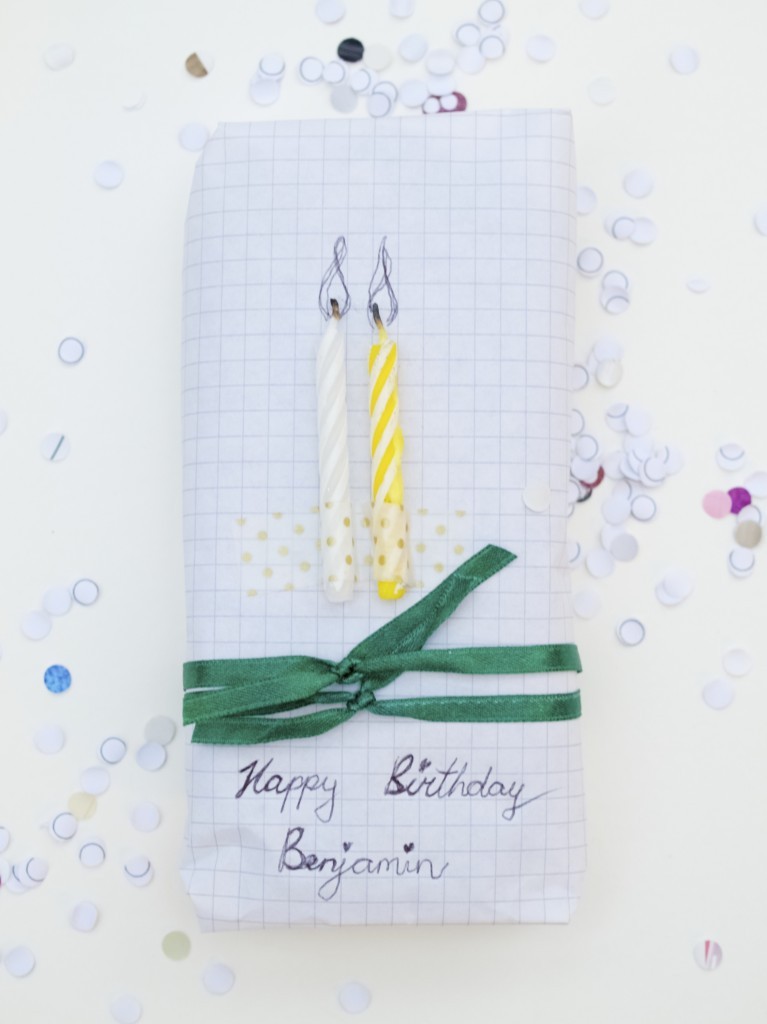
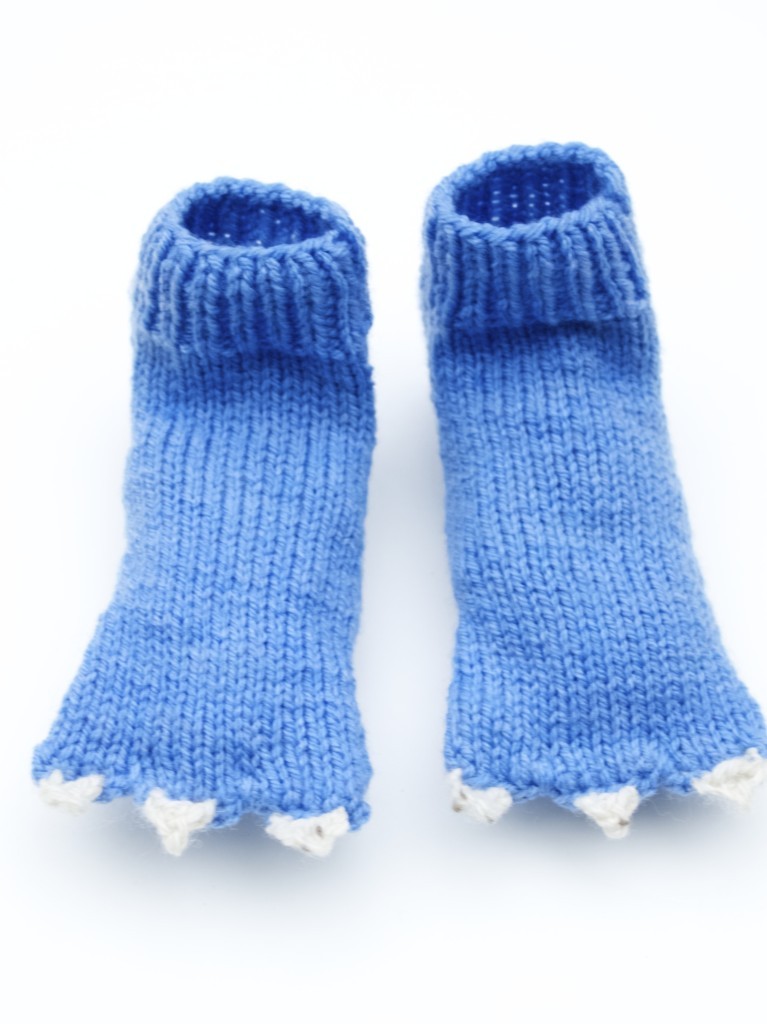
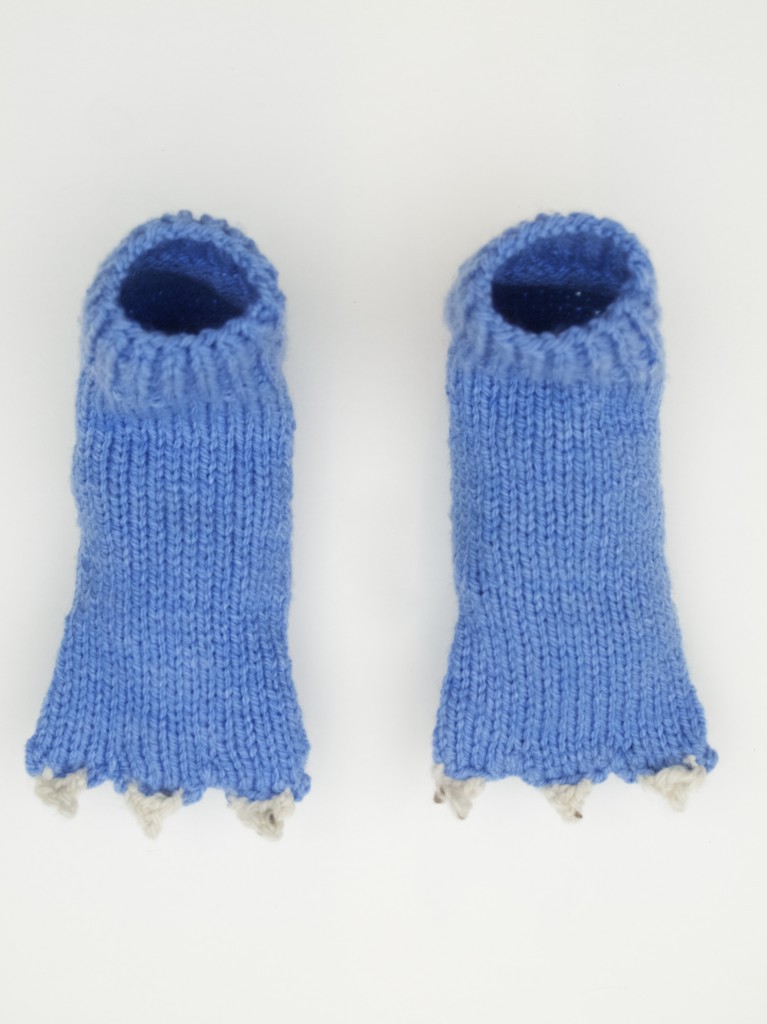
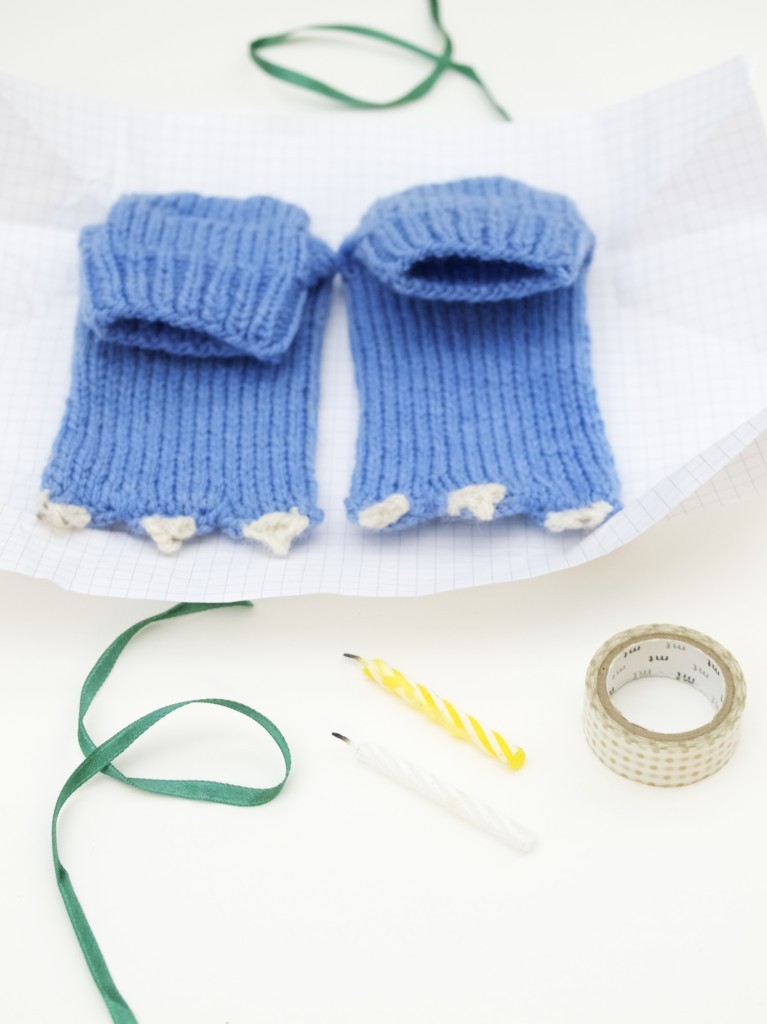
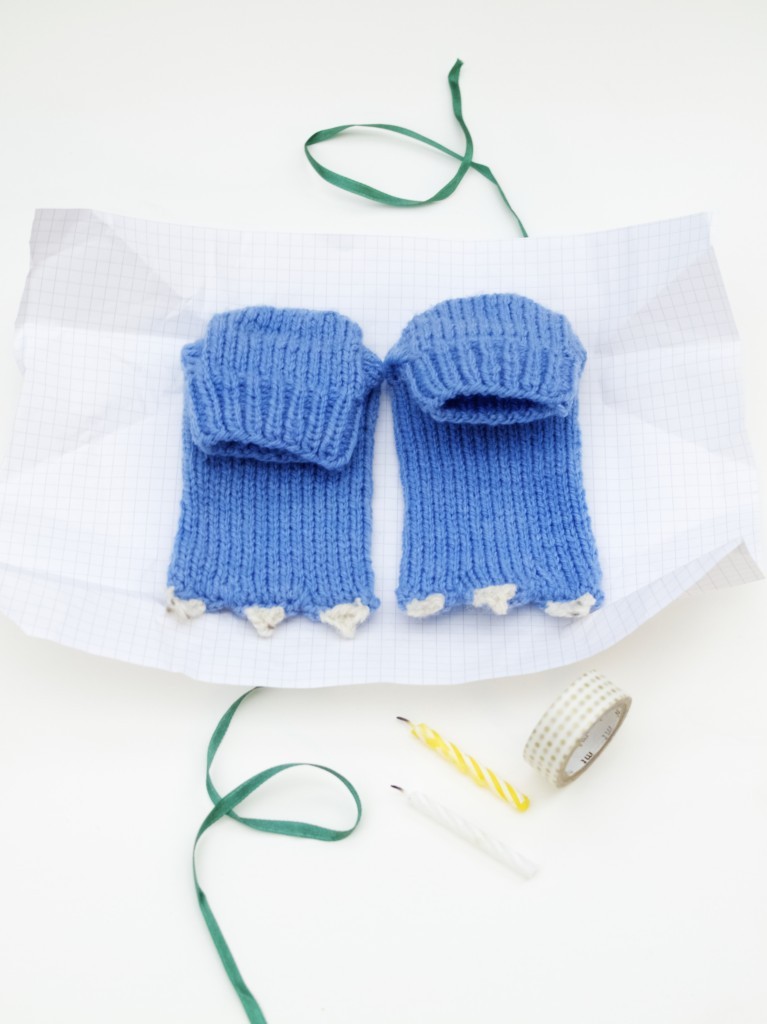
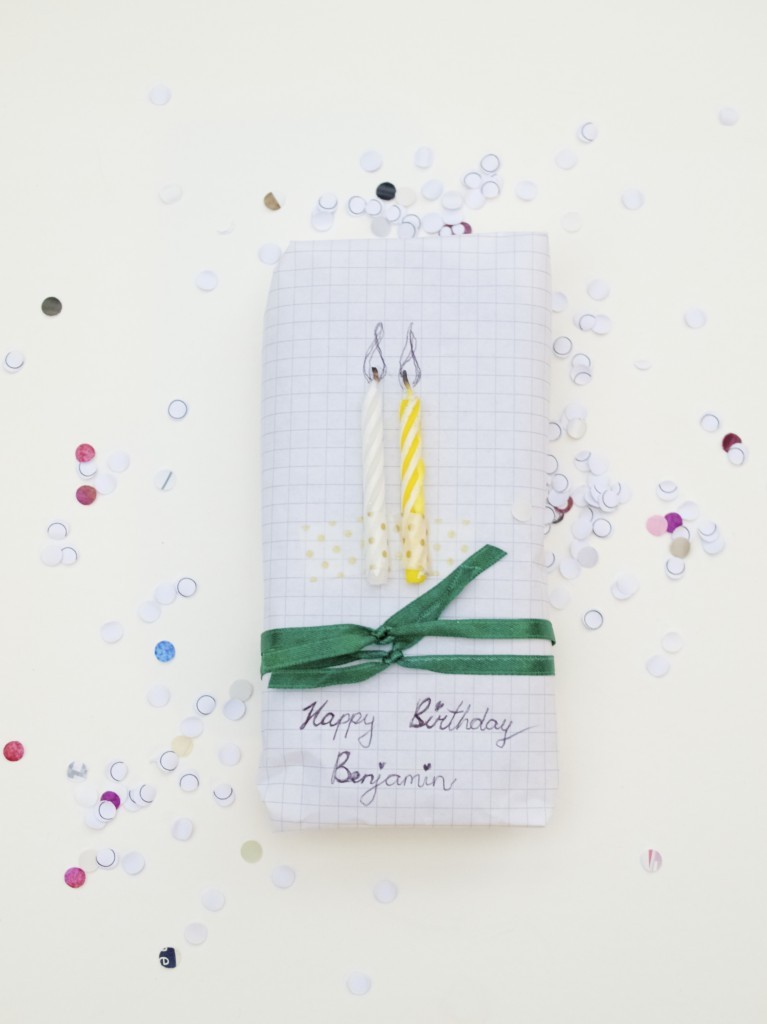
Birthday gift idea for a childGiving gifts to kids is so fun and easy (I mean the toddler age)! I remember when my little brothers were still little. They used to be so excited about any toy I got for them. Those days are unfortunately over as I find it tricky to please those teenagers. Luckily last year I got a nephew-in-low and only yesterday he turned two!Monster sock knitting patternI love knitting socks, or any other circular knitting! This is why I knew I will knit these monster socks. This way it’s fun for me and hopefully it looks cute to Benjamin’s parents. Do you find these cute? If so, here is how you could make yours! Click here for detailed step-by-step instructions.monster sock DIYGift idea for kids!As for wrapping I nicked this idea from Pinterest. I used materials I had: graph paper from my A4 notebook, washi tape, used cake candles and a spare ribbon. I wish I had better pen to write with though. Gift idea for kids Birthday gift idea for kids + wrappingEnjoy gift giving!

Rasa xoxo
0

Homemade play dough

Make your own play dough that last up to 6 monthsAlthough I have no children of my own, I once had a chance to make some play dough for a kids group. My favourite Lithuanian cook book (yes, a cook book!) had a recipe for play dough and I was determined to try out ALL the recipes from the book. I sort of had a competition going with my mum, which of us will complete the book sooner. If you are wondering who won, it was of course ME!!! I take competitions very seriously, just in case you did not know ;-).

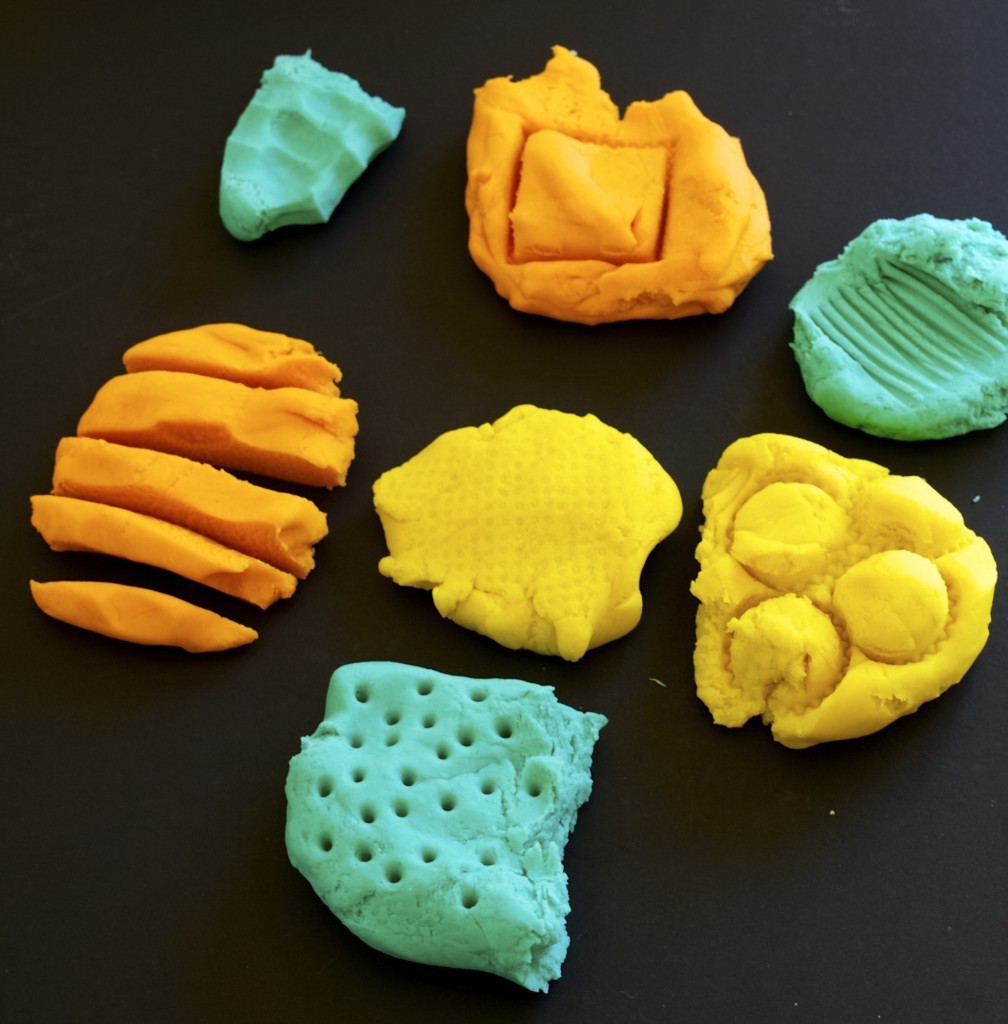
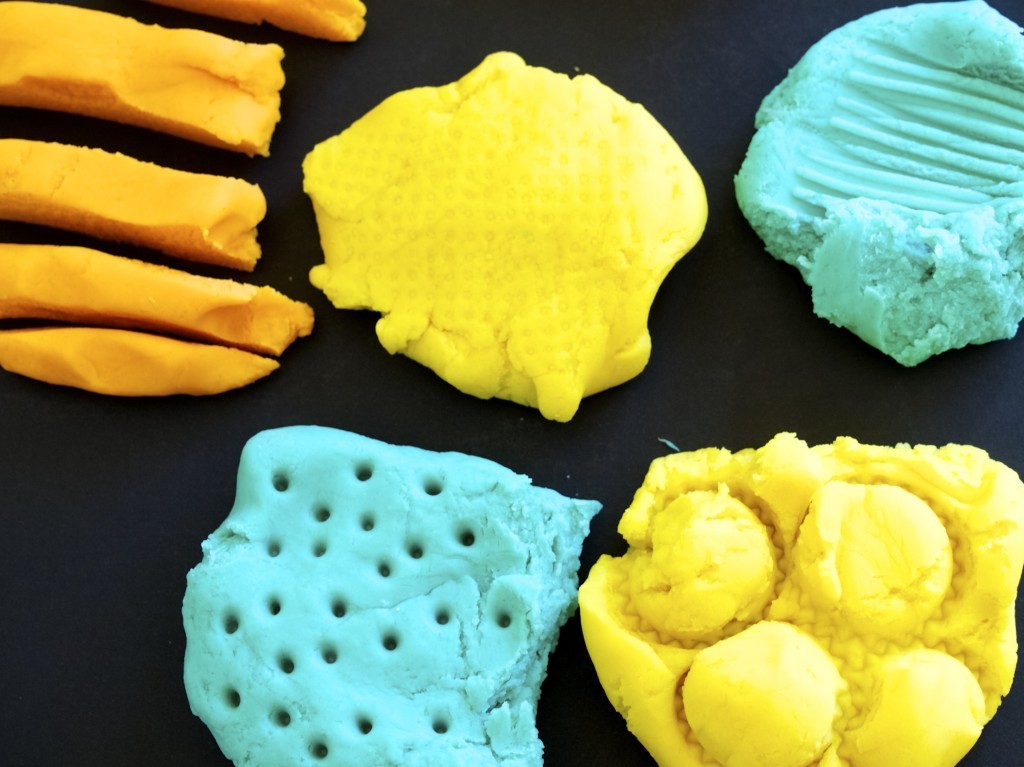
Anyway, making play dough was fun, although not everything came out right. This time round I decided to do more research rather than relying on one recipe. I was looking for a recipe that  is quick and easy to make, long lasting, and a very flexible texture. I came up with a semi-cooked version which basically does not need a hob, but “cooks” in boiling water you pour over it. Smart, isn’t it? And apparently it last 6 months!

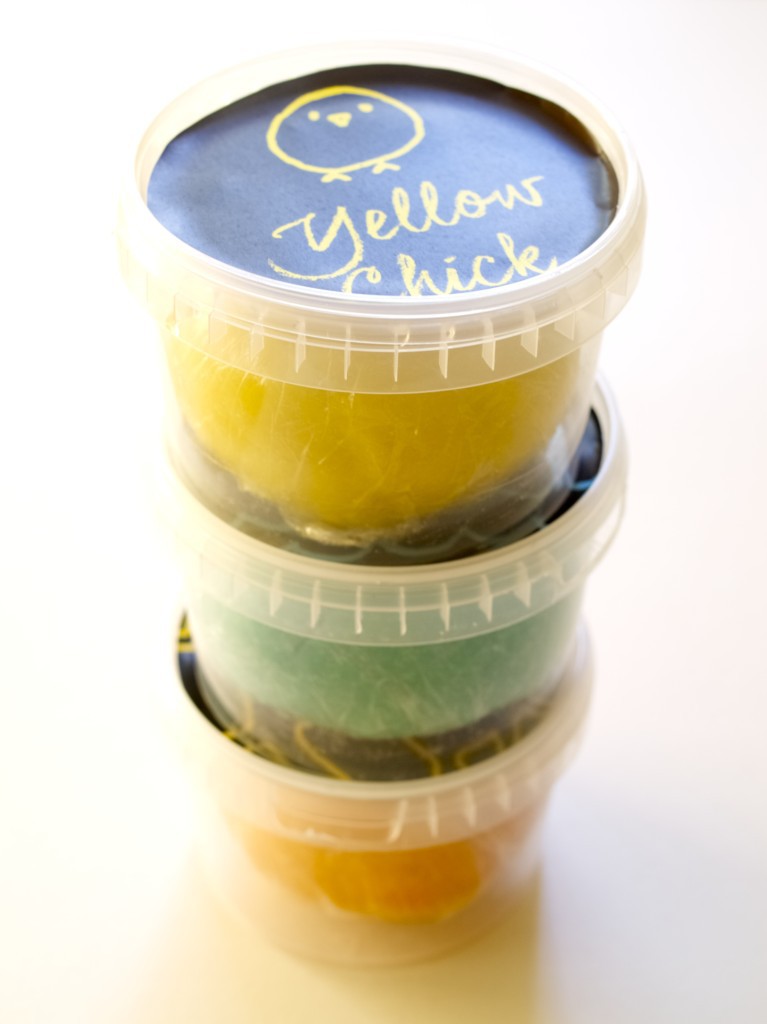
So, the reason for this post (in case you are wondering), is to make some play dough for gifts to friends/family who have children. These are perfect for that I thought. I even thought of custom packaging!Make your own play dough that last up to 6 monthsFor one lump of play dough the size of an orange you will need:

  • 1 cup flour
  • 1/4 cup salt
  • 1 tbsp citric acid or cream of tartar
  • 1 tbsp oil
  • food colouring (amount depends on the brand of colouring you are using)
  • 1tsp orange extract (totally optional, adds nice smell)
  • 3/4cup boiling water

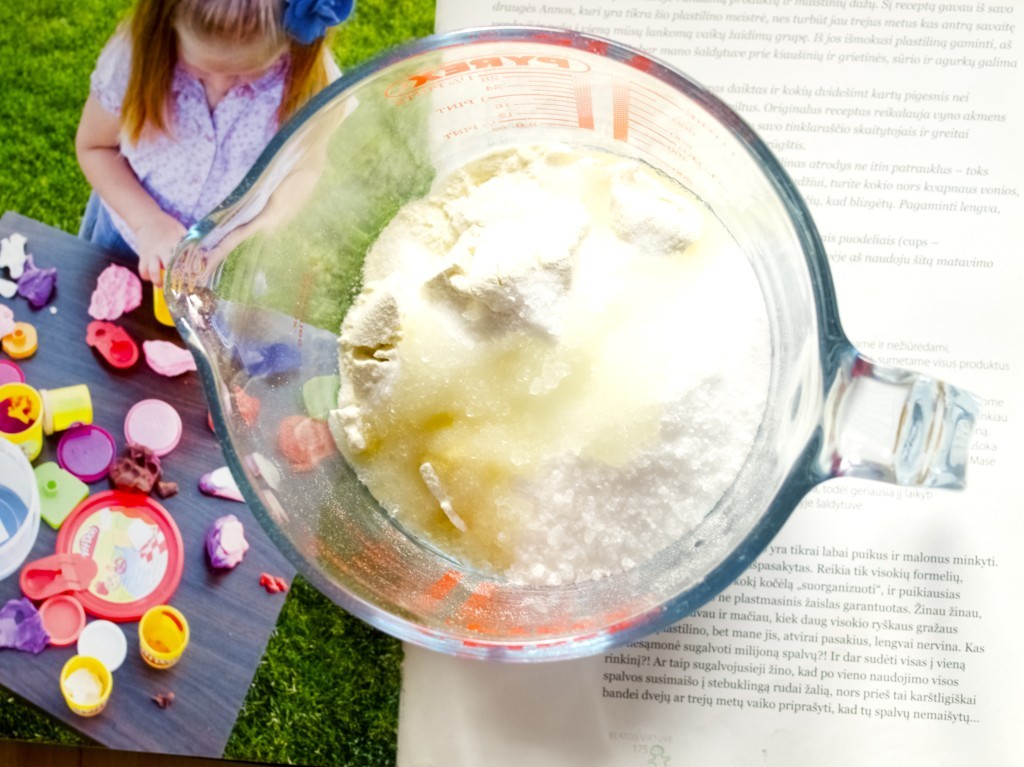
1. Combine flour, salt, citric acid, oil and orange extract (if using) in the large jug or bowl.Make your own play dough that last up to 6 months2. Mix food colouring with boiling water and pour it over the flour mixture. Mix it with the spoon until you get a clean dough ball. If it is too sticky, add some flour.

3. Remove the dough from the bowl and kneed it vigorously until it becomes really smooth. I love this part of the making as the dough is still warm and nice to touch!

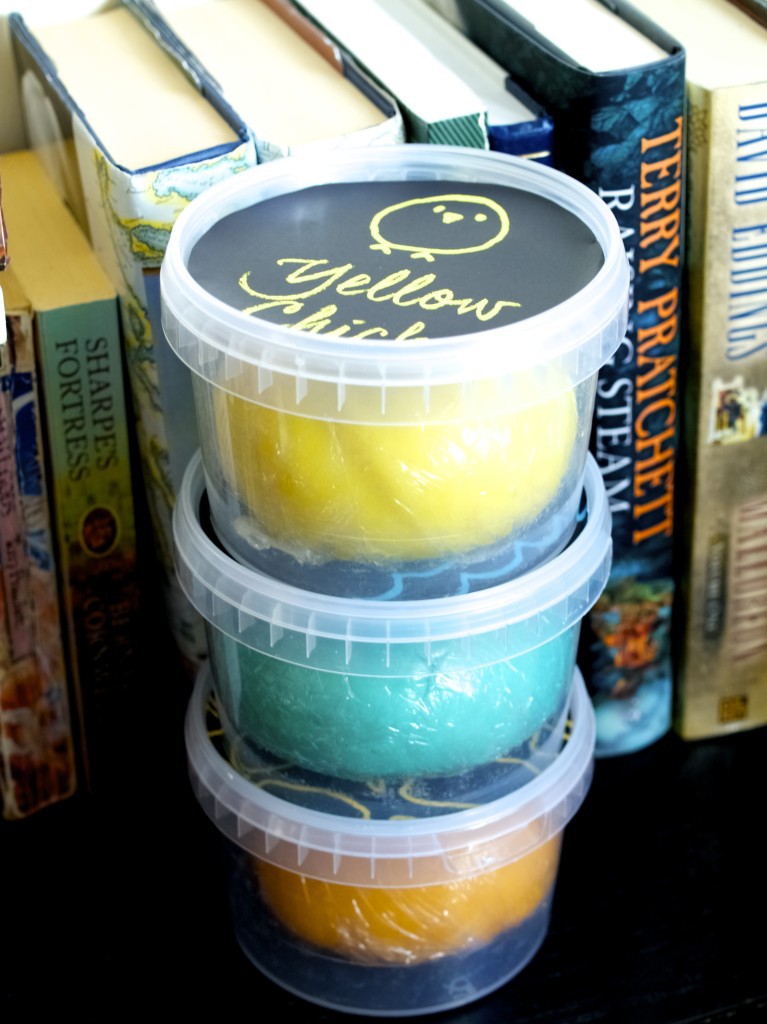
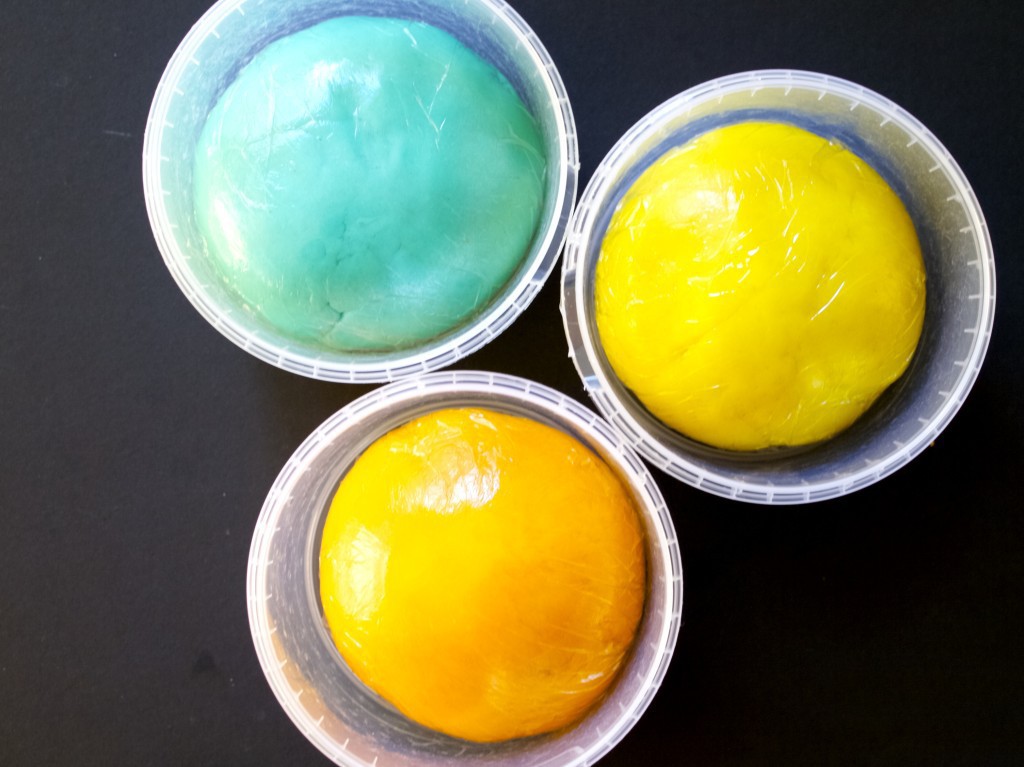
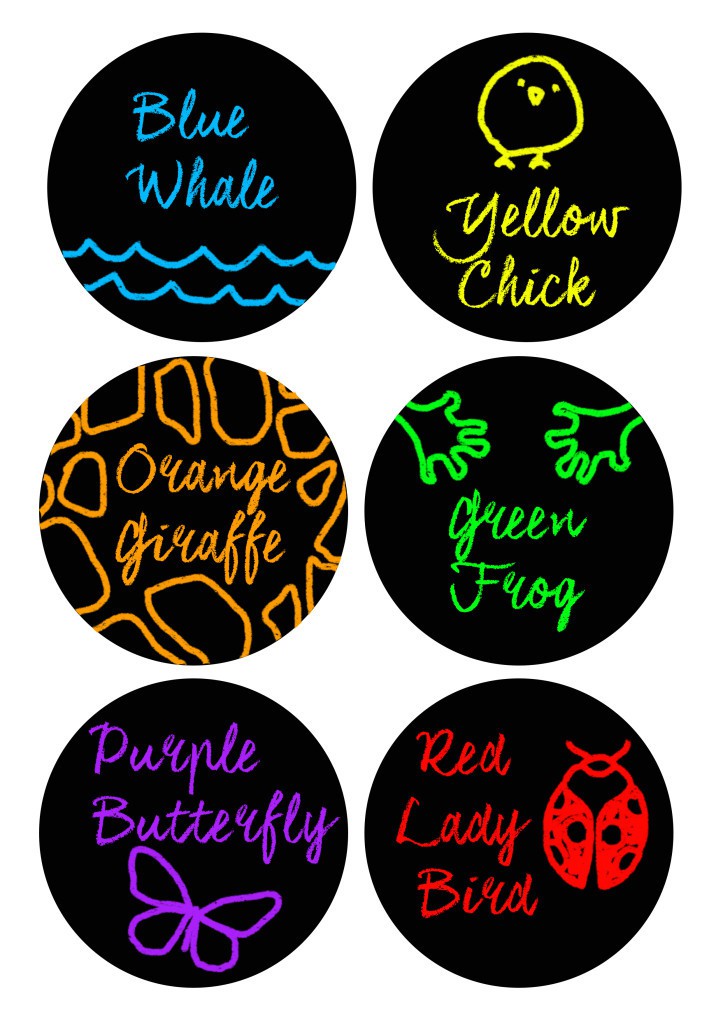
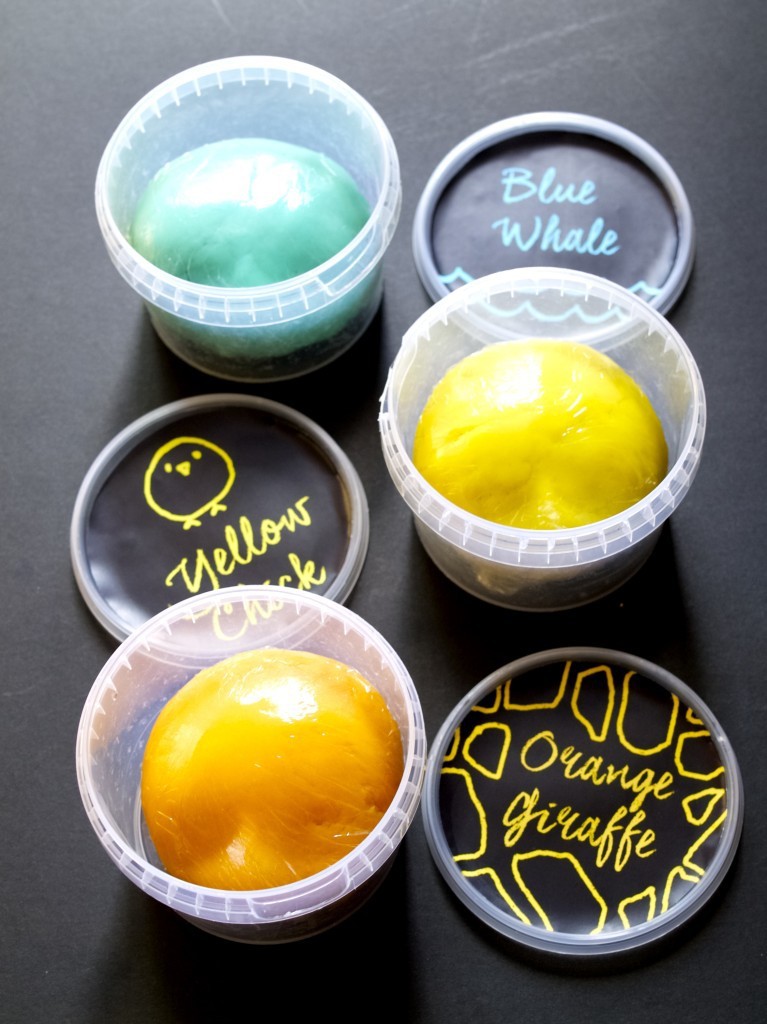
4. If you are giving this as a gift the best way to store is all wrapped in cling film or in the air tight container.Make your own play dough that last up to 6 monthsHere are the labels, free to print ;-).Playdough labels Make your own play dough that last up to 6 months Make your own play dough that last up to 6 months Make your own play dough that last up to 6 monthsI hope you will enjoy making this :)

Rasa xoxo
0