Well… I have not posted here for a while! Motherhood turned out to be the hardest job I have ever done…
Only a month ago I imagined being a mother is going to be hard, but I thought I will still manage and blog while baby sleeps. Little did I know that when my baby sleeps I will want to sleep too! I also realised that decoding baby cues is a learned thing, not something that comes as an instinct (or at least it did not come as an instinct to me like I thought it would). I sometimes spend hours to figure what baby Lukas wants and sometimes I have a breakthrough and sometimes I just want to cry out of desperation :(.
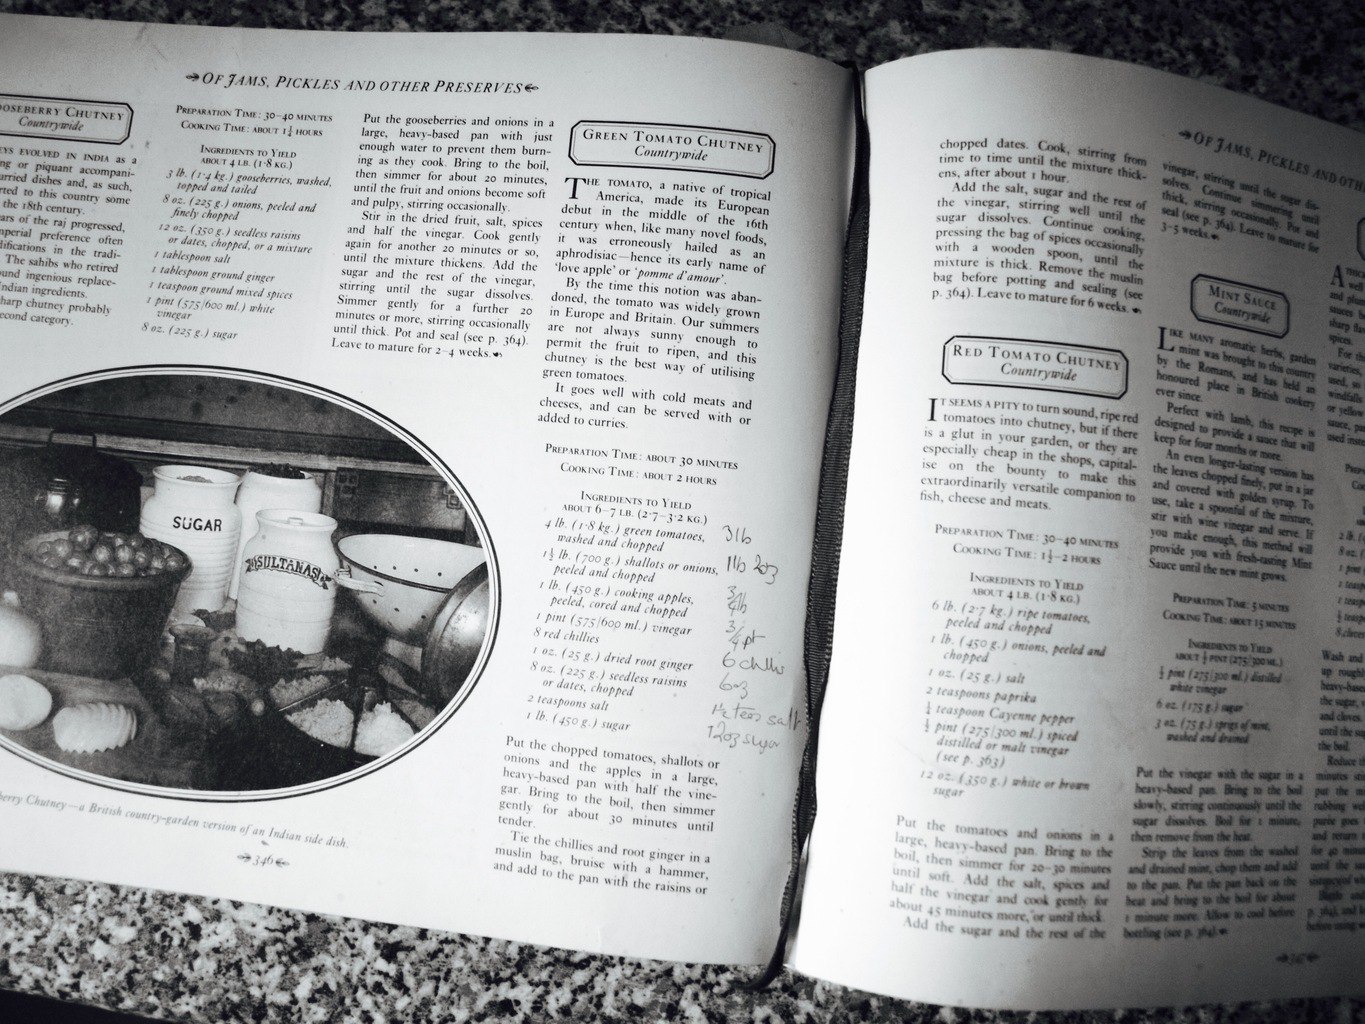
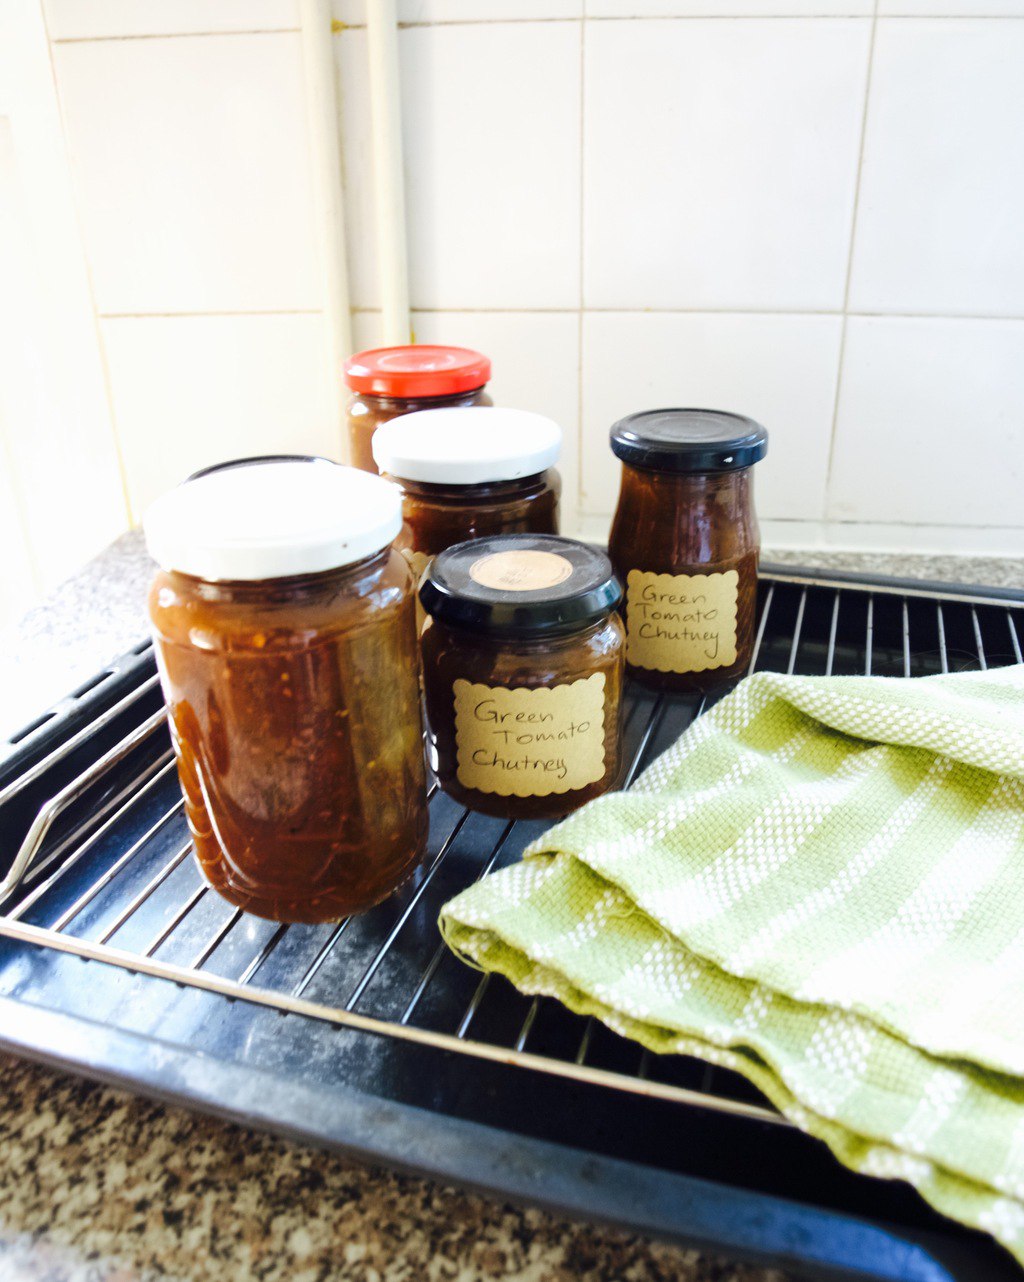
Anyways during the weekend I had some luck and I managed to bake while my baby boy is sleeping. It may have taken me to do it in few baby sleeps, but I am totally proud of myself and the outcome! I wanted to bake this for quite a while, the idea of butternut squash and jam combination have been lingering in my mind for few months at least. So why butternut squash? Because I use butternut squash to replace the pumpkin (like here in the cupcakes)… because in England this is a rare vegetable to find… Hope you like this recipe I created :). Btw this is not a swiss roll, jam roly-poly is a British pudding that has a similar to shortbread consistency. So don’t expect a cakey spongy roll here!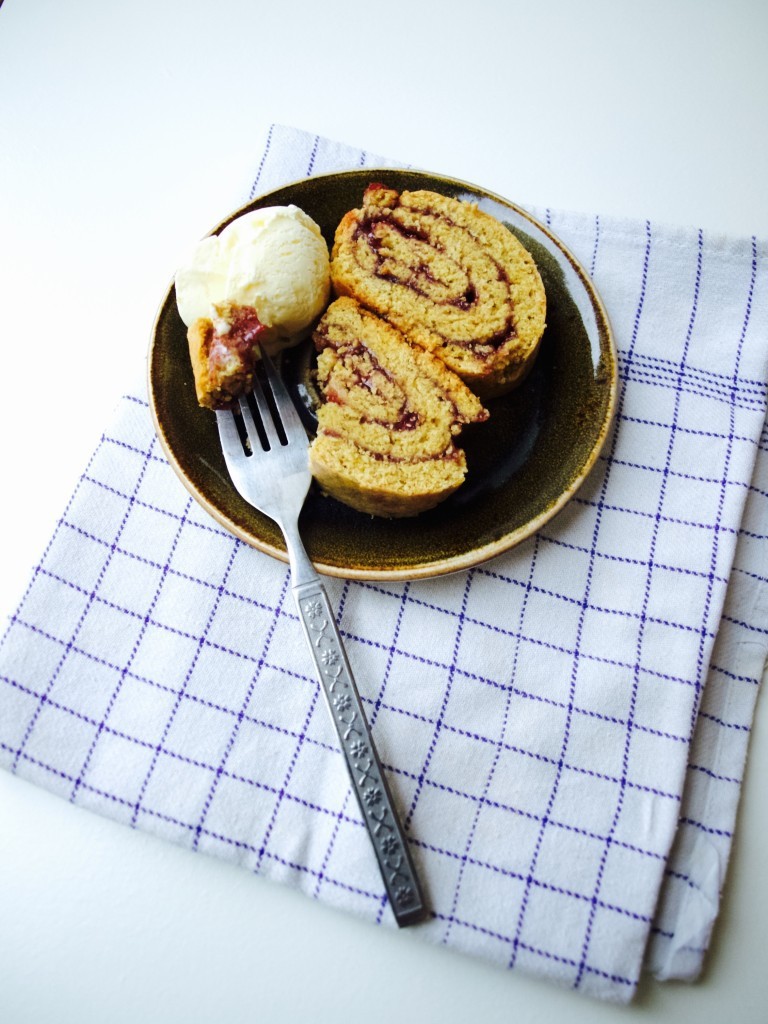 BUTTERNUT SQUASH & JAM ROLY-POLY
- 300g plain flour
- 1tsp baking powder
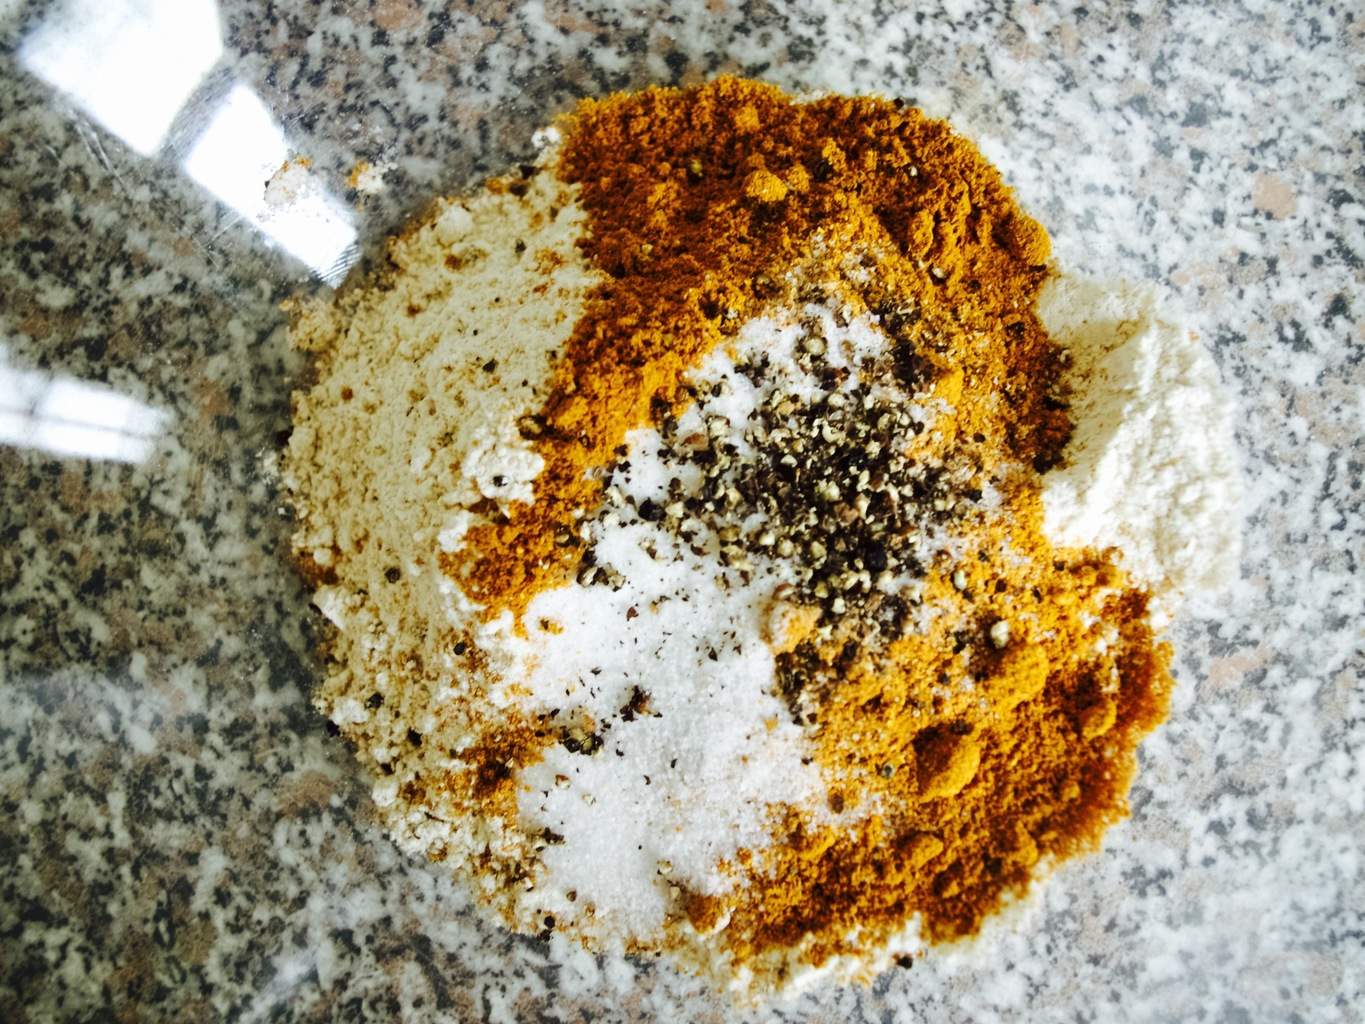
- 1tsp ground cinnamon
- 1tsp ground nutmeg
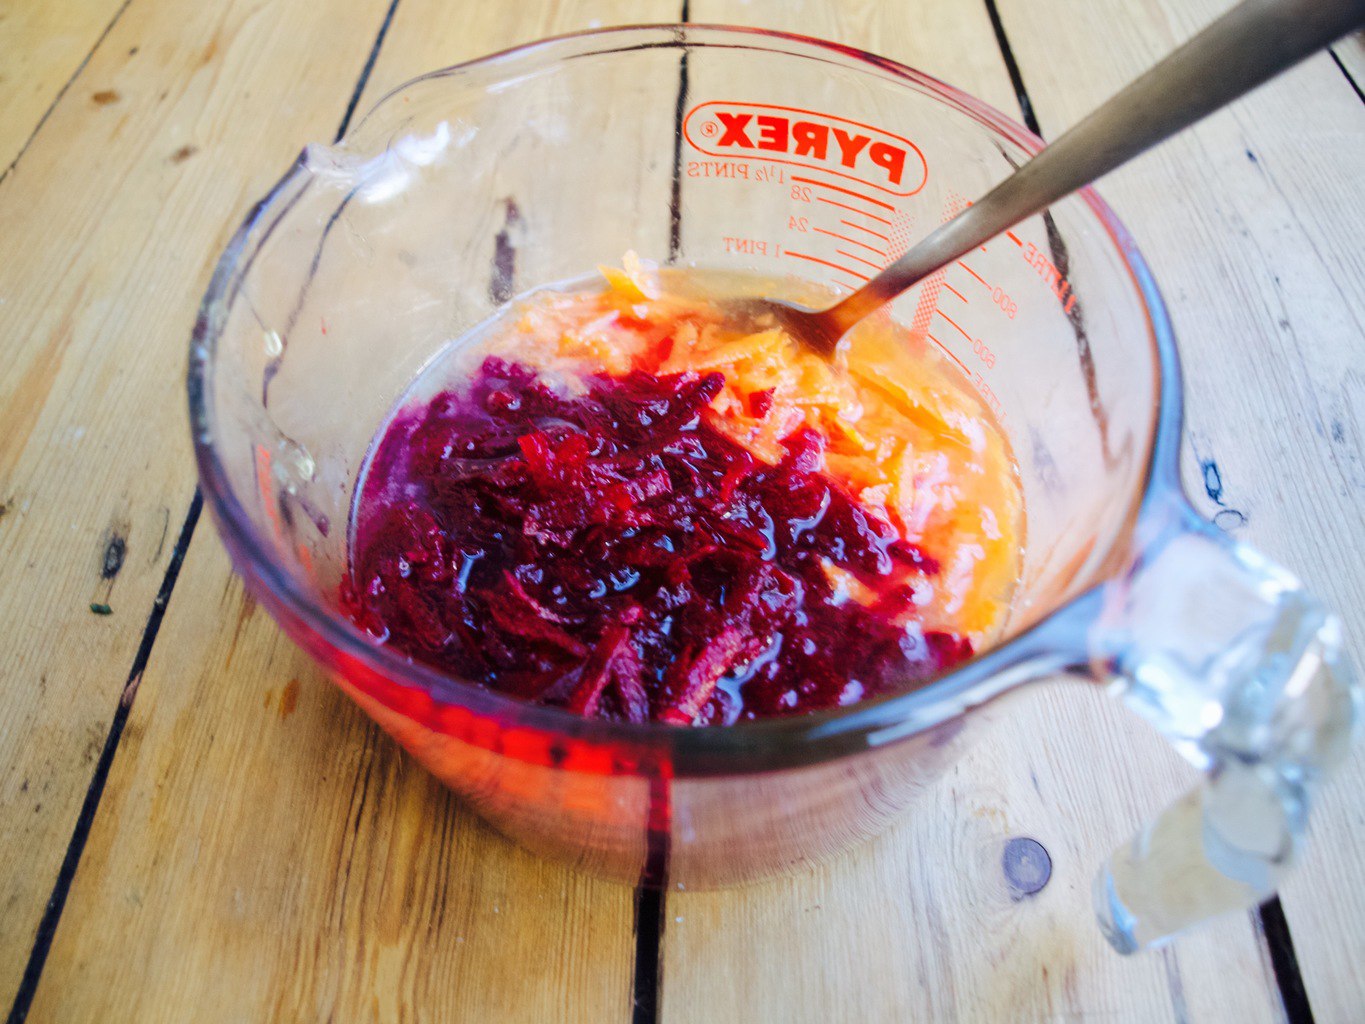
- 70g butternut squash puree (boil around 1/3 butternut squash and puree it)
- 70g butter, grated
- 100g caster sugar
- 40ml-70ml whole milk
1. First prepare the oven. We want to steam this pudding therefore put a deep roasting tin half filled with boiling water onto the bottom shelf of the oven, and make sure that there’s another shelf directly above it. Heat the oven to 170C.
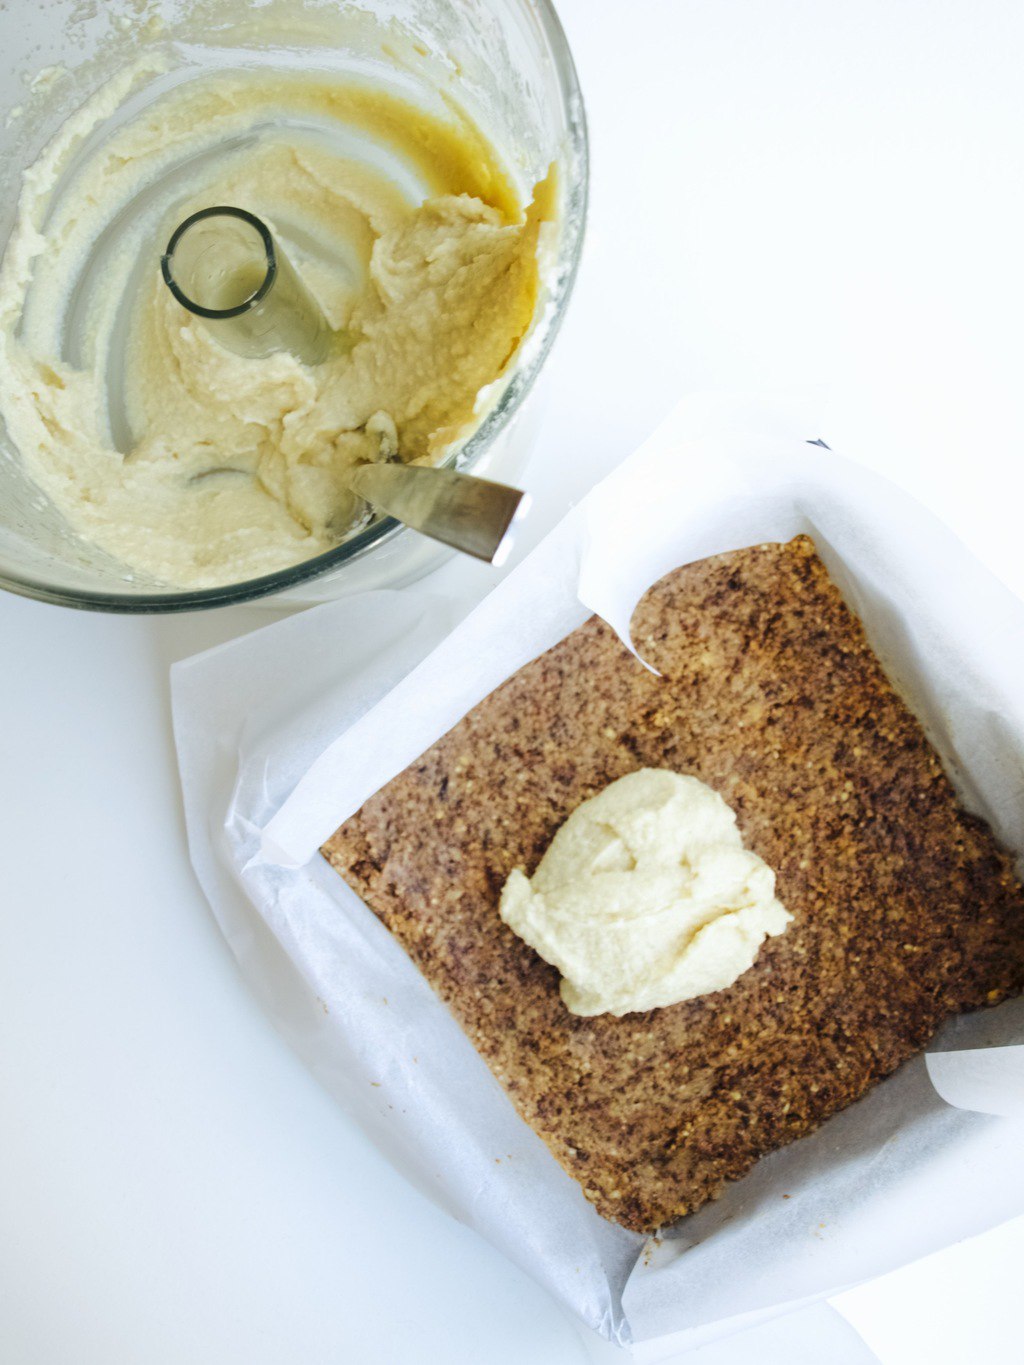
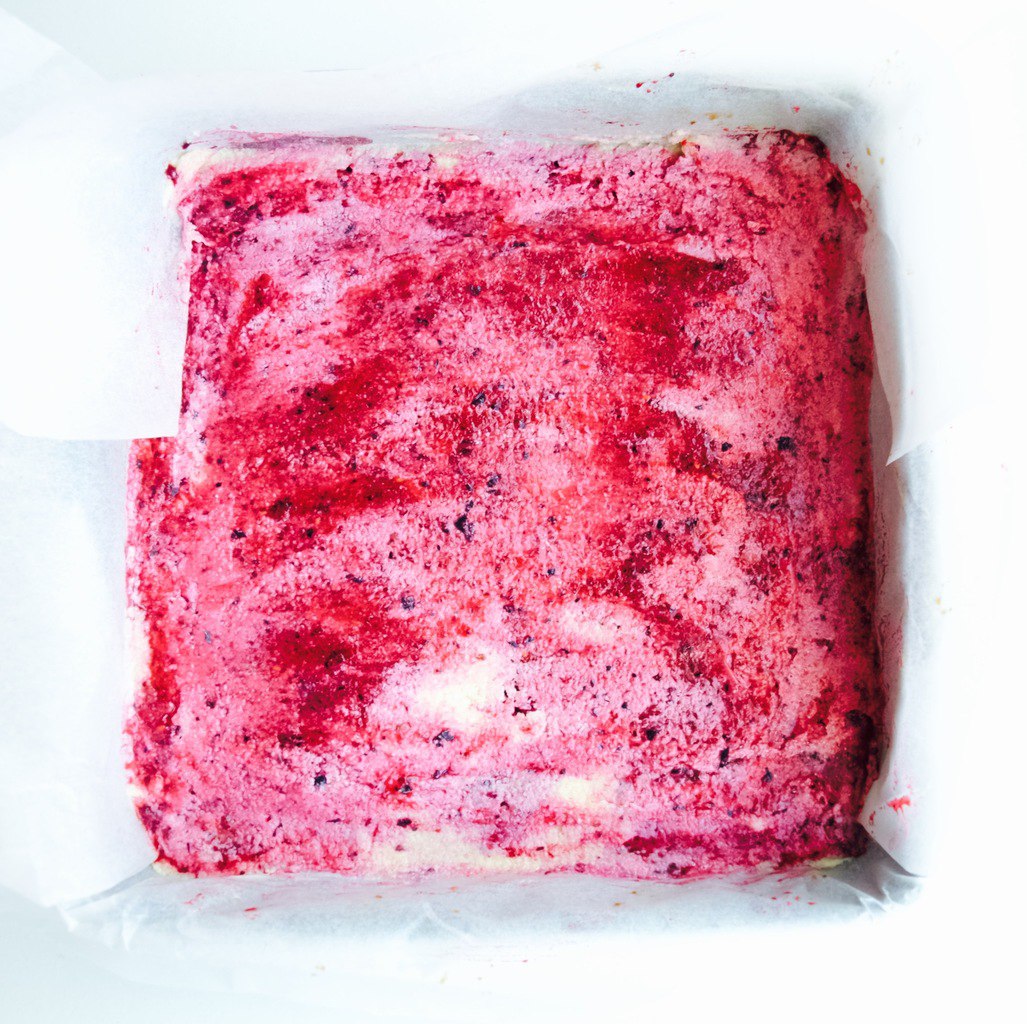
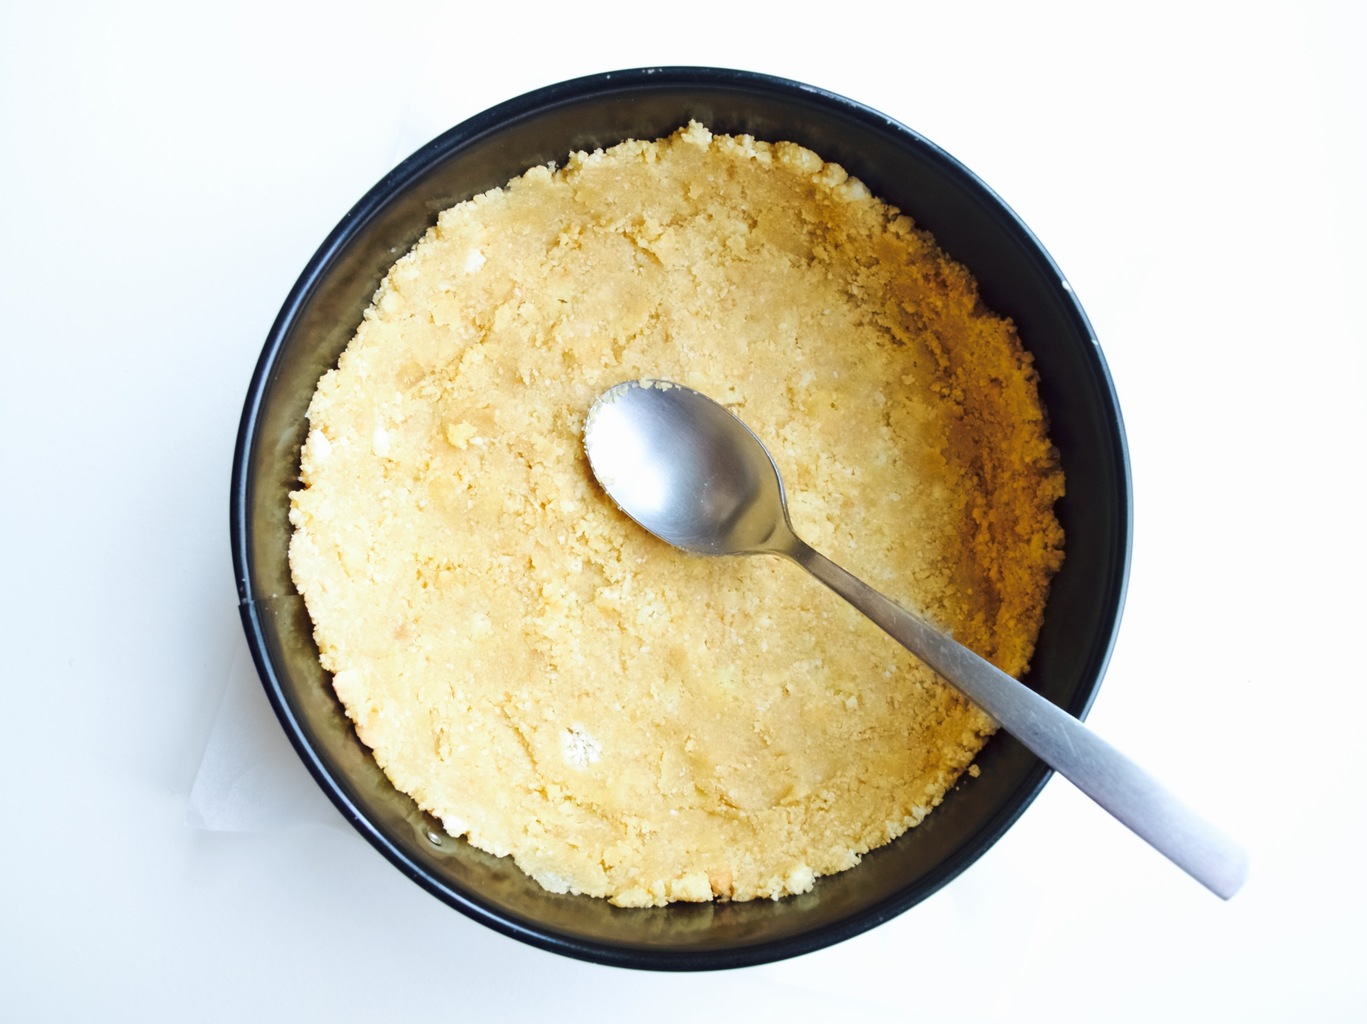
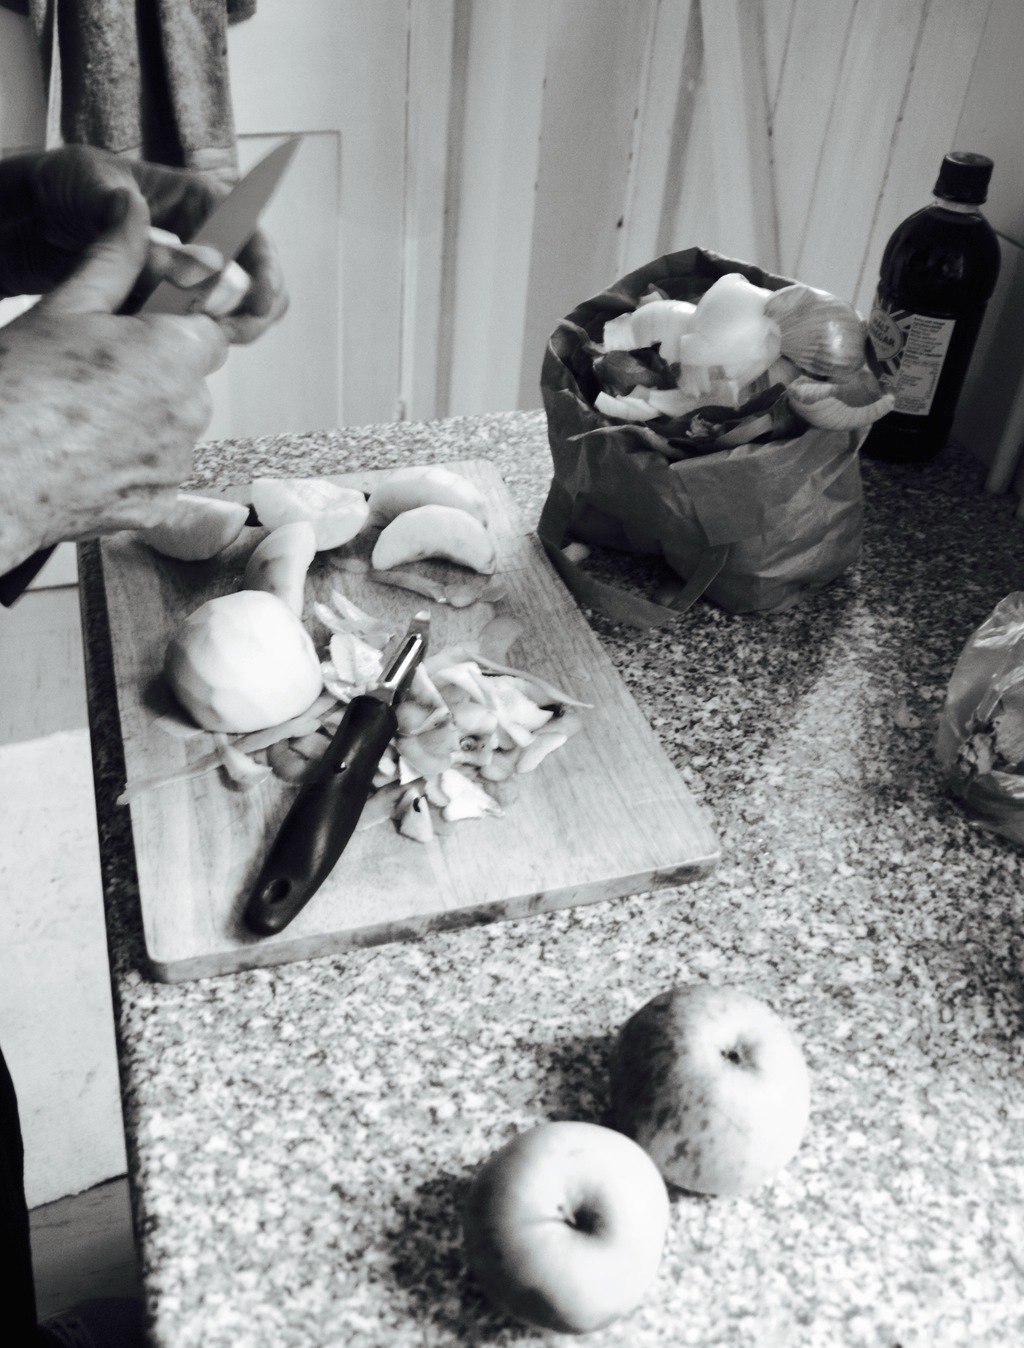
2. In a bowl combine the flour together with baking powder, spices, butternut squash puree, butter and sugar. Kneed it roughly into dry mixture. Gradually add milk until the mixture turns into pastry like dough. 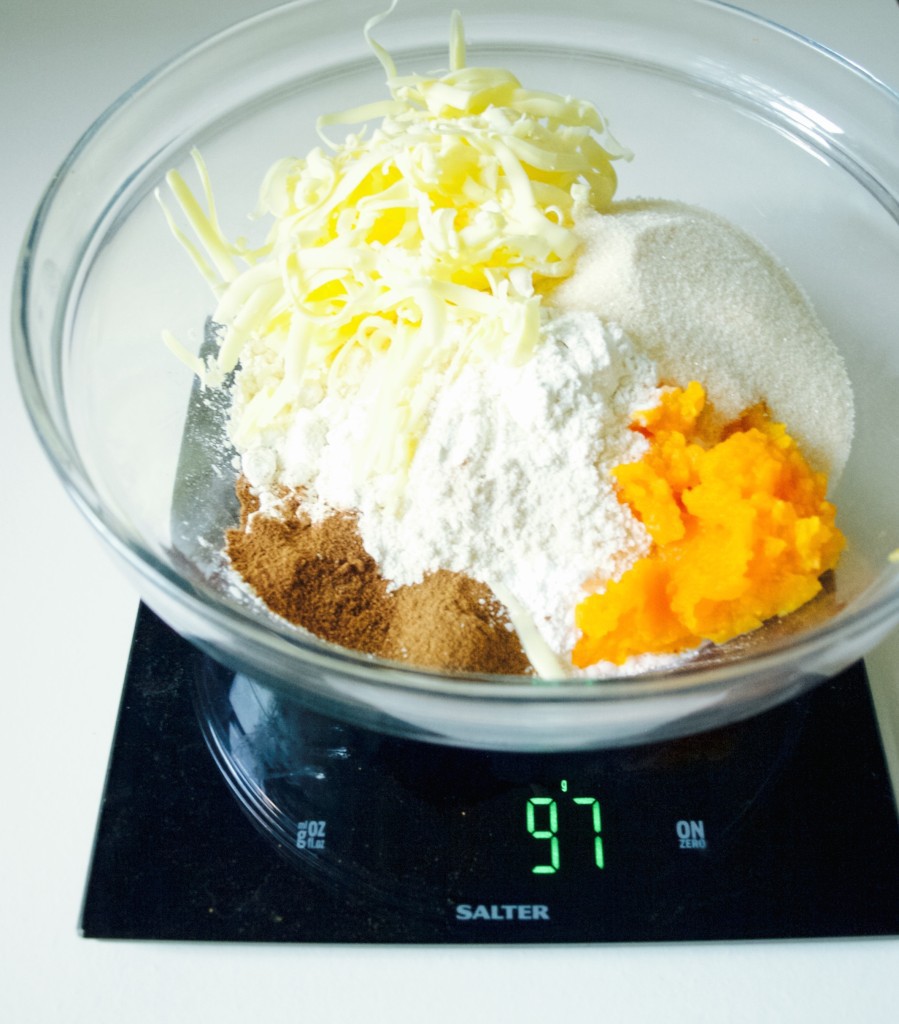 2. 3. Roll the dough on the floured surface into the square. Spread the jam all over, leaving a gap along one edge, then roll up from the opposite edge.
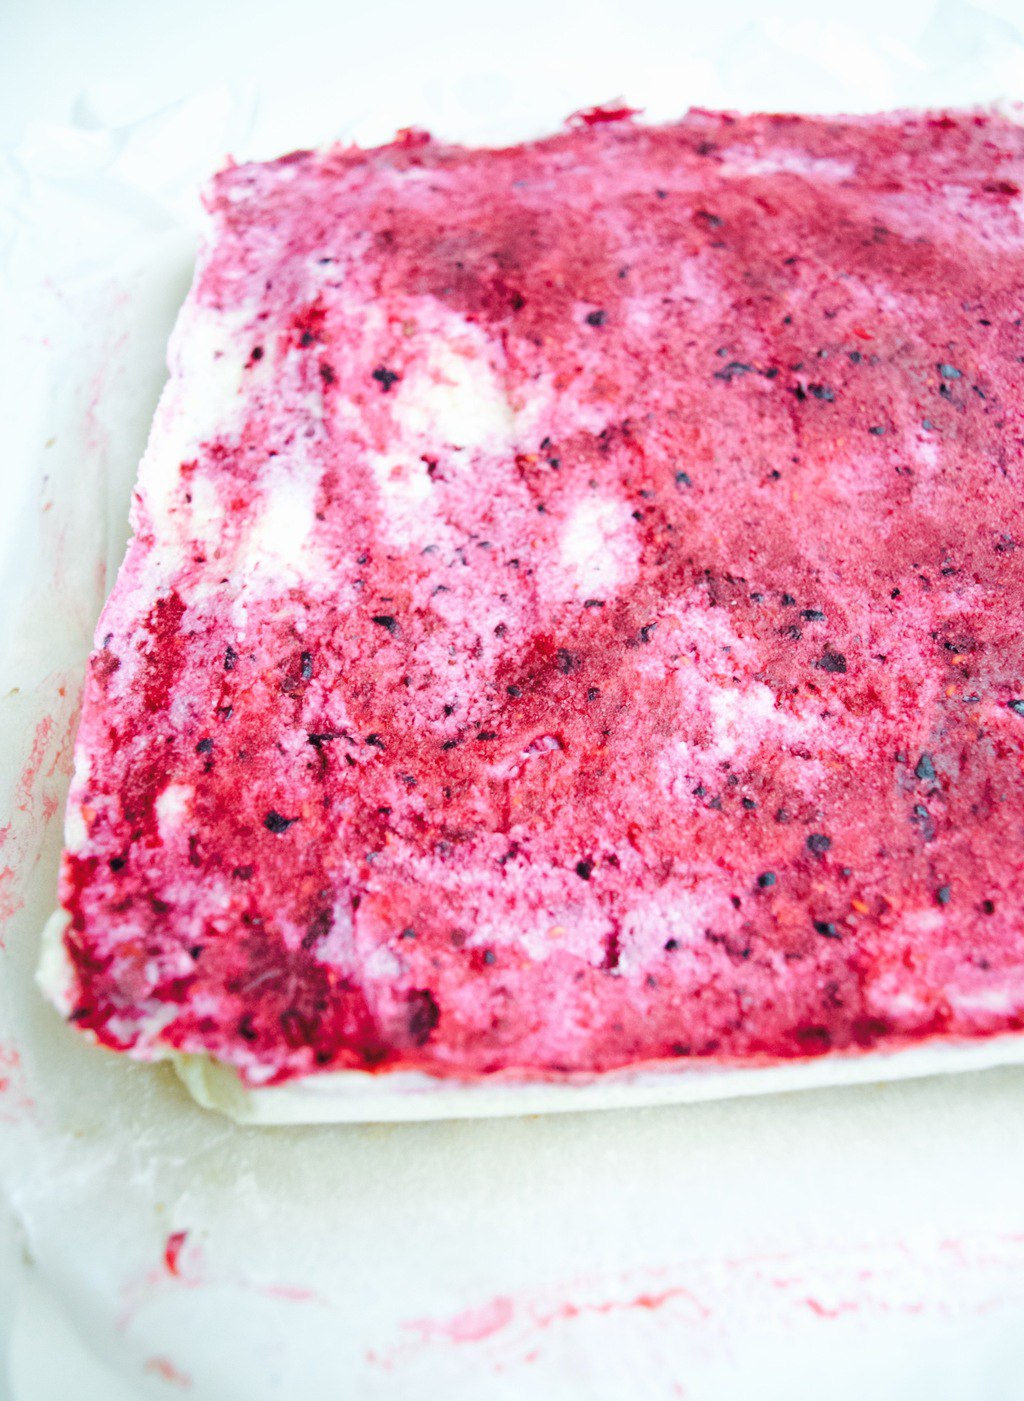
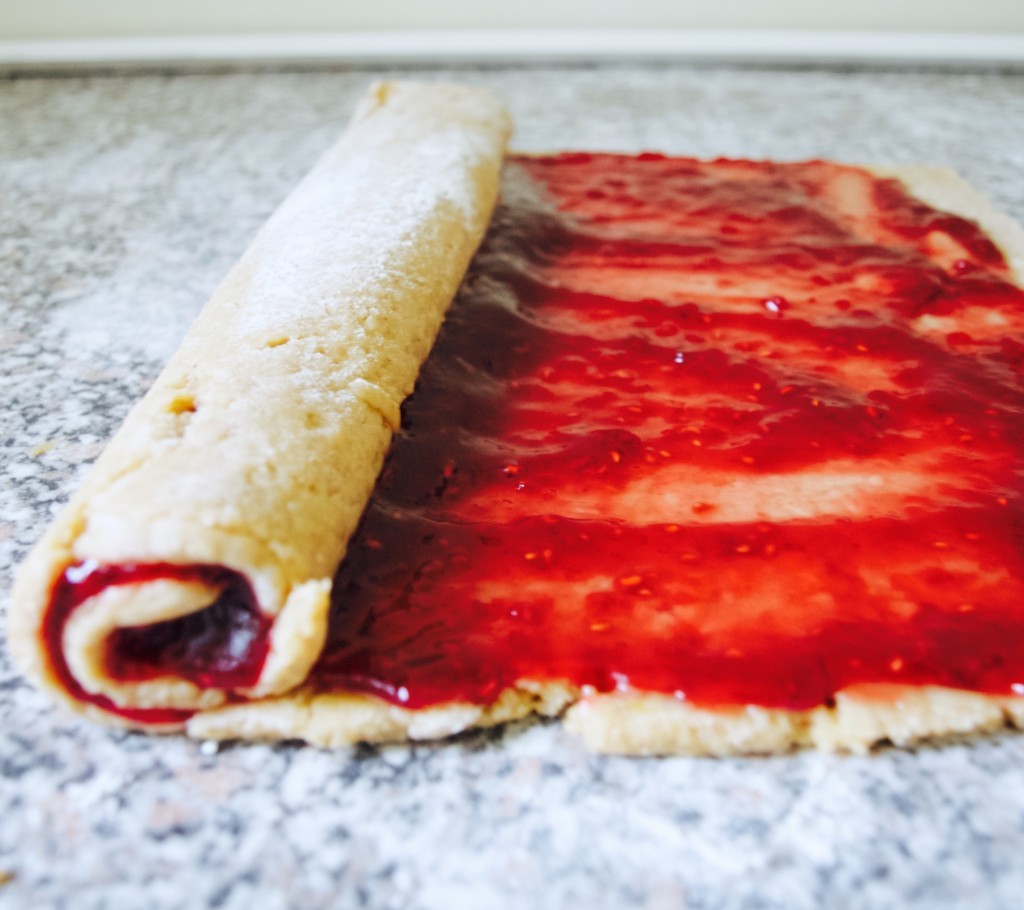 4. Carefully lift the roll onto the piece of foil lined with baking paper.
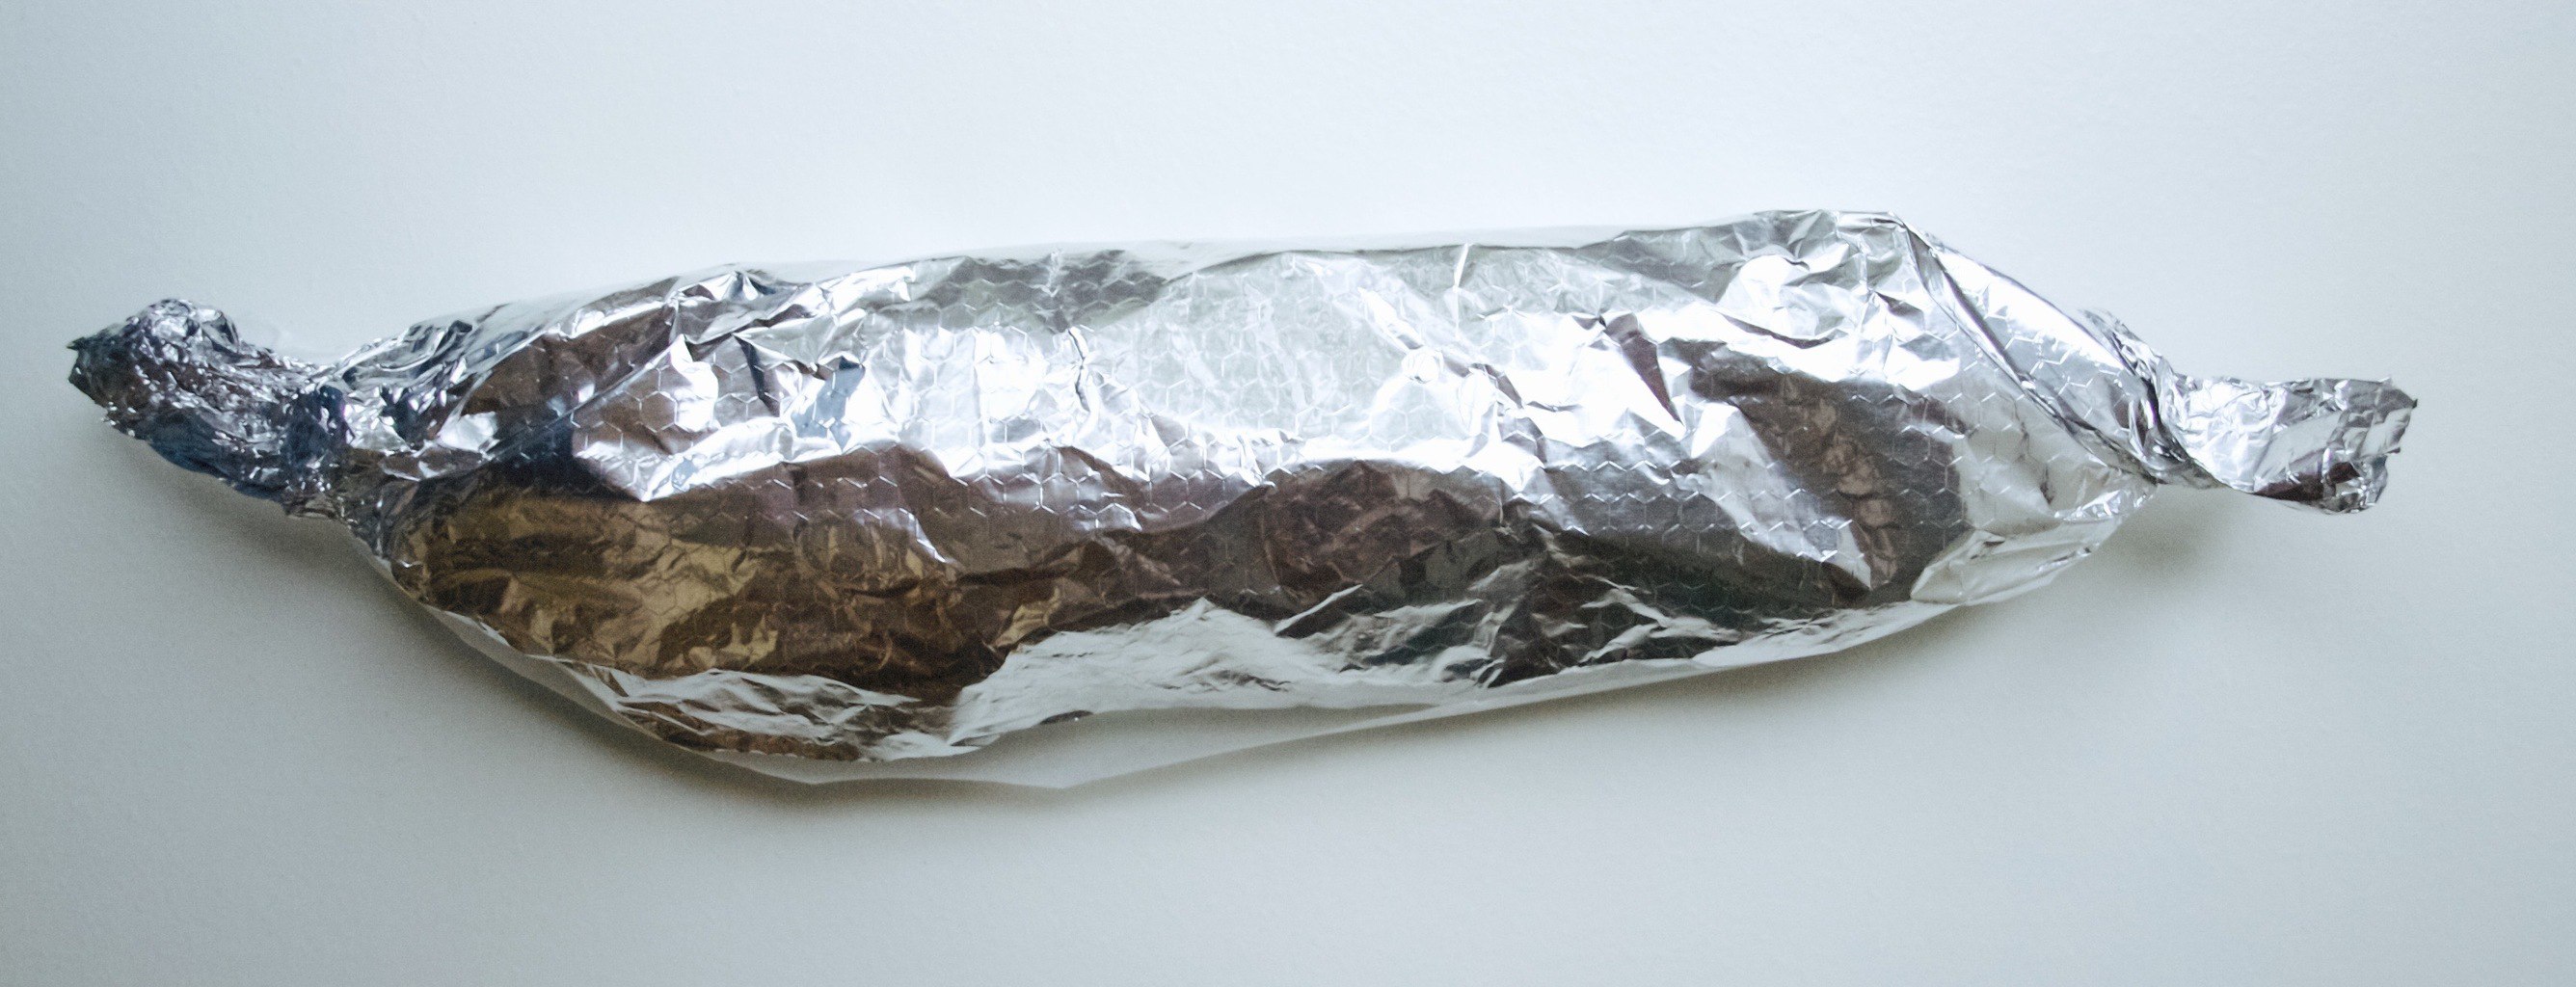
 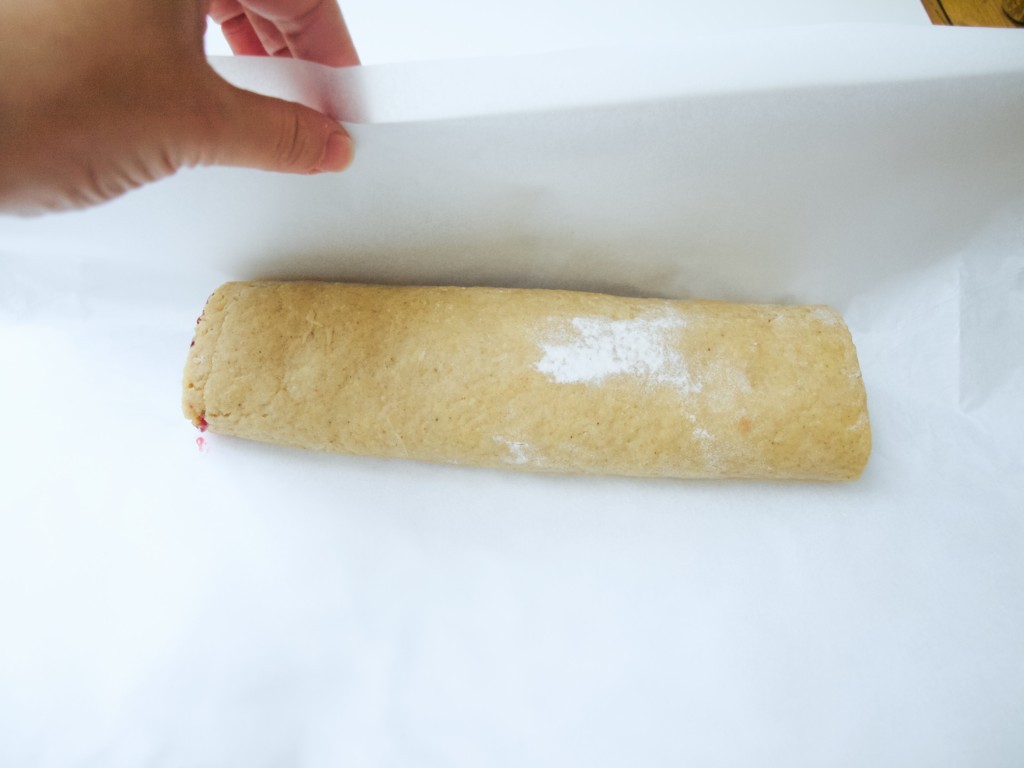 5. Loosely bring up the paper and foil around it, then scrunch together along the edges and ends to seal. The roly-poly will puff quite a bit during cooking so don’t wrap it tightly. Lift the parcel directly onto the rack above the tin and cook for 1 hr.
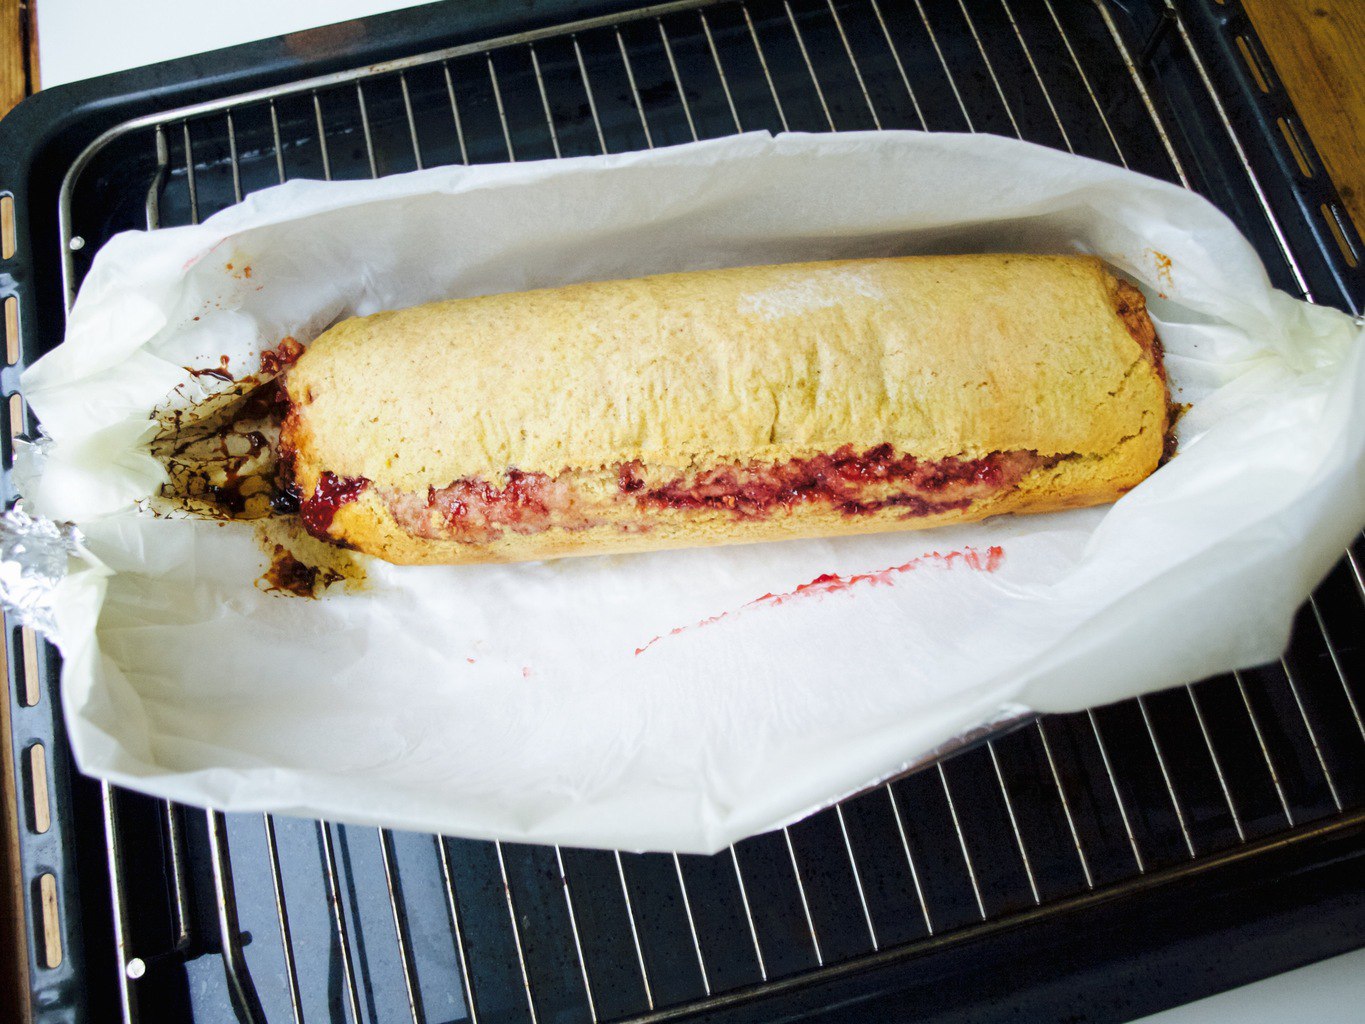
 6. When baked, carefully open the foil and paper, and thickly slice to serve.
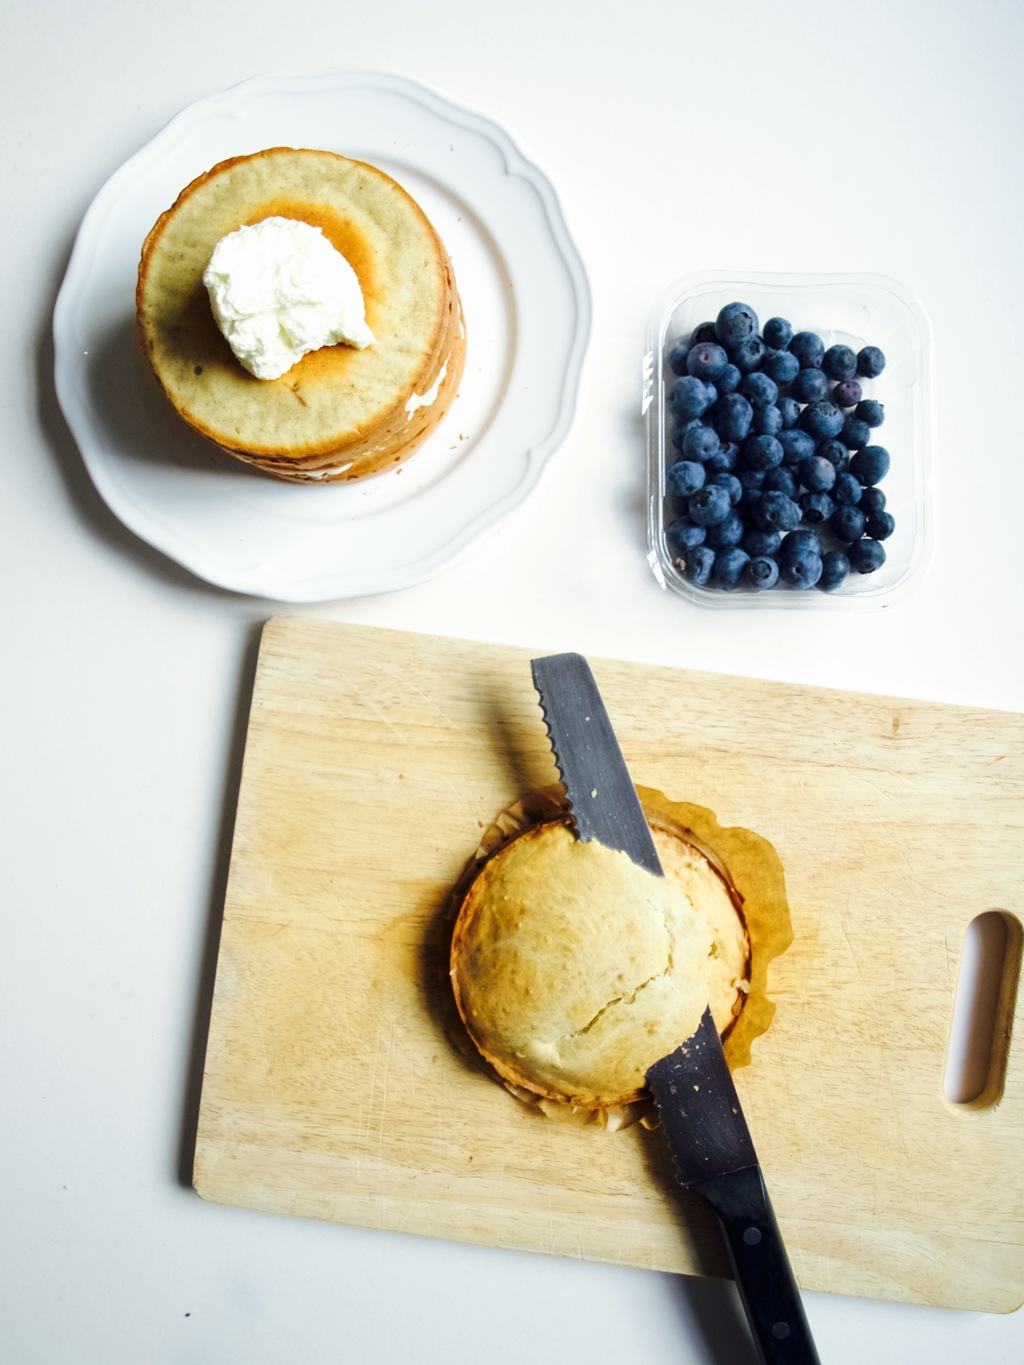
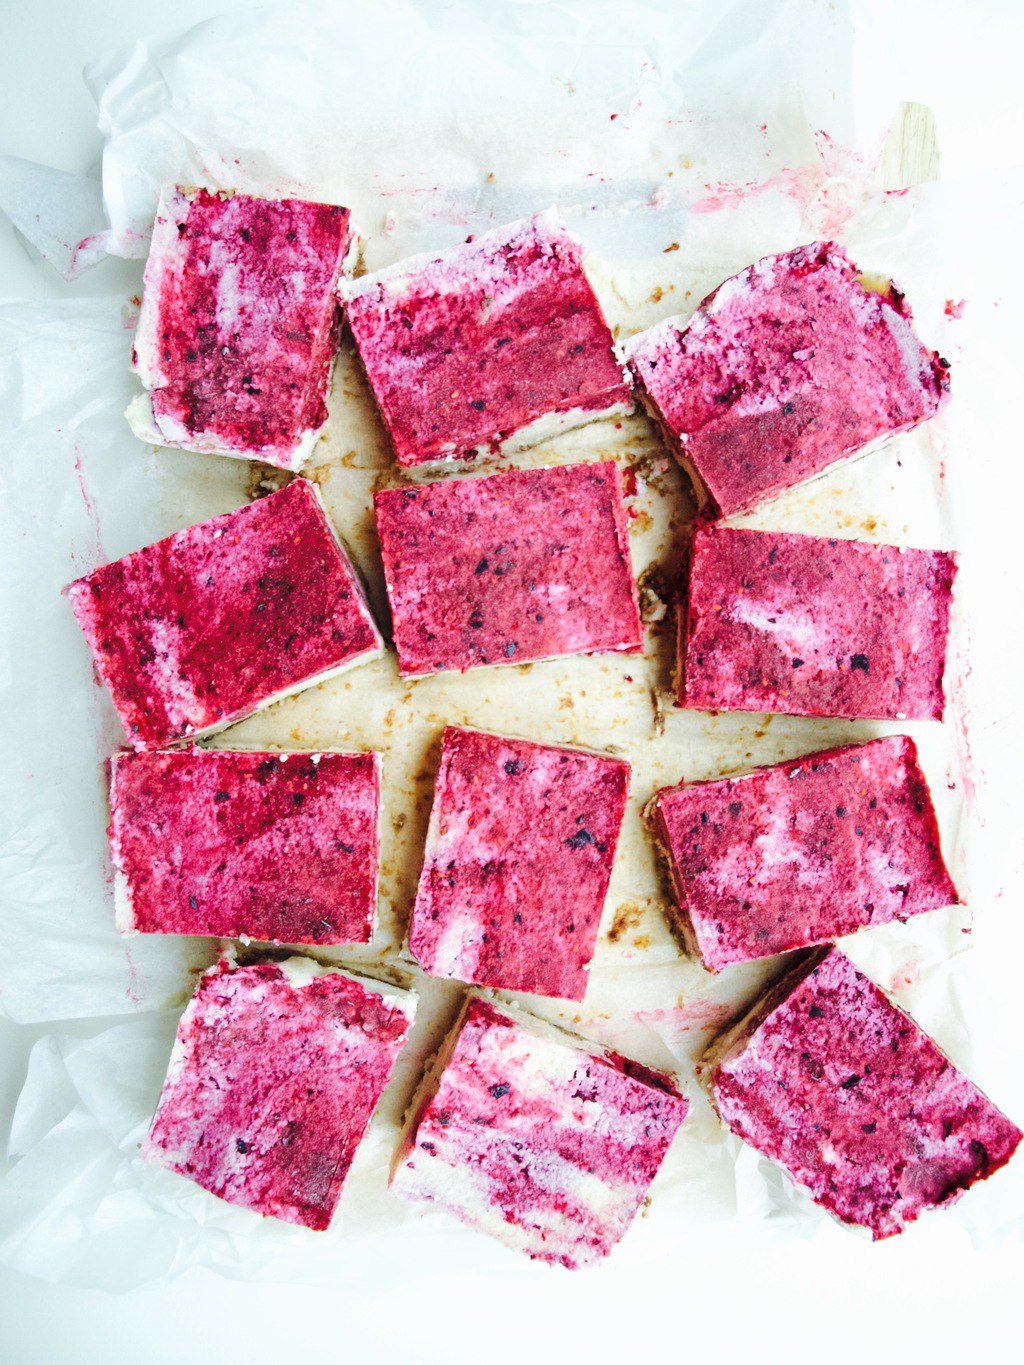
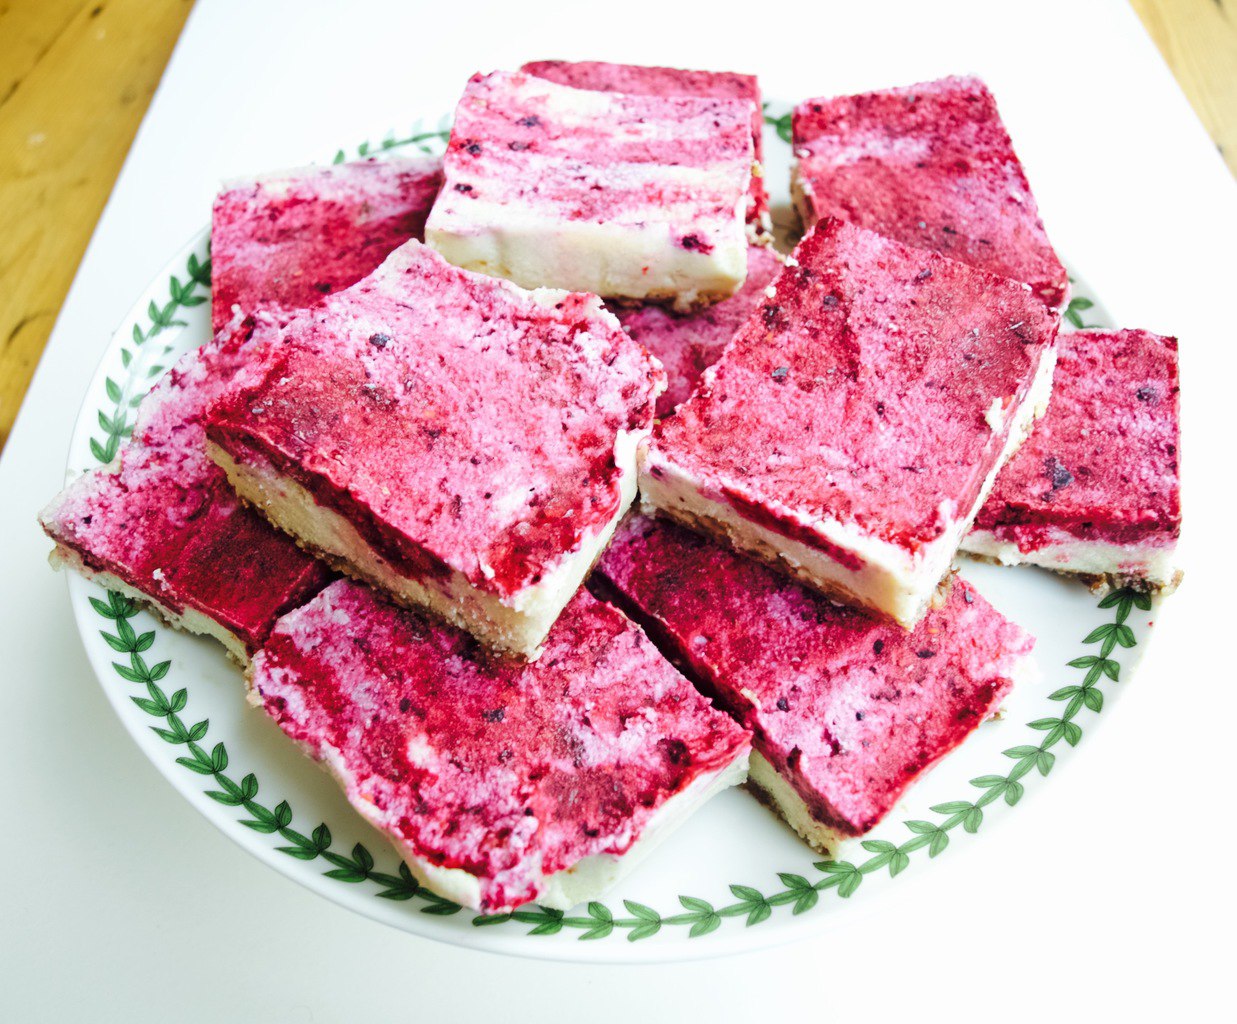
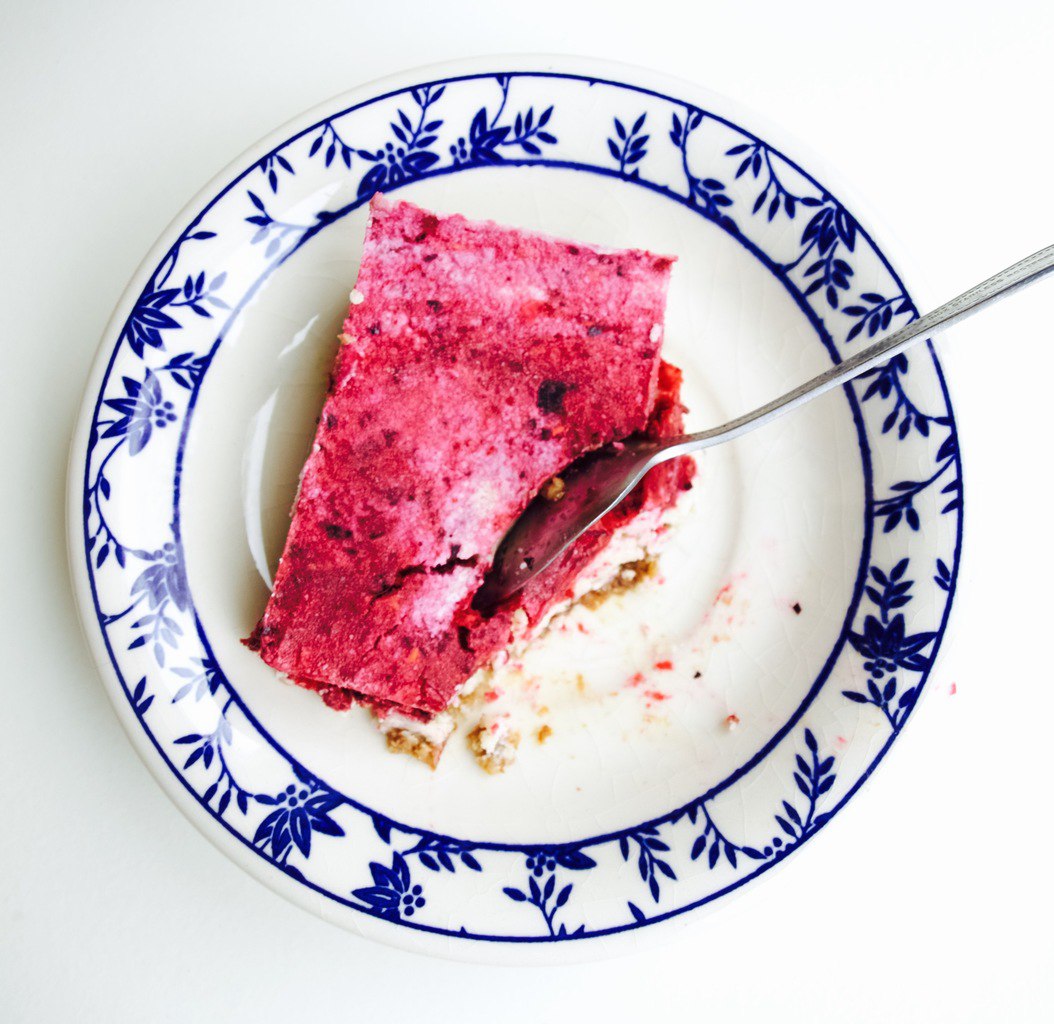
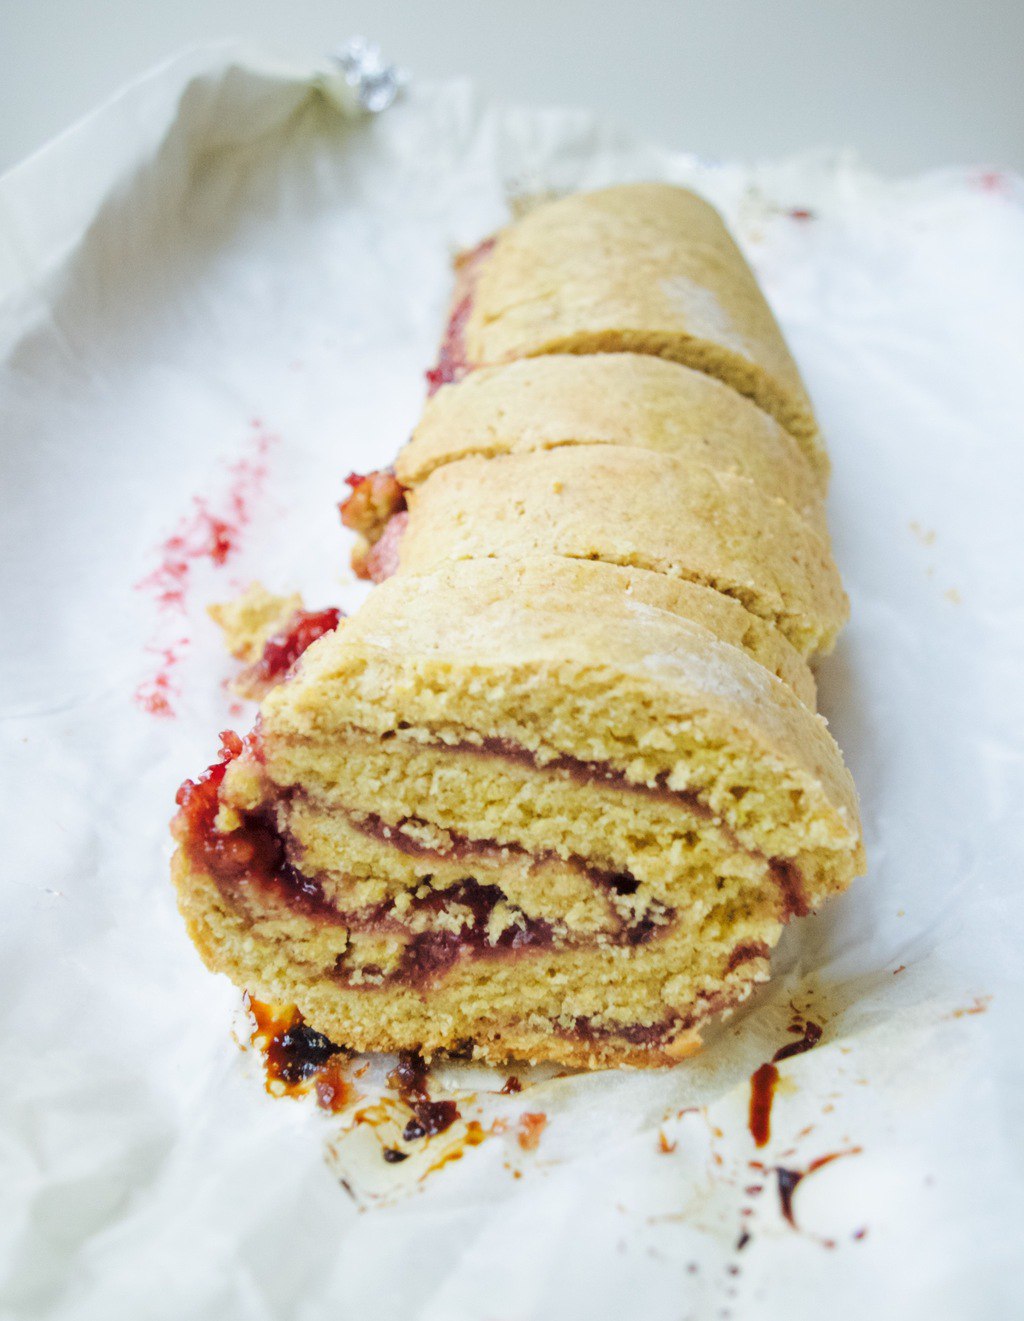
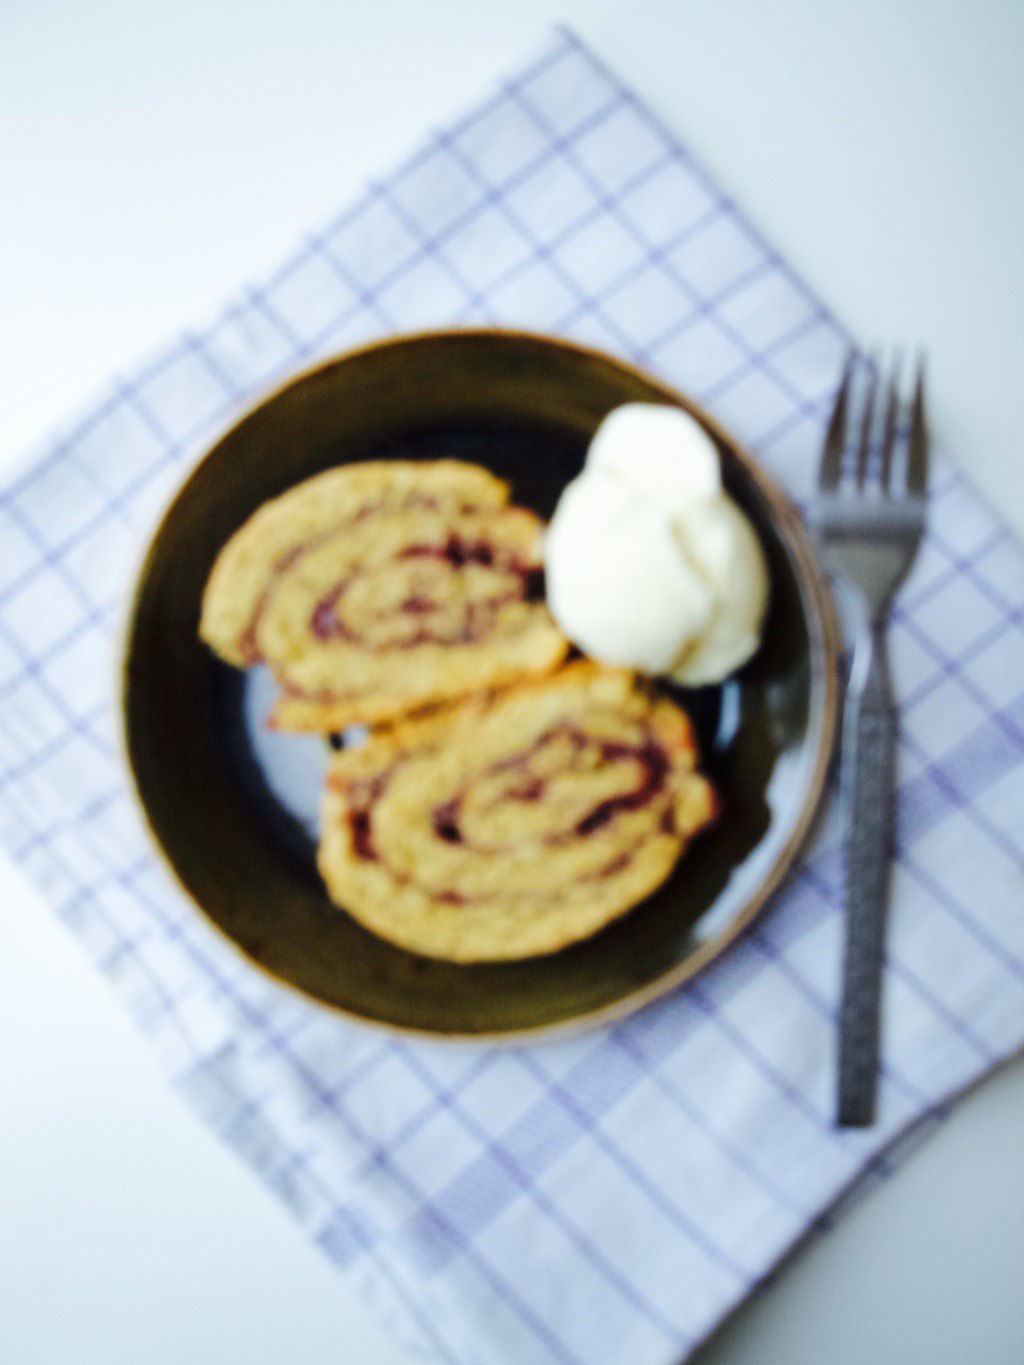
 Traditional jam roly-poly is served with custard, but I always prefer the ice-cream. Luckily I got some ;-)
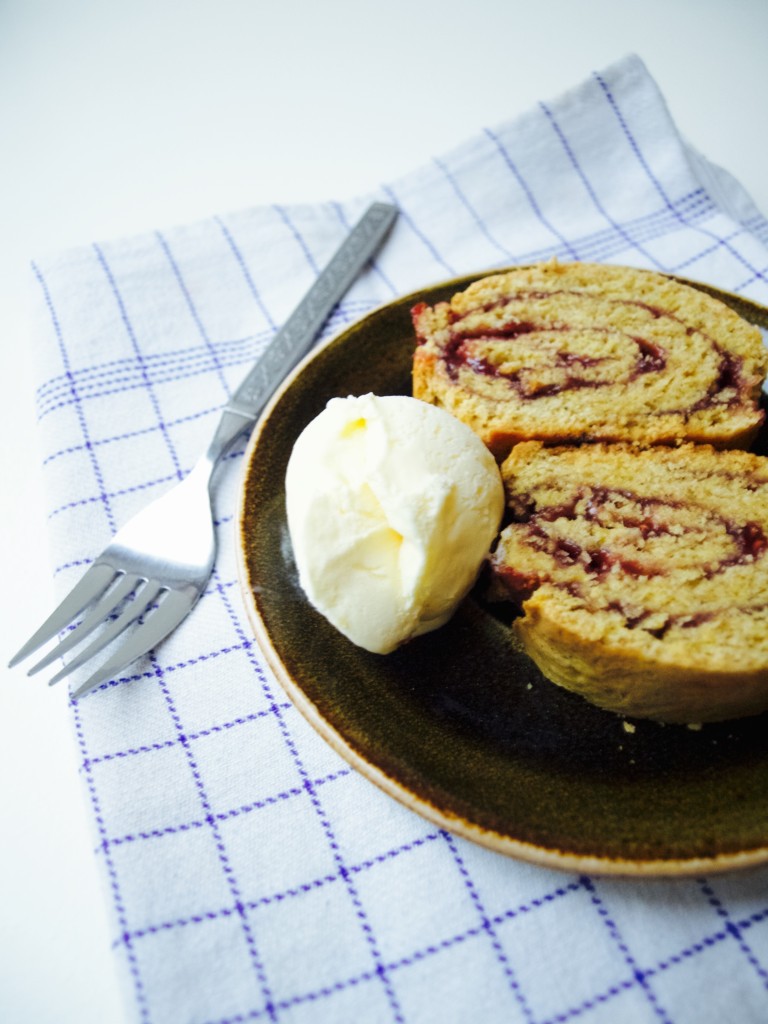
 Enjoy!
Rasa xoxo


 It’s becoming to look like Christmas and I decided to share a recipe for a salad that is traditional to have for Christmas Eve. It is that simple and tasty that my brother used to voluntarily go on salad making duty because of that. Hope you like it as much as we do!
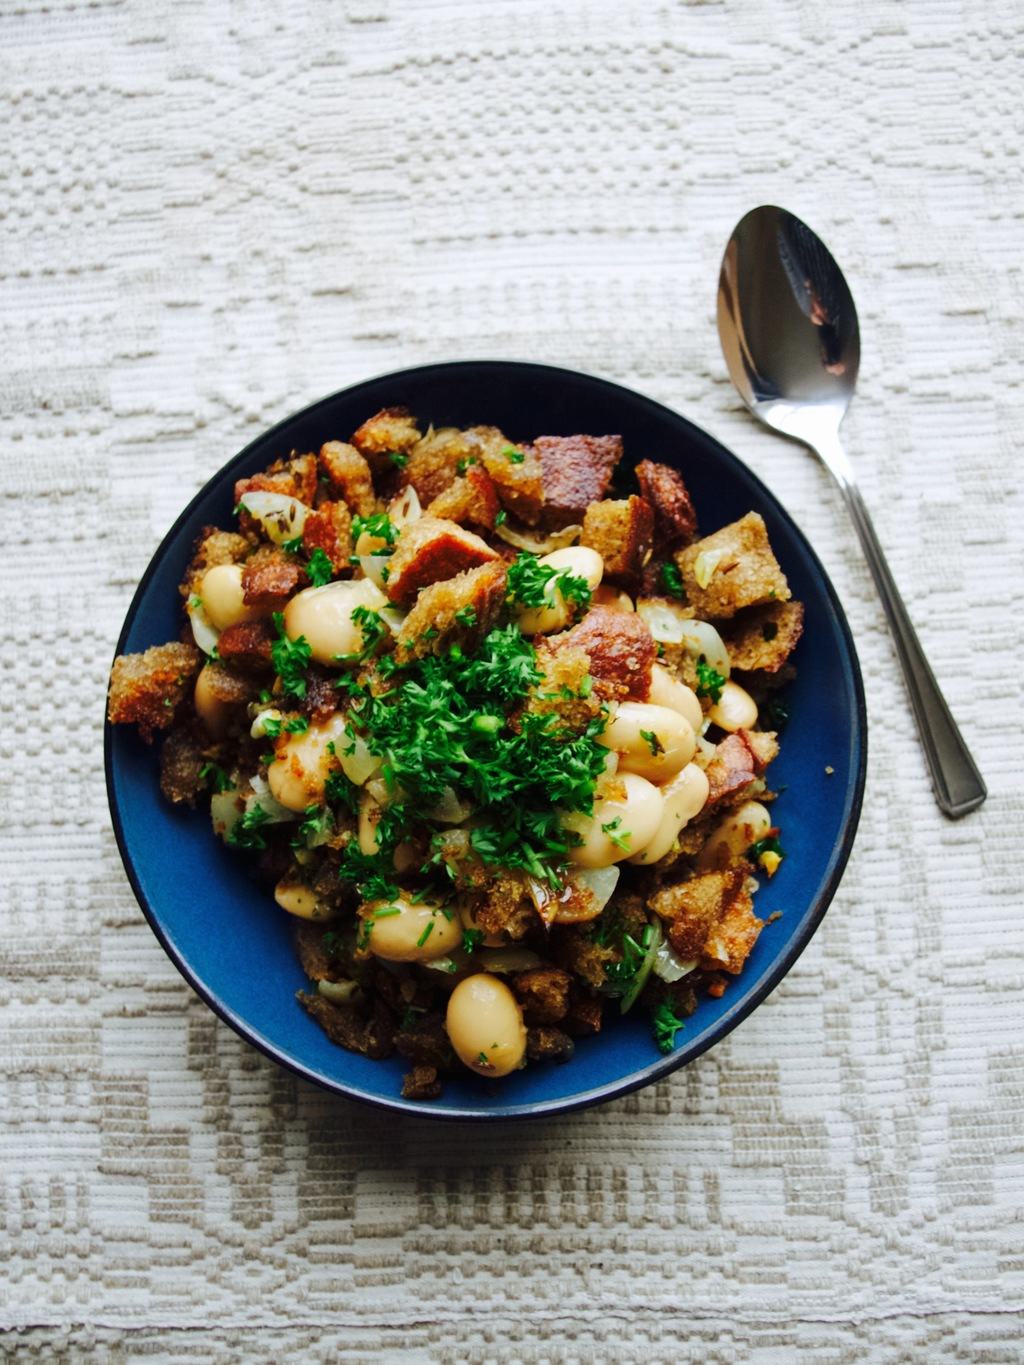
 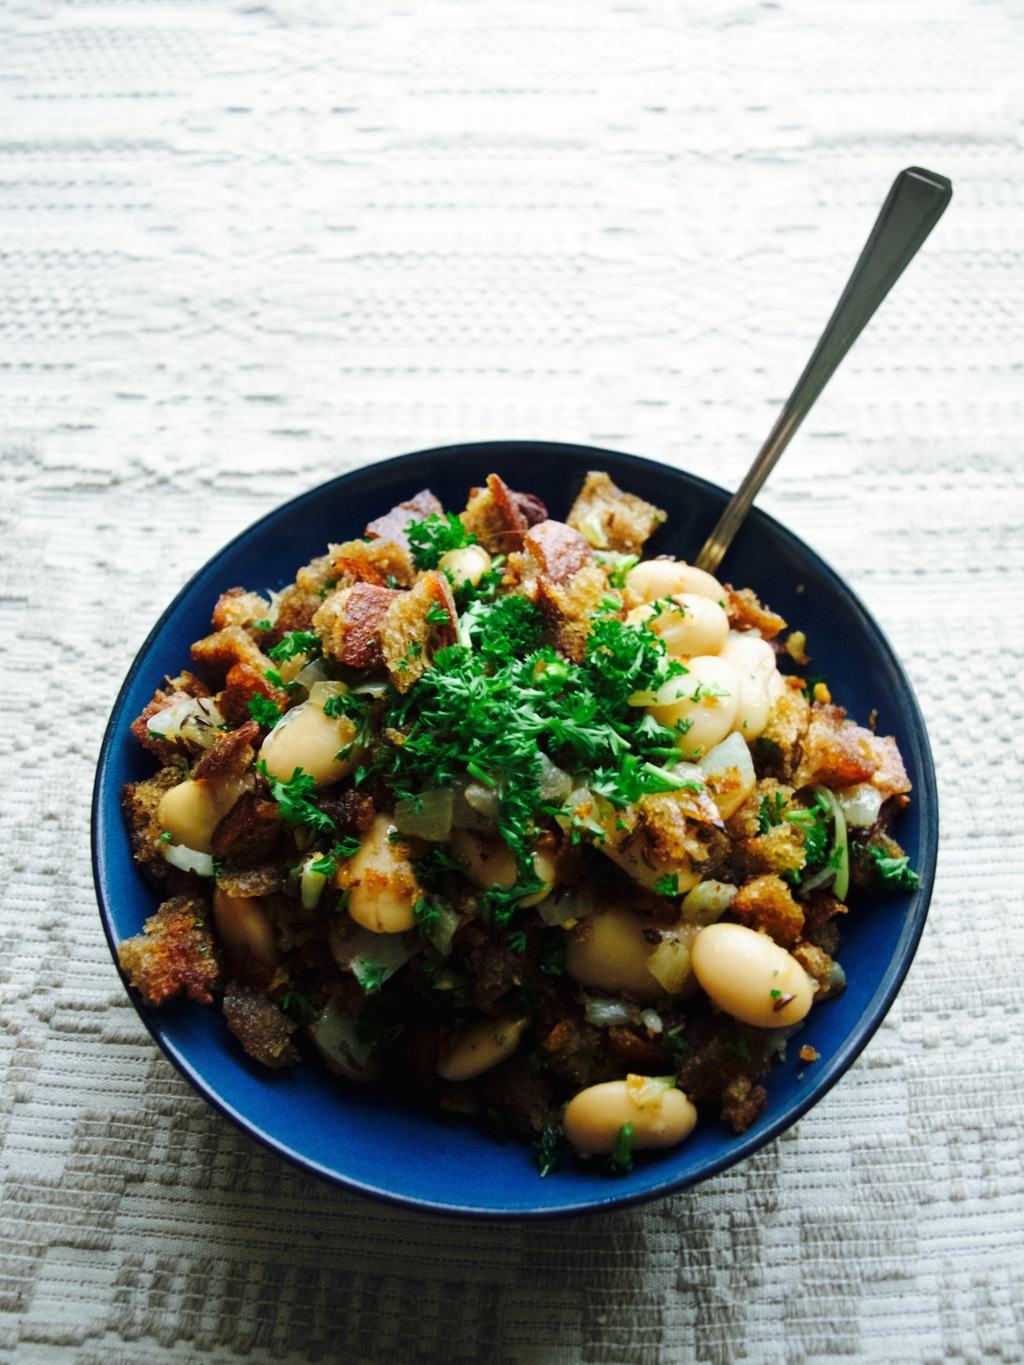 GARLIC RYE BREAD AND BEAN SALAD
 2.Fry the bread together with garlic in generous amount of oil (very necessary, sorry for dieters). Season to taste and put it aside.
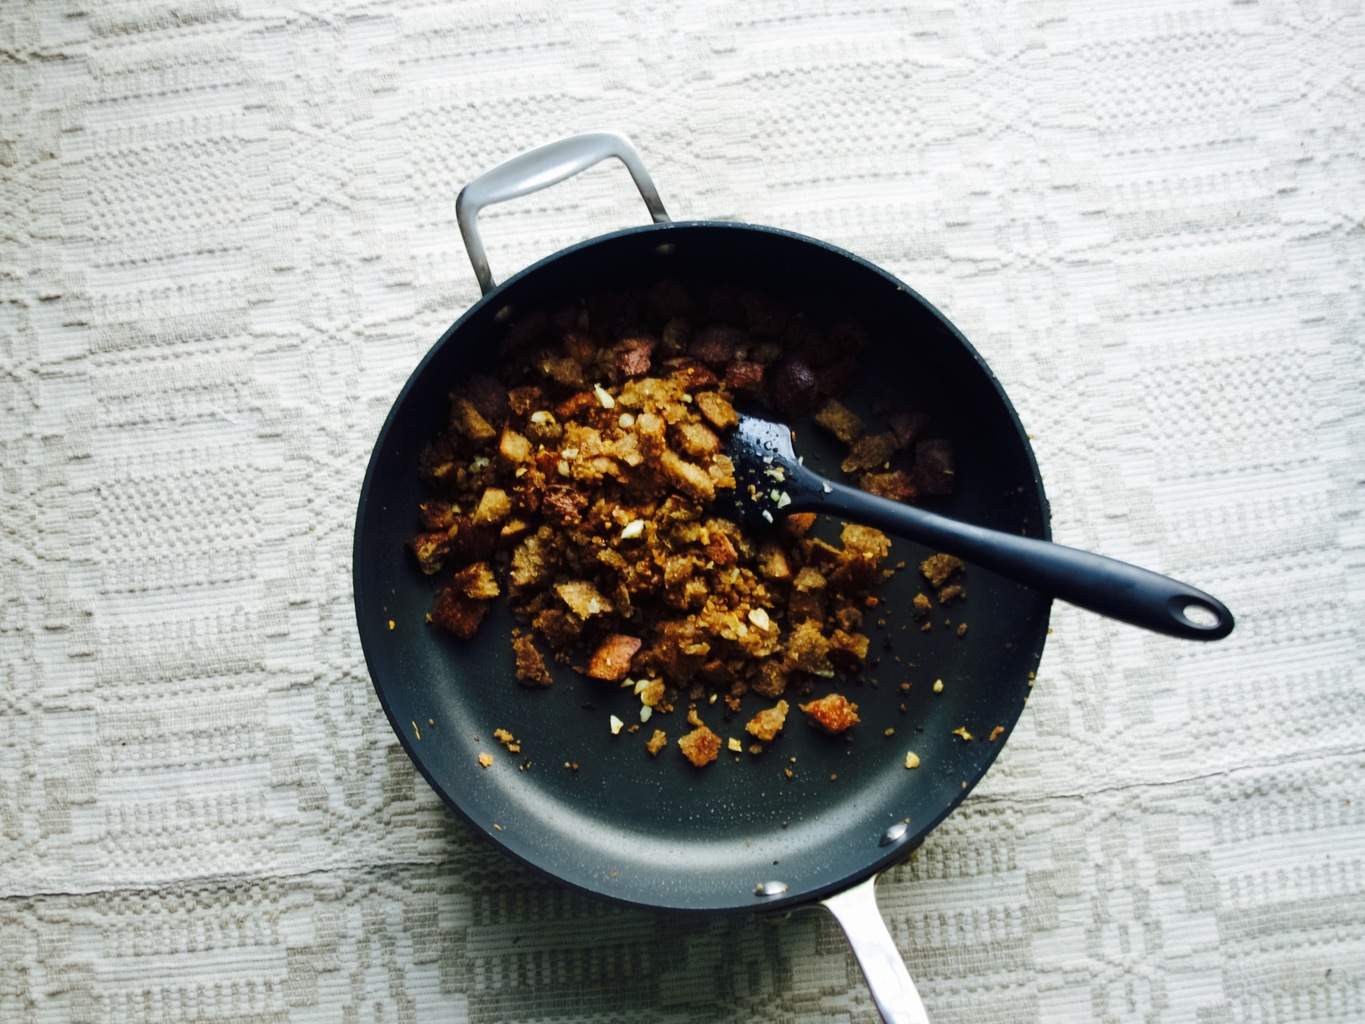 3. Fry the onion together with caraway seeds until onions are nice and slightly transparent. Add the beans and take the pan off the heat.
 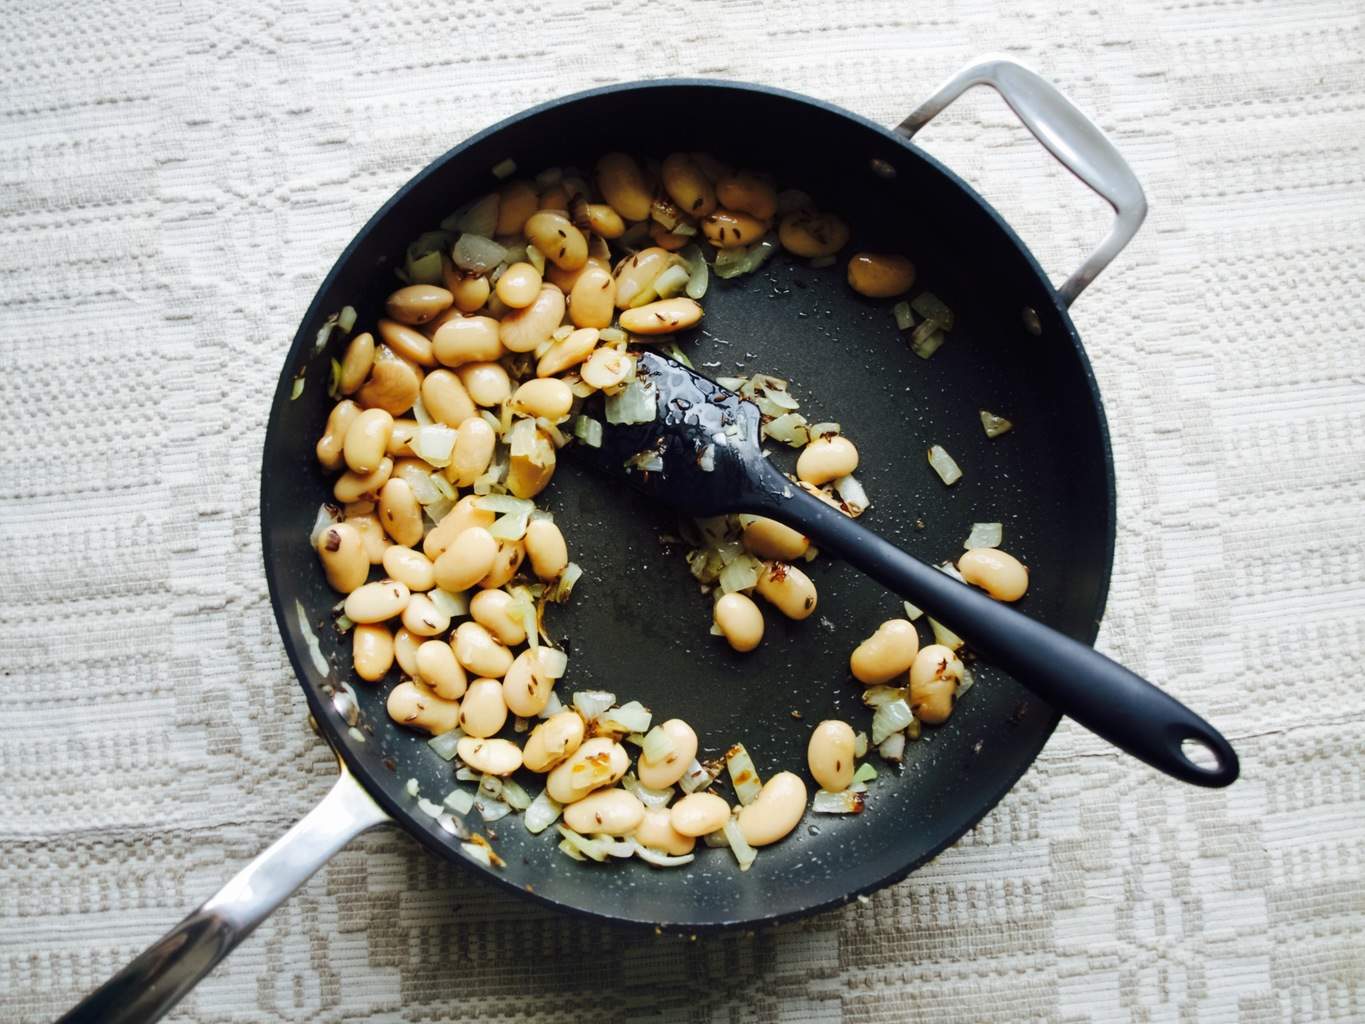 4. Mix everything together.
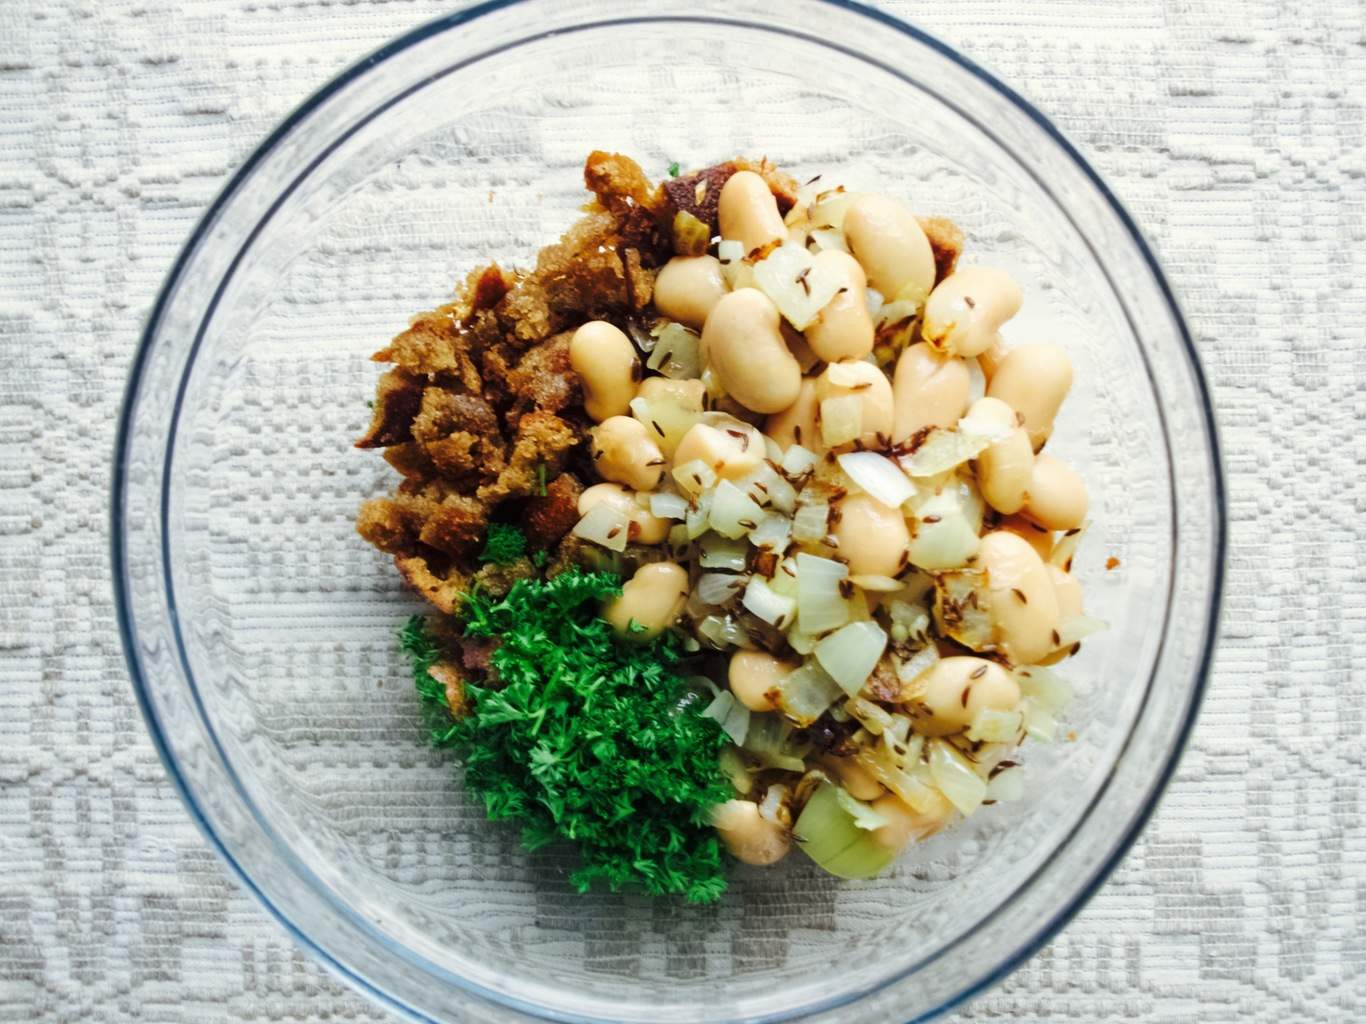
 Hope you don’t miss this humble salad at your Christmas table ;-).