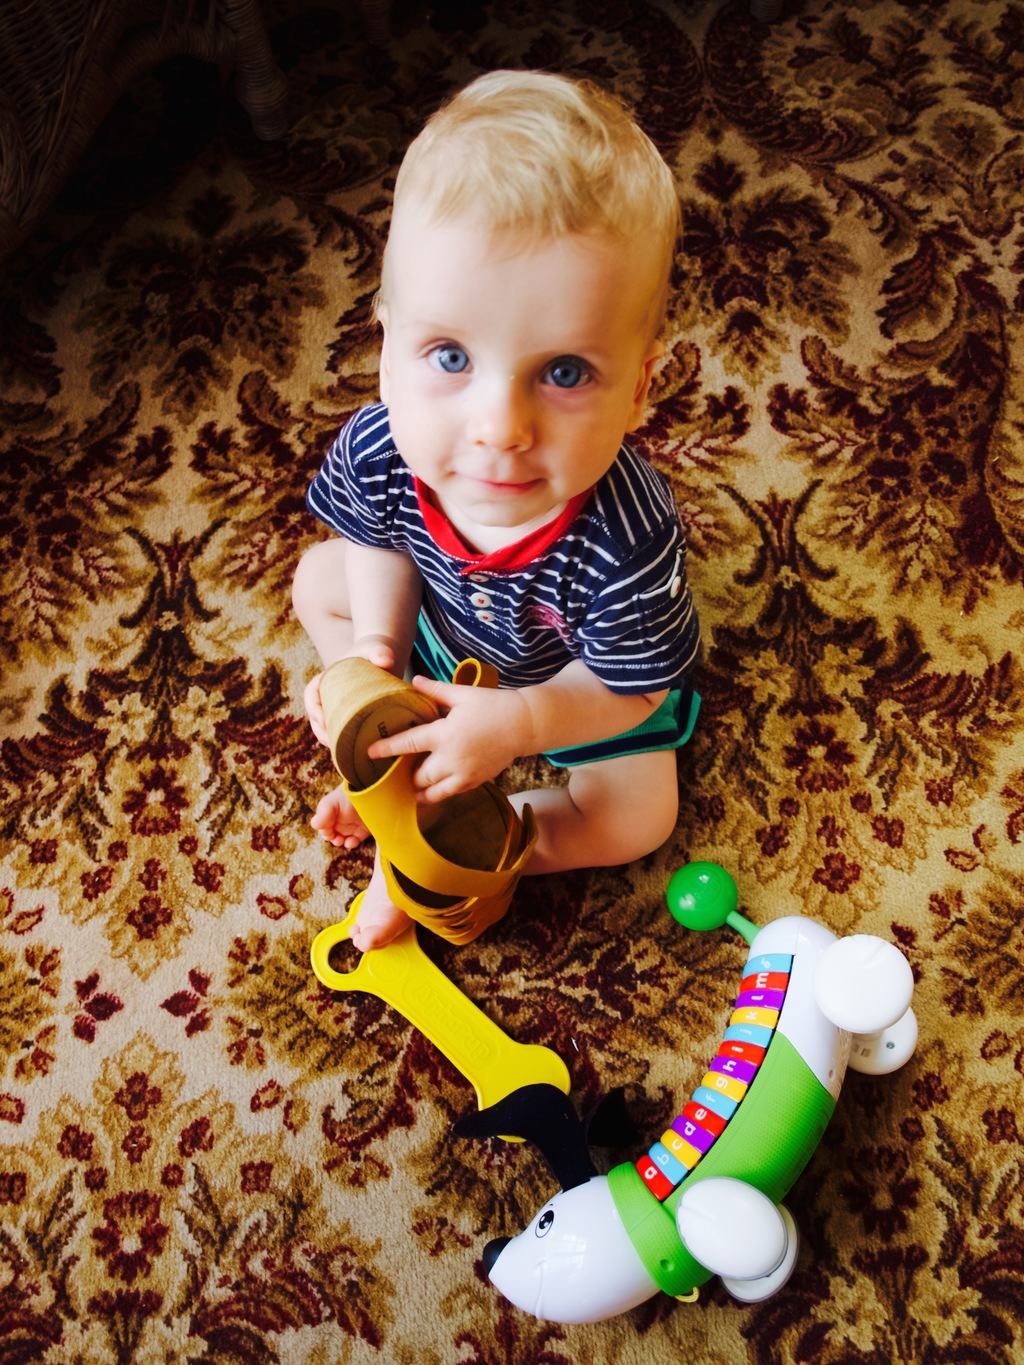
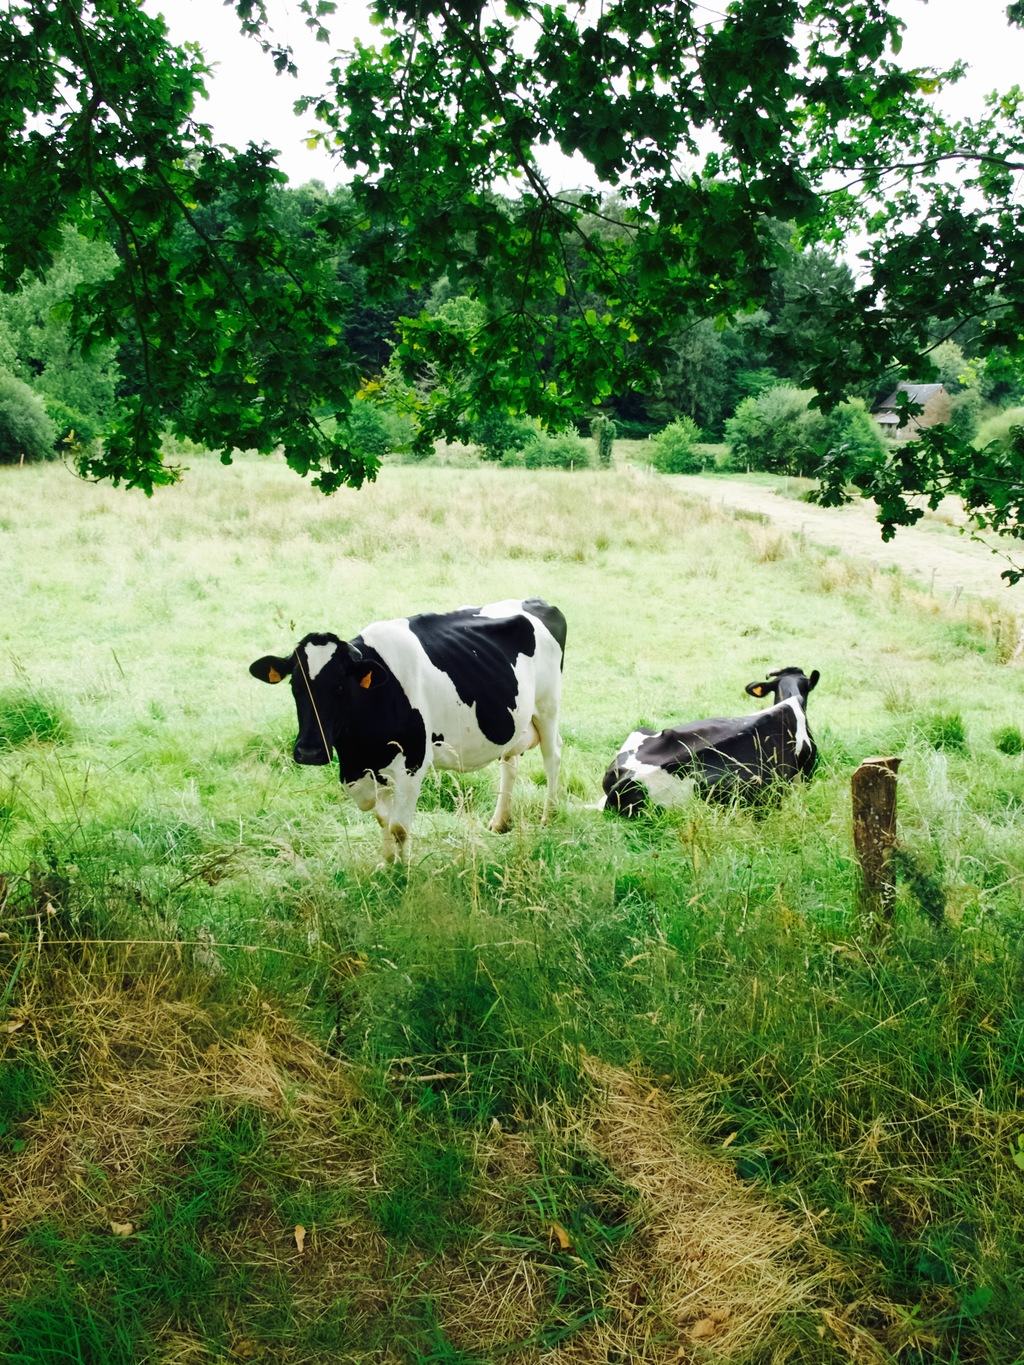
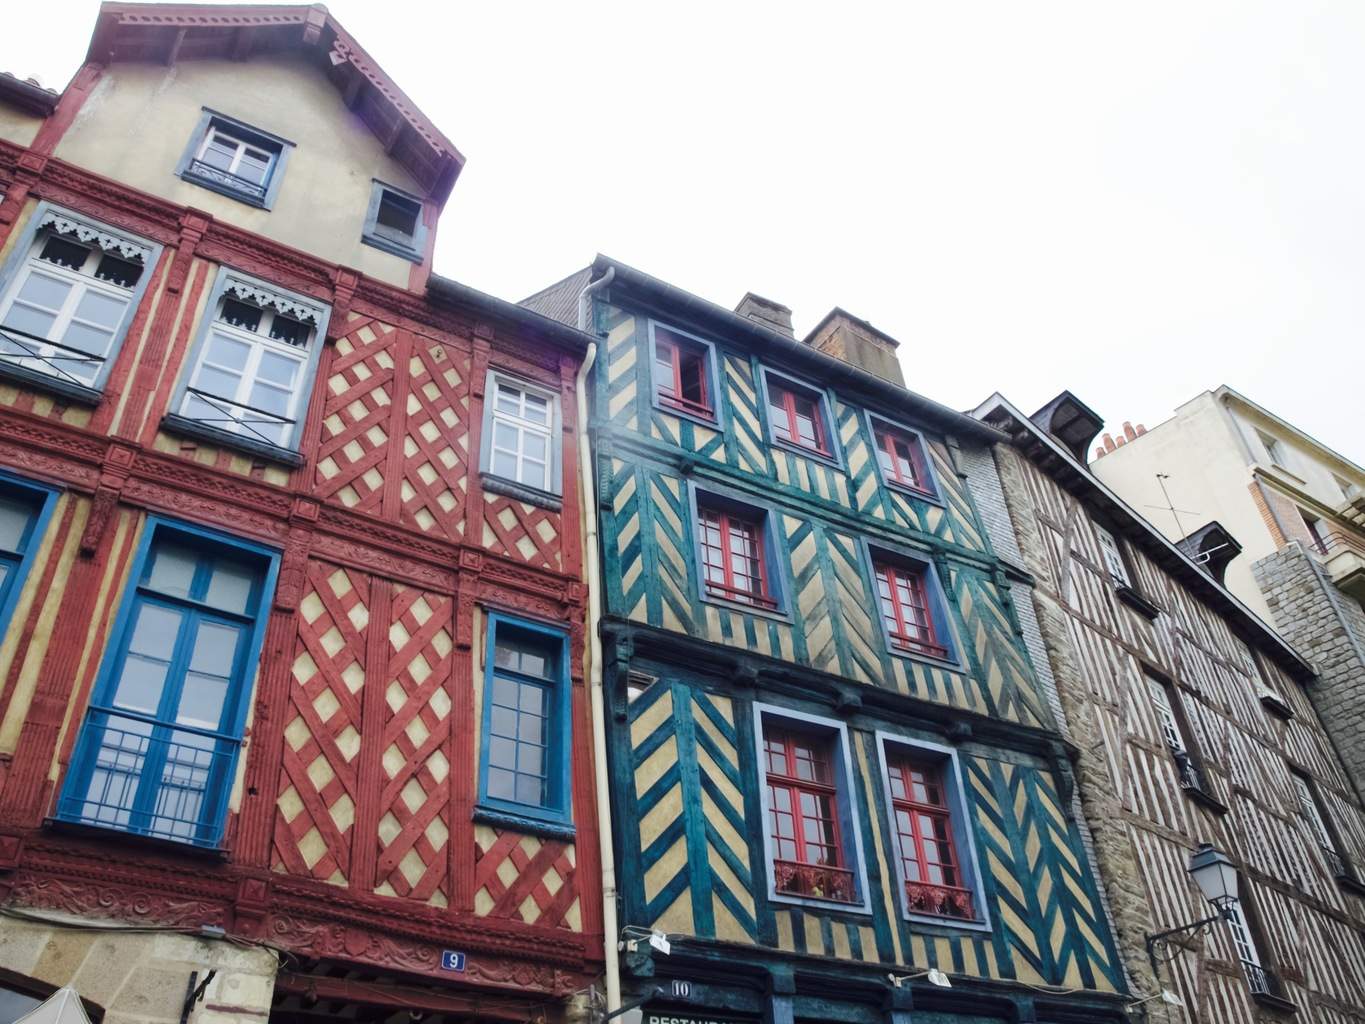
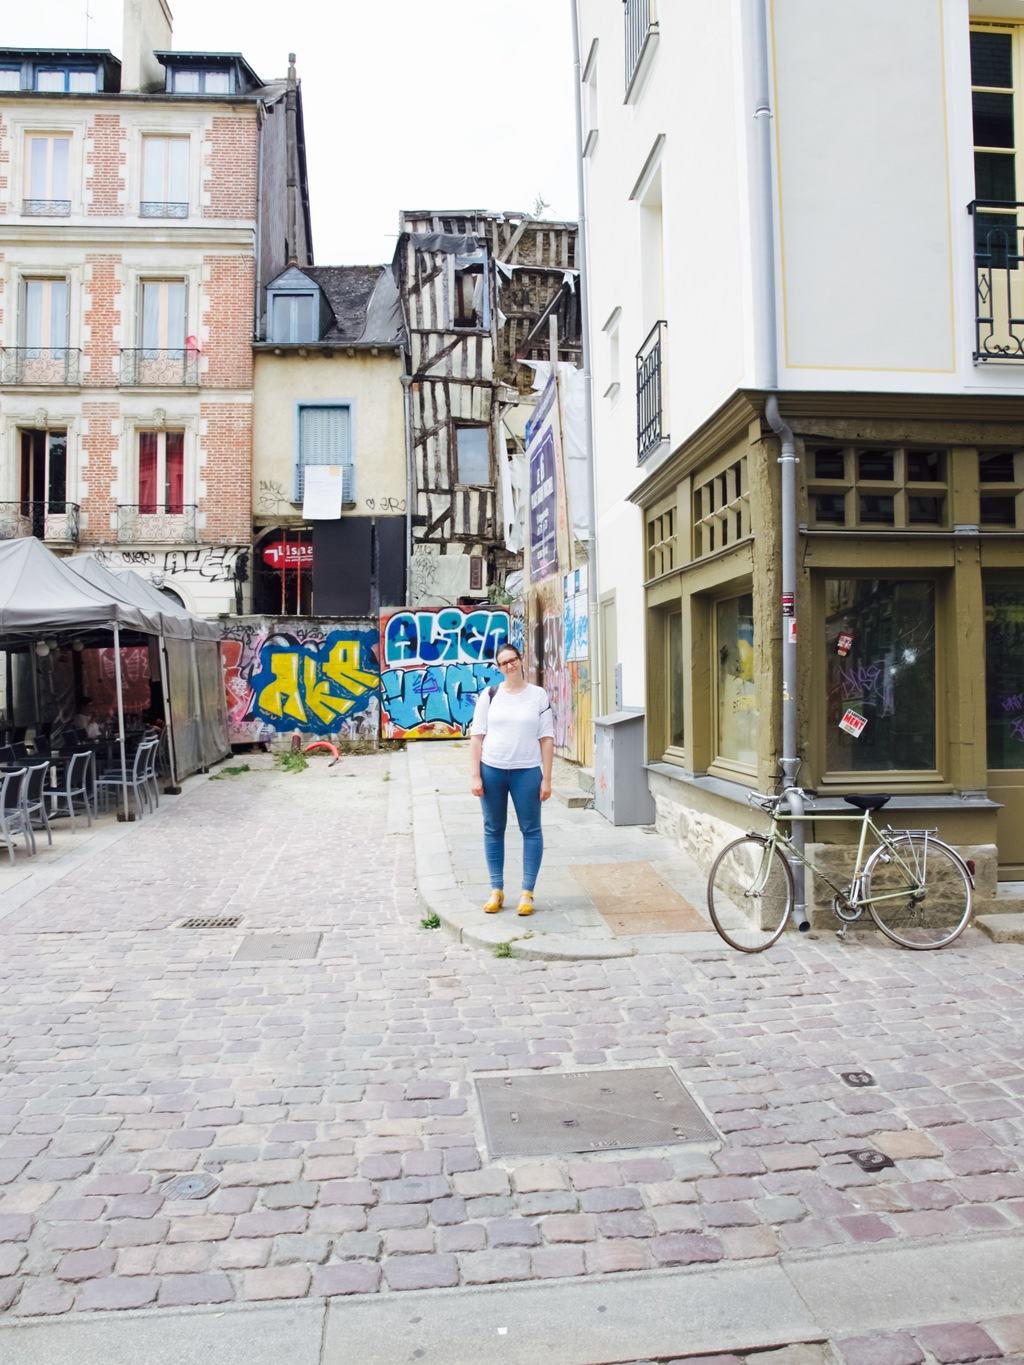
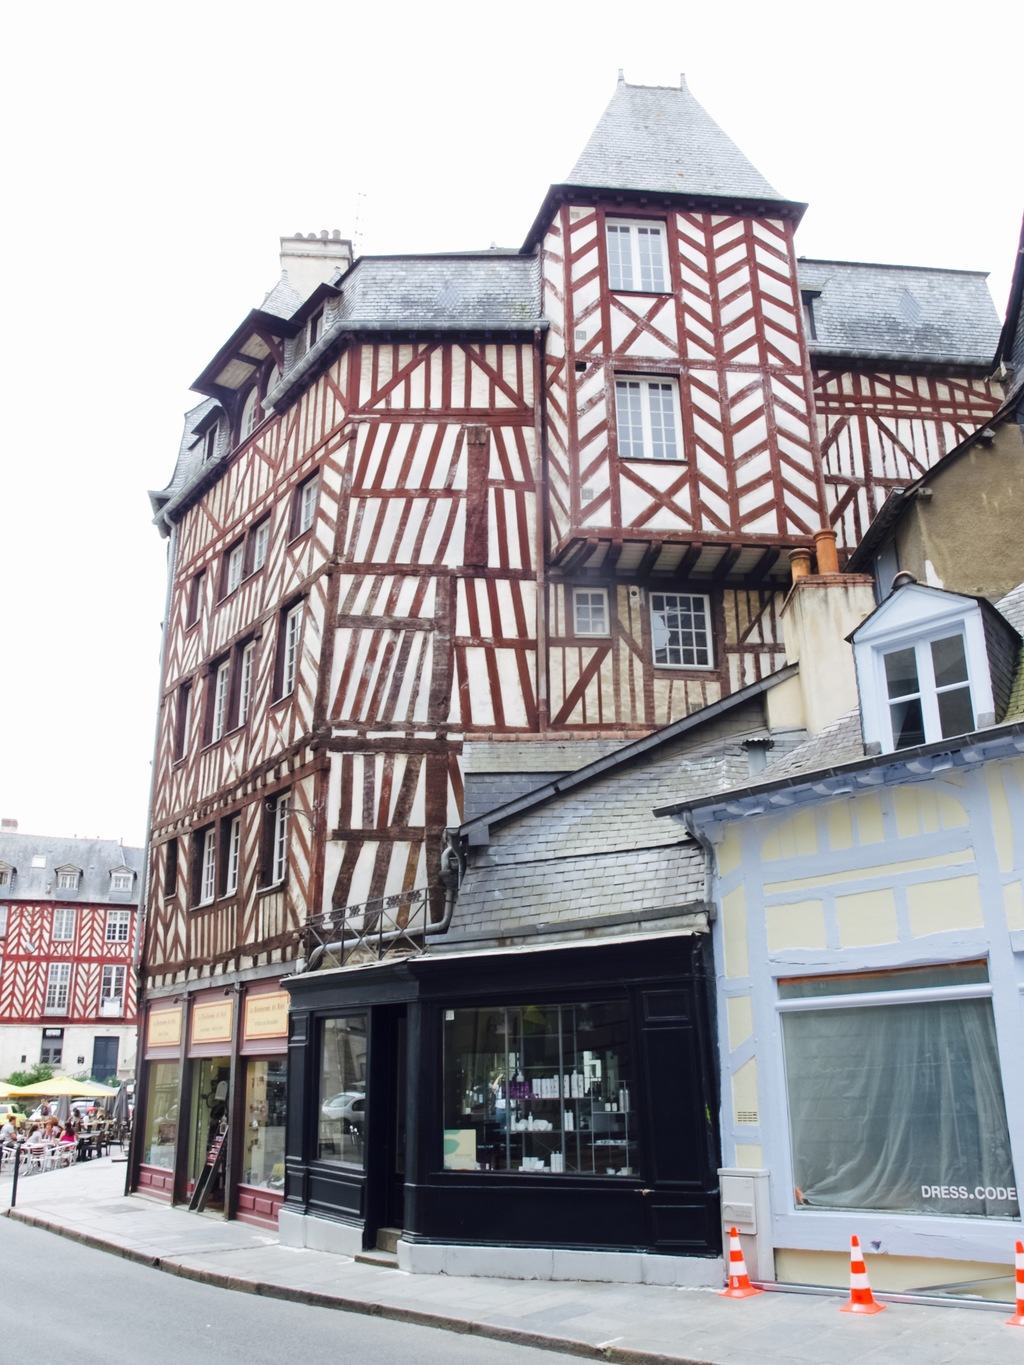
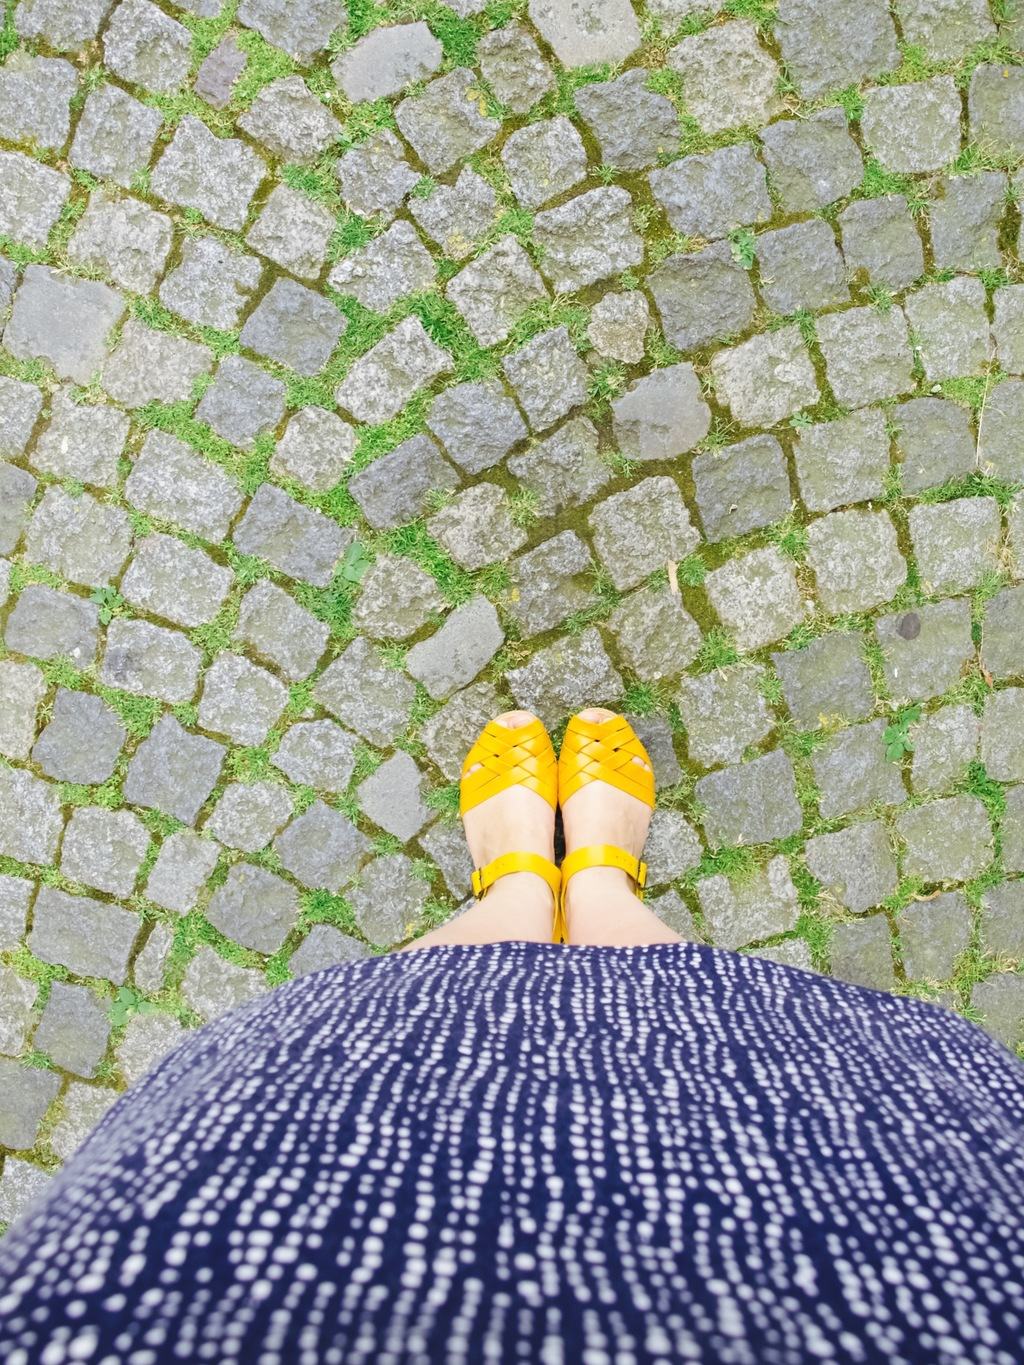
 If you are following me on Instagram/Facebook then you probably know that I have struggled with the holidays and a baby combination. I just did not find it relaxing and I was missing the holidays I used to have. But the reality is that this is how my life is going to be for good few years so I decided to find a new ways to find a new relaxing. My first stop was to ask my friends who had experience with it. Here is what came up and how did I apply on our second holidays in France.
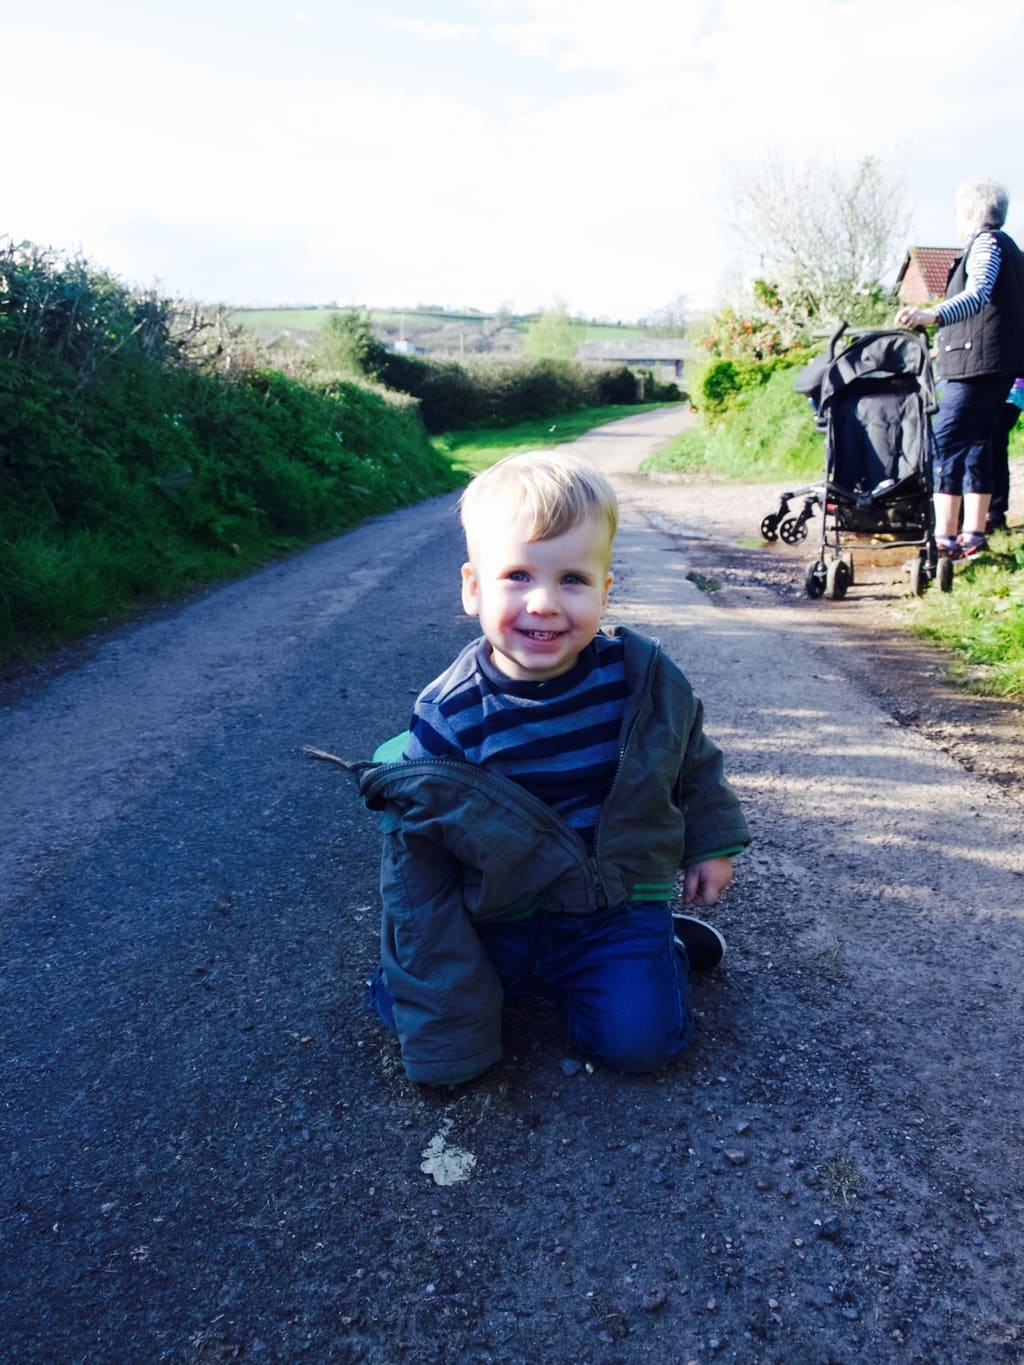
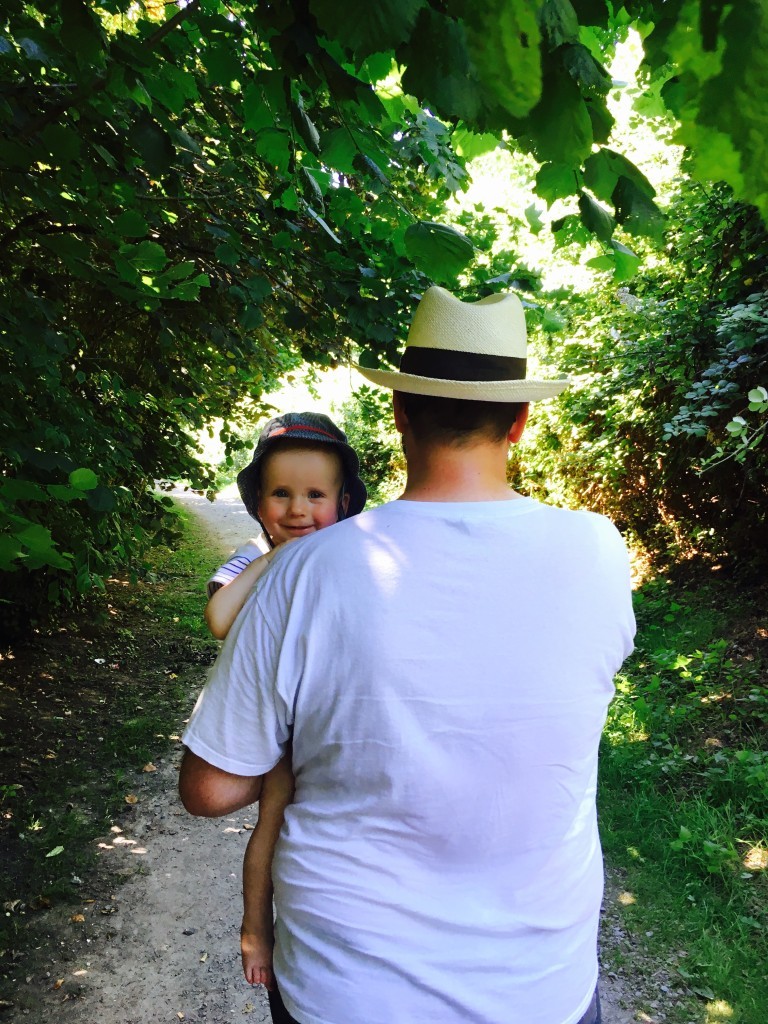
  Lower your expectations, first thing I heard from one friend which I must admit made me a bit sad as it sounded a bit negative. However having high expectations is what made me feel disappointed with my first holidays, so this advice totally makes sense! So when we went to France I decided to enjoy as it comes and it really helped for me to relax (not completely but definitely more relaxing). For example, we used Lukas naps for driving to different locations, that way we did not need to wait around for his naps to finish and we could explore different locations in France.
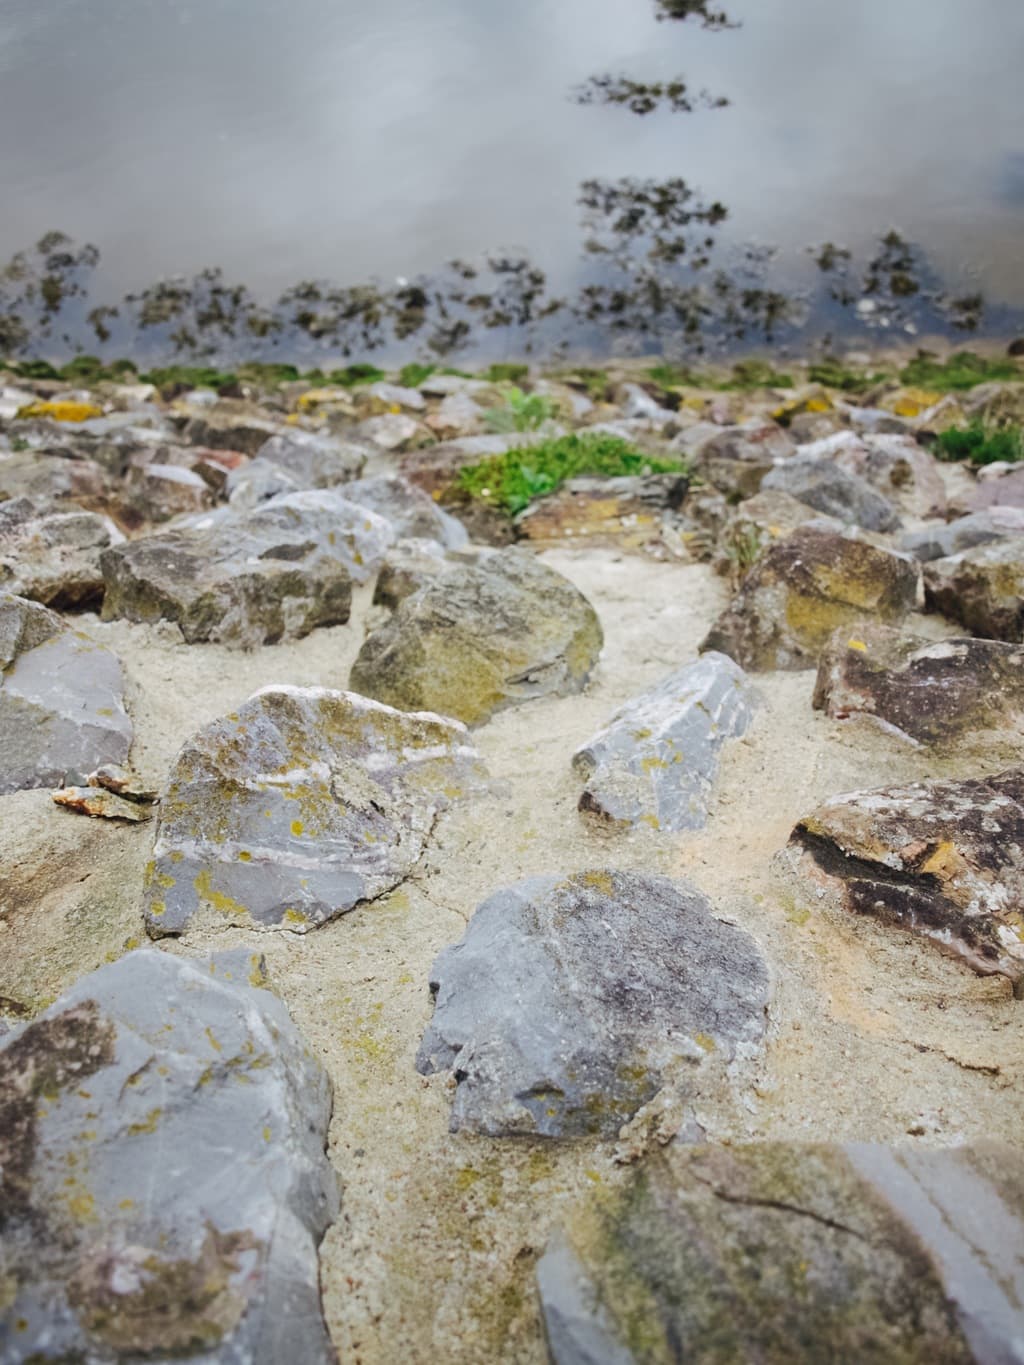
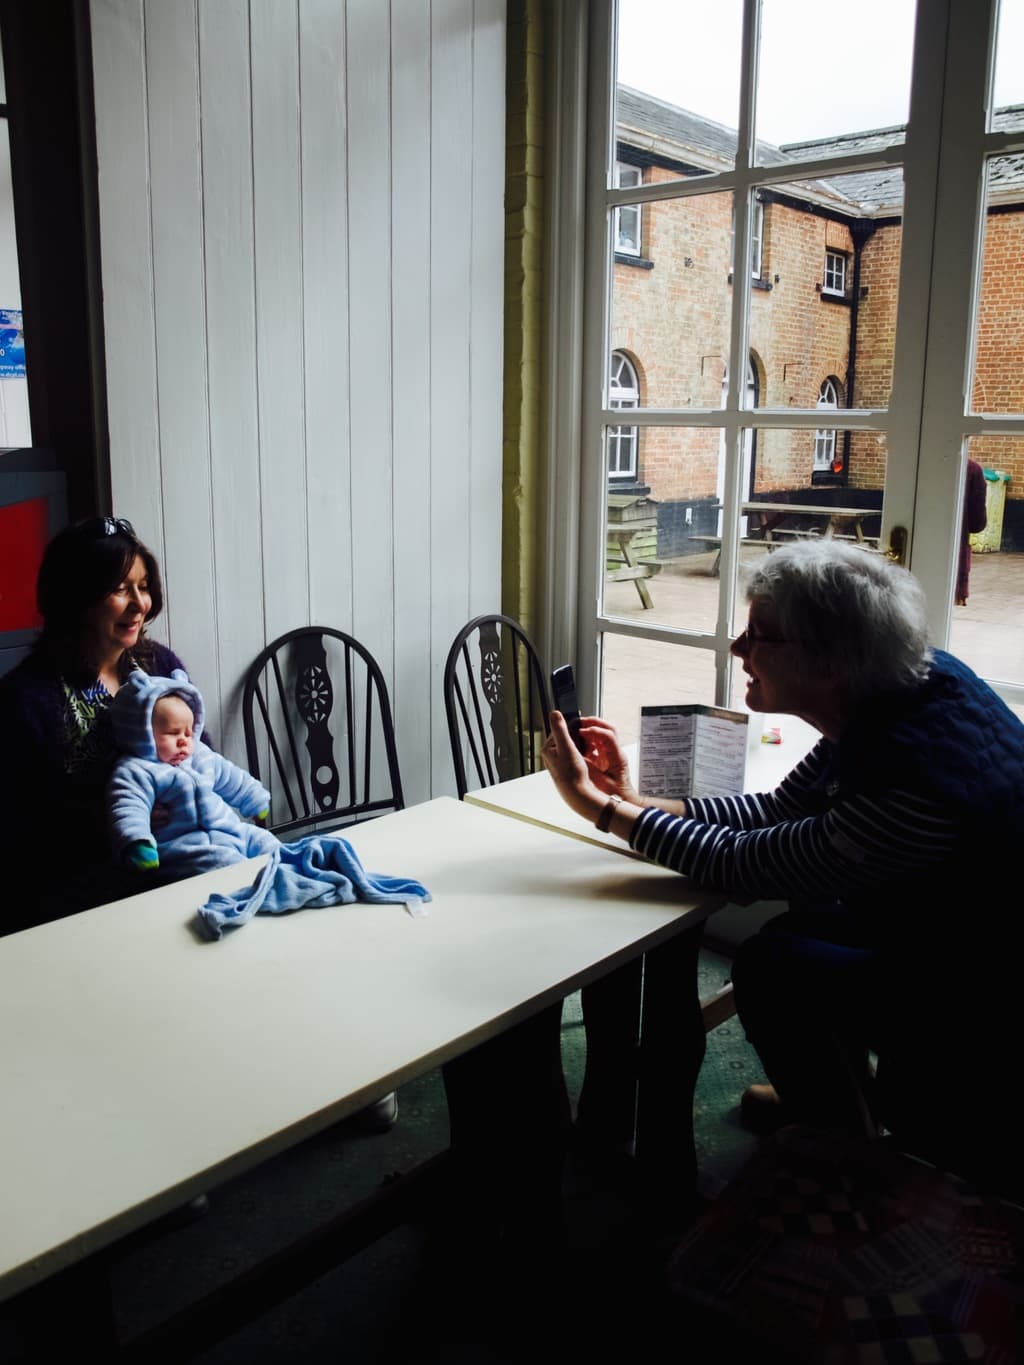
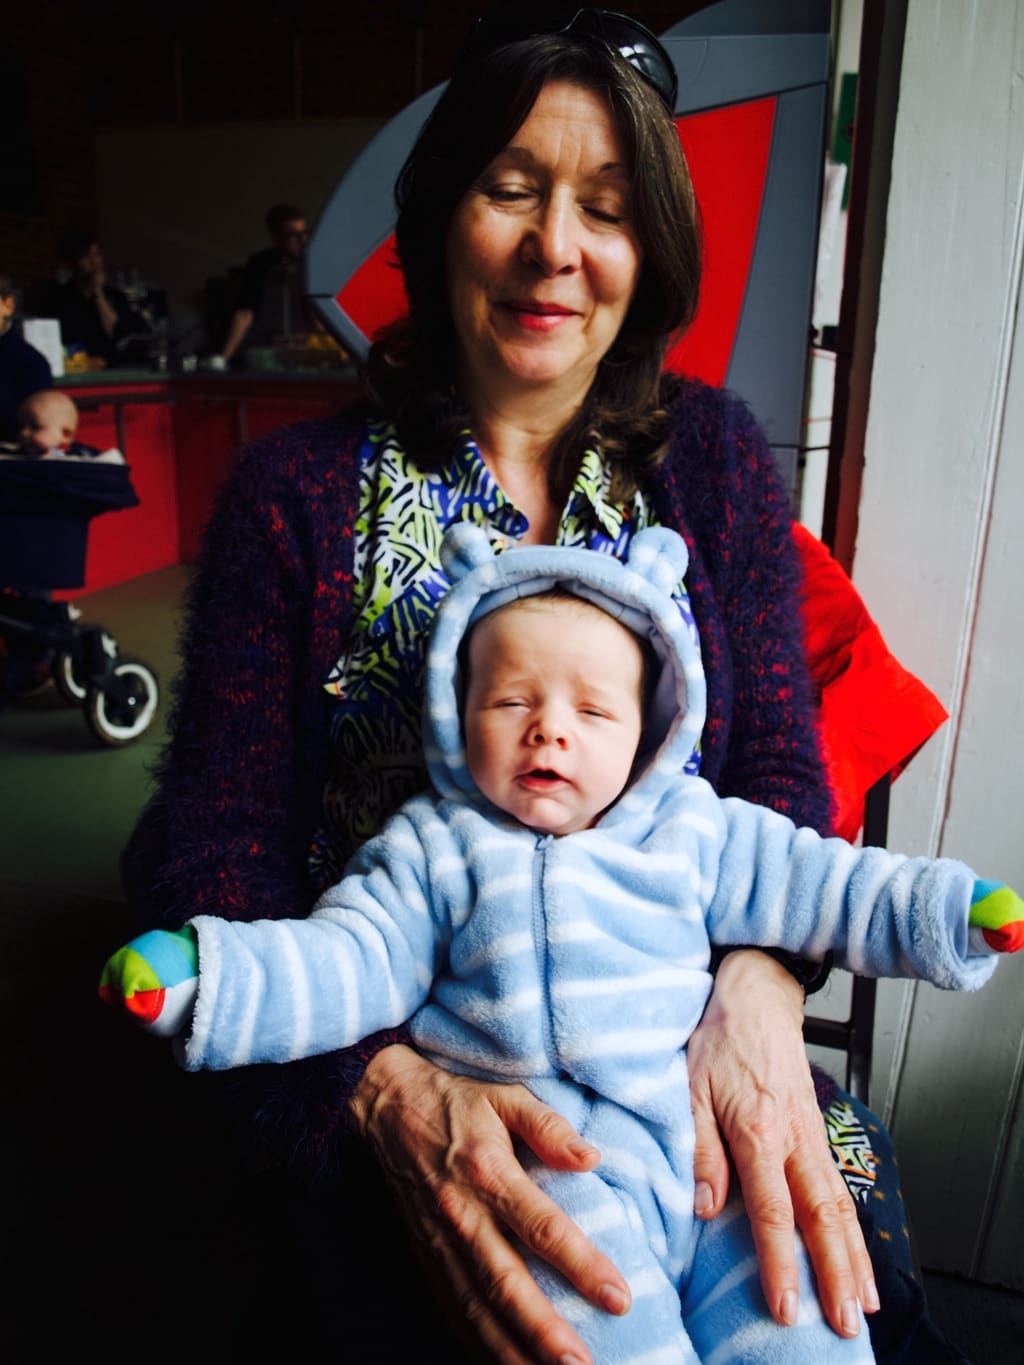
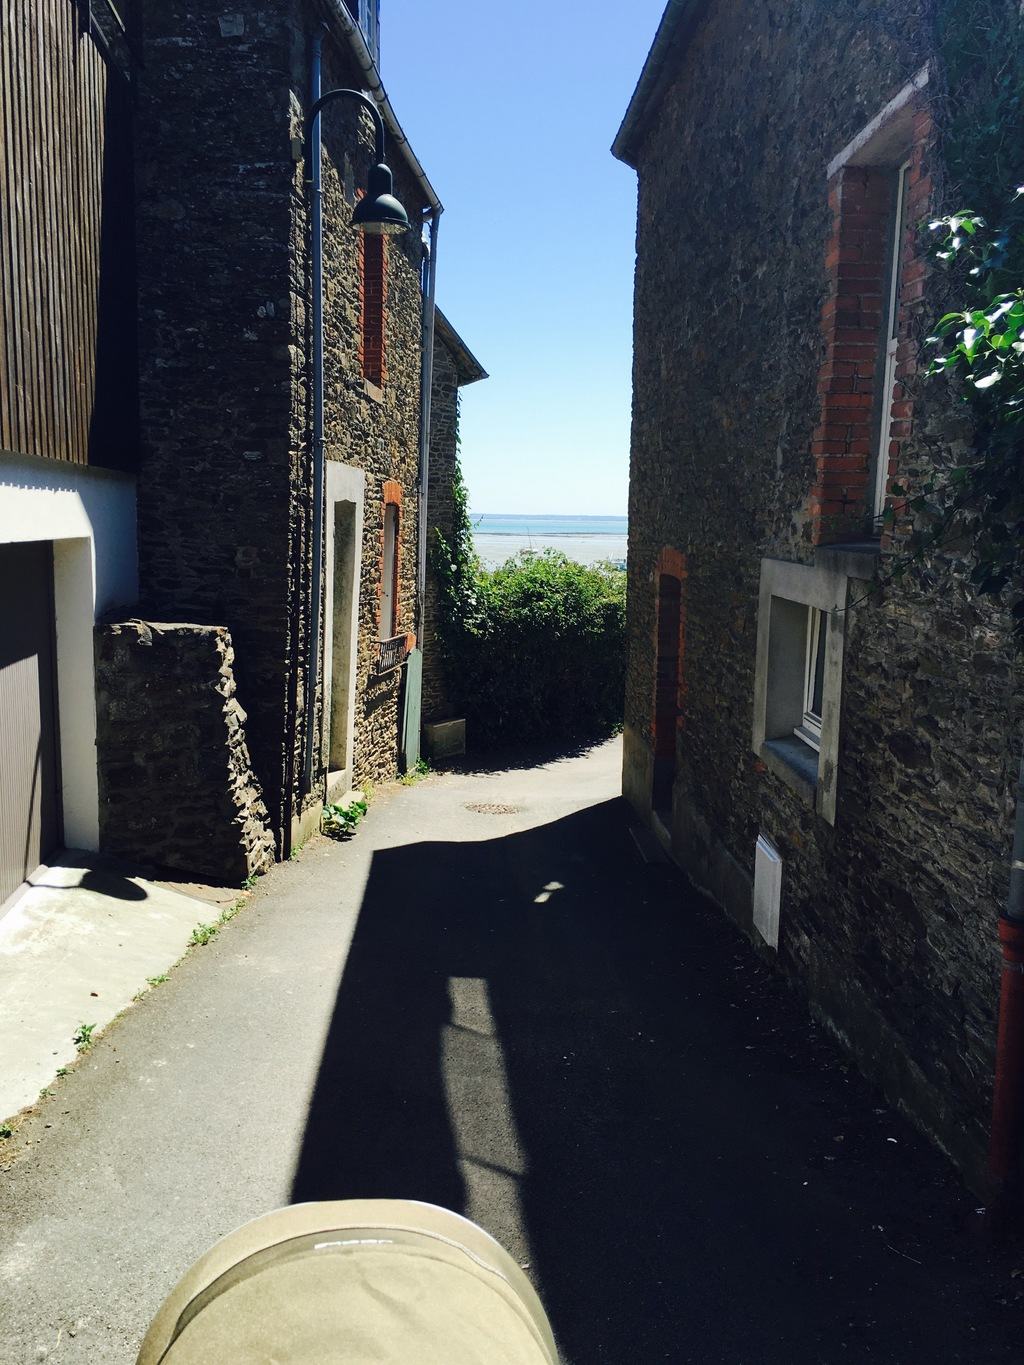
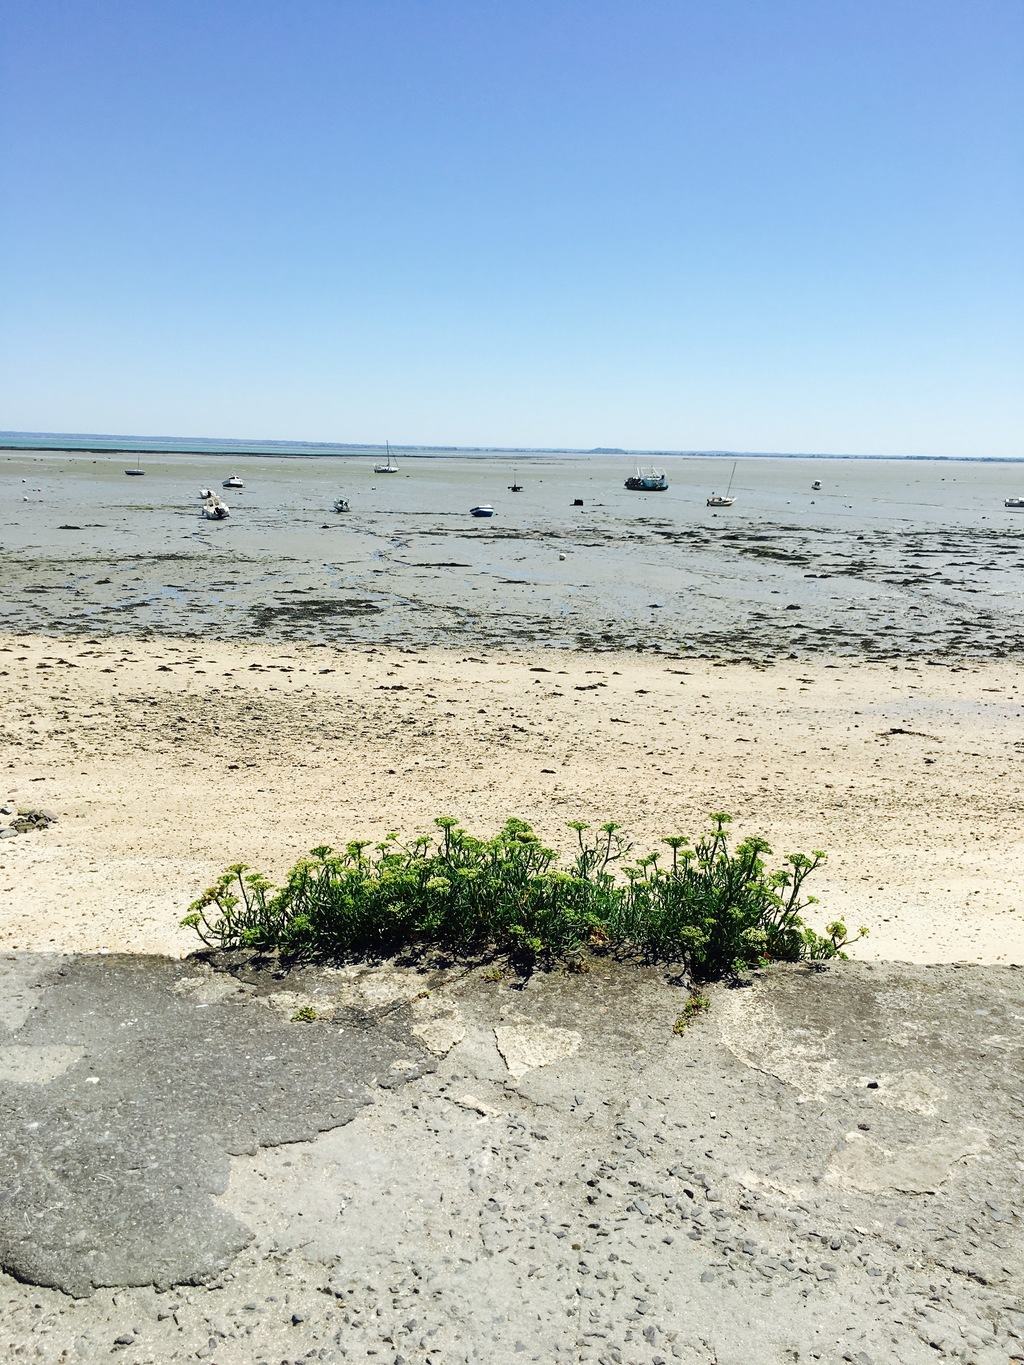
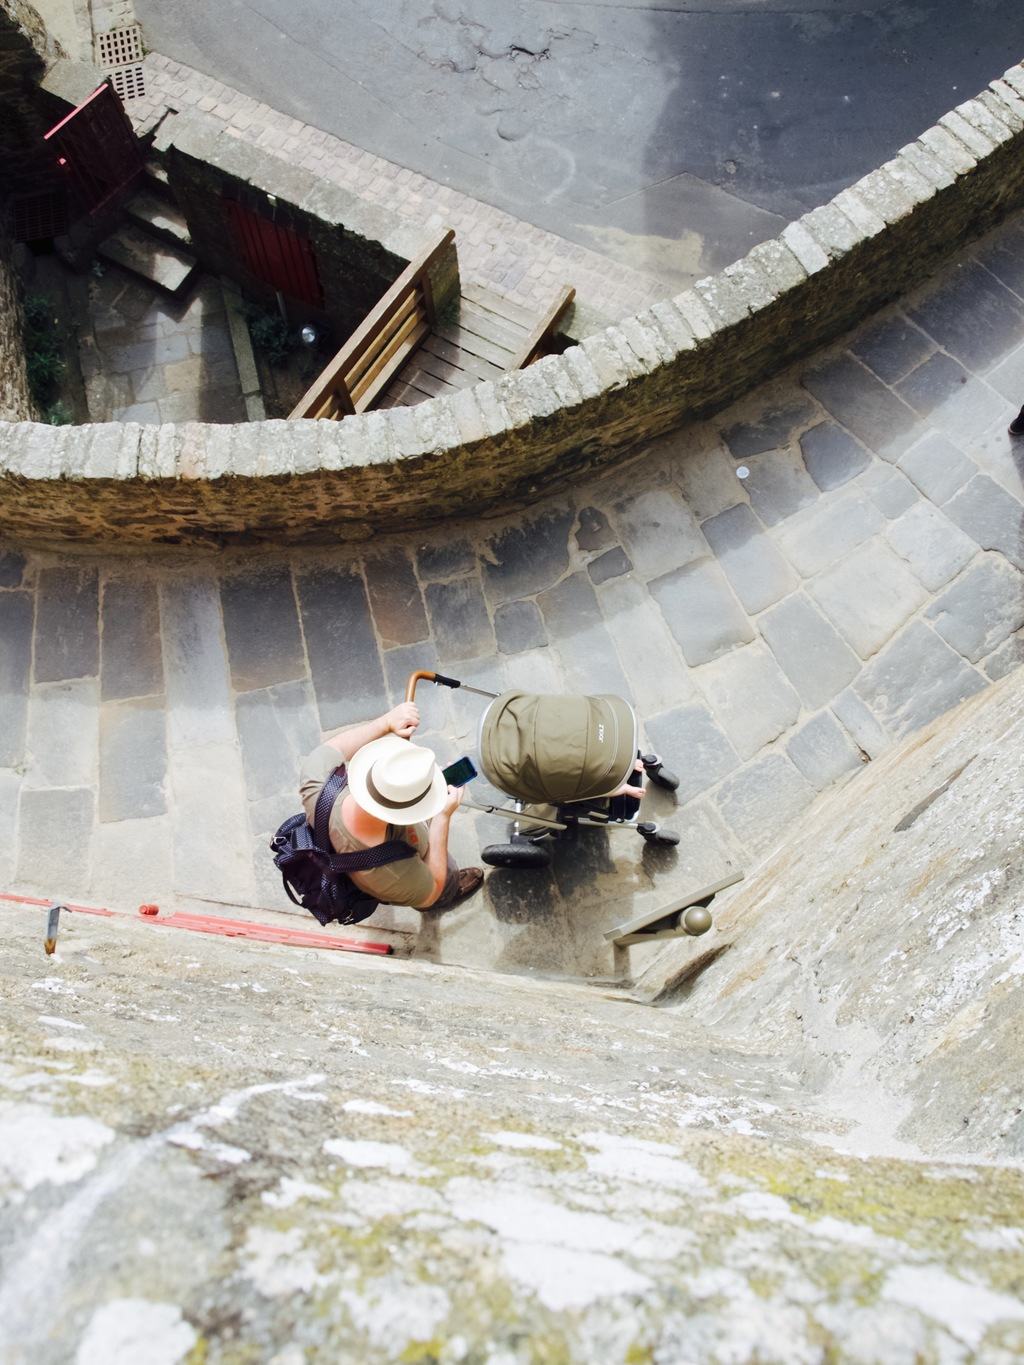
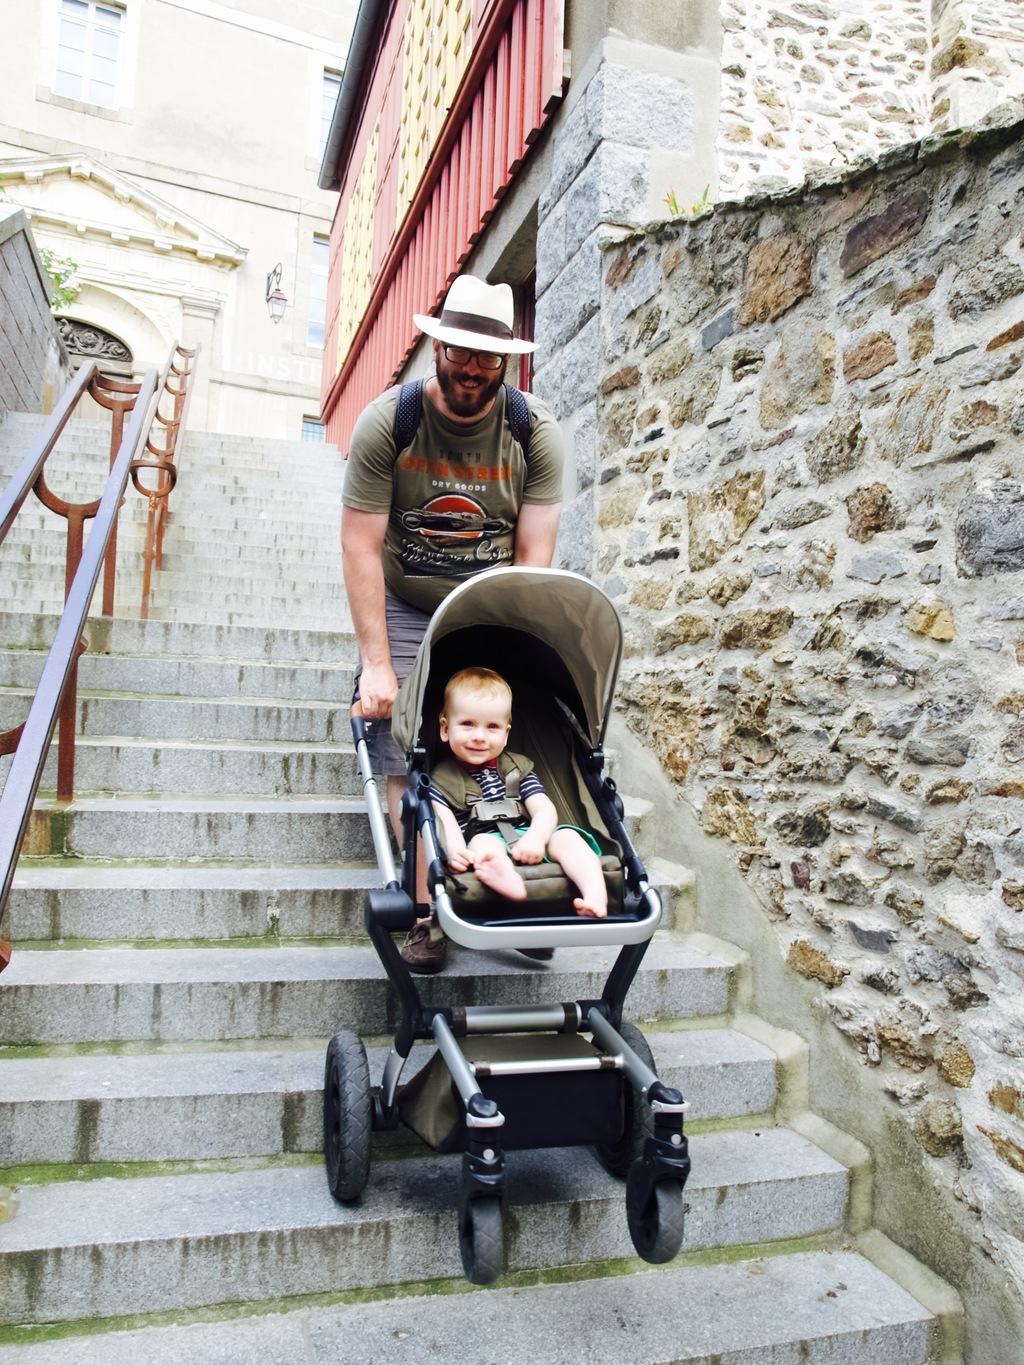
Babysit in turns, was the next advice from another friend. Joni looking after Lukas while I go and do something I enjoy sounds good! Except we preferred walking and enjoying the sights together, so babysitting in turns did not work all the time. Except once when Joni wanted to go on the tour in Fort National (obviously not my cup of tea). He took Lukas with him while I enjoyed the sun on the rocks (much better and more relaxing than it sounds!). 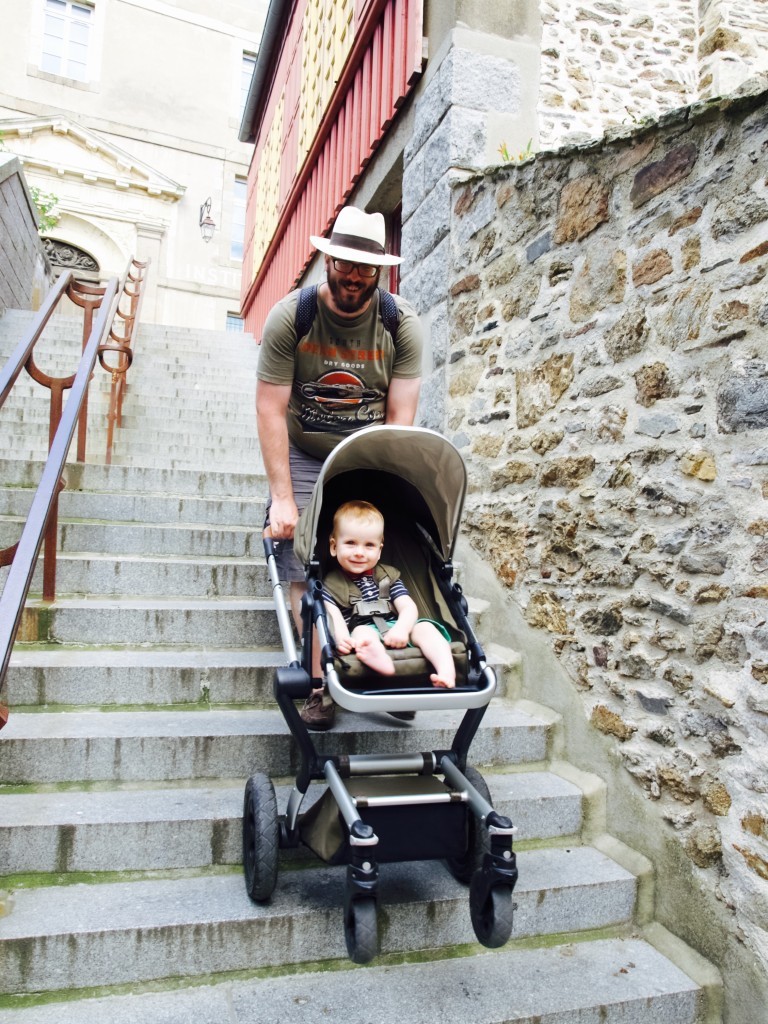 Eat out for lunch and eat in for dinner, because apparently that’s cheaper. Well… it turned out to be true! There are plenty of affordable and good meals available for lunch and in rural Normandy where we stayed there were less restaurants open in the evening and everything is more expensive. However I found that’s not the only reason why this advice was a life saver! Because our habit is to put Lukas to bed around 7pm, it just works much better if we eat in while he is asleep which I really enjoyed (especially eating al fresco!).
I did however found that French like to take their kids to dinner which can sometimes be very late in the evening. But in return they put their kids to nap in the early afternoon. Well that is good alternative to keep in mind! After Lithuanian holiday I could also add another advice.
Pack for everything, if you don’t have luggage restrictions of course! After Lukas sleep was disrupted by the very light bedrooms in Lithuania, I invested in travel blinds. I have not yet had a chance to use it, because in France the window shutters were unbeatable, but I still think it is worth every penny and I am sure it will come in useful. Every time I pack I carefully think through what I need to make Lukas feel at home as much as possible. Because I just love his routine and would love to keep it as it is during the holiday as well.
We will be off to Centre Parcs next, which I never thought of visiting before. Suddenly it sounds like a much more apealing destination when you have a baby with you. Will let you know how that goes! I hope you found this helpful xx
Rasa

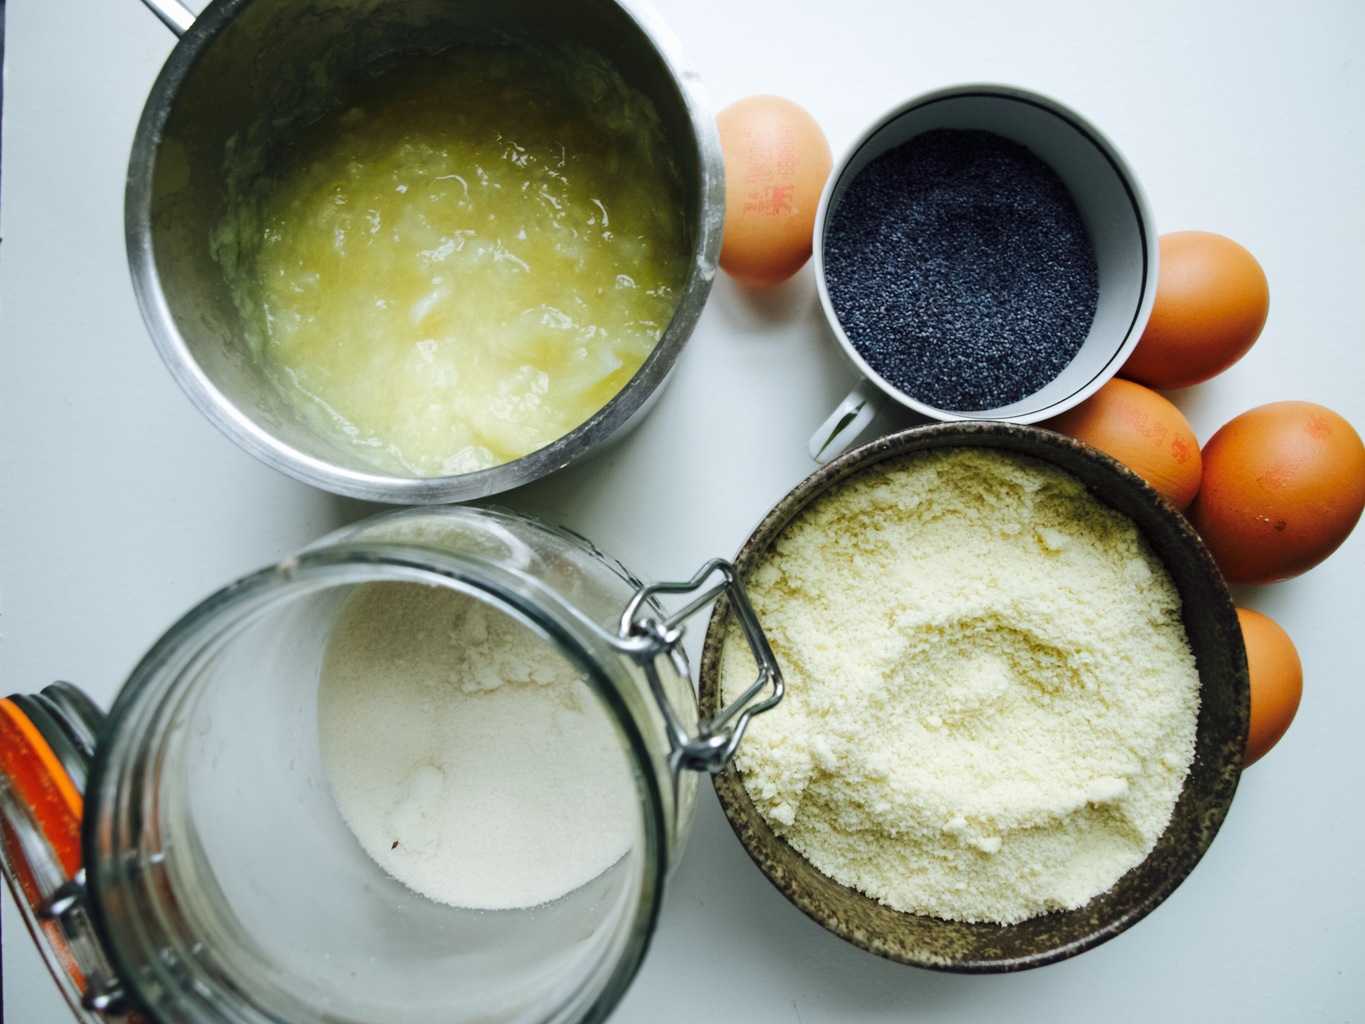
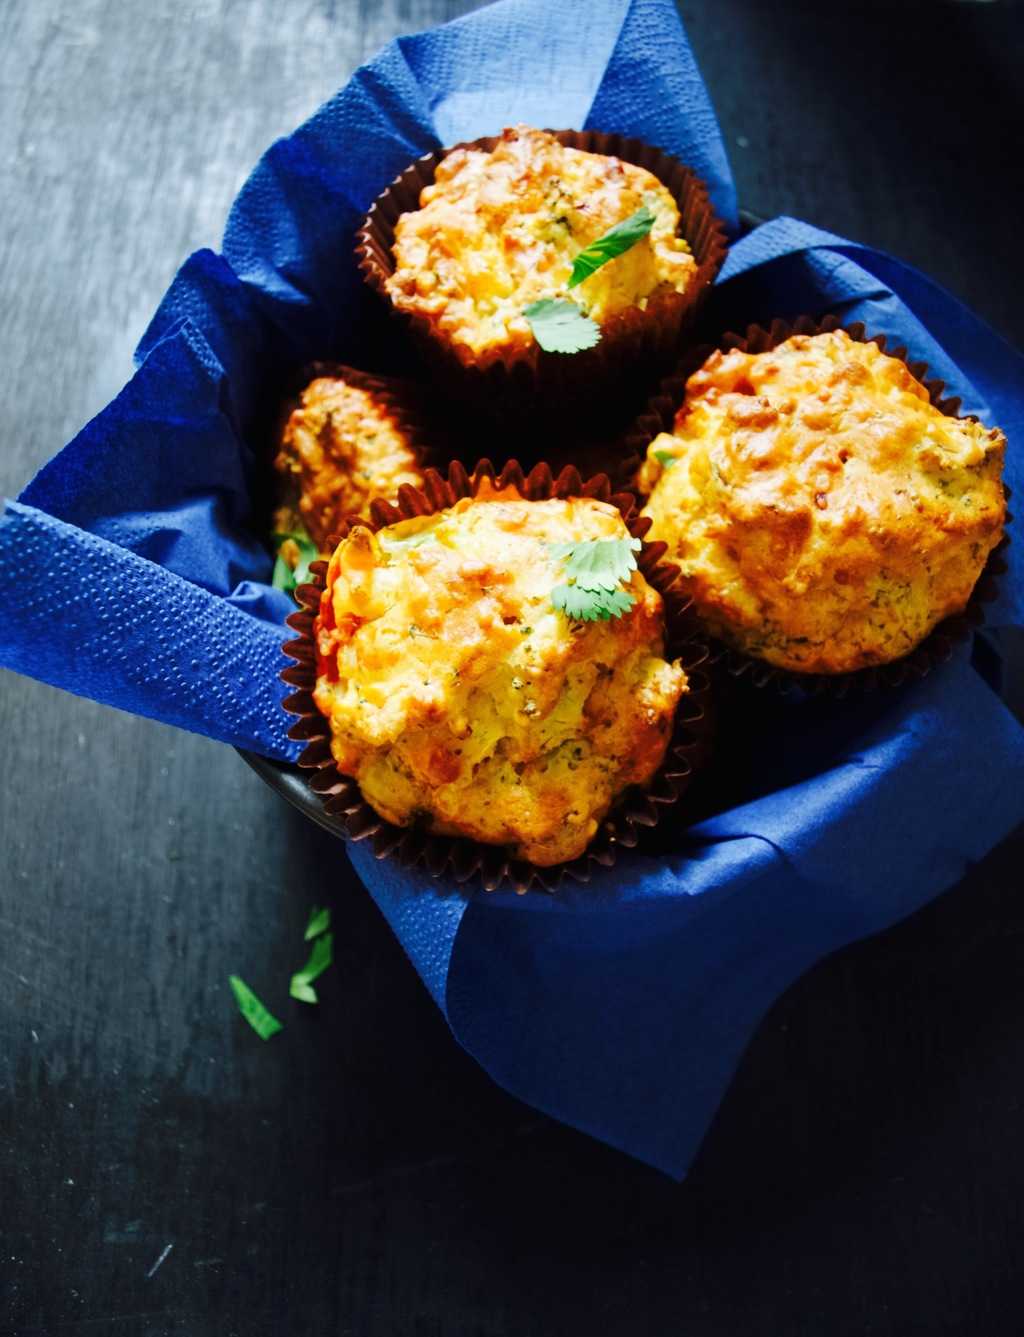 We have been traveling lots lately (I am talking day trips not an actual holiday) and to have something handy for lunch is essential (unless you want to spend the money at the cafe or something). This is why these muffins are amazing for obvious reasons. They are dry meaning the mess don’t stick to clothes, they are full of hidden veg (so hard to make Lukas eat veg these days) and they can be frozen for whenever you need them. Besides, they are carbs that children love to eat, su no fuss here ;-).
 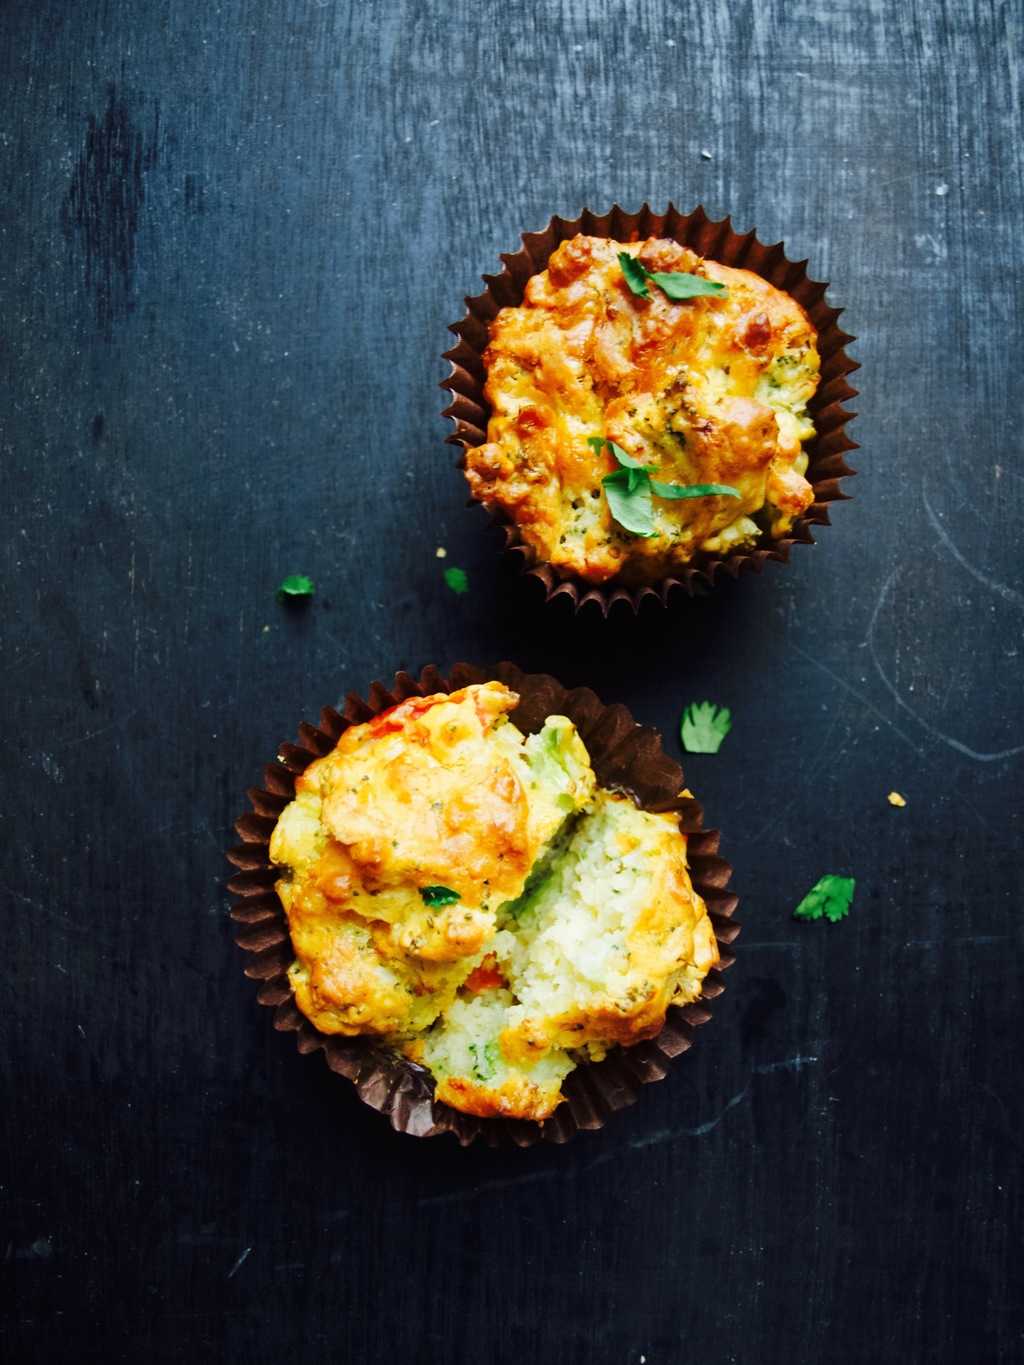 FULL OF VEG SAVOURY MUFFINS
 2. Combine the veggies with the rest of ingredients.
 3. Mix everything well before spooning the mixture into 12 hole muffin tin (all lined and ready). Bake for around 30min in 180C preheated oven.
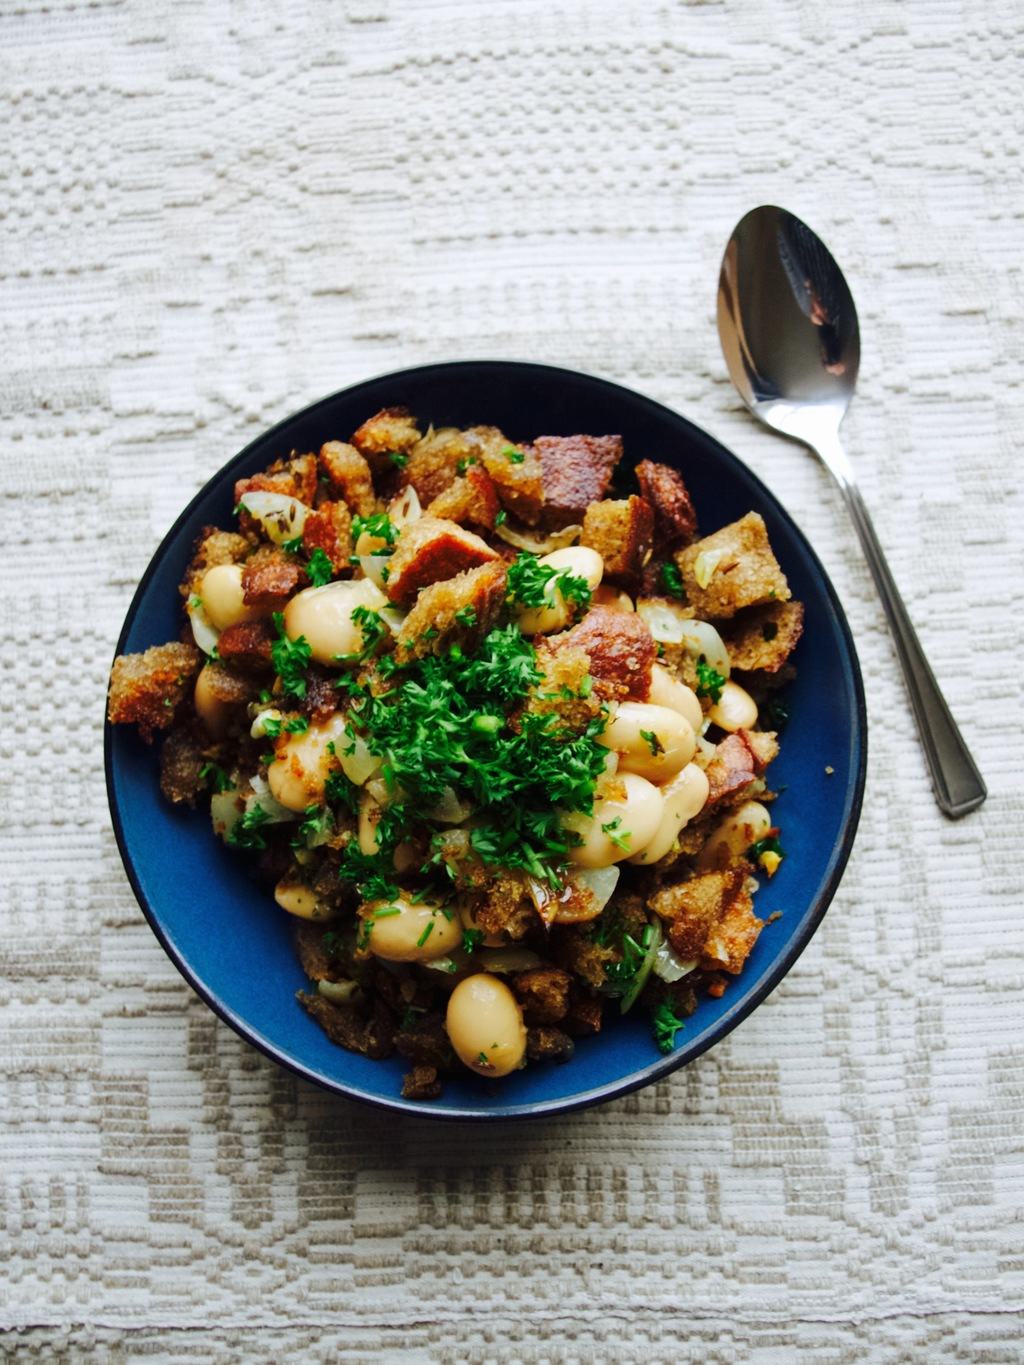
 Enjoy your lunch!