Top

Archive | Sweet Treats

Photography challenge: birthday cake “smash”

This is how I took photographs while baby "smashed" the cake I don’t know if you heard of a term “cake smash” (I am sure if you google it it would give you plenty of examples), but I wanted to try it on Lukas real bad! I thought it would be sooooo much fun for both of us, because I believe Lukas enjoys making mess :D.This is how I took photographs while baby "smashed" the cake 
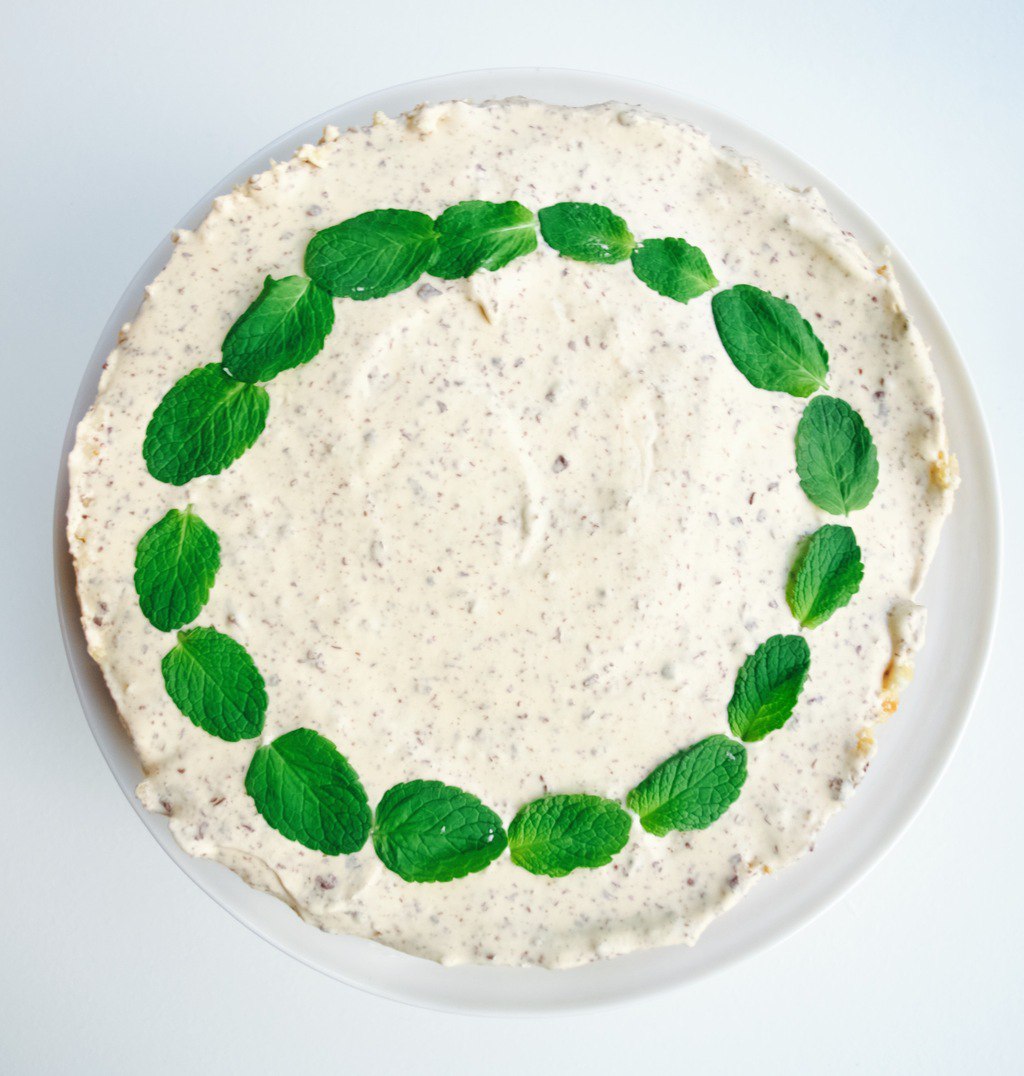
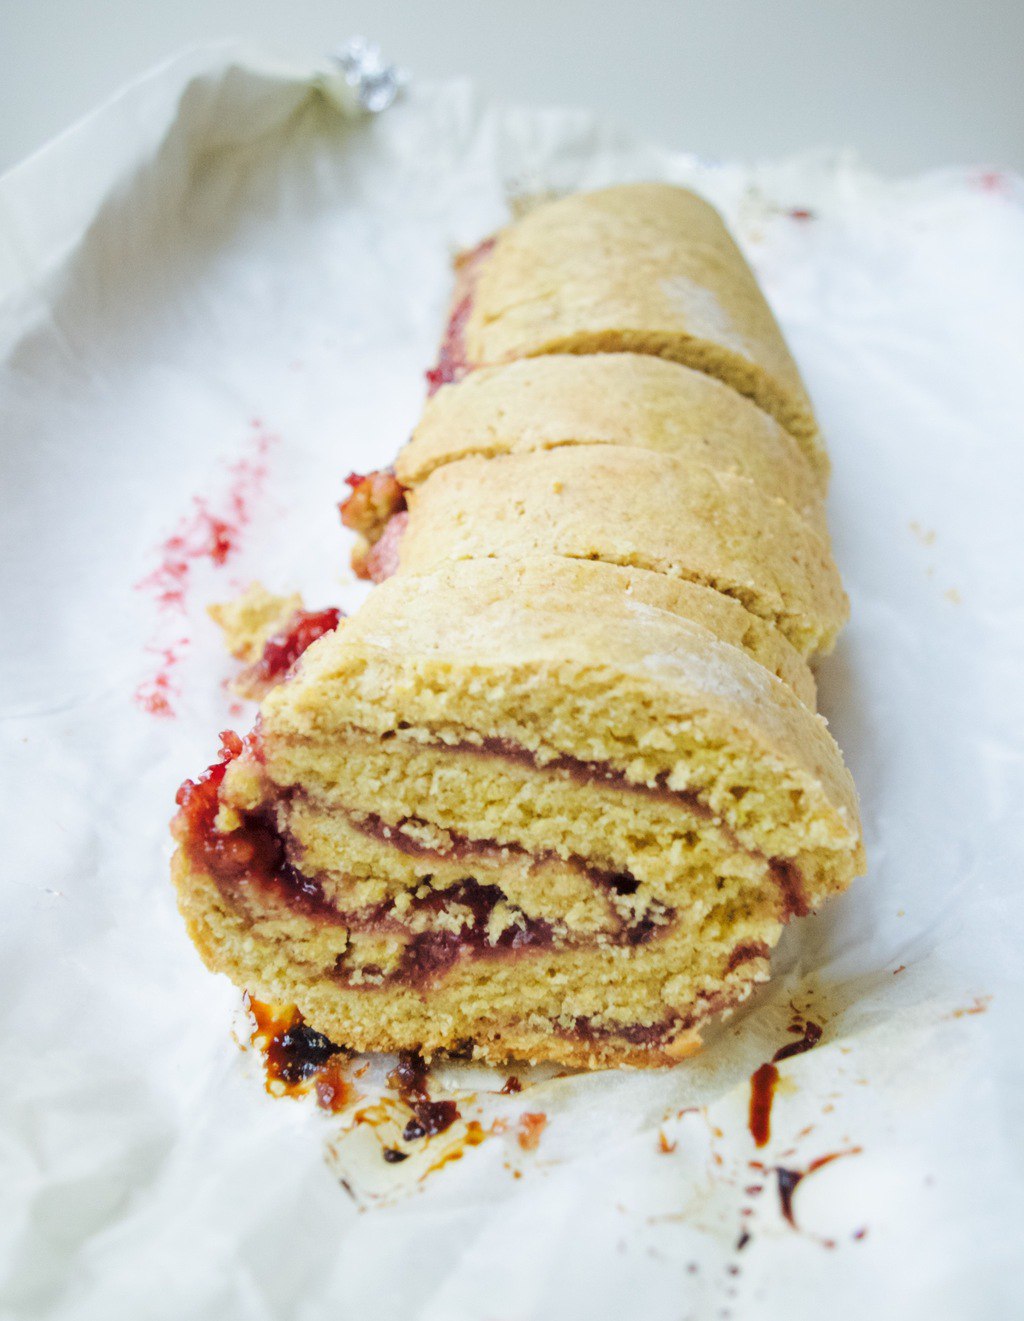
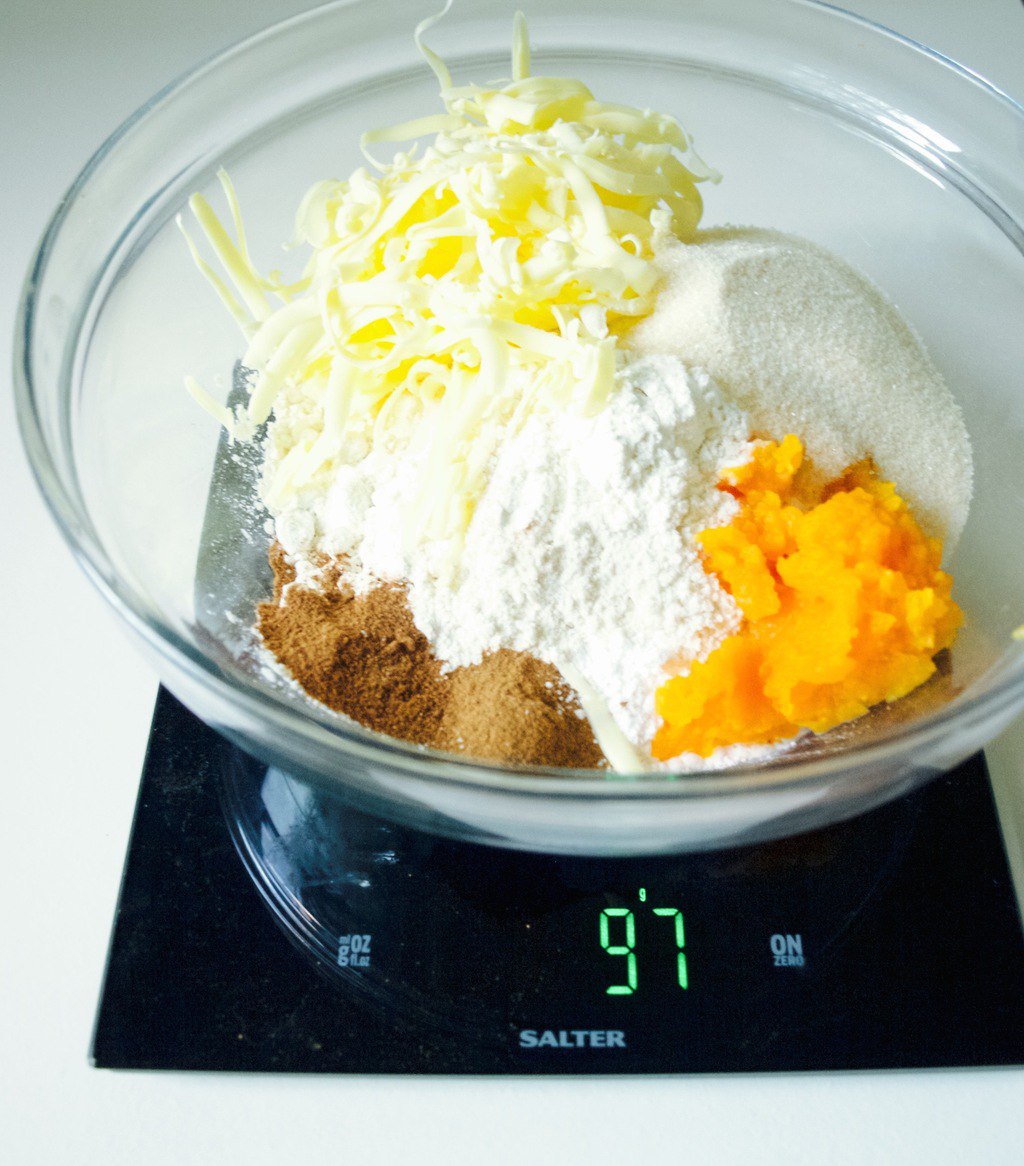
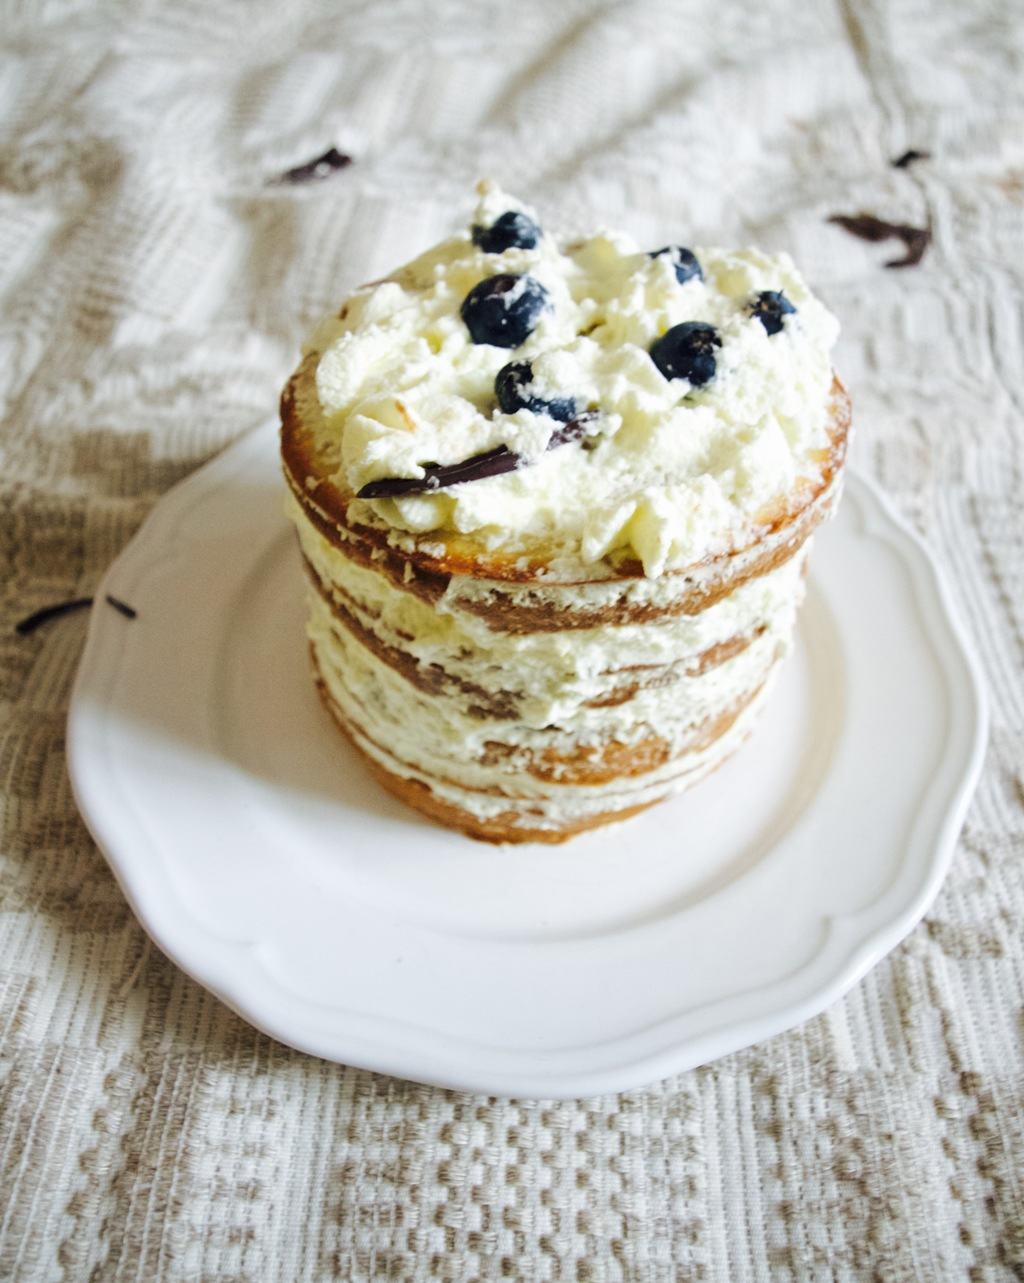
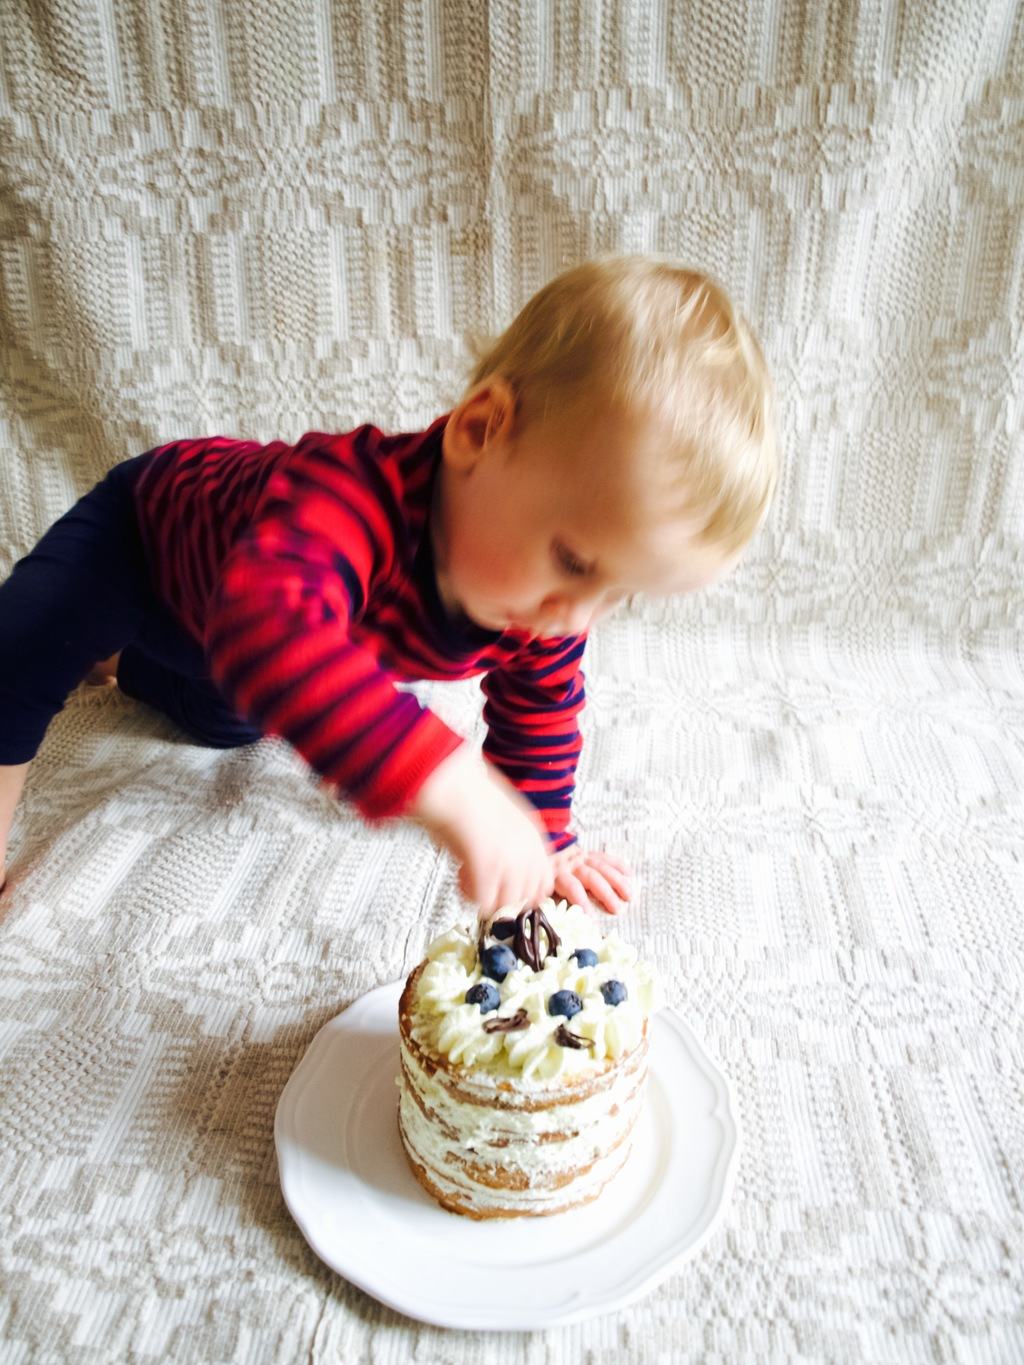
So Lukas birthday comes up (I can’t believe he is now 1 year old!) and I finally come up with a plan of how its going to work. I found a few baby friendly recipes to combine (sugar free of course!) for the cake, which I was very pleased with in the end. I worked out where we were going to do this messy act (in the sitting room on the floor covered with the blanket). I chose an outfit (very important!), although I did not put too much thought in to that as it just had to be something simple. I also read a few tips on how to do such a photo shoot, they all suggested make it relaxing (not rushed) and make sure the baby is in good mood (fed and napped). This is how I took photographs while baby "smashed" the cake 
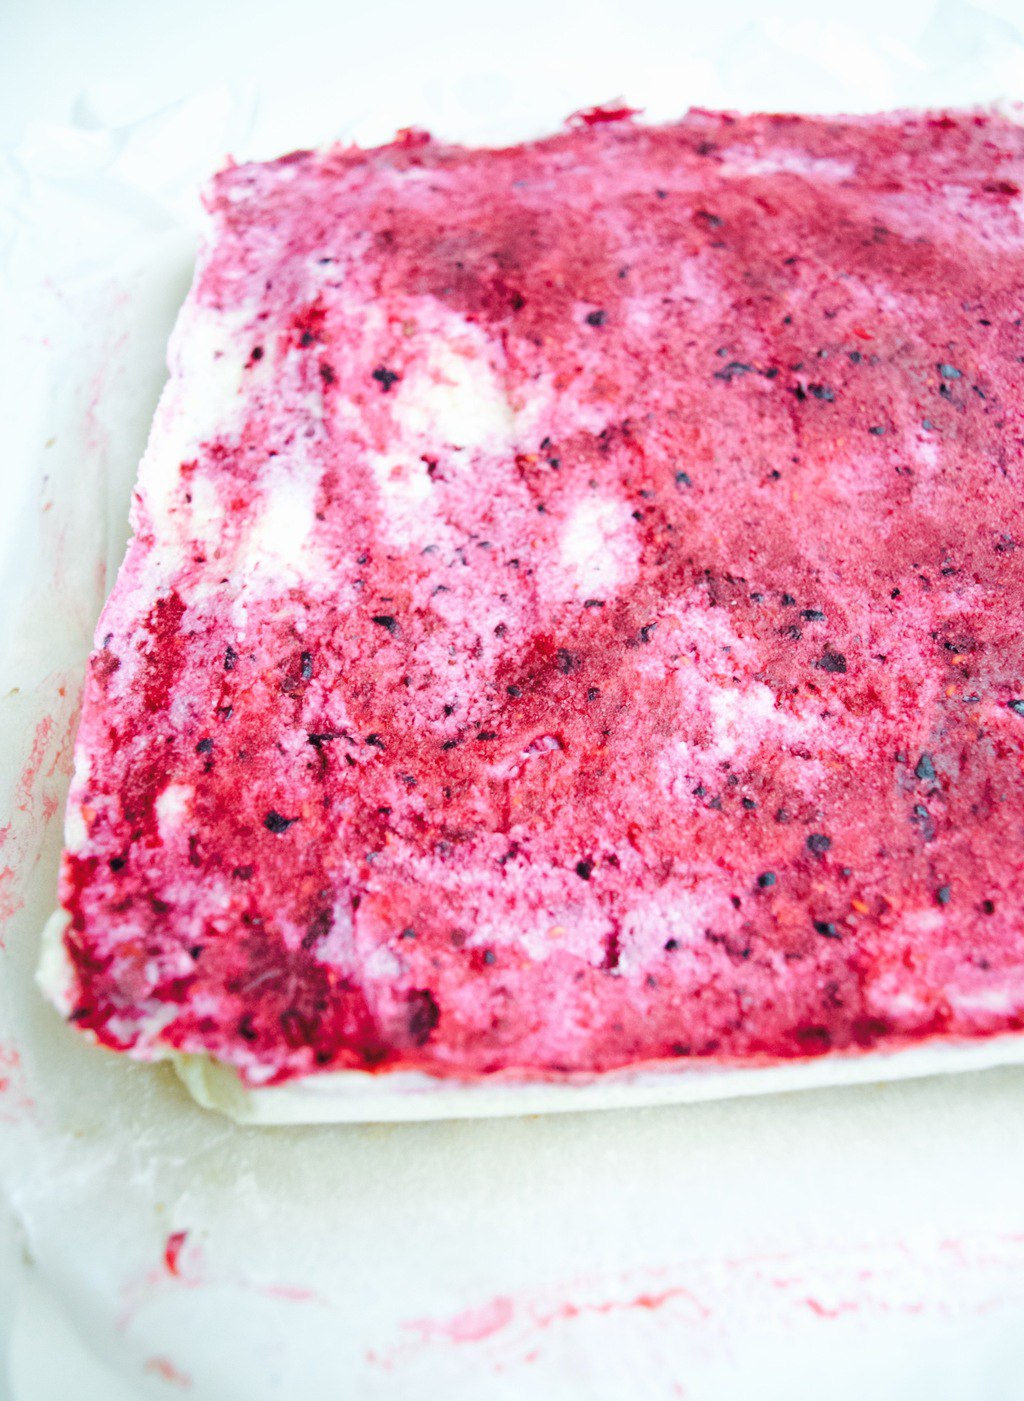
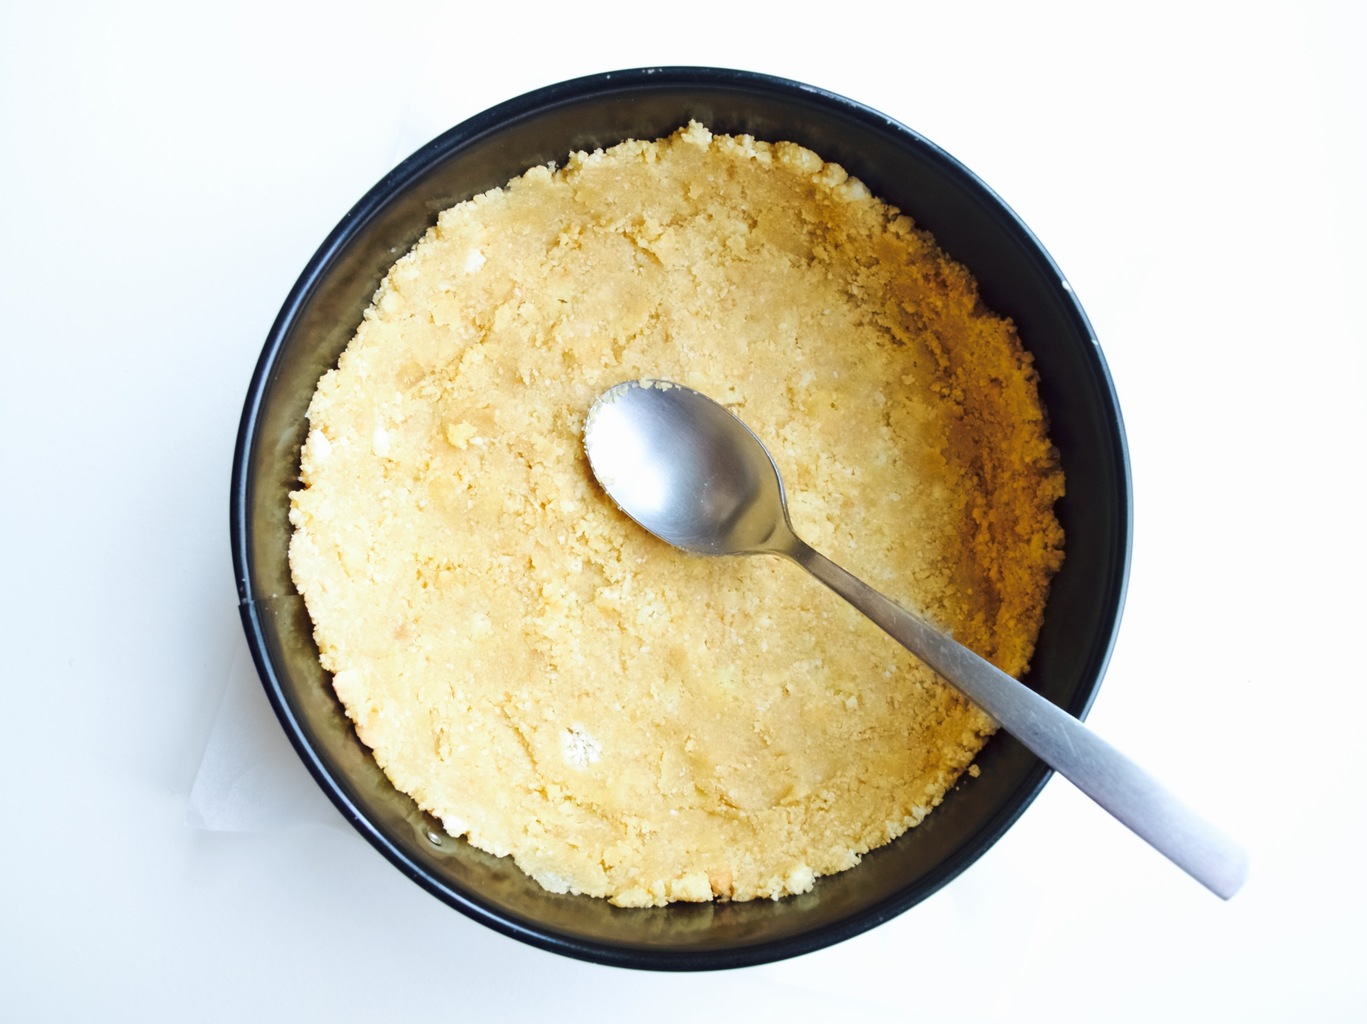
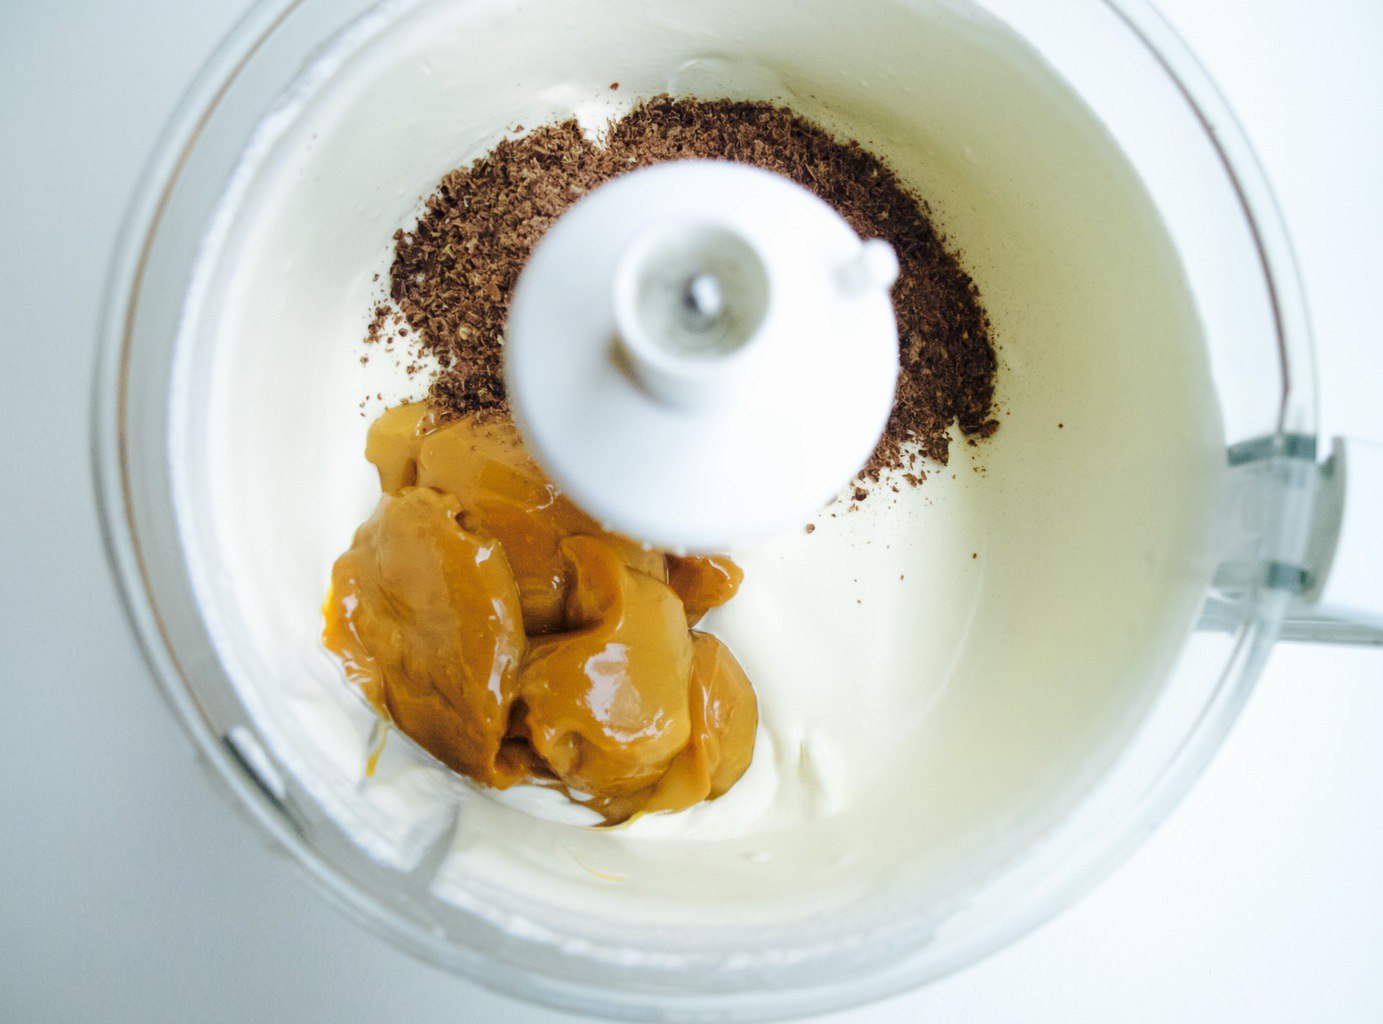
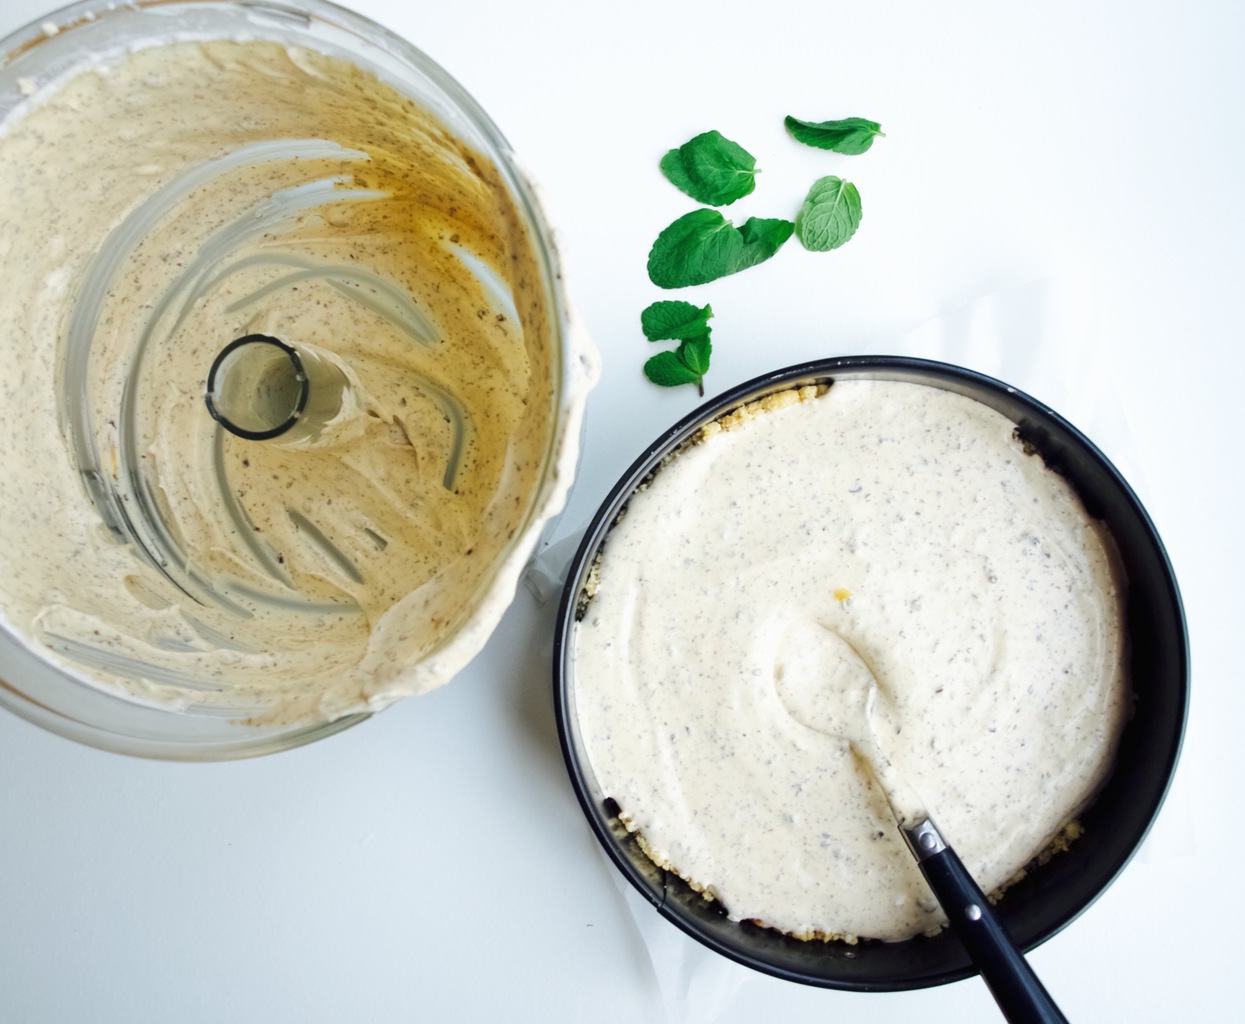
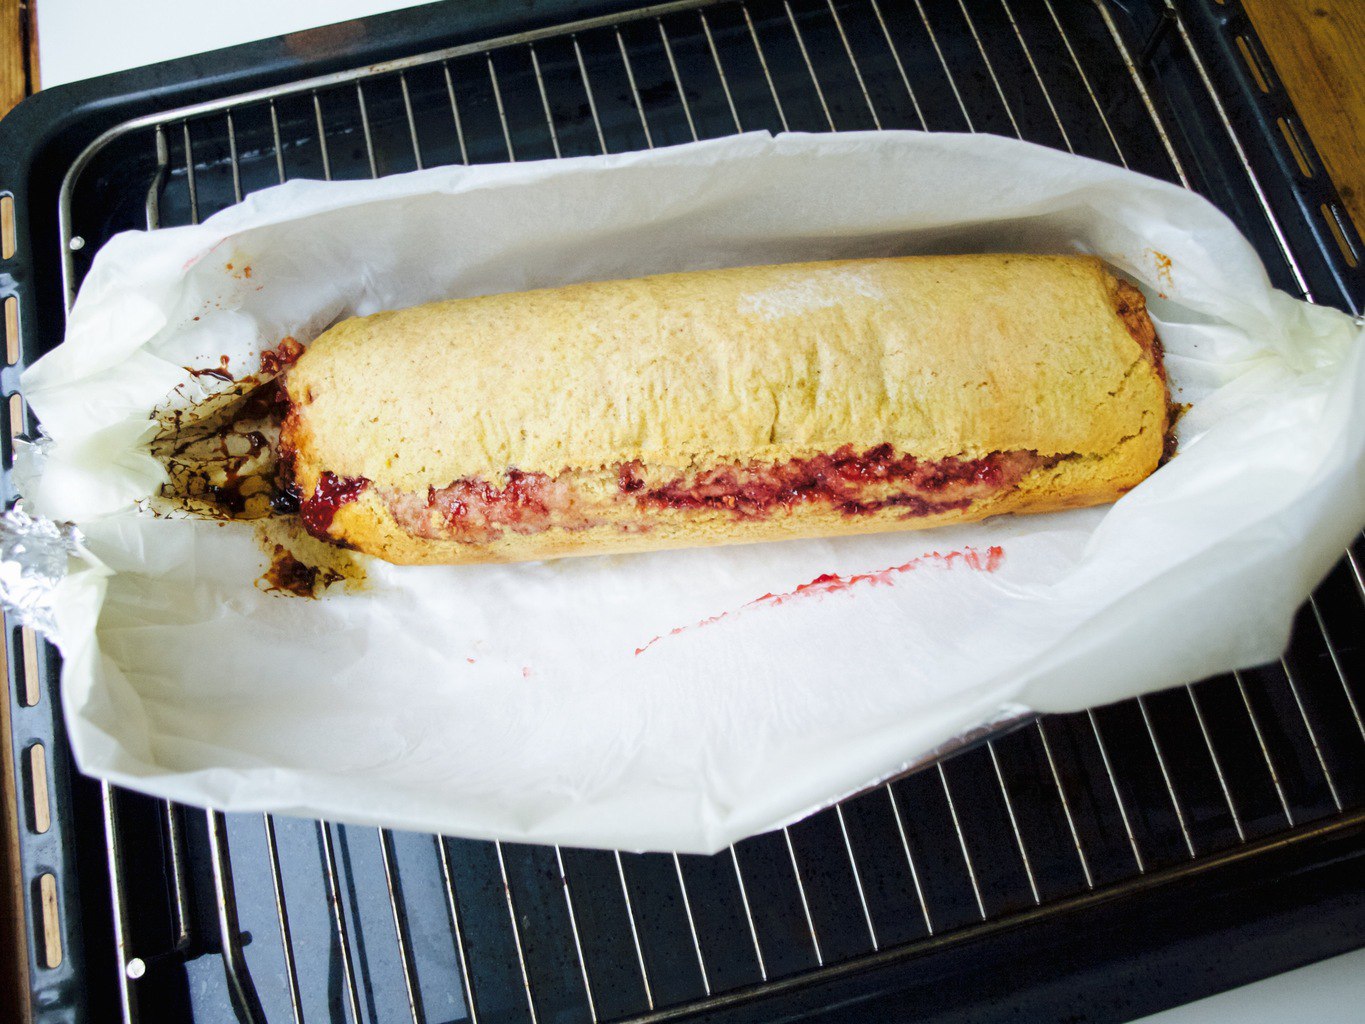
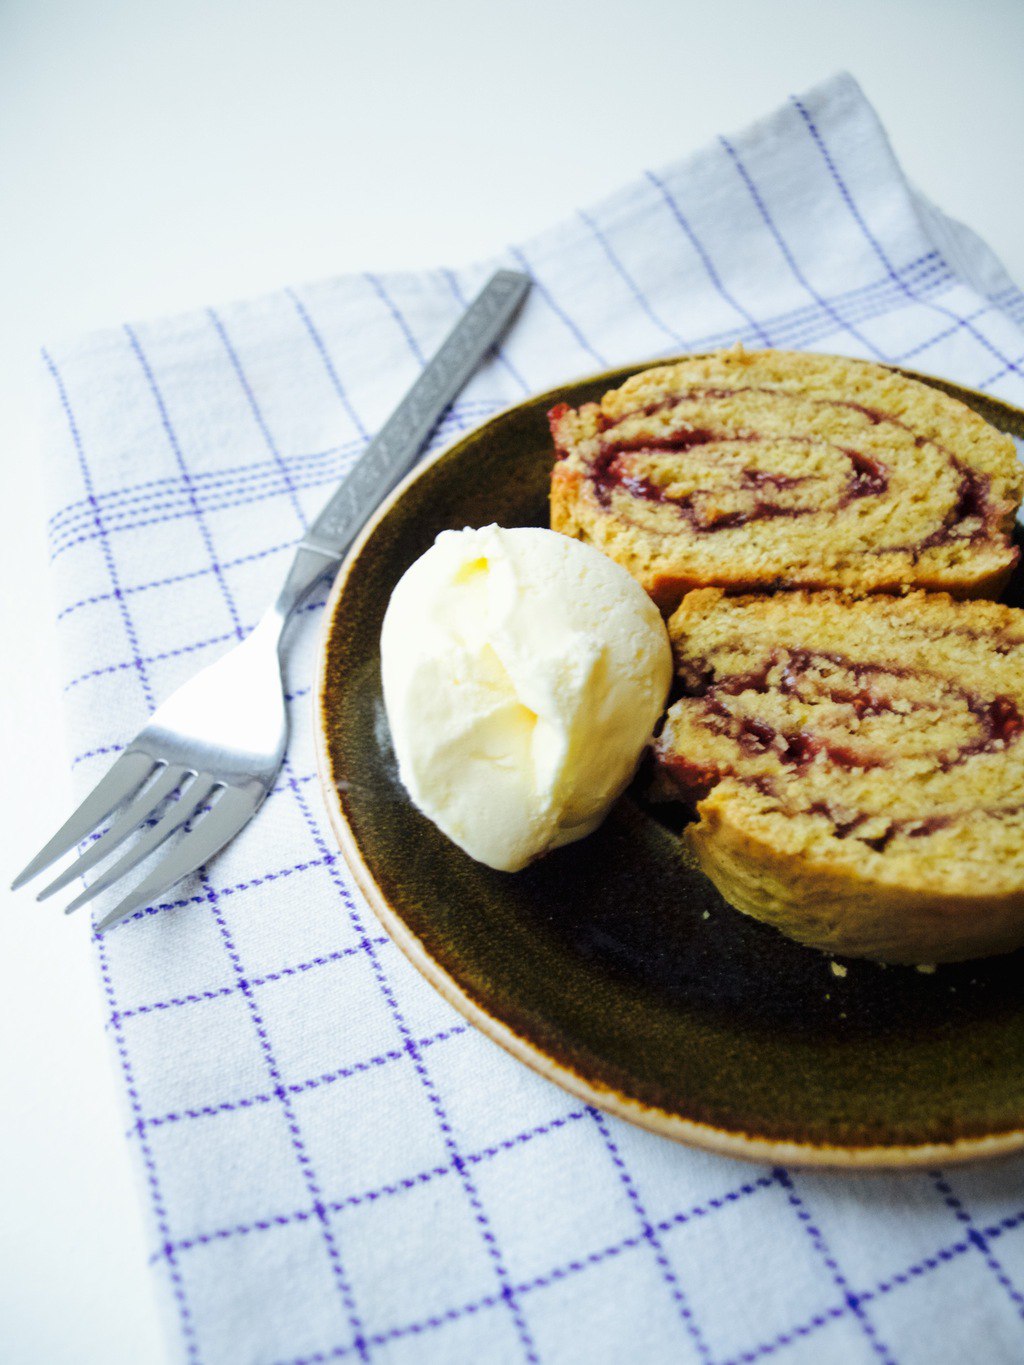
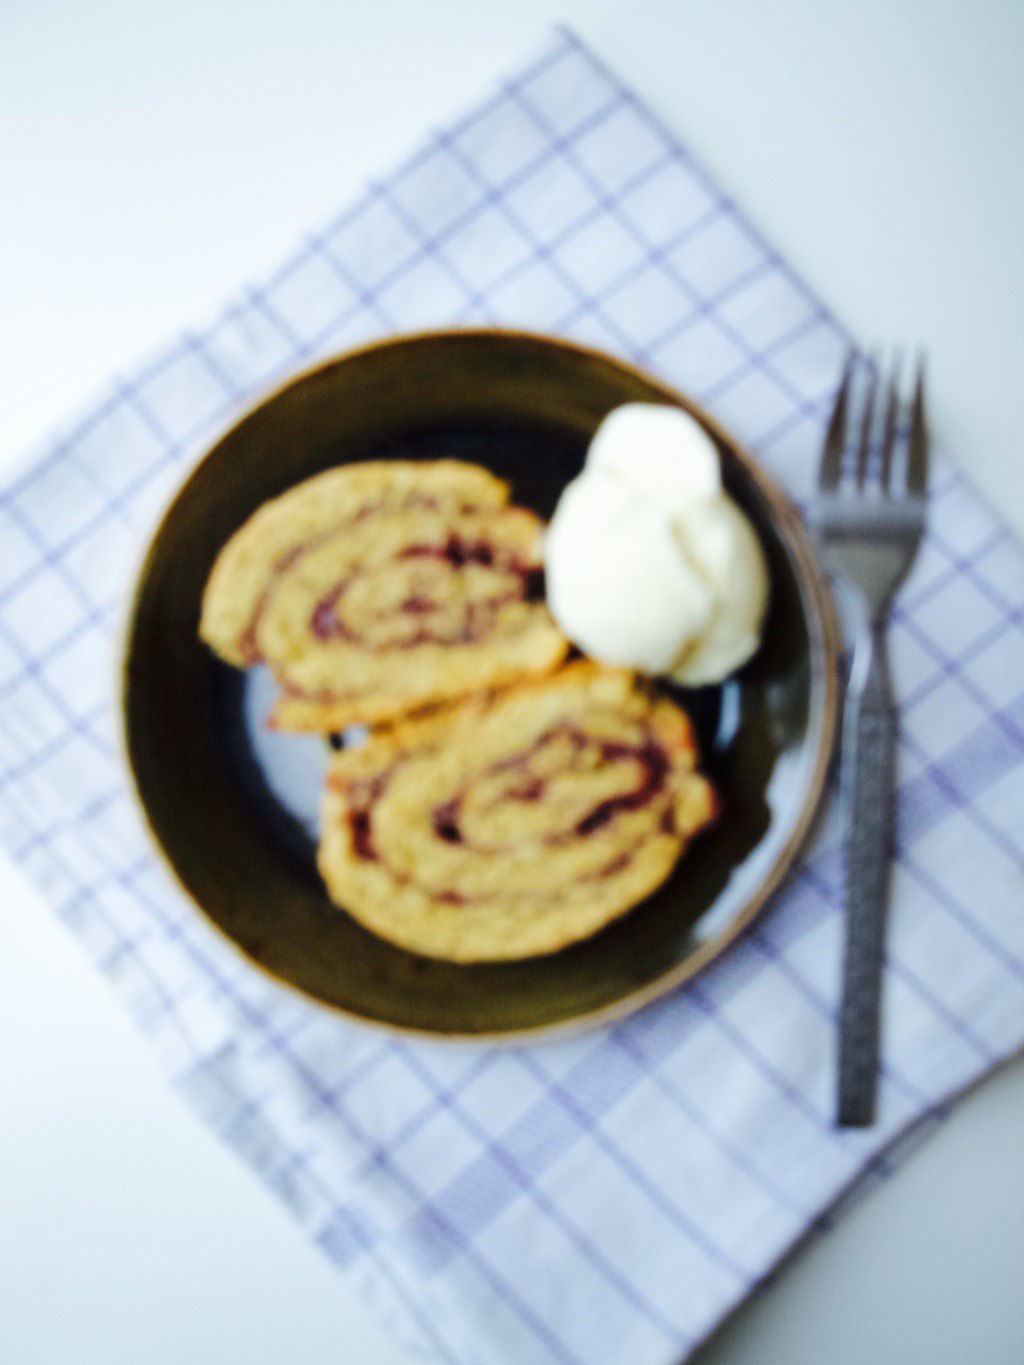
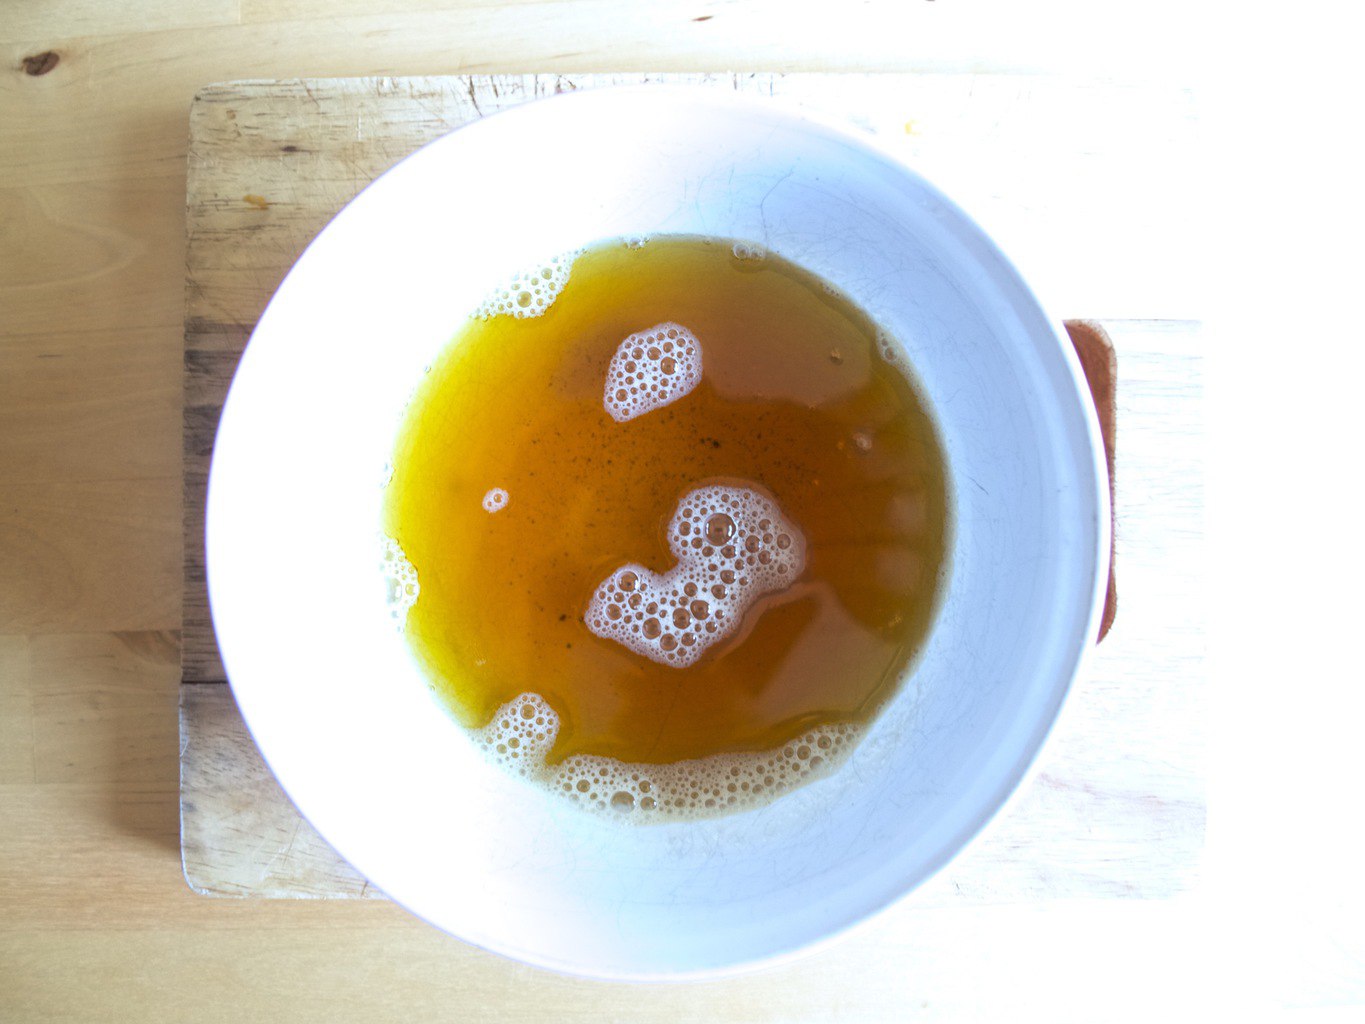
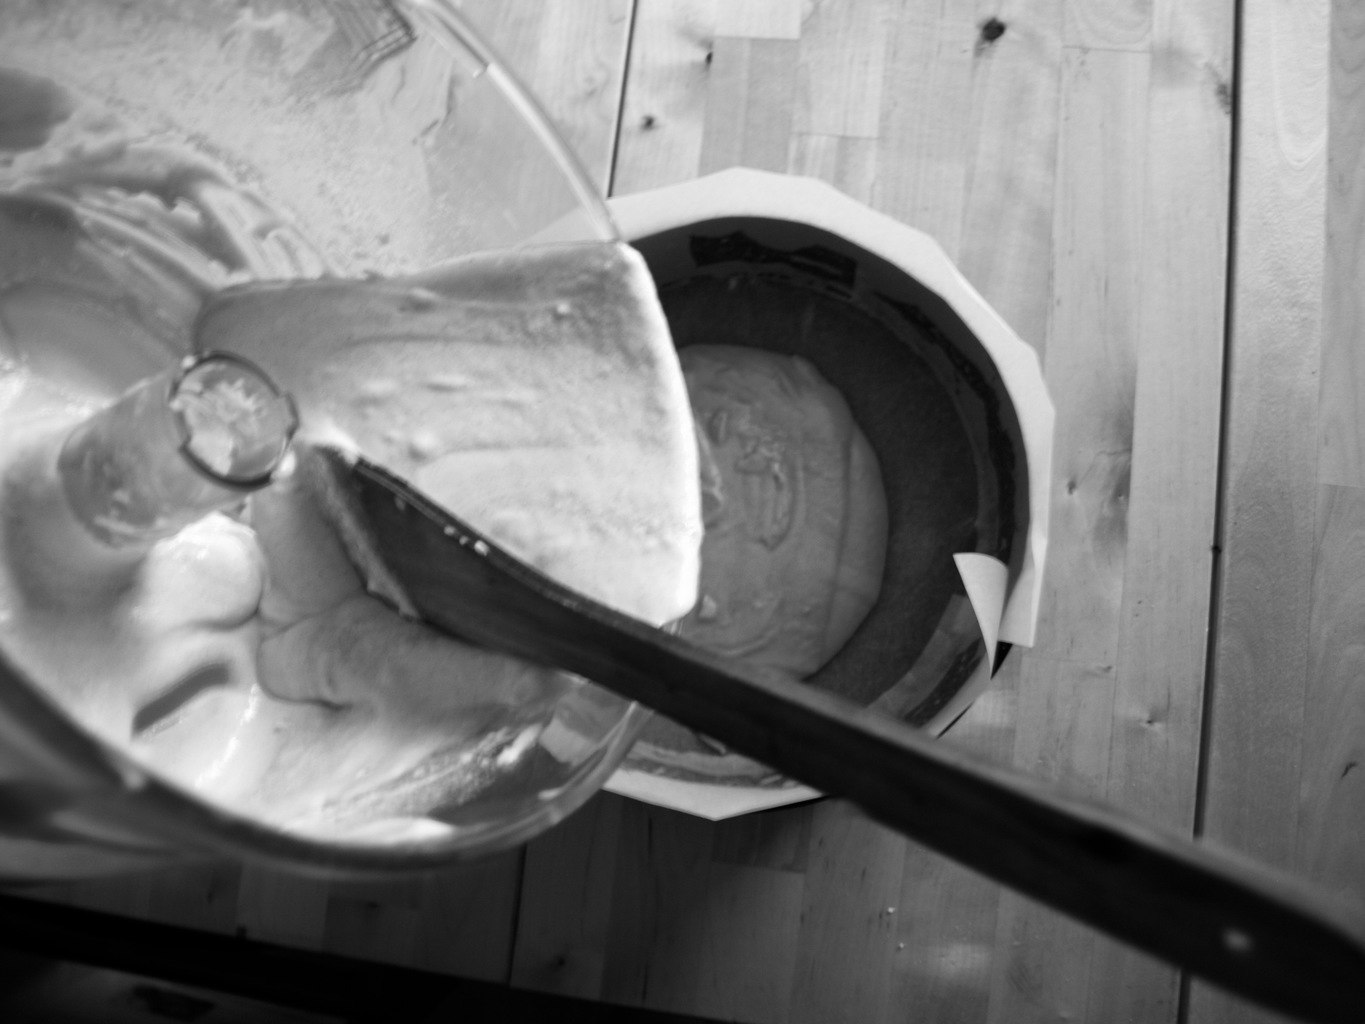
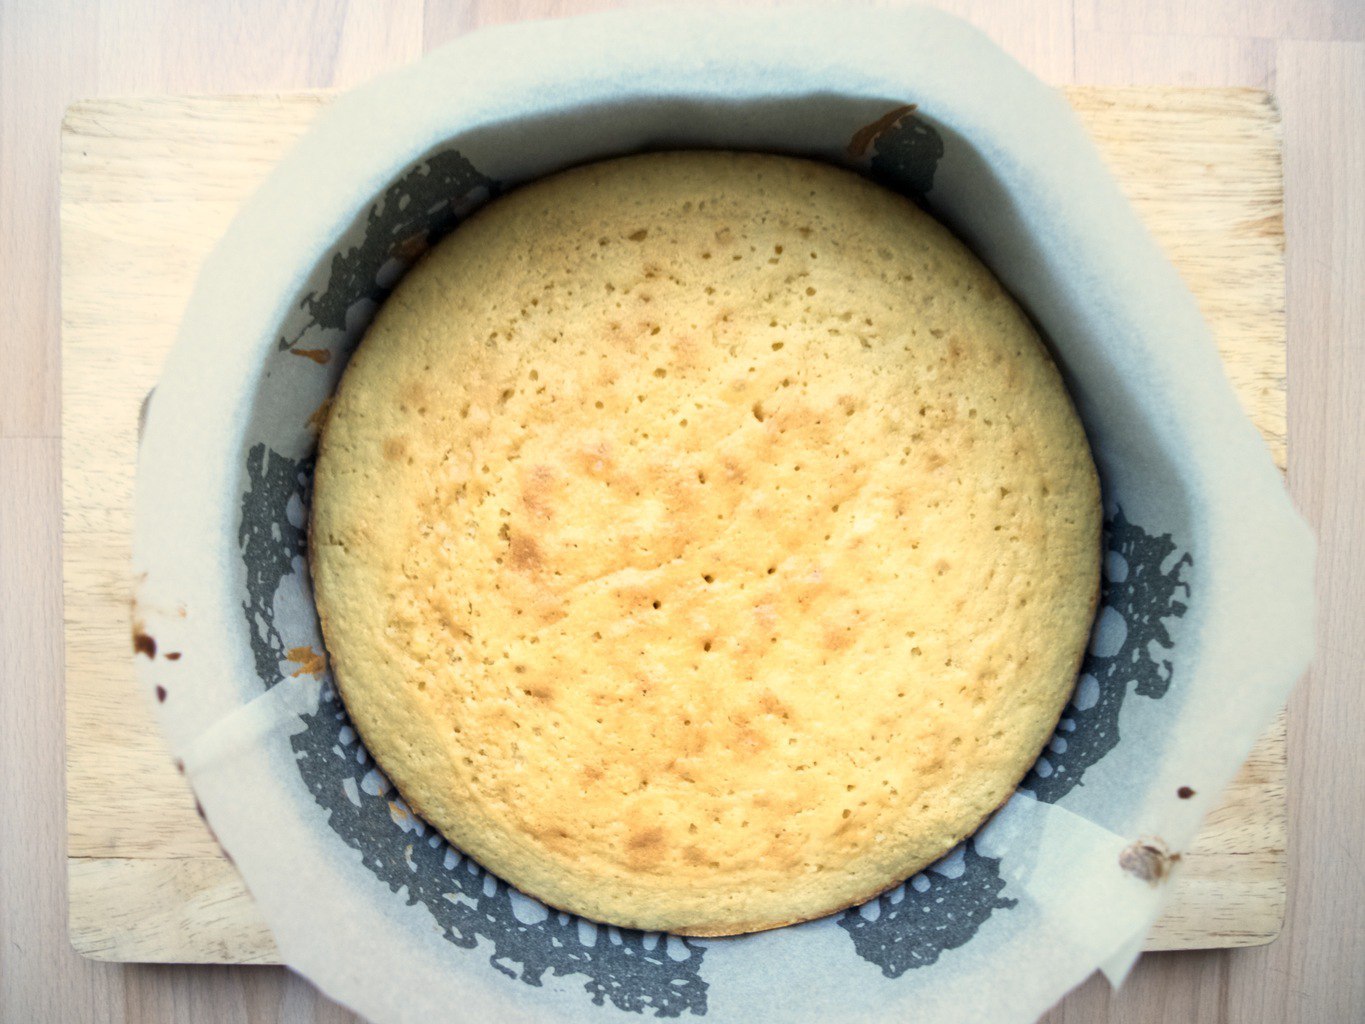
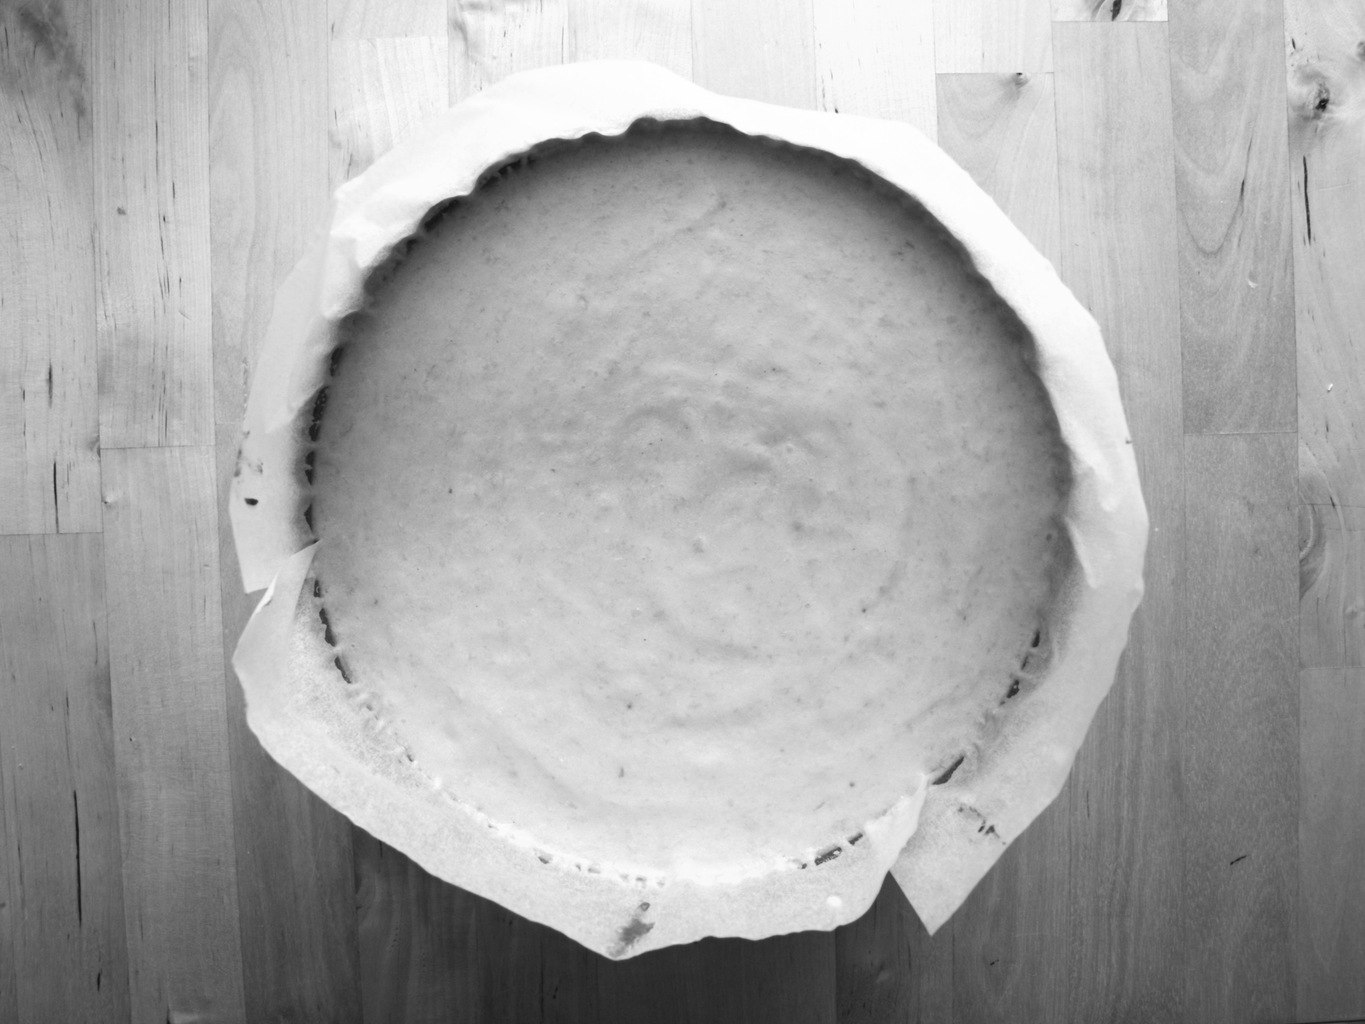
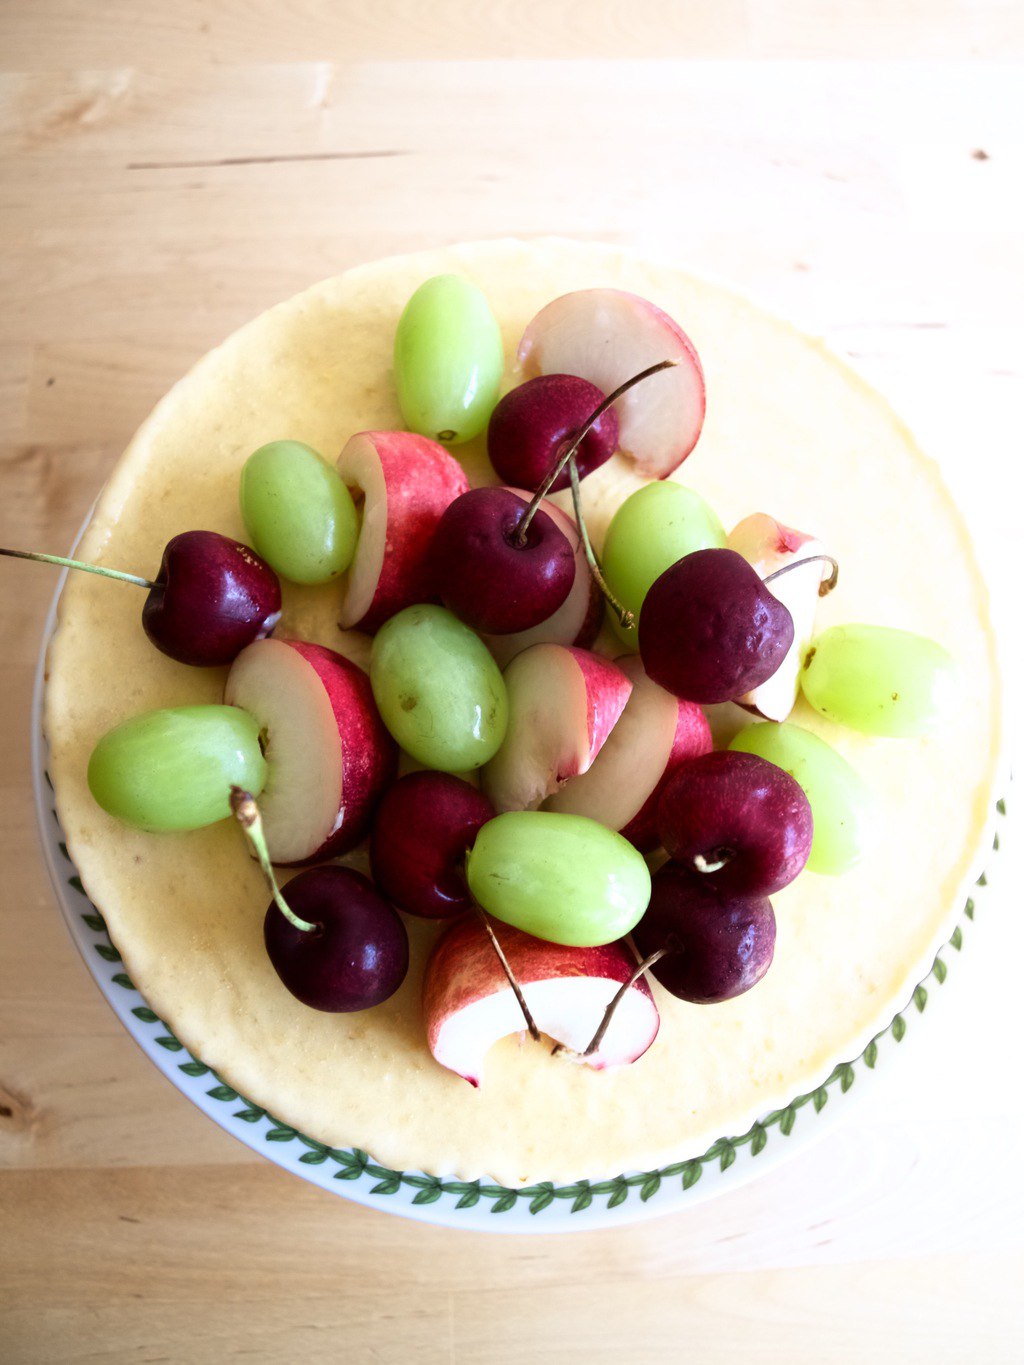
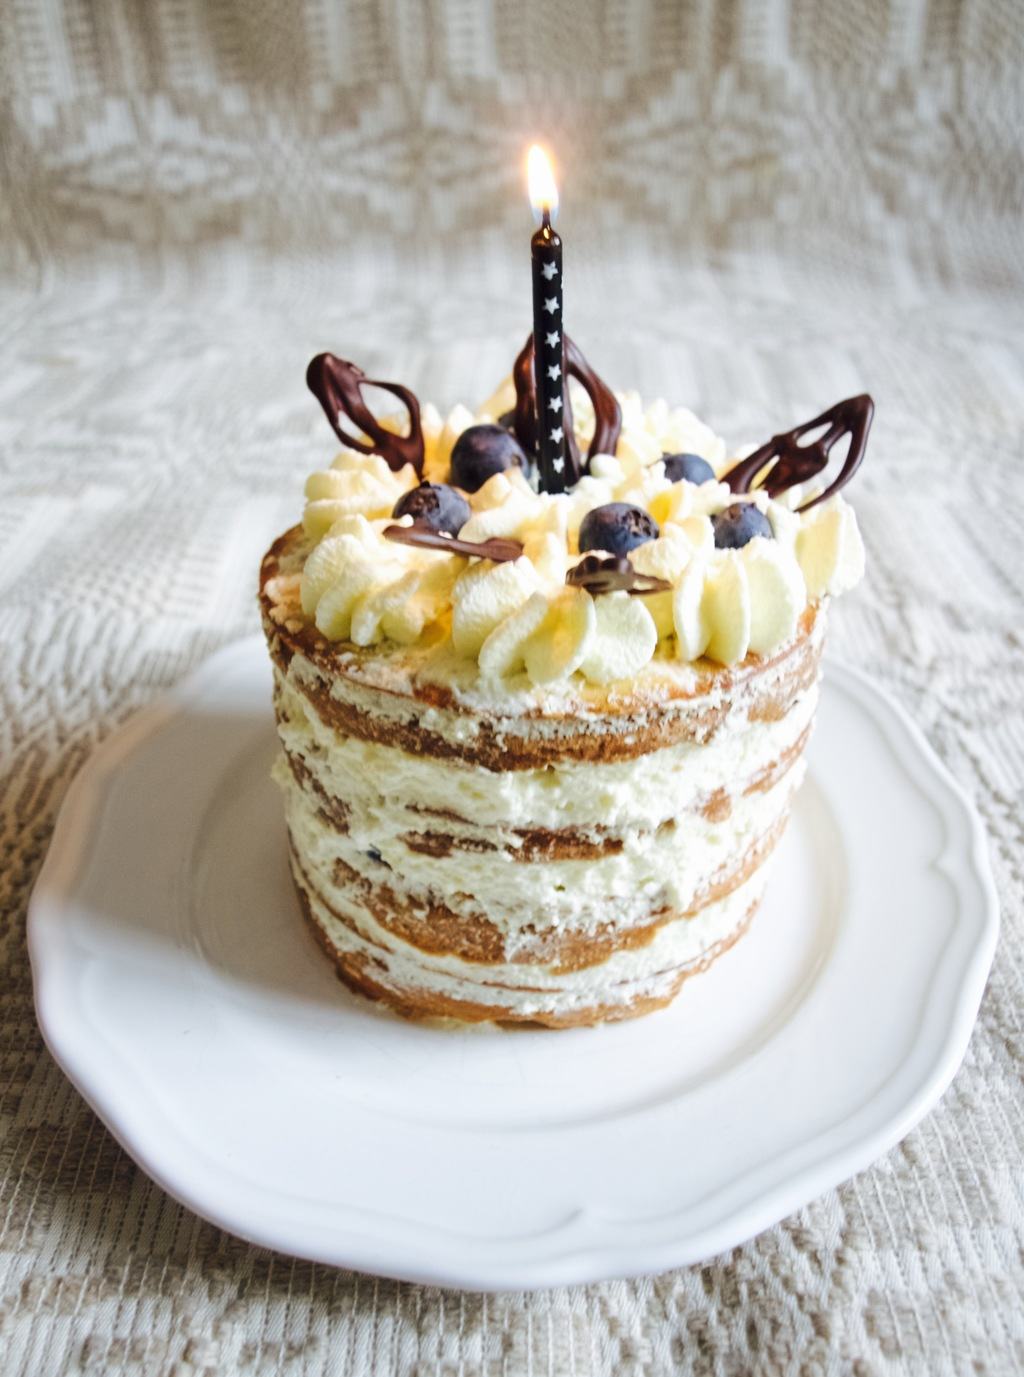
The result? Not quite what I expected! I failed on napping Lukas well that day, so I had to bake and decorate the cake while he was awake. I was rushed and definitely not relaxed. I finished the cake very late and was worried about the lighting (oh those early autumn evenings!). As I have mentioned in other photography post in the past, when there is poor light you need to compromise with a slower shutter speed which means I had to hold camera steady to avoid blur. But try telling a one year old to stay still, so I ended up with many blurry pics (which is ok I guess as it captures the movement). On top of everything Lukas did not destroy the cake, but picked out the decorations and sampled them. If you are interested, here is a video that Joni took during photoshoot.This is how I took photographs while baby "smashed" the cake This is how I took photographs while baby "smashed" the cake This is how I took photographs while baby "smashed" the cake This is how I took photographs while baby "smashed" the cake
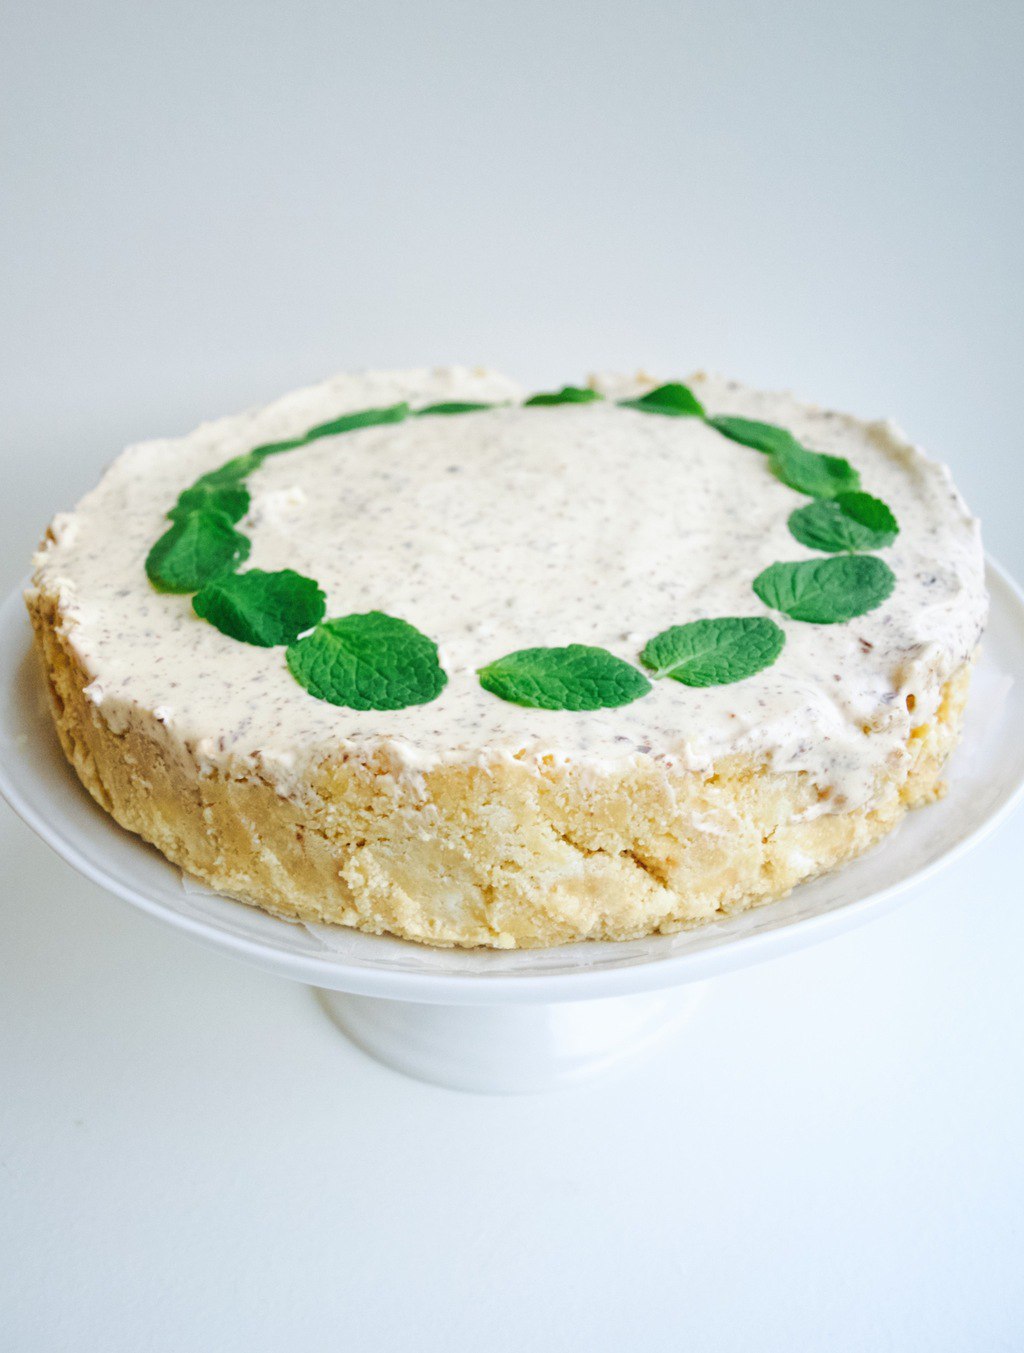
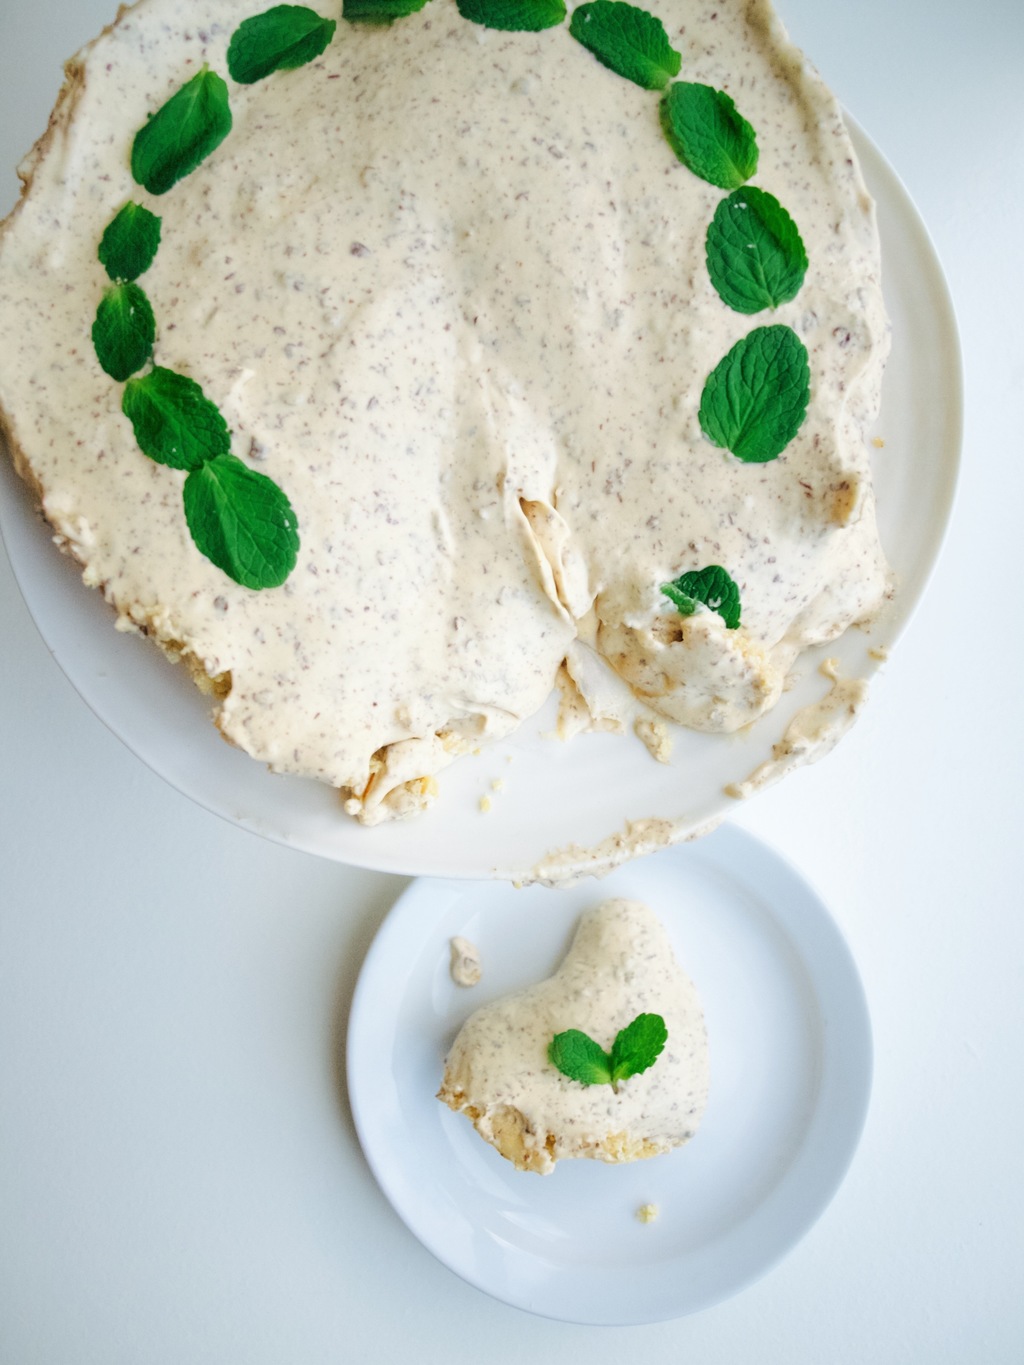
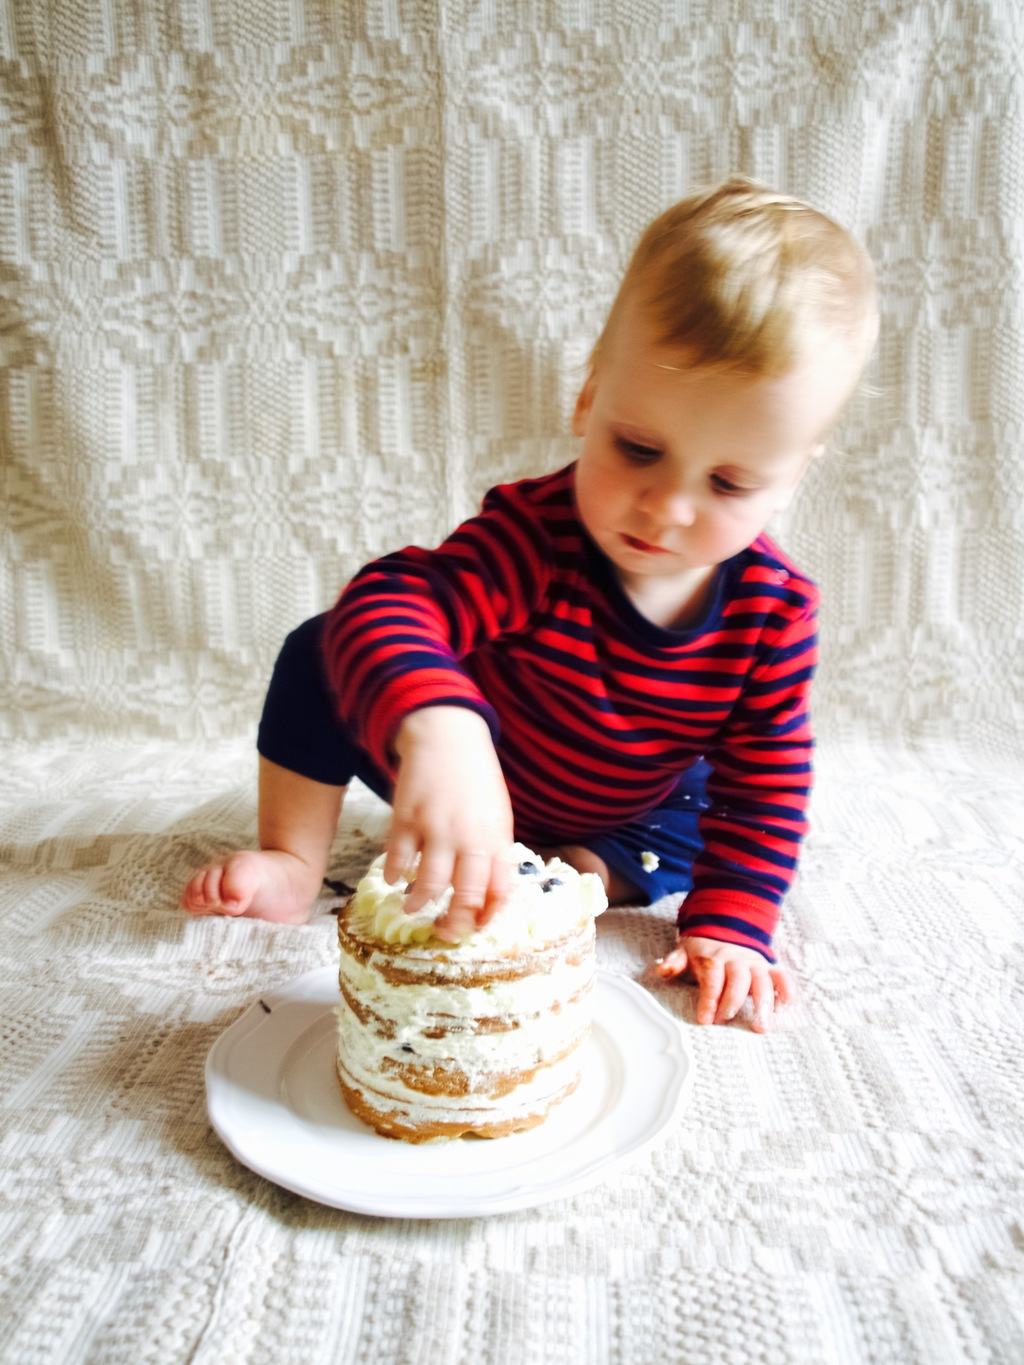
So my advice if you want to take cake smash photos is to first relax, and pick a day that is completely activity free. Pre-make the cake perhaps? Take picture after babies first nap or something. And most importantly, enjoy!

Rasa xoxo

0

Pinterest challenge: raw berry burst cheesecake

Raw Berry Burst Cheesecake recipeWe called this a fake cheesecake as it actually has no cheese (or any other dairy)! But to my surprise it tasted very cheesecake like and they were quite addictive. I made them for friends get together and by the end of it it was all gone! I adjusted the recipe a little bit to make the process of making go quicker but you can’t skip soaking cashew nuts overnight (they become so creamy when pureed). So before you make them make sure to prepare for it the night before. Other than that I am already searching for another occasion to make them again ;-). Raw Berry Burst Cheesecake recipeRAW BERRY BURST CHEESECAKE adopted from Pure Ella

(for the base)

  • 100g walnuts
  • 110g raisins
  • 3 tbsp water

(for the middle layer)

  • 250g cashews
  • 120g extra virgin coconut oil (important to get a quality one for the taste)
  • 160ml agave nectar

(for the topping)

  • 260g mixed berries (I used frozen ones)

1. First, soak the cashews for 4 hours or more in the fridge, or overnight.

2. Make the base, middle layer and the topping. For each layer combine all ingredients and whizz them in the processor in separate bowls. Make sure you process middle layer really well so it comes out all creamy.  Raw Berry Burst Cheesecake recipe 3. Line the baking tin with grease paper and cover the bottom of it with the base layer. Follow it with middle layer and the topping.Raw Berry Burst Cheesecake recipe 4. Use the table spoon to smooth the top of the cheesecake. Pop the tin into the freezer for at least one hour or whenever you want to eat it (30 min before).Raw Berry Burst Cheesecake recipe5. When ready leave it to defrost it for 30 min before cutting it into squares. Raw Berry Burst Cheesecake recipe Raw Berry Burst Cheesecake recipeEnjoy!

Rasa xoxo

0

Taste like peppermint crisp tart (for South Africans out there!)

This Mint chocolate cream tart taste like South African treat, peppermint crisp tart When I lived in London my South African friends have introduced me to peppermint crisp tart that I fell in love from the first taste. Now when I moved to Bedford I don’t have that many opportunities to have this yumminess for dessert. Thats when I thought I could make it myself, although I knew that some ingredients can only be found in South African shops (which we have none here). This is what led me to make a similar tart that uses ingredients which can be easily found in my local Tesco (or any other supermarket).

The results? I was amazed myself, it tasted exactly the same (as far as I remember)! The only imperfection was that it was very loose as the cream did not hold it’s shape when cut. Originally South African peppermint is made in the dish and layered with biscuits, but I wanted to make it cheesecake style so it could hold the shape on it’s own (obviously I failed on that). Try it for yourself, just be warned it taste really rich so it is better consumed in small portions ;-).This Mint chocolate cream tart taste like South African treat, peppermint crisp tart MINT CHOCOLATE CREAM TART

  • 200g nice biscuits
  • 100g butter, melted
  • 500ml whipping cream
  • 200g mint crisps
  • 375 g caramelised condensed milk (a tin)
  • mint leaves for decoration

1. First make the base. Crumble the biscuits by hands or with the hand food processor. Combine the crumbs with melted butter and spread it onto the bottom and sides of lined spring form. Place it into the fridge for an hour.  This Mint chocolate cream tart taste like South African treat, peppermint crisp tart2. Meanwhile make the cream filling. Whip cream until it is just starting to thicken. Add caramel and grated mint crisps and mix.This Mint chocolate cream tart taste like South African treat, peppermint crisp tart 3. Spoon the filling onto the biscuit base and place the tart into the fridge to set overnight.4. Carefully remove tart from the spring form and decorate with mint leaves to make it pretty.This Mint chocolate cream tart taste like South African treat, peppermint crisp tart This Mint chocolate cream tart taste like South African treat, peppermint crisp tartEnjoy!

Rasa xoxo

0

Butternut squash & jam roly-poly

butternut squash & jam roly poly recipeWell… I have not posted here for a while! Motherhood turned out to be the hardest job I have ever done…

Only a month ago I imagined being a mother is going to be hard, but I thought I will still manage and blog while baby sleeps. Little did I know that when my baby sleeps I will want to sleep too! I also realised that decoding baby cues is a learned thing, not something that comes as an instinct (or at least it did not come as an instinct to me like I thought it would). I sometimes spend hours to figure what baby Lukas wants and sometimes I have a breakthrough and sometimes I just want to cry out of desperation :(.

Anyways during the weekend I had some luck and I managed to bake while my baby boy is sleeping. It may have taken me to do it in few baby sleeps, but I am totally proud of myself and the outcome! I wanted to bake this for quite a while, the idea of butternut squash and jam combination have been lingering in my mind for few months at least. So why butternut squash? Because I use butternut squash to replace the pumpkin (like here in the cupcakes)… because in England this is a rare vegetable to find… Hope you like this recipe I created :). Btw this is not a swiss roll, jam roly-poly is a British pudding that has a similar to shortbread consistency. So don’t expect a cakey spongy roll here!butternut squash & jam roly poly recipe BUTTERNUT SQUASH & JAM ROLY-POLY

  • 300g plain flour
  • 1tsp baking powder
  • 1tsp ground cinnamon
  • 1tsp ground nutmeg
  • 70g butternut squash puree (boil around 1/3 butternut squash and puree it)
  • 70g butter, grated
  • 100g caster sugar
  • 40ml-70ml whole milk

1. First prepare the oven. We want to steam this pudding therefore put a deep roasting tin half filled with boiling water onto the bottom shelf of the oven, and make sure that there’s another shelf directly above it. Heat the oven to 170C.

2. In a bowl combine the flour together with baking powder, spices, butternut squash puree, butter and sugar. Kneed it roughly into dry mixture. Gradually add milk until the mixture turns into pastry like dough. butternut squash & jam roly poly recipe2. 3. Roll the dough on the floured surface into the square. Spread the jam all over, leaving a gap along one edge, then roll up from the opposite edge.butternut squash & jam roly poly recipe4. Carefully lift the roll onto the piece of foil lined with baking paper.  butternut squash & jam roly poly recipe5. Loosely bring up the paper and foil around it, then scrunch together along the edges and ends to seal. The roly-poly will puff quite a bit during cooking so don’t wrap it tightly. Lift the parcel directly onto the rack above the tin and cook for 1 hr.butternut squash & jam roly poly recipe6. When baked, carefully open the foil and paper, and thickly slice to serve.butternut squash & jam roly poly recipeTraditional jam roly-poly is served with custard, but I always prefer the ice-cream. Luckily I got some ;-)butternut squash & jam roly poly recipe butternut squash & jam roly poly recipeEnjoy!

Rasa xoxo

0

Spelt churros

Spelt churrosChurros are one of the things I wanted to try making that involved deep frying. And I finally did it! I made it with spelt flour. Why? Because Joni and me have lately visited the Waffle House in St. Albans (worth visiting if in that part of England) and we tasted the most wonderful savoury spelt flour waffle. So that was the reason why I though of making churros with spelt! The result was nice, but was not too sure if it matched well with honey. I would like to try it with savoury topping one day.

SPELT CHURROS

  • 60g butter
  • 240ml water
  • 2 tbsp golden caster sugar
  • pinch of salt
  • 75g plain flour
  • 50g spelt flour
  • 1 tbsp single cream
  • oil for deep frying
  • icing mixed with cinnamon for dusting (if you want to have it sweet)

1. Make the dough. Over medium heat melt butter and combine it with sugar, salt and water. Just before the mixture begins to boil, turn the heat down to low and add in the flours. Stir until a thick paste begins to form. Remove from heat and allow to cool to room temperature. Add eggs and cream gradually until it turns into something similar to butter frosting (easy to pipe through)

2. Place the dough into a piping bag fitted with a star tip . I wish I fitted a smaller piping tip as the churros really puffs up when they fry and the middle does not cook enough.Spelt Churros3. Heat the oil in a pot to 180C. Pipe the churros into the hot oil. Cook on each side for 45 seconds.Spelt Churros4. Dust churros with icing sugar and cinnamon if you want them sweet or serve them with something savoury. Spelt ChurrosI have been dipping them in honey, but was not too sure if that was the best match.Spelt ChurrosEnjoy!

Rasa

0

Pinterest challenge: brown butter peach ice cream cake

Brown butter peach ice cream cake recipeI have not done Pinterest challenge for a while now and since I was experimenting with ice cream lately, I thought I will try to make another form of ice cream – cake. Last weekend we went to friend’s B&Q, so ice cream cake was quite appropriate! I came across this recipe and I was sure I wanted to make it straight away. Peaches (although I prefer Nectarines) is something that I am addicted to right now (it’s in season!). The cake turned out to be glorious! However the only thing I would change is make half less of the cake base and double amount of the ice cream. Yum!Brown butter peach ice cream cake recipeBROWN BUTTER PEACH ICE CREAM CAKE adopted from O&O Eats

(for the ice cream)

  • 4 large ripe nectarines
  • juice of 1/2 a lemon
  • 150 g caster sugar (100g for nectarines and 50g for egg cream)
  • 300 ml double cream
  • 1/4 tsp salt
  • 2 large egg yolks

(for the cake)

  • 170 g unsalted butter
  • 150 g caster sugar
  • 3 large eggs
  • 180 g plain flour
  • 2 tsp baking powder
  • 1/2 tsp salt
  • 80 ml whole milk, room temperature


  • hand full assorted stone fruits and berries for topping

1. Peel and roughly chop nectarines, place in a medium bowl then add lemon juice and 100g sugar. Stir to combine, then cover and let sit for 20 to 30 minutes. Puree nectarines with hand blender or food processor.Brown butter peach ice cream cake recipe2. Combine remaining 50g sugar, cream, and salt in a medium saucepan. Warm the mixture over medium low heat. Whisk egg yolks in a medium bowl. While continuously whisking, slowly ladle a half cup of the warmed cream to the eggs. Scrape the egg mixture back into the saucepan with the rest of the cream and stir with a wooden spoon or spatula. Continue stirring, until the mixture thickens enough to lightly coat the spoon (this will take about 10 min). Immediately take off heat and pour over the peach puree. Stir to combine and place in fridge until completely chilled.Brown butter peach ice cream cake recipe3. While the ice cream is chilling, make the cake. Place the butter in a stainless steel saucepan or skillet. Turn the heat to medium and melt the butter. While occasionally swirling the pan, continue cooking until it becomes foamy on top. Keep swirling until the solids at the bottom of the pan take on an amber colour and the butter smells nutty, this will happen quickly so keep a watchful eye. Immediately turn off heat and transfer to a heatproof bowl to cool at room temperature for 10 to 15 minutes. Transfer to fridge and chill until solid, about 1 hour. If you wish, you can make the brown butter a day in advance.Brown butter peach ice cream cake recipe4. Preheat oven to C180 degrees. Prep a springform pan by greasing it with butter and lining the bottom and the sides with baking paper. Remove the brown butter from the fridge and place it into the mixer. Add sugar and beat it for 2 to 3 minutes until smooth. Add eggs one at a time, scraping down the sides of the bowl each time, and mix until just incorporated. Add flour, baking powder, salt and mix to combine. Transfer batter to the springform pan, level it with your spatula, and bake for 25 to 30 minutes, until golden and a toothpick inserted in the middle comes out clean. Remove the cake from the oven and let it cool to room temperature.Brown butter peach ice cream cake recipeBrown butter peach ice cream cake recipe5. Churn the peach ice cream base in your ice cream machine. Since I have no ice cream machine I placed nectarine cream mixture into baking tin and freezer and whisked it every 30 min till the ice cream has reached soft serve consistency. Spread the ice cream over the cake in one even layer and place it in freezer and let it harden for at least 4 hours.Brown butter peach ice cream cake recipe6. Place any kind of stone fruits or berries your heart desires on top, slice, serve, and enjoy!Brown butter peach ice cream cake recipeRasa xoxo

0

A healthier coke float

A healthier coke floatLast week I tried making popsicles for the very first time. This week I thought I will give a try on making an ice-cream float. I have never tried a soda float that I liked, but I definitely like the idea of it! I tried root beer float in the past and I hated it, maybe it’s not my cup of tea (maybe root beer requires acquired taste). Anyhow I decided to go with coke this time and make it slightly healthier than usual recipes I have seen. Just because (I am not quite sure why I went with this challenge at all!)…

First I thought I will make diary free and low fat almond milk ice cream. I thought the taste of coke and almond would go well together, a bit like amaretto and coke! I froze some almond milk with a small amount of ground almond in the cups…A healthier coke float: attempt to make almond milk ice-creamBut when I whizzed it in the food processor (because I don’t have ice-cream maker), it turned into something of sorbet consistency.  Not something I would put on top of the coke!A healthier coke float: attempt of making almond milk ice-creamNext I thought I will make the coconut milk ice-cream (something safer as many I heard tried and made this successfully). Not as low fat, but still on the healthy side ;-). Here is the recipe!

COCONUT COKE FLOAT

(for ice-cream)

  • 1 400ml can coconut milk (choose the creamiest brand like “Chaokoh”)
  • 1 tsp stevia

(for soda)

  • coke life

1. First make the ice-cream, strain the coconut milk loosely so liquid separates from cream as much as it can. Mix the stevia into the cream and freeze the mixture for 3-5hours.A healthier coke float: making coconut milk ice-cream2. Once the cream is frozen (in shallow container preferably), break it up and whizz it in food processor. A healthier coke float: making coconut ice-cream3. The mixture will become chalk like, but don’t worry! Once you start mixing it, the ice-cream should loosen up and gain cream texture (which is what we want! right?). A healthier coke float: making coconut milk ice-cream4. Finally, time to enjoy this ice-cream float! Pour the coke into the glass and then scoop the ice-cream on top. Alternativelly you can scoop the ice-cream first into the glass and then pour coke over it.A healthier coke floatEnjoy!

Rasa xoxo

0

Homemade Solero

Passion fruit & cream popsicles recipeIf you have been reading this blog for a while, you probably know that I looooooove ice-cream (not only in summer)! I have made many type of ice-creams in the past, although I feel there are so many types still to try. During weekend I made my first batch of popsicles! I sneakily tried to copy Solero ice-cream, because that is my favourite popsicle in the whole world (I first tasted it when I was 14 years old and I basically fell in in love with it!).

To make these popsicles was quite a challenge. I wanted plain ice-cream completely concealed in frozen fruit juice. Since I never buy special equipment to make the ice-cream I thought of first freezing cream part in smaller cups and then dip them in fruit juice that is in bigger cups. For the smaller cups I used plastic disposable cups that made it difficult to remove the ice-cream pops from them, especially when Ice-cream is softer than ice. For the bigger cups I used silicone cupcake moulds that worked so much better!

PASSION FRUIT & CREAM POPSICLES

(for ice-cream)

  • 250ml whipping cream
  • 200g condensed milk

(for fruit juice ice)

  • 60ml (1/4cup) orange juice
  • 170g passion fruit pulp (either from a can or from around 6 passion fruits)

1. First make the ice-cream part. Whisk the cream and carefully combine it with condensed milk. Spoon the mixture into the smaller cups than the cups for the final freezing (it’s best to use silicone ones for easy removal). Insert popsicle sticks into each filled cup before freezing (I used coffee stirrers instead since I had some leftover at home). For best result freeze it overnight. Passion fruit & cream popsicles recipe2. Once the ice-cream is completely frozen then prepare the second cups for the final freezing. Pour a small amount of orange juice mixed with passionfruit pulp into each cup. Passion fruit & cream popsicles recipe3. Dip the ice-cream pops into prepared cups. pour some extra fruit juice on top if it does not cover the cream completely. Freeze them for at least 3 hours.Passion fruit & cream popsicles recipeThese may not look exactly like Solero, but they taste amazing!Passion fruit & cream popsicles recipe Passion fruit & cream popsicles recipeEnjoy!

Rasa xoxo

1

Funnel cakes

Basic funnel cake recipeI wanted to try making funnel cakes for ages, but what was stopping me is the fear of deep-frying. I imagined overheating the oil and burning myself with it! It turned out it was’t the case. The oil heated quite gradually and it wasn’t spitting at me as I though it would (although I made Joni to stay the whole time with me in case of any emergencies :-D).

The process of deep-frying was so fun that I even started thinking of other things I could deep-fry. First I thought that funnel cake batter is pretty basic that could easily be manipulated for different flavours. Then I remembered Joni’s favourite deep-fried courgettes in batter (one of his favourite foods in Italy).  Then I thought of Lithuanian desert “Antfill”, donuts, cronuts, churros and so on… If only deep-frying did not cause so much oil waste :-(. Basic funnel cake recipeFUNNEL CAKES

  • 1 egg
  • 2 tbsp sugar
  • 225g plain flour
  • pinch of salt
  • 1 tsp baking powder
  • 250ml milk
  • oil for deep-frying
  • icing sugar for dusting

1. First make the batter by beating eggs with sugar until light and fluffy. Then add flour, salt, baking powder, milk and mix everything to combine.

2. Transfer the batter into the piping bag or squeeze bottle.

3. Heat a pan with 3cm of oil to 180-190C. I used a stick thermometer to make sure the oil does not overheat.

4. Cook until golden on one side then carefully using tongs turn the funnel cake over and cook on the other side until golden.Basic funnel cake recipe5. Remove and drain on paper towel, then top with powdered sugar.Basic funnel cake recipe Basic funnel cake recipe Basic funnel cake recipeEnjoy!

Rasa xoxo

0

Happy marriage cake

Happy marriage cake recipeHappy marriage cake it is not a made up name for a cake, it’s a traditional Icelandic name for rhubarb jam tart. I first tried this cake on an airplane (a location not generally associated with fine patisserie, but I was craving something sweet) and I was’t impressed. But I saw potential in this cake and I knew that I could make it taste moist and wholesome. After all this cake needed to live up to it’s wonderful name!Happy marriage cake recipeFor the filling I have made a strawberry and rhubarb jam because I wanted it in pink colour and I was never able to get that colour just from rhubarb (I don’t know how other bakers do it?!). I added oatmeal to the crust as that seemed traditional for this cake.Happy marriage cake recipeHAPPY MARRIAGE CAKE

(for the filling)

  • 220g rhubarb, chopped
  • 120g strawberries
  • 150g sugar

(for the crust)

  • 200g butter, softened
  • 130g sugar
  • 2 egg yolks
  • 85g oats
  • 170g flour
  • 1tsp cinnamon

1. Make the jam filling first. Place the chopped rhubarb, strawberries and sugar into a small pan and bring to the boil (splash some water to begin with so it does burn). Cook for about 10-15 minutes until the mixture is thick and jammy. You then can puree the mixture with the hand processor if you prefer smooth texture.

2. Make a crust dough by creaming butter with sugar till it is light and fluffy. Gradually add egg yolks, oats, flour and cinnamon and mix everything to combine.

3. Spread the crust dough at the bottom and sides of lined baking tin reserving small amount for later. Happy marriage cake recipe4. Pour the jam filling into the dough. Dot the remaining crust over the top. Bake the cake in the preheated 180C for 25-35 minutes.Happy marriage cake recipe Happy marriage cake recipeHappy weekend everyone!

Rasa xoxo

0

Joni’s birthday trifle cake

Trifle cake, perfect summer occasion cake!I know this might be a bit delayed, but I thought I will share what cake I baked for Joni’s birthday. This year Joni wanted a trifle (he mentioned that long time ago), but as you may all know it’s a difficult one to transport (We celebrated the birthday in Mudeford). I instantly thought I of making a cake version of trifle dessert! I decided to use a basic sponge as a base and lady fingers holding the cake’s shape (hence me experiments of baking lady fingers last week). Basically the aim was to make an edible dish if you know what I mean ;-). The result was great, however if I made this again, I would have filled it with more filling (the recipe edited accordingly). Unfortunately I wasn’t prepared for such a large trifle “dish” :-D. Here it’s how I got on… Trifle cake, perfect summer occasion cake!RASPBERRY TRIFLE CAKE

(for the sponge)

  • 225g butter
  • 225g sugar
  • 4 eggs
  • 225g plain flour
  • 2tsp baking powder

(for the filling)

  • 500g mascarpone and 500g fresh custard mixed together
  • 100ml sweet fruity liquor (such as cherry or  blackberry liquor)
  • 500g or more raspberries, drizzled with 2 tbsp elderflower cordial and lightly mashed

(extras)

  • lady fingers, enough to cover the cake sides (try baking your own or just buy them ready baked)

1. Bake the sponge. Cream butter with sugar then gradually add eggs, flour and baking powder. Mix everything to combine well. Spoon the cake mixture into lined round baking tin and bake it in the preheated 180C oven for 45min or so.

2. Once the sponge has cooled I have cut the top away with the knife. The reason for this was so there would be no “hill” caused by the rising cake and because I did not want the crust stopping the sponge from absorbing the liquor.Trifle cake, perfect summer occasion cake!3. Next I have arranged the lady fingers around the sponge base sides. I used a bit of filling cream to make them stick. I tied the ribbon to fix everything in place.Trifle cake, perfect summer occasion cake!4. Layer the filling! Started with the cream layer then the raspberries (then the cream and raspberries again and so on), just because I thought cream would seal the sides better and stop the raspberry juice running through the lady finger gaps. Trifle cake, perfect summer occasion cake! Trifle cake, perfect summer occasion cake!Chill the trifle cake in the fridge before serving. Enjoy!

Rasa xoxo

Poppyseed lady fingers

Poppyseed lady finger recipeI decided to try and bake these crispy and light biscuits because I had few ideas on cake decorating with it (although they may not look suitable for decorating yet). Lady fingers (so they called) taste quite plain, but because of it’s consistency they are perfect for making fresh summer desserts such as very famous tiramisu. This is my first time making these macaroon like biscuits and I am quite pleased with the outcome even if they did not come in the perfect uniform shape (more practicing needed I guess!). Overall I prefer these to compare to shop bought as they taste better and it can be custom made such as these – with poppyseed!

POPPYSEED LADY FINGERS makes about 24 lady fingers

  • 2 eggs, separated
  • 70g caster sugar
  • 55g plain flour
  • 2 tbsp poppyseed
  • a pinch baking powder (for cheating)

1. First whisk the egg white. Make sure eggs are in room temperature before whisking. Add 2 tbsp sugar into egg whites gradually while whisking. Well whisked egg whites should be stiff and shiny. Poppyseed lady finger recipe2. In separate bowl whisk egg yolks with the reminder sugar untill pale and creamy. Gradually fold in egg white as well as flour mix (with poppyseed and baking powder) till everything is well incorporated.

3. Next, transfer the mixture into the piping bag. On lined baking tray pipe 1 cm thick and 5cm long lady fingers. My first batch was unsuccessful as I piped 2 cm thick and too close together (these biscuits do expand when baking!). Bake in preheated C200 oven for 10-15min. Very important not to under-bake as they need to come out crispy and not spongy! Let it cool for further 10 min or so while on baking sheets.My second batch looked better, but practicing is still needed as some are still wonky :-D. Poppyseed lady finger recipeHope my experience with these helps you ;-)

Rasa xoxo

0

Orange and white chocolate cake with raspberries

Orange and white chocolate cake with raspberriesAs I am writing this post I am munching on this cake for breakfast. It’s actually not such a big disaster after all as it taste quite nice. However there are few things  I would do differently now.

One year ago, on my hen do I tasted a very similar cake and I promised to myself to recreate it. So this is how I got on…Orange and white chocolate cake with raspberriesFor the sponge I chose a gluten free option (I am on trial now to find out if I am actually gluten intolerant), very similar to this chocolate orange cake. I boiled three pealed oranges and pureed them. Whisked 375g sugar with 9 eggs (I know I am CRAZY!!!). Then I added pureed orange, 375g ground almonds, 2tsp baking powder and mixed everything until mixture became well incorporated. I divided the cake mixture into lined baking tins and baked them in 180C oven for 1hour. The cakes came out great, but If I did it again I would have added orange zest into the mixture as well to make it more orangey (you know what I mean!). Orange and white chocolate cake with raspberriesI made pastry cream for the filling (my first time ever making it!!). I followed this recipe from BBC food, so it must be trustworthy. However I think I poured hot milk into egg mixture too quick, because I could still taste the egg in it (only slightly). I spooned the pastry cream on the bottom cake and decorated it with raspberries. Yum!Orange and white chocolate cake with raspberriesFinally I have covered pastry cream and raspberries with the second cake. I covered the top of the cake with white chocolate glaze (or ganache some may call it) that was obviously too thin and runny. This is where I messed up most! I followed my original dark chocolate glaze recipe here which worked on so many occasions. I guess with white chocolate I need to add more of it to compare to dark chocolate glaze cream:chocolate ratio. Maybe 200g of white chocolate into 90ml double cream?Orange and white chocolate cake with raspberries Orange and white chocolate cake with raspberriesHope my mistakes helped :-)

Rasa xoxo

0

Easy rhubarb and almond cake squares

Rhubarb and almond cake squares recipeApparently rhubarb is in season (how would I know, I no longer have my garden to refer to) and my mum started using it in her bakes. This very simple rhubarb and almond cake is very popular. My mum says that a lot of people are already asking for the recipe. So today I thought I will try. Rhubarb and almond cake squares recipeAfter baking this cake I can confirm that it is very easy and uncomplicated to make. Although I did find it little tart (maybe a little bit too tart). So do try it out and be generous with sugar since it’s very low in fat (no butter or oil found).

RHUBARB AND ALMOND CAKE SQUARES

  • 3 eggs
  • 1 cup icing sugar/125g icing sugar (I used 225g golden caster sugar) + some for dusting
  • 1 cup plain flour/125g plain flour
  • 450-500g rhubarb stalks
  • 1 tsp vanilla extract (I used one vanilla pod seeds instead)
  • 3-5 tbsp almond flakes

1. Whisk eggs with sugar till pale.

2. Add flour, finely chopped rhubarb and vanilla extract. Mix everything to combine well. Rhubarb and almond cake squares recipe 3. Empty the cake mixture into lined baking tin. Scatter almond flakes all over the top.

4. Bake in preheated 180C oven for 40-50min. Check if the cake is baked with the skewer (it should come out clean).

5. Let the cake cool before slicing it into squares. Remember to dust it generously with icing sugar!Rhubarb and almond cake squares recipe Rhubarb and almond cake squares recipeEnjoy!

Rasa xoxo

0

One ingredient ice cream (well… almost)

One ingredient ice cream (well... almost) Although I eat ice cream any time of the year, I think today is a special ice cream day. For a long time I wanted to make one of those one ingredient ice creams, so I had a look here and there and realised it is quite quick and simple to make! So here is ho I made it…One ingredient ice cream (well... almost) So if you have not checked the links above maybe you have already guessed what this one magical ingredient is? Yes, it’s just a banana! I have been freezing my unused bananas for quite some time now so I had a good amount to play with.

ONE INGREDIENT ICE CREAM

  • Frozen bananas, chopped

1. All you need to do is put the frozen bananas into the food processor and blend it!One ingredient ice cream (well... almost) It takes some time for the bananas to blend but eventually it turns into this creamy mass that can be enjoyed straight away. One ingredient ice cream (well... almost) Unless you want to play with some other flavours!

You can add any of the following

  • peanut butter
  • Nutella
  • chopped nuts
  • biscuits
  • honey
  • caramel
  • cocoa powder
  • cinnamon, cardamom or ginger
  • frozen berries

I tried out few flavour combinations myself

  • Peanut and chocolate chip (our favourite!)
  • Nutella with chopped hazelnuts (I loved it even when I dislike chocolate ice cream)
  • Digestive and caramel (almost like banoffee pie)
  • Pecan and honey (we found this tasting a bit plain)
  • Cherry and almond (we liked the least as we could taste the banana which did not suite the overall taste)

One ingredient ice cream (well... almost)

Enjoy hot weather!

Rasa xoxo

1