Hey everyone and welcome to my Pinterest challenge! Have not had one for a while so I though I will do it today. I picked this recipe for few reasons. One was that I had some chickpea flour left in my cupboard. I was experimenting with different flours to make a gluten free brownie while ago and chickpea did not work quite well there as the flavour of it is quite strong. But I definitely think that chickpea go well in these cookies, although you might find it a bit overpowering. Do you like chickpeas? Now imagine them sweet. Nice thoughts? Then definitely make them! Another reason for going for this challenge is because these cookies seemed so Easter-friendly. I am saying that because Easter do relate with truffles to me. And making these cookies felt a bit like making truffles!
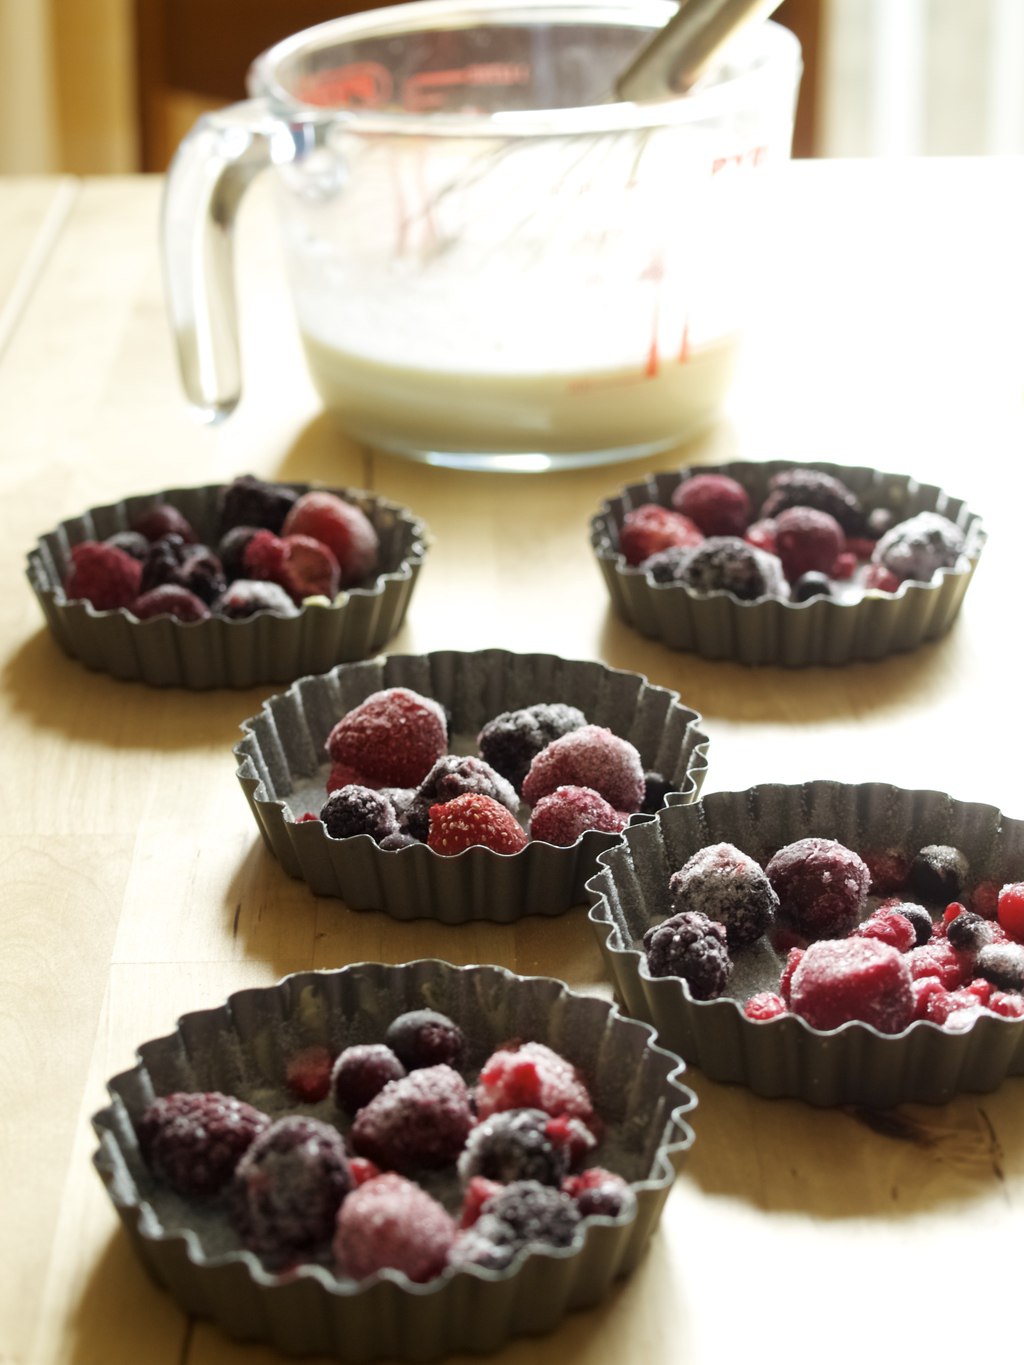
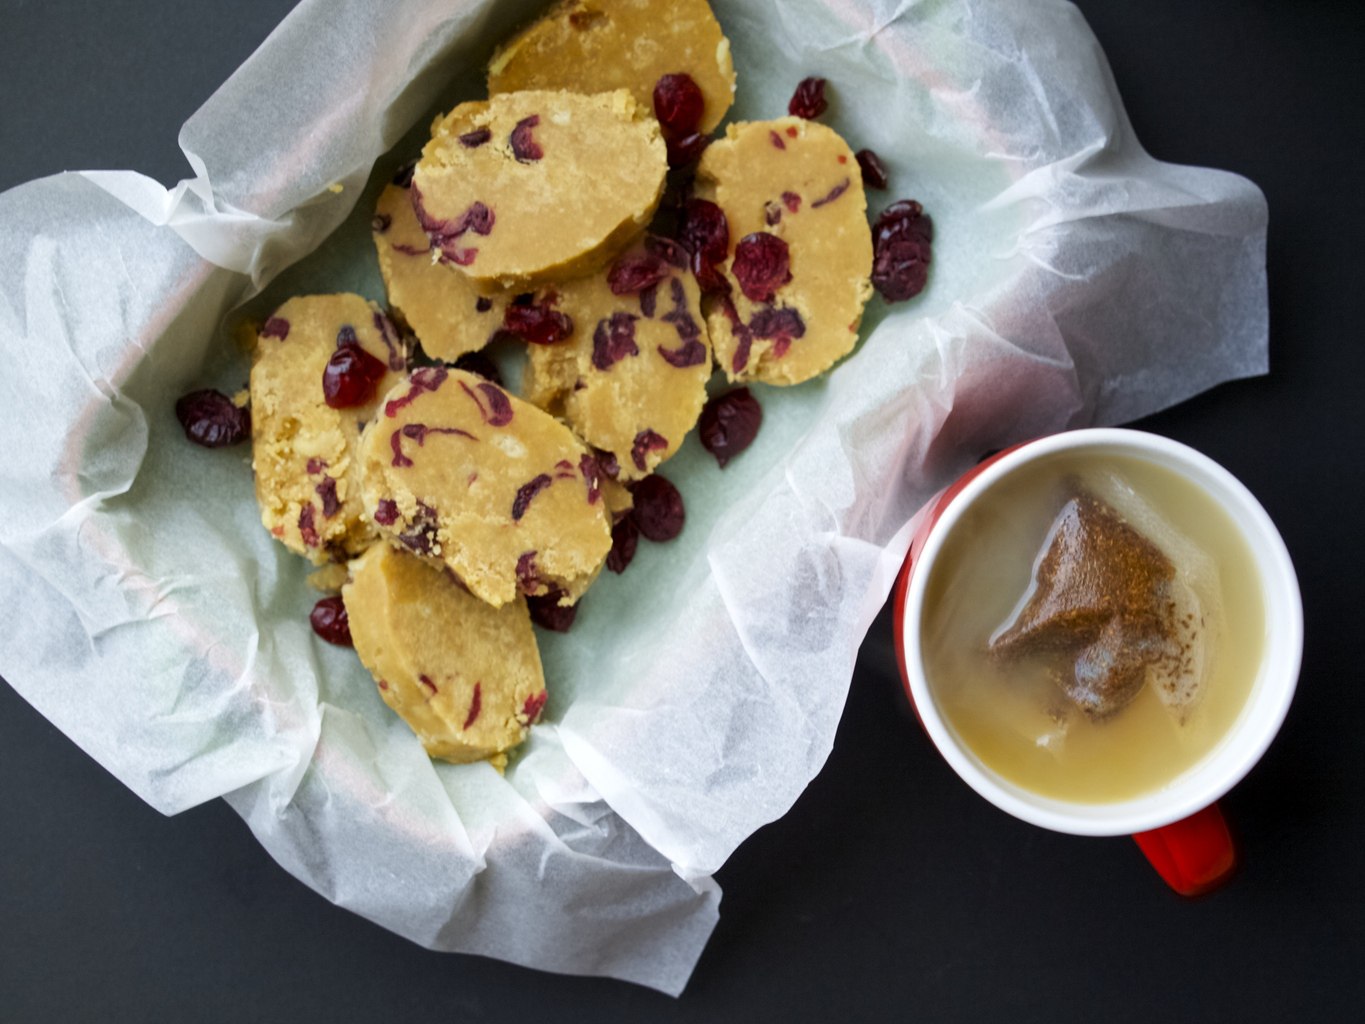
I made a small batch of them as I did not know how successful will they be. Also because I did not have THAT much of chickpea flour! Anyways if you want to make more of them feel free double or triple the recipe.
CHICKPEA FLOUR COOKIES adopted from Give Recipe
(for the dough)
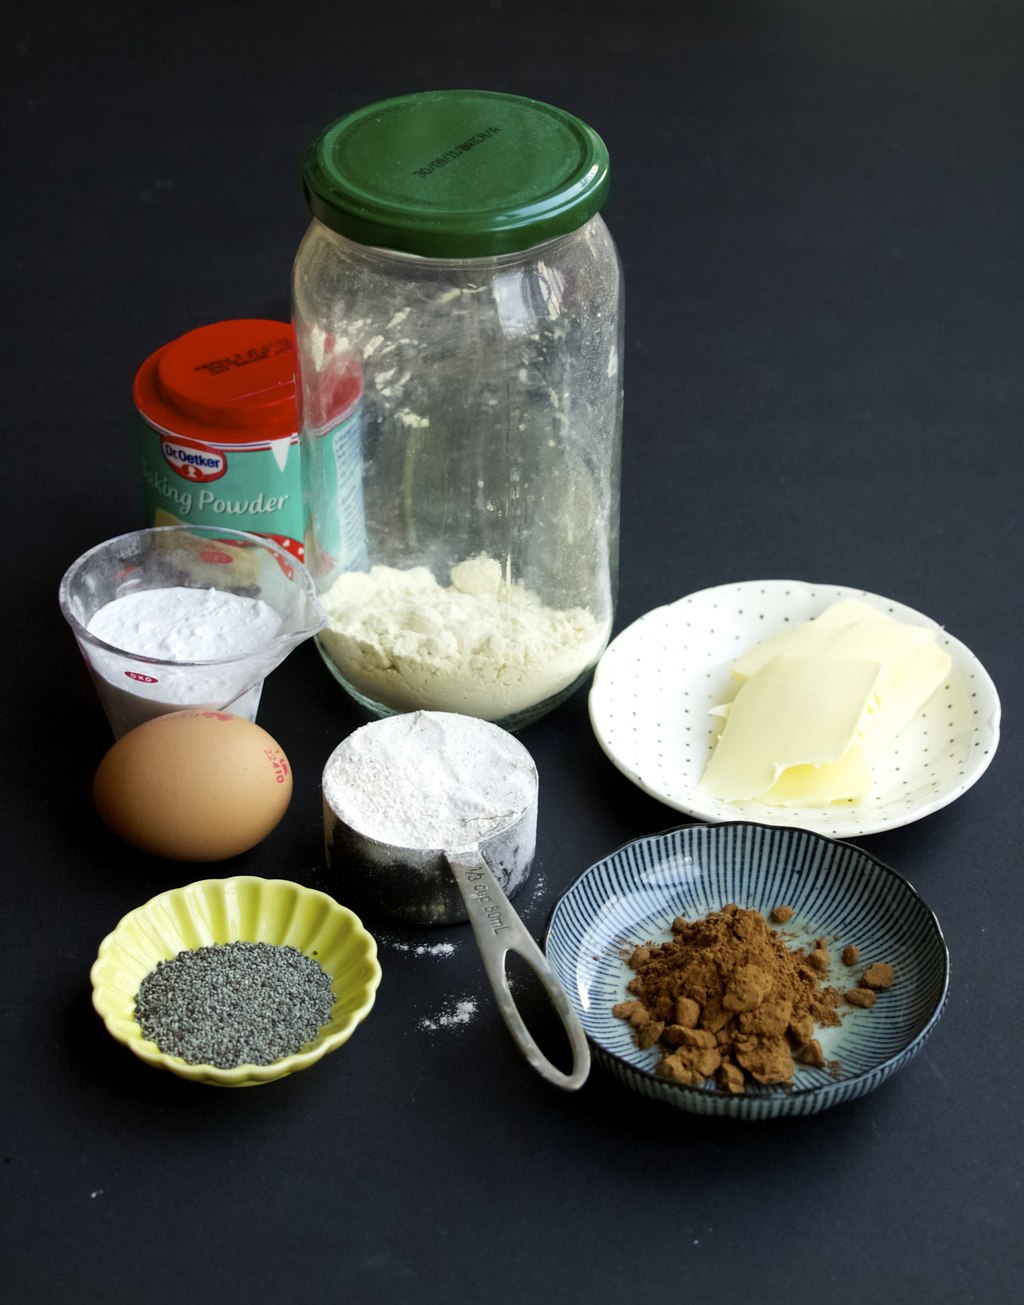
- 25g chickpea flour
- 45g whole wheat flour
- 30g icing sugar
- 1 egg yolk + some egg white if needed
- 35 butter
- 0.5 tsp baking powder
(for coating)
- 1 egg white, whisked
- 3 tsp chickpea flour
- 3 tsp cocoa powder
- 3 tsp poppy seeds
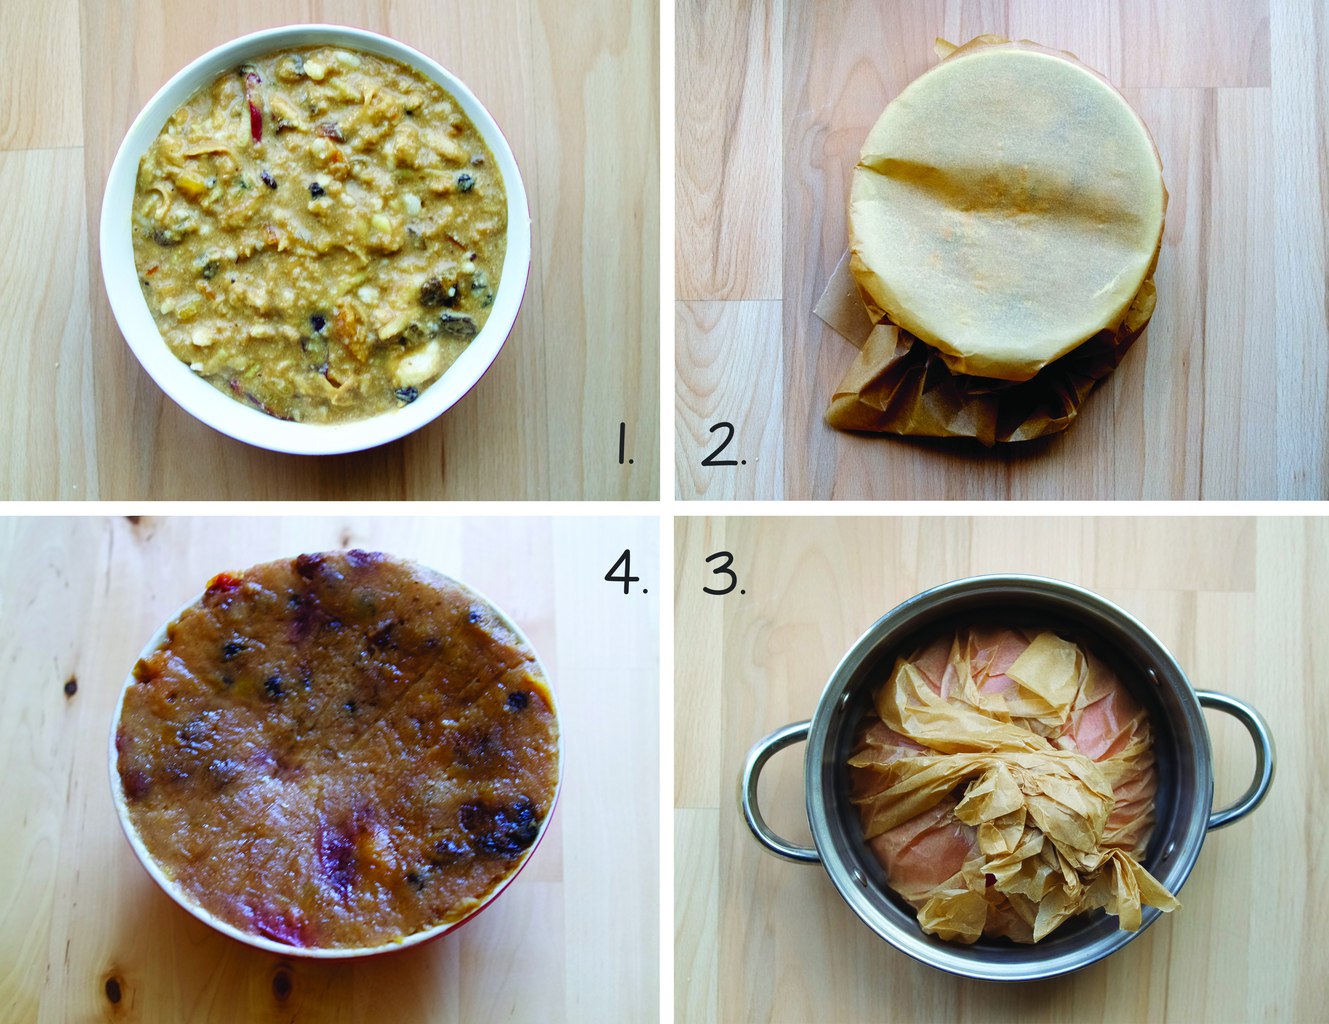
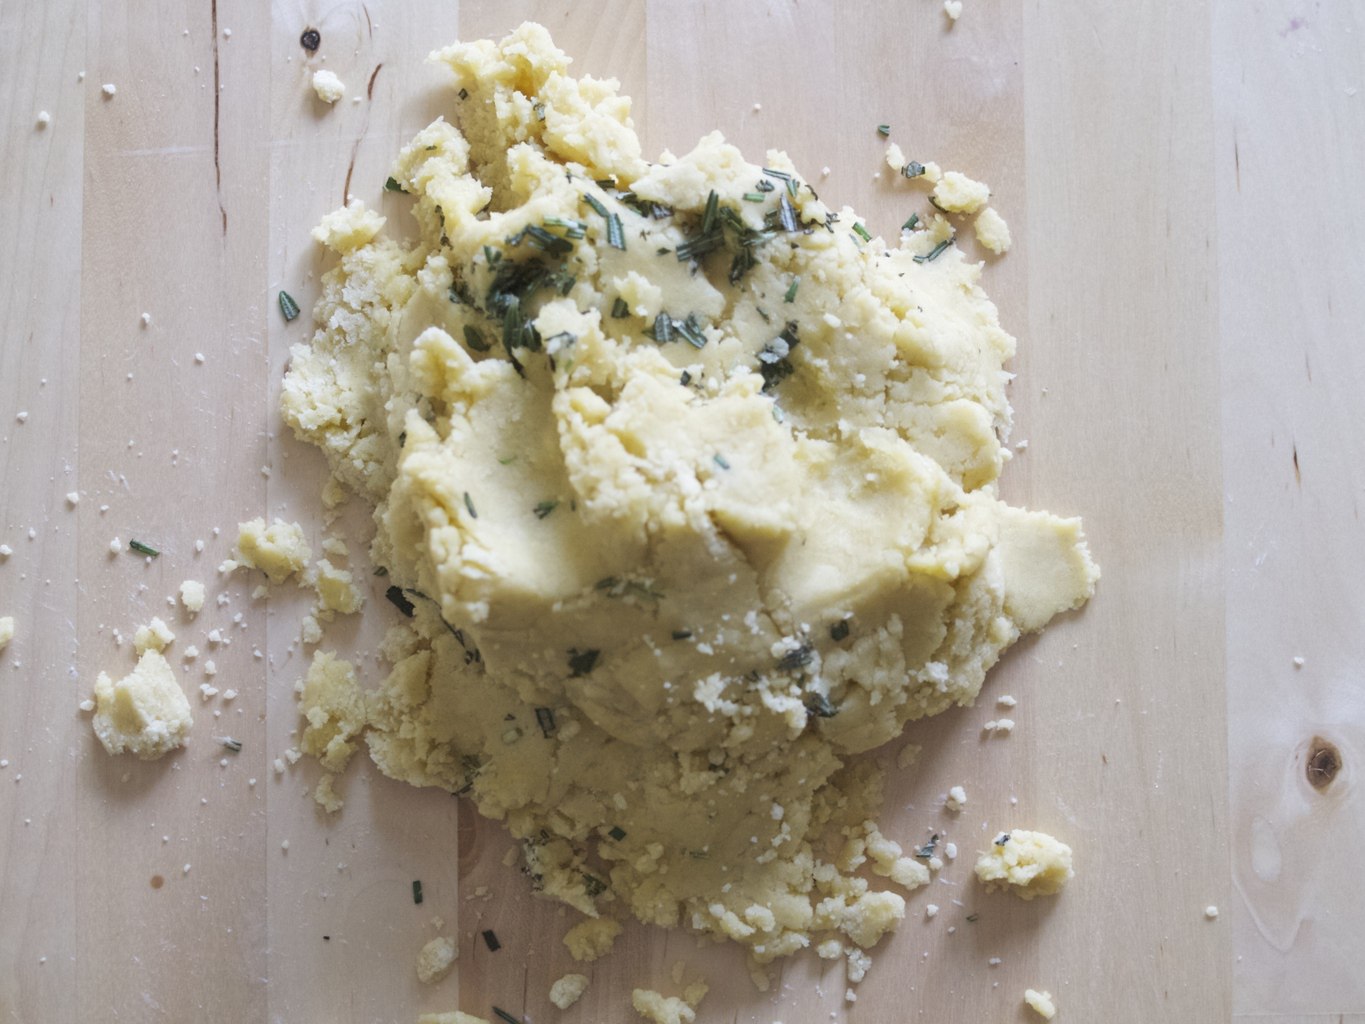
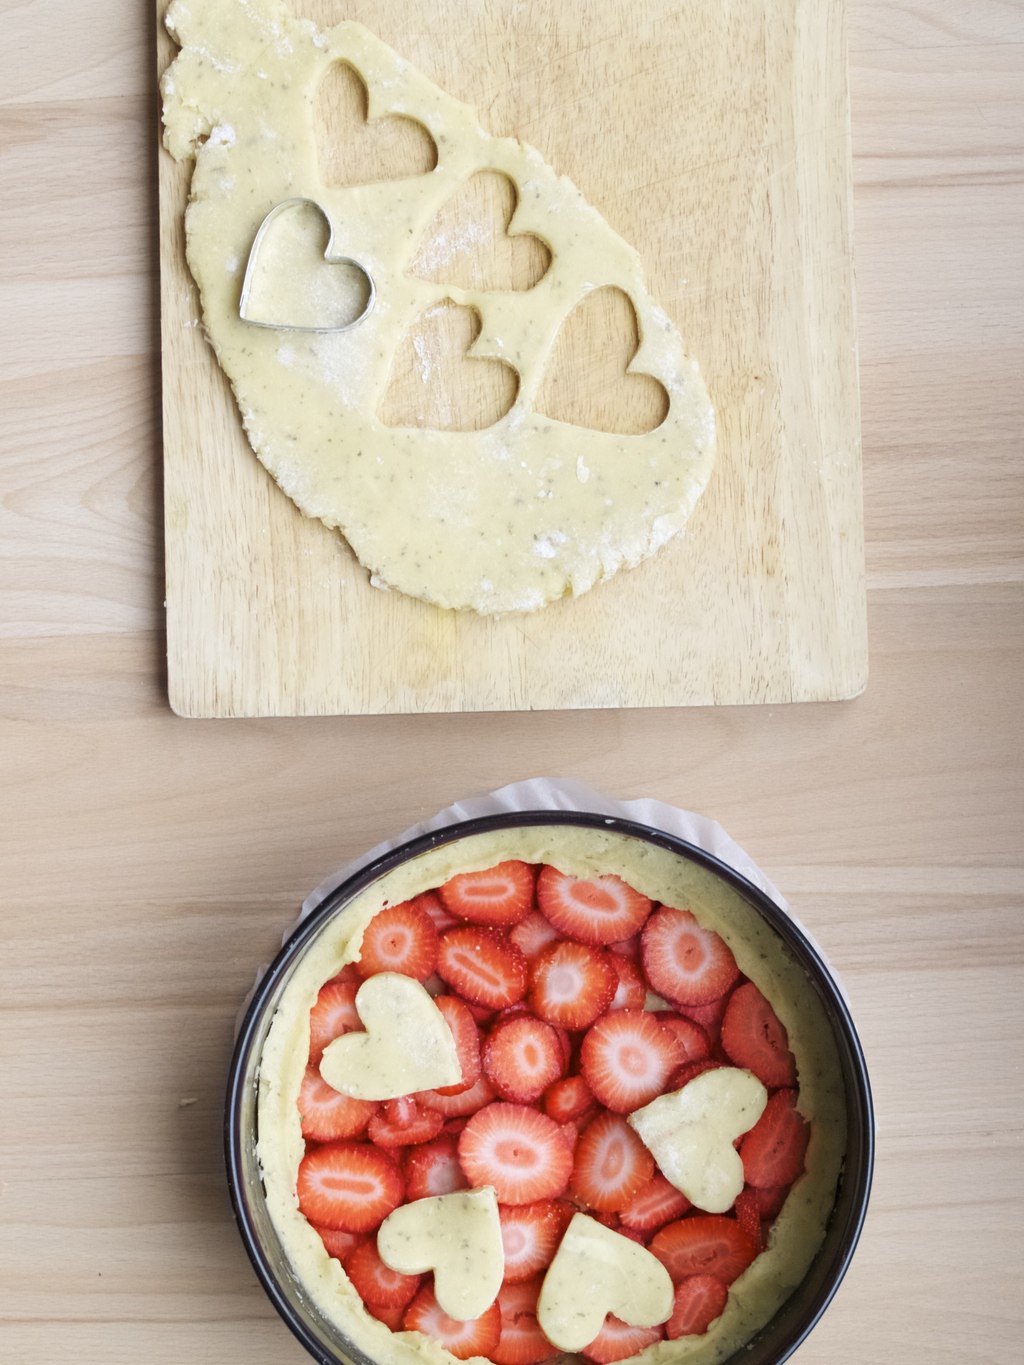
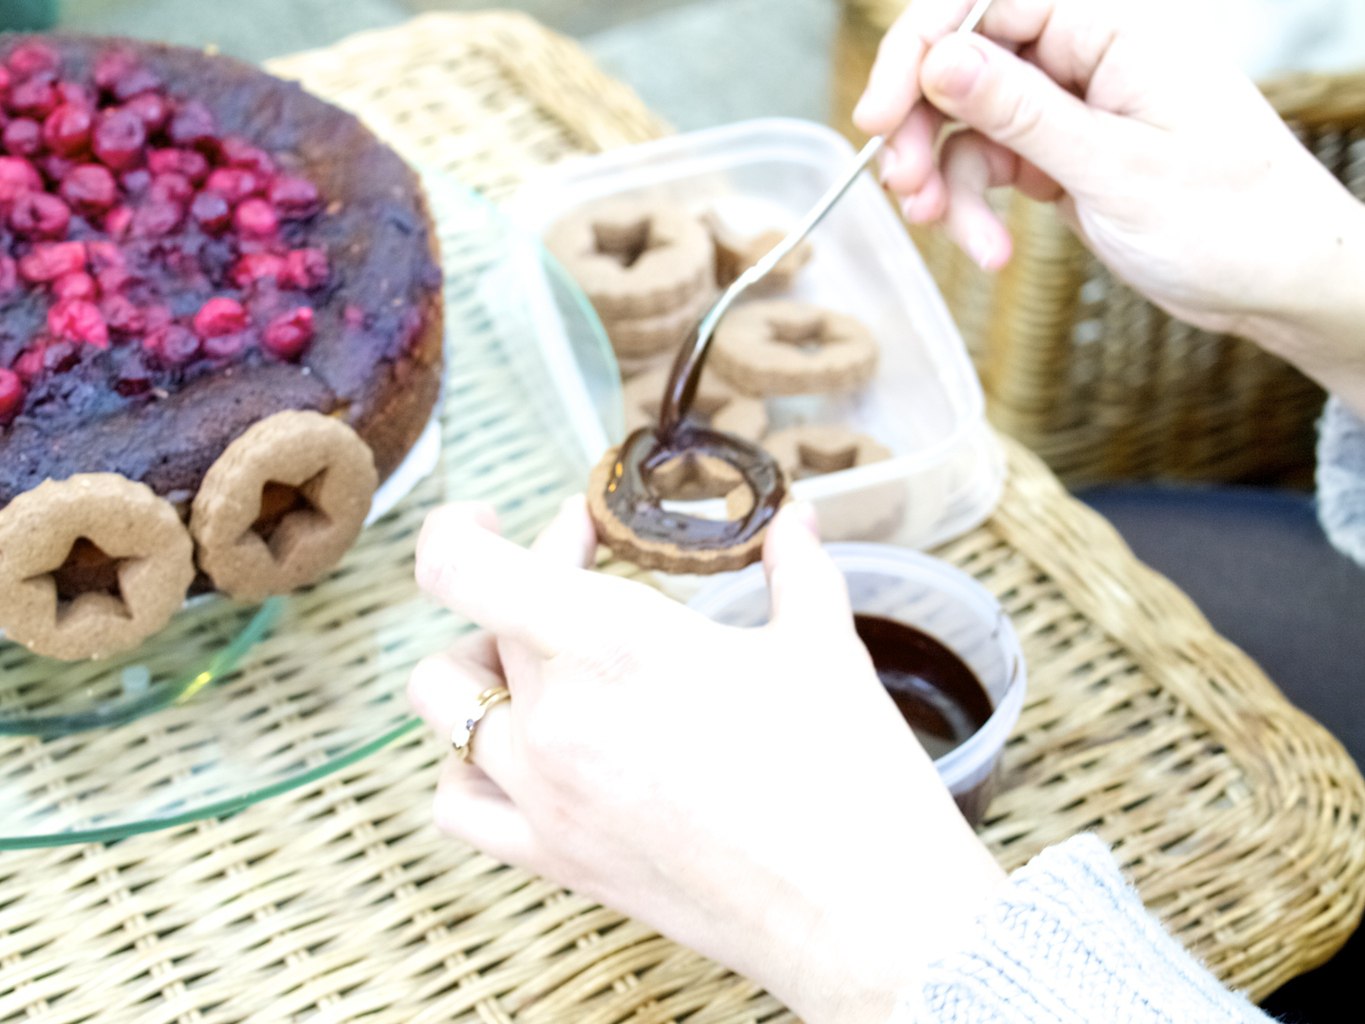
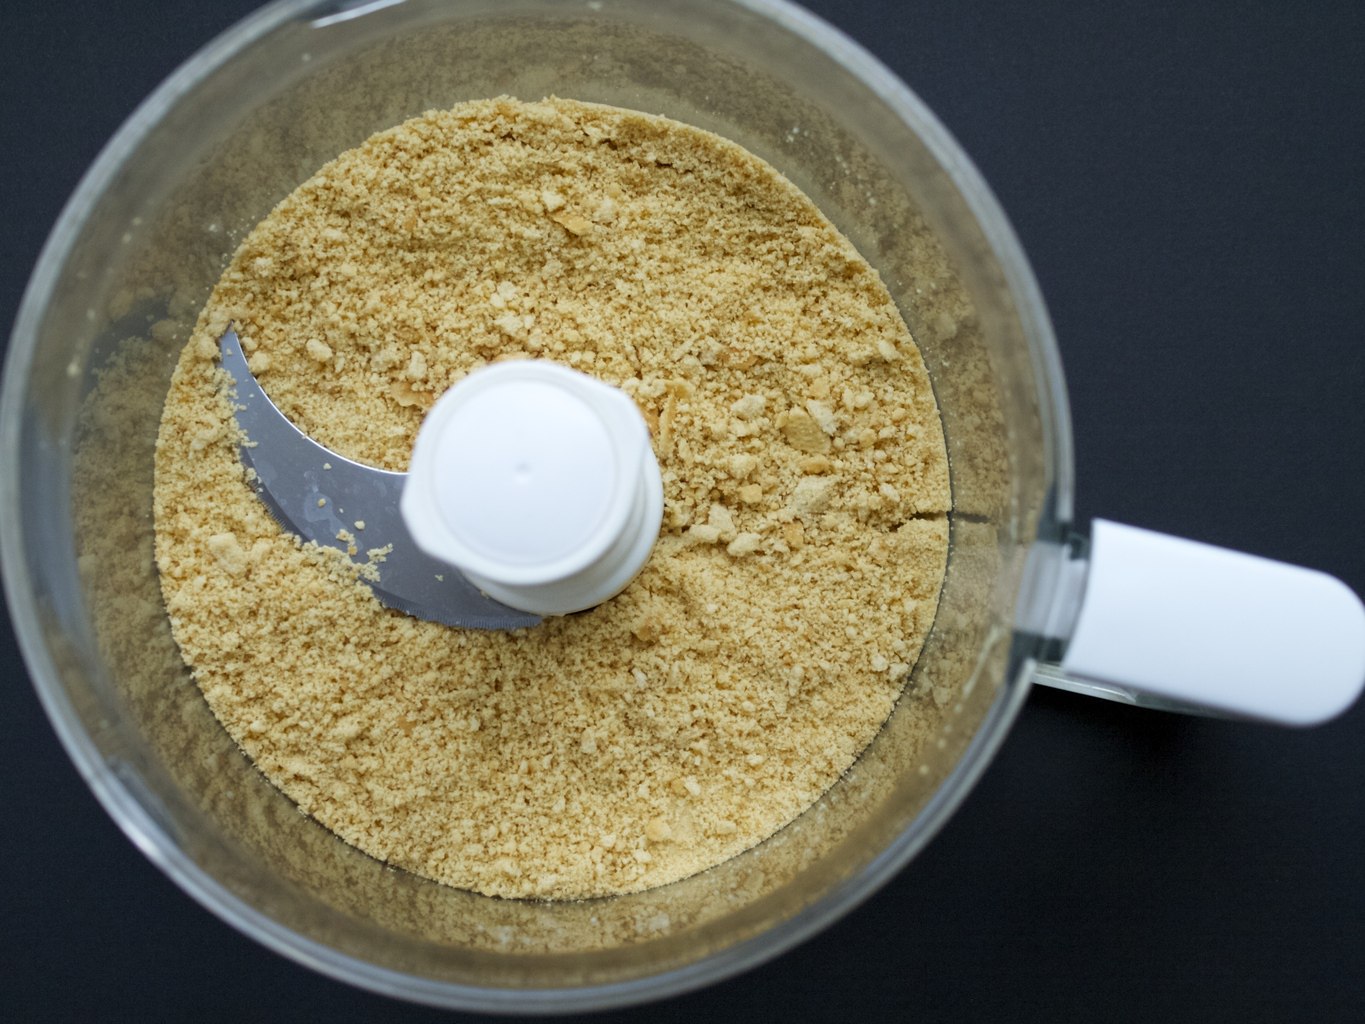
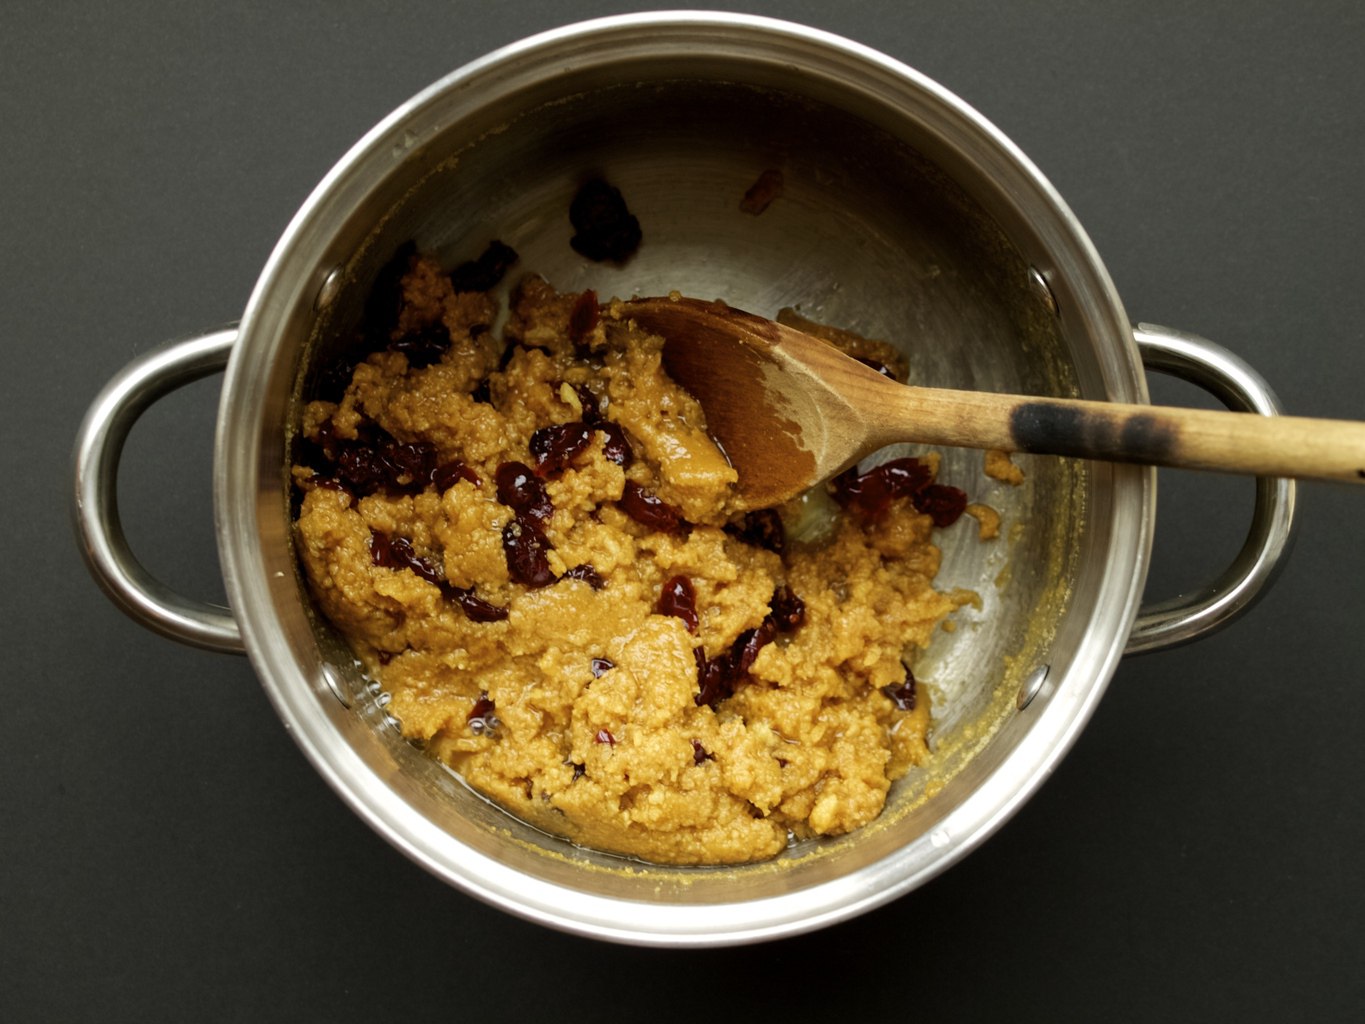
 1. Mix all ingredients of dough and combine them very well with your hand. Add extra egg white if needed to form smooth and soft dough like in the picture bellow.
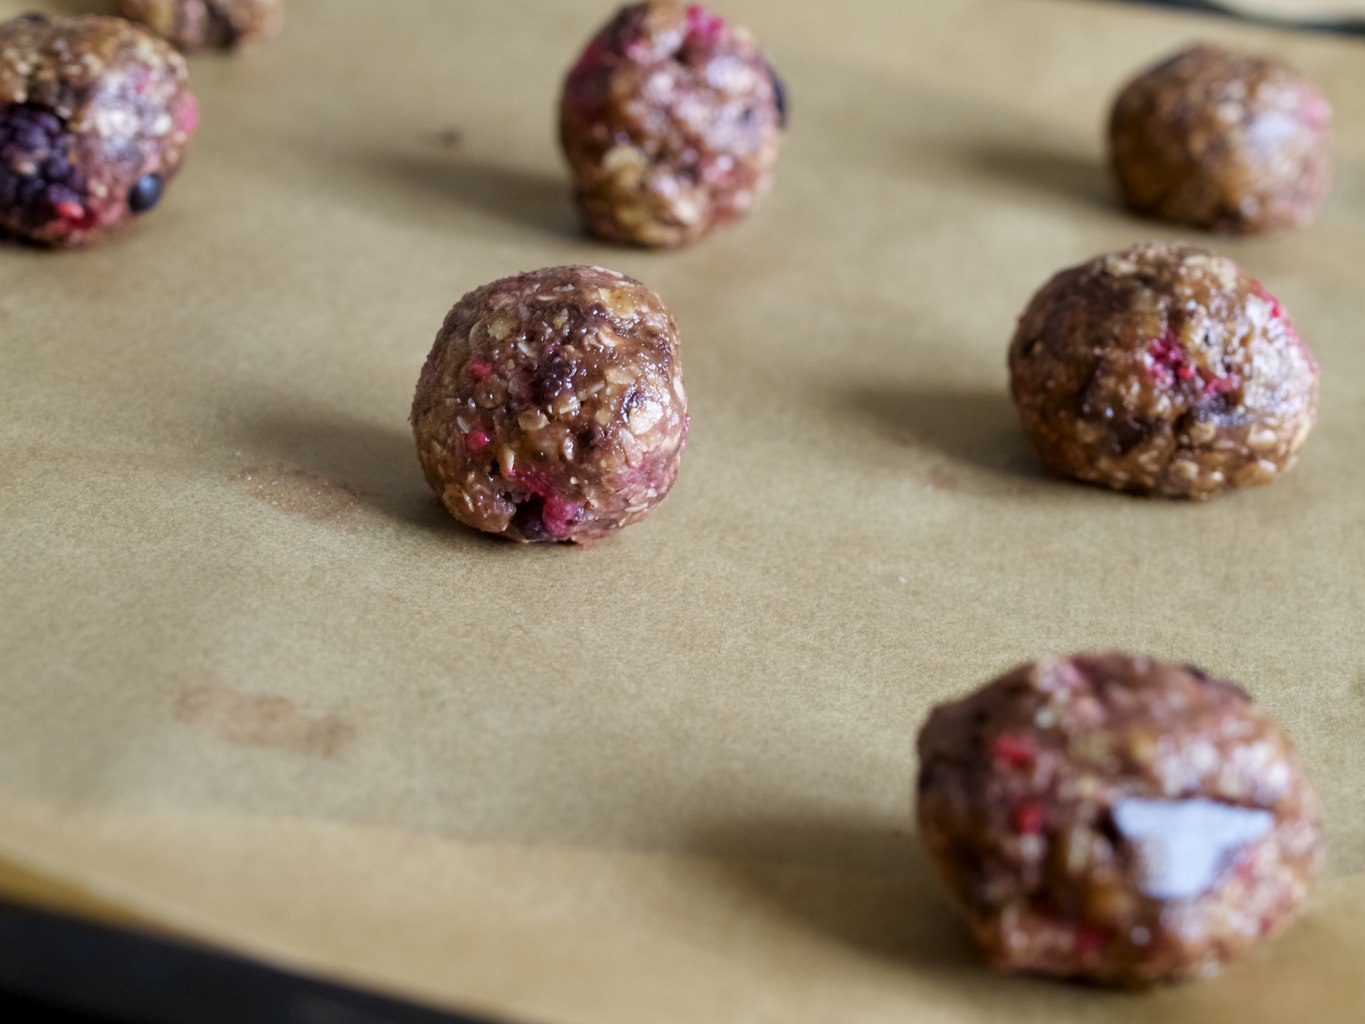
 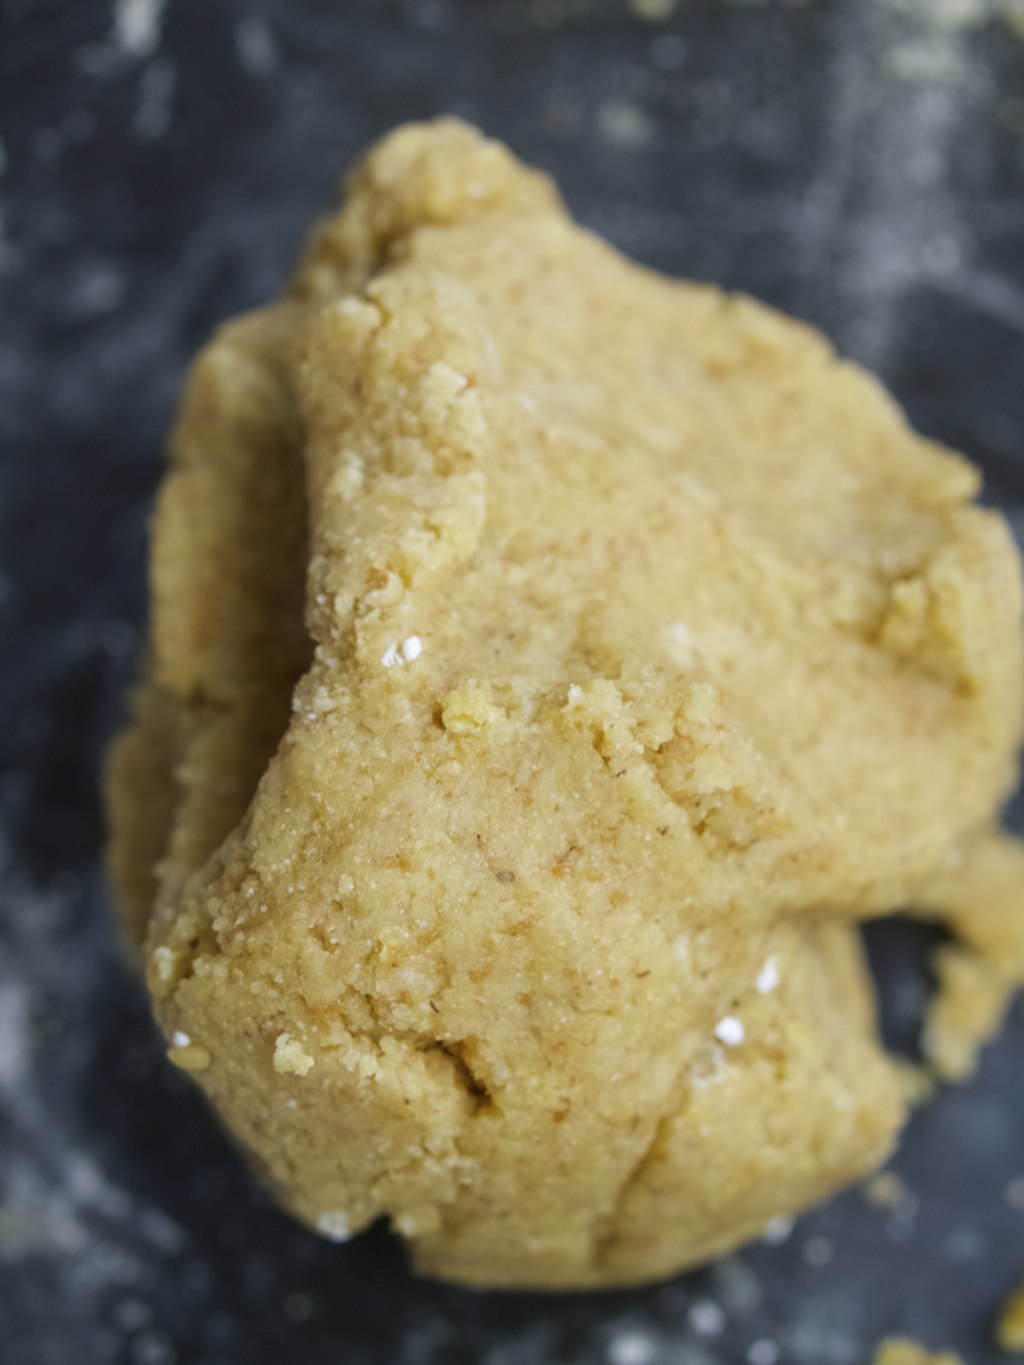 2. Make mini balls from the dough. Dip them into whisked egg white first and then coat them with cocoa powder, poppy seeds and chickpea flour. Place them into lined baking pan.
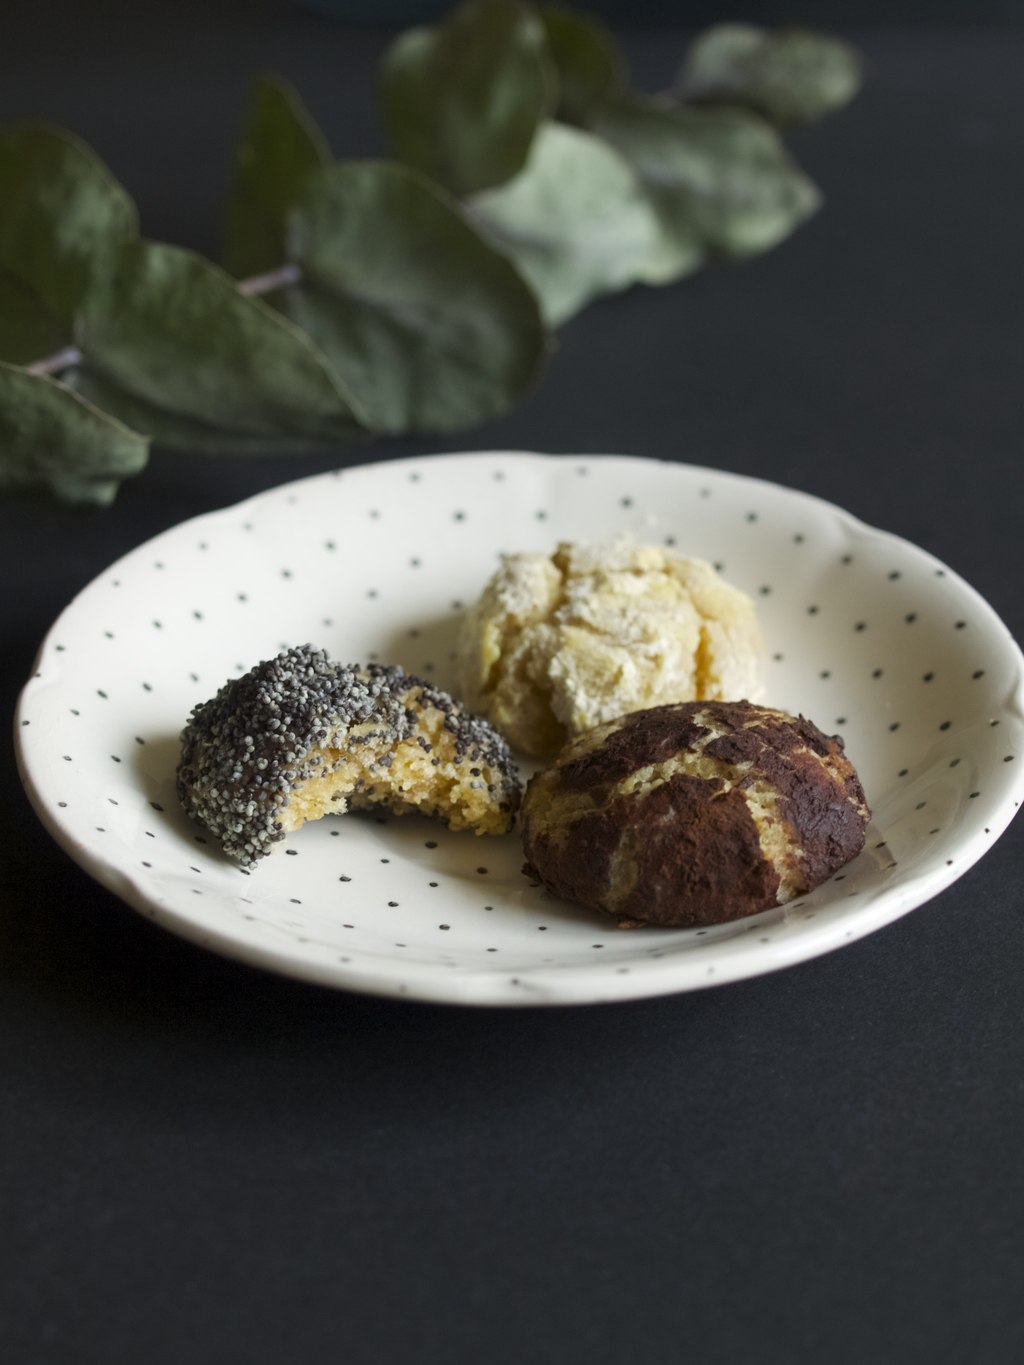
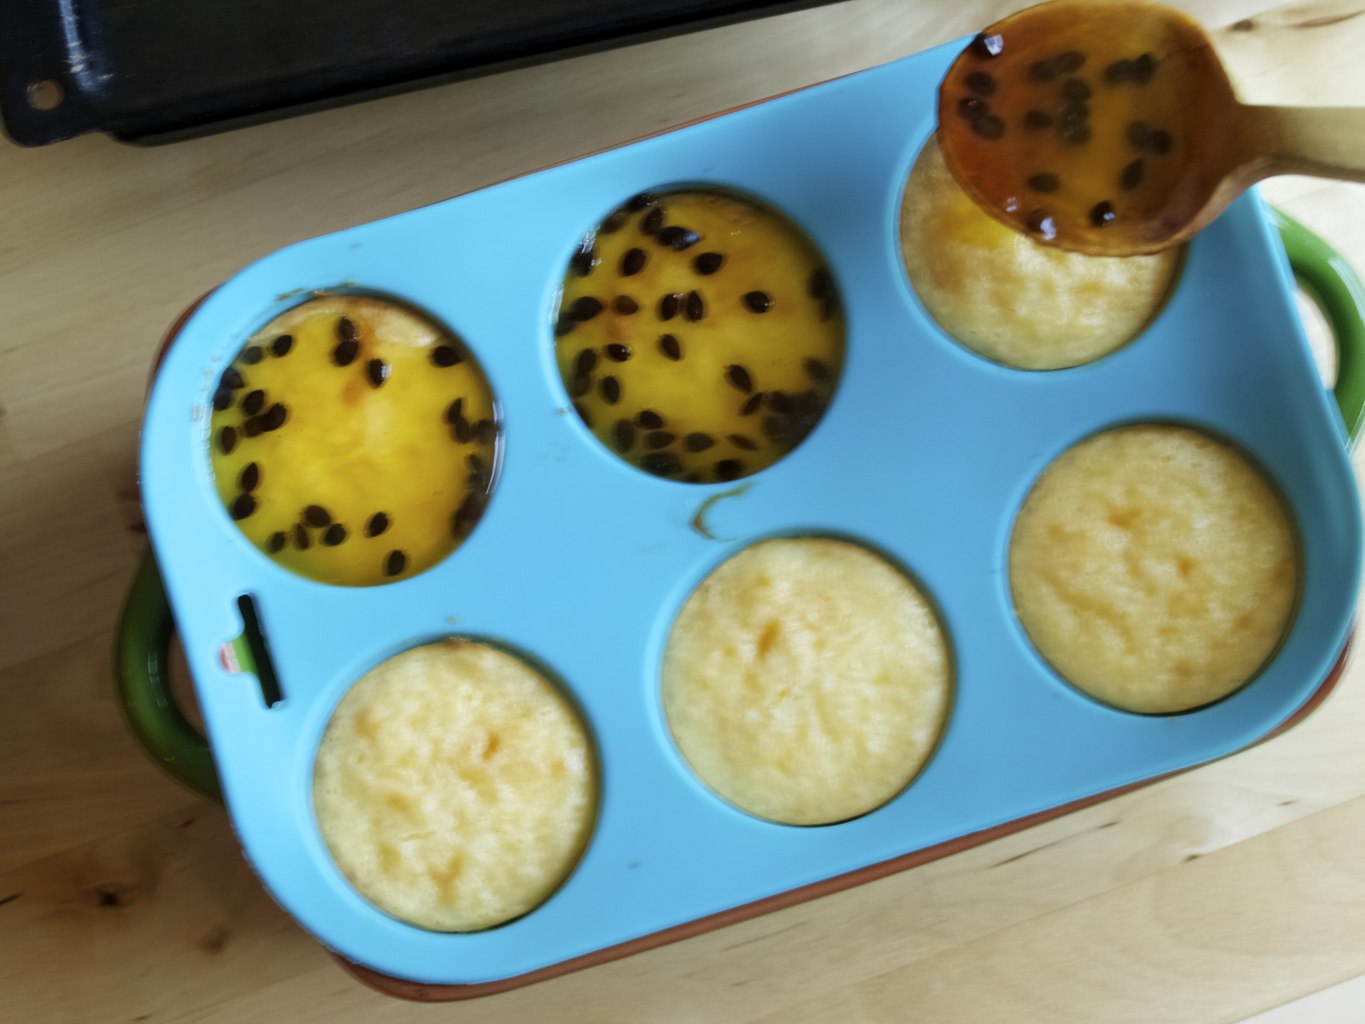
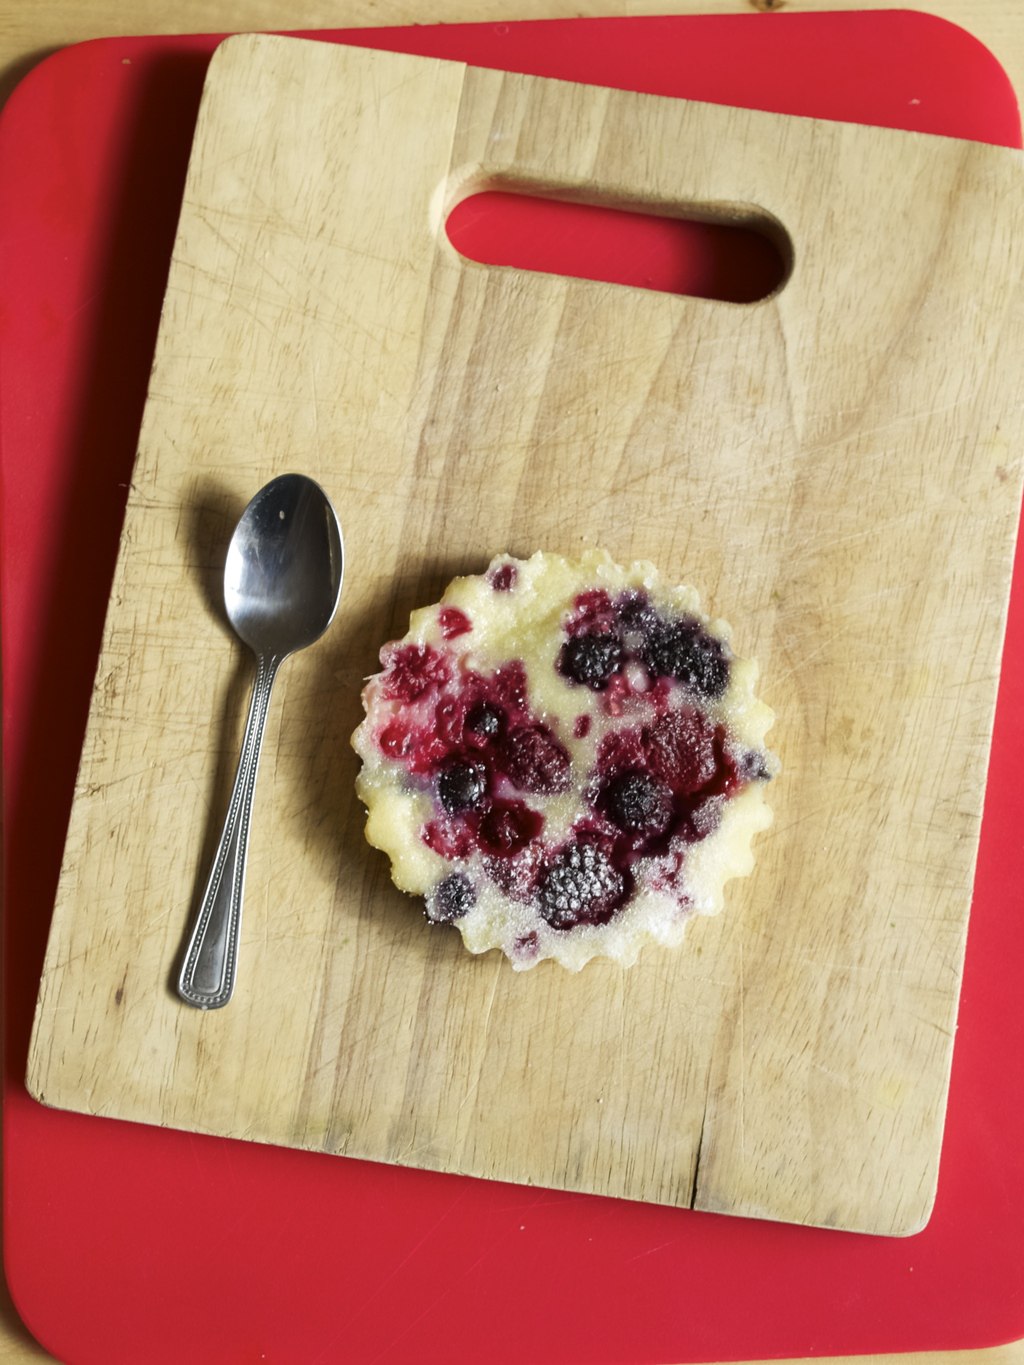
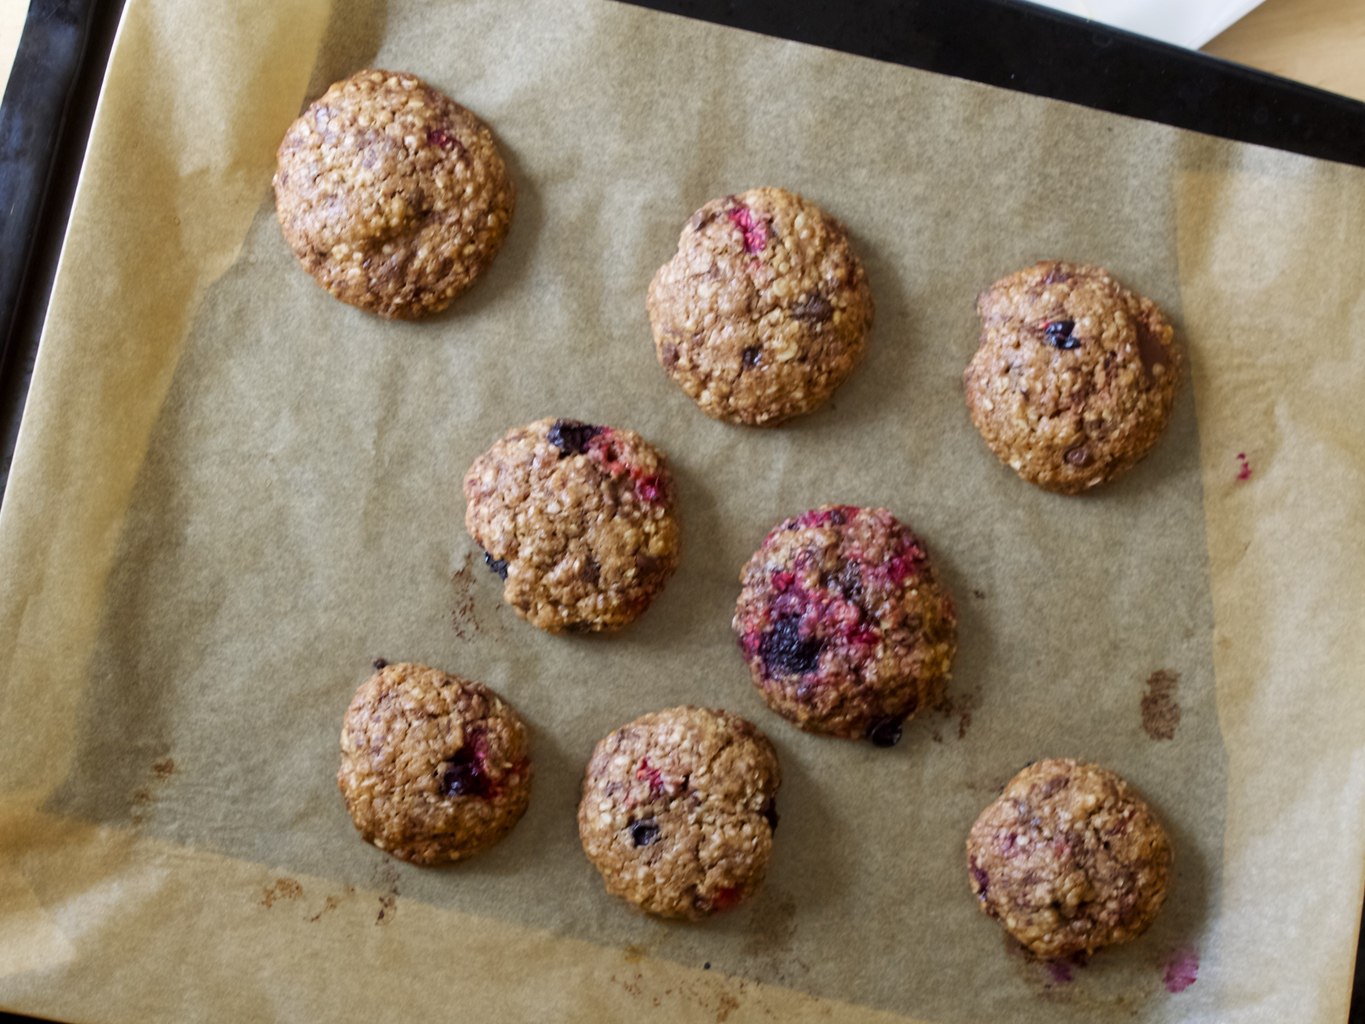
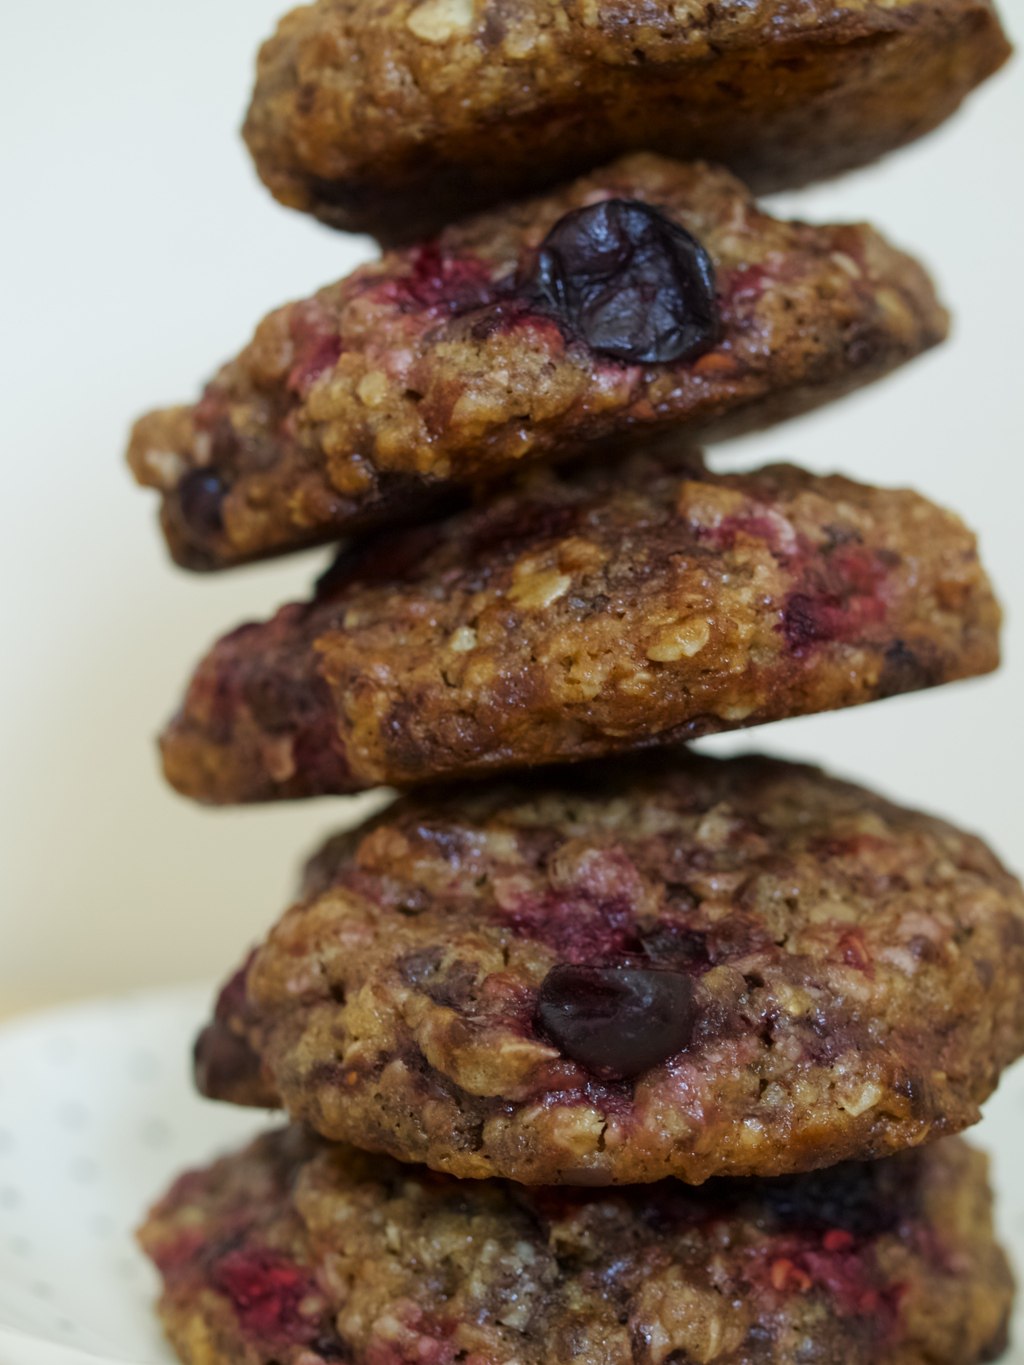
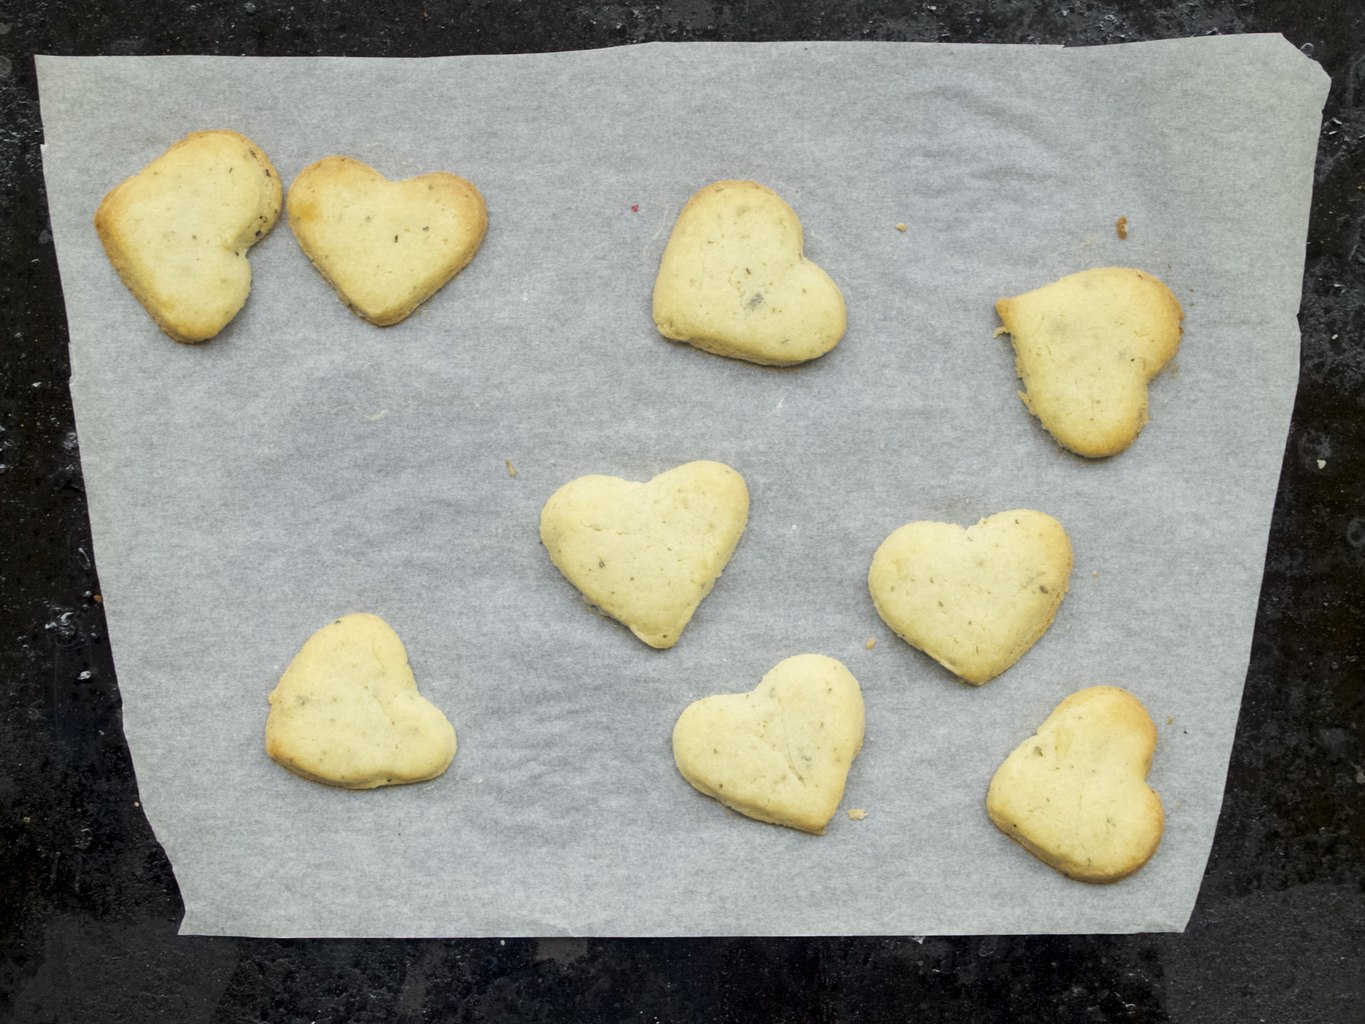
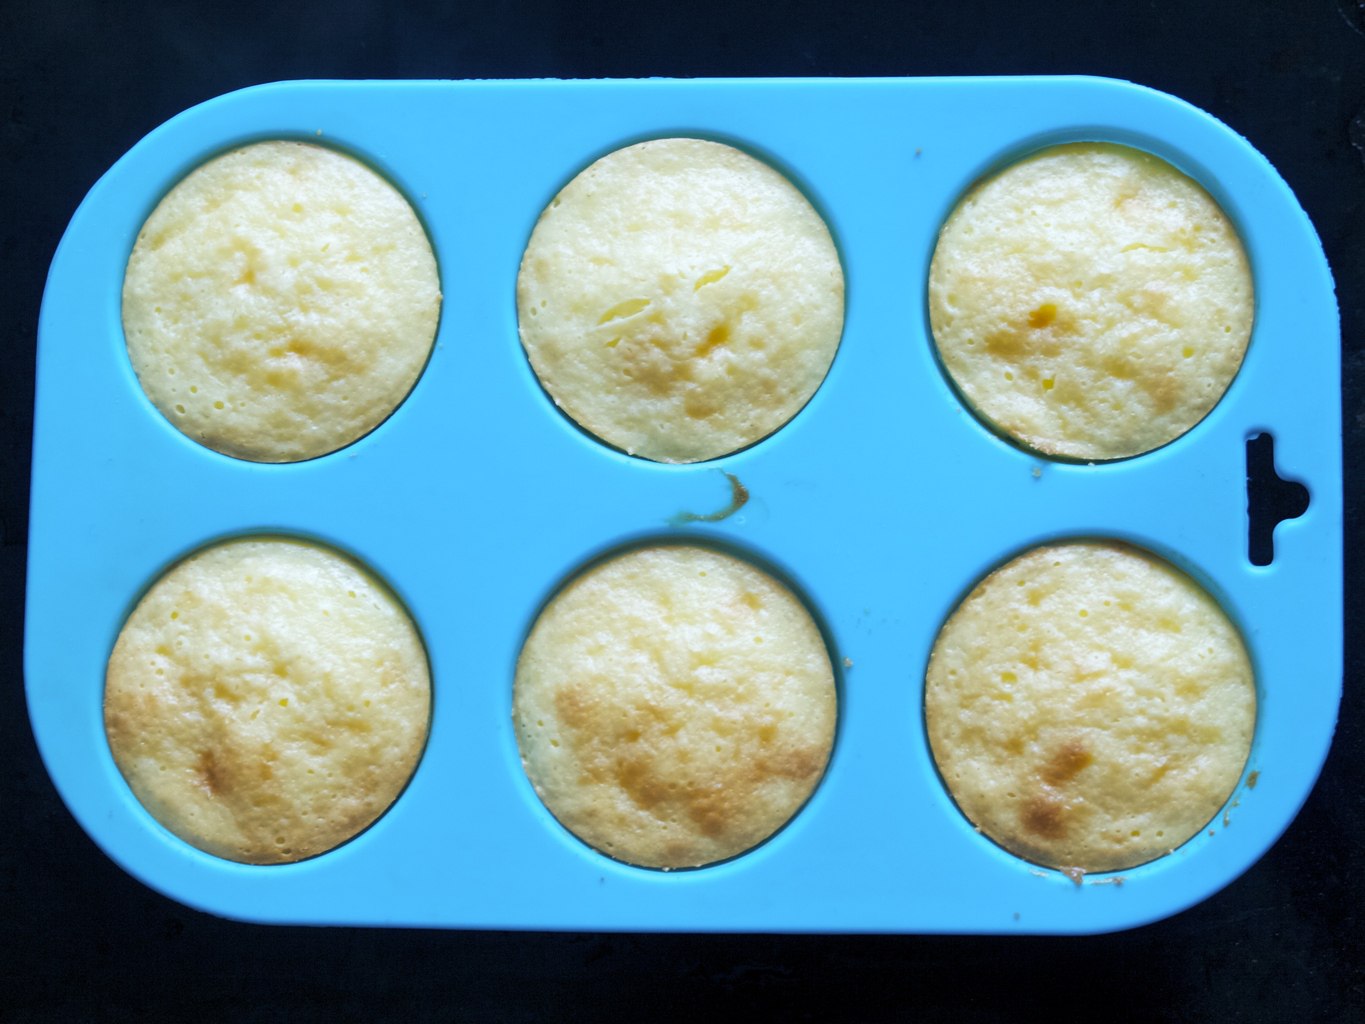
3. Keep the cookies in the fridge for an hour before baking.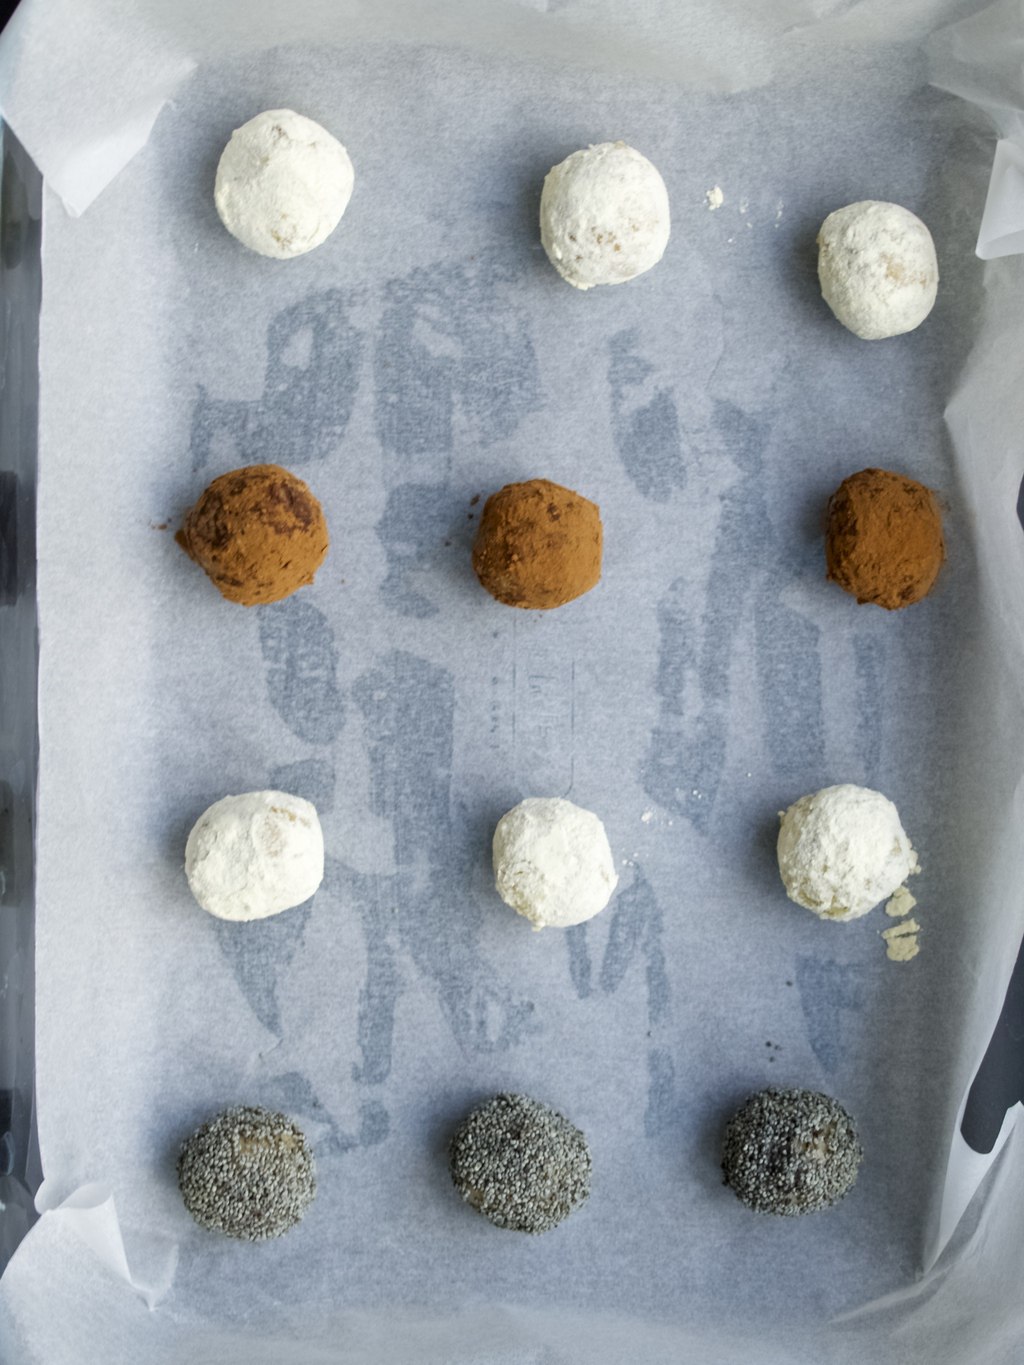 4. Bake them in preheated 180C oven for 10-15 minutes. Let it cool before eating ;-).
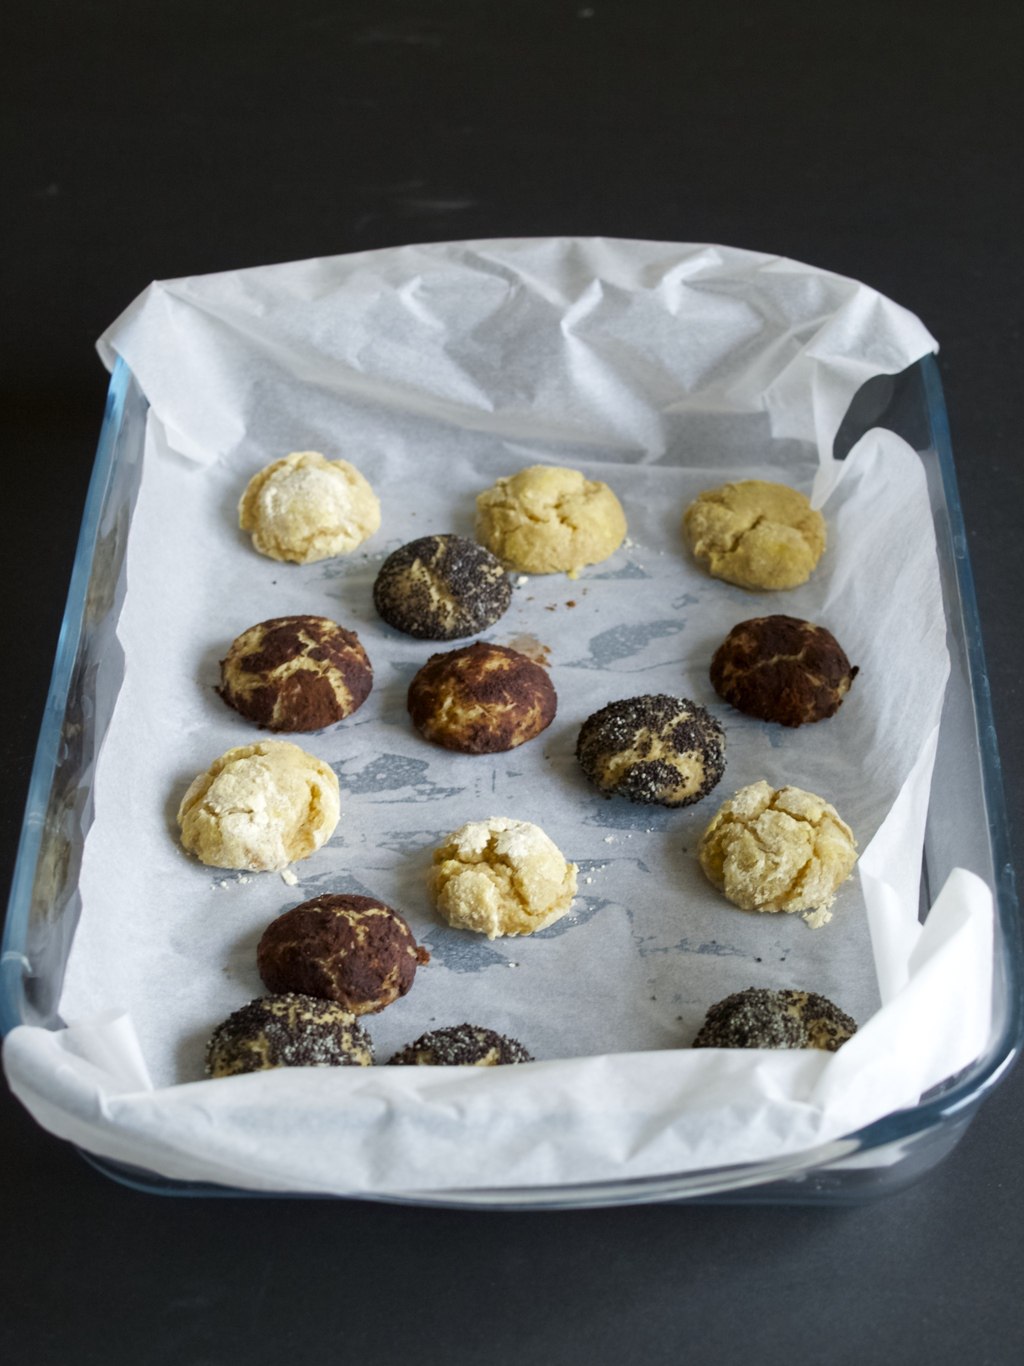
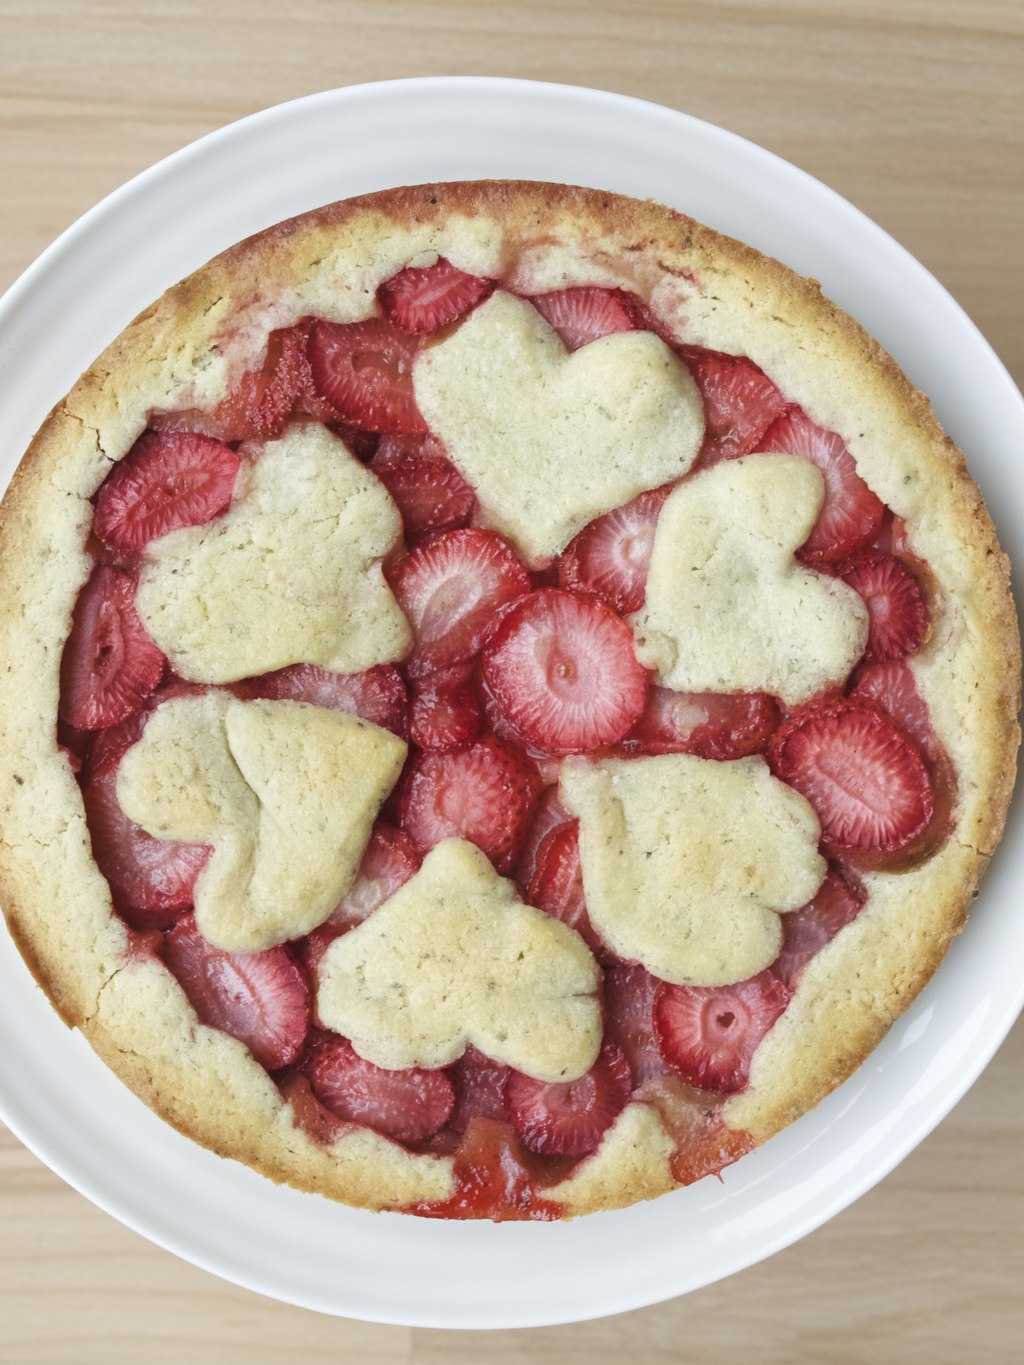
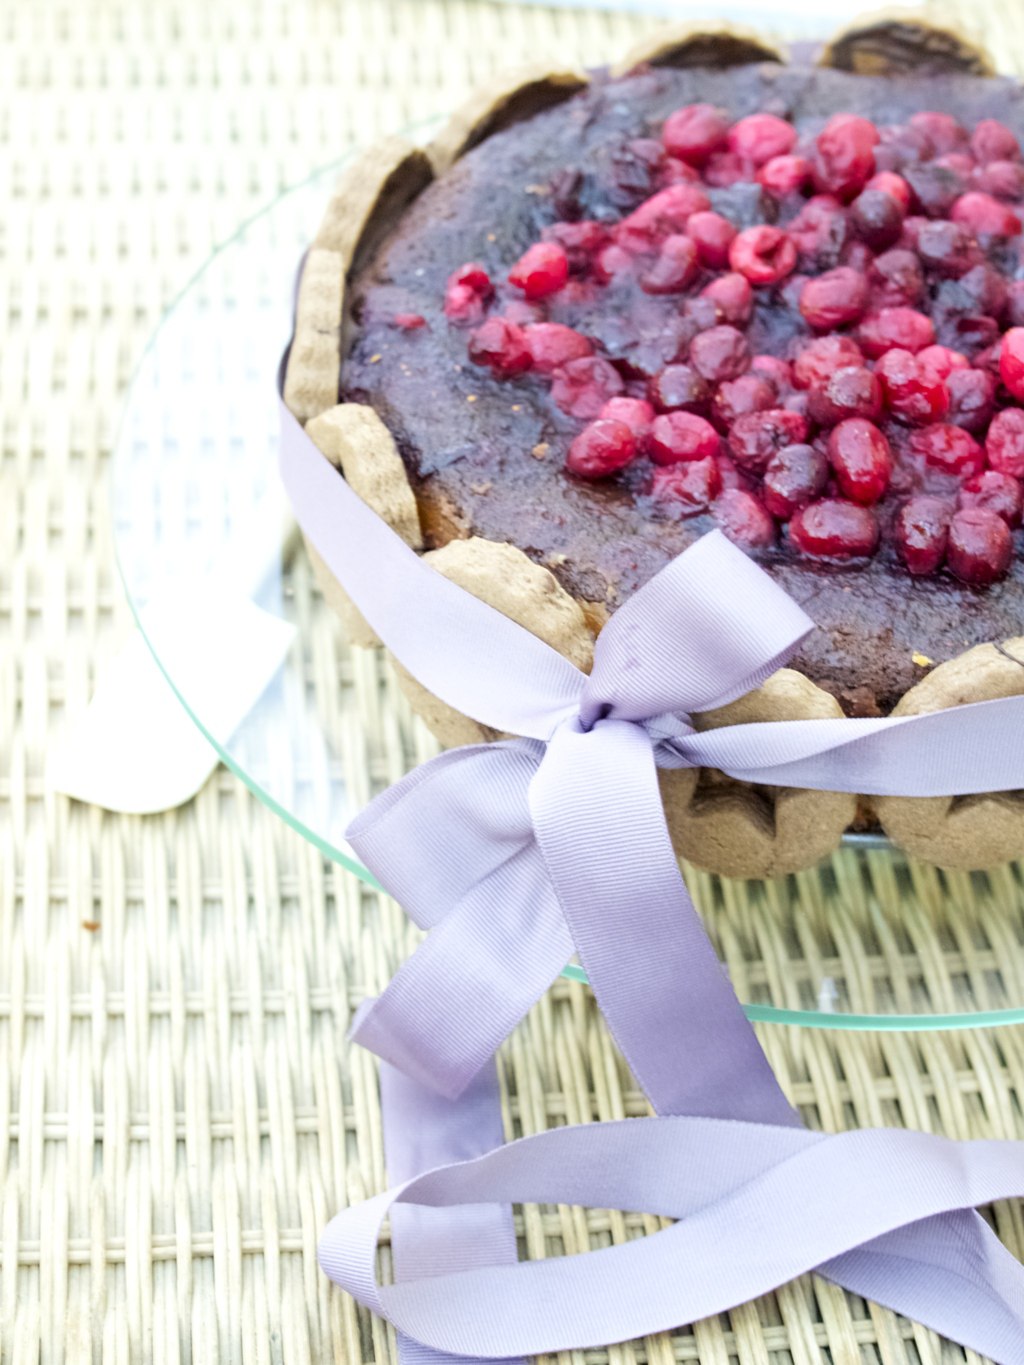
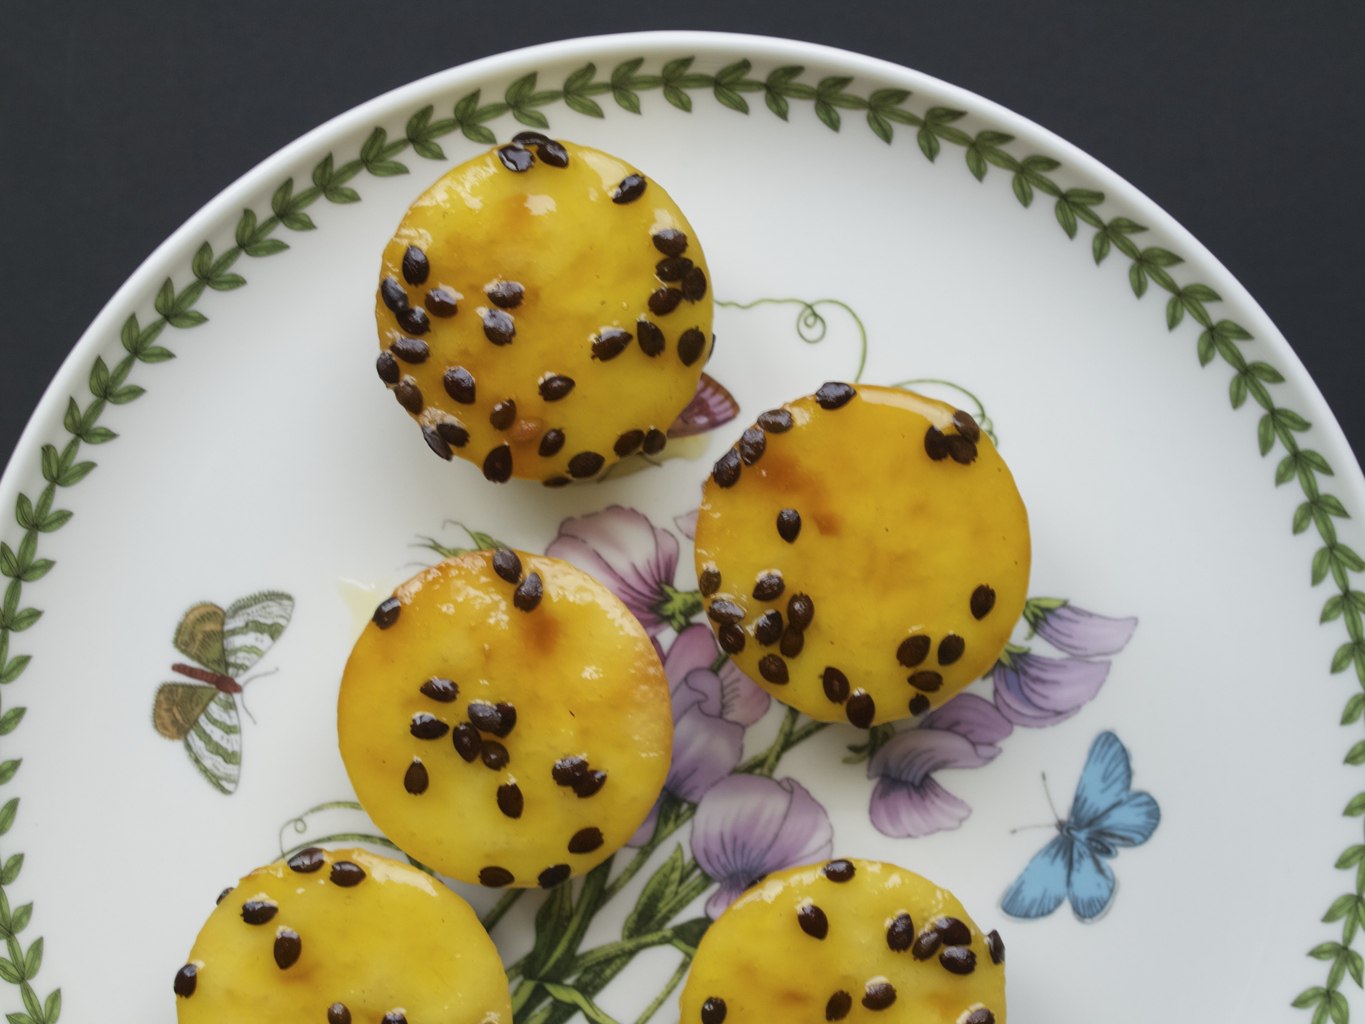
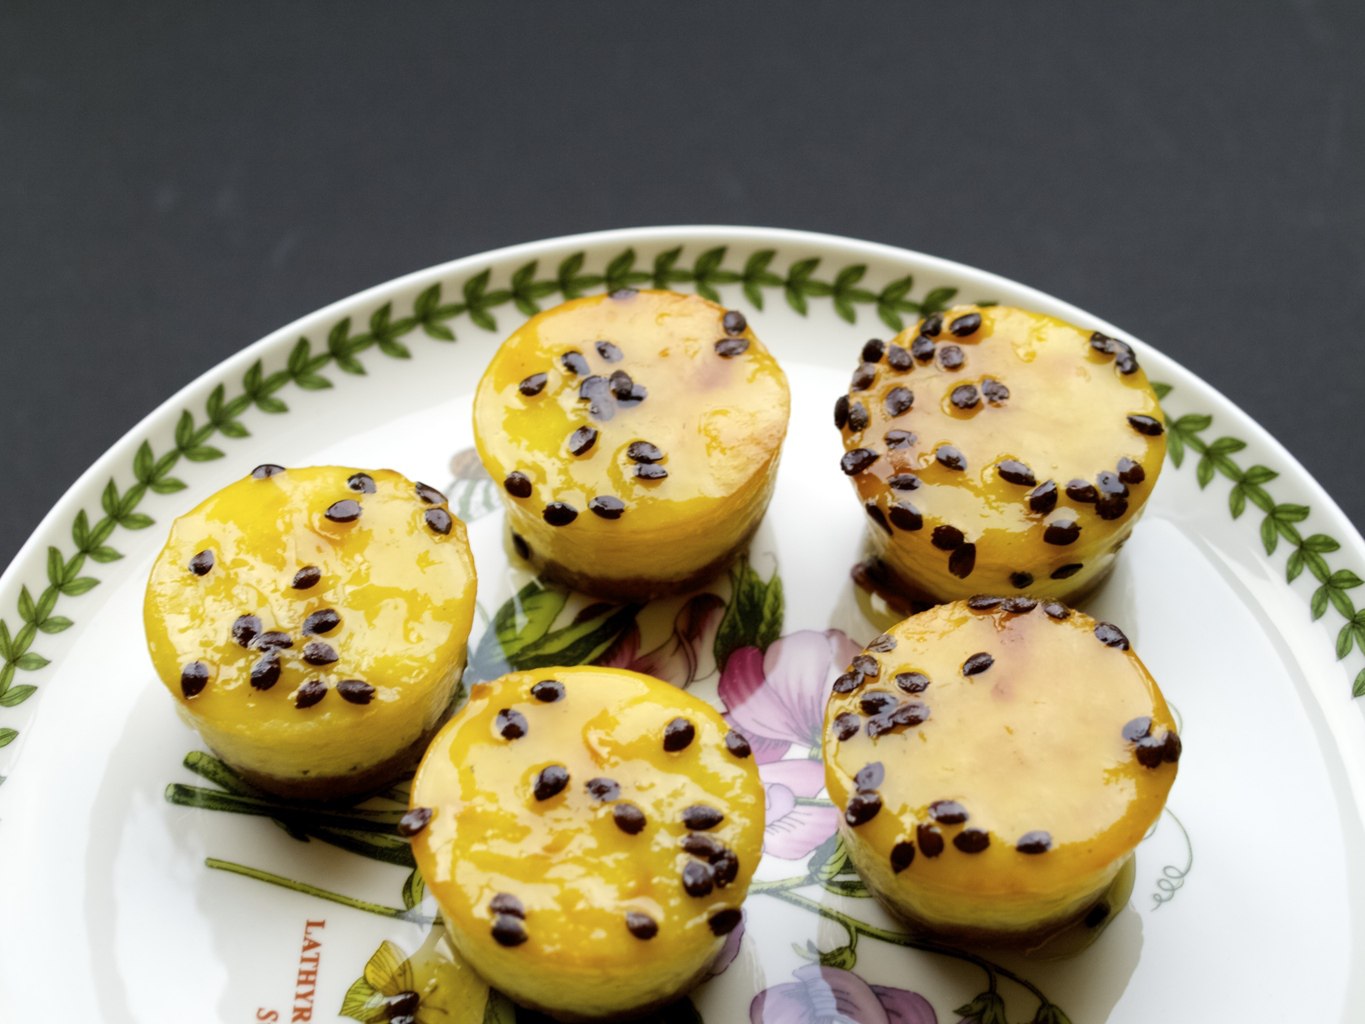
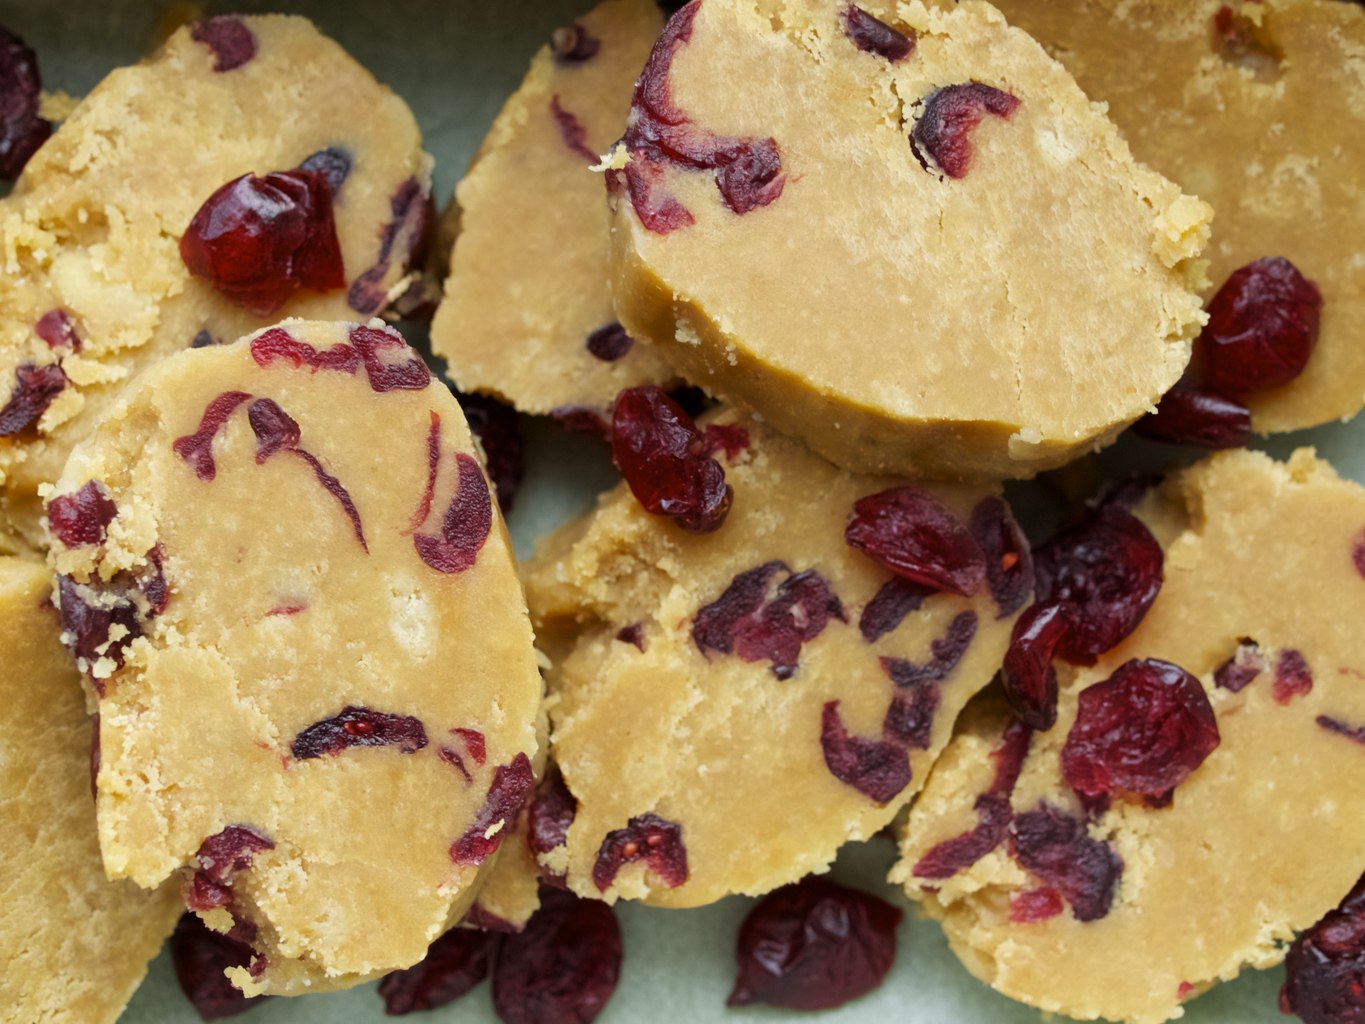
 Enjoy!
Rasa xoxo


 I wanted to try