Top

Archive | Embroidery

Ways to use up your yarn scraps

How to use up yarn scraps: projects and tips So the thing is that since I organised my yarn and saved it from moth infestation I realised I had lots and lots of scraps. If you been crafting for many years, than you will understand it’s never a good idea to let your small amounts of yarn just keep piling up. It takes up a lot of space and then you may worry about moths possibly attacking it again. No, thanks! So what do you do with all those little bits of yarn that are leftover after your knitting and crocheting projects? I thought of few ways…

1. Small projects, first comes to my mind. With winter coming over I have been knitting socks and hoping to knit some gloves and maybe hats. These are fit to become Christmas gift too!How to use up yarn scraps: projects and tips 
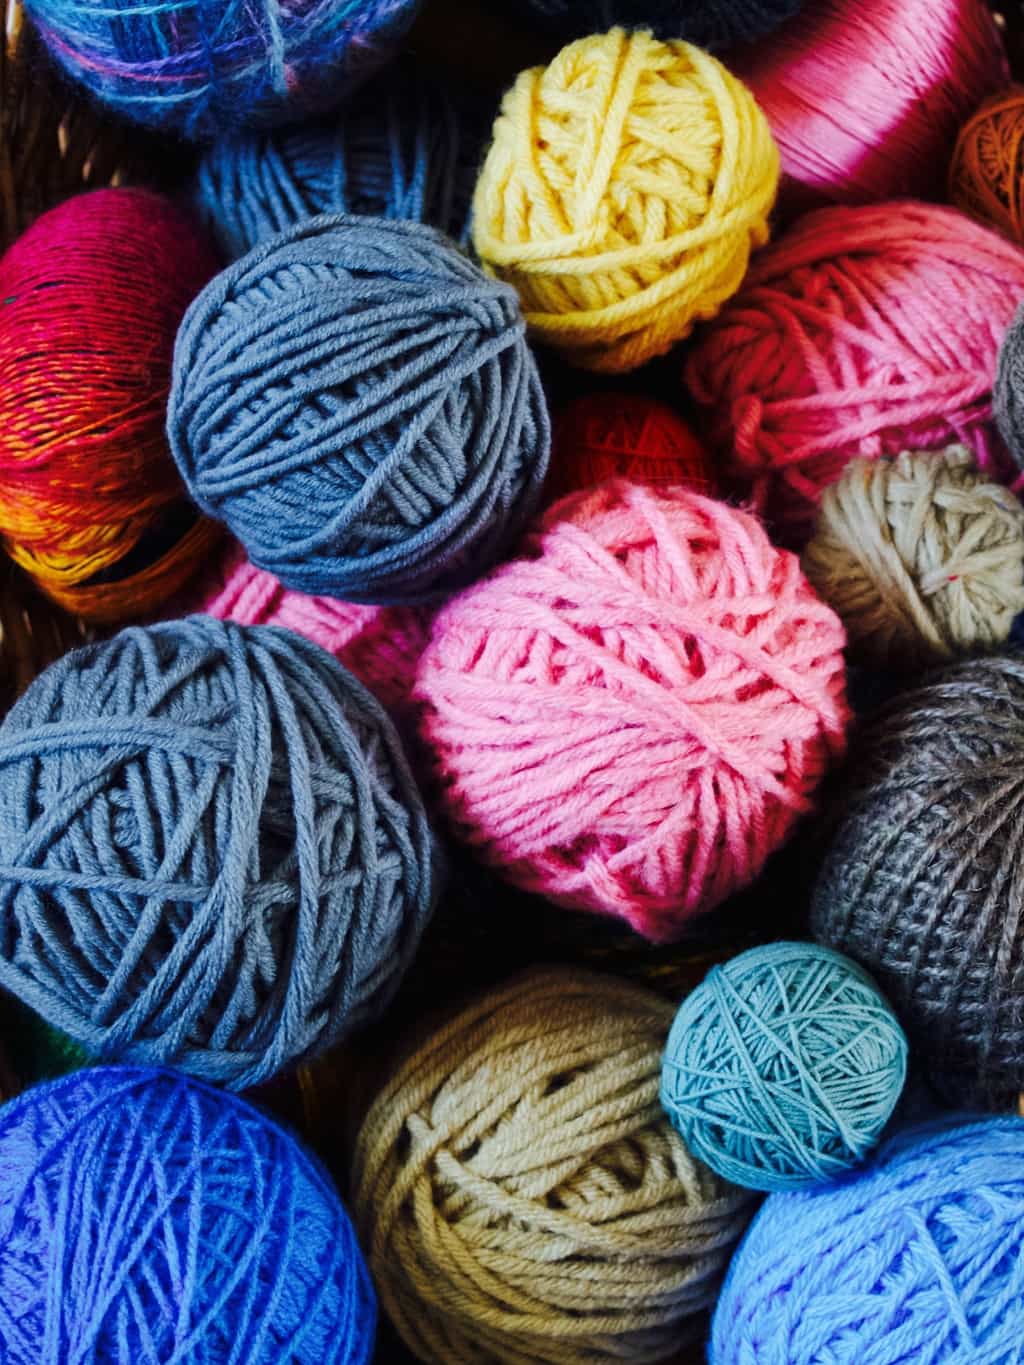
While there are plenty of small projects out there I find knitting socks is my favourite item to knit (that magical heal turn gets me every time!).  If you feel the same then click here for basic kids socks. Or if you prefer to knit this pretty baby hat then the tutorial for it hides here :D.How to use up yarn scraps: projects and tips
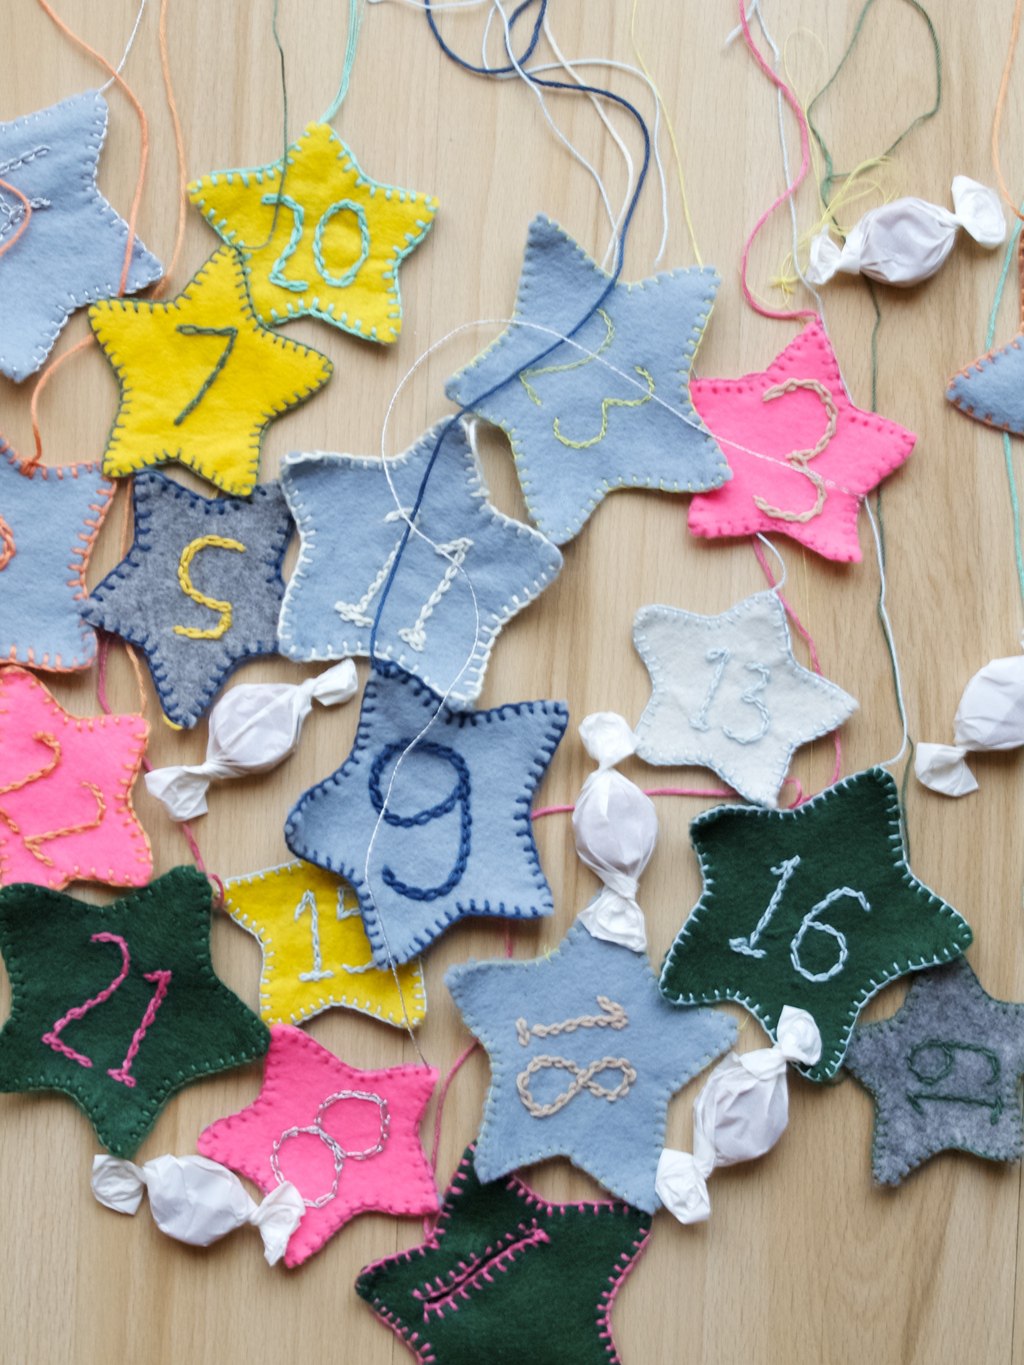
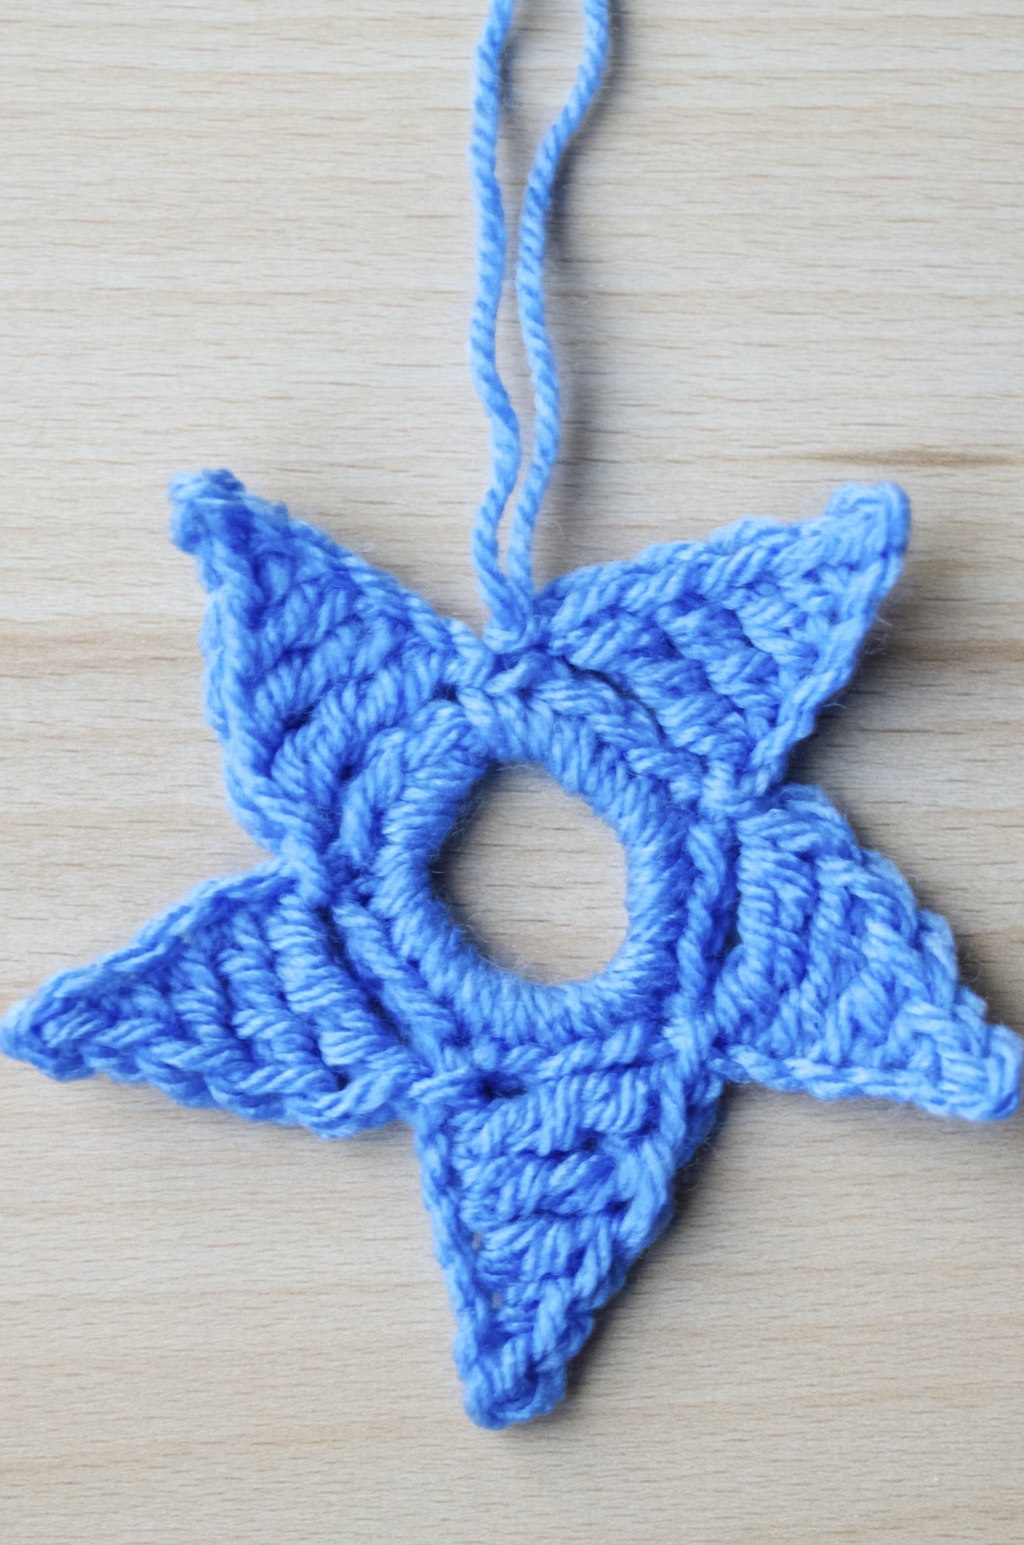
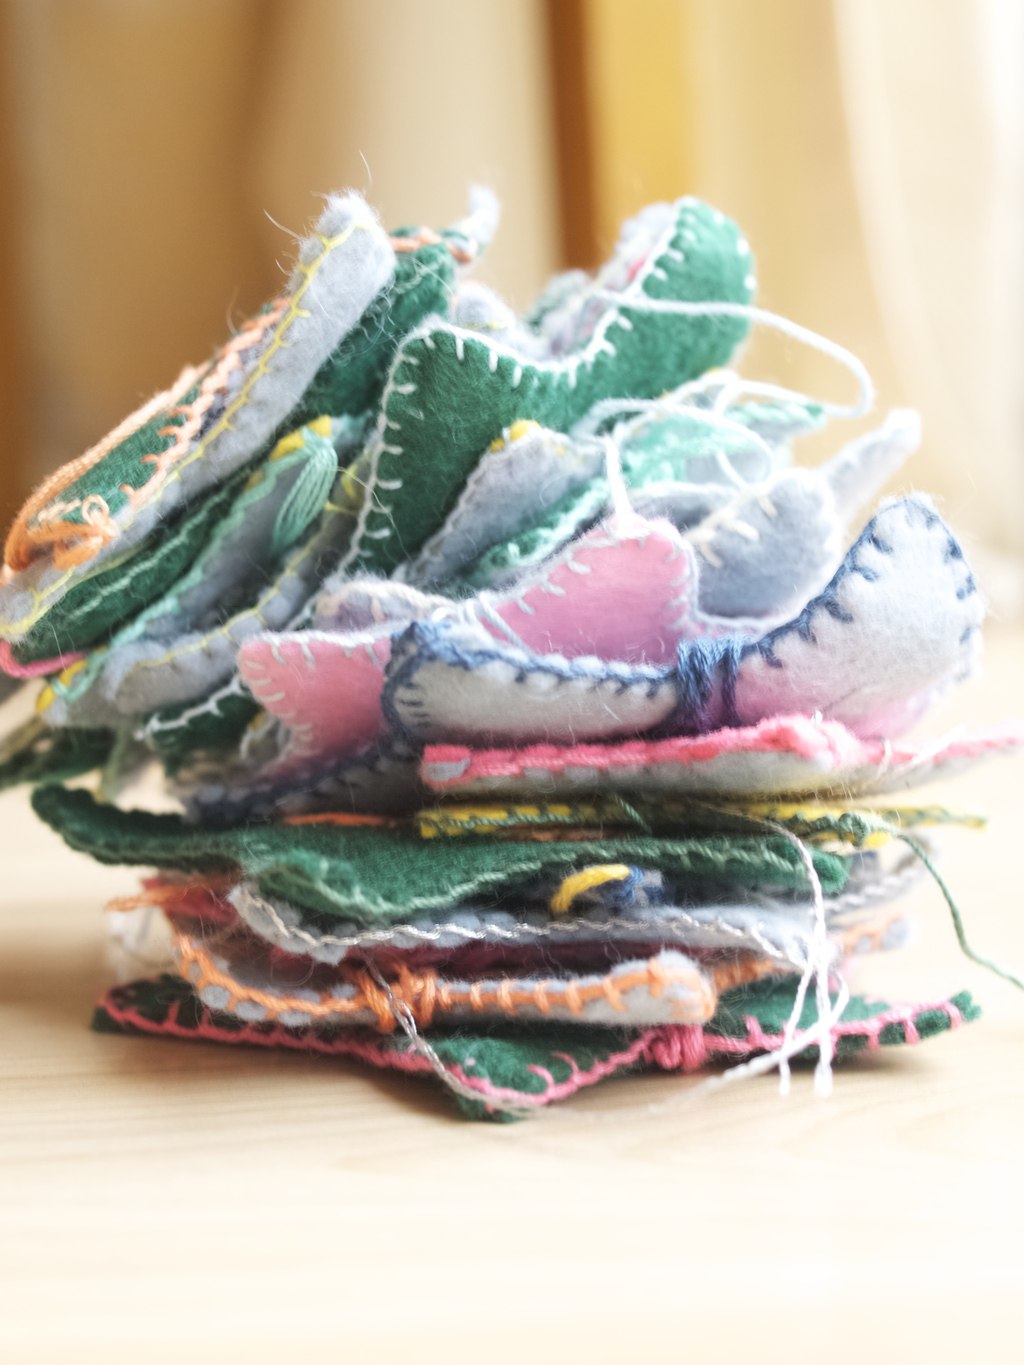
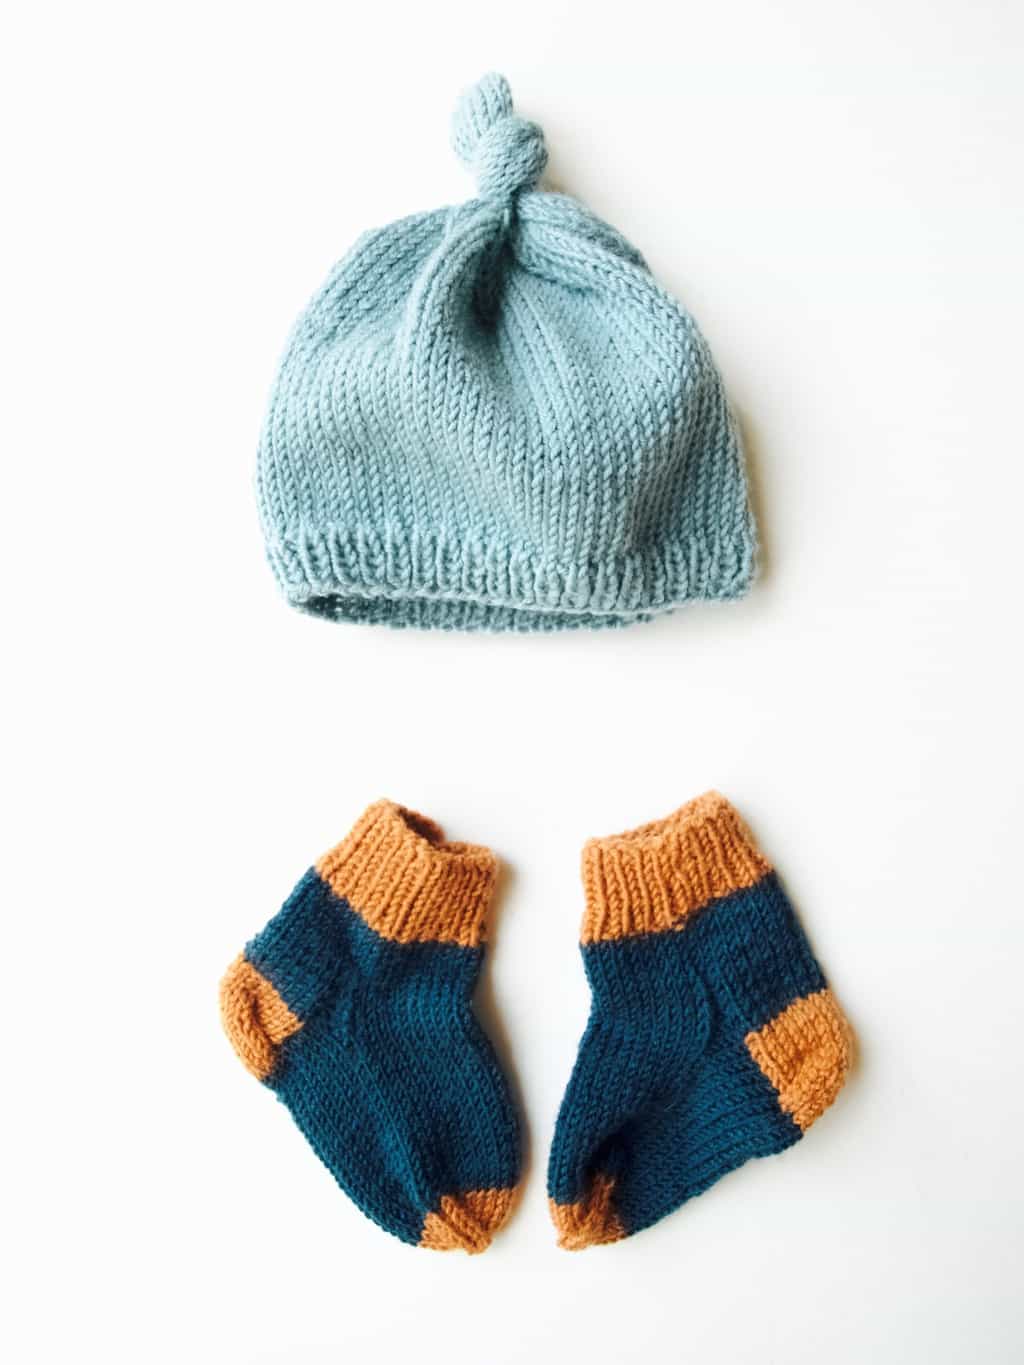
If you are after for a very teeny weeny project then you should check out this crochet triangle pattern tutorial. It makes a very cute garland for Christmas tree perhaps??!How to use up yarn scraps: projects and tips 2. Making big multicolour rugs or blankets is another good way to use up yarn scraps. Few years ago I started making this never ending, upcycled crochet rug that sadly did not continue (because it did not fit our new home style). But the point I am trying to make here, this is very good project to do to use up all those itsy bitsy bits of yarn. How to use up yarn scraps: projects and tipsOr this giant blanket, very popular way to use up all that scrap yarn. I know, I know, I made it in one plain colour, but trust me, it looks good in multi colours too!How to use up yarn scraps: projects and tips
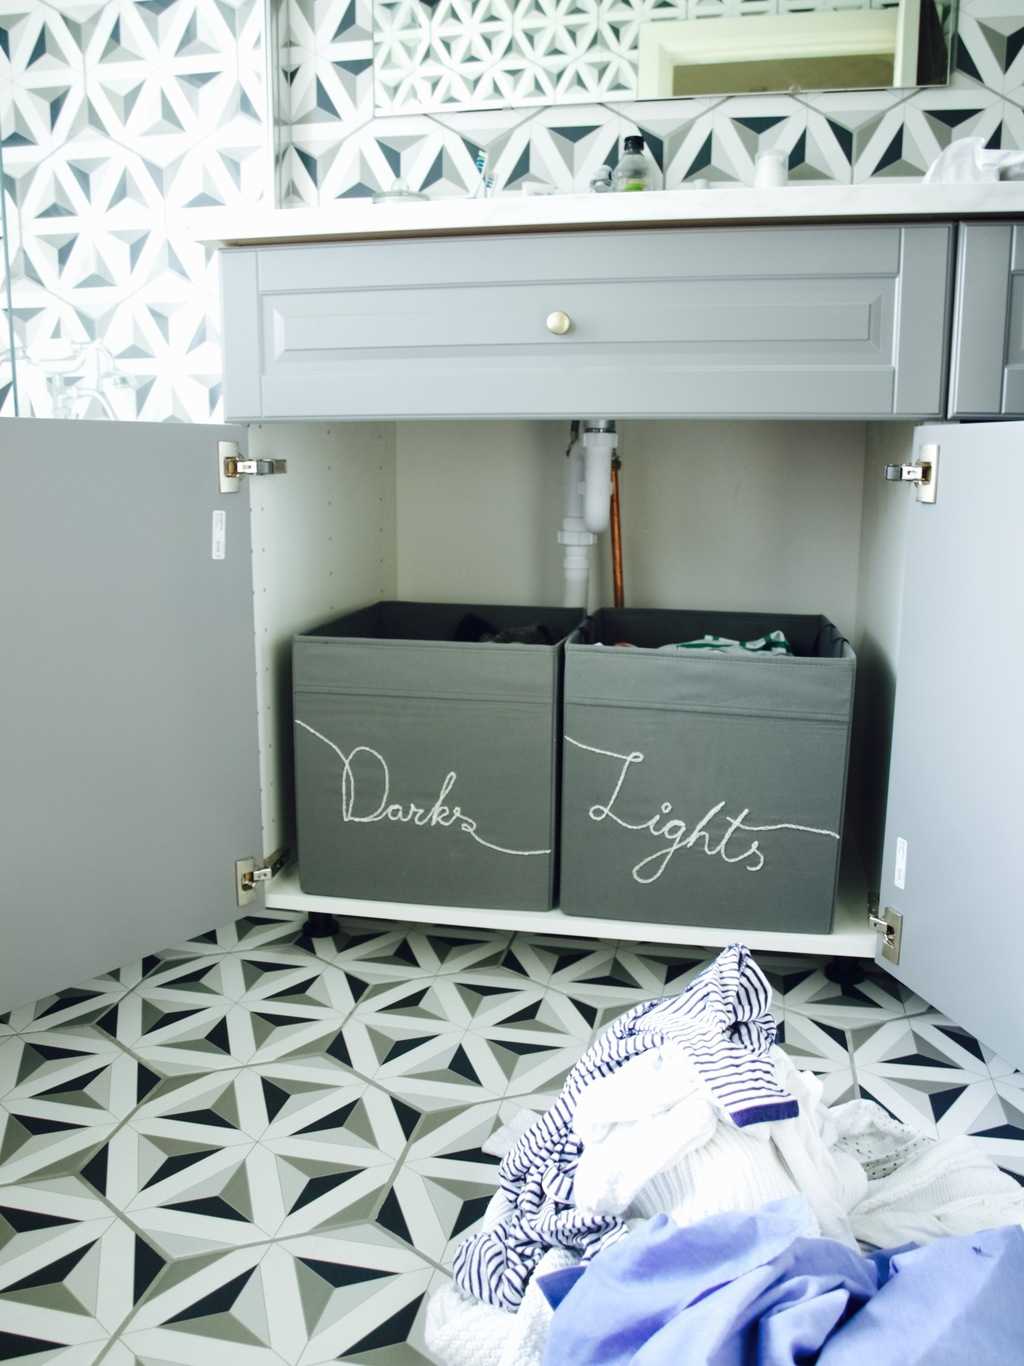
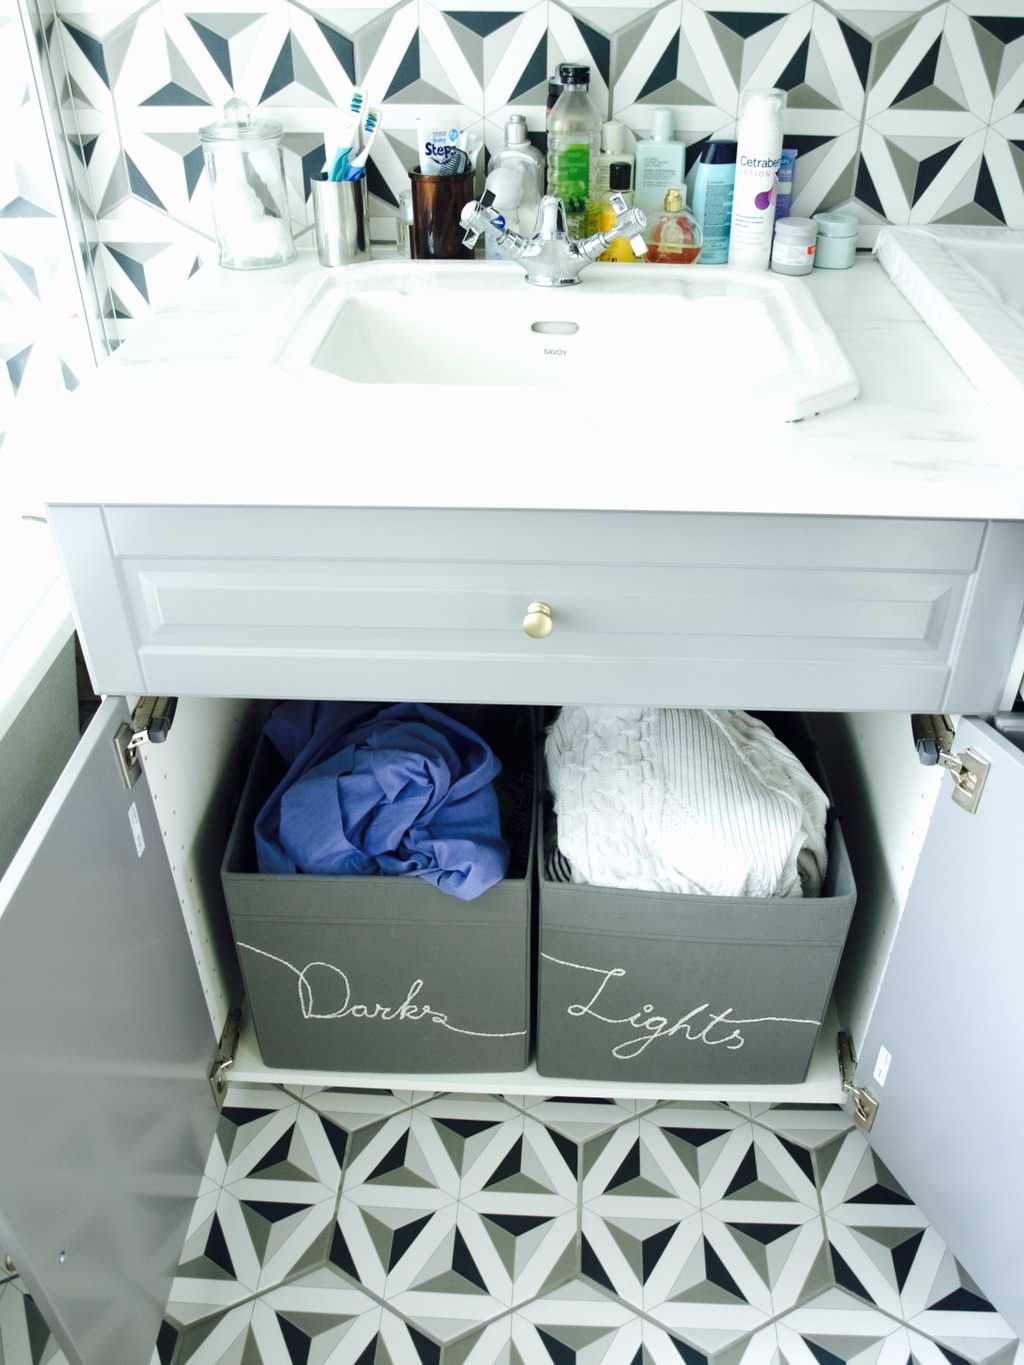
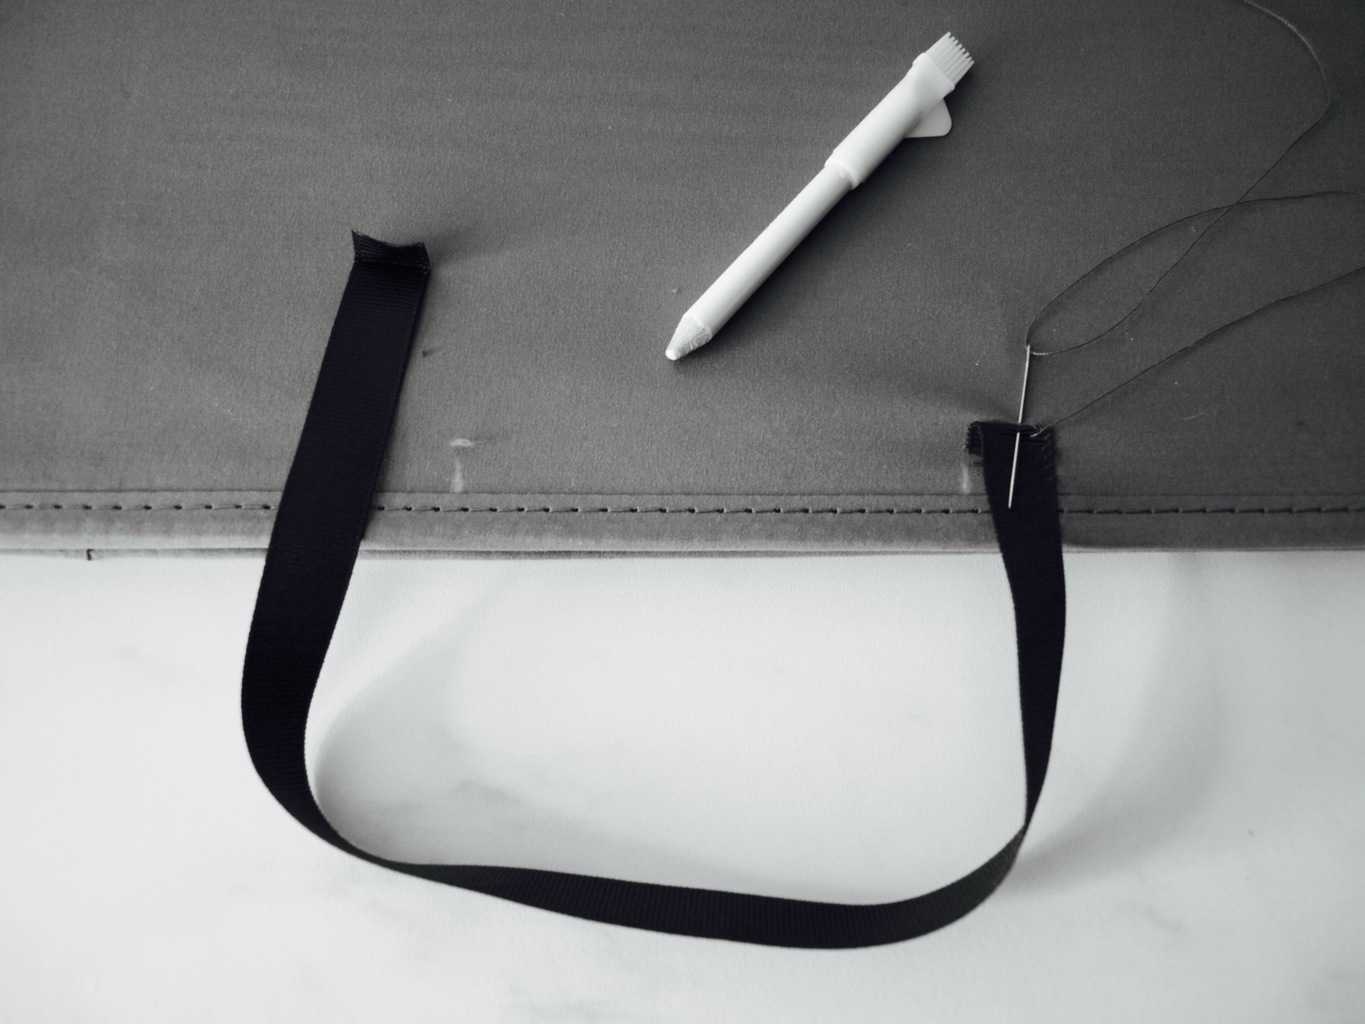
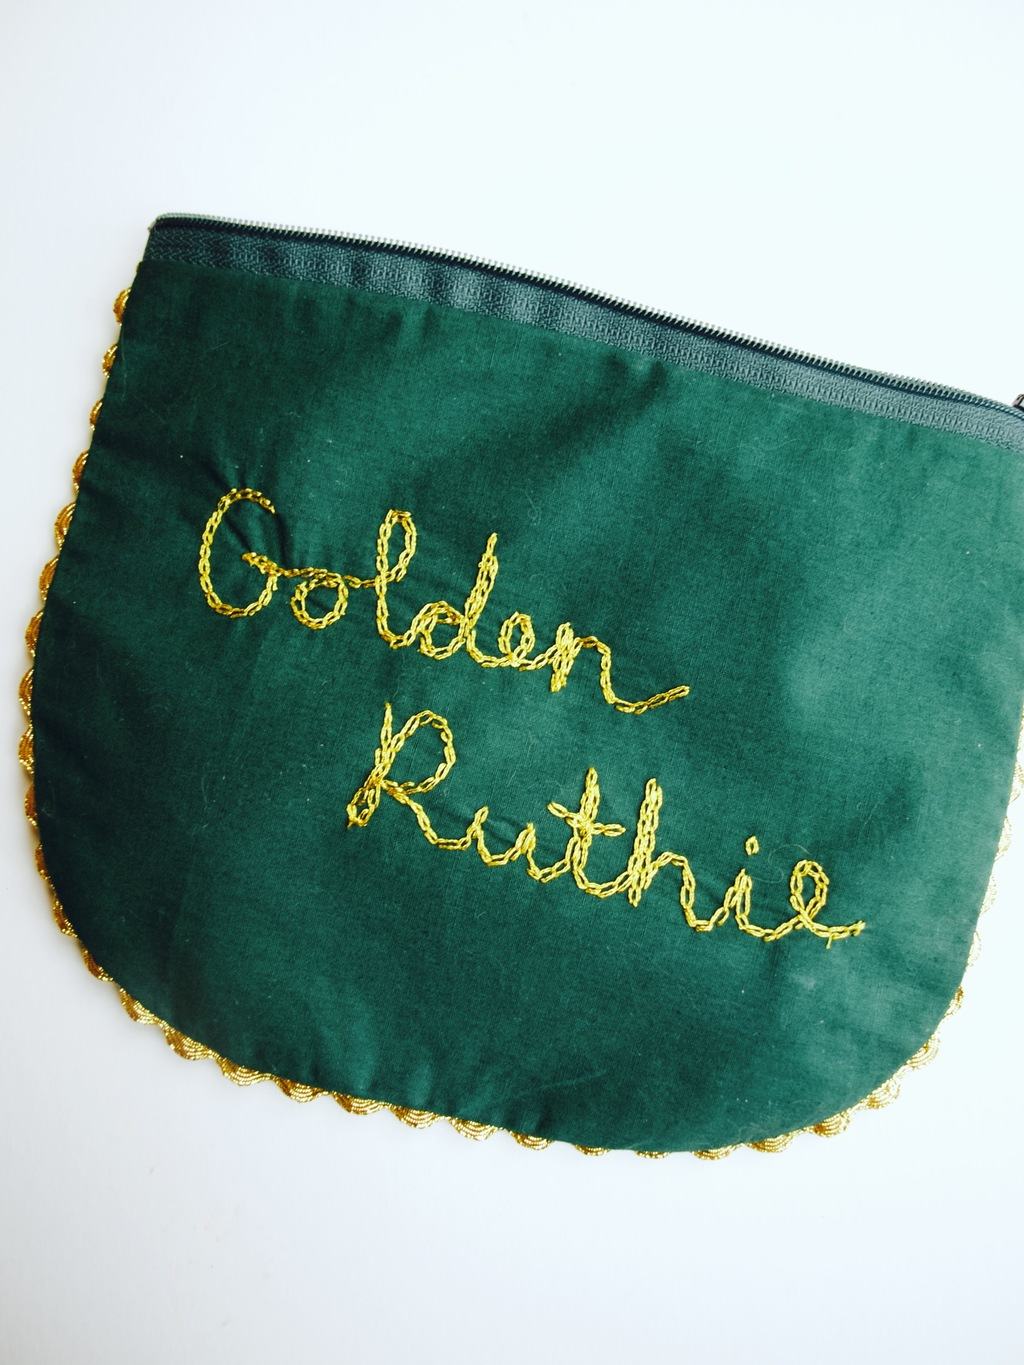
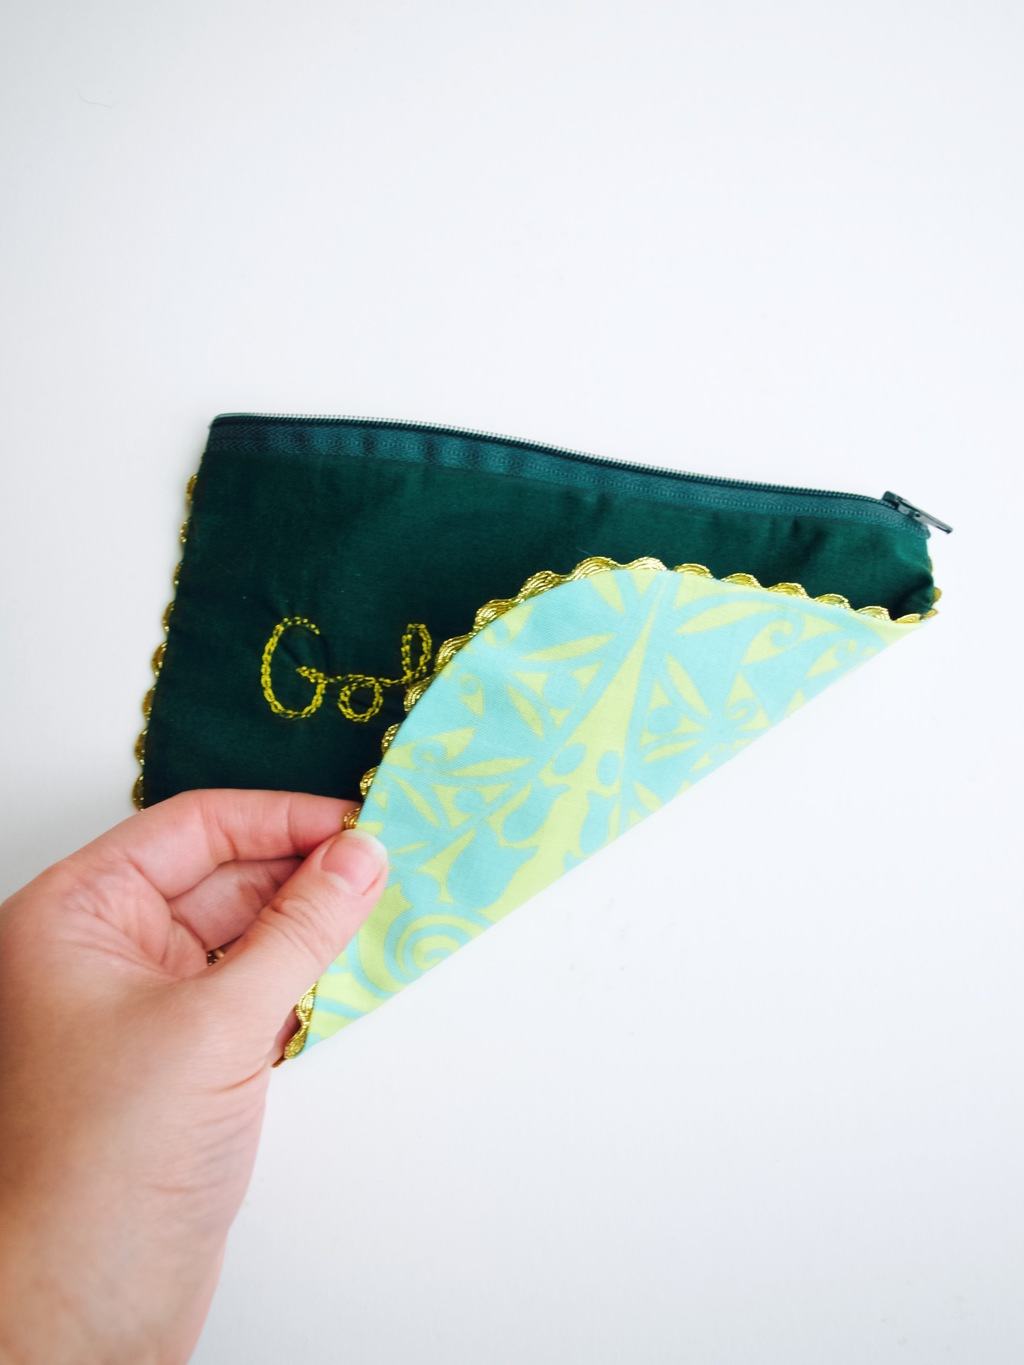
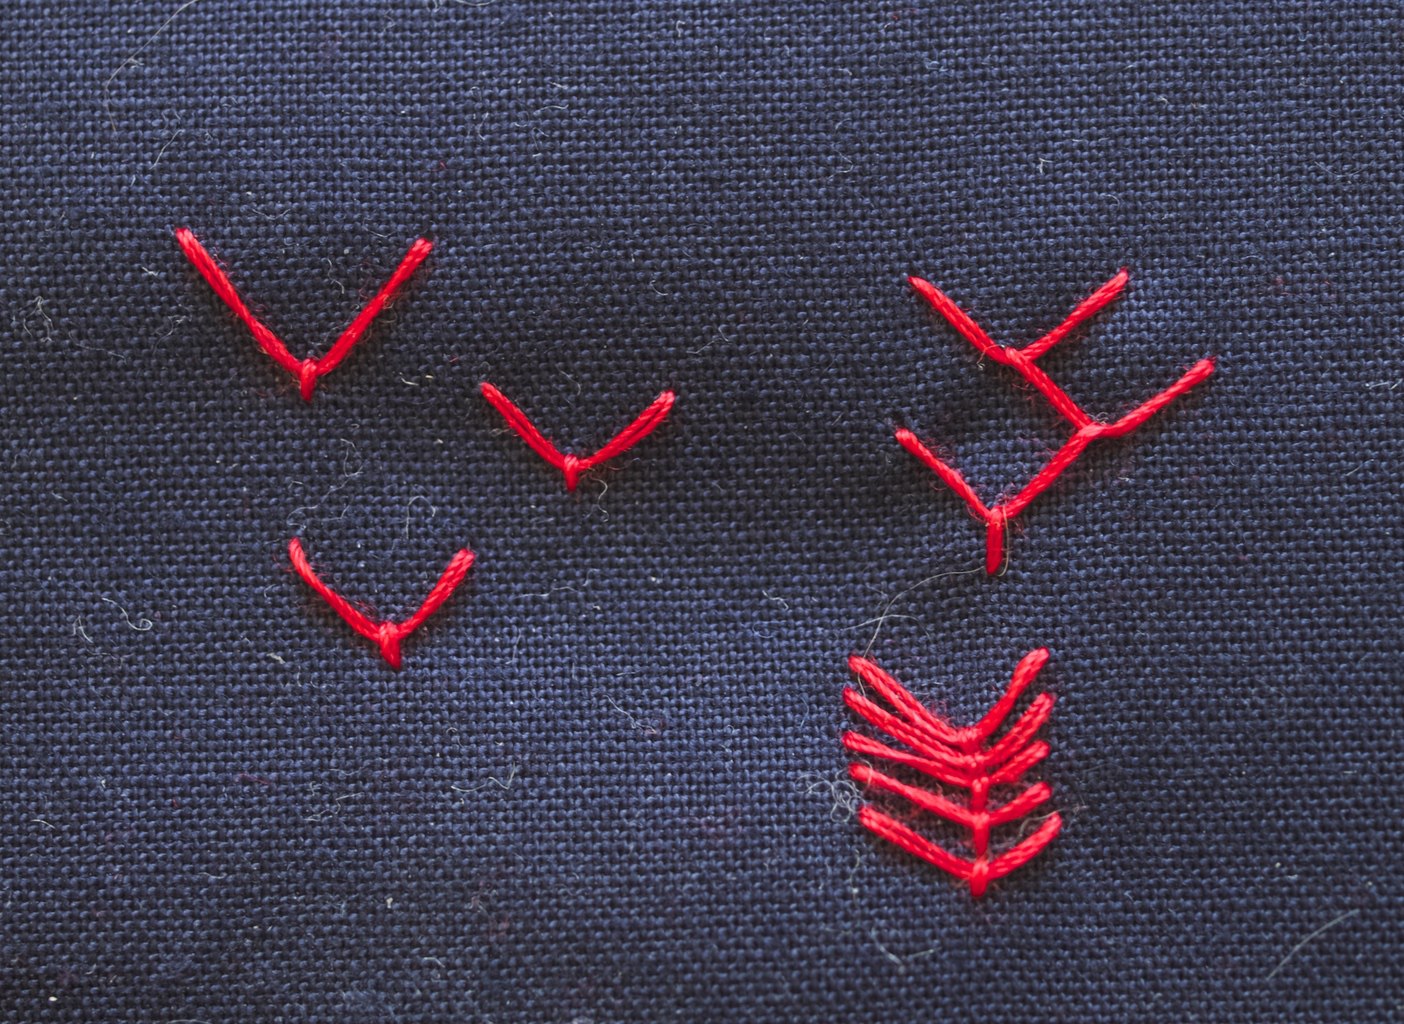
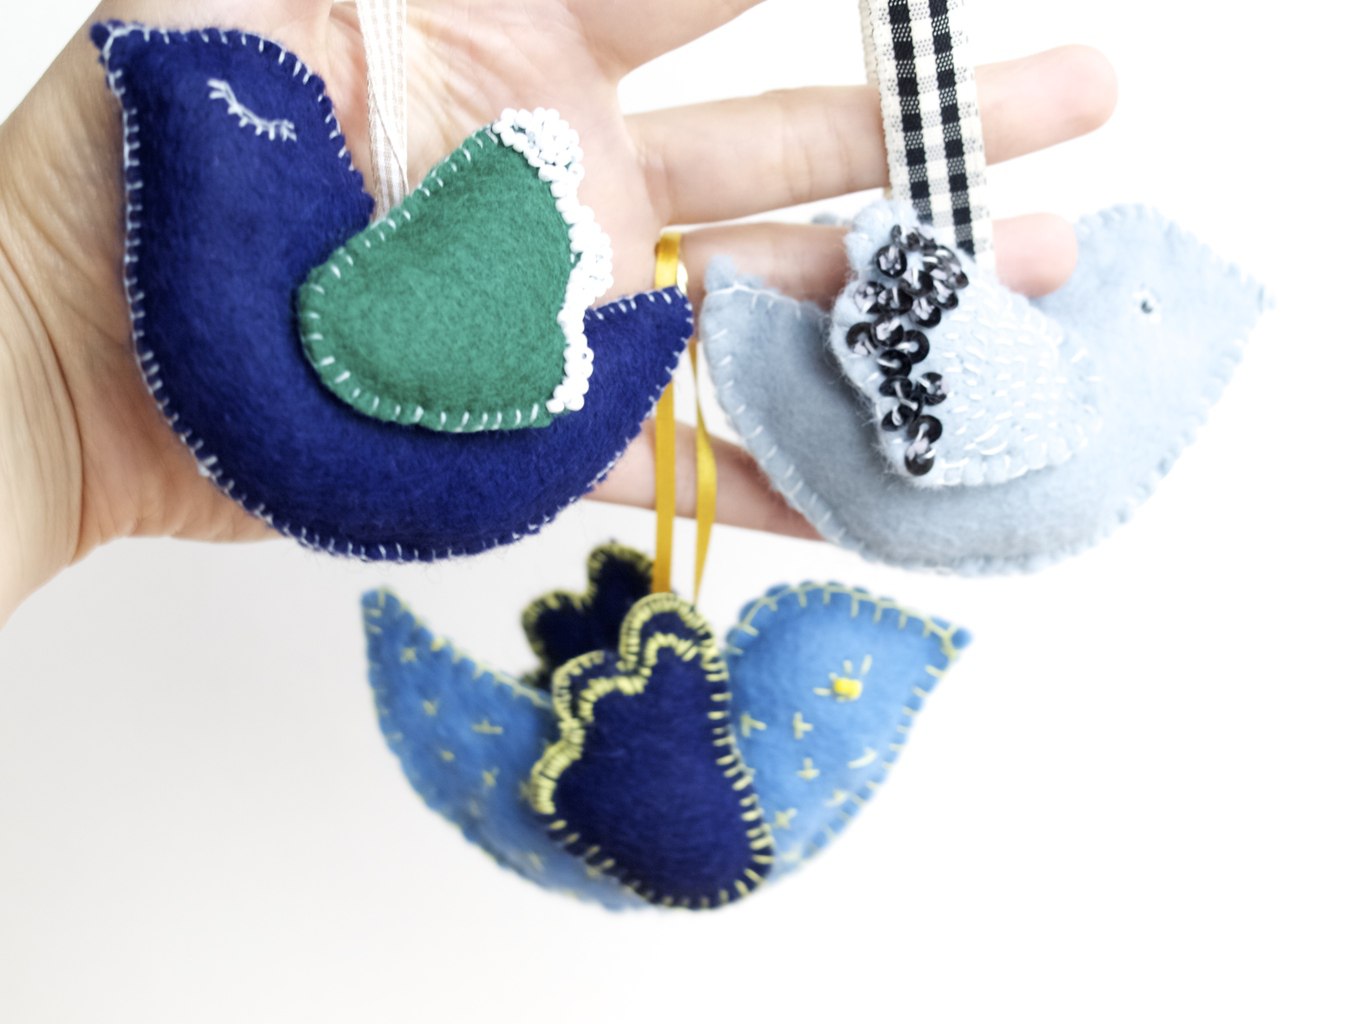
3. Using up scrap yarn can mean using it in patterns or trims. Here is one example, but there are plenty projects out there with pretty patterns ;-).

How to use up yarn scraps: projects and tips 
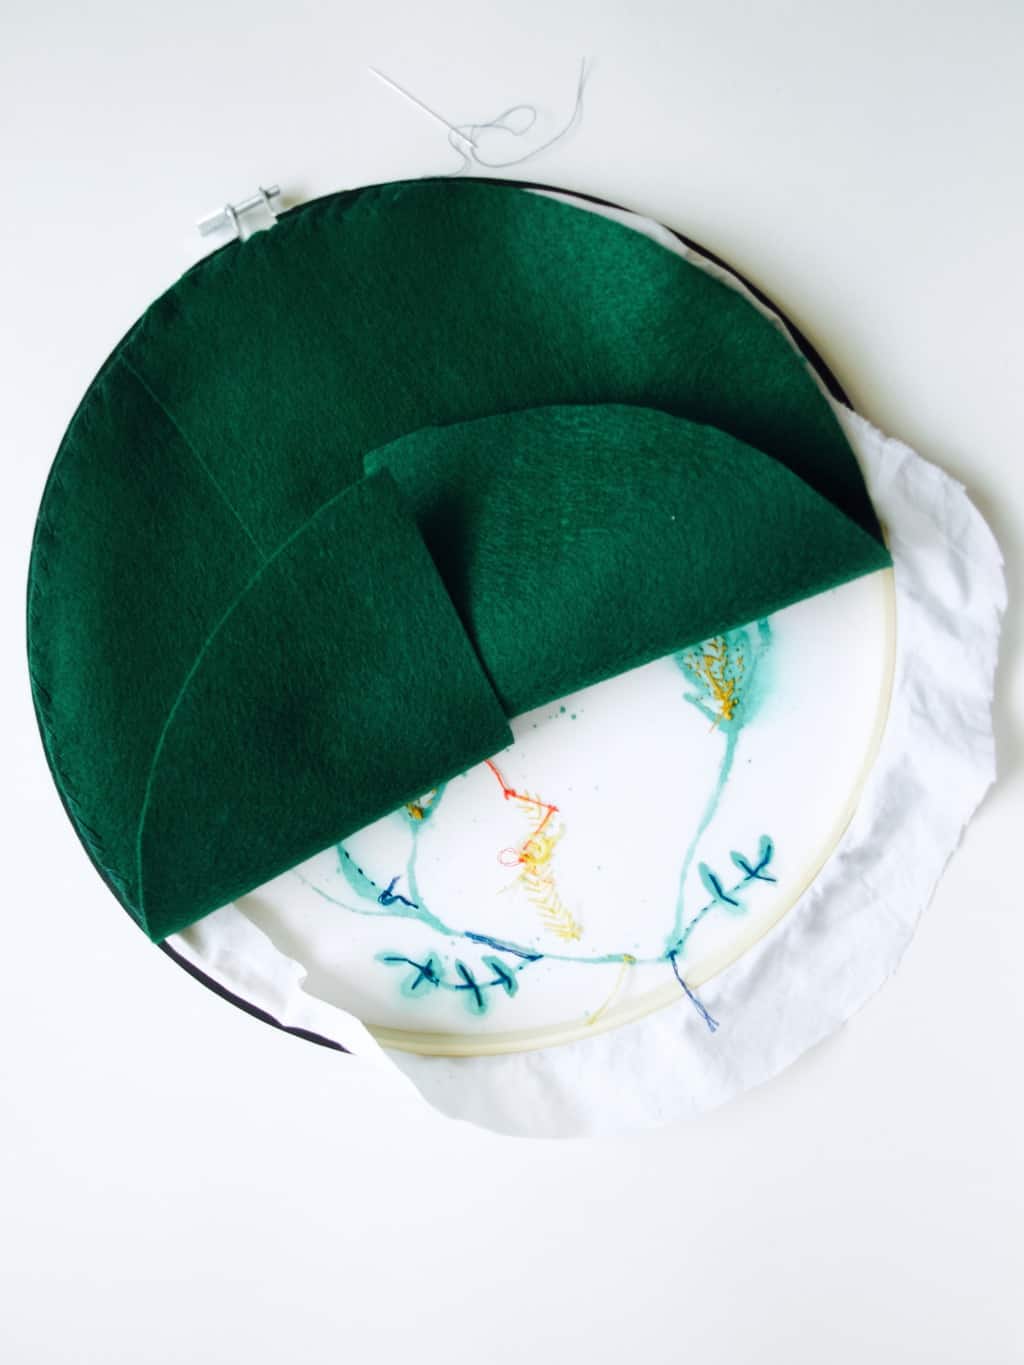
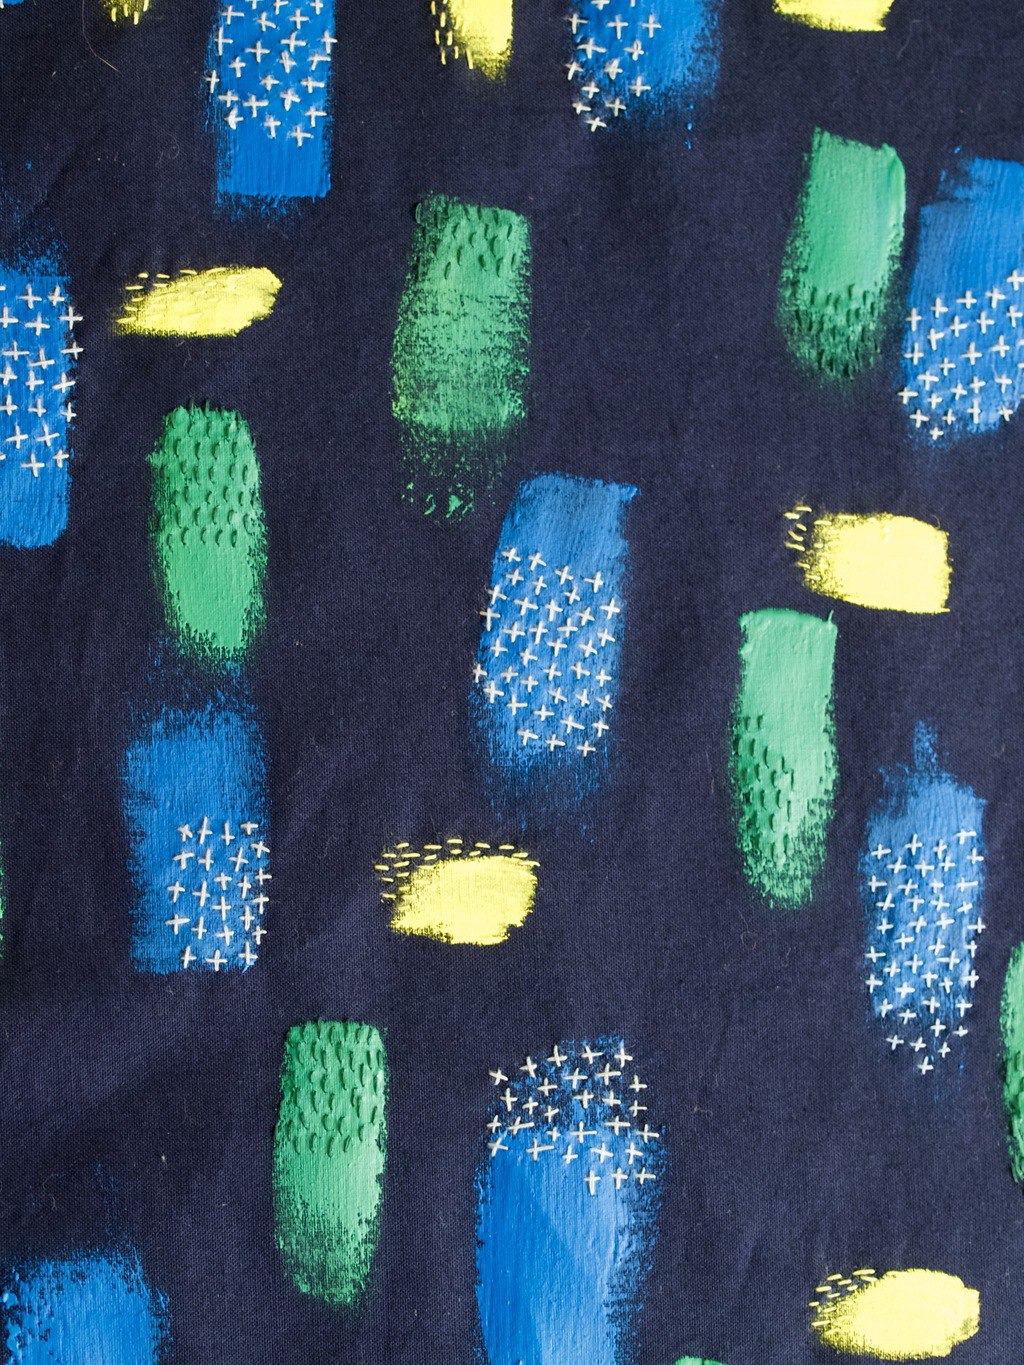
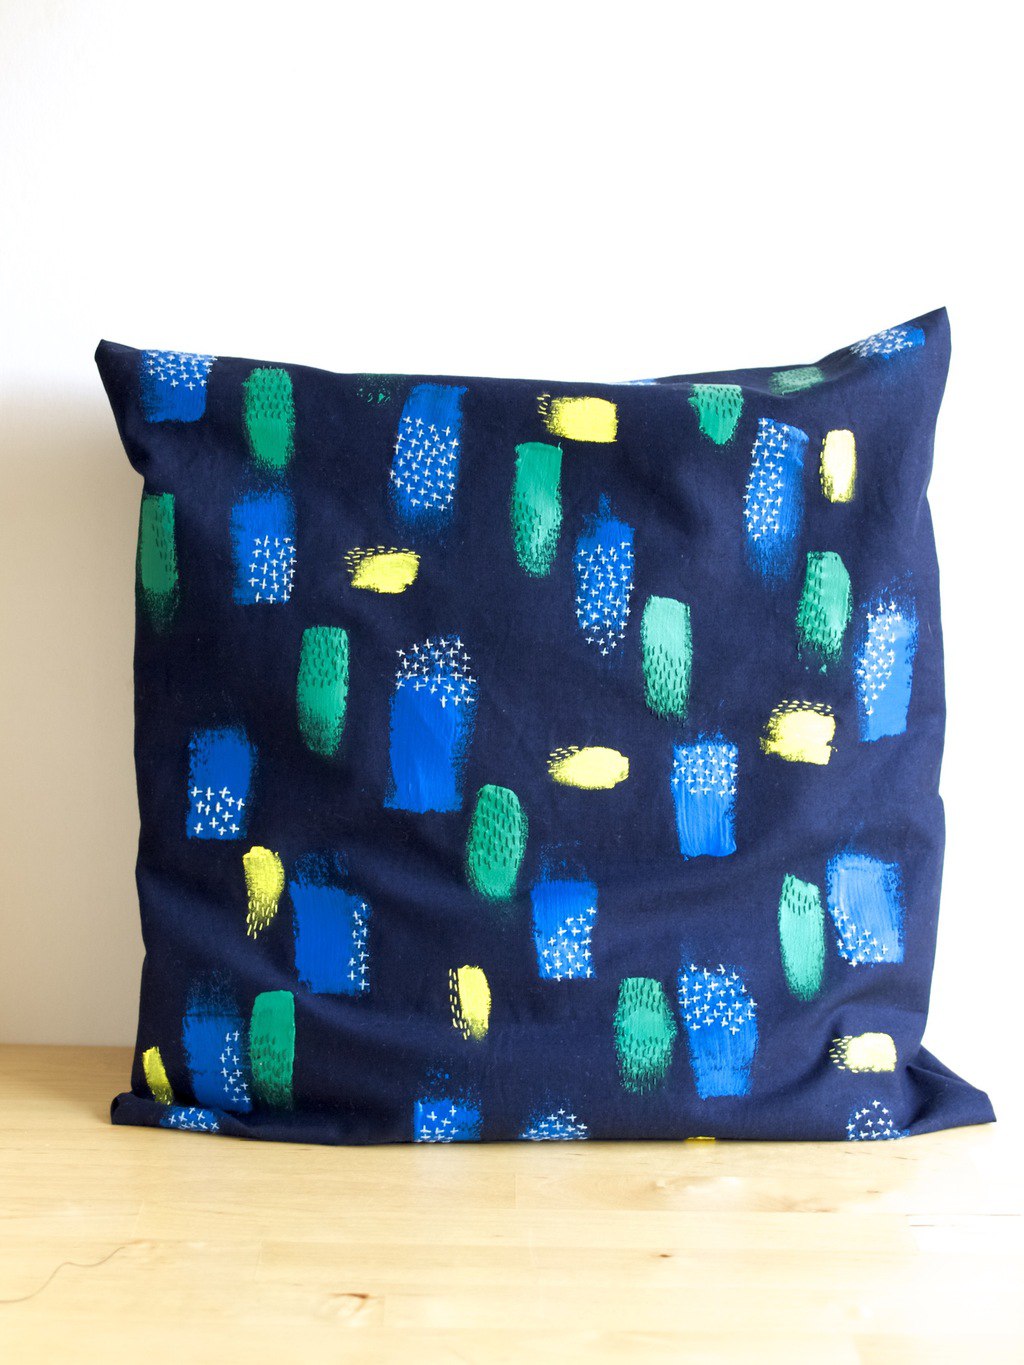
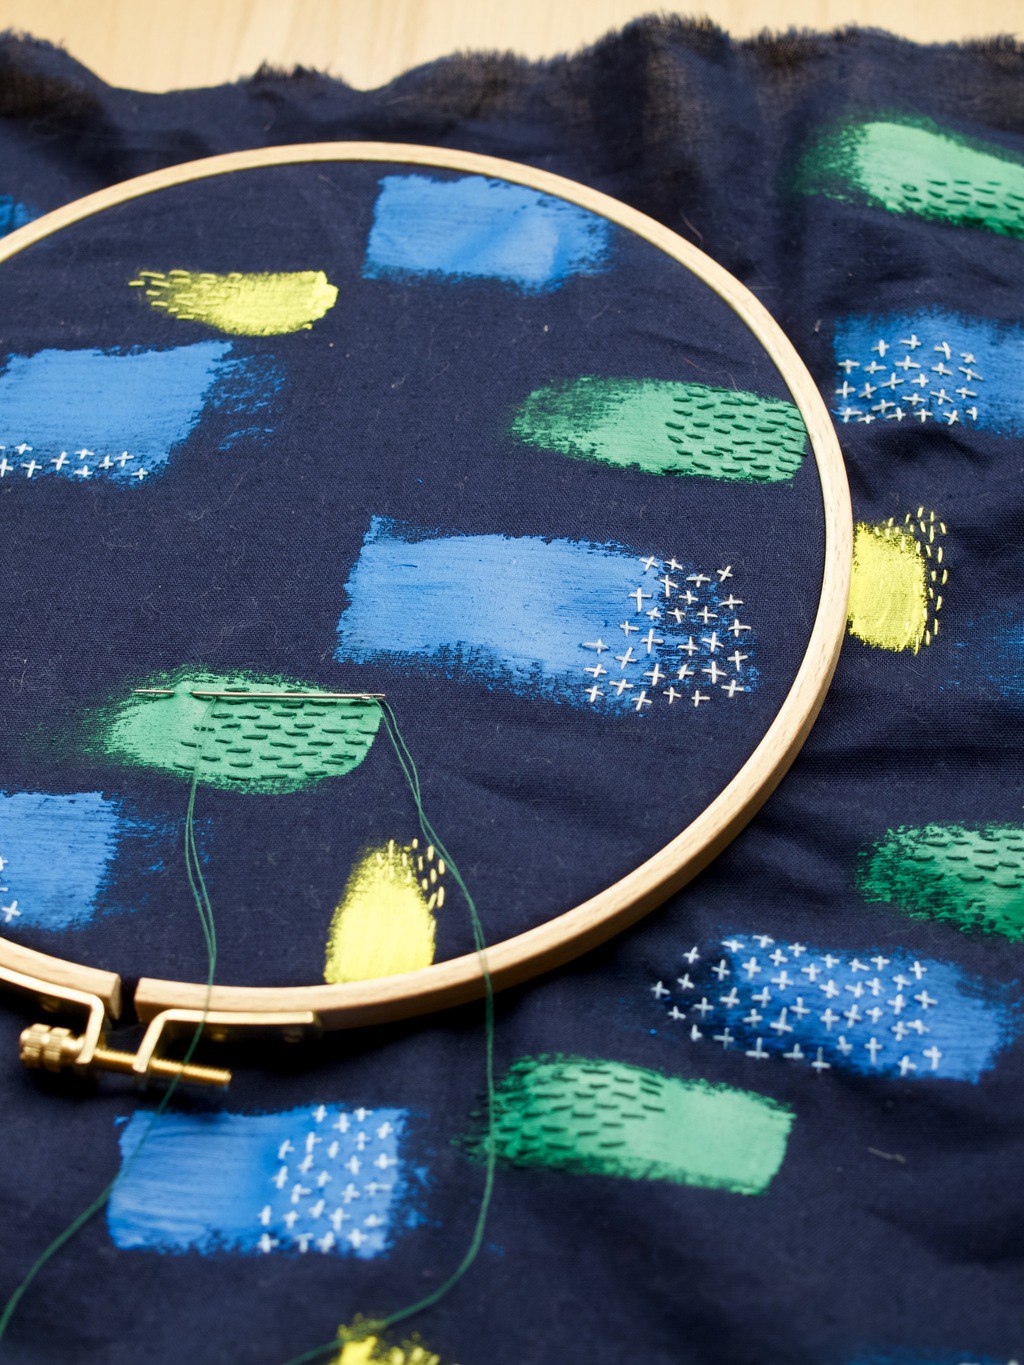
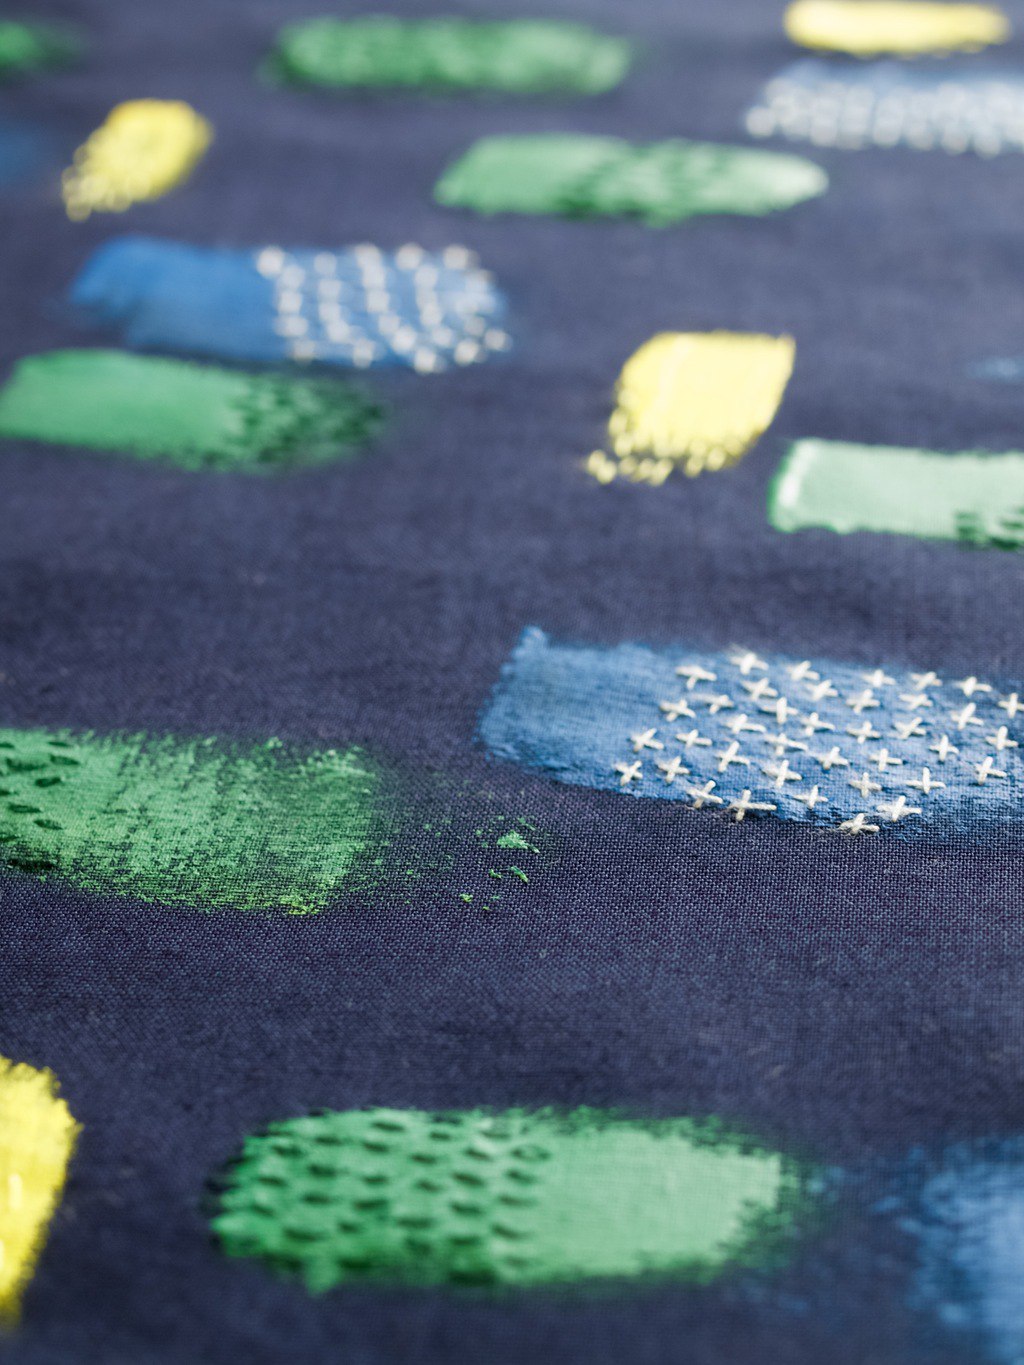
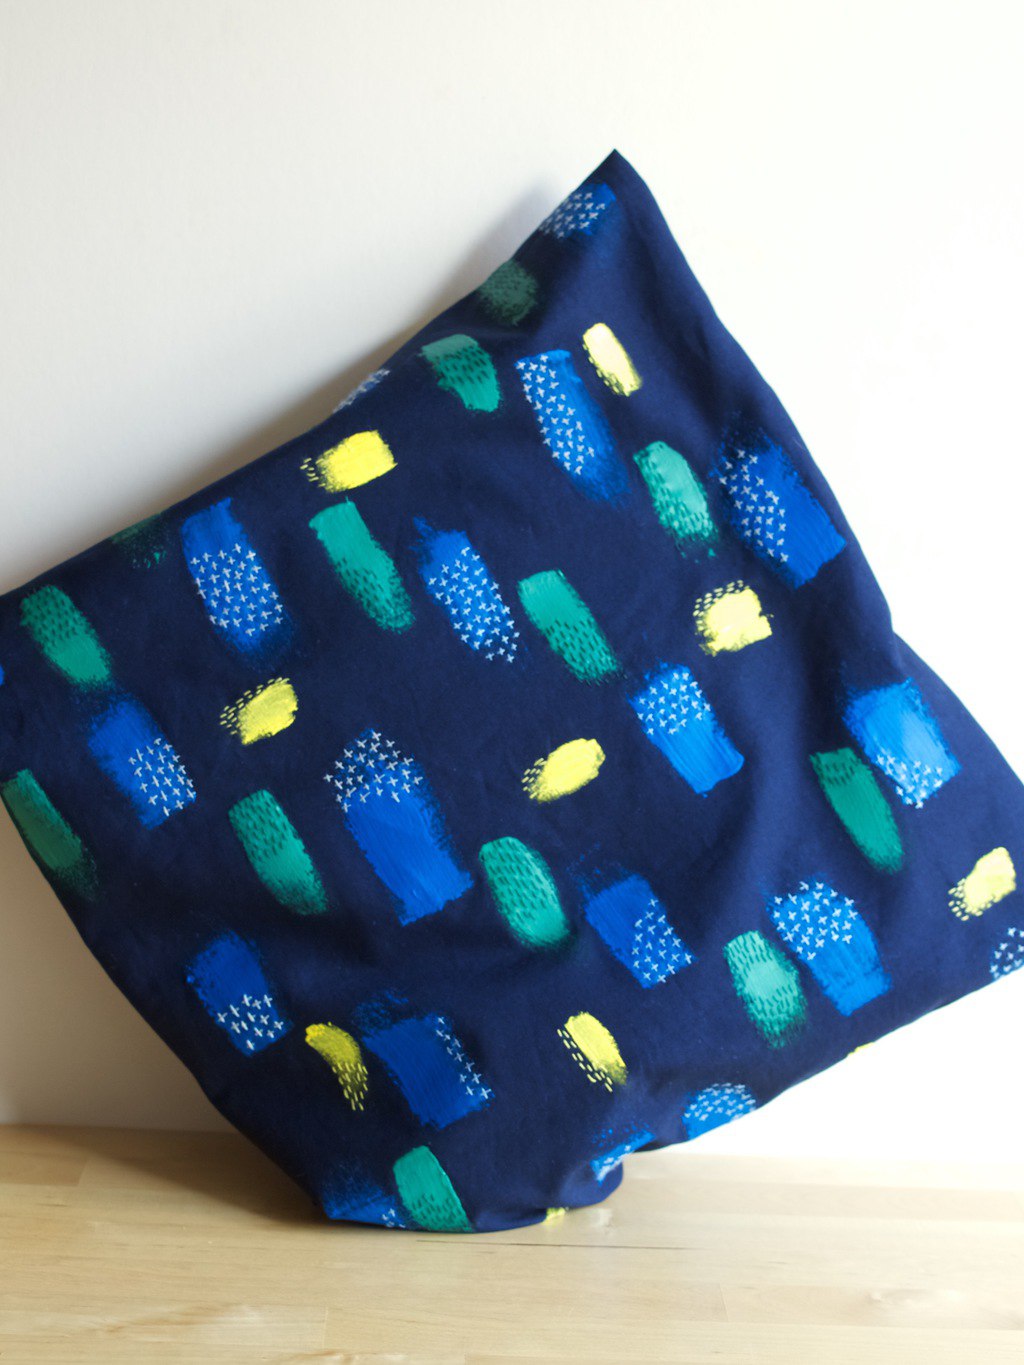
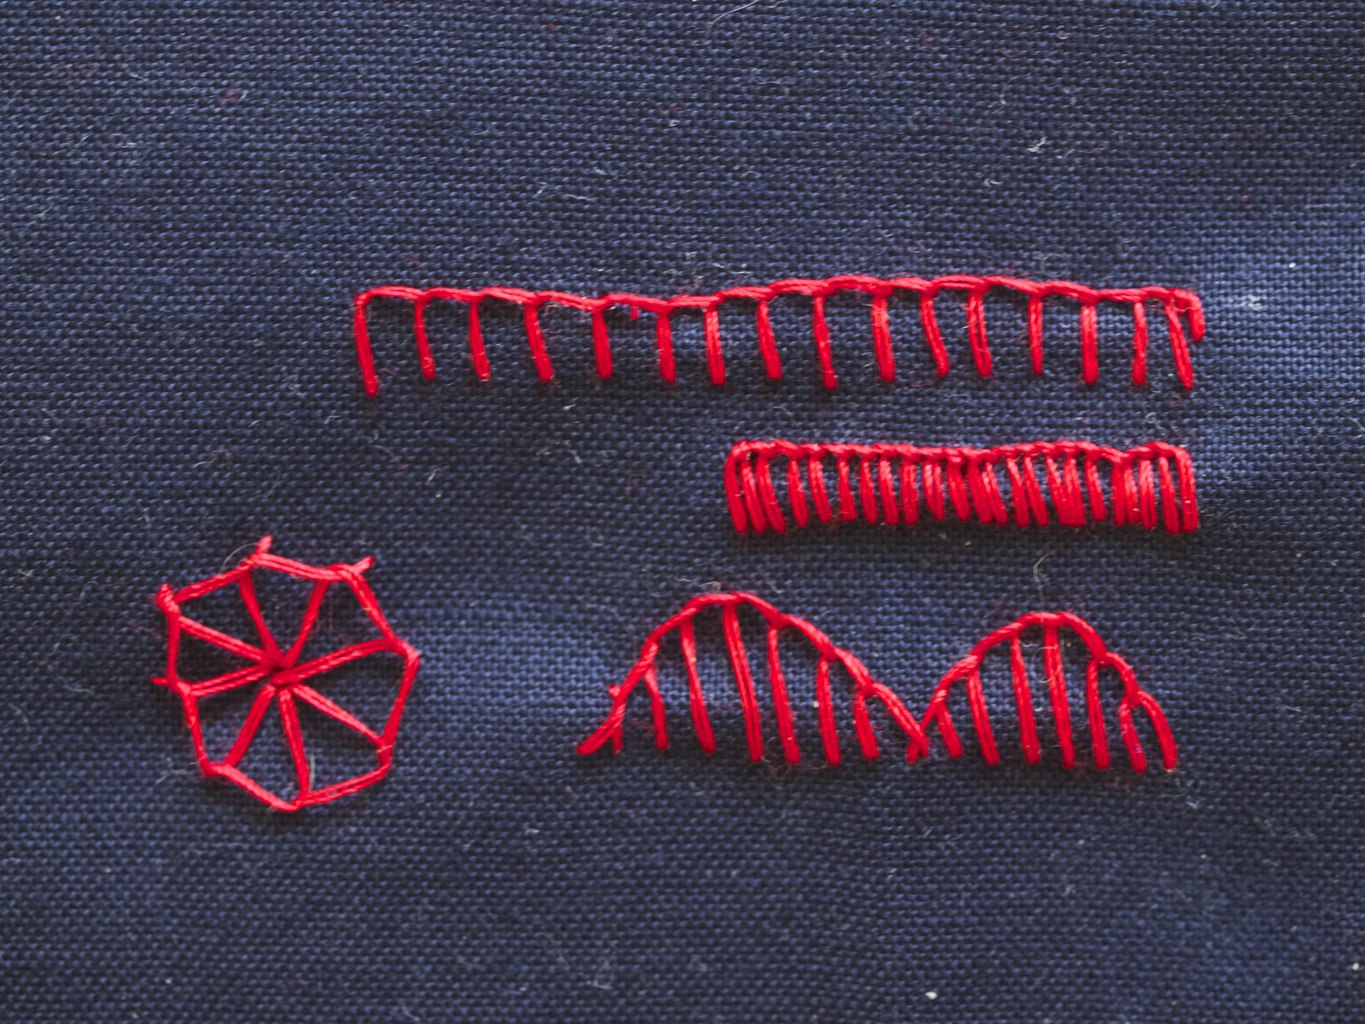
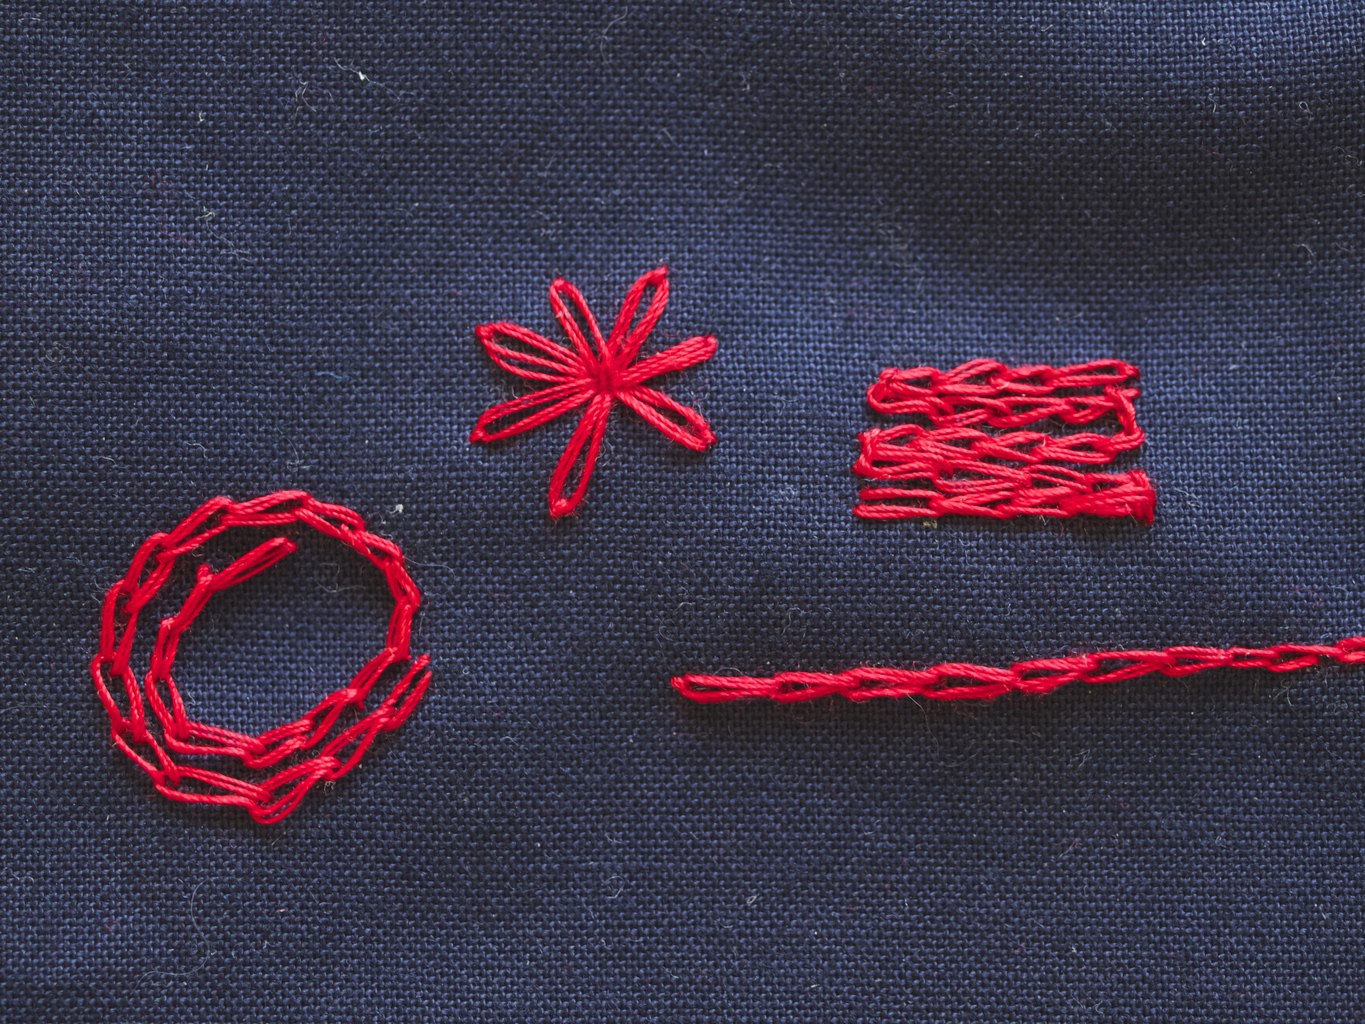
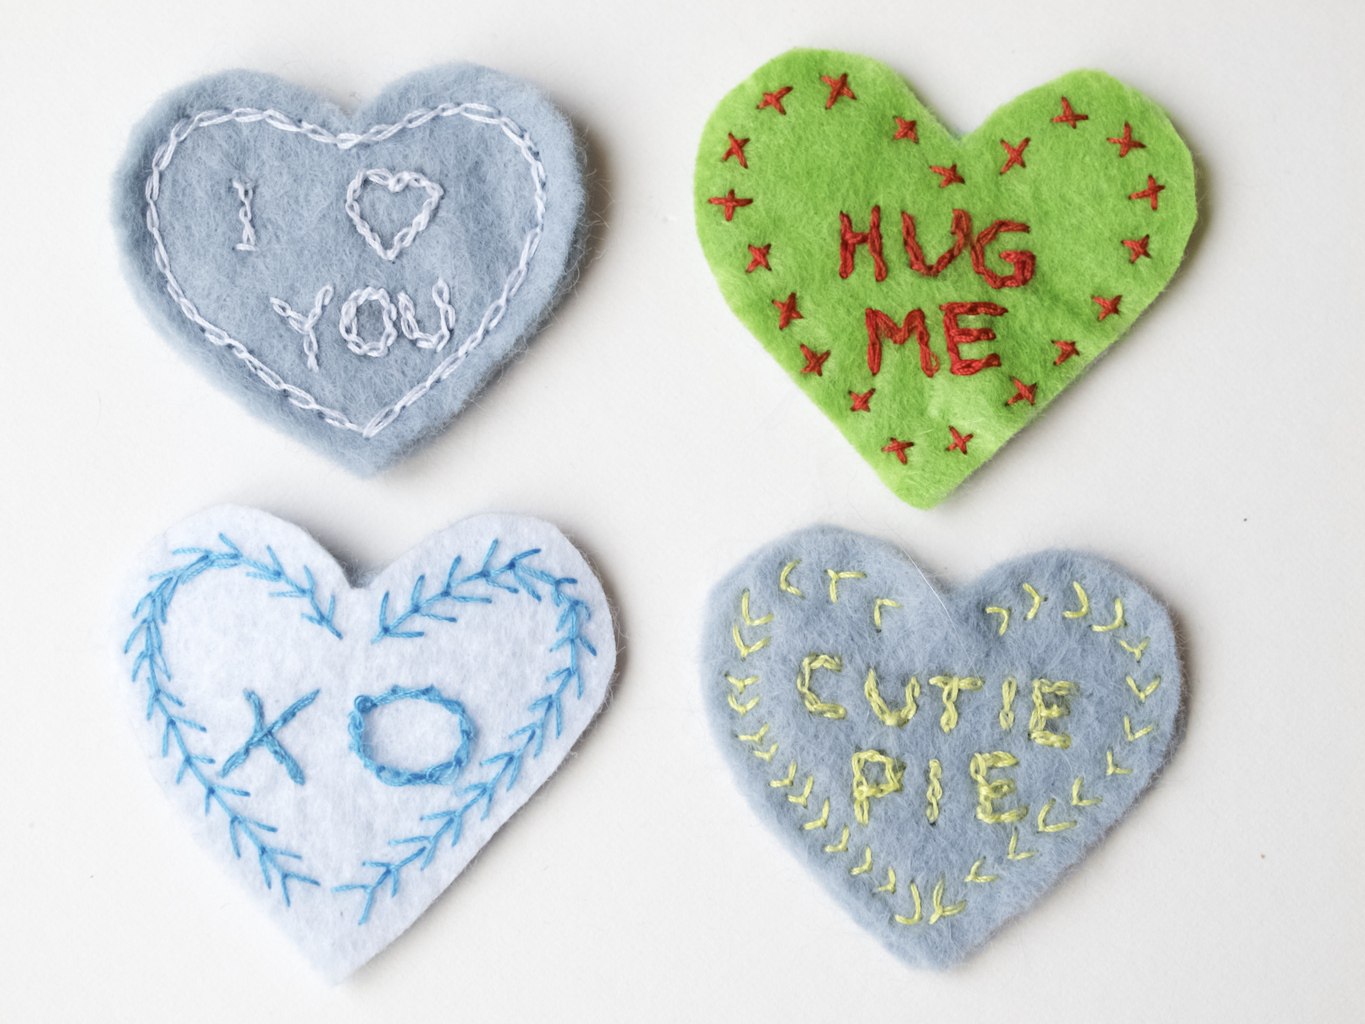
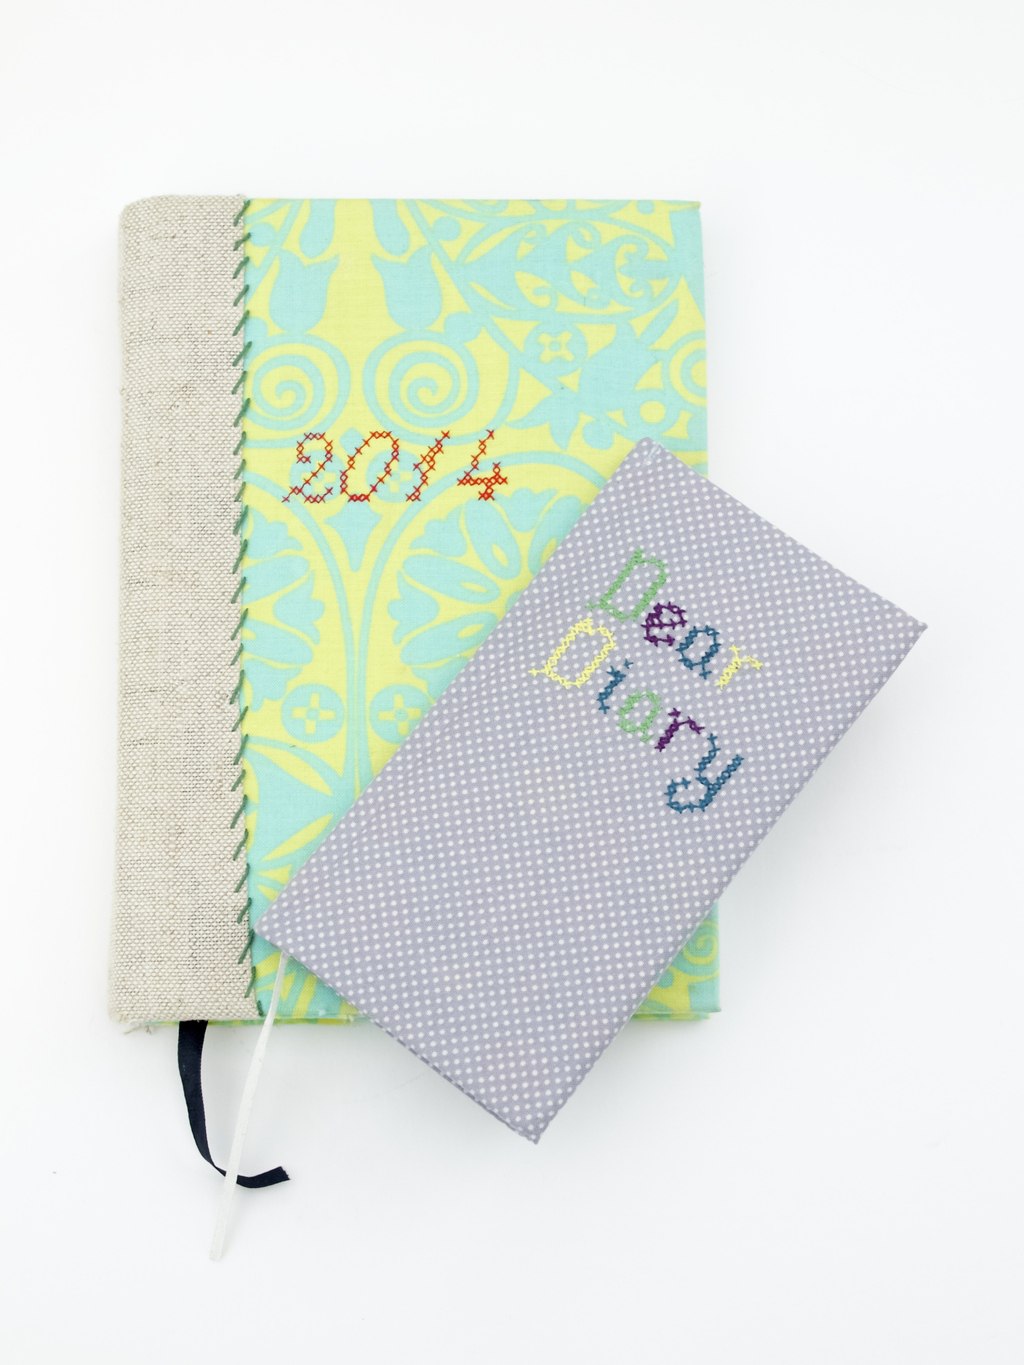
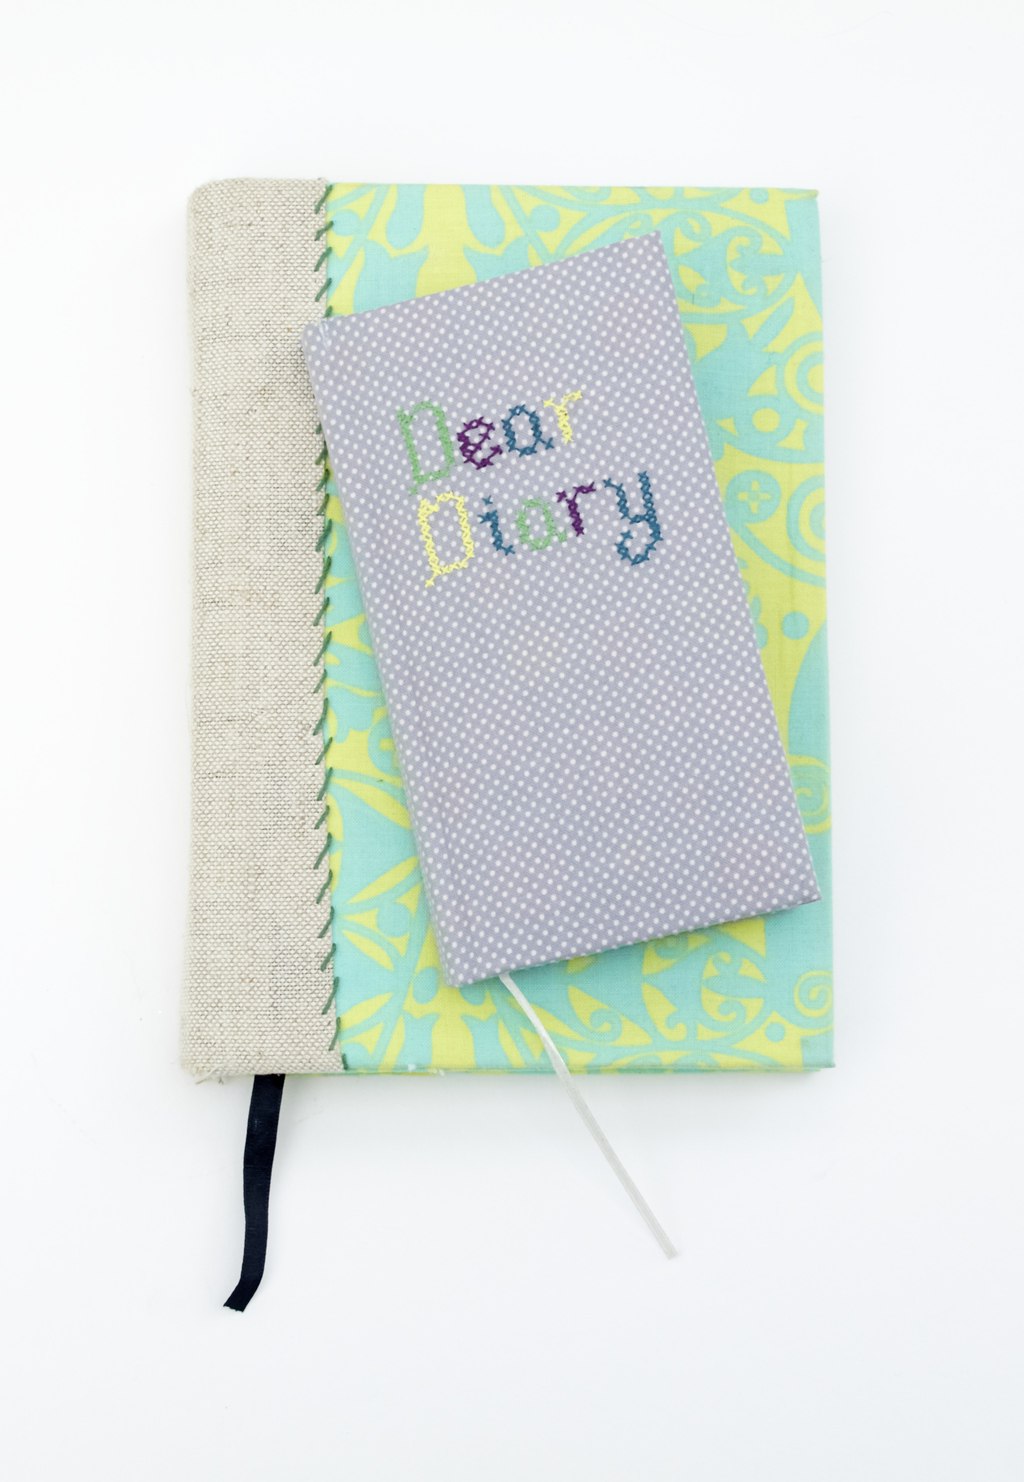
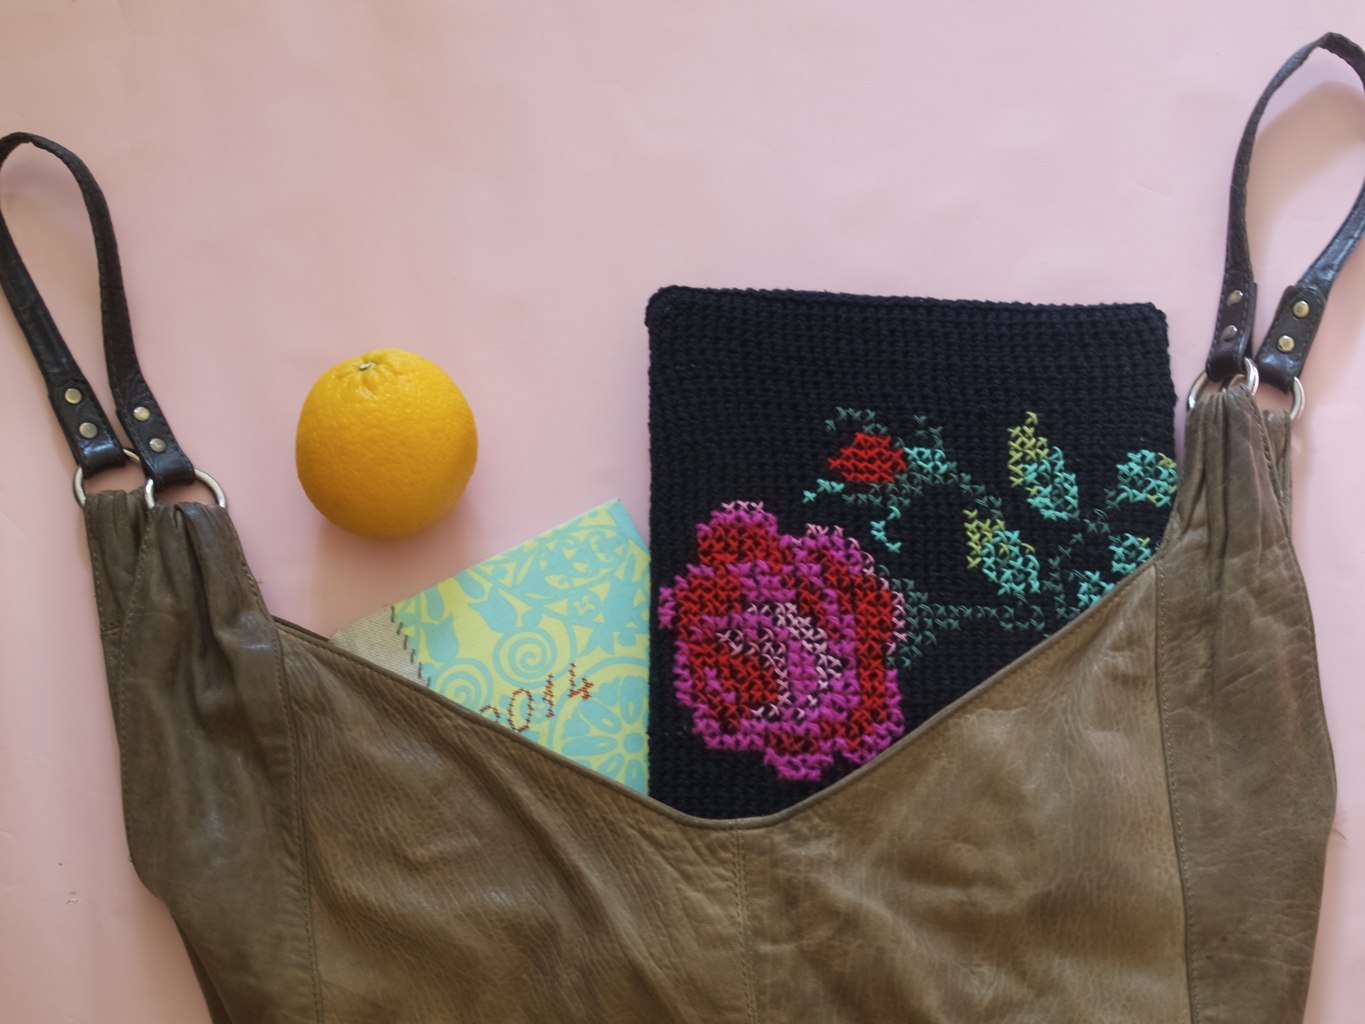
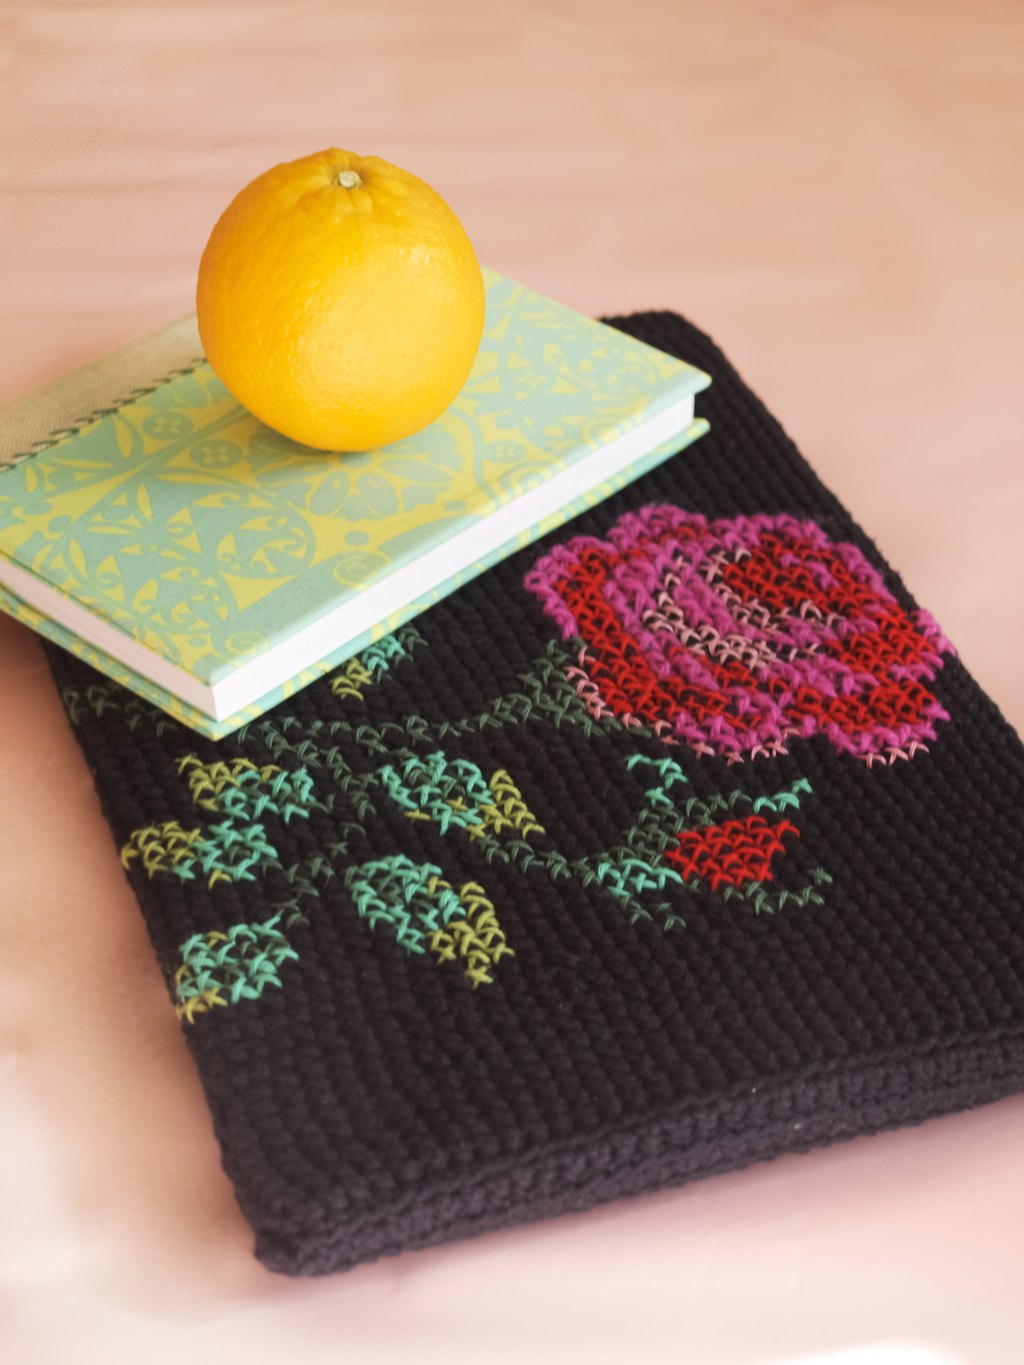
4. Did you know that you can use leftover yarn for embroidery and cross stitch? Here is my laptop cover that I made few years ago. It is still one of my favourite items that I made :).How to use up yarn scraps: projects and tips 
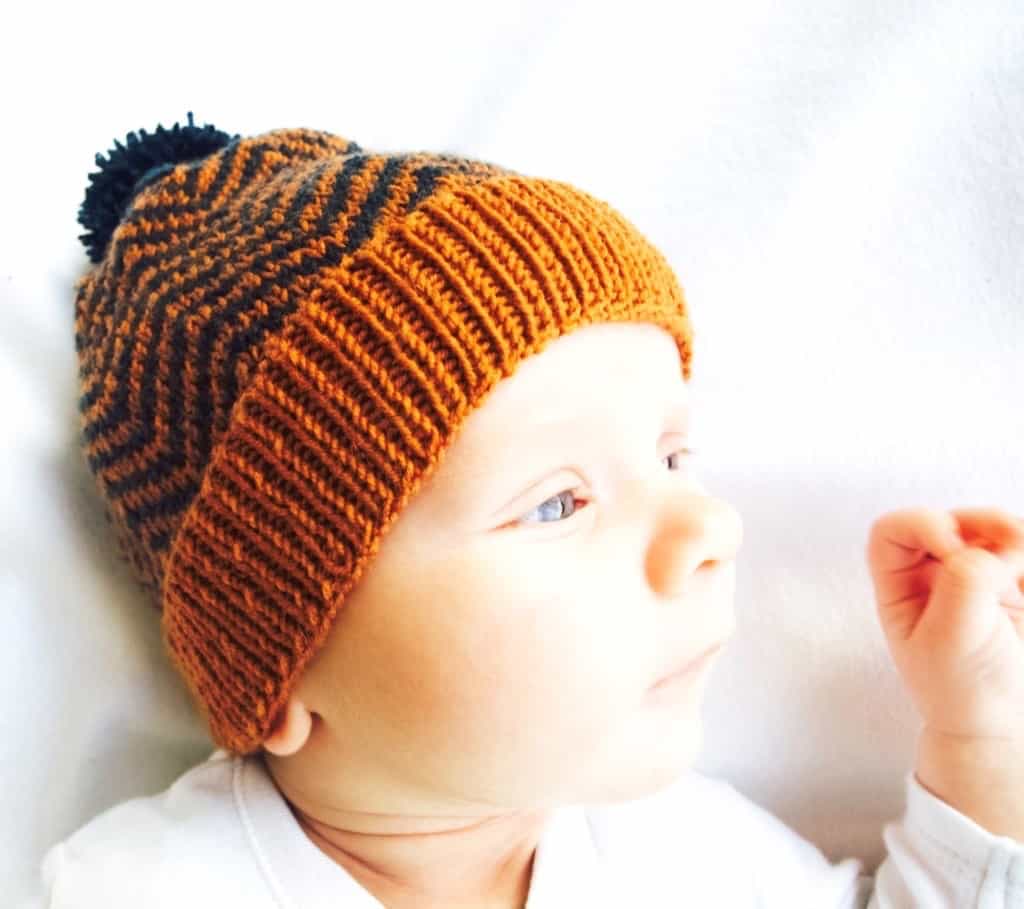
Finally, here are the socks I recently made for Lukas. I could not be more proud :).How to use up yarn scraps: projects and tips How to use up yarn scraps: projects and tips
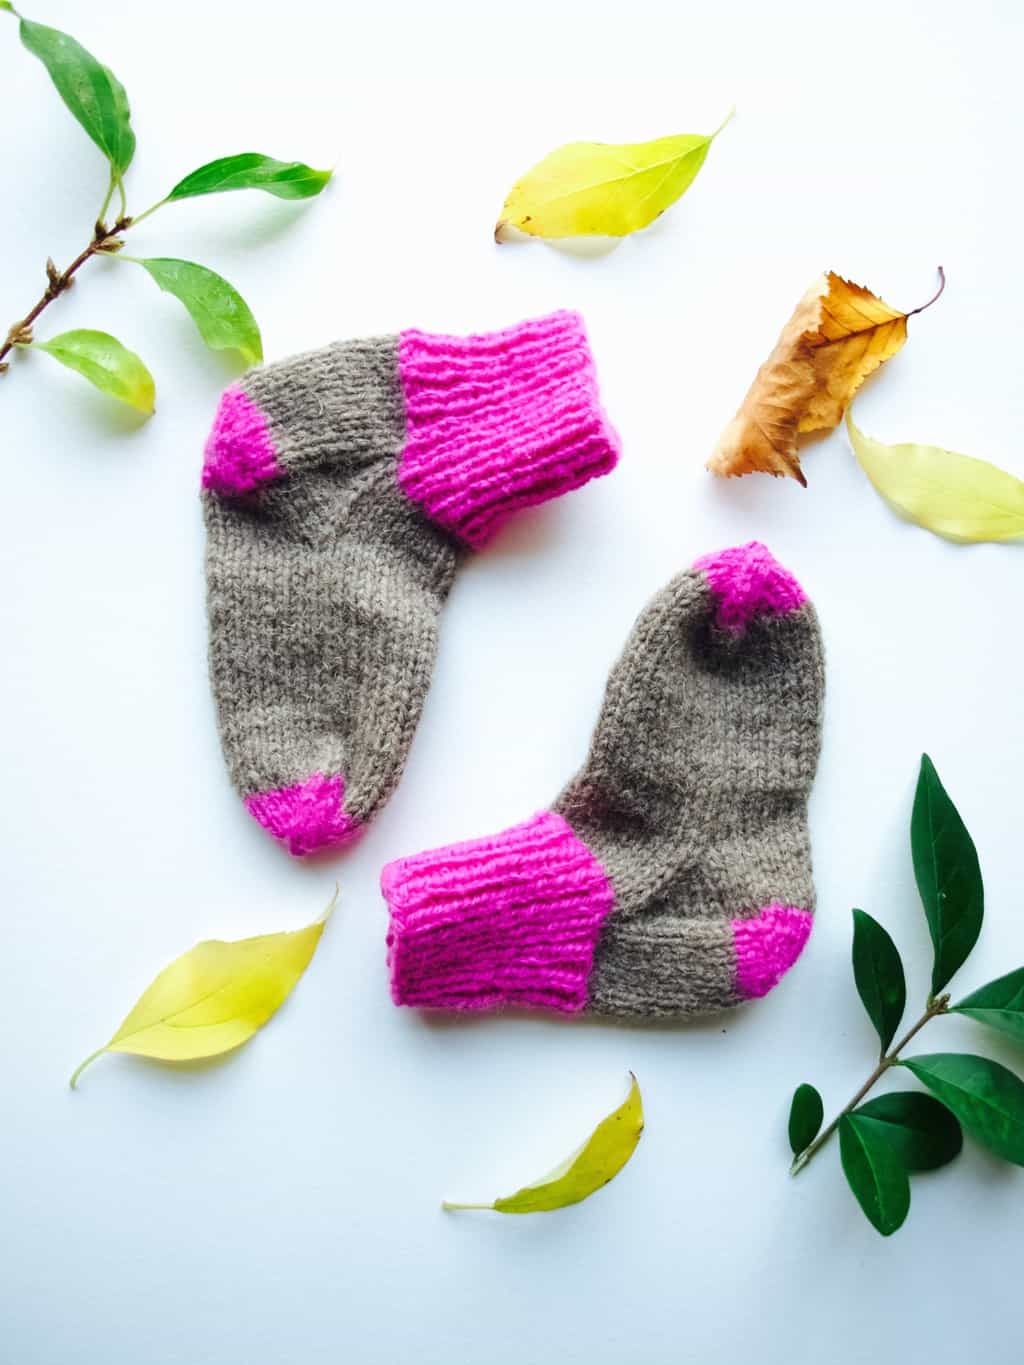
Hope you got inspired ;-)

Rasa xx

0

Water colour and embroidery wall art idea

Embroidery and watercolour art DIY I love love love (and still falling in love further) with water colour! I did some watercolour last month and this month I decided to incorporate some embroidery in it. This is why I thought to try to paint on the fabric and let me tell you it totally works!!! It felt almost the same as painting on paper, if not easer. I think fabric soaks up more water, so the results can be even more dramatic for all those dreamy watercolour blurs… ahh. Will tell you more in the minute….

But first I would like to make a little confession. You see I am not 100% sure if this artwork I made goes where I intended to go over our bed (yes, it happens to me too when my vision don’t match with the results). Which makes me feel a little embarrassed that I did not think it through. I am now realising that the artwork over the bed should be more dramatic and definitely more geometric. When I was thinking what artwork I would like to put over our new refurbished headboard, I was imagining something round and thats when I thought of idea using an embroidery hook (and embroidery). Which works fine here, but my painting has to change. Will let you know what I come up with :-).

Embroidery and watercolour art DIY Although the artwork did not suit the interior of our room, I still liked it and I definitely enjoyed the process of making it! So I thought to share my experience of watercolour on fabric anyways.

To prepare I cut out some pieces of cotton fabric (I used old bed sheet) and stuck it onto large piece of paper. I used plain wallpaper roll and stuck few fabric pieces next to each other. That way I could practice and have few goes at it. I had a cup of water and paintbrushes lined up as you would normally when you use water colour paint. Embroidery and watercolour art DIY I started with the most common water colour technique. I brushed the whole fabric with water to achieve this classic blurry water colour look. Embroidery and watercolour art DIY I also tried watercolour with less water so I could paint in more detail. I loved that I could just add more water and make some parts more blurry then others.Embroidery and watercolour art DIY Embroidery and watercolour art DIY Once the painting dried I chose the colours for the embroidery. If you need more inspiration on embroidery stitches then you should definitely check out this tutorial.Embroidery and watercolour art DIY Embroidery and watercolour art DIY Embroidery and watercolour art DIY To tidy up your artwork simply stitch a round piece on the back so you can tuck in all the raw edges of the fabric. Embroidery and watercolour art DIY Embroidery and watercolour art DIYHope I inspired you ;-)

Rasa xoox

1

IKEA hack: custom laundry baskets

Ikea hack: custom laundry basketsWell…. hello here looking through my never ending laundry pics. I never quite manage to have all baskets empty completely! This is why I was looking for ways to organise my dirty clothes while I work my way through it if you know what I mean. I thought under the sink in the bathroom would be the most convenient for them since this is where we get undressed and changed most often. Except I struggled for a while to find a right size baskets…. until one day it occurred to me that the storage boxes from Ikea we already have fit perfectly! I know I know, they are storage boxes, not a laundry baskets, but I saw a vision how I could alter them a little. All it needed are some handles, a little bit of lettering embroidery and its done! Yey!Ikea hack: custom laundry baskets Ikea hack: custom laundry baskets So this is how I did it. I purchased some fabric storage from Ikea. I know I know I said I had them already, but wanted in different colour and it’s not like £2.50 breaks the bank! Then I found my fabric pencil, embroidery tread & needle + some ribbon to match. Ikea hack: custom laundry basketsFirst I marked the writing I wanted to embroider. You don’t have to use special pencil for it, but it helps since you can rub it off if you make mistake. Otherwise regular pen mark would be hidden behind the stitches (I have gone this risky route too many times before).Ikea hack: custom laundry basketsFor embroidery I chose my favourite stitch which is the chain stitch. You can get more inspiration for your embroidery here.Ikea hack: custom laundry baskets Next I stitched the handles. I folded the ribbon at the ends so it does not fray ;-).Ikea hack: custom laundry baskets Ikea hack: custom laundry baskets Ikea hack: custom laundry baskets Ikea hack: custom laundry baskets Ikea hack: custom laundry basketsHope you found this inspiring

Rasa xoxo

0

Make your own personalised cosmetic bag

Personalised cosmetic bagI think there can never be enough cosmetic bags! I just love to keep everything organised, even if I don’t keep many actual cosmetics(if you know what I mean). Last week we celebrated my sister in law’s birthday and since I was giving her some cosmetics I thought why not make this simple customised pouch bag. What do you think?…Personalised Cosmetic Bag DIYPersonalised Cosmetic Bag DIYLike it? If you fancy making it than here is a link ;-).http://friendlynettle.com/portfolio-items/personalised-cosmetic-bag/Enjoy sewing it!

Rasa xoxo

0

Cushion cover inspired by Liz Payne work

Embroidery inspired by Liz Payne artworkI loved Liz Payne’s work for quite some time now. I first came across it on Pinterest and I was completely mesmerised for it. Only recently I have decided to make something that is inspired by her work. Ok, not exactly in same colours, but still used similar technique! Easy removable cushion cover DIYTo make this cushion cover I first cut out the pattern needed and then painted it over with some oil based fabric paint (you can use any other fabric paint, but since I did it on dark fabric I wanted the paint colour to really stand out).Embroidery inspired by Liz Payne artworkThen I picked 3 thread colours to match the paint and started embroidering all over mostly using straight/basic stitch. I wanted to do other stitches such as fly stitch or even french knot stitch but realised that it would have taken up a lot of time (Liz Payne must really have a lot of patience!).Embroidery inspired by Liz Payne artwork Embroidery inspired by Liz Payne artworkEmbroidery inspired by Liz Payne artwork Embroidery inspired by Liz Payne artworkEmbroidery inspired by Liz Payne artworkThere you go, my finished cushion cover! For full DIY click here.Easy removable cushion cover DIYI hope you feel inspired too x

Rasa

0

My favourite embroidery stitch styles

After talking how fun it is to do hand stitching (rather than using sewing machine) I thought I will share what I know about embroidery (hand stitching and hand sewing kind of go hand in hand). You might find that some of the hand stitches that you learned with hand sewing are very similar to embroidery stitches. In fact majority of embroidery stitches are based on regular hand stitches, but are more creative and freestyle. For instance, lets take the running stitch, it is identical to basic/ straight stitch! Or a button hole stitch, it’s like blanket stitch that comes in many pretty variations. Button hole stitch variationsMy favourite is basic/straight stitch that I used to create pretty cross or dash patterns on these hanging bird decorations.hand stitched birdiesFelt stars with numbersAnd remember I used chain stitch to “draw” those advent date numbers on these hanging felt stars. Chain stitch is so useful for outlining and filling!Chain stitch variations Hand stitched fridge magnetsAnd when it comes to slightly more complicated stitches I do loooove fly stitch! It’s so pretty isn’t it?Fly stitch variationsI hope you find this inspiring!

Rasa xoxo

0

Something old, something new: my diaries

My new fabric covered "Dear Diary" book DIYSince getting back from Lithuania I have been thinking how to have more organised in 2015. Getting a new diary is one of my methods (actually 2015 diary was a Christmas gift from Aunty Pam and I am very grateful for that!!). I loved how my fabric covered diary turned out last year so I thought I will do something similar this year. My new fabric covered "Dear Diary" book DIYLast year I crossed stitched my diary with “2014” and it was a nice book to keep. Even though it did not always fit into my handbag I liked that it had a lot of space for writing my to do lists, recording appointments and other schedules. My new fabric covered "Dear Diary" book DIYThis year I sacrificed the space for the convenience of being able to have my diary with me at all times (well, almost). I thought “Dear Diary” cross stitch embroidery is very appropriate for my diary. You see I love scribbling in my diary so much that Vicki once thought that I actually have little “conversations” with the diary itself. To be honest, I just love my to do lists. It feels so good to be able to cross them out!My new fabric covered "Dear Diary" book DIYClick here for this very useful fabric covered book project!My new fabric covered "Dear Diary" book DIYWishing you organised 2015!

Rasa xoxo

0

Instructions for Christmas craft kits!

Make your own hanging birdie decorationMissed your chance to order Christmas craft kits? Well here is your chance to make your own hanging decorations with the materials you have. We have updated the original instructions and now they are exactly the same as you would have found in the Friendly Nettle craft kits. If you fancy making hanging birdie deco then click here or if you prefer to crochet then hanging star may be your thing ;-).make your own crochet star hanging decoAlternatively if you learn this triangle crochet pattern, you could make these super cute mini buntings!crochet your own mini buntingHappy Christmas waiting!

Rasa xoxo

0

Star advent calendar

Star advent calendar DIYI know, I know this might be a bit too late to make, but I really love how it decorated our house all Christmassy! I also like 1 candy a day diet very much, at least for now it’s not harming anyone. I got this idea from here (even if it looks completely different, my lightbulb lighted up as soon as I saw that raindrop decoration). Star advent calendar DIYSo, to make your own star advent calendar cut out star pieces out of felt material.Star advent calendar DIY1. Embroider the number of the day on one felt star piece. I found chain stitch is the best for that!

2. Join two felt star pieces together by using buttonhole stitch.

3. Once you finished stitching two star pieces together make sure not to cut the string. It will be useful late on!

4. In the back cut the star open so the candy could be inserted. You can finish the edge off with buttonhole stitch as well. Star advent calendar DIY Star advent calendar DIY Star advent calendar DIYOnce all 24 stars are made then get a wire hanger and wrap it with pine branches (or fir or spruce or even cypress and cedar). I used a string to keep the branches tight on the wire. Star advent calendar DIY Star advent calendar DIY Star advent calendar DIYLast thing to do is to tie all the stars onto the hanger ;-). Enjoy!Star advent calendar DIYHappy Christmas waiting!

Rasa xoxo

2

Make your own custom crocheted and cross stitched laptop cover

Crocheted and cross stitched laptop cover, DIY instructions incudedIt’s been almost a year since my old laptop got stolen (never mind, I am fully recovered now). Although I was very lucky to get a new one as a (last) christmas gift, the old laptop cover did not quite fit my new laptop. I like the type of laptop covers that are not a bag by itself, but the slip on ones that can fit in a handbag of your choice. So you can imagine, I have been planning to make a new laptop cover for quite a while! Up until now I have been traveling with the laptop in a plastic bag (not so classy) or a backpack (thanks to my new mum for it!). OLYMPUS DIGITAL CAMERAI don’t exactly remember the time when I came up with the idea to cross stitch on the crocheted laptop cover, but I did love all the ideas of cross stitch going anywhere random such as wall, fences and so on (thanks to Pinterest for the inspiration!). A crocheted surface makes a perfect canvas for cross stitch! I sourced different kind of yarns for this project, mainly because I wanted to use up some of my scrap yarn stash, but also because I like this rustic type of look that it created. Anyway… ready to make one of your own?OLYMPUS DIGITAL CAMERAHere you can access the full DIY instructions. I hope you will enjoy it as much as I did! You can of course pick a different cross stitch design for your laptop cover to make it custom. I personally picked the rose design on the black background because it reminds me of the Russian scarfs that my grandma wears. OLYMPUS DIGITAL CAMERAOLYMPUS DIGITAL CAMERAI hope this project helps your laptop to stay organised within your handbag ;-)

Rasa x

0