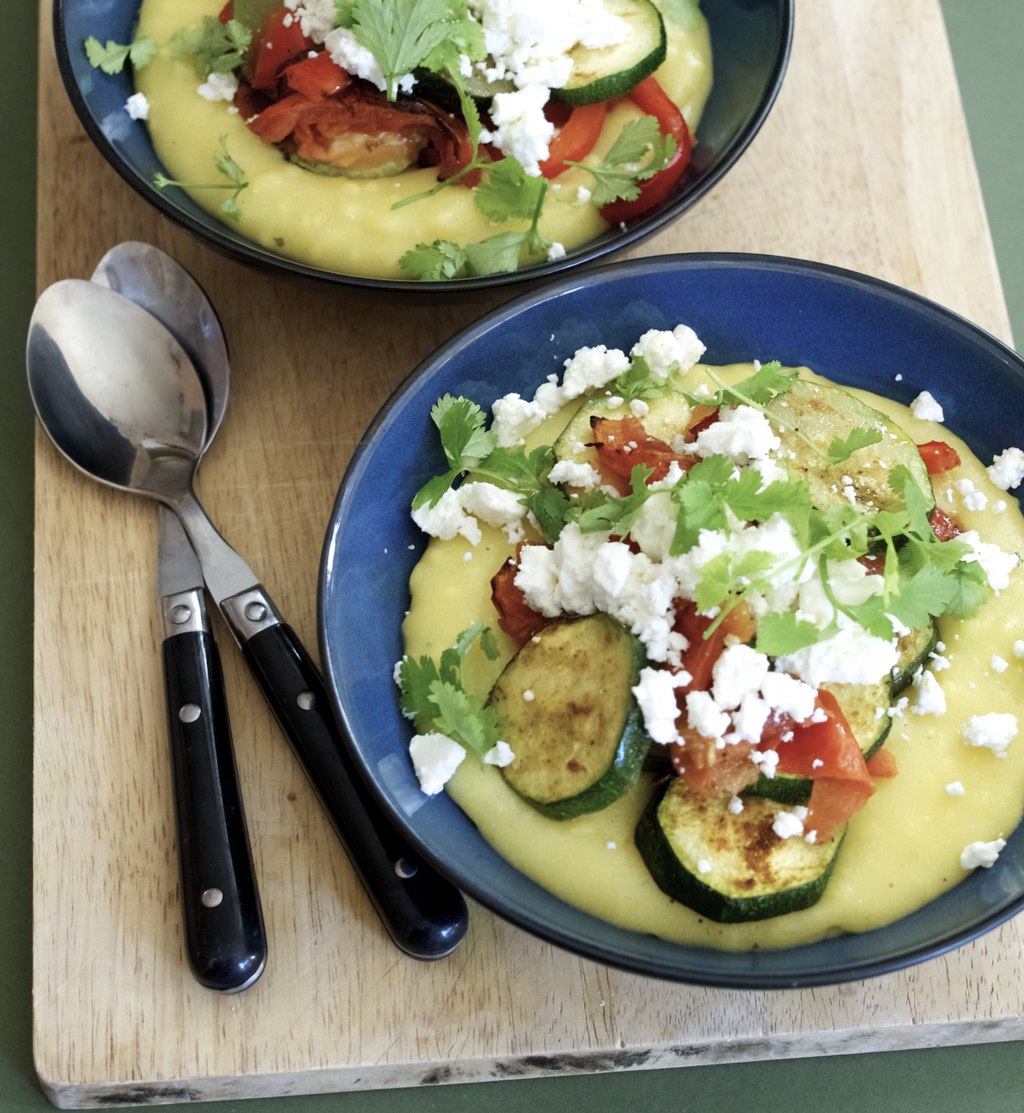
 The main reason for trying out this recipe is because I have never cooked with the polenta. Ok I did bake or made porridge with it in the past but having polenta for dinner never crossed my mind (especially the creamy type). The outcome? Even though I forgot to add chickpeas, it turned out to be a nice meal (at least for me)! I added some tomatoes as well, which gave some freshness to the taste. Overall really recommended the recipe from Naturally Ella (feel sort of bad that my pics don’t look as good as theirs).
CURRY GRILED VEGETABLES WITH CREAMY POLENTA adopted from Naturally Ella
(for polenta)
- 900ml vegetable stock
- 200g coarse cornmeal
- 2 tbsp butter
(for vegetables)
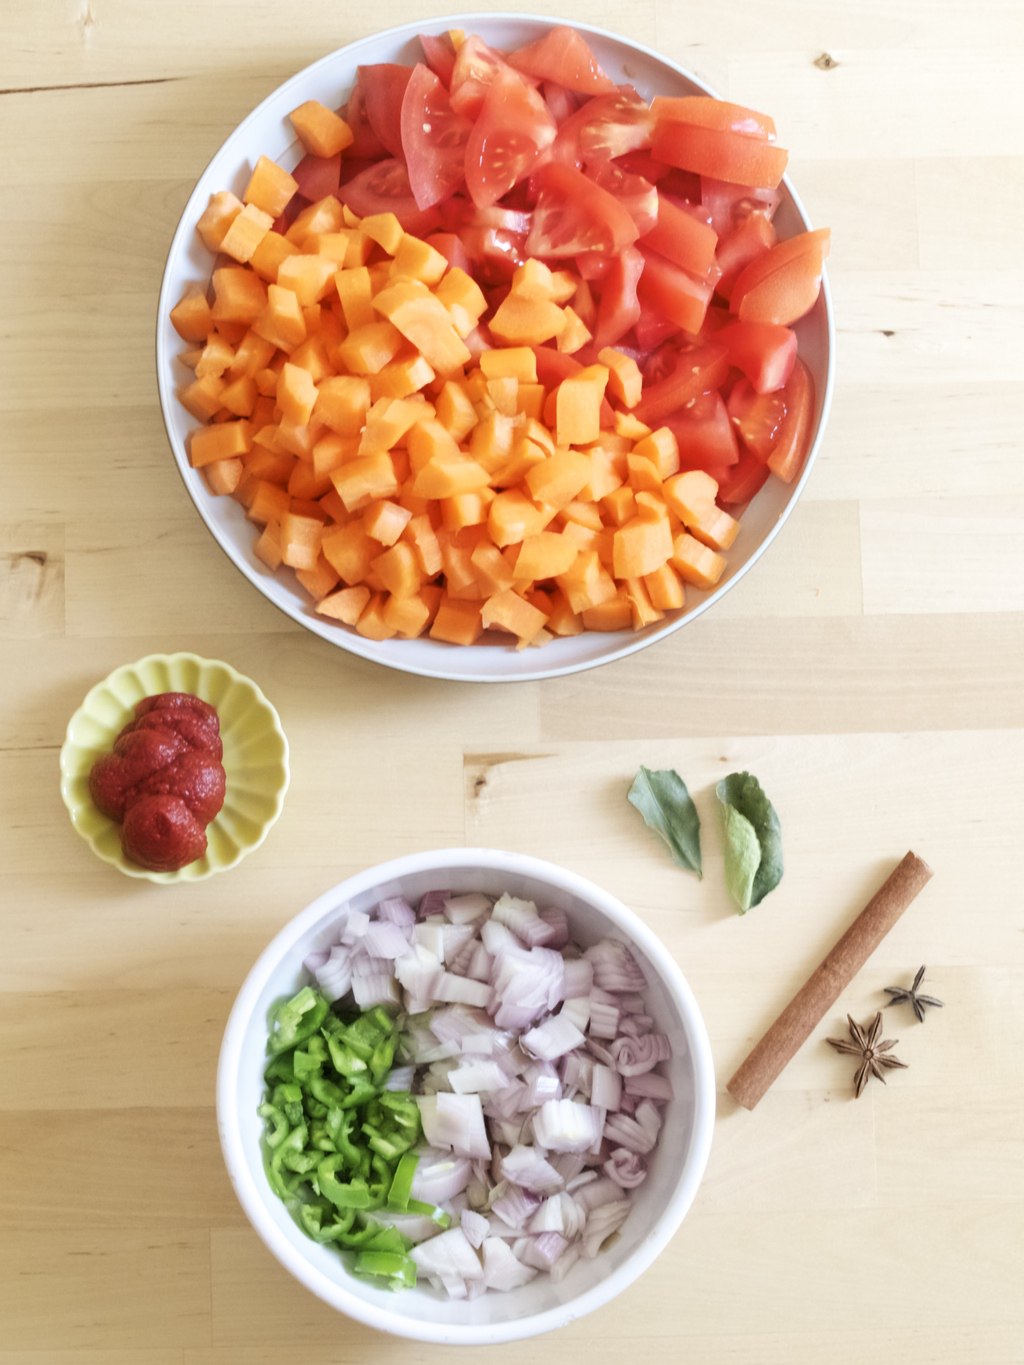
- 1 medium courgette
- 1 red pepper
- 1 tomato (optional)
- 1 tbsp coconut oil, melted
- 2-3 tbsp curry powder
- 1/2 can chickpeas, drained and rinsed – forgot to add mine :-(
- Feta cheese and coriander leaves to garnish
1. Bring the stock to a boil. Stir in the cornmeal and whisk (this is what I found best when I don’t want big lumps stuck together). Cook until polenta begins to thicken. Cover and reduce heat to lowest setting. Simmer polenta for 25 to 30 minutes, stirring and scraping the pan bottom and sides every 8 to 10 minutes. Remove from heat and stir in butter.
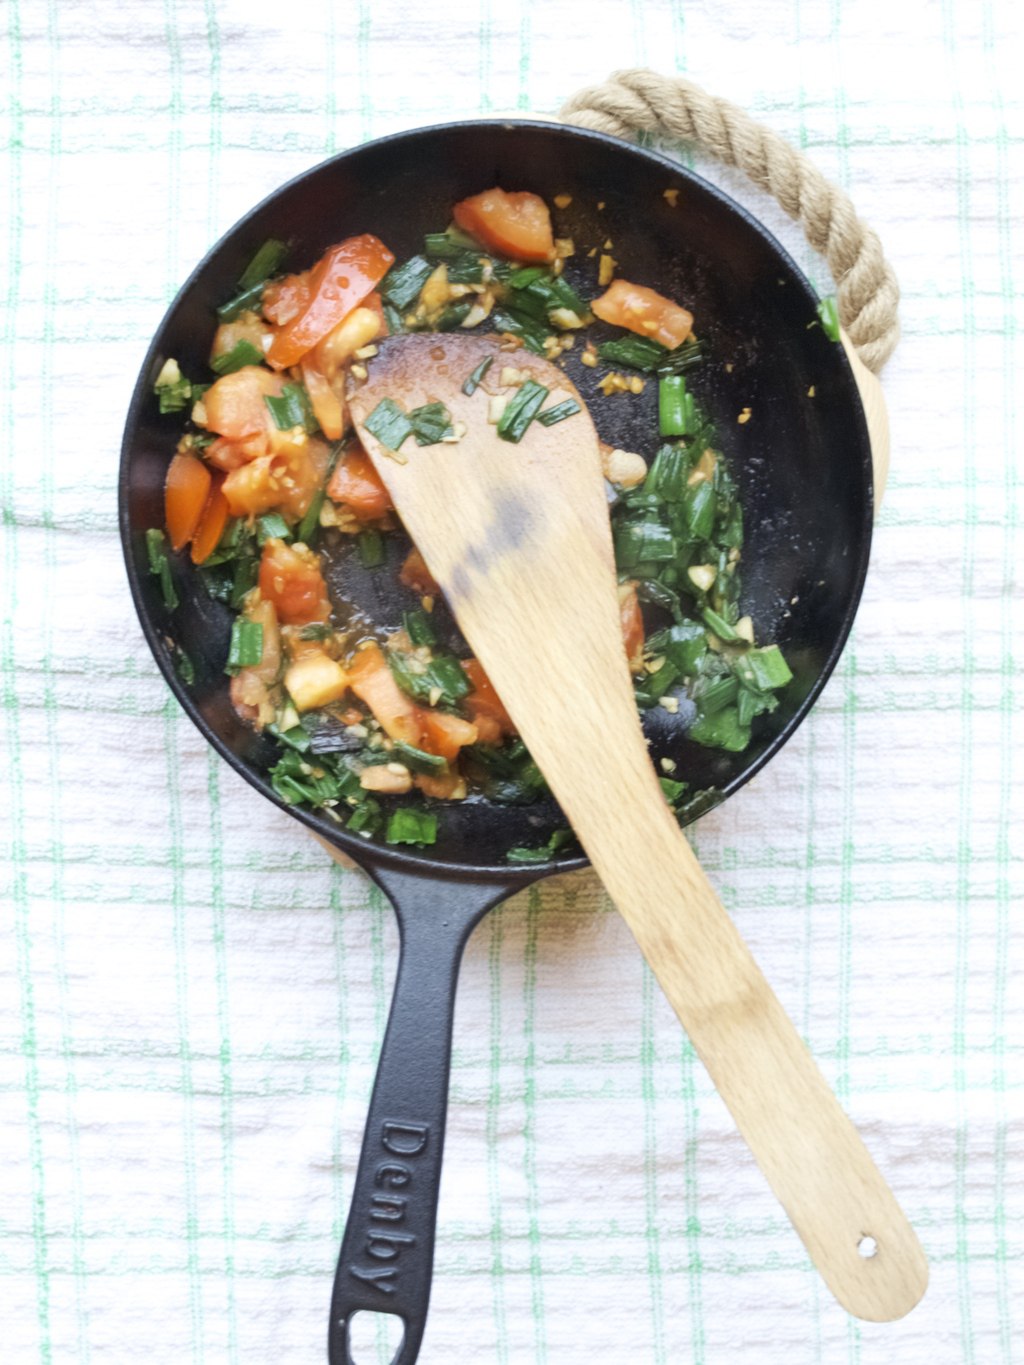
2. Preheat grill. Slice the courgette and pepper into strips; toss with oil and curry powder. Grill until zucchini and peppers are slightly charred. 3. Roughly chop the vegetables and toss them with the chickpeas. (I forgot to do this step, therefore my veg is left with no chickpeas!)
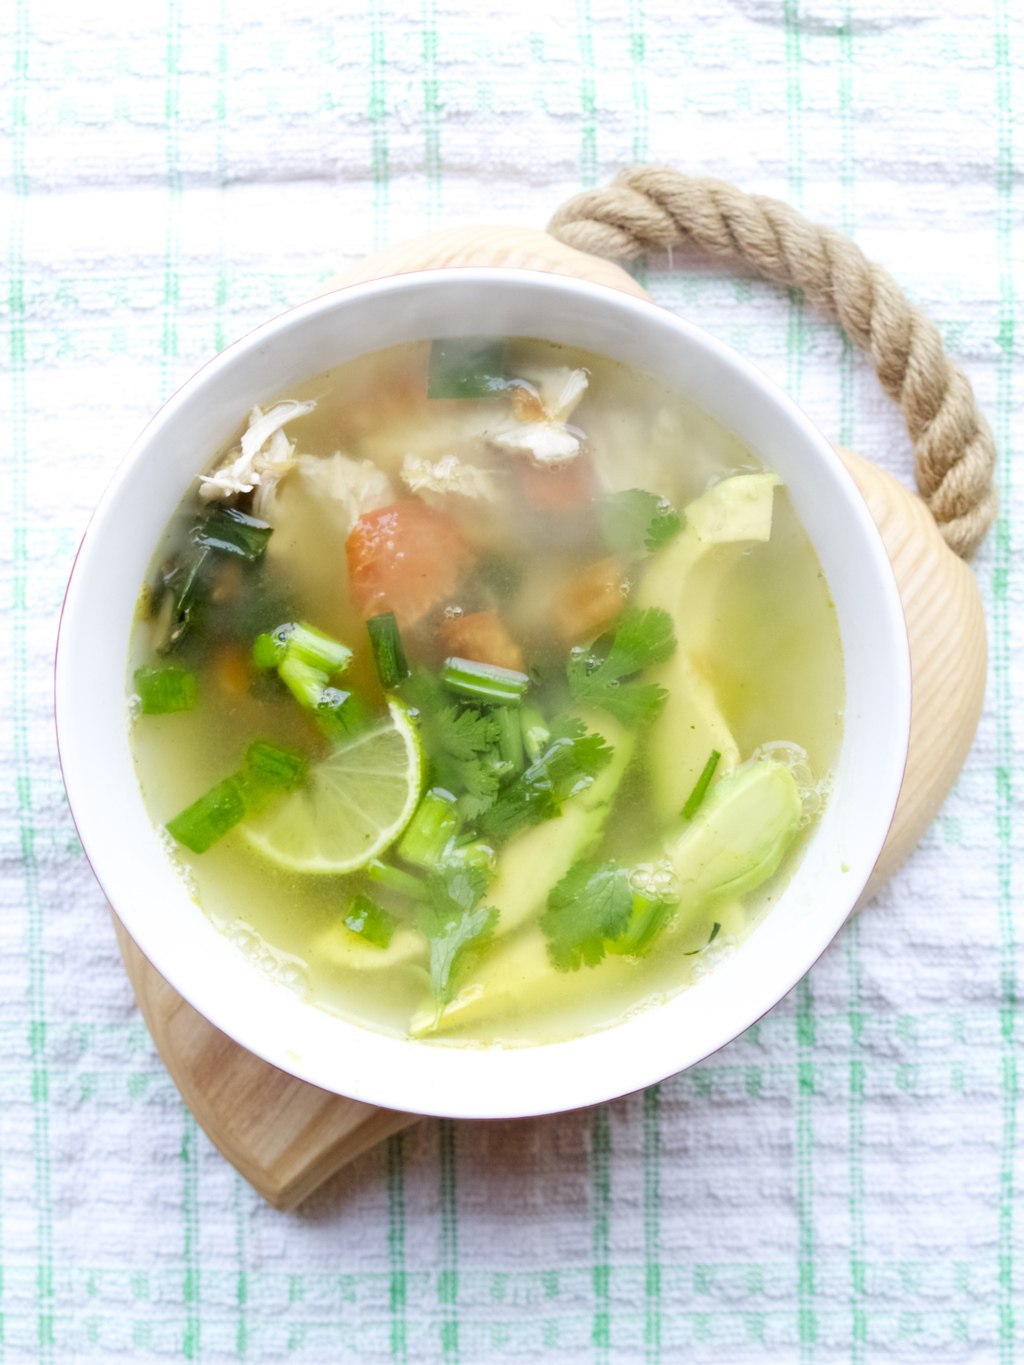
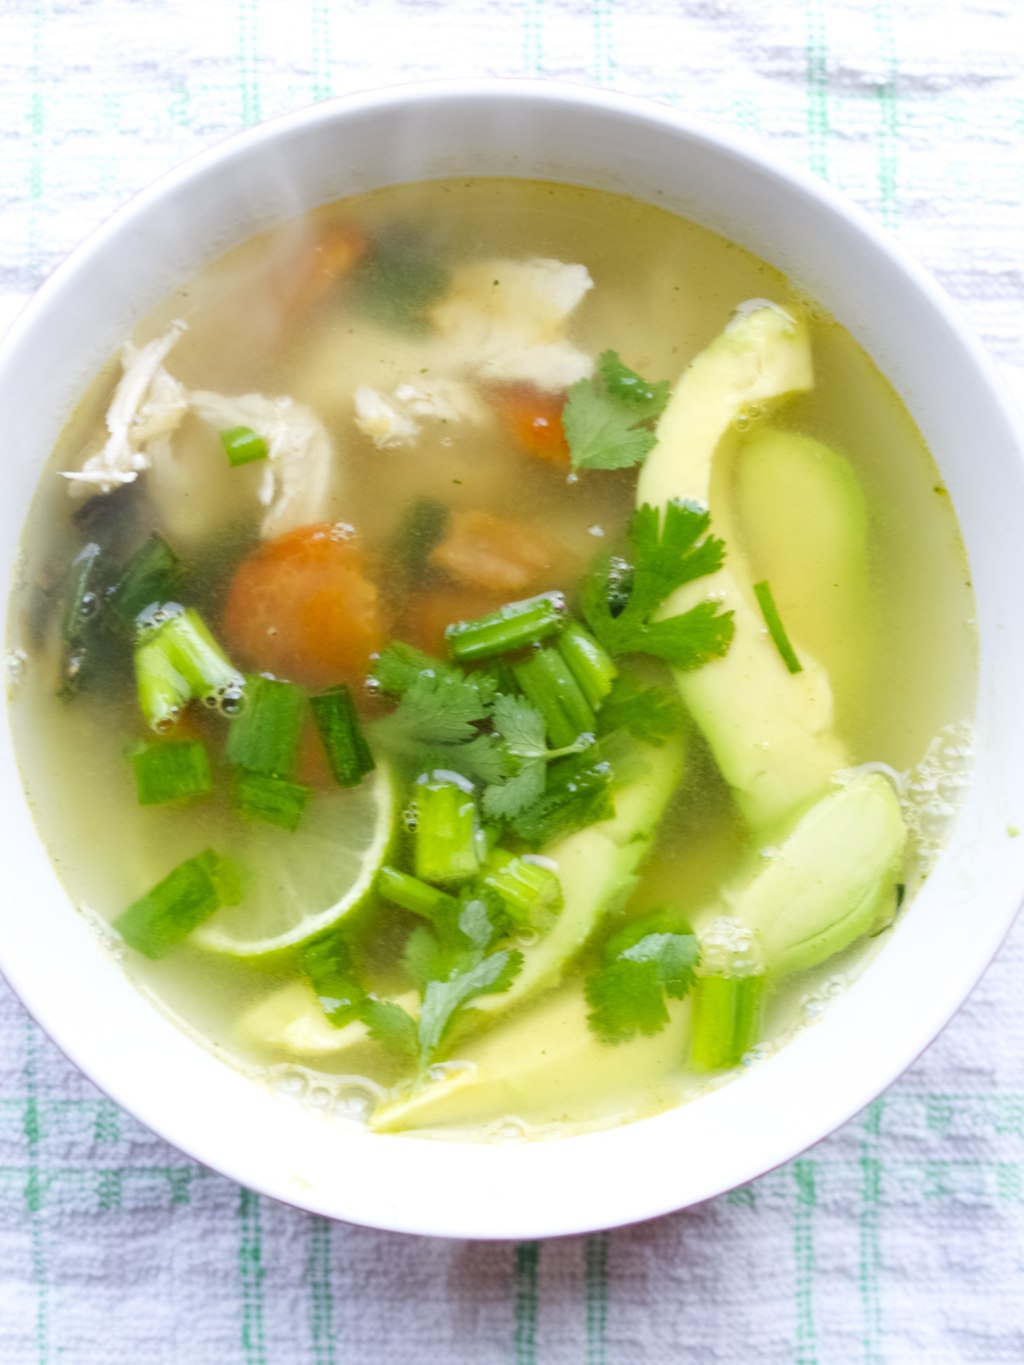
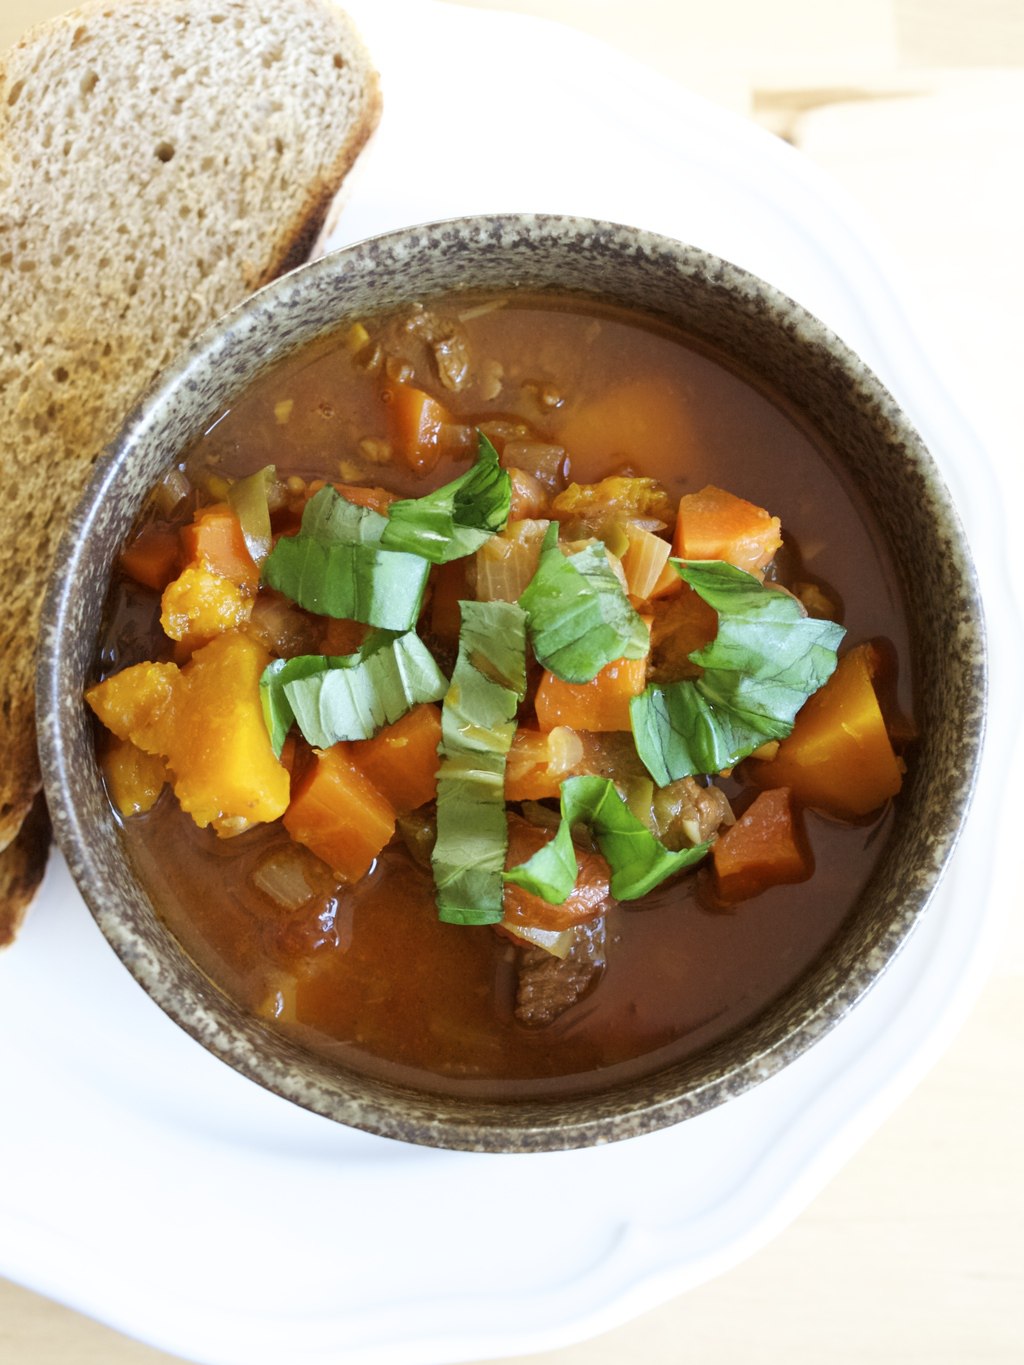
4. Divide polenta among individual serving bowls. Top with grilled vegetables, coriander leaves and feta. Enjoy!
Rasa xoxo