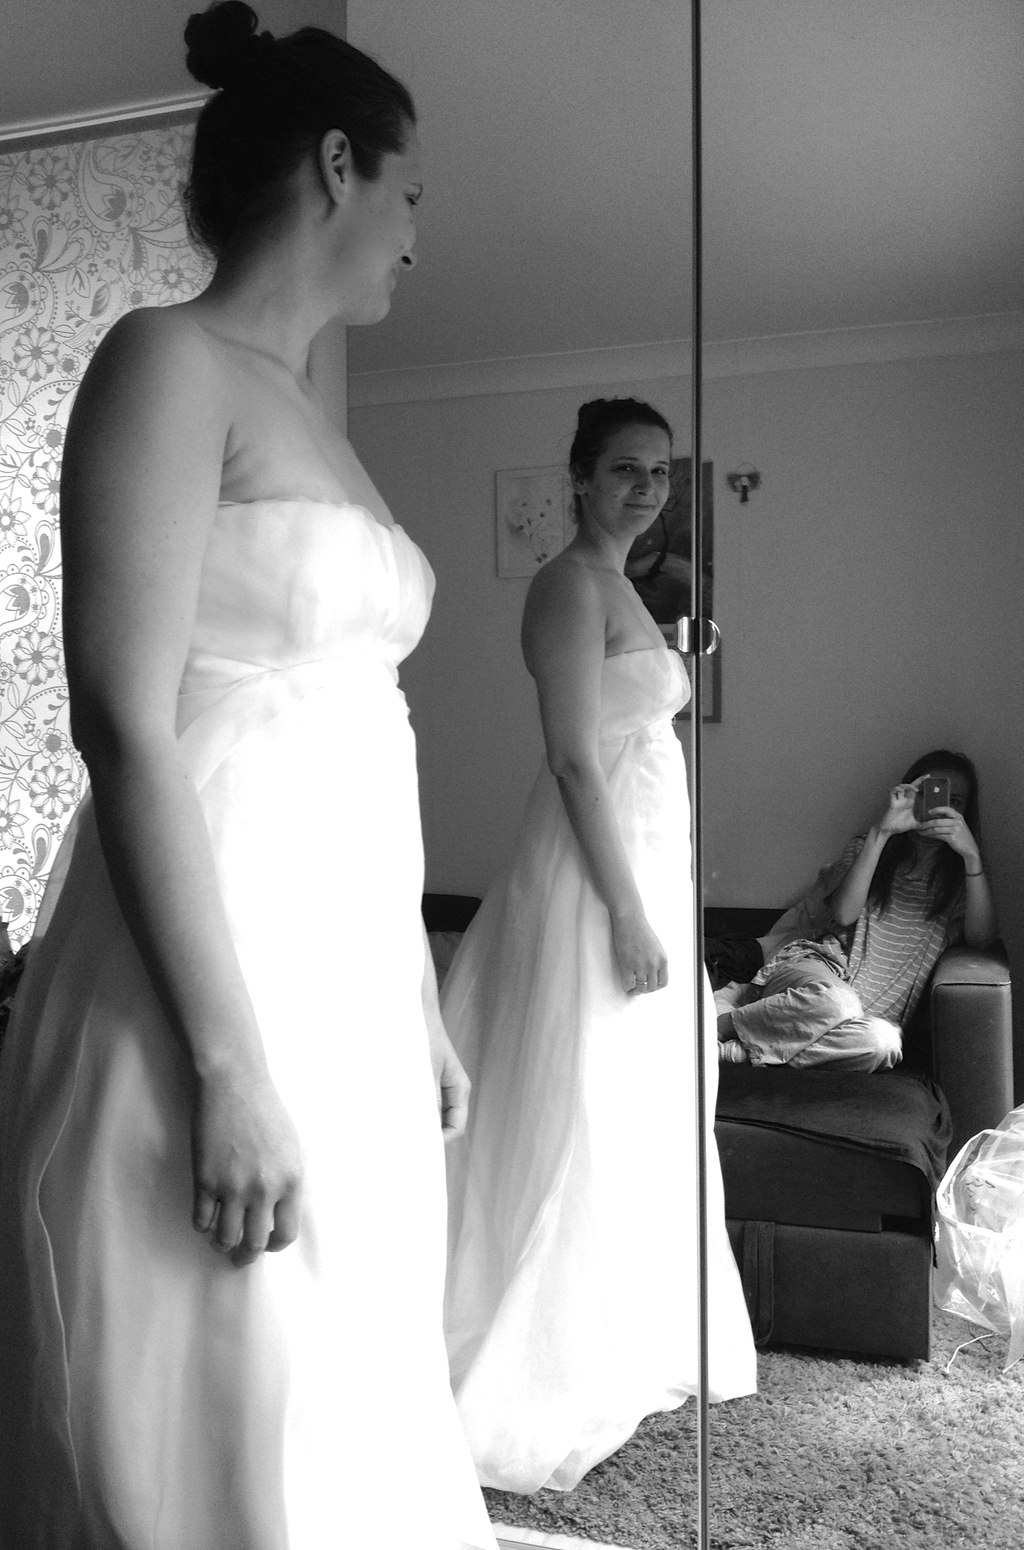
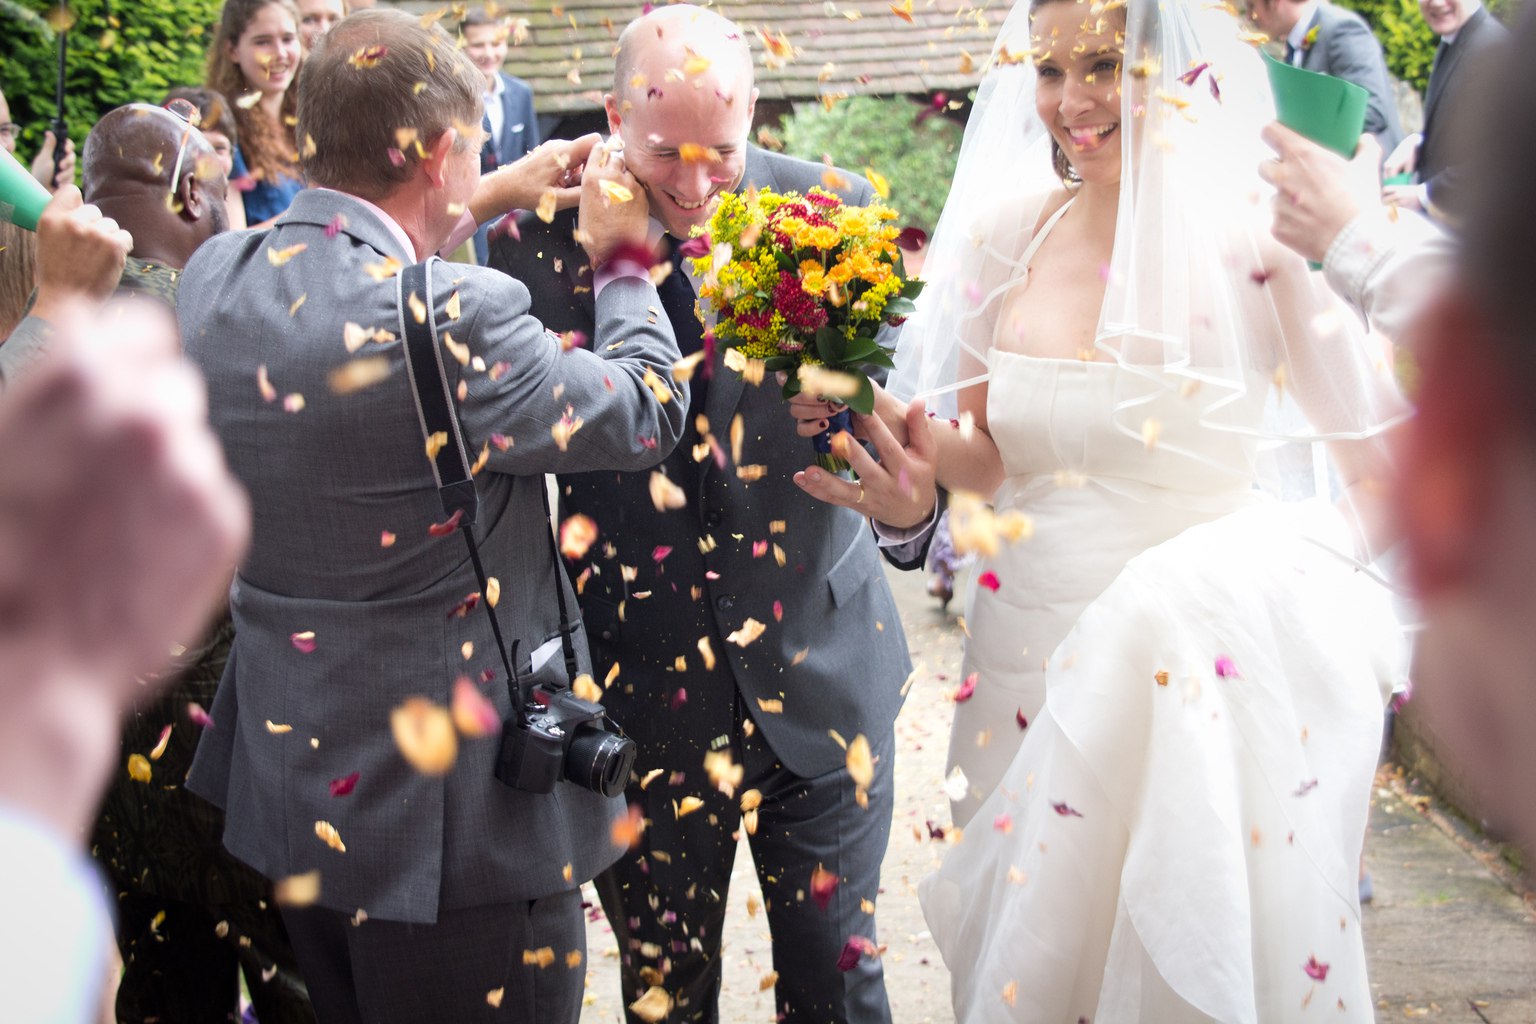
 Wow! It’s 2015 already! I hope you had great New Year celebrations! Every year I love making New Year resolutions (some are more effective then others). Last year I set simple goals, mainly because I knew it was going to be a very exciting and busy year personally (planning a wedding takes up a lot of time and energy). This year my goals are more ambitious as I am eager to learn more and improve the Friendly Nettle business as a whole.
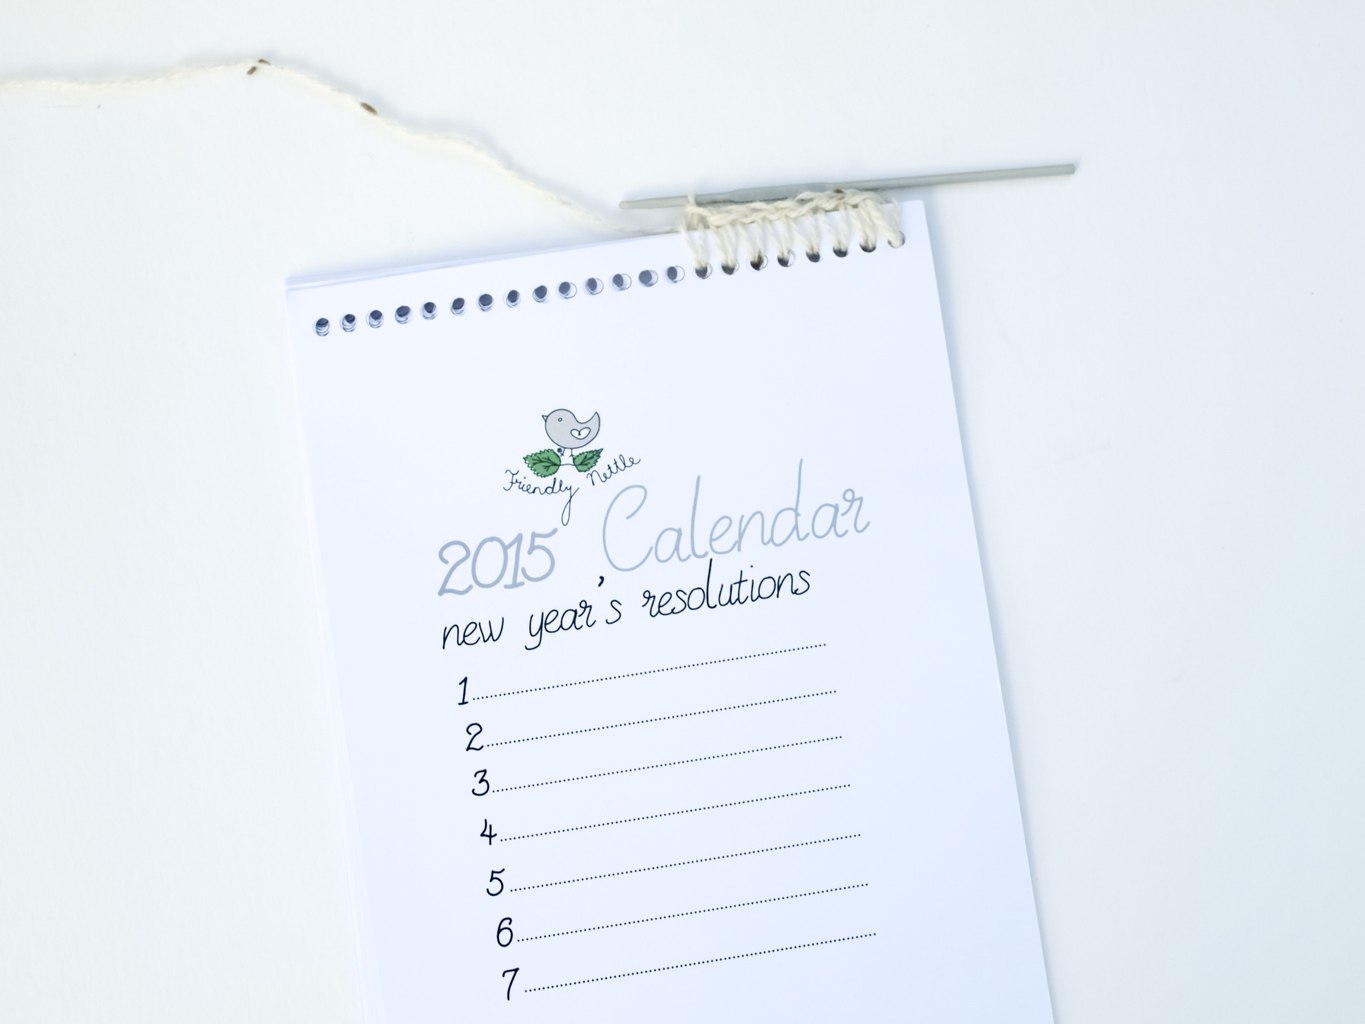
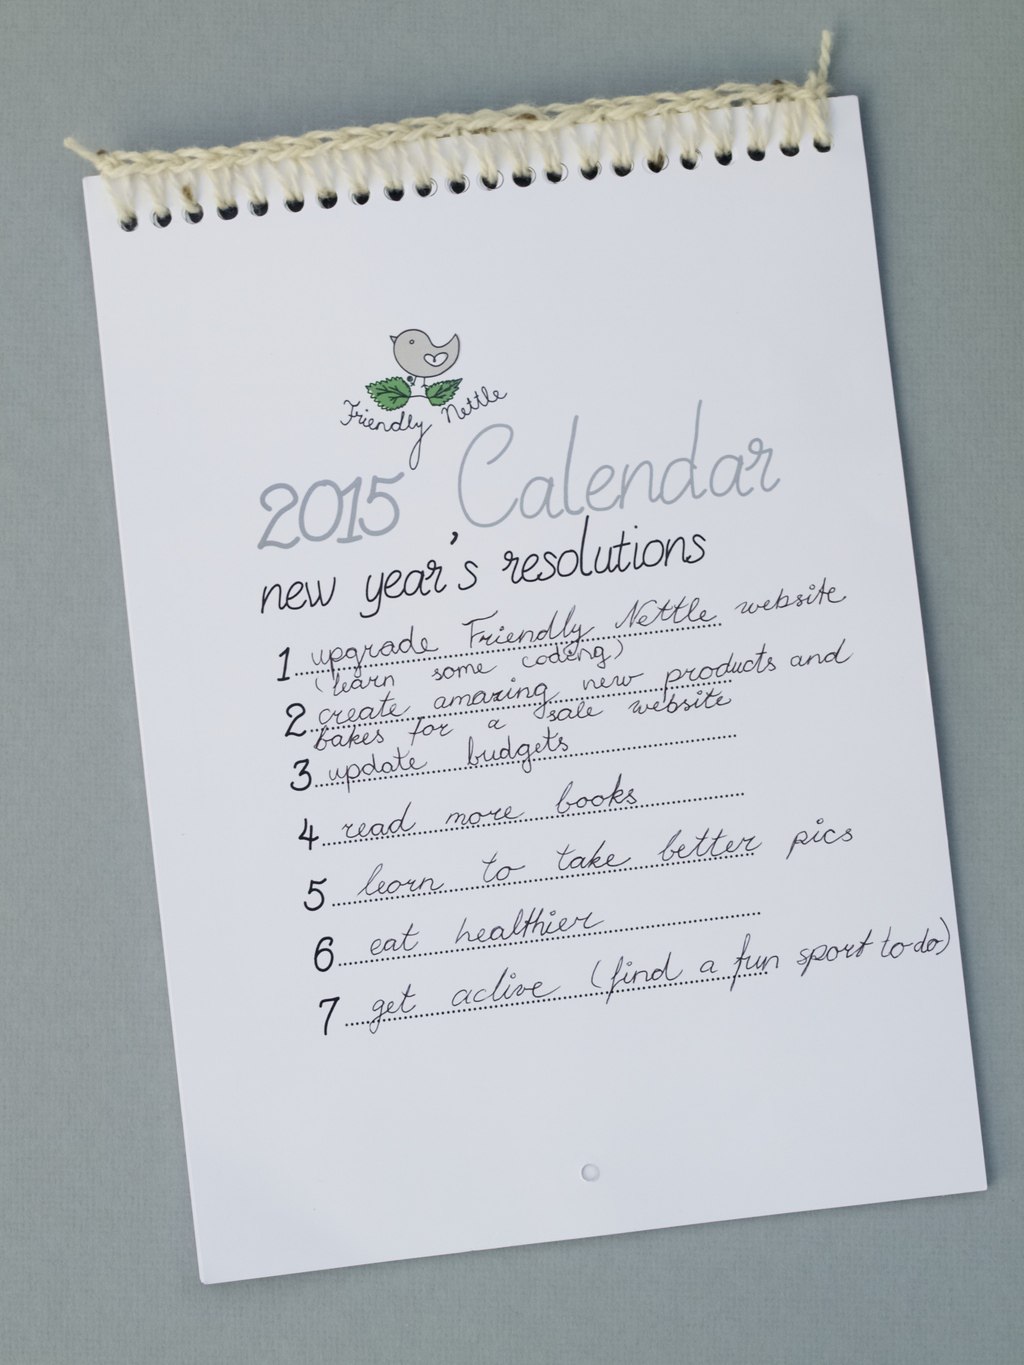
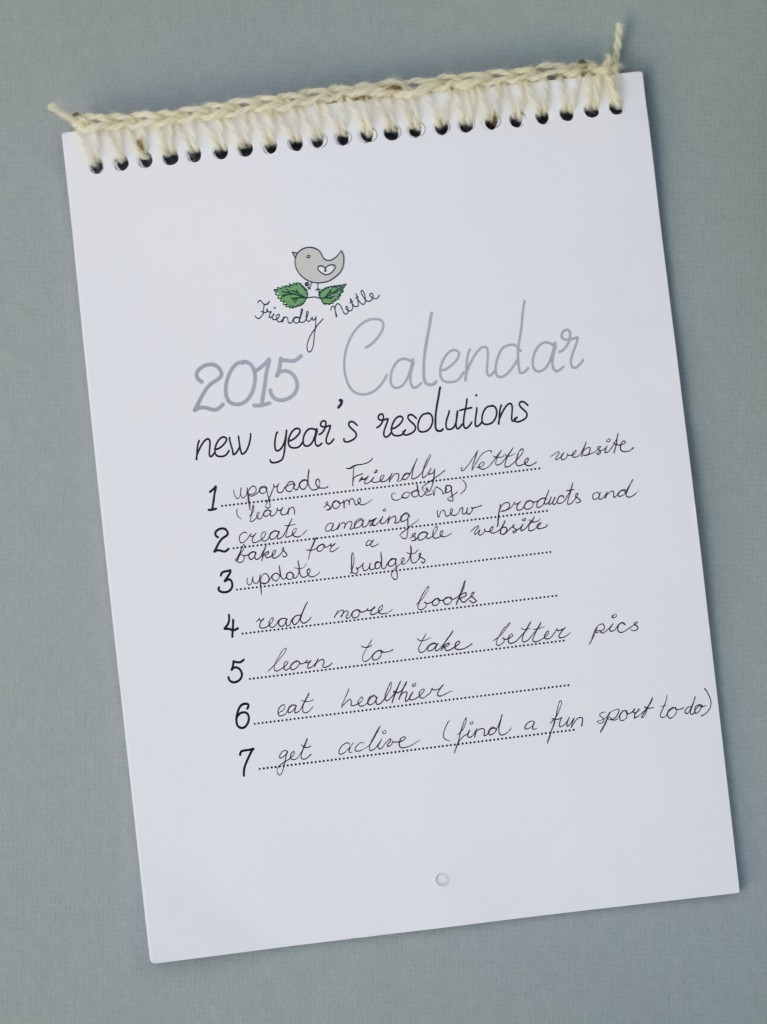
Here are my New Year resolutions for this year:
1. Upgrade Friendly Nettle website so it’s easer to use. This means that I also need to learn to code (at least the basics). I started training myself in this once before, but dropped out as when I became too busy. I am hoping to establish a training schedule where I spend 30min every second day. That can’t be that hard!
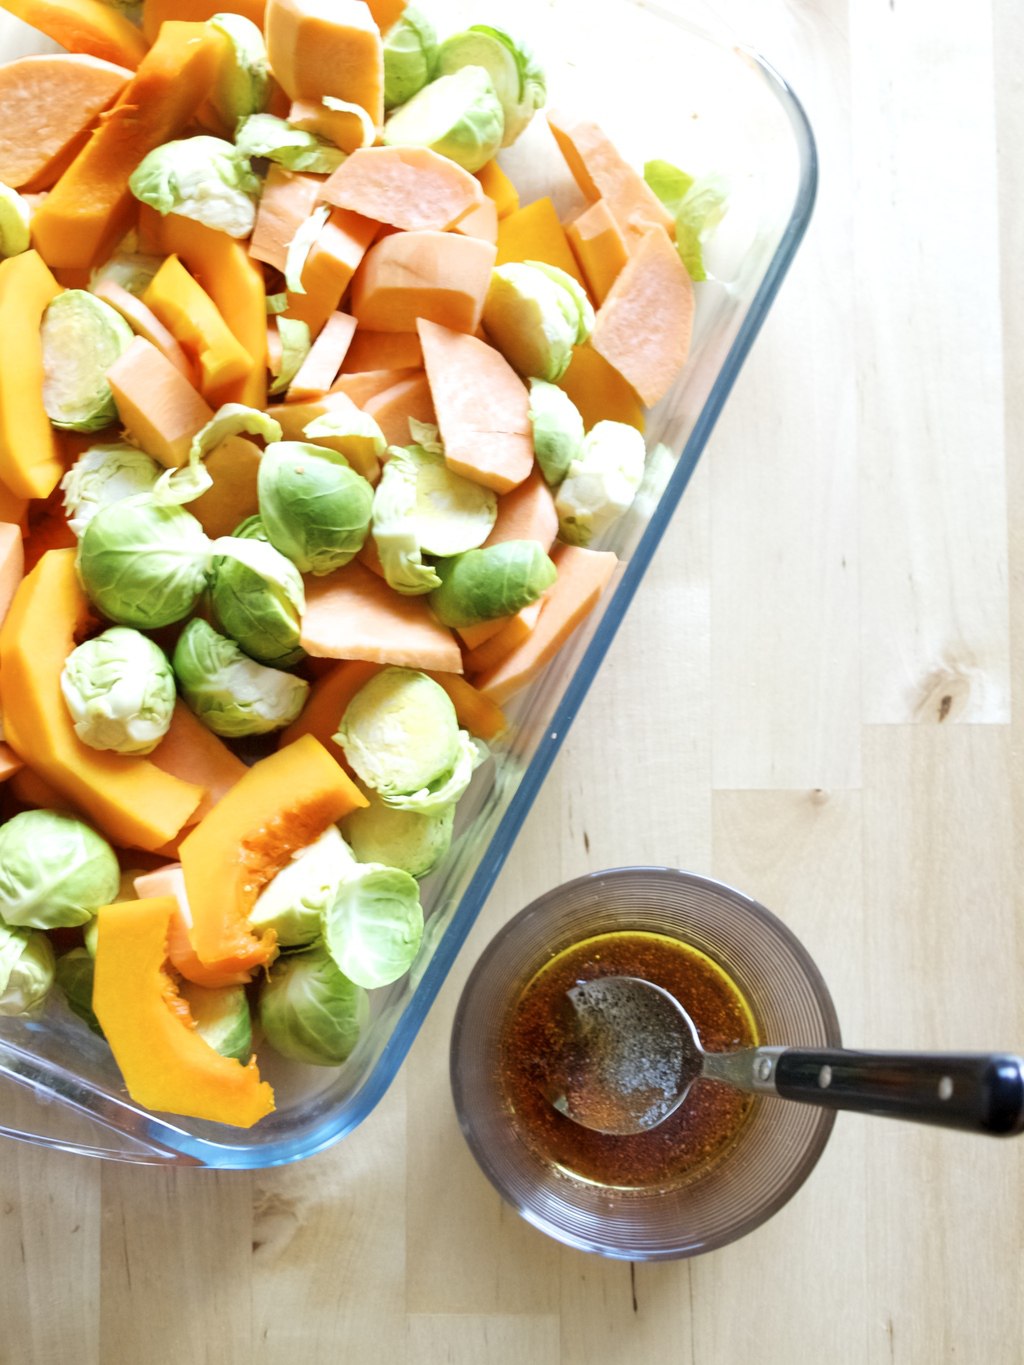
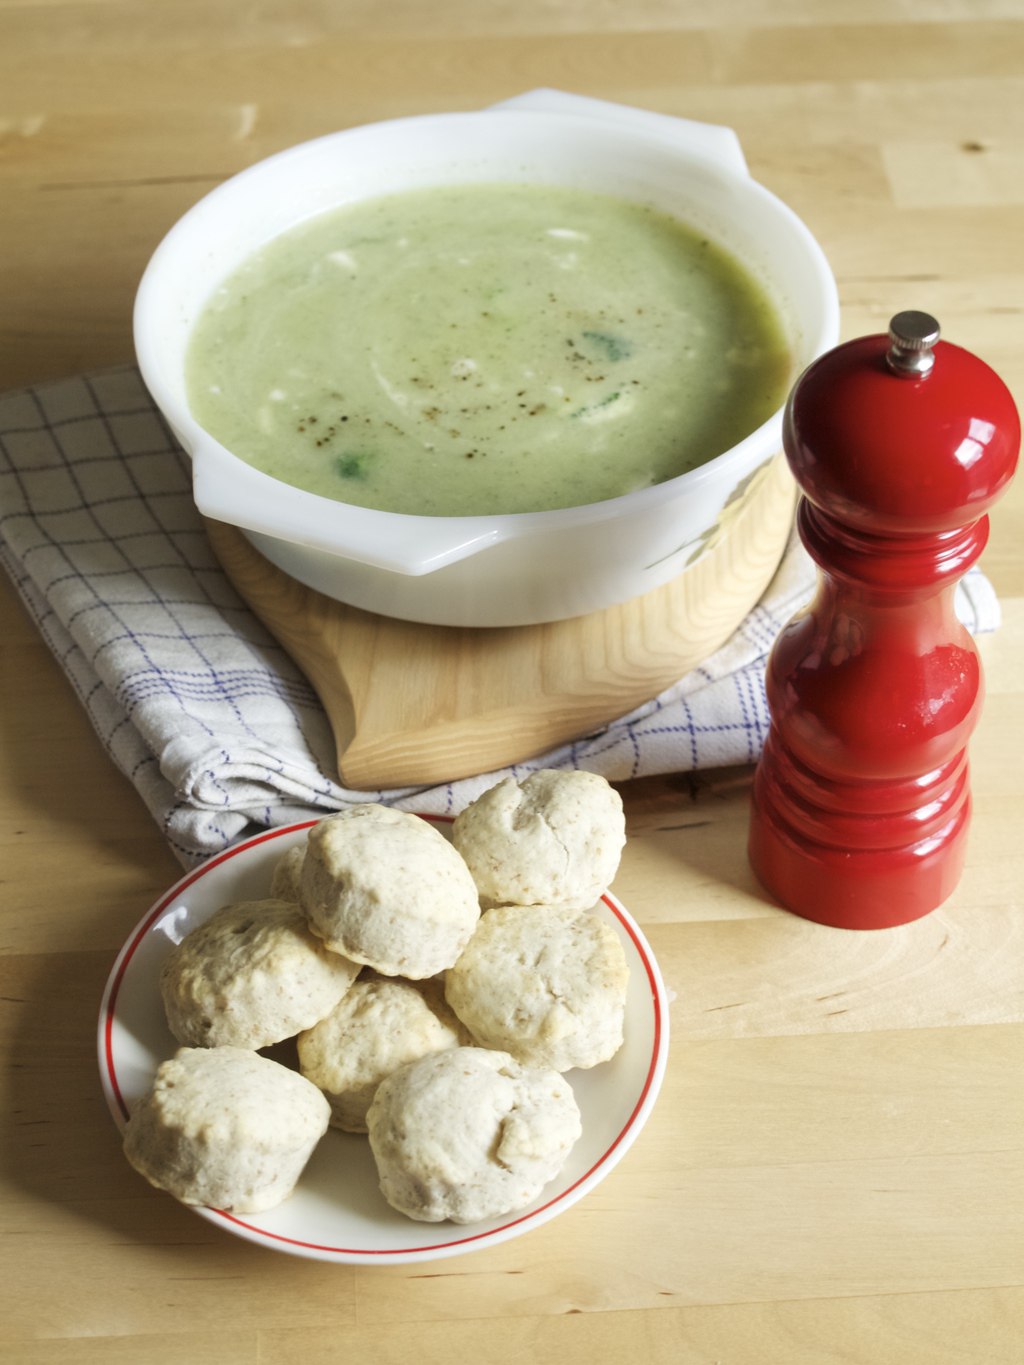
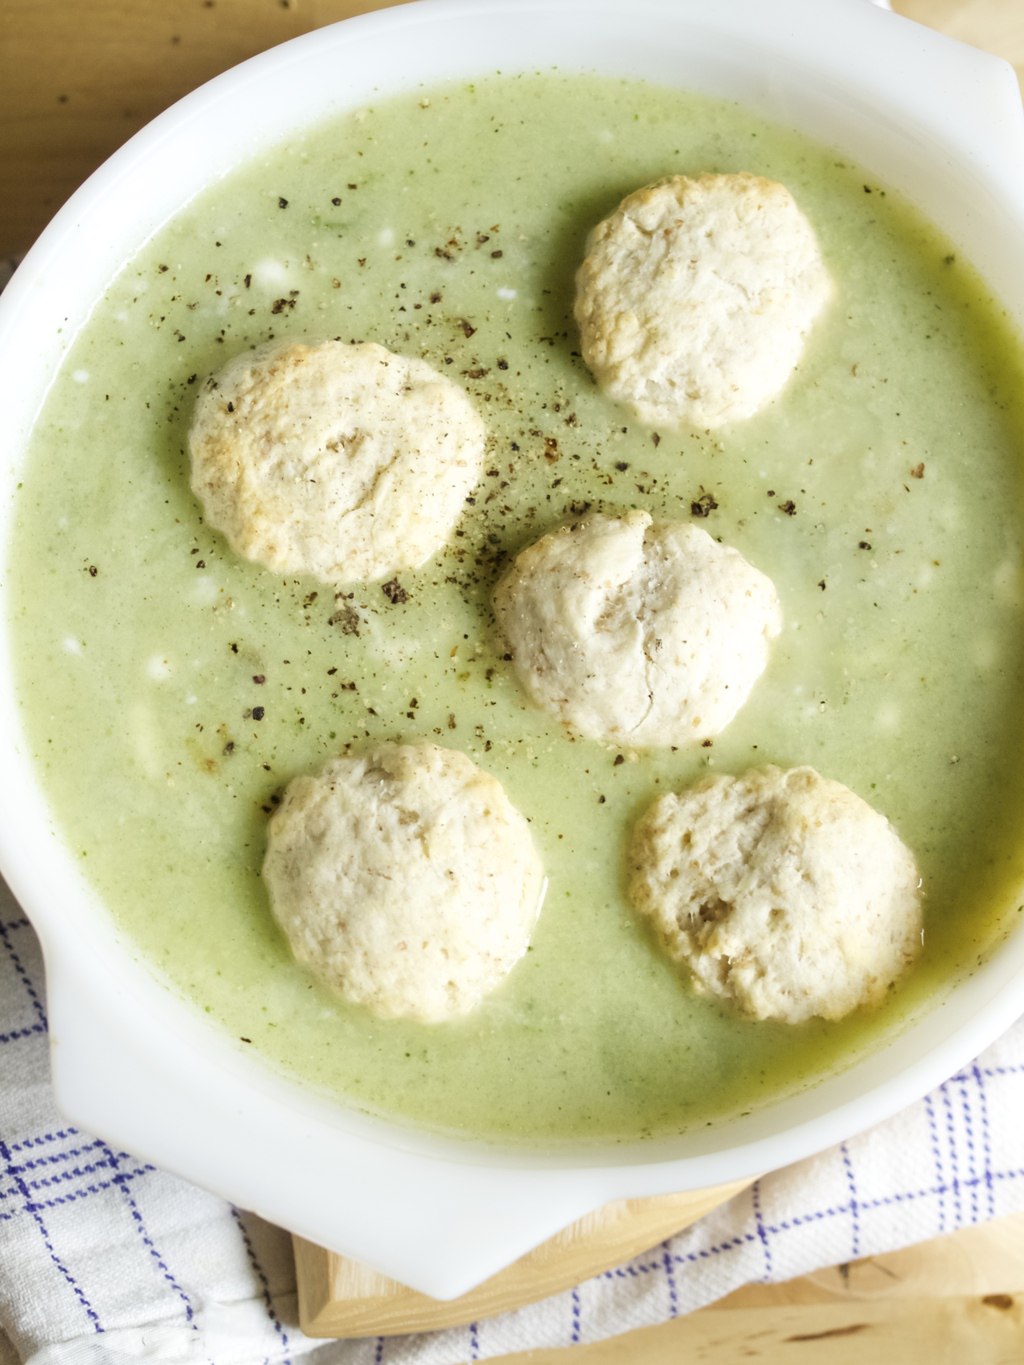
2. Create amazing new products and bakes for a new website. I relaunched the bakery website last month, but it still needs quite a lot of updates to make the website shopper friendly. Oh, and I already have sooo many ideas on other exciting products which I am working on at this moment.
3. Update budgets. And by budgets I mean our personal budgets. For the past few years I had a system that really worked for me and I updated that for us both once me and Joni got married. We have since realised that we need to add extra budgets since we now have more things to save for. I am hoping to share very soon my years of experience with personal budgeting.
4. Read more books, because I am hoping this will improve my writing. As you may know I am not a native english speaker, so I often experience writers block because of that. I am sure you sometimes even come across some grammar mistakes. I really hope this will be less of an issue in the future. 15 min of book reading before bed is quite realistic don’t you think?
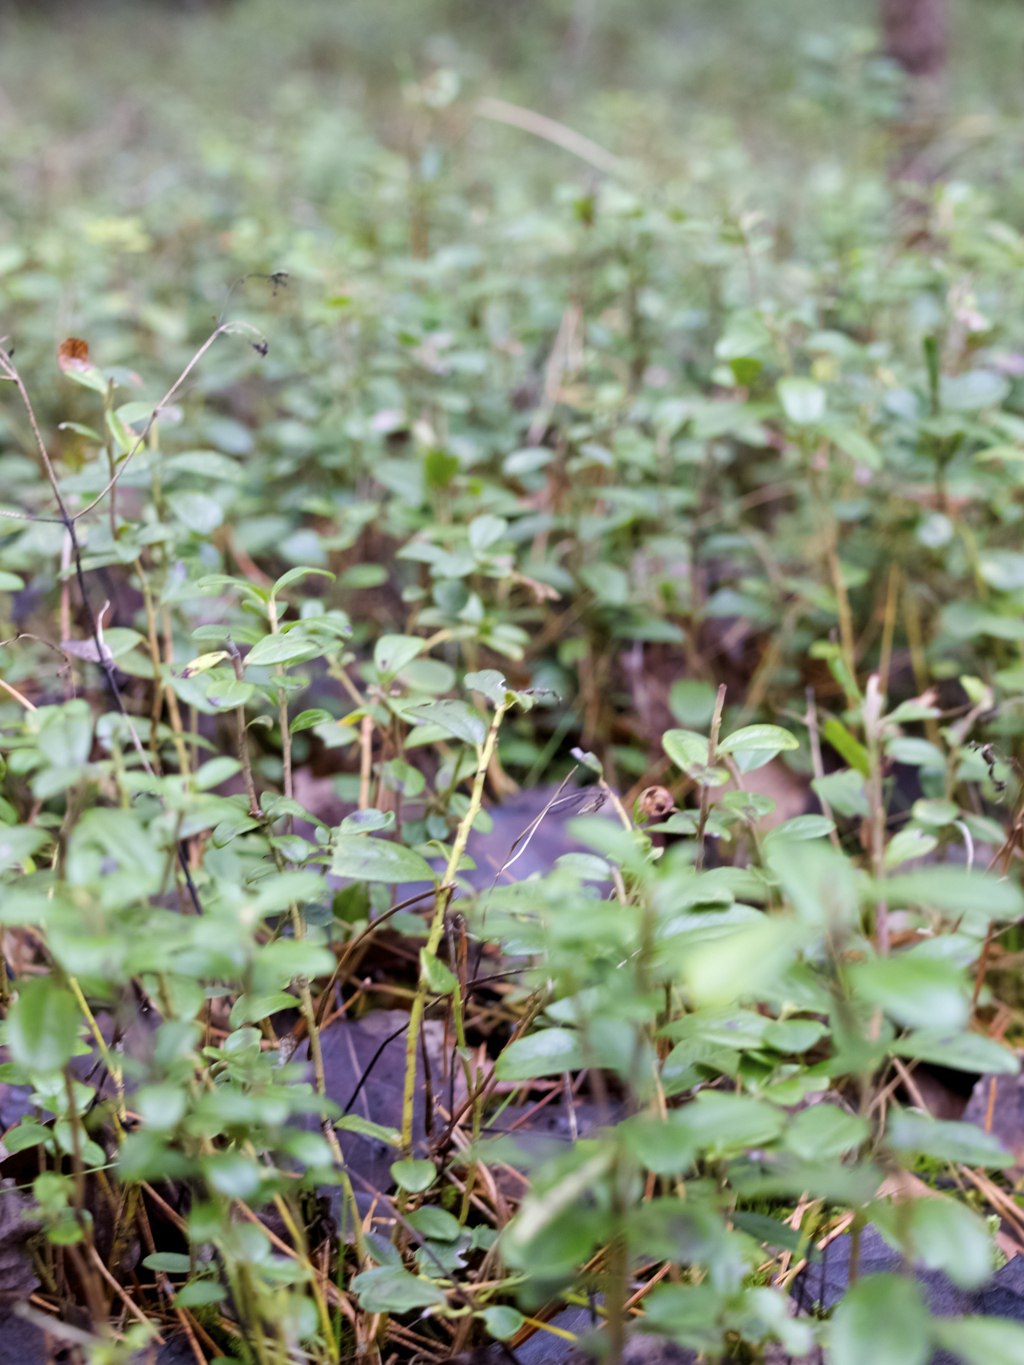
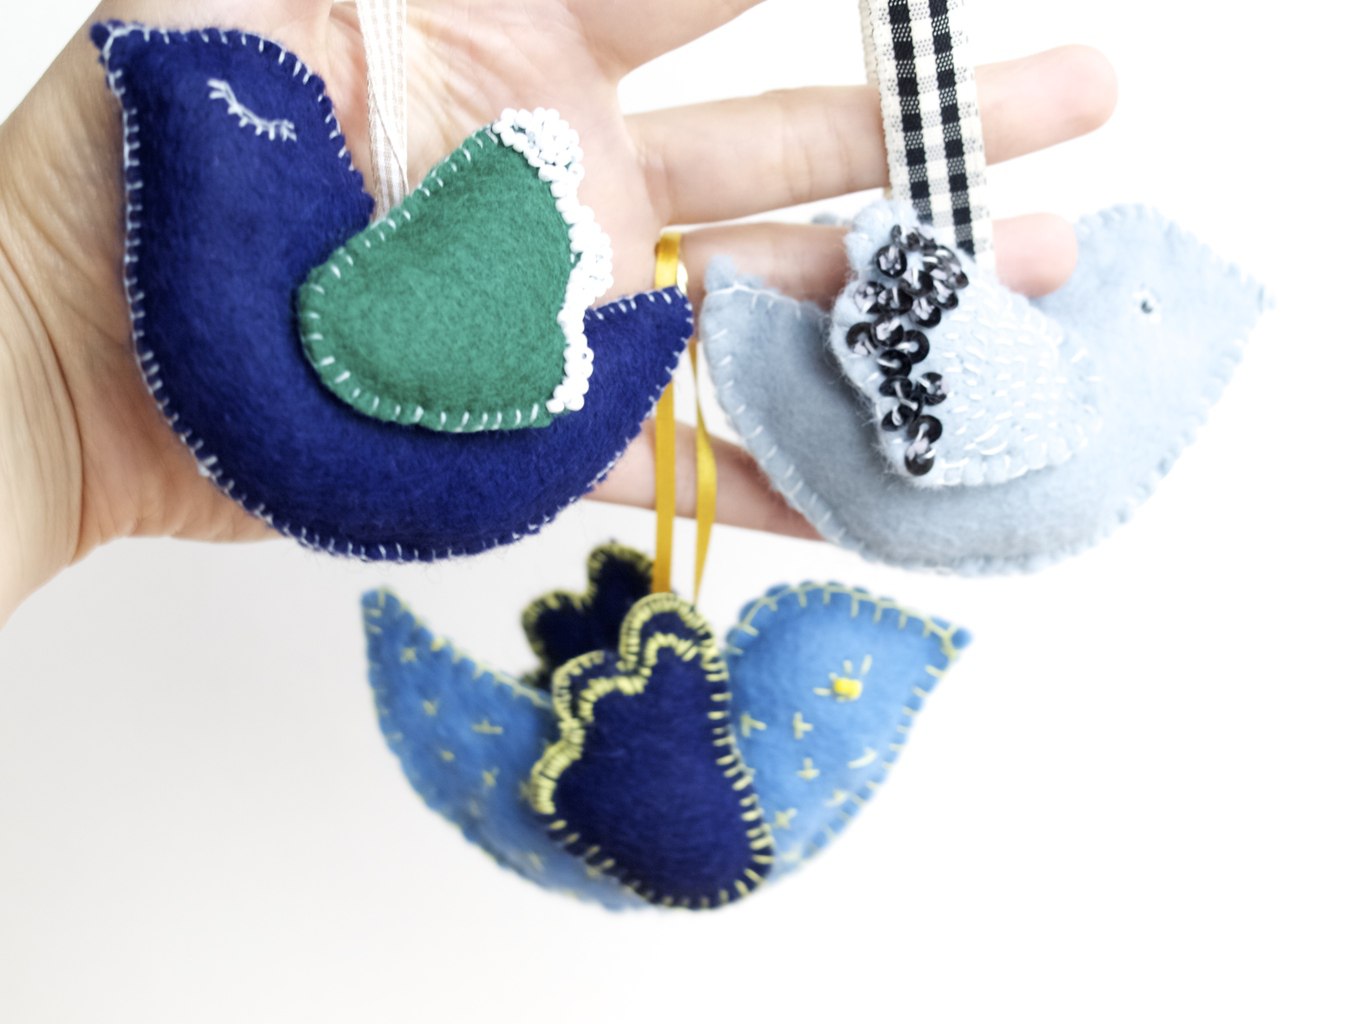
5. Learning to take better pics is one of my bigger goals! I already learned so much about photography from writing my own blog and taking pics of my projects at the same time. Getting a DSLR a few months ago transformed my photography completely, but I still feel there is room for improvement. I feel I don’t use the DSLR camera to it’s full potential, but I will start reading the manual and that hopefully should change :-D.
6. Eat healthier! This is probably the most common New Year resolution. I don’t quite know how I am going to achieve this yet, but is very important I do ;-).
7. Get active. Eating healthier and exercise goes hand in hand. At least I have a plan for this goal. I will just pick a fun sport activity! Hopefully this is as simple as it sounds!
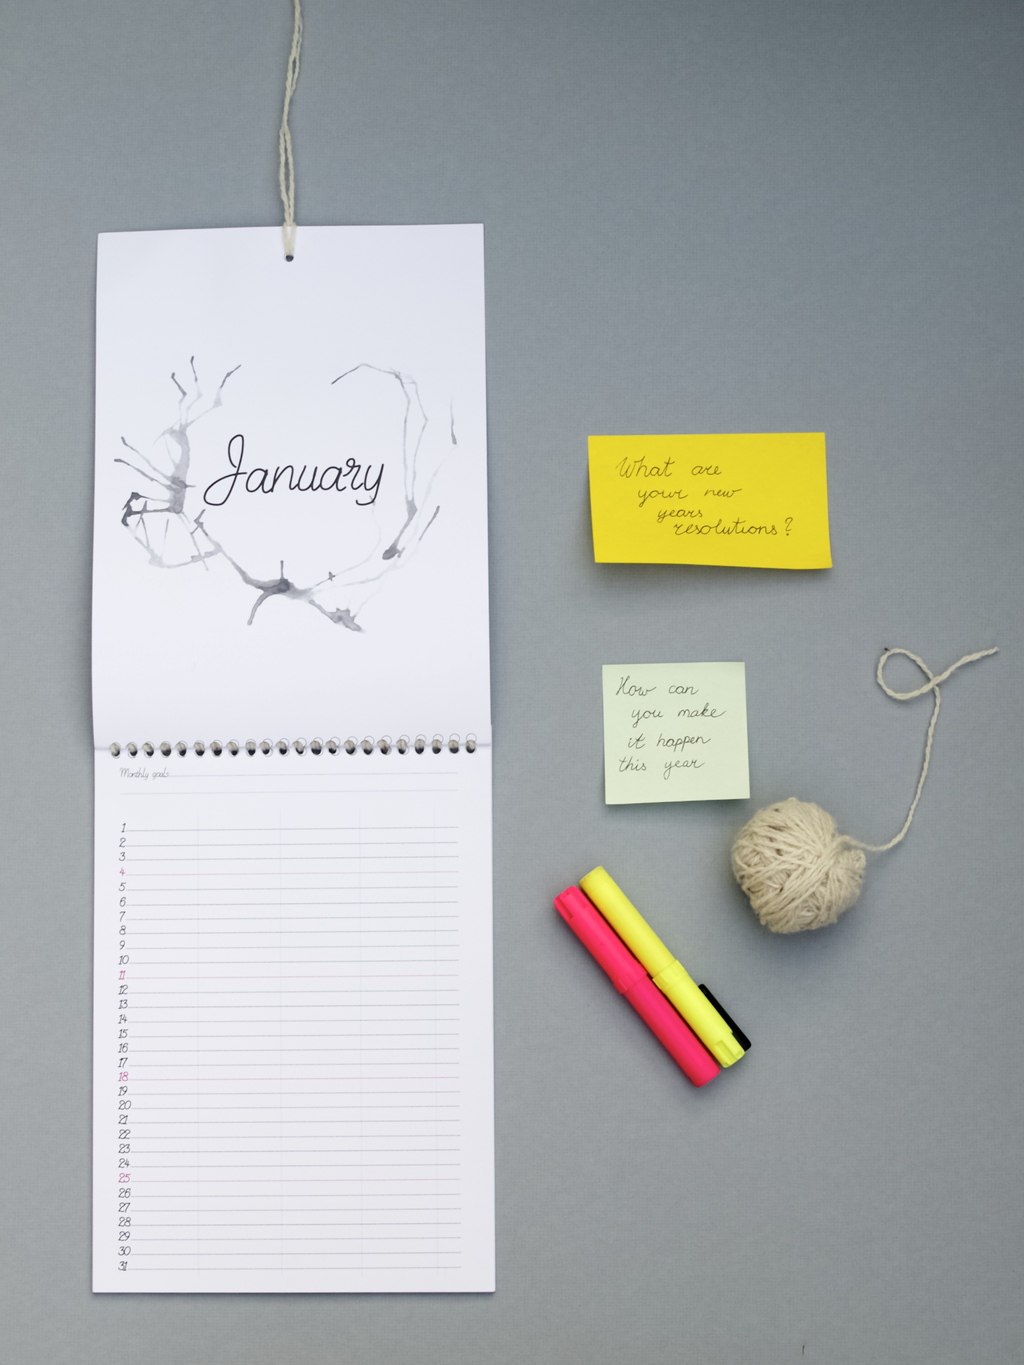
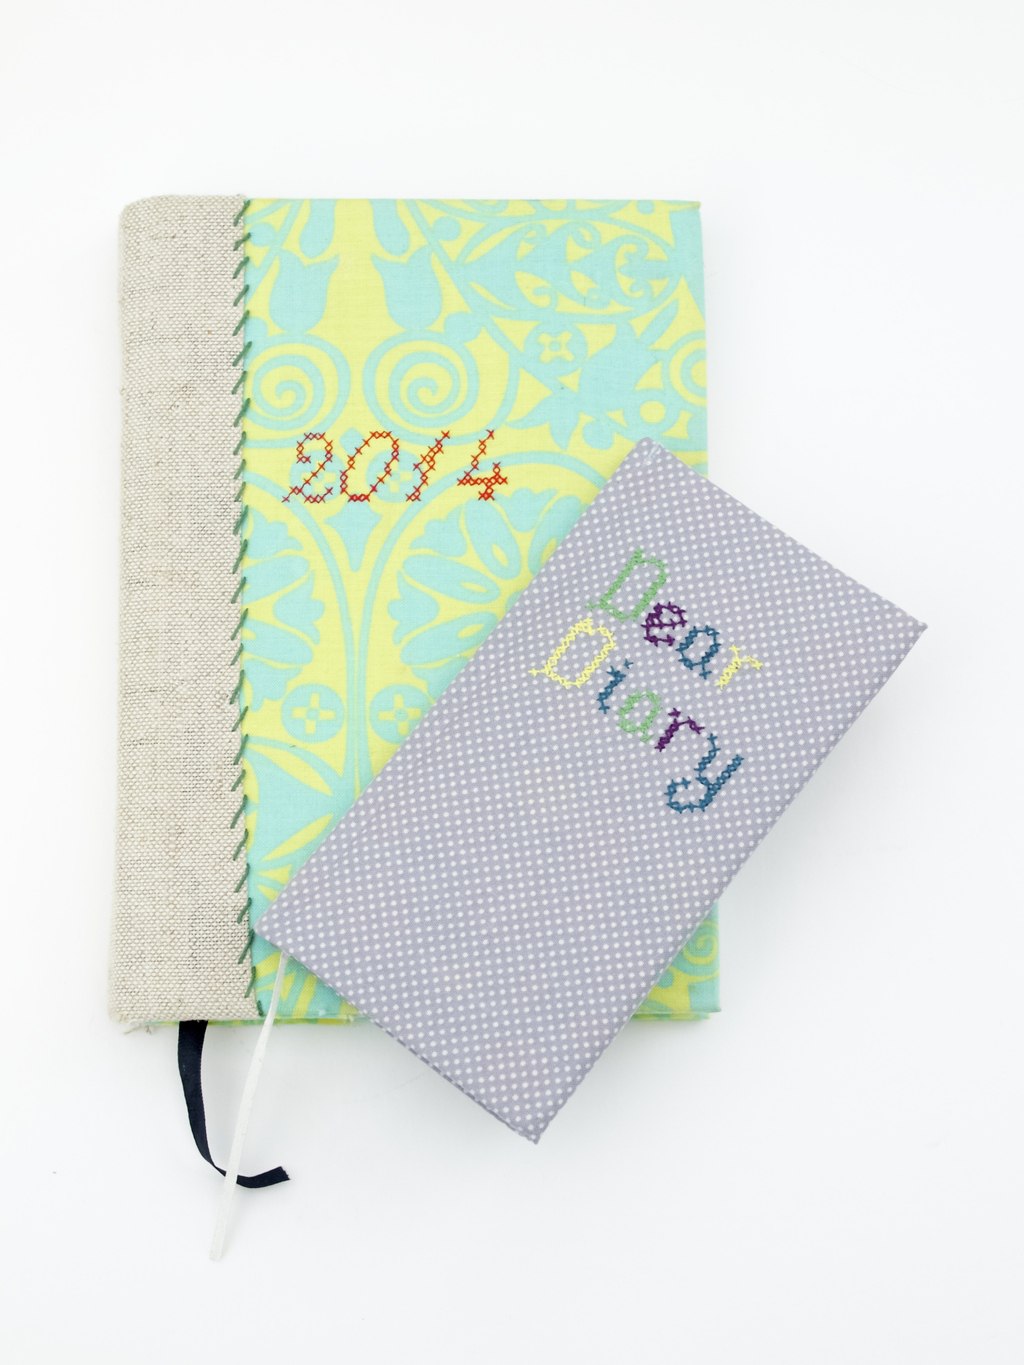
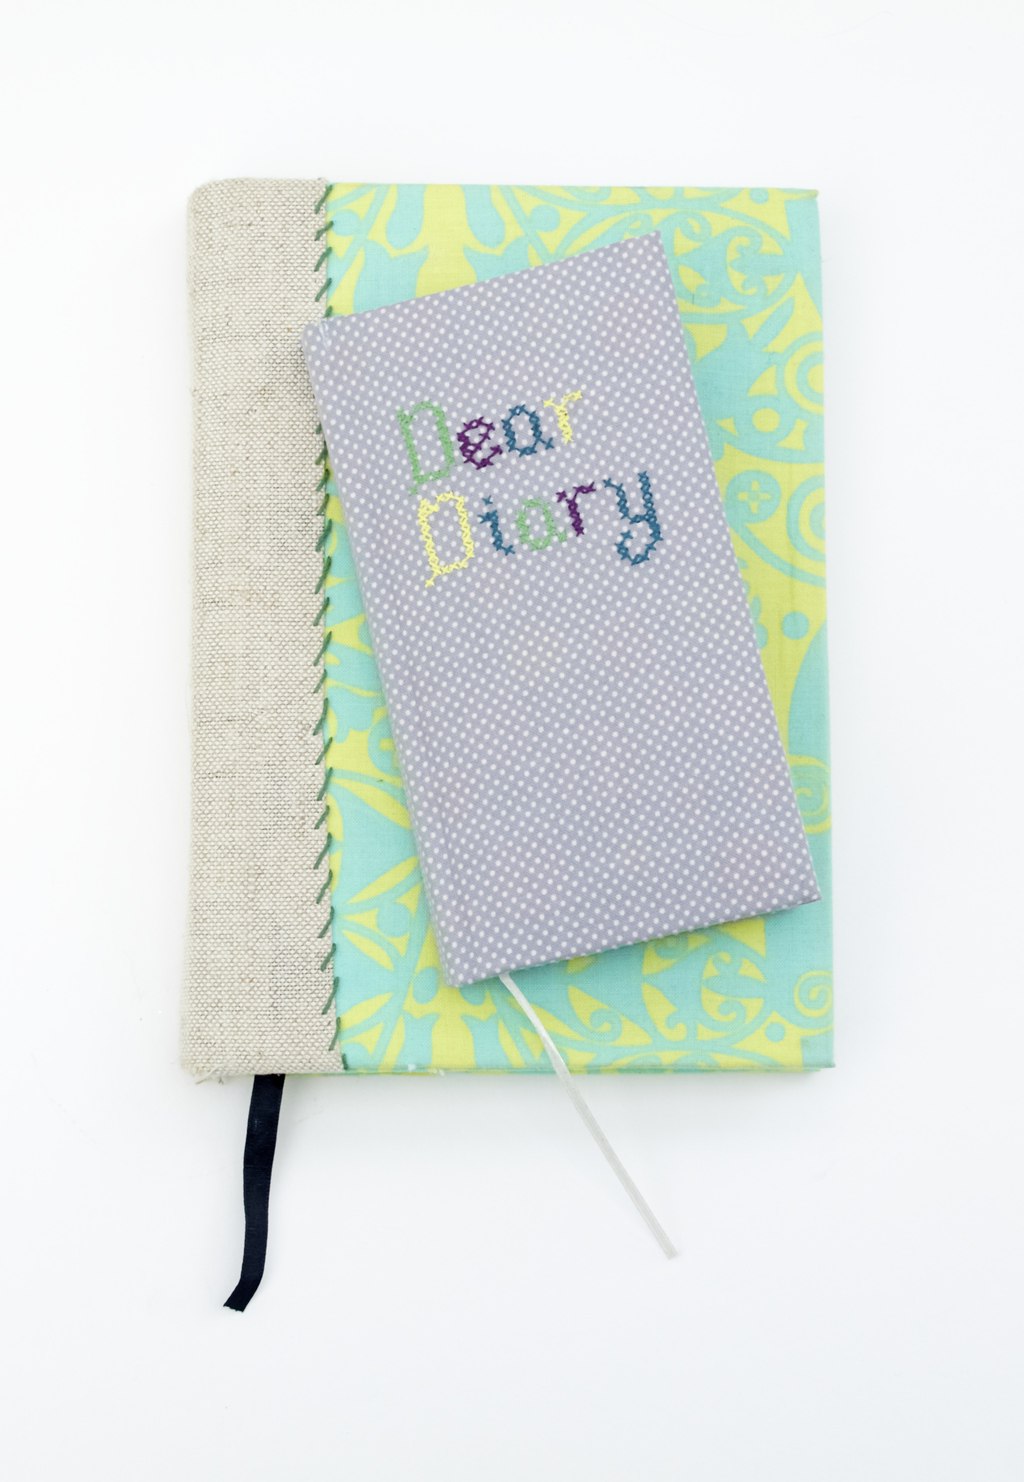
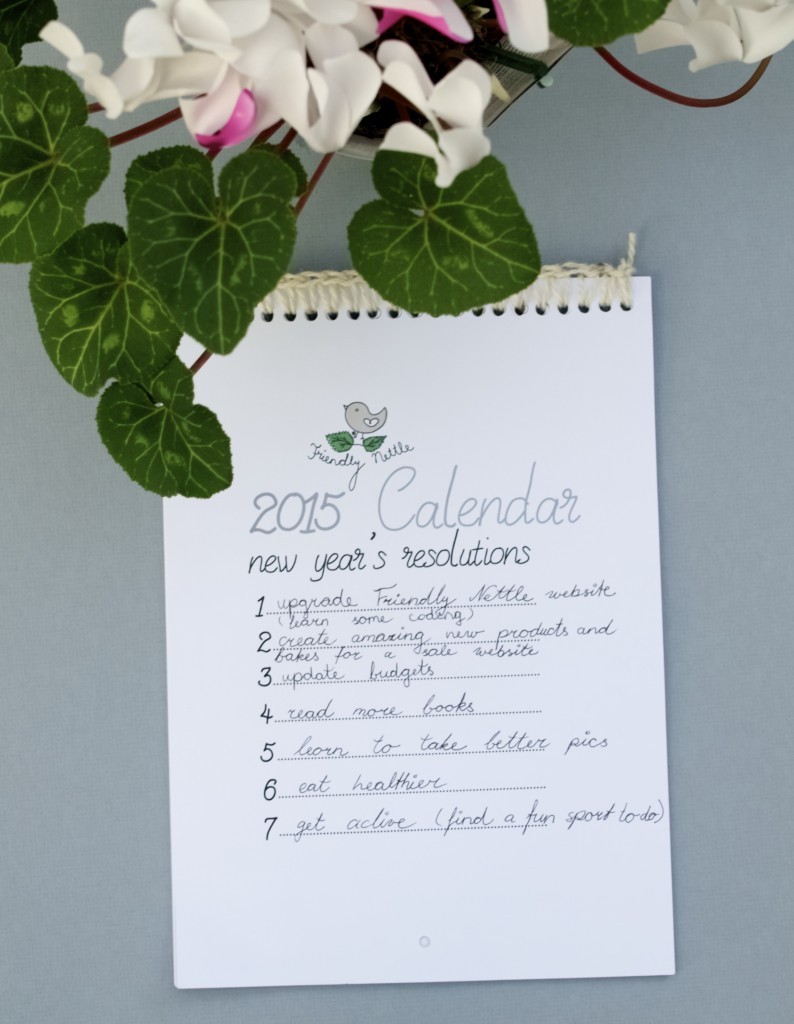
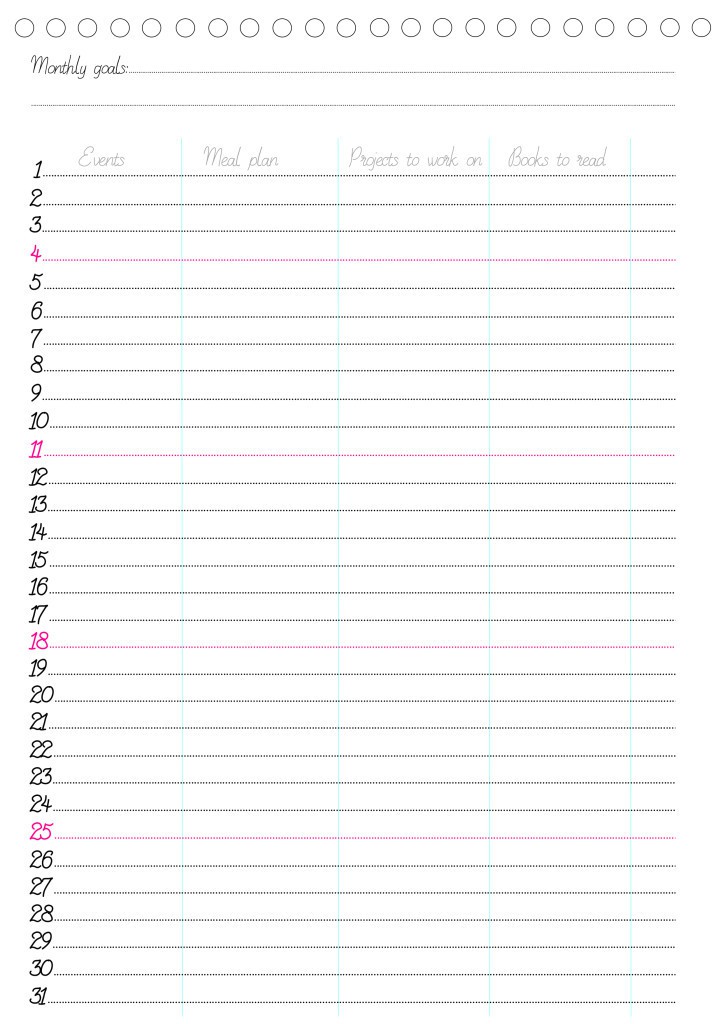
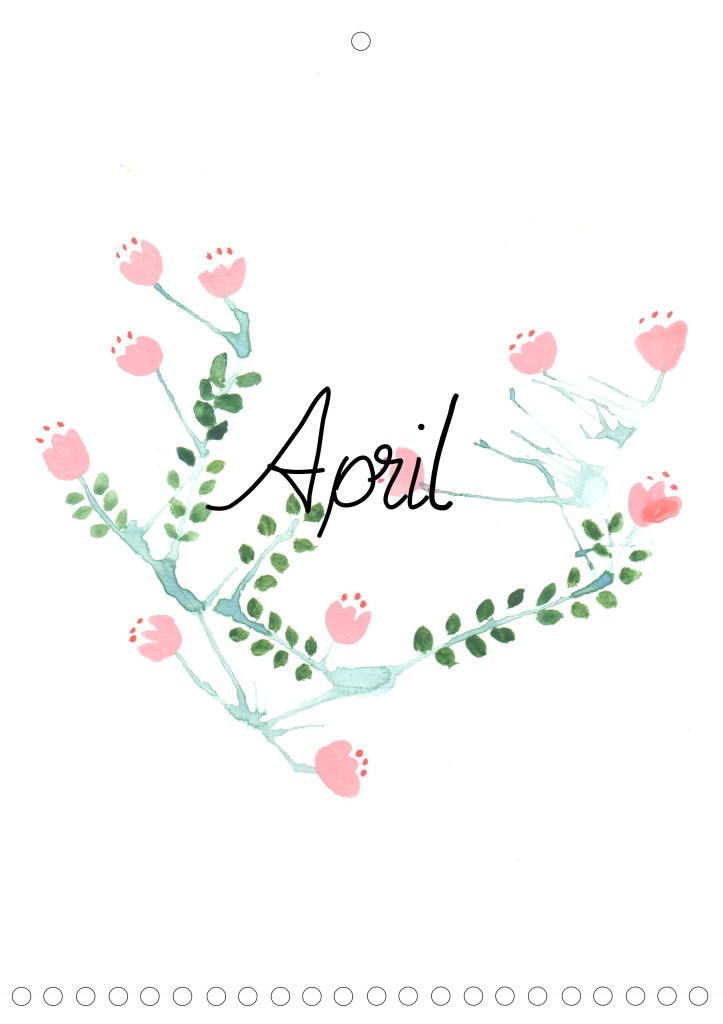
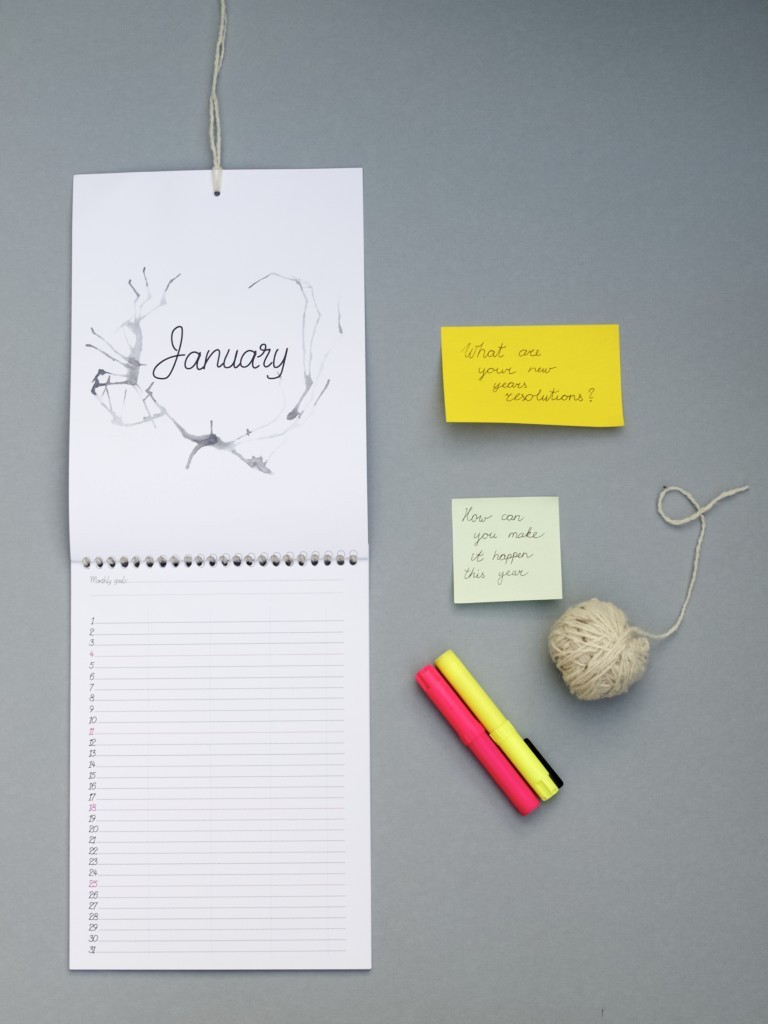
Through this week I am hoping to fill my 2015 planner with the actions that will help to achieve this year’s goals. Do you have any New Year goals? If not, then I encourage you to write some down. It really really helps to see the bigger picture. Click here to get your free printable 2015 planner!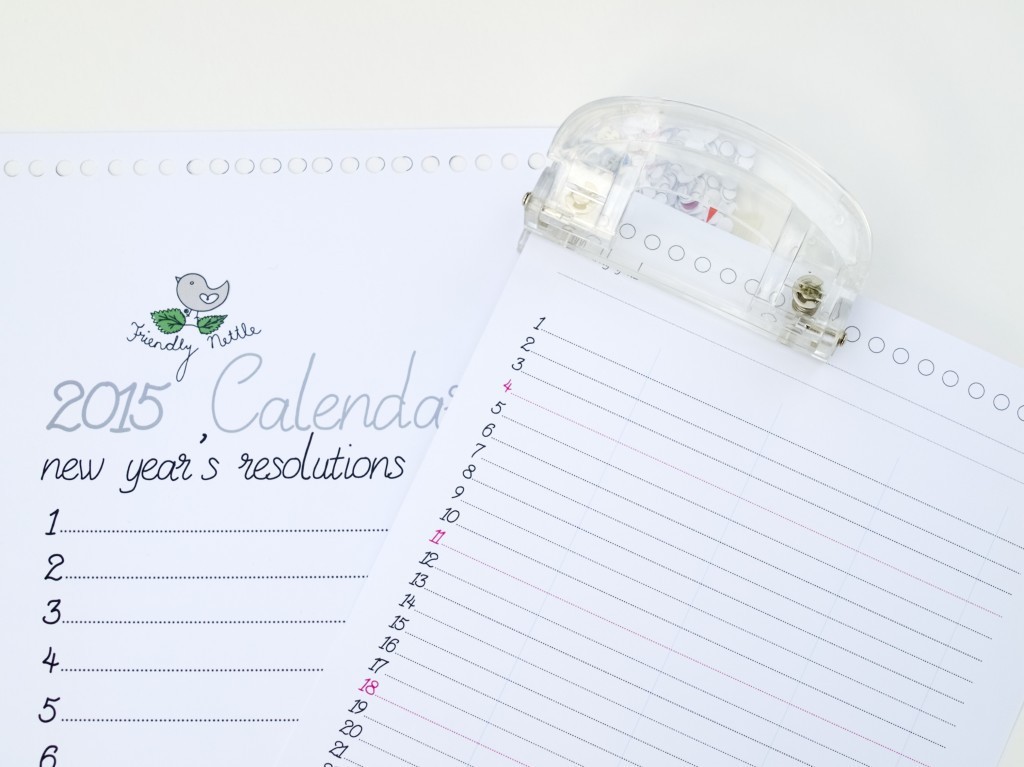 I printed out my calendar and crocheted it together so I could hang it on my wall.
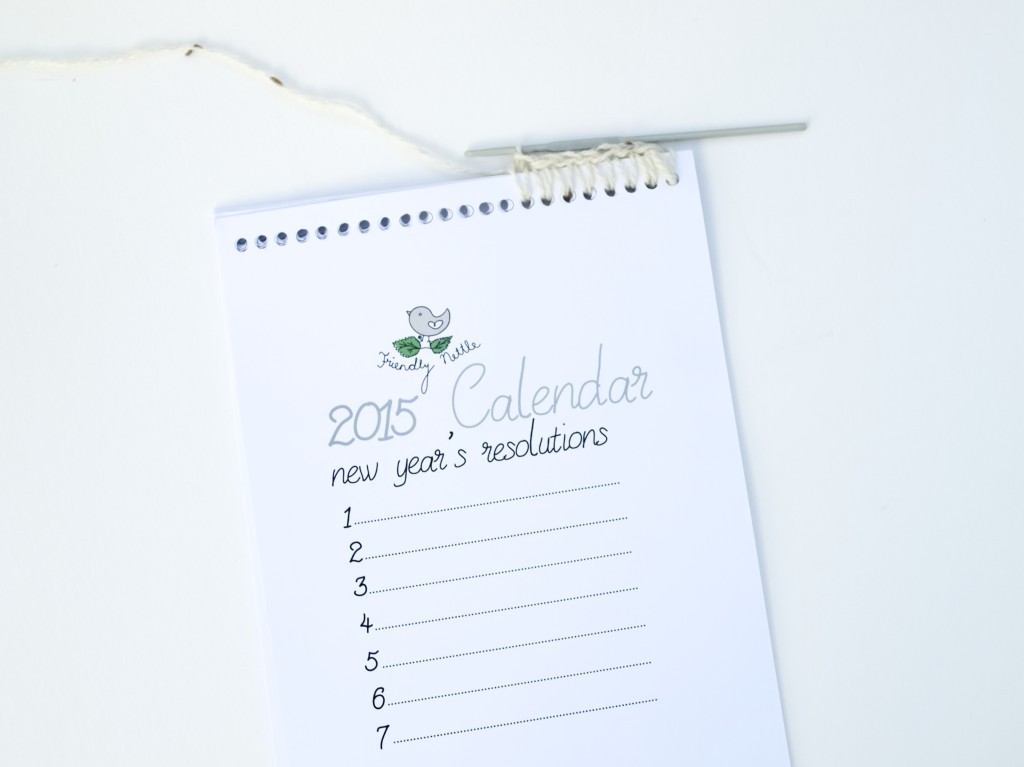

 Enjoy New Year planning!
Rasa xoxo


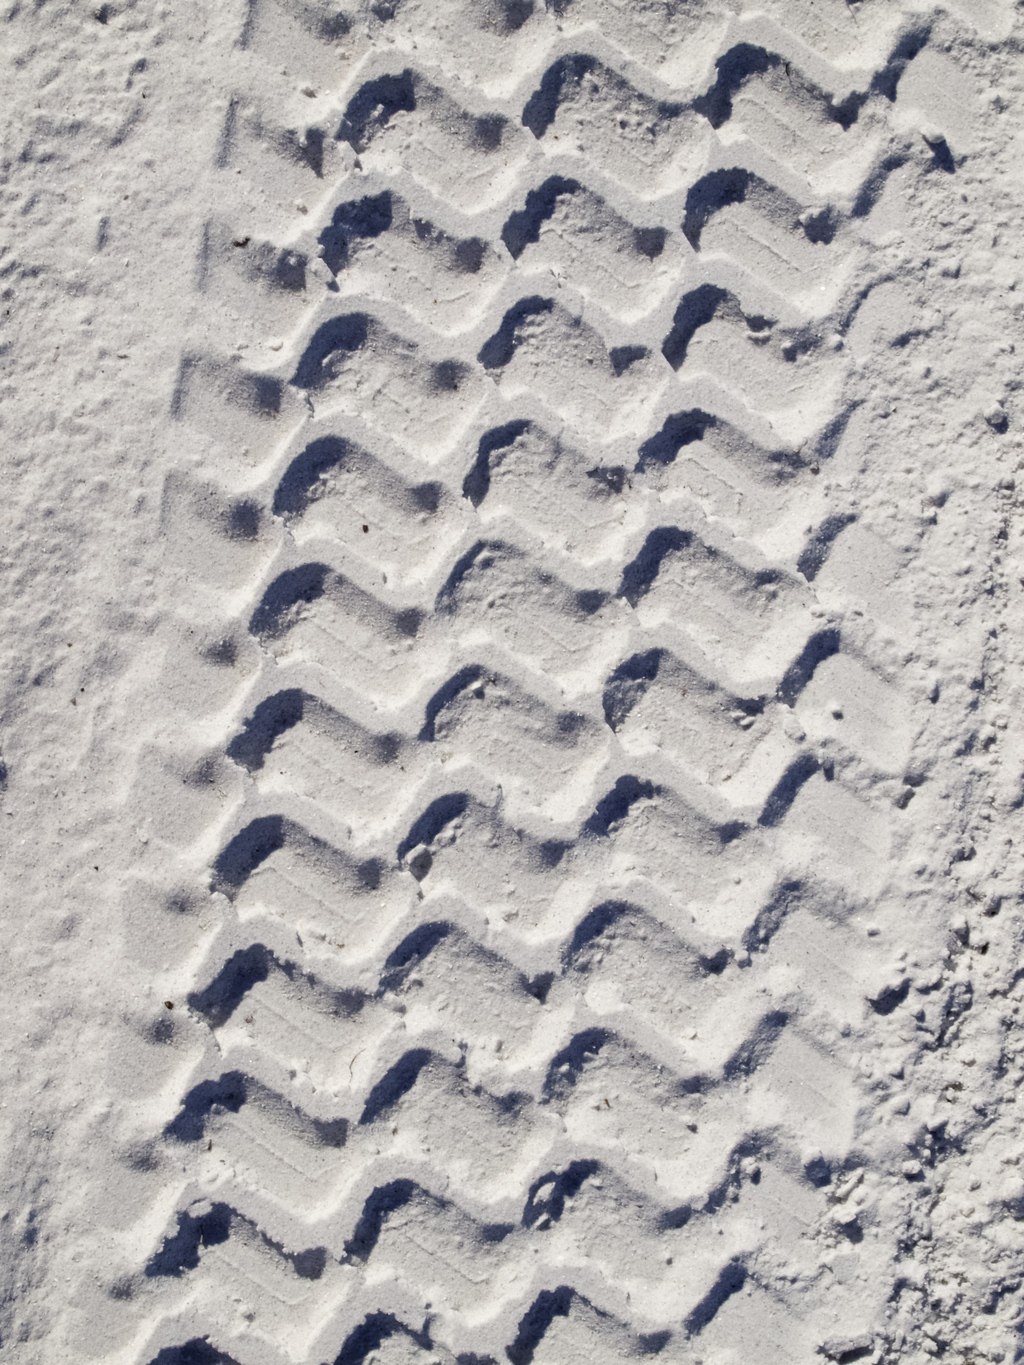
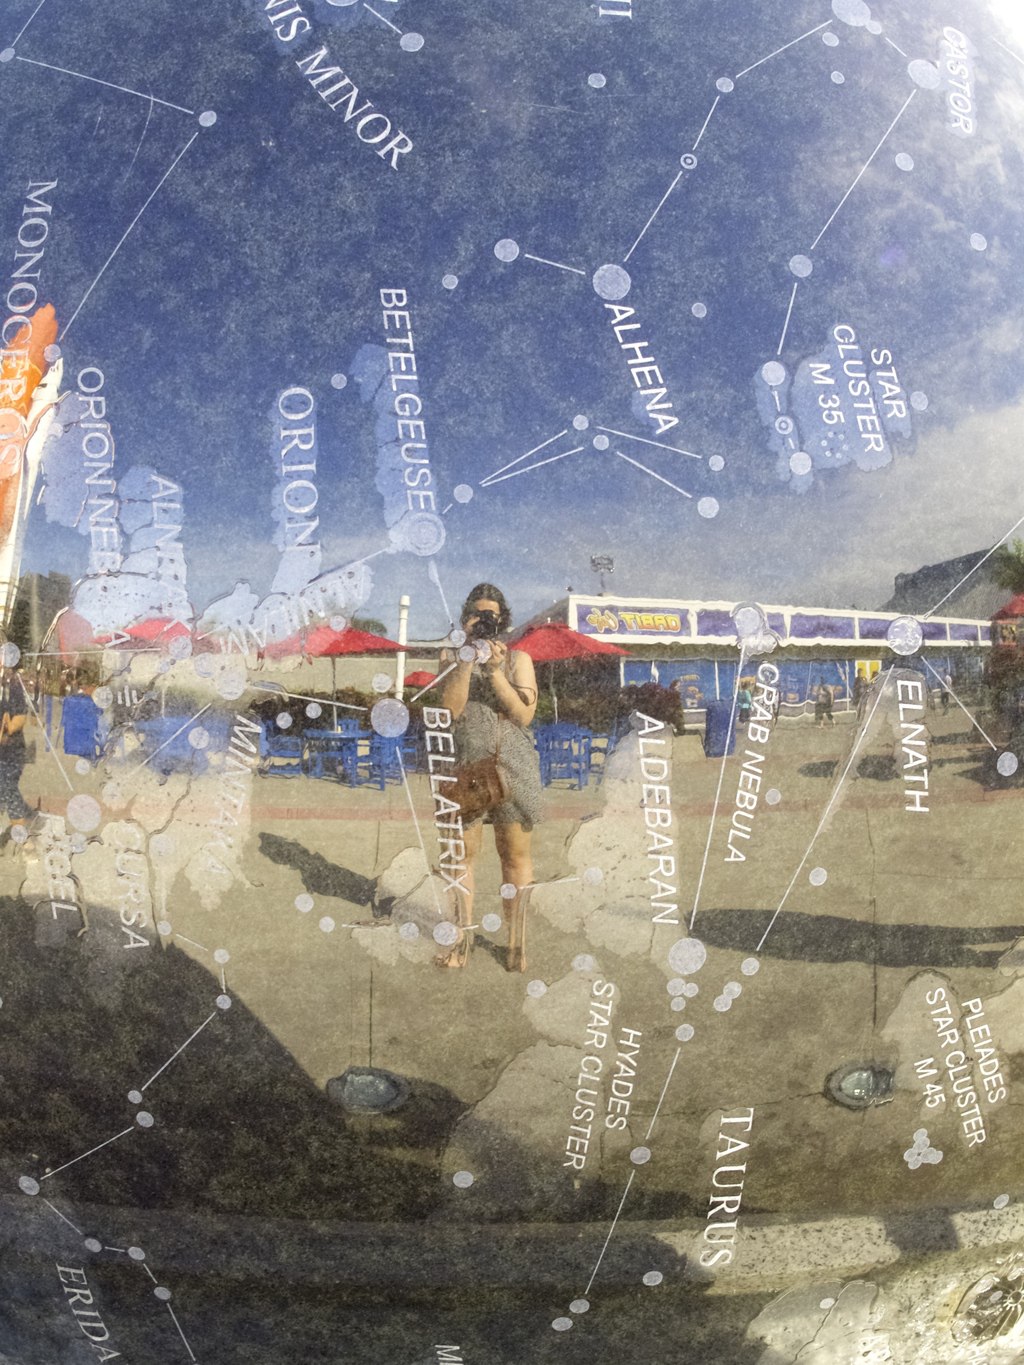
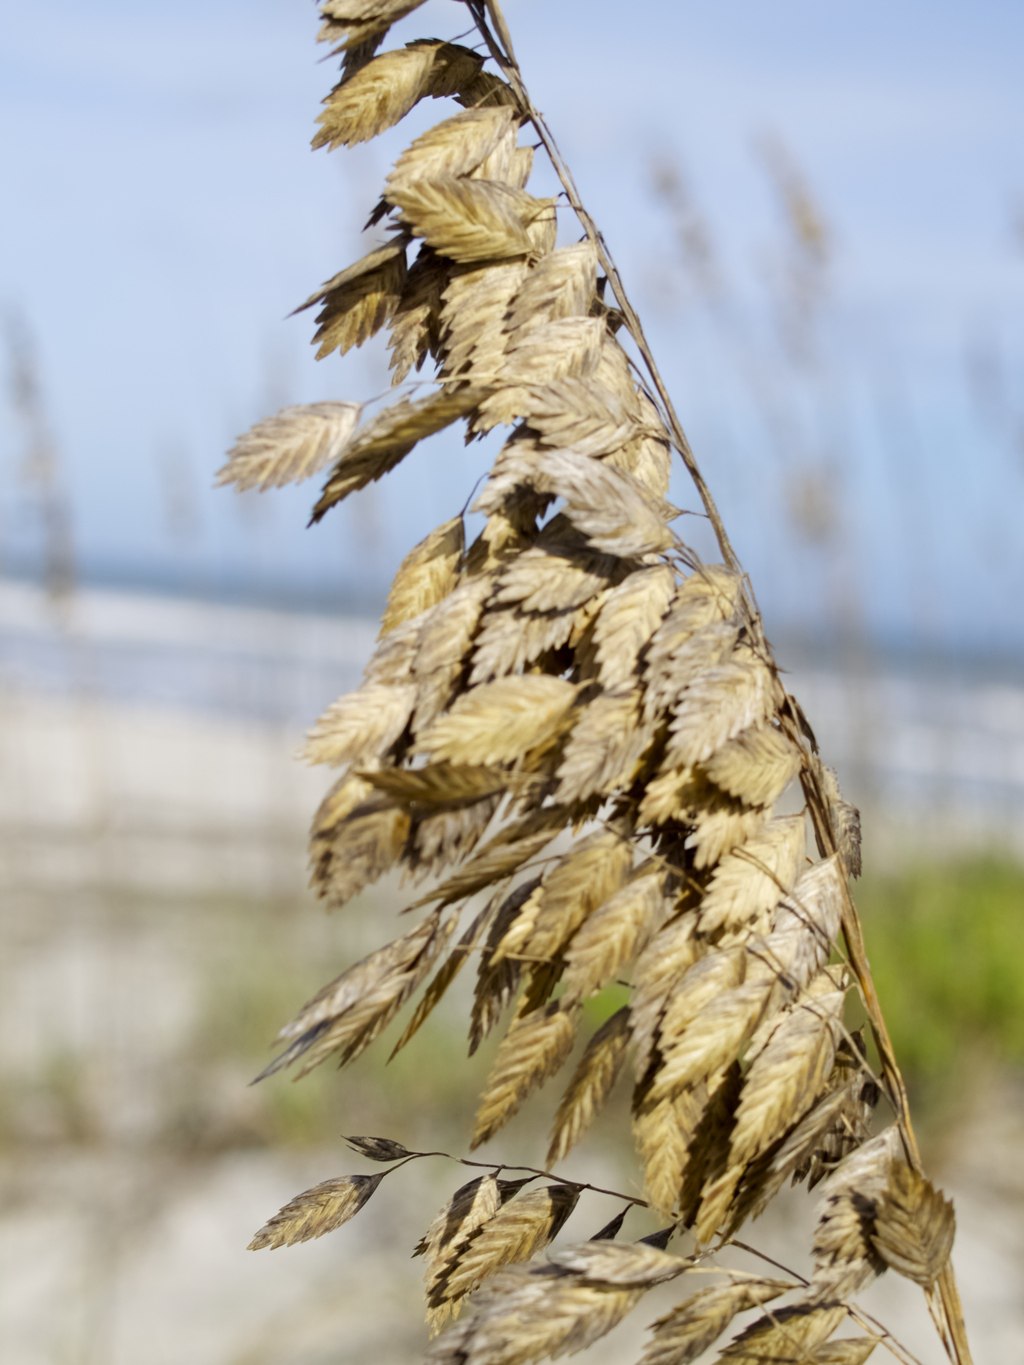
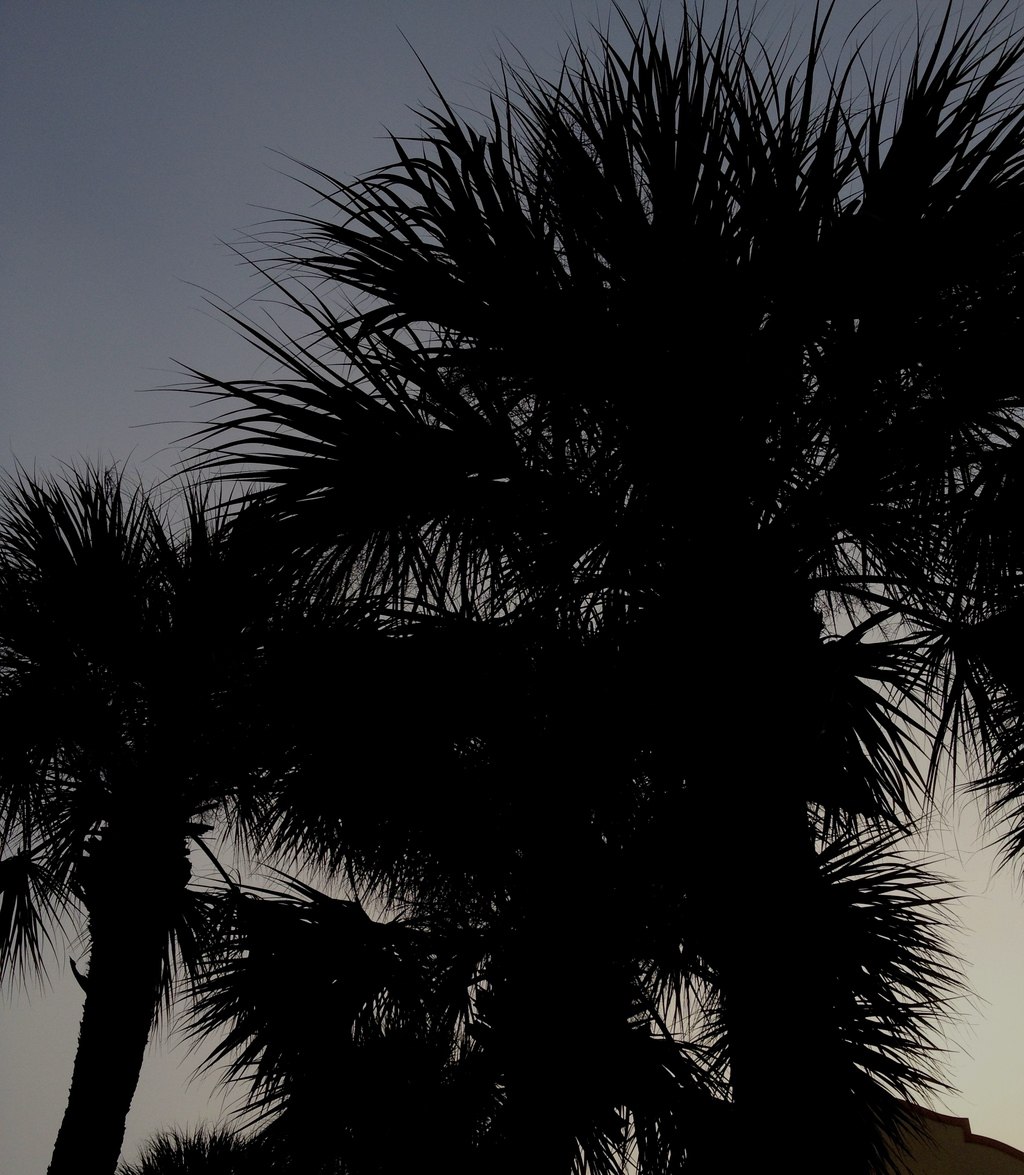
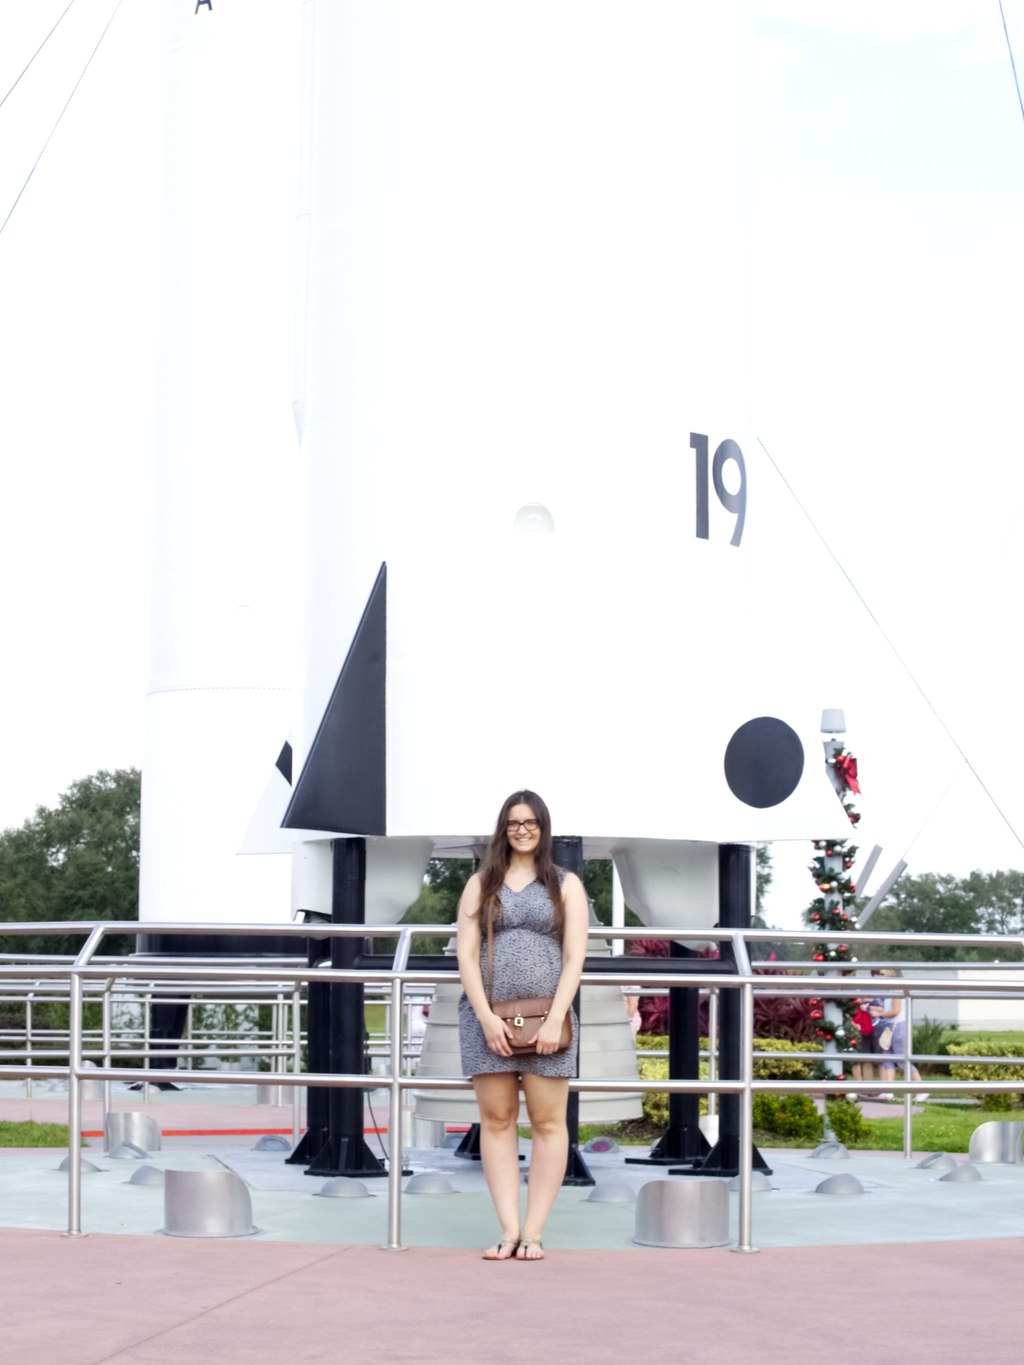
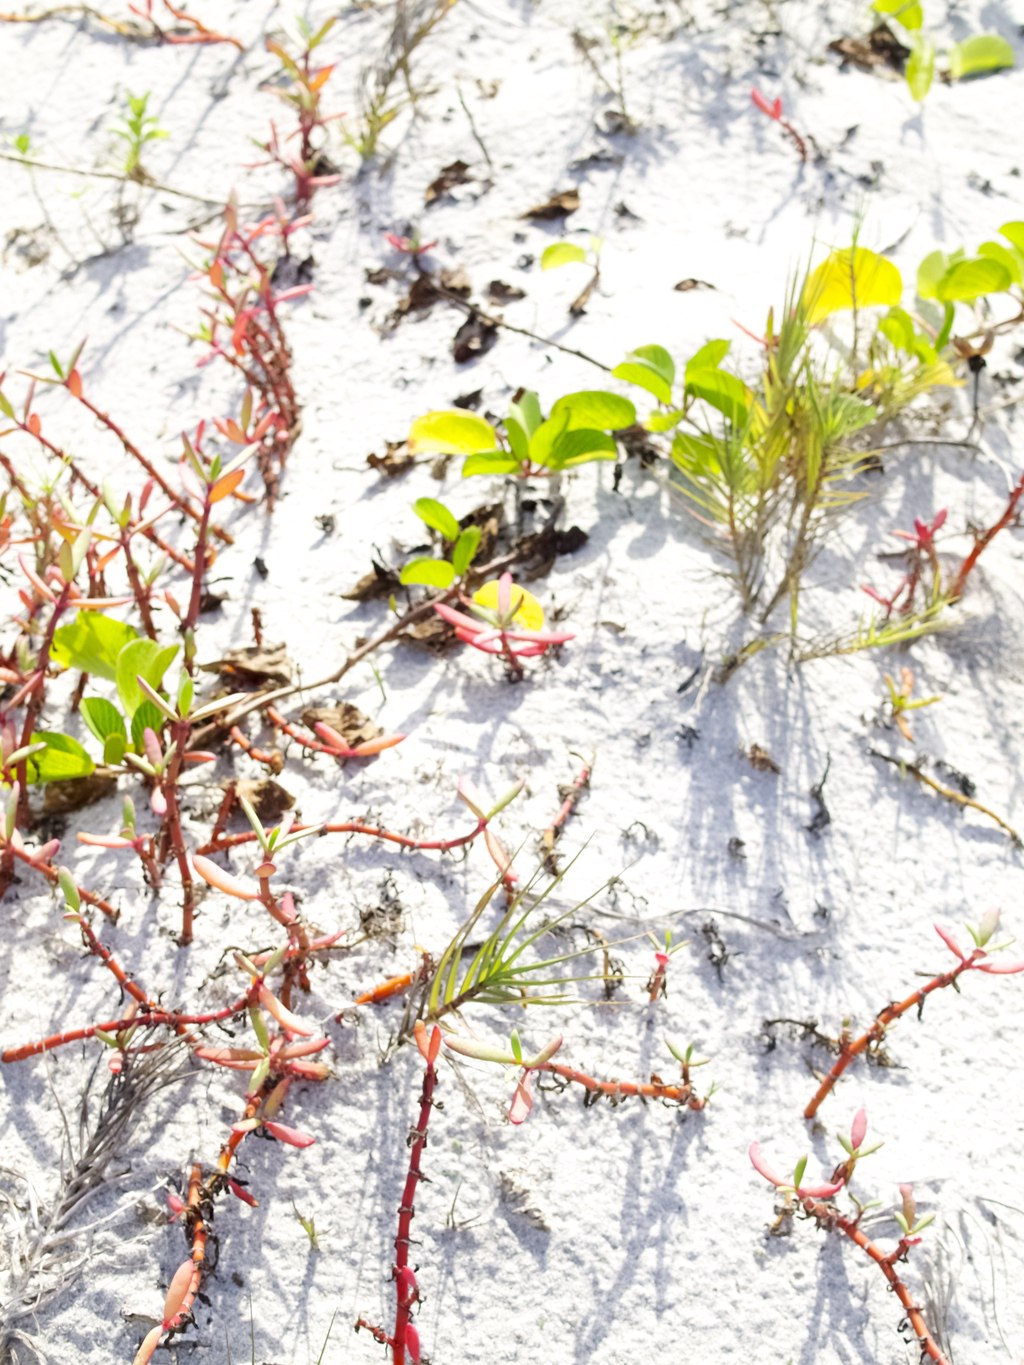
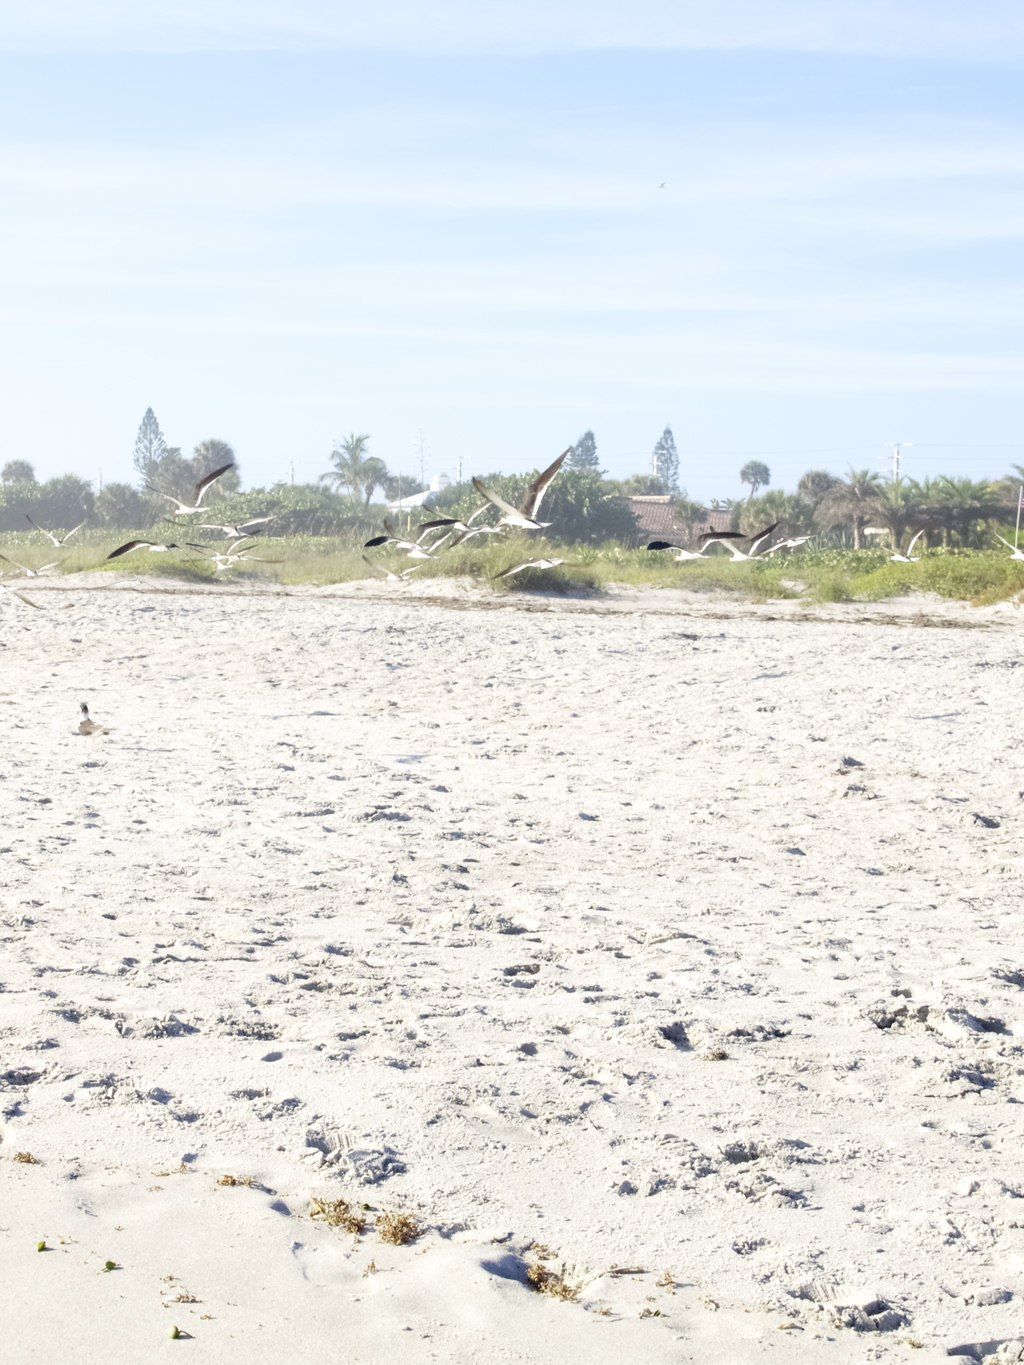
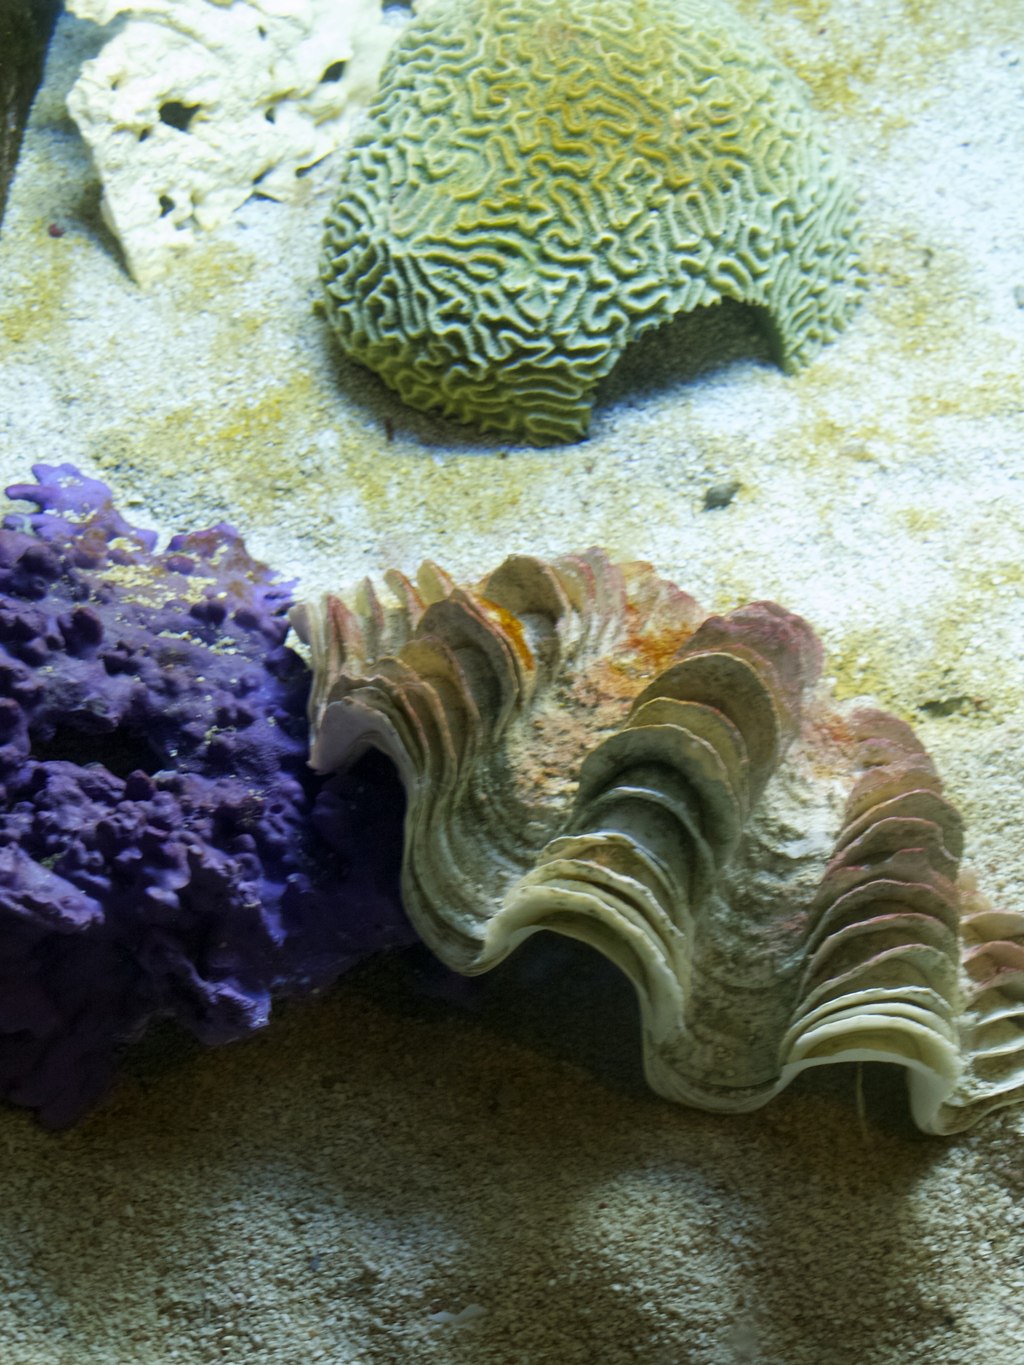
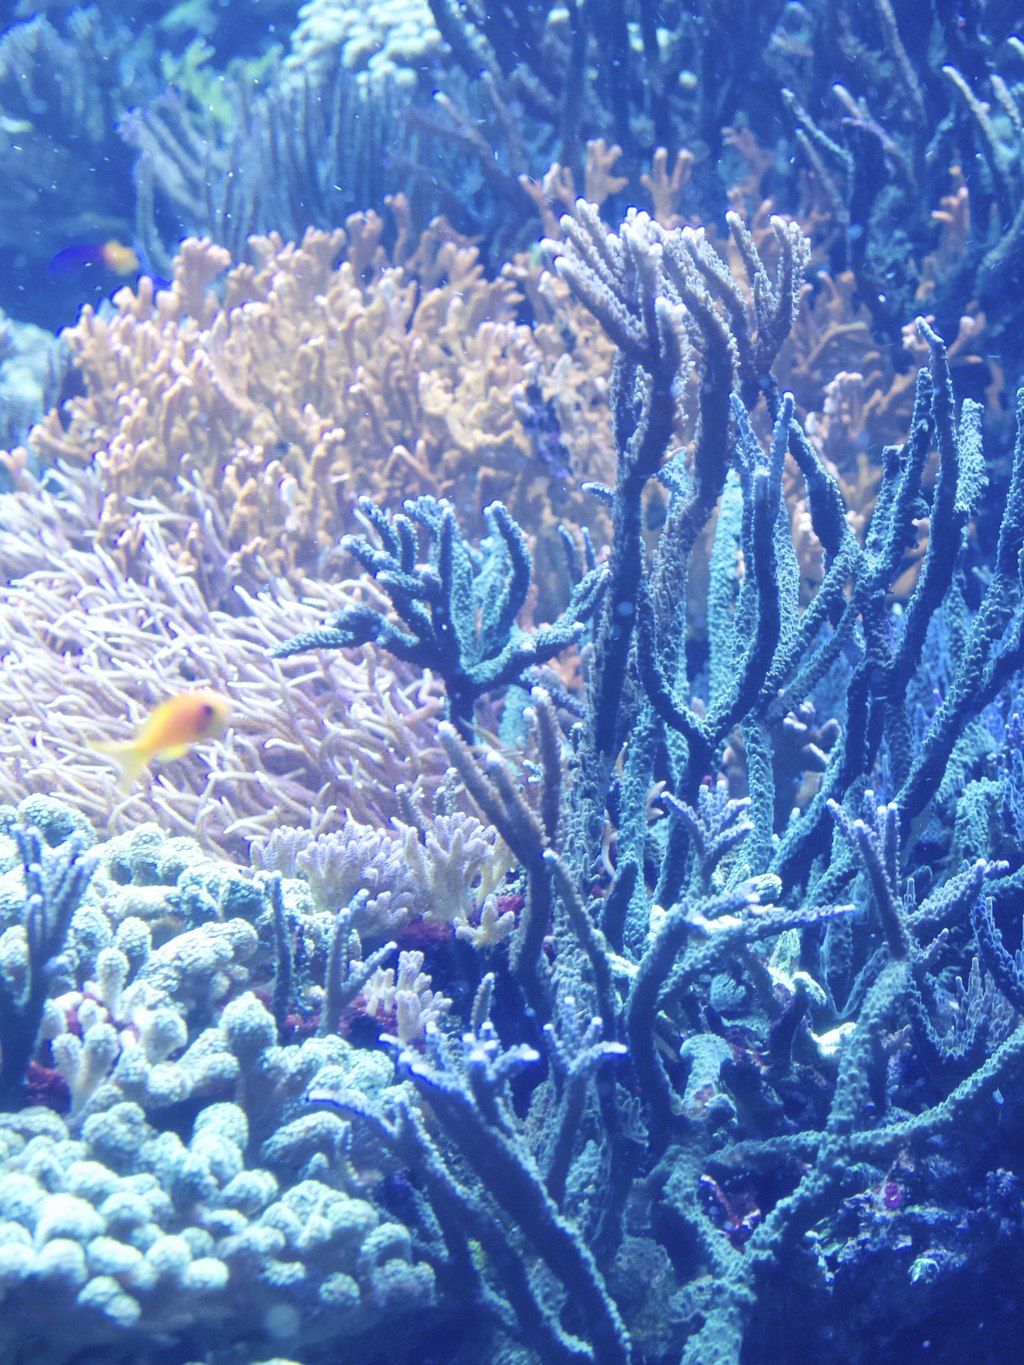
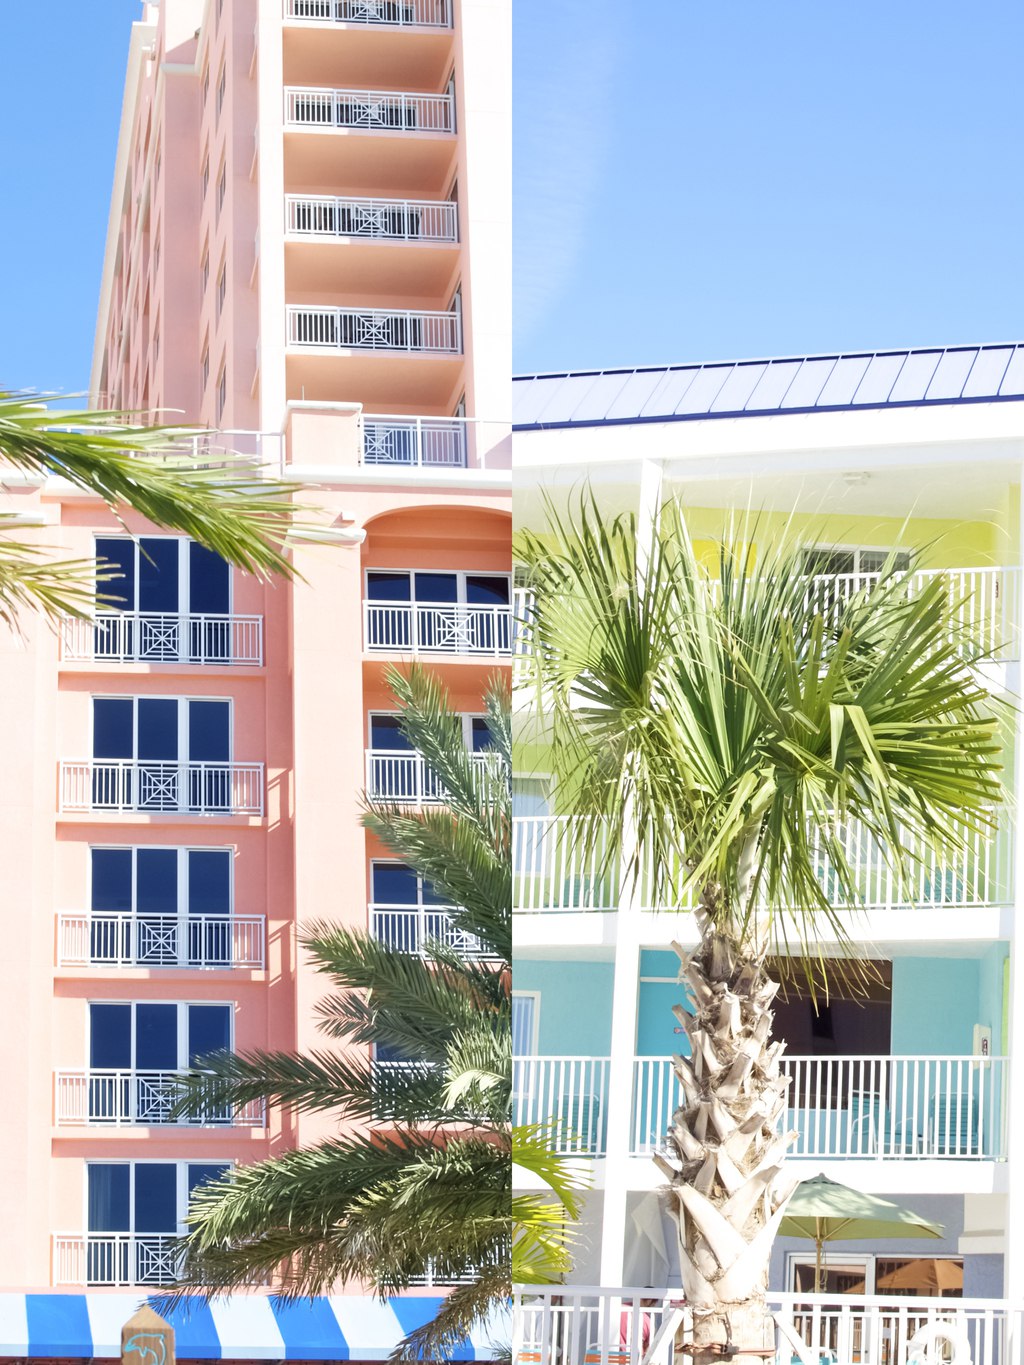
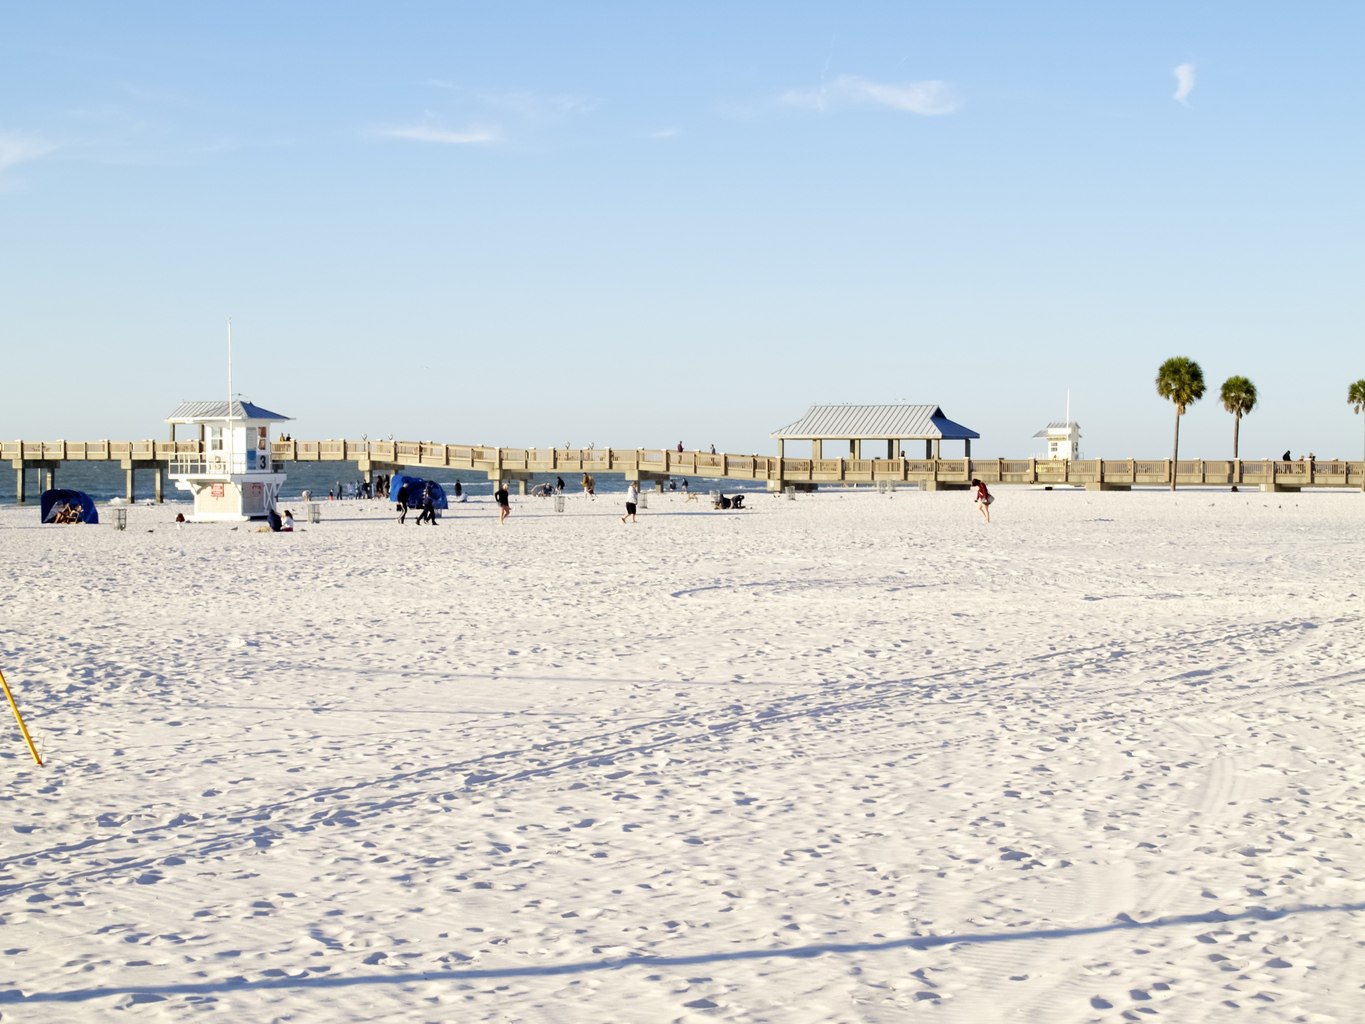
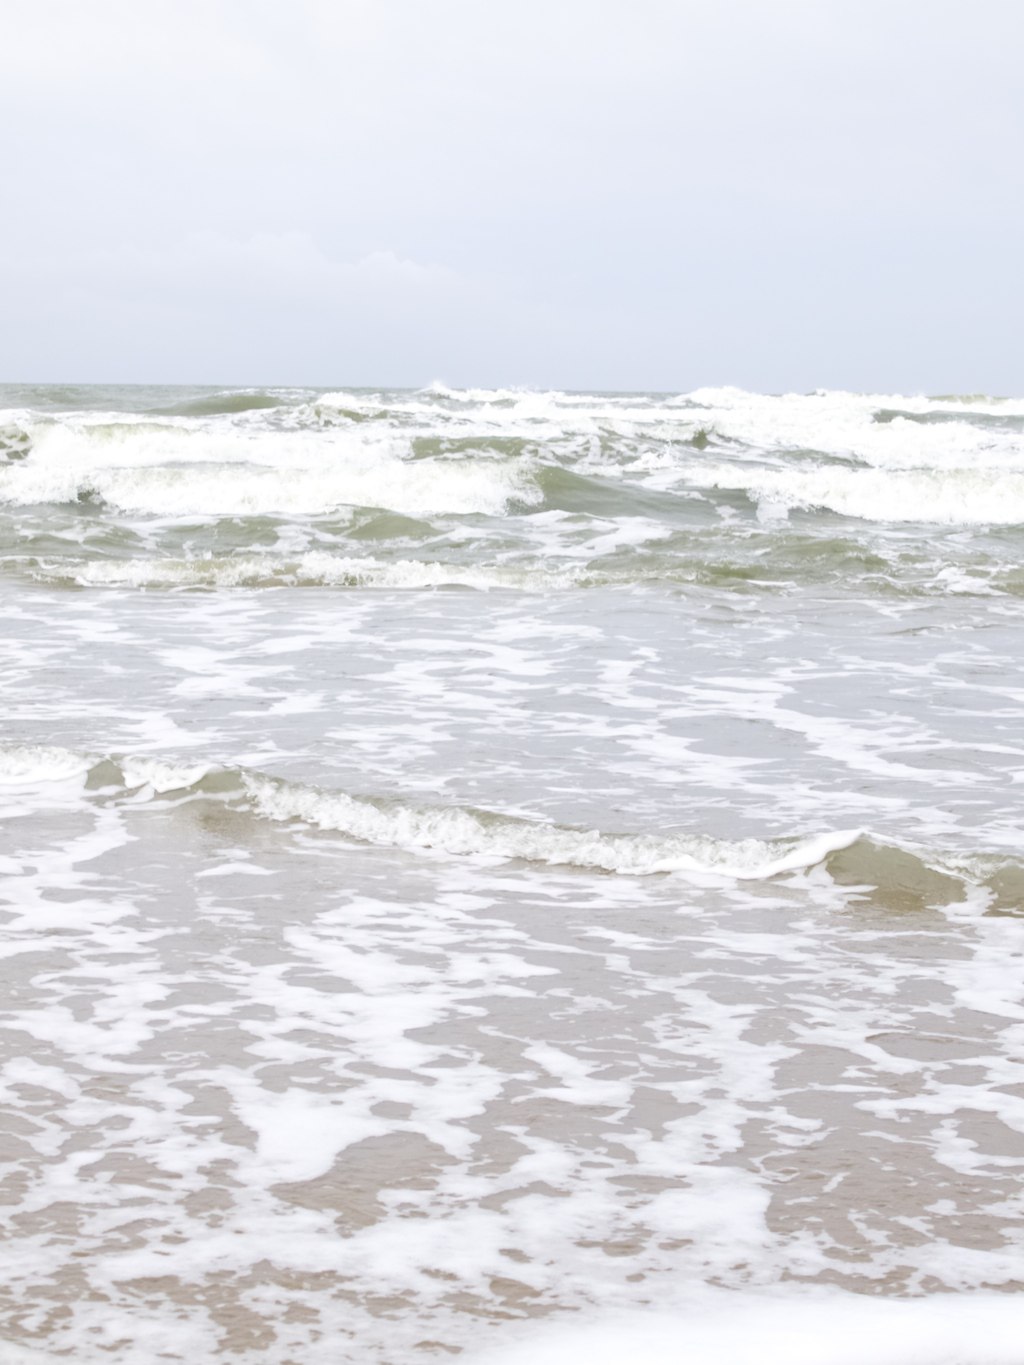
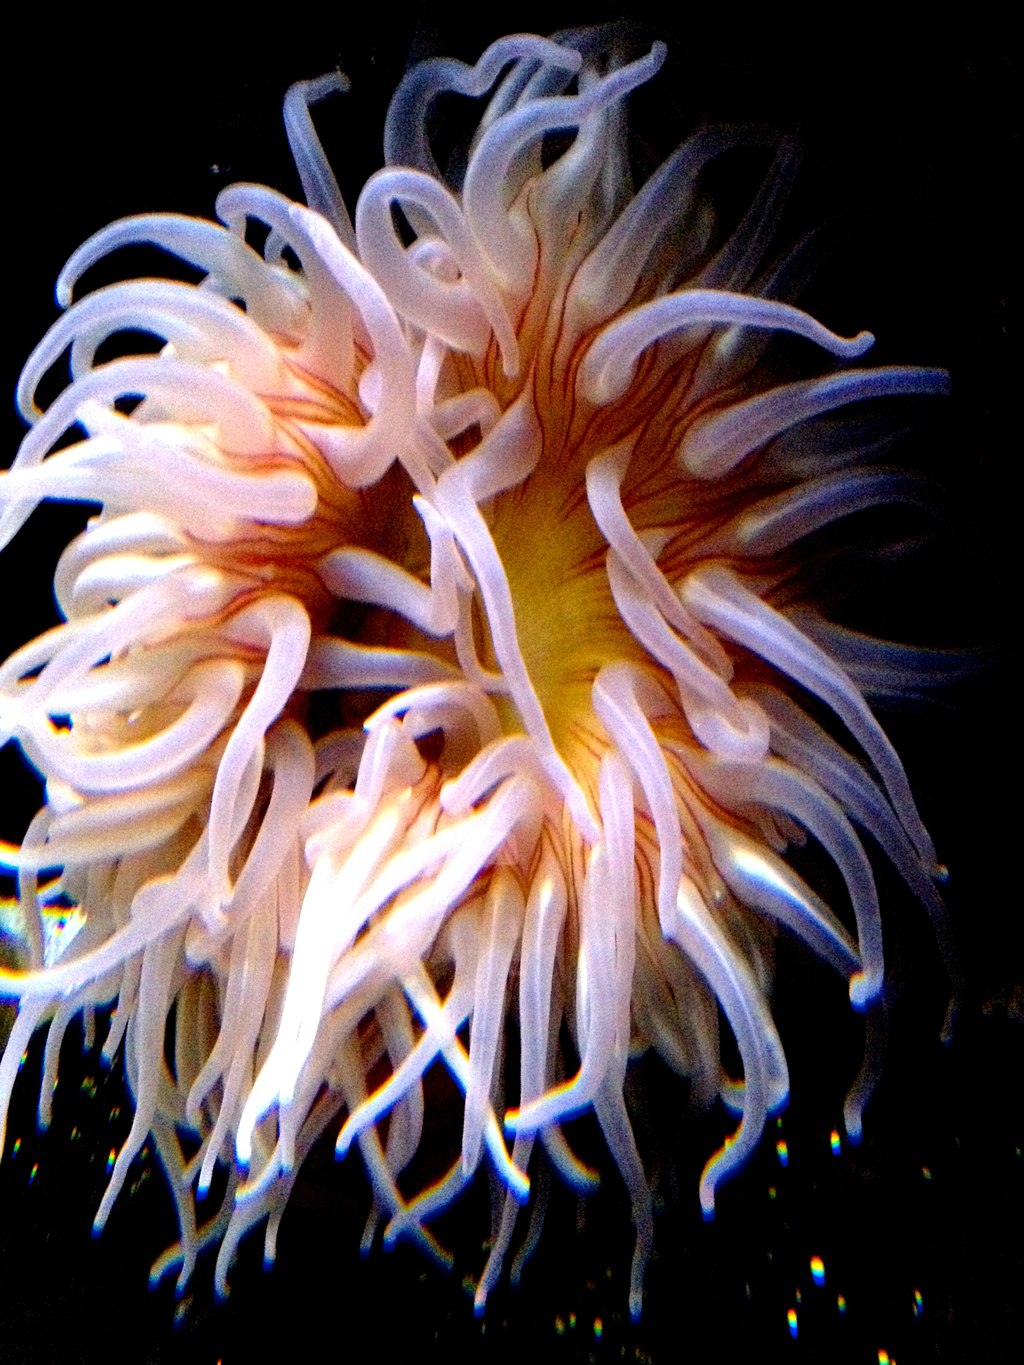
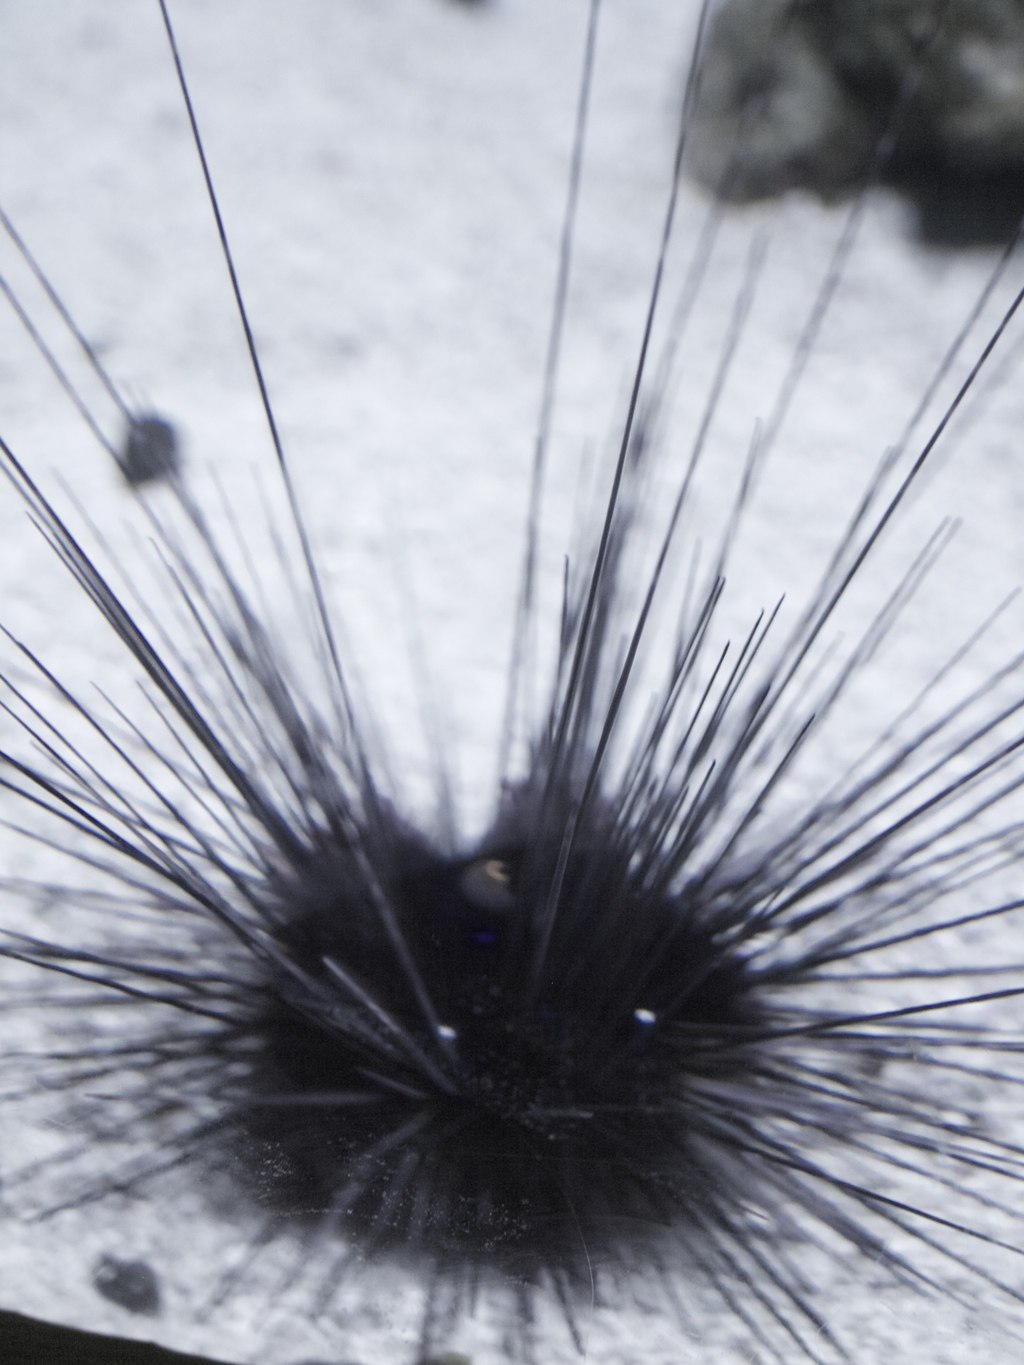
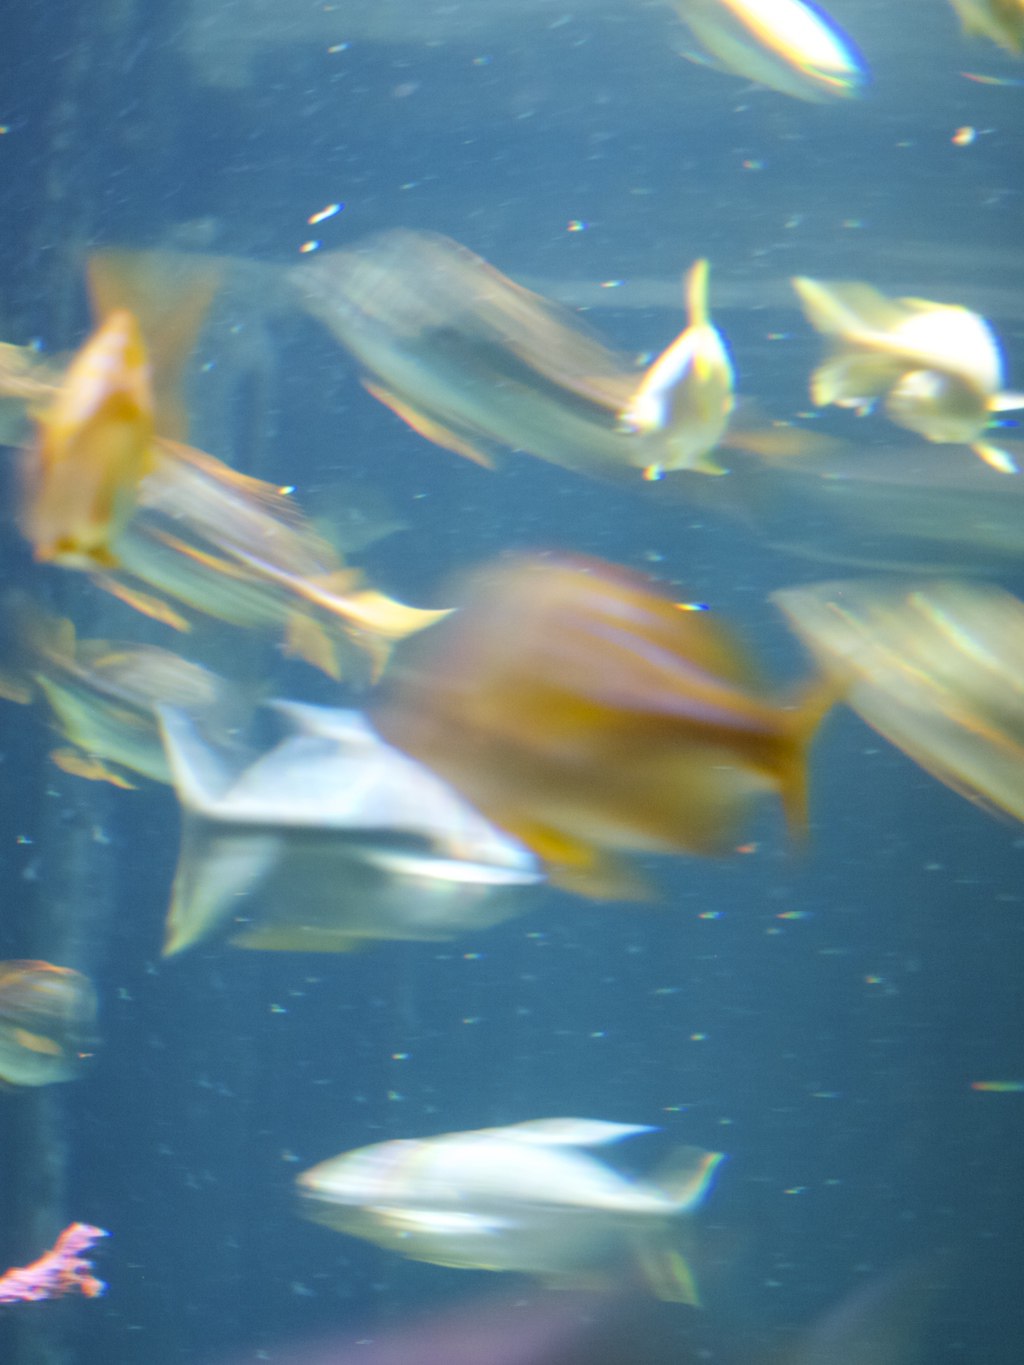
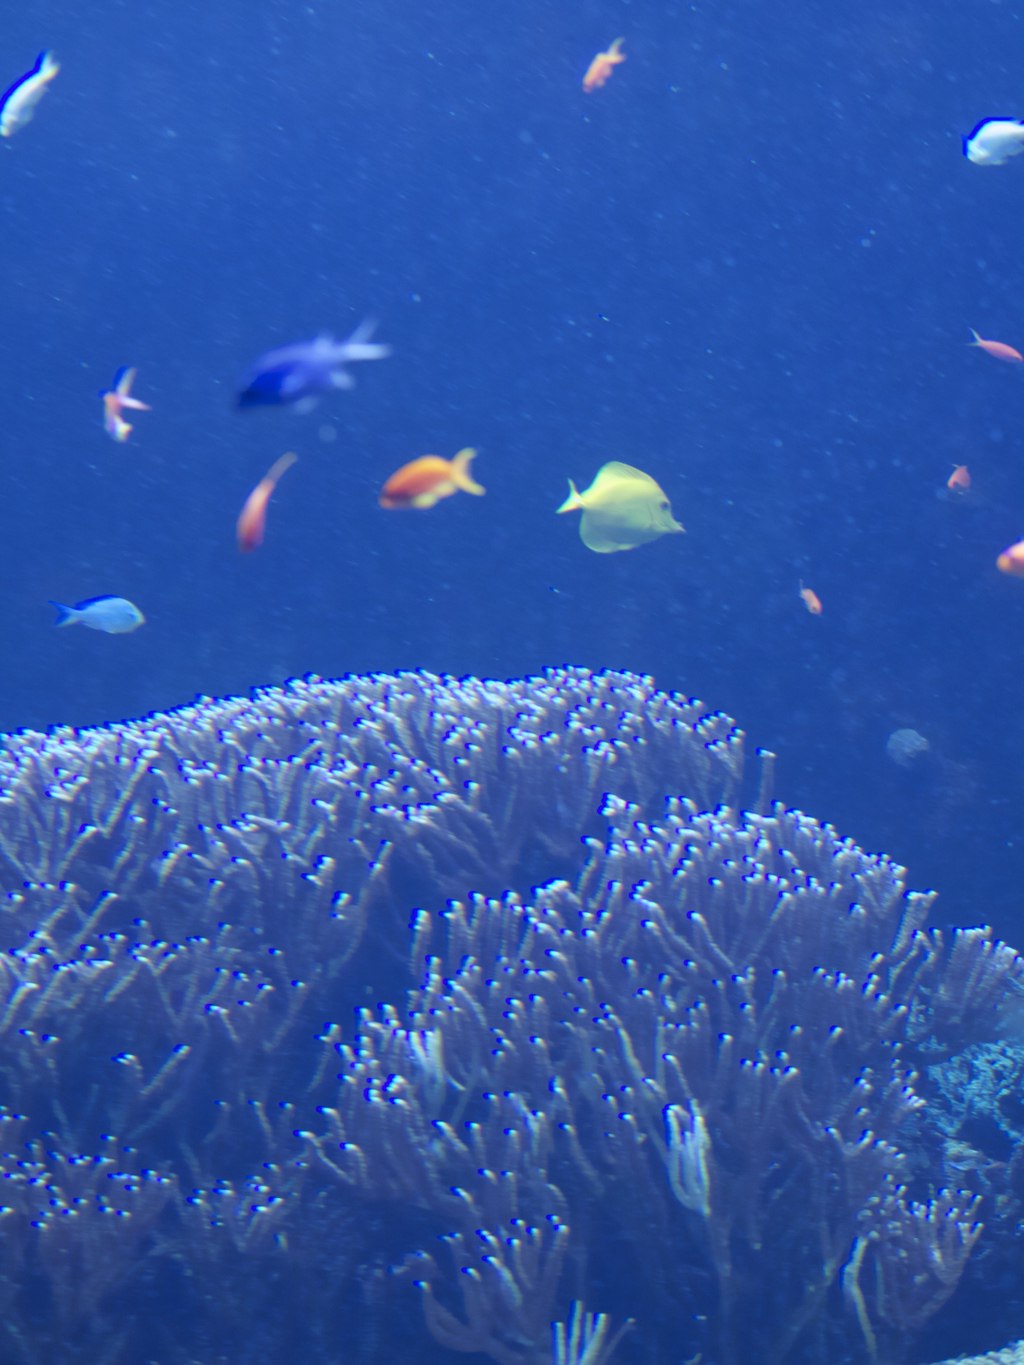
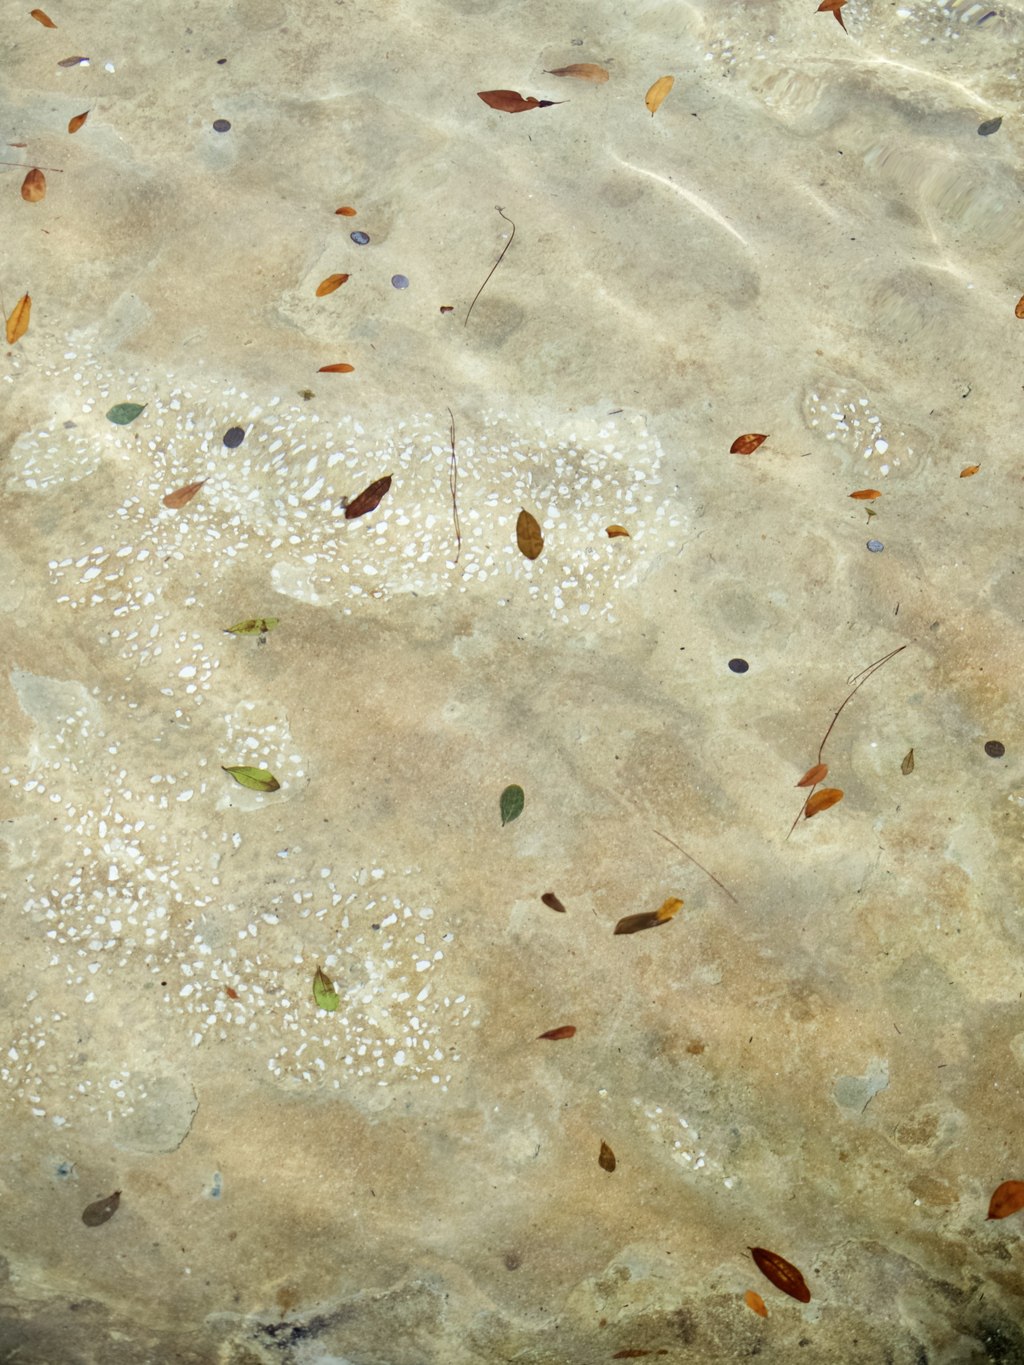 One of the ways to get inspired to be creative is to look around you (especially in nature). At least this works for me! When we were visiting Florida it was hard to find something cultural or a place in nature. All you could find in Kissimmee is a lot of Amusement parks (I might love them one day when we have kids, but I hate them now)! So I ended up visiting the one with the least rides and more nature. In Seaworld I focused on texture colour and shapes. And this is what I got!
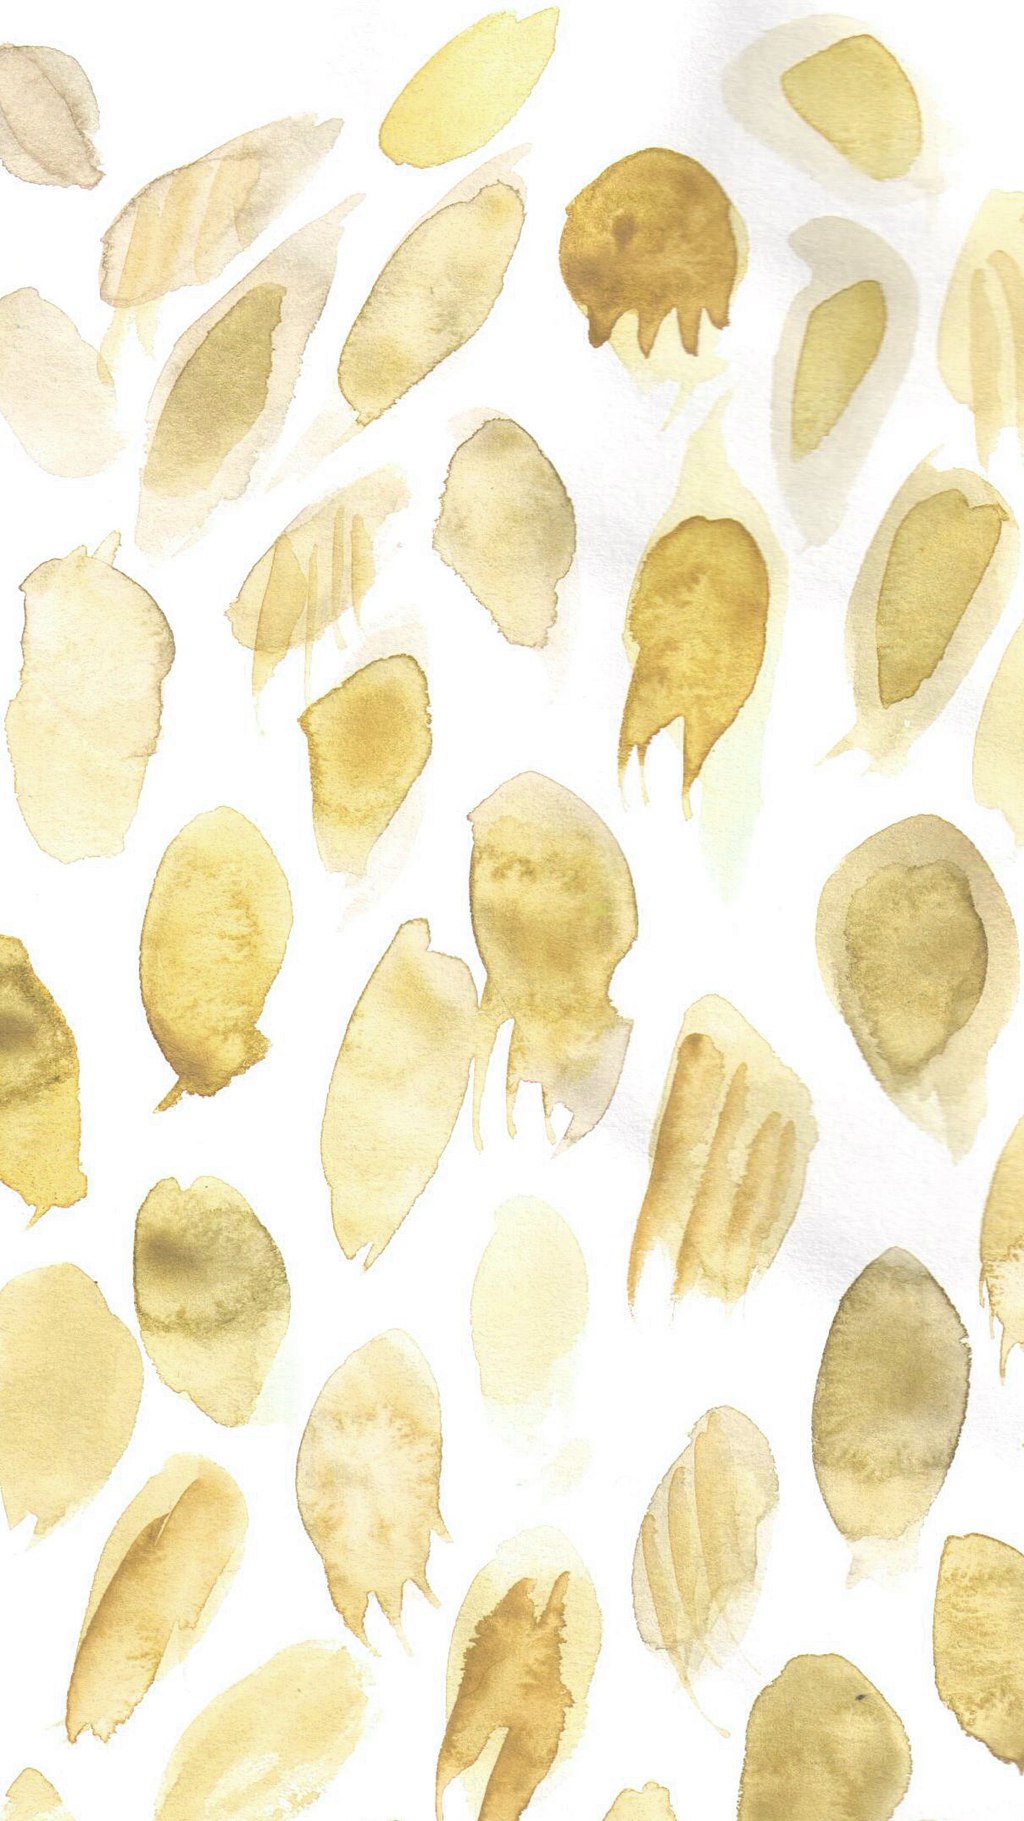

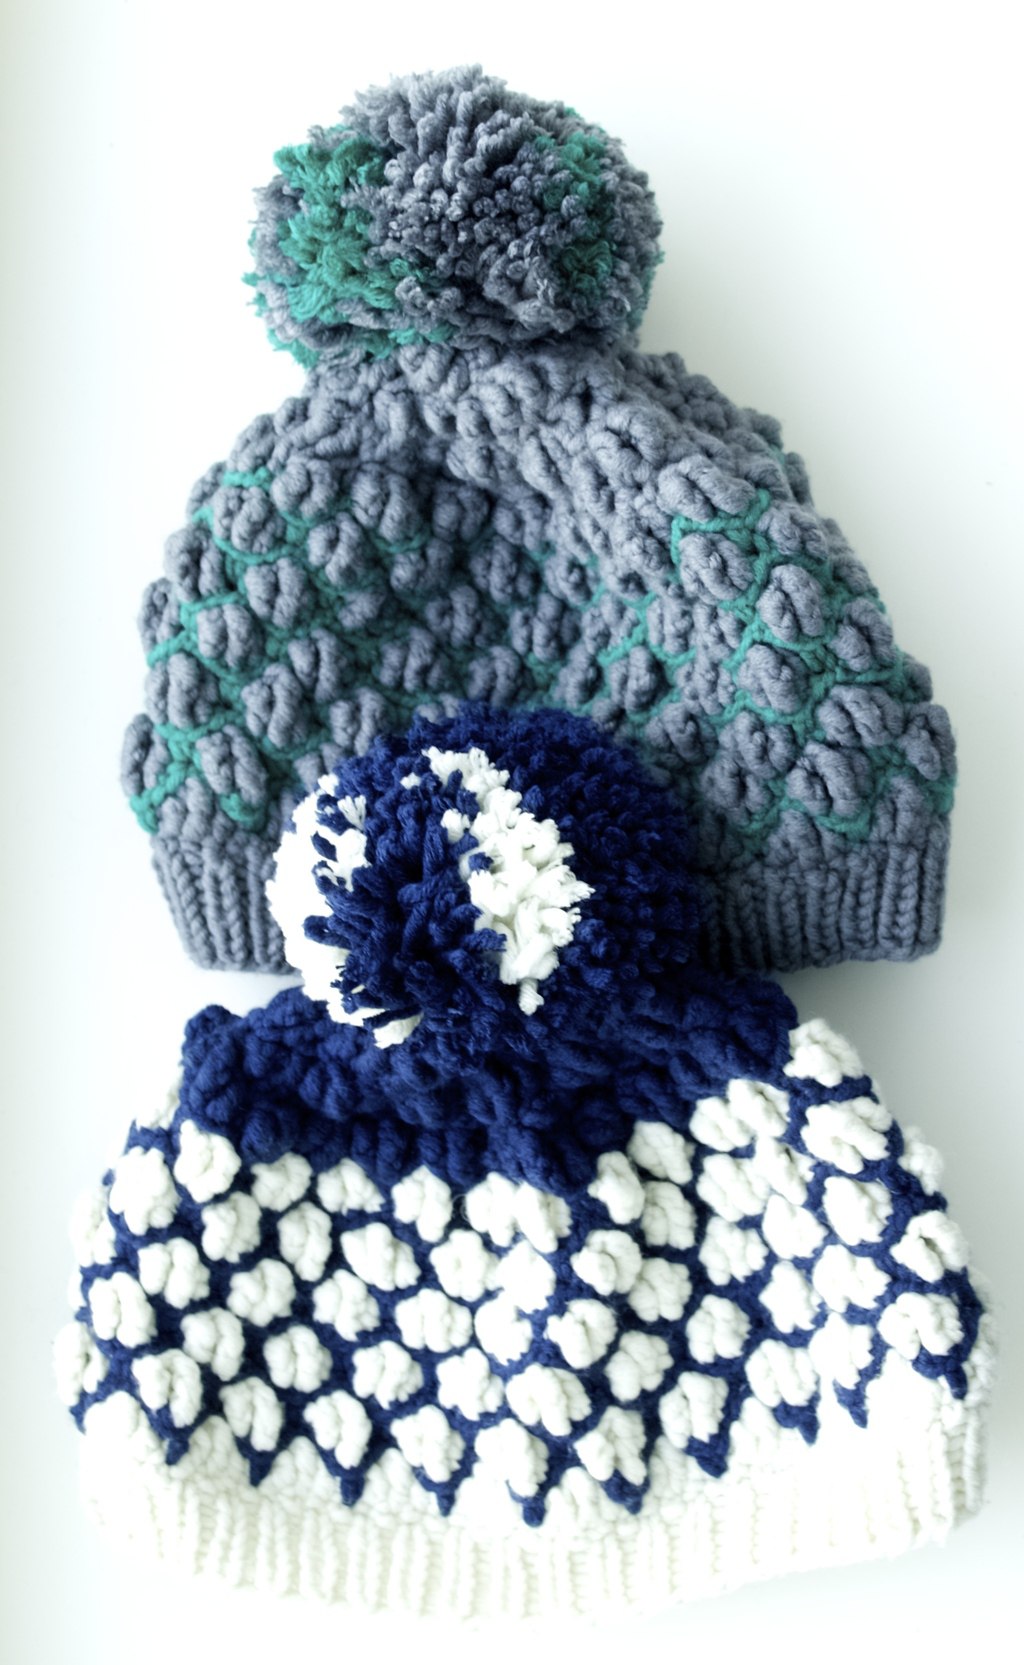
 Some patterns I have painted myself after being inspired by all those underwater colours!
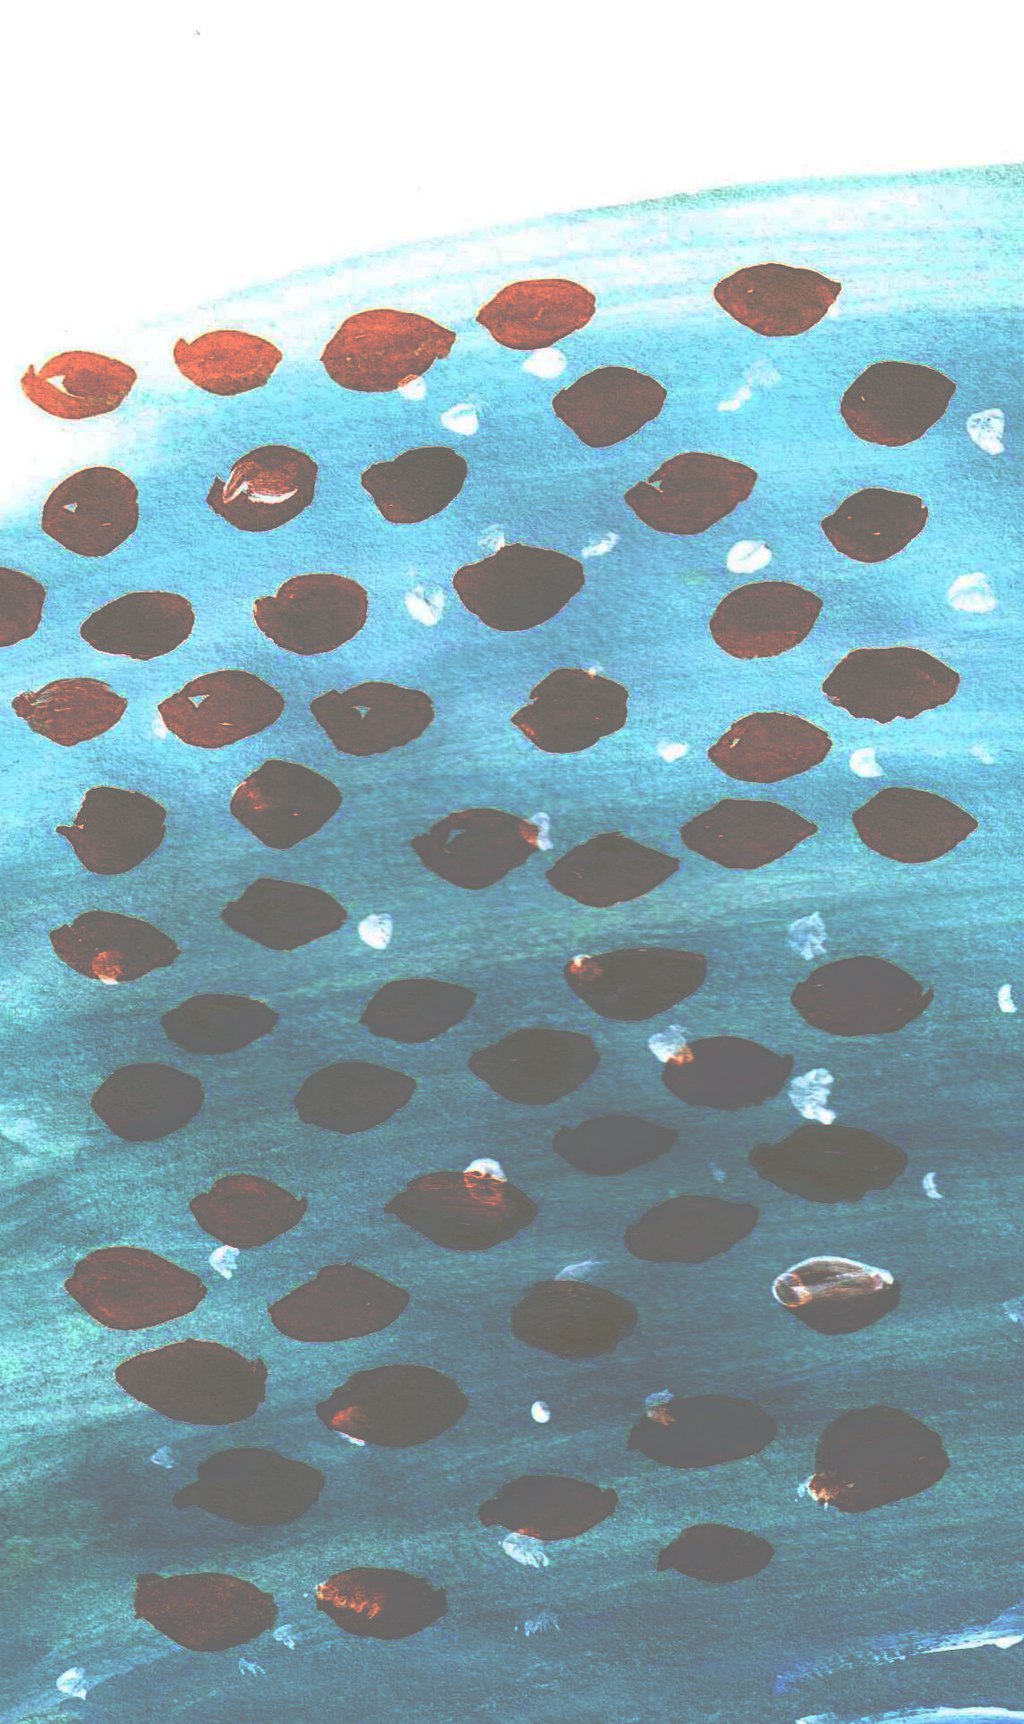
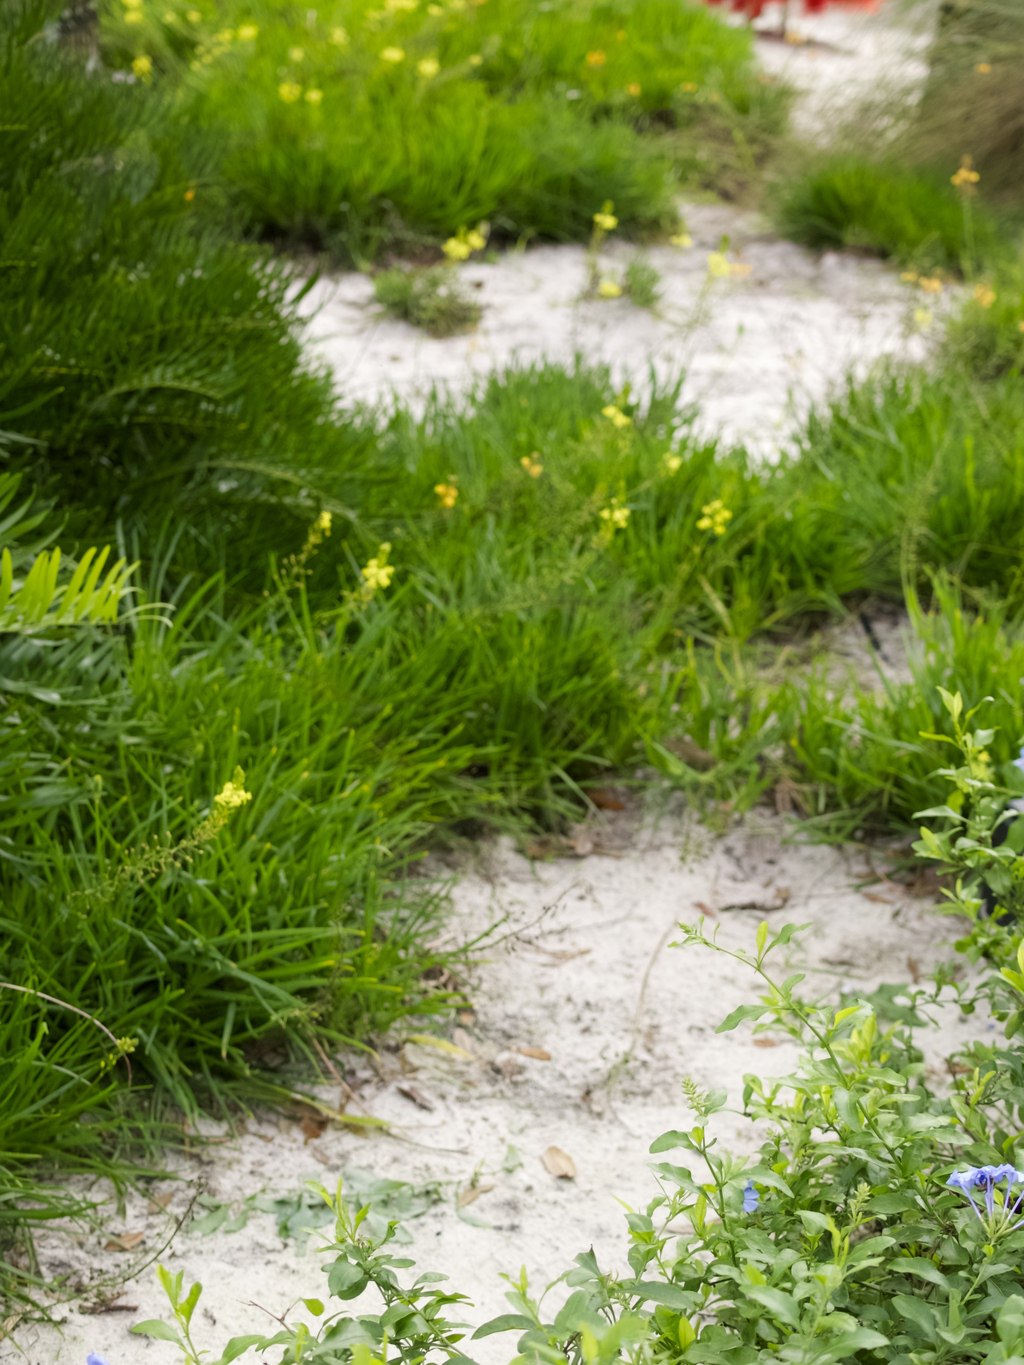
 I hope you feel inspired today and look around you when you go outdoors! And you can find patterns everywhere, even better than the ones I found in Seaworld :-).