 When someone, who is Tottenham Hotspurs fan, have visited me yesterday to redeem their gift token, I have decided to be experimental and try something really new. Earl Grey and Elderflower have popped into my head as both flavours are fragrant and delicate (well… maybe both fragrant not in the same way, but still worth to try I thought).
 So this is how I made it…
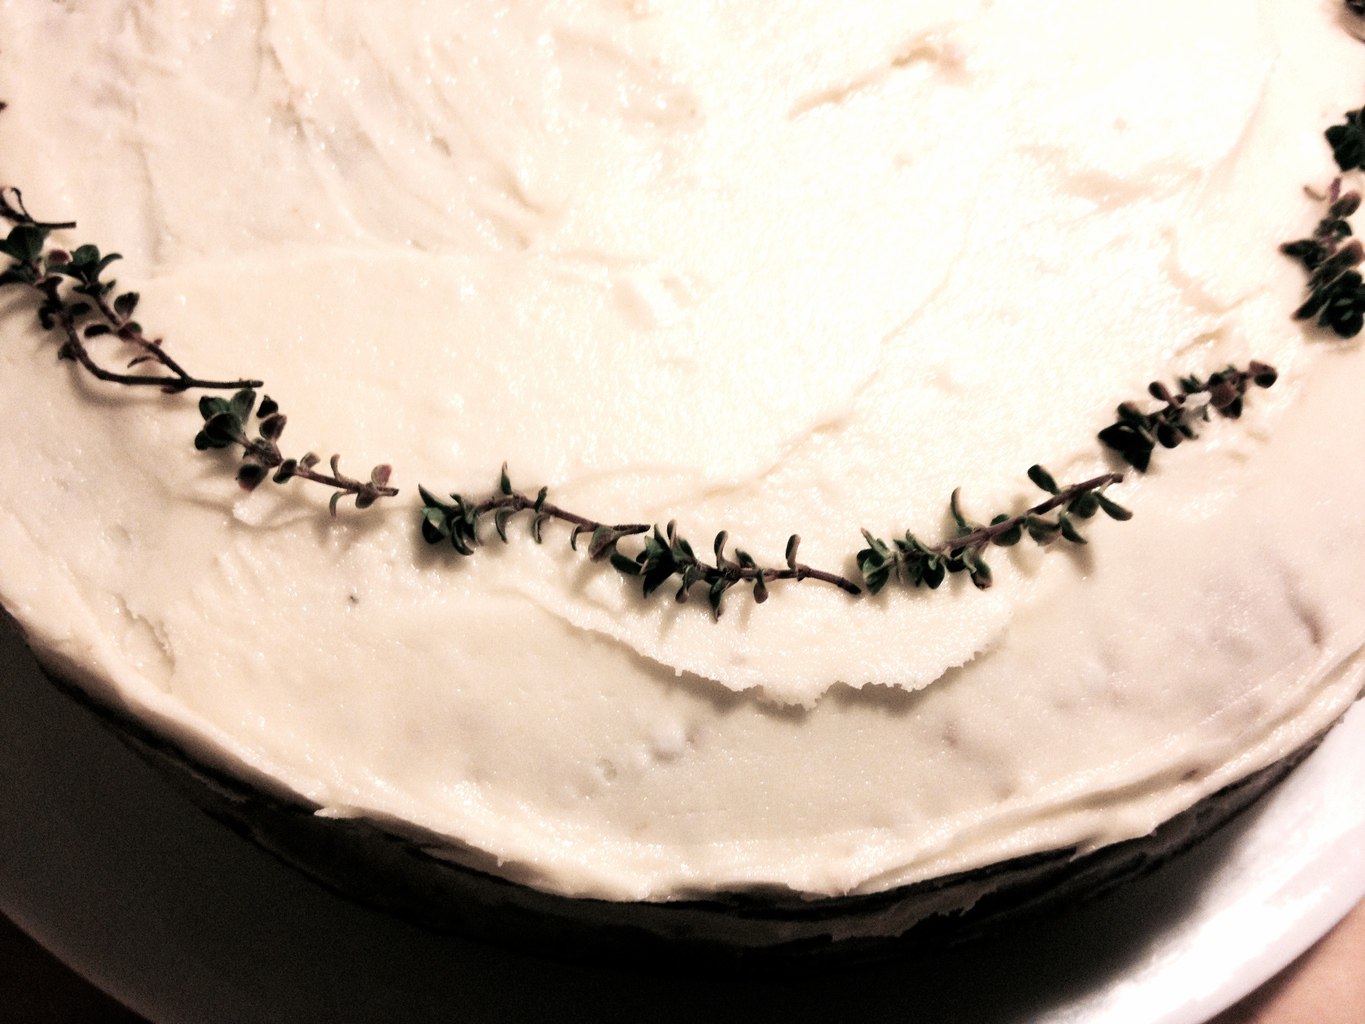
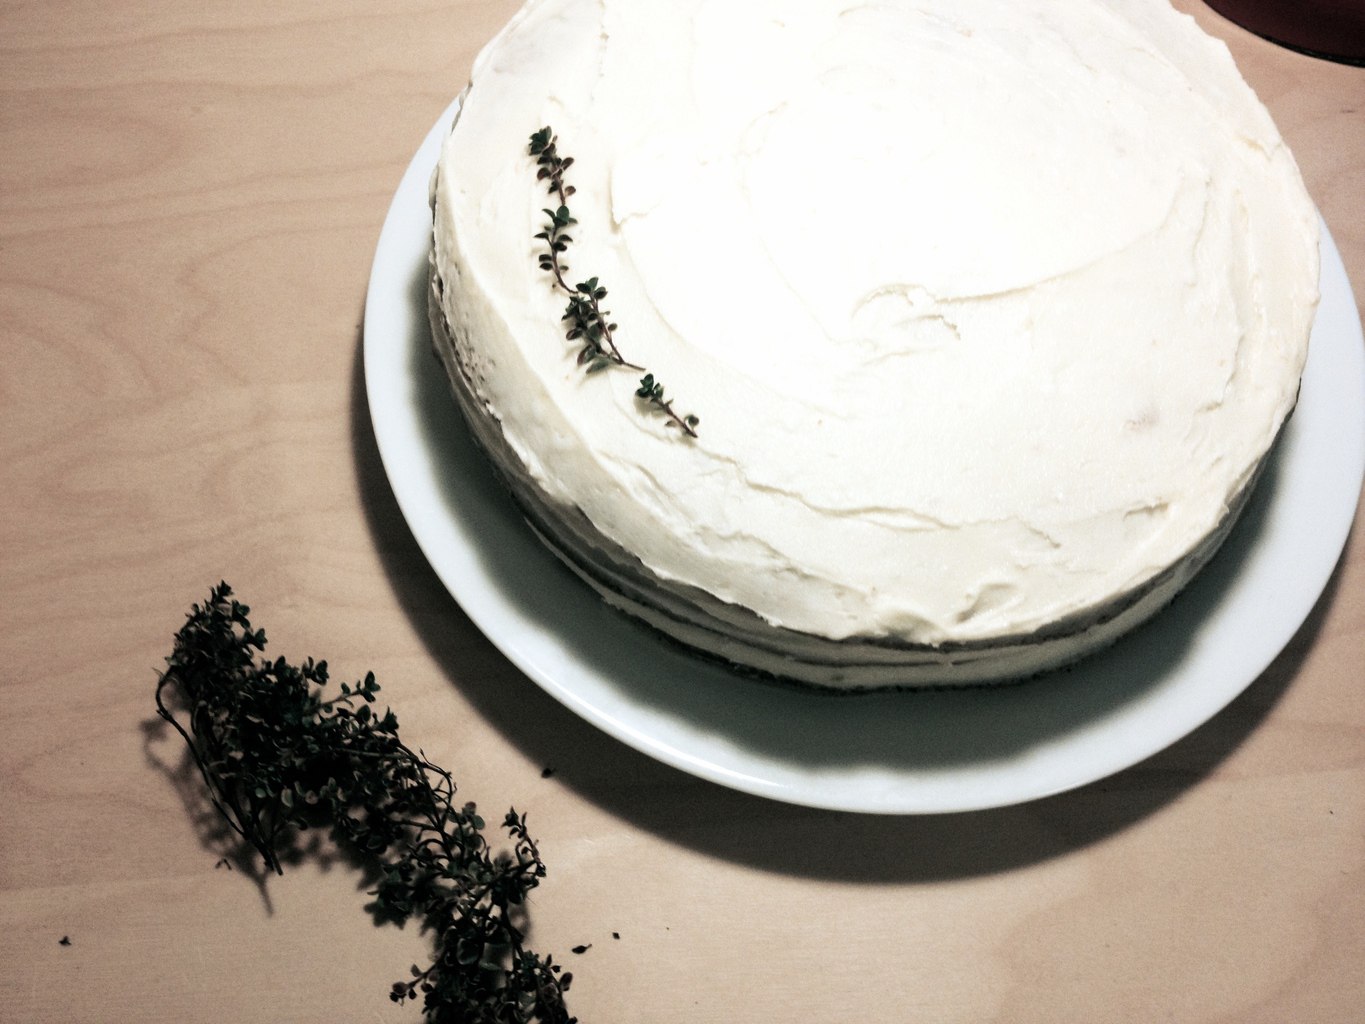
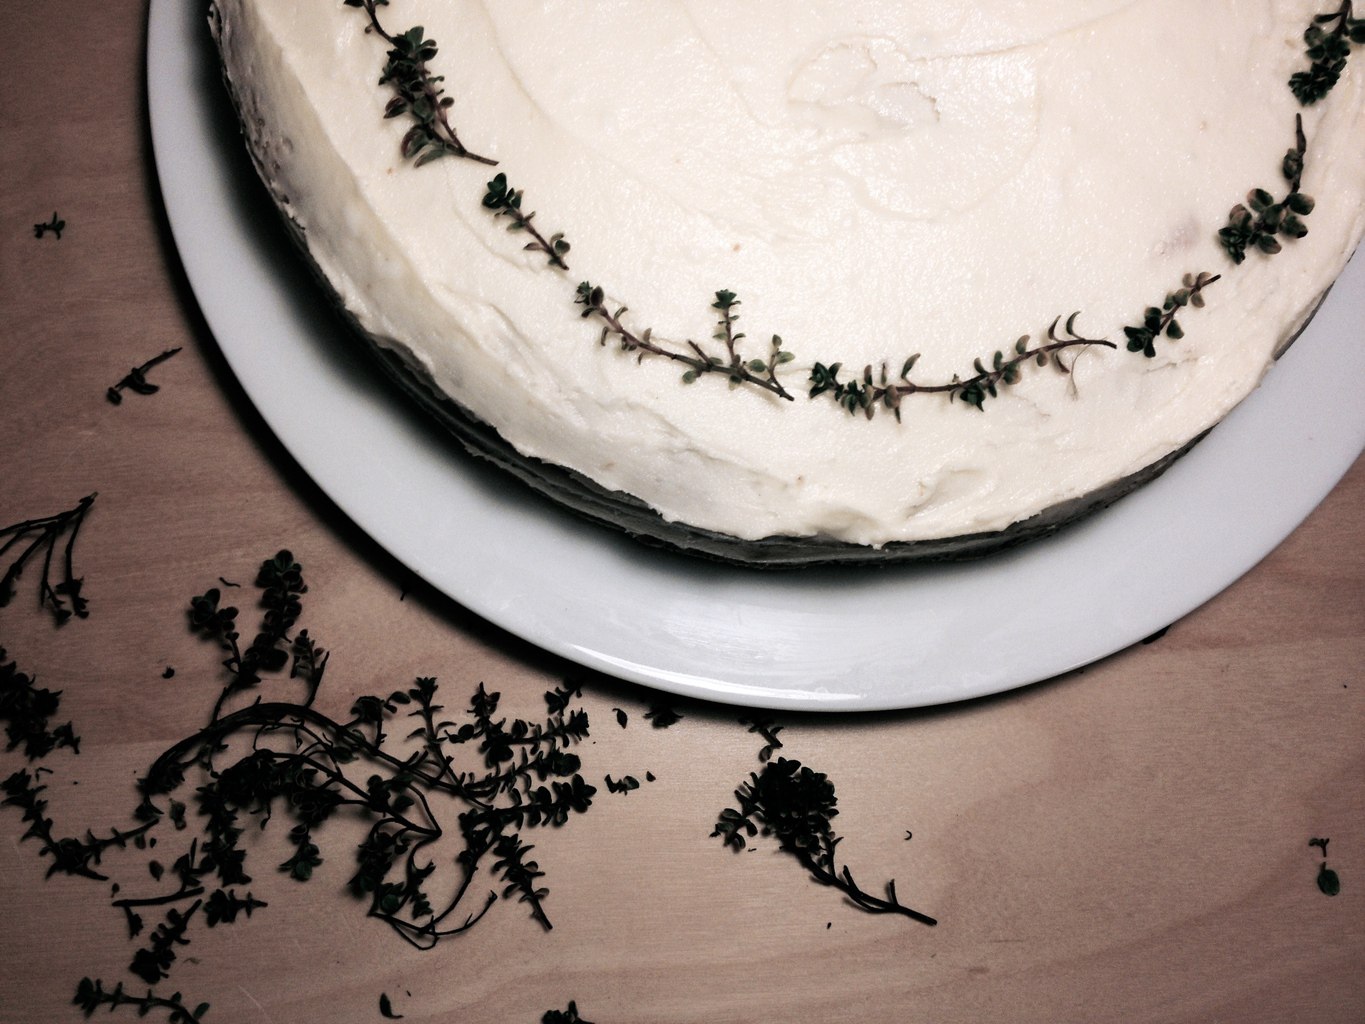
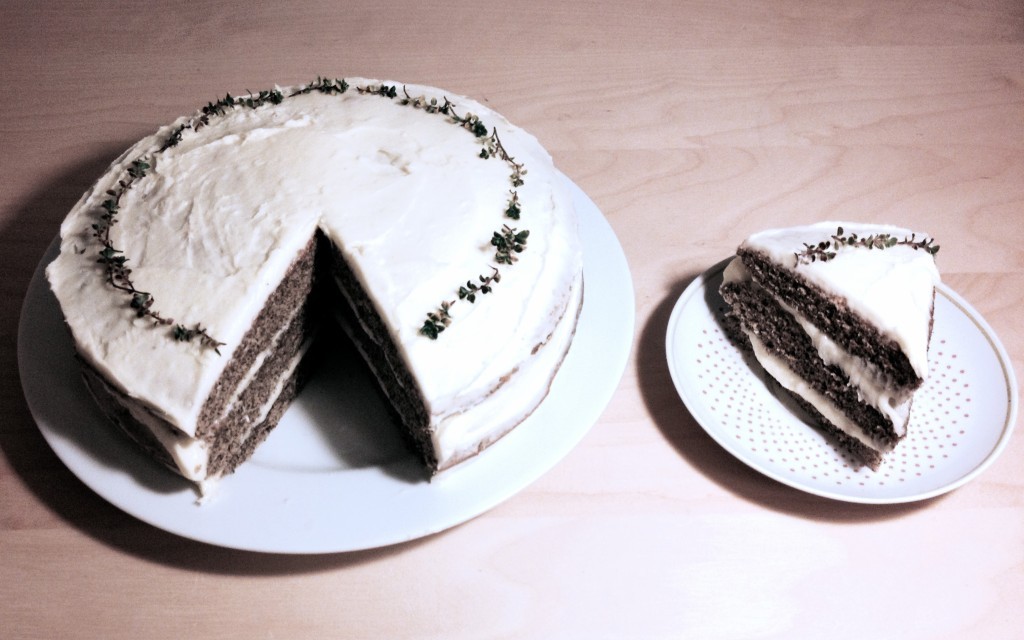
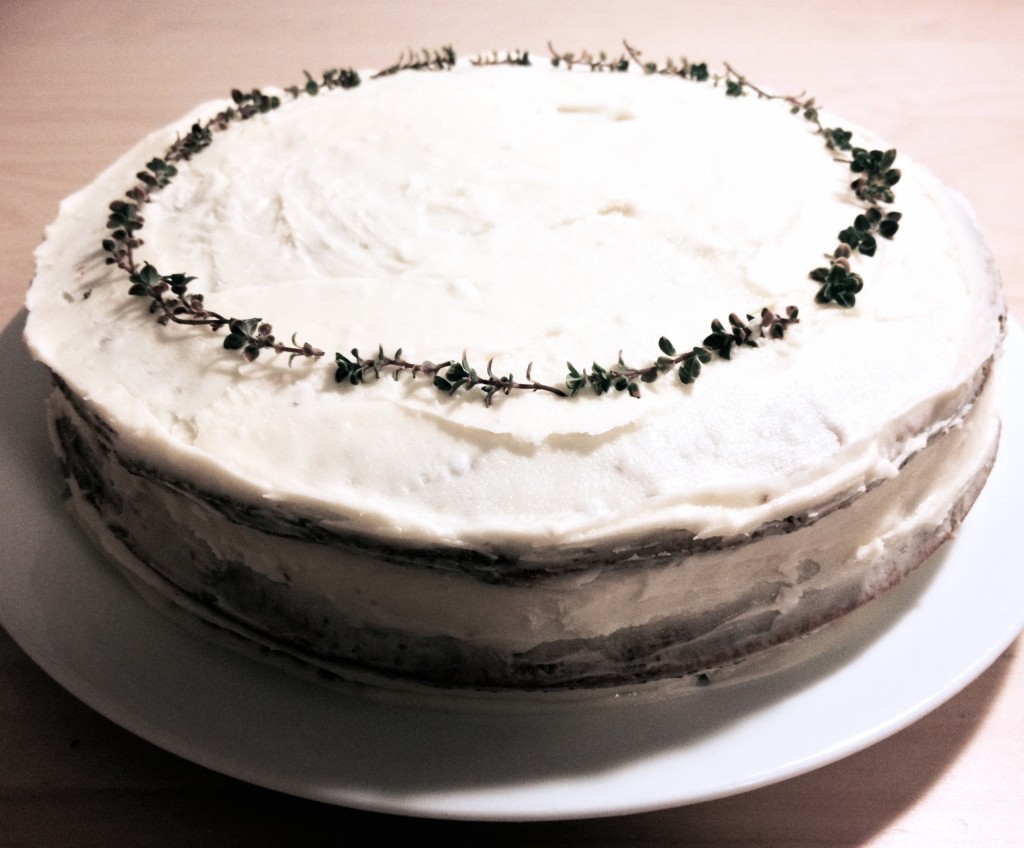
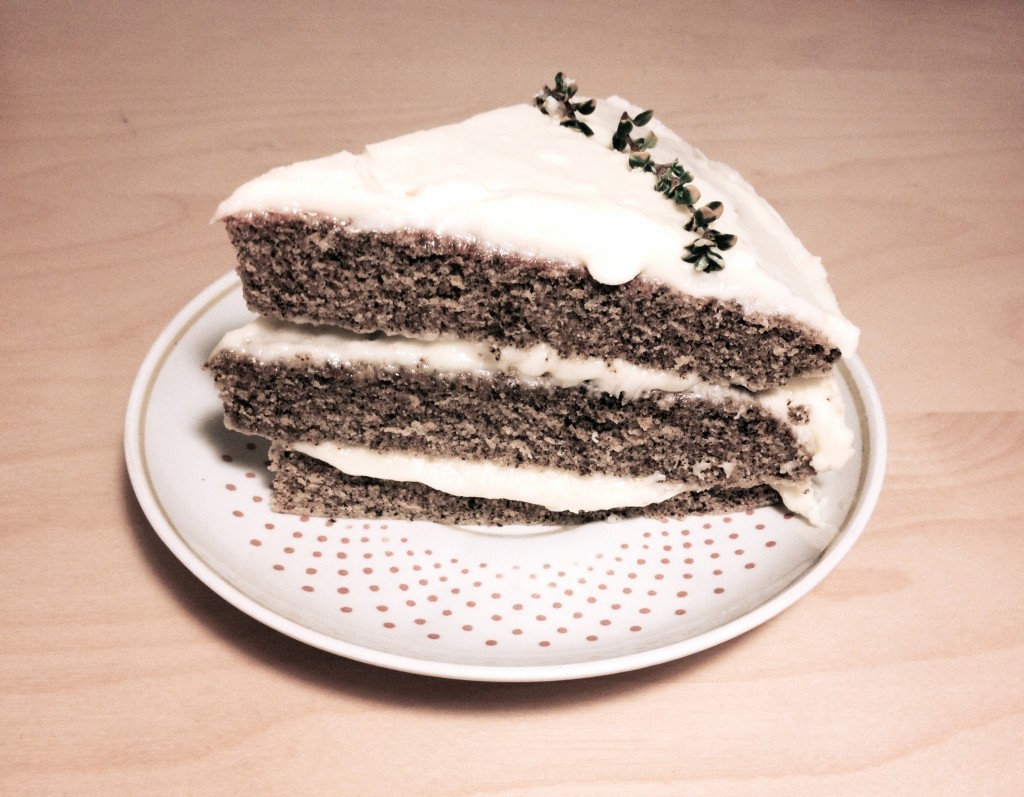
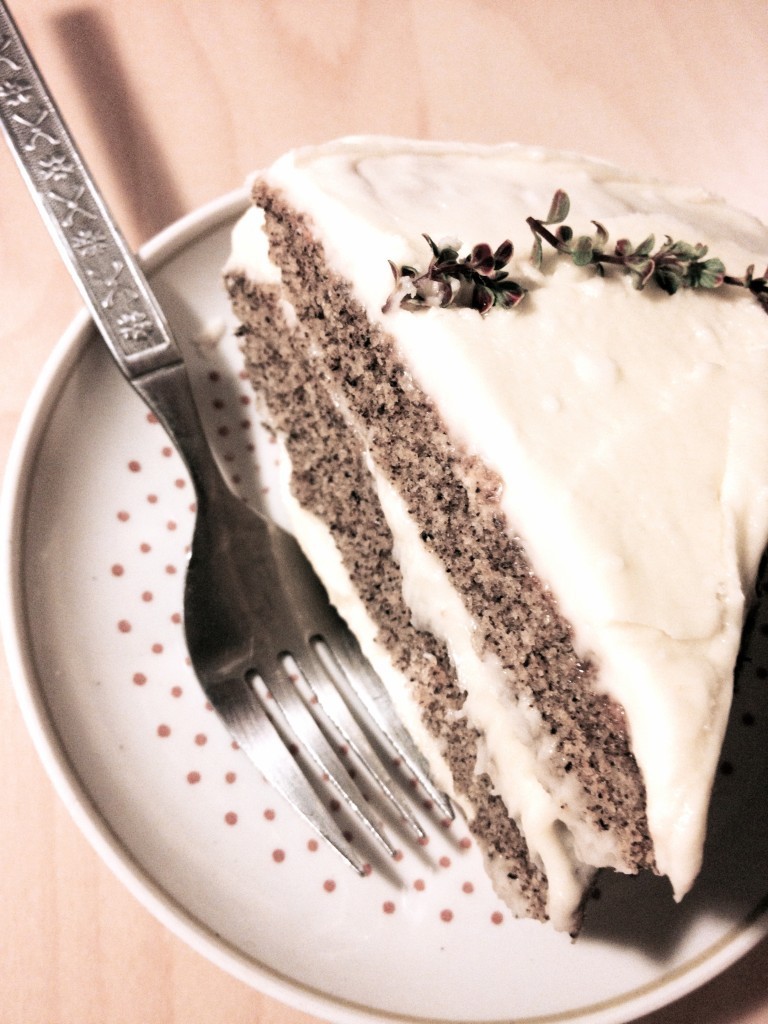 EARL GREY CAKE WITH ELDERFLOWER BUTTERCREAM
(for the cake)
- 340g caster sugar
- 16 Earl Grey tea bags (removed from the bags)
- 8 eggs
- 3 tbsp. olive oil
- 4 tbsp buttermilk
- 2 tsp vanilla extract
- 250g plain flour
- 2 tsp baking powder
- 1 tsp salt
(for the buttercream)
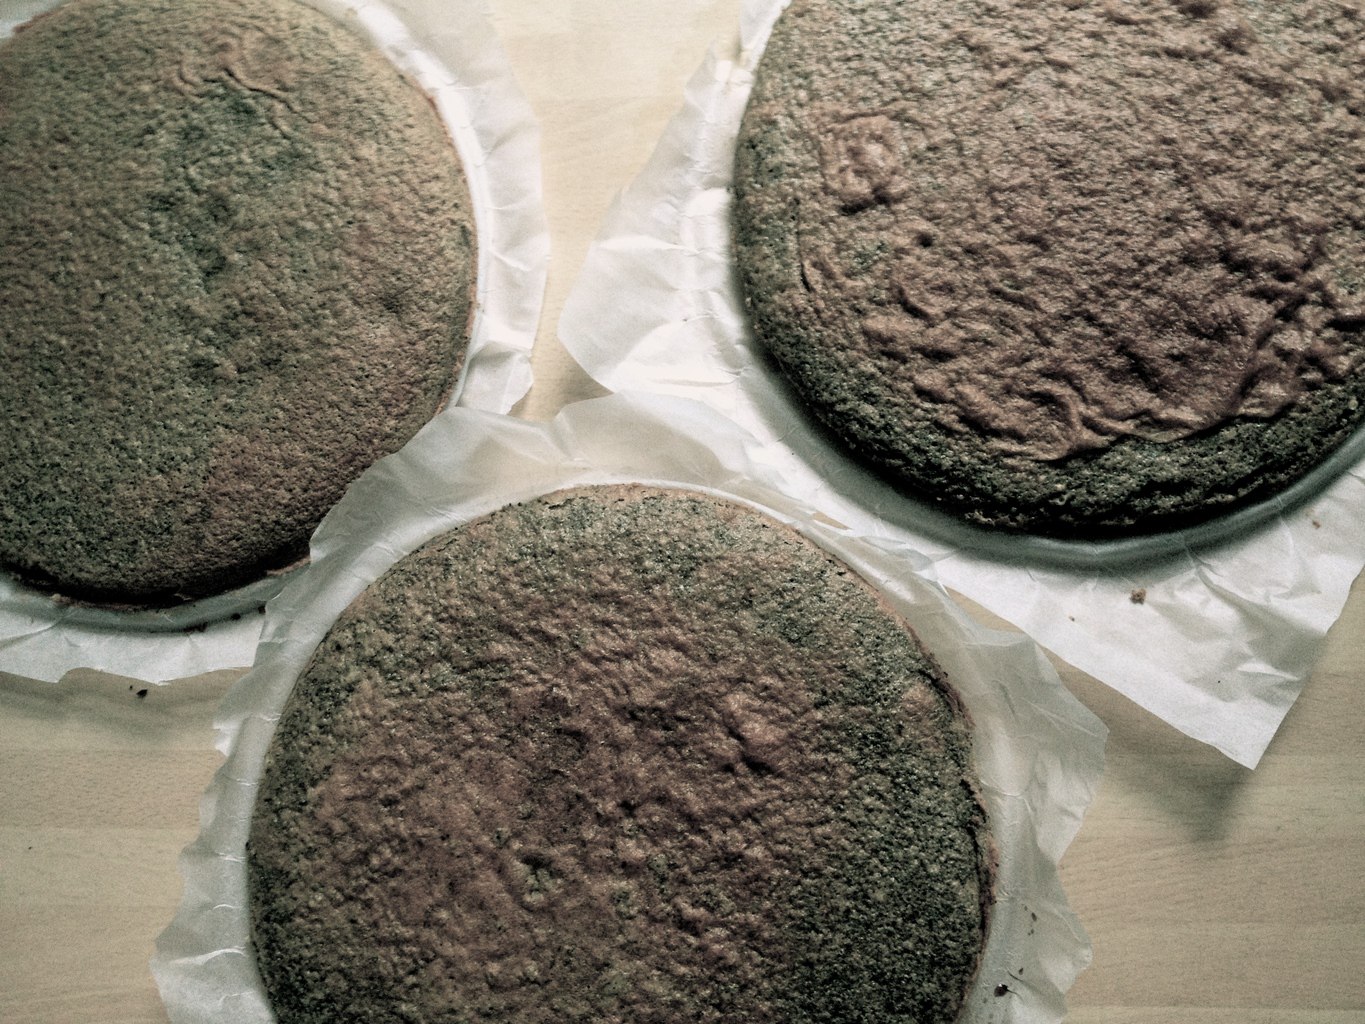
1. Preheat oven to 180C. Line thee round sandwich tins (I used spring form tins) with baking paper.
2. In a large bowl beat the eggs, then add sugar, tea leaves (from the tea bags), oil, buttermilk and vanilla extract. Mix well!
3. Sift together flour, baking powder and salt. Slowly add to the liquid ingredients. Mix until well combined.
4. Pour mixture into prepared pans and tilt pan to distribute the mixture evenly.
5. Bake for 12-15 minutes. Check at 12 minutes. Cake is done when it springs back when pressed with fingers.
6. Meanwhile make the buttercream by creaming the butter with icing sugar. Add elderflower cordial gradually by constantly mixing the cream.
7. Turn cake out and let cool completely. 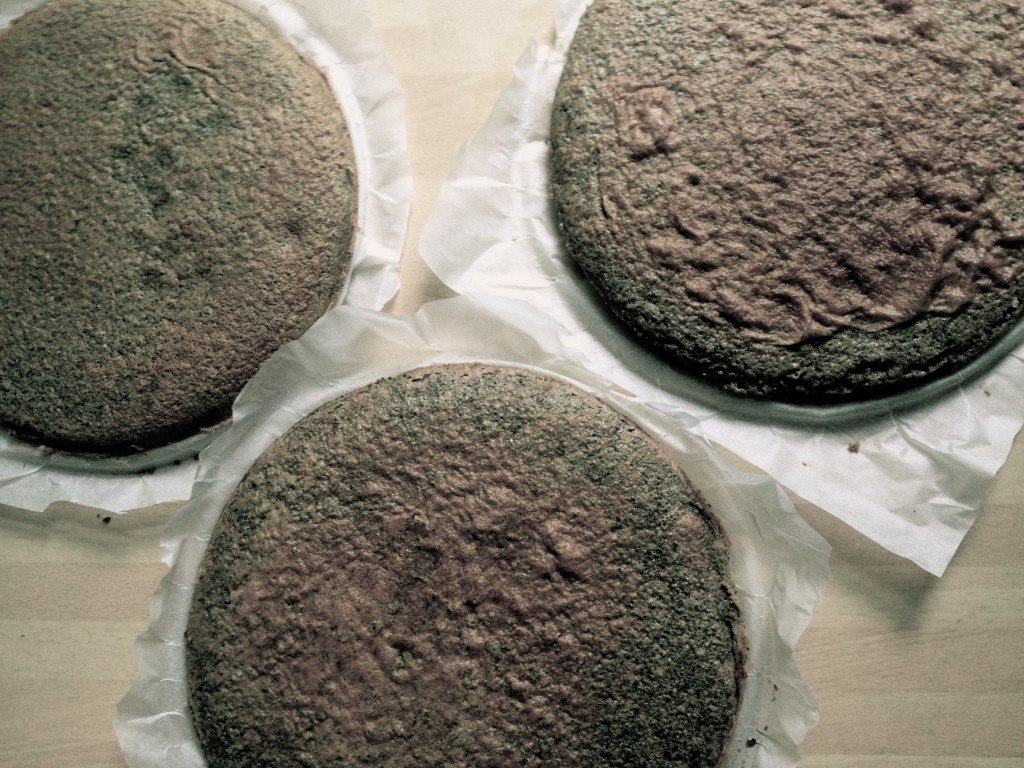 8. Layer the cake with the butter cream in between. Cover the cake with buttercream and lightly brush it over the sides as well.
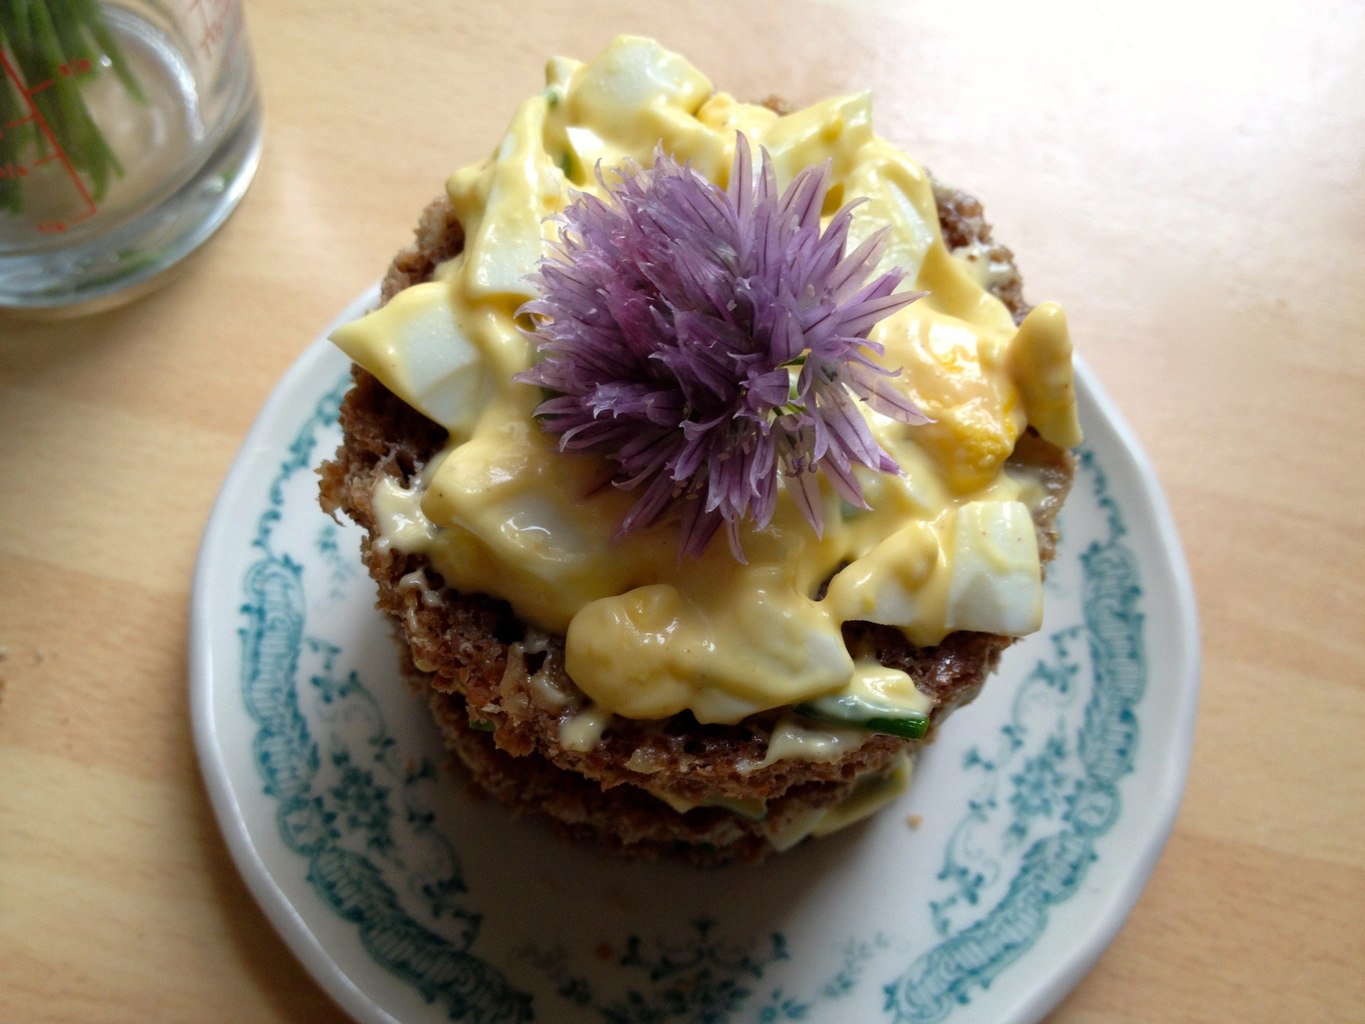
9. Decorate the cake with thyme or edible flowers like rose or pansies. This is completely optional, but it is worth the look you get from it.

 Enjoy!
Rasa xoxo


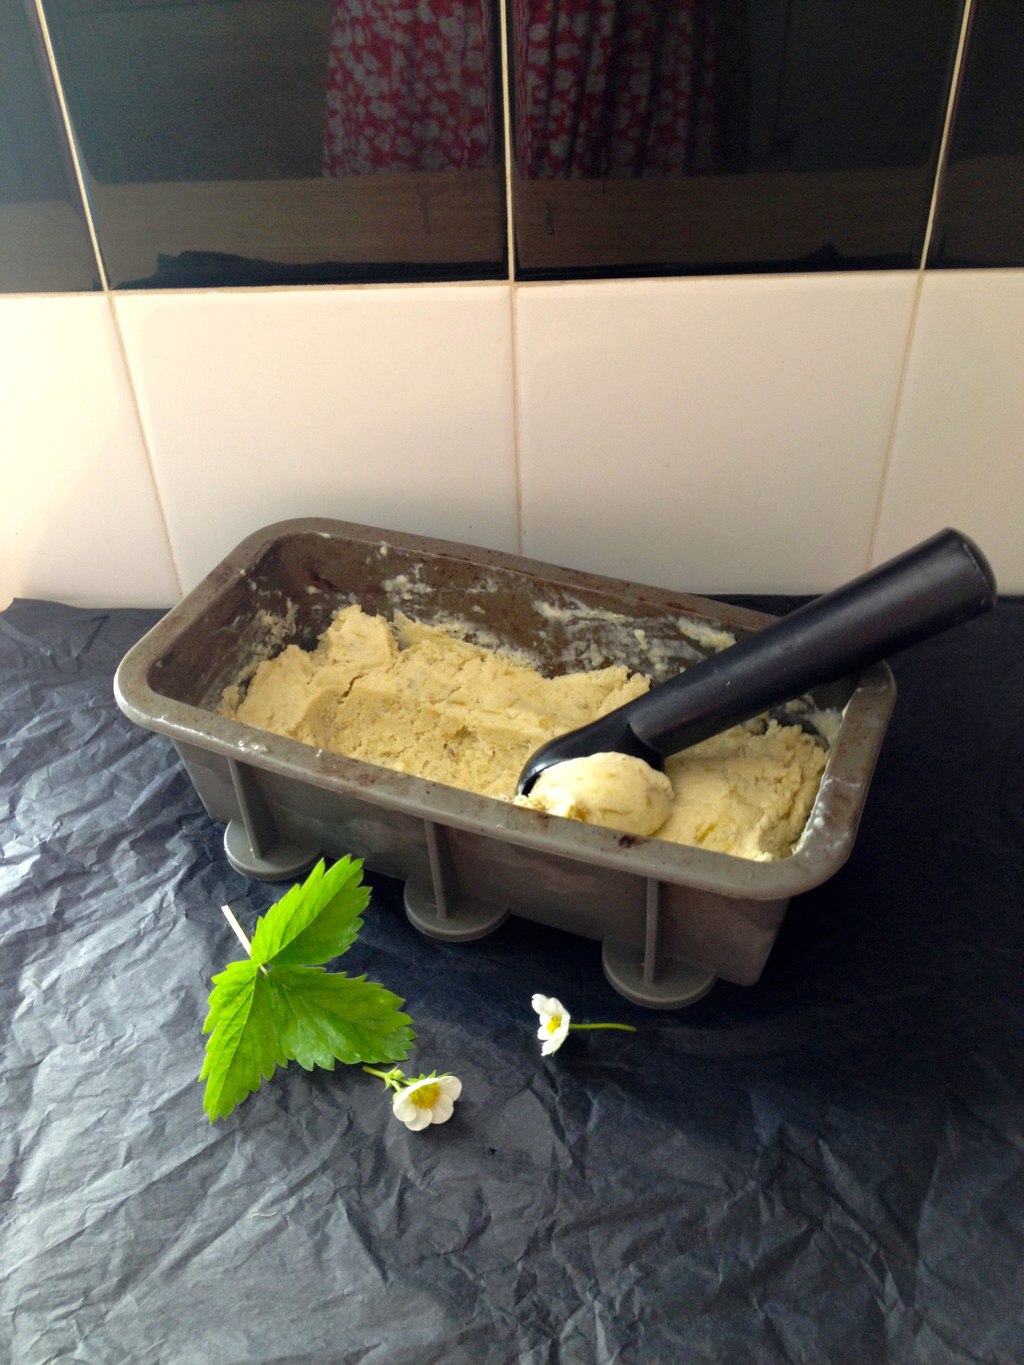
 Strawberry milk is a treat that we used to have as kids in Lithuania during hot summer days. I can’t quite explain what it is, but it is similar to a milkshake (only nicer) and you do not drink it, but eat it like a soup with a pastry or sweet bun. Really worth to try, I am still loving it!… ah, its so good to remember childhood memories like this ;-).
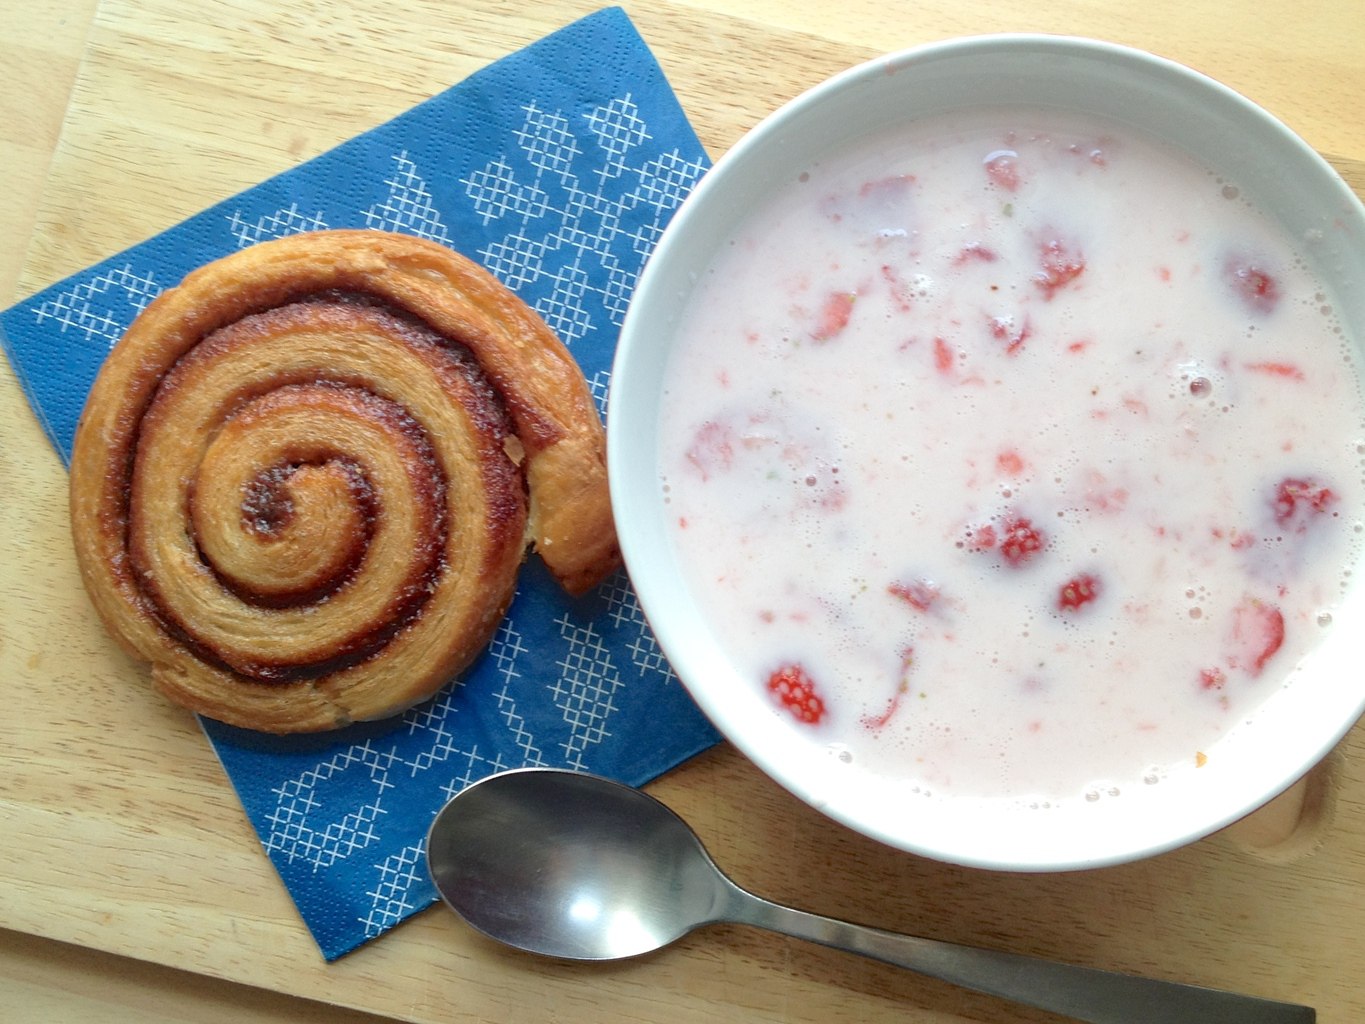
 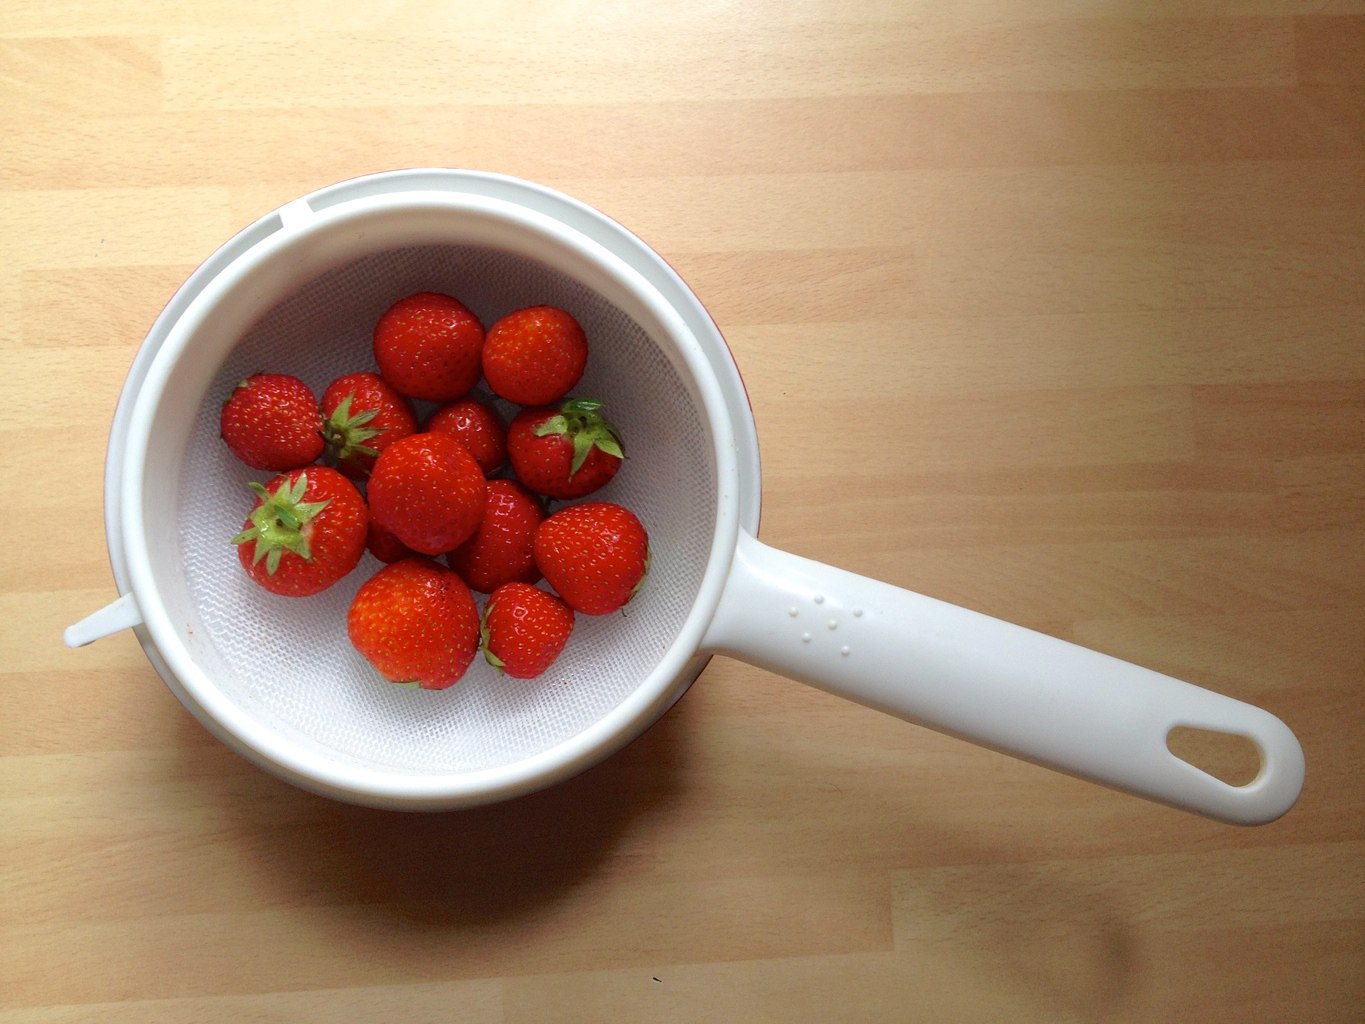 STRAWBERRY MILK
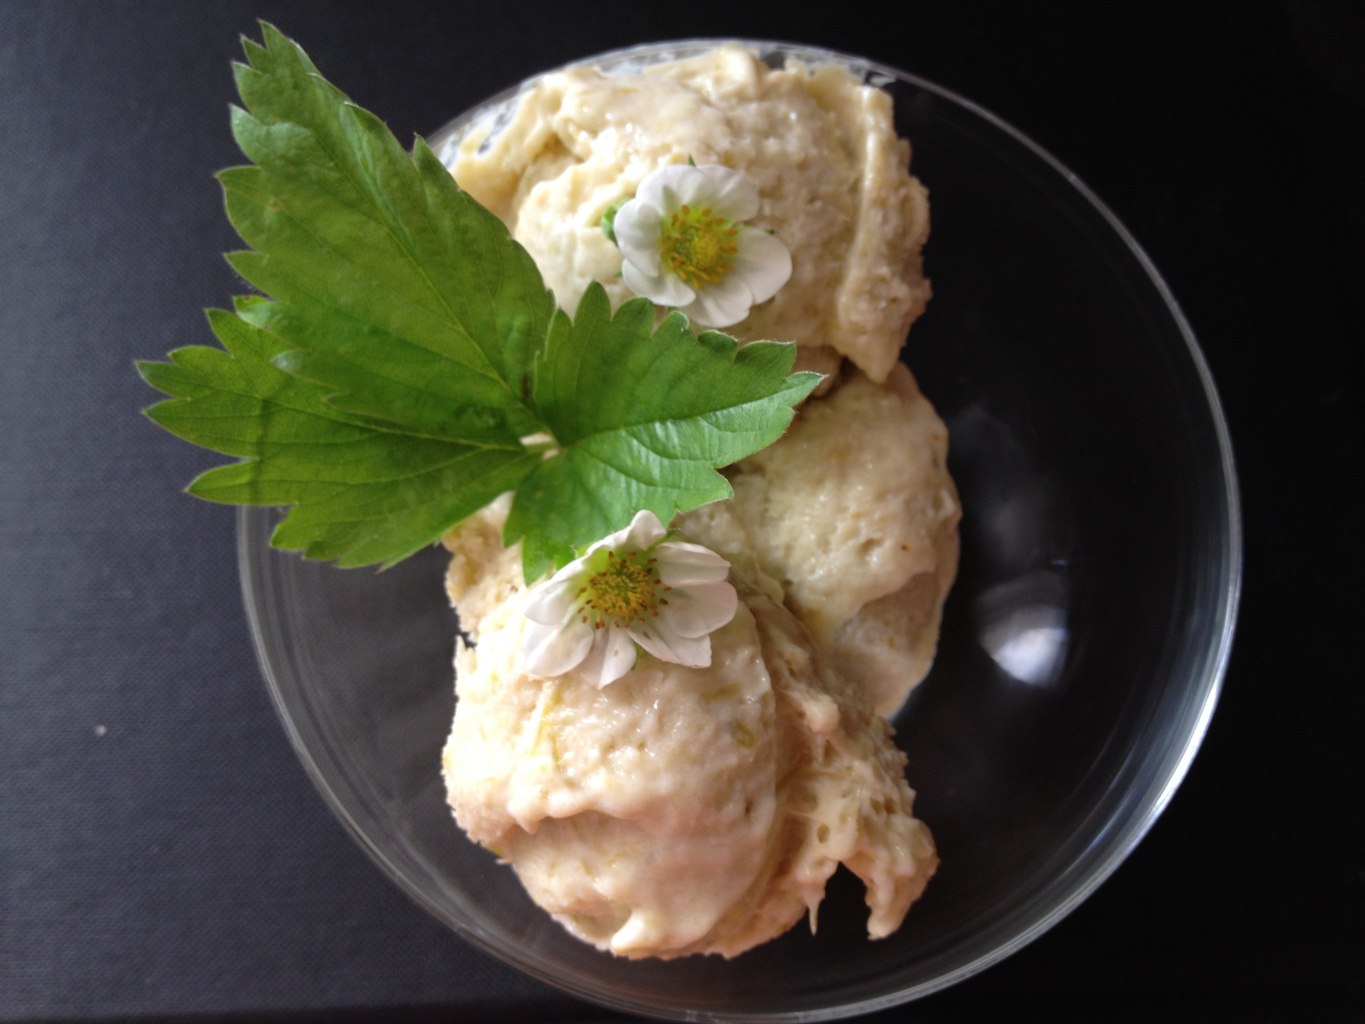

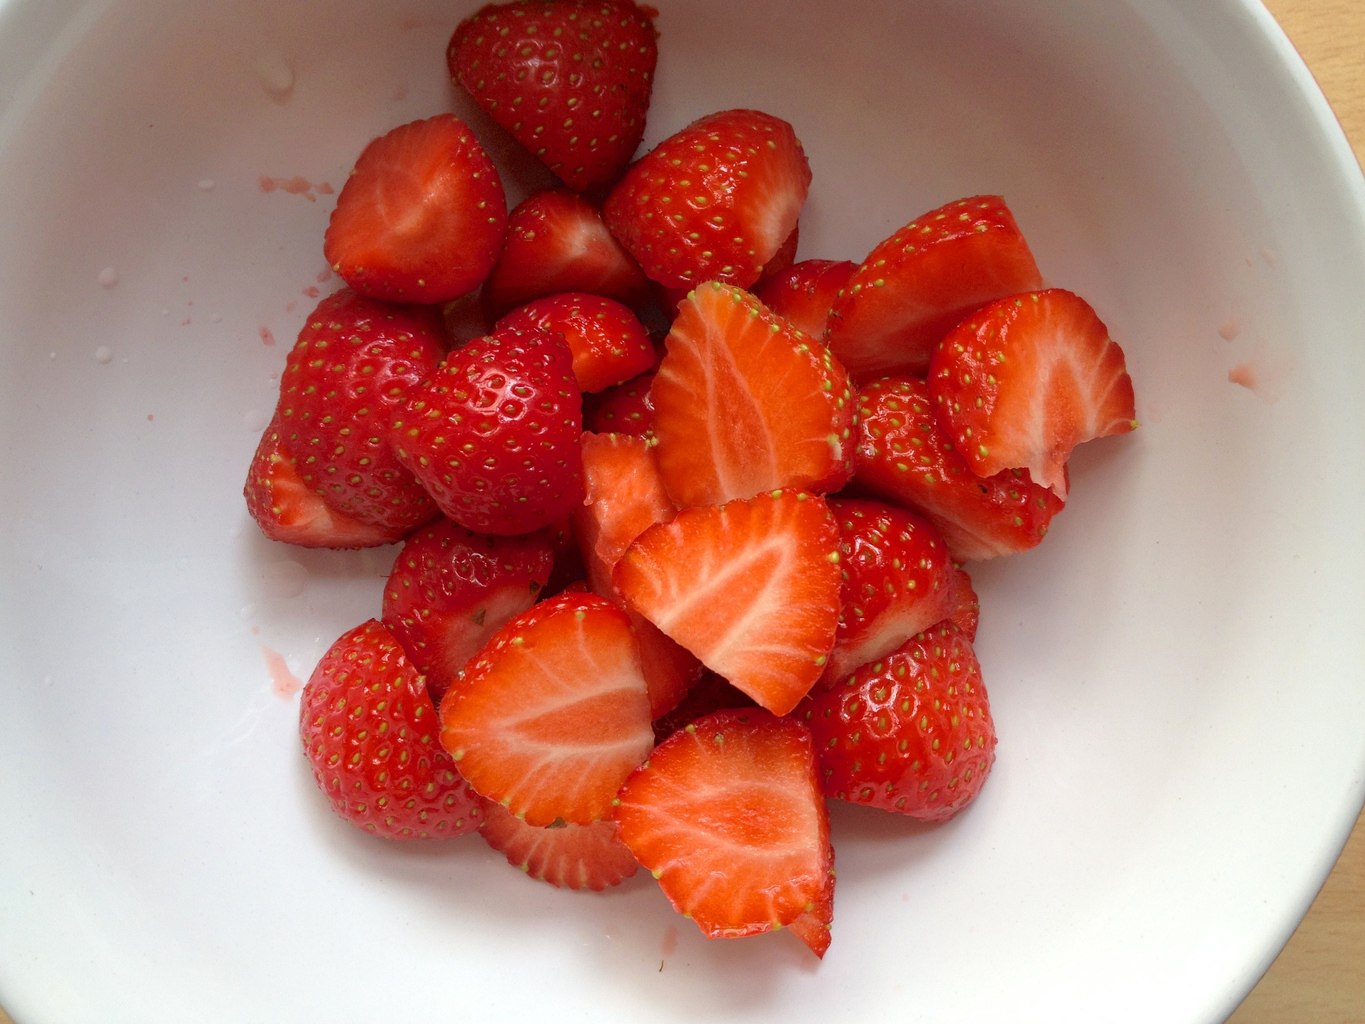

 3. Pour milk over the strawberries and that’s it!
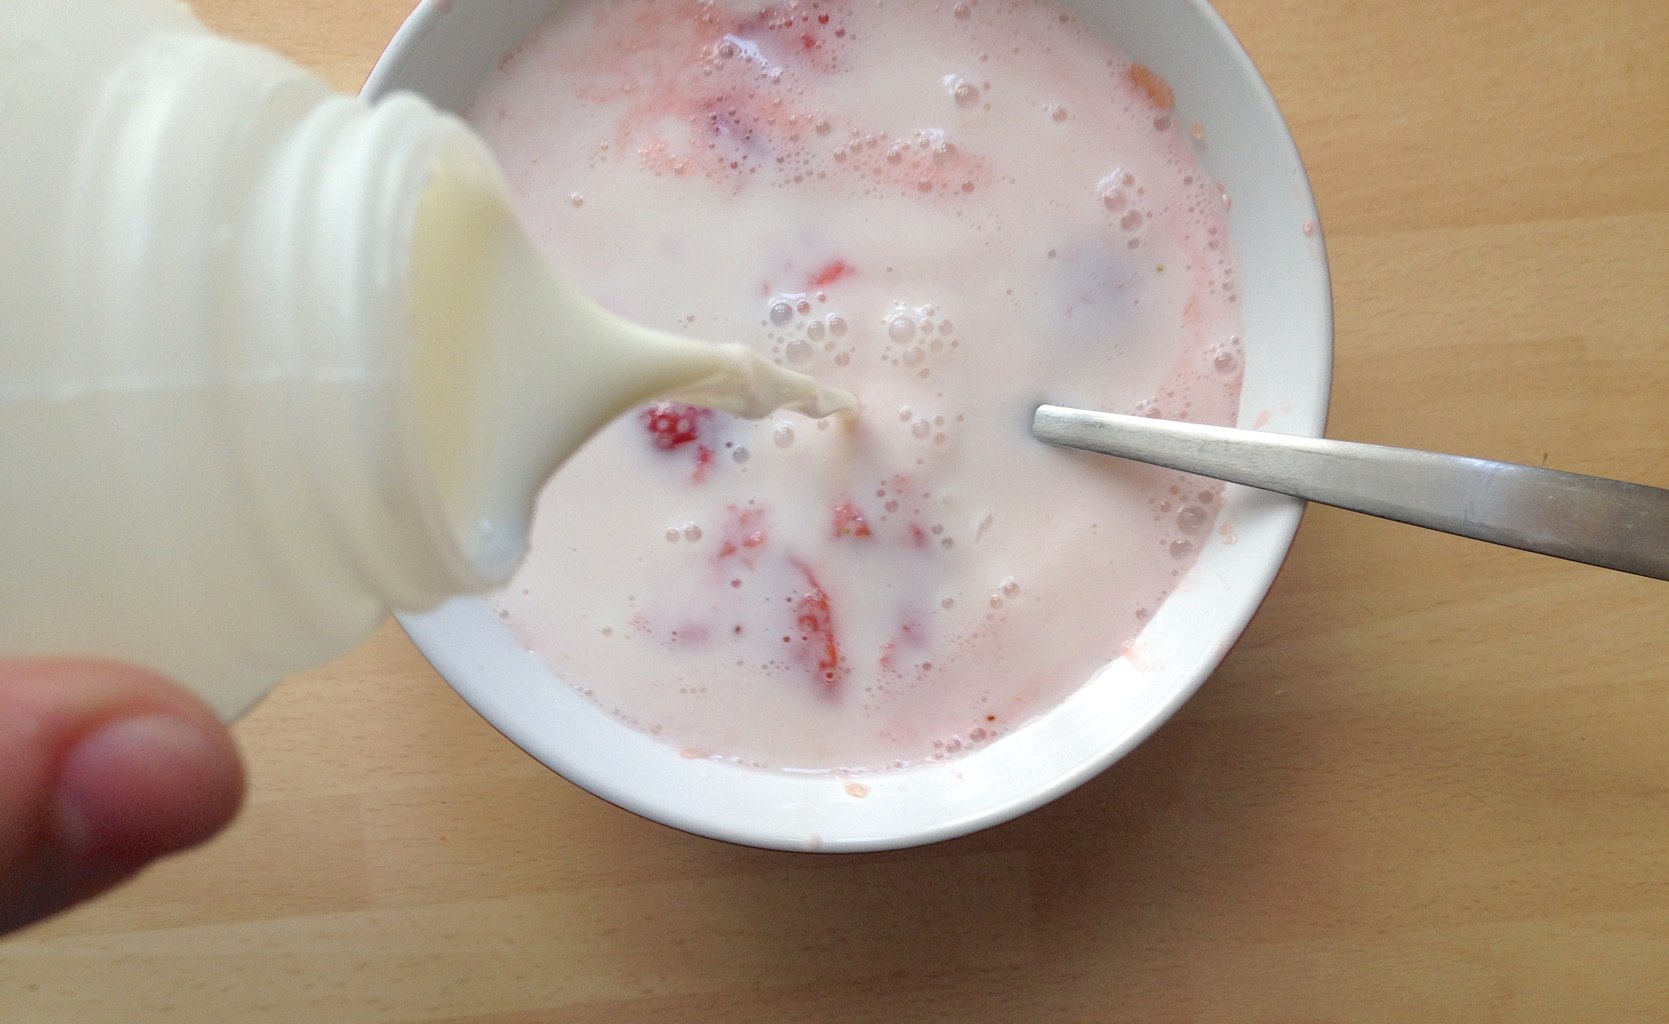
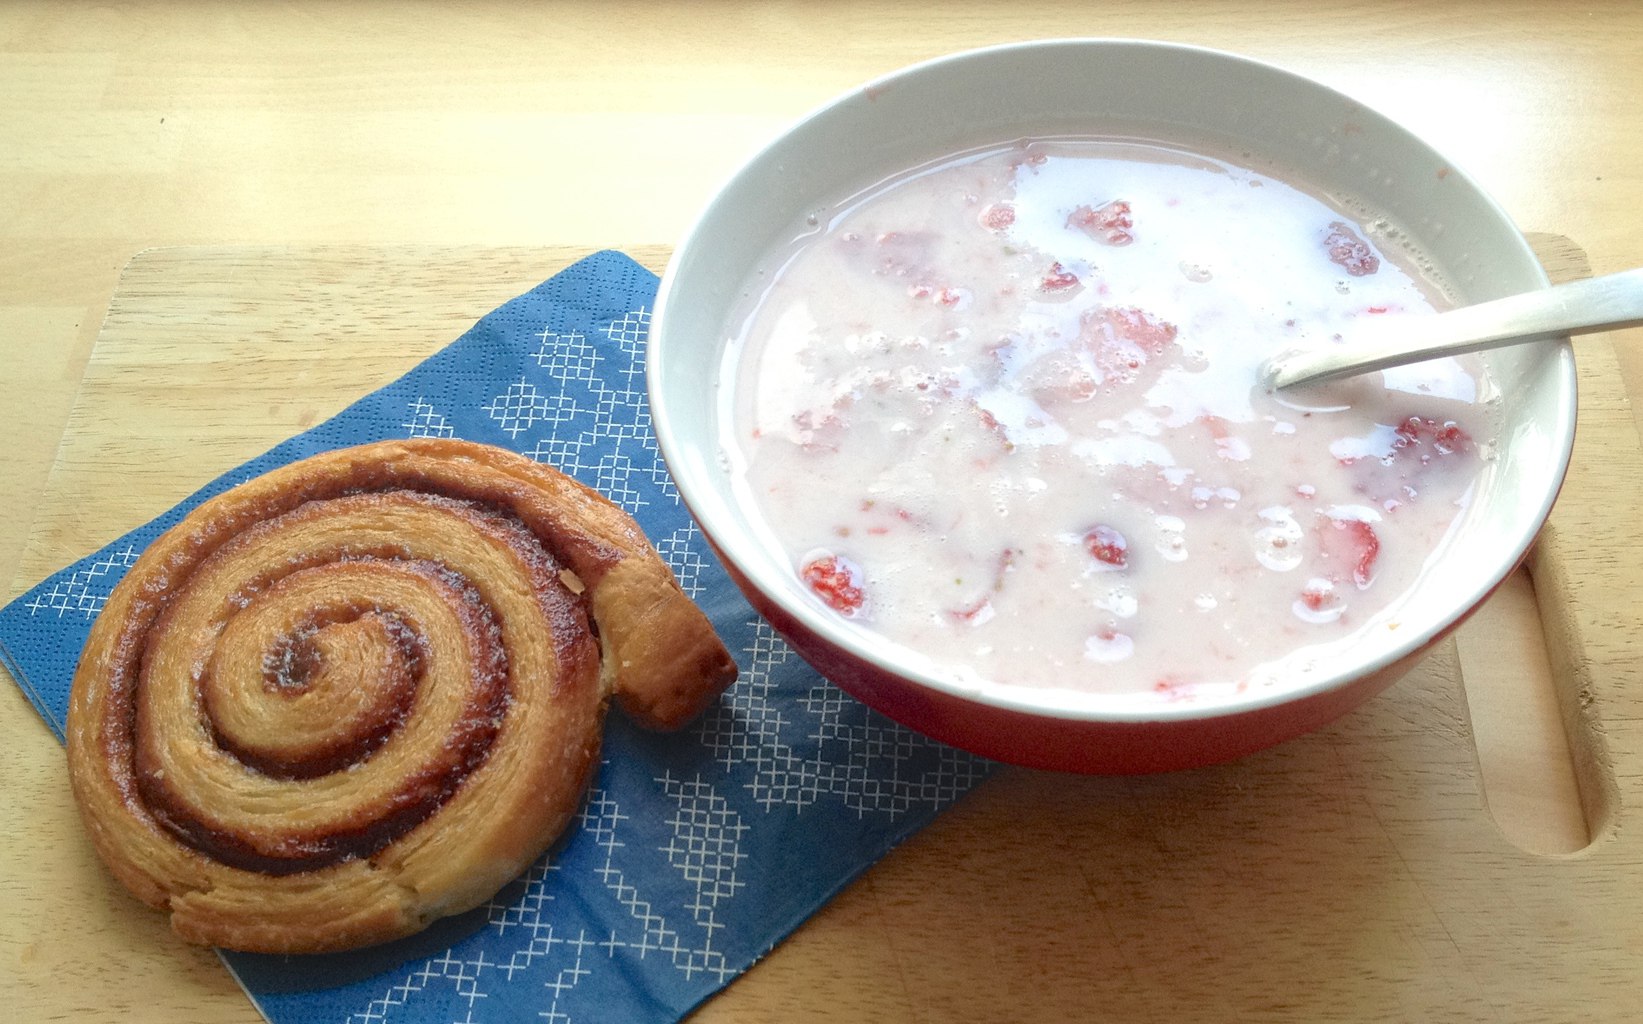 Enjoy
Enjoy